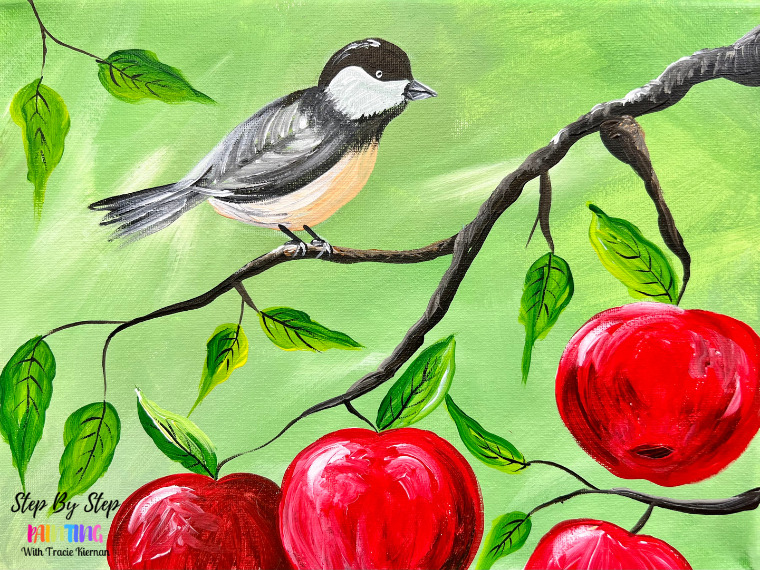
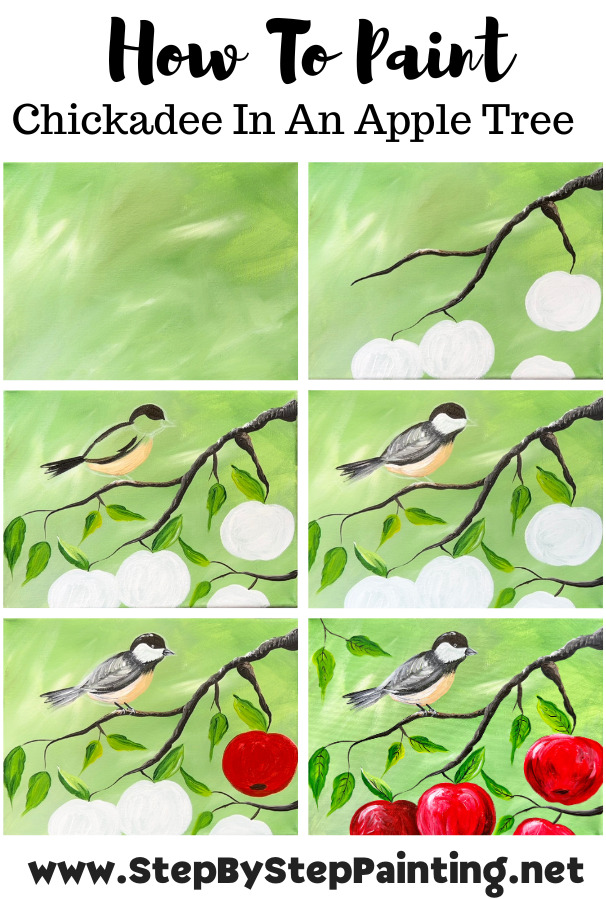
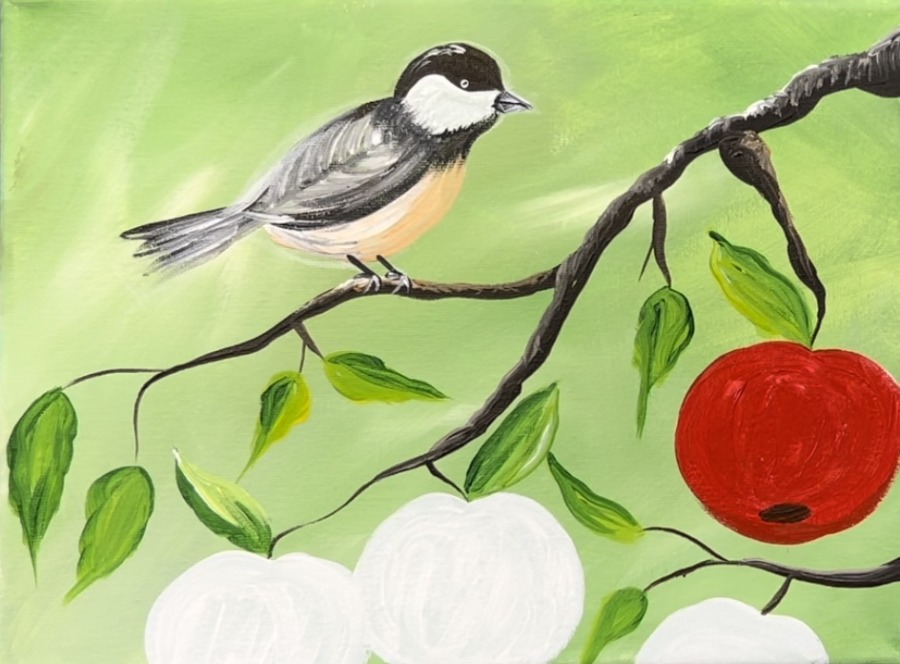
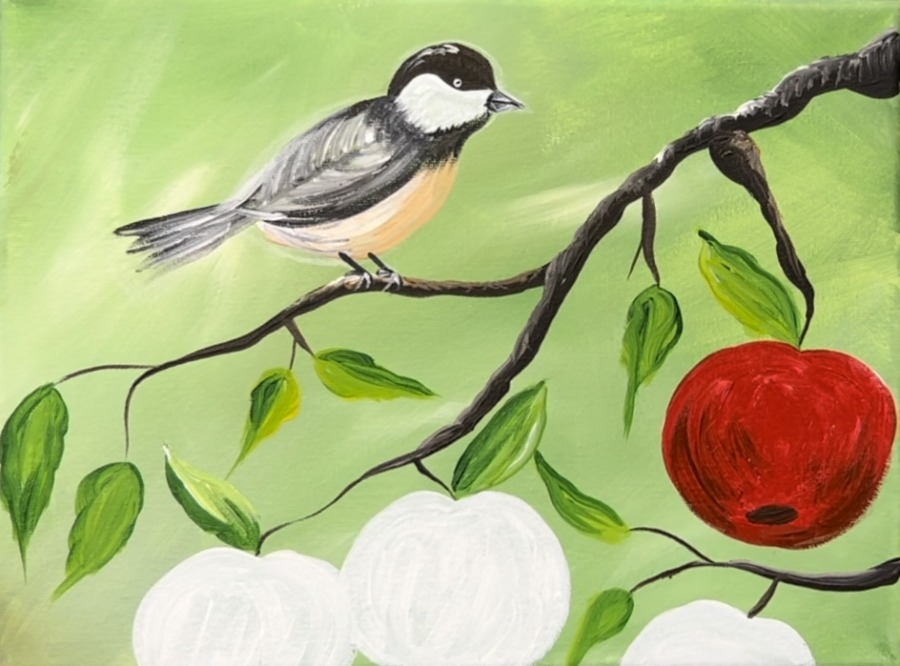
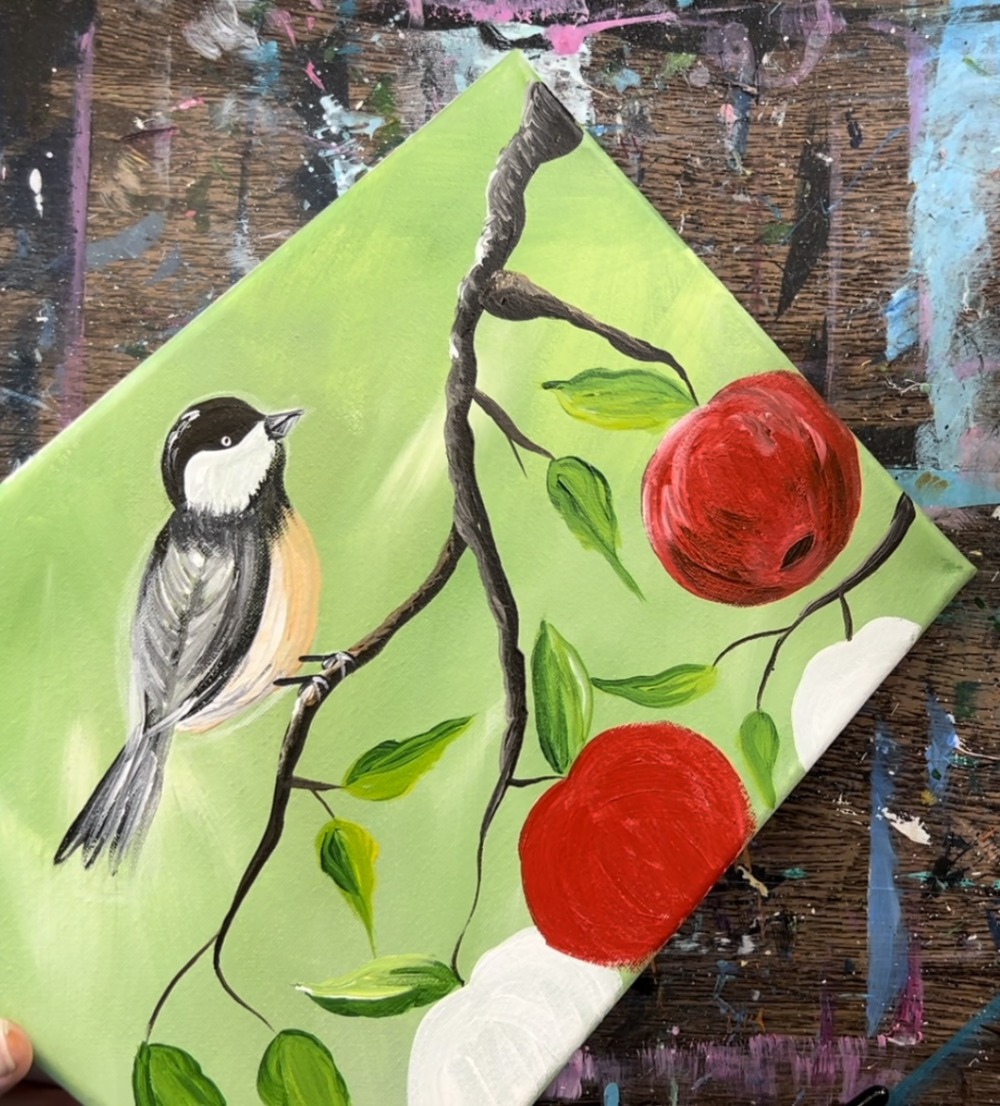
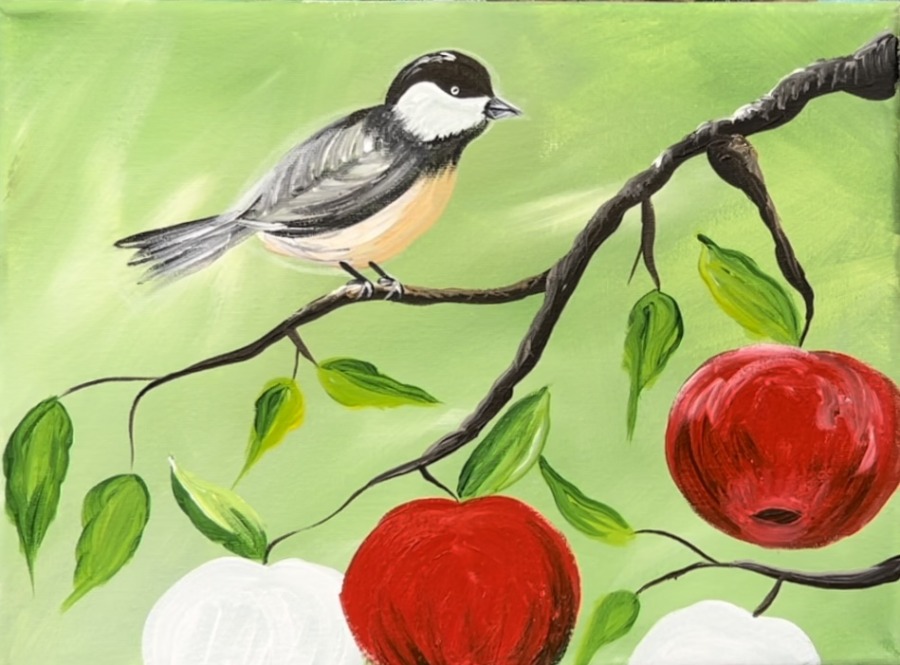
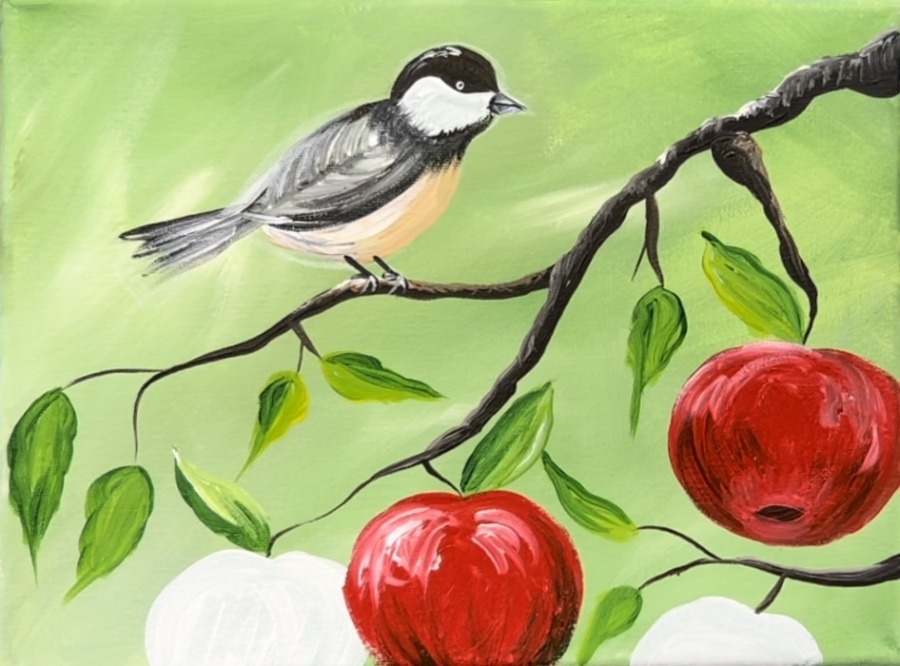
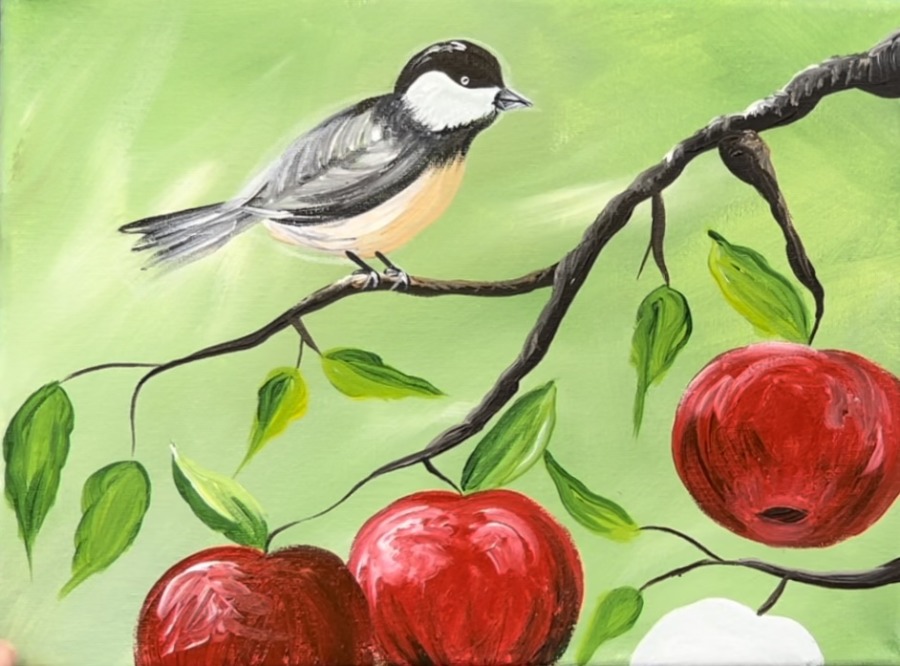
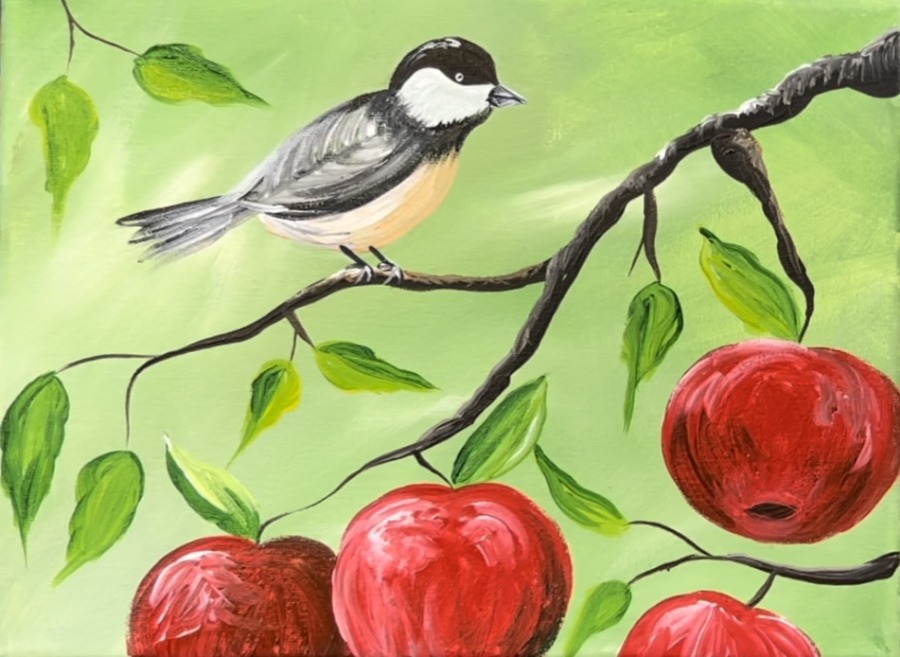
Paint a chickadee in an apple tree with acrylics! This painting tutorial demonstrates techniques for painting a detailed branch and how to add simple highlights and shadowing on apples.

Would you like to save this?
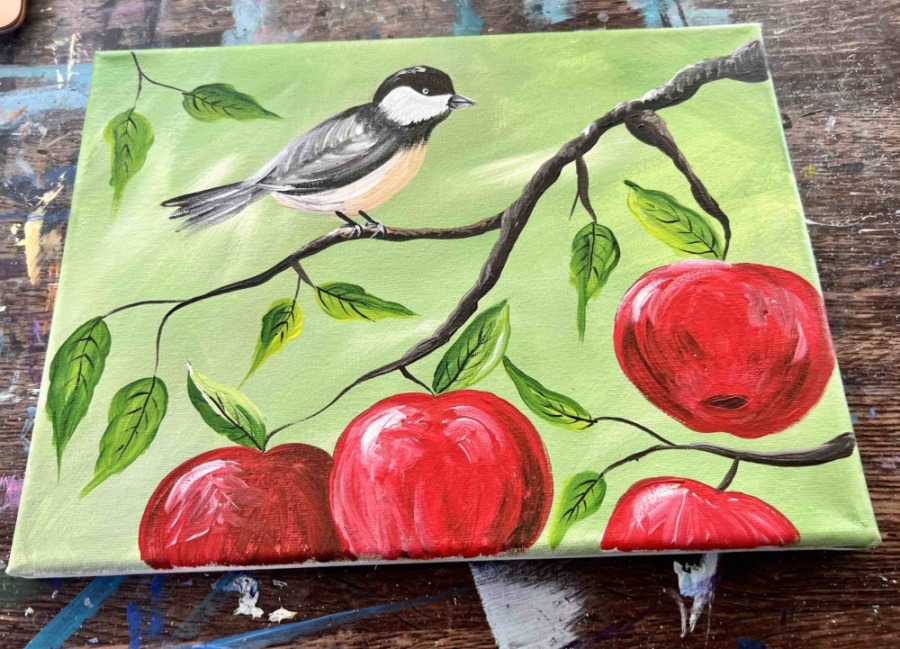
Enjoy and happy painting!
Materials Needed
"Chickadee In An Apple Tree" Painting Tutorial

Materials
- 9 x 12 Canvas (this can be done on any size)
- Acrylic Paint
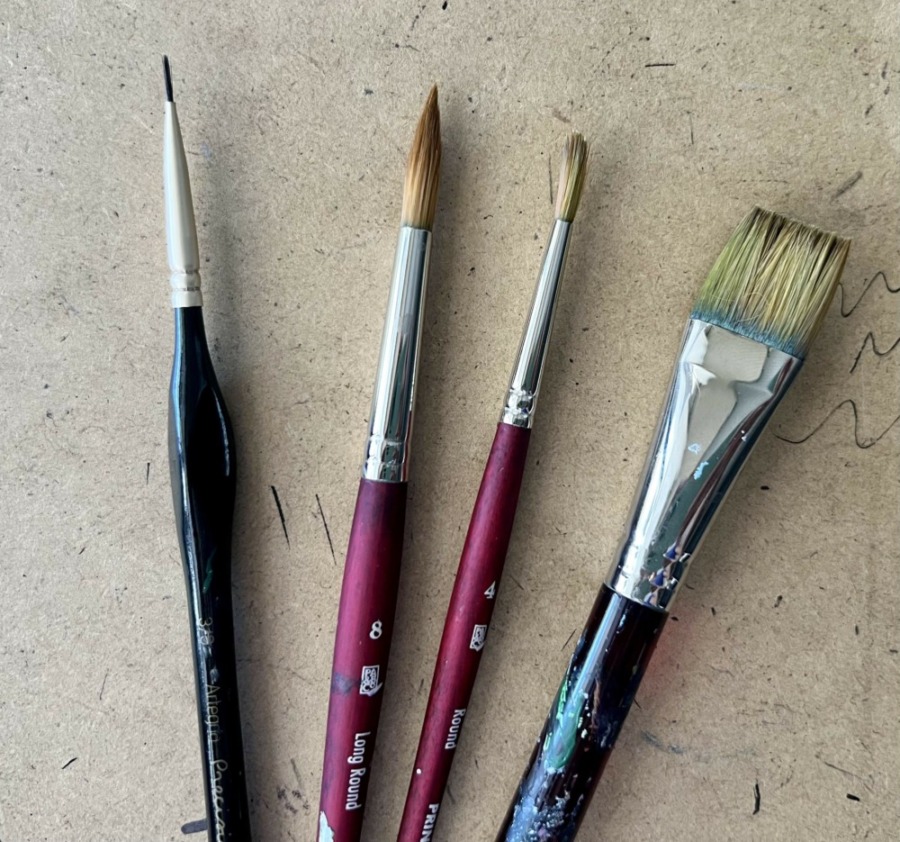
- Paint Brushes
- White Chalk Pencil
- Water Cup
- Paint Palette
- Protected Workspace
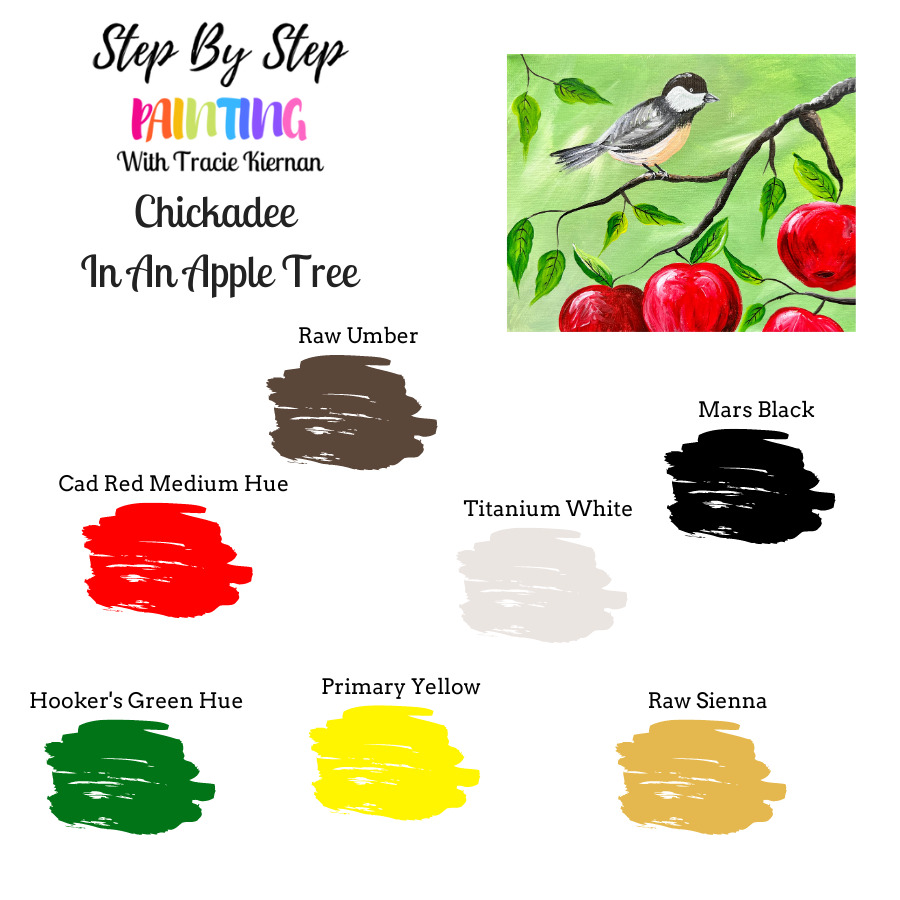
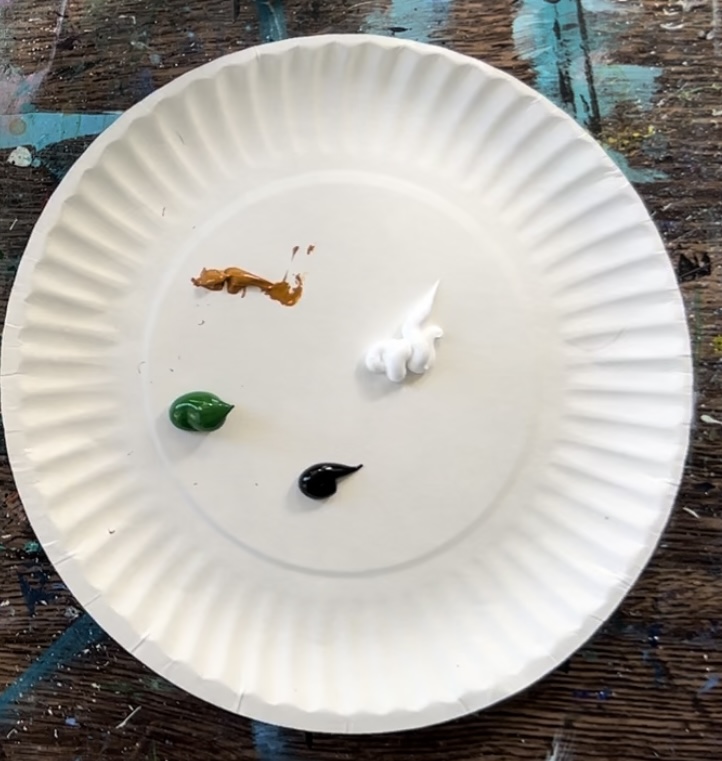
Colors
- Titanium White
- Mars Black
- Raw Umber
- Hooker's Green Hue Permanent
- Cadmium Red Medium Hue
- Raw Sienna
- Primary Yellow
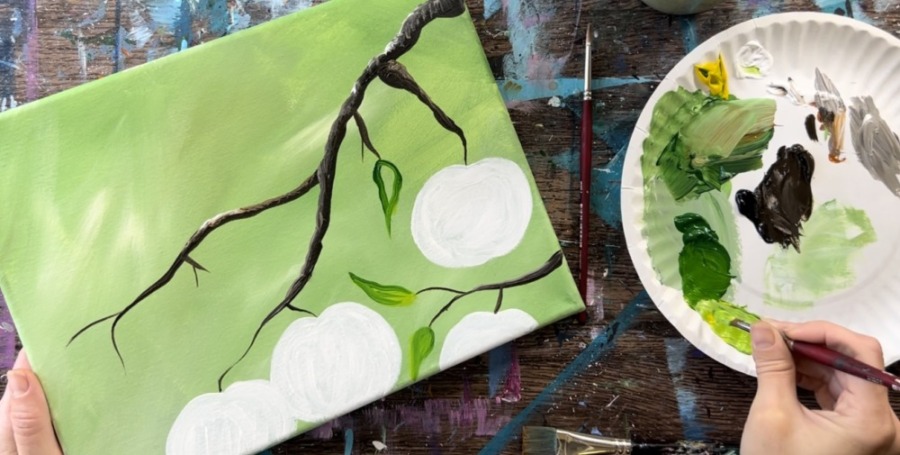
Brushes
Color Palette
Directions At A Glance:
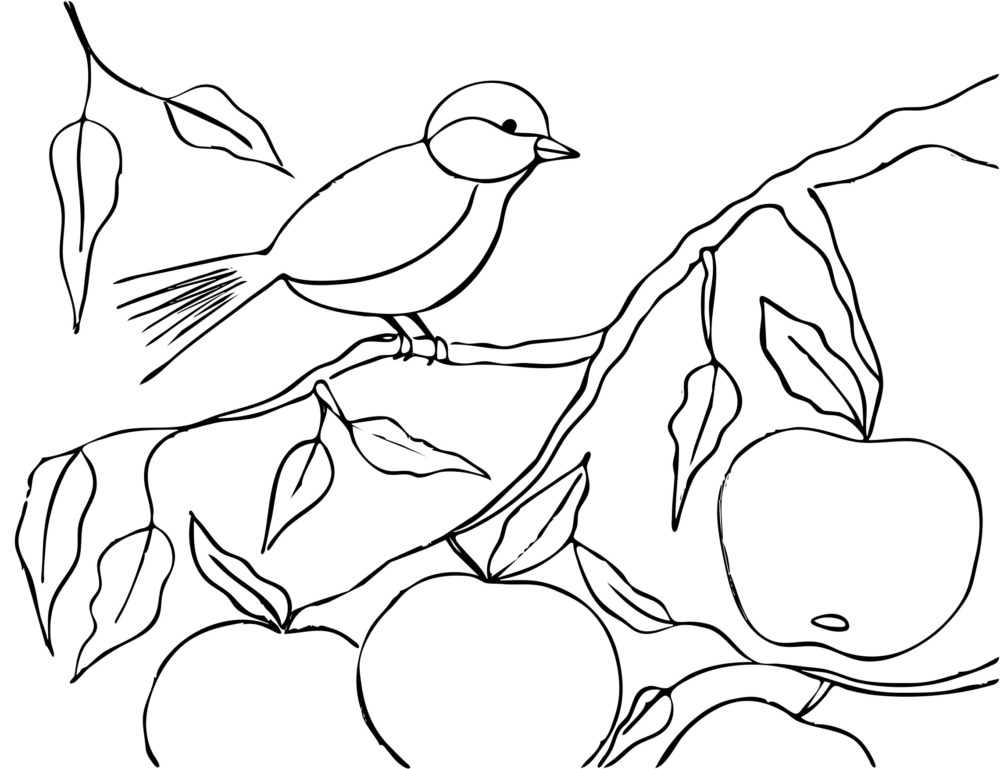
Optional Traceable:
See Also…
Video:
Step By Step Directions:
1. Paint The Background
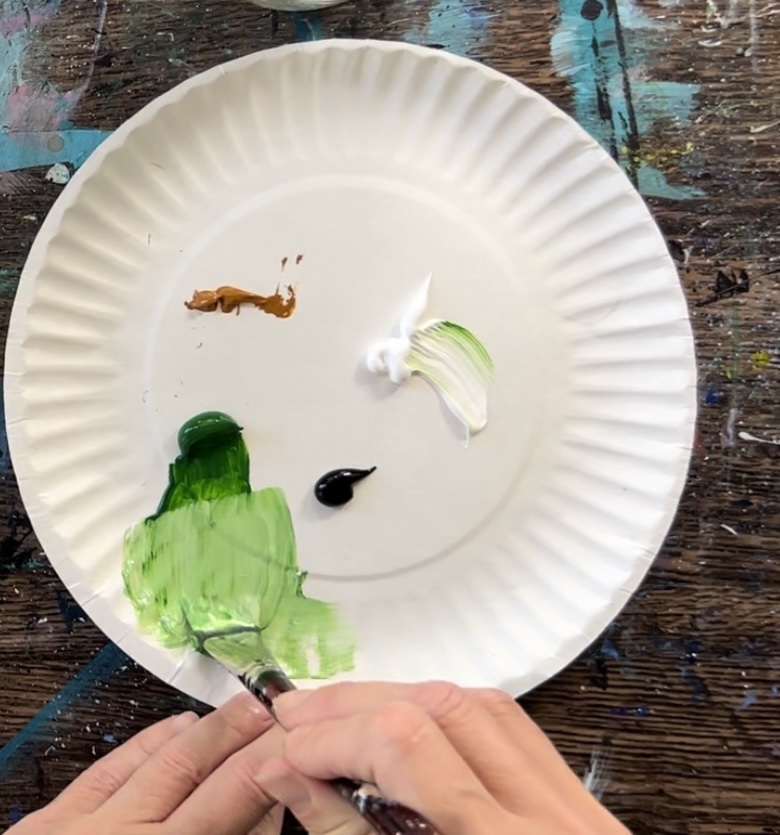
Load your palette with the colors: hooker’s green hue, titanium white, raw Sienna and mars black. (Note: if you are simplifying this painting, you can use just the green and the white to create a similar background)
Use the 3/4 flat brush to mix about 4 parts white, 2 parts green, 1 part raw Sienna and a very small drop of black. You will get a light/warm green.
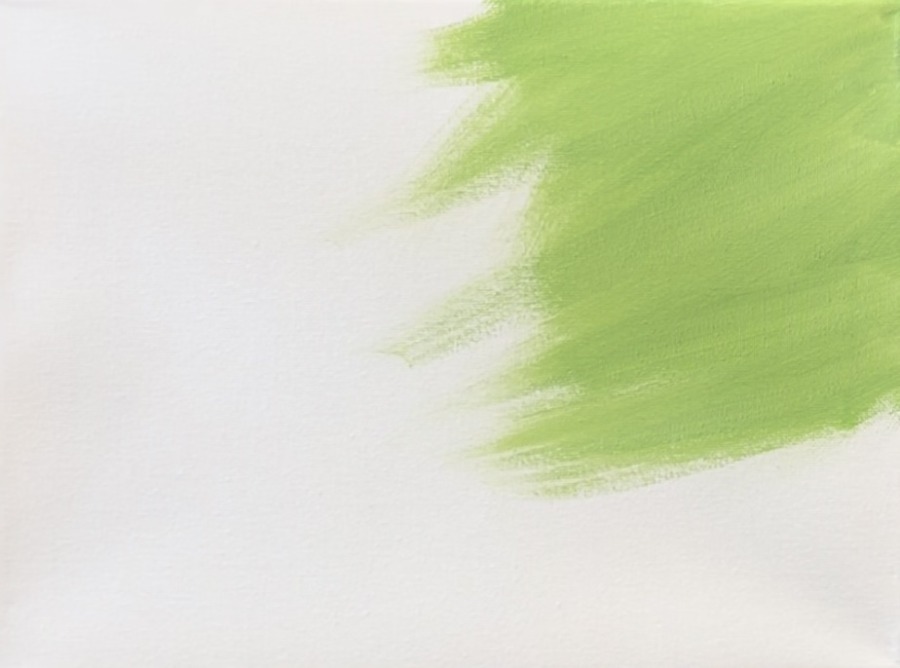
Start at the upper right corner of the canvas. Use the full width of the brush to paint large angled strokes.
As you re-load your paint brush, alter the green on the palette so that you get variations of color in this background. You can try adding more white and a little more black to the green to make a more gray-green. Just be careful not to add too much black.
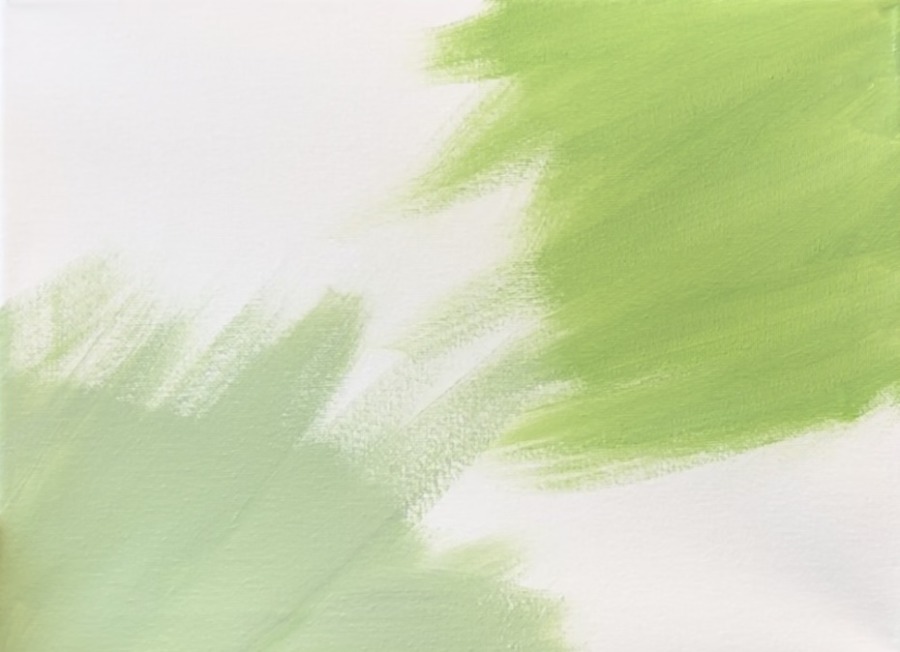
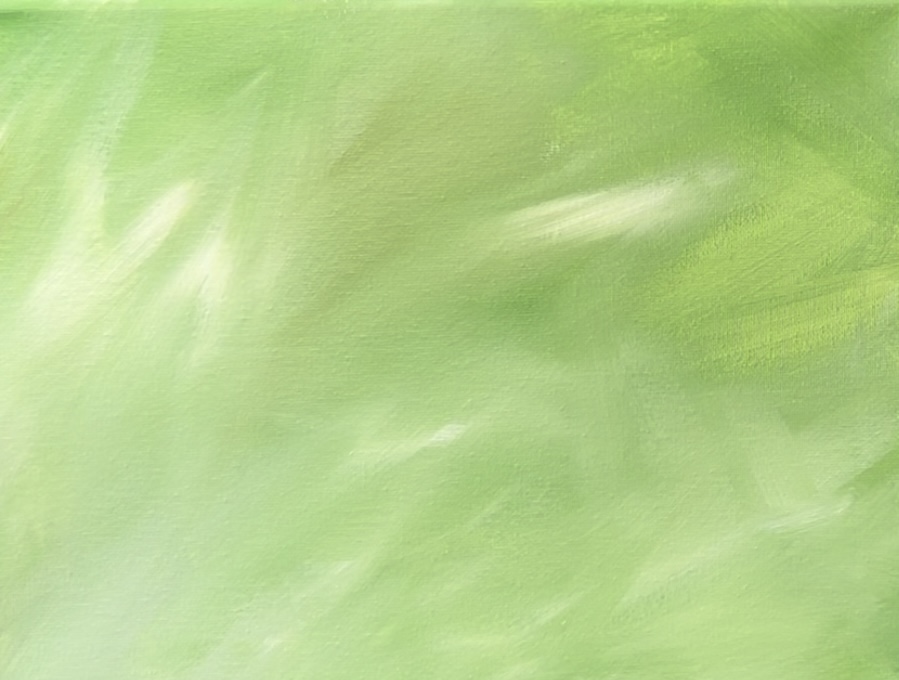
Fill your canvas with these abstract angle strokes of color that blend on the canvas.
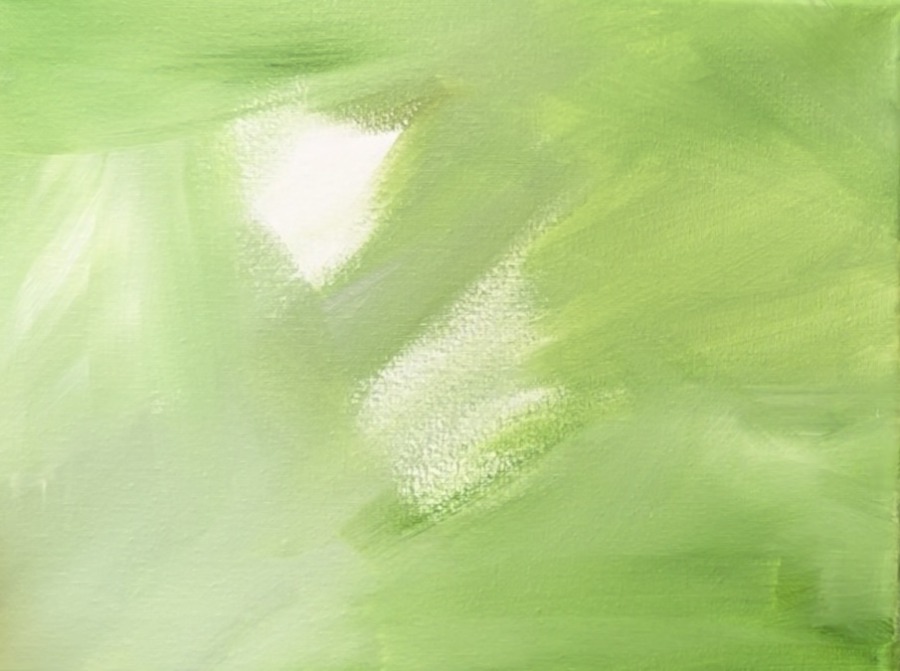
Try not to over blend the colors. When the canvas is covered, let this dry before going to the next step.
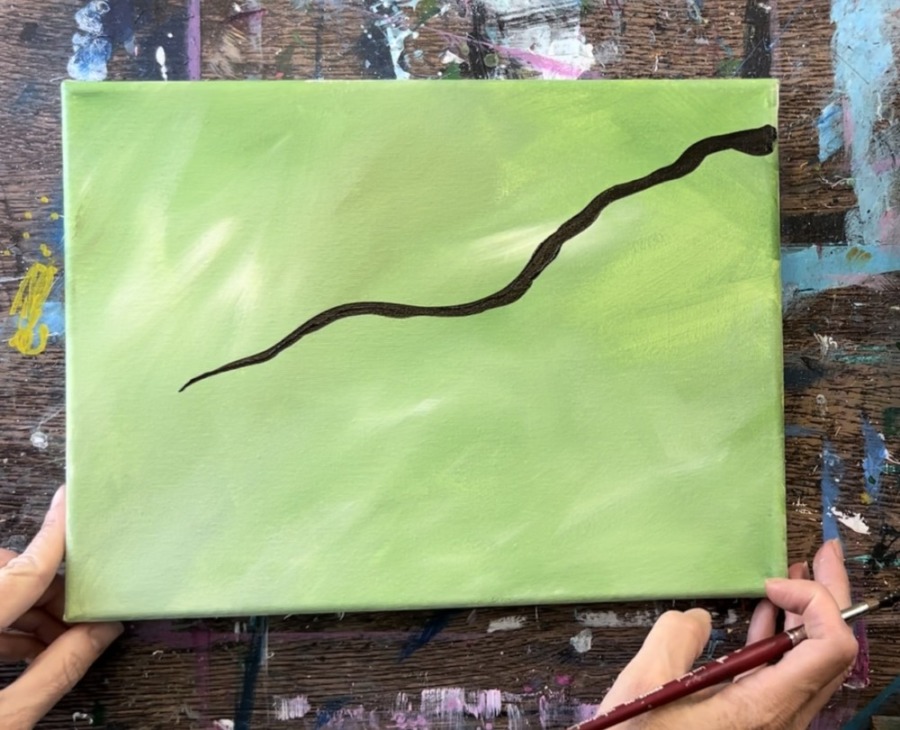
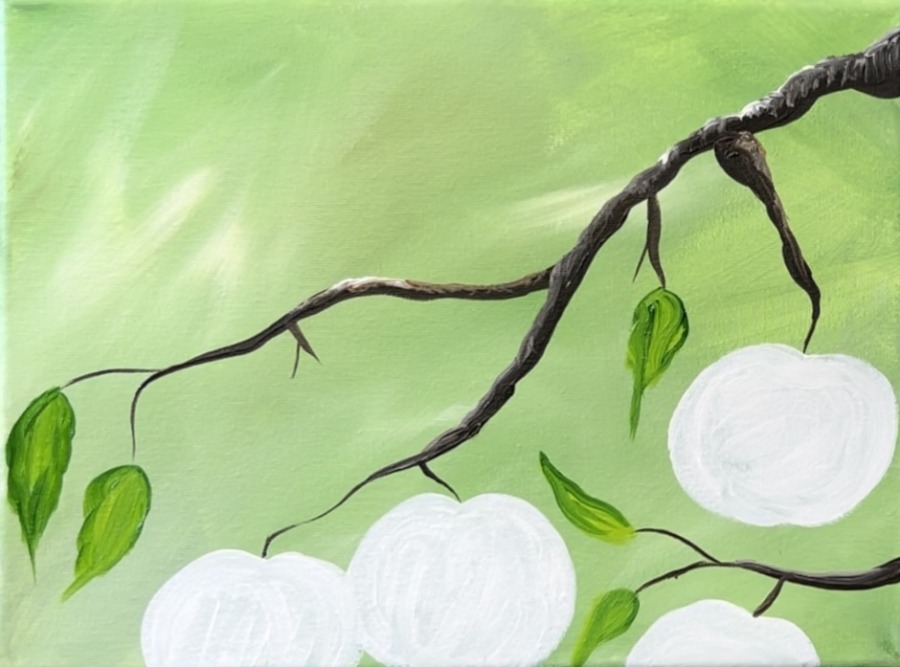
2. Paint Tree Branch
Use a #8 round brush for this step (or any medium size round brush). Load the brush in both black and brown paint. Start in the upper right area of the canvas. Create a thicker base of the branch on the far right and allow it to get thinner as it goes diagonally downwards.
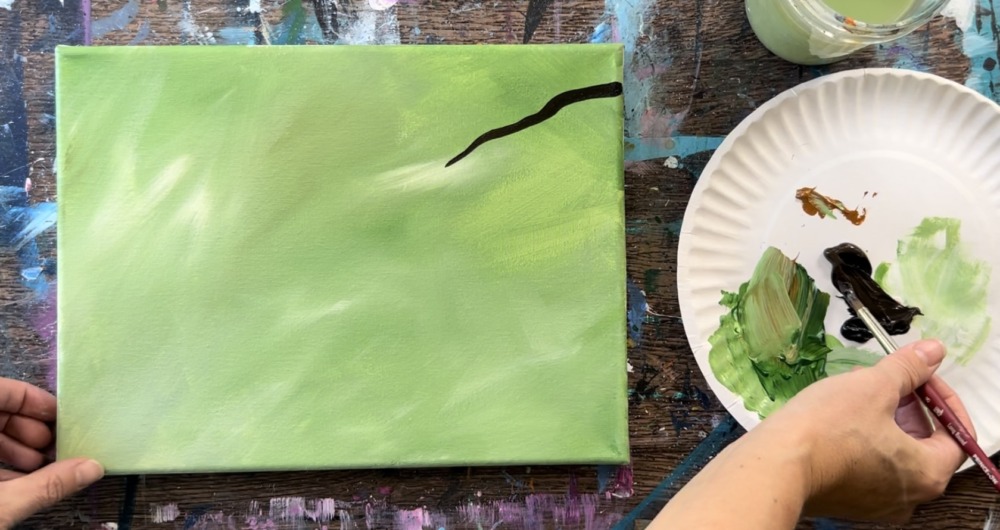
As you paint this branch, make the edges of it be slightly wavy bumpy. Leave enough room in the upper left corner area for the bird.
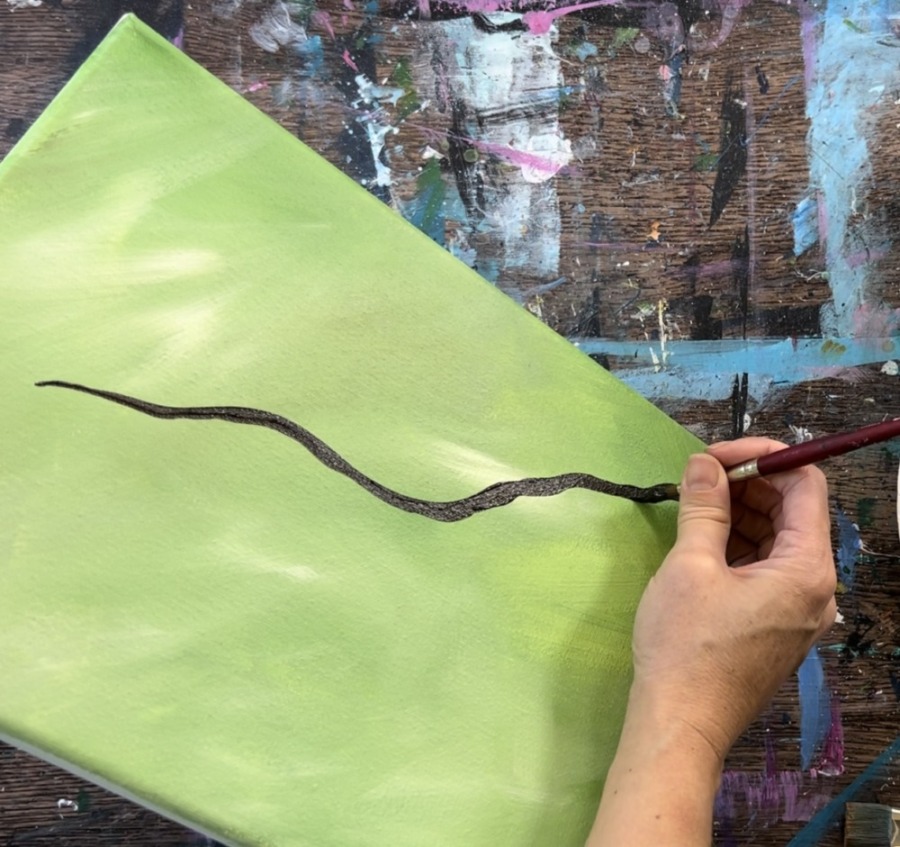
Leave space on the left of the branch (it doesn’t go all the way across the canvas). Also, this branch goes thinner and almost to a point.
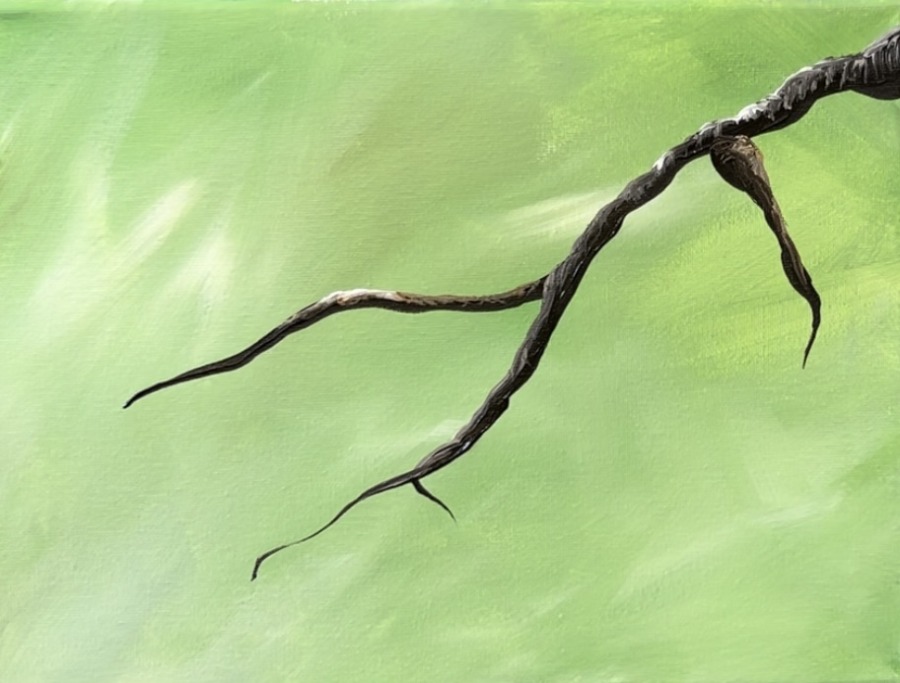
Next, paint another branch from this main branch.
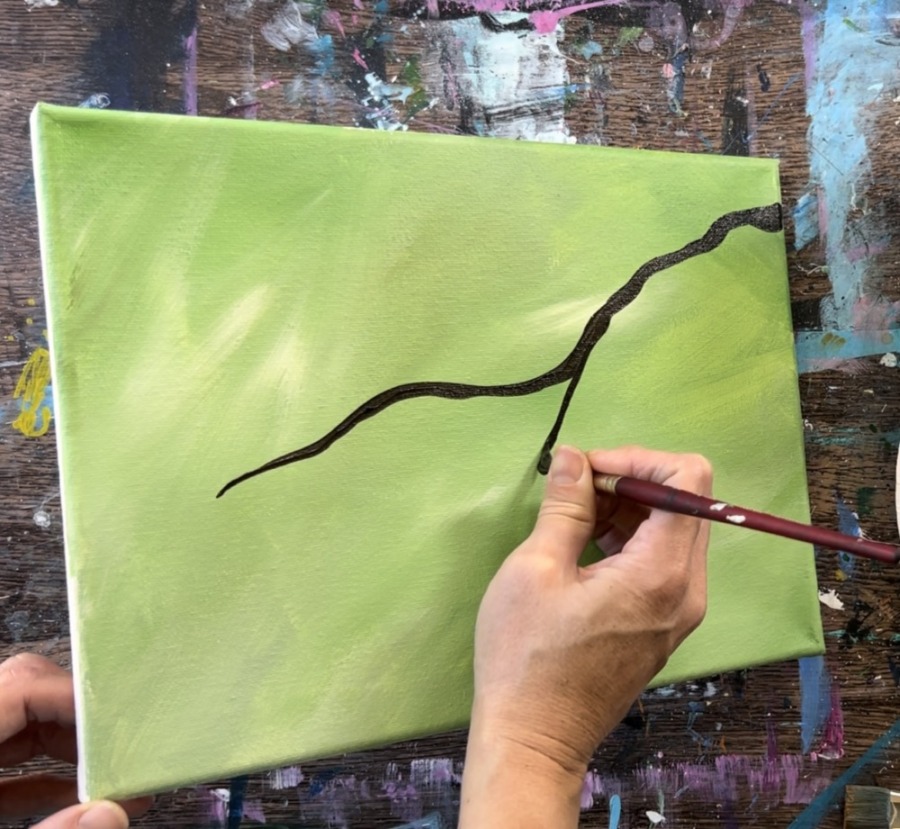
Let this branch dip down and then paint two very smaller branches that stem off from that one. Try to make the edges of the larger branch pieces a bit “wavy”. To do this, wiggle your brush along the edges to create this style of branch.
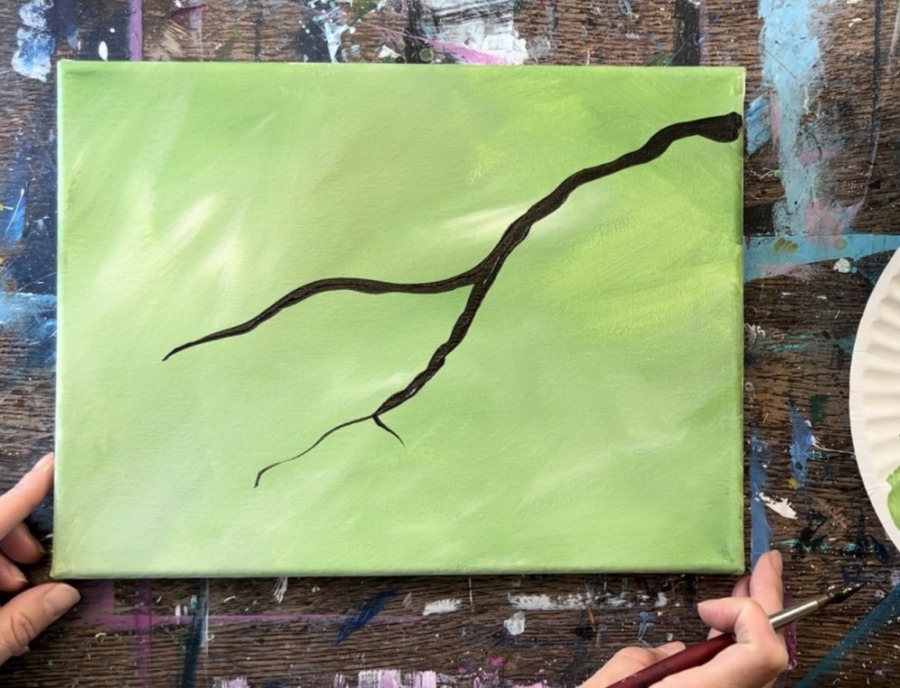
Use just the tip of the round brush to create the thinner, smaller branches.
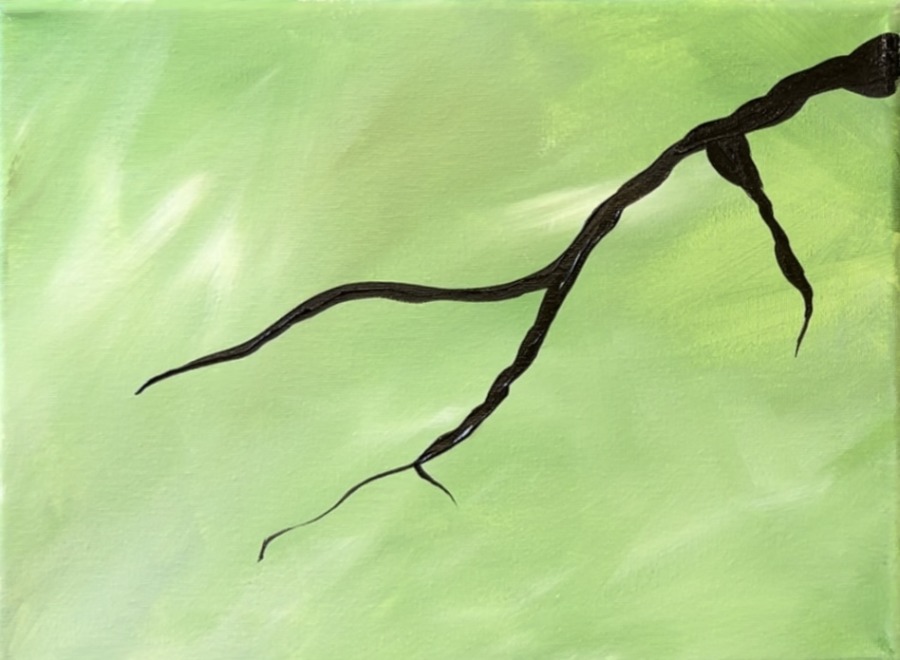
Add highlights to your branch by adding raw Sienna and titanium white to the dark brown color. You will make a light gray-brown color. Then use the same round brush to paint the top edges of the branch. Paint small, curved strokes that blend with the dark brown.
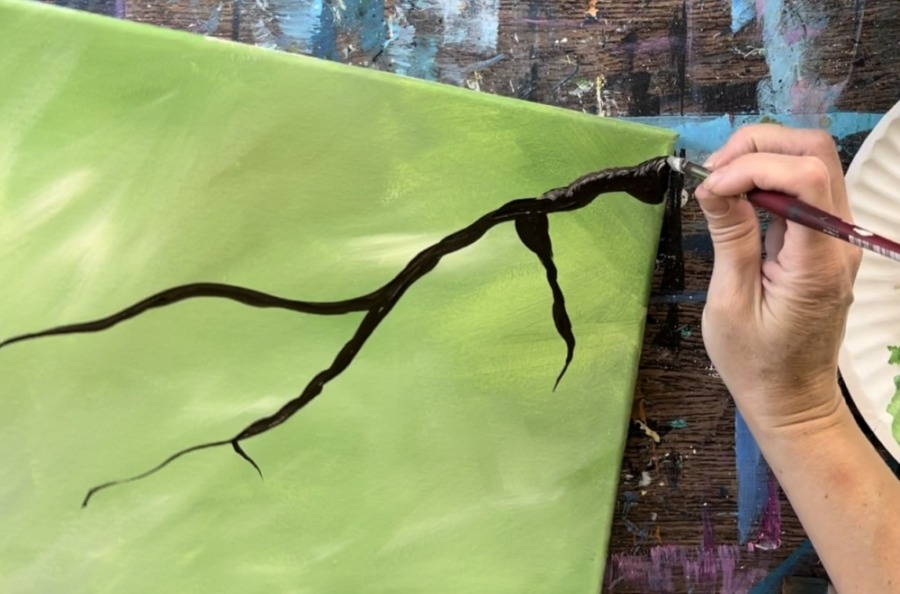
Do this just on the top edges of the branch and leave the bottom very dark. You can also add little bits of pure titanium white along the edges of the branch to make the highlights appear brighter.
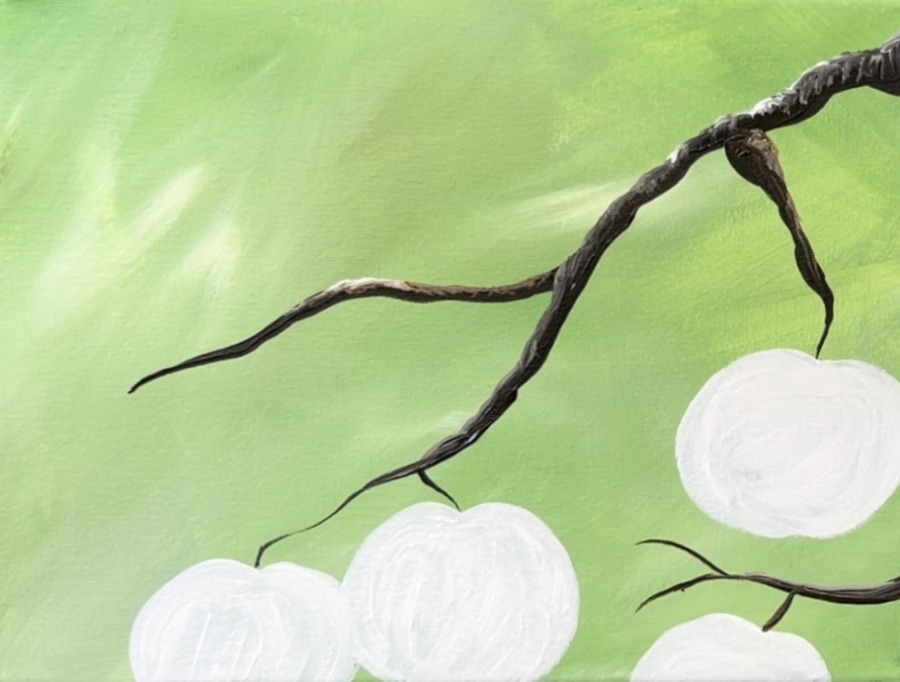
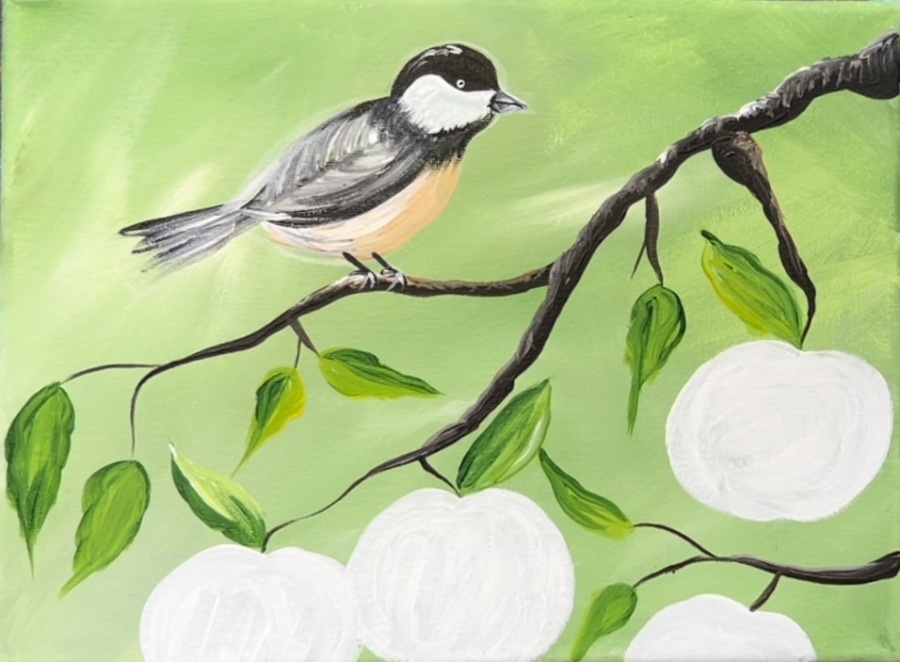
3. Paint First Layer Of Apples White
Use titanium white and a #4 round brush to paint the apple shapes solid white. This needs to be done so the apples can be bright red.
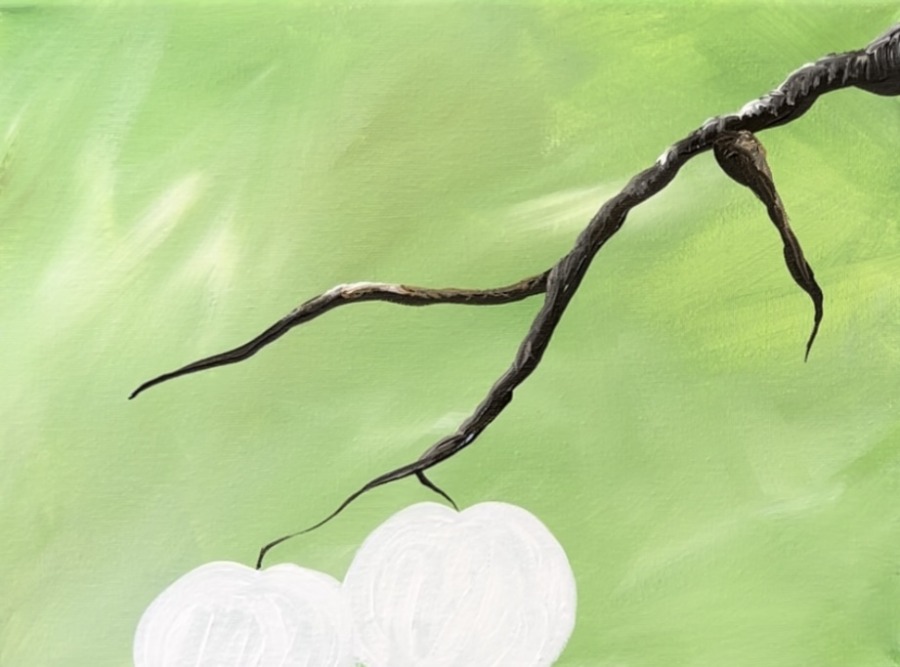
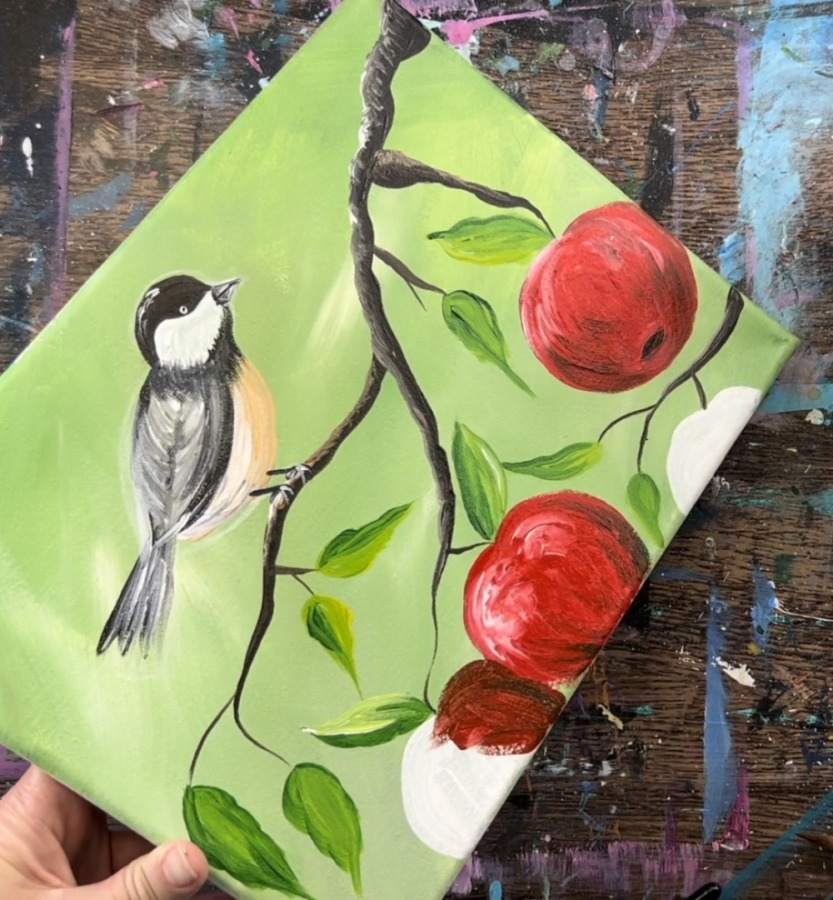
I did four apples of similar size. The bottom two on the left are slightly overlapping each other. There is also another apple off the edge of the canvas on the bottom right.

Then I painted a branch attached to that bottom apple. If you want you can add more ore less apples. Just keep in mind where the bird will be.
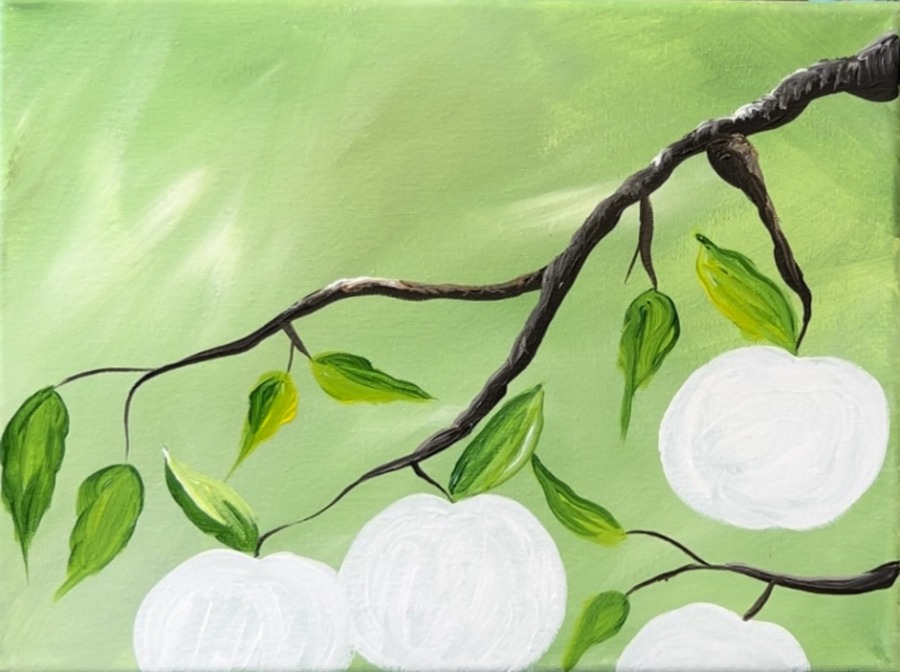
4. Paint Leaves
Use the #8 round brush to paint the leaves. It is important to make these leaves appear darker than the background so they will stand out. To do this, mix some “primary yellow” into the hooker’s green hue on your palette. This will make a yellow-green. You can darken it by adding more green into it and lighten it by adding more white into it.
To paint the leaves, use the tip of the brush to draw out the shape of the leaf. To make the edges of these leaves a little wavy, you can “wiggle” your brush as you are painting the shapes. Paint these leaves so they are a little long and narrow and pointed at the end but rounded at the base.
You can “vary” your green colors by adding more or less white to the green and also adjusting the white.
Paint leaves on the ends of all of the branches.
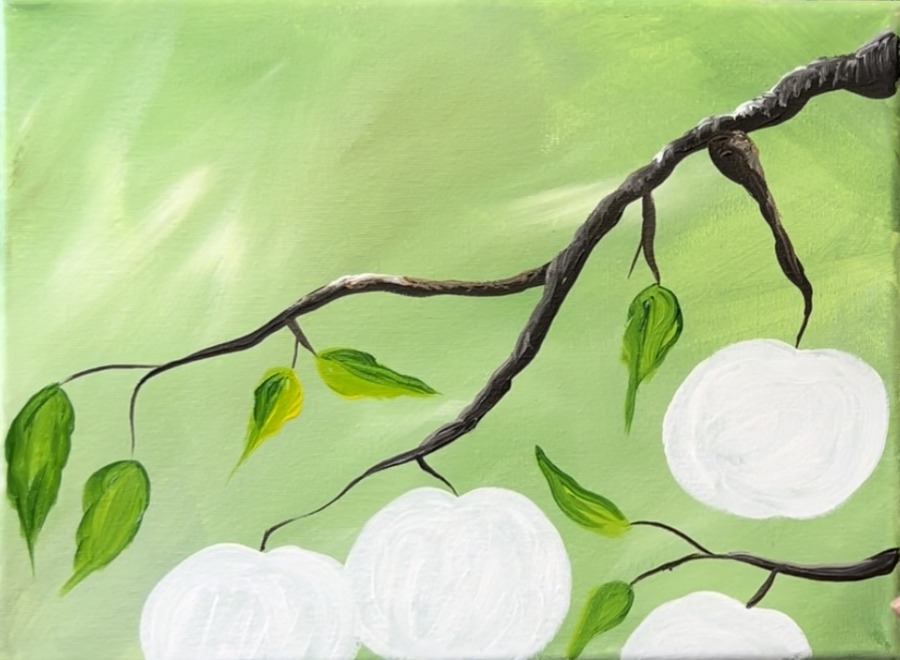
Then paint leaves that are attached to the tops of each of the apples. (I did this for all of them except for the one in the bottom right corner area)
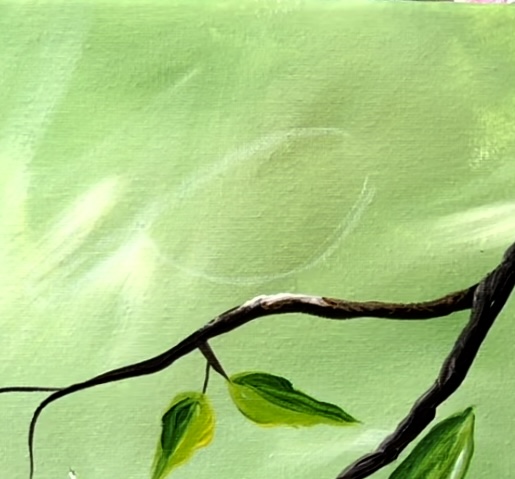
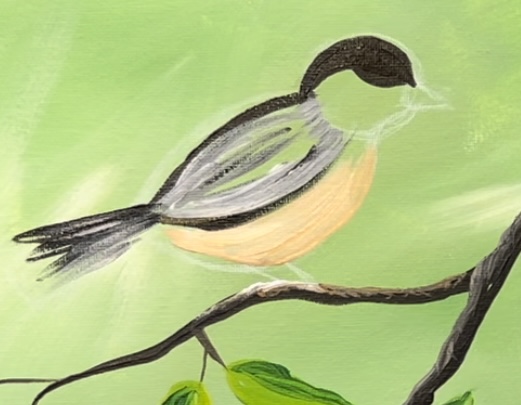
5. Draw Bird
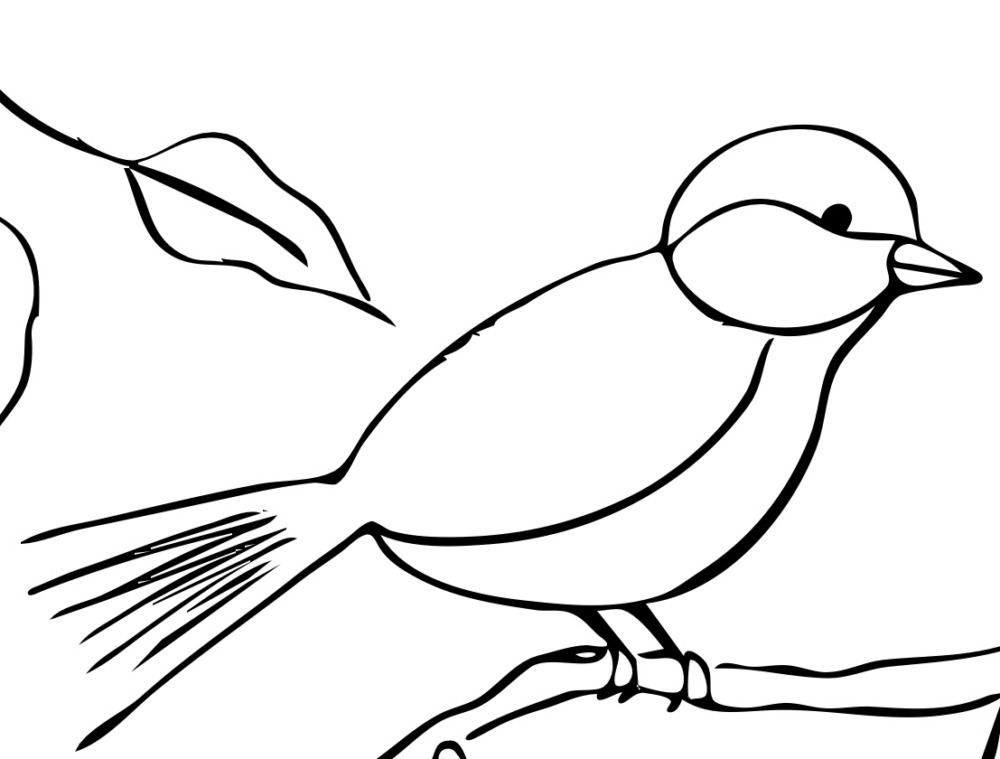
I recommend a white chalk pencil for this but you can also use a regular pencil or piece of chalk.
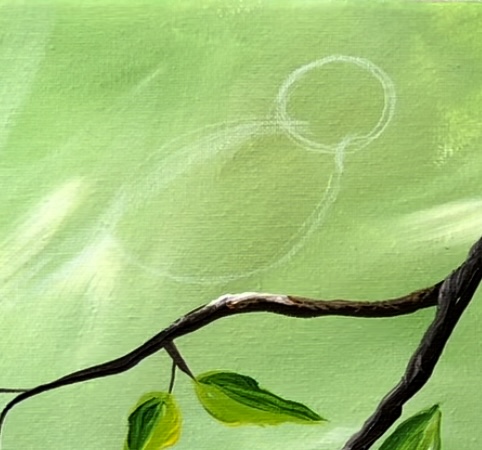
Start by drawing the shape of the body. Draw a half circle shape above the branch that it will be perched on.
Then draw a circle for the head. Draw a small curved line that attaches from the body to the head in the lower right neck region.
Then draw a small triangular shape for the beak in the center middle of the head. Then draw a curved line in the middle of the body region for the side of the wing. Draw two small diagonal lines that attach to the branch.
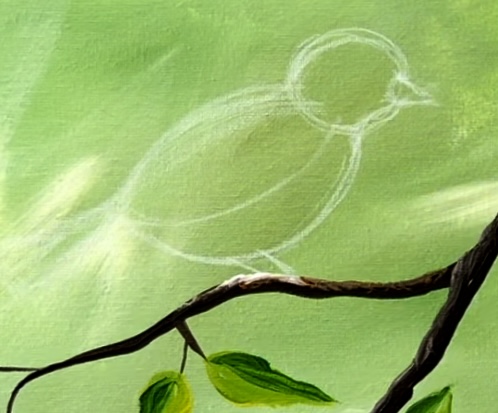
Then draw a small circle/dot for the eye in the upper center region of the head. Draw a curved line that divides the head at the top where the black part of the bird’s head is.
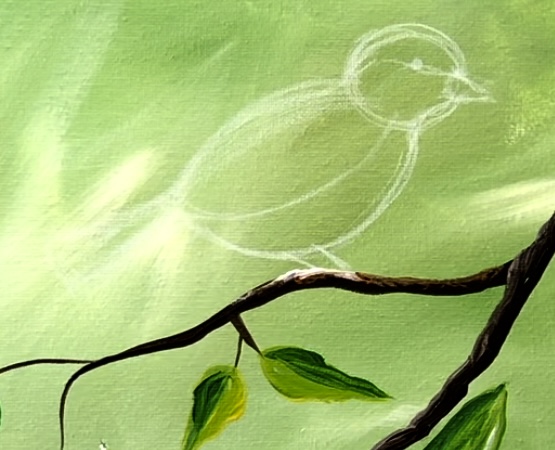
Although it’s hard to see in the photo, draw a tail on the bird. This is a narrow triangular shape that is wider on the end and narrow on the base.
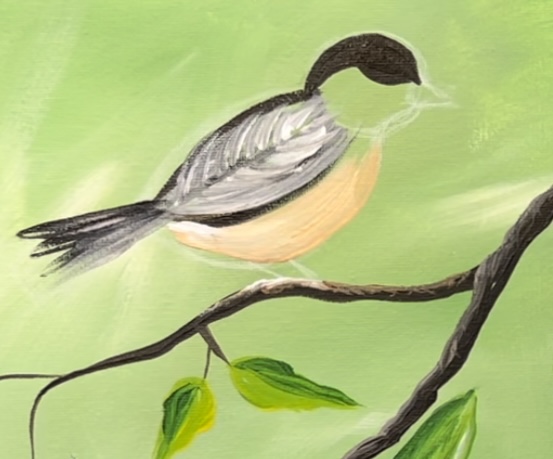
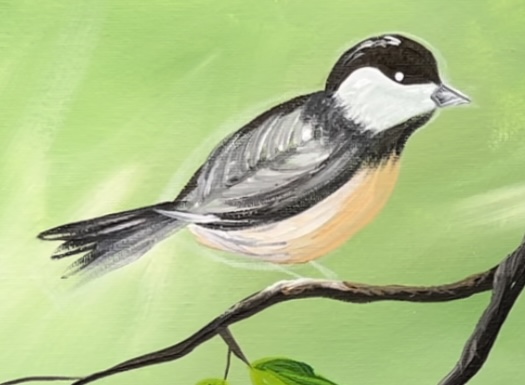
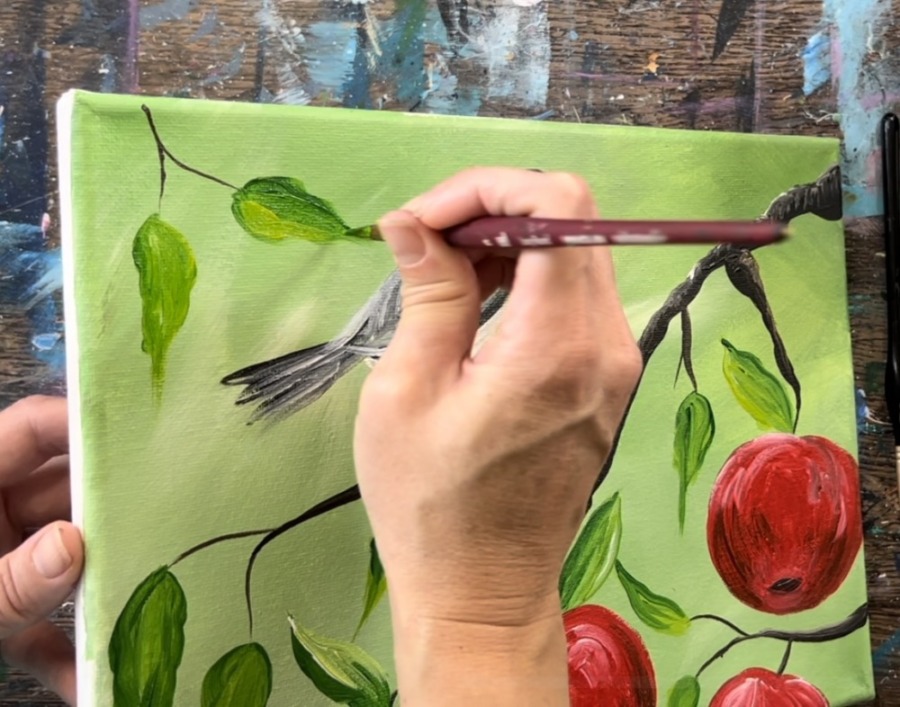
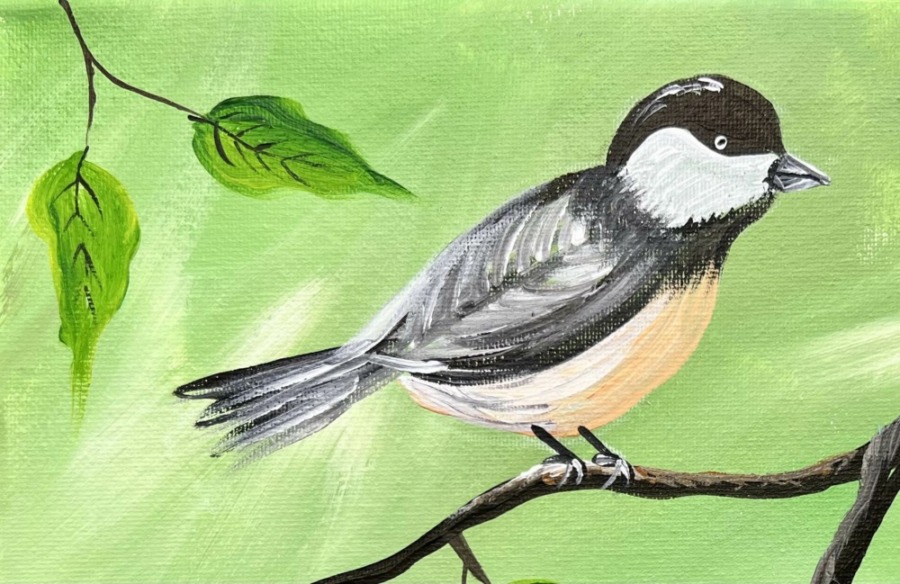
6. Paint Bird
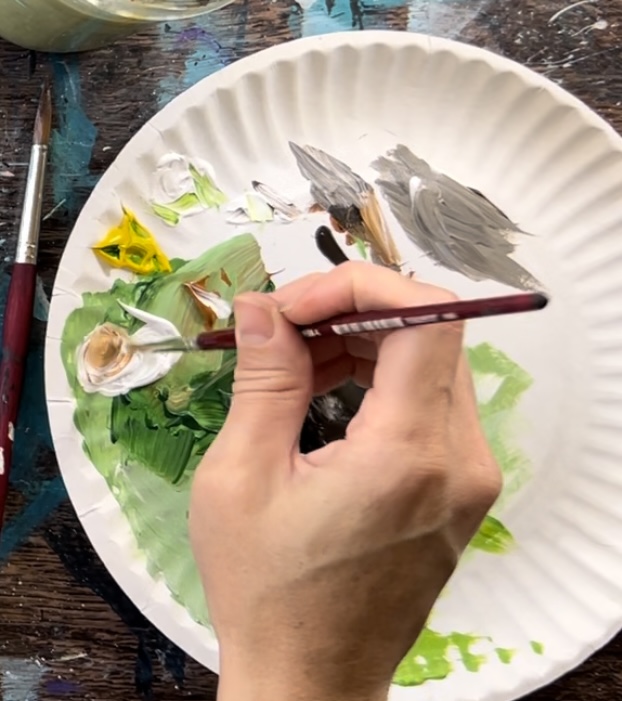
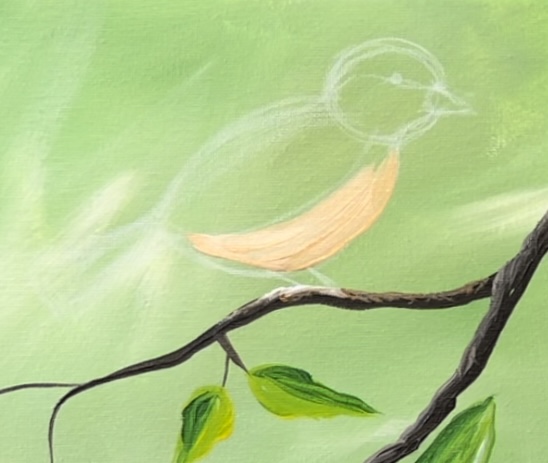
Load raw Sienna and titanium white onto your palette. Mix equal amounts of white and raw Sienna together. This will make a light golden color.
Use the #4 round brush to paint the bird’s body/belly area with this golden color. Paint using curved strokes.
Next, rinse and dry the #4 round brush. Load it into equal parts black and brown (same color you used for the branches). Paint the tail using long, diagonal strokes that fan outwards. Then sort of sketch the wings/ back area but don’t fill it in yet. You are just trying to get the shaped defined first. Paint the top of the head so the top is solid and dark color.
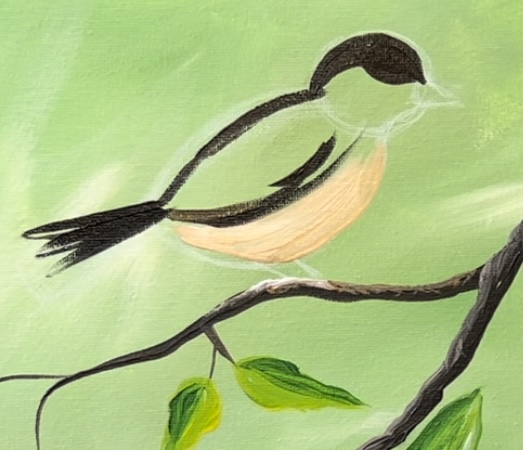
Don’t rinse the brush for this next step. Load a small amount of titanium white onto your brush. Then paint the wing area. Do this with curved strokes that go in the shape of the wing and curve opposite directions from the top to the bottom. Let the white blend with your black color and turn a gray. Try not to over blend the color.
Load a little more white onto the brush. Then paint a line down the middle of the wing area. Then paint short, curved strokes going opposite directions down the line area of the wing.
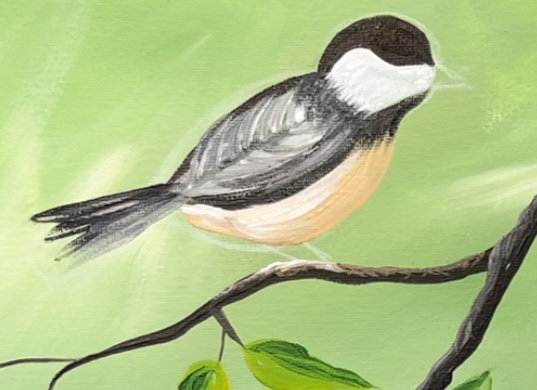
Next, rinse the brush. Use titanium white to paint the side of the head of the bird.

Then paint black under the white region in his neck area. Drag some of the black down over the golden/belly region. Then drag a few strokes of black/dark gray to the left of the white region of the head where it meets the wing area.
Next, load a tiny amount of titanium white on the #4 round brush (or a tiny detail 3/0 brush). Paint a white dot for the eye. Then paint a few white highlight marks on the very top of the bird’s head.
Tip: some of this bird is very detailed. You can use a 3/0 tiny detail brush for some of these steps. If you don’t have a tiny brush, you can try using a fine black paint pen or a toothpick.
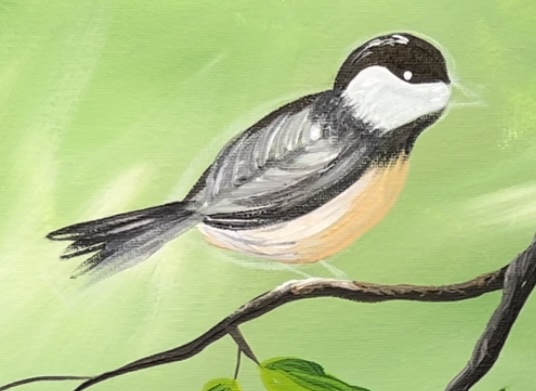
Next, paint the beak gray. You can paint the beak solid black first. Then add a little bit of white to your brush and blend the white in to make gray.
Use the tiny detail 3/0 brush (or a toothpick) to paint a black dot in the middle of the bird/s eye. Als, paint a black line in the middle of the beak area.
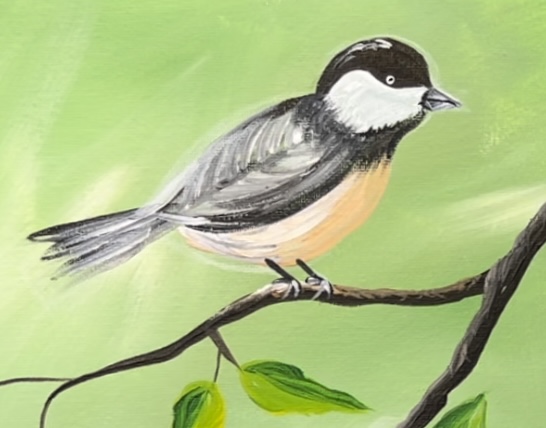
Paint the legs using the tiny detail brush. Paint the two diagonal lines black and then load titanium white onto your brush. Paint the feet a dark gray color. I did two diagonal lines on each leg going over the branch and one diagonal line on each leg going behind the branch in the back.
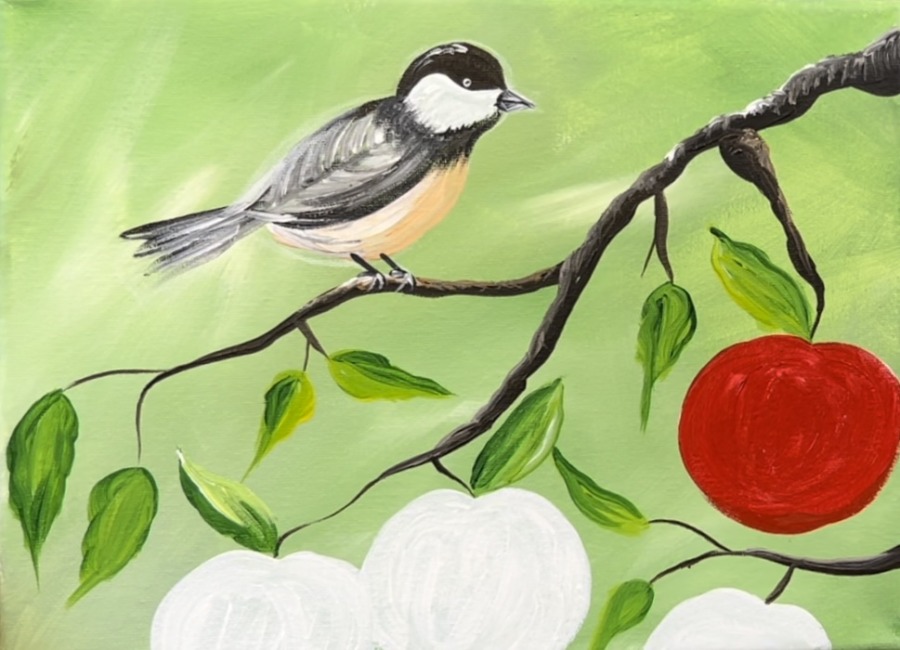
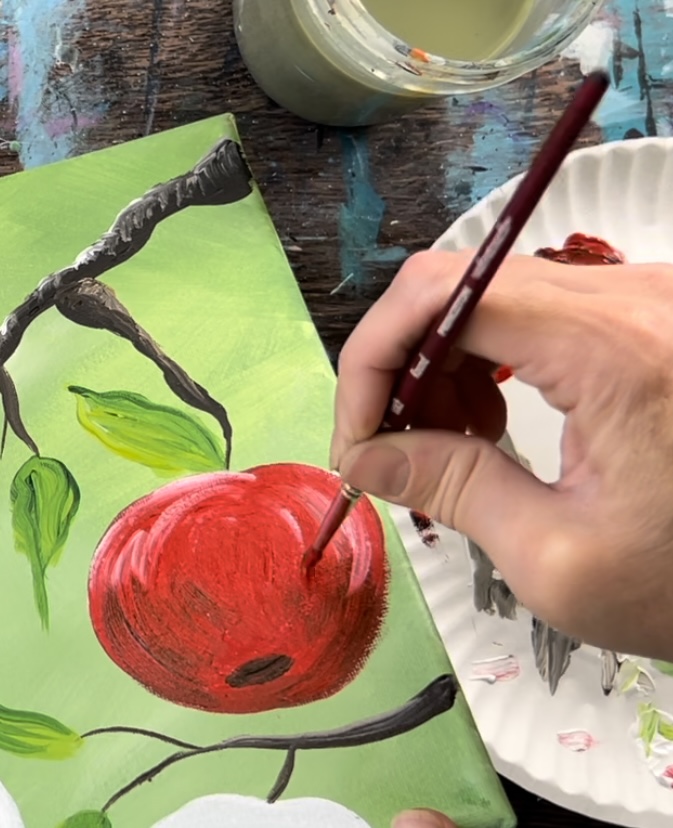
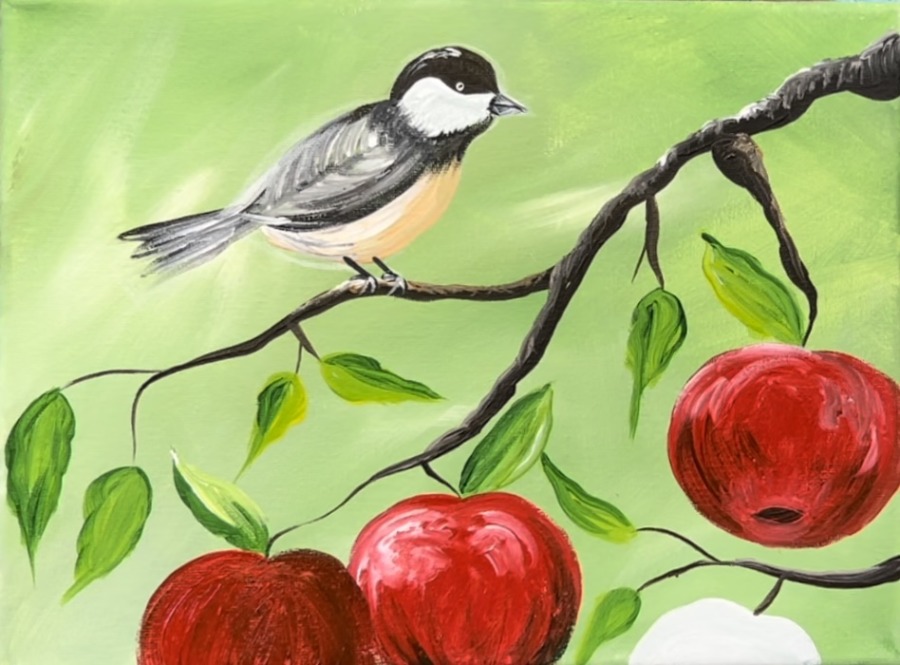
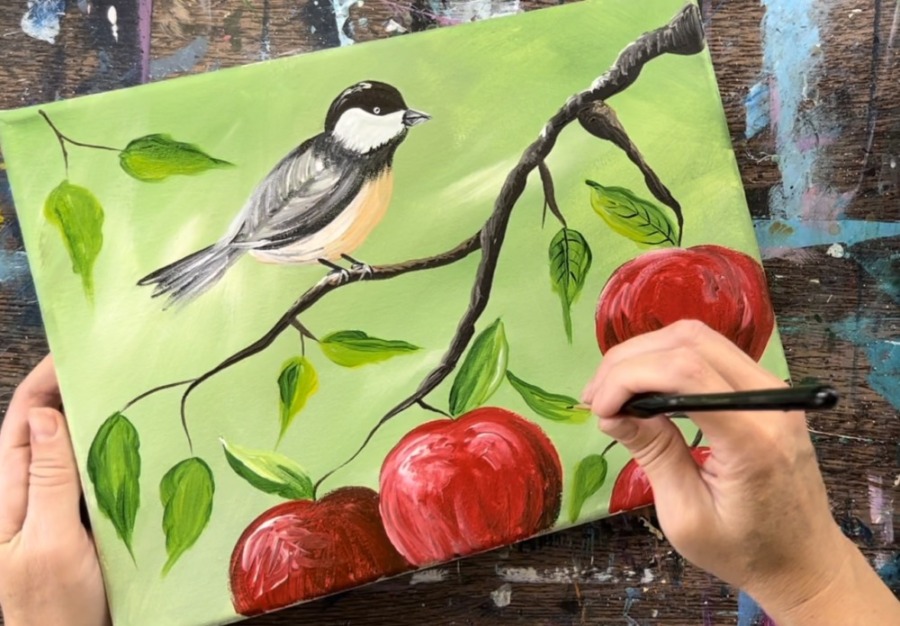
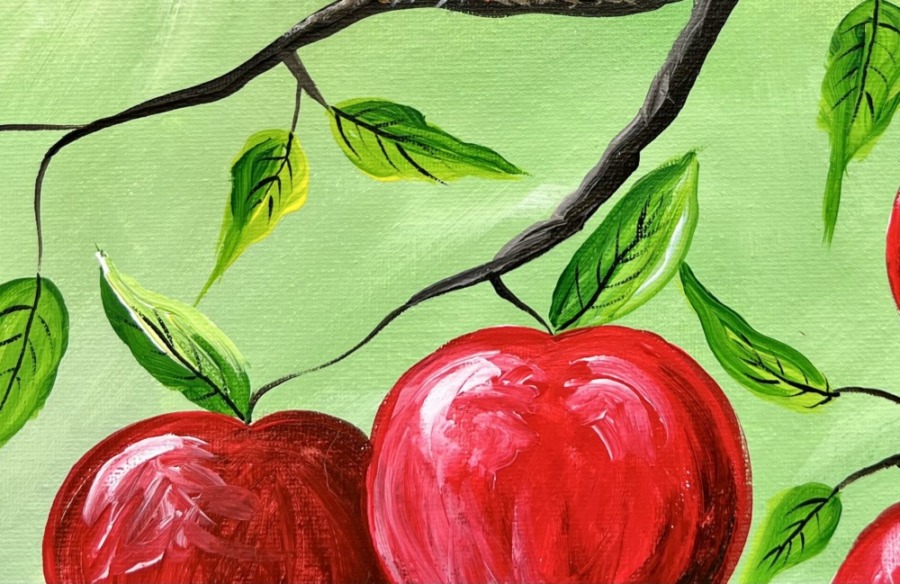
7. Paint Apples
Load “cadmium red medium hue” onto your palette. Use the #4 round brush to paint one apple at a time a solid coat of red. Don’t let this dry because we will be blending dark and light colors in this red.
Wipe the brush off. Then paint an oval shape on the bottom of this apple (the calyx).
To create the darker areas of the apple, mix hooker’s green hue into the red. You only need about 1 part green to about 3 parts red. This will make the red darker. Use this darker color to paint curved strokes just on the bottom of the apple. Curve these strokes upwards and allow them to blend slightly with the first red layer.
Mix titanium white into red (about equal parts) to make a light red. If needed, add more white to make it brighter. Paint curved strokes that are more towards the top of the apple. Let them blend a little with the first red layer.

Repeat these steps for each of the apples.
Blend the darker color using the green at the bottom.
Then add the white at the top. You can kind of “scribble” the white to give it a shiny look or use your index finger to kind of blend it in but not all the way.
For the apple on the left, I made the base layer of the red slightly darker so that the apple on the right would stand out better. Mix a little green into the red and paint the entire apple this darker color.
Then add a little bit of the highlight on the left.
If needed, go back and redo the far left edge of the apple on the right to make it look like it is overlapping.
Paint the final apple on the lower right. For this one, I only added highlights to the top of it and not any of the shadows.
8. Paint Other Details Such As More Leaves & Veins On Leaves
Optional: add more leaves in the upper left area of the canvas and more branches.
To paint the “veins” on the leaves, use a small 3/0 detail brush and mars black. Paint a line down the middle of the leaf and then diagonal/ curved lines going outwards from the leaf.
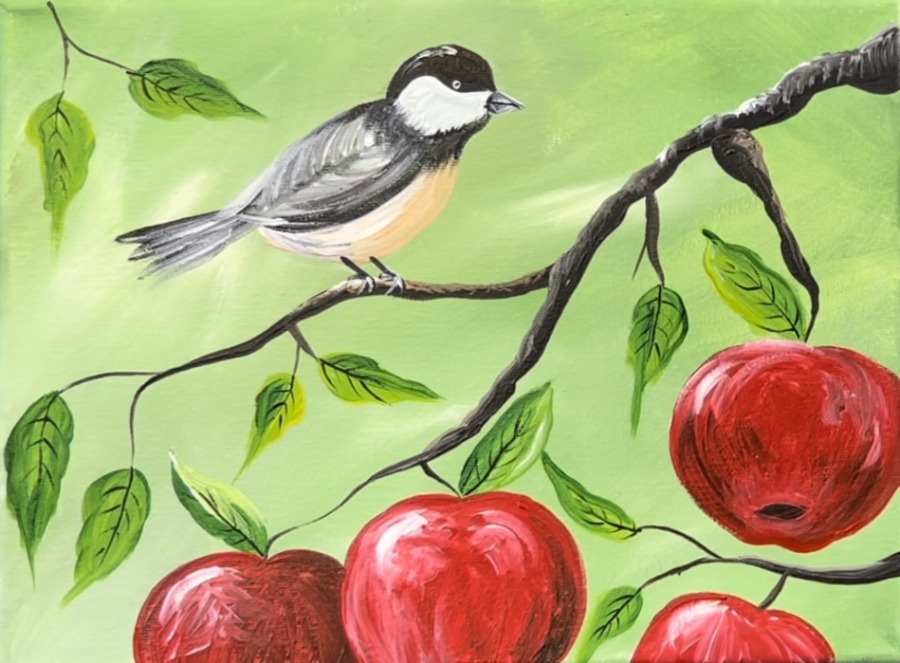
Finished