


Would you like to save this?
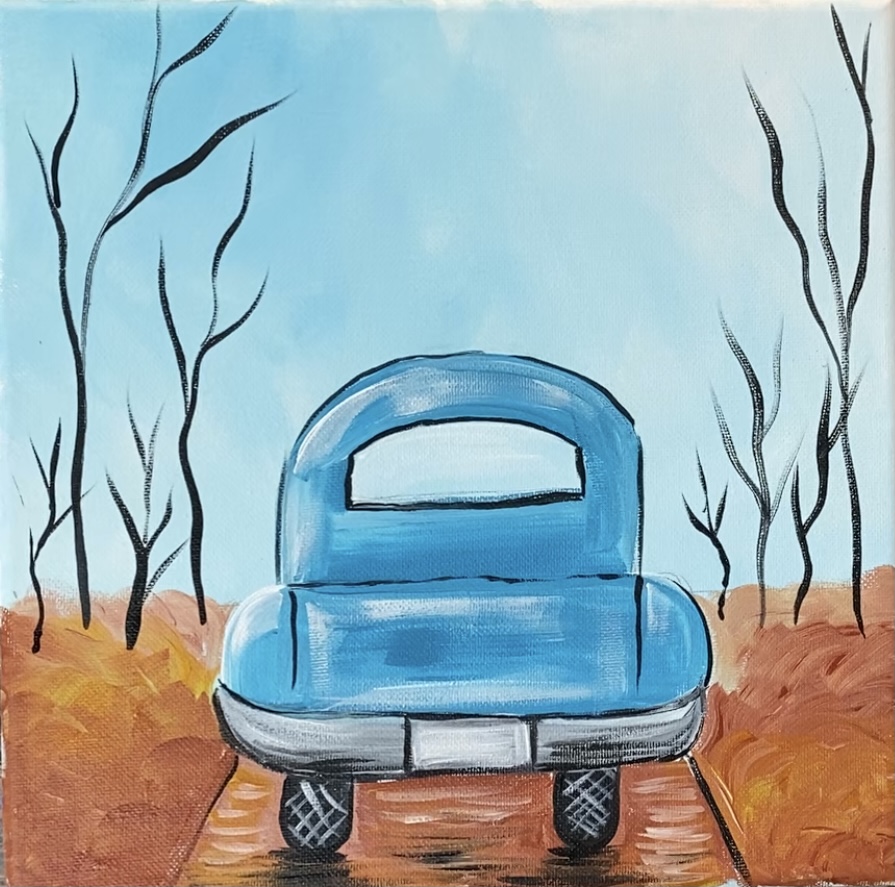
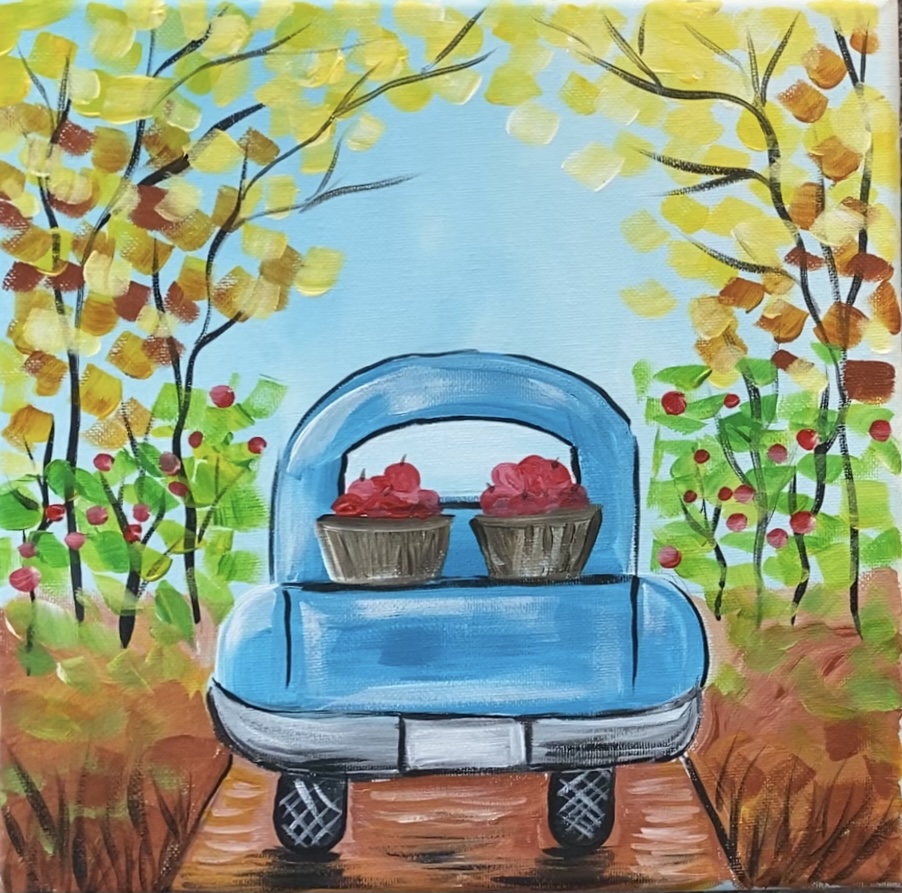
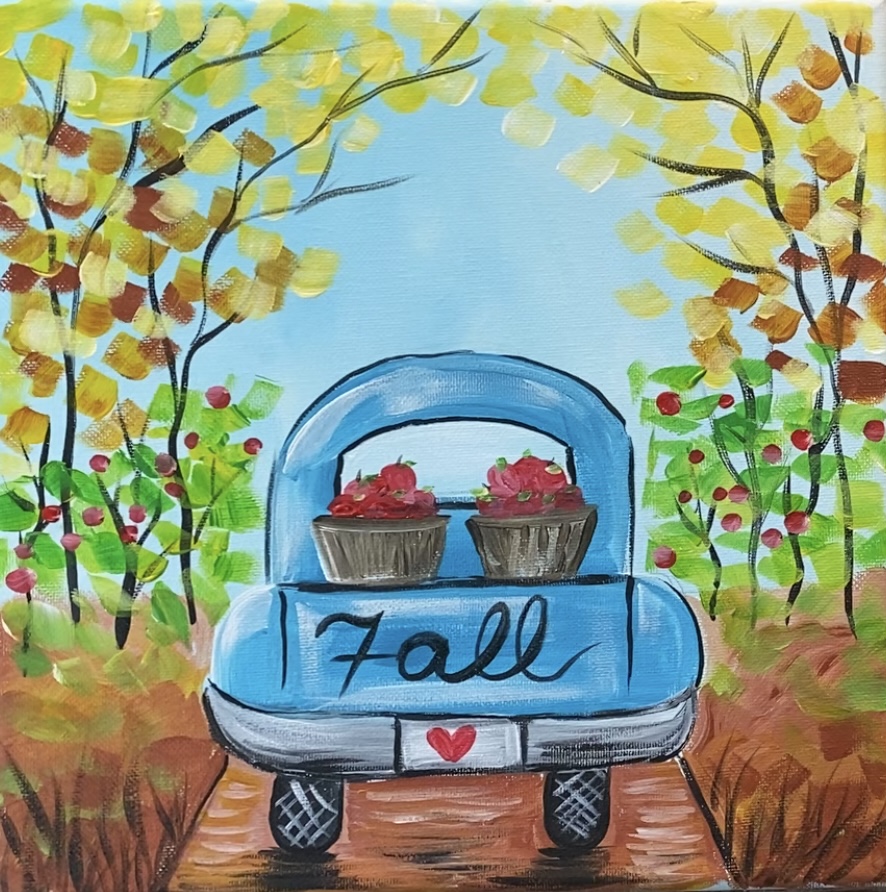
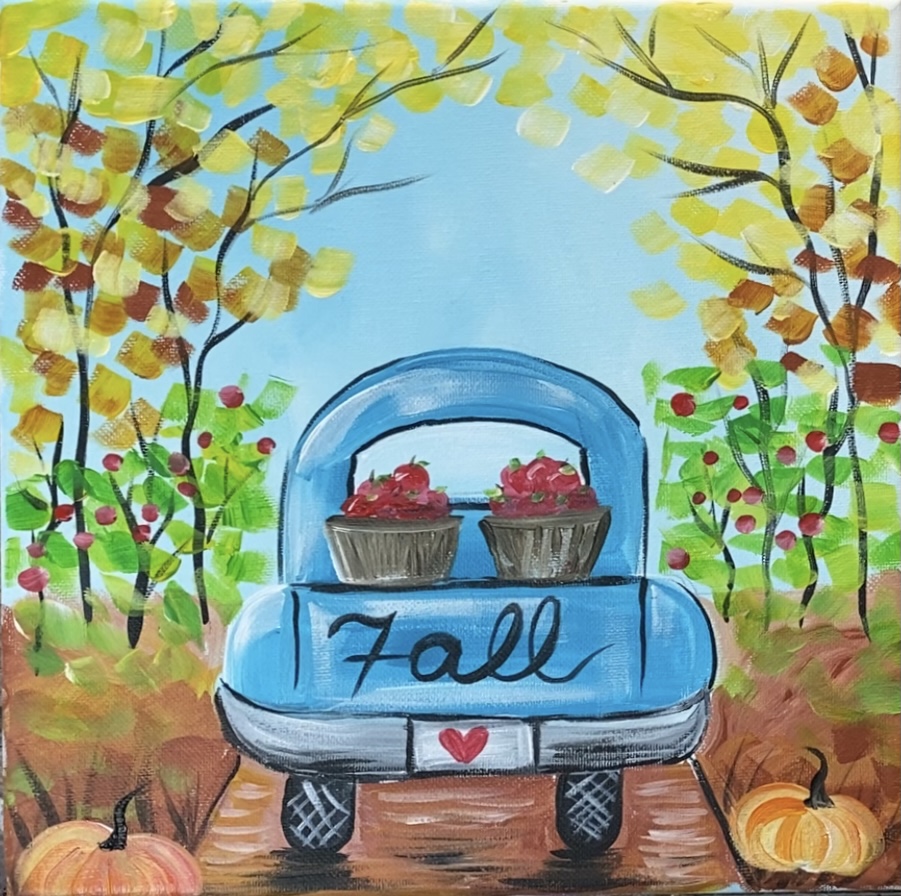
Learn how to paint a blue truck (back side) with barrels of apples in a fall landscape on a square canvas.
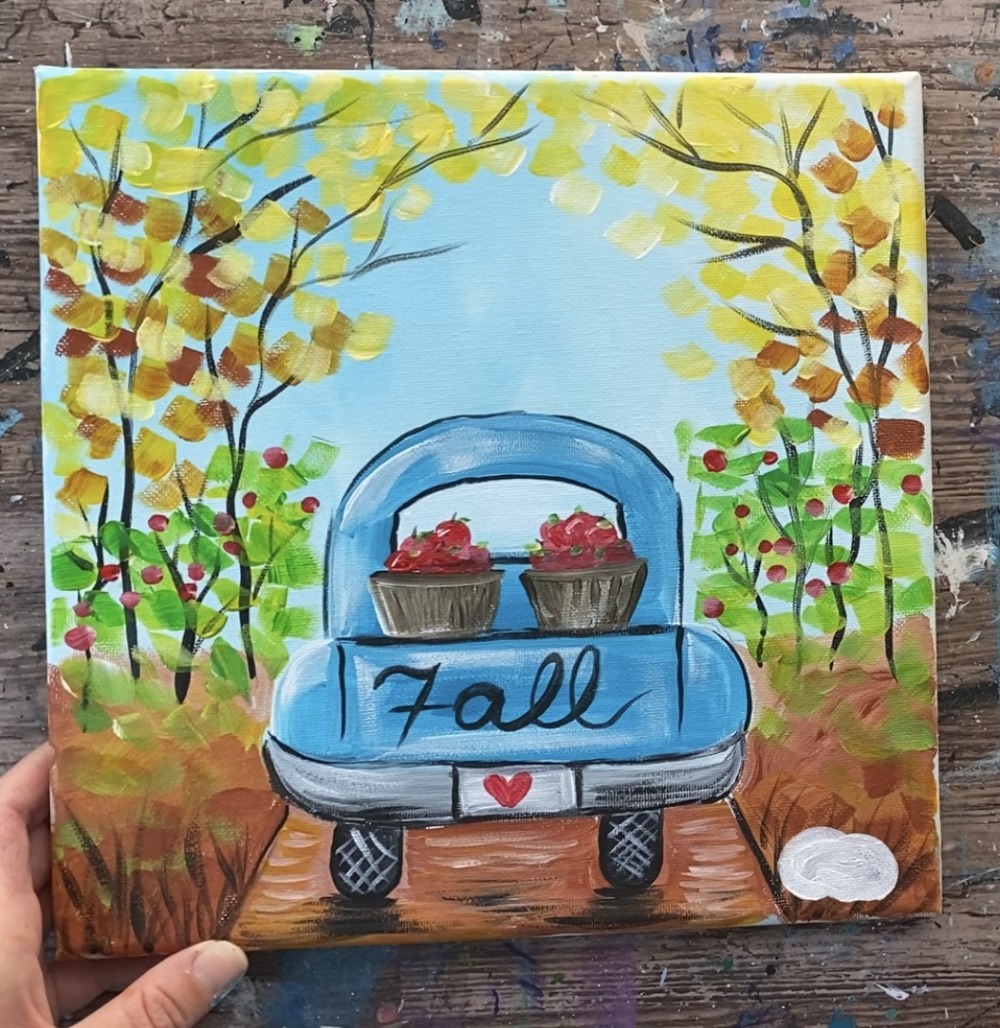
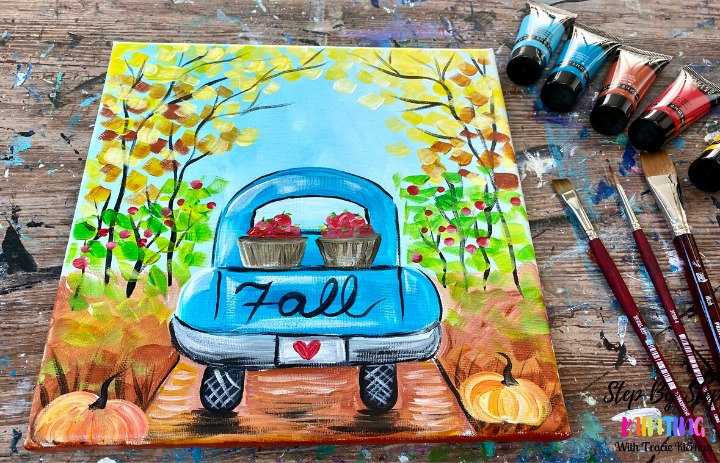
This tutorial is demonstrated on a 10″ x 10″ canvas but the design can be done on any size (even a rectangular) canvas.
Enjoy and happy painting!

Materials
Apple Picking Fall Truck Painting Tutorial
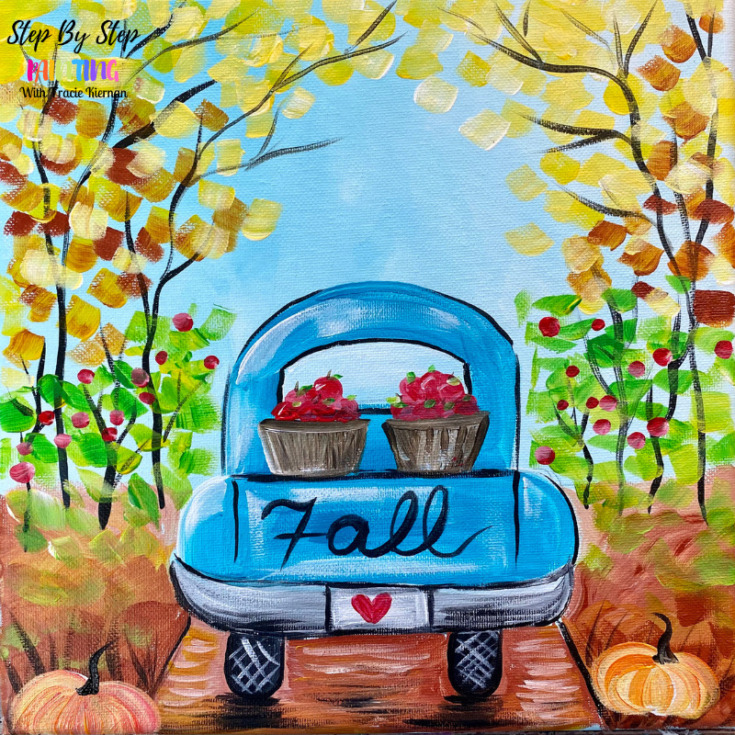
Learn how to paint an apple picking fall truck with acrylics on a square canvas.
Materials
- 10 x 10 Canvas (or similar size)
- Optional Traceable
- Acrylic Paint
- Paint Brushes
- Ruler
- Pencil
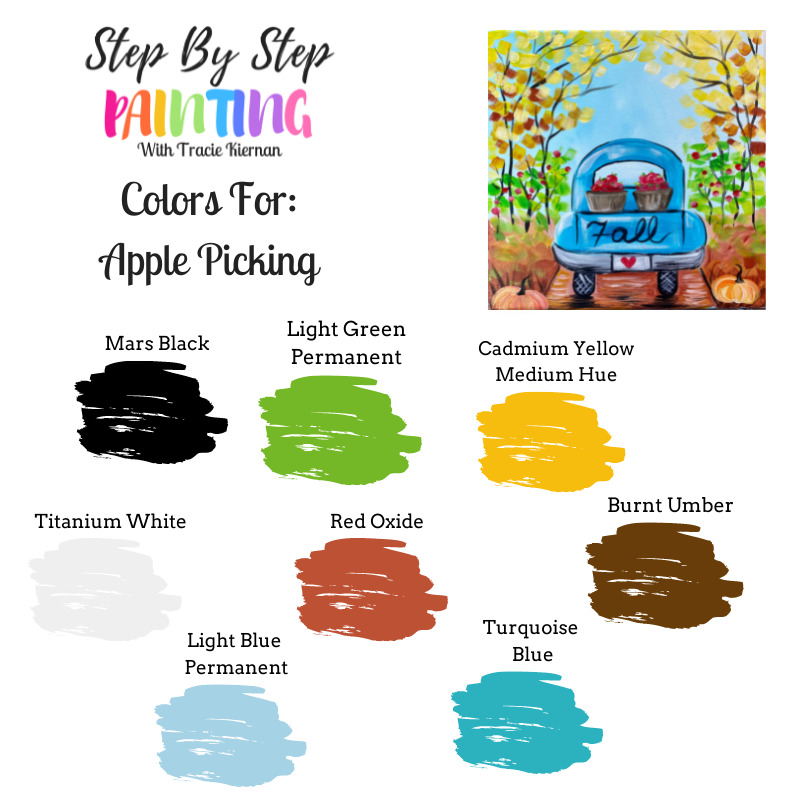
Colors
- Titanium White
- Mars Black
- Burnt Umber
- Red Oxide
- Cadmium Yellow Medium Hue
- Light Green Permanent
- Light Blue Permanent
- Naphthol Crimson
- Turquoise Blue
Brushes
Instructions
- See tutorial on www.stepbysteppainting.net for instructions.
Color Palette
Using Craft Paints?
If you are using craft paints such as the Apple Barrel Craft Paints, try substituting with these colors:
- White
- Black
- New Shamrock
- Bright Yellow
- Flag Red mixed with Nutmeg Brown (red oxide substitute)
- Nutmeg Brown
- Bimini Blue
- Parrot Blue
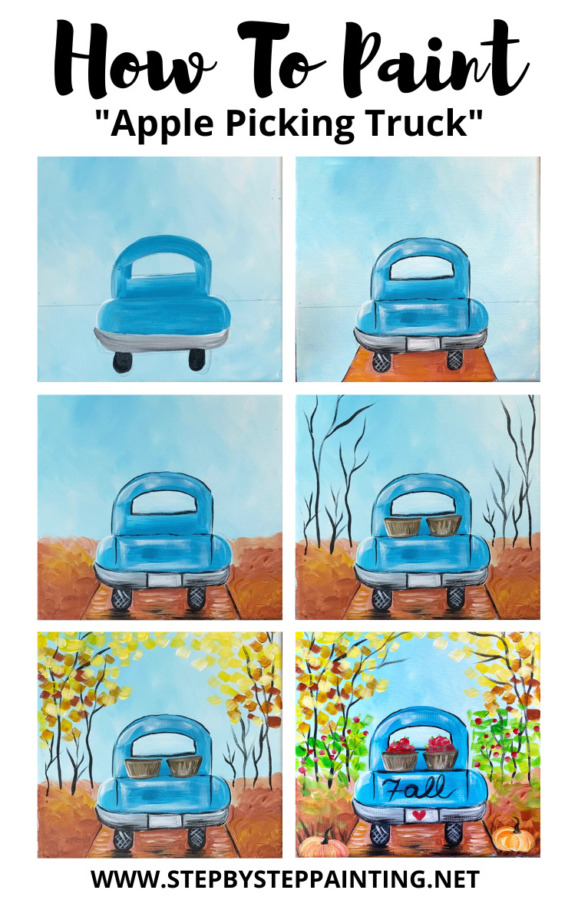
Directions At A Glance
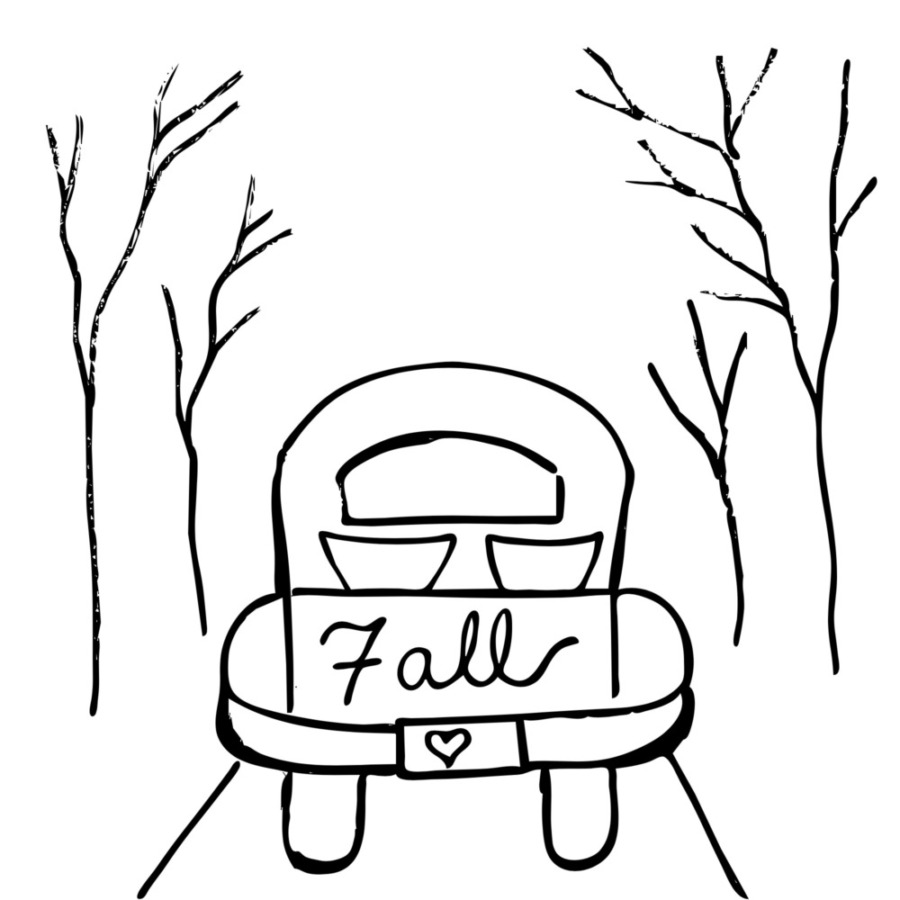
Traceable
This traceable is transferred to the canvas after the first layer of paint is applied to the canvas. As an alternative, you can transfer the drawing to the canvas, outline with sharpie and then do your first layer of paint. The sharpie drawing will still show through the first layer of paint.

Video
Step By Step Directions
1. Paint First Layer Of Color On Canvas
First, you will be painting your entire canvas with a blend of titanium white and light blue permanent. This will be the color of the sky and also the first “under layer” of the painting.
Load titanium white and light blue permanent on your palette. Use a 3/4″ flat wash brush and “double load” the brush in both the light blue and the white. Double load means to load the brush in both colors.
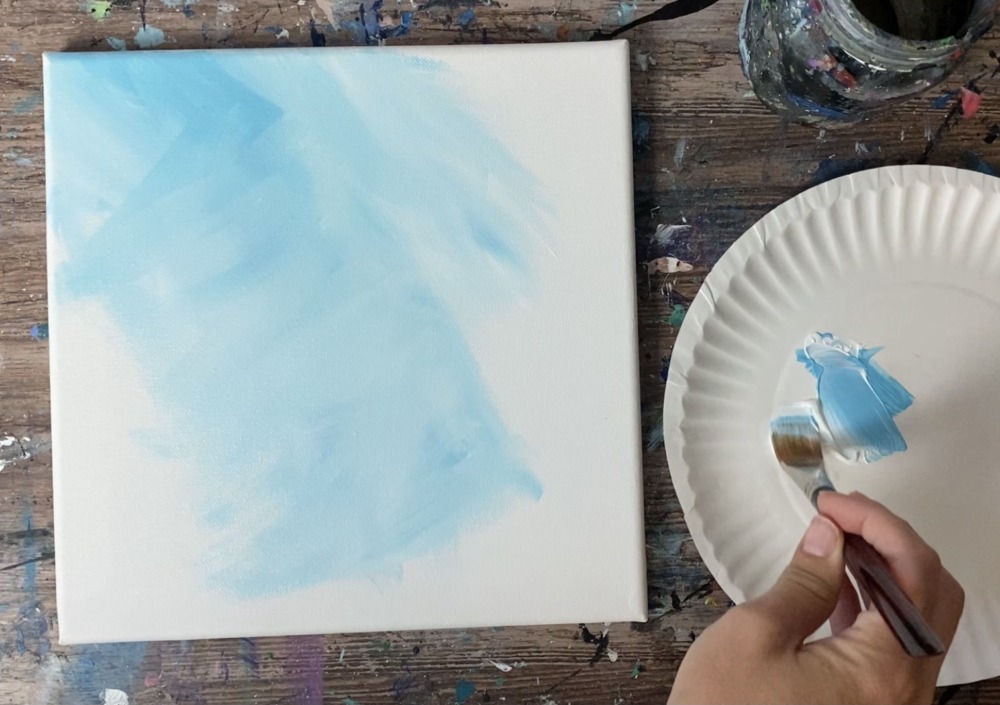
Paint the entire canvas with the blue and white combination. Try not to over mix the two colors. Paint in expressive “x style” strokes or “flip-flop” your brush so the two colors blend together.
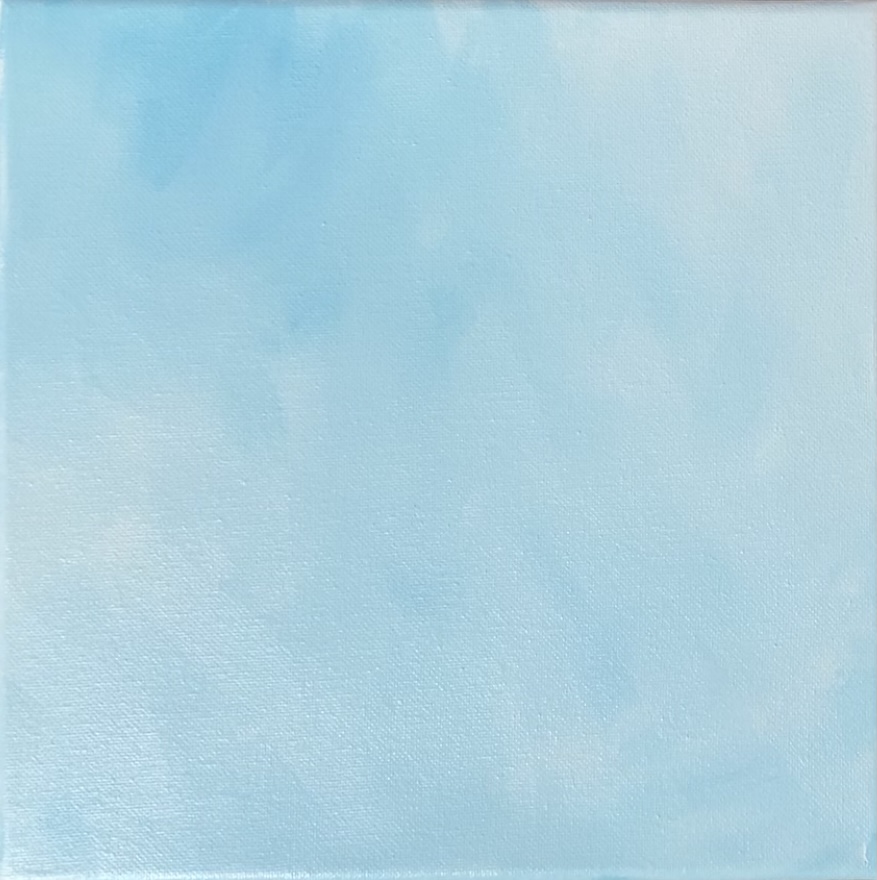
Fill the entire canvas. The blue and white will create different blends of each other. Try not to over blend the two colors. Additionally, the paint should be a relatively thin layer of paint.
Allow this to dry before going on to the next step.
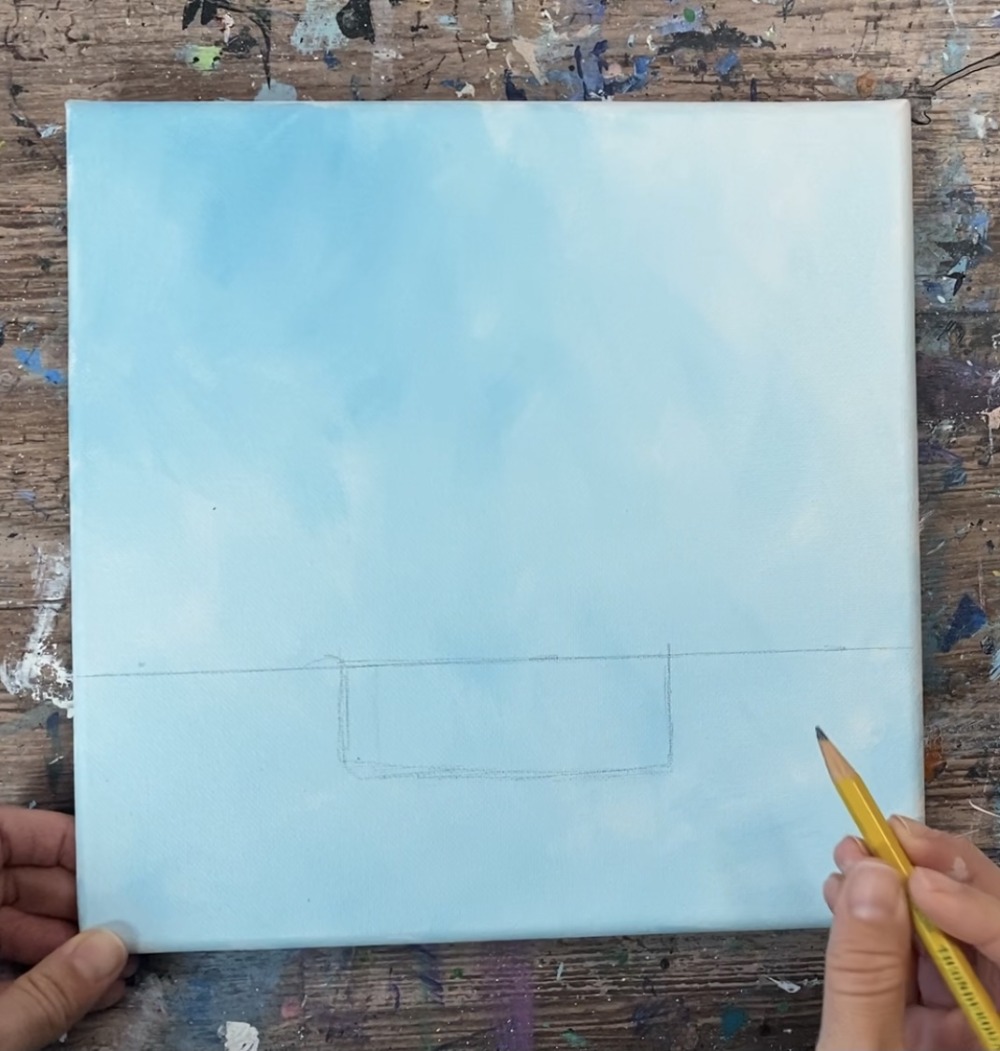
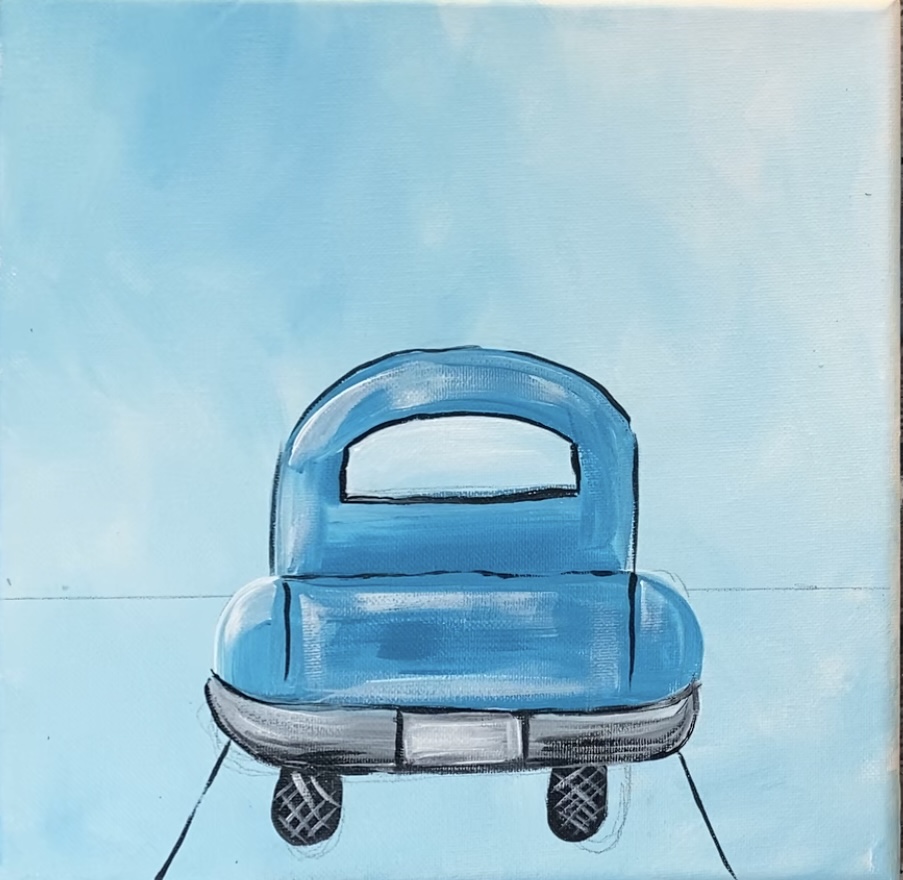
2. Draw Horizon Line & Truck Outline
After your canvas dries, you will be drawing the composition and the truck on the canvas. Additionally, you can use the printable traceable to transfer the design onto the canvas.
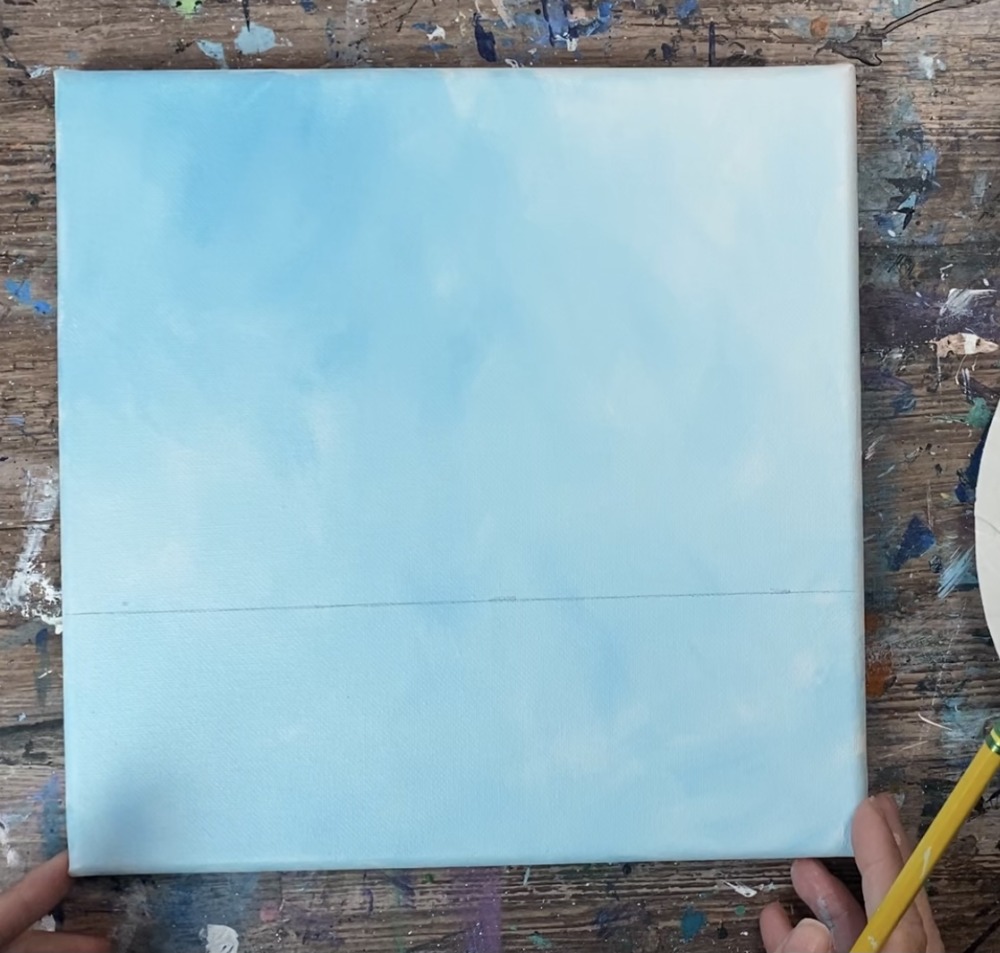
Use a ruler to measure 3.25″ from the bottom of the canvas. Then draw a horizontal line with the ruler or straight edge across the canvas. This will be the horizon line of the painting and also the top line of the top part of the truck tailgate.
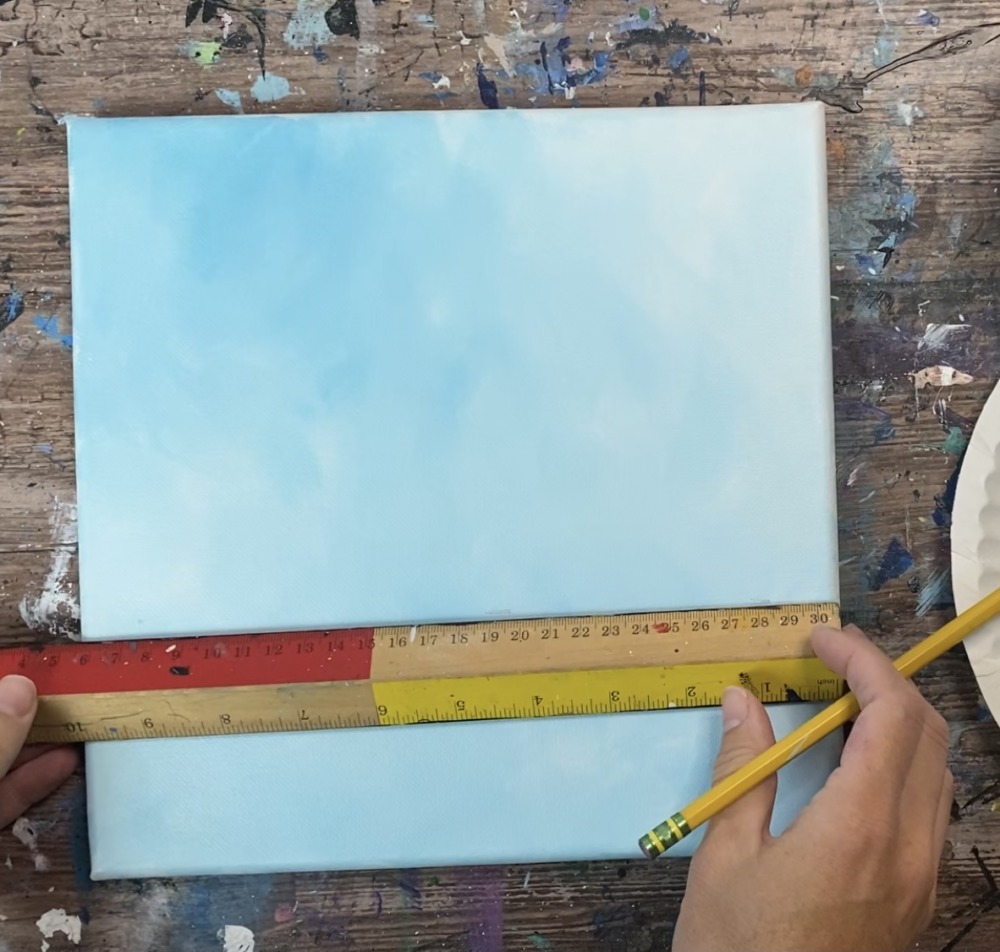
Use a pencil to draw the line light enough for you to see.
Then draw a rectangular shape for the tailgate of the truck. The top part of the line is the line you just drew. The width of the tailgate is about 4″ and the height is about 1″. This does not need to be exact. Try to center the rectangle as much as possible.
Then, on the outsides of the rectangle, draw the two fenders. Draw a curved line on the left and right sides of both of those vertical lines.
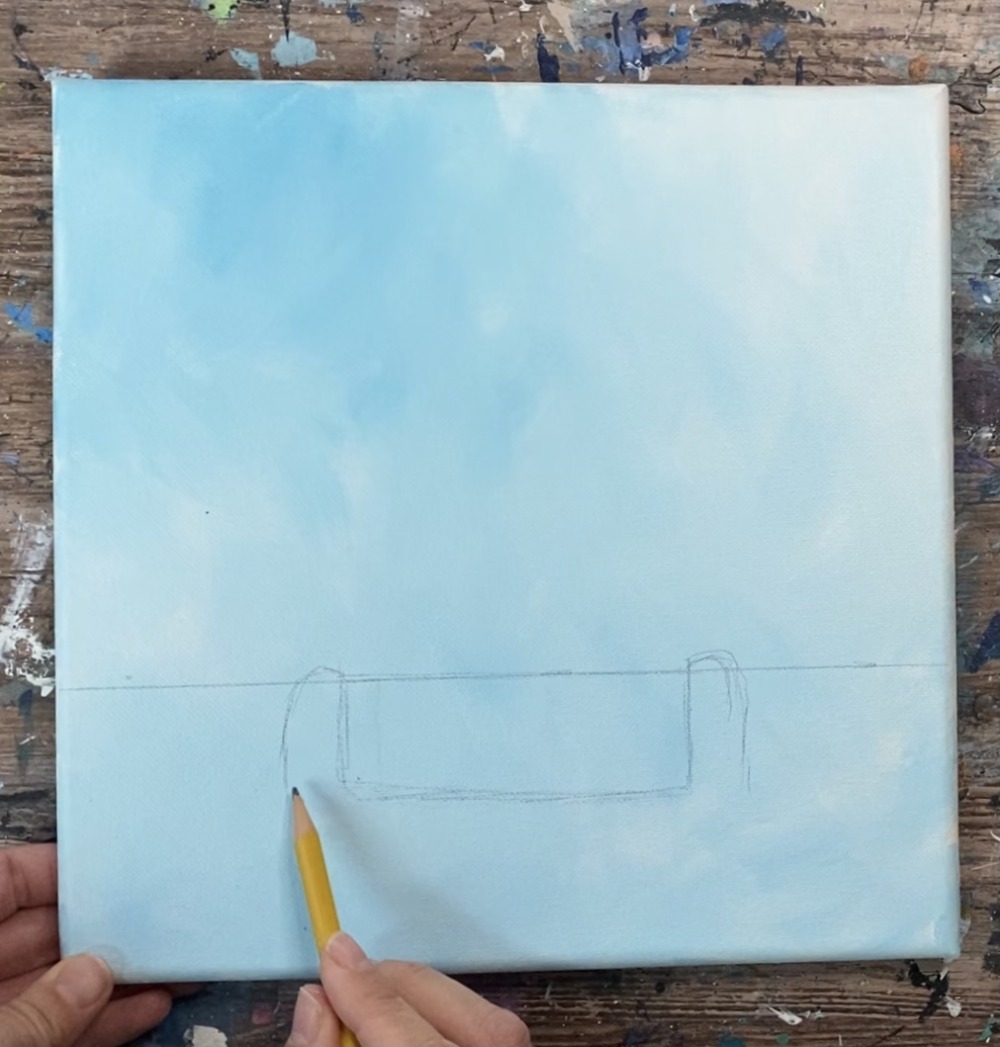
Then draw the bumper. Draw a long, slightly curved line under the bottom of the rectangle tailgate. This bumper slightly wraps on the left and right of the fenders.

Then draw the two tire shapes. The tires line up to the inside of the tailgate shape.
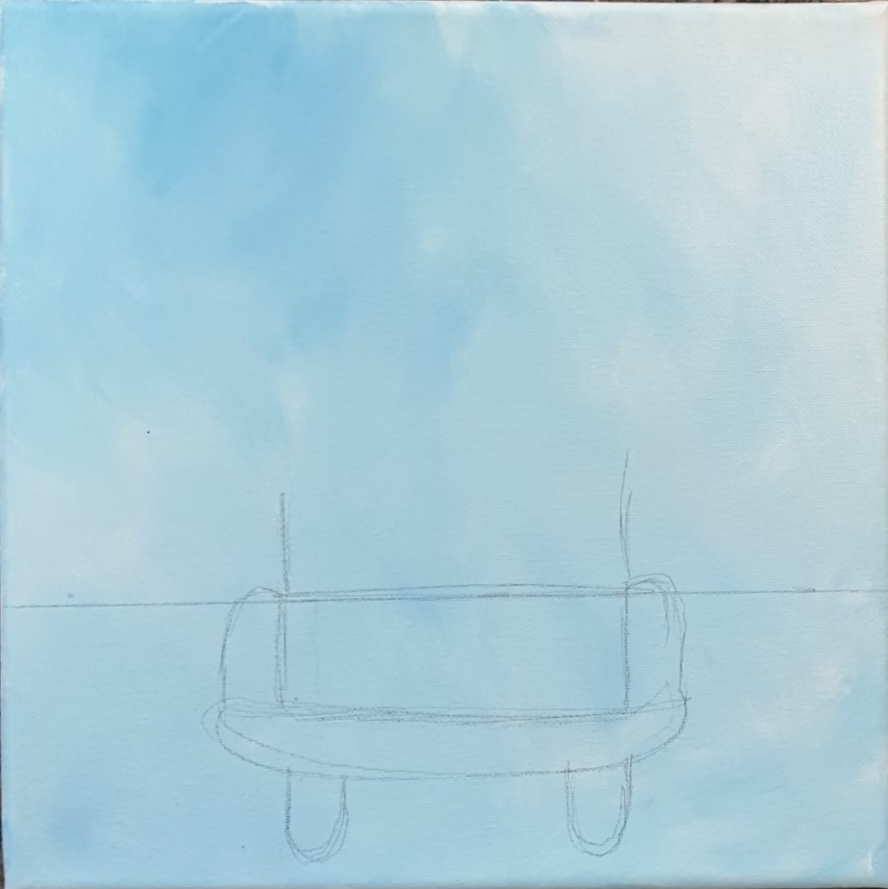
Next, draw the cabin of the truck. The height of the cabin is the same hight of the tailgate and bumper.
Draw two vertical lines and then an arc for the top of the cabin.

Then draw a window. Draw an arch shape and then the rest of the window shape.
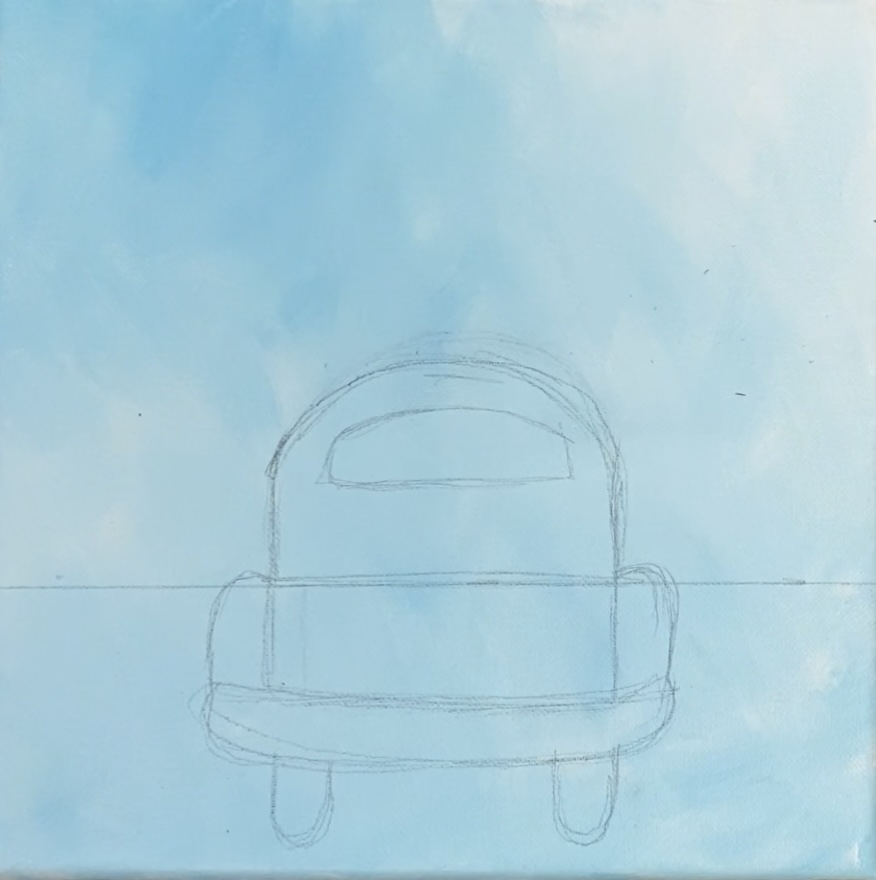
Erase any stray marks from your drawing. The drawing can always be adjusted as you paint and the pencil will be covered up by the paint.
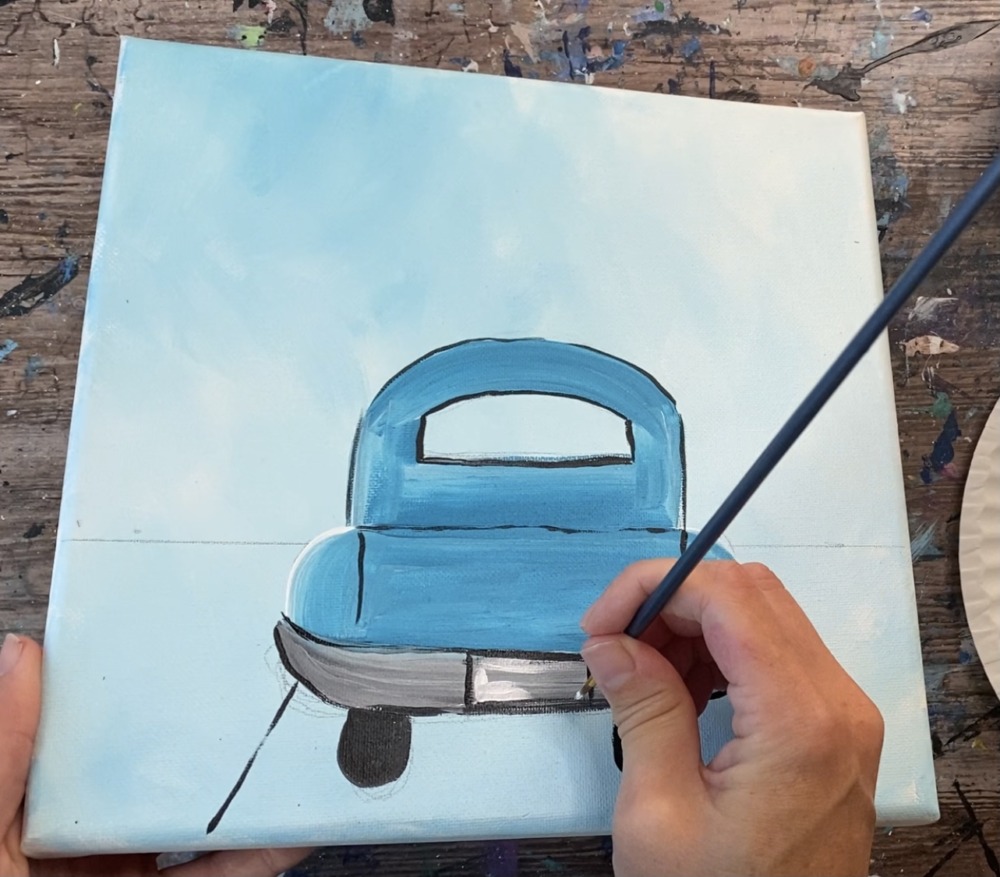
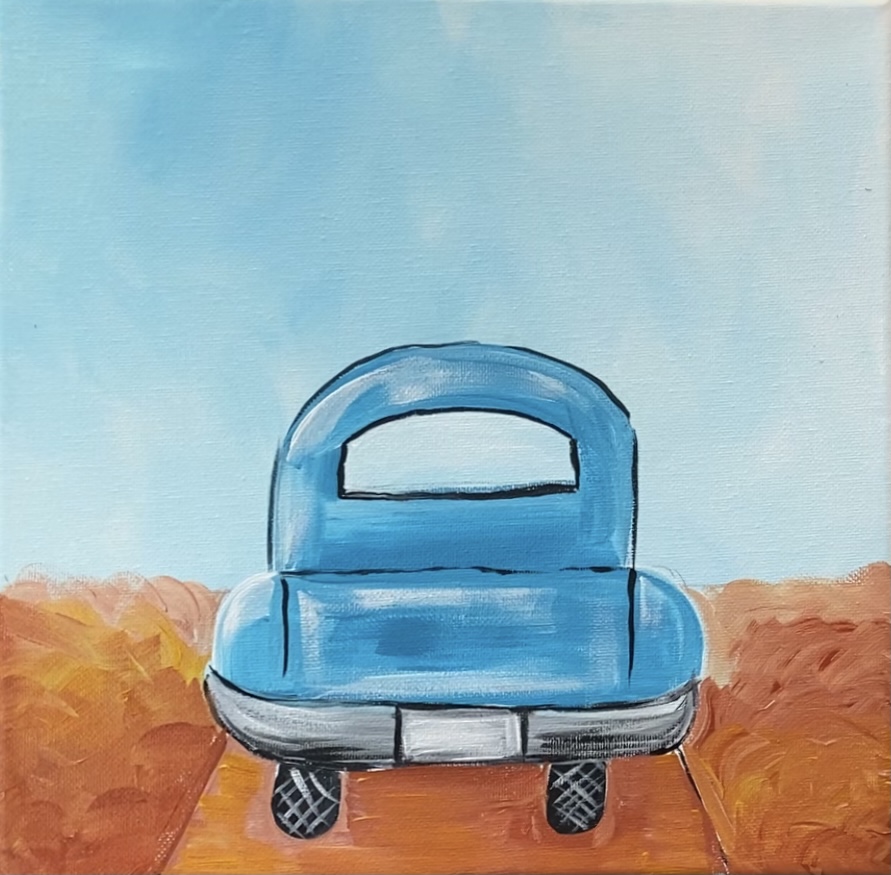
3. Paint Truck
The technique for painting this truck is very similar to the “Teal Pumpkin Truck” painting tutorial.
Load your palette with turquoise blue and titanium white. Use a 3/8″ angle brush. I used the brush from this set. If you do not have a 3/8″ angle brush, you can use a small #4 bright brush or any similar size flat brush.
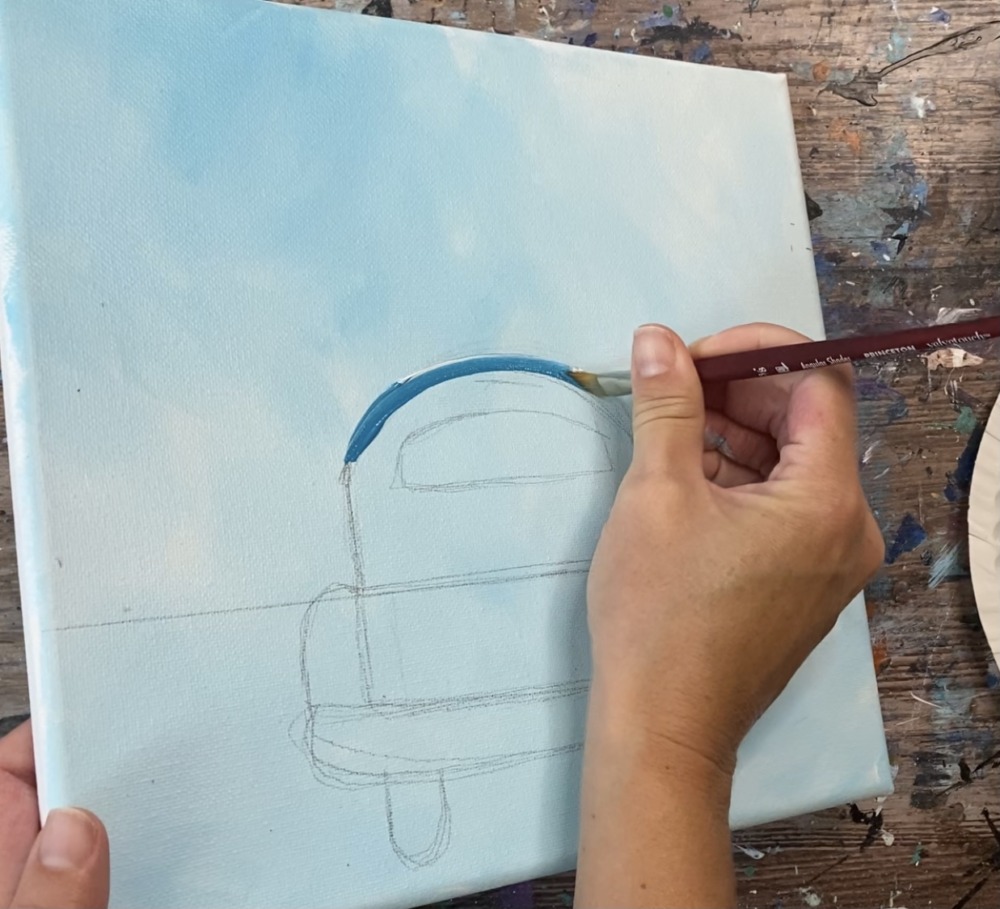
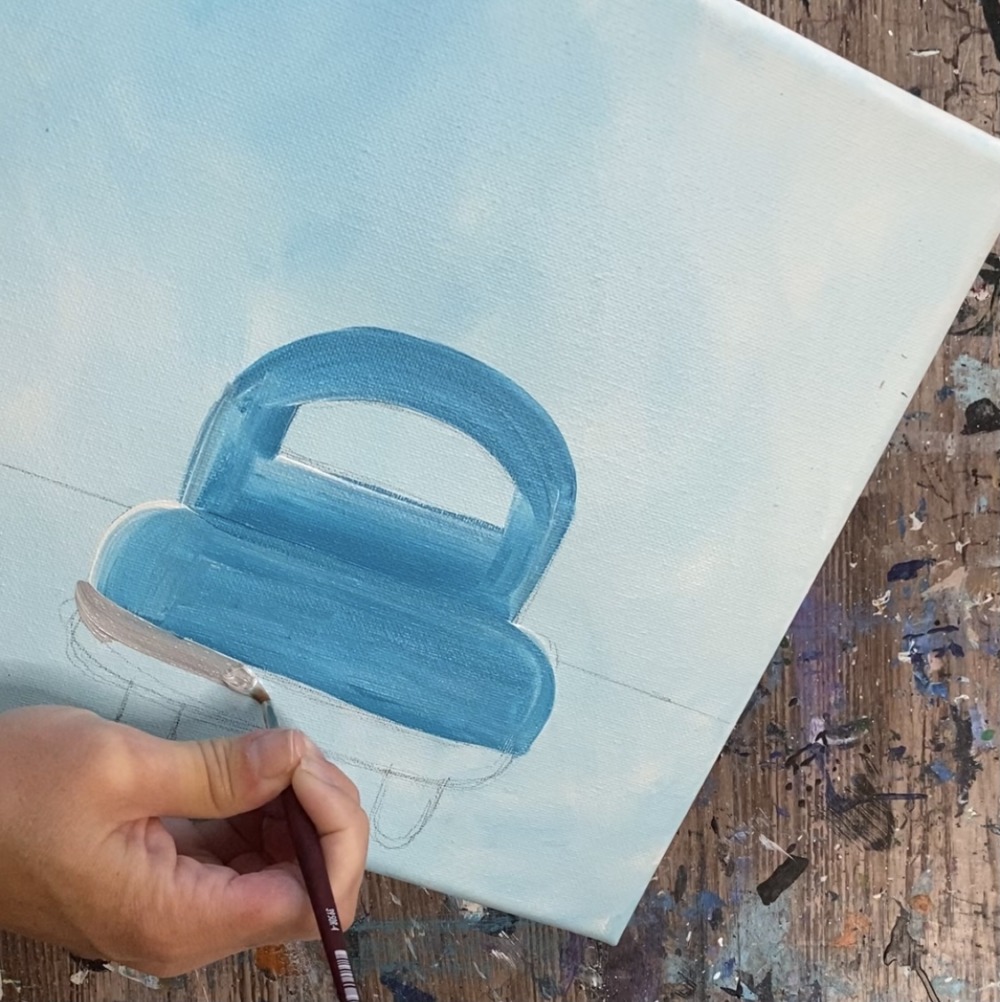
Double load your brush in both turquoise blue and titanium white. Start at the top of the truck cabin and paint the curve. Paint in a curved direction and allow the turquoise blue to blend gently with the white.
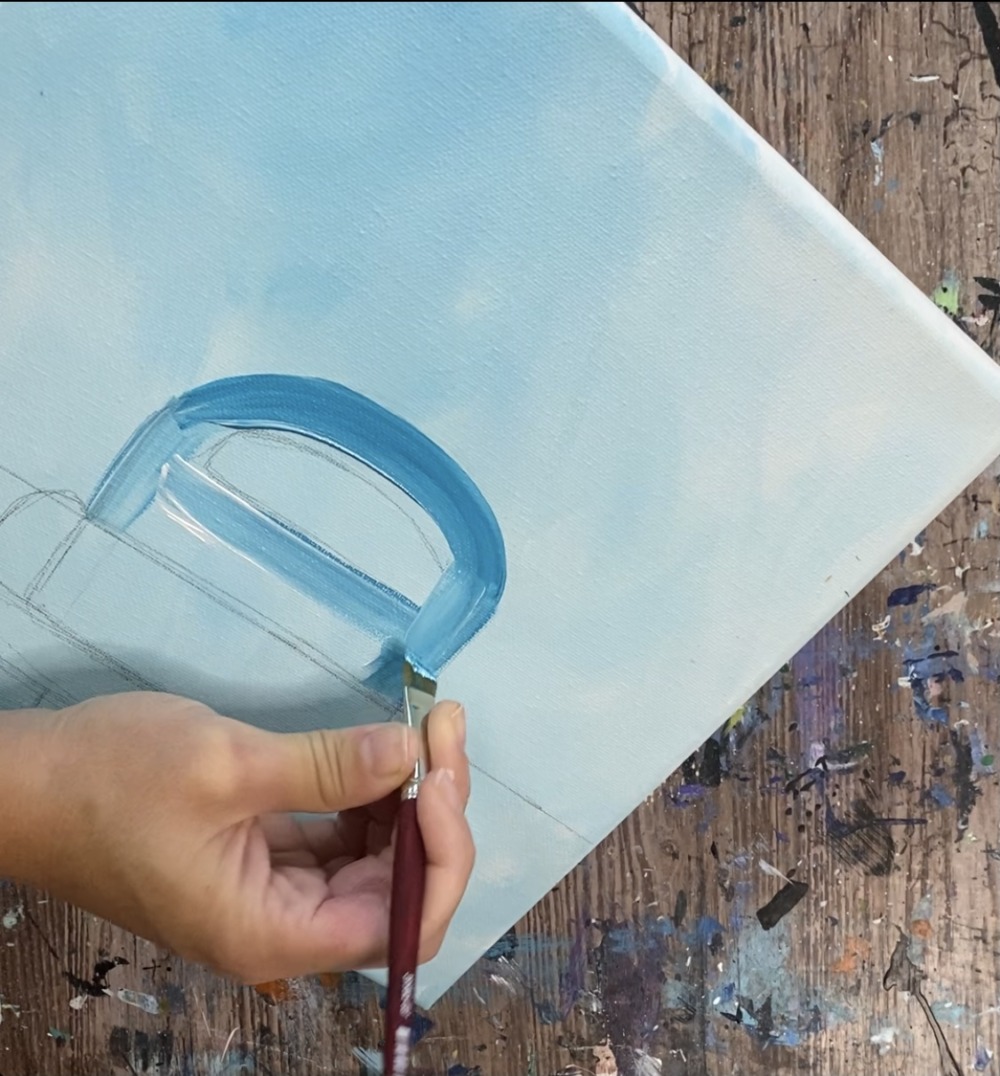
Then paint vertically down the sides of the truck cabin. Basically you are painting the truck in “contouring strokes”. That means the direction of the strokes go in the direction of the shape you are filling in. Try not to “over blend” the two colors. Let them mix gently together on the canvas to create “two tones” of the turquoise and the white.
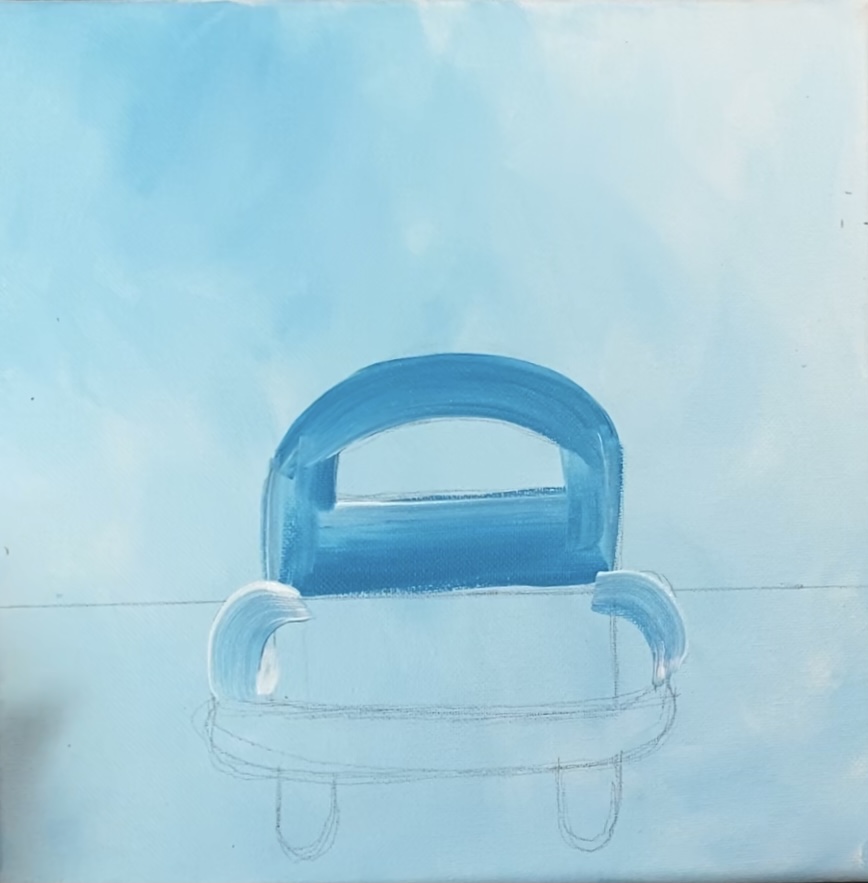
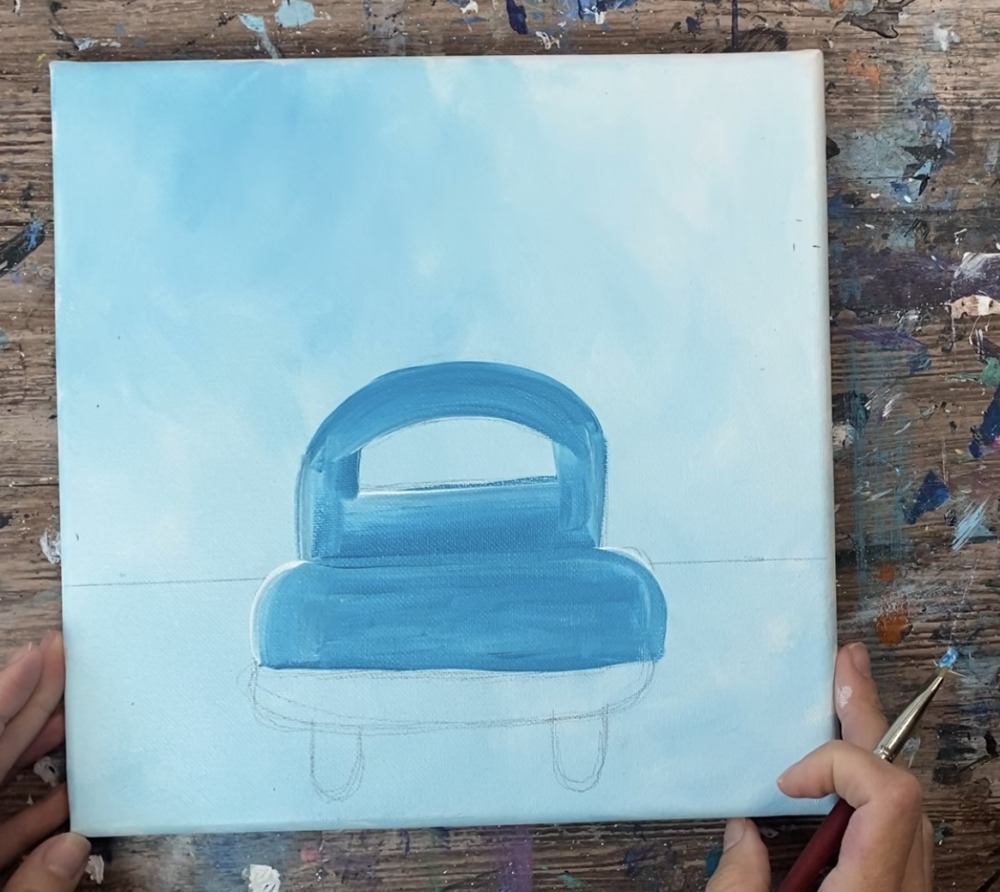
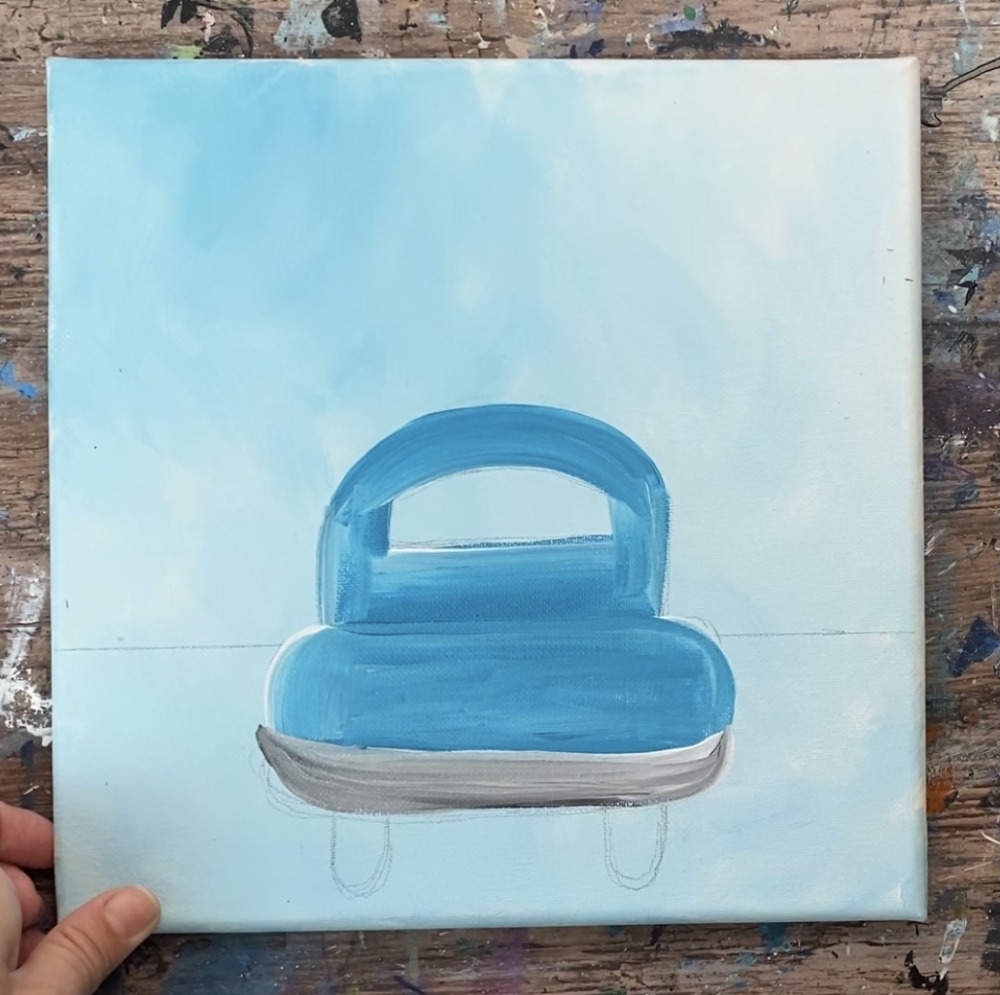
Paint curved strokes for the fenders.
Then paint the back of the truck tailgate. Paint in left and right strokes. Again, try not to over blend the turquoise and the white so that the entire truck doesn’t turn one solid color.
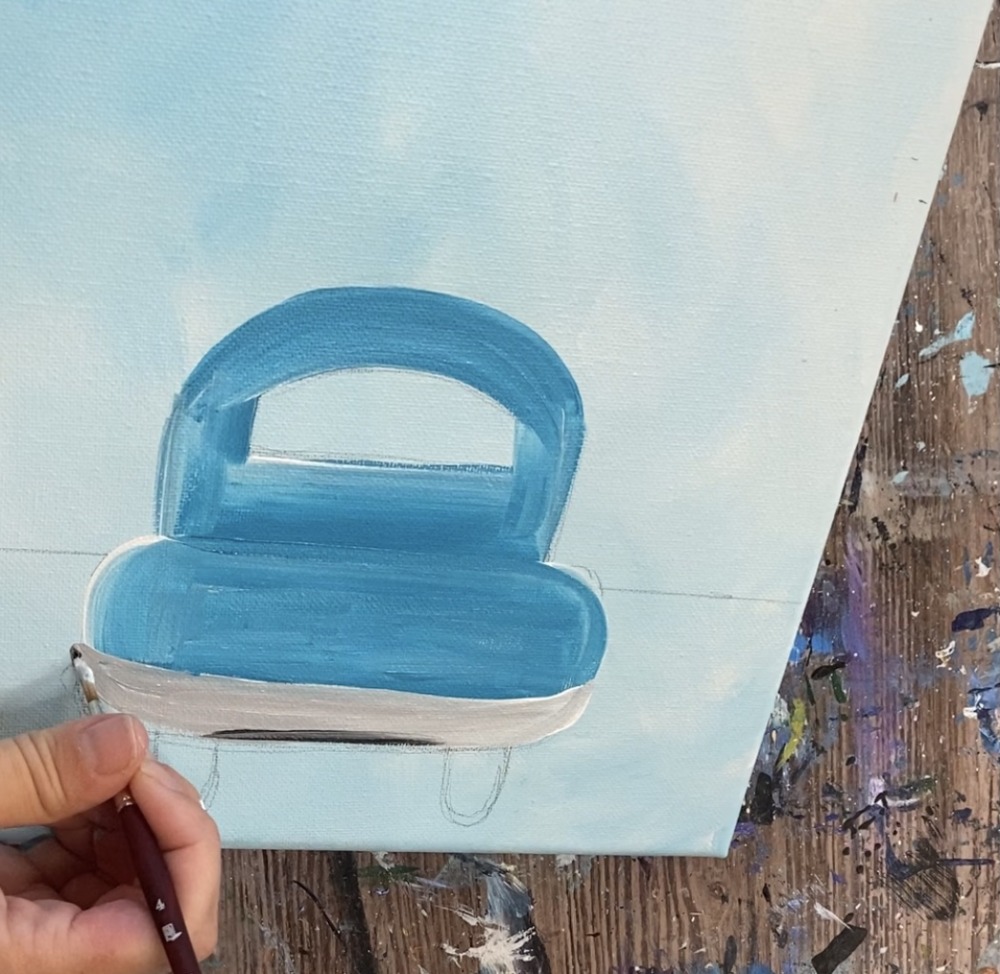
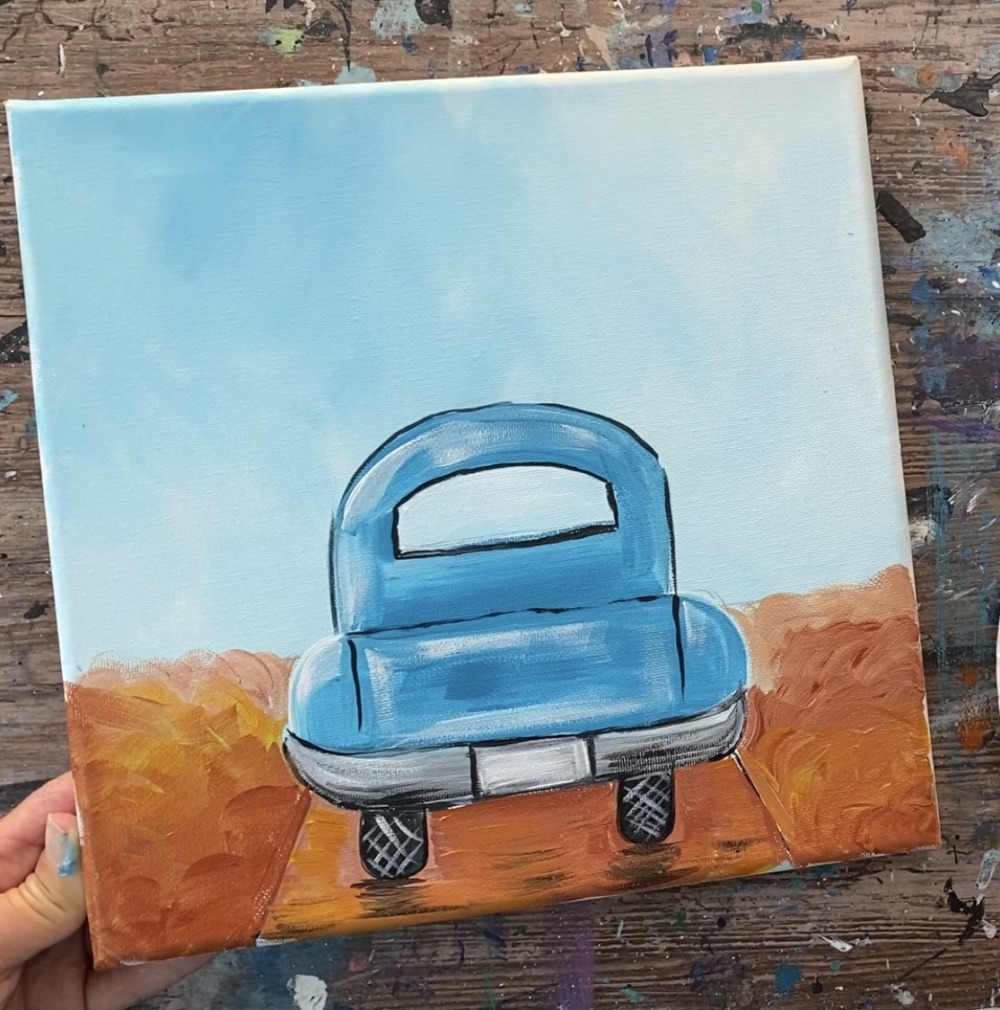
4. Paint Bumper
The bumper is painted with mars black and titanium white. On your palettes, load a little bit of mars black. Use your #4 round brush for this step.
Use your round brush to mix about 3 parts white and 1 part black to make a light to medium gray.
Paint the bumper going in a curved and then horizontal direction.
Then load a small amount of black on your brush and gently blend in some black on the bottom of the bumper so the bumper is slightly darker.
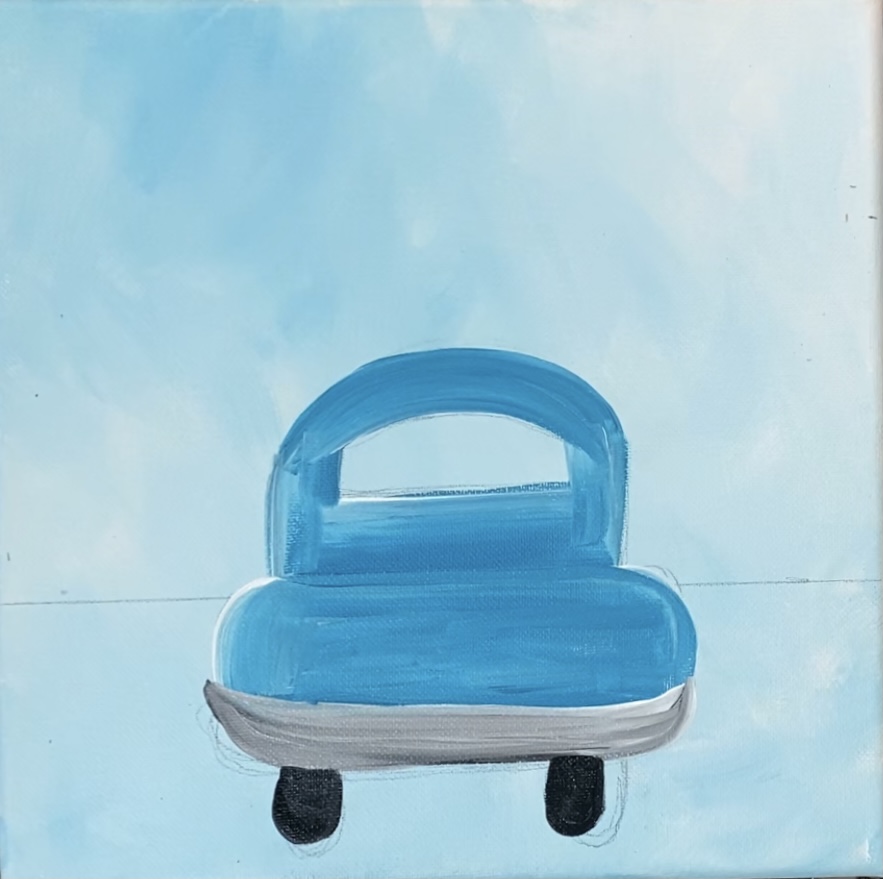
5. Paint Wheels
Use your #4 round brush and mars black to paint the shape of the tires.
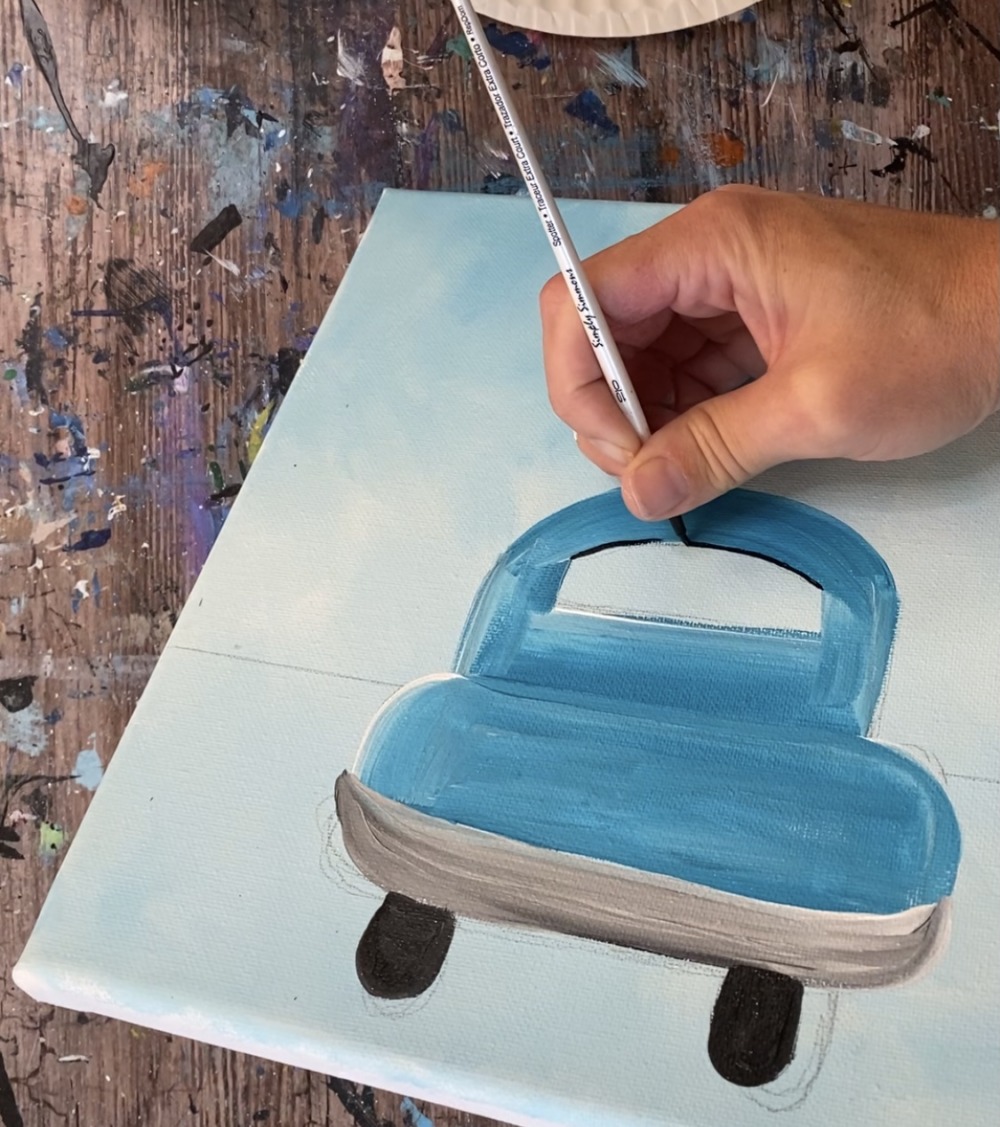
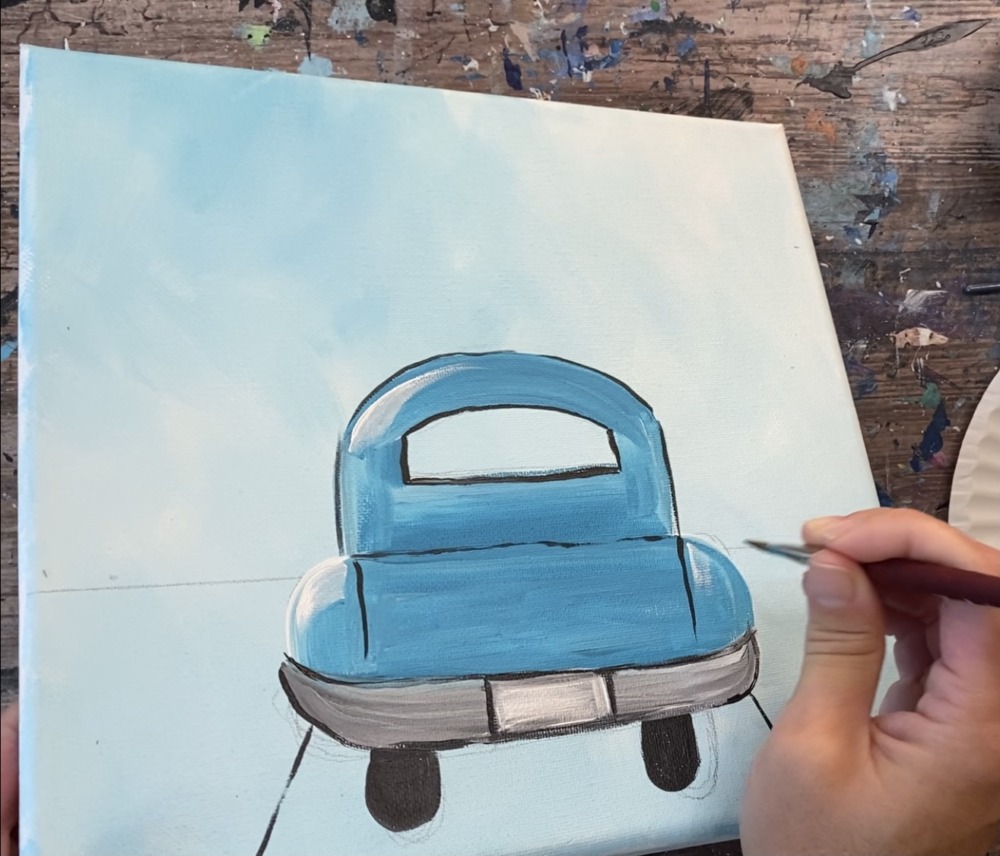
6. Loosely Outline Truck
For this next step, you will be outlining areas of the truck to get some of the shapes to be more defined and to “pop” better. I recommend using a small detail round brush such as a #0 round brush or any small liner brush.
Use mars black to loosely outline the inner part of the truck window.
Then outline the top of the truck bed.
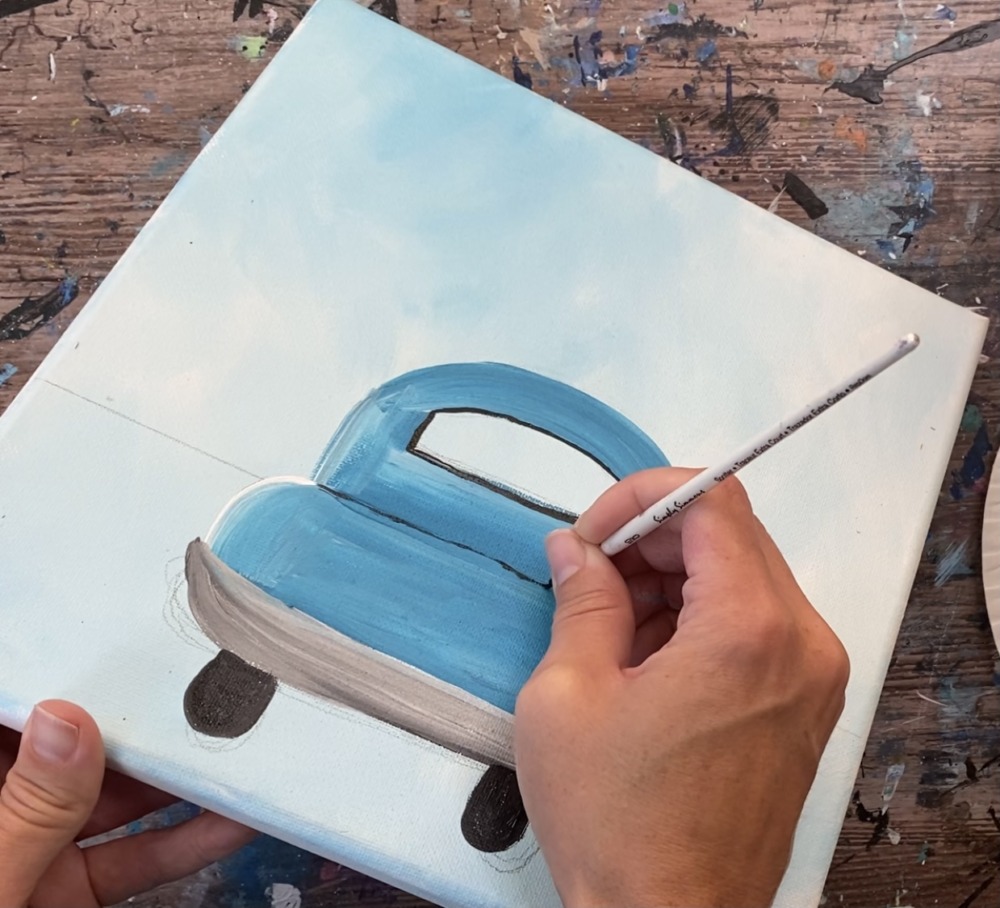
Next, outline the bumper. These outlines should be very loosely outlined. That means the line is not bold and continuous, it is loose and very thin.
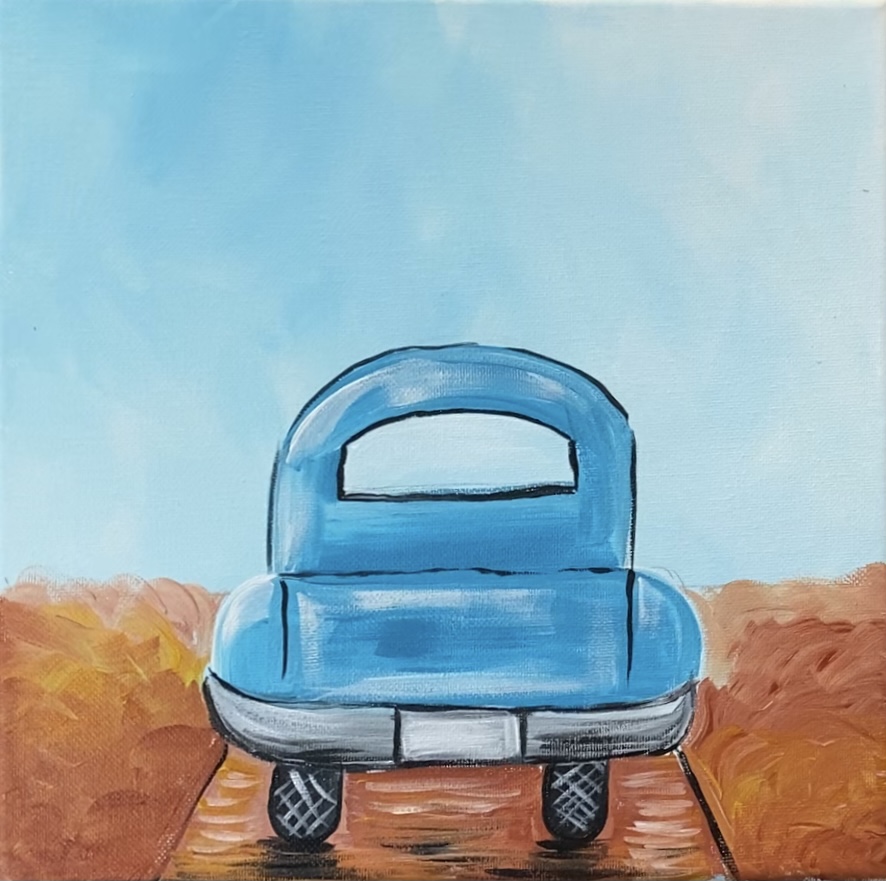
7. Paint Outline of road & license plate
Then paint two diagonal lines for the road. Start your diagonal line about an inch to an inch and a half from the bottom corners of the canvas. Try to make the lines even on both sides.
Also, paint vertical lines to define the tailgate of the truck.
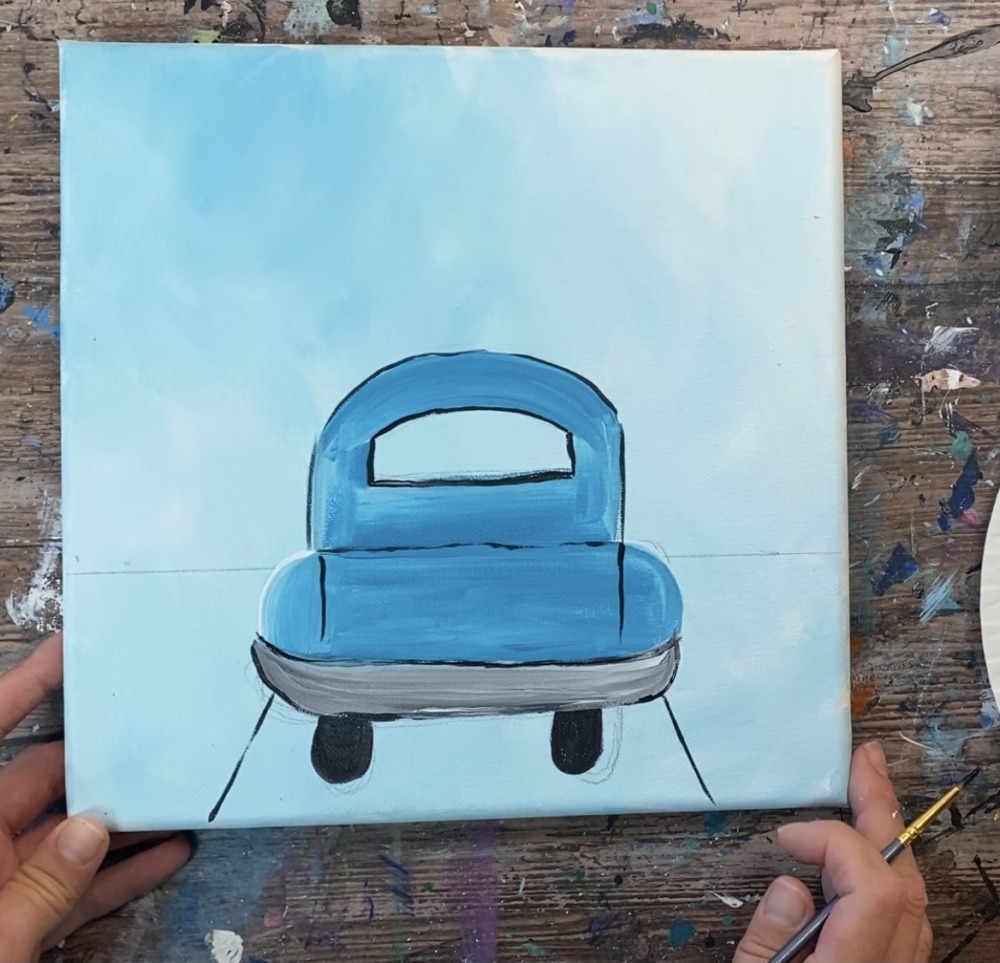
Paint a rectangle shape for the license plate. Then fill the license plate in with a solid coat of titanium white.
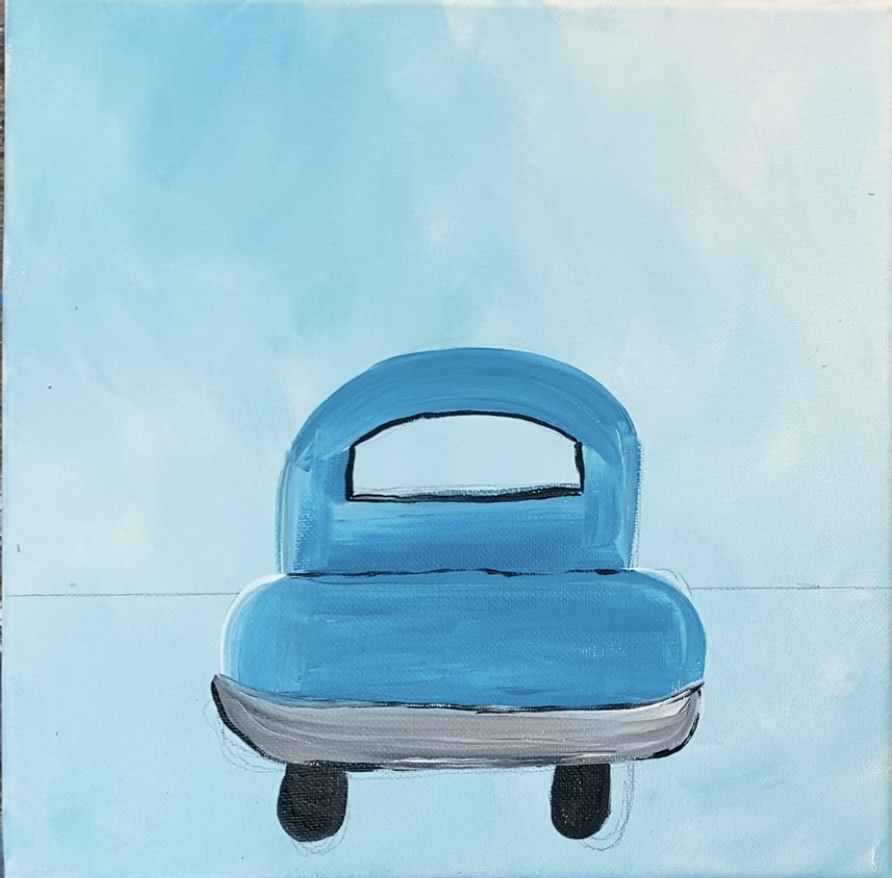
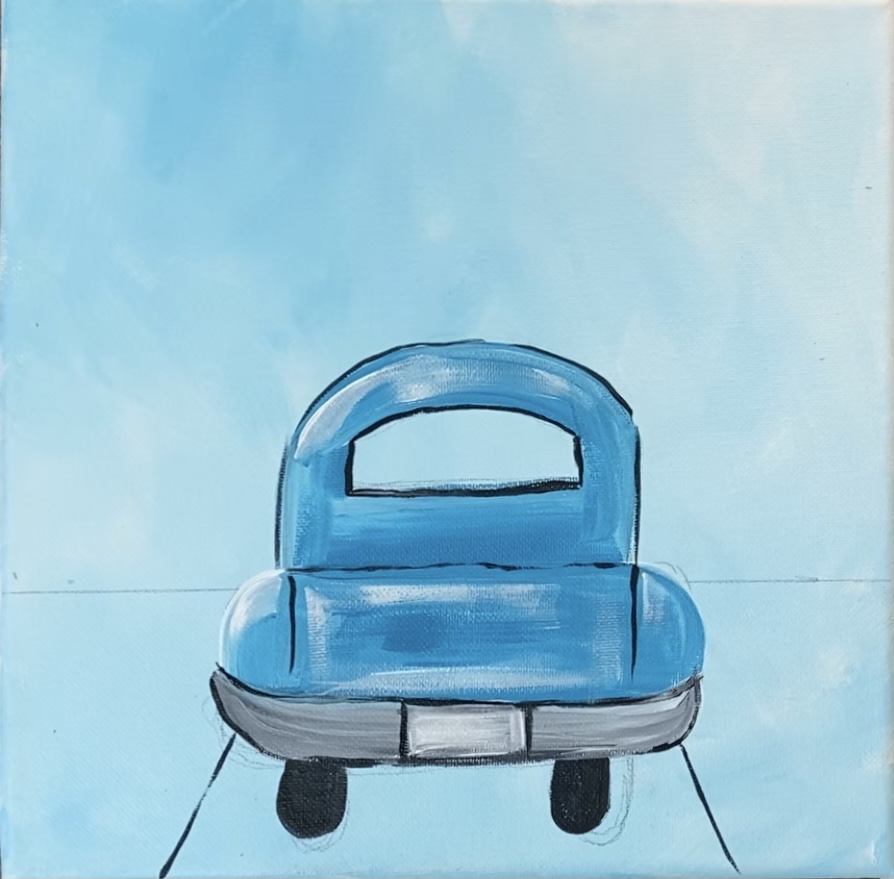
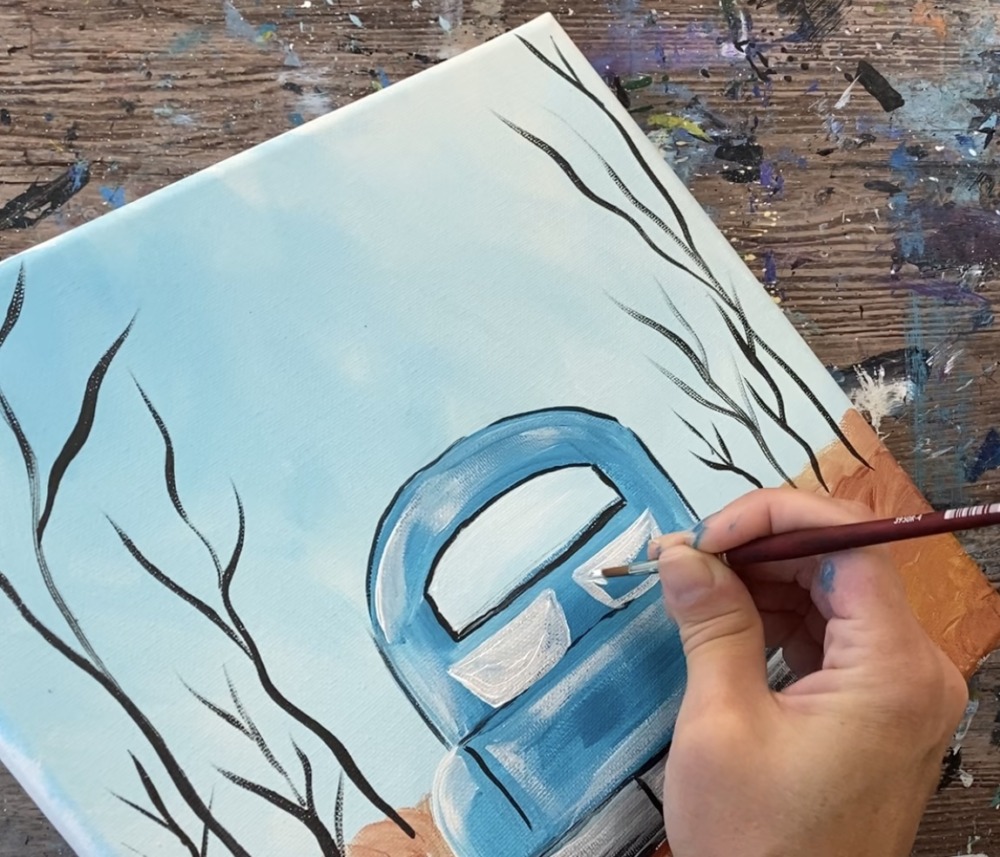
8. Highlight Truck
In this step you will be adding some highlights to the truck to give it that “shiny” and “vintage” look. This step requires you to do a dry brush technique which means the strokes are somewhat translucent and light.
Switch back to your 3/8″ angle brush (or small flat brush). Load the tip of the brush in a small amount of titanium white. Wipe off some of the paint of the brush to create the dry brush effect.
Paint a curve on the upper right part of the truck cabin.

Paint curves on the fenders as well.
Then paint some horizontal and vertical strokes on the inside triangle of the tailgate of the truck.
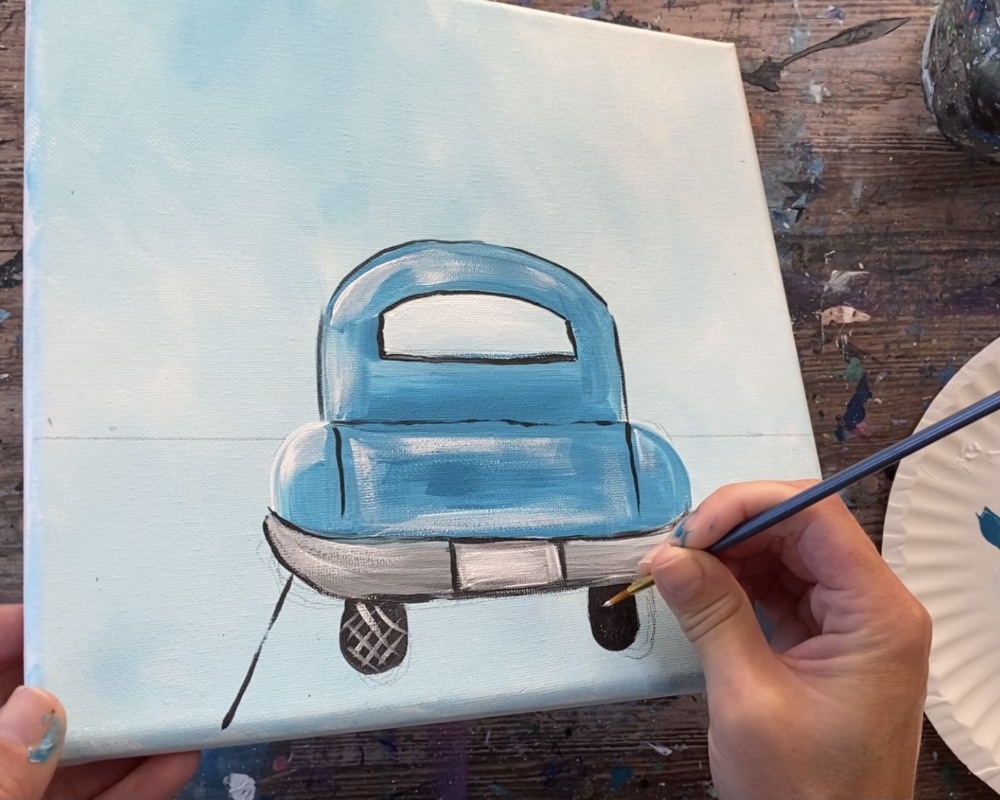
9. Add Texture On Tires
Use your #0 round brush to paint texture on the tires. Paint diagonal strokes going one way with titanium white. Then paint diagonal strokes going the other way.
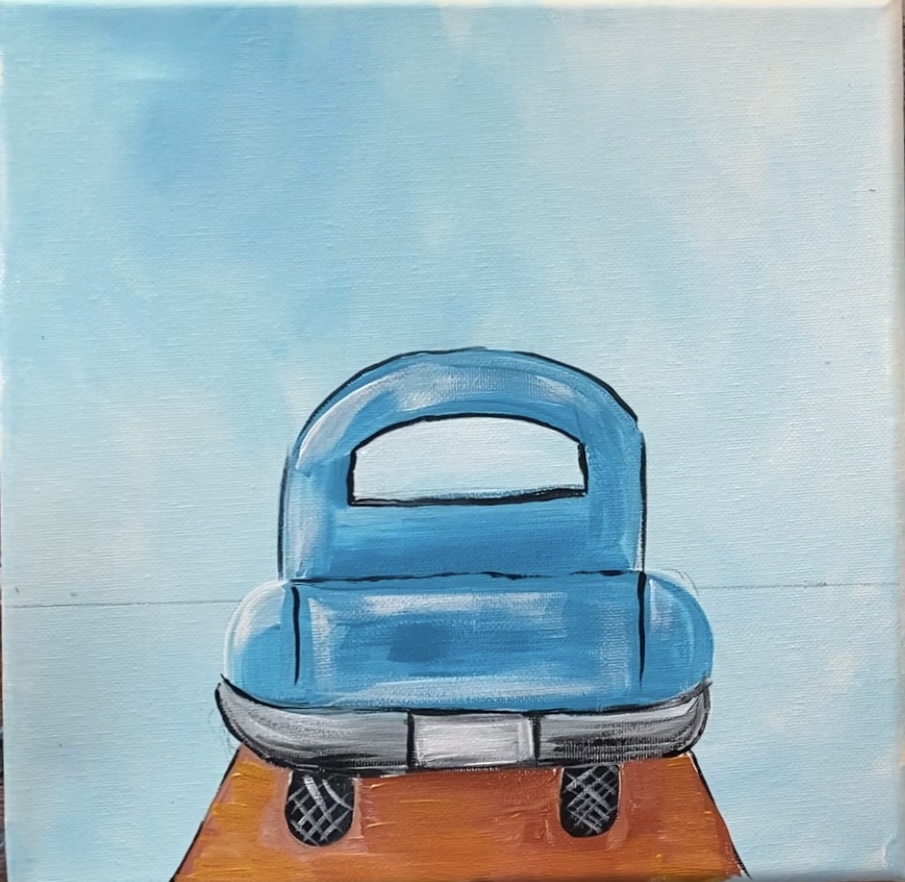
10. Paint Road
Load your palette with red oxide, titanium white and a little bit of cadmium yellow medium hue.
Mix the red oxide with about equal parts titanium white. Paint left and right strokes in the road area to fill that area in. Go around the tires and bottom of the bumper as best as possible.

Add a little bit of yellow to the road and gentle blend it in. More texture and shadow will be added to the road after this first layer dries.
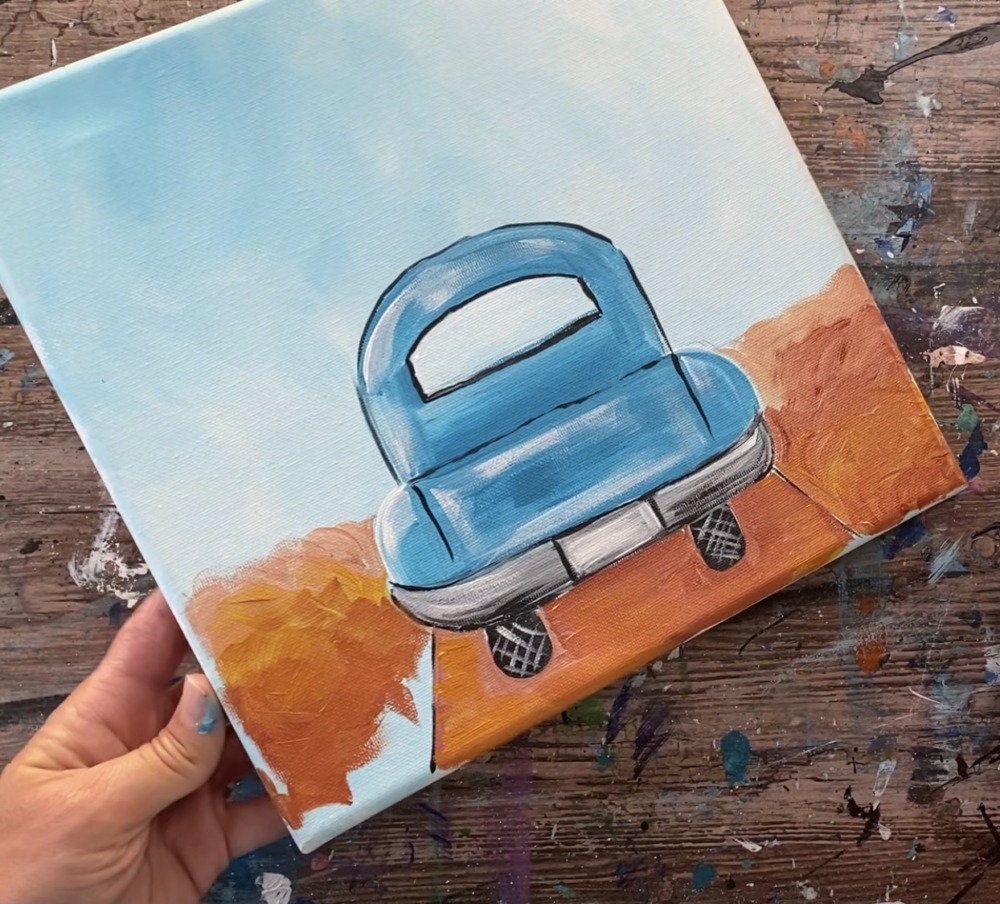
11. Paint Land On Side Of Road
Use the same three colors and same brush (3/8″ angle brush) to paint the sides of the road. This time, instead of going left and right, make your strokes go in a sloped curve direction.
Also the land is slightly lighter in the back and darker on the bottom. Start at the horizon line with red oxide mixed with white. Make short, textured strokes. Then continue down the side of the road with more red oxide. You can also mix a little yellow into the land.
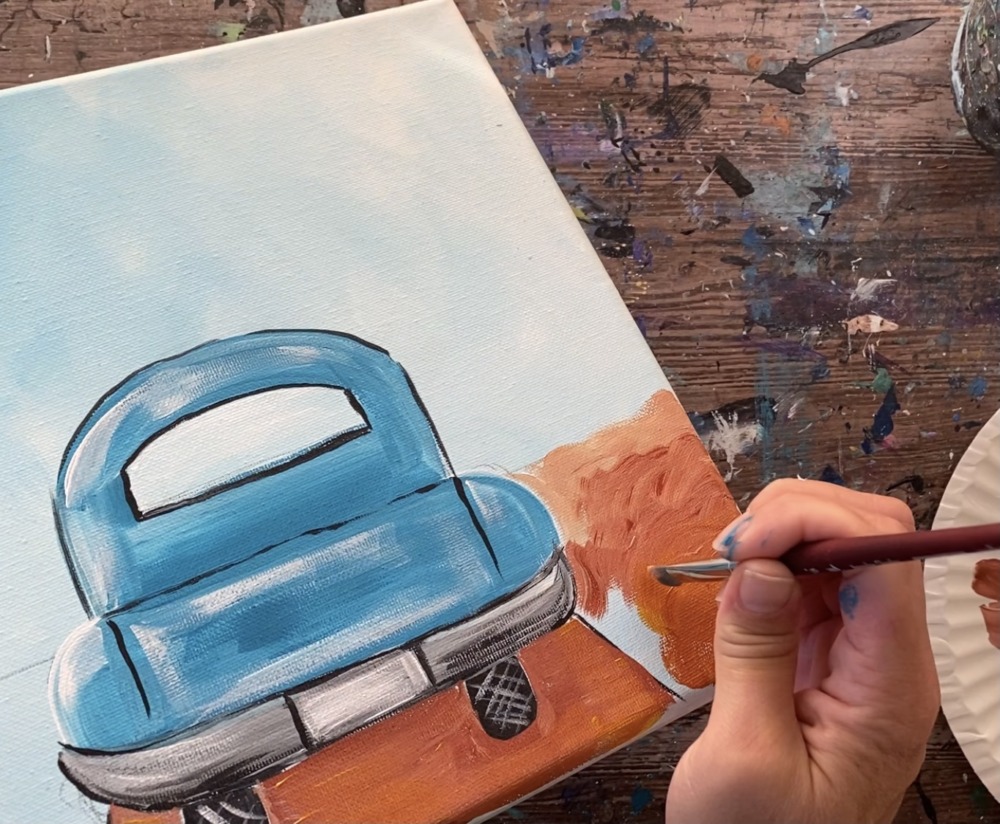
Do this on both sides of the land. Again, make short, textured, sloped strokes on the sides of the road. Make the back land closest to the horizon line a bit lighter and the bottom part darker (just red oxide).
12. Paint Shadow Under Tires & Highlights On Road
Use a round brush and thinned down (watered down) mars black to add thin horizontal lines under the tires to create the shadows. Add a few horizontal marks all along the road but concentrate them mostly under the tires.
Then add some more horizontal texture on the road with titanium white.
Slightly outline the diagonal lines on the road to make it stand out a bit better.
13. Paint Trees
Use a #4 round brush and slightly watered down mars black paint to pain the trees. The base of each of these trees start at just below the horizon line but the heights are different.
Start on the far right and paint a tree that goes all the way to the top of the canvas. Then paint a medium size tree next to it that is not as tall as the far left one.
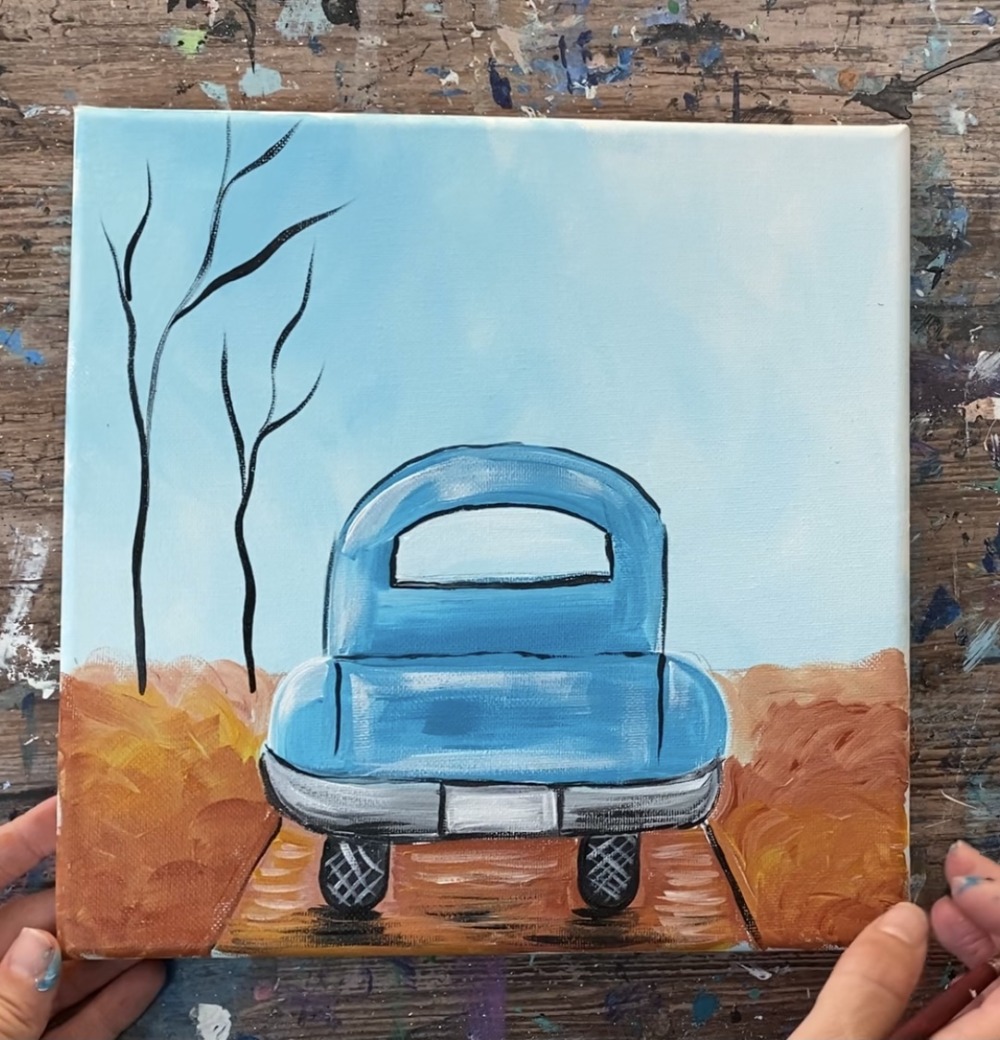
Paint 4 smaller trees between the large and medium trees. Remember, the base of each of these trees are all at the same level but the heights are different.
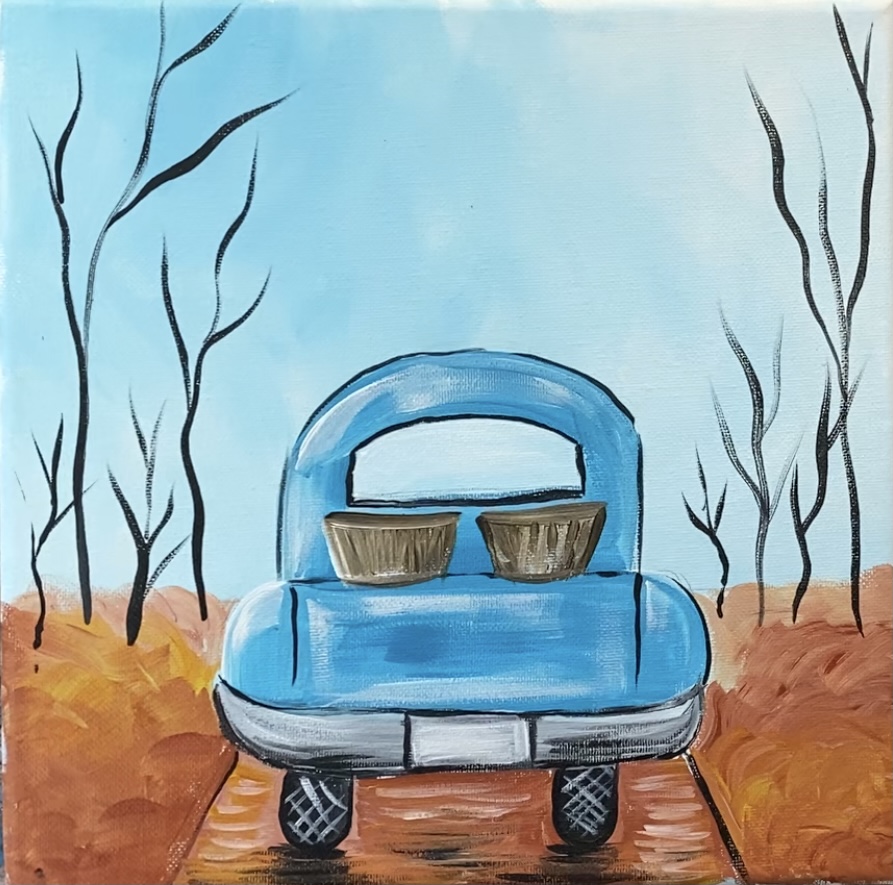
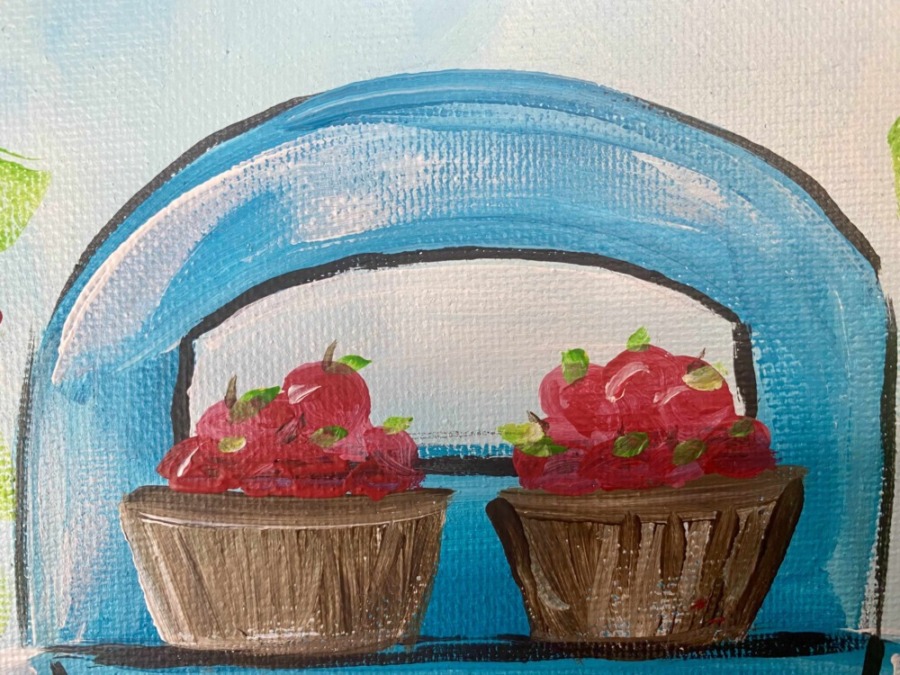
14. Paint Apple Baskets
Use titanium white and your 3/8″ angel brush to paint two baskets in the back of the truck.
These baskets are a trapezoid shape and they are painted in solid titanium white.
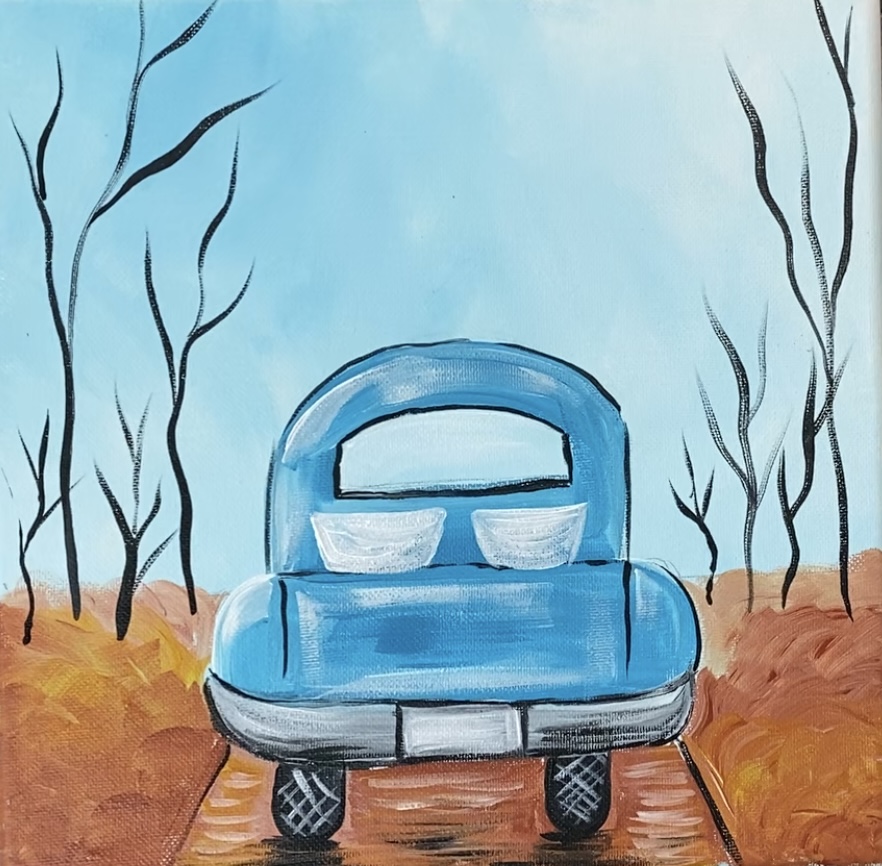
Then load burnt umber on your palette. Use a #4 round brush to paint the baskets brown. Paint diagonal/ vertical strokes with the brown. Since the white isn’t dry, the brown will blend with the white to make a lighter brown and varied texture.
15. Paint Fall Leaves On Trees
Use your 3/8″ angle brush to paint leaves on the trees. Mix red oxide with yellow (equal amounts). Start at about the middle part of the tress and paint short angular strokes to create the tree leaves.
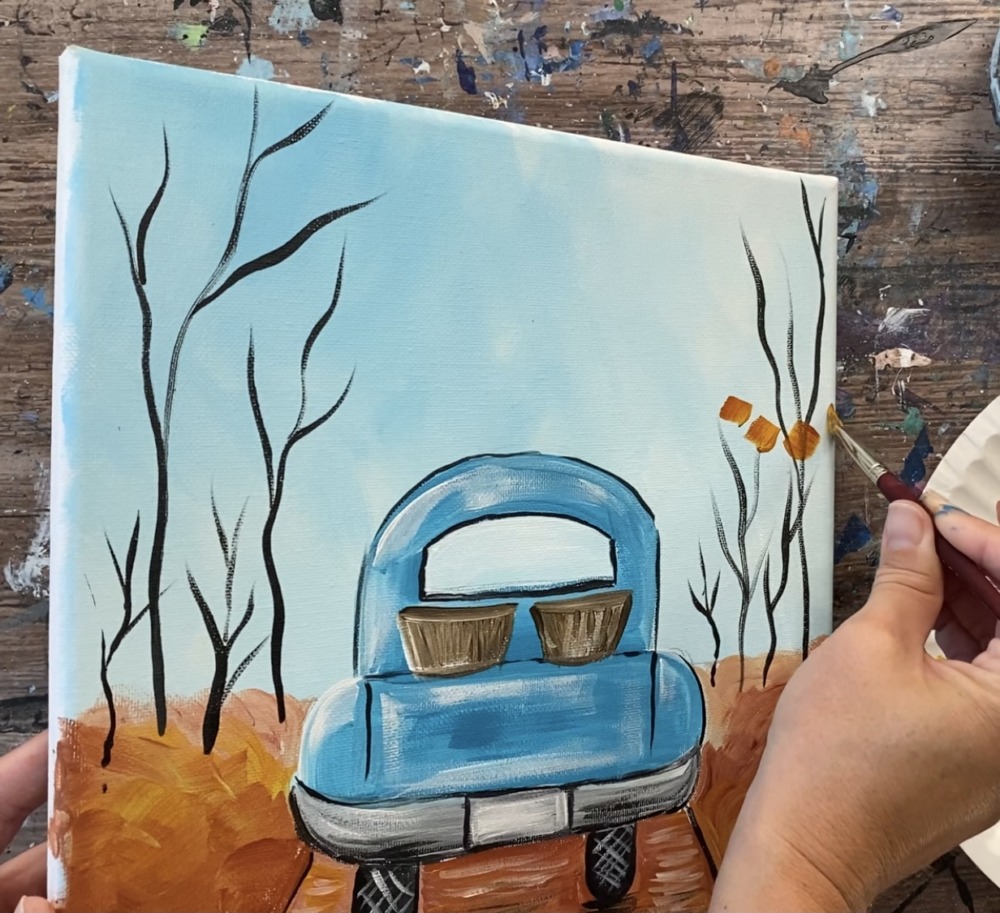
Then wipe your brush off and add cadmium yellow medium to it. Paint more short angular strokes to create yellow leaves. It is okay if the yellow mixes with the red oxide leaves a little bit. You want a variety of color in your leaves.
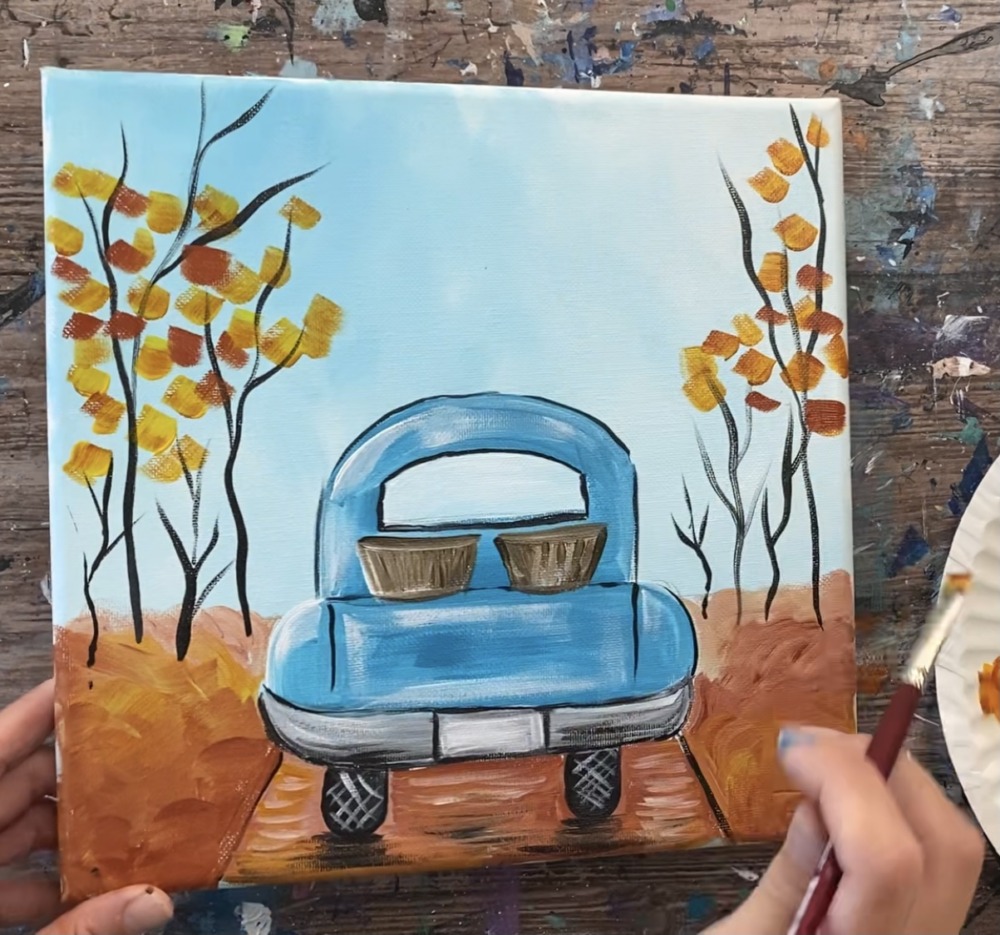
Then mix titanium white with cadmium yellow medium on your palette (about equal amounts). Paint bright bright yellow leaf brush marks strokes higher in the trees and along the top of the canvas. Leave an opening of blue in the sky above the truck so the tree tops make an arch.
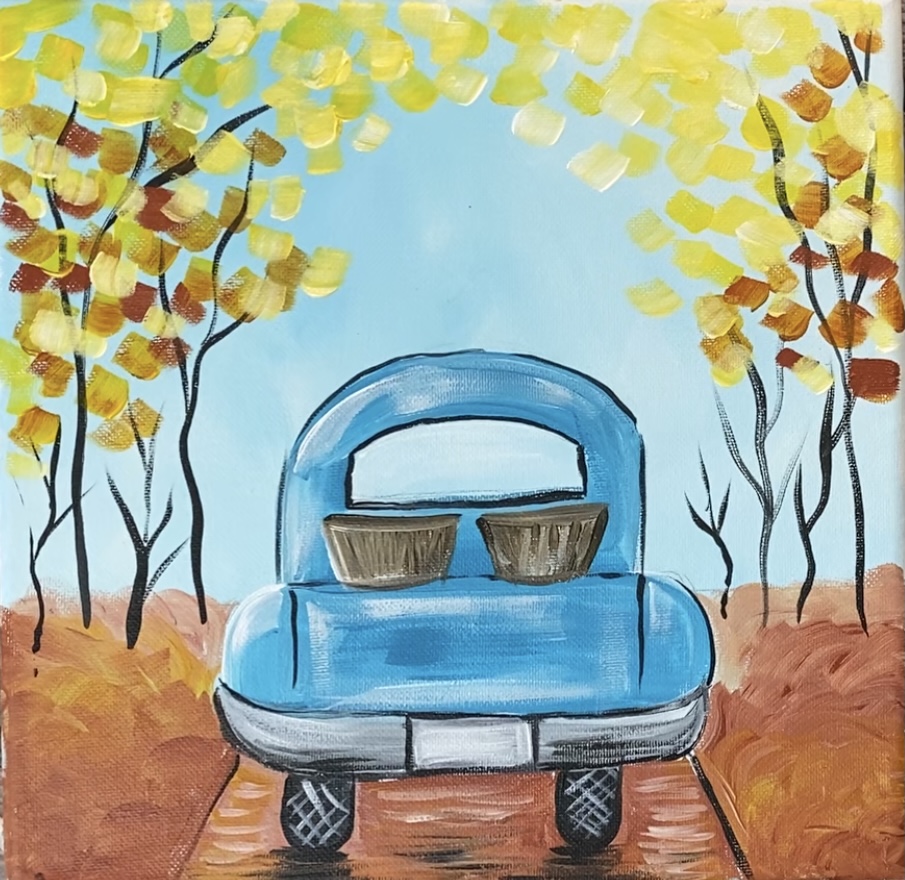
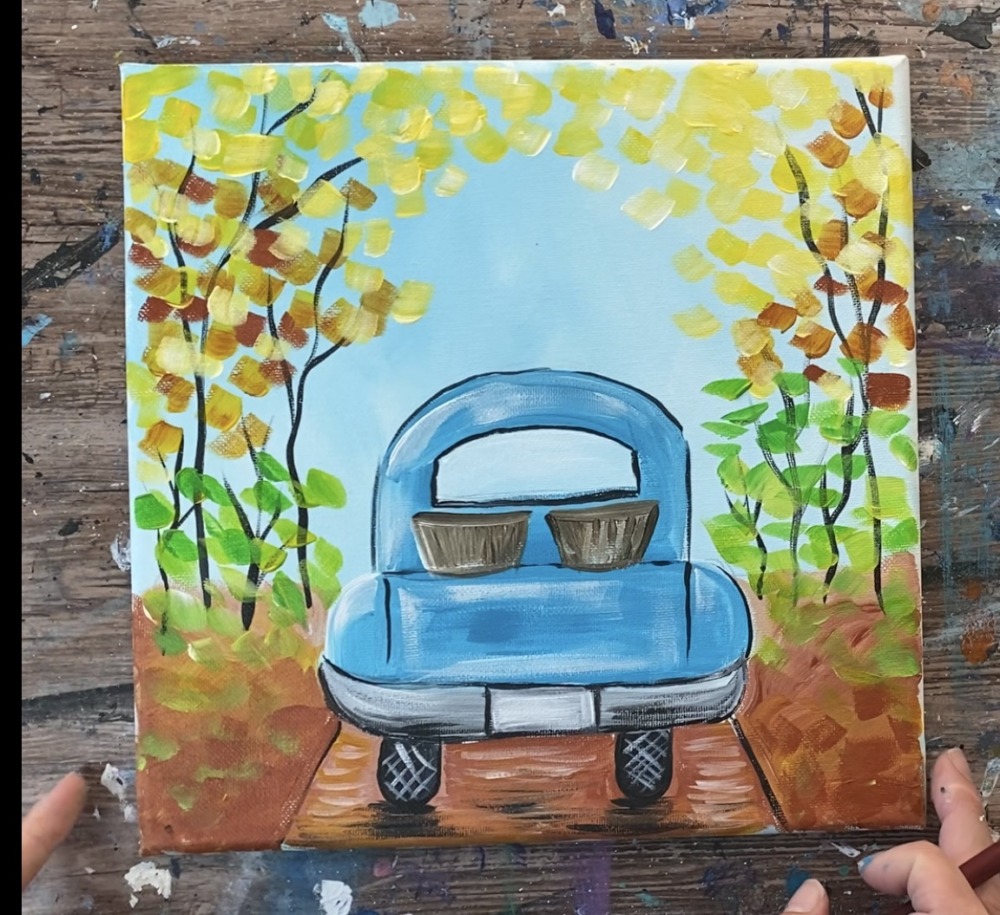
16. Paint Green Foliage
Load your palette with light green permanent. Mix light green permanent with a little bit of yellow and white to make a light warm green color. Paint the same kind of strokes with the green but lower above the horizon line on the shorter trees.
Paint some green marks on the land as well.
17. Paint Apples In Baskets
Load your palette with naphthol crimson. Use your #4 round brush (or #0 round) to paint small circles piled in the baskets. Mix white into the red on your palette. Paint some of the apples with light red to give the apples some color variation.
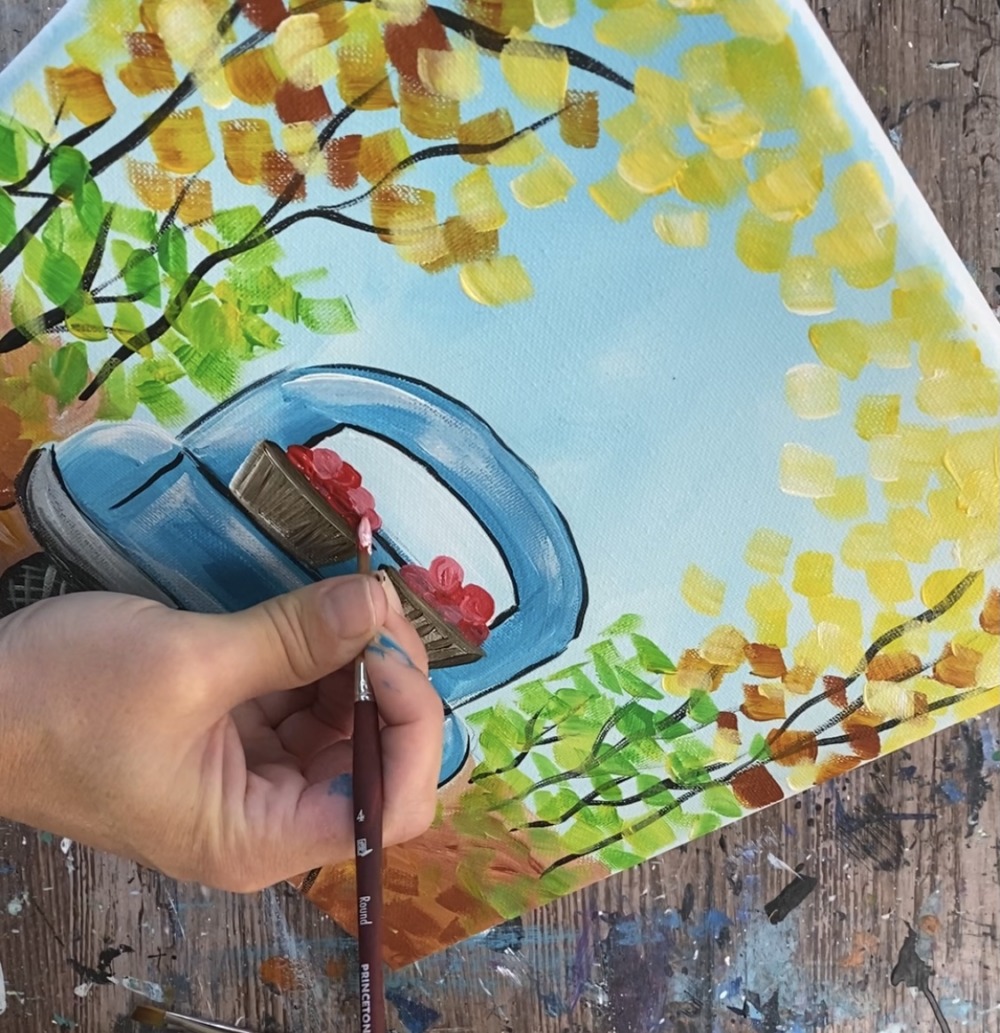

Then paint some little stem lines and leaves on some of the apples.
18. Paint Word & Decorate License Plate
Use your #4 round or your #0 round to paint the word “Fall” on the tailgate. You can also customize this and write a name or another word.
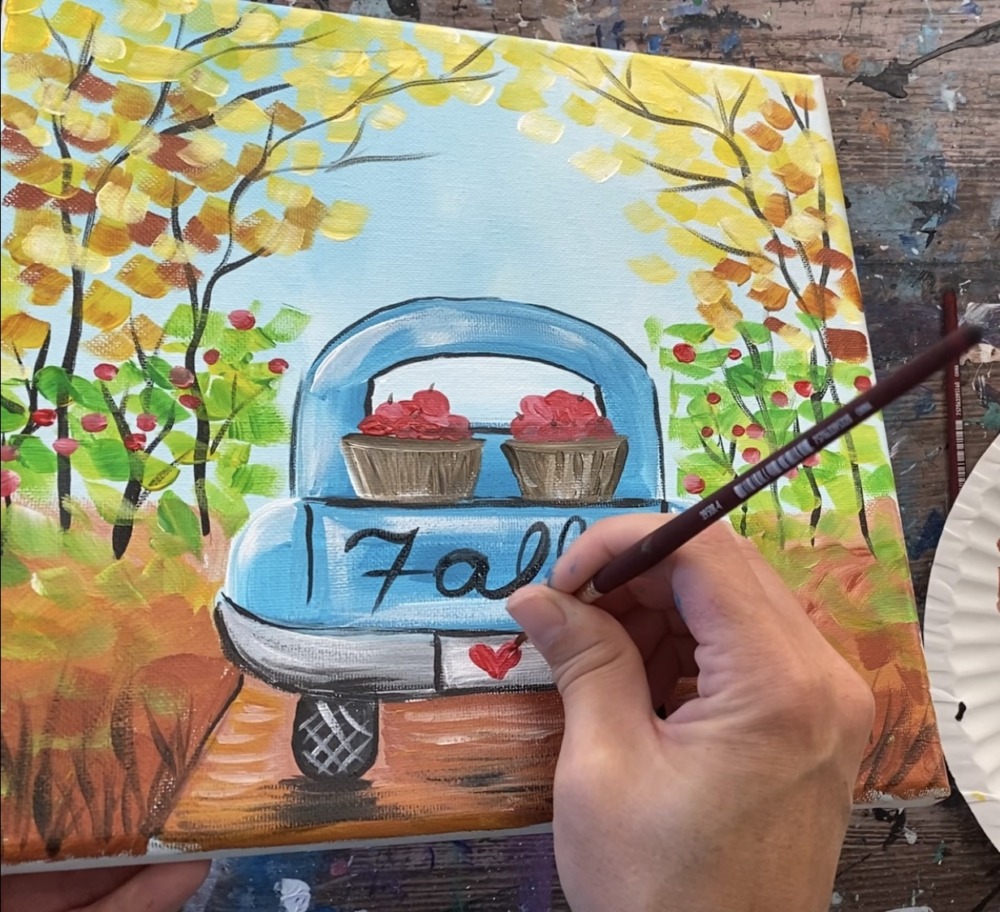
Paint a heart or another word or design on the license plate.
19. Paint Pumpkins
Paint the pumpkins by painting the base shape of the pumpkin titanium white. This is to ensure coverage against the dark background.
Then mix orange on your palette by mixing 1 part red and 3-4 parts yellow. Paint the pumpkin one stroke at a time using the #4 round brush. Start at the top and stroke down.
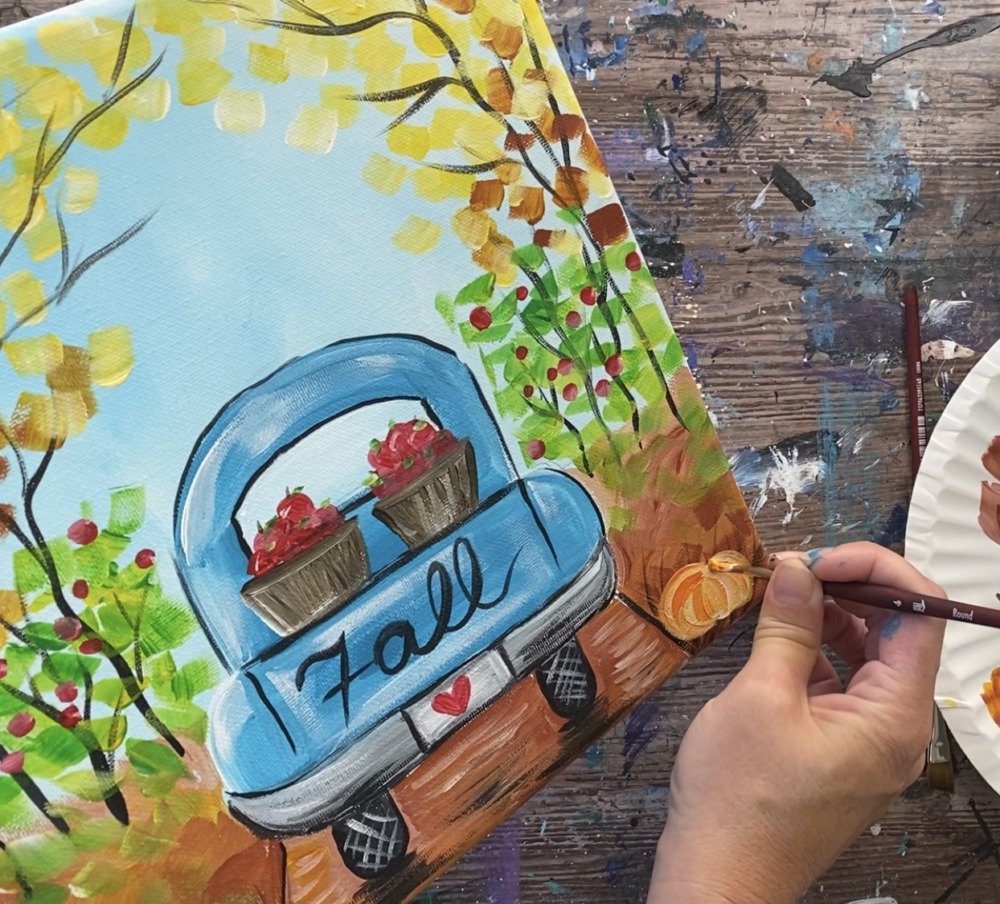
Add a small amount of red to darken the orange and stroke more strokes down to create different variations in the color of the “pumpkin bumps”.
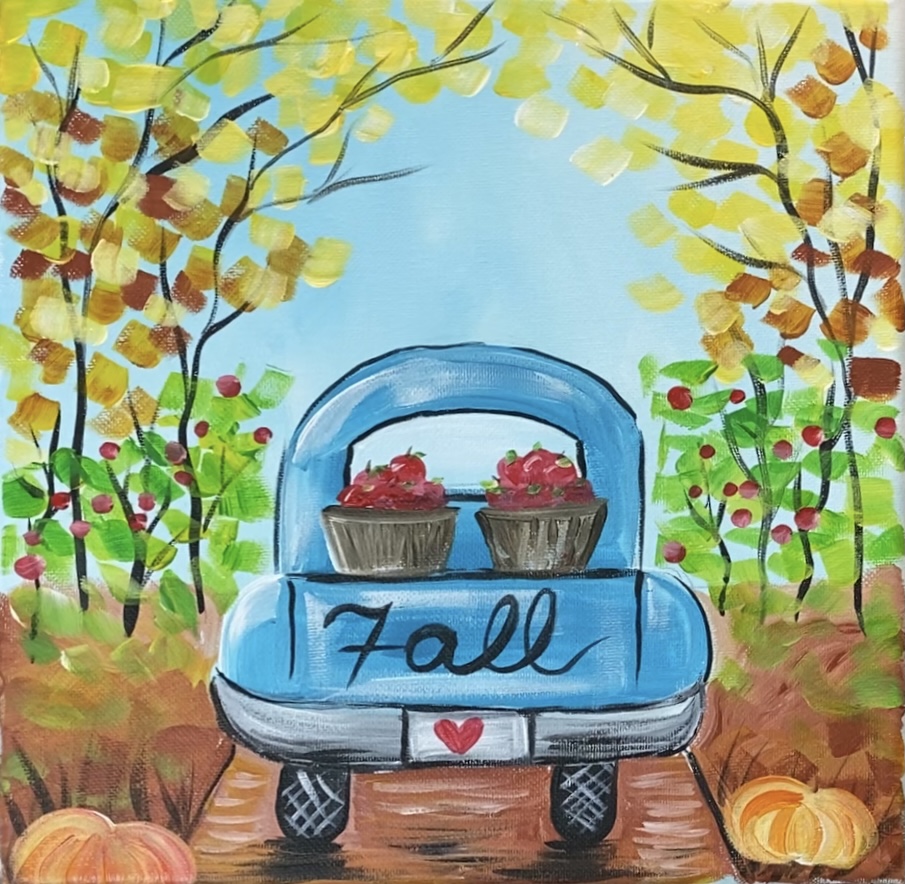
Paint another pumpkin in the lower left of the corner.
Then paint the stems of the pumpkins. Use your #4 round brush and mars black to paint a base that starts below the top of the pumpkin. Then let it kind of spiral and go to a point.
Finished!
Add final touches as needed and sign your name!
Share Your Art Here!


