

Would you like to save this?
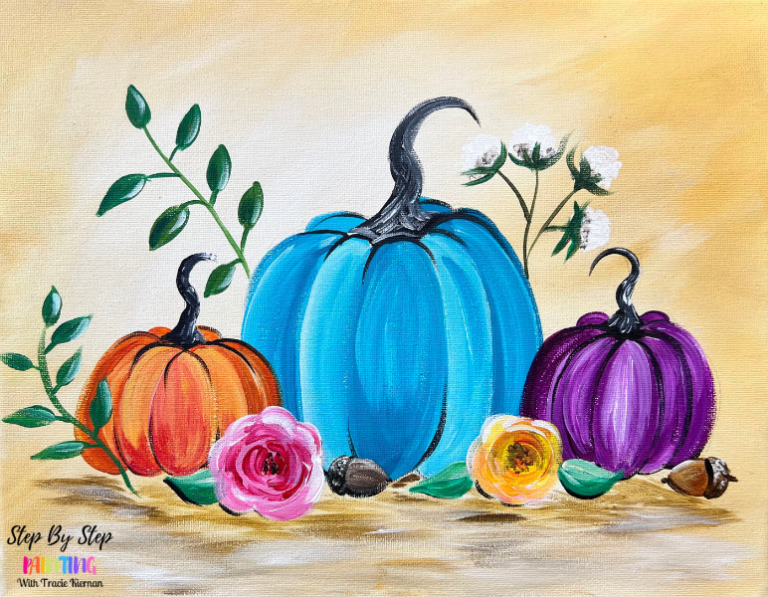
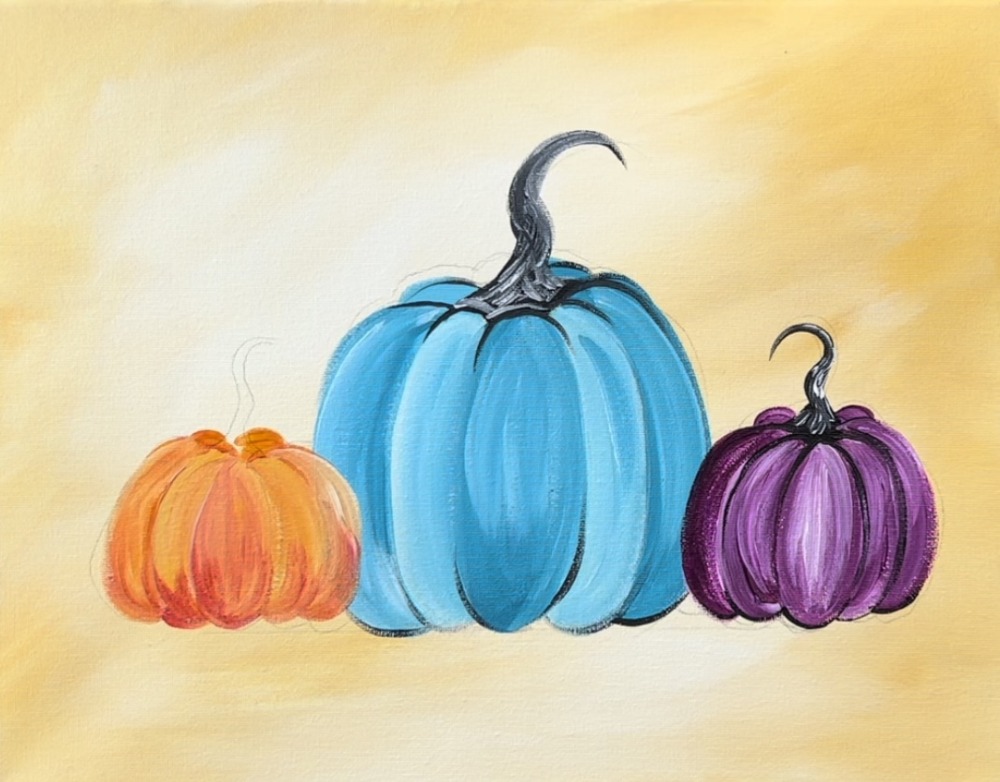
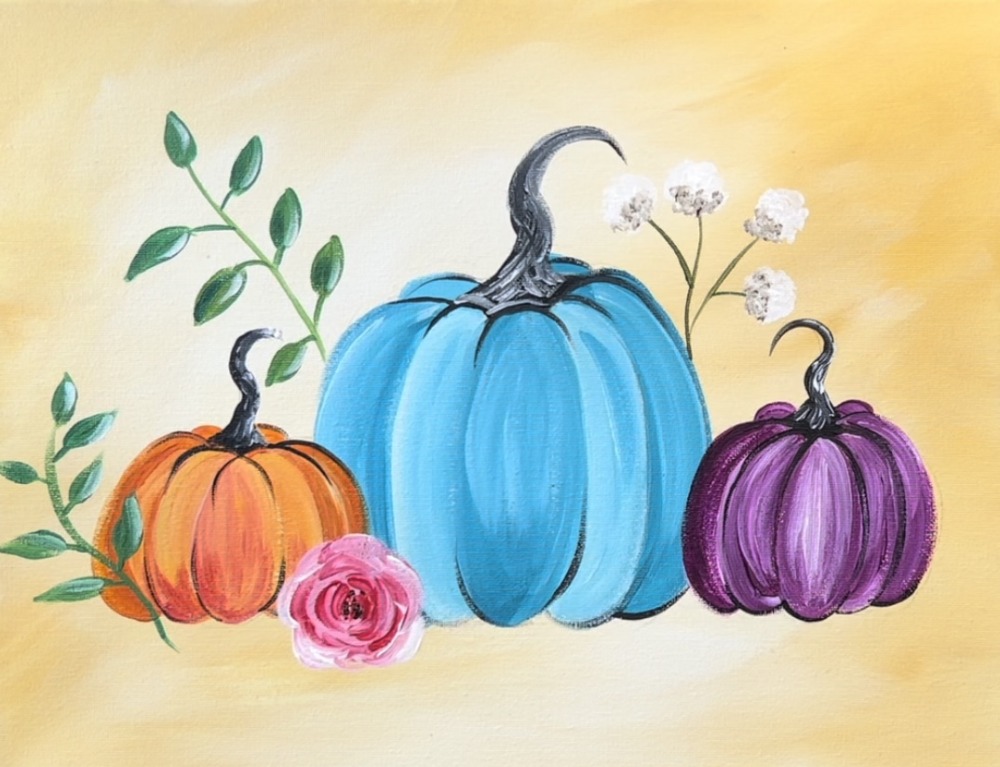
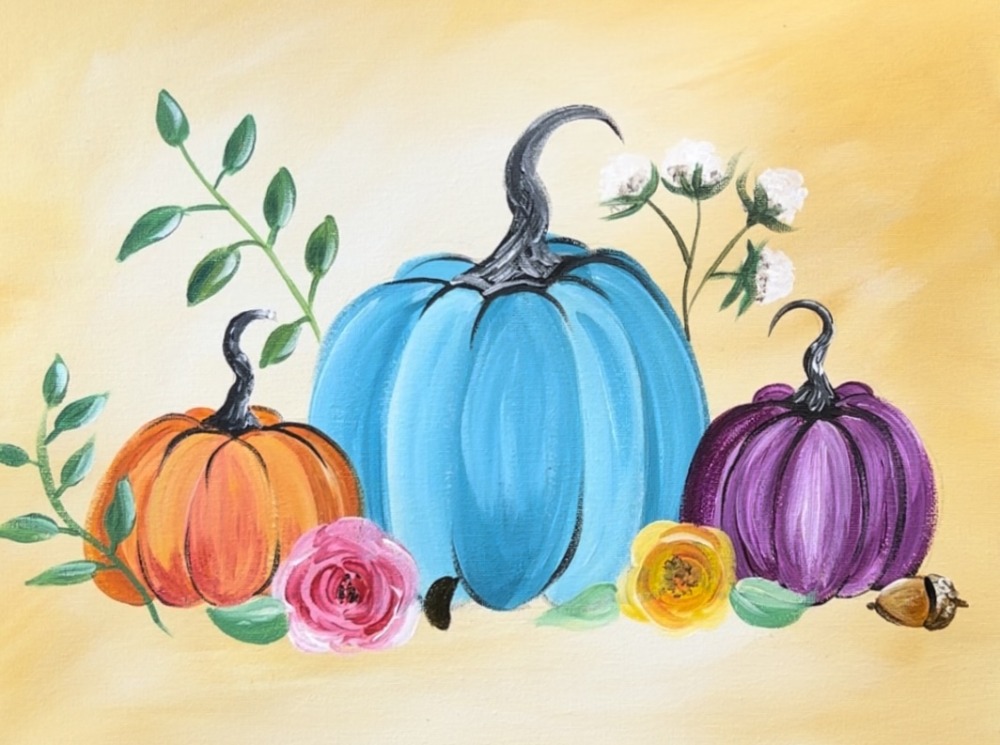
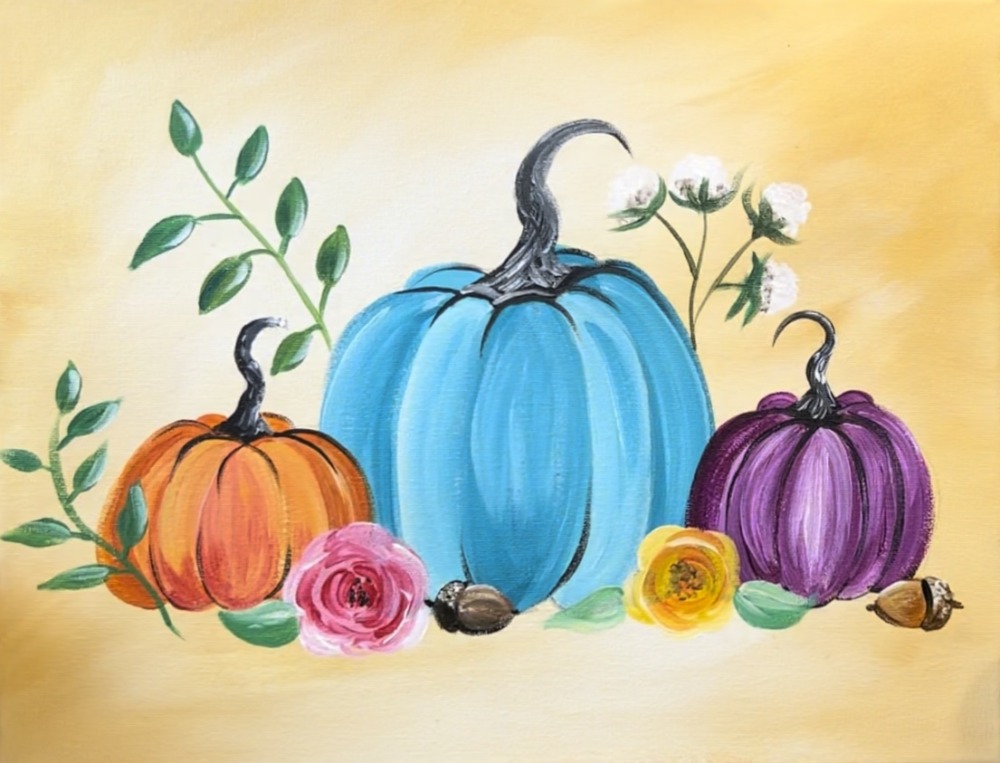
“Colorful Floral Pumpkins” is a fun fall themed painting with a floral element. I love the cheerful color palette in this one. Feel free to customize the colors of the pumpkins and add or omit your own accessories.
Enjoy and happy painting!
Materials List:
Colorful Floral Pumpkins Painting Tutorial

Materials
- 11 x 14 Canvas (or any size/ any surface)
- Acrylic Paint
- Brushes
- Water Jar
- Palette (I use a paper plate)
- Pencil & Eraser
- Ruler
Colors
- Titanium White
- Mars Black
- Raw Umber
- Yellow Oxide
- Cadmium Yellow Deep Hue
- Primary Red
- Phthalo Green
- Turquoise Blue
- Deep Violet
Brushes
Color Palette:
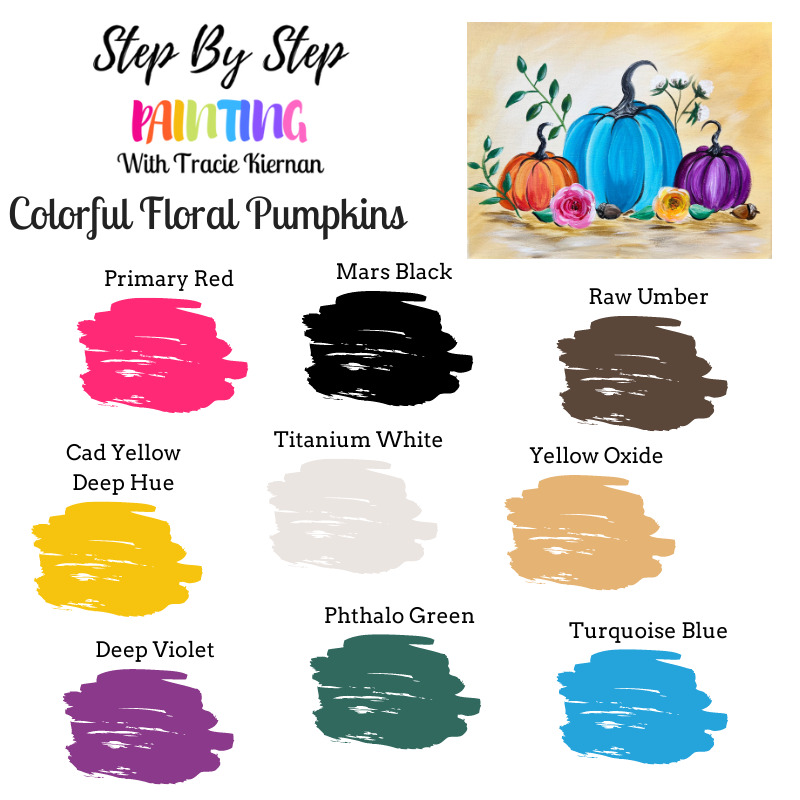
*If you do not have phthalo green, you can use hooker’s green.
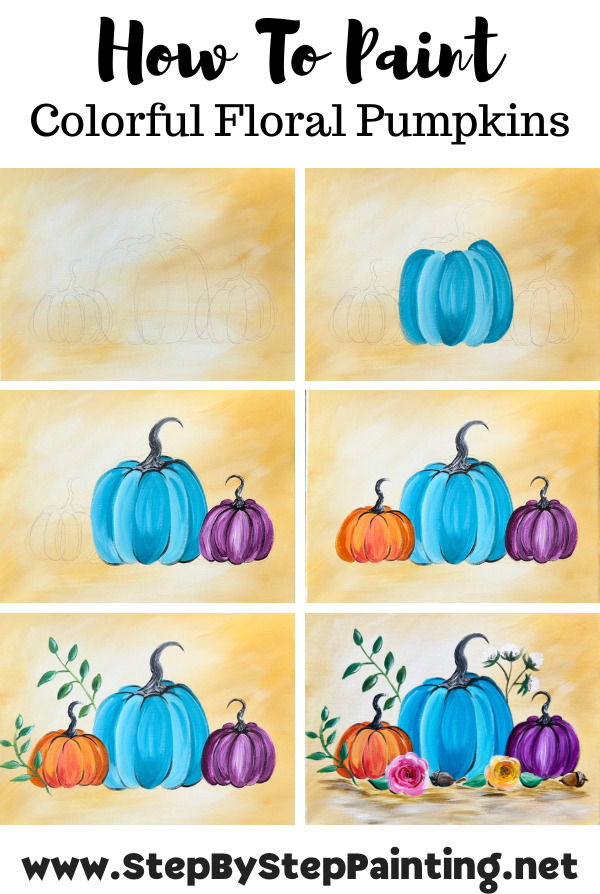
Directions At A Glance:
Video:
Step By Step Instructions:
1. Paint The Background
Load your palette with the two colors “titanium white” and “yellow oxide”. Mix about equal parts titanium white and yellow oxide together (you don’t need to mix the colors all the way as they will blend on the canvas).

Use the 1″ flat brush. Start on the edges of the canvas and paint full width angle strokes that go diagonally in different directions.
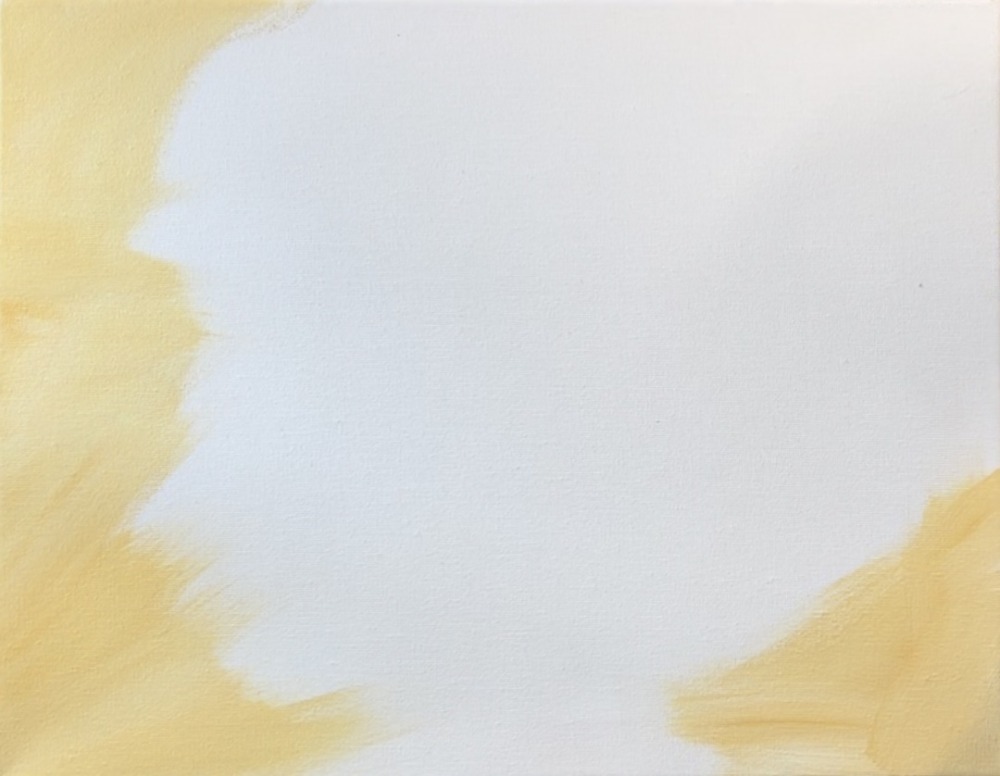
Paint just the border around the edges first.
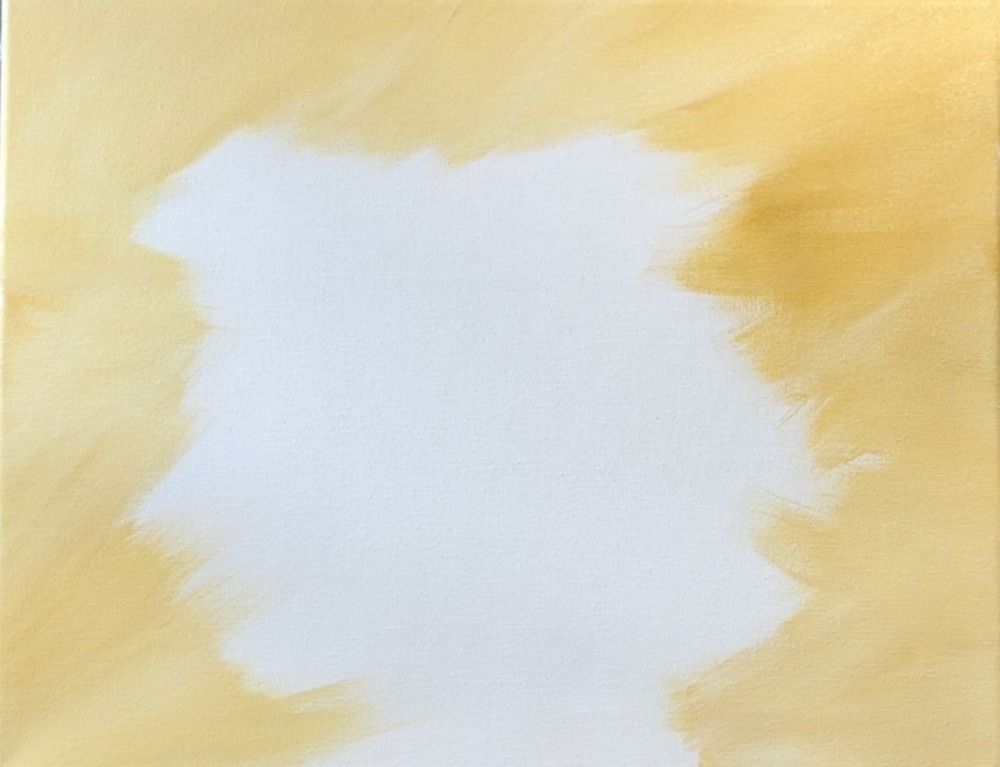
Then, without rinsing the brush, load just titanium white onto the 1″ flat brush. Paint angle strokes in the center so that the center is brighter than the edges.
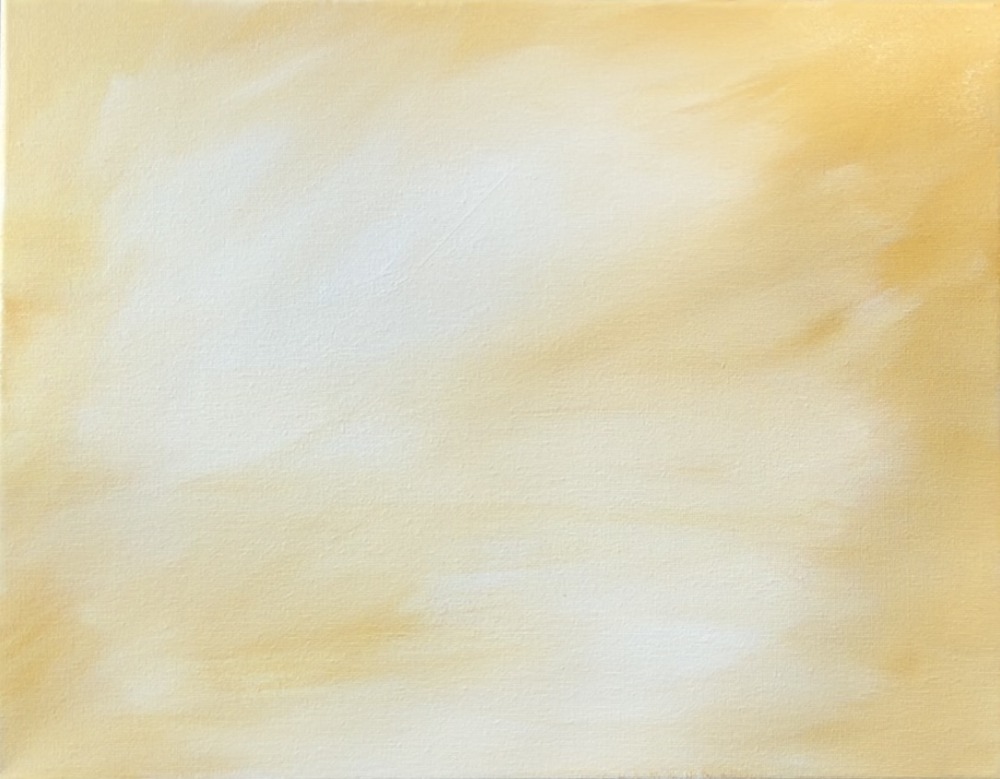
If needed, add more yellow oxide to the brush to help it blend with the rest of the canvas. Essentially, you’ll want the center to be lighter and brighter and the edges to be slightly darker.
2. Draw Pumpkin Composition
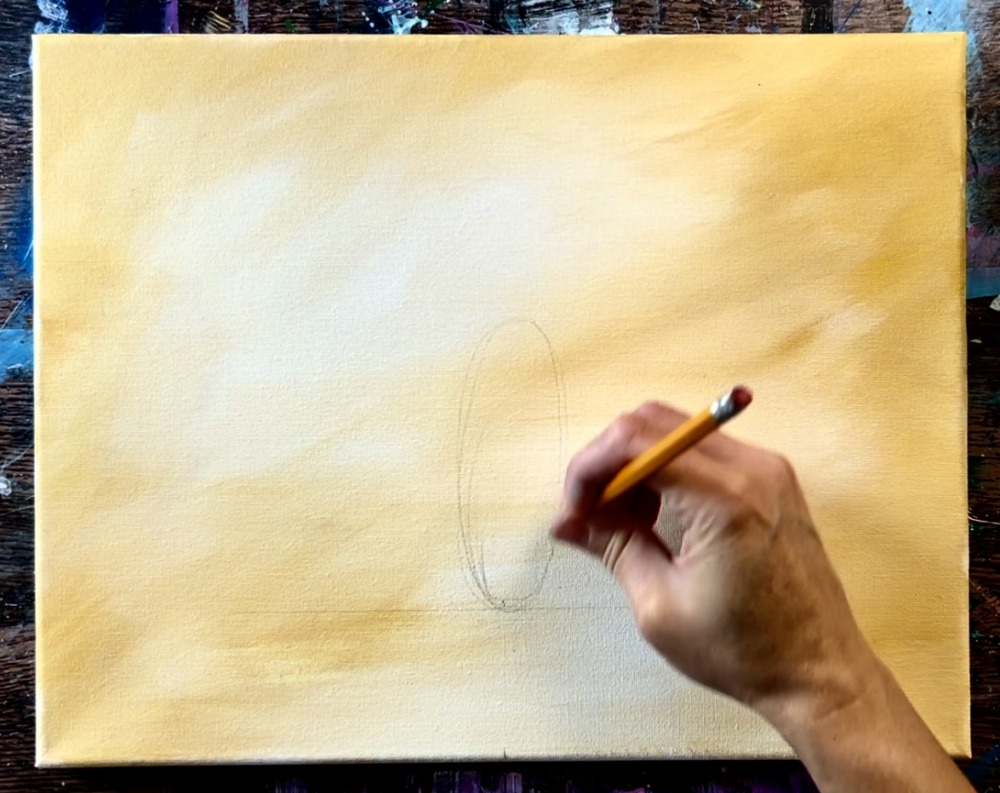
Wait for the background to dry before going onto this step. Use a pencil and a ruler to mark a horizontal line on the bottom of the canvas (about 2.25″ from bottom). Draw a horizontal line. This is where the bottom of the pumpkins will be resting.

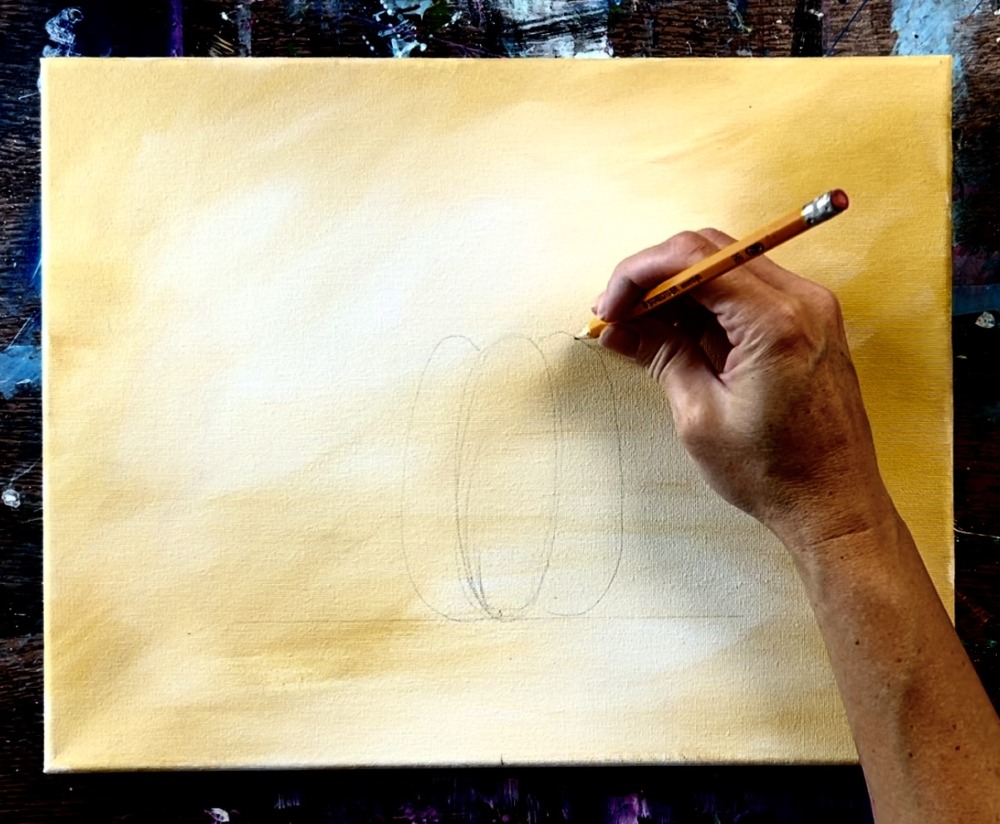
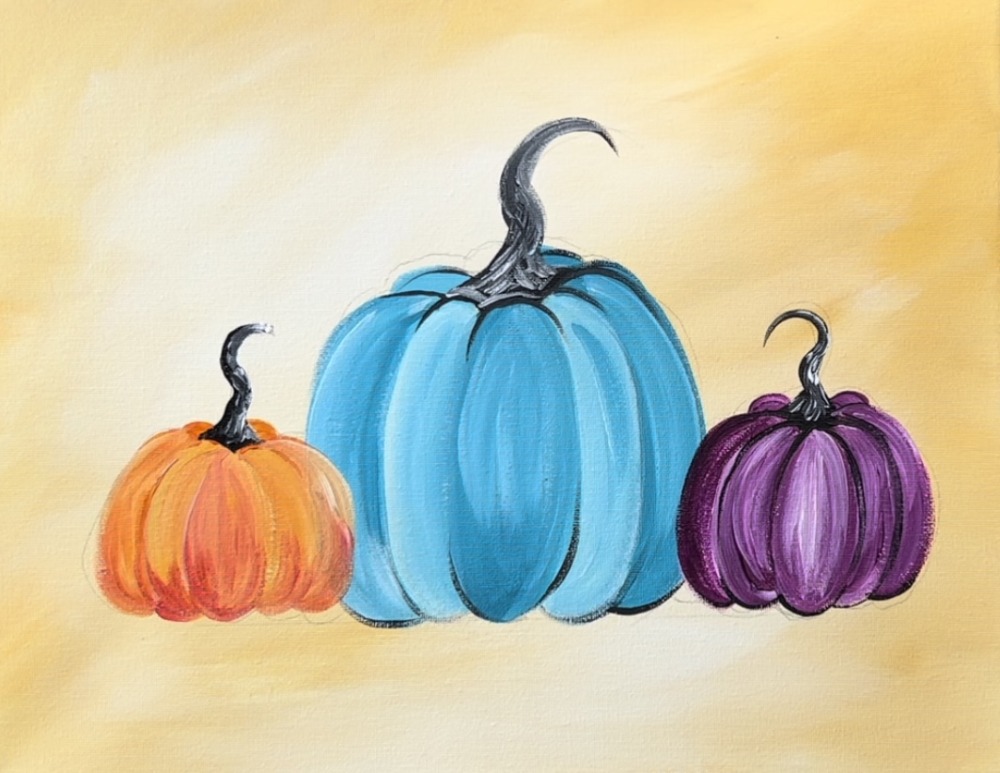
Then draw the three pumpkins starting with the larger center pumpkin. Draw an oval about 4.5″ high and about 1.5″ at its widest.
Draw more lines that are curved and go downwards to create two more “pumpkin bumps” on each side of the oval.
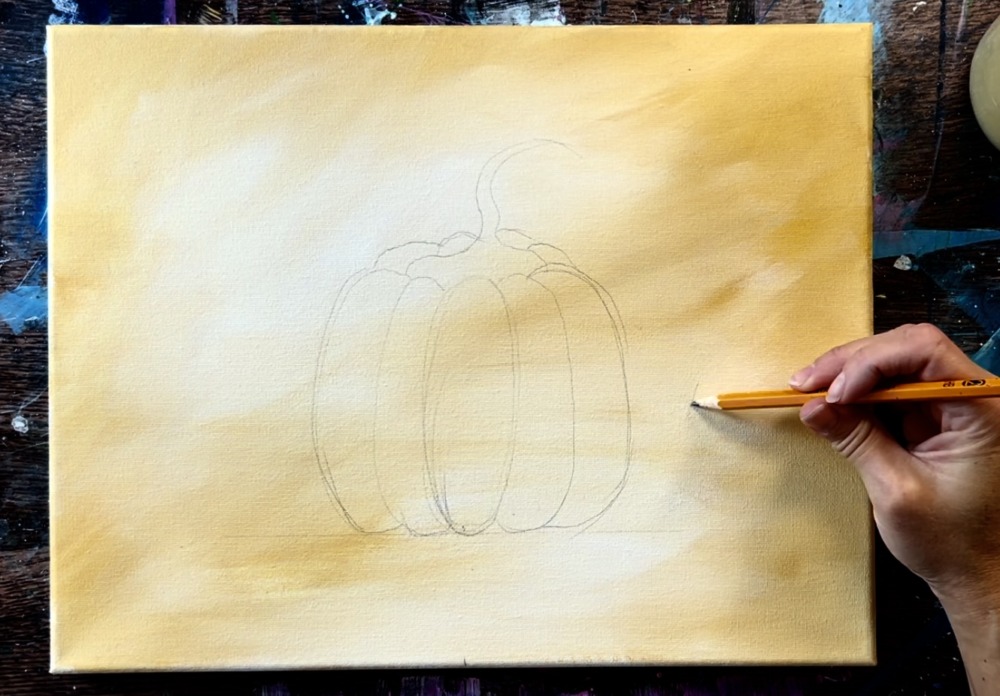
Then draw two more curved lines next to the two you just drew. To do the stem, draw the base of the stem so that it is in line with the top bumps. Draw the stem so that it quickly goes thin and curves to the right to form a point.

Then draw more bumps behind that stem.
Repeat this drawing to create a smaller pumpkin on the right that overlaps the larger pumpkin. Draw it using the same steps. The height of the first middle oval is about 2.5″ high.
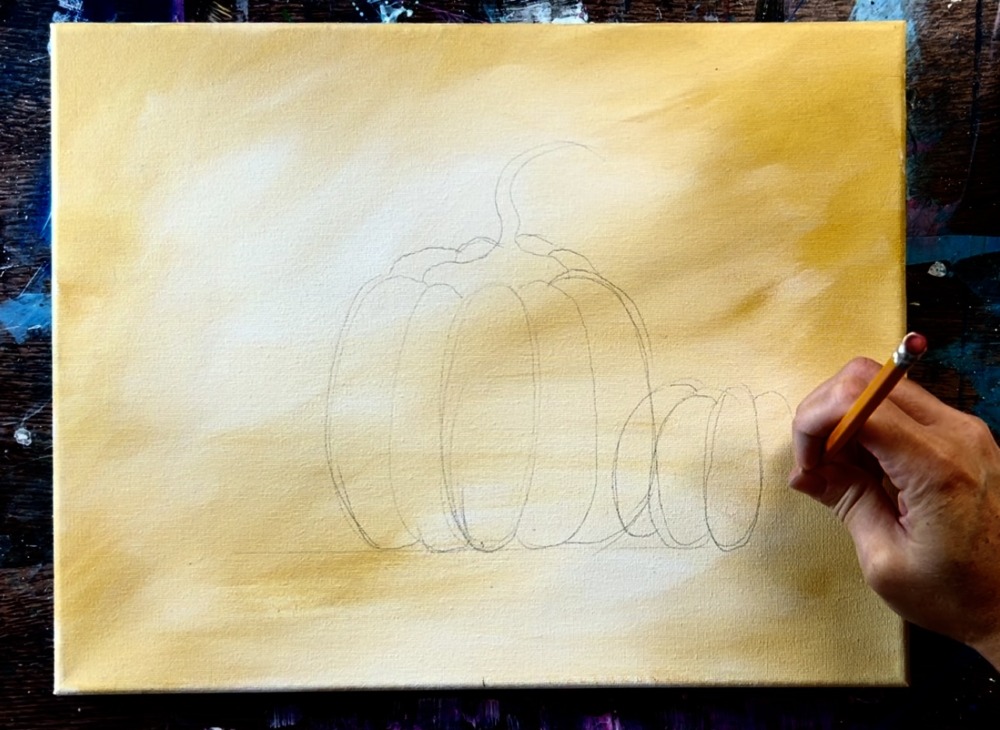

Then draw the pumpkin to the left that also slightly overlaps the middle larger pumpkin.

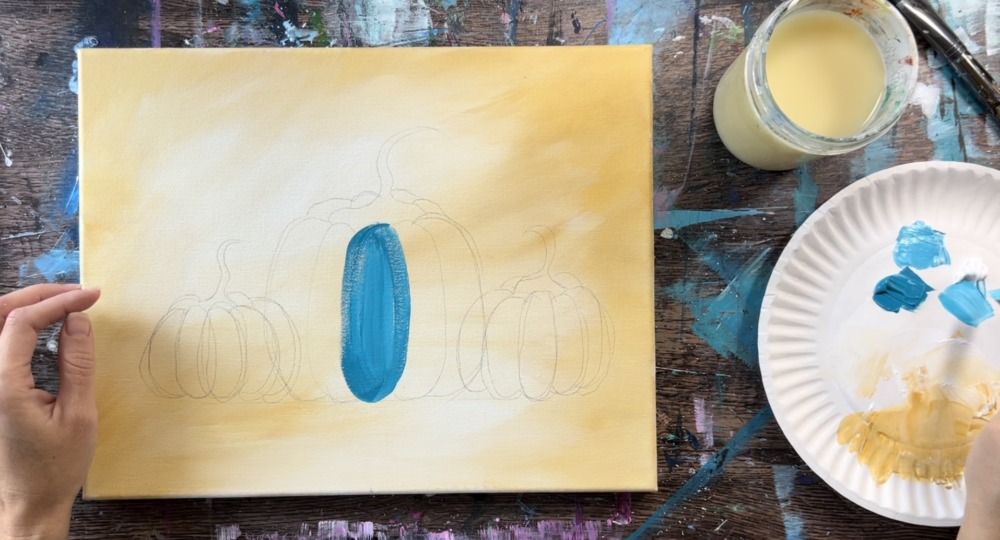
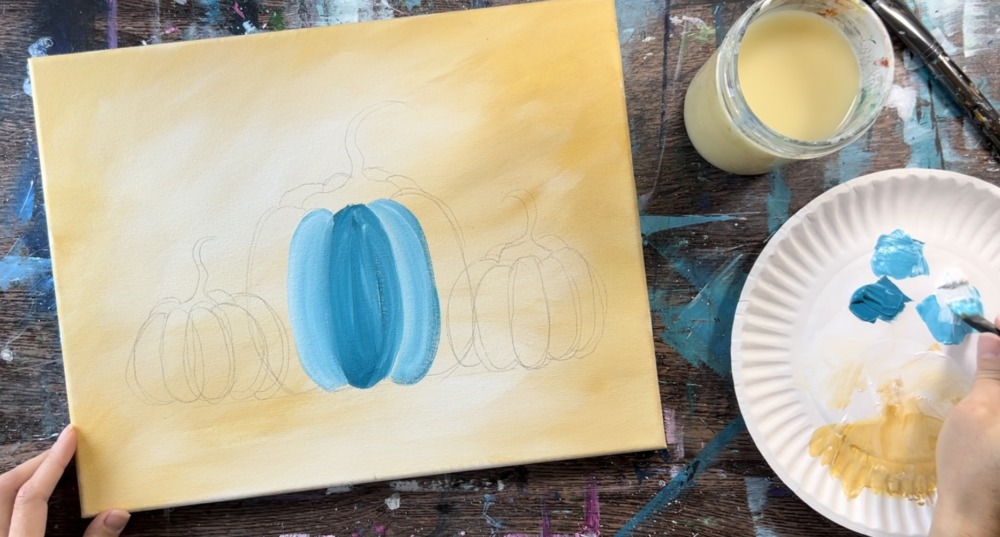
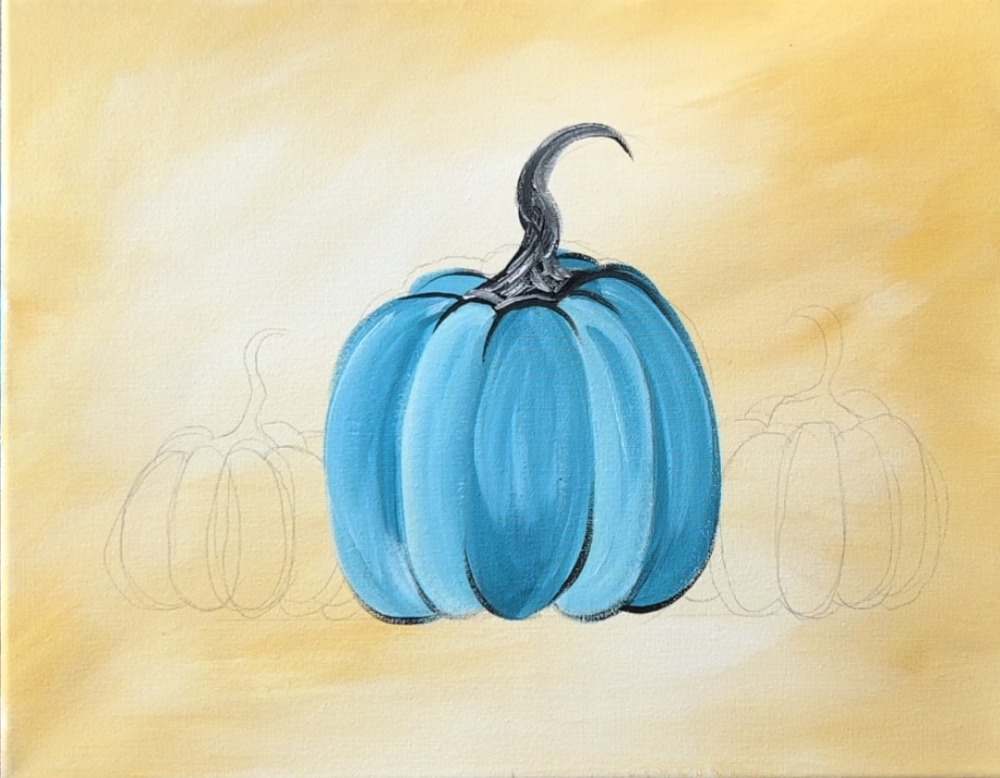
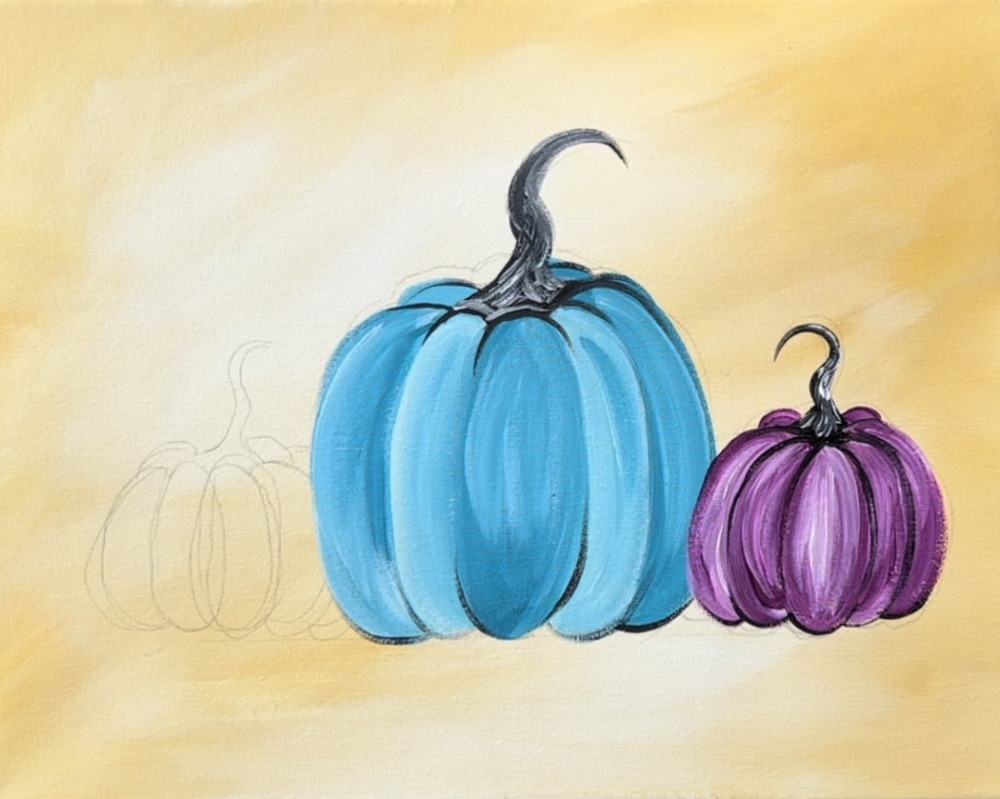
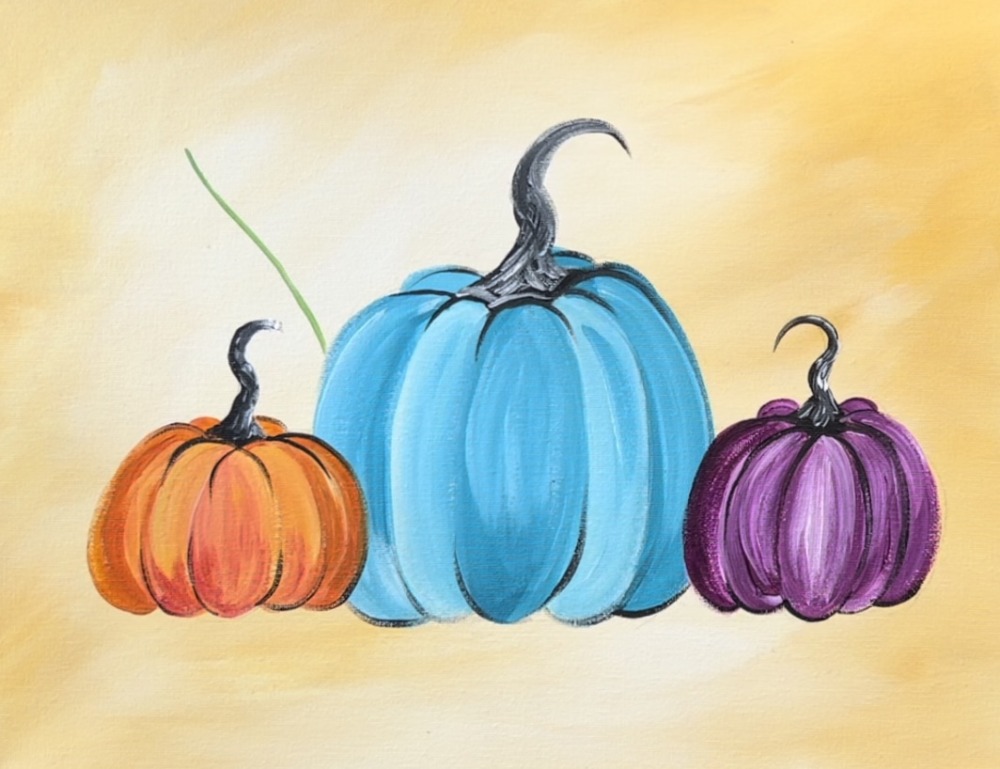
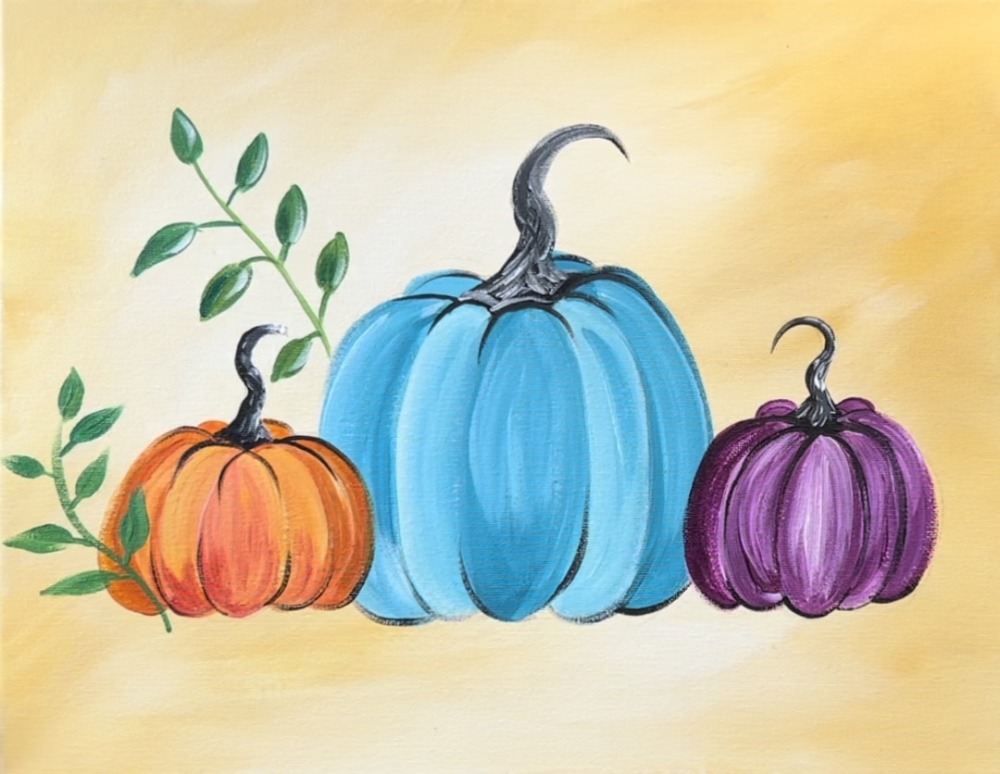
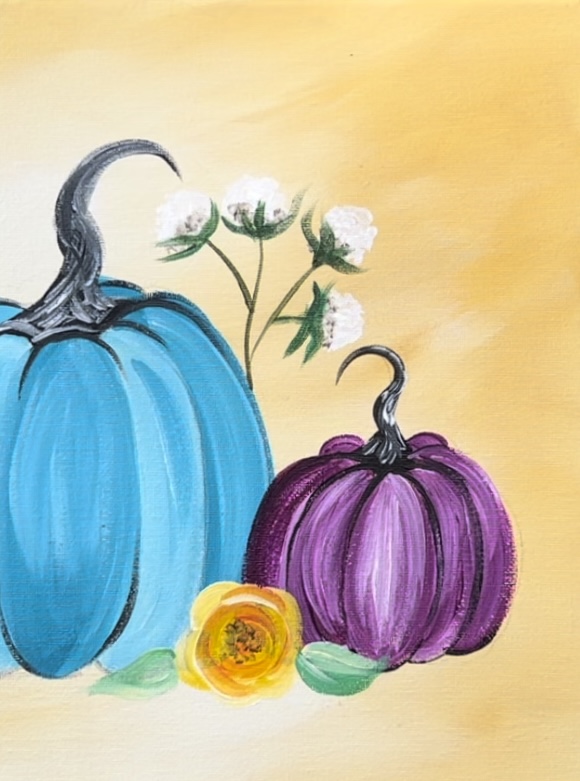
3. Paint Teal Pumpkin
Load your palette with turquoise blue and titanium white. Use the 12 bright brush to mix the turquoise and white together evenly so it makes a lighter turquoise. Paint this pumpkin starting with the middle oval shape. Paint your strokes so they curve downwards and go in an oval direction.
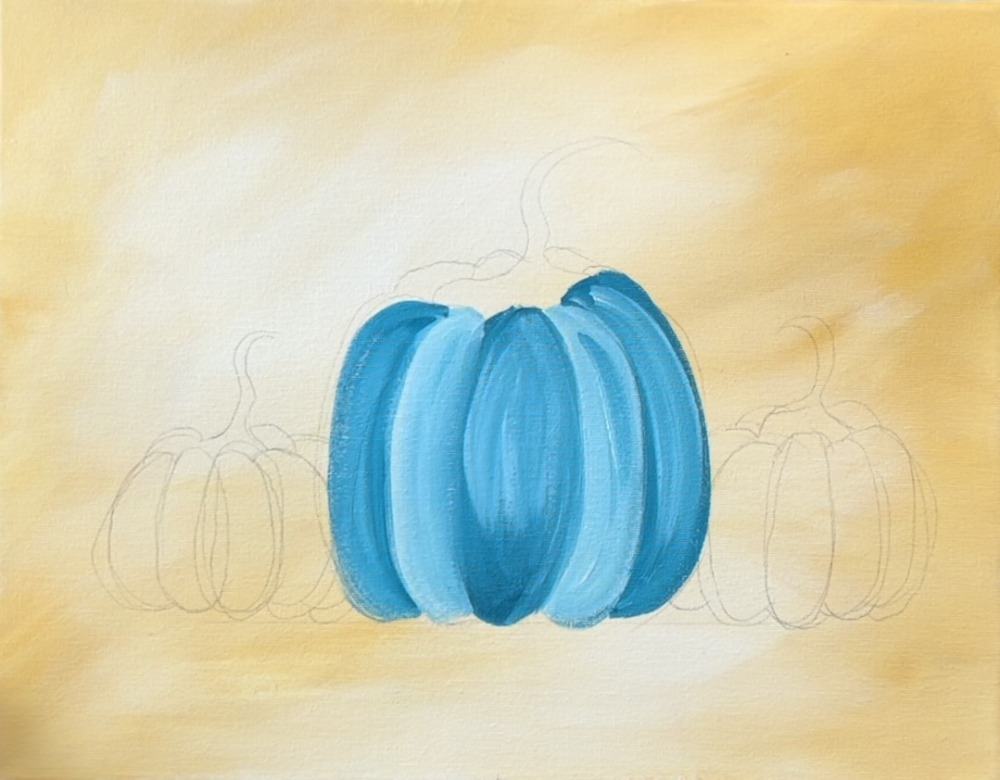
Then paint the next two curves on the pumpkin. This time, add more white to your brush so the paint shows up lighter and contrasts against the darker center oval and stands out. Use the brush to paint a long curved stroke that either starts at the top or the bottom.
Repeat this technique painting one “pumpkin curve” at a time. You’ll want to make sure you are varying the turquoise so that each is slightly darker or lighter and stands out from each other. Also, you can add bits of white and gently blend that with the turquoise colors to create more smooth texture and “shine”.
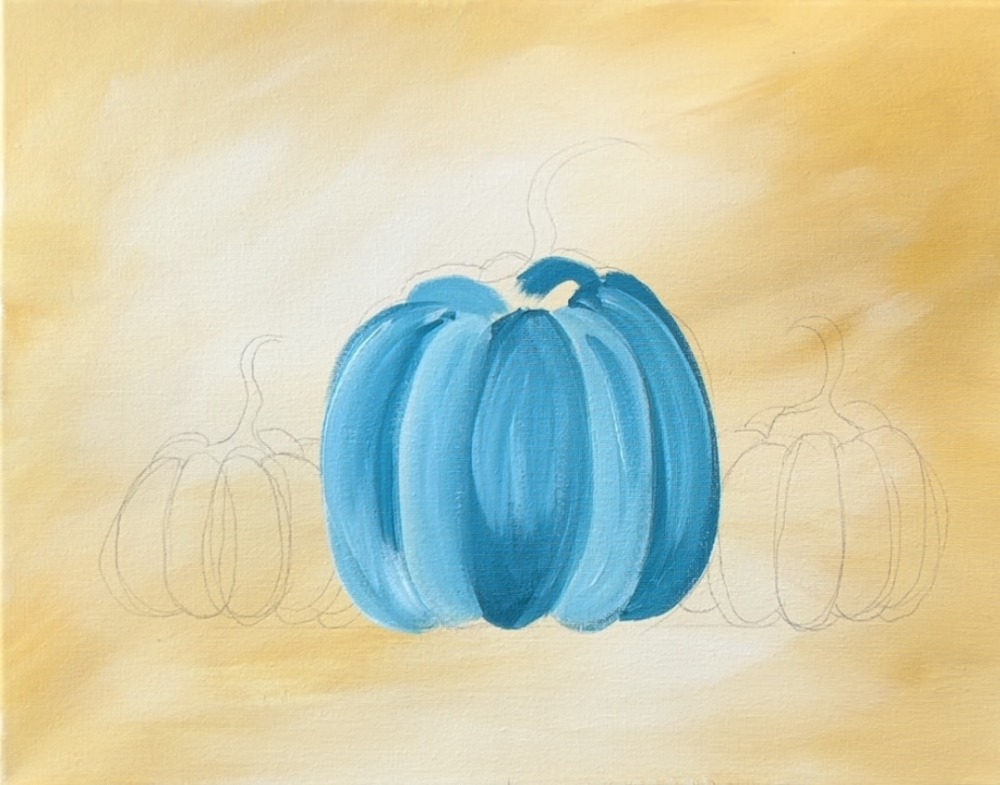
Paint the pumpkin bumps in the back behind the stem.
Then switch to a #4 round brush and mars black to paint the stem. Paint the base of the stem so that it “scallops” and hugs the top part of the pumpkin (the top parts of the pumpkin curves define the bottom of the pumpkin stem). Then paint the stem so that it curves to the right and goes to a point.
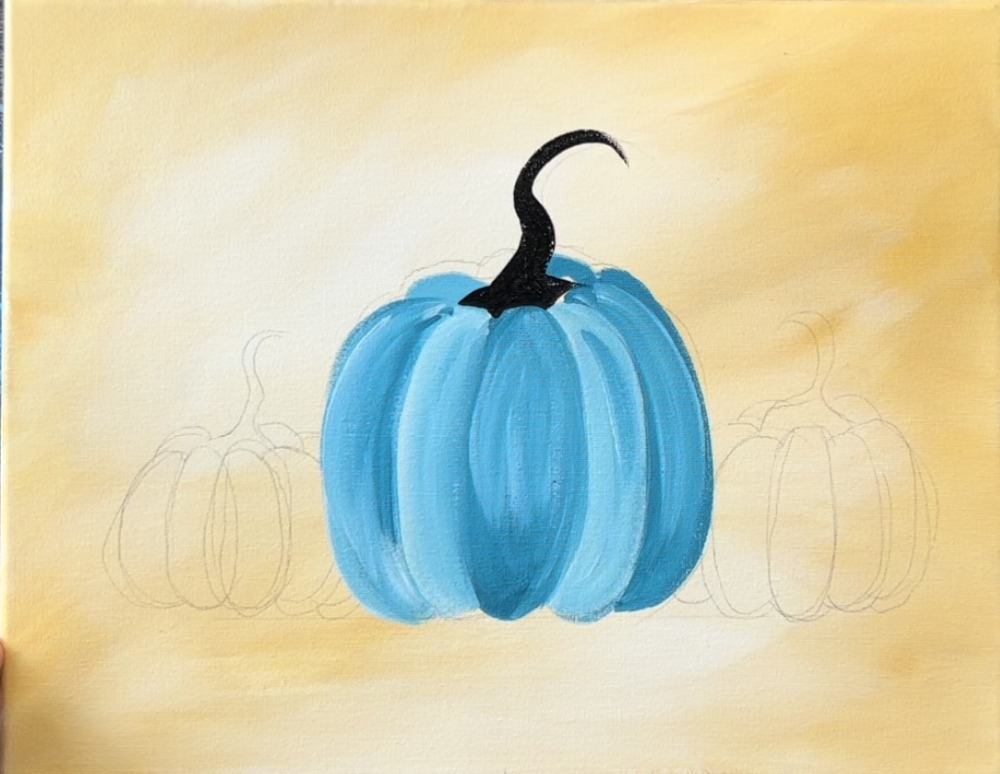
Add titanium white to the brush without rinsing the brush. Loosely paint “twisty lines” on the stem that blend with the black. This will create some texture on the black stem.

Then use the black to loosely outline the top bumps of the pumpkin as well as the bottom. You don’t need to outline the entire curve.

Then I added a little more white texture marks to the stem with short sketch-like strokes.
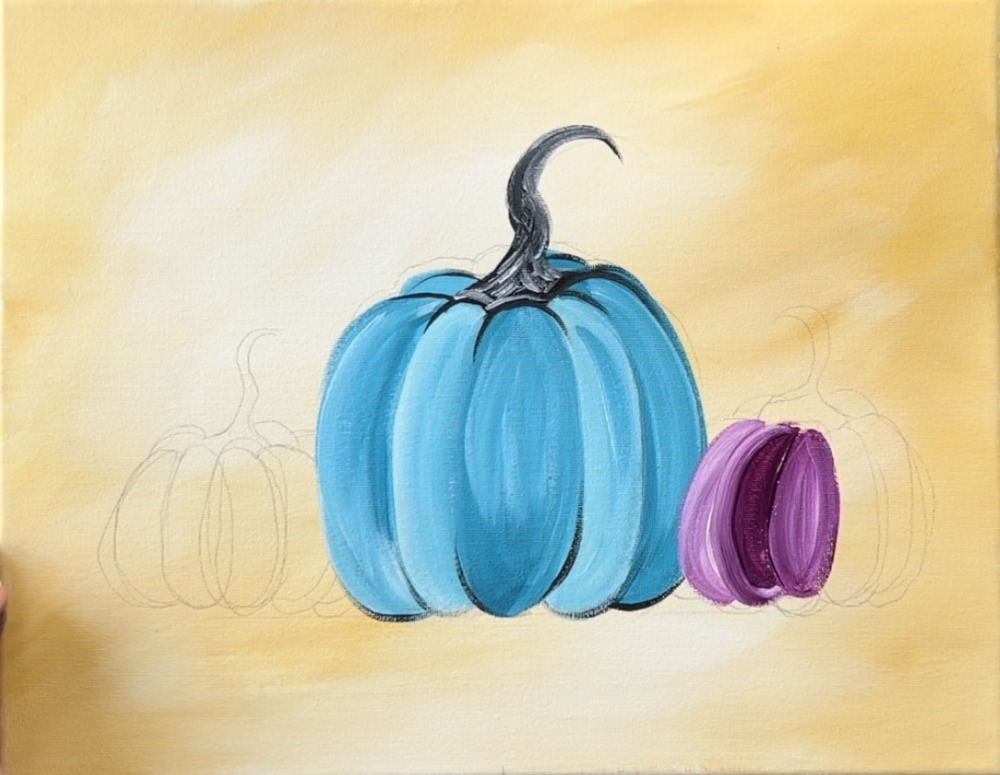
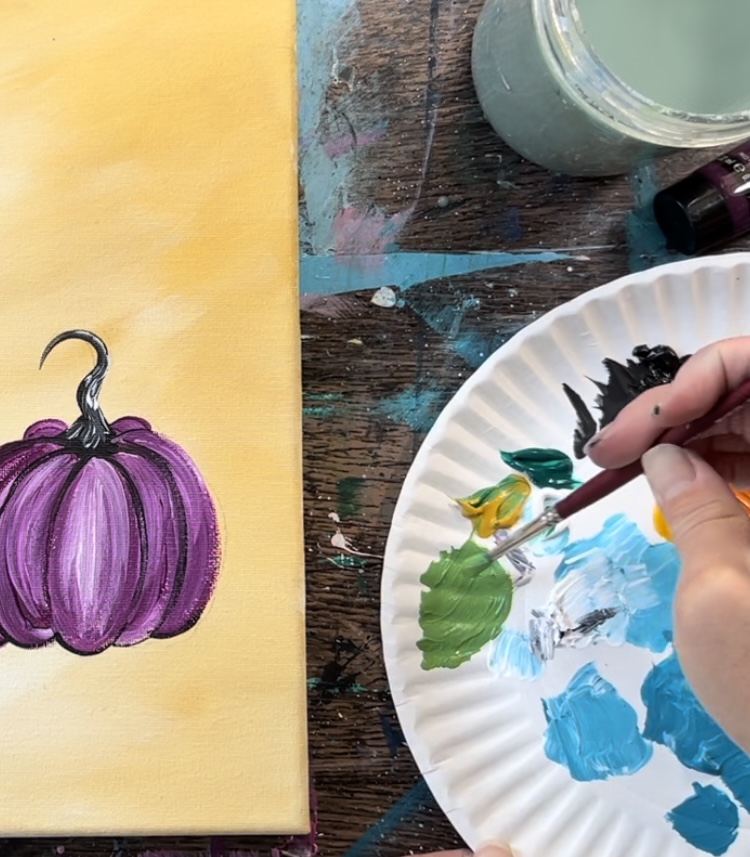
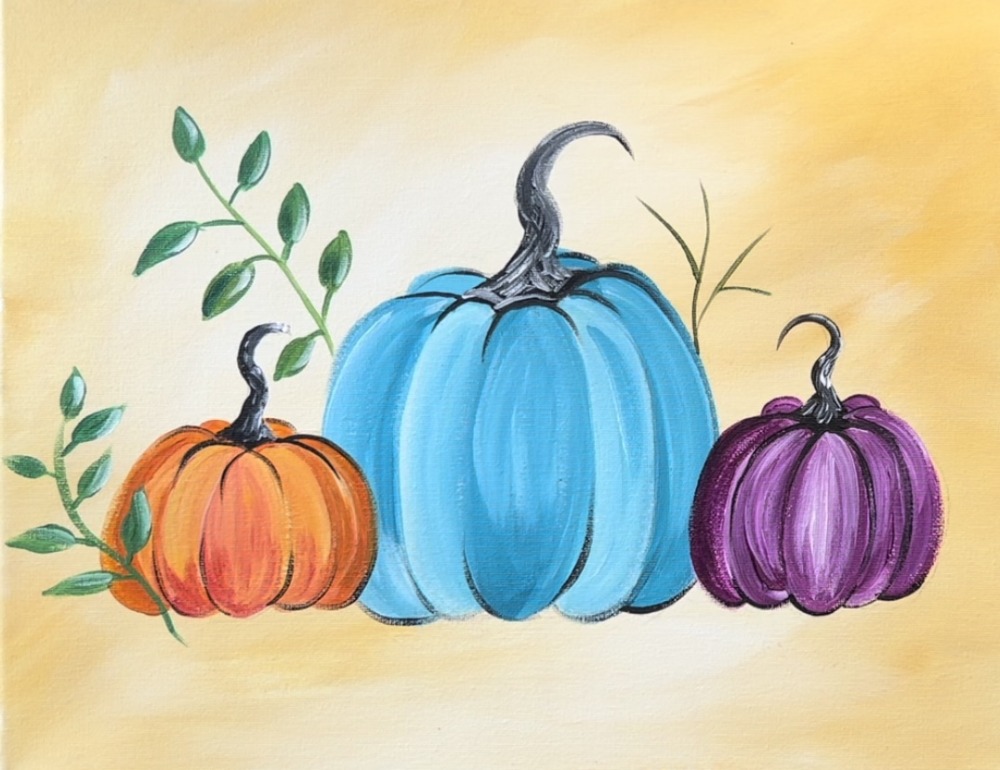
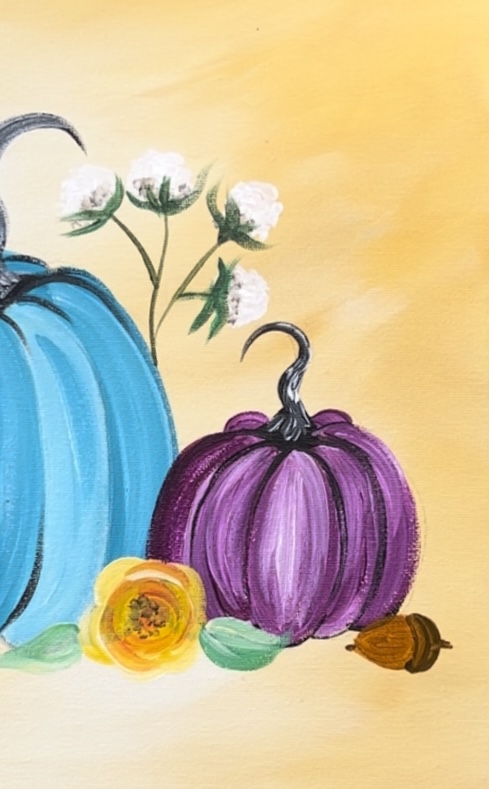
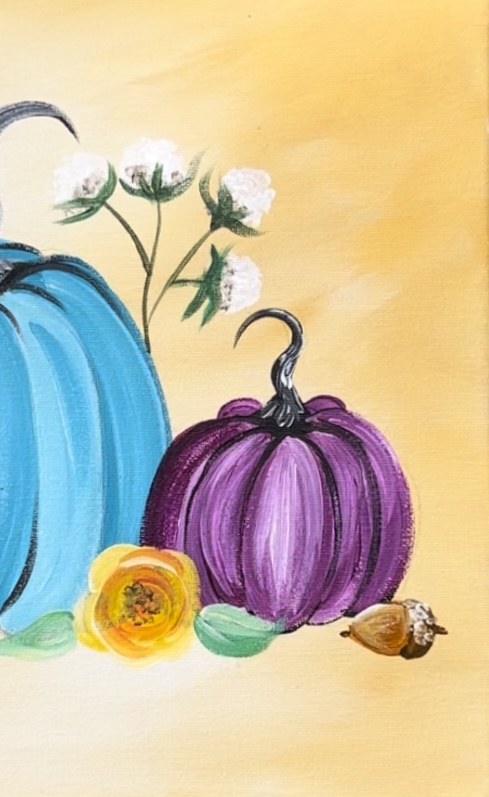
4. Paint Purple Pumpkin
Paint the purple pumpkin using the same technique you used to paint the turquoise pumpkin. Load your palette with deep violet. Use the #4 round brush to paint this pumpkin. The smaller brush is helpful for the smaller pumpkin.

Paint the center oval of the pumpkin first.

Then paint the curved bump lines to the left and right of the center. Alter the color by painting each bump a different combination of purple and white. For example, the curve next to the center was painted darker with more purple. The one to the left of it was painted lighter with more white.
Paint each curve of the pumpkin with strokes that are going in a curved direction. The colors blend on the canvas but do not over blend the colors.
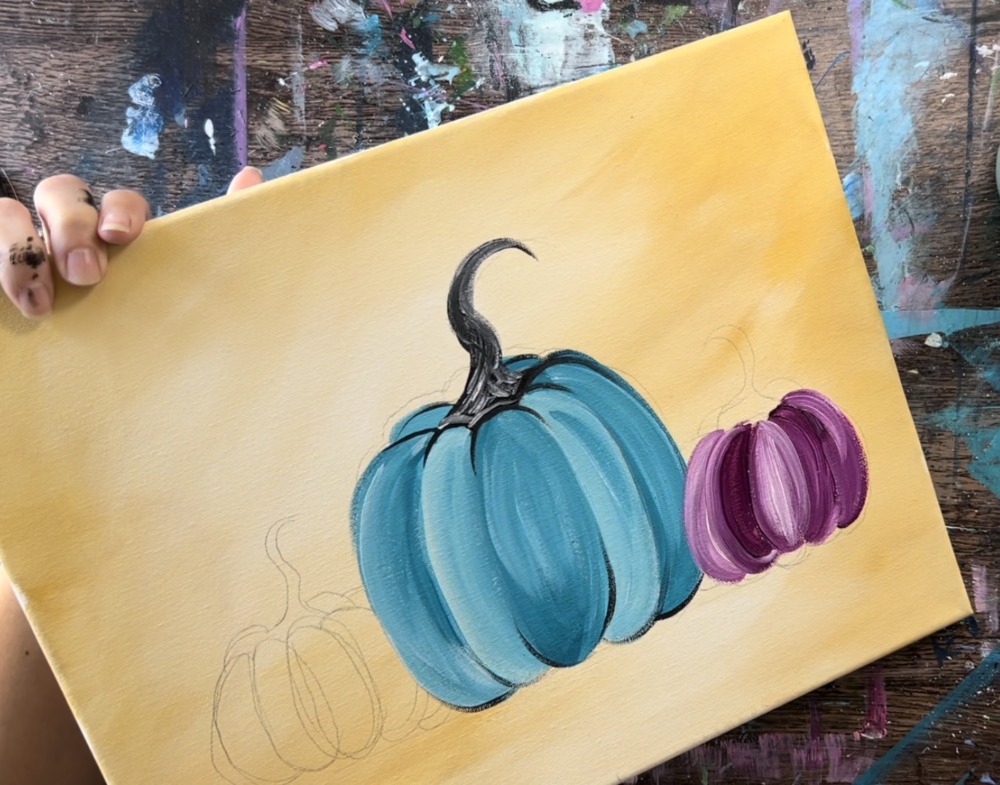
You can also blend a little titanium white in each of the curves to make it look a little “shiny”.

Then paint the stem of the pumpkin using the #4 round brush and mars black. Do this the same way you painted the turquoise pumpkin.

Then use titanium white on your #4 round brush to paint texture on the stem.
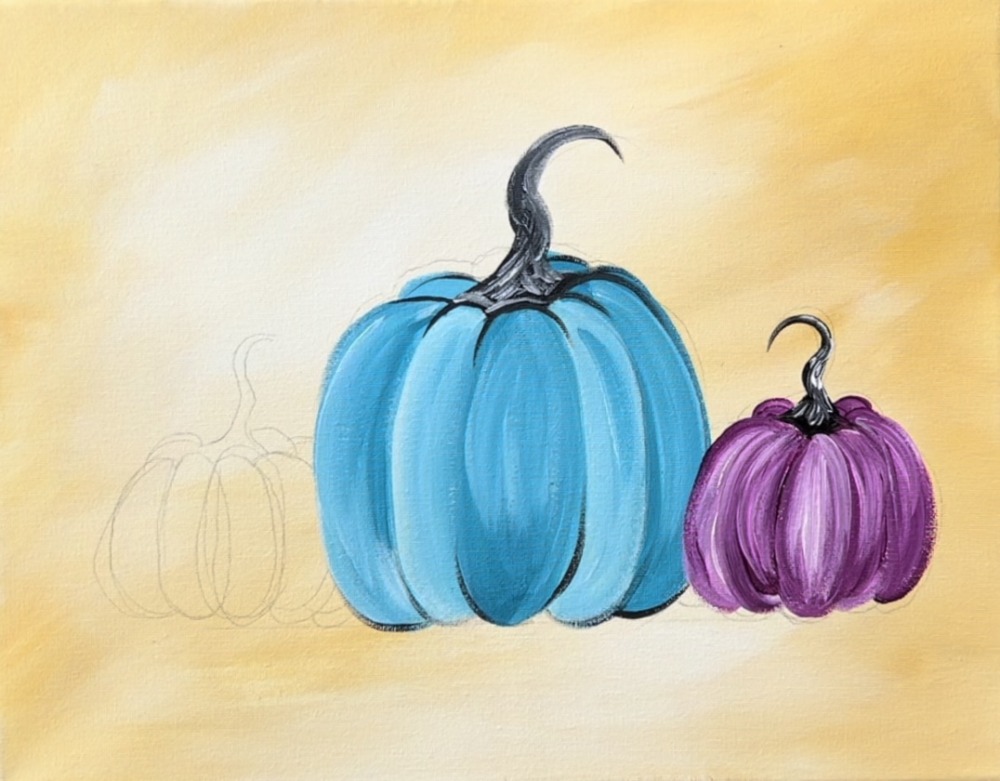
Paint the curved lines on the top and bottom in between the bumps of the pumpkin to slightly outline them. This allows the ridges of the pumpkins to stand out from each other better.
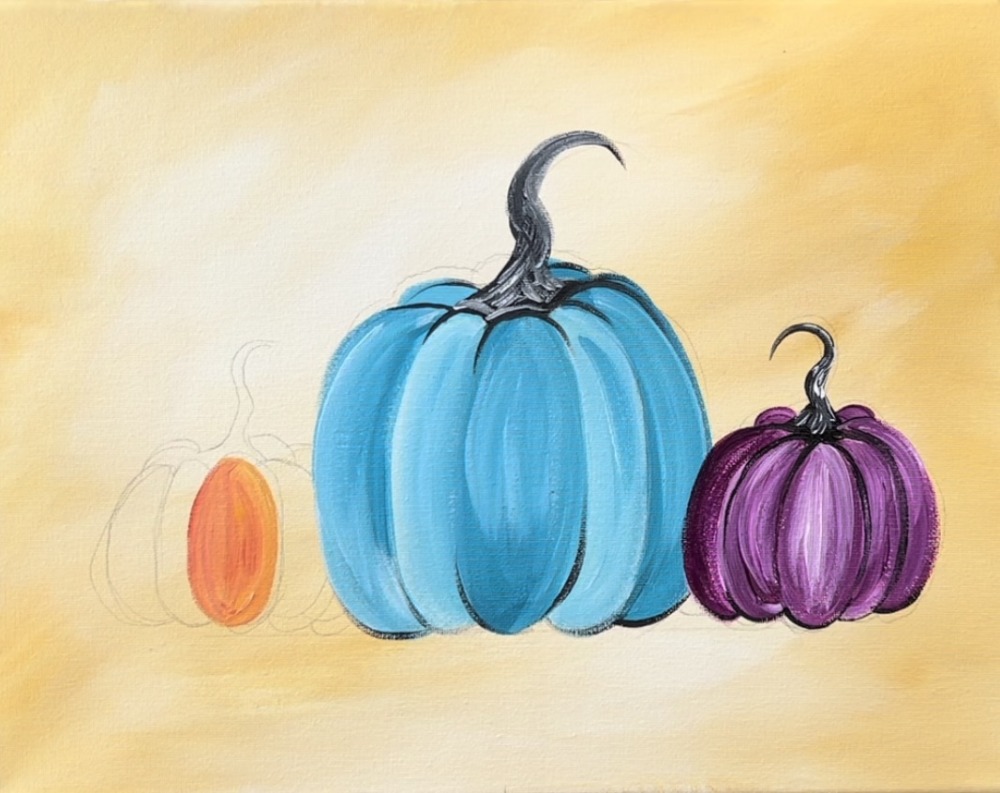
5. Paint Orange Pumpkin
Load your palette with: primary red and cadmium yellow deep hue. Use the #4 round brush to mix equal amounts of the two colors together. Then add a small amount of titanium white into the orange color to lighten it up. You will be using this orange and white combination to paint the orange pumpkin using the same technique as the other two pumpkins.

Paint the center of the pumpkin first with paint strokes going in an oval direction.
Then add more white and/or more yellow to the brush to paint the curves on the left and right of the center oval.
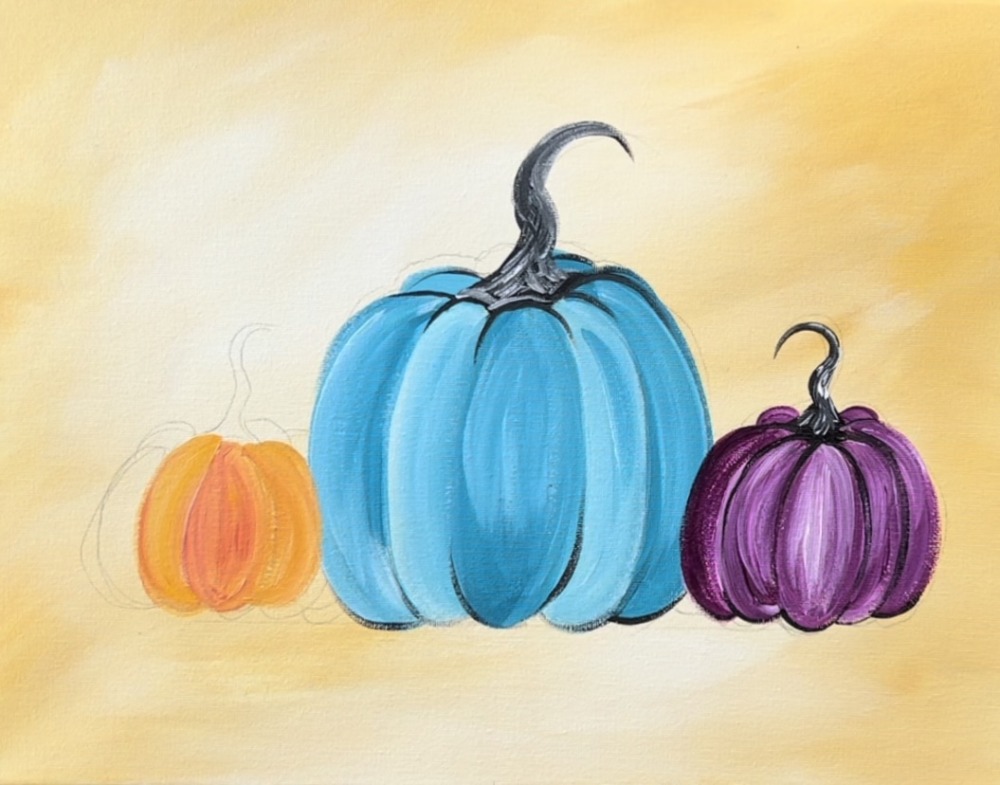
As you paint each of the curves of the pumpkin, change the color so that it appears darker or lighter so that each of the curves stand out from one another.
To help with coverage over the blue pumpkin (where it overlaps), add a little bit of titanium white to the orange.
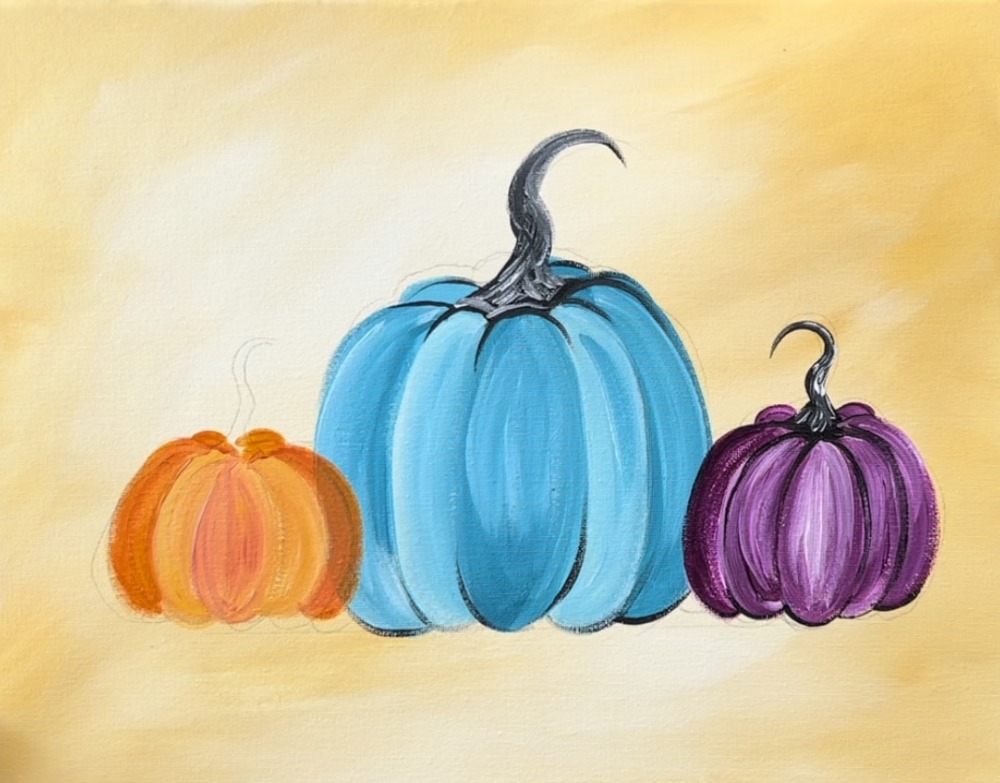
Then use mars black to paint the stem of the pumpkin and add white texture to it.

Then loosely outline the top and bottom of the pumpkin.

6. Paint Stems & Leaves
Load your palette with: “phthalo green” and “yellow oxide”. Mix equal parts phthalo green and yellow oxide. Then add a bit of titanium white to the green. It will make a warm, light green color.
Use the #4 round brush to paint the center part of the stem diagonally outwards from the turquoise pumpkin and then behind the pumpkin.

Then paint small stems that go diagonally outwards from the first green line. Paint small pointed leaves on each of those stems.


Add highlight and shadow to each of the leaves. Paint the right side of the leaves a very light green (add white to the brush without rinsing it so it shows up very light green, almost white). Then on the other side of each of the leaves, paint a dark green curve with the phthalo green.

Repeat these steps to paint another green leaf twig piece that goes in front of the orange pumpkin.

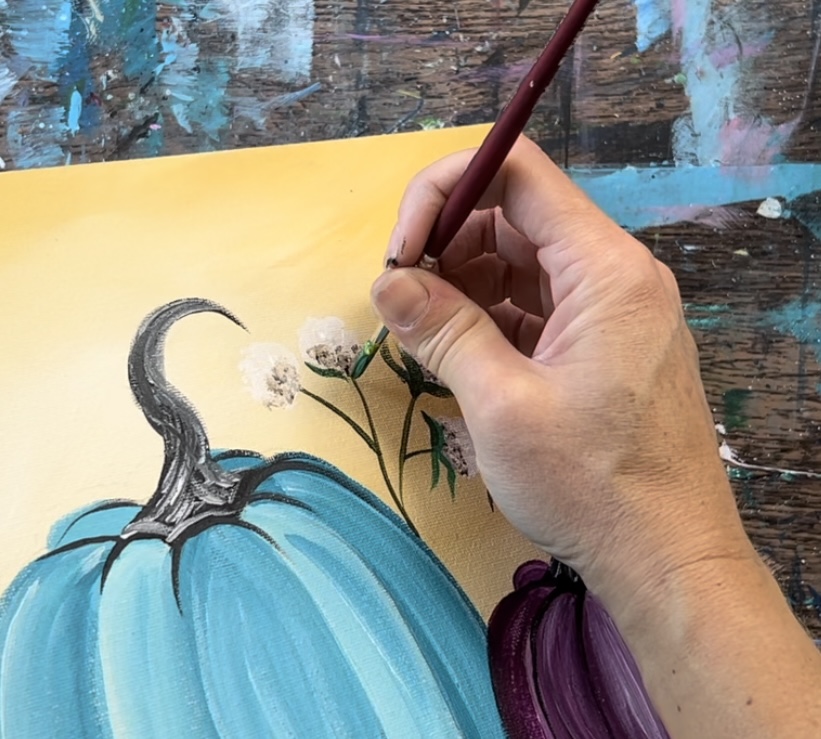
7. Paint Cotton Bolls
Add raw umber to your palette. Then mix the brown with the green on your palette. Paint branches on the right of the blue pumpkin.
Then load fresh titanium white onto your palette. Use the #4 round brush to paint little dot paint strokes to form cotton balls on the tips of each of the branches.
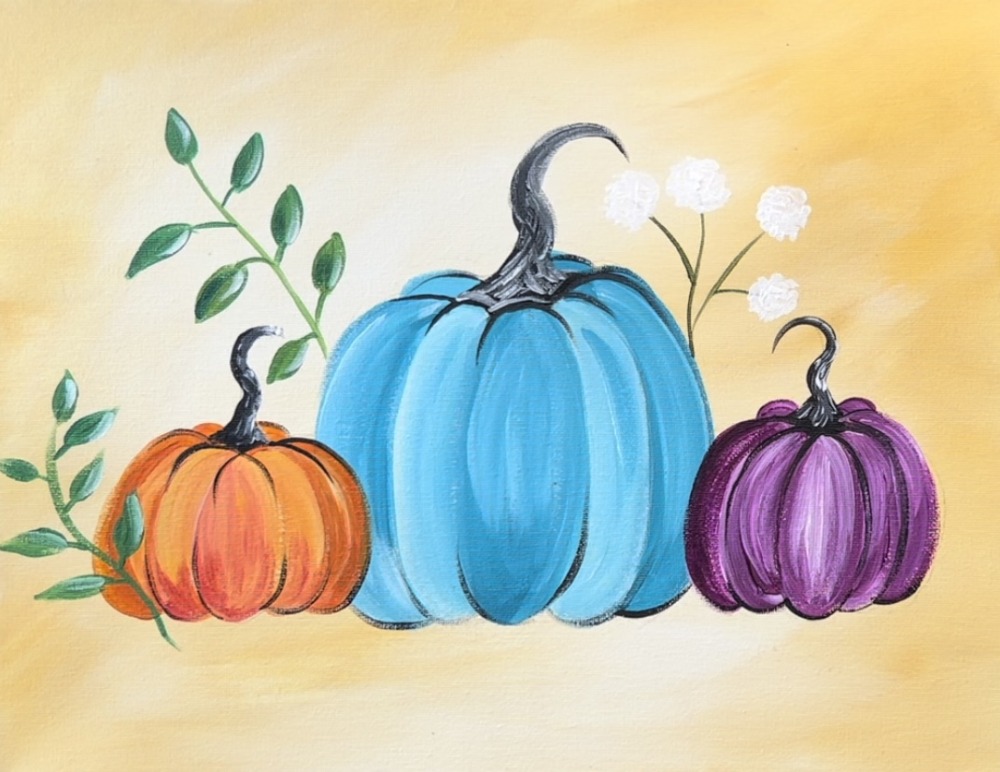
Add a little bit of dark to the bottom of each of the cotton pieces by adding a little bit of brown to the brush and painting little brown dots. This will blend with the white slightly.

Wait for this to dry before painting the sepal (leaf) part of the flower.
8. Paint Flowers
The two flowers on the base of the pumpkins are an abstract style rose flower. One is a dark pink color and the other yellow.
On your palette, mix equal parts primary red and titanium white. This will make a medium to dark pink color. Use the #4 round brush to paint a small circle.
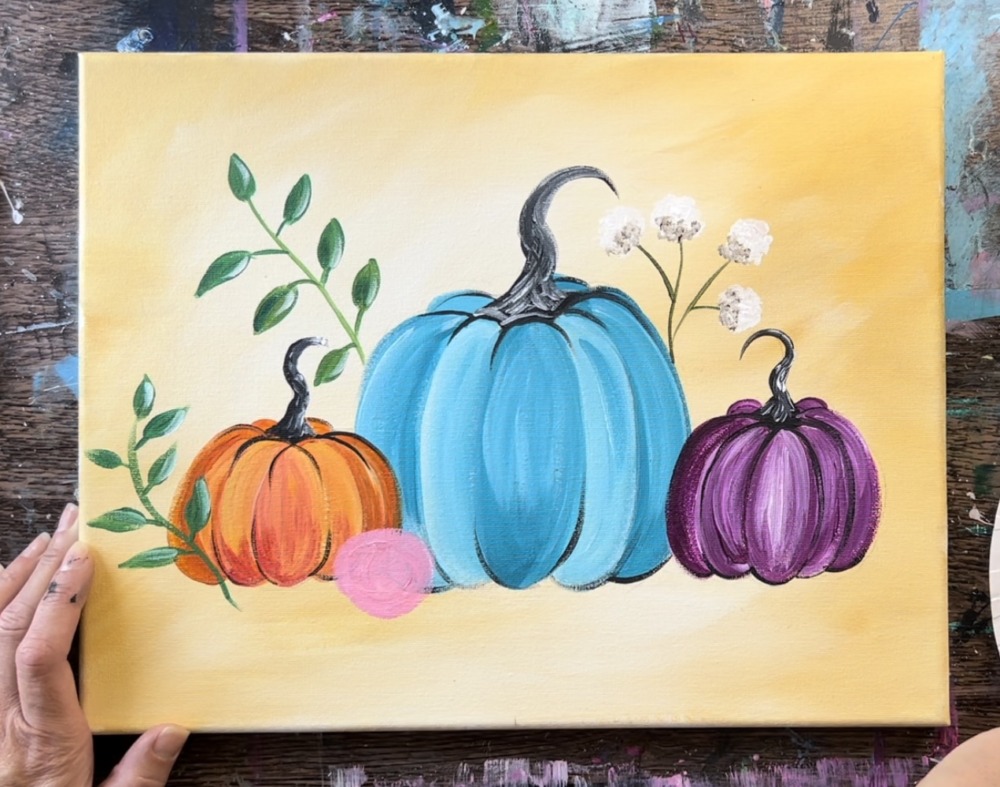
Then use just the primary red to paint curved “c stroke” lines starting in the center of the flower. Stagger them outwards to form the rose.

Then add some white on the outside part of the rose to make the petals lighter on the edges of the rose.

Add dark brown dots in the center of the flower.
Paint the yellow rose using the same technique. Load your palette with cadmium yellow deep hue and mix a little titanium white into the yellow.
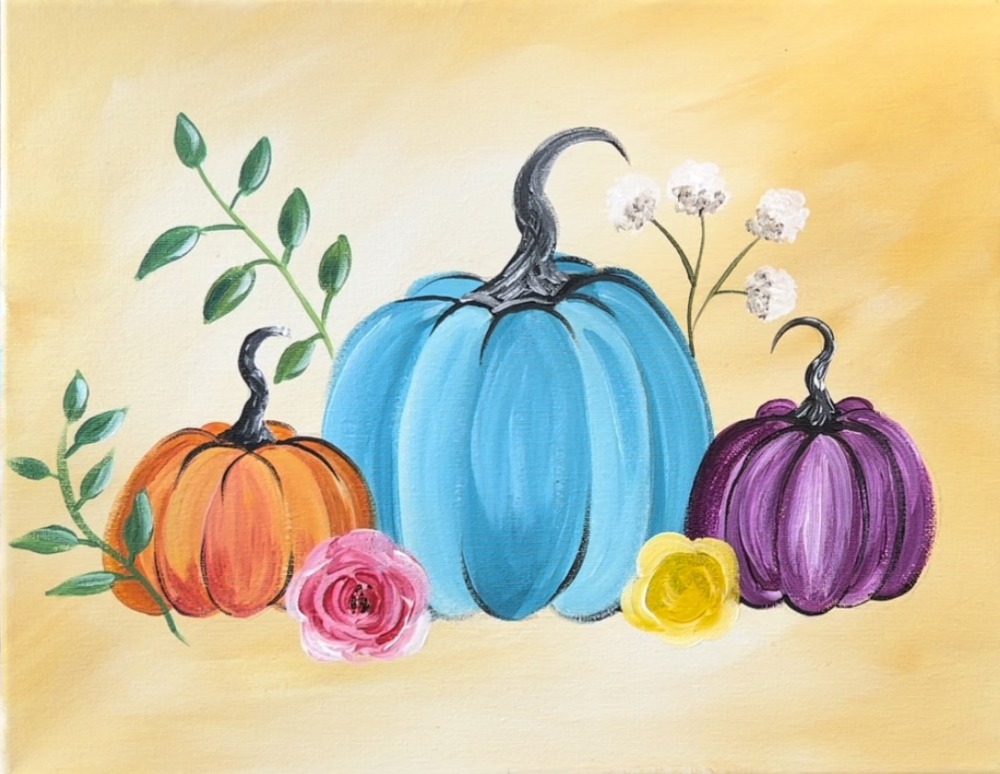
Then make an orange on your palette (primary red mixed with yellow). Use the round brush to paint “c strokes” starting from the center of the rose and paint them outwards. Then paint brown dots in the center of this rose.
Next, paint green leaves on the sides of each of the roses. Use the #4 round brush and the same green you used for the other leaves. Add lighter green on one side of each of the leaves.

Then paint the leaves that are at the base of the cotton boll flowers. Use the same green on your palette. Paint thin and curvy pointed leaves on the bottom of each of the cotton boll flowers.
9. Paint Acorns
Use the raw umber to paint the acorns. To make the lighter brown, mix yellow oxide and titanium white into the raw umber. This will make a lighter golden brown. To paint the top part, use just the raw umber color.

Then use titanium white to add texture on the top part of the acorn (the darker part). Paint little white dots on one side and blend it in with the rest of the dark brown. Then paint a white highlight on the top part of the lighter area. Paint a curved line and blend it in with the rest of the lighter brown.
Then paint the next acorn using the same techniques
10. Paint Texture On Ground
This last step is optional. Adding texture on the ground will allow the ground area to look a bit more flat and shadowy under all of the objects. For this step, I used a 12 bright brush and the same colors as the background. I also added a little bit of raw umber into the color.

Use the tip of the bright brush to paint short horizontal strokes to create shadow and texture under the objects.
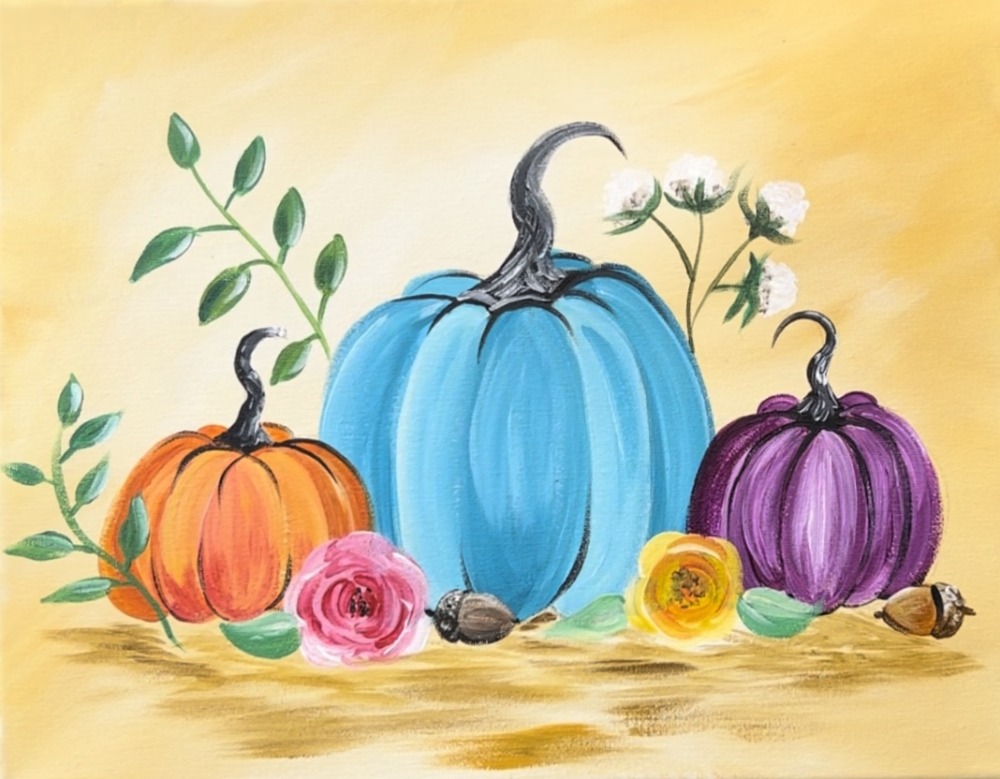
Paint this down to the bottom edge of the canvas but the intention is to not cover all of the background color. Mix a little bit of titanium white into the color as well towards the bottom to help it appear a bit lighter on the bottom.
Finished!
Everything is beautiful, I’m hoping I’ll be able to do something similar to yours.👍👍👍👍👍👍👍👍👍👍😍👍👍