

Would you like to save this?
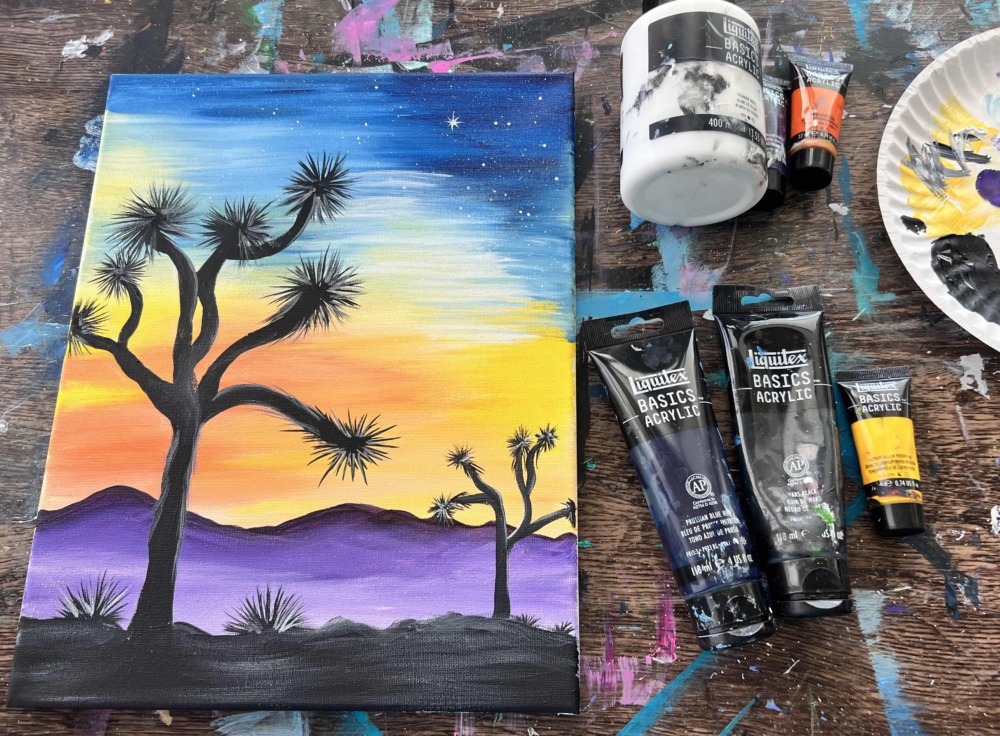
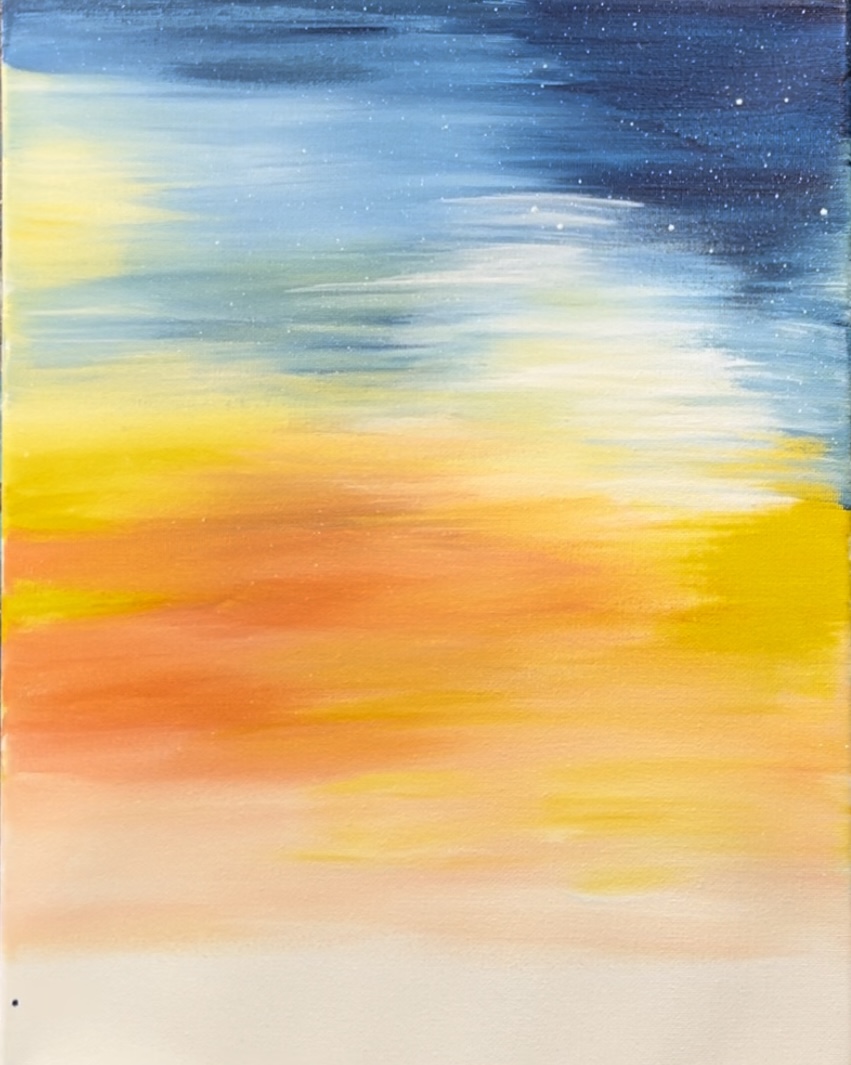
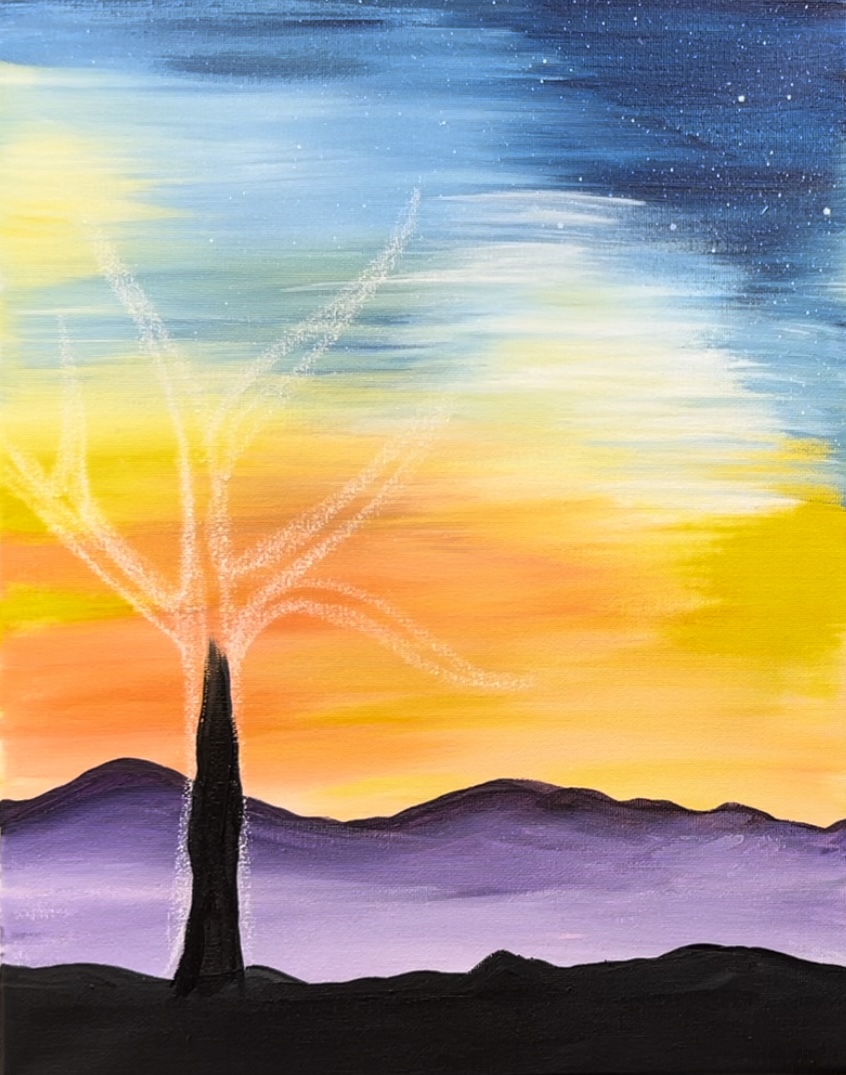
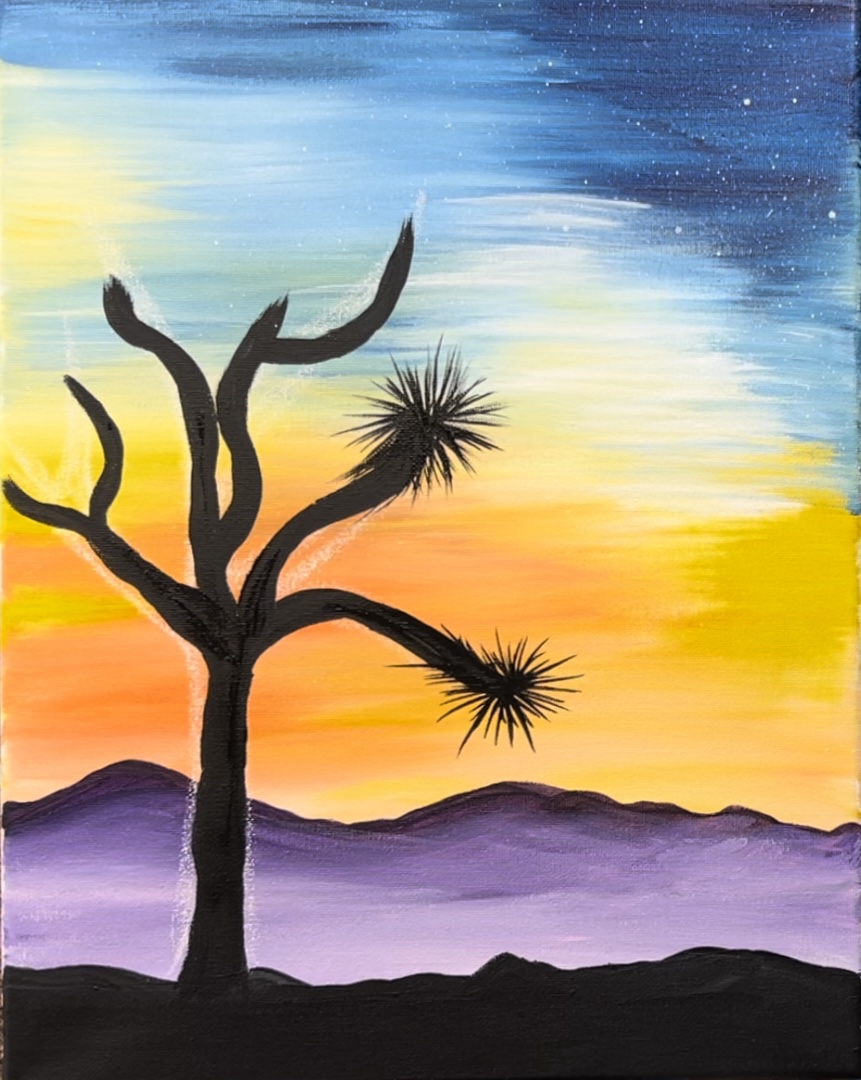
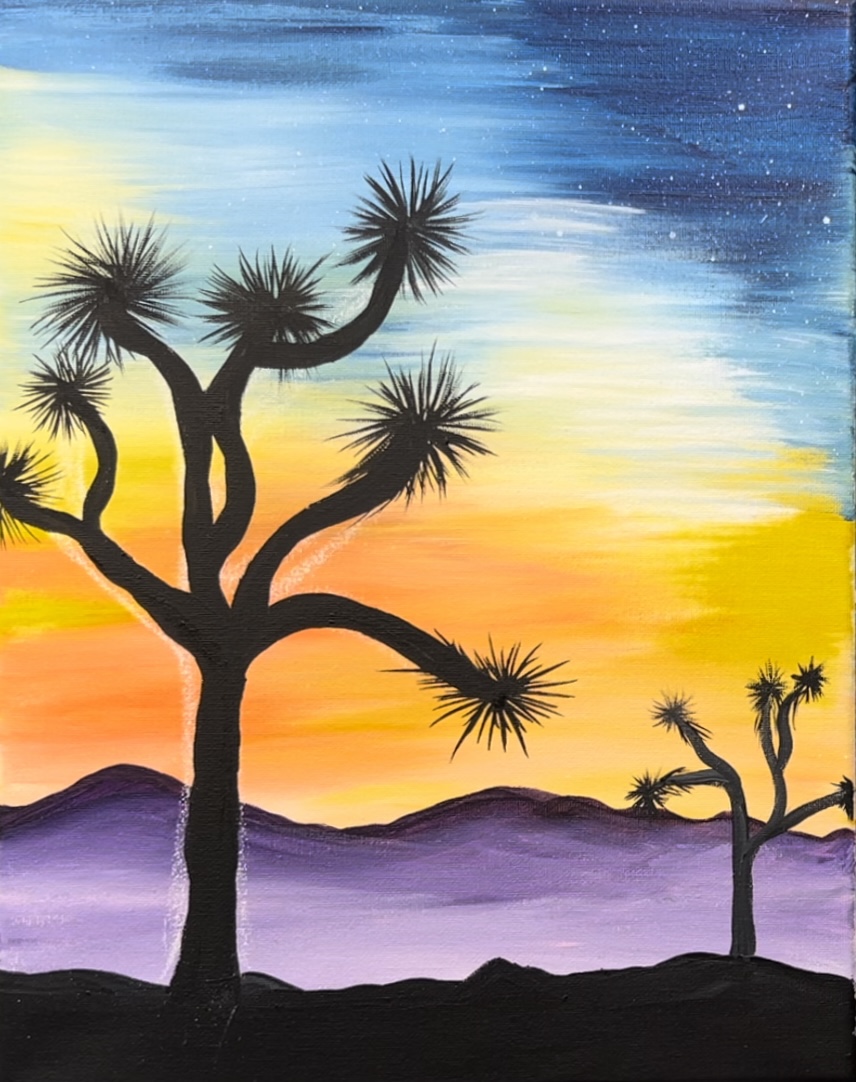
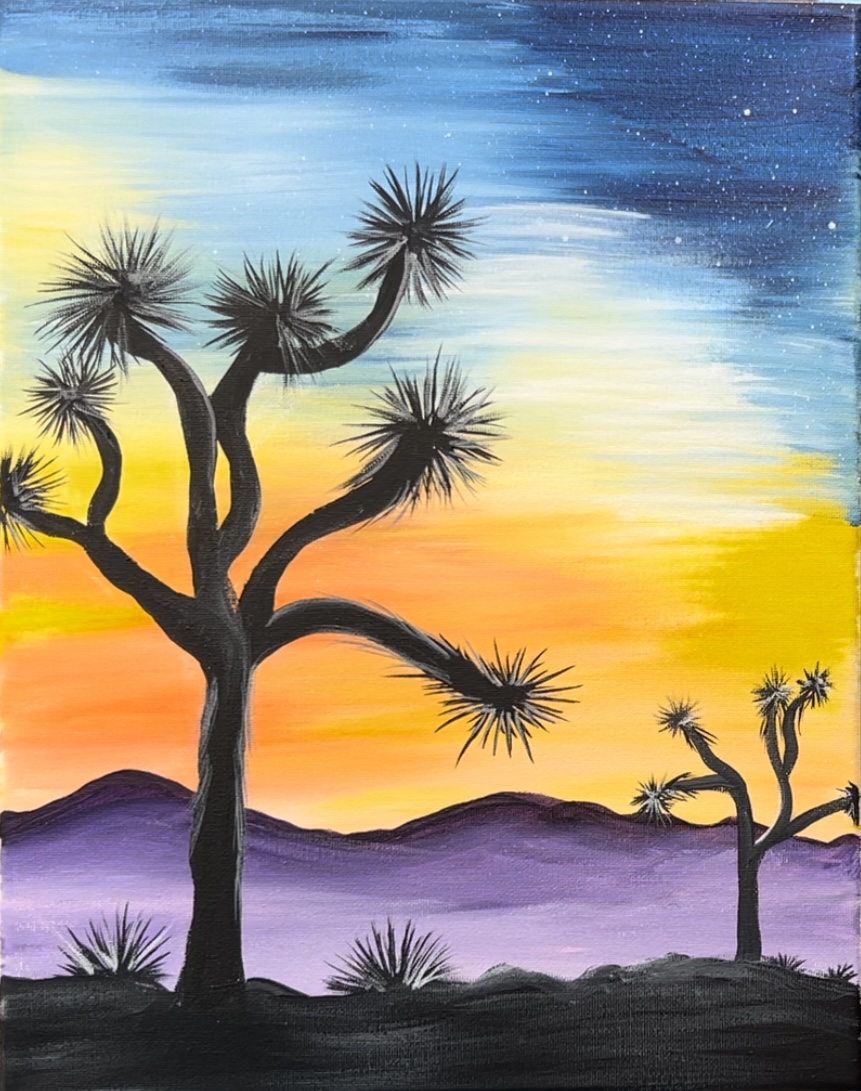
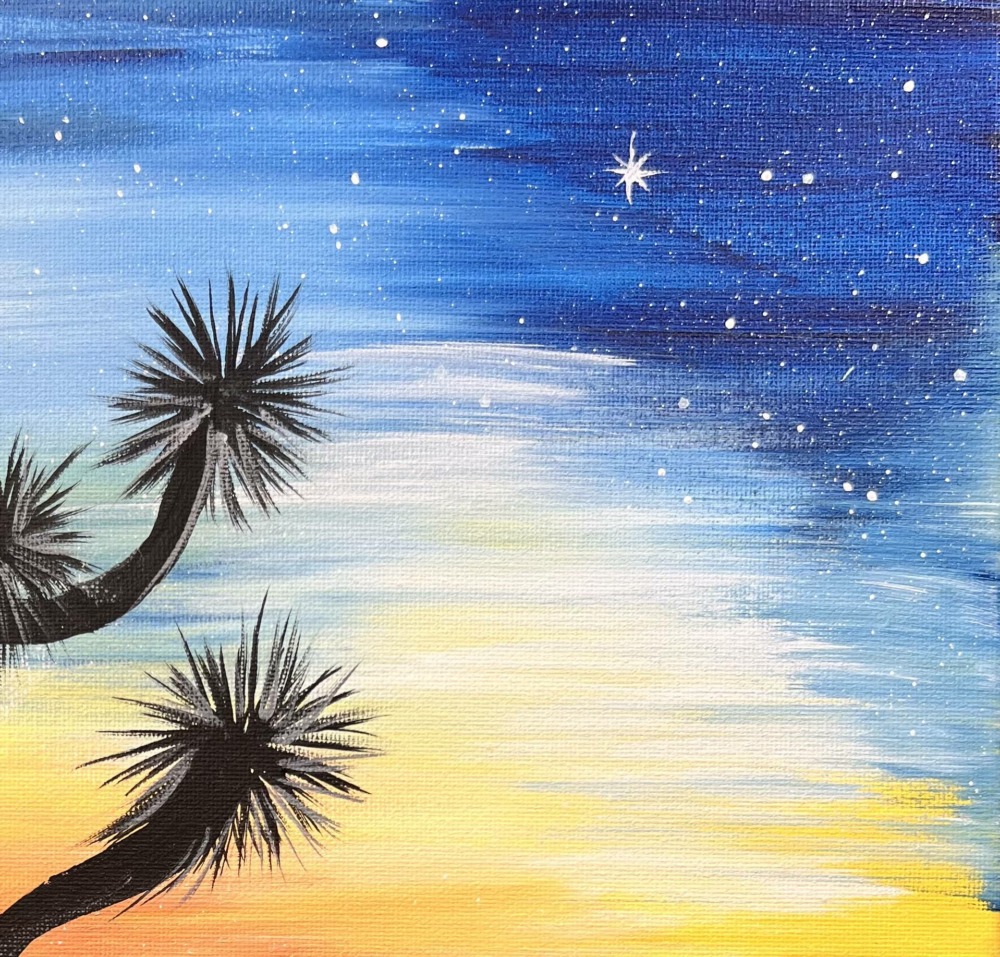
This is an easy level painting of a desert sunset scene with silhouette Joshua Trees!
Joshua trees are beautiful and unique desert trees that can be found in the Southwest United States. They have arms that curve and twist different directions with a spiky ball of leaves at the end of the branches.
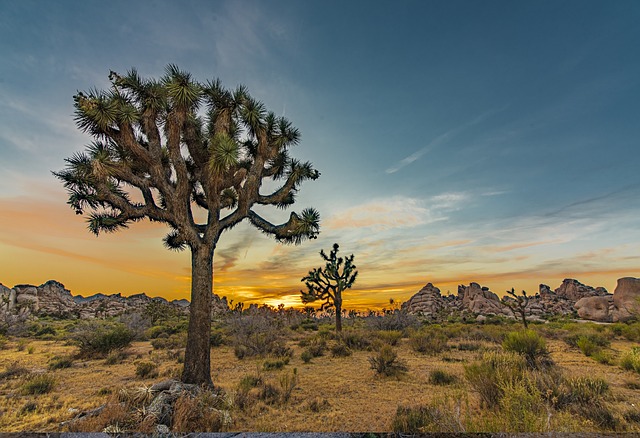
We will be painting a beautiful sunset that also has dark blue and stars at the very top. We will also be doing basic shading and tinting techniques in the purple mountains as well as some “back lighting” for the silhouette shapes of the desert plants.
Enjoy and happy painting!
Materials List:
- 11 x 14 Canvas
- Acrylic Paints
- Acrylic Paint Brushes
- Chalk (optional but it helps for drawing the Joshua tree)
- Ruler
- Paint Palette
- Water Cup
- Protected Workspace
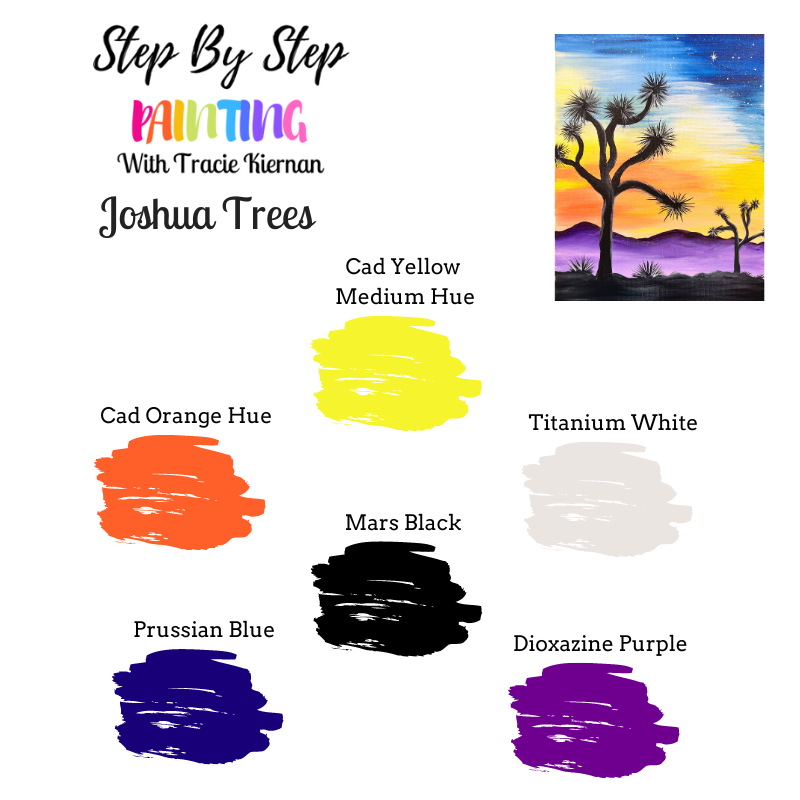
Colors:
- Titanium White
- Mars Black
- Dioxazine Purple
- Cadmium Yellow Medium Hue
- Cadmium Orange Hue
- Prussian Blue
Brushes:
- 1″ Flat Brush
- 12 Bright Brush
- *8 Round Brush
- 4 Round Brush
*You’ll need a brush that has a very fine tip to it. You can also use a liner brush or a tiny detailer brush.
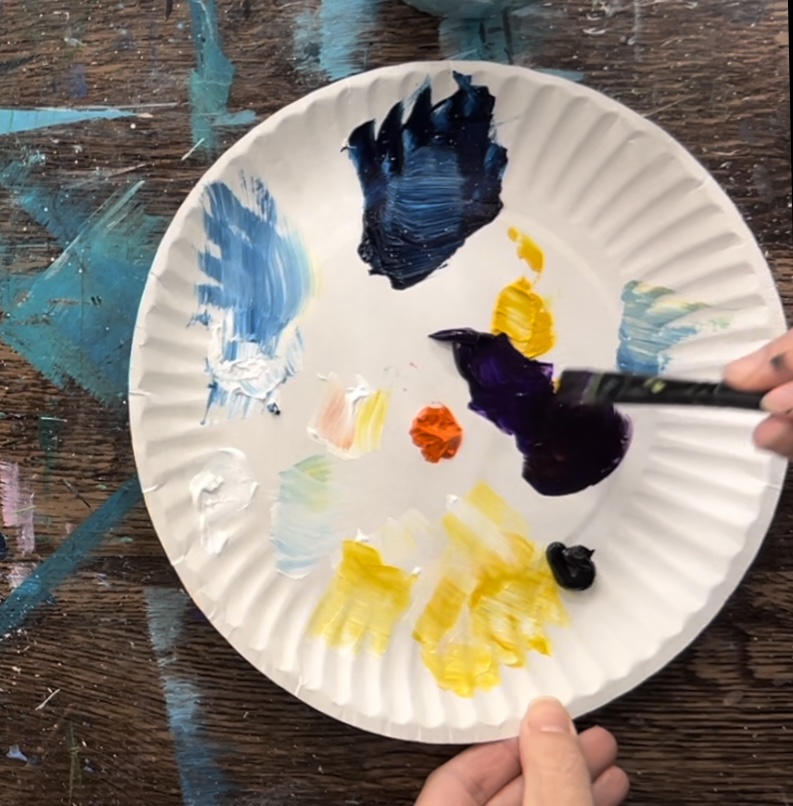
Color Palette
Craft Paint Conversion:
If you are using craft paints such as Apple Barrel Craft Paints, I would recommend subbing to:
- Black
- White
- Jack O Lantern
- Bright Yellow
- Navy Blue
- Purple Iris
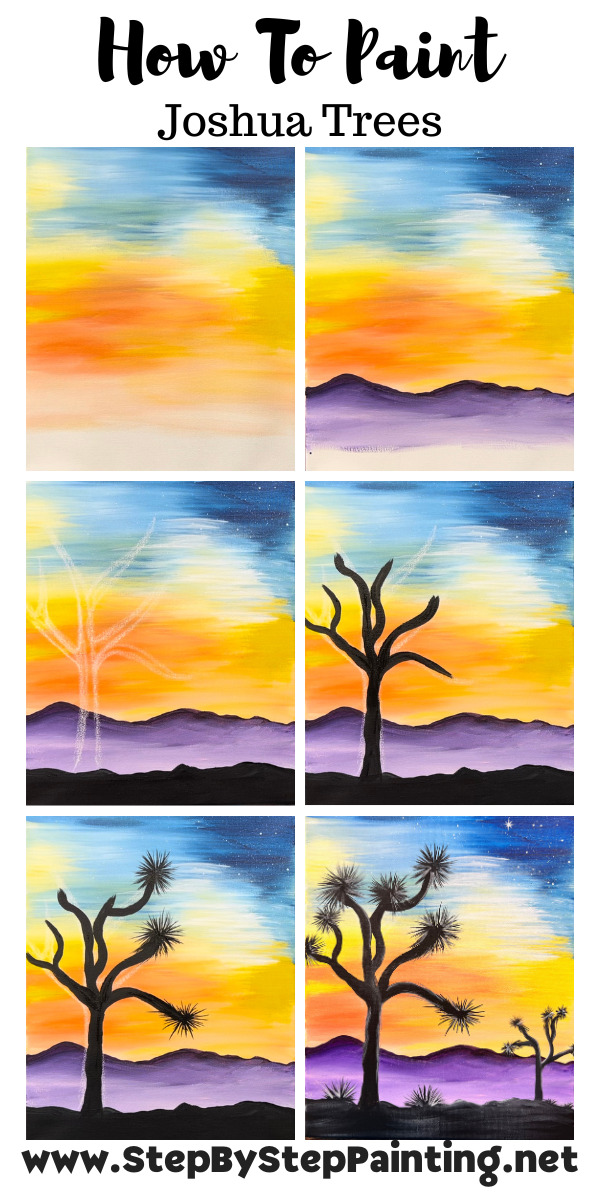
Directions At A Glance
Video
Step By Step Instructions
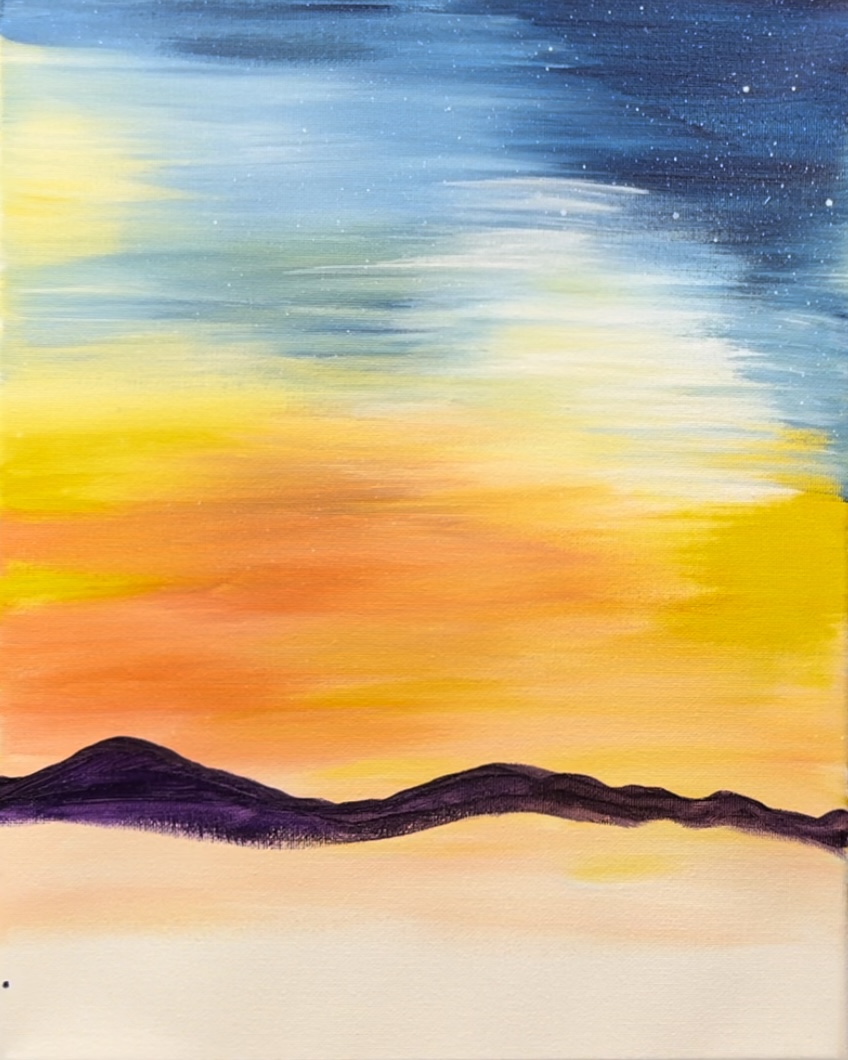
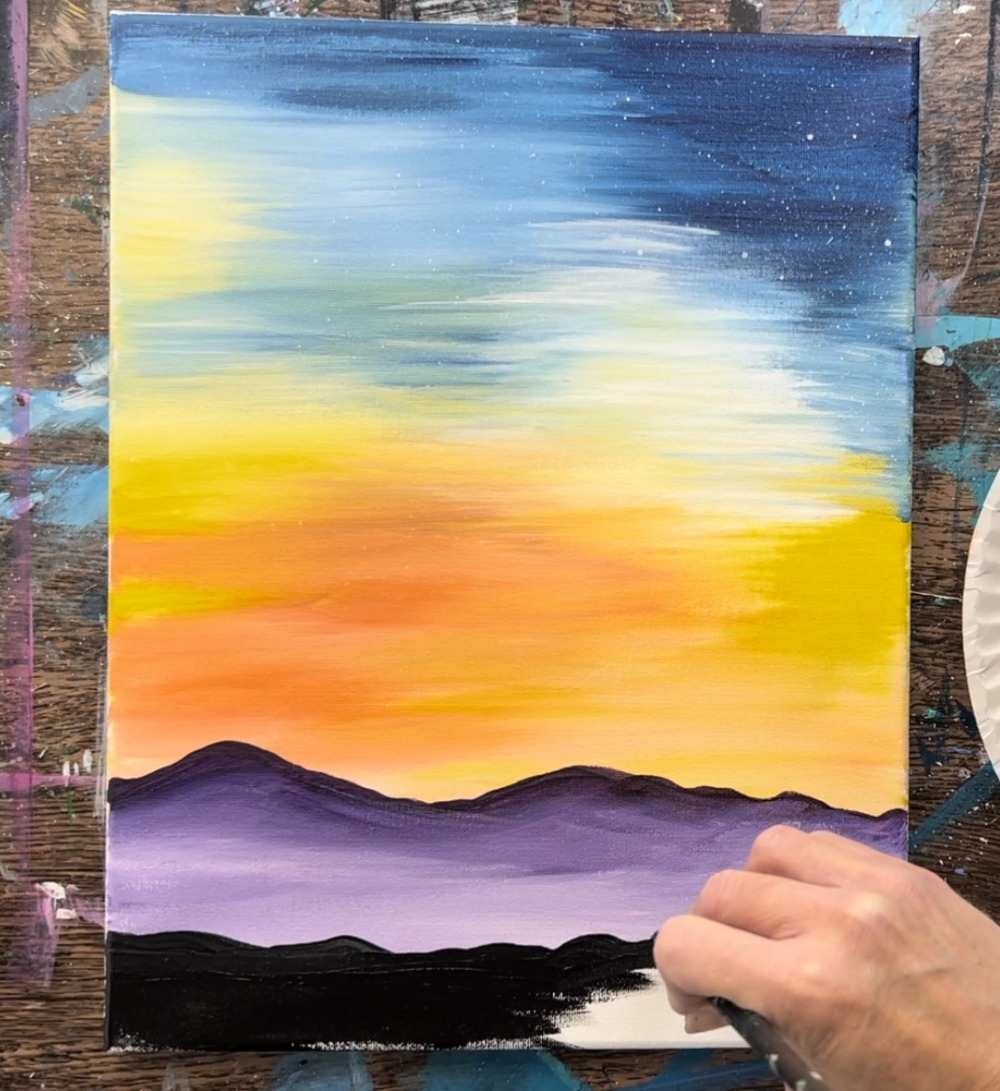
1. Paint Sunset Sky
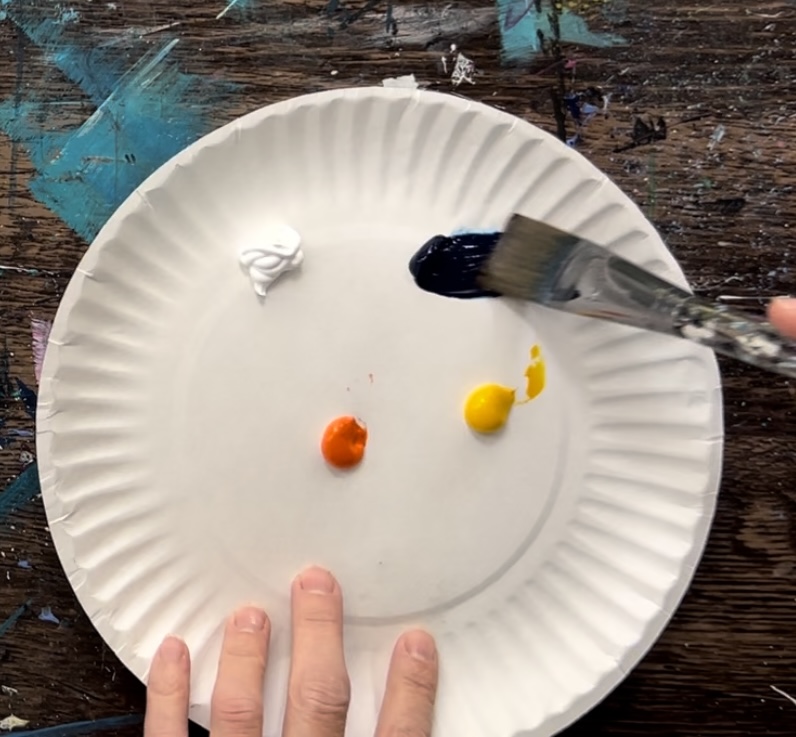
Load your palate with the colors: titanium white, Prussian blue, cadmium orange hue and cadmium yellow medium hue. Use a 1″ flat brush and load it into water and pat it dry (so the brush still remains when but not dripping).
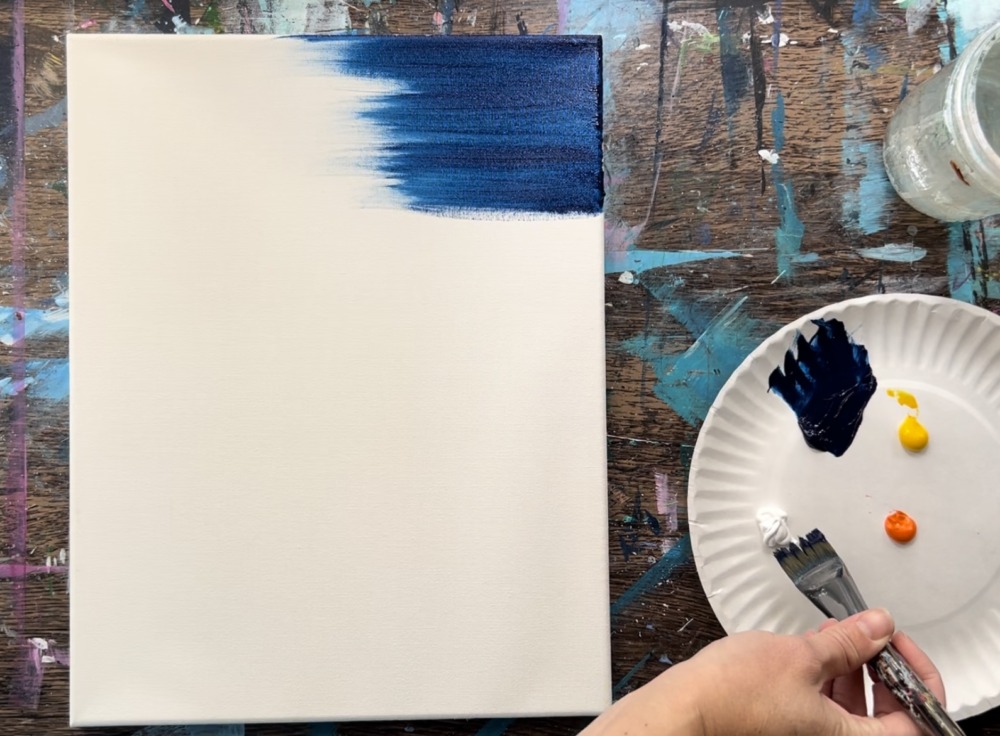
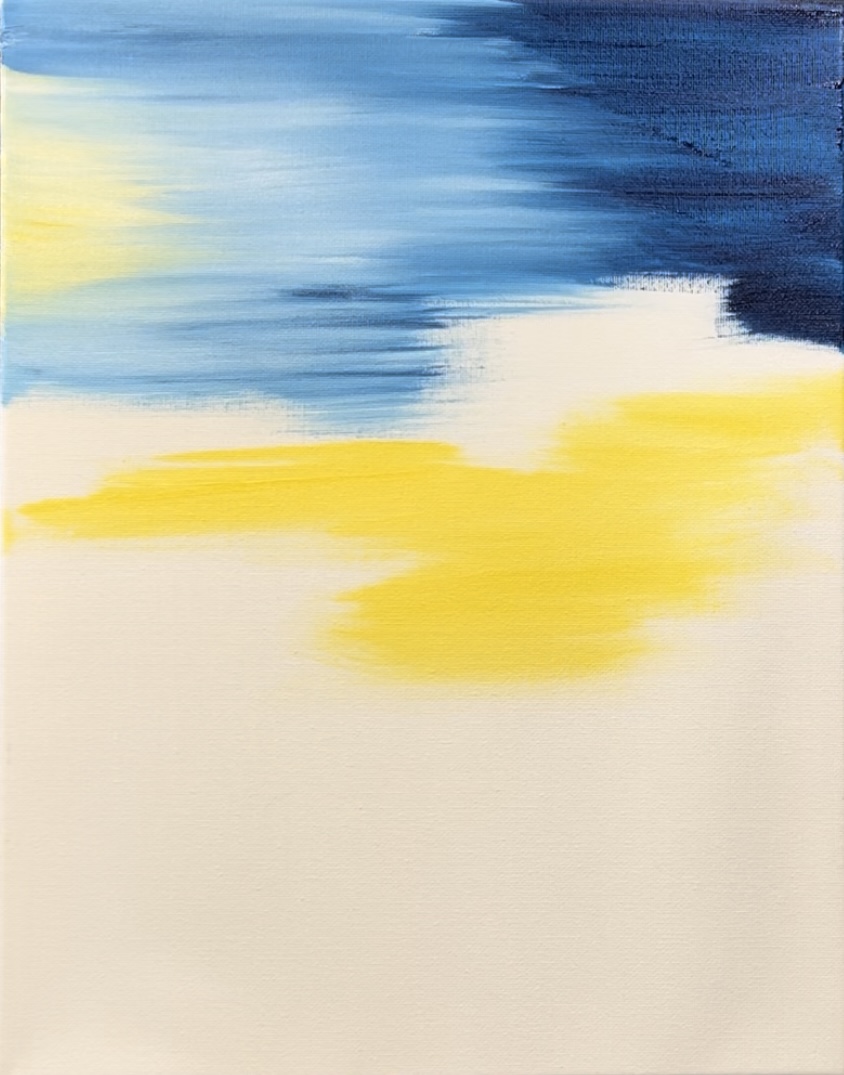
Then load the 1″ flat brush into just the Prussian Blue.
Start in the upper right corner area of the canvas and paint horizontal, left and right strokes. Fill up just the upper right corner and stop about a third to halfway in the middle. Go down about three inches.
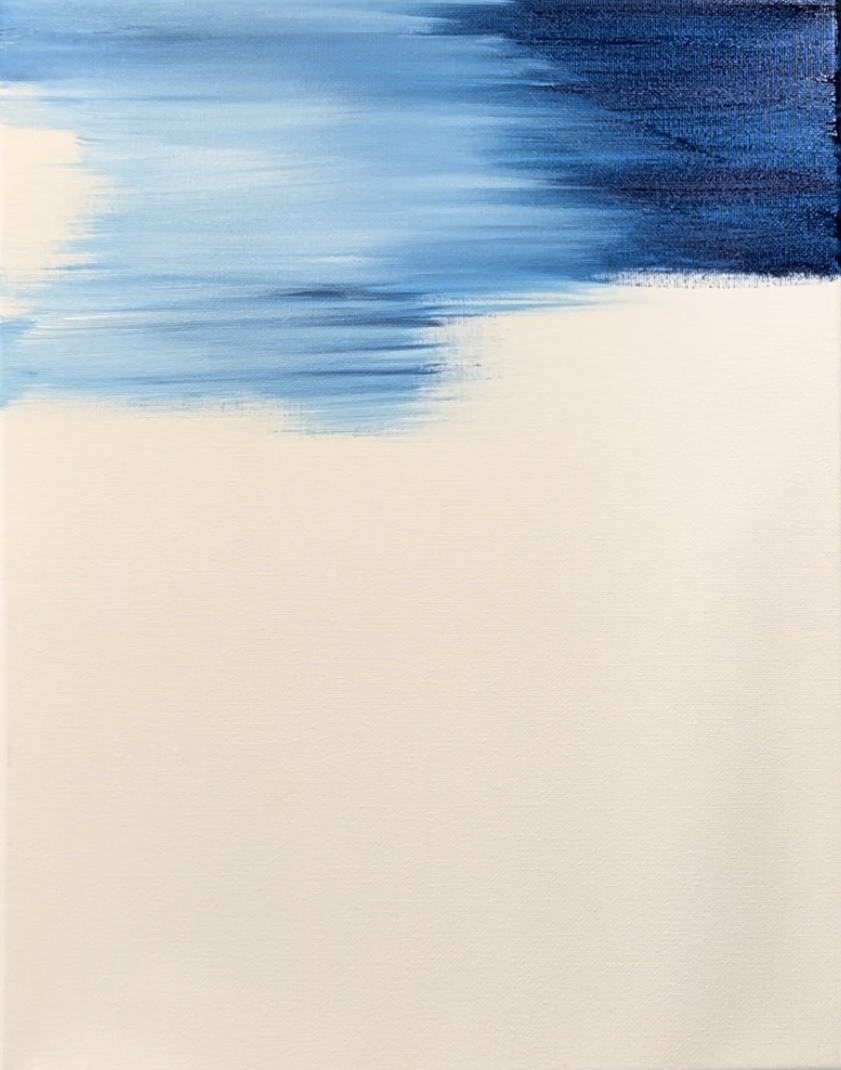
Then wipe the brush off but do not rinse. Load the brush into titanium white. Then gently blend the titanium white with the Prussian blue on the left side but try not to blend it all the way. Allow streaks of the darker color to show in the lighter blue color area. I left a gap on the left for a pop of yellow later.
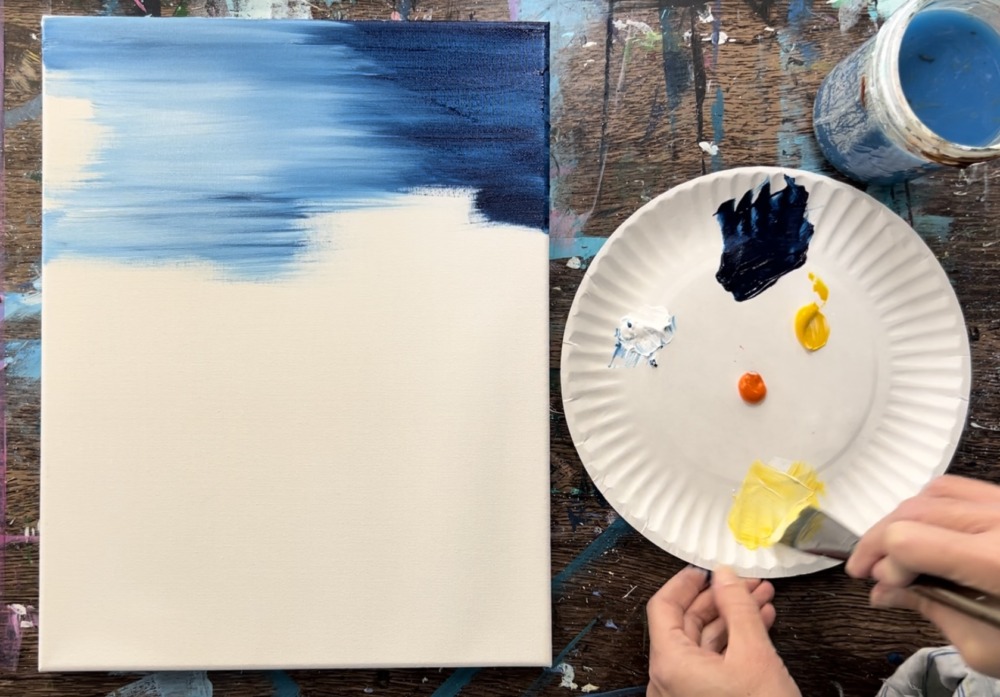
Next, completely rinse all of the blue and white off the brush. You may have to rinse the brush several times because the dark blue is such a strong color and you don’t want it to mix with the yellow to make green.
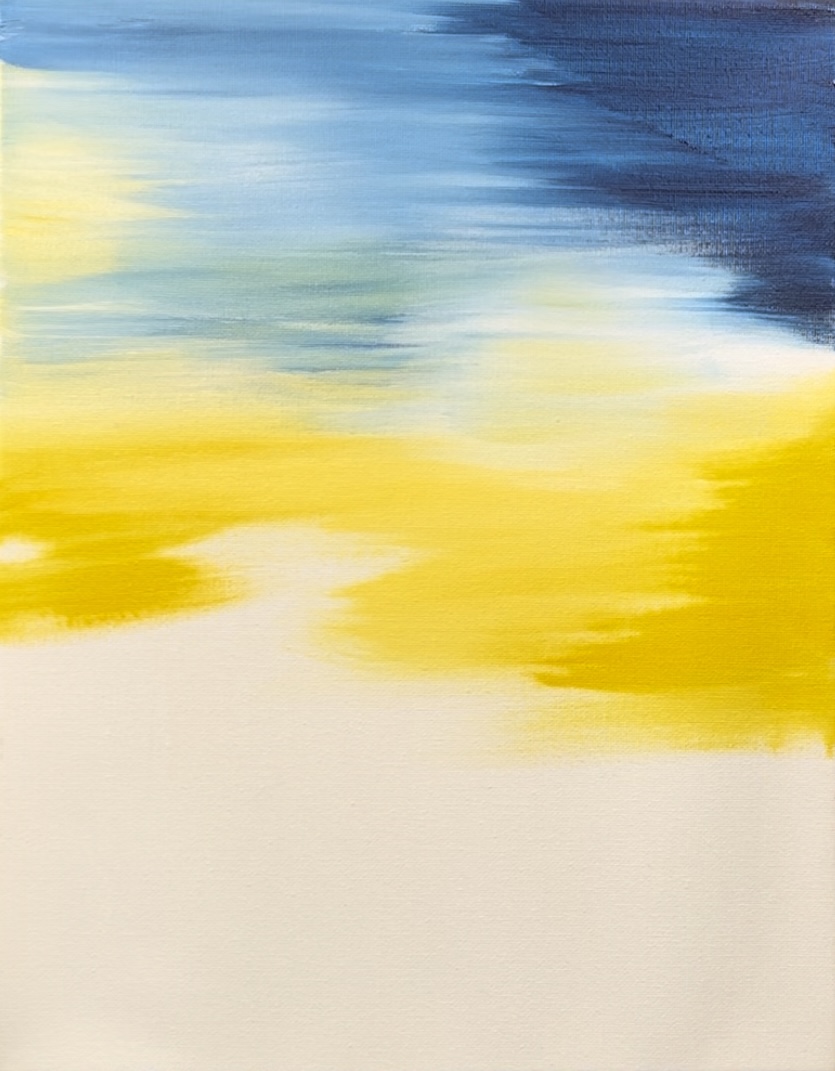
Then on your palette, mix titanium white with cadmium yellow medium hue so that it becomes a light yellow.
Paint this light yellow color below the blue area but don’t try to blend it with the blue. Bring it close to the blue and leave some blank white canvas areas leftover.
Wipe off the brush and then load titanium white onto the brush. Then gently apply the titanium white to the areas where the blue and yellow meet and gently blend. The white acts as a way to blend this yellow to a light color/ white and then into the blue without it turning too green in the sky. If you do get patches of green in the sky, that is okay!
Then load your brush with cadmium orange hue. Apply horizontal strokes of this cadmium orange hue under the yellow area and gently blend it but do not over blend. The sunset will look a little patchy with different color blocks and streaks of unblended colors.
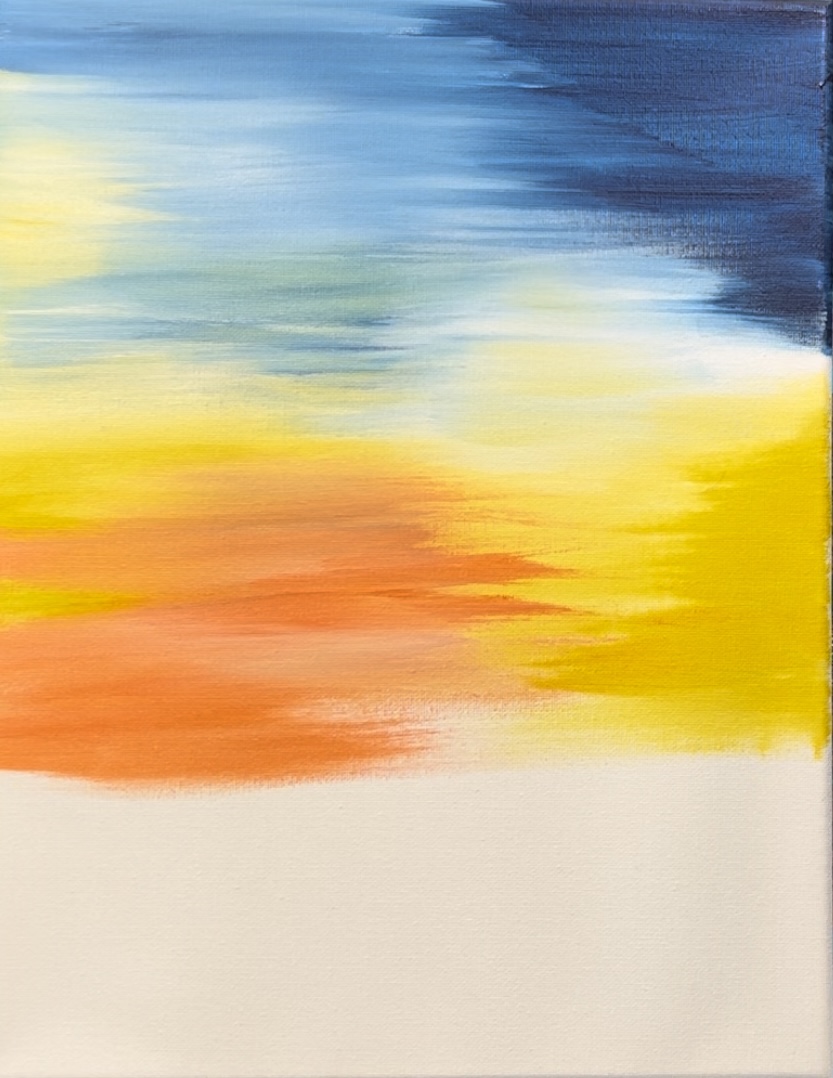
Then bring that orange down further to the bottom of the canvas. We are painting this sunset almost all the way to the bottom edge but leaving about a 3″ gap on the bottom.
Mix titanium white with the orange to make it into a lighter peach color and paint that closer to the bottom.
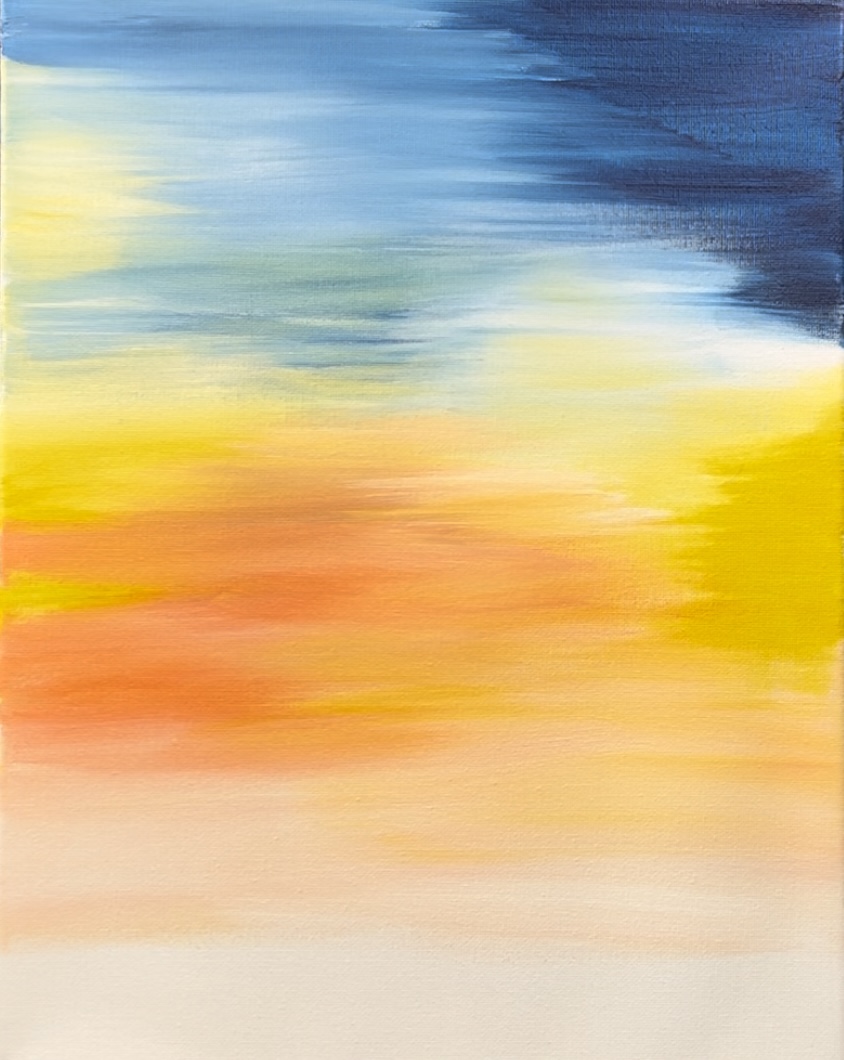
Next, use a toothbrush to splatter stars all over. They will show up the best in the darker area, however, you can splatter stars everywhere if you’d like! Load the toothbrush into some titanium white paint (it helps if it is very slightly watered down).
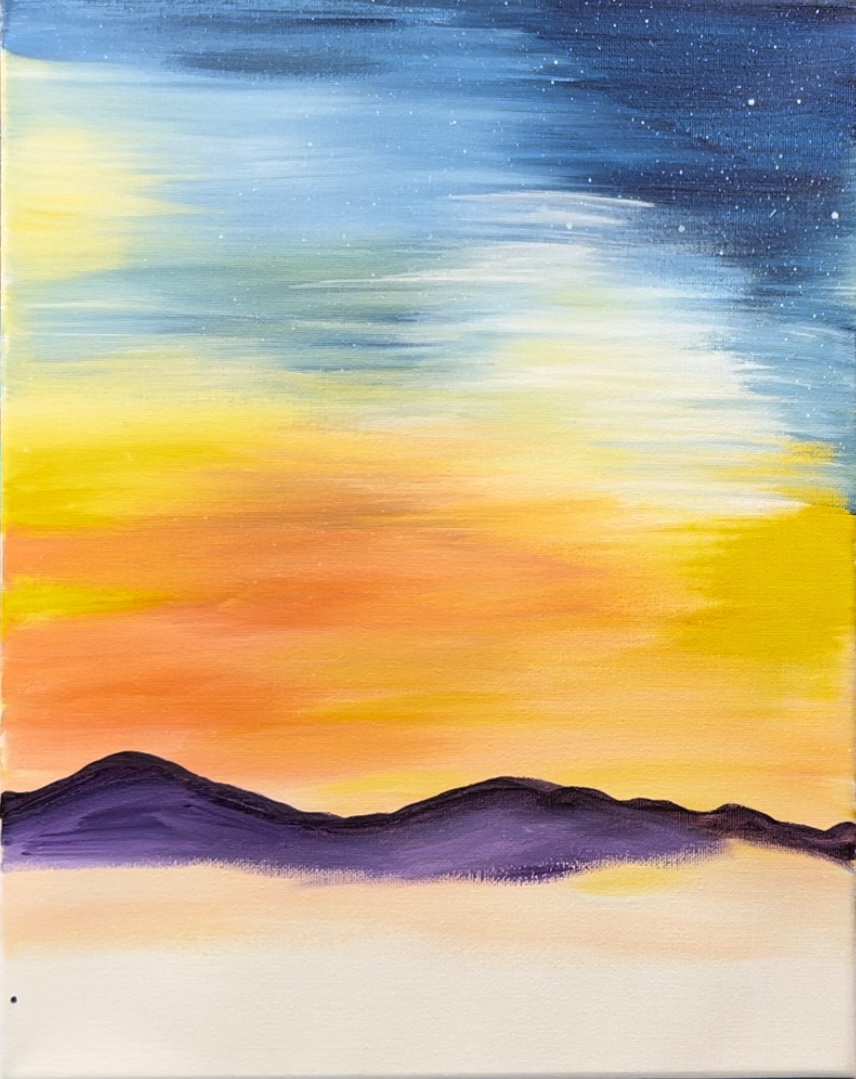
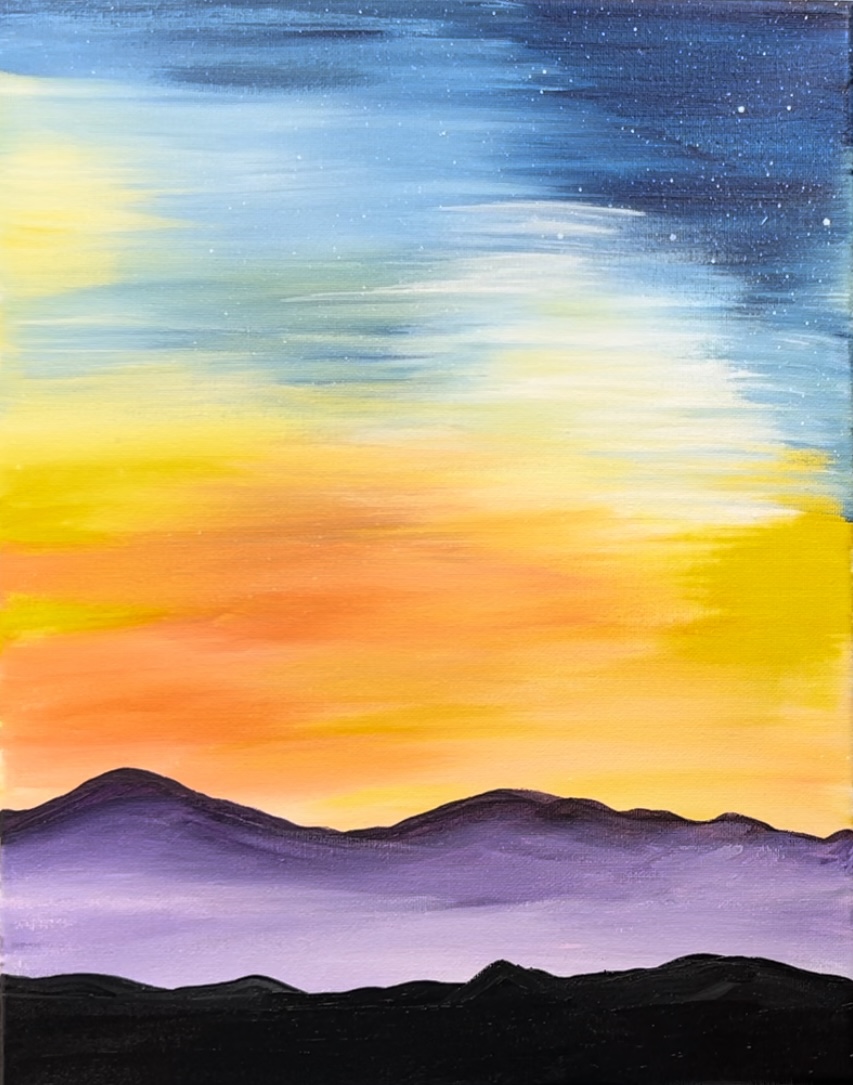
2. Paint Purple Mountain Range
Load your palette with dioxazine purple and mars black. Use a 12 bright brush and mix a very small amount of mars black into the purple so that it becomes a very dark purple.
Then use the 12 bright brush to paint the top edge of the mountain range. Start this at about 3.5″ from the bottom of the canvas. Use just the tip of the brush to draw the mountain range out.
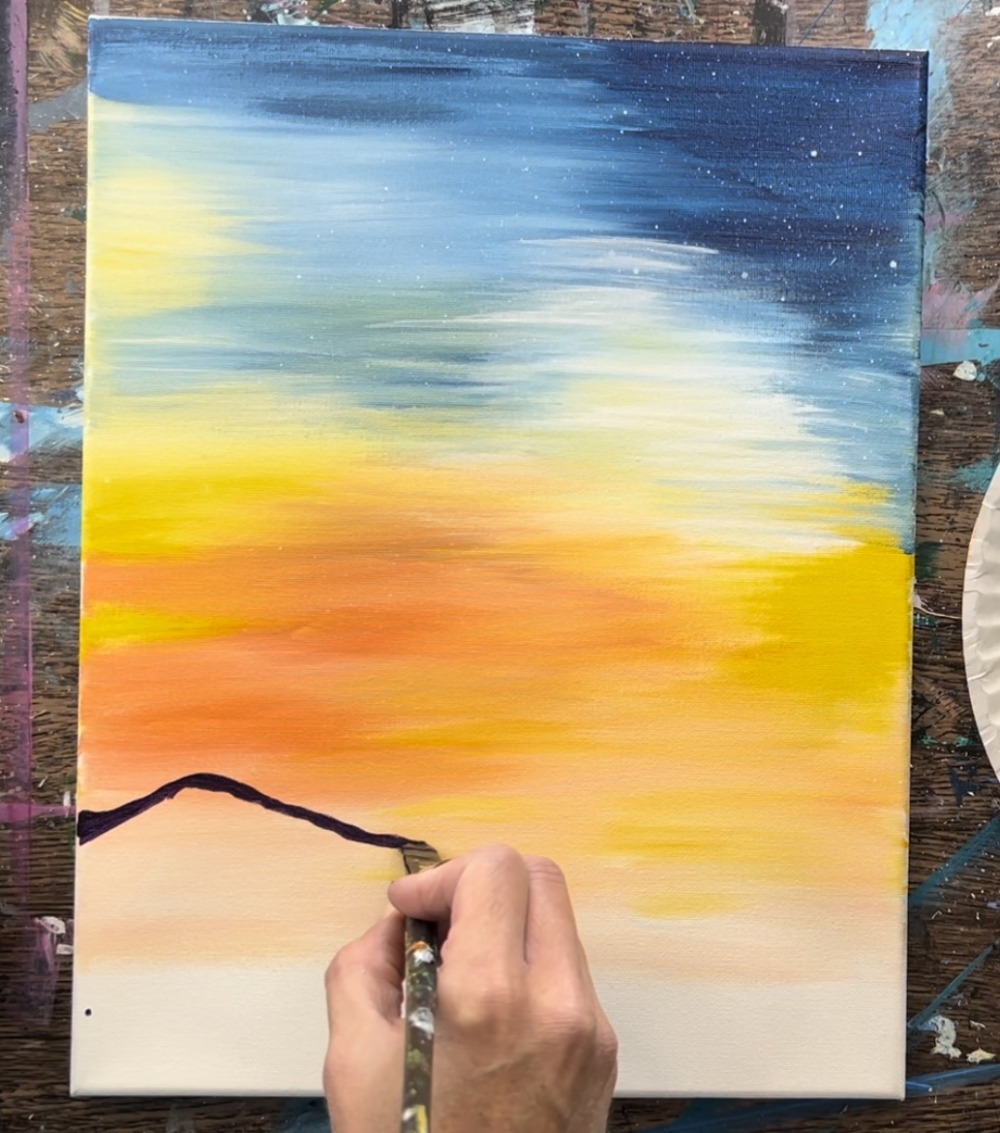
Draw the mountains across the sky (it will overlap some of your sunset at the bottom). The mountain range peaks do not go very high.
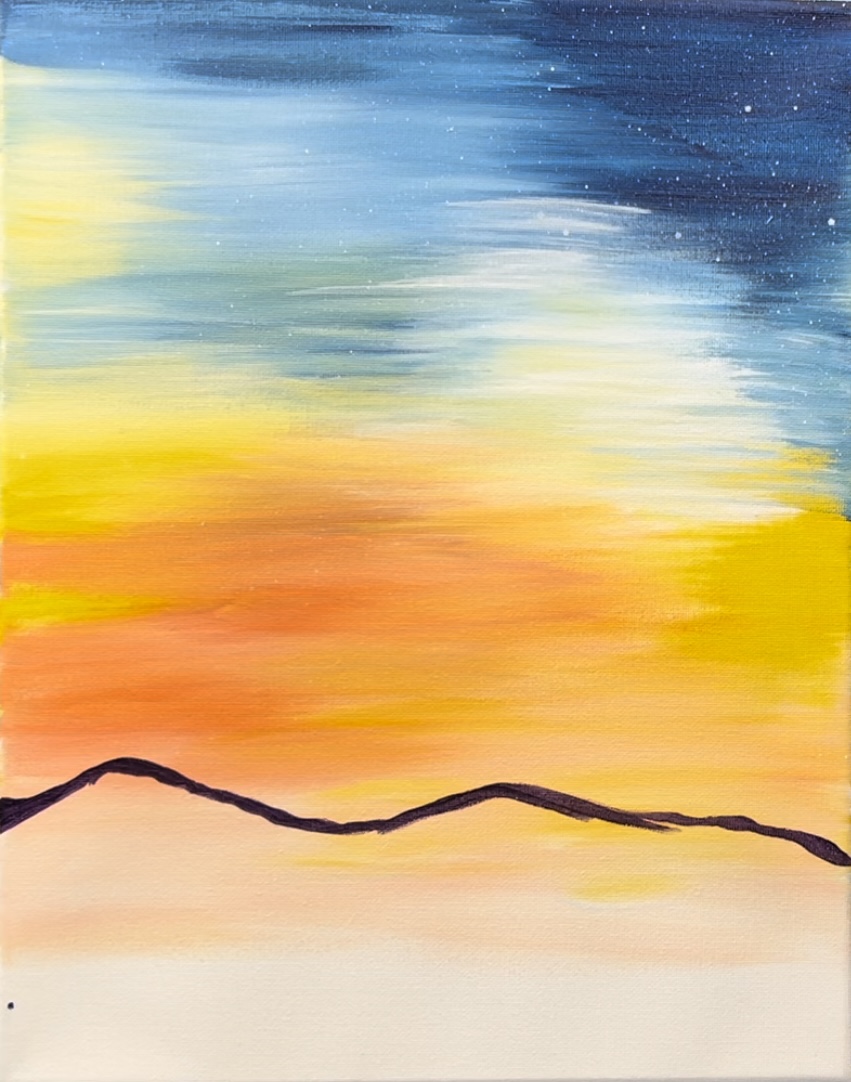
Then use the 12 bright brush to start painting the mountain in. Start by making your line thicker and apply more paint below the first line.
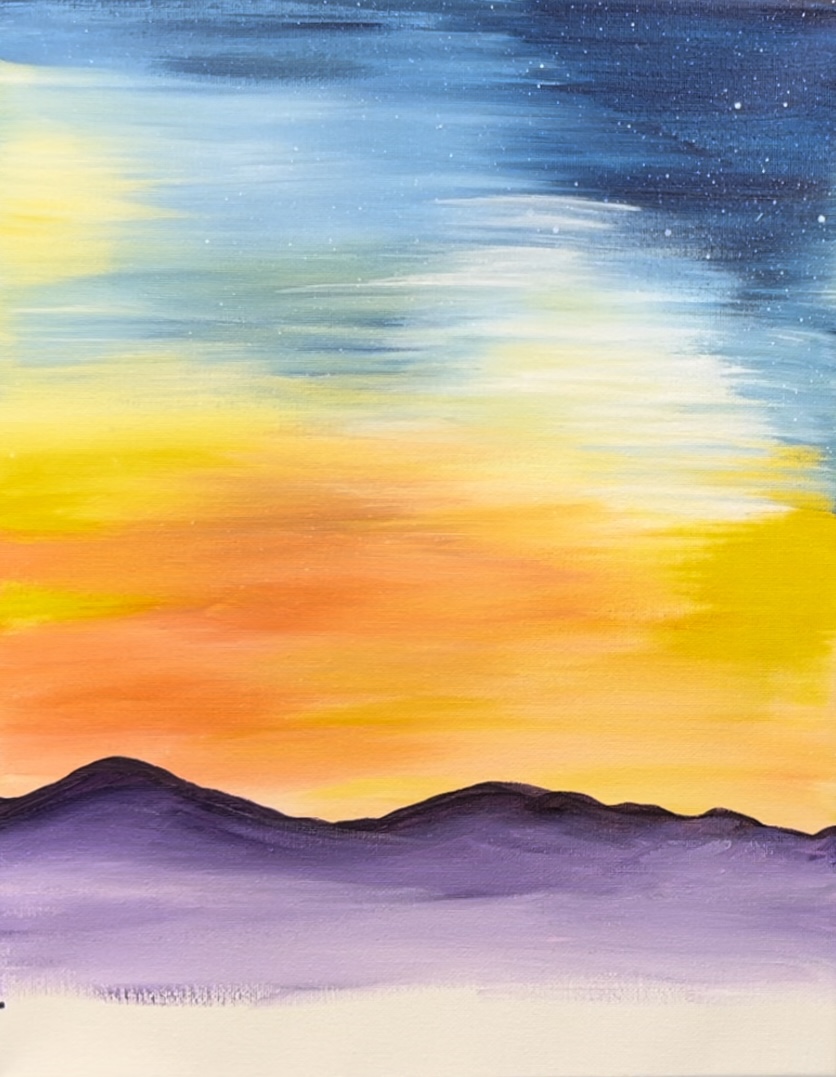
As you work your way down, add a little titanium white into the purple. Blend the white into the purple so that it starts to become lighter.
Keep painting the mountain. You can do short, choppy strokes or long strokes across the canvas that sort of contour with the mountain shape. You want to keep adding white so the purple gets lighter and lighter.
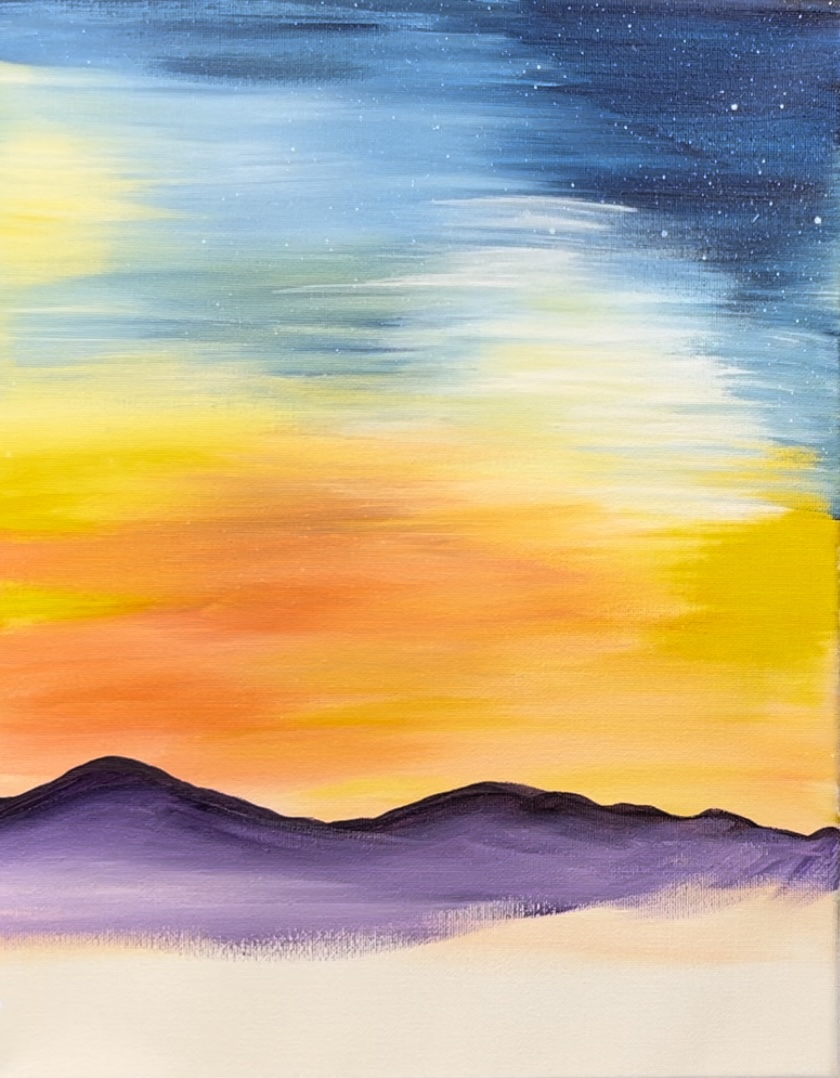
Leave about an inch gap on the bottom below the mountain.
3. Paint Silhouette Ground Area
Use mars black and a 12 bright brush to paint the ground area. This is a sort of “choppy” area/ not exactly flat. Draw out the line first and then fill the rest of the area below with solid black. It is about 1.5″ high from the bottom of the canvas.
Wait for this to dry before going onto the next step.
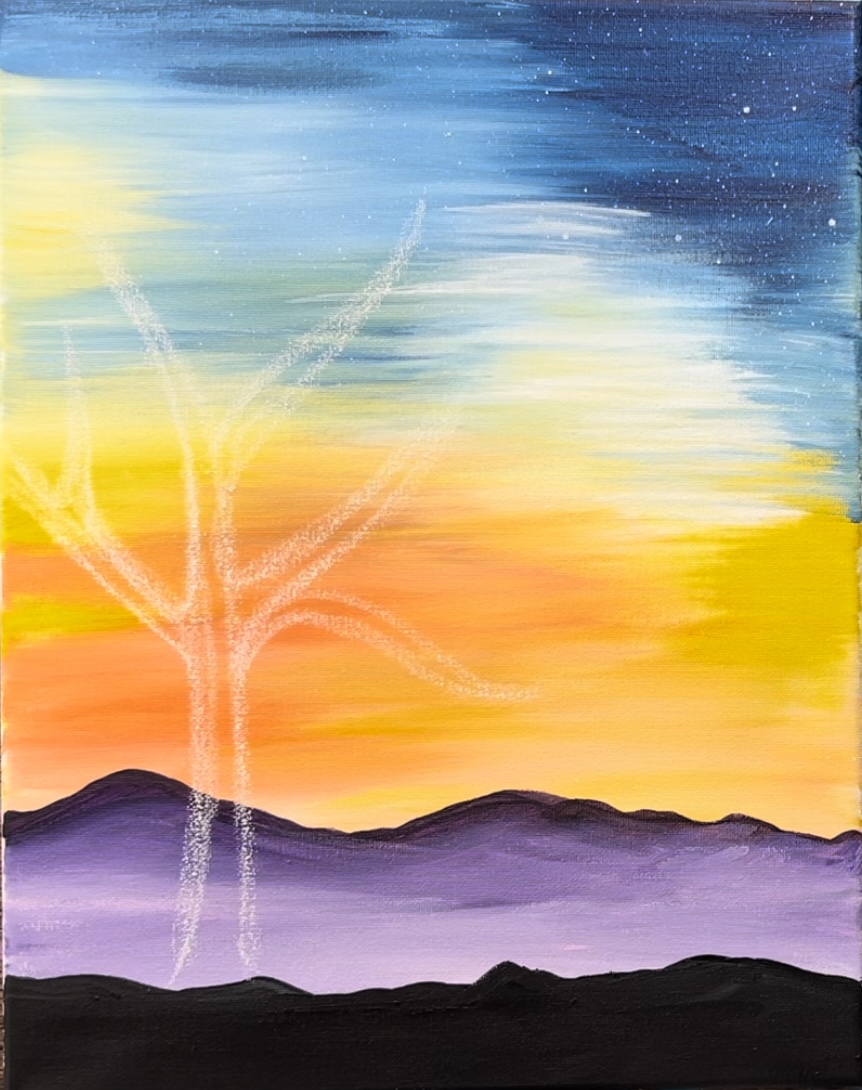
4. Draw Large Joshua Tree With Chalk
Use a piece of chalk to draw the large Joshua tree on the left. Draw a trunk that is slightly wider on the bottom and just slightly thinner at the top. The trunks and branches of this type of tree are more rectangular and stay almost the same width throughout.
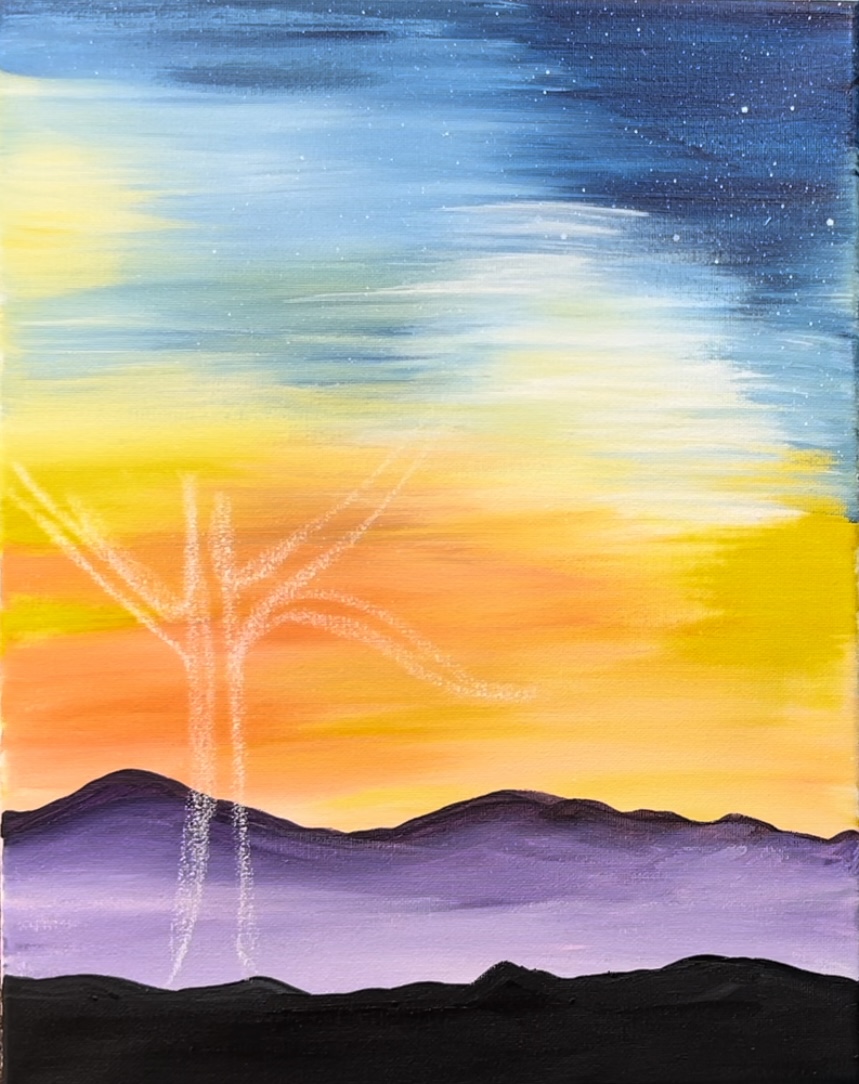
Draw several main branches that go in different directions. You can draw a few curvy branches or branches that sort of twist and turn in different directions. You do not need to draw the pointed leaves at the ends of each of the branches. These will be painted in a later step.
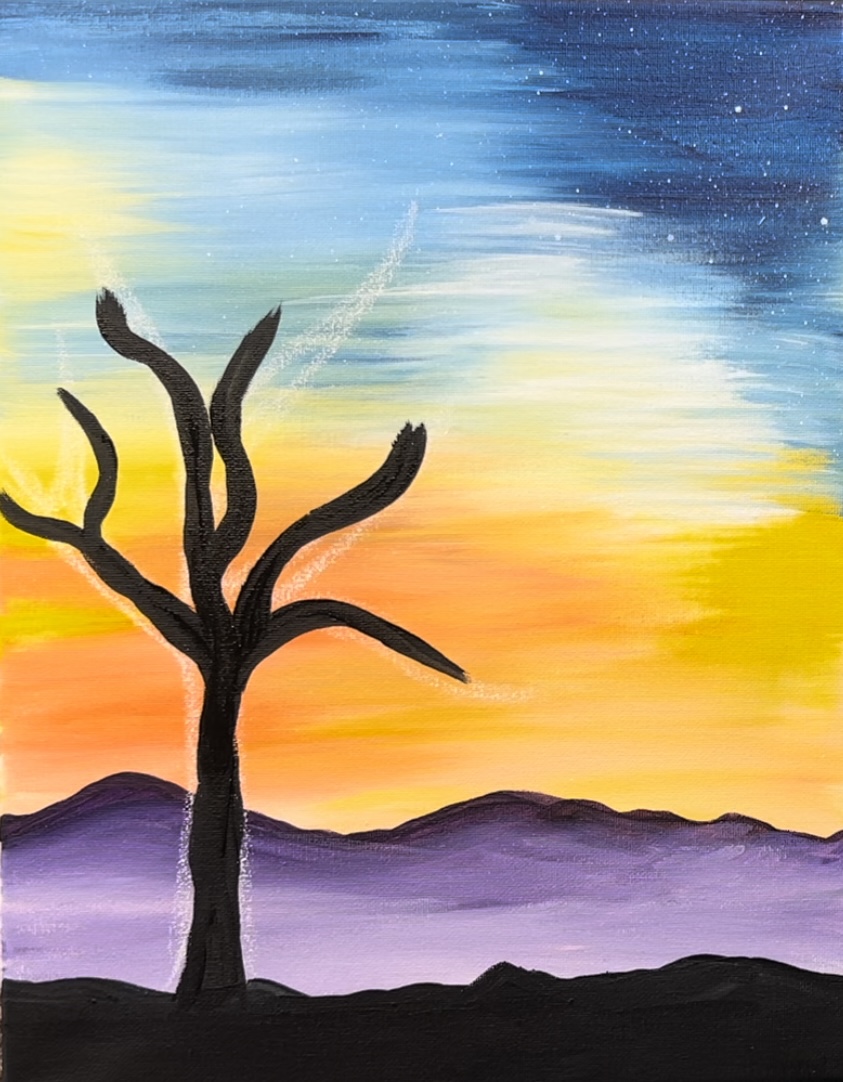
5. Paint Joshua Tree Silhouette
Use the 12 bright brush (or a round brush if it’s easier) to paint the trunk of the tree. Pay close attention to the edging of the trunk. It’s not exactly smooth/straight. It is a little wavy and uneven. It’s also okay if you don’t fill your chalk lines in completely or if you go outside of the chalk lines.
If needed, switch to the #4 round brush to help create the curvy style of the branches. Remember that these branches don’t go to a point/ get more narrow on the edge. They stay almost the same thickness throughout.
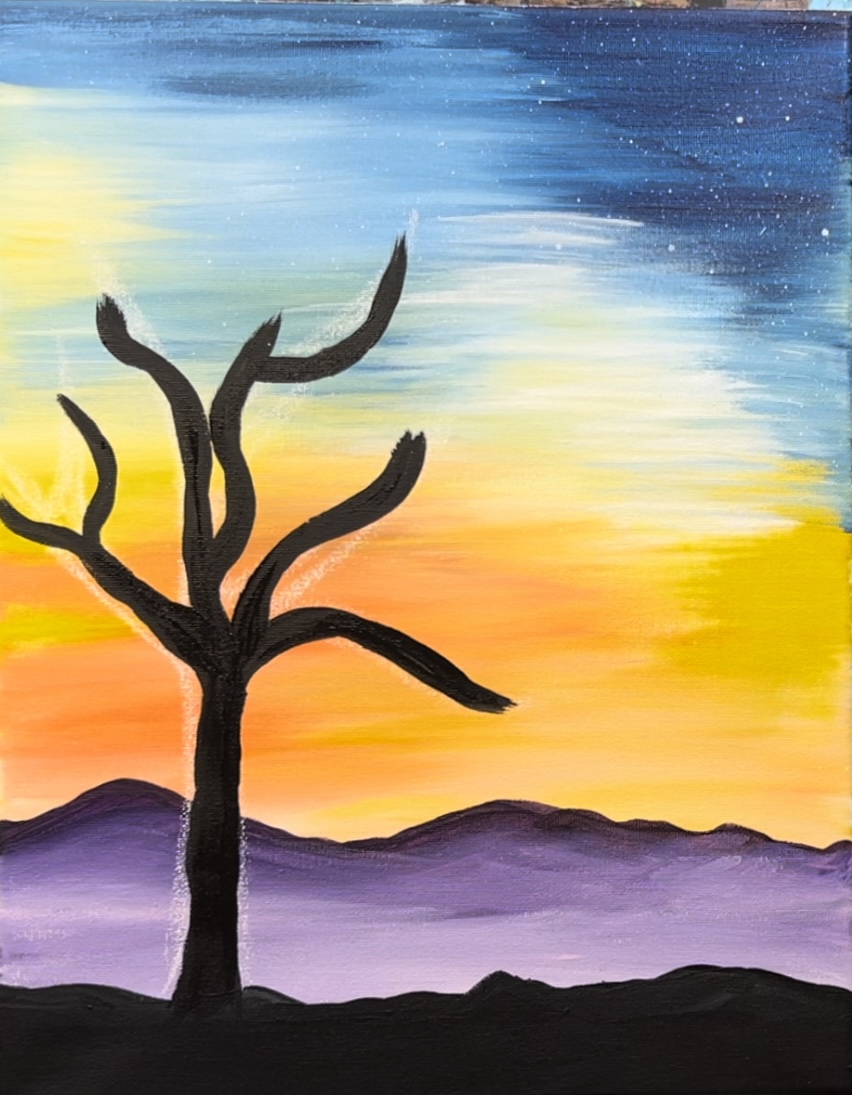
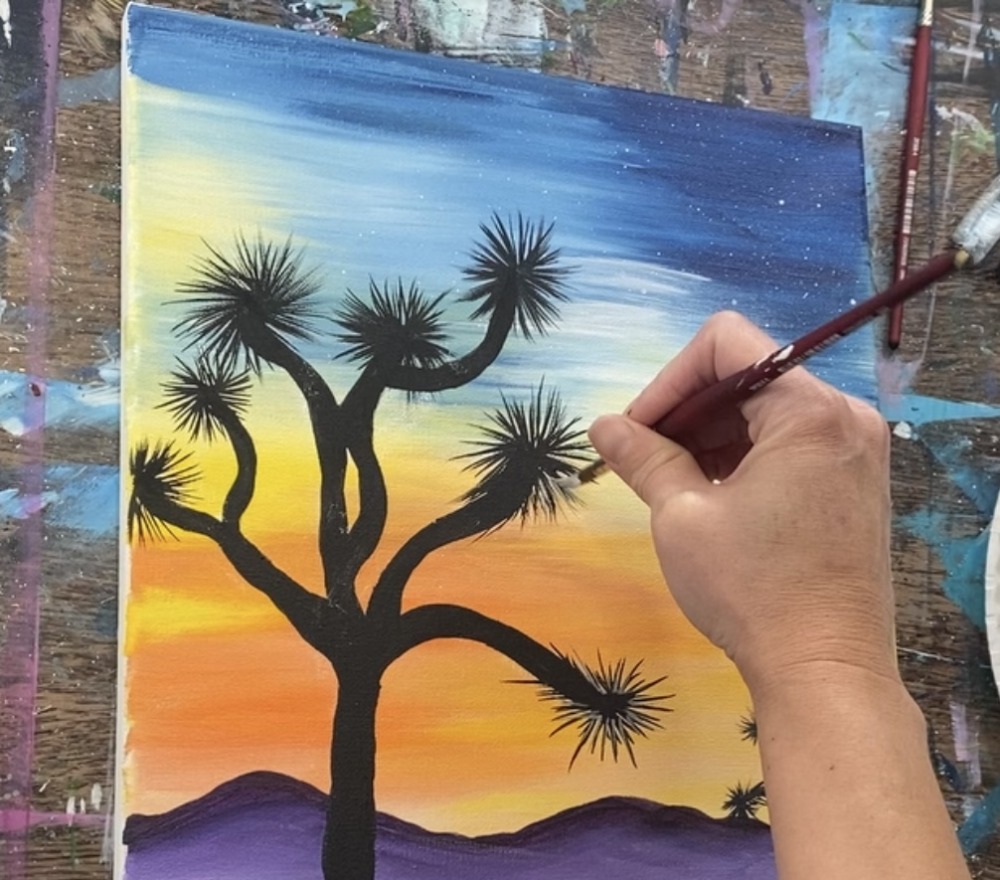
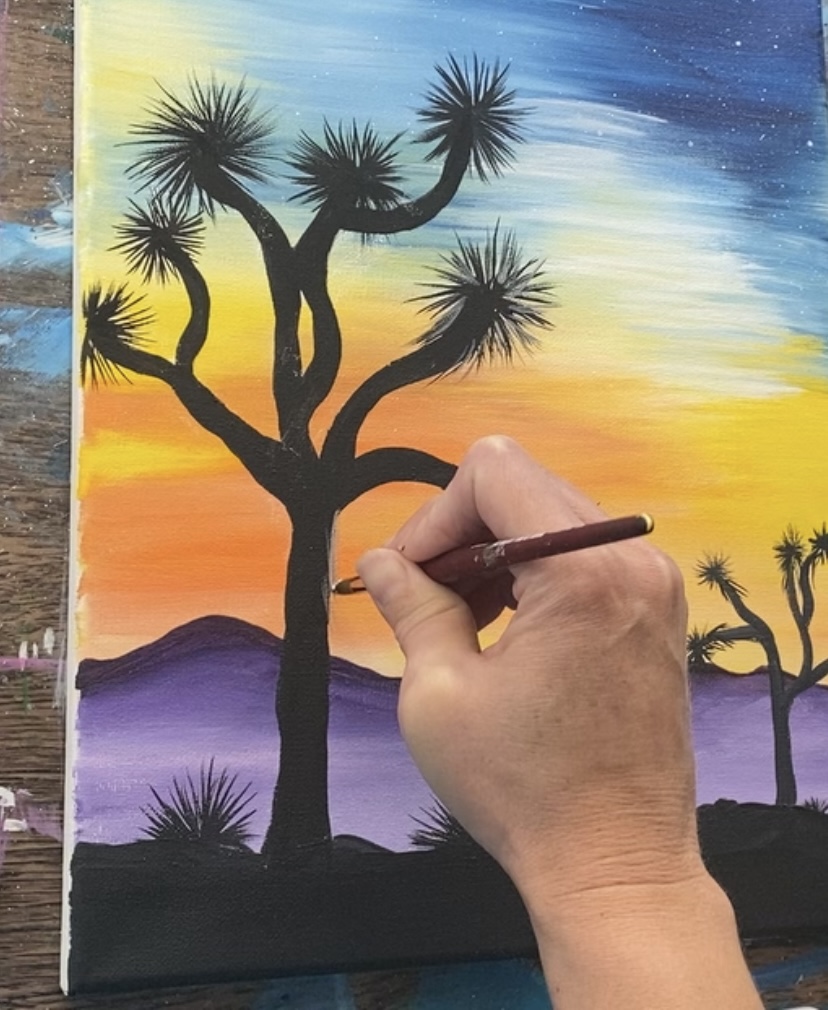
In this next step, you will need a brush that has a tiny tip to it. This can be a 0 round brush or smaller. I used the #8 round brush because this brush has a fine tip to it so that I can do fine lines.
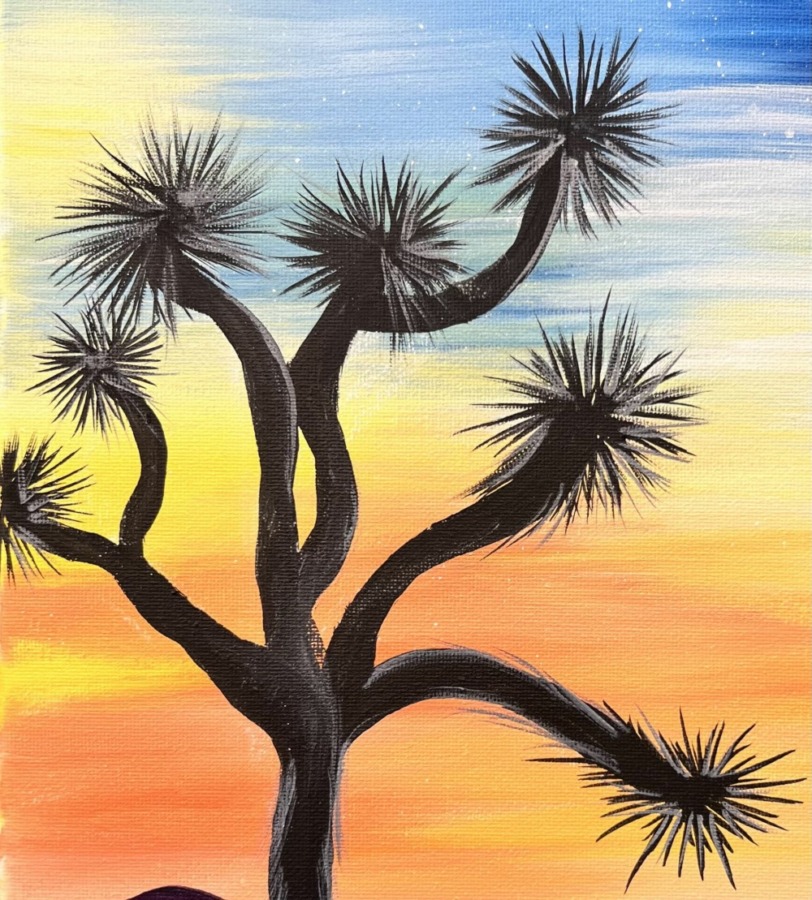
Load the brush into the black. It may help to add a small amount of water to it to thin the paint down to an ink consistency. Then paint the spiky leaves on the ends of each of the branches. Drag the brush outwards in a circular direction to form a ball of spiky leaves.
Do this to each of the ends of the branches. You can also add a few spike lines along the edges of the branches.
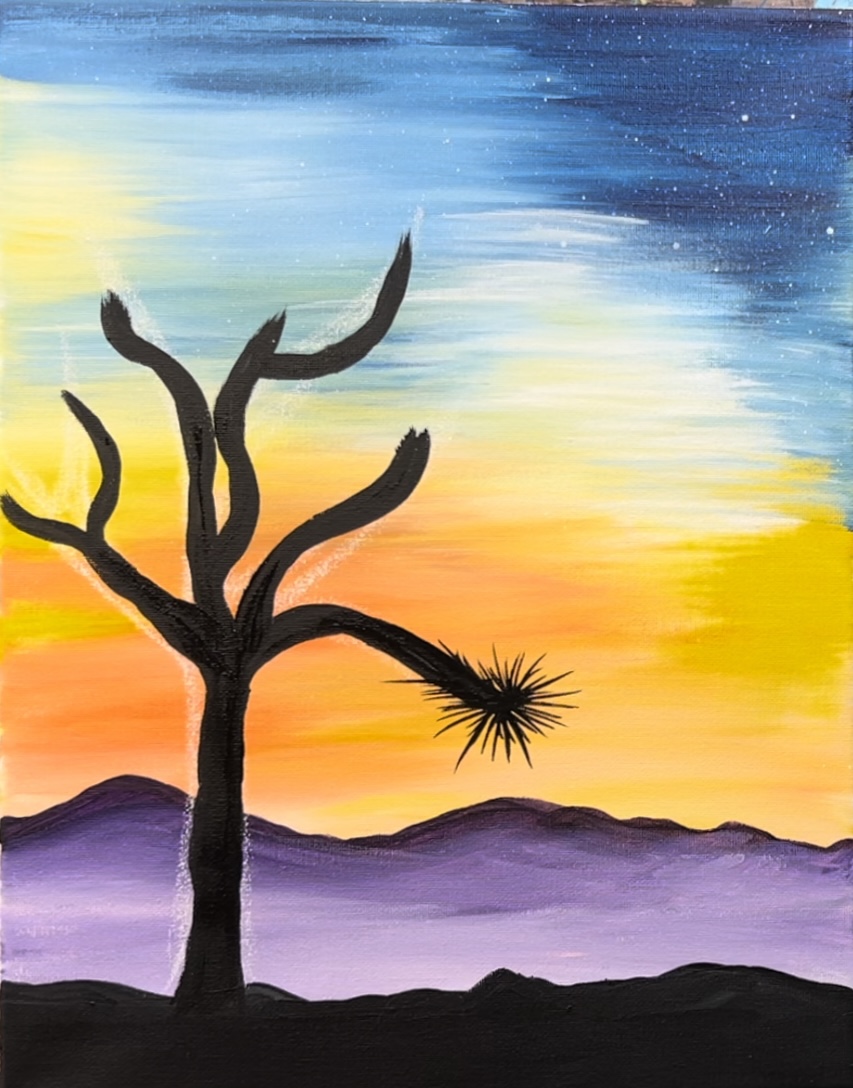
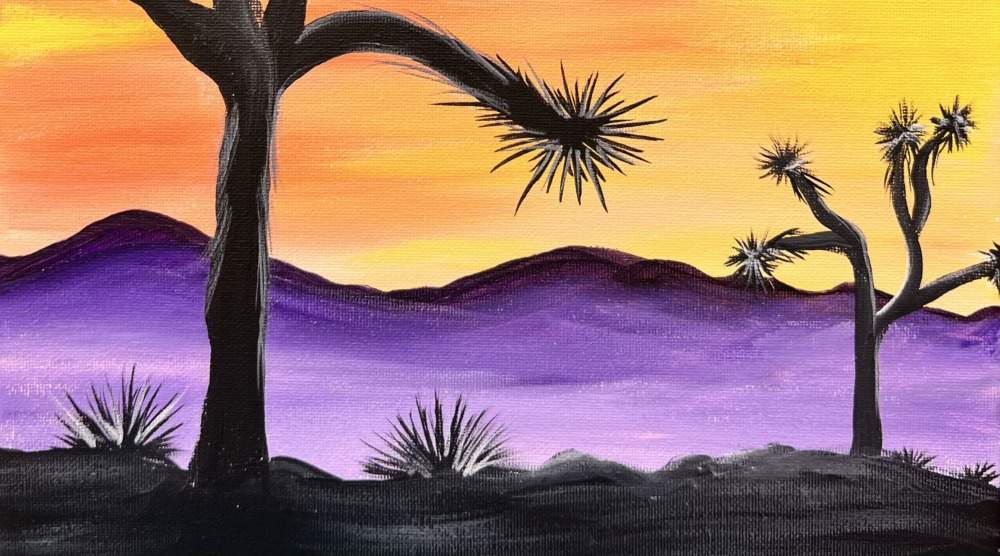
Then paint a smaller Joshua tree on the right using the 4 round brush.
Use the 8 round (or your tiny round brush) to paint the spiky ball of leaves on the edges.
Next, use the 8 round brush to paint agave plants on the bottom silhouette land area.
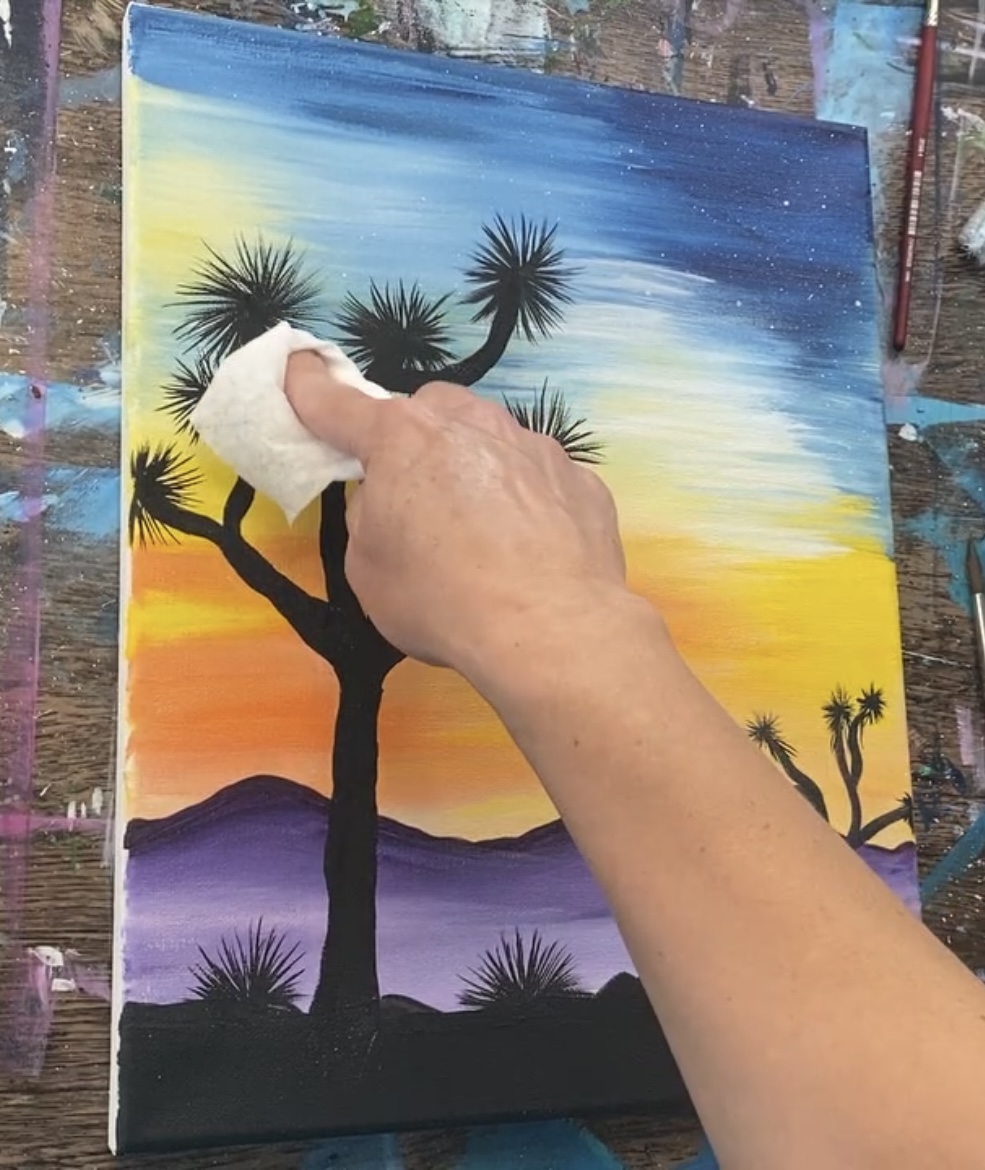
6. Erase Chalk & Paint Highlighting/ Back Lighting
Wait for all of the black paint to dry in the large Joshua tree before erasing the chalk. Use a baby wipe or soft, damp cloth to gently erase the chalk.
Then load the #8 round brush in a small amount of gray paint (mix equal parts mars black and titanium white). Paint this gray over the spikes but do not cover all of the black. You are painting some spiky leaves that are lighter in color and this will create some depth in the shadow.
Additionally, add a little bit of this gray on the edges of the Joshua Tree trunk. Only small amounts of gray are needed/ almost “dry brush” style.
Add the gray on the edges very loosely. If needed, go back with more black to blend it in.
Add the highlighting to both of the trees and the agave plants. Also, add some highlighting to the ground area. Gently paint loose gray strokes in the land to create texture. Let the brush skid over the black/ almost dry brush style and leave a lot of the black still showing.
7. Add More Star Details
Use the #8 round brush and titanium white to paint more star details including diamond style/ thinking stars. You can also apply more star dots and create constellations.

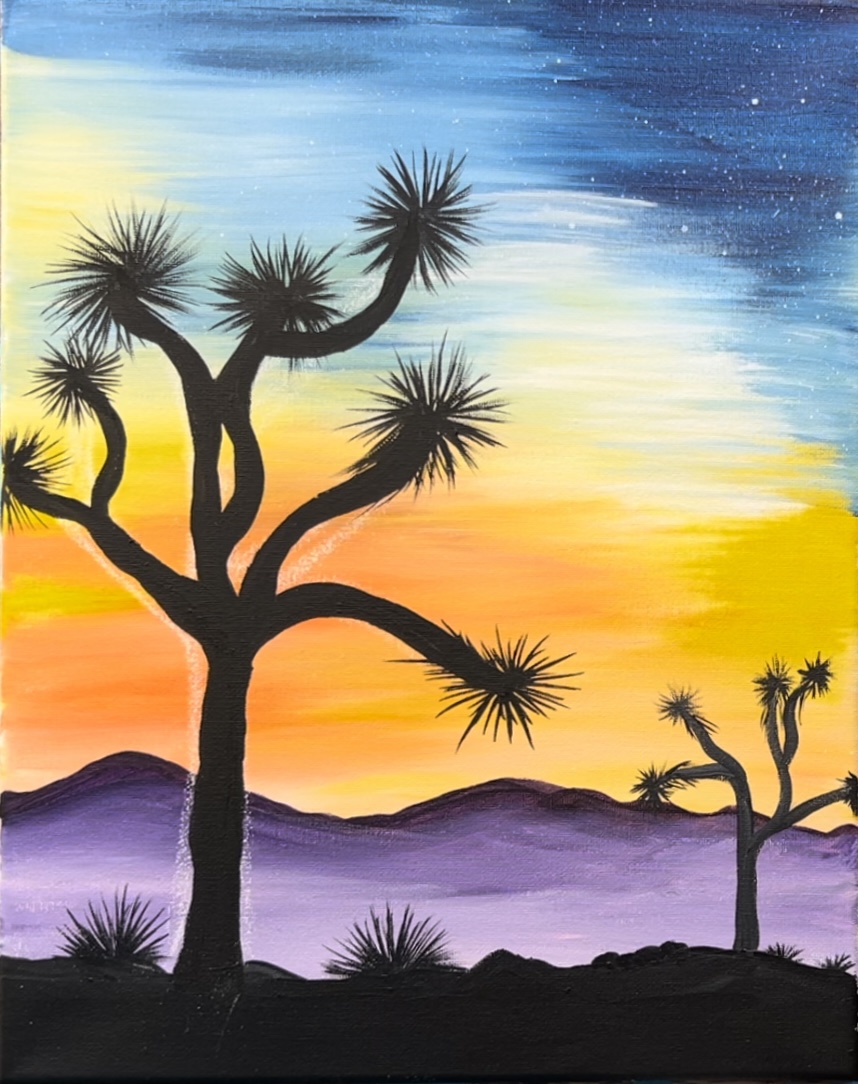
Finished!
That’s it! Sign your name and show it off!