
Would you like to save this?
If you are doing a landscape or a sky composition painting, most likely you will want to paint clouds. Clouds seem to be easy to paint at first but often times it is a struggle to get the blending and the shape right. You are not alone in this struggle!

There are quite a few different ways to do clouds and I even demonstrate several ways in a few tutorials of mine. The technique of the cloud will vary depending on the time of day in your painting and the type of cloud you want to paint.
The technique will also depend on your particular style of painting. Are you doing realism, abstract, stylized? I tend to be a mixture of all three of those.
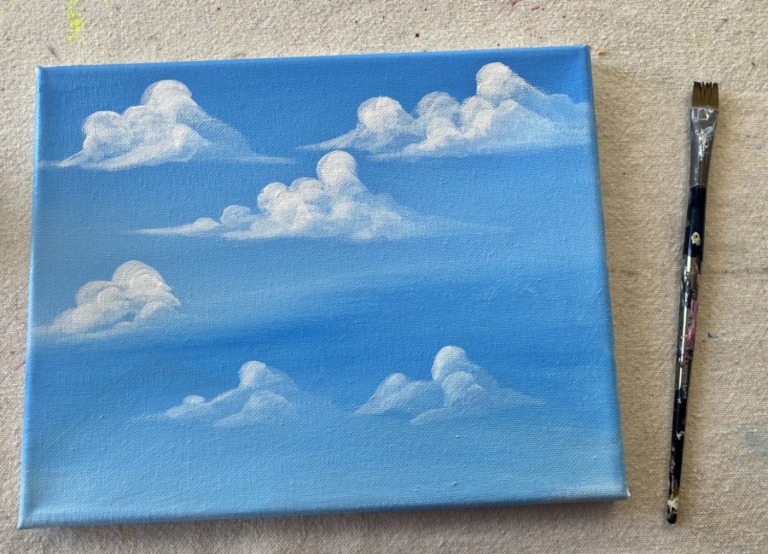
Any how, this post is going to focus on one technique that is simple enough for a beginner! This demonstration will show you how to paint a basic fluffy white cloud in a blue sky!
These are your average cumulus puffy clouds.
See Also:
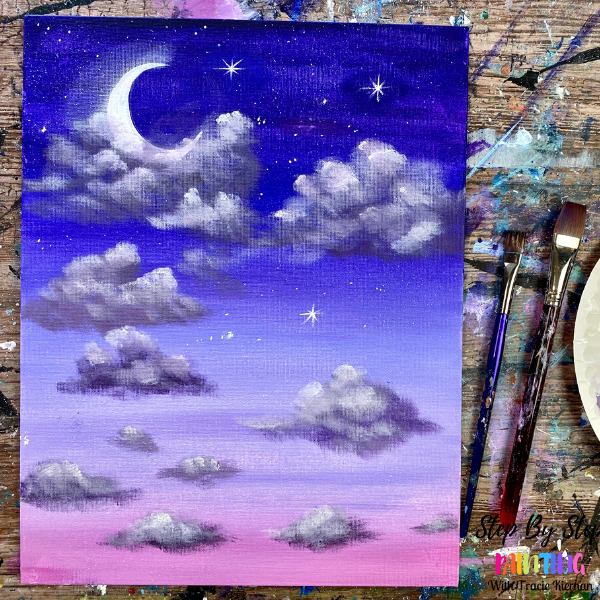
How to paint “Dreamy Clouds”. This tutorial demonstrates how to paint a night sky with puffy clouds!
Materials:
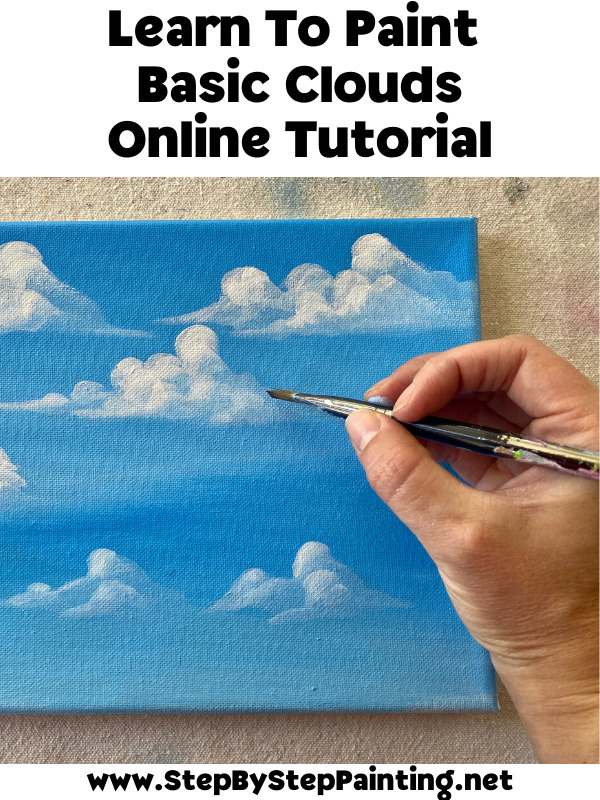
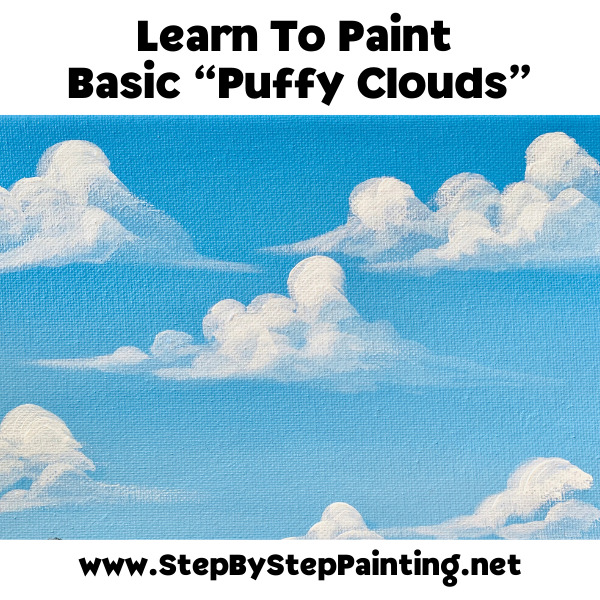
How To Paint Clouds
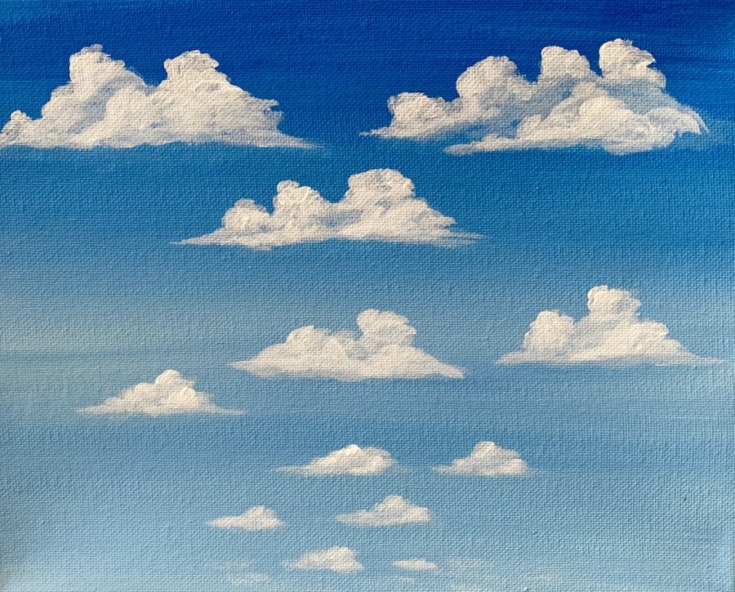
This is a technique for how to paint basic, all white, puffy cumulus clouds in a blue sky.
Materials
- Acrylic Paint
- Canvas or Painting Surface
- Water
- Brush
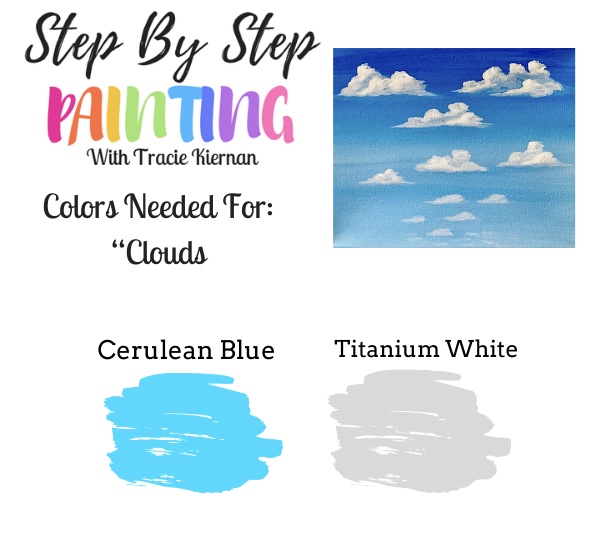
Colors
- Titanium White
- Cerulean Blue
Brushes
- 3/4 Wash (to paint the gradient background)
- 12 Bright
Color Palette:
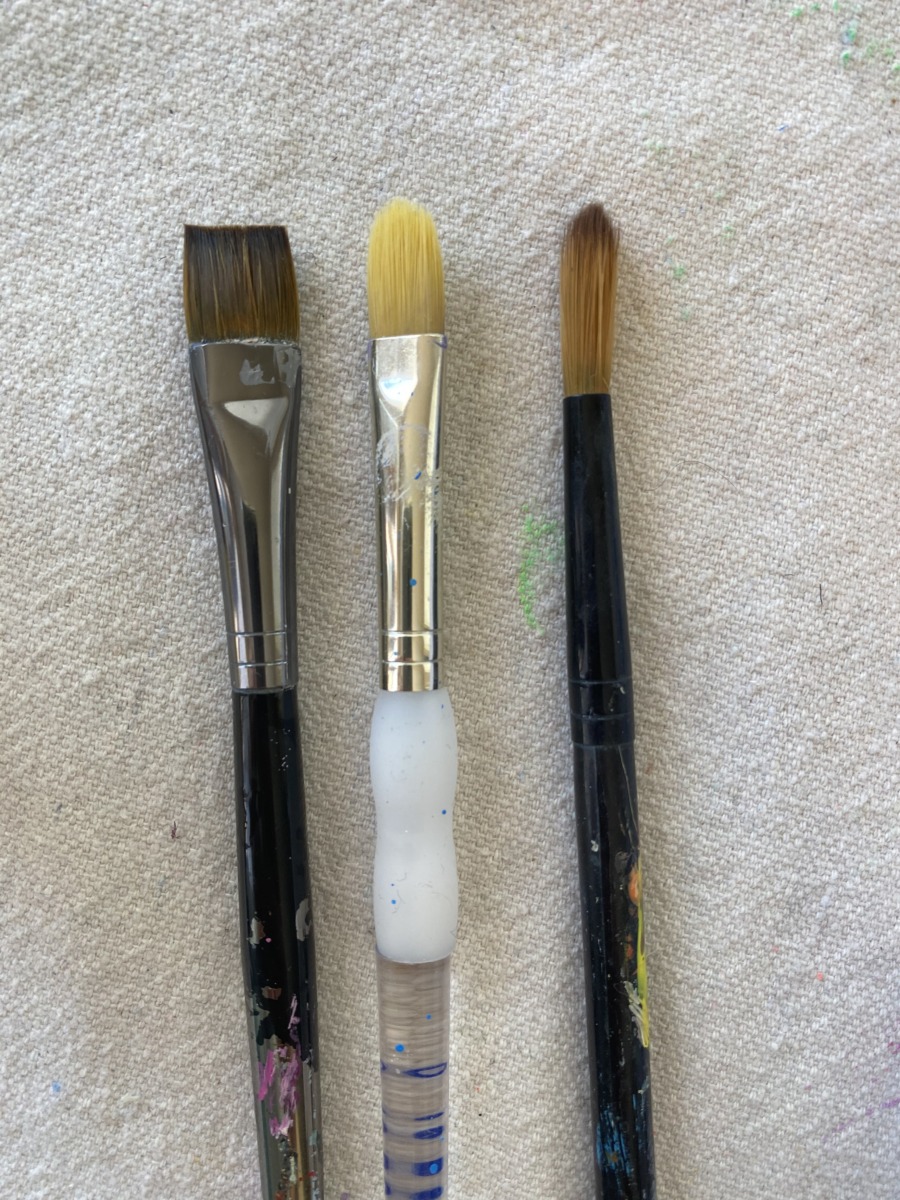
Brushes:
Before we begin, let’s talk about brushes! I personally LOVE using #12 bright brushes and have found comfort in using them for clouds!
You may find that you prefer using a filbert brush or a round brush. A filbert brush is just like the bright brush only the corners are curved. This allows you to create that more “curvy” stroke.
Step By Step Directions:
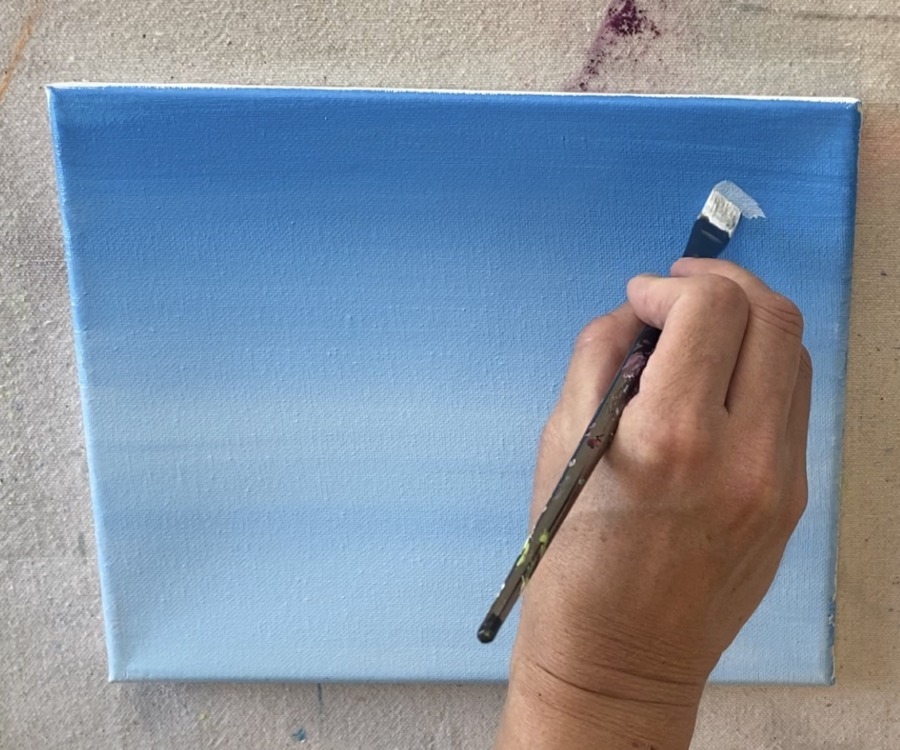
1. Paint your sky
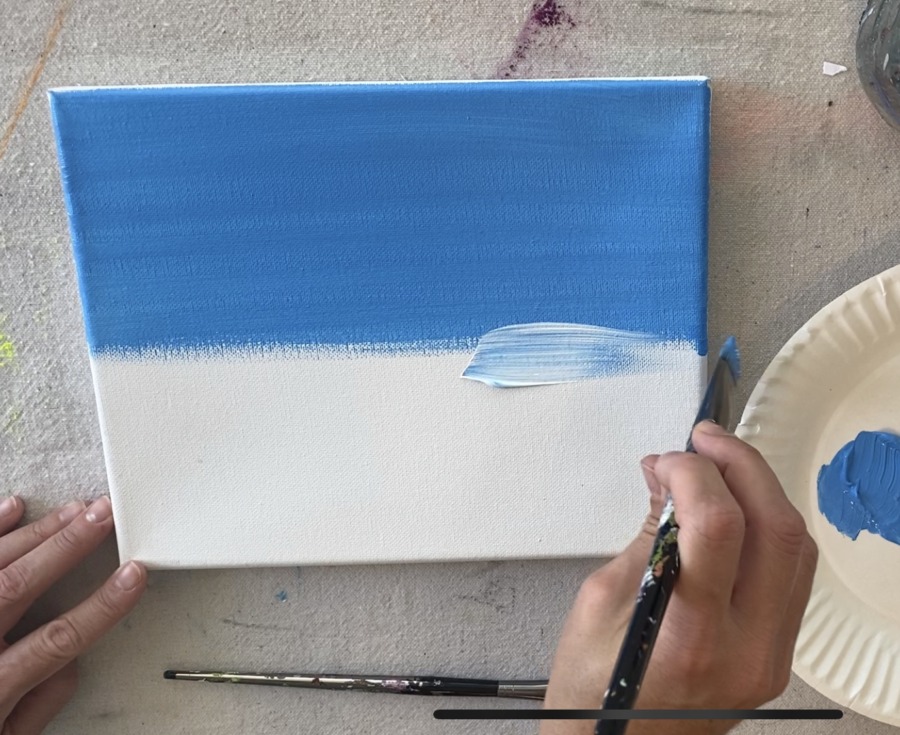
The first thing you want to do is paint your sky. Since this is a daytime painting, I did my sky in a light blue to white gradient. I typically like to use cerulean blue or light blue permanent in my skies.
Take your 3/4 wash brush and paint cerulean blue at the top with horizontal strokes going half way down the canvas.
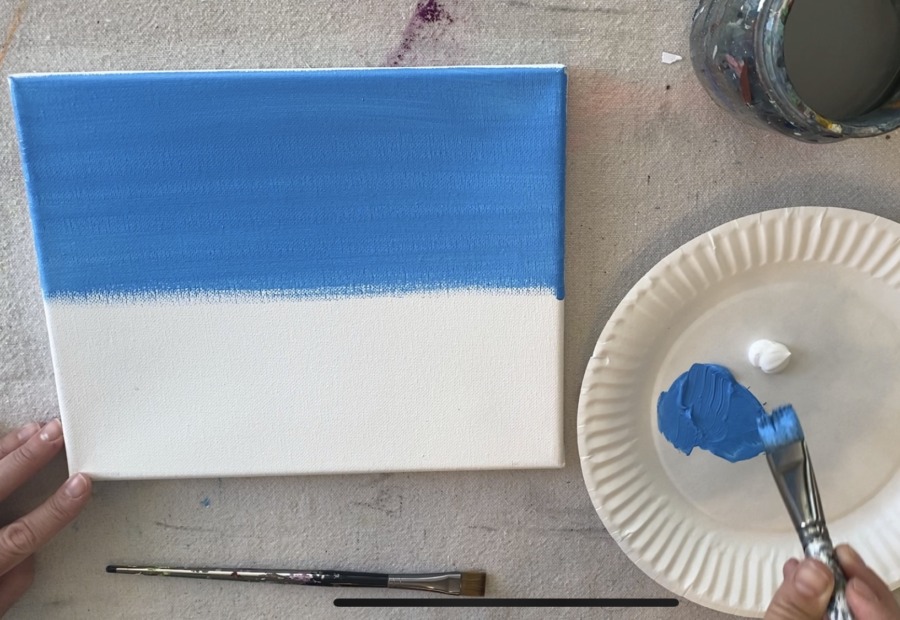
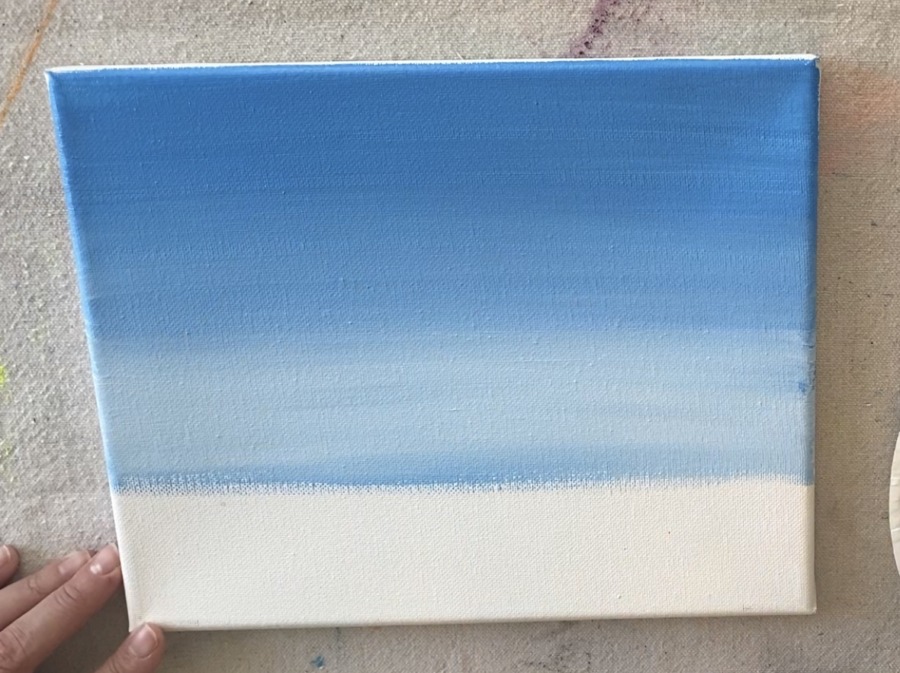
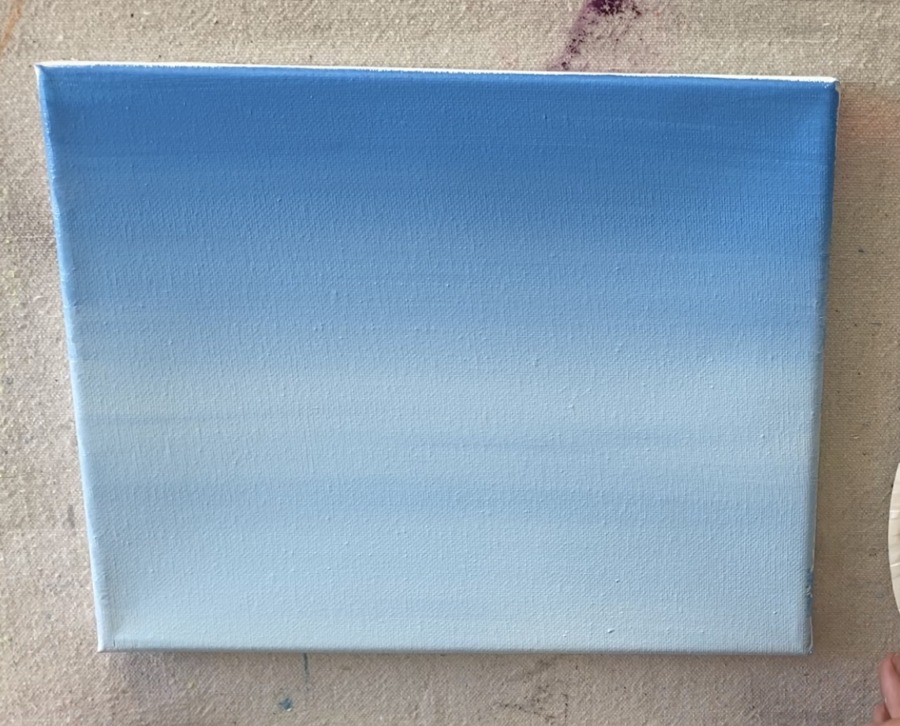
Then blend titanium white into the cerulean blue at the bottom. You want your entire painting to be a gradient blend of cerulean blue that turns to a very light blue on the bottom.
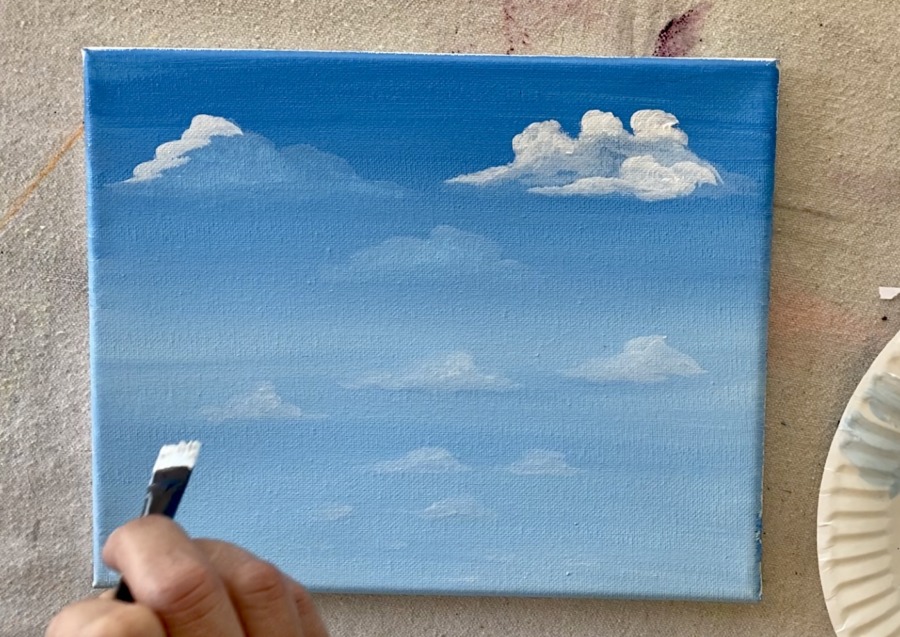
2. Paint the base shape of your clouds
You can work “wet on wet” or “wet on dry”. Basically, if your sky is still wet that can work to your advantage because the blue will blend in nicely with your first layer of clouds.
If your sky is dry, simply mix a little bit of blue into your white so you get the darker base color for your clouds.
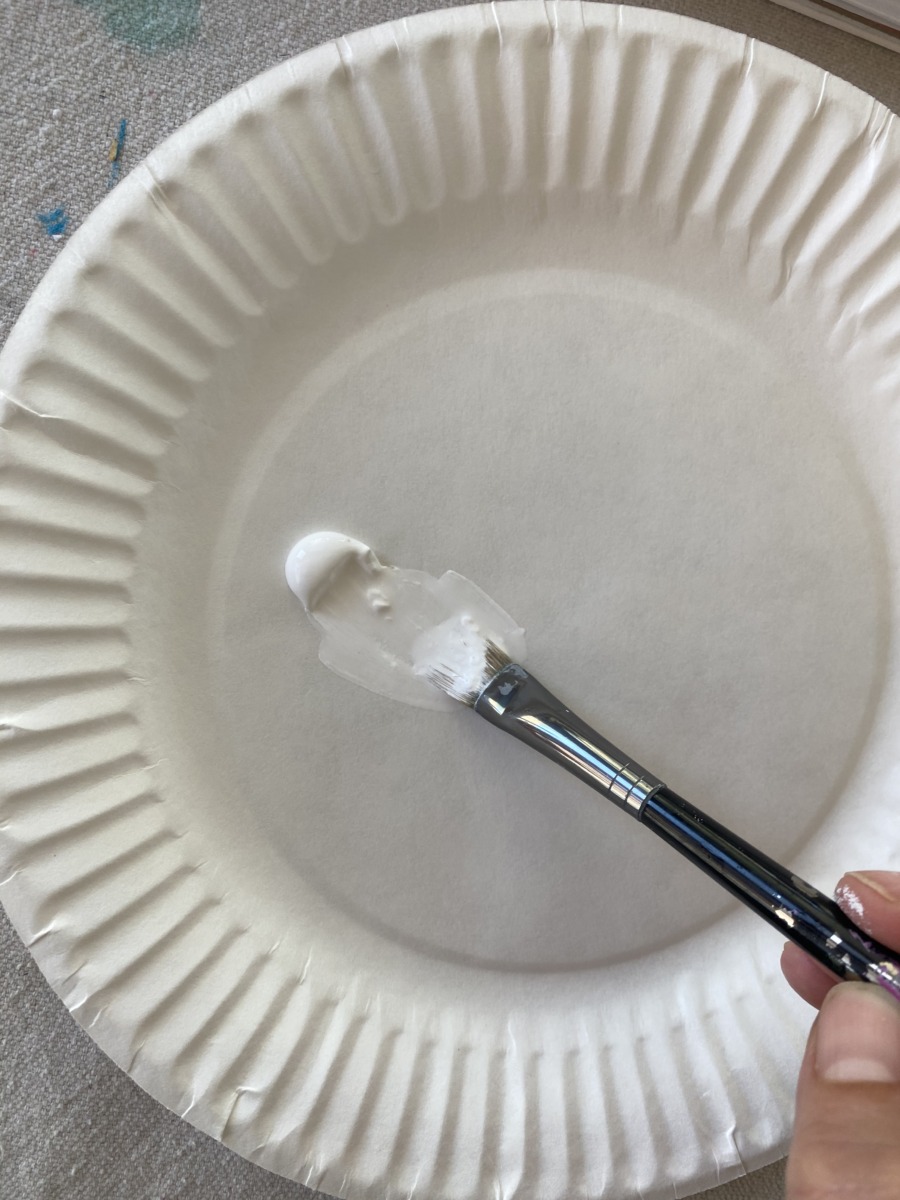
For wet on wet, I watered down my white slightly to get it to a thin consistency. You don’t want it dripping wet but just enough for a nice thin layer.
If your sky is dry (you are working wet on dry), you can mix a little blue in your white so you get that “dim” first layer.
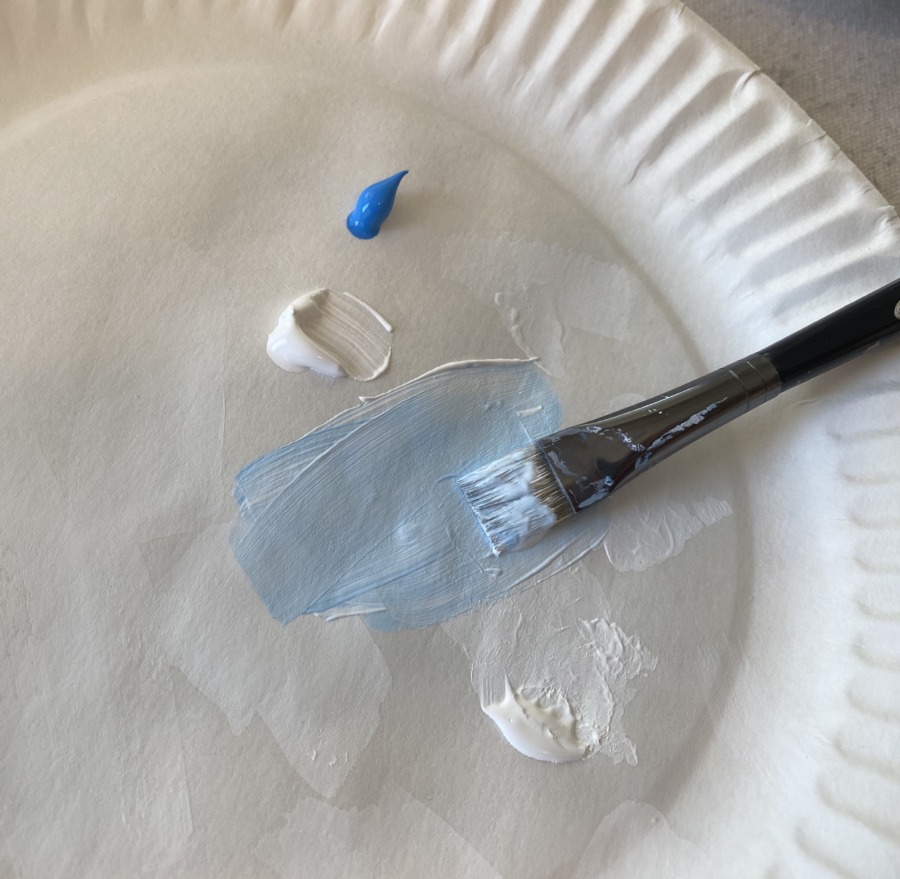
I recommend also wiping off some of that paint too so only a little is on your brush. Less is more because if you overload your brush, your first cloud layer will be too bright.
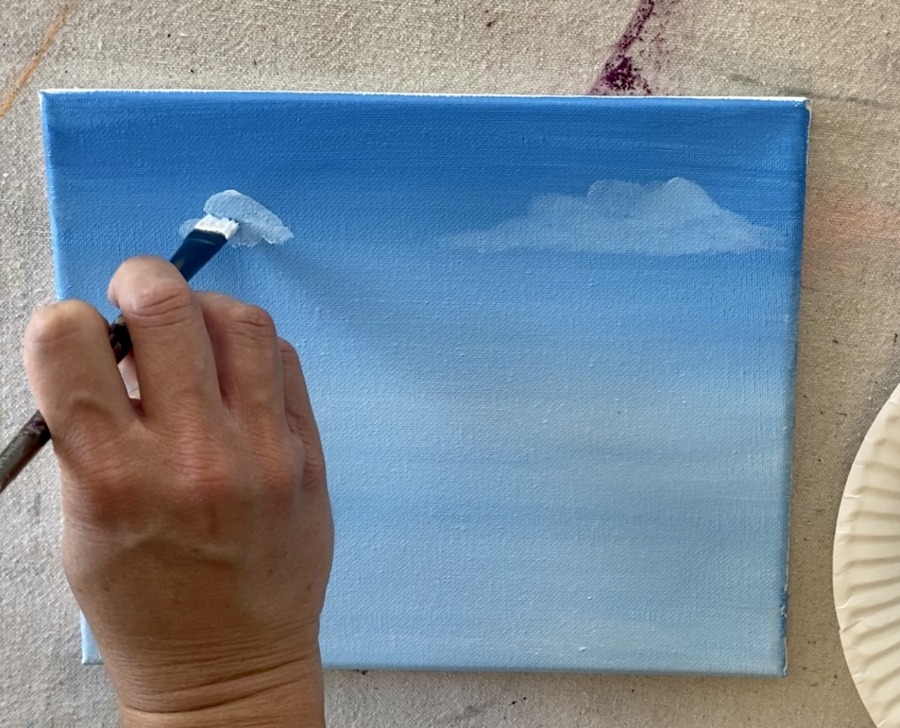
Then paint your cloud shape.
You want to use the very tip of your brush in a circular motion. I start at the top of my cloud and form a bumpy, uneven basic cloud shape.
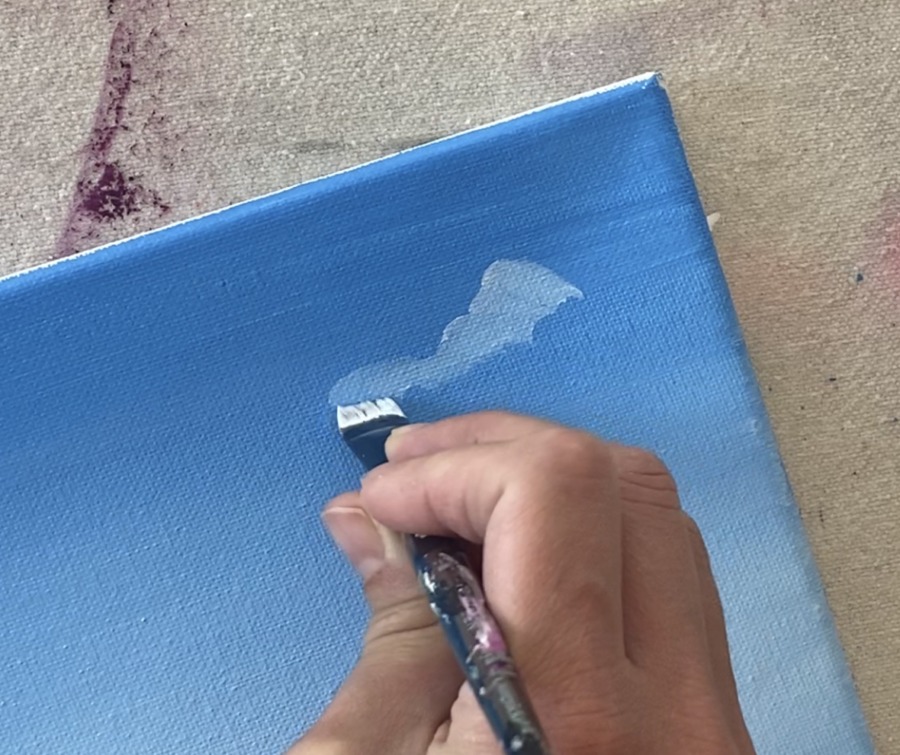
These clouds are kind of stretched. The bottom is sort of flat, although it isn’t completely a straight line. You can make the bottom of your clouds more bumpy if you prefer.
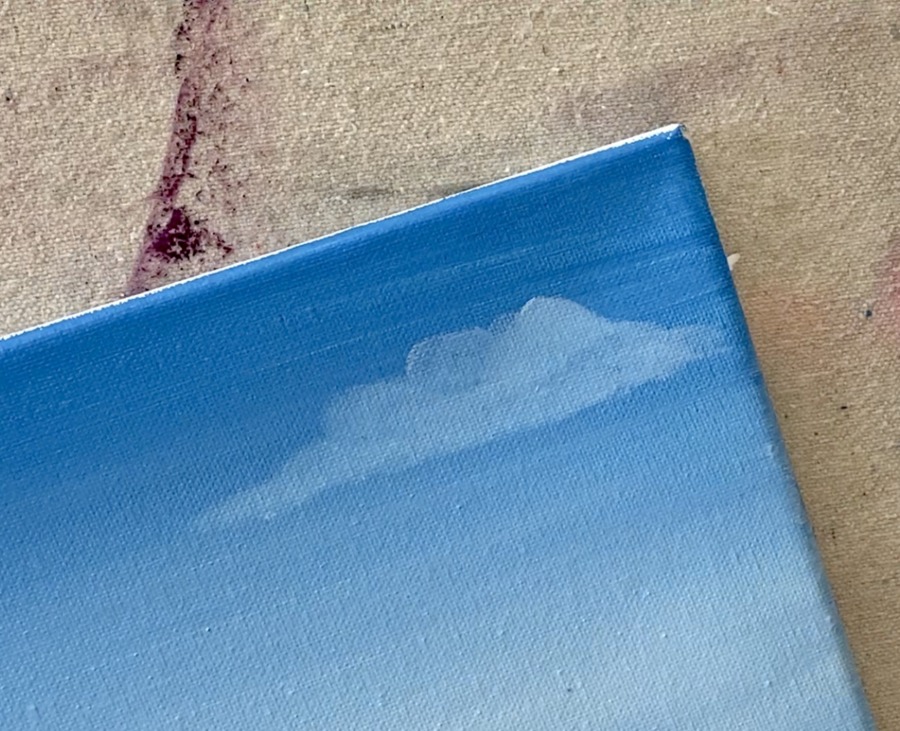
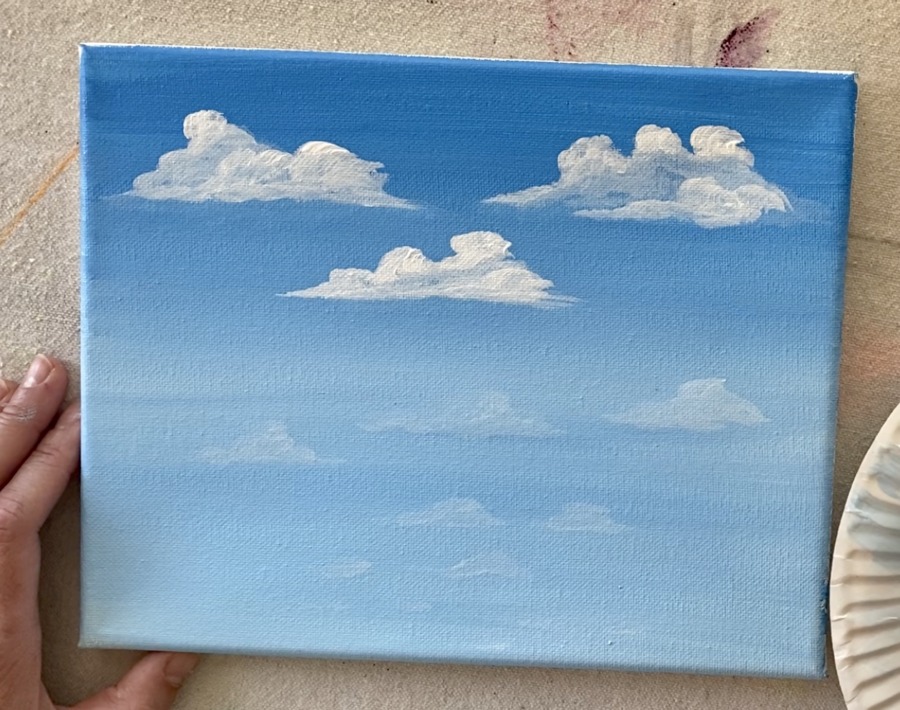
Since my sky wasn’t dry all the way, some of that blue mixed in with the white and that was to my advantage! If you are doing wet on dry, that light blue you created on your palette should show up as a very light blue.
Then repeat! Make more clouds but be sure to make them different shapes and sizes.
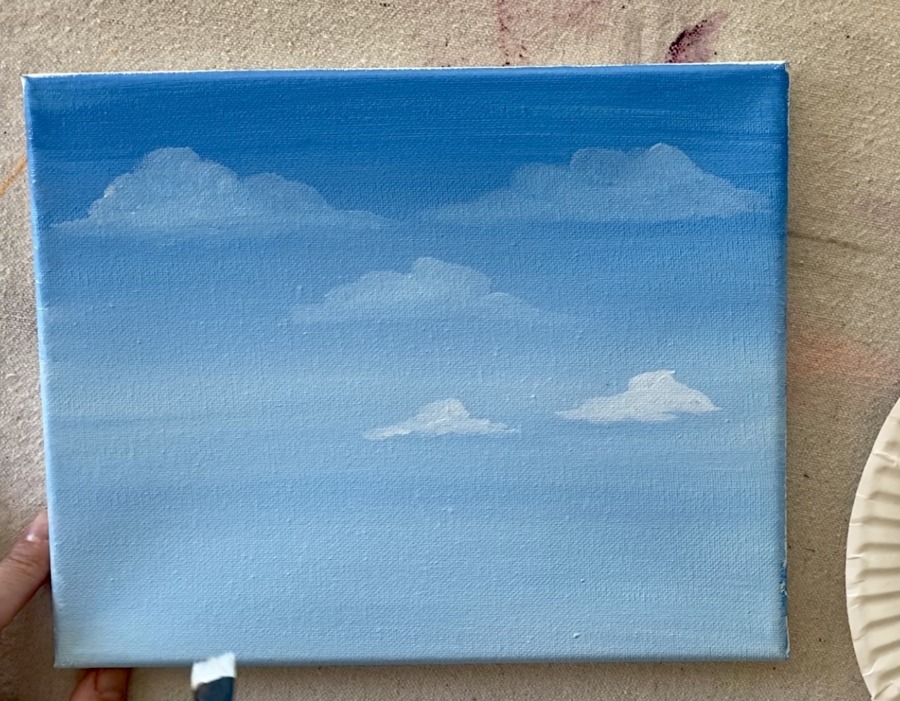
To create perspective in your sky, you can have the clouds on the bottom be smaller, closer together and less defined.
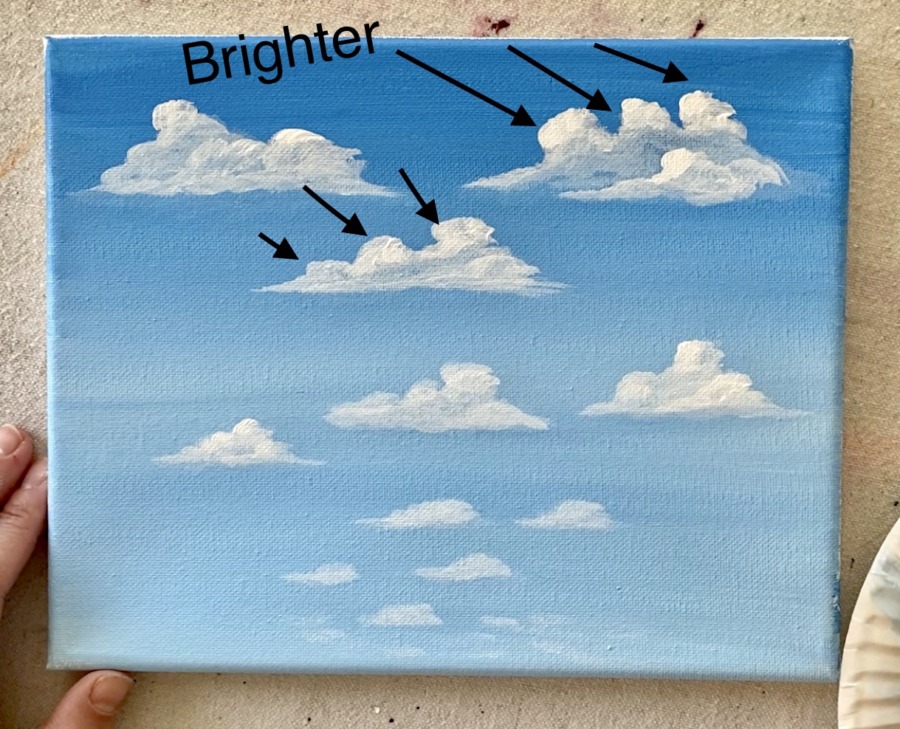
3. Paint the brighter parts of the clouds, give them more dimension
Here is the part where it can get tricky! We are working dark to light so that means we need to get our next layer of white to be lighter than the first layer.
Load more of that thin white onto your brush. OR if you mixed white and blue for the first layer of color, add more white. When you create this second layer it will show up brighter.
Paint the far, upper left edge of the cloud and blend down.
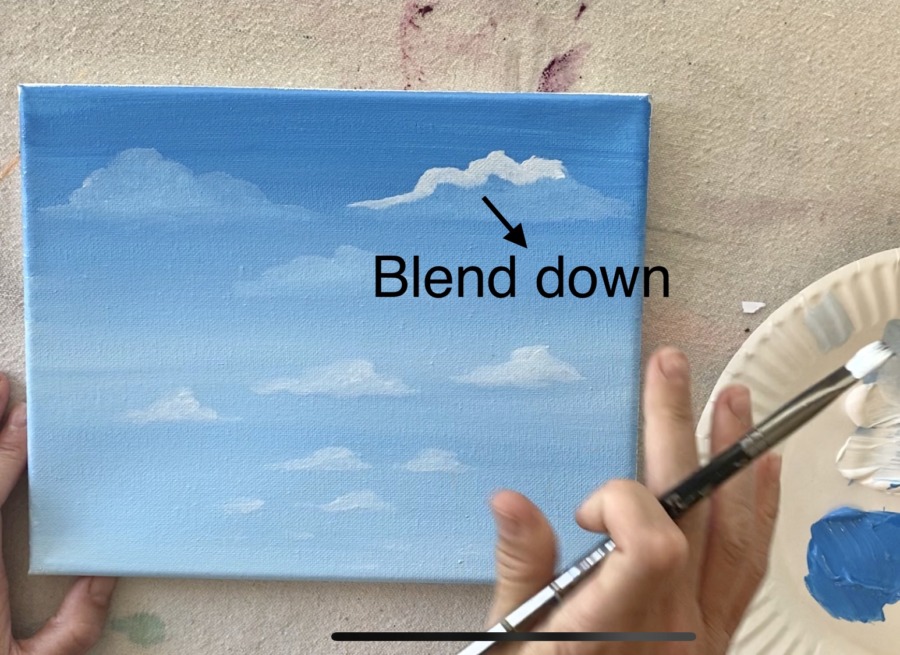
You can try using your finger to “smudge it” to blend it down.
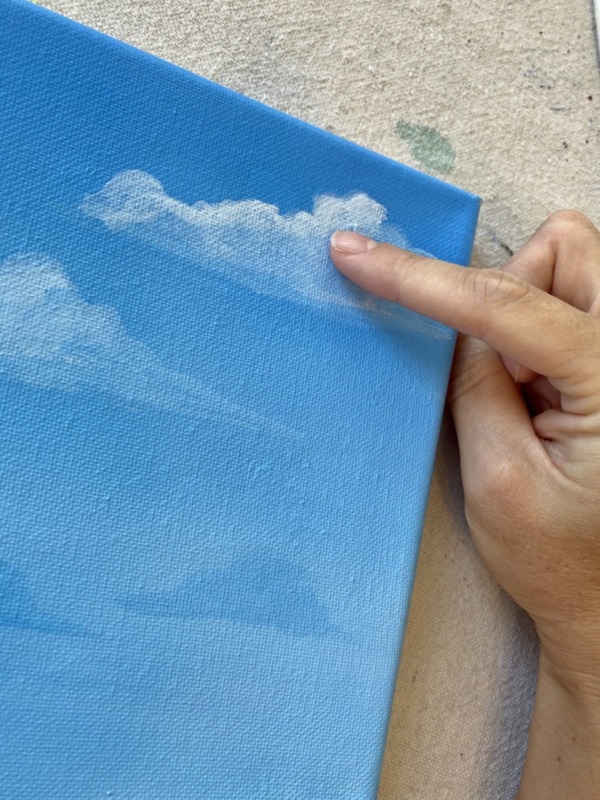
You can also use your brush to blend it down. Just gently work in that same circular motion to paint the rest of the cloud but make sure the edge of your cloud is still brighter.
I actually prefer blending with my finger! I find that it blends the cloud much smoother than the brush does.
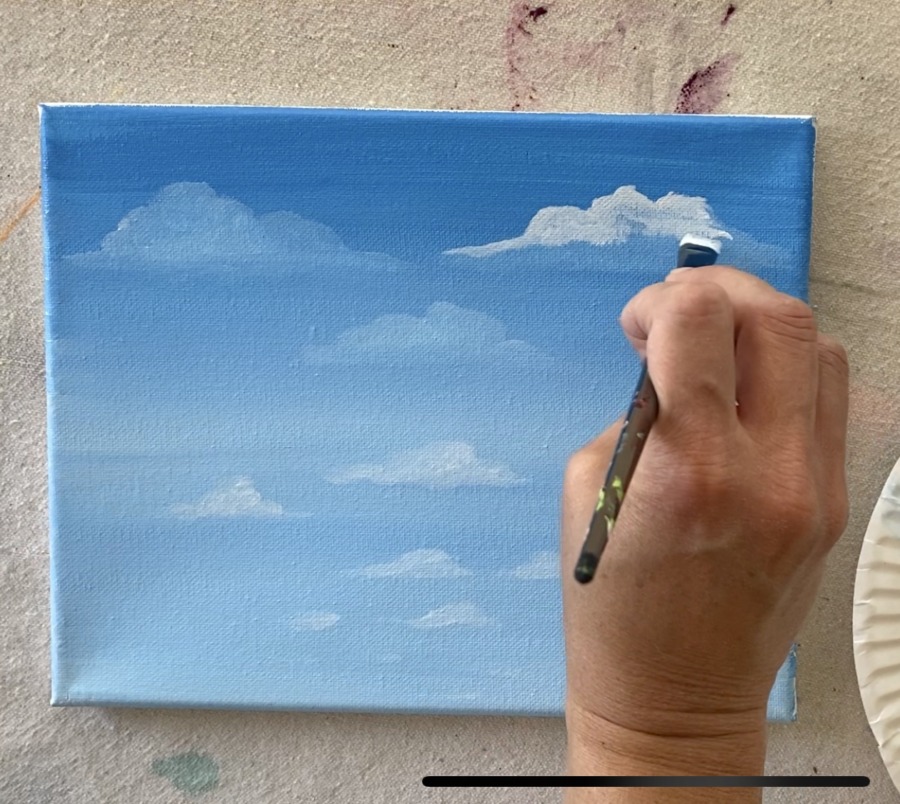
To give your cloud more dimension, paint another layer of cloud that overlaps it. Load your brush in more white so it shows up brighter and then define a new cloud shape that overlaps the previous one.

Then go back and add more white to the left edge of the cloud. I did this with pure white, no water mixed with it.

When you add that pure white to the upper left edge, you define where the light source of that cloud is! You can see how that pure white is much brighter than our first and second layer. You can blend that second layer down as well with your finger or brush.
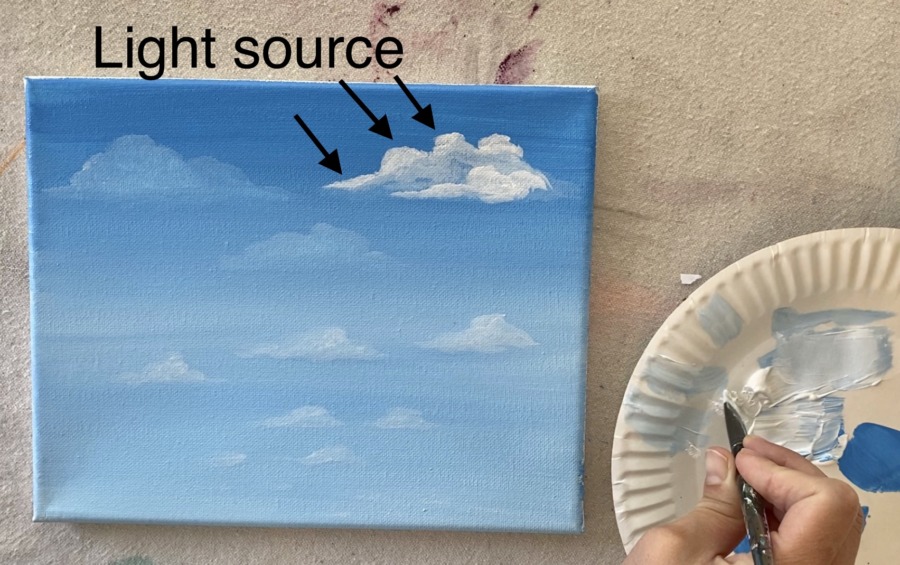
Then repeat these steps for the rest of the clouds making sure your light source is in the same spot each time.
You can even add a 4th layer of brighter white! When you add a second coat of the white over your first one, it will show up brighter. Do this just on the very edge of each of the clouds where your light source is.
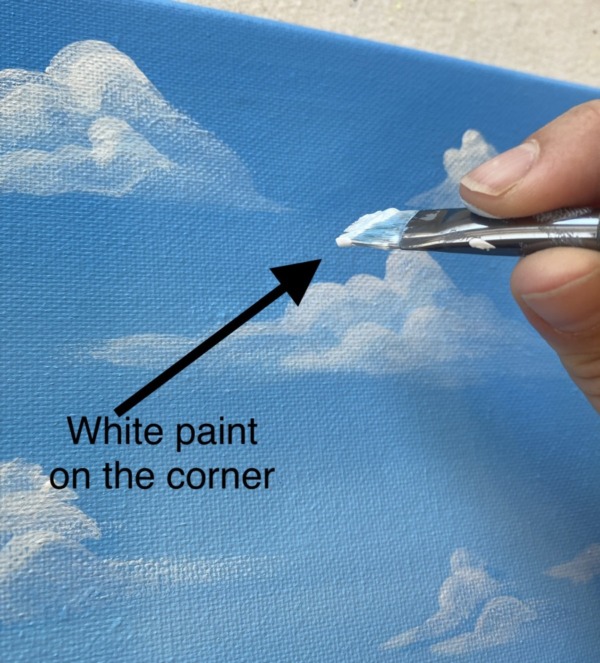
When you are doing the very edges of the clouds, I find it helpful to use just the corner of the brush instead of the full amount of bristles. Therefore, I load the white paint just on the corner.
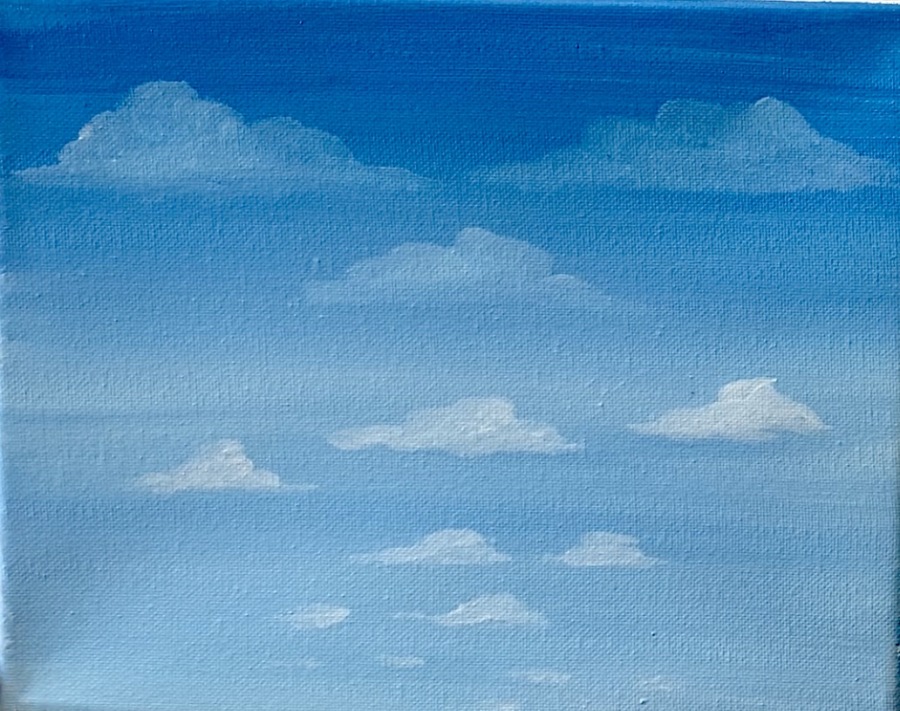
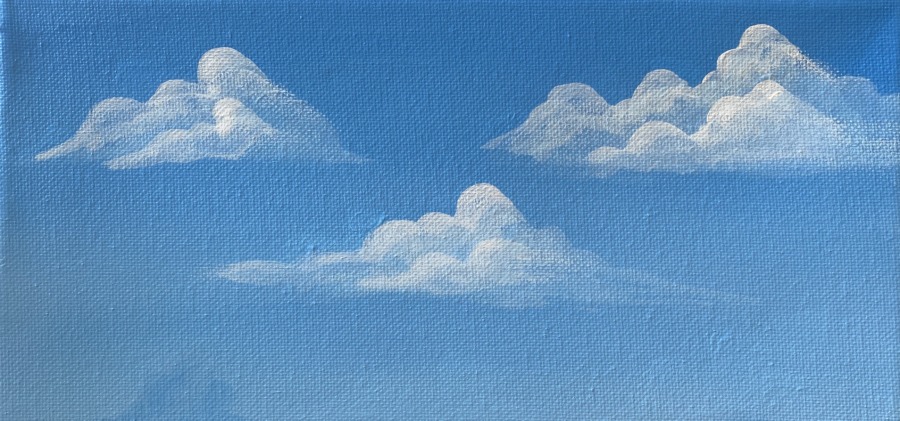
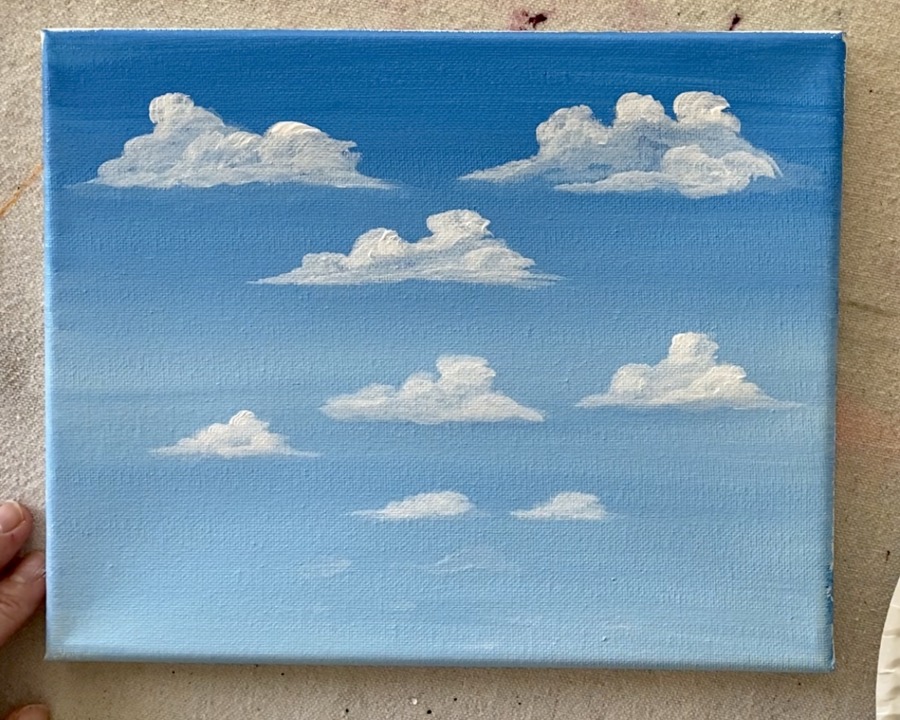
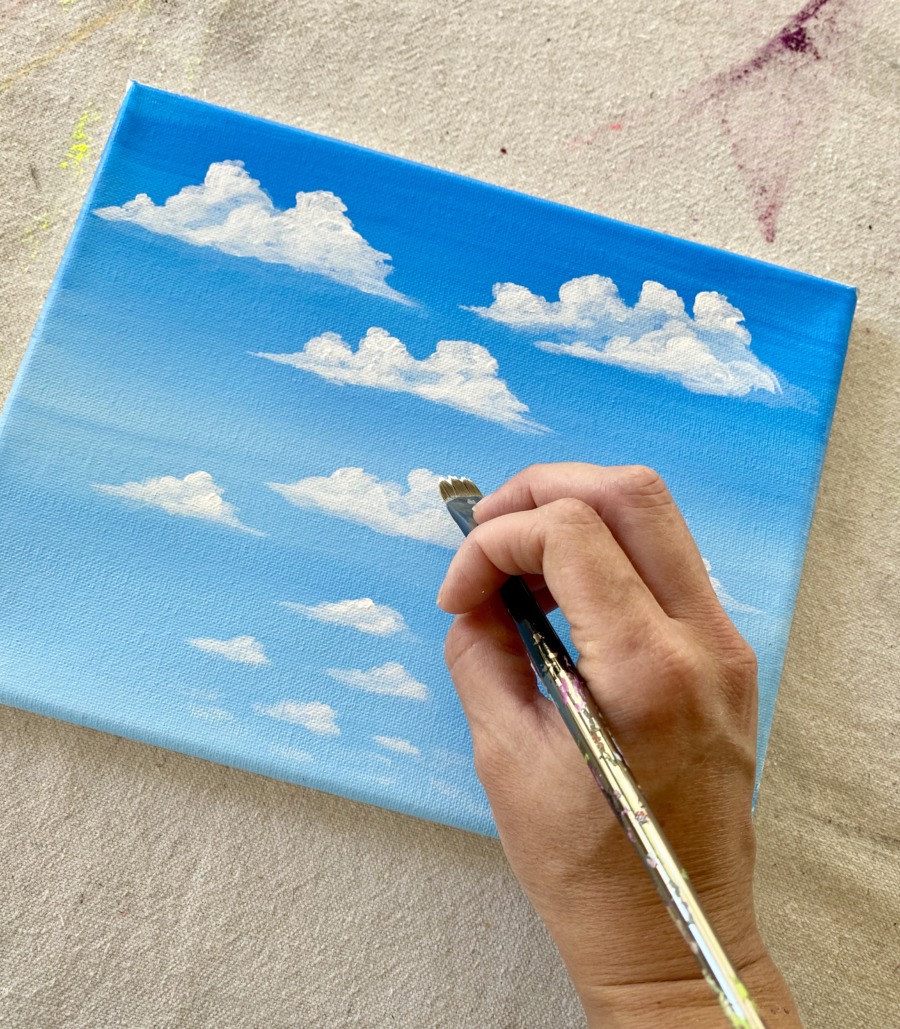
For the clouds on the bottom, I still defined them with more layers but since they are further away, they are not as bright or as defined.

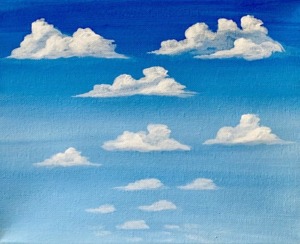
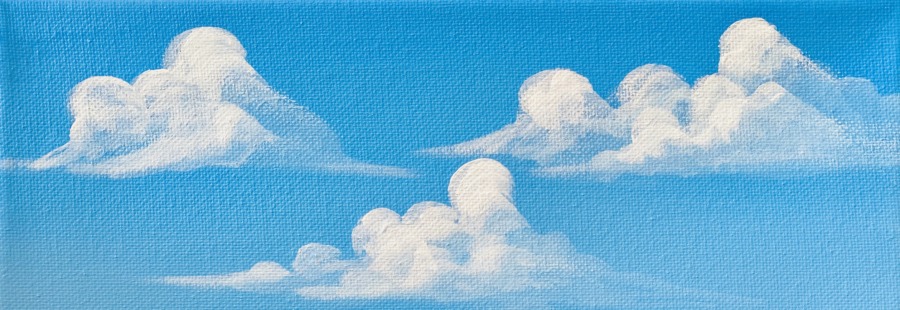
If you want your clouds to be more rounded on the top like the ones below, simply paint larger, more rounder strokes on the top to create that shape!
Keep practicing!
Clouds are one of the hardest techniques to learn with acrylic painting and many beginner painters express their frustrations with those (not so happy) clouds!
The more you practice your cloud technique, the more confident you will feel with adding them to your paintings!
Share this post!

Some Of My Painting Tutorials With Different Types Of Clouds:
In this dreamy cloud painting, I demonstrate how to use the dry brush technique to build layers on your clouds to make them look puffy!

In this lightning storm painting, I did dark clouds with the light reflecting mostly on the bottom because of the lightning.

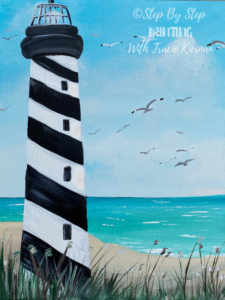
In my Lighthouse Beach Painting, I used cotton (yes an actual cotton ball) to paint the light misty looking clouds in the sky.
In my moon painting, I did night time clouds and I did this technique “dry brush style”.

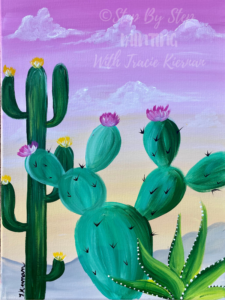
Last, but not least, in my Desert Golden Hour Painting I did your basic cumulus style cloud that I will be demonstrating in further detail below!
Thank you so much for these awesome tutorials. I use to be really bad at painting but I’ve improved so much. Thank you!
You’re welcome!!
Hi Tracie, You are the best! Been trying to paint clouds for several months, even stopped painting for awhile b/c I was discouraged ~ I am so grateful that I came across your video – my clouds look beautiful and realistic. I’m signed up and thank you, thank you, thank you !!! ~ Terry
That is so exciting to hear Terry!! So glad to hear this!
This tutorial is very helpful. I’m going to start practicing following it because I have a lot of dificult painting clouds. Thanks a lot.
This tutorial is most helpful. I have learned so much in such a short time. Thank you very much in deed.
You’re welcome!
I have been painting (self/taught) for about a year now. Clouds & sky paintings are what I’m inspired to paint the most but I get super discouraged about it every time I try to begin. They never seem to come out just right. Now that I’ve come across your tutorial for painting clouds I feel more comfortable with myself painting them and I’ve immediately improved my skill in cloud paintings thanks to you sharing your techniques. Thank you so much for helping me get confidence in cloud paintings so I can explore more ways & color skems.