How To Paint A Zebra – Step By Step Painting
Would you like to save this?
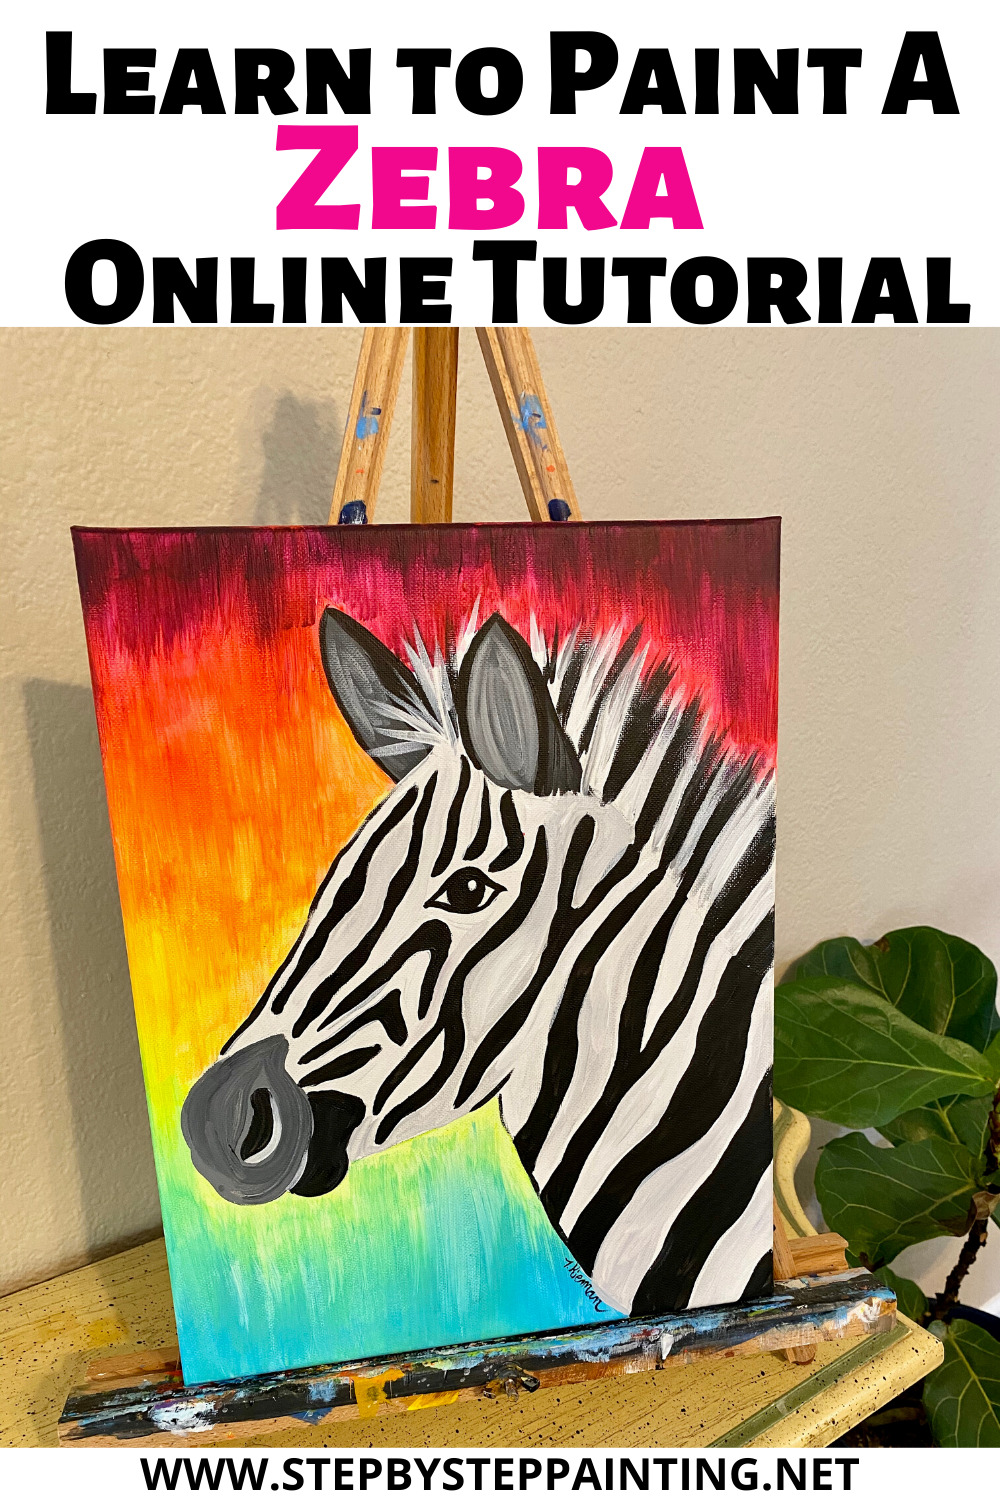
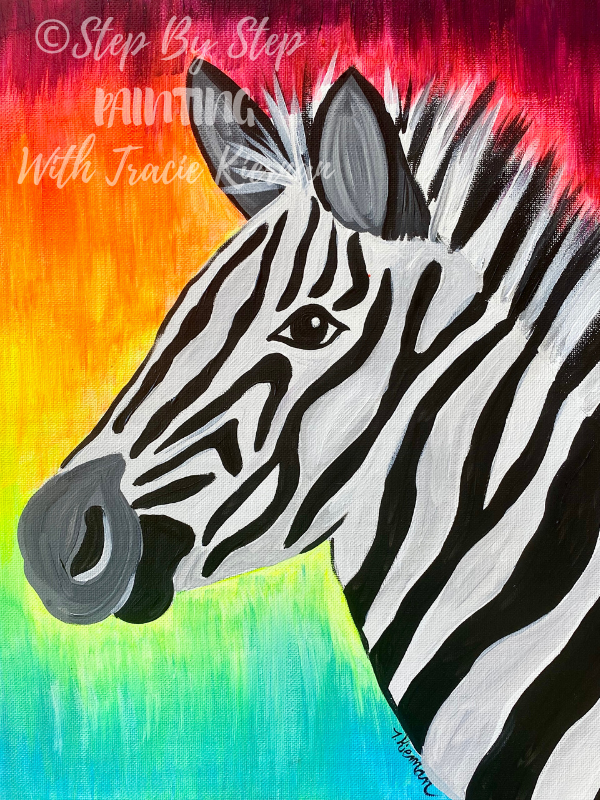
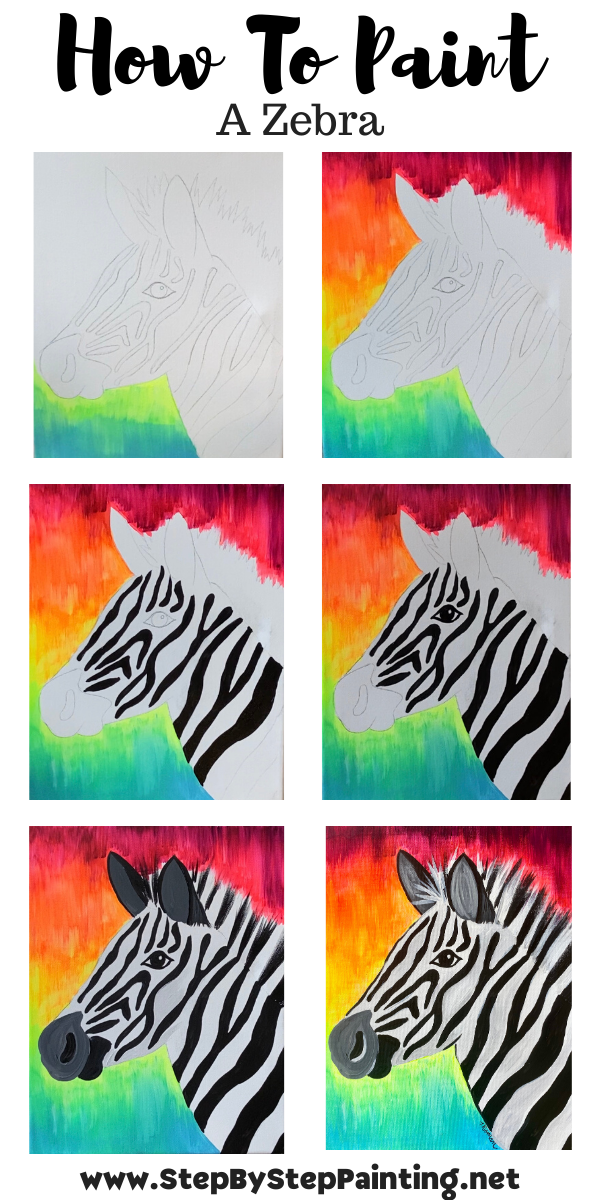
Learn how to paint a zebra with a beautiful vibrant rainbow background. The background of this painting reminds me of my ice cream cone painting I did one summer with the rainbow background.
I love how this rainbow background looks with the black and white. I found it very relaxing to paint all the stripes!
I also did this with a few neon paints! I love how the neon pink and neon yellow look with the background! In fact, when the neon yellow blended with the blue, we got a neon green. Same with the pink and the yellow to make a neon orange!
If you do not want to use neons, or do not have them, you can still do this painting. Just substitute out with primary yellow and medium magenta.
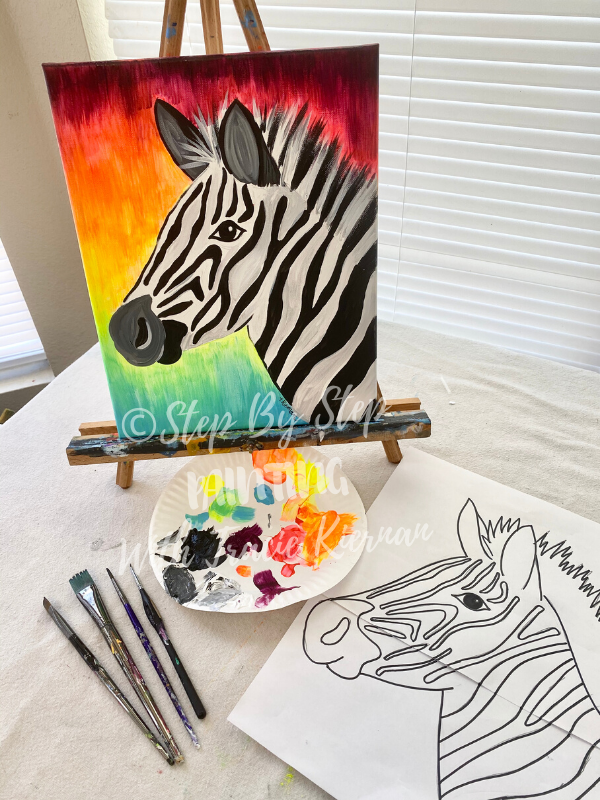
This tutorial has a free traceable that you can print and then transfer to your canvas. I did this on a 11” x 14” size, however, you can do this on any size canvas.
Add these animal paintings to your collection!
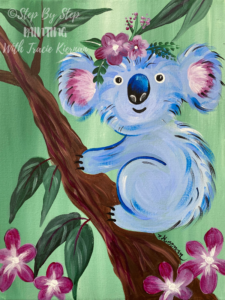
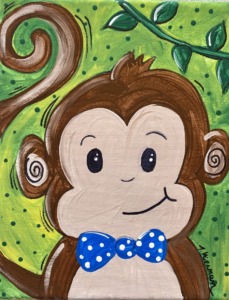

Enjoy and happy painting!
Materials
Zebra Painting
Paint beautiful zebra with a vibrant rainbow background! This painting is a very easy, beginner level acrylic painting.
Materials
- Acrylic Paint
- Paint Brushes
- 11“ x 14“ Canvas
- Graphite Paper
- Traceable
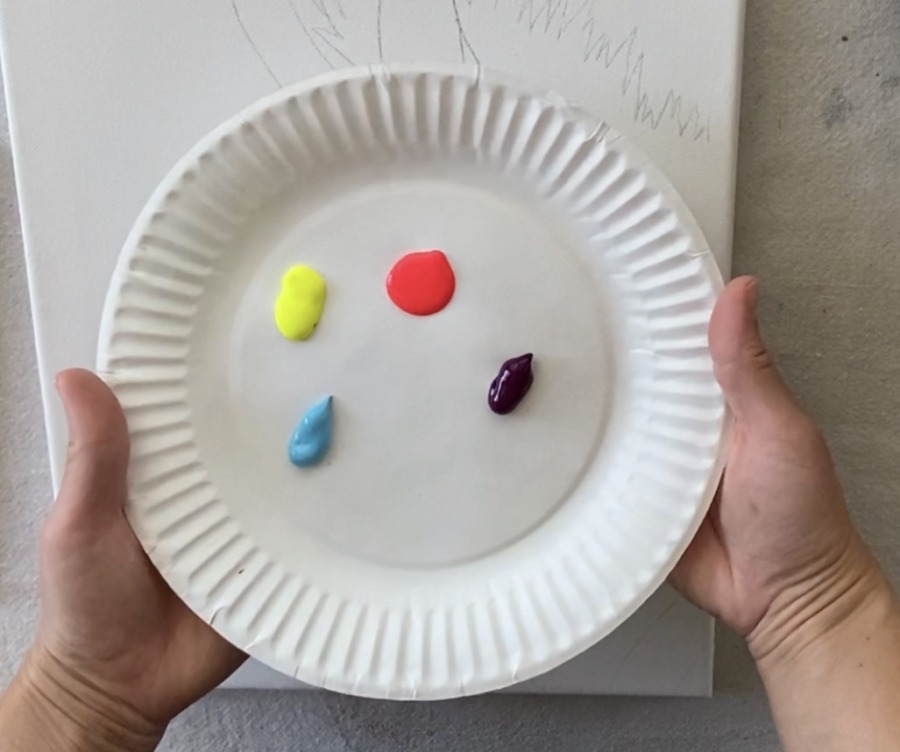
Colors
- Neon Pink
- Neon Yellow
- Light Blue Permanent
- Deep Violet
- Titanium White
- Mars Black
Brush Sizes
Color Palette
Note: if you do not have or do not want to use neon paint, substitute neon pink for medium magenta and neon yellow for primary yellow. 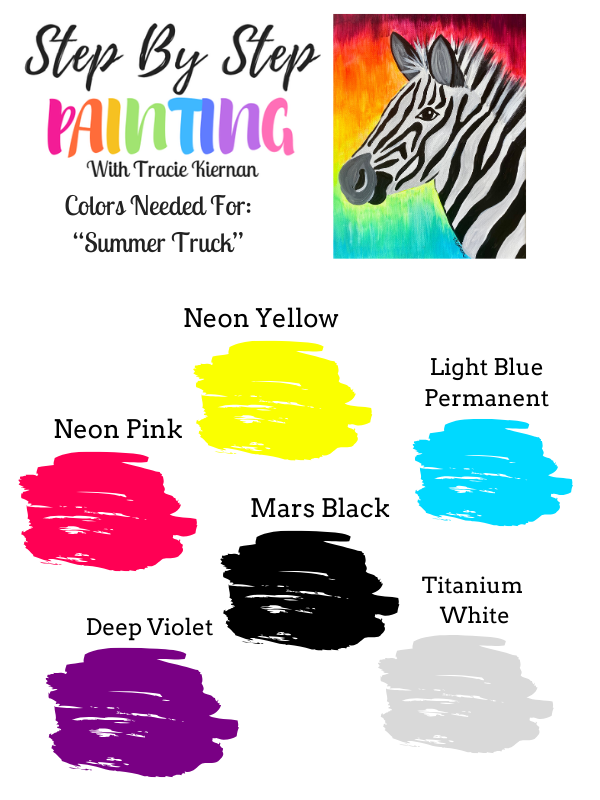
Craft Paint Suggestions
If you are doing this with craft paints, I suggest the following colors:
- Neon pink
- Neon yellow
- Black
- White
- Any Light Sky Blue
- Any medium violet color
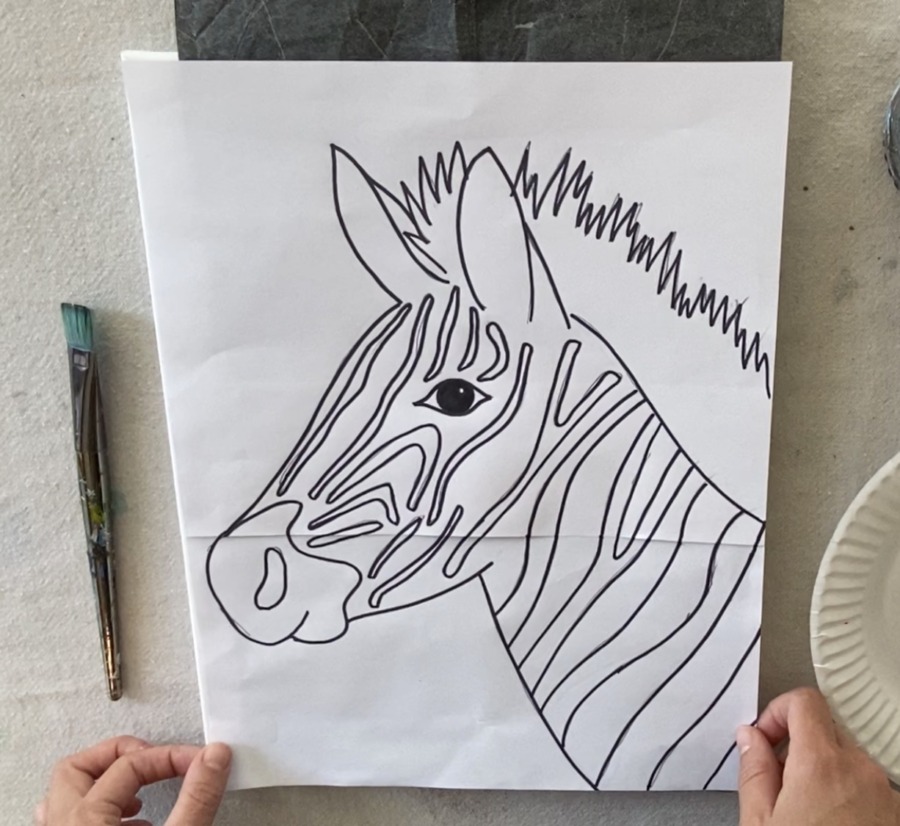
Traceable
Print this on standard size 8.5” x 11” paper and tape together to create the size that will fit on a 11” x 14”. You can also resize this for any canvas size by using the FABULOUS online software Rapid Resizer.
To get the PDF, visit my Traceable Library. 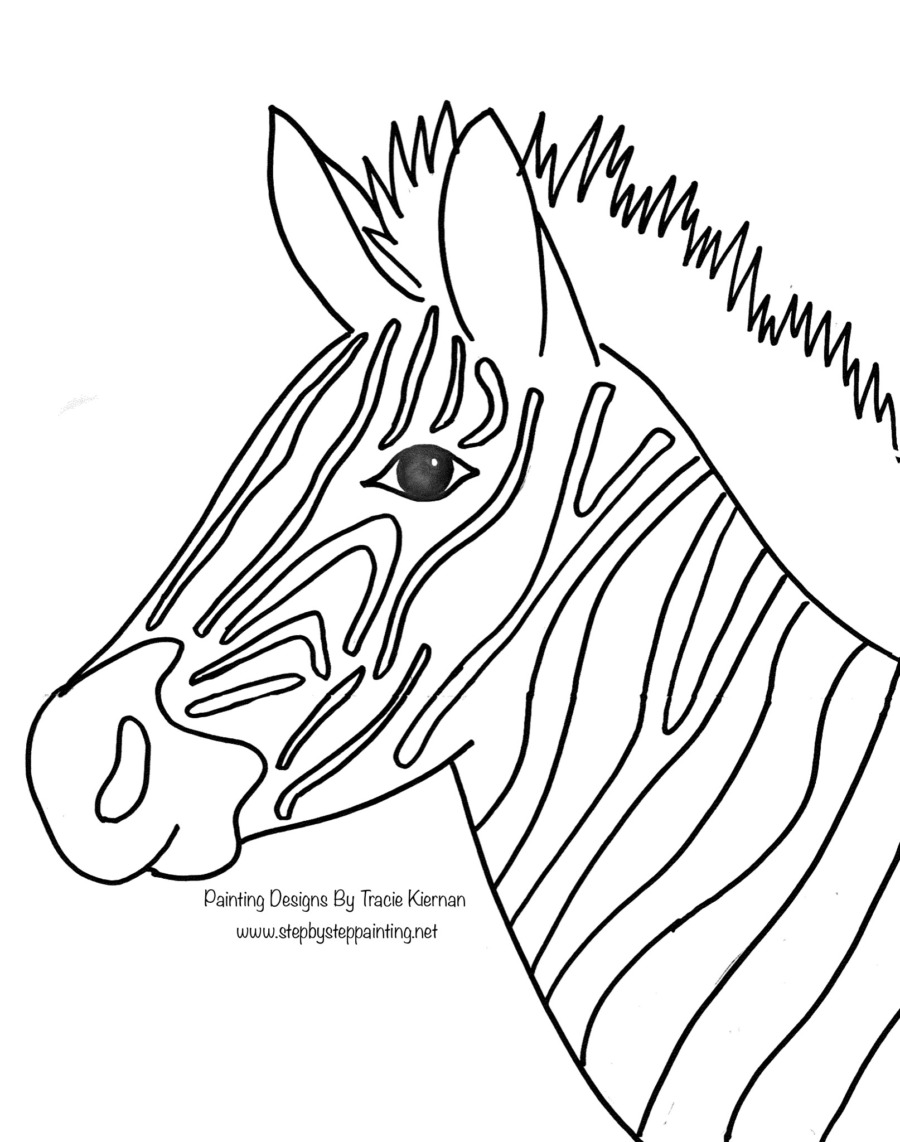
Directions At A Glance
Step By Step Directions
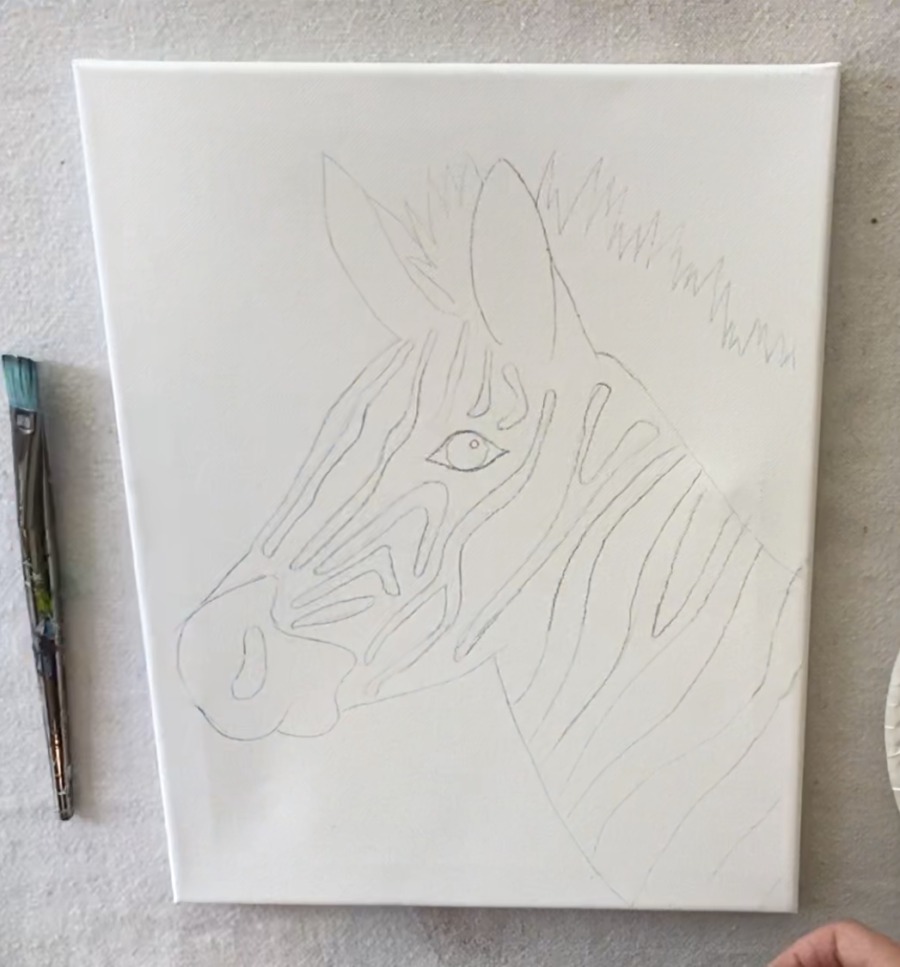
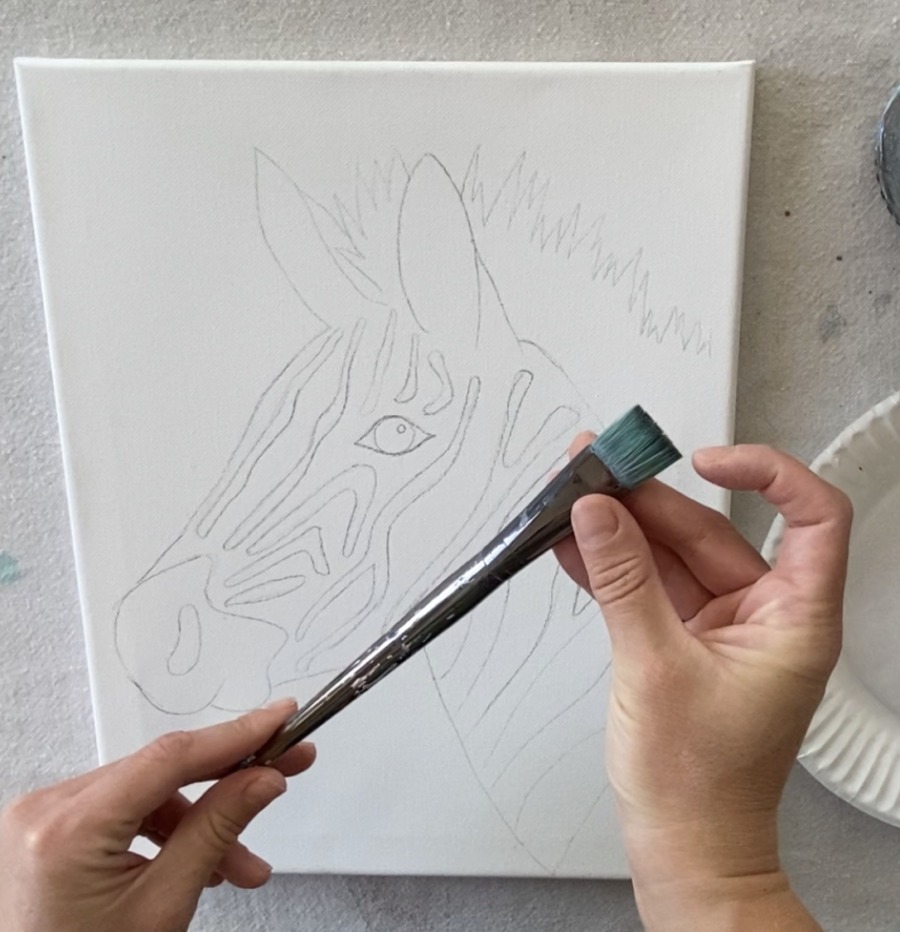
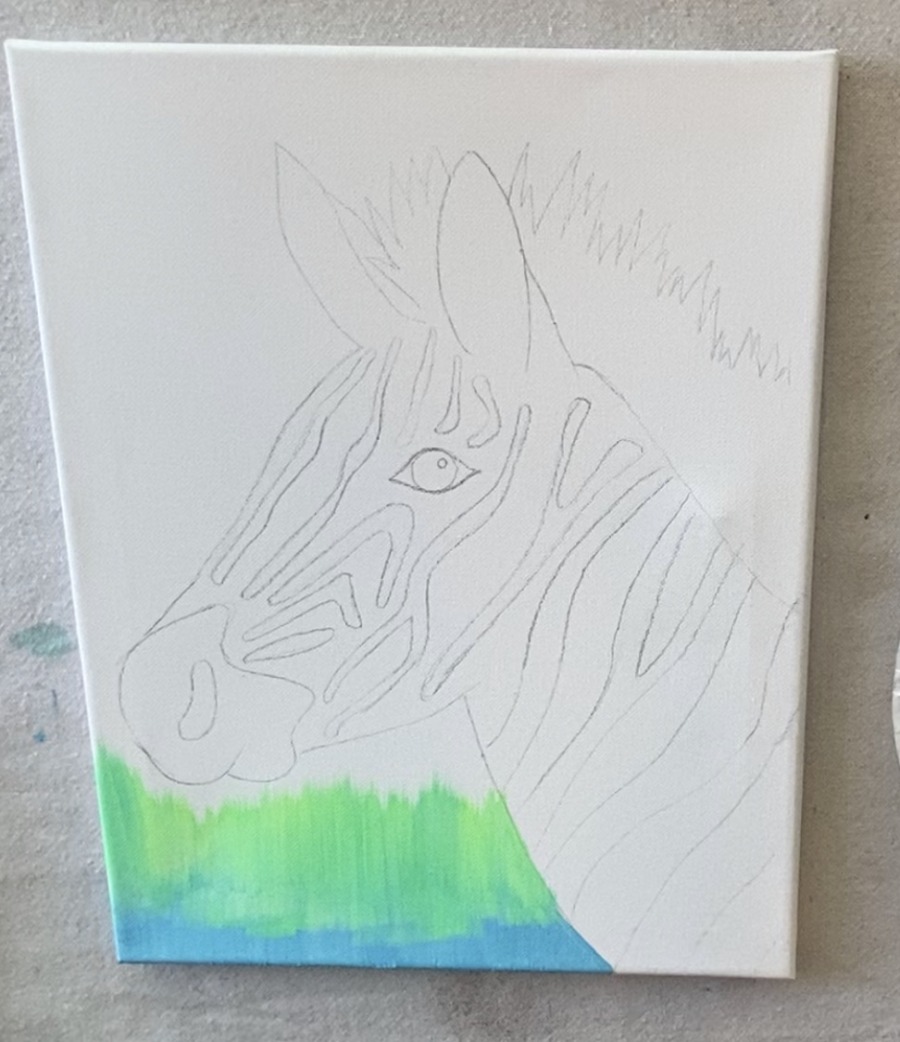
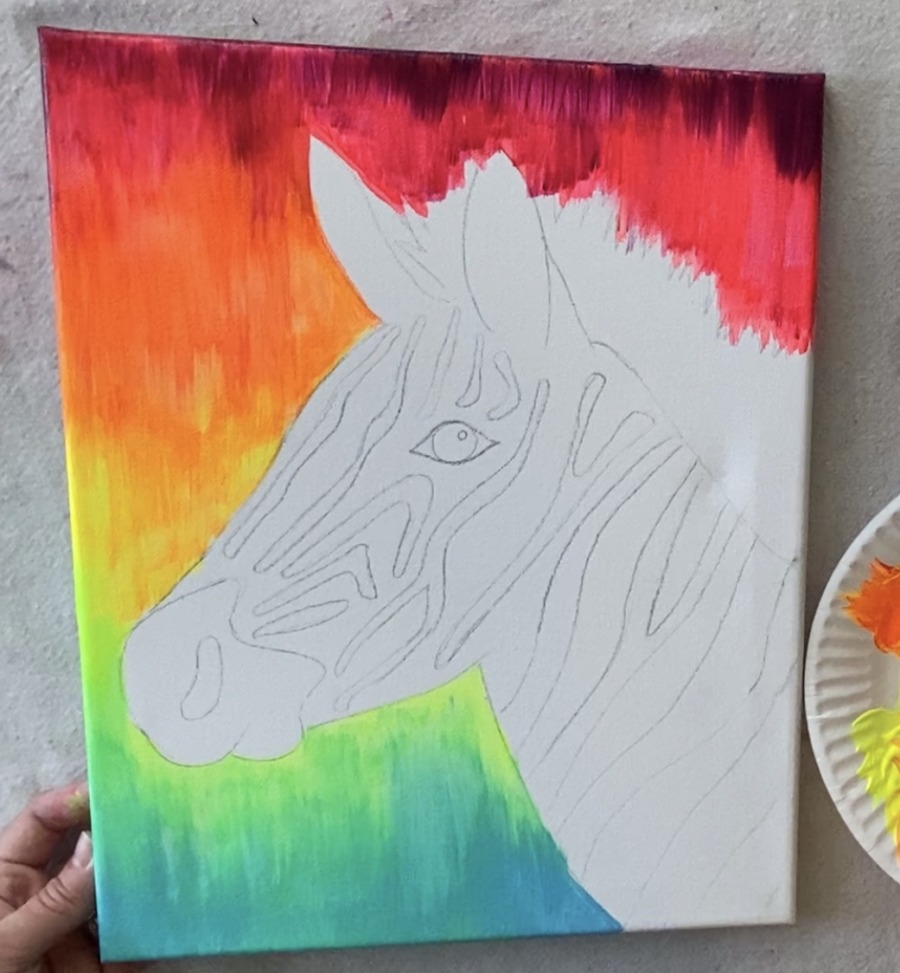
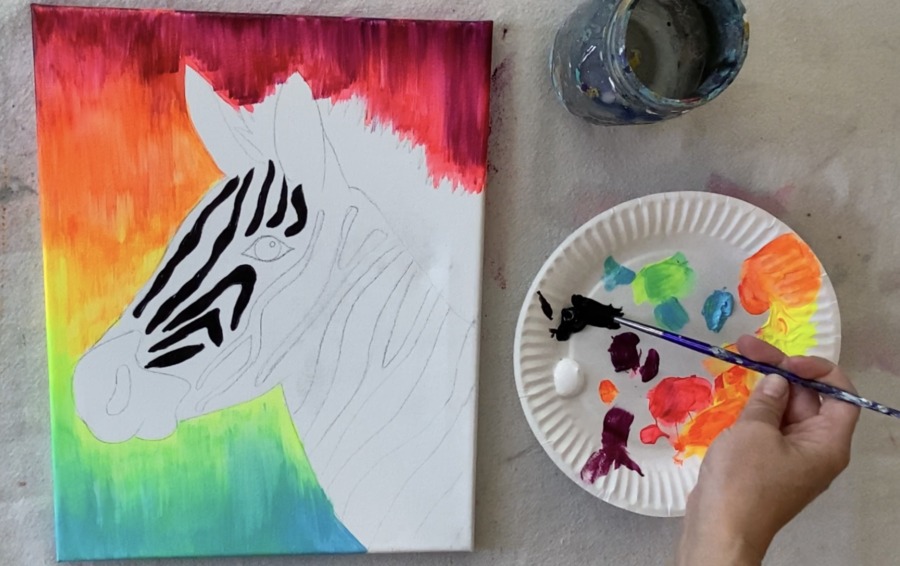
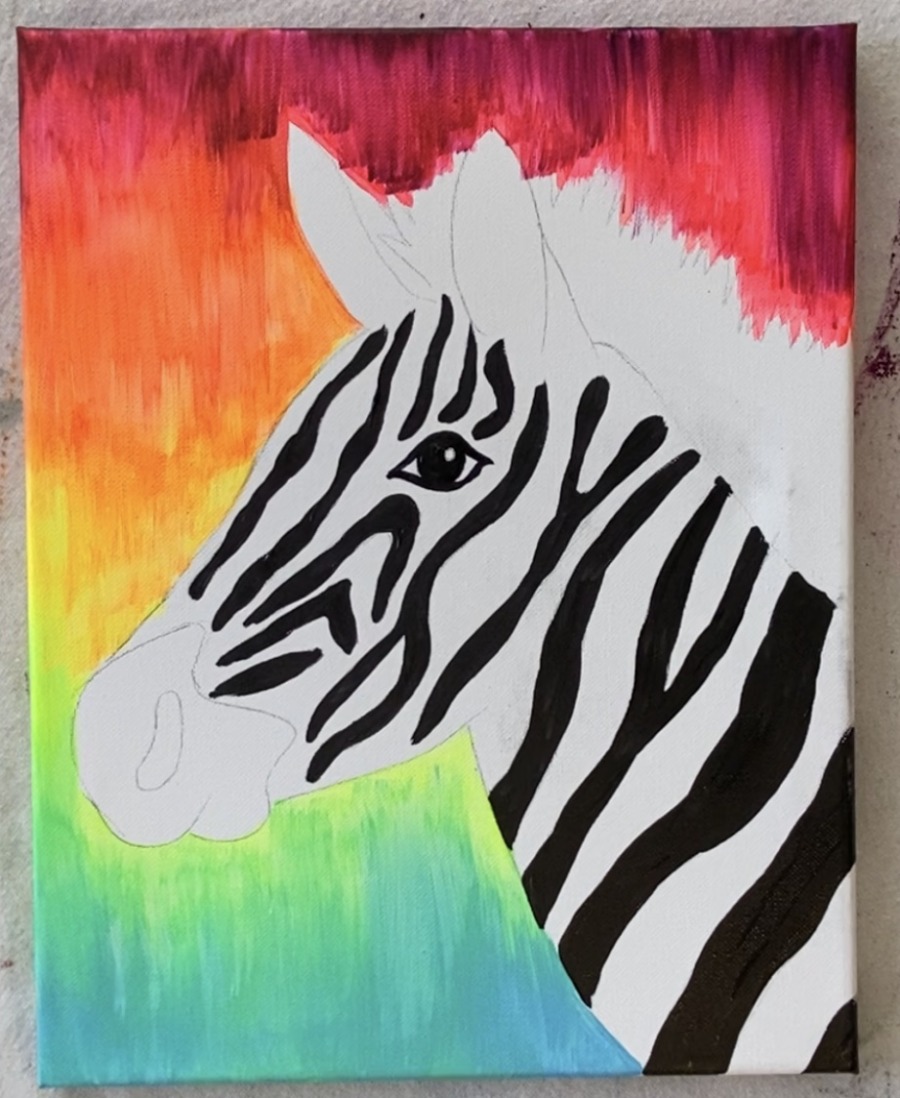
1. Draw or Transfer Zebra Design To Canvas
You can lightly draw the zebra with pencil onto the canvas.
Or you can use my traceable and a sheet of graphite paper. If you do not have graphite paper, you can apply pencil on the back of the traceable and then trace it over the canvas.
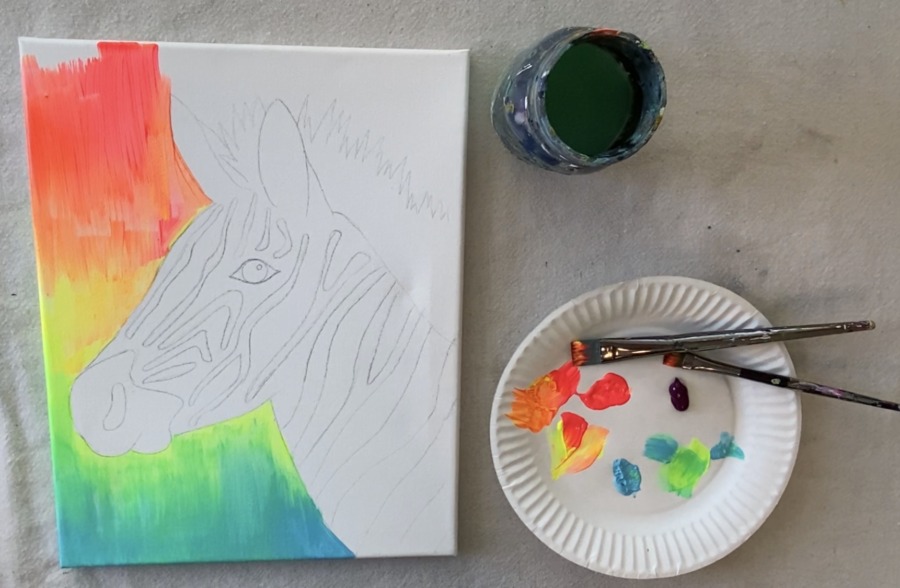
2. Paint The Rainbow Background
Load your palette with neon pink, neon yellow, light blue permanent and deep violet. Use both a 3/4” flat brush and a 12 bright brush.
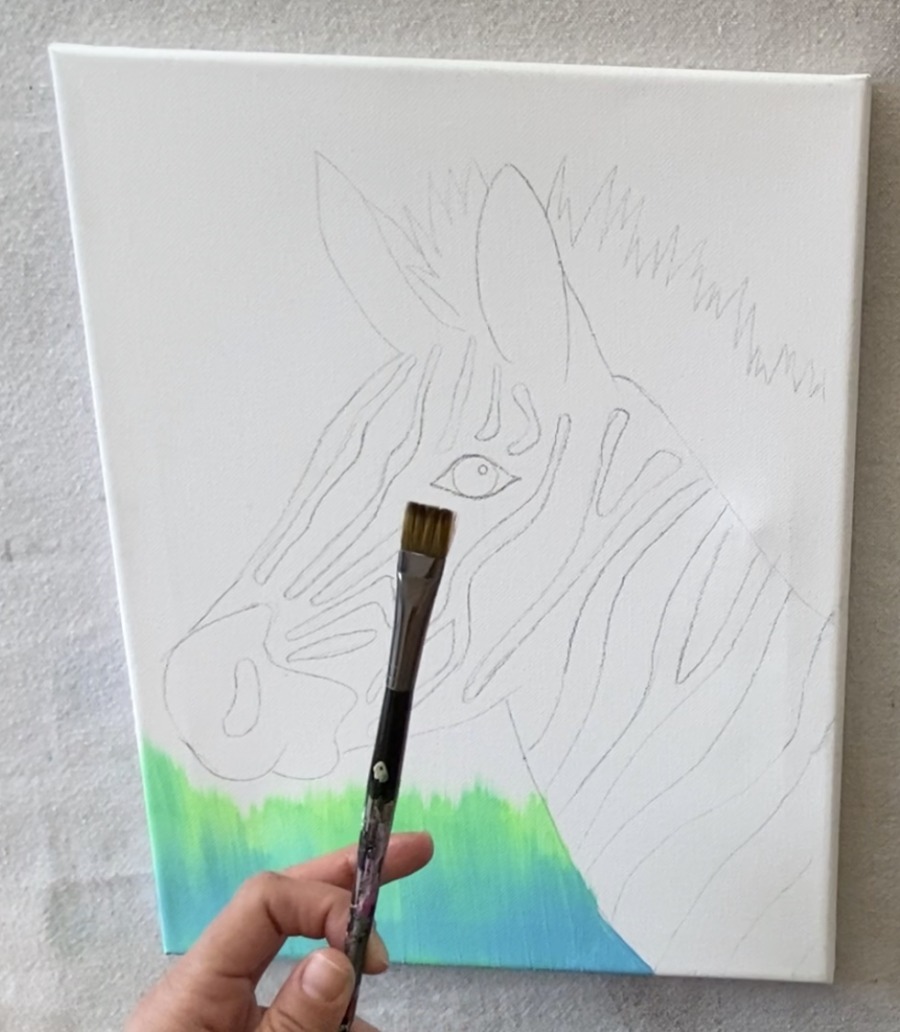
Start at the bottom and apply about an inch to two inches of the light blue permanent. Paint in small vertical strokes.
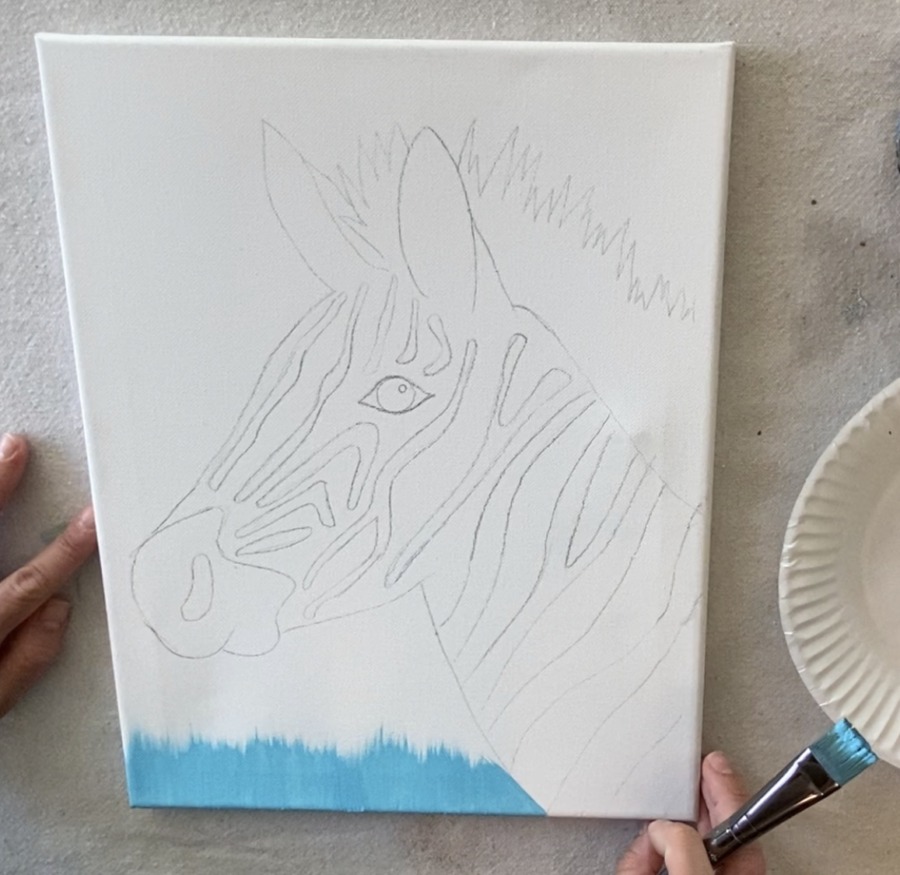
Then load your brush with some neon yellow so that it turns into a bright green color. Blend that into the blue for the next row of color.
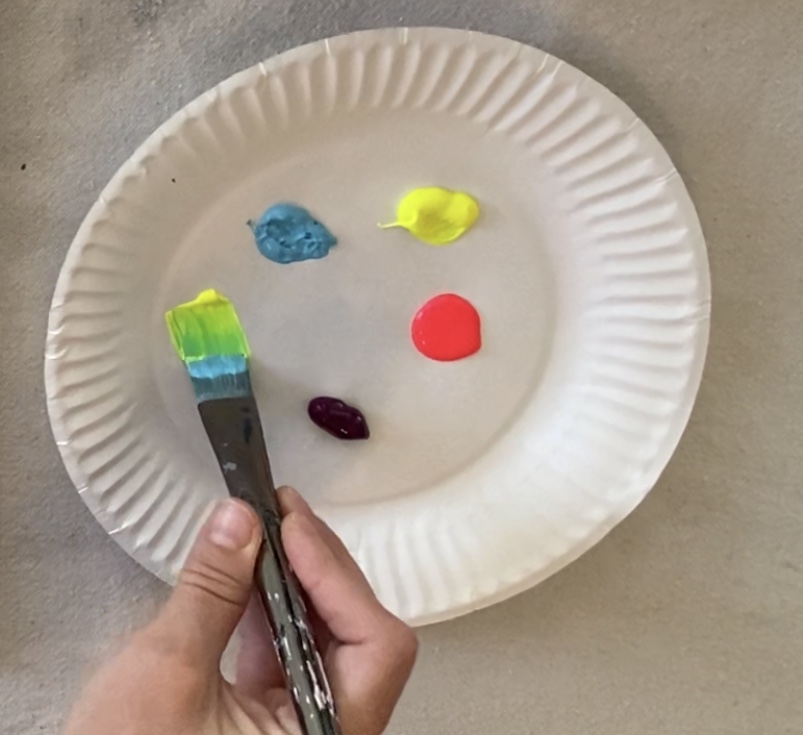
If you need to get into smaller areas, use your 12 bright brush (a smaller flat brush).
Continue working your way up the canvas adding new colors and blending. You will need to rinse the blue off your brush when you want that yellow to be a pure yellow .
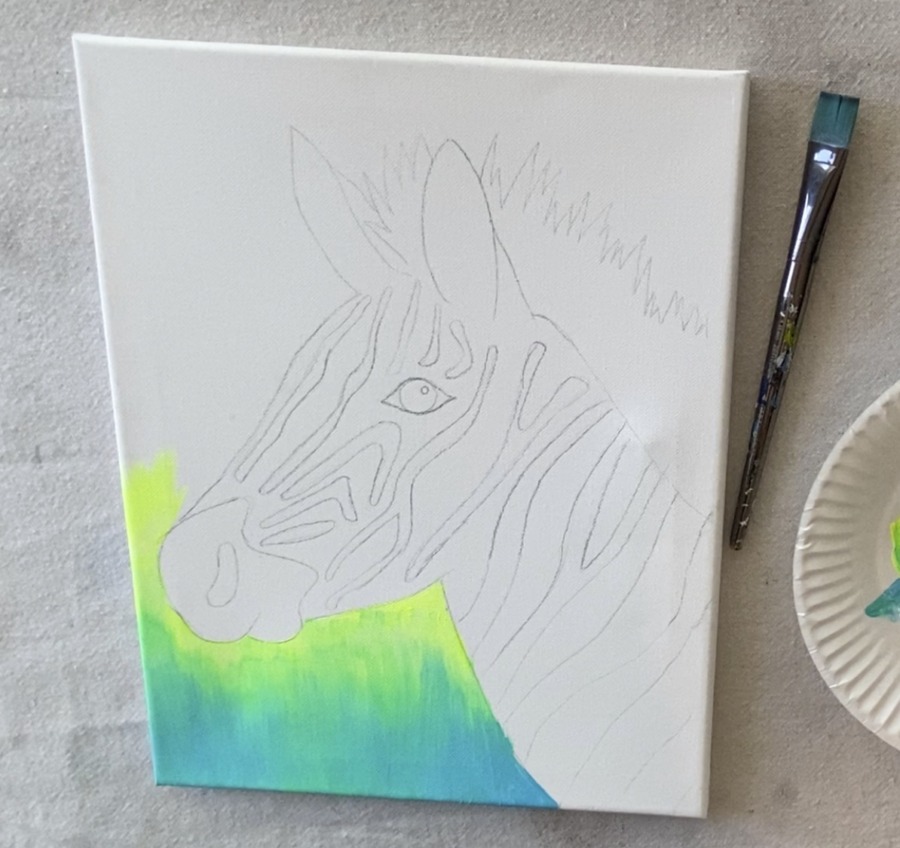
Then blend a little neon pink so that it turns orange. Create the next row of color with this orange color.
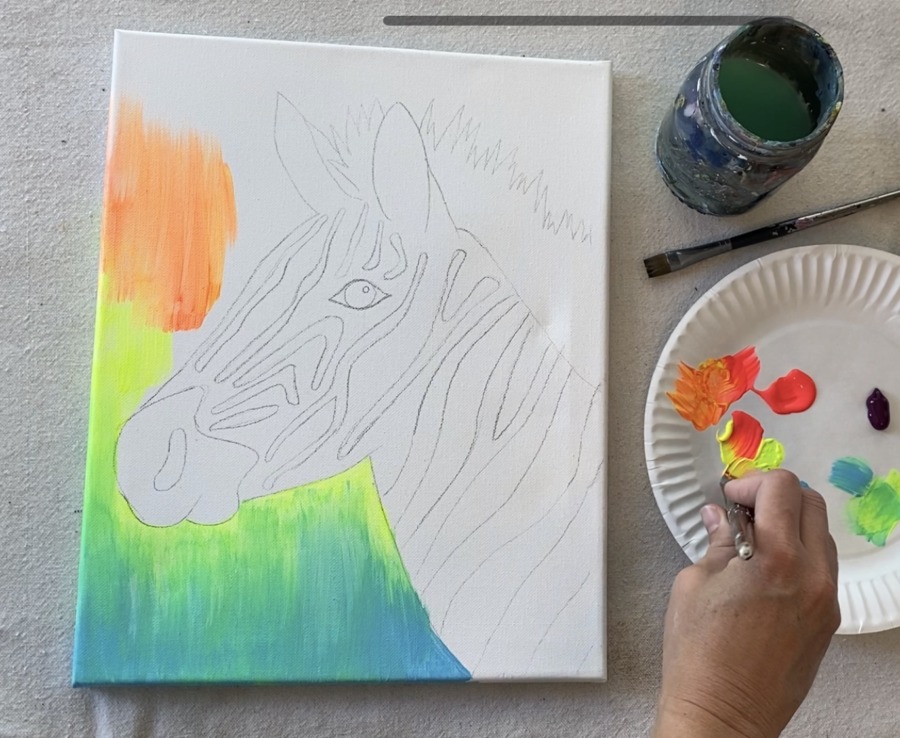
Then rinse or wipe off brush and add just neon pink. Go almost all the way up the canvas with this pink.

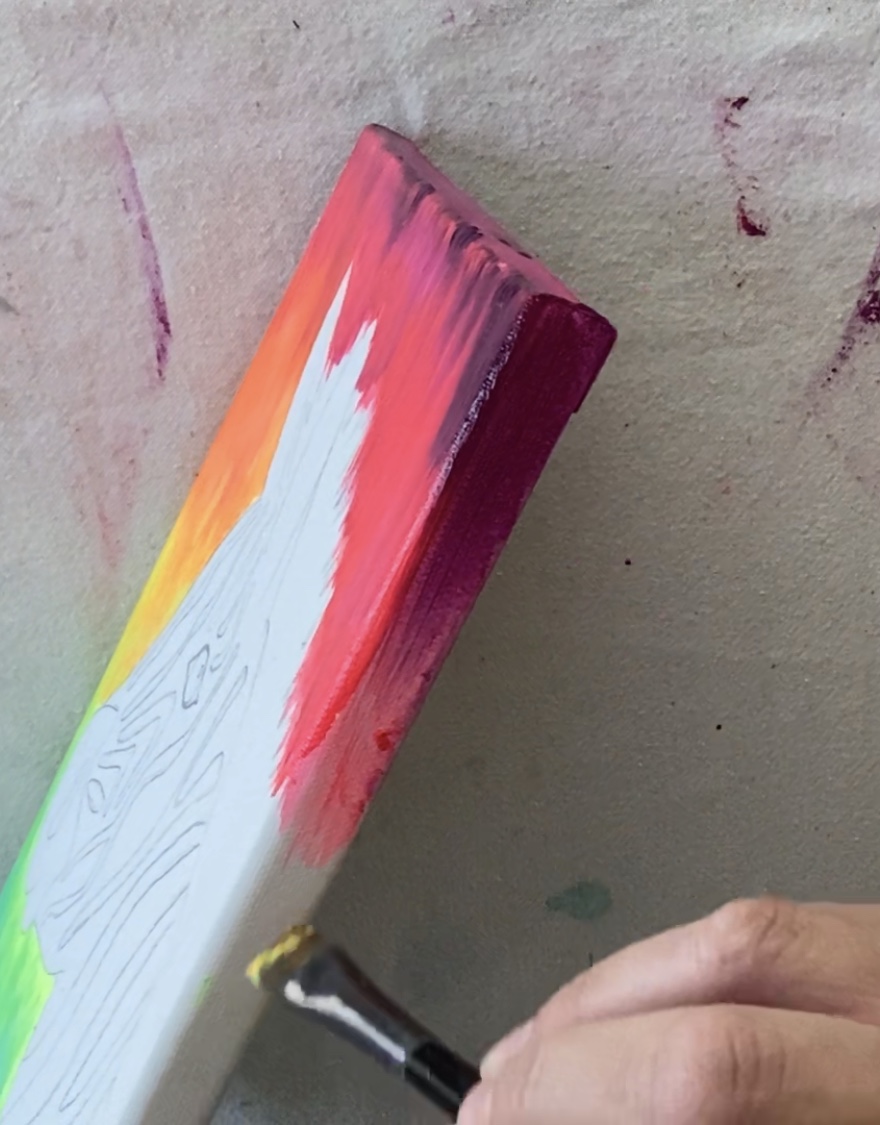
Then add the deep violet. Be very careful with this color because it is dark and strong!
Go back in your background and do touch ups as needed. Paint the sides of the canvas as well!
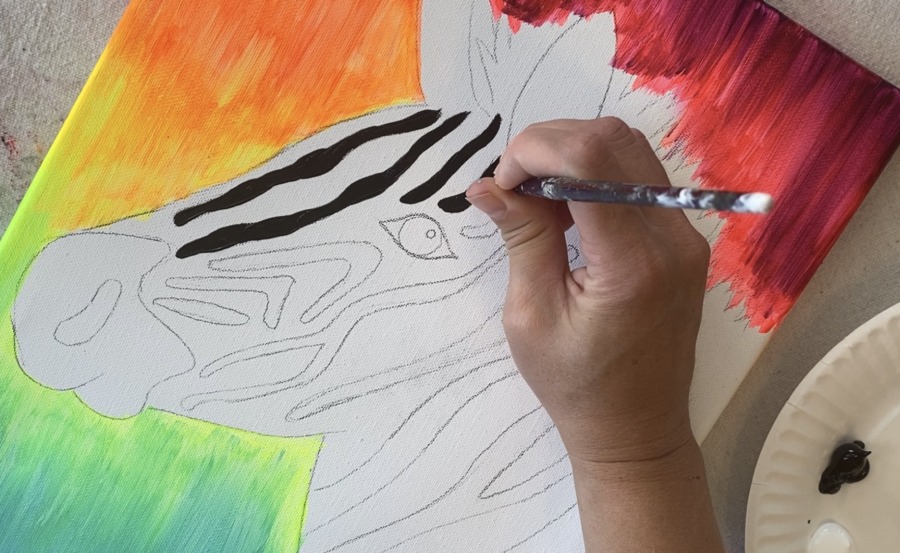
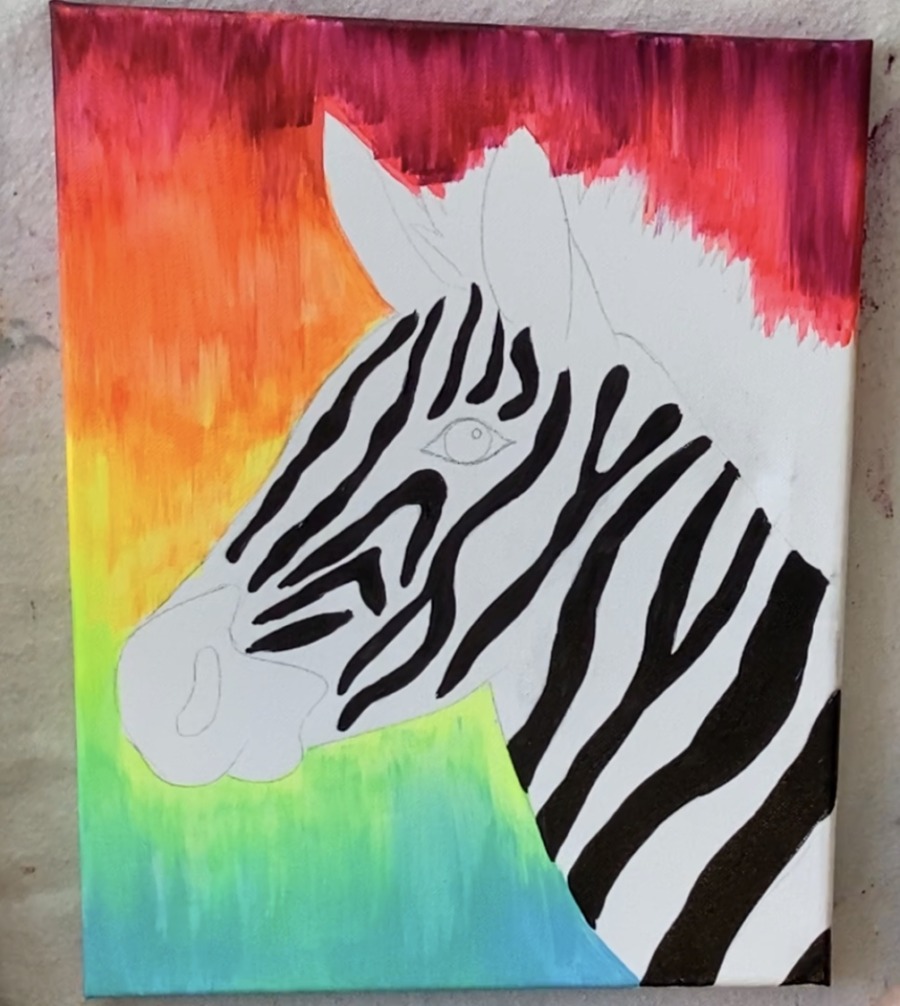
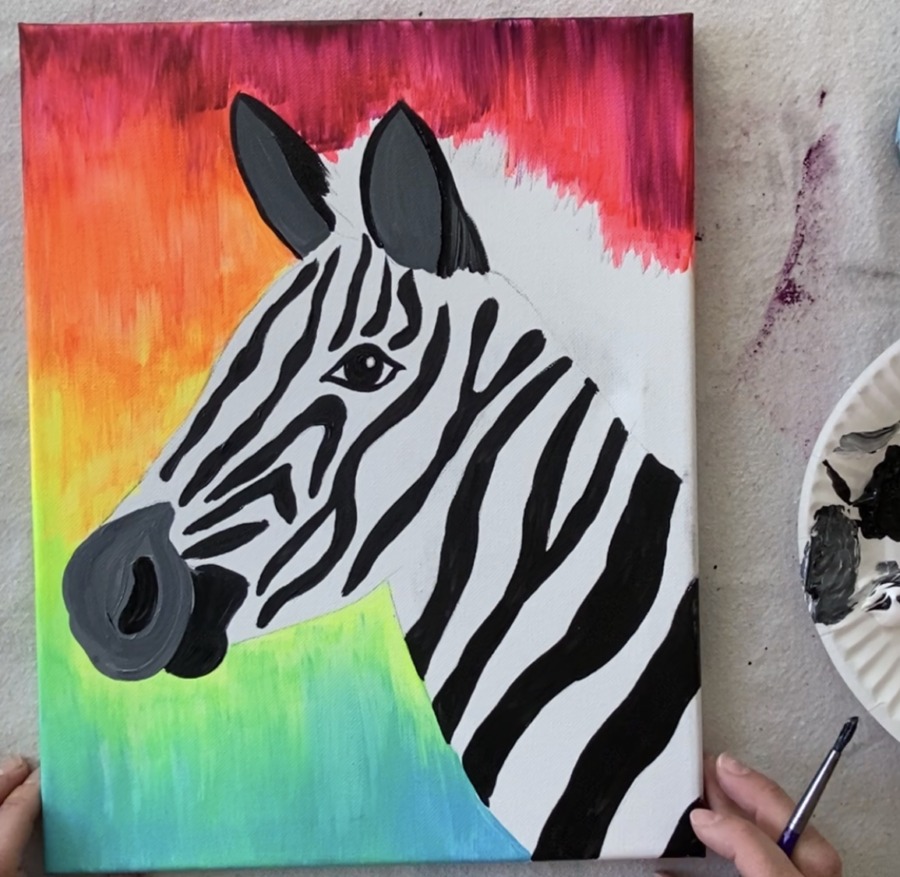
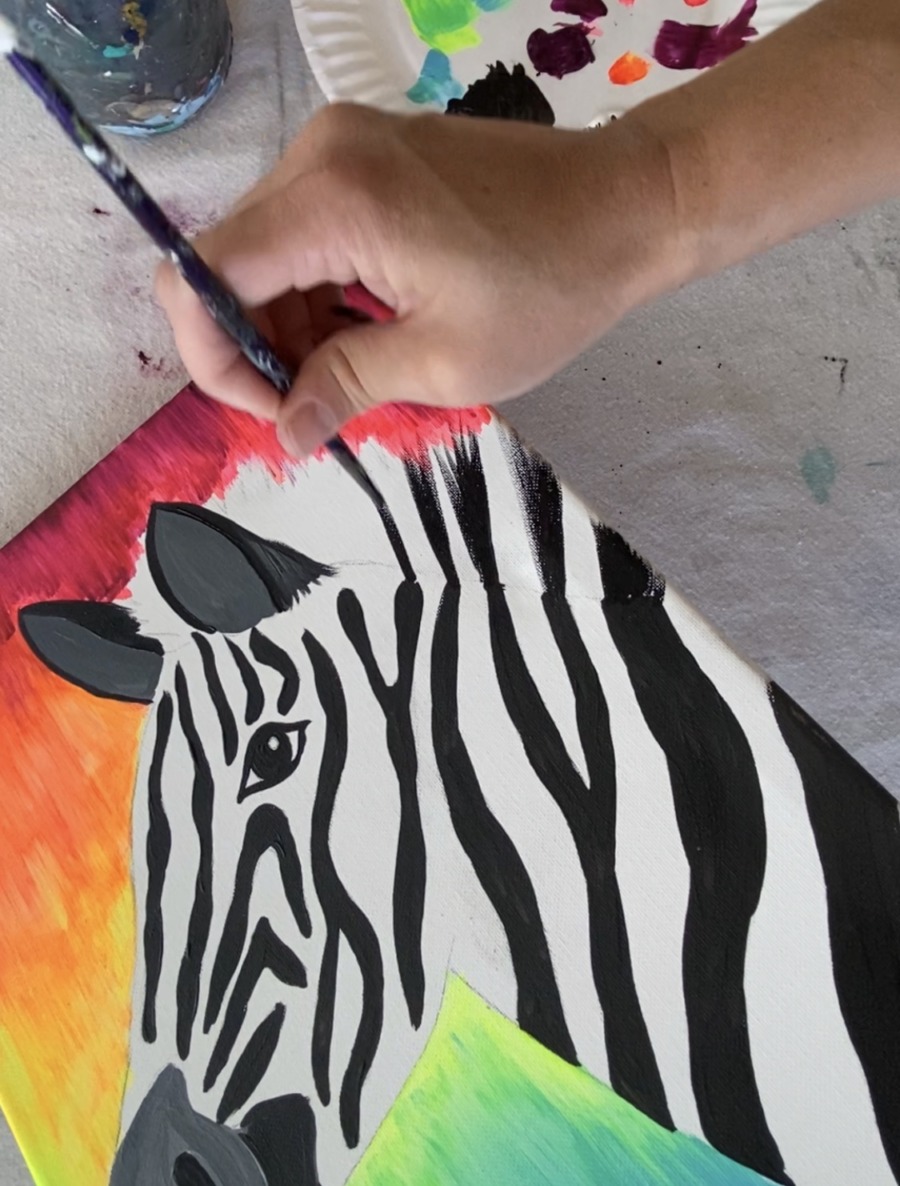
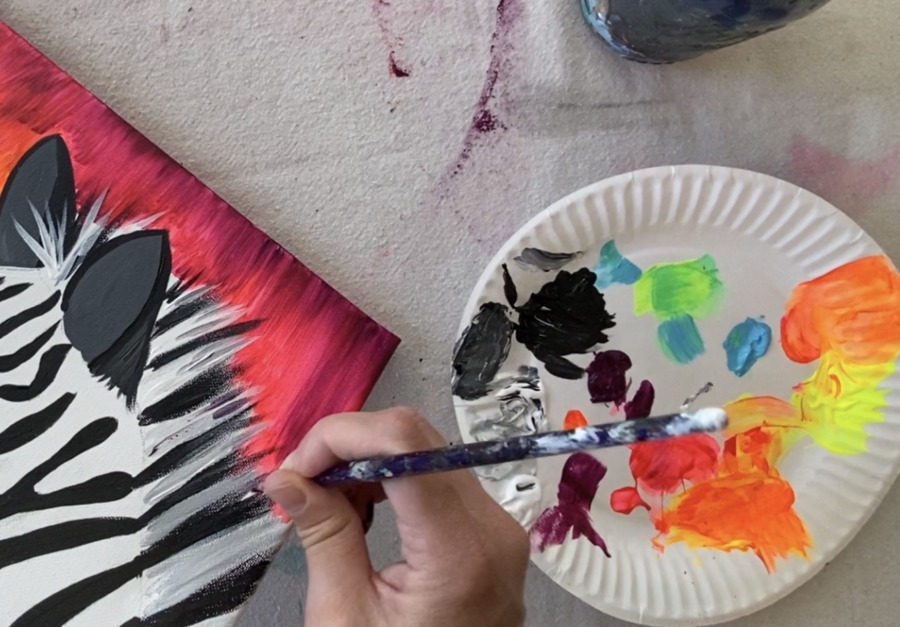
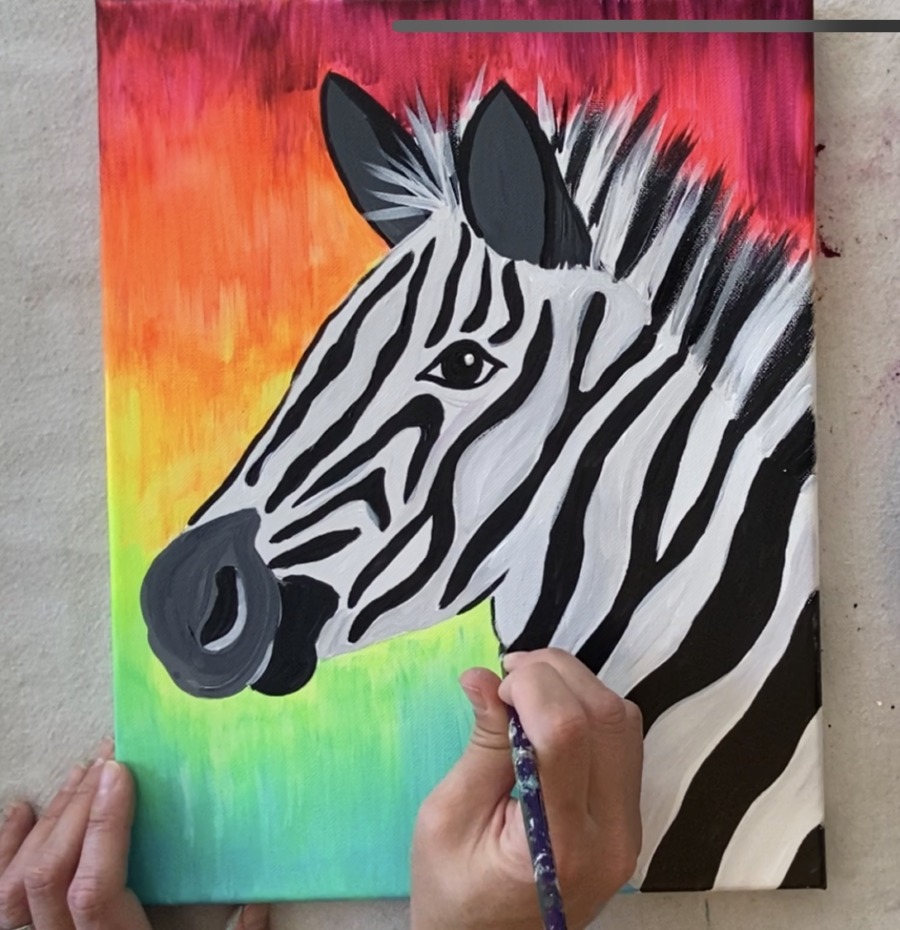
3. Paint The Black Stripes
For the zebra stripes, I used a #4 round brush and mars black. Paint all the zebra stripes in. Pay attention to how some stripes have thin and thick areas.
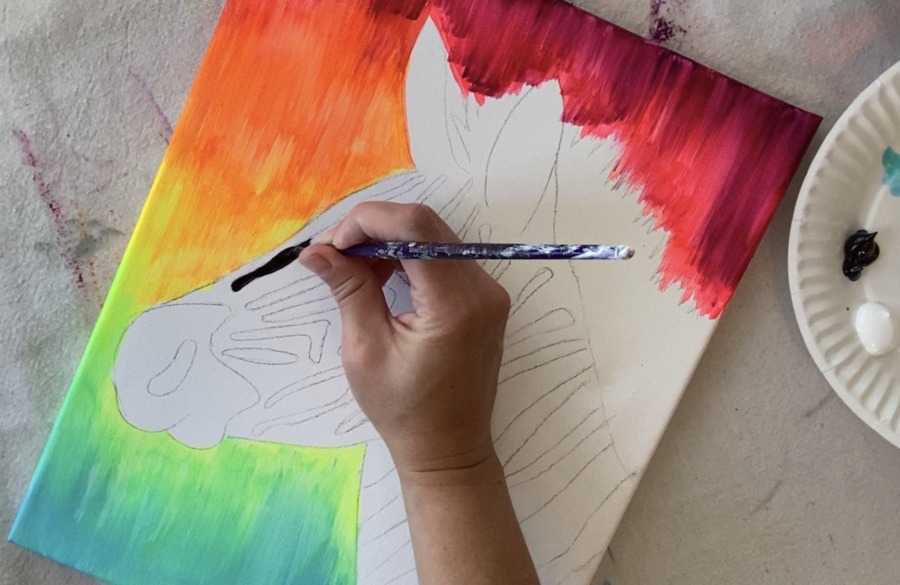
If you need your black paint to flow a little better, add some water to your brush and swirl it into the black paint.
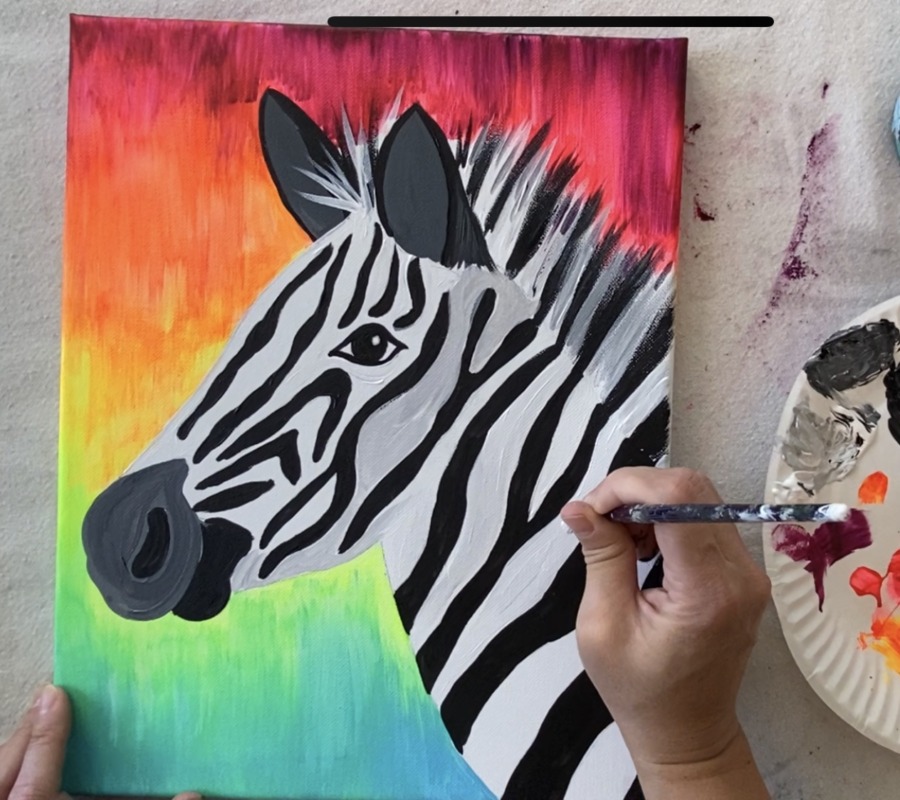
4. Paint The Eye
For the eye I used a 3/0 spotter brush because this is a smaller more detailed area.
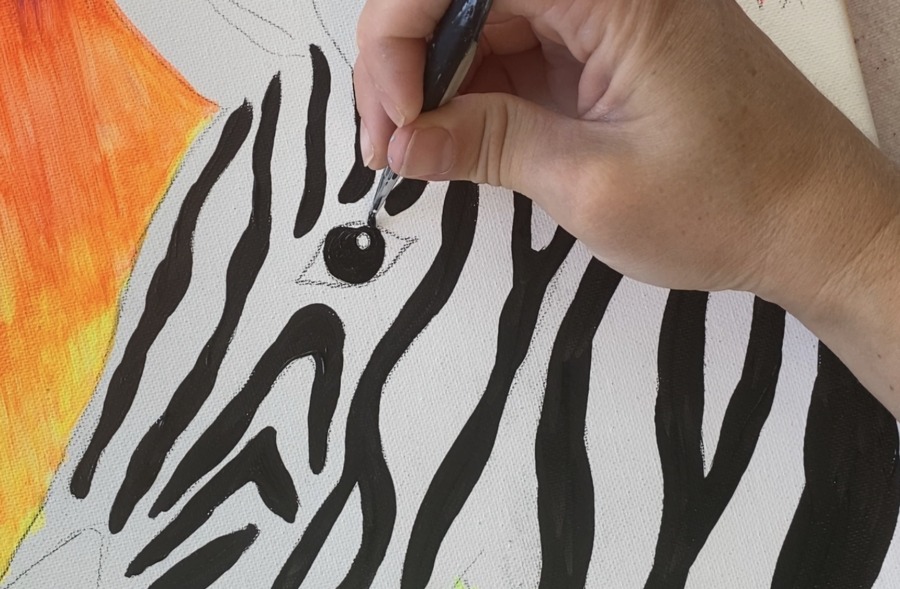
Paint the inside circle of the eye, leaving the white dot unpainted.
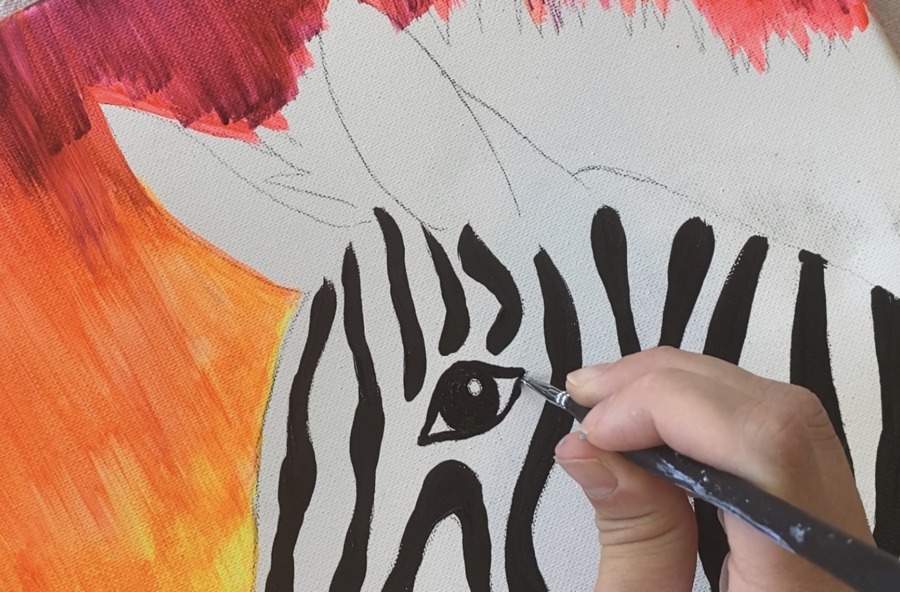
Then outline the outer part of the eye.
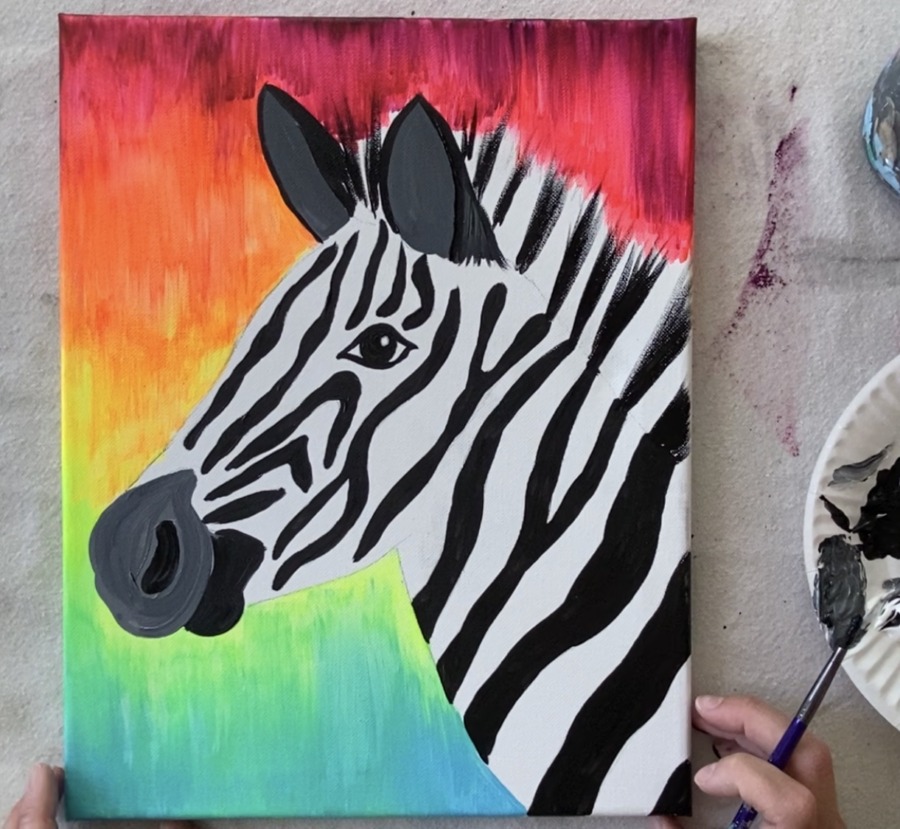
5. Paint The Muzzle
The muzzle is gray on the top and black under the mouth. On your palette, mix black and white until you get a dark – medium gray. Paint the top part of the muzzle with this gray.

Then paint the bottom part with just black. Paint the inside nostril black as well.
6. Paint The Ears
Use that same medium gray to paint the inside of the ears.
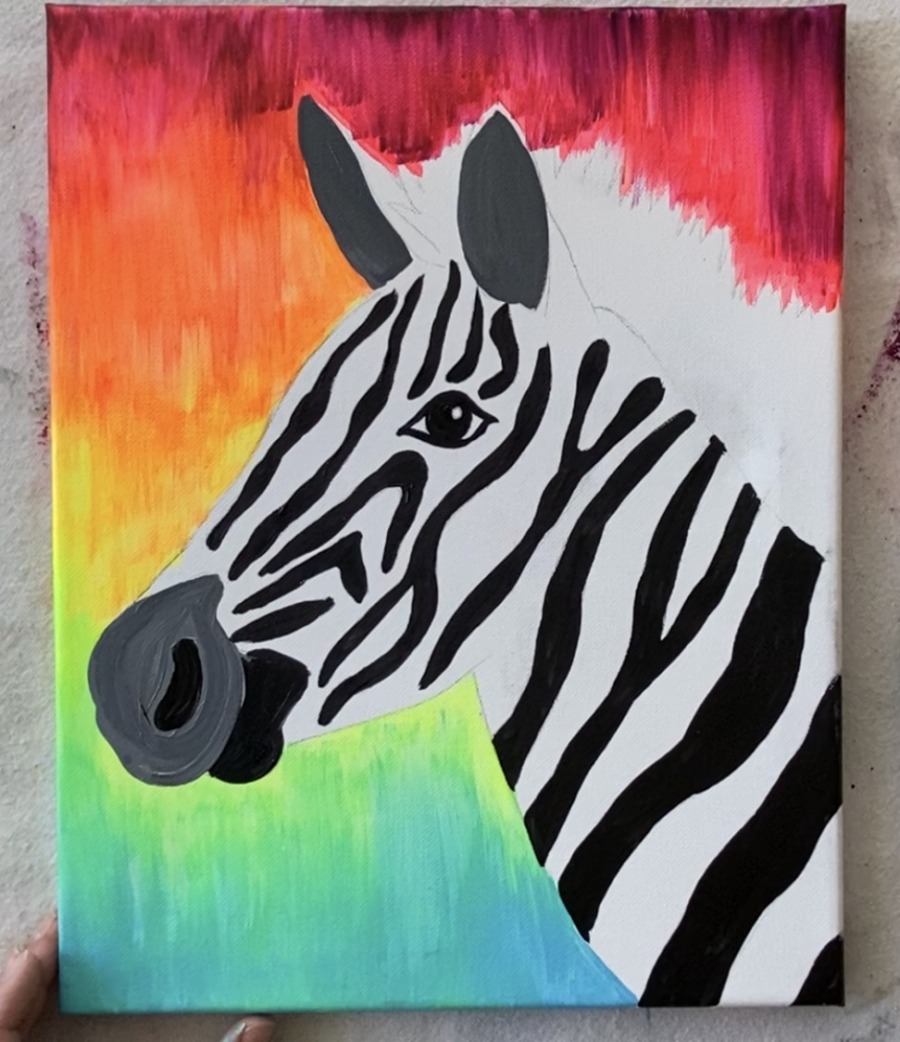
Then outline the outer part of the ears black. Paint the back part of the ear black.
Tip: you can have your stripes go off the sides of the canvas too!
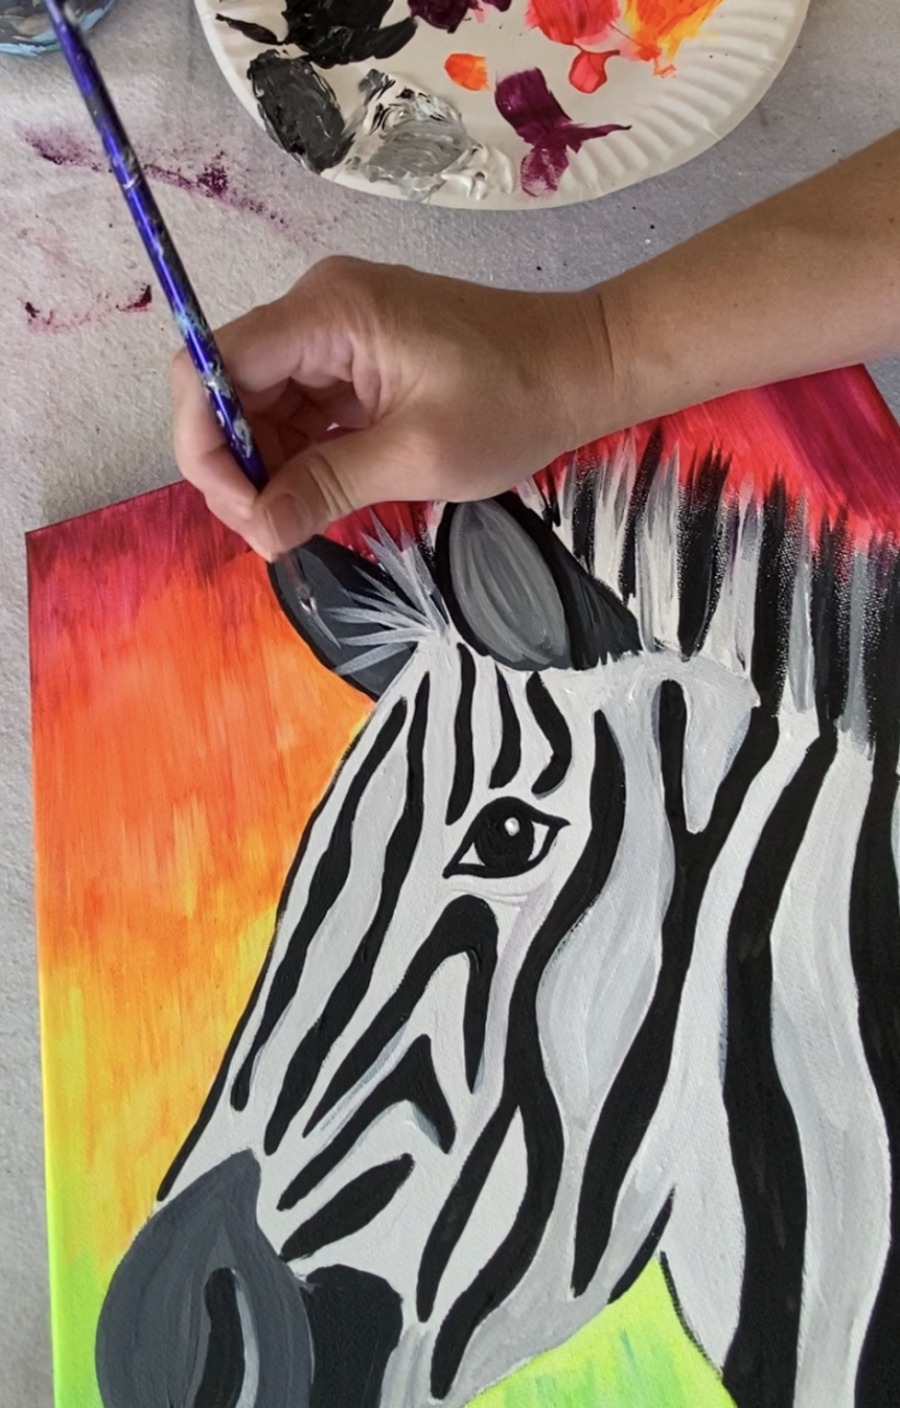
7. Paint The Hair
For the hair, I recommend using your round brush. Add a little black to the brush and stroke very fast starting from the back and going at an angle.
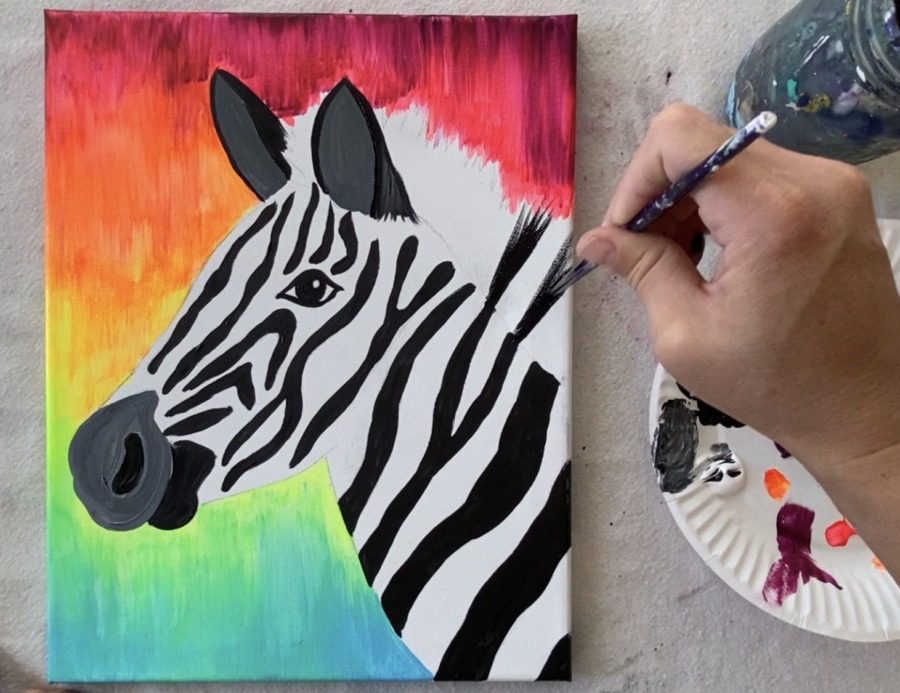
You want the paint stroke to sort of fade out and run dry. This creates the texture of the hair.
Do the hair that is in between the ears.
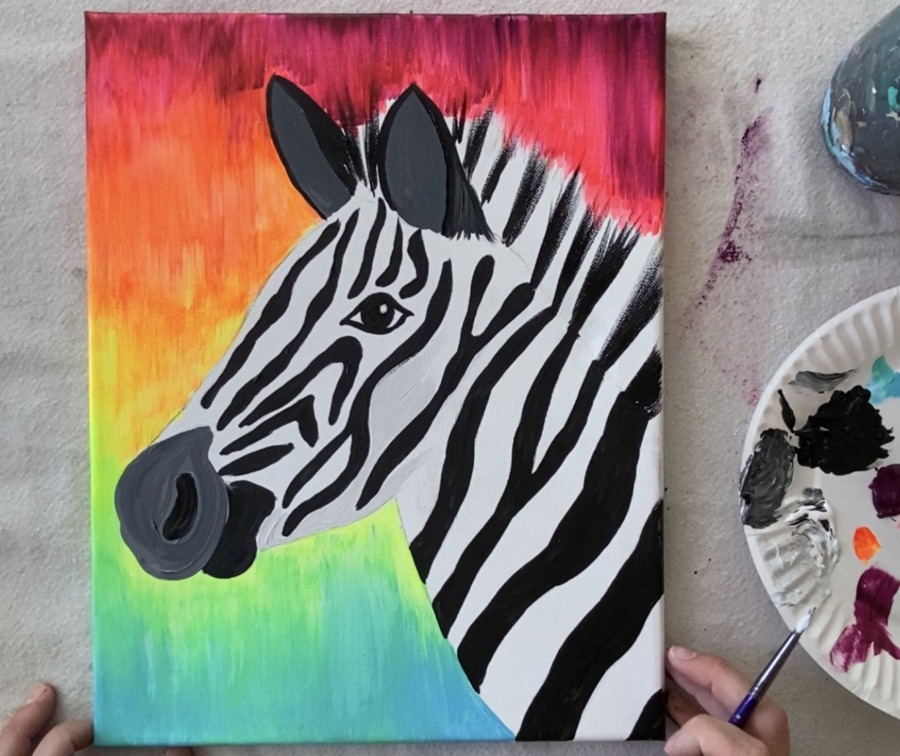
8. Paint The White In Between The Stripes
You can do the white all solid titanium white or mix a little gray to get some variation. I decided to make a very light gray and painted the white part with that very light gray. But I also added pure titanium white and this created some variation in the the white of the zebra.
Do the white part of the hair the same way you did the black part of the hair. I also added more gray in this area.
Paint the front part of the hair as well that kind of spikes forward and overlaps the back ear.
9. Touch Up As Needed
For touch ups, I painted more light gray on the inner part of the ear so that it kind of spirals.
I also painted the inside of the nostril (bottom part) white. The mouth was painted white as well.
The top part of the zebra’s nose was painted/ outlined black. The neck was also slightly outlined black.
And last, but not least, I touched up the background a bit!
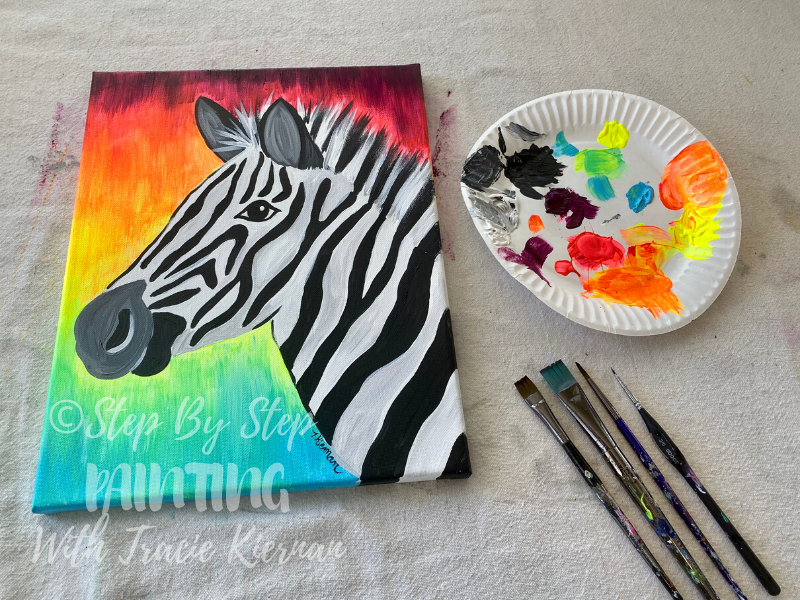
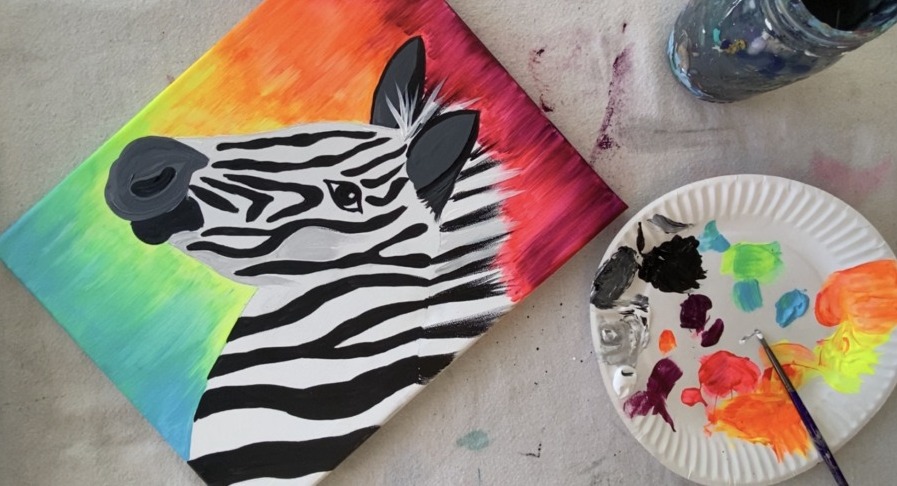
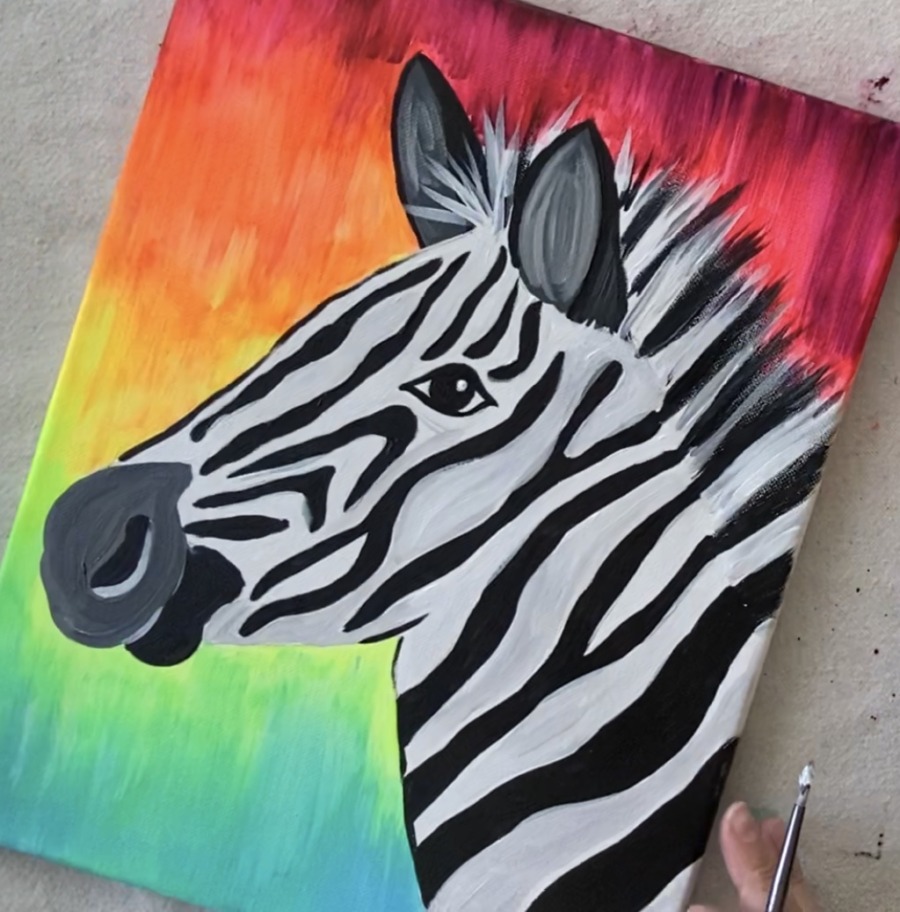
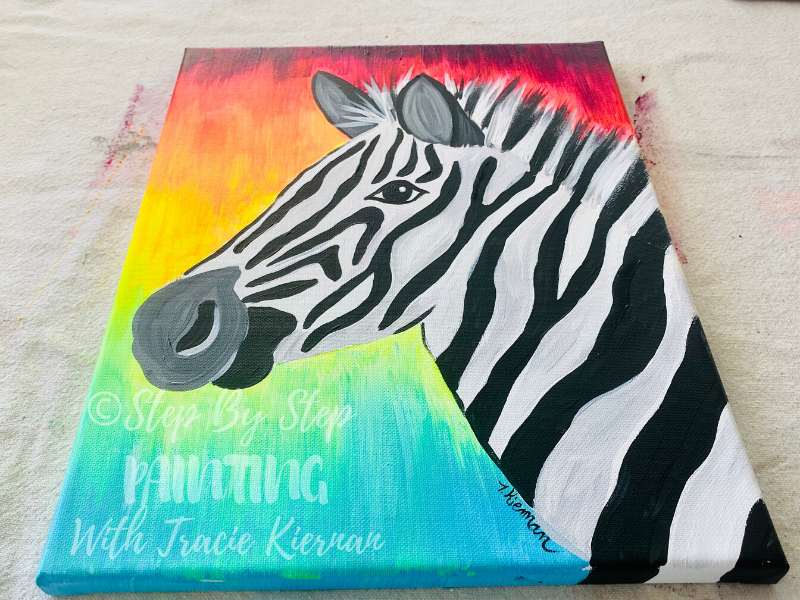
Sign your name and show it off!

Finished!
Share Your Art


Share this post!