

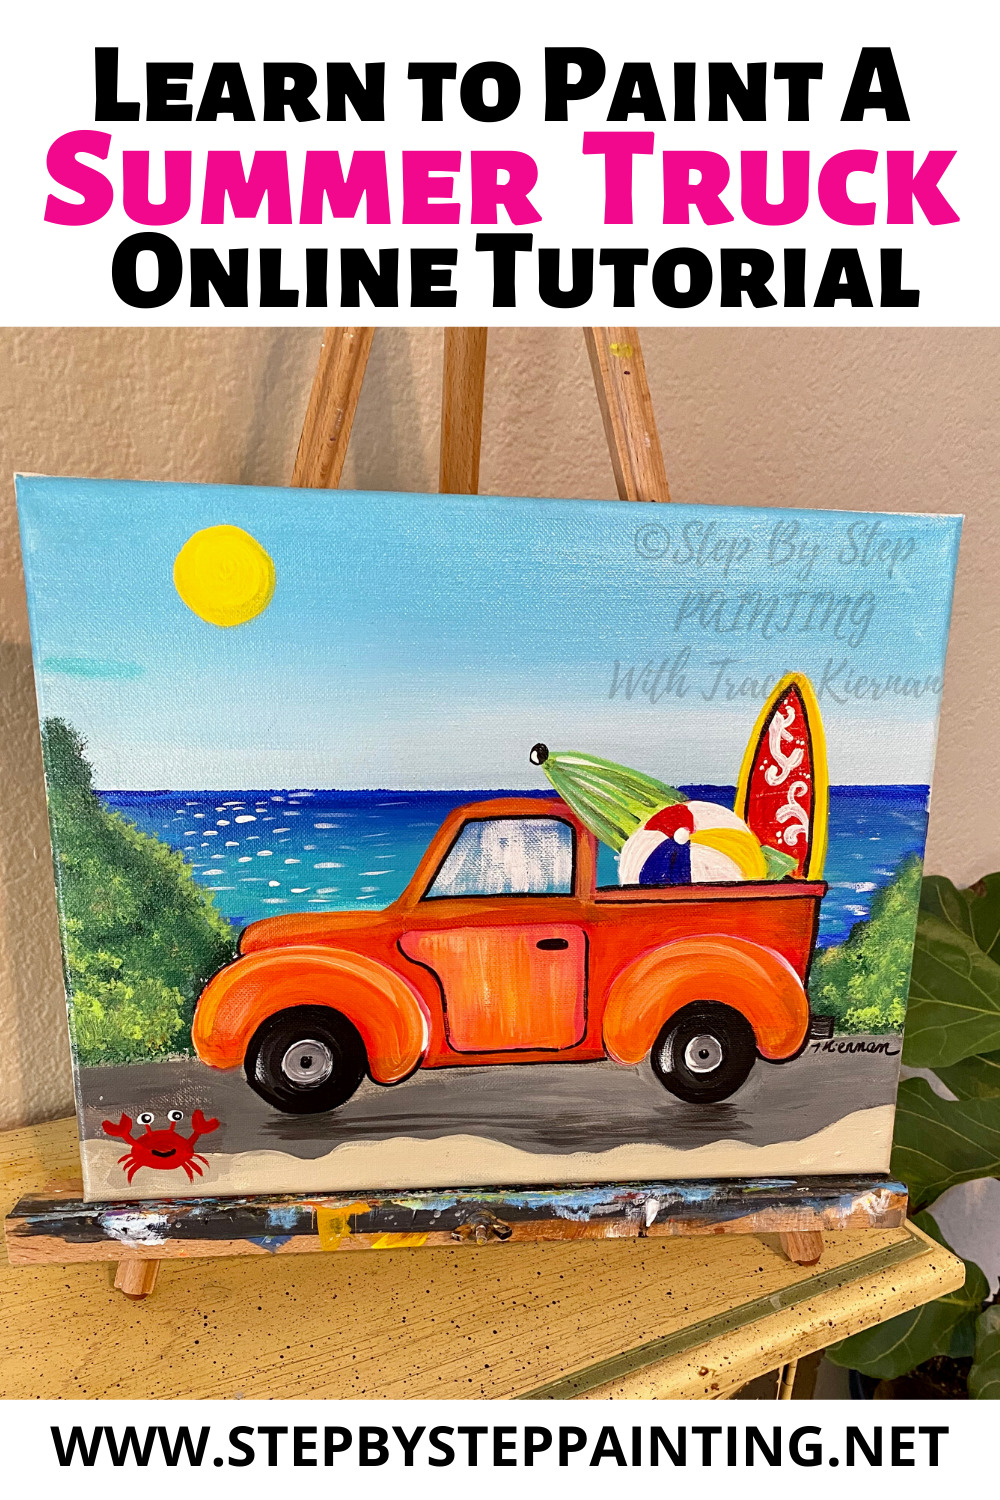
Summer Truck Painting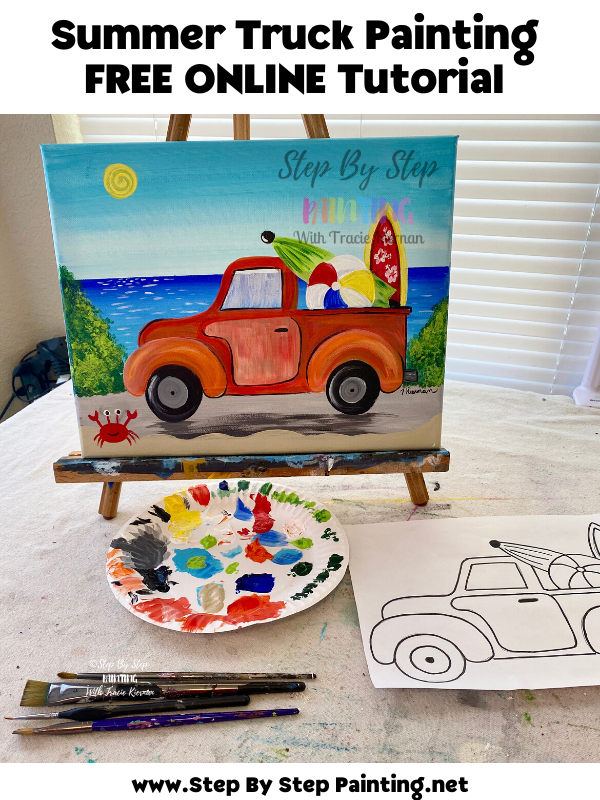

Yes another truck painting! I’ve officially created five different versions of this truck!
I had no idea the moment I made this teal pumpkin truck in 2018 that she would turn into a whole series. And this series is PERFECT for switching out through the seasons.

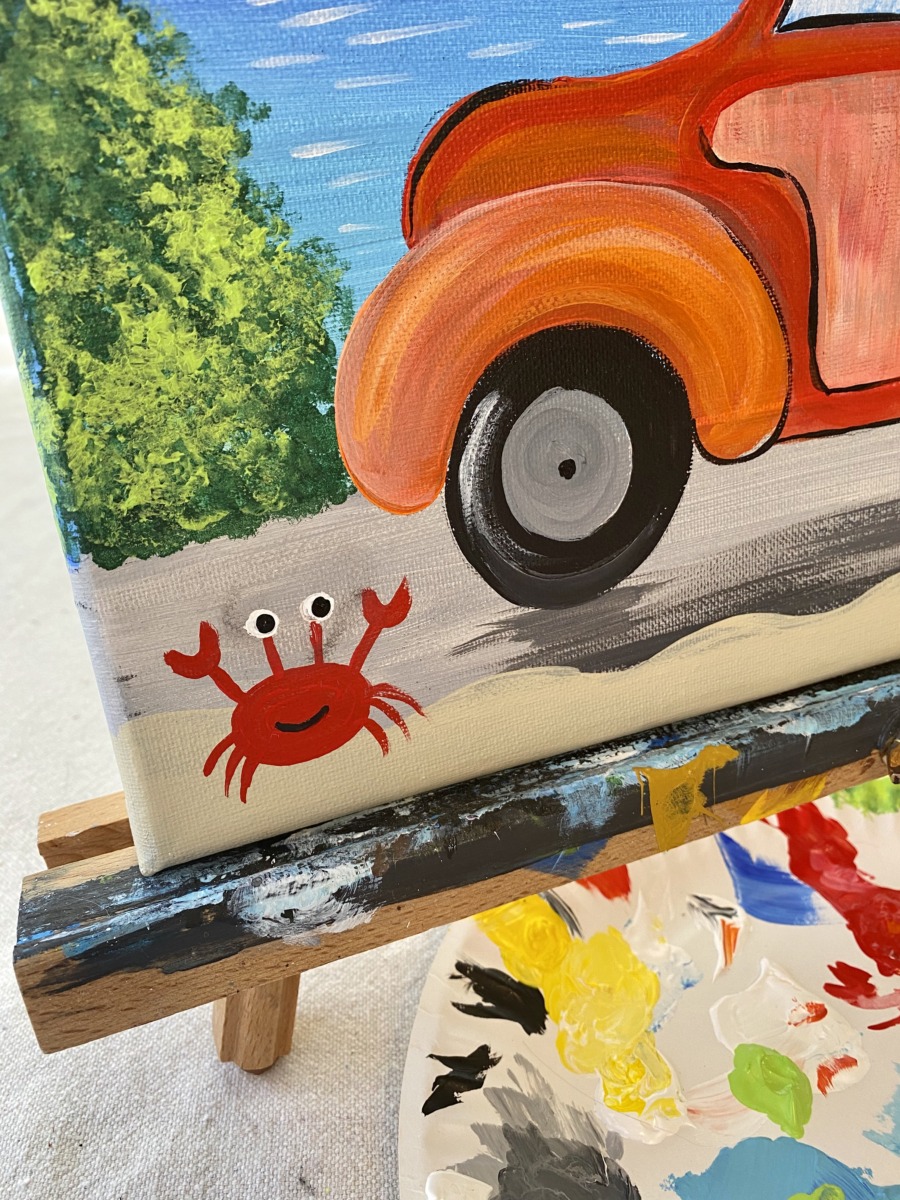
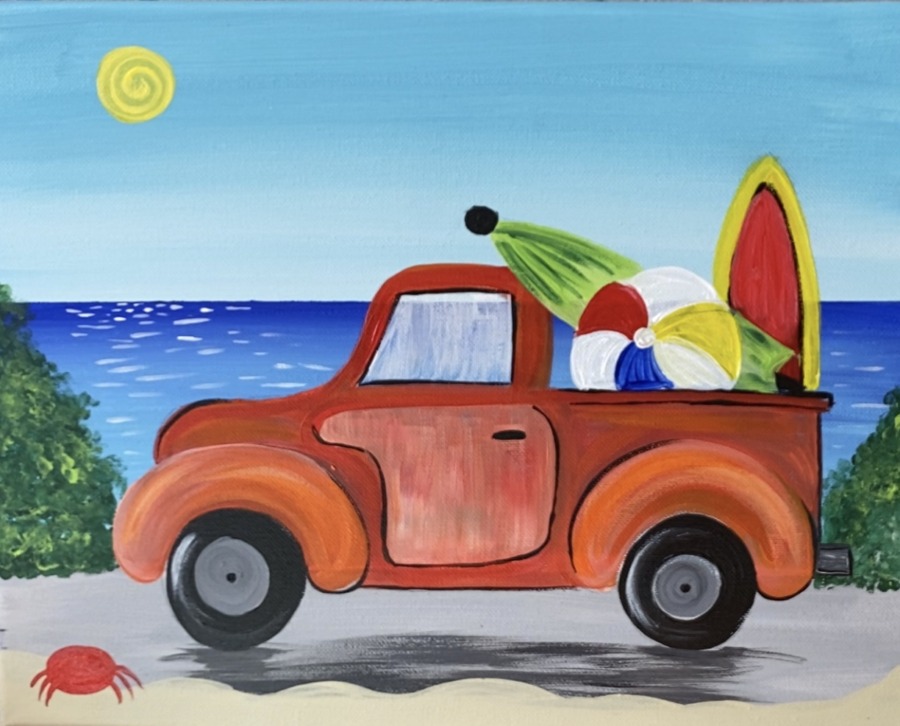
I love the red-orange color! But I think my favorite part of this painting is that crab in the lower left corner! You can probably do a whole family of crabs if you want to!
You know that feeling you get when you first arrive at the beach? That moment when you’re not on the actual beach yet but you can see the ocean from afar and the sun sparkling on the water.
That is exactly what this painting reminds me of. It brings back memories of going to the beaches in California. We would go every summer when I was a child! The greenery in this painting reminds me of Laguna Beach.

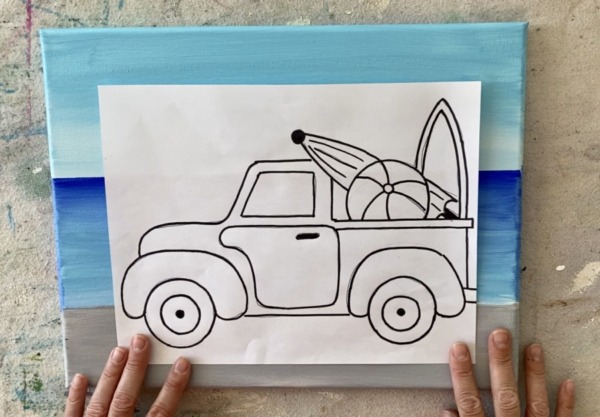
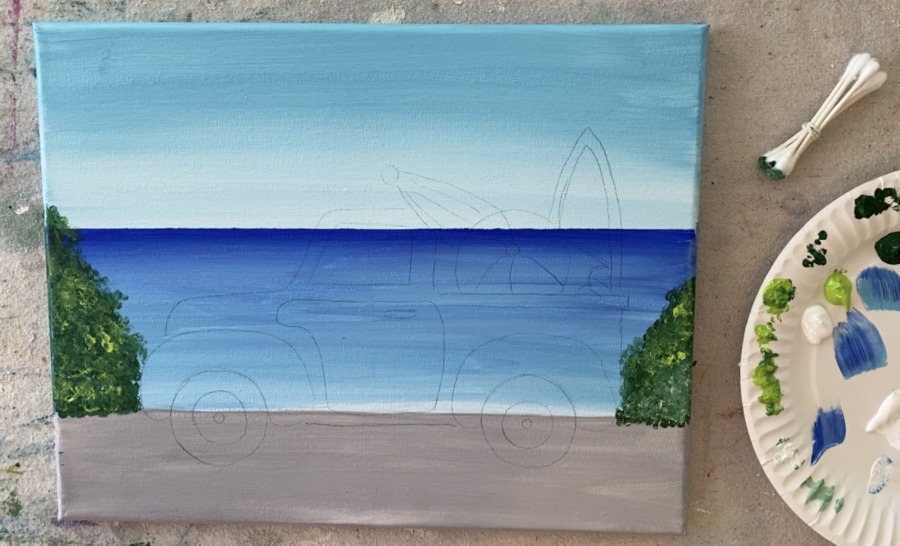
Anyhow, in this tutorial I will show you how to set up the background with the sky, water and gravel and then we will trace the truck onto the canvas using graphite paper.
However, if you want, you can trace the truck on the blank canvas first and then paint around it. Both techniques apply to this painting tutorial and it just depends on your preference!
The truck is a combination of red and orange with a little bit of white. However, as you may know, you can change the color and customize this truck to your liking!
Enjoy and happy painting!
Materials
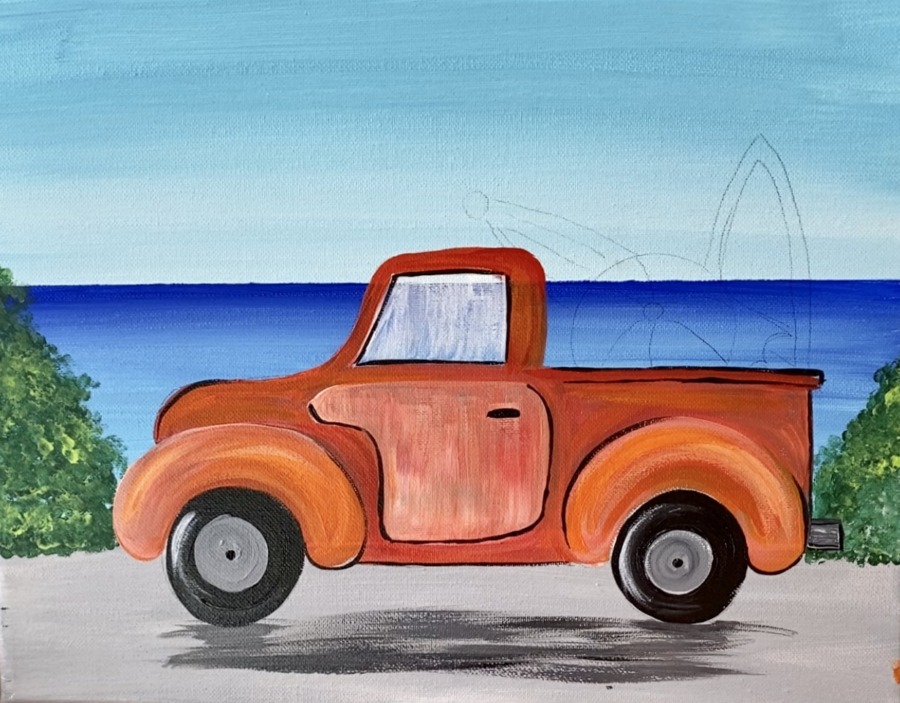
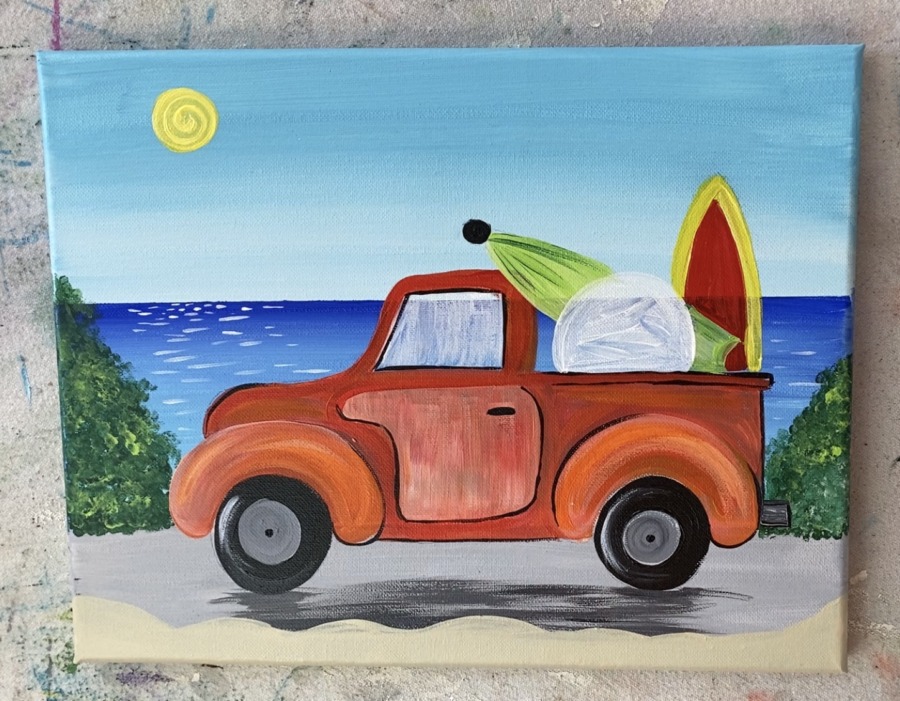
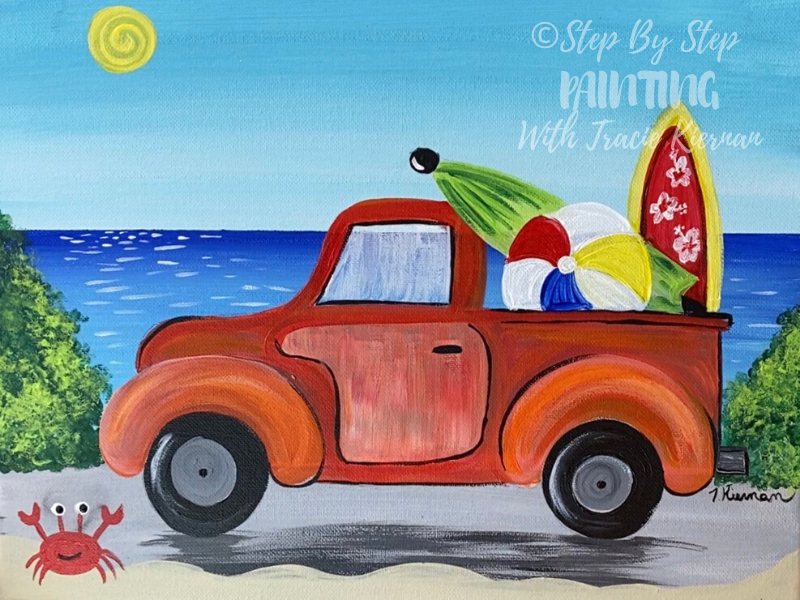
Summer Truck Painting
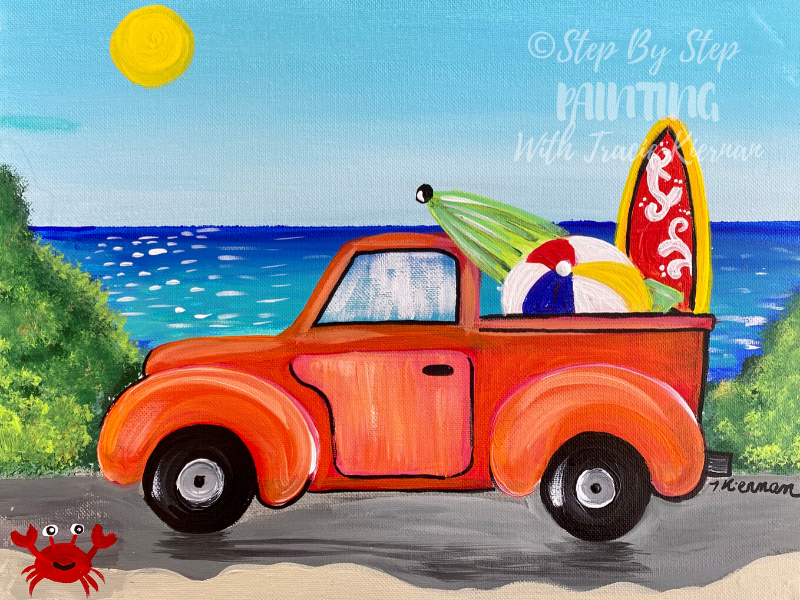
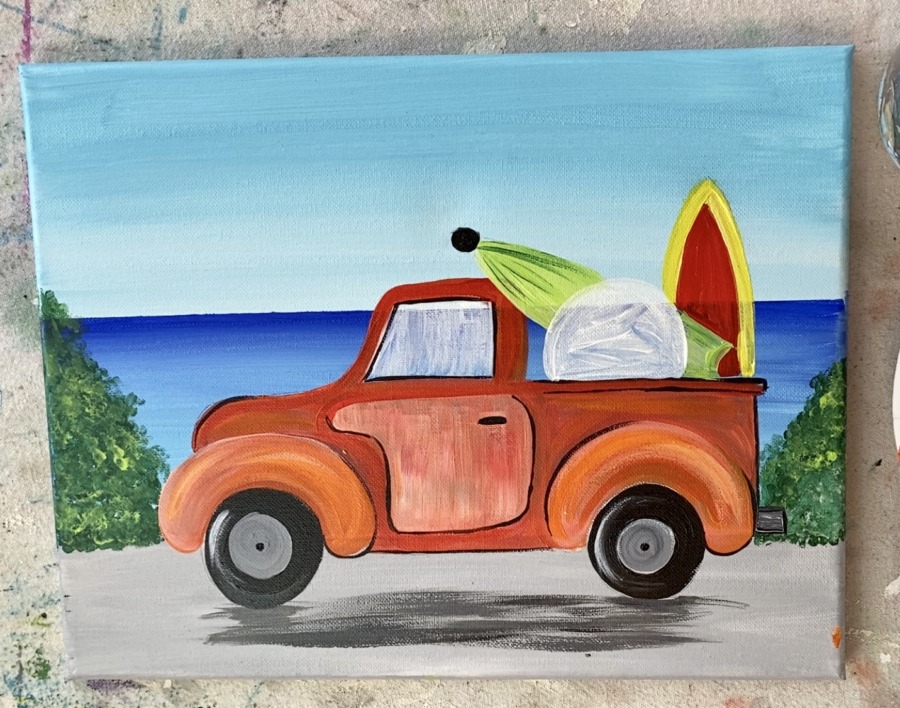
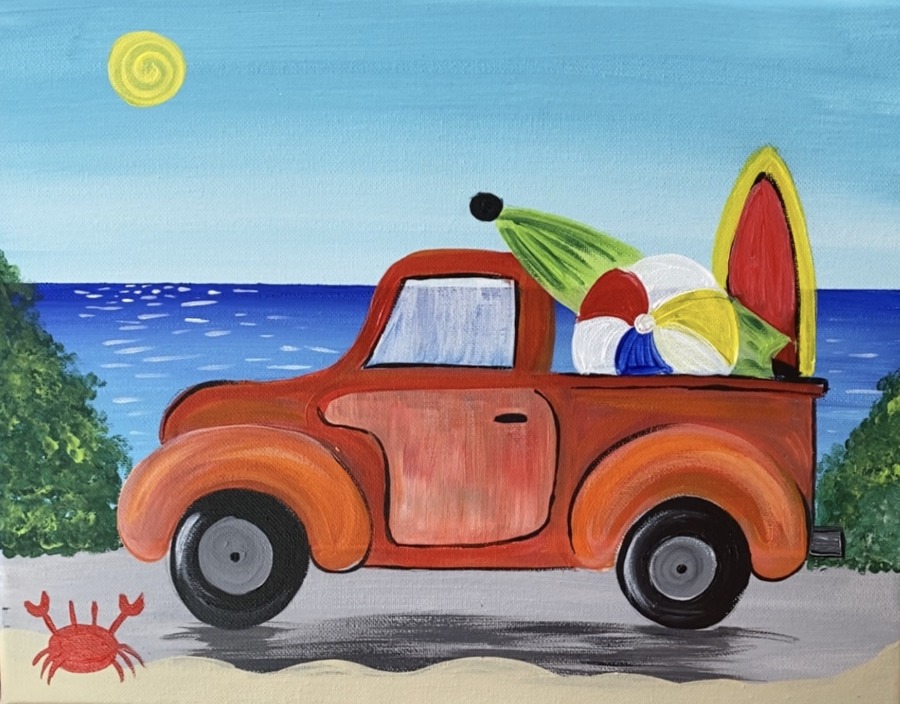
The summer truck has arrived on the beach with a bed full of beach necessities! An umbrella, beach ball and a surfboard. You will learn how to paint this red-orange truck step by step with acrylics.
Materials
- Acrylic Paint
- 11 x 14 Canvas
- Traceable
- Brushes
- Easel
- Graphite Transfer Paper
- Masking Tape (Optional)
- T-Square Ruler (Optional)
- Pencil
- Cotton Swabs & Rubber Band (used for the green bushes)
Colors
- Pyrrole Red
- Cadmium Orange Hue
- Primary Yellow
- Hooker’s Green Hue
- Ultramarine Blue
- Light Blue Permanent
- Mars Black
- Titanium White
- Unbleached Titanium
Brushes
- 3/4” Wash
- 12 Bright
- 4 Round
- 0 Spotter (Or any tiny round such as 5/0, 10/0)
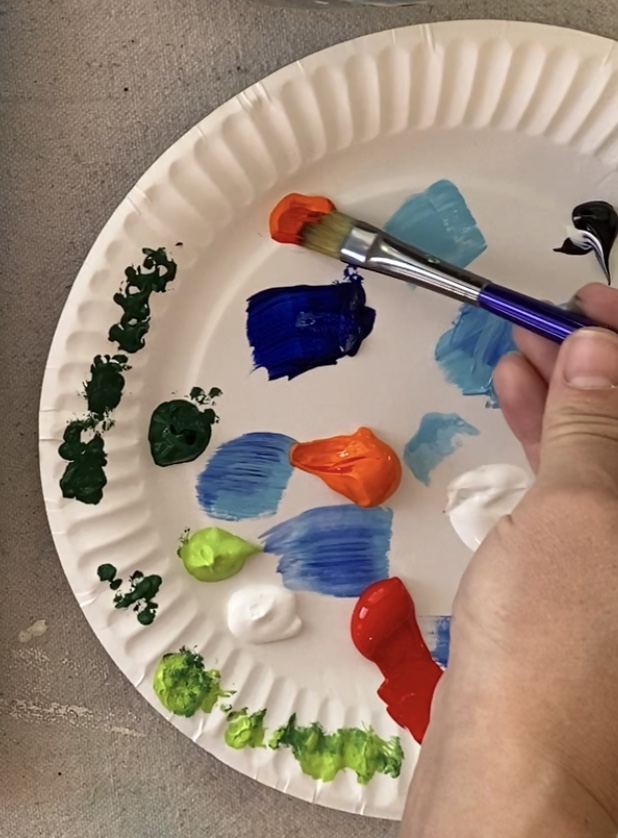
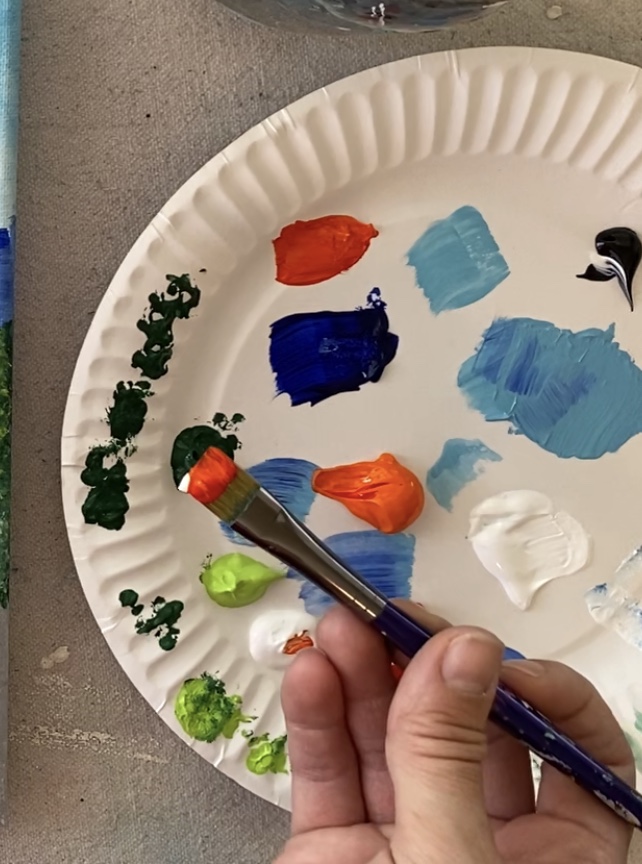
Color Palette
*This chart below says “Deep Green Permanent”, however, I used “Hooker’s Green Hue Permanent”. Both colors will achieve the same results in the green bushes of this painting. 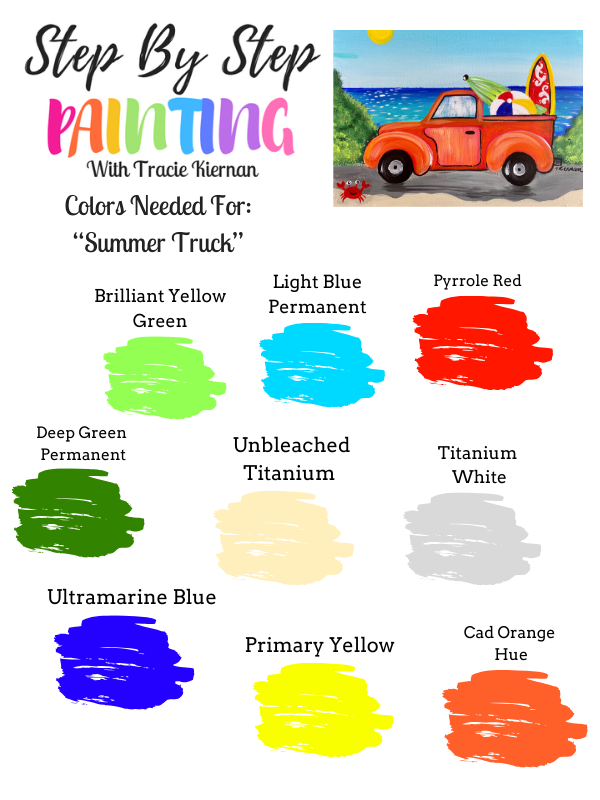
Craft Paint Suggestions
I often get asked which craft paint color will match! Here are suggestions on what to look for if you are trying to match this with craft paints such as the Apple Barrel.
- Flag Red (Your standard bright red)
- Jack O Lantern (Your standard orange)
- Bright Yellow (Your standard yellow)
- New Shamrock (light green)
- Holly Branch (dark green)
- Bright Blue (or any dark, royal blue color)
- Parrot Blue (or any sky blue color)
- Black
- White

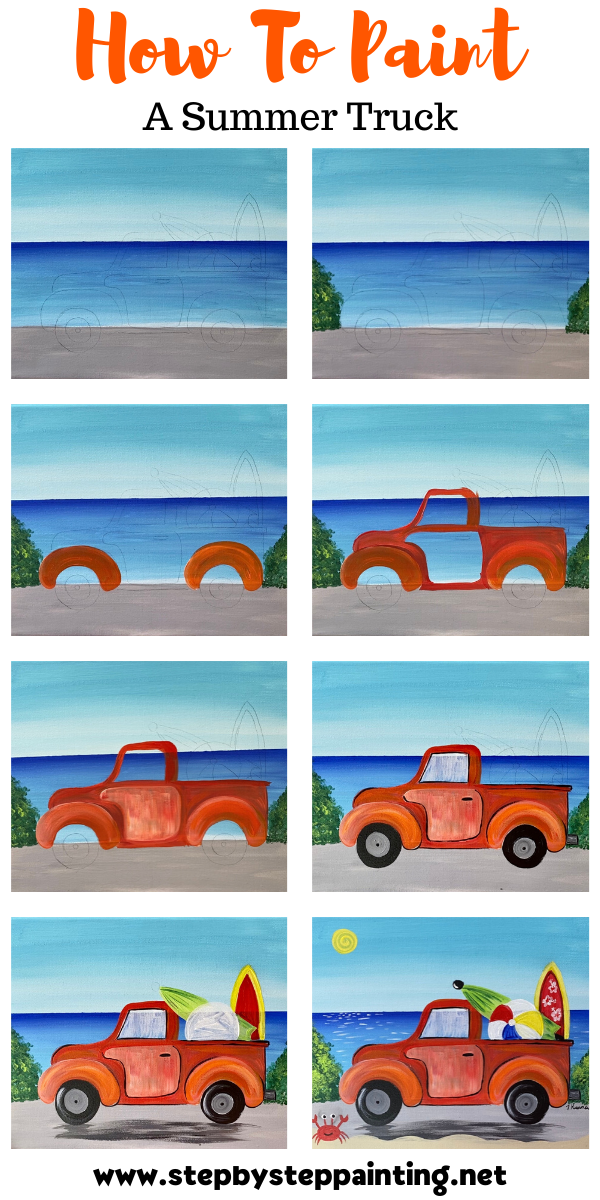
Directions At A Glance
Traceable
This can be printed out on a standard size 8.5” x 11” sheet of paper for on an 11 x 14 Canvas. If you need to change the size larger (example 16 x 20 canvas) I recommend Rapid Resize Online Software.
For more information on how to use traceables, see my post here! To access my traceable library, click here. 
Video
Step By Step Instructions
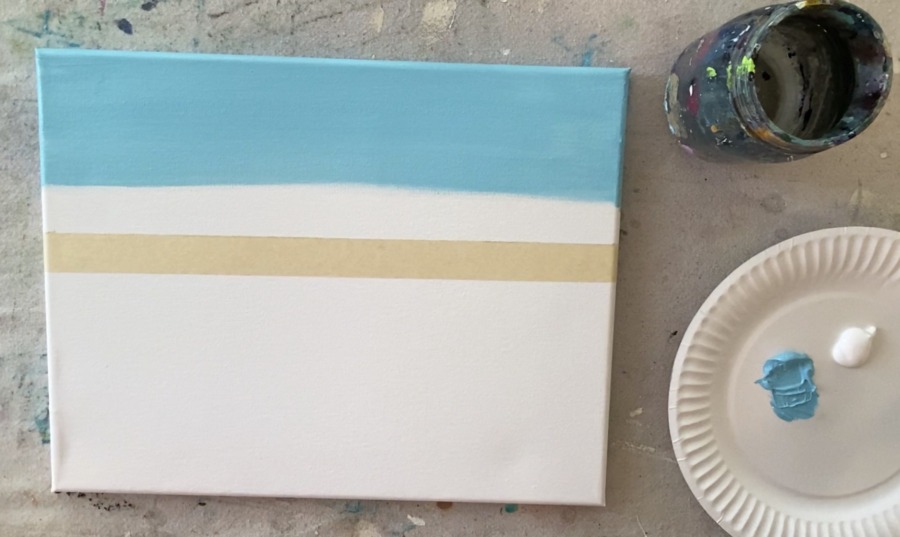
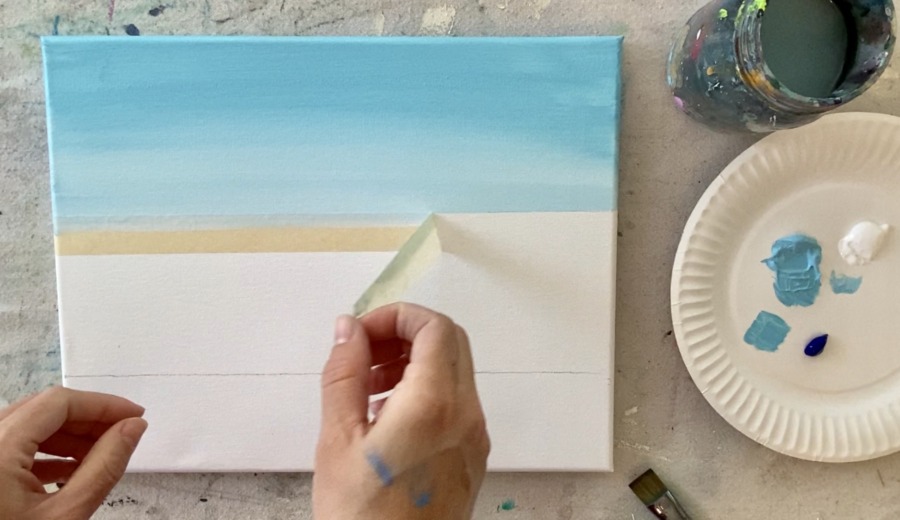
1. Set The Horizon Line
I used regular 3/4” masking tape to do this! Simply measure 4.25” down (or eyeball it) and make a mark. Use a straight edge to draw a horizontal light line across the canvas.
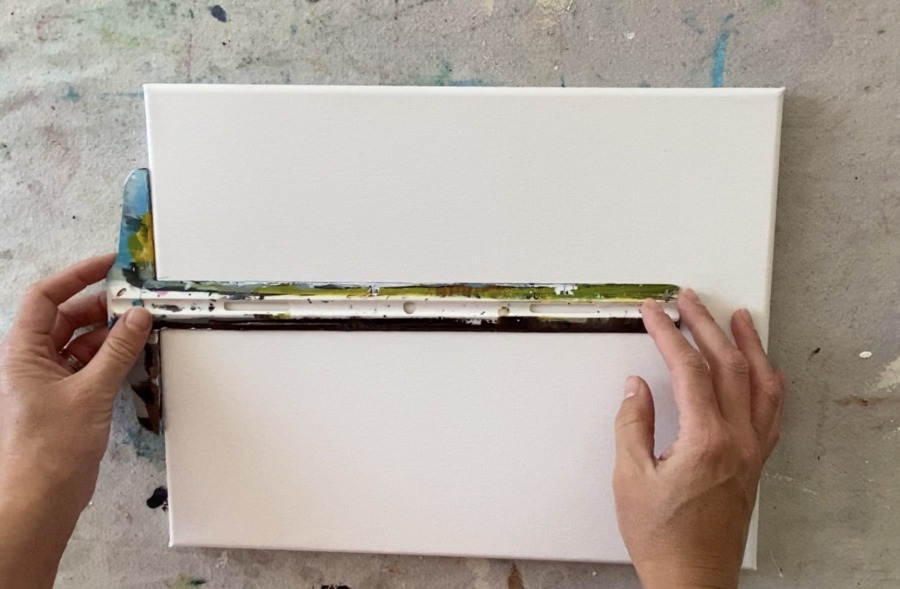
Then place your masking tape horizontally across the canvas. A t-square ruler really helps for this step!

2. Paint The Sky
Load your palette with light blue permanent and titanium white. Use a 3/4” Flat Wash brush.
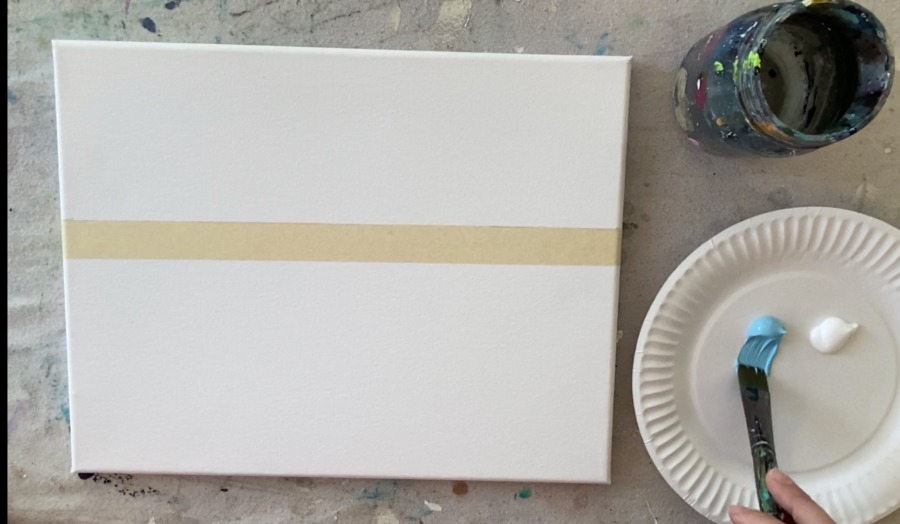
Start at the top with just the light blue permanent and paint horizontal, left and right strokes that go all across the canvas from one end to the next.
Work your way down to about the half way point. Then load your brush in white (without rinsing the brush). Blend your white gently into the blue.
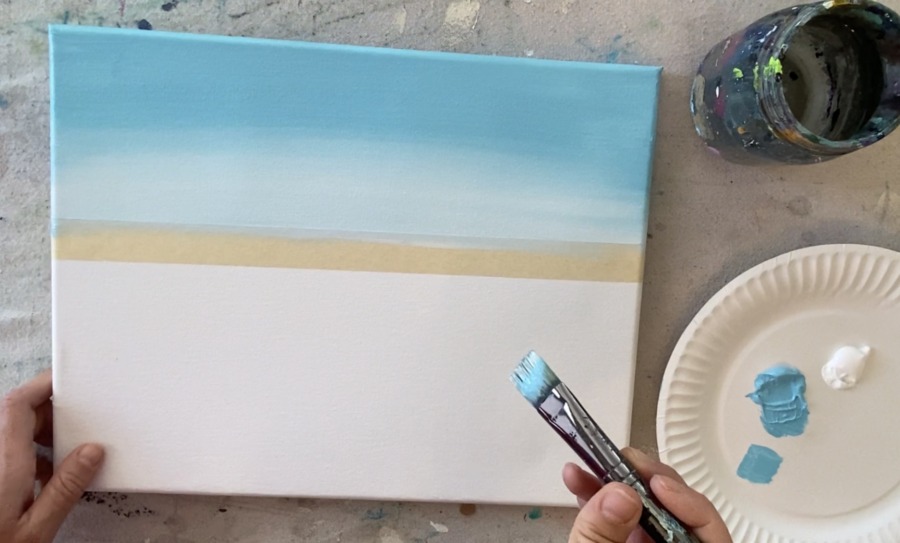
Keep adding more white and blending down until you get to the tape line. The blue should be very light along the horizon line.
3. Define the bottom area
Measure 2.75” (or eyeball it) from the bottom of the canvas and draw a horizontal line across. This is the area that will divide the water from the ground.
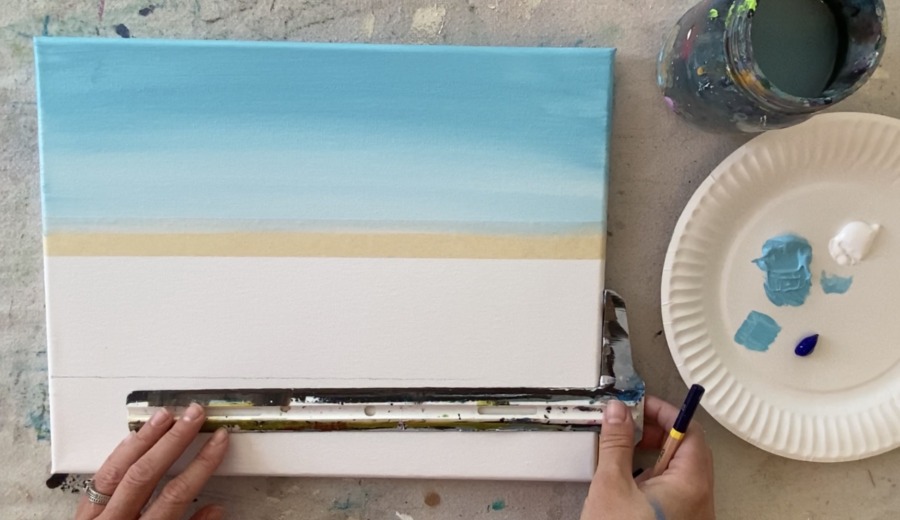
A tape line is not necessary here, however, you can use it if it makes you feel more comfortable.
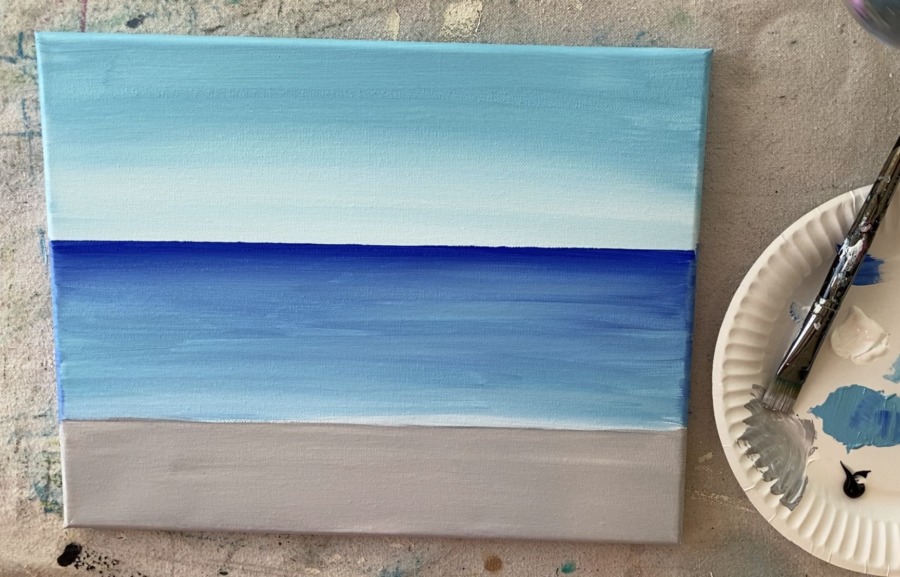
4. Paint the water
Gently lift your tape line. If you want, you can apply it above the horizon line but only if your sky is dry. If the paint is still wet in the sky, the tape will not work.
Load your palette with some ultramarine blue (you’ll only need a little bit). Rinse and dry your 3/4” wash brush and load it in just the ultramarine blue (load just the tip of the brush).
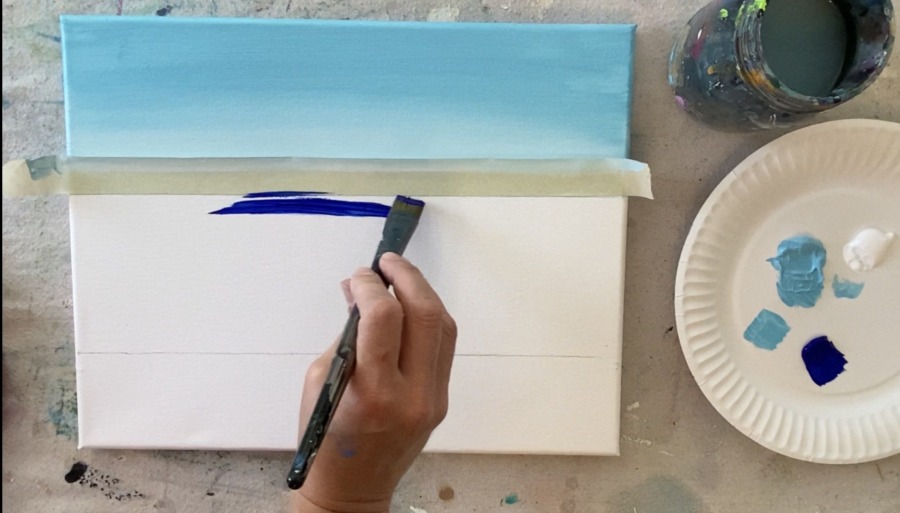
Paint left and right strokes across the canvas using the ultramarine blue. Go about a quarter of the way down.
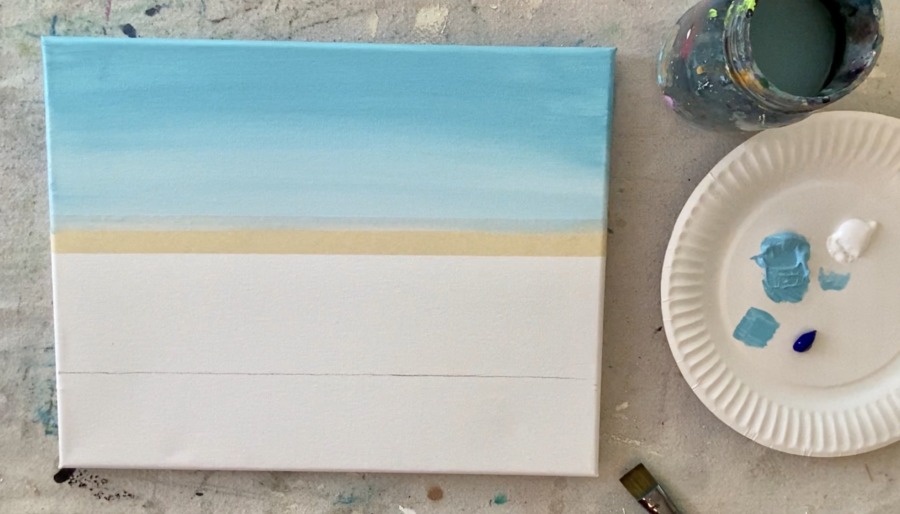
Then load your brush in some light blue permanent. Gently blend the light blue permanent into the ultramarine blue. Continue working your way down to the ground line. Your blue should get lighter as you go down.
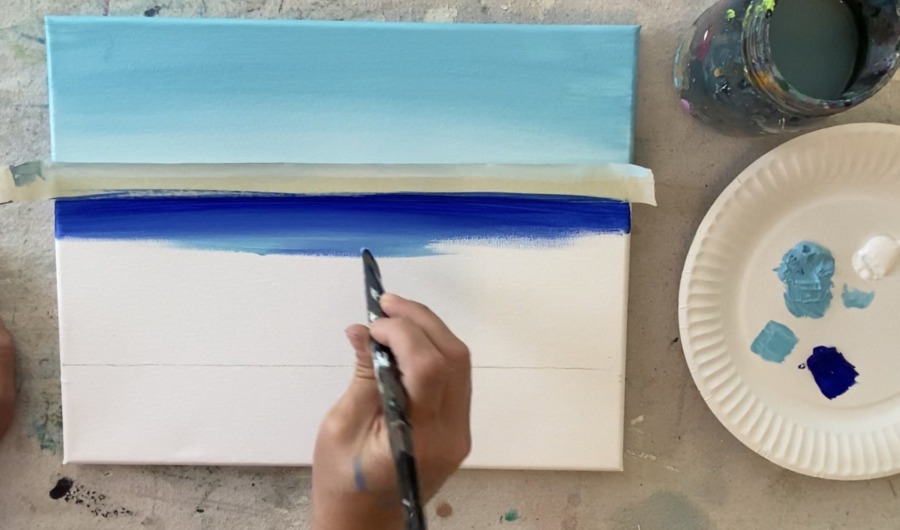
I took my tape line off at this point.

Then add a tiny bit of titanium white into the blue so that it blends into a lighter blue.
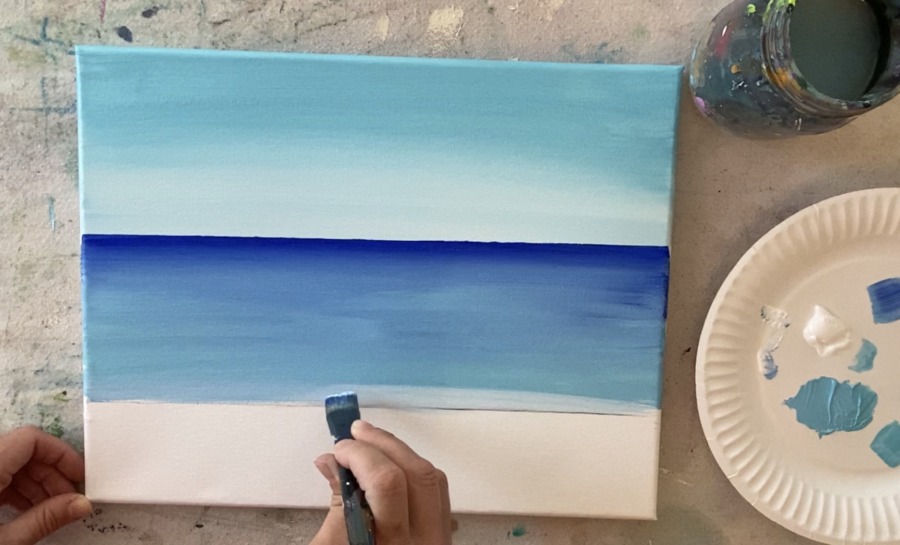
5. Paint the Ground Area
The remainder of your canvas will be painted gray. To make gray, mix about 1 part black to 3 parts white until you get a medium to light shade of gray.
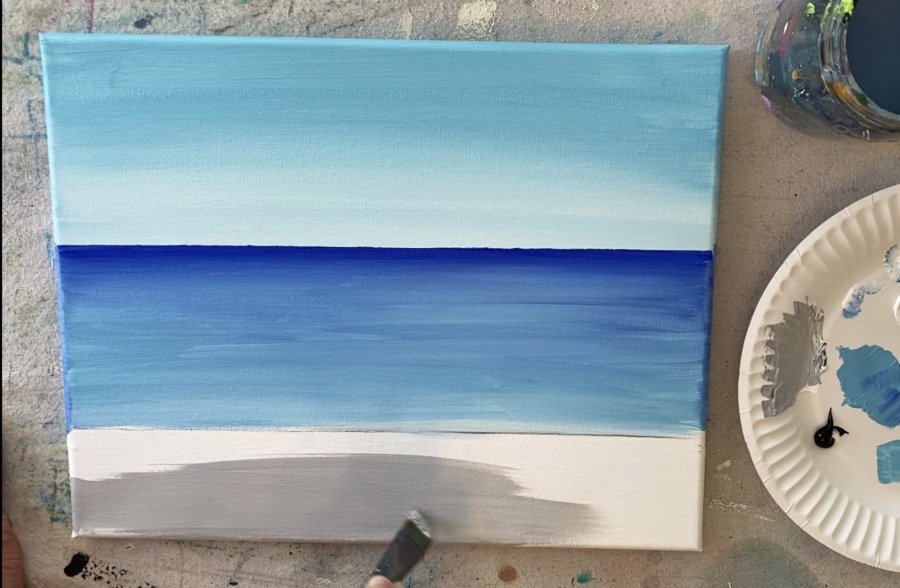
Use your 3/4” wash brush to paint the rest of the canvas.
Wait for all of this to dry before going on to the next step. This would be a good time to take a break!
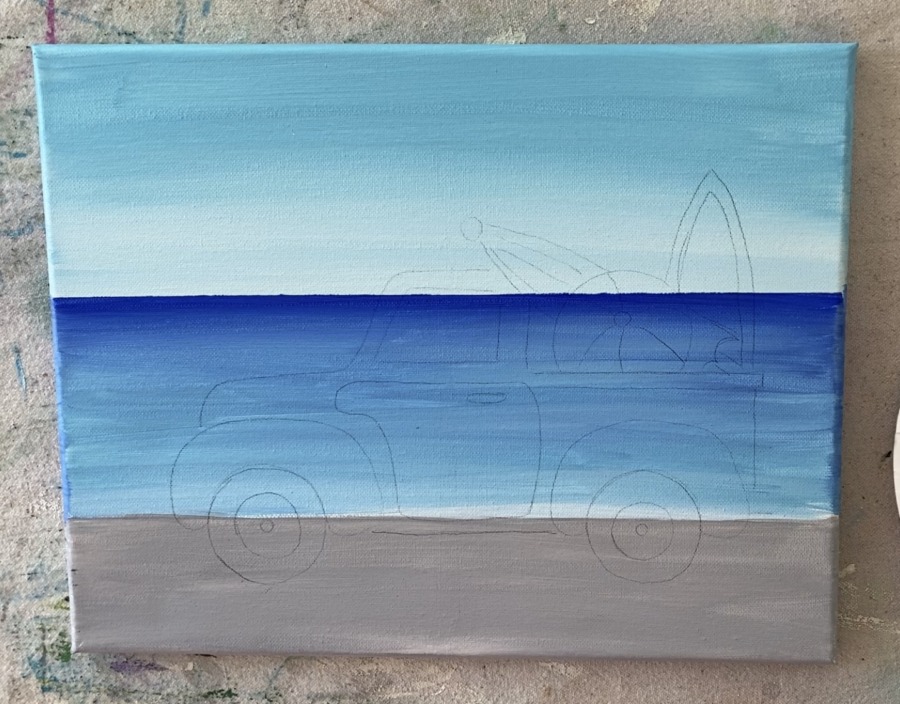
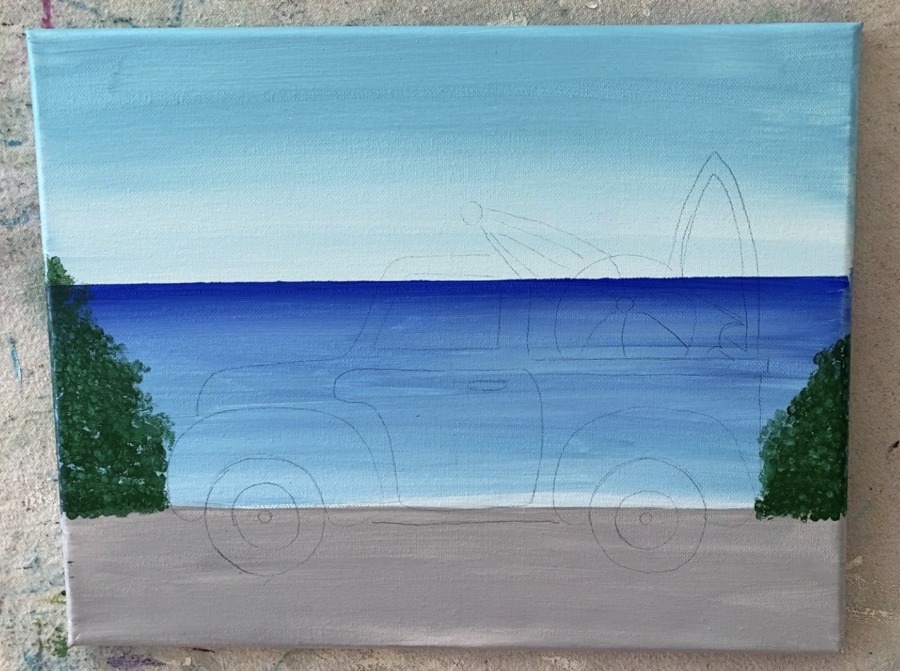
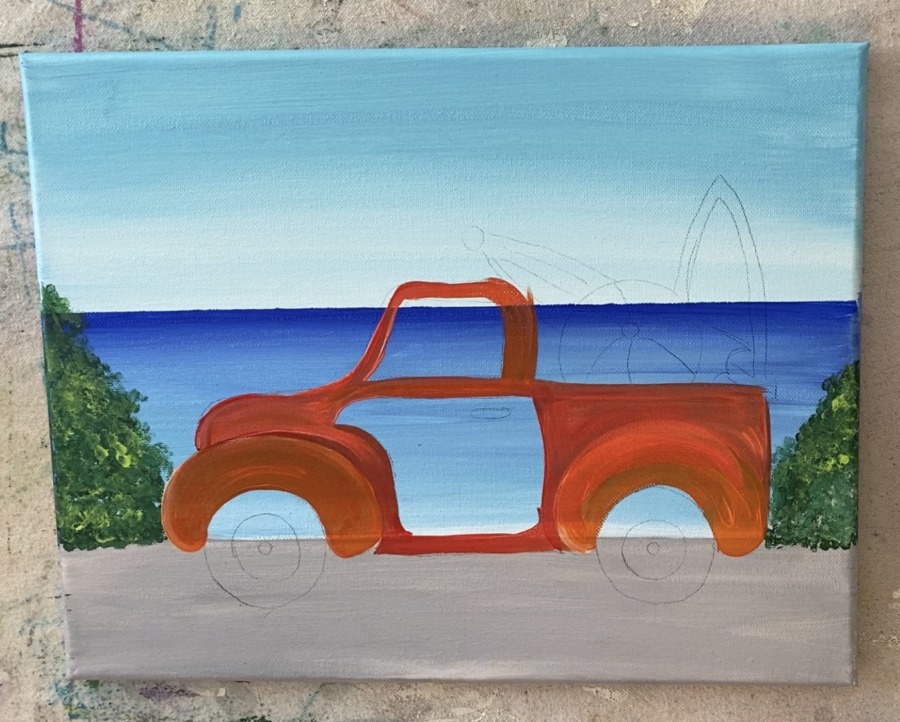
6. Transfer the Truck Traceable
You will need a sheet of graphite paper and the traceable for this step.
I placed my truck so that the bottom of the wheels are approximately 1.5” from the bottom of the canvas. You can also eyeball this to where the wheels are pretty much in the center of that gray area.
Place your sheet of graphite paper below the truck and then the traceable over it. Use a stylus, pencil or any writing tool to trace the design so that it transfers.
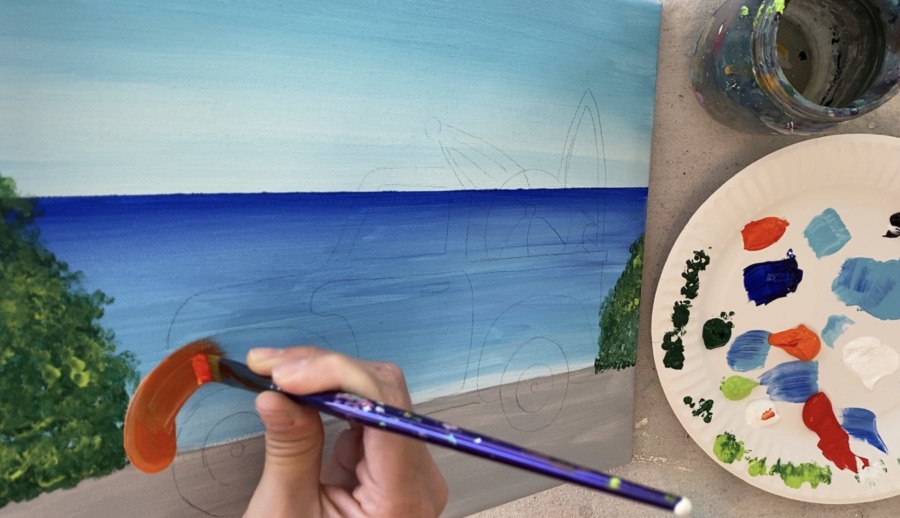
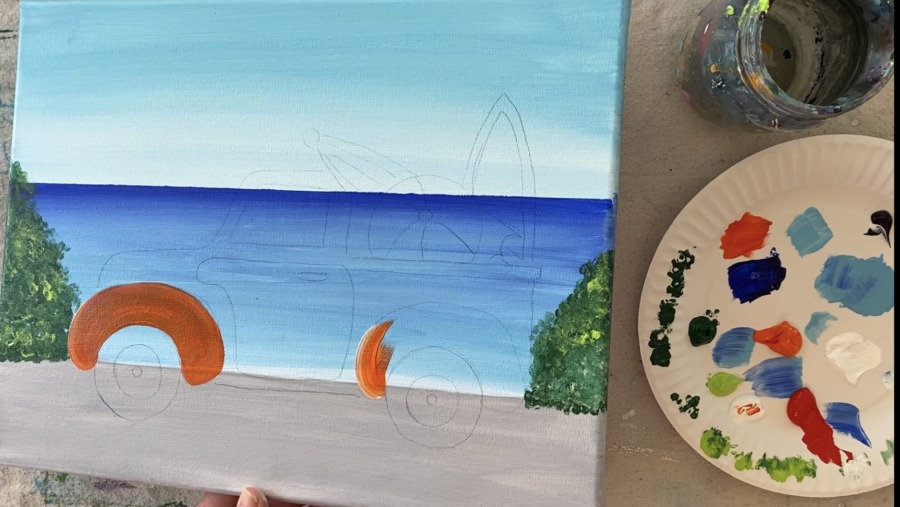
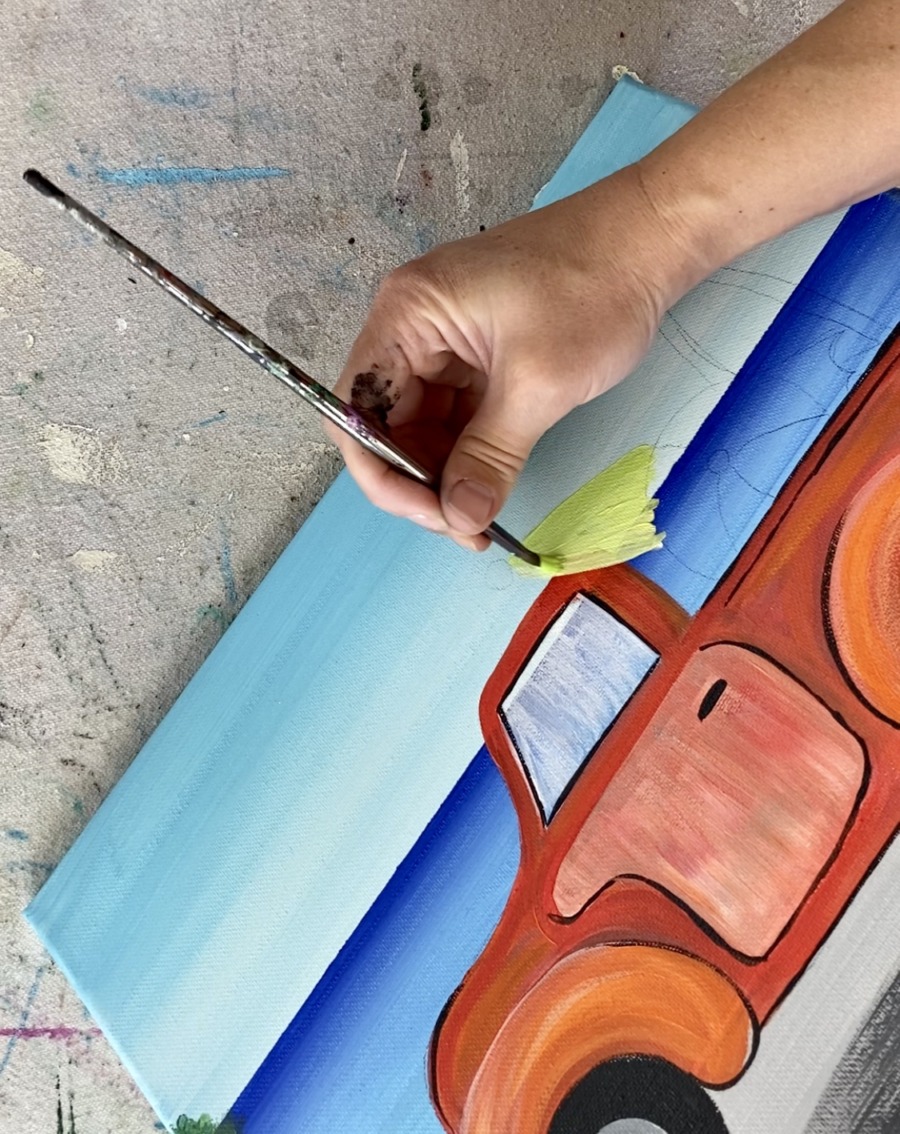
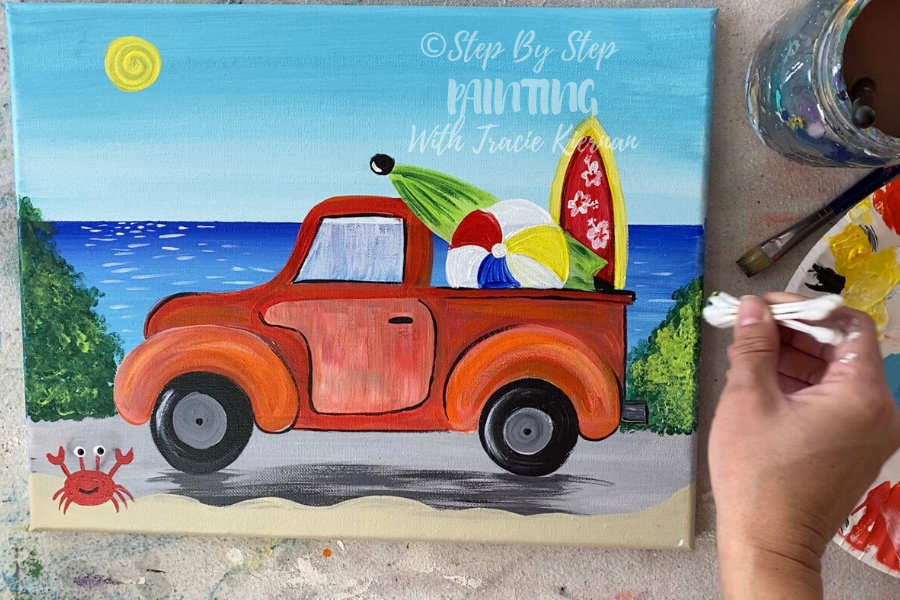
7. Paint the greenery
To do this greenery, I used 5 Q-Tips tied together with a rubber band. You can also do this same technique with a scruffy brush. (A bristle brush that is round, bristles are stiff and scruffy)
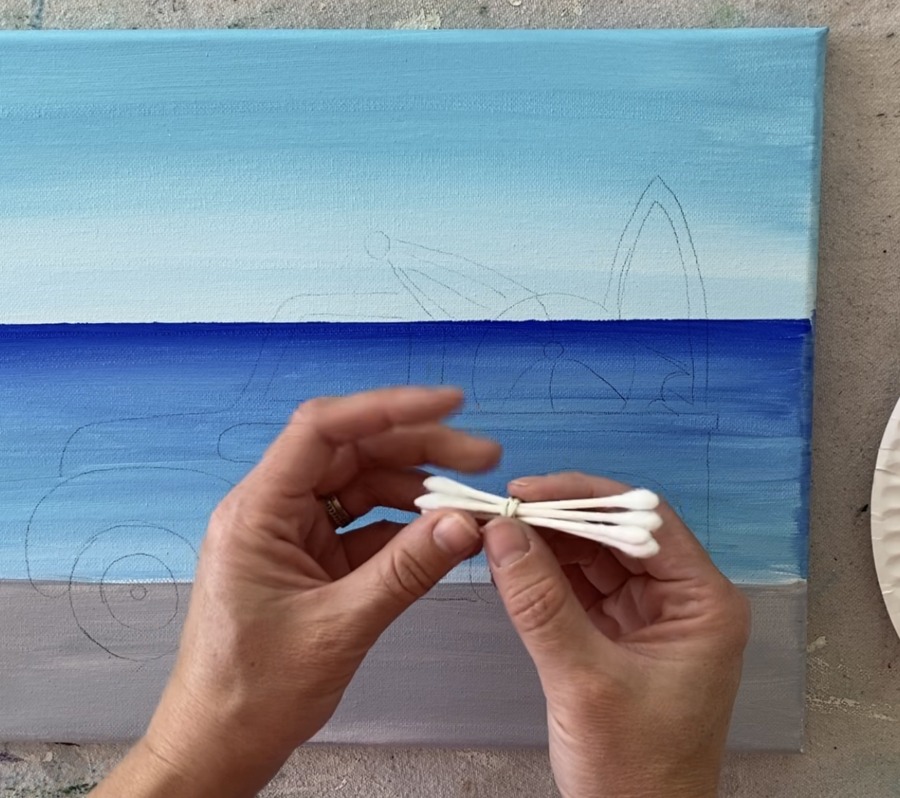
Load your palette with hookers green hue permanent and brilliant yellow green.
Dip your q-tip bundle in the dark green first and stamp the greenery.
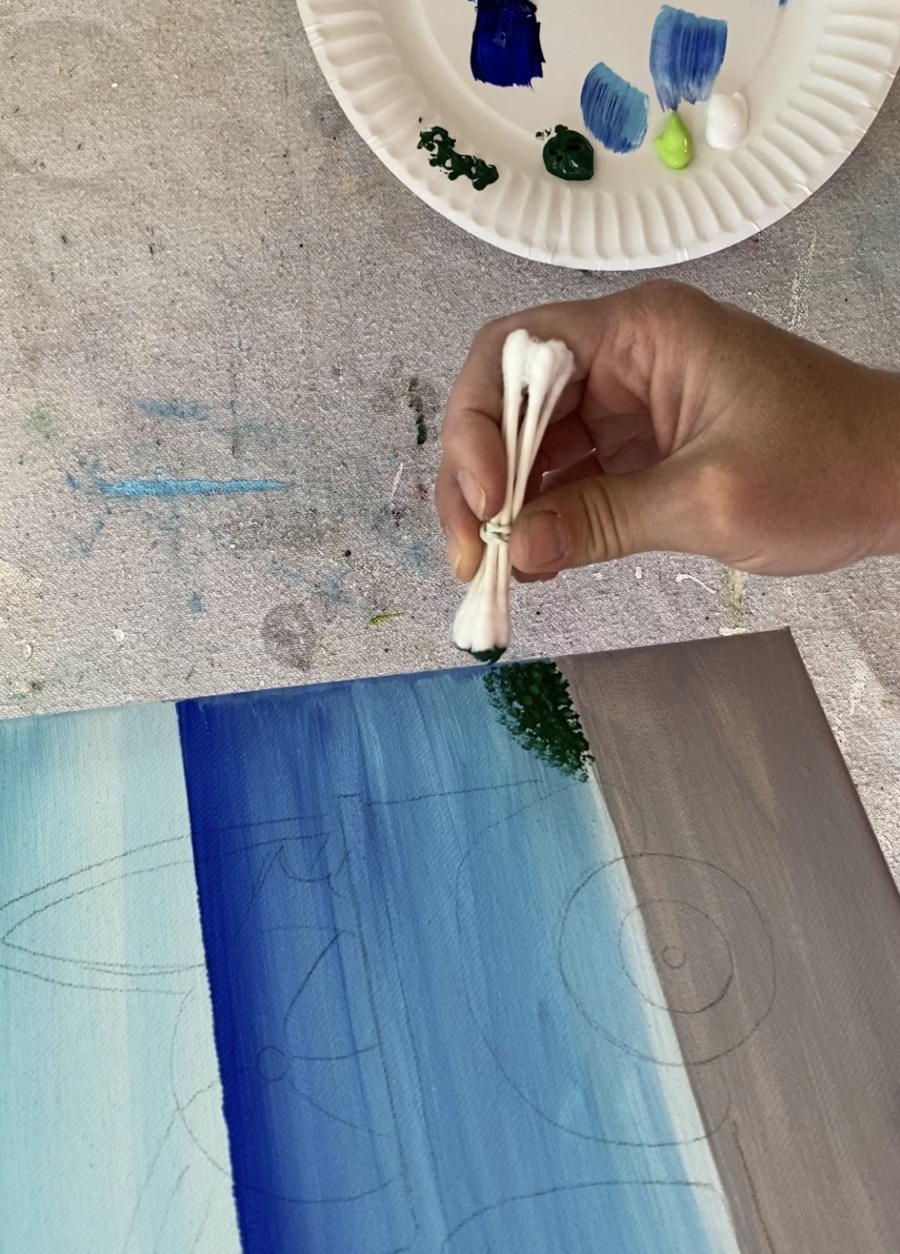
Tip: do not overload your q-tips. Less paint actually creates better texture than if there is more paint.
There are bushes on the left and right of this truck. I made the bush on the right lower and the bush on the left higher. Stamp until you form the shape of the bush.
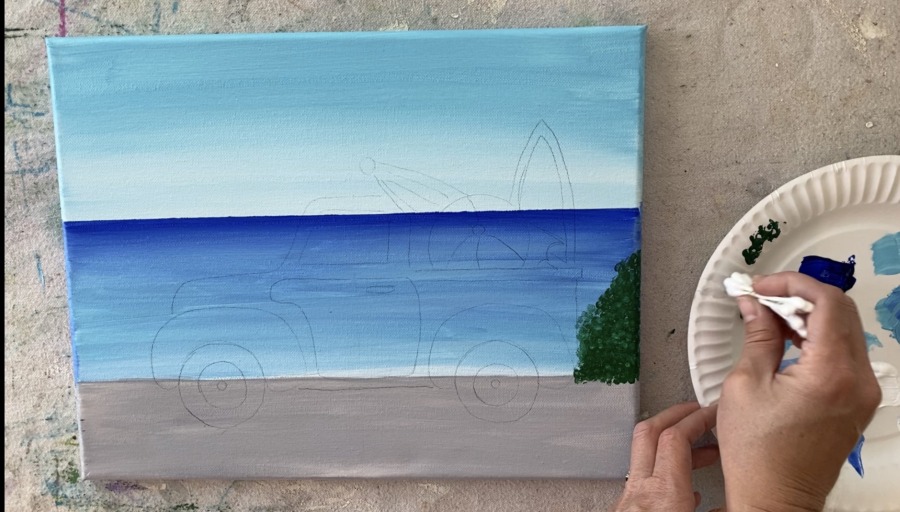
Those Q-tips create great texture!
Then load your q-tips in the brilliant yellow green. Repeat these steps to create lighter areas in the bushes.
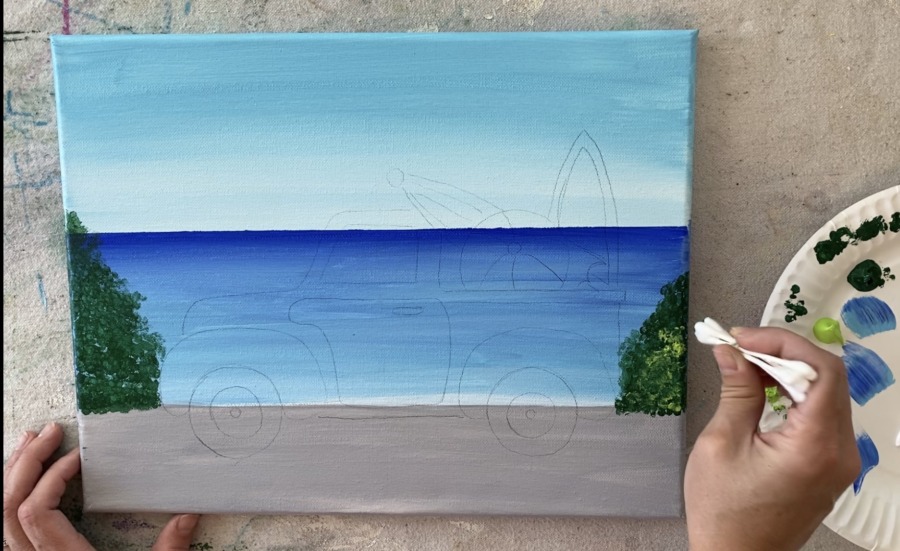
Don’t add too much light green because you still want to see the color variations with the dark green. It is okay if the two greens end up mixing together but the more you stamp, the more “one tone” your color will become.
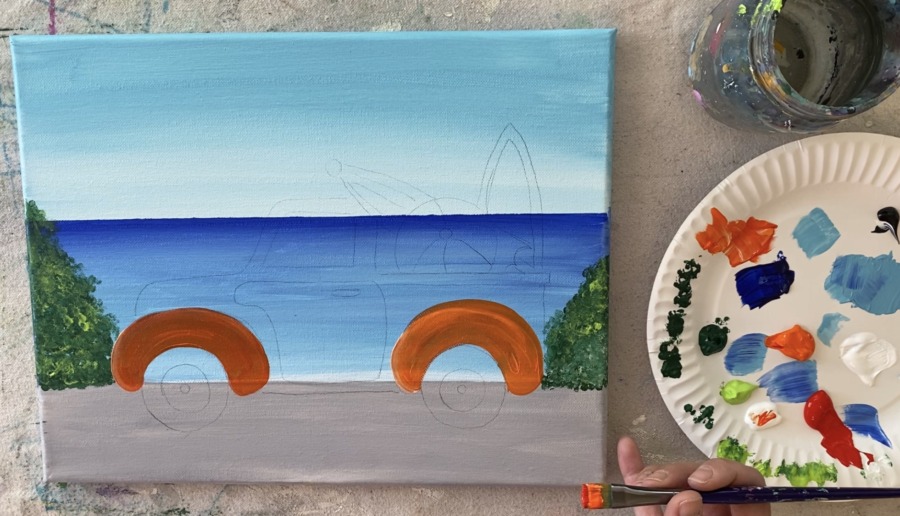
8. Paint the truck fenders
If you did my previous truck paintings, you will recognize this exact same technique only the color is different. You can head over and see my teal pumpkin truck to see this technique.
To make this red-orange color mix about 1 part Pyrrole red and 2 parts cadmium orange hue. You can either mix it all the way or leave it unmixed on your palette.
Load your 12 bright into that red-orange color and dip the corner of your brush in titanium white.
Start with the fenders. When you paint, the white will blend with your red-orange. It will make a lighter color on the fenders. Later on you will add a second or third coat to this area and can make it look like it has more of a highlight but for now this is the base color.
You can see how some of that white remained unmixed giving it sort of a shiny look.
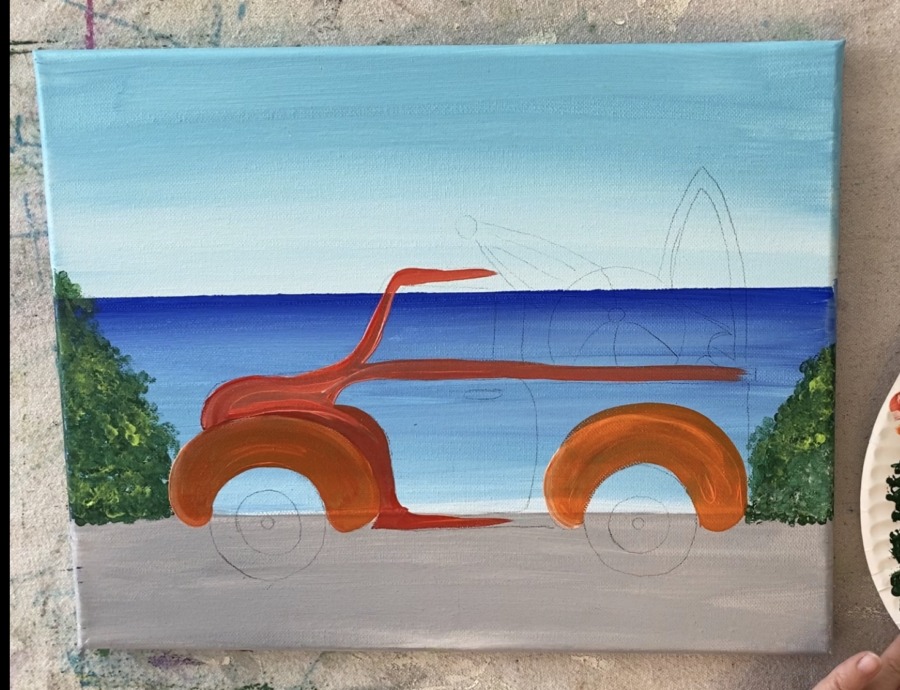
9. Paint the truck body
Then paint the body of the truck. For the body, I used more of a red in the color and not much of the white. By making this area darker, it stands out from the fenders.
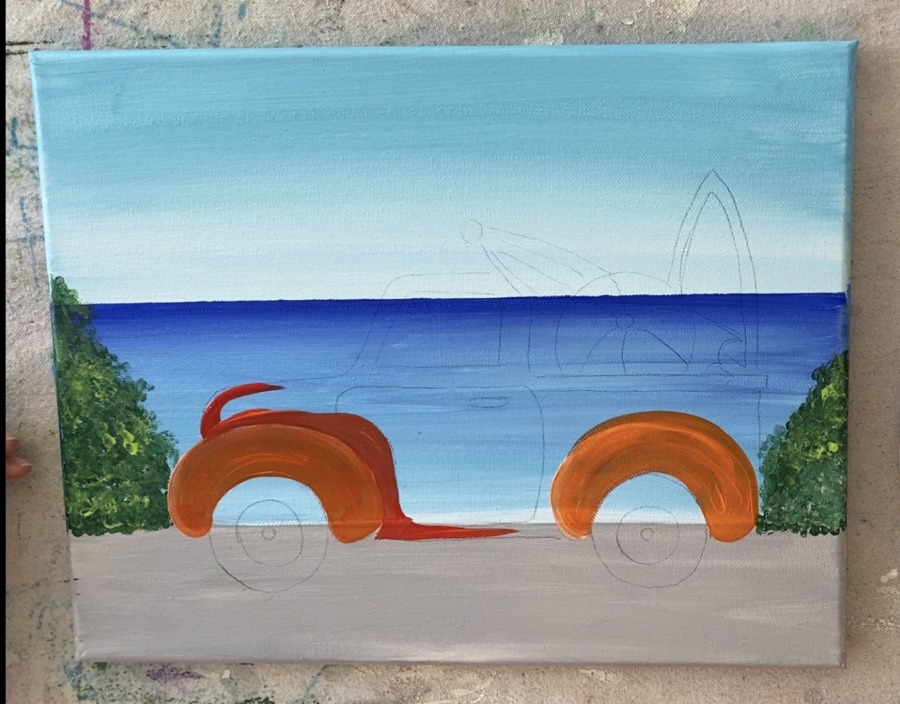
The direction of your strokes should go in the direction of the shape of the truck.
Tip: If you need to, switch to a round brush to get into smaller areas. I varied my colors a bit between orange and red to give it color variation and two-tone look.
Tip: is your red-orange not covering the background completely? Try adding a little white in the mix to make it more opaque. You can also apply a second or third coat later on to help with coverage.
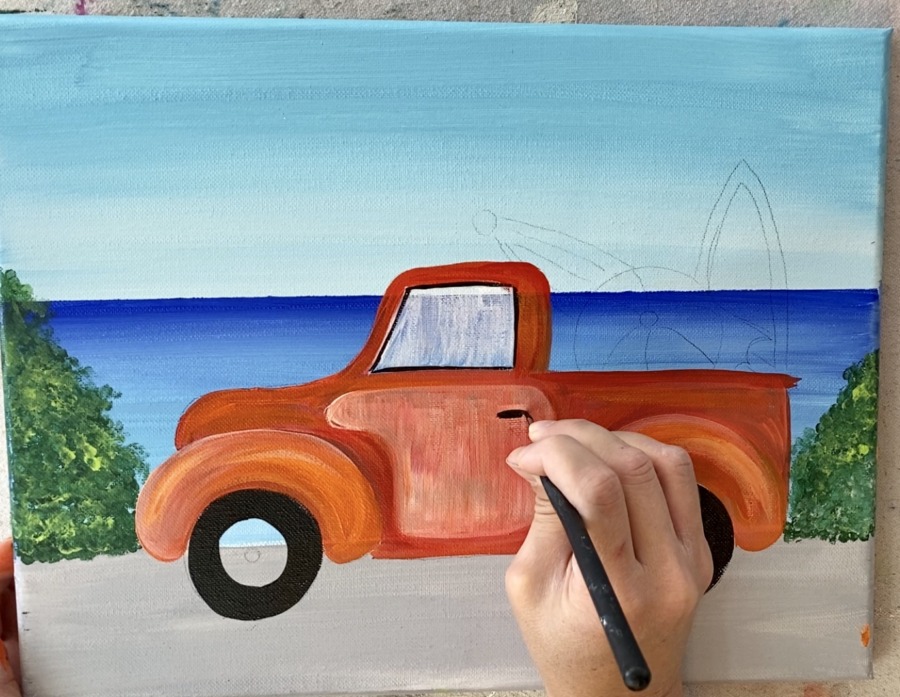
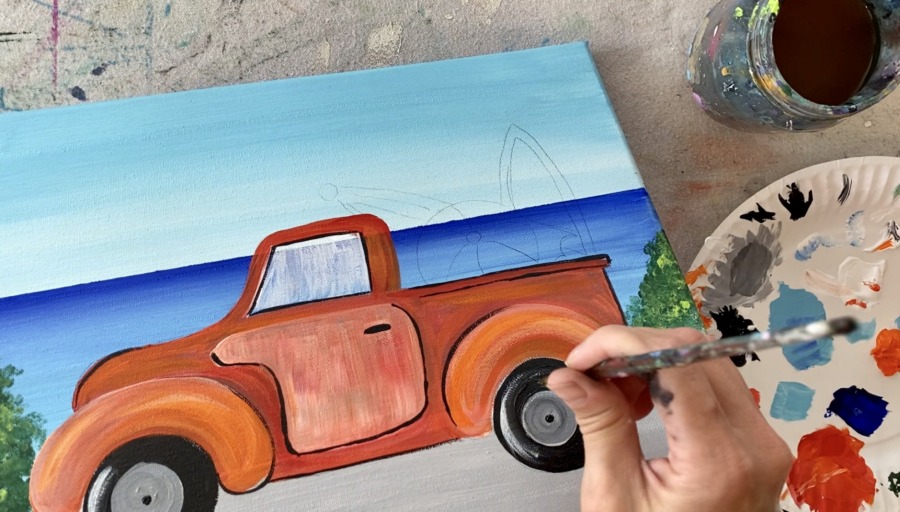
10. Paint the door
I made the door lighter and painted all up and down strokes in this area. Simply use the same red-orange color but add a bit of white to it like you did in the fenders.
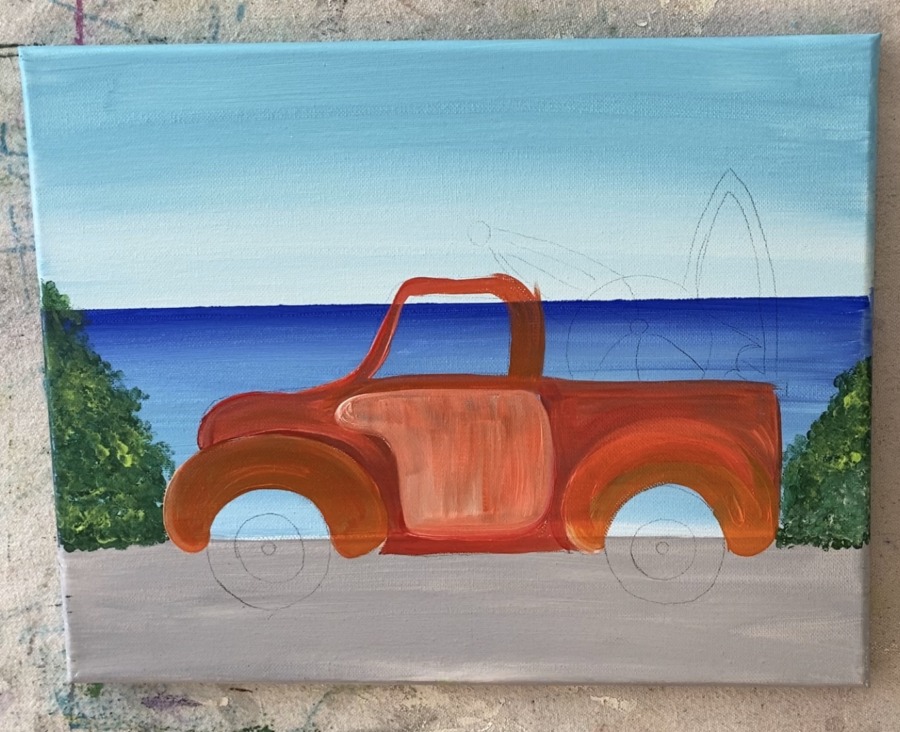
I liked how it looked unblended in this area. It definitely makes the door stand out when you use the lighter colors here!
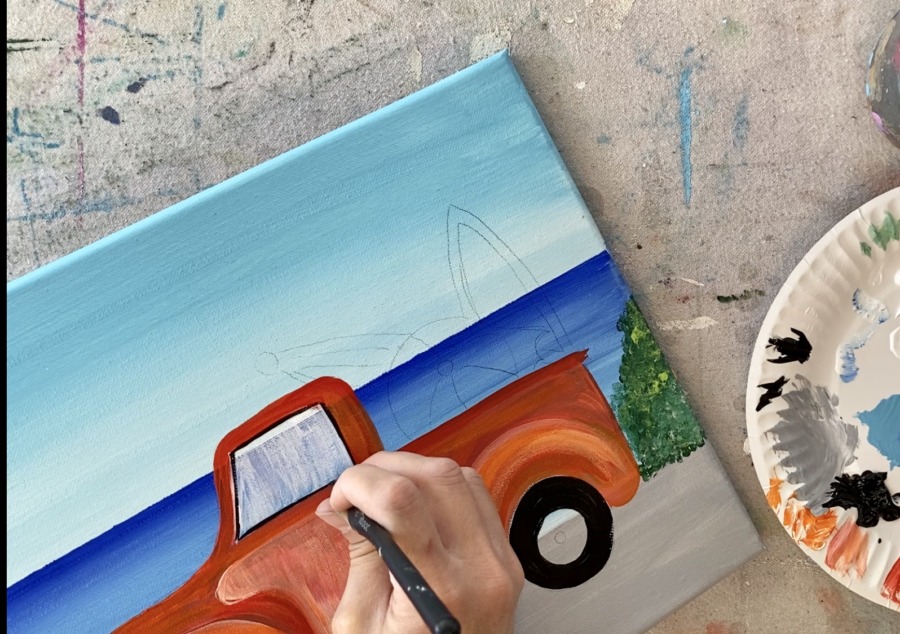
11. Paint the window
To paint the window, completely rinse off the brush. Then load it in titanium white. Do dry brush style up and down strokes so that you still see some of the water showing through the window.
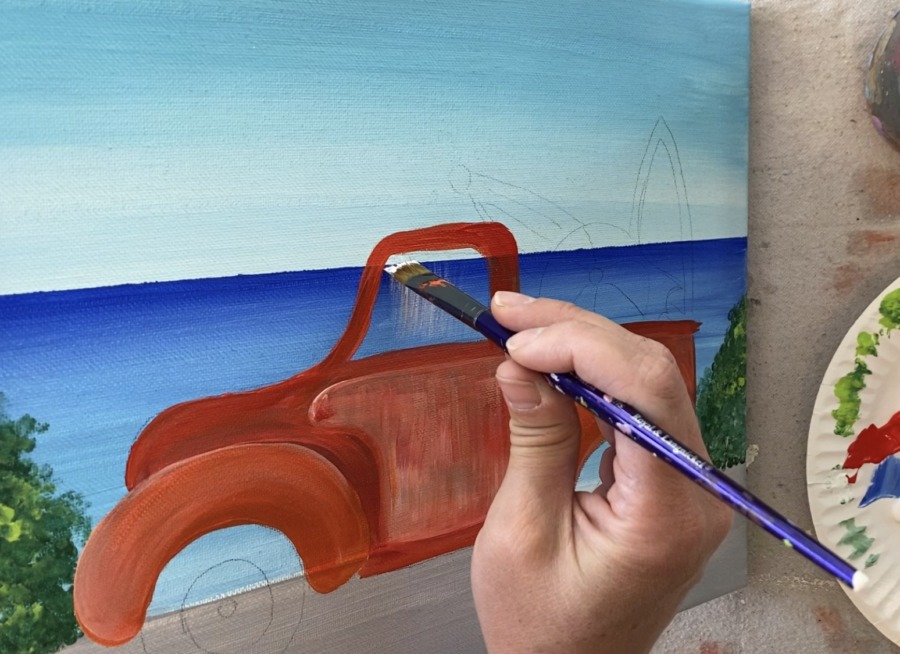
You only need a tiny bit of white paint on the tip of your brush! Wipe some of it off and stroke lightly to create the dry brush effect.
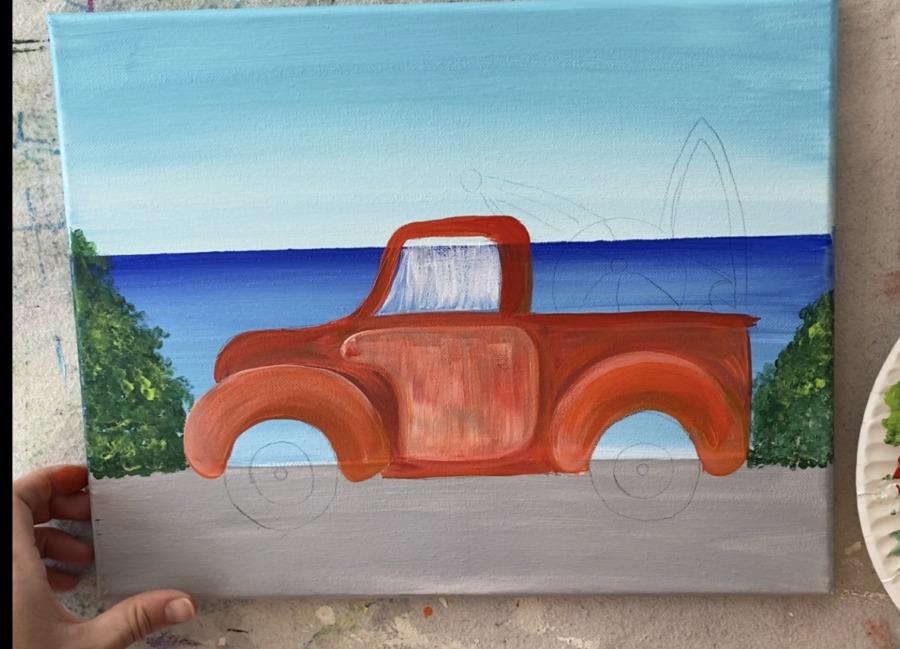
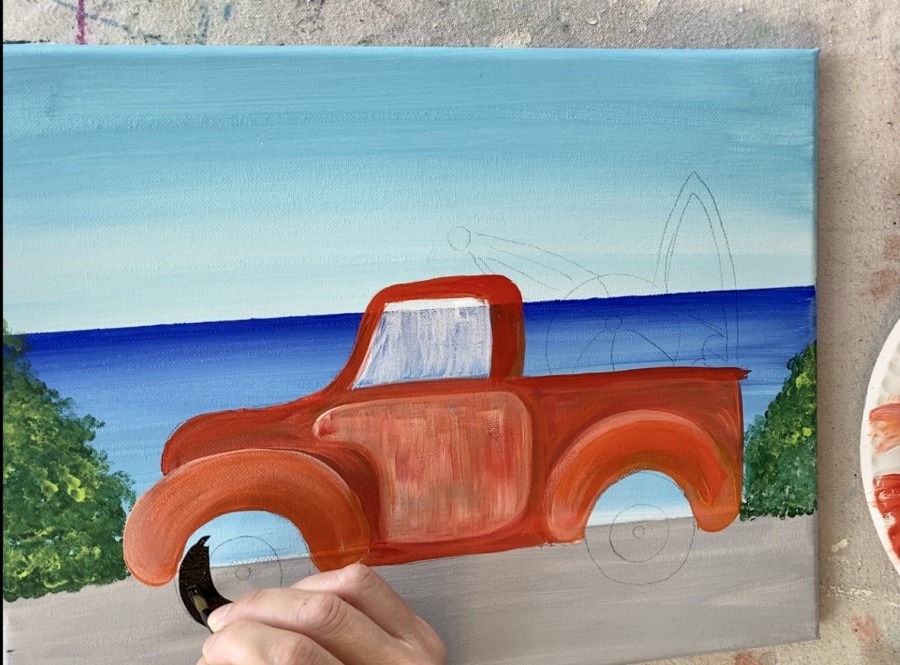
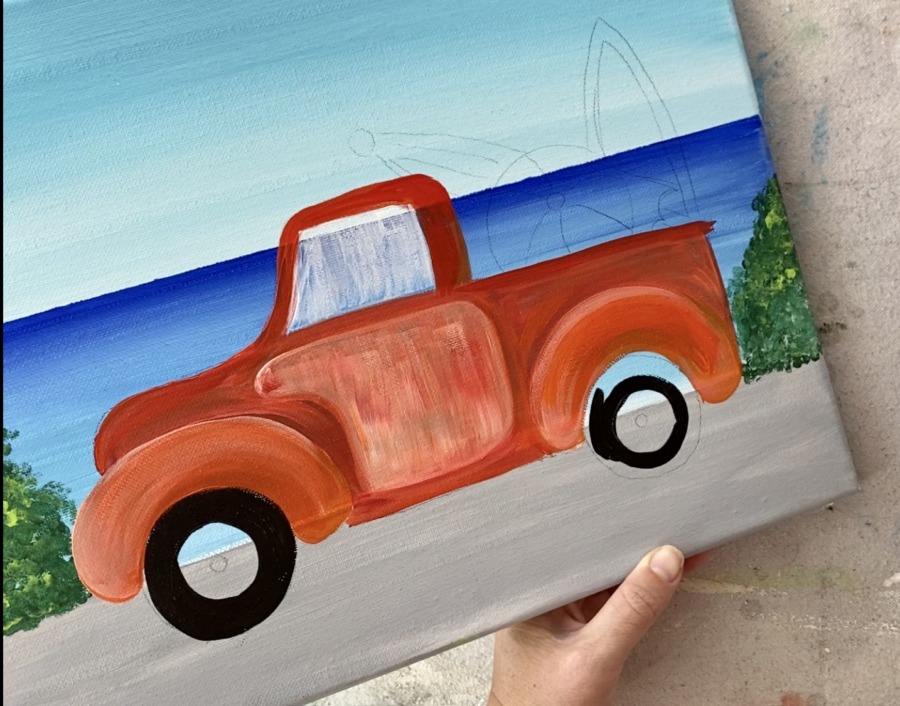
12. Paint the wheels
I used a #4 round brush for this step. Load your palette with mars black. Then paint the outer part of the wheel leaving the center part unpainted.
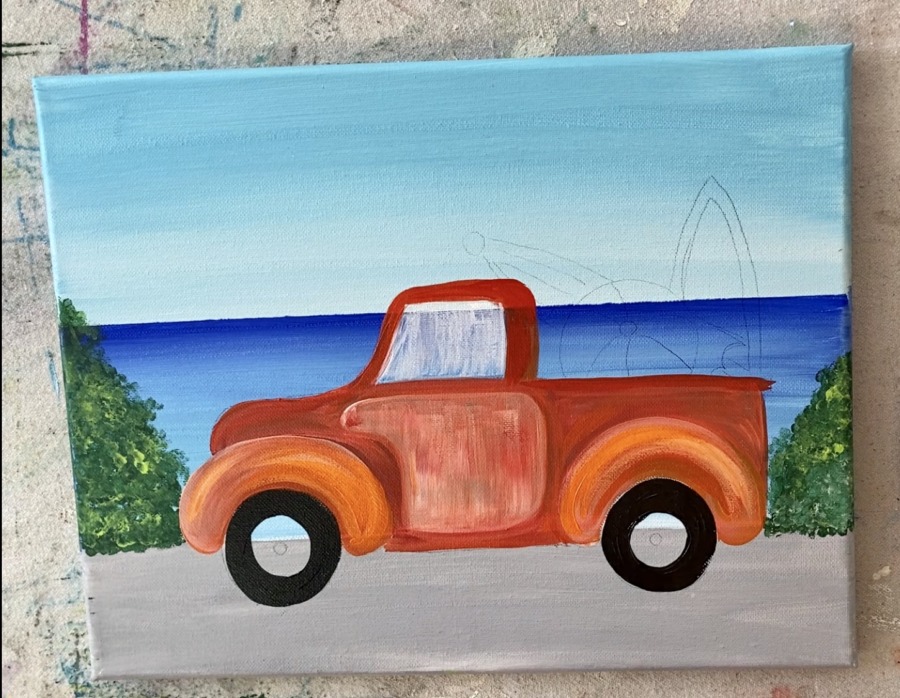
Here Is where you can add a second coat to your truck if you feel it is necessary. I did so on the fenders to make it look a little more orange.
15. Outlines some areas
If you feel more comfortable, use a black paint pen for this step. I used a 0 spotter brush. Load it in mars black and paint the inside of the window so it is outlined.
Then paint the door handle.
Outline the truck bed and part of the door.
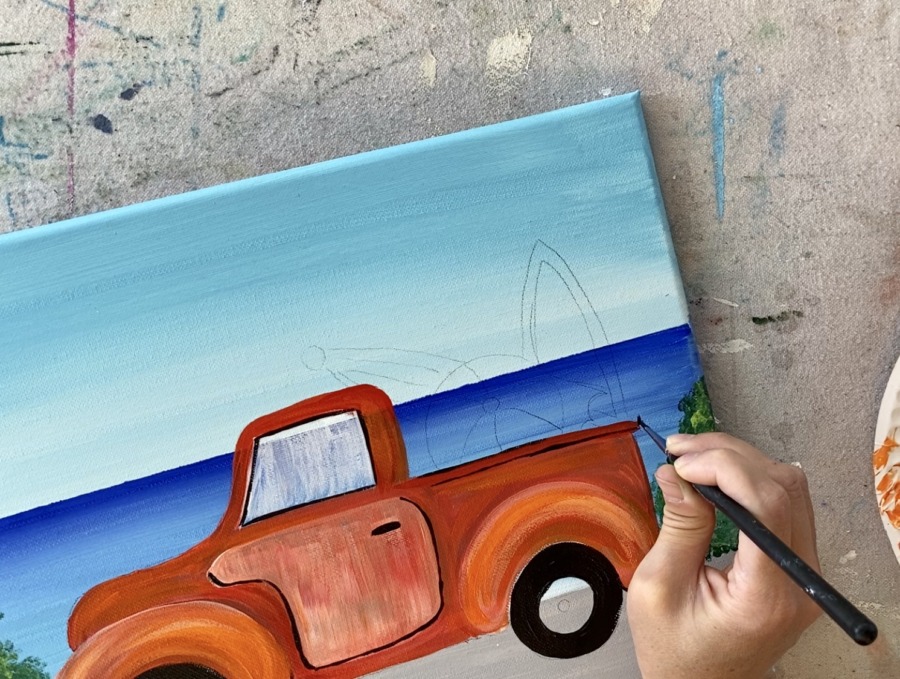
Then outline some of the fenders, the top part of the hood and the exhaust. Also, I painted the exhaust gray.
You can choose to outline everything, however, I like to only leave a few things outlined to give some areas more contrast.
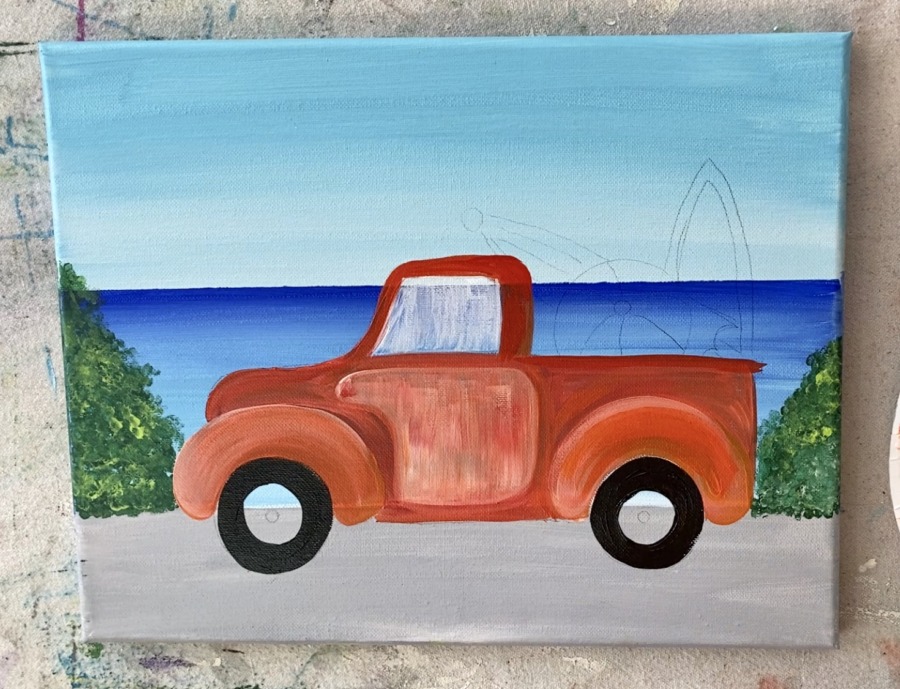
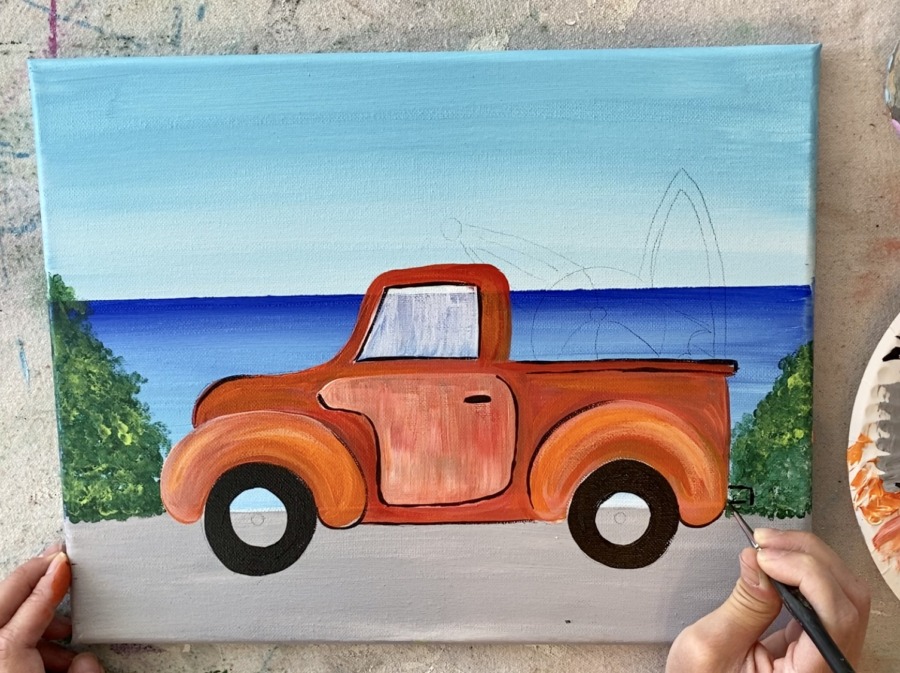
16. Paint the inside of the wheel
Use your 4 round brush to paint the inside of the wheel with that same medium-light gray color you did on the pavement. You can, however, choose to make this a darker gray or even use the unbleached titanium.
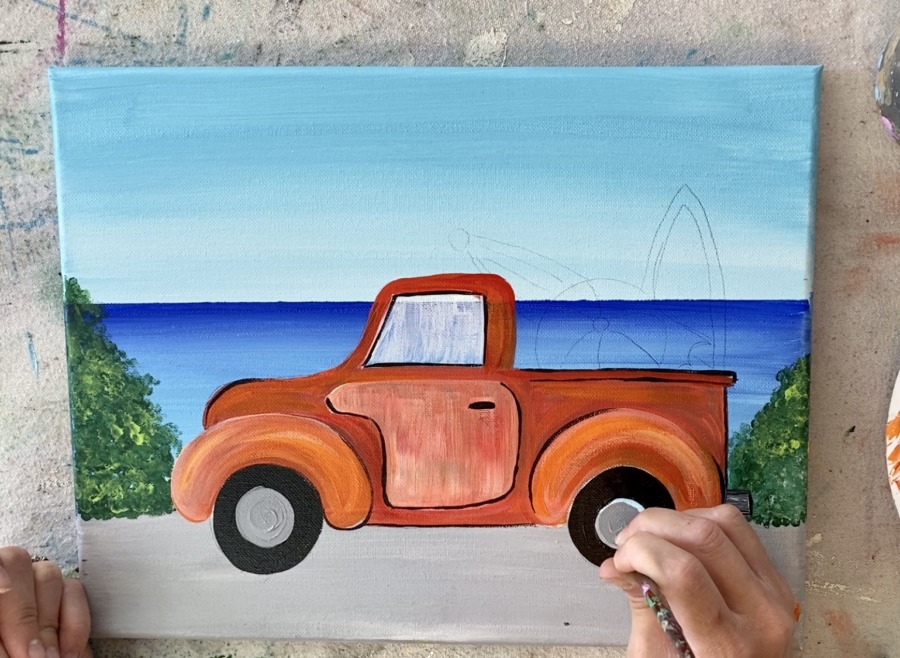
Then paint two black dots in the very center.
To do the highlight on the wheels, dry brush with titanium white and your round brush. Make one curve on the left part of each of the wheels. When you “dry brush” you load only a tiny bit of paint on your brush and wipe it off with a paper towel so there is even less paint. Stroke lightly to create a light, feathery stroke.
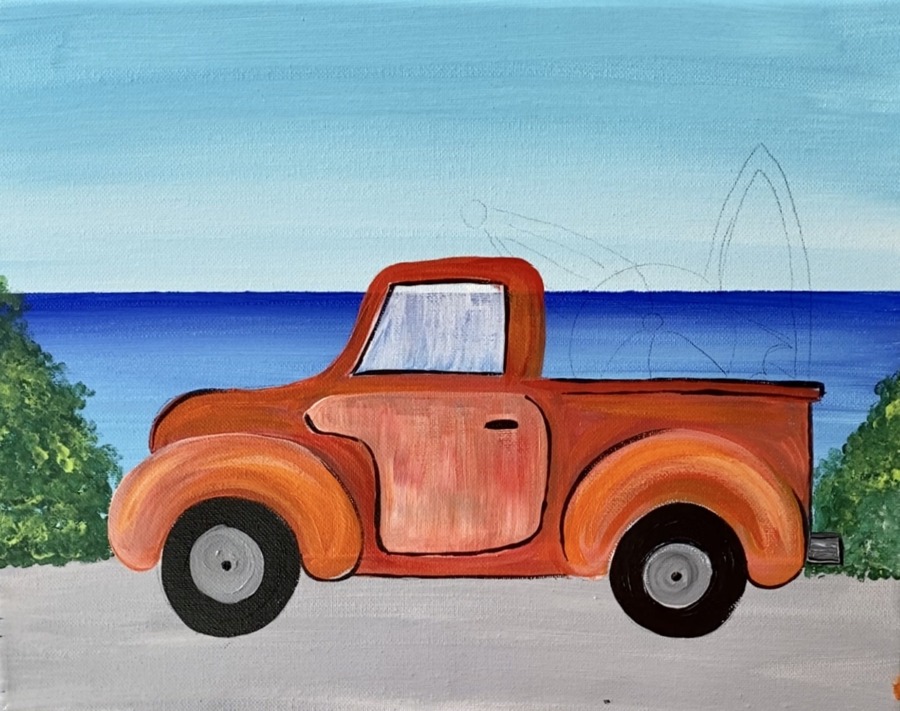
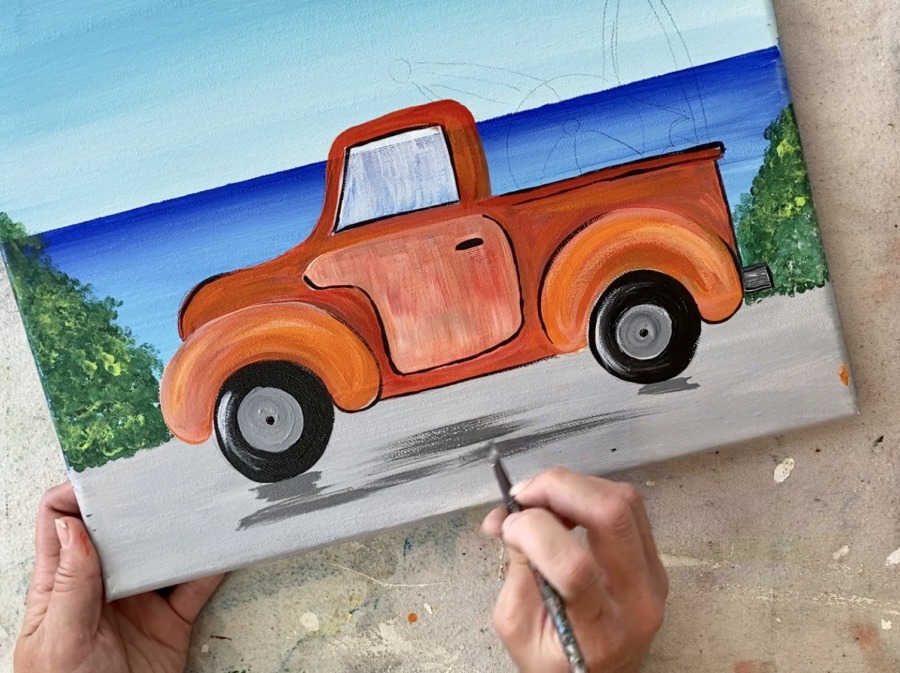
17. Paint the shadow under the wheels
Use your 12 bright brush OR your 4 round brush for this step. Water down your black to a watercolor or ink consistency. Then lightly paint a shadow under the wheels and underneath the truck. Use thin, left and right horizontal strokes.
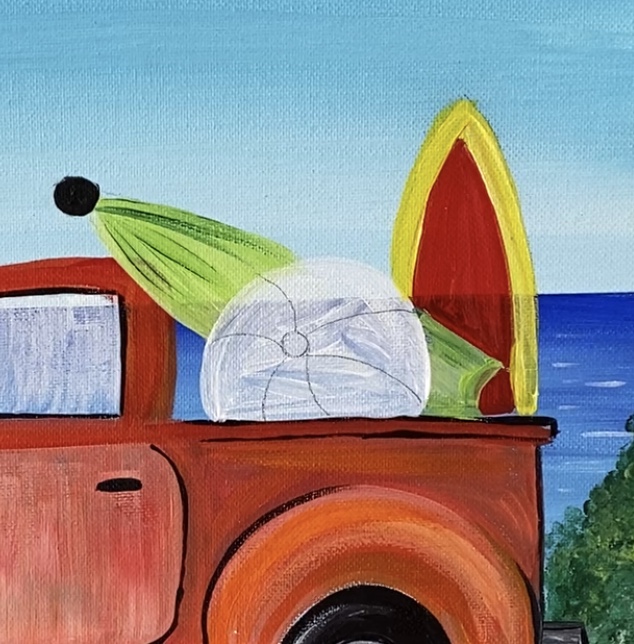
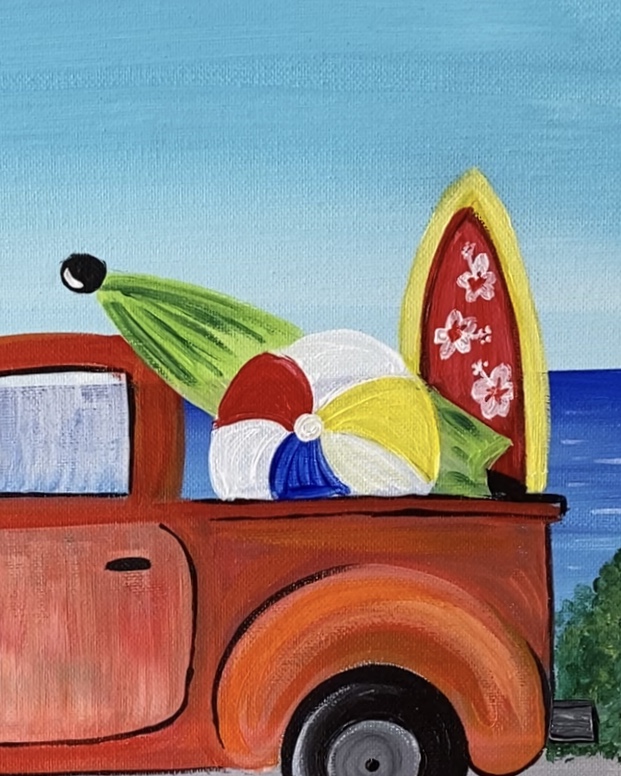
18. Paint the stuff in the bed of the truck
We have an umbrella, beach ball and surfboard! Use your round brush for this step.
Although you can change the colors, I chose brilliant yellow green for my umbrella.
I painted the beach ball a coat of white.
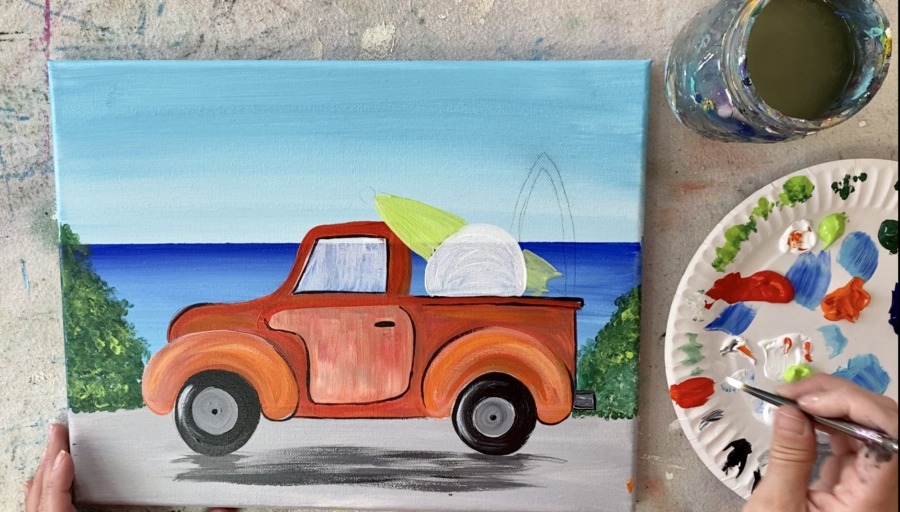
Then I painted the surfboard yellow and red.
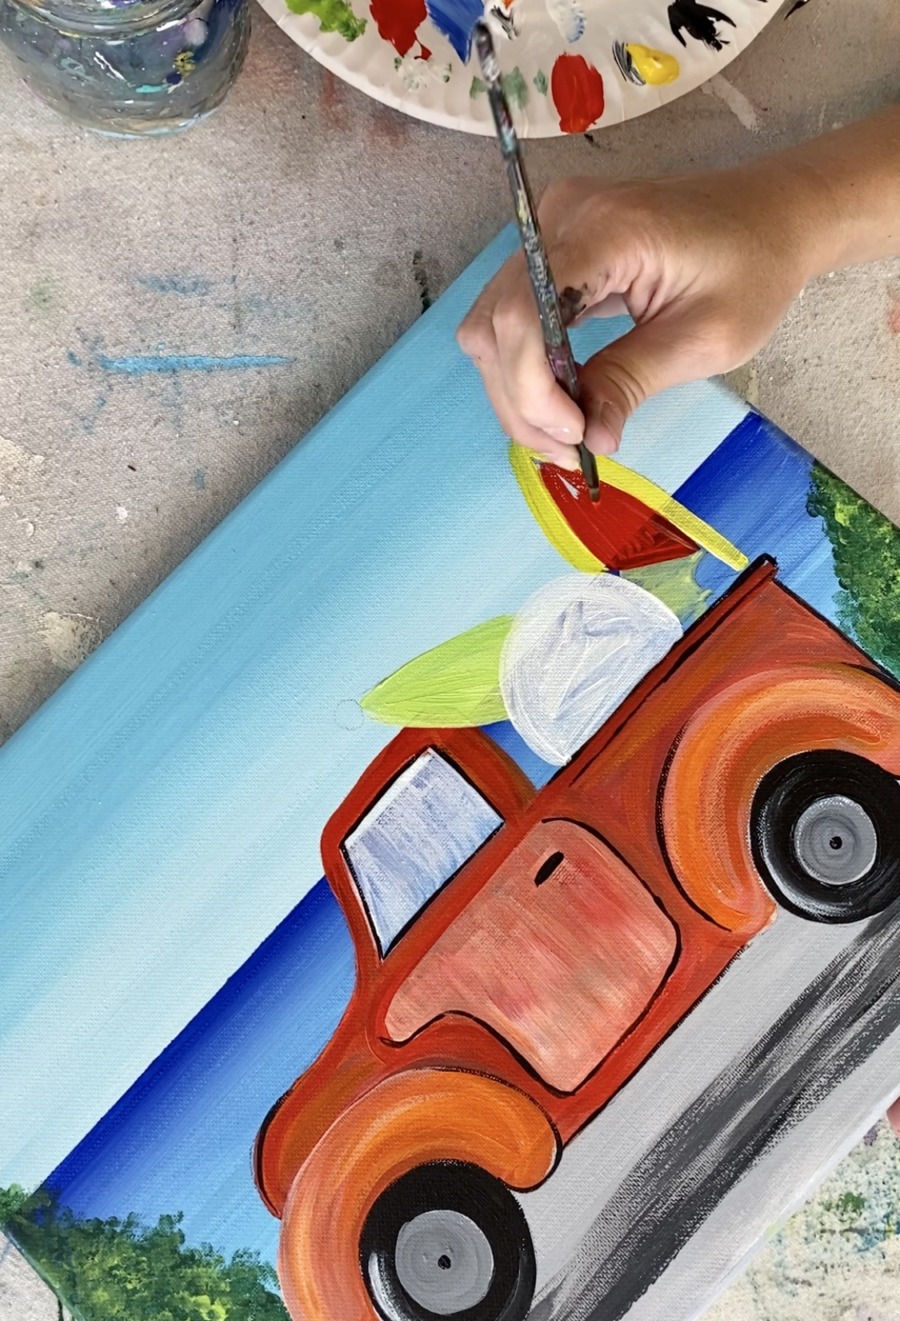
To add some texture to your umbrella, add a little bit of the darker green into it so it blends. Then paint a black circle on the tip.
All of these items need to dry before further details can be applied
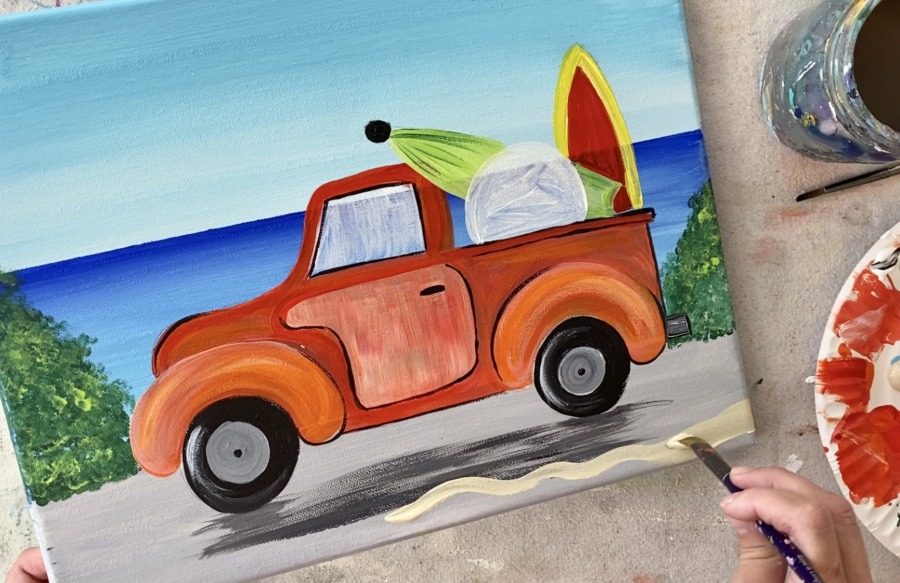
19. Paint the sand
Use your 12 bright brush and the color unbleached titanium to paint a wavy sand area on the bottom of the painting so that it overlaps the gray area.
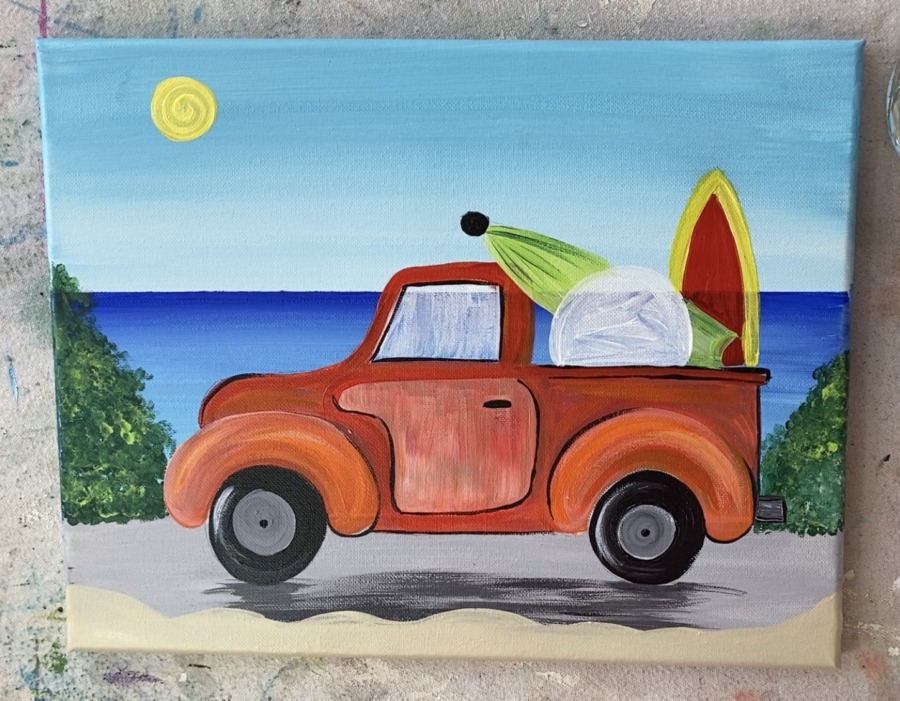
20. Paint the sun and reflections
On your palette, mix about 1 part white and 2 parts yellow. Use your round brush to paint a circle.
Then switch to your 0 spotter brush. Paint little white horizontal lines in the water.
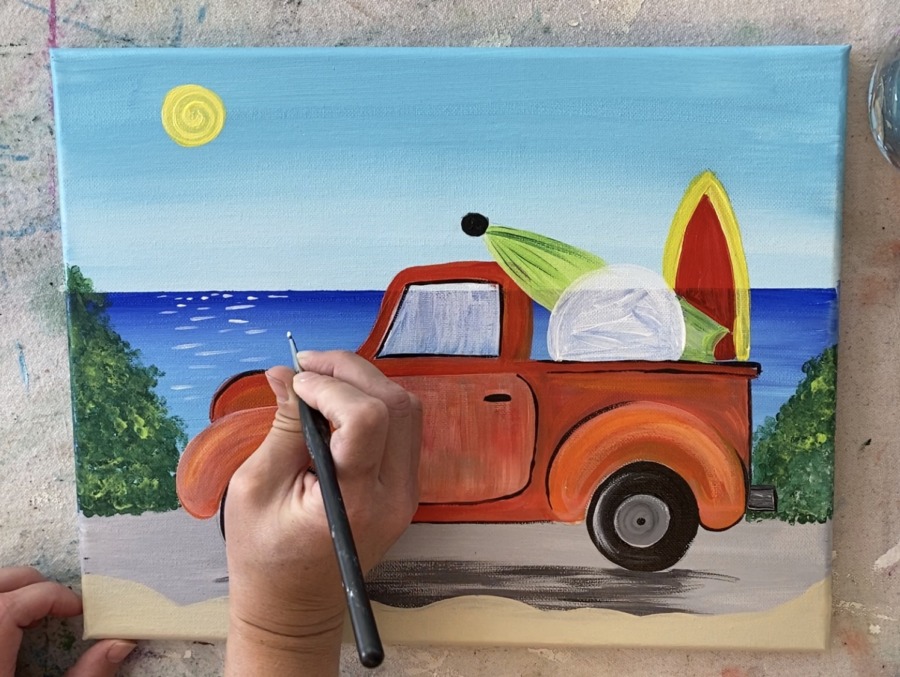
The key is to make the far away lines smaller and closer together and the lines close to the bottom longer and more speed apart. This creates sort of an illusion of perspective.
Make most of the reflection lines under the sun but you can also paint a few white lines in other areas.
21. Paint more details in the truck bed contents
To do the beach ball pattern, I used a pencil to draw out the curved lines and that circle.
Then I painted the areas red, yellow and ultramarine blue.
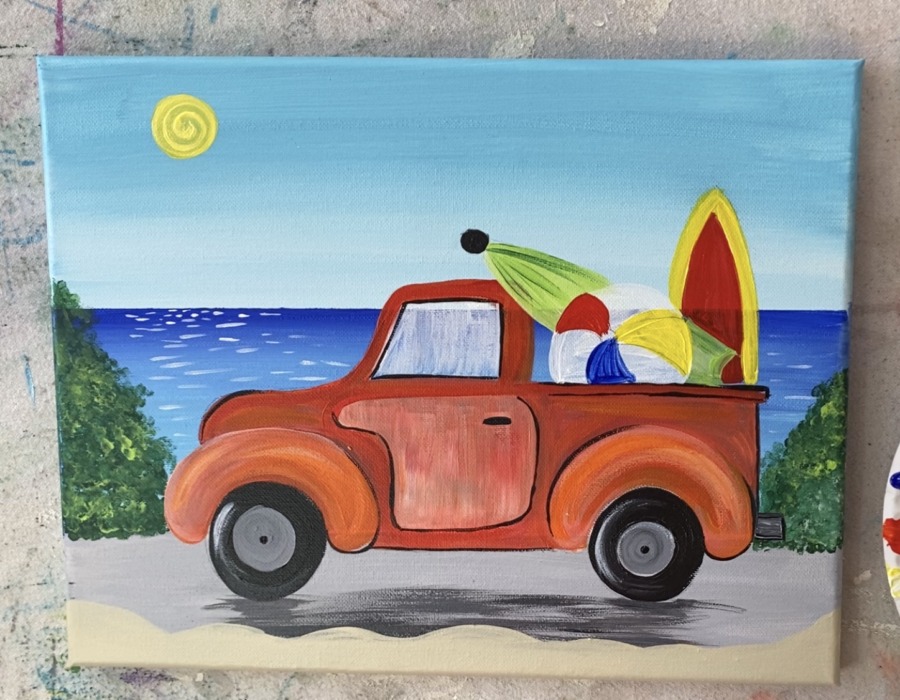
I also outlined the inner part of the surfboard with black and added a few more dark green texture lines on the umbrella. Also, there is a small white circle in the middle of the beach ball.
22. Paint the crab
To do the crab, I used my 4 round brush to paint a red oval. Do the legs, arms and eyes with that smaller 0 spotter brush.
I did black and white for the eyes and black for the mouth.
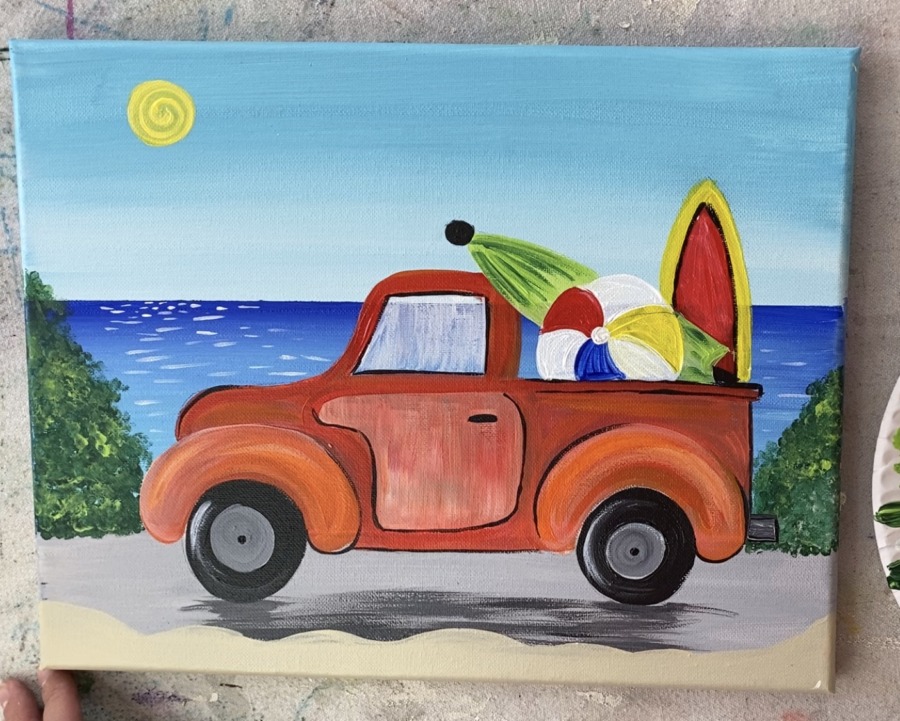
23. Add designs on the surfboard
Finally, I decorated the surfboard with some fun flowers. There are so many different designs you can add onto your surfboard!
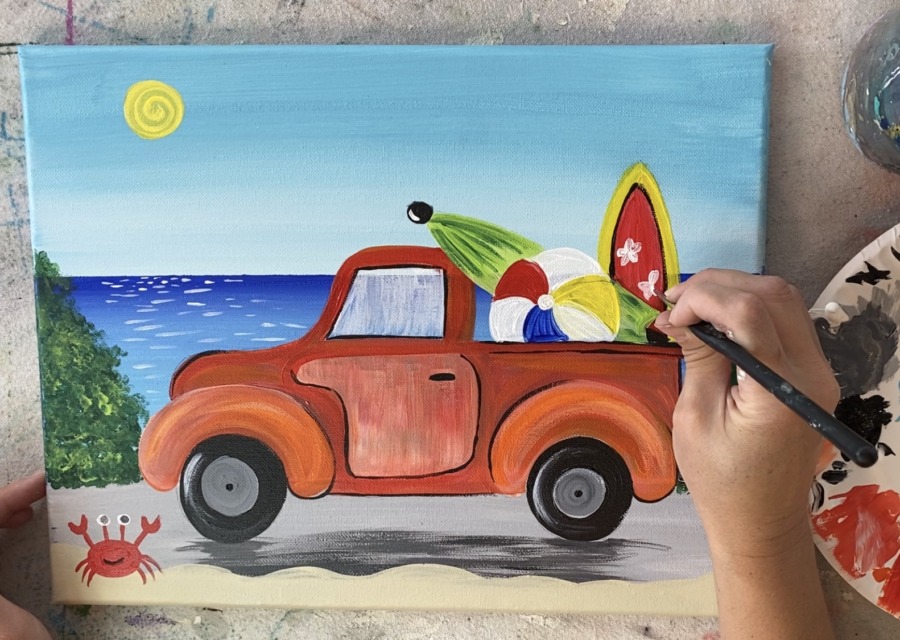
And I made a little white highlight on the umbrella top. So many details!
24. Some final touches
I decided to lighten up the bushes with another coat of the brilliant yellow green. With my q-tip swabs, I added more light green.
Finished!
Sign your name and show it off!
Share your art


Share this post!
![]()
i truly enjoyed painting this. Thank you
You’re welcome!
looks very summary, love it!! thanks for sharing!!!