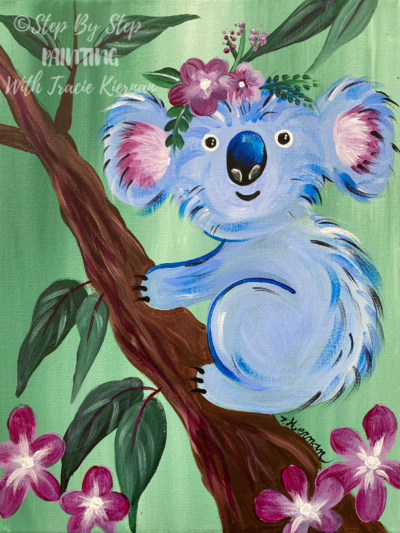
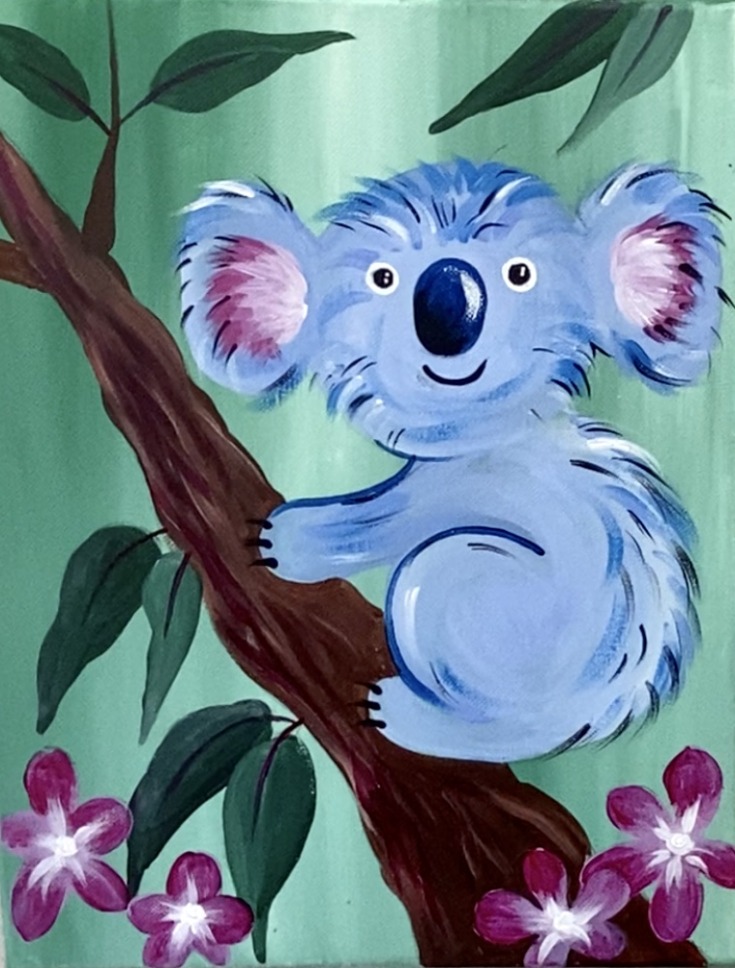
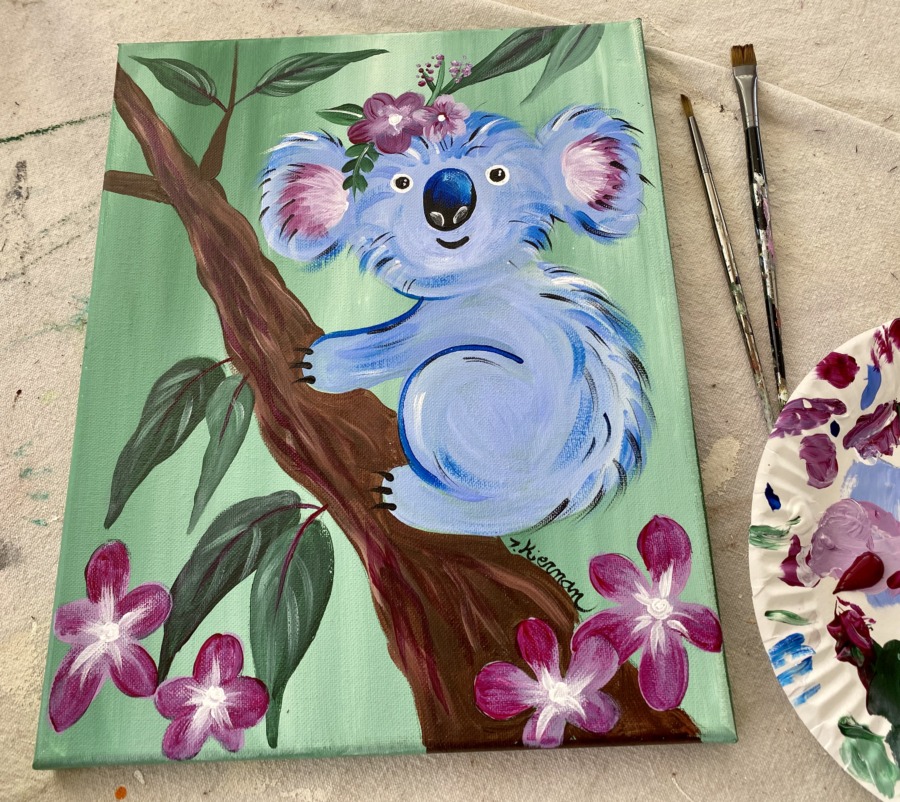
Cute Koala Painting Step By Step
This is an acrylic painting tutorial for beginners! Learn how to paint a cute koala on a branch with flowers.
Would you like to save this?
It’s also a great one you can try with the kids and learn about this Australian animal. When I was a child, koalas were one of my favorite animals.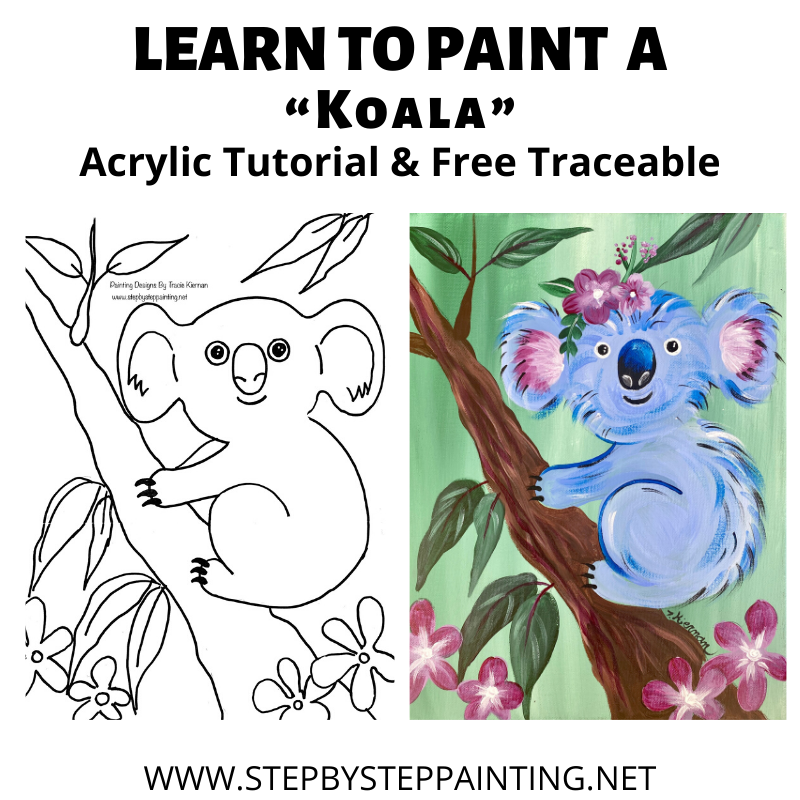
There is a free traceable with this painting that you can print and use to transfer to your canvas.
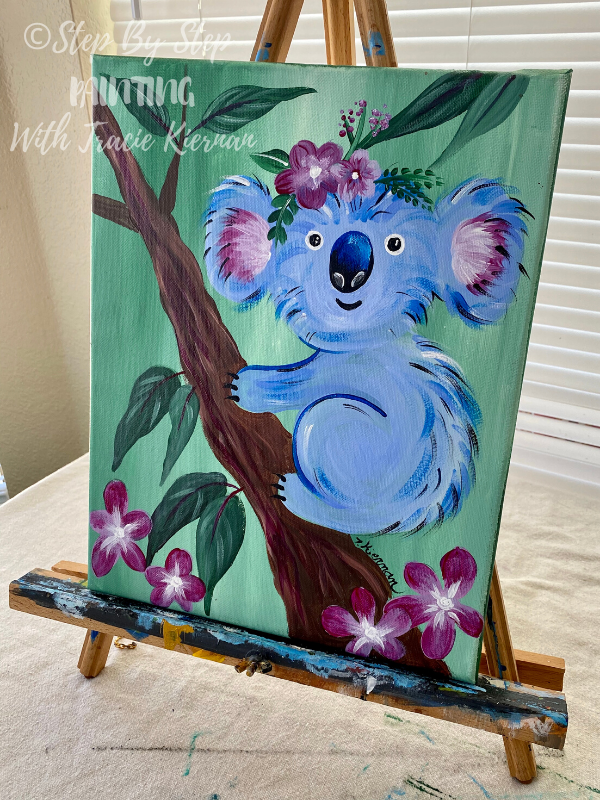
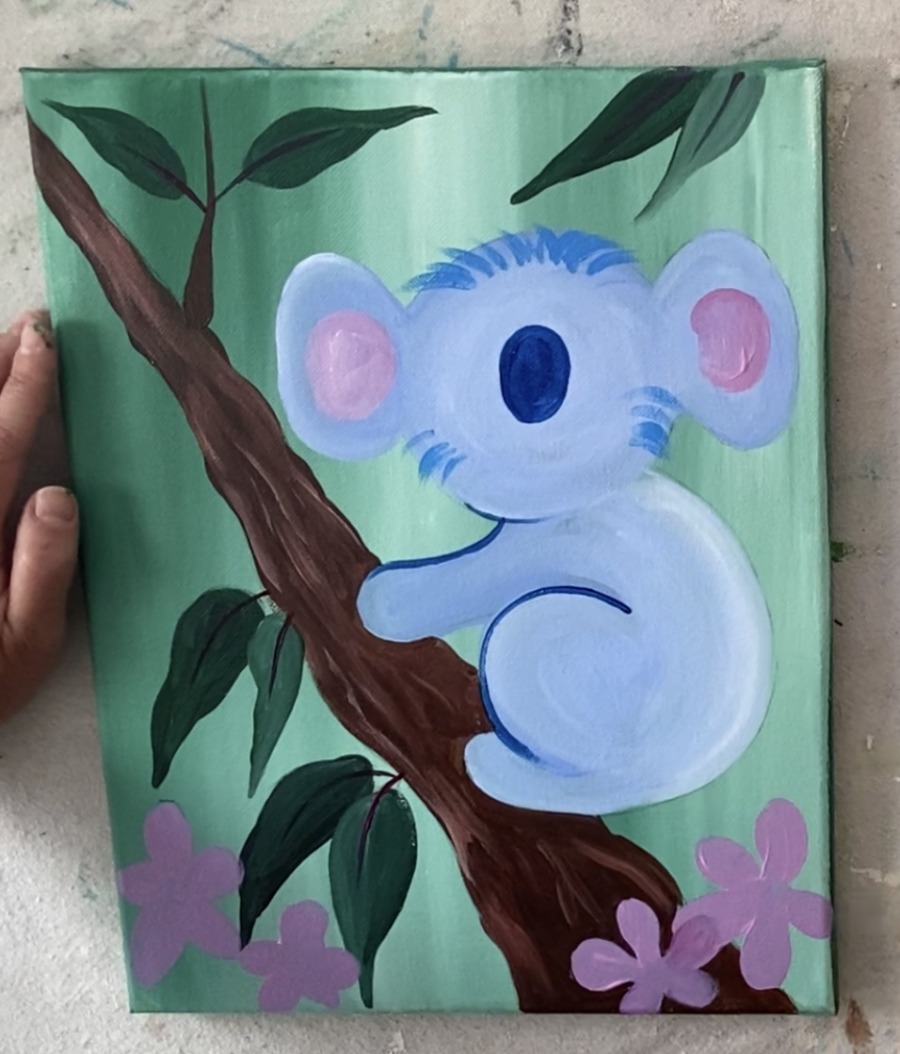
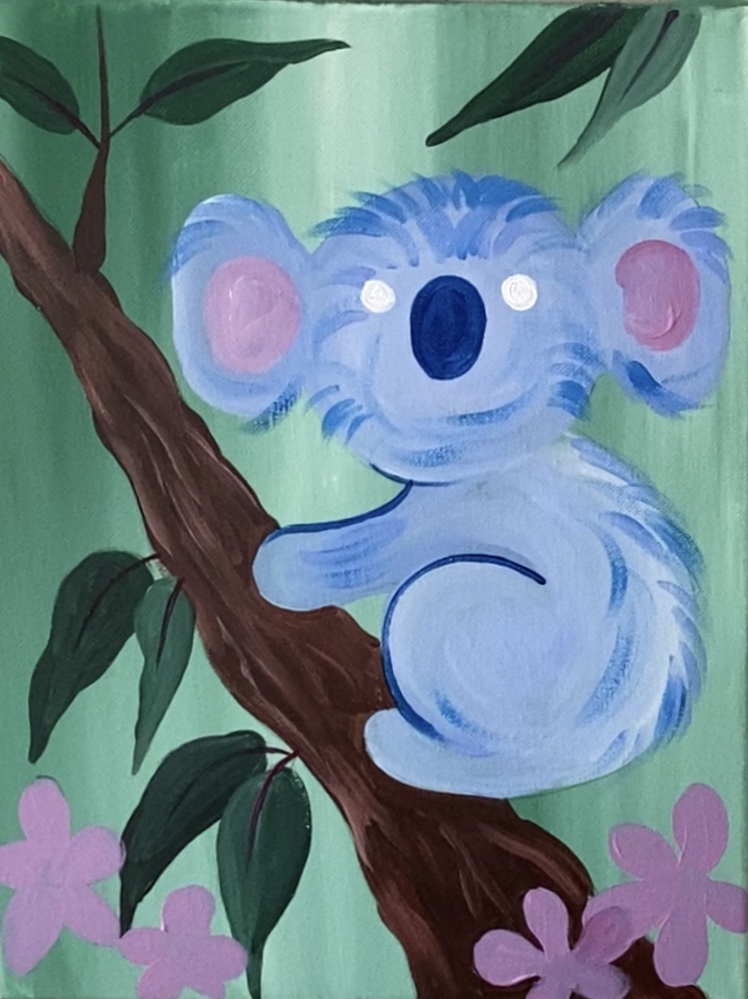
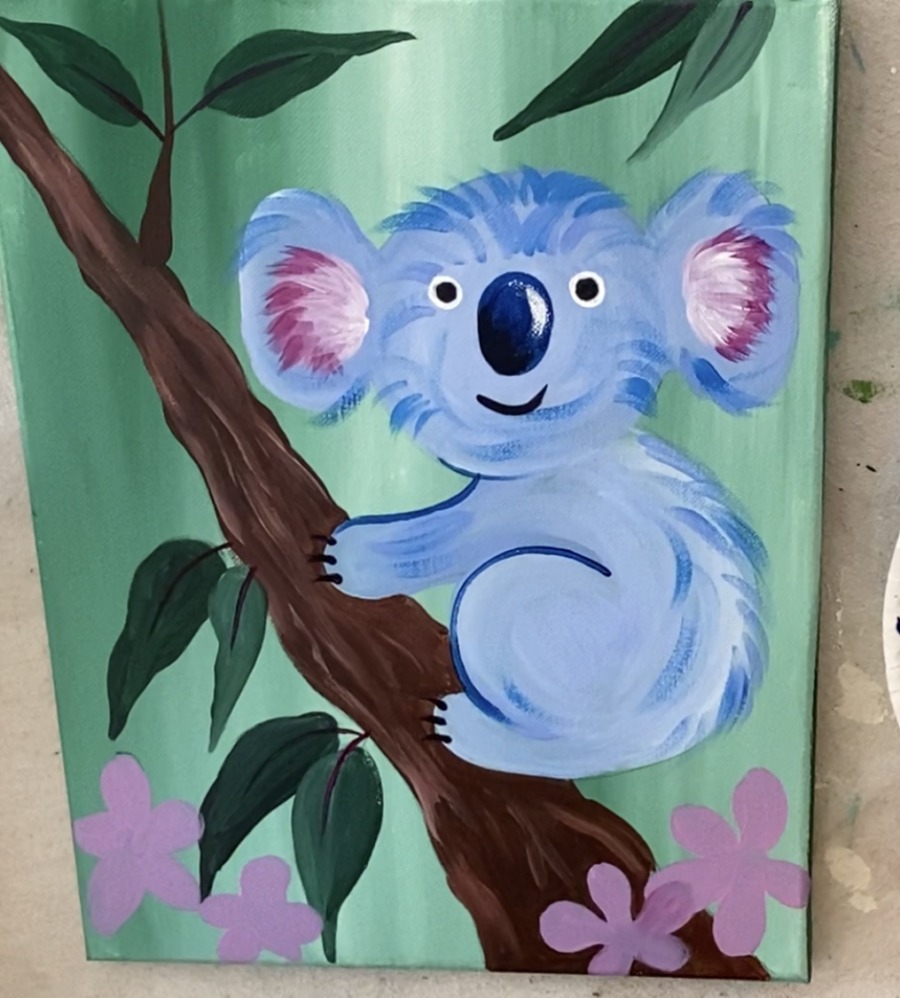
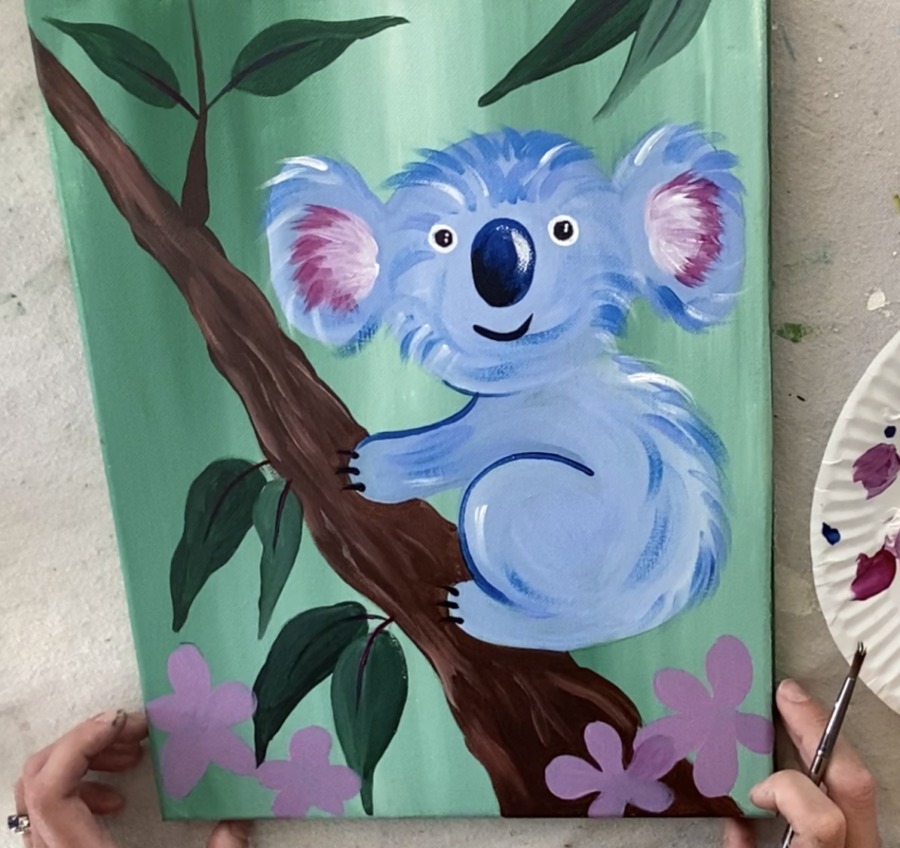
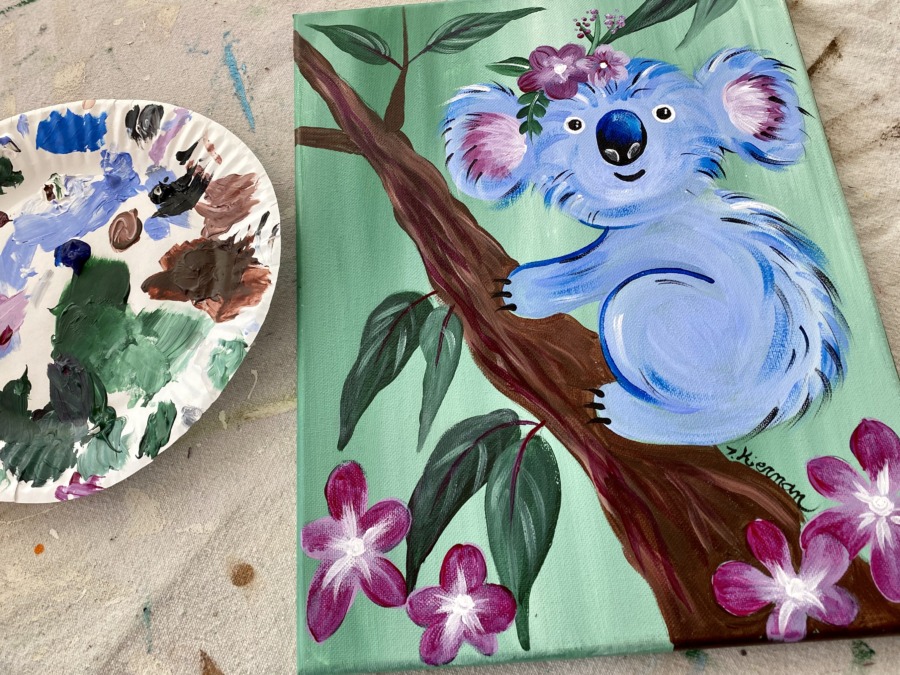
You can also simplify this painting by not doing the flowers on the head. I couldn’t decide which one I liked better!

Enjoy and happy painting!
Materials
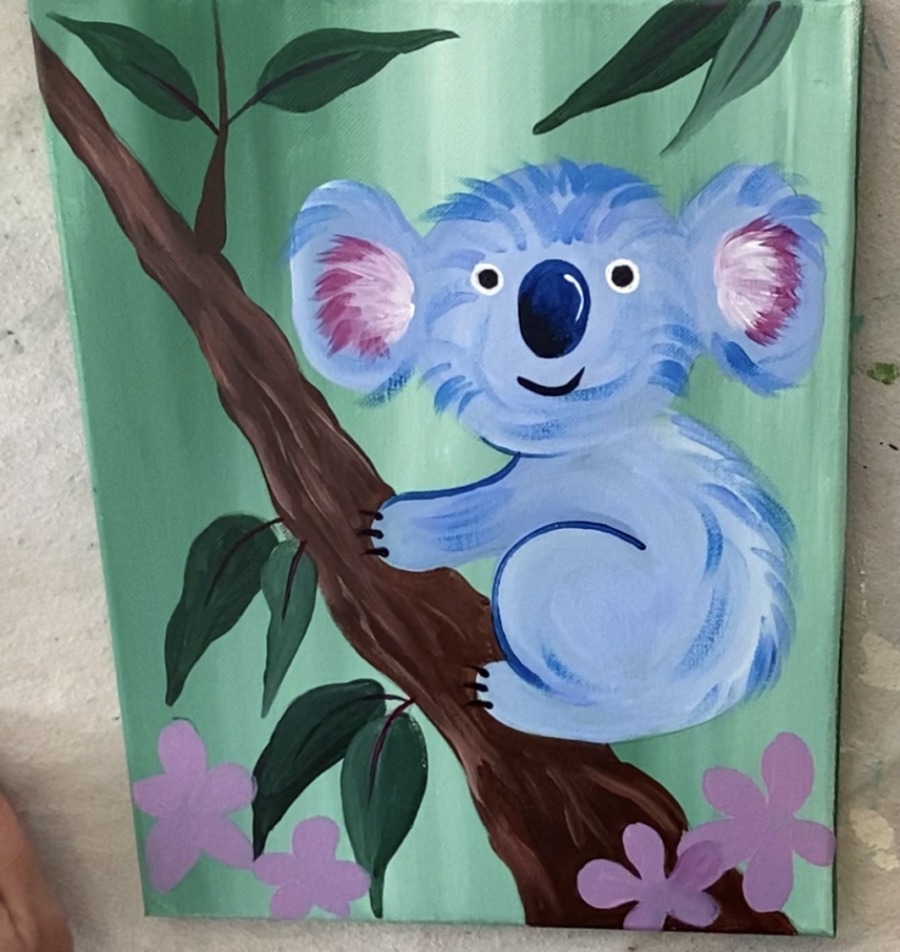
Koala Painting Step By Step
Learn to paint a stylized koala in a tree with blossoms.
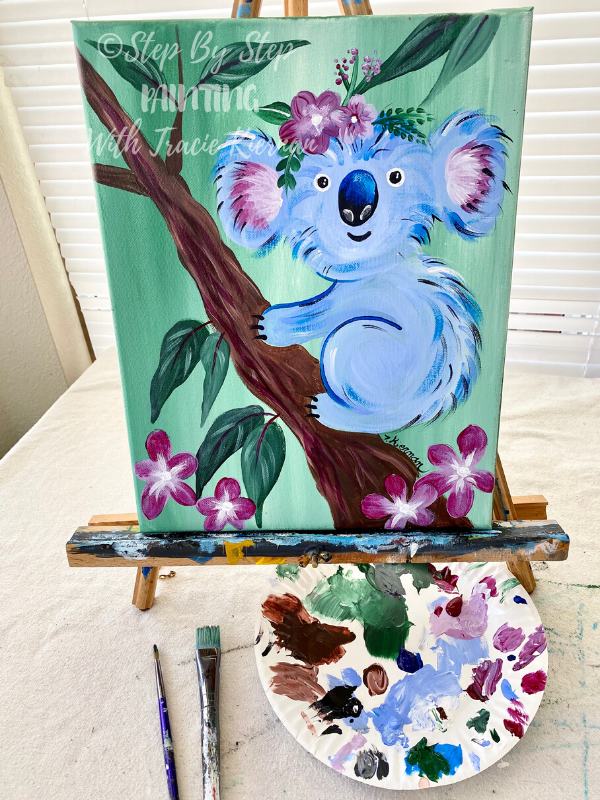
Materials
Colors
- Titanium White
- Mars Black
- Quinacridone Magenta
- Deep Green Permanent
- Burnt Umber
- Light Blue Violet
- Phthalo Blue
Brush Sizes
Color Palette 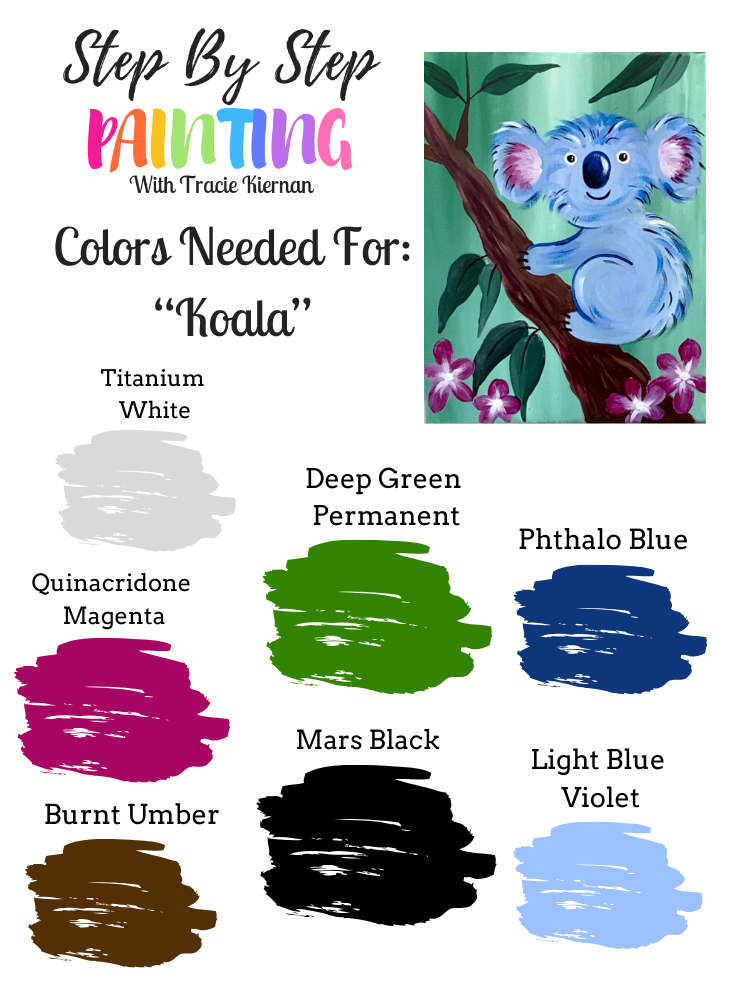

Brushes
I used a 12 bright, a #4 Round and a 3/4” Flat Wash Brush for this painting. You may use brushes of similar size (example: #3 round, 1” wash, etc.).
Craft Paint Suggestions
- Green
- White
- Black
- Magenta or Fuchsia
- *Blue Bonnet (or any blue with a shade of light purple in it)
- Dark Brown
- Dark Blue
*You can also paint the koala a traditional gray!
Traceable

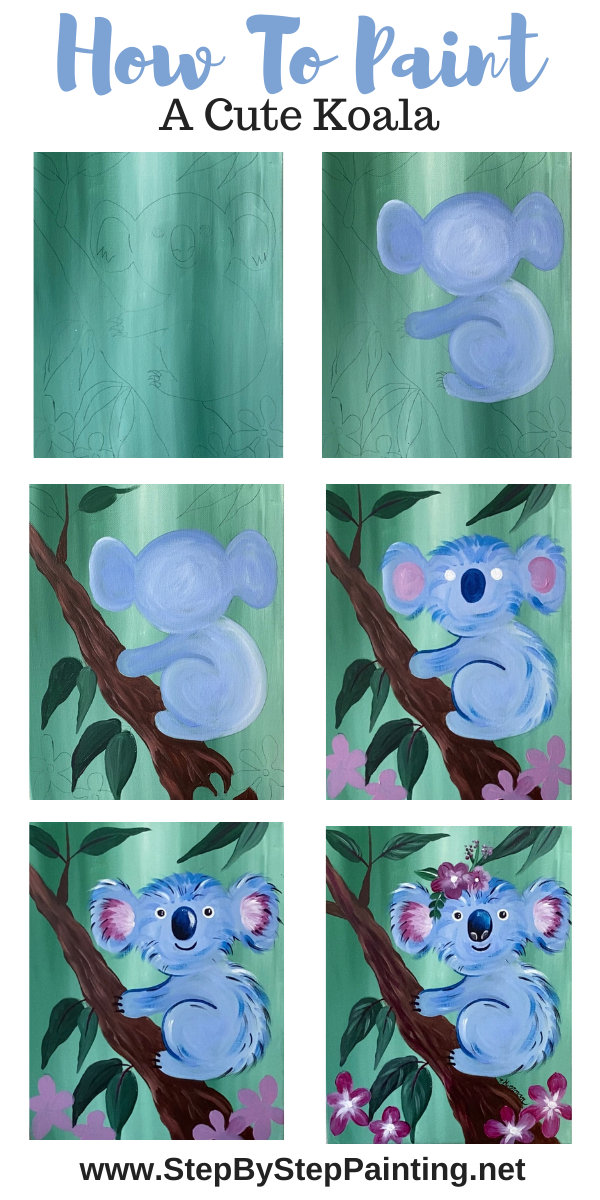
Directions At A Glance
Video
https://youtu.be/o3VE8kknQuQ
Step By Step Instructions
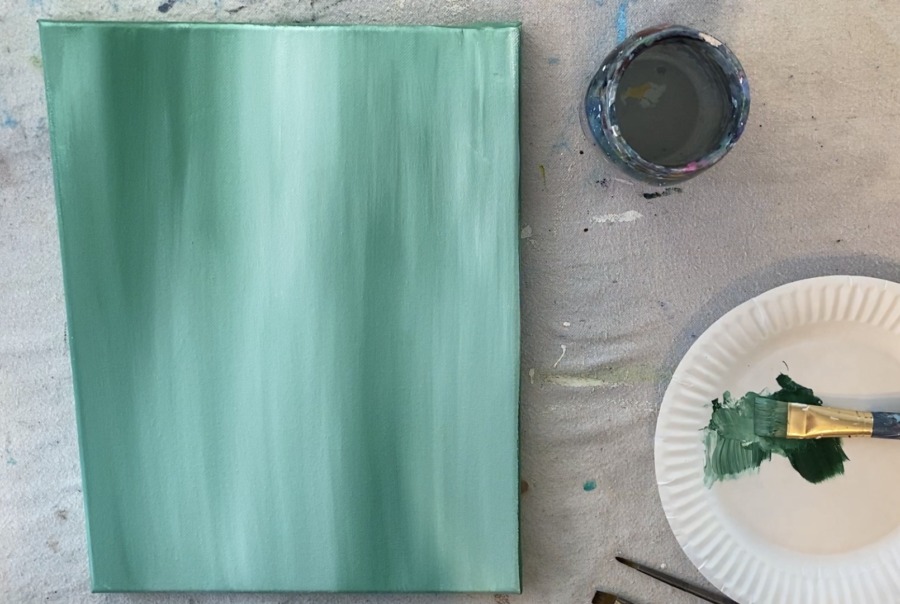
1. Paint the Background
Use a 3/4” wash brush and the colors: deep green permanent and titanium white.
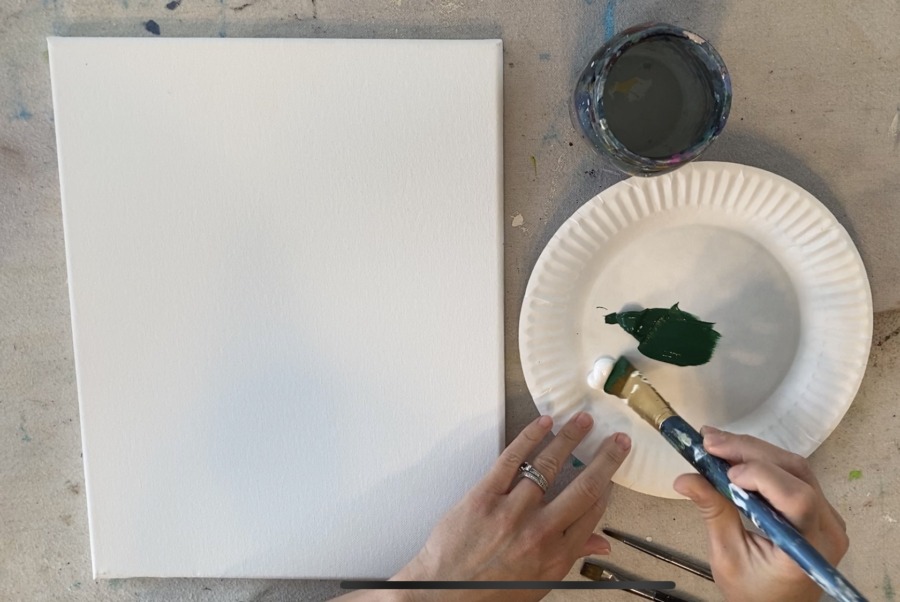
Double load the brush in both colors (about equal amounts) and paint up and down strokes so that the green and white blend together.
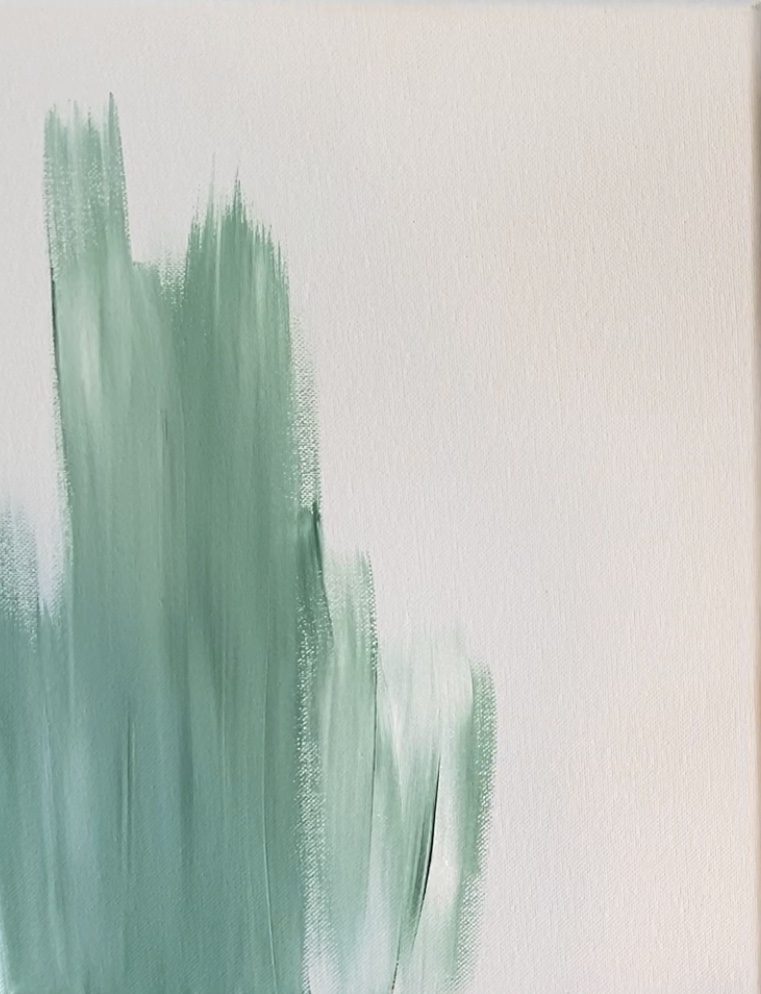
Let the colors blend together for an abstract background but do not blend the colors all the way. Fill the entire canvas with long up and down strokes of this green and white.
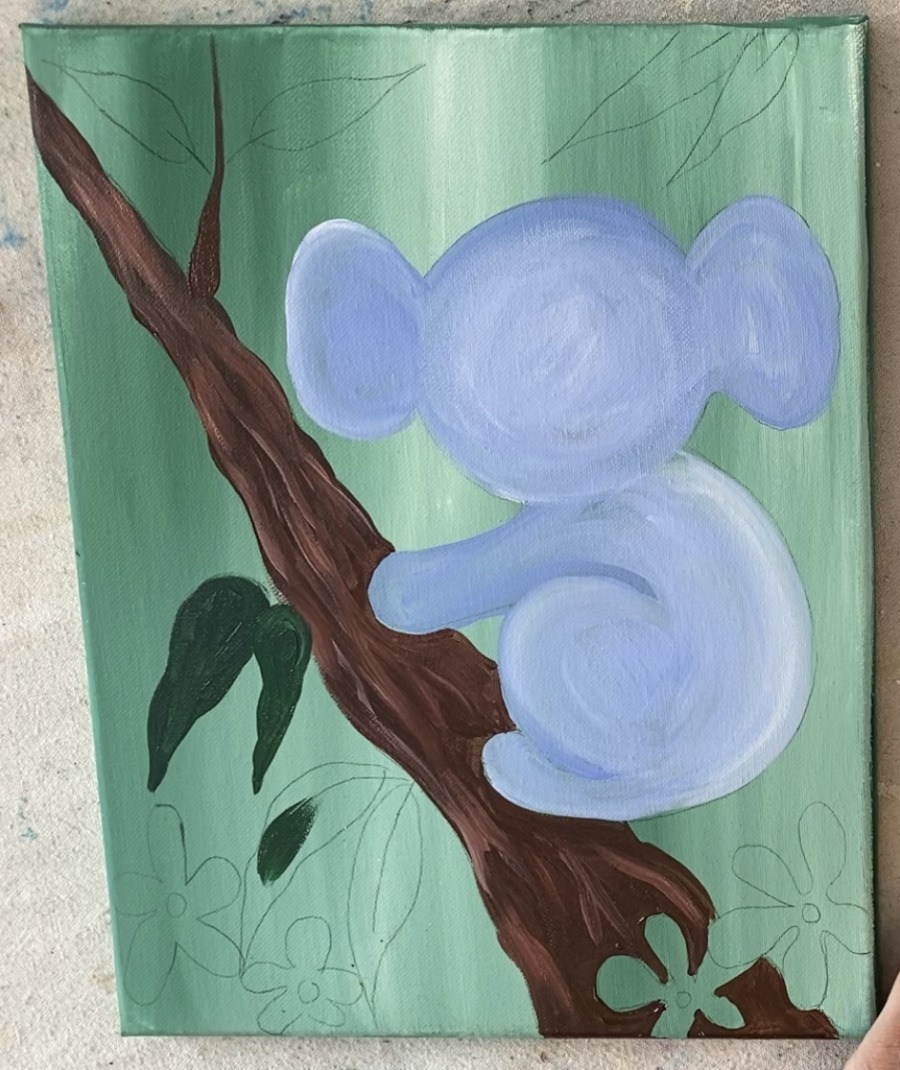
2. Trace the Koala Design On The Canvas
You will need to wait for this to completely dry before doing a transfer!
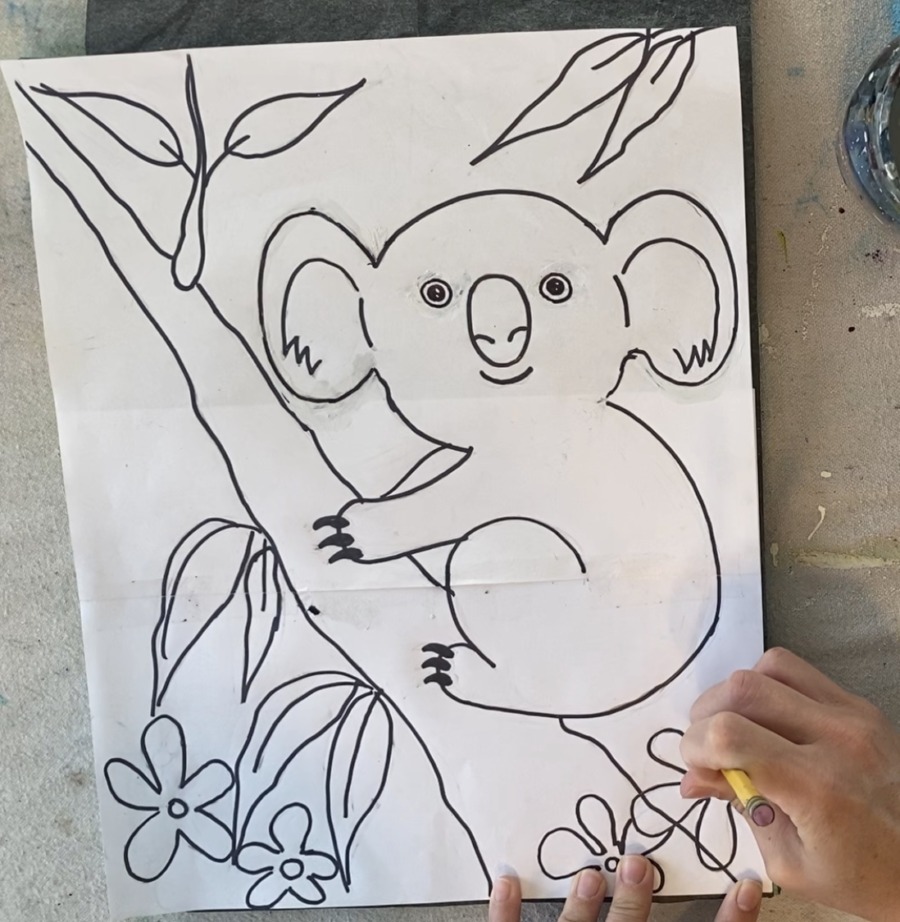
To transfer the traceable, lay a sheet of graphite paper under the koala traceable. Then trace the koala so the design transfers over the green background. Press firm so the design will transfer nice and dark.
Tip: if you’re working with your child, you can outline the graphite lines with sharpie or black paint pen to help them see the design better.

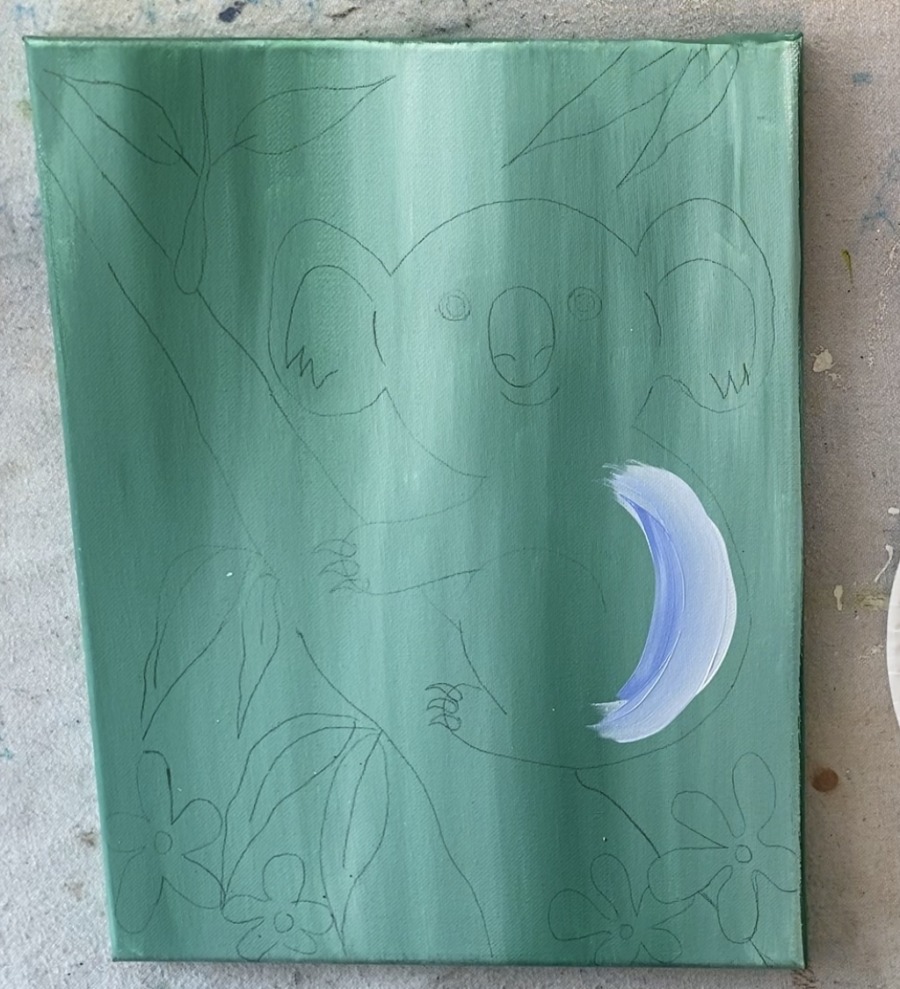
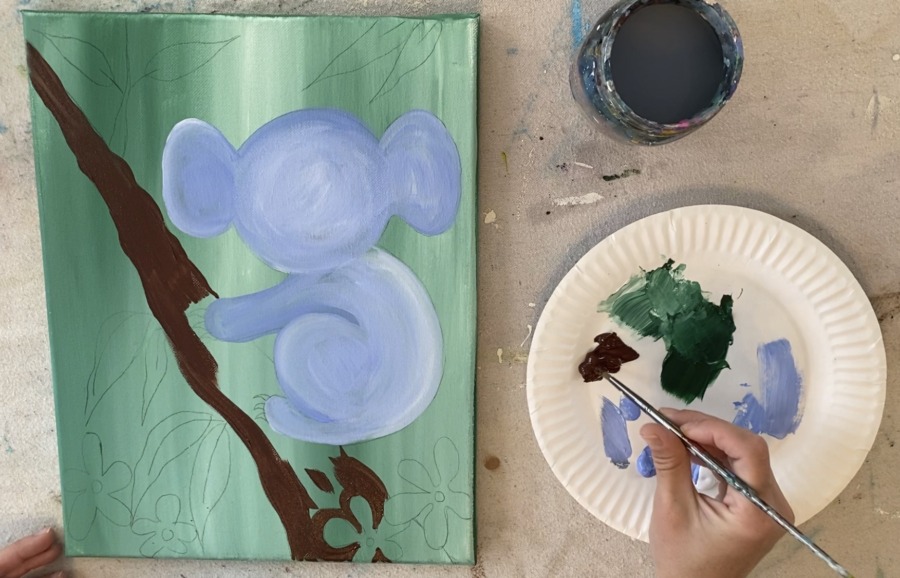
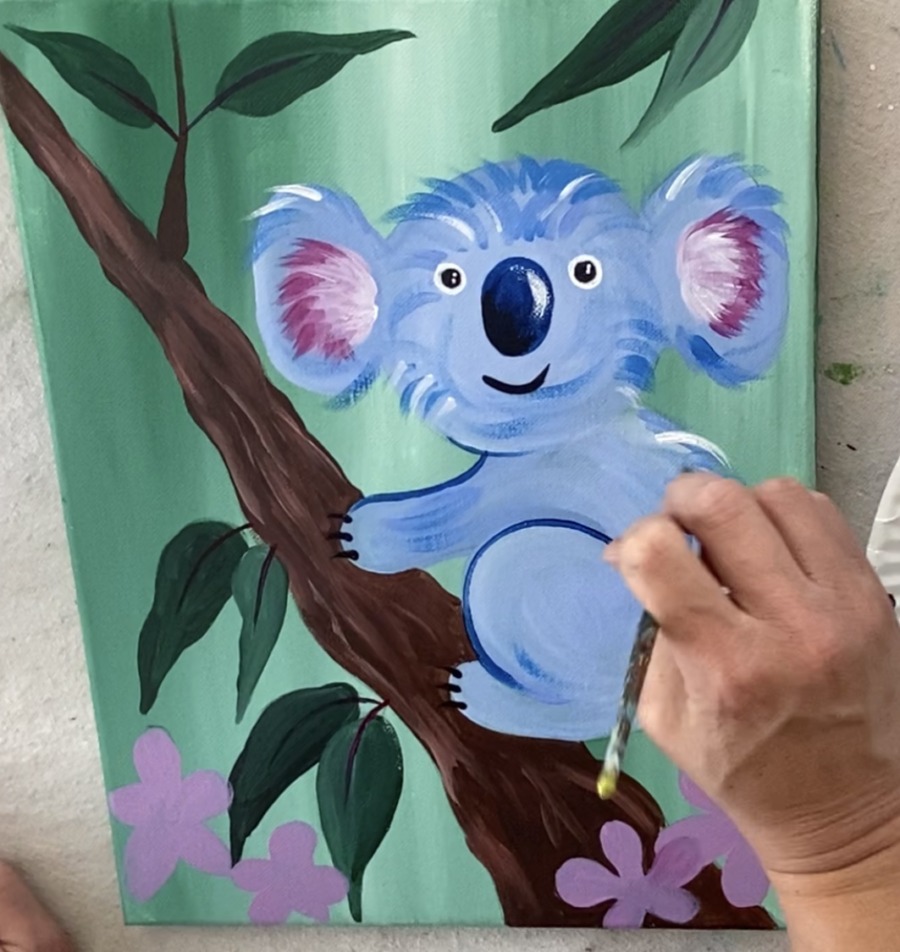
3. Paint the base of the Koala
The color of the base of this koala is light blue violet and titanium white. Double load your 12 bright brush in both those colors (about equal amounts). 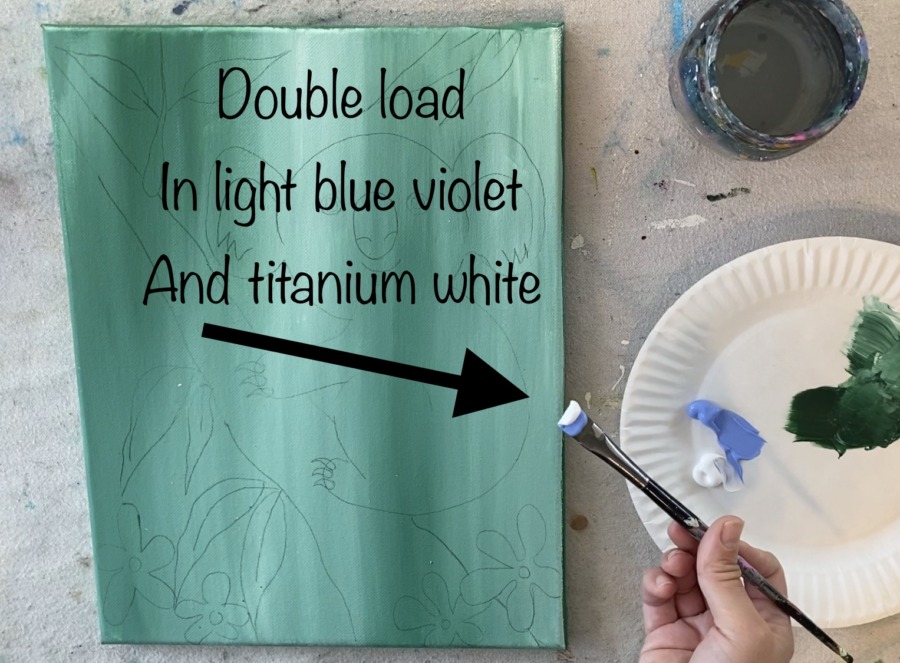
Then paint the shape of the koala. When you paint, your strokes need to go in the direction of the shape. I started with the back and painted a curved direction.
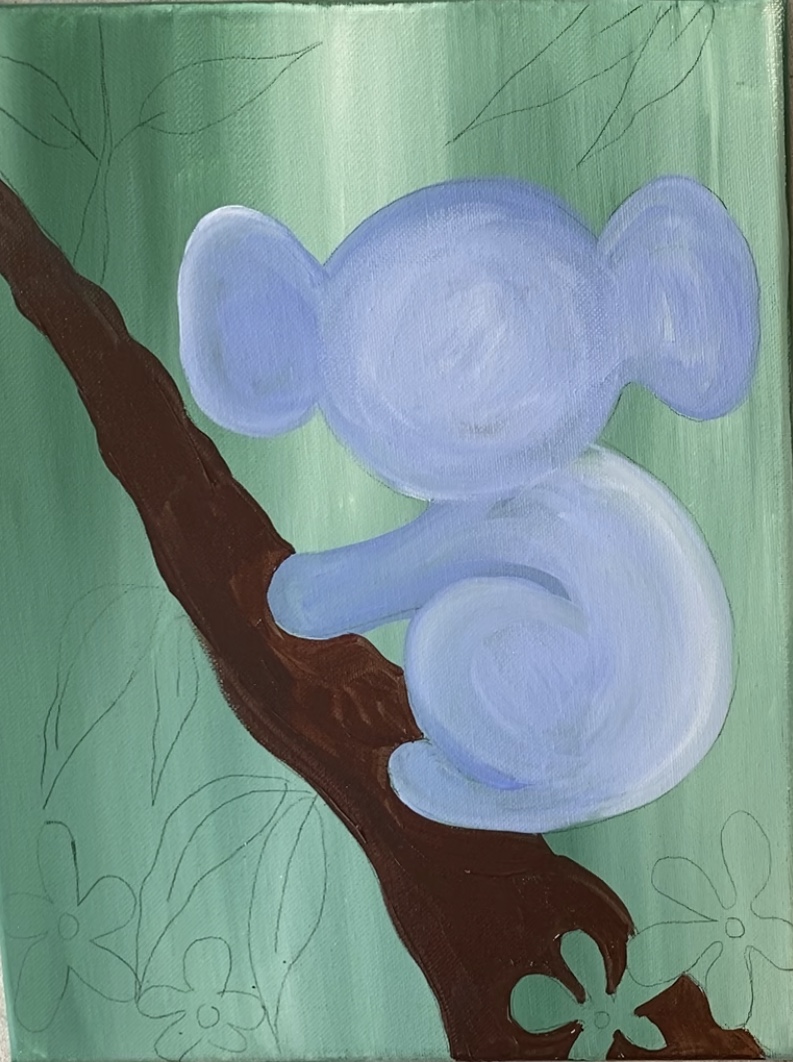
As you paint, let that violet color blend with the white on the canvas to create different variations of lights and darks.
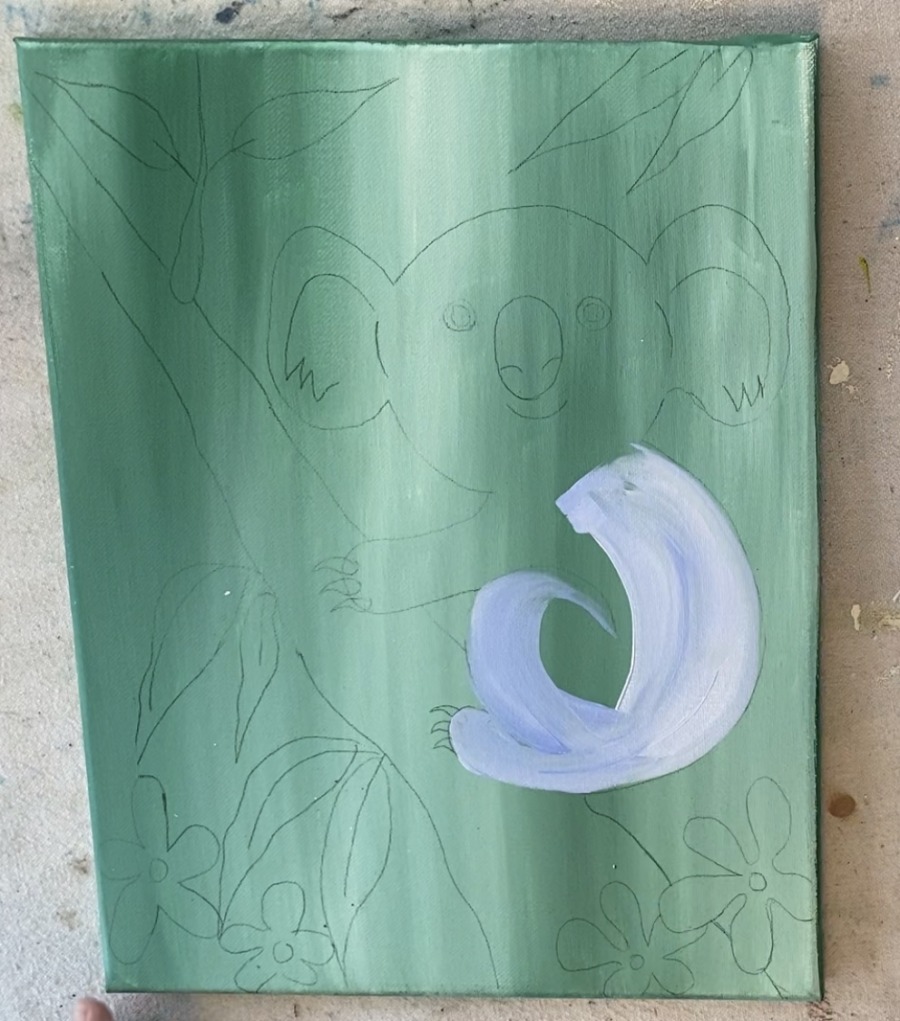
For example, the arm is slightly darker. The curve on the bottom leg is also slightly darker. This helps the shape stand out.
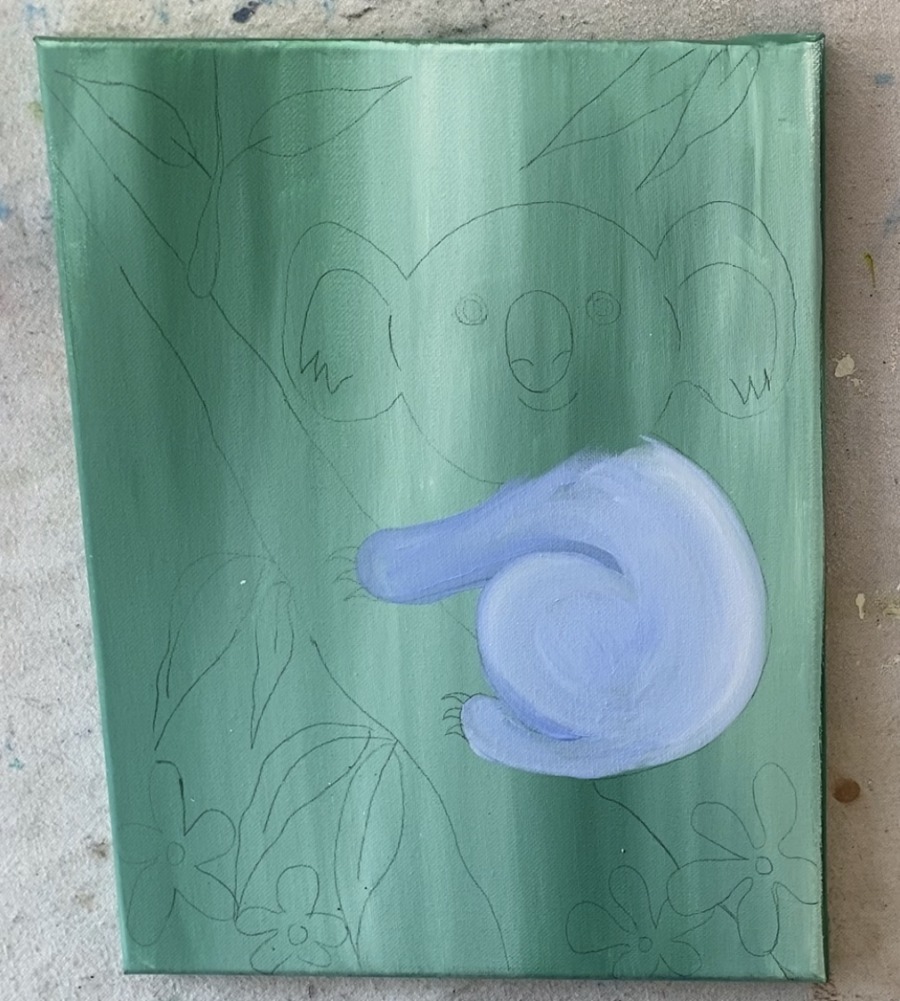
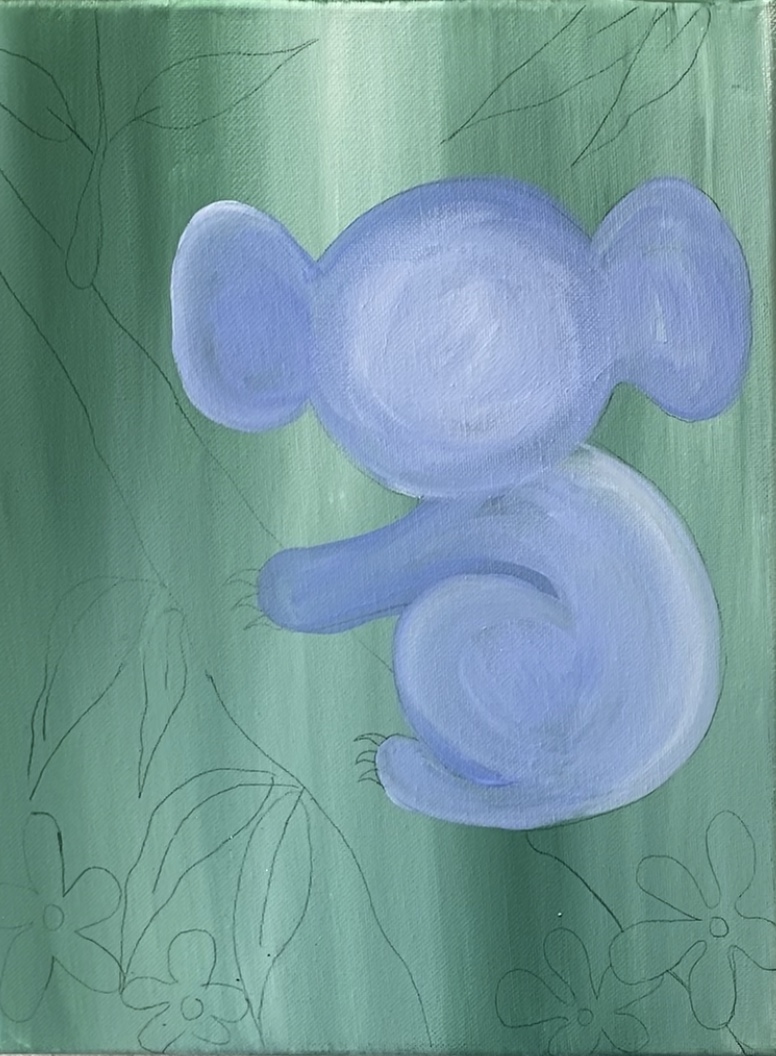
Paint the entire Koala including the face and the ears. The different variations of the color are done simply by adjusting the amount of white or light blue violet you have on the brush.
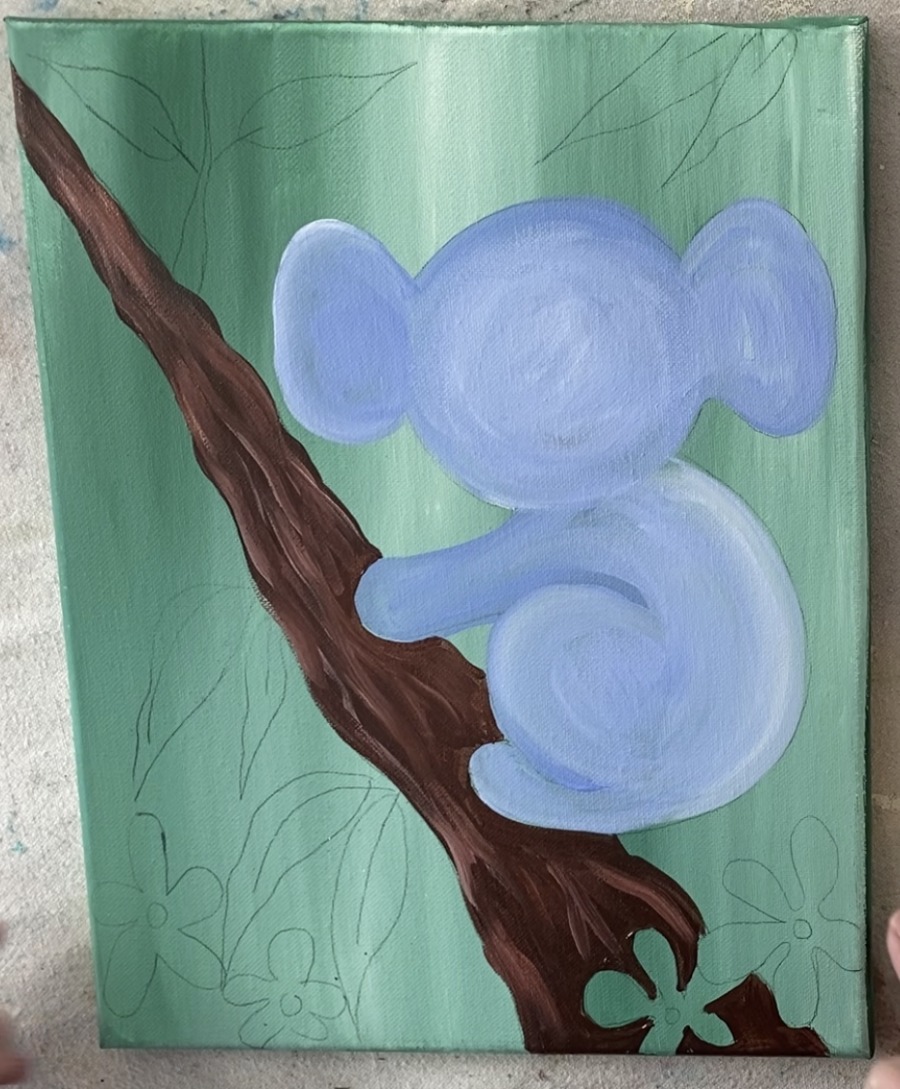
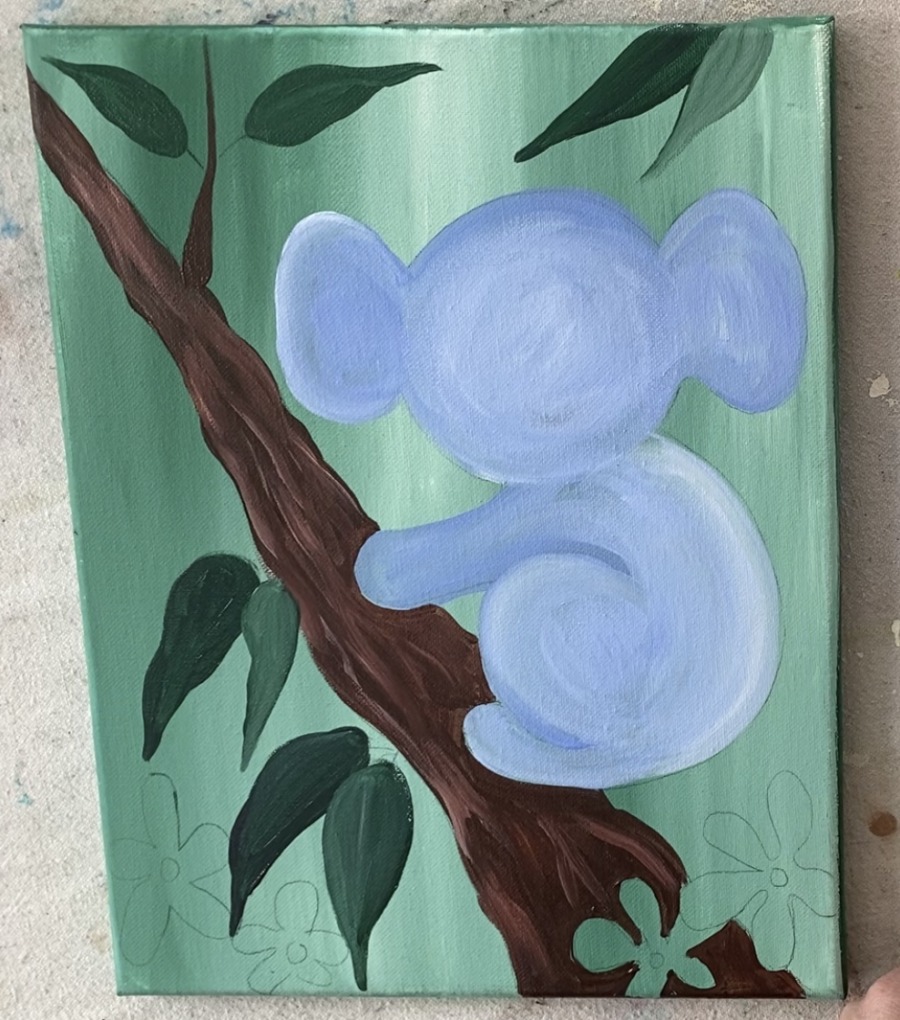
4. Paint the tree trunk
Next switch to a #4 round brush and load your palette with burnt umber. Paint the tree trunk a solid coat of this dark brown. If you need to use the 12 bright brush to paint the larger areas of the trunk, you can do so.
I chose to paint around the one flower, however, you can paint over them if you’d like.
Then add some texture to your tree branch! Do this by mixing titanium white with brown (about equal amounts).
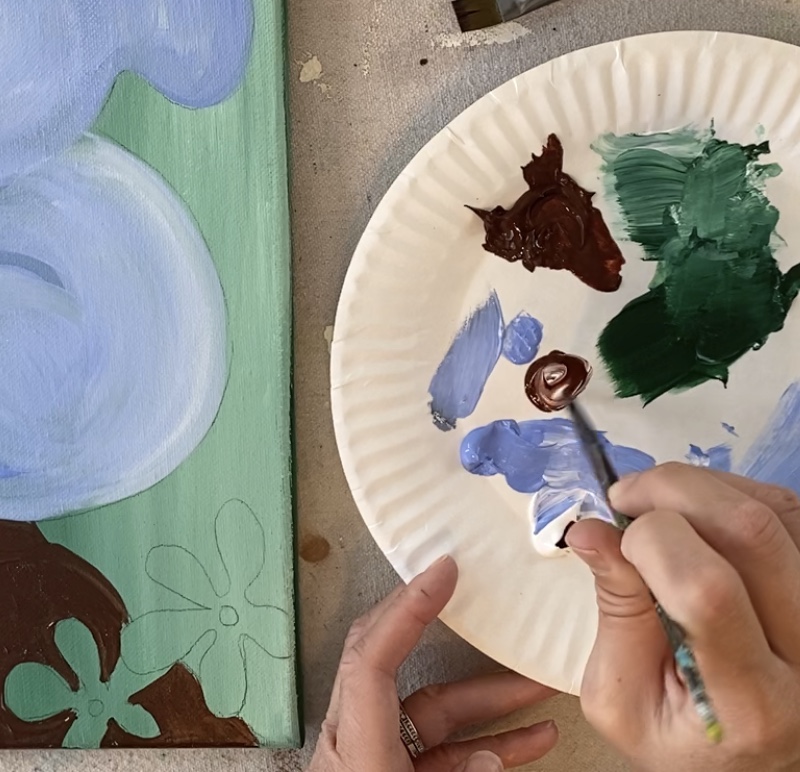
Then use your round brush to paint long sort of wavy lines to create texture.
5. Paint the leaves
For the leaves, I mixed the to colors: quinacridone magenta and deep green permanent. This will make a deeper color of green.

Then use your round brush to paint the leaves. For “color variation” in the leaves, you can load your brush in different amounts of the darker green and some of the deep green permanent.
You can even add a bit of titanium white into the leaves to give them that “gray-green” hue.
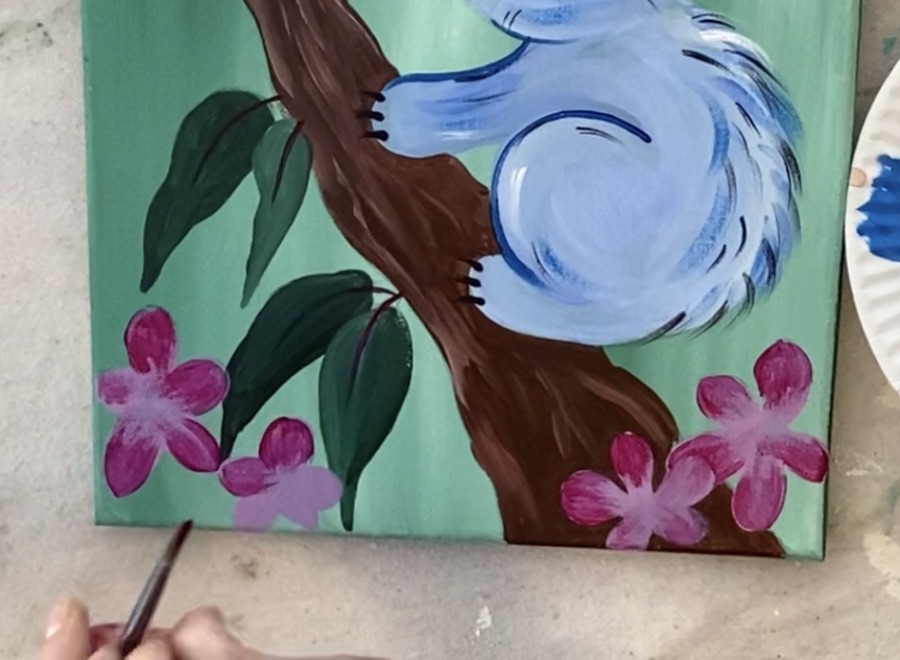
6. Paint the Base of the Flowers
The flowers were first painted a base layer of light pink. To make the light pink color, mix quinacridone magenta with titanium white. 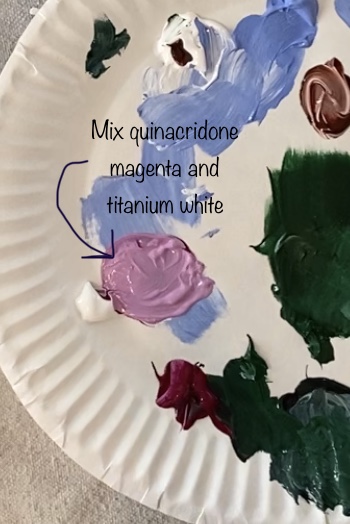
Use your round brush to paint the flowers with this light pink color.
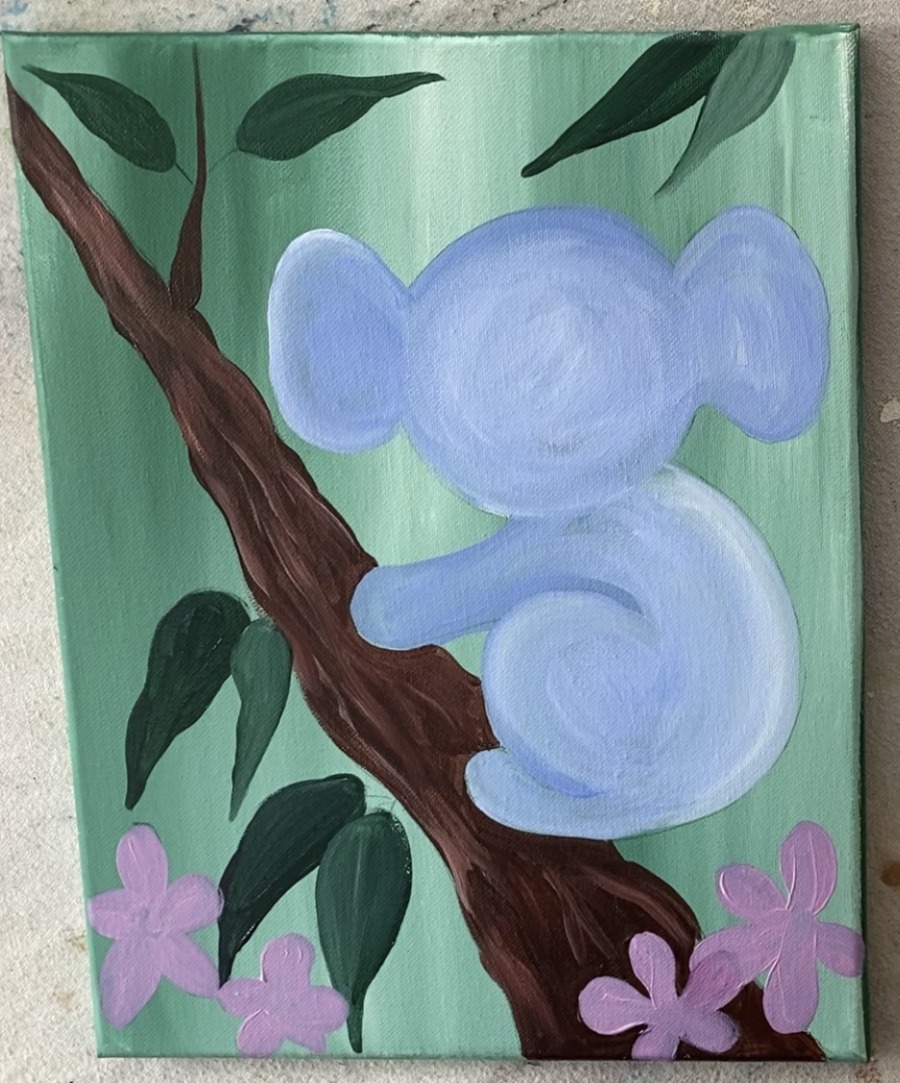
Then paint the middle line of all the leaves with just Quinacridone magenta. To do this, I used the tip of the 12 bright brush to get that thin line. If you prefer, you can also do this with the round brush. 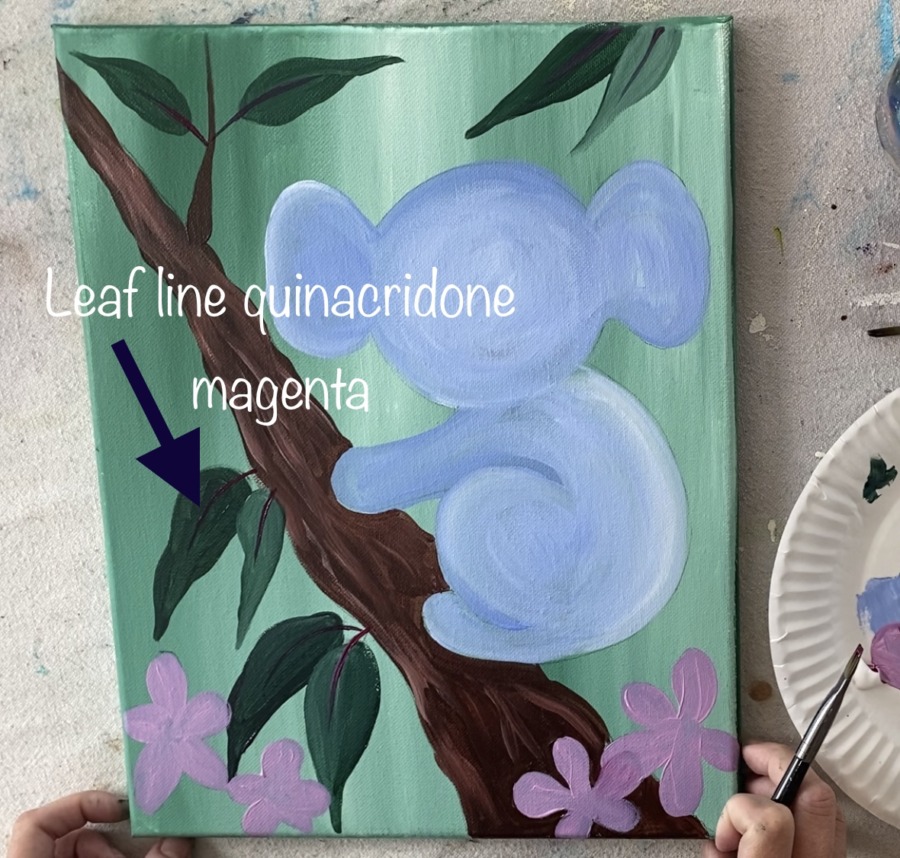
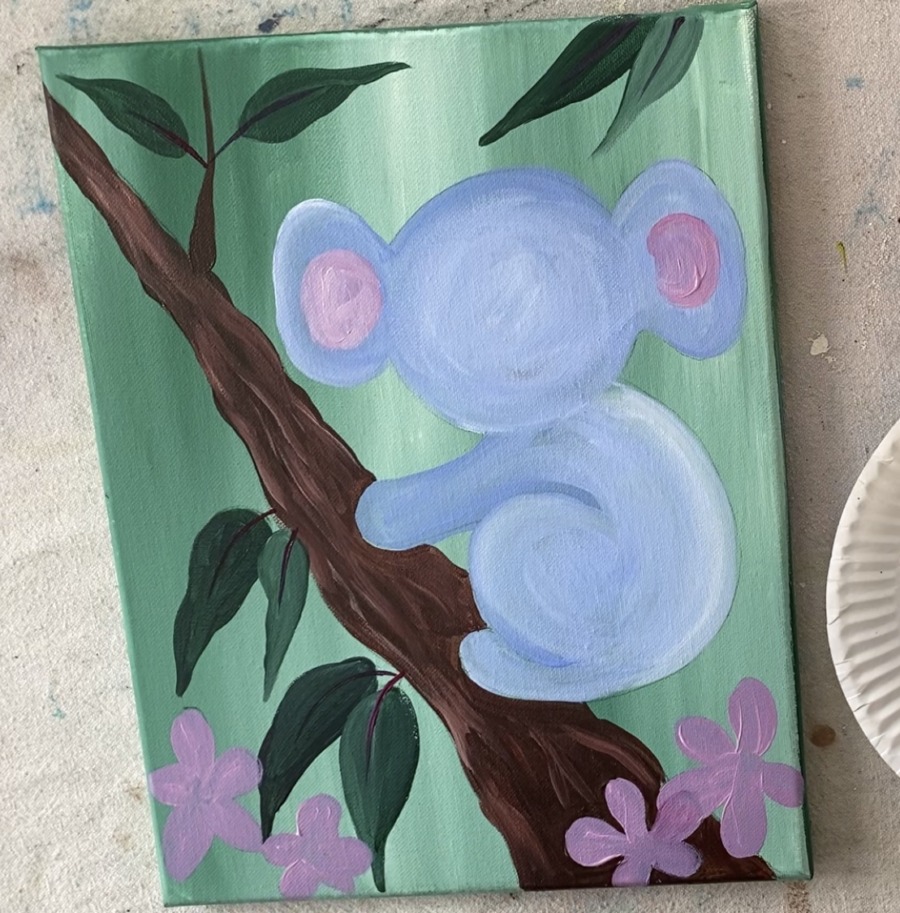
7. Paint the inside of the Koala’s ears
Next I used that same light pink shade that I used in the flowers. I used the 4 round brush and painted the inside of the koala’s ears. This is kind of a half circle on its side shape.
8. Paint the nose
Then paint the nose phthalo blue. 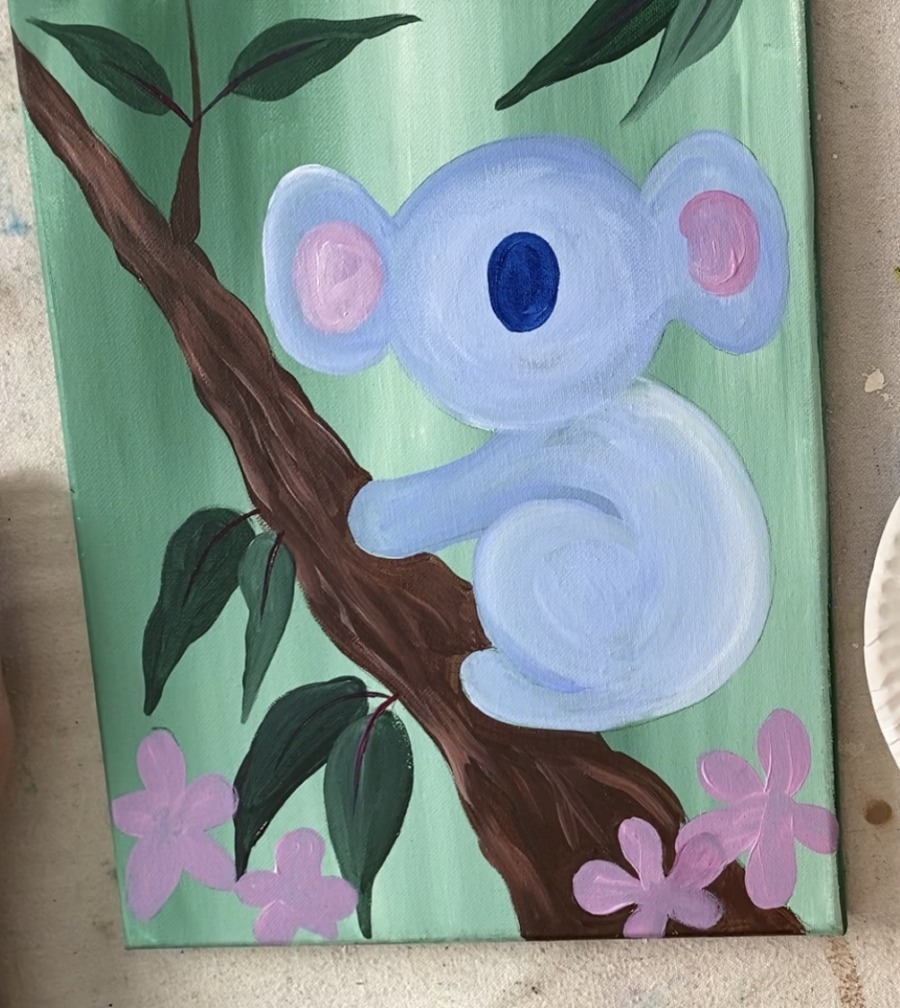
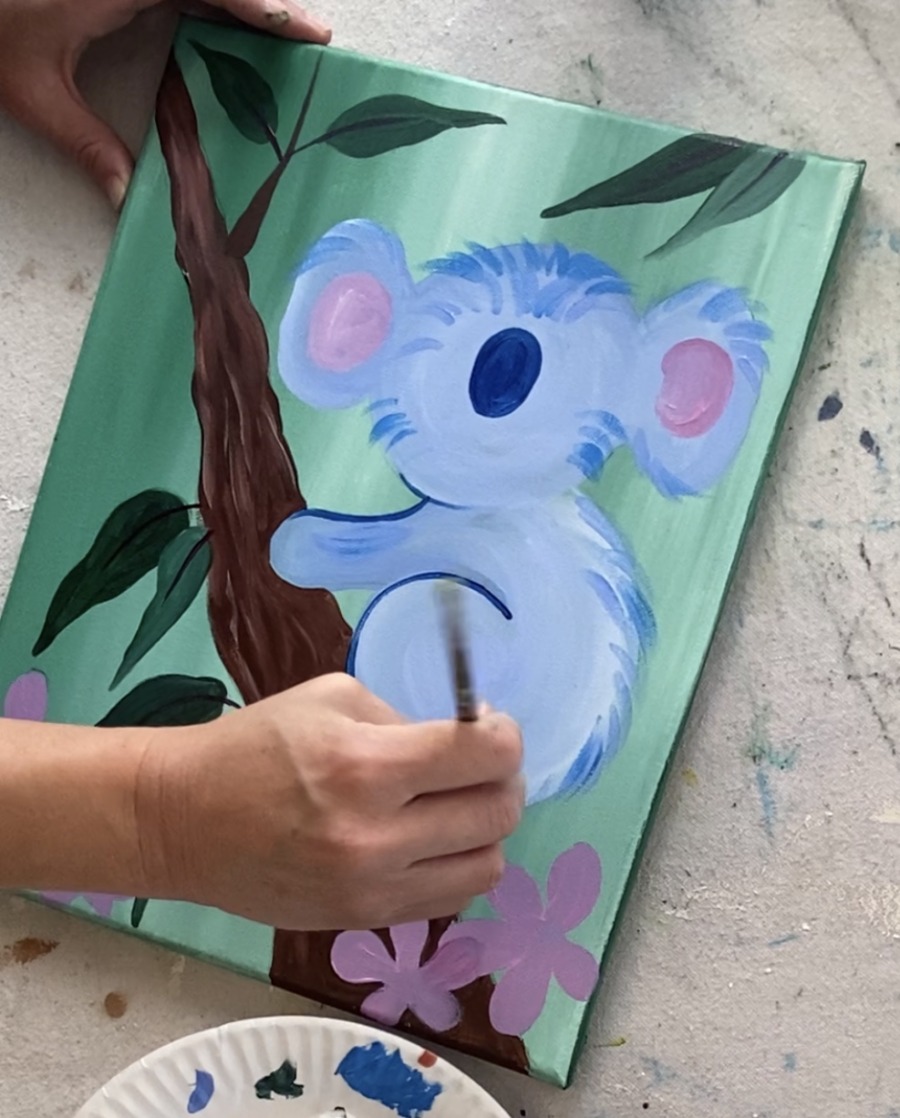
9. Loosely outline some areas with blue
I did not outline the entire koala, just parts of it. I outlined the round part of the leg, just under the head and the top part of the arm. 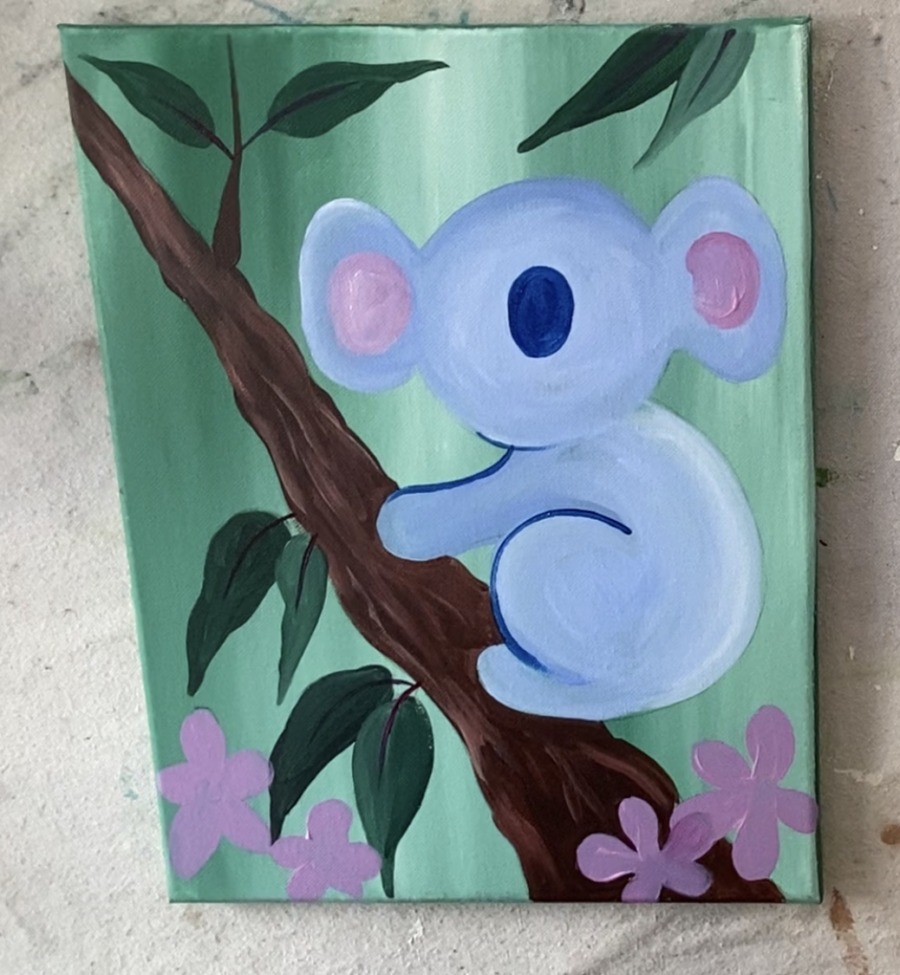
10. Paint fur
For the fur, I mixed a little white with the phthalo blue to lighten it. Then I used the 4 round brush to paint some fur texture on the top of the head and the sides of the head.
I also did this on the ears.
And on the back. The direction of the fur strokes should go in the direction of the shape. Do this very lightly, almost dry brush style!
Then I added a bit more fur on the arms, a little on the rounded leg and a little on the bottom part of the face. 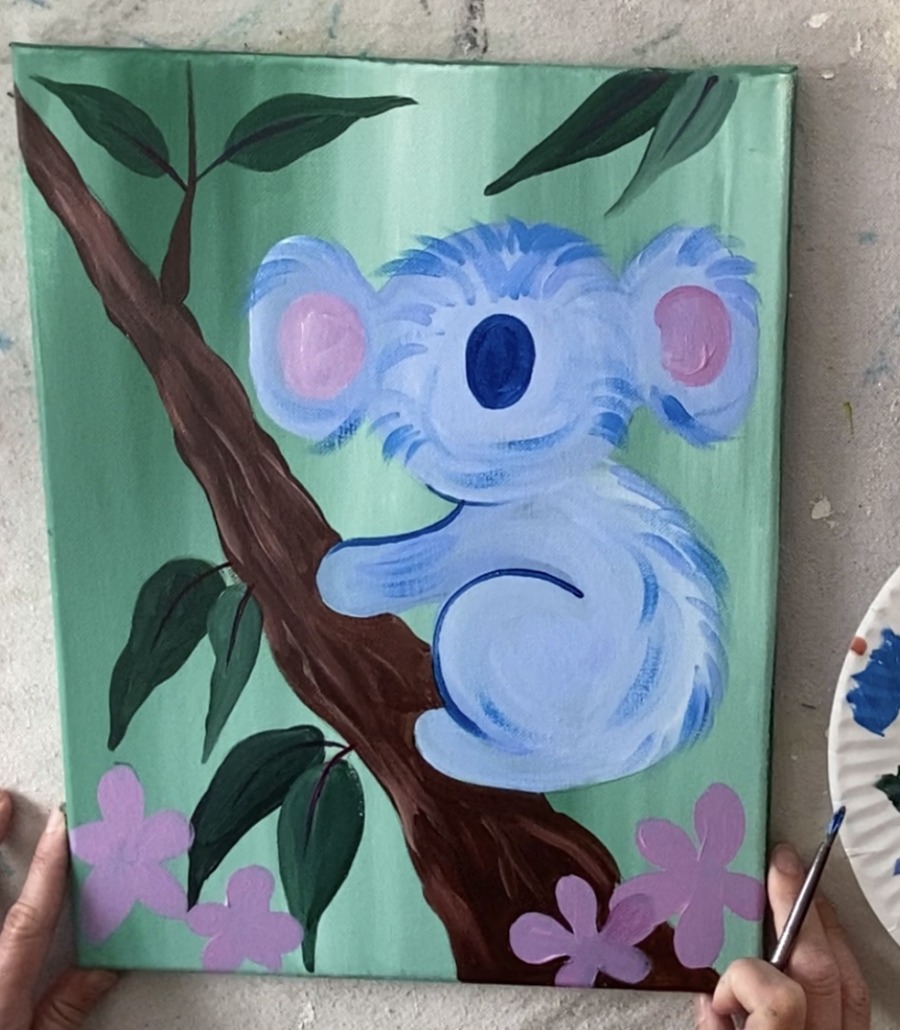
11. Paint base of eyes
Use your 4 round brush and titanium white to paint the circle eyes white. You’ll need to wait for that white to dry before painting the black part.
12. Paint fur on inside of ear
Then paint fur texture inside the ears. Use a darker pink color by mixing quinacridone magenta with only a little bit of white. Paint this on the outer part of the ear overlapping the light pink layer. Do your strokes so they go outwards in the direction of the ear. 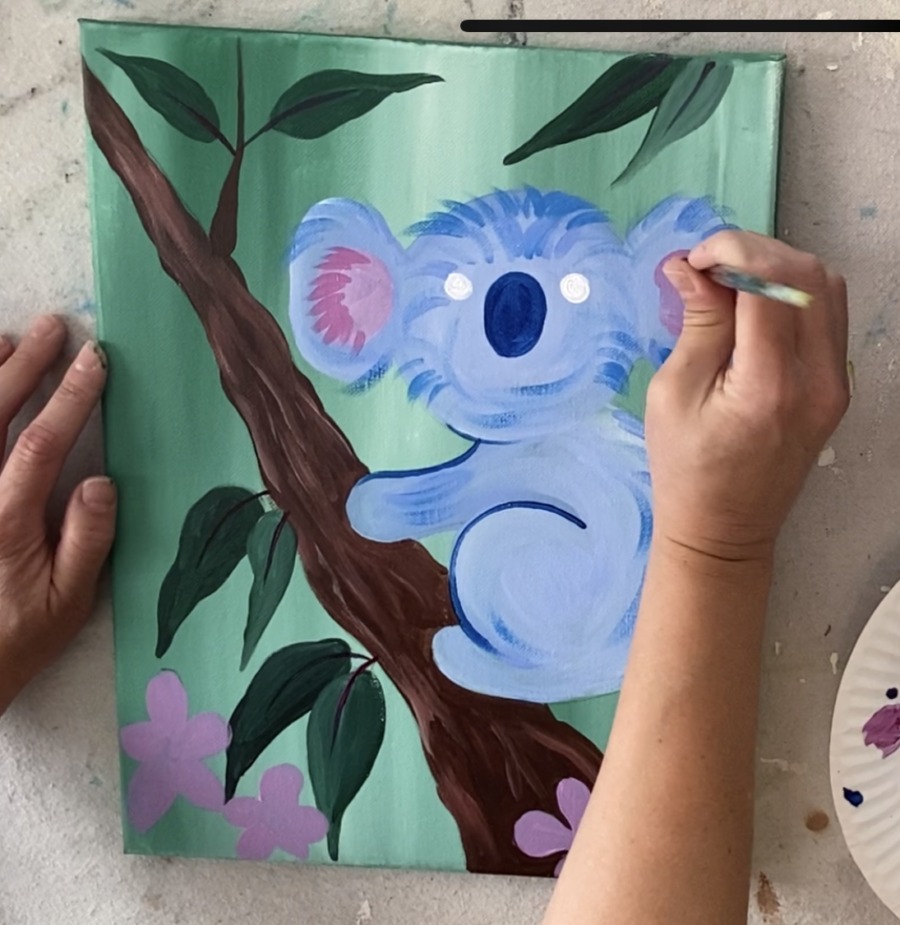
Then rinse brush and add titanium white. Paint more fur texture inside the ear but do so at the bottom inside of it so it slightly overlaps the pink (there should be some light pink still showing through).
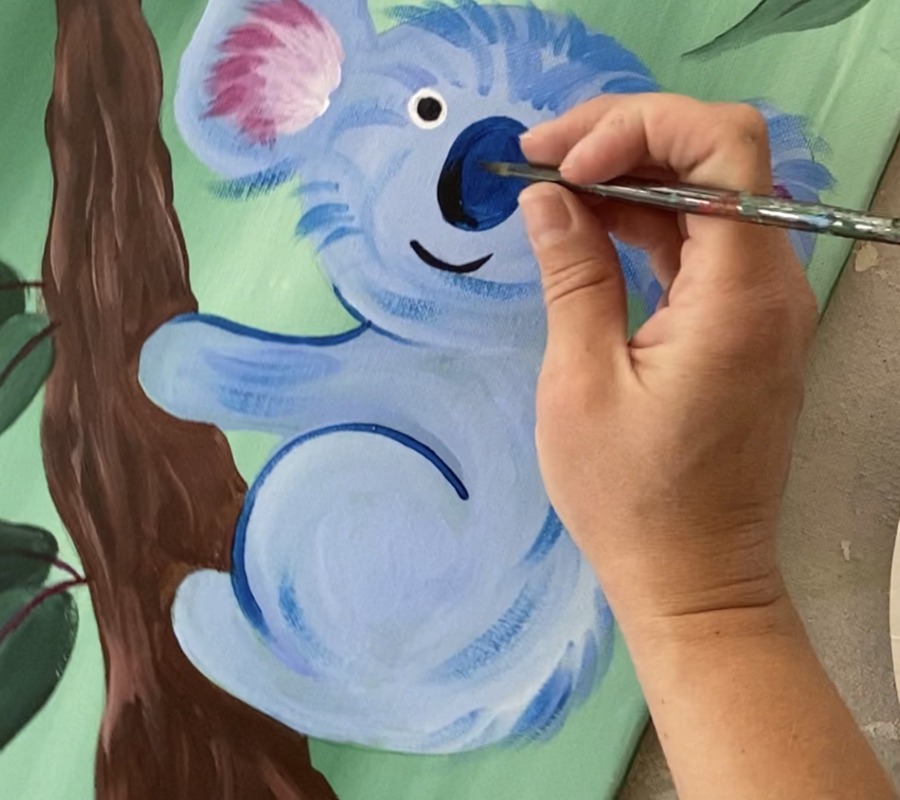
13. Paint black part of eyes & paint mouth
Using your 4 round brush, paint black circles inside the eyes. Then paint the mouth.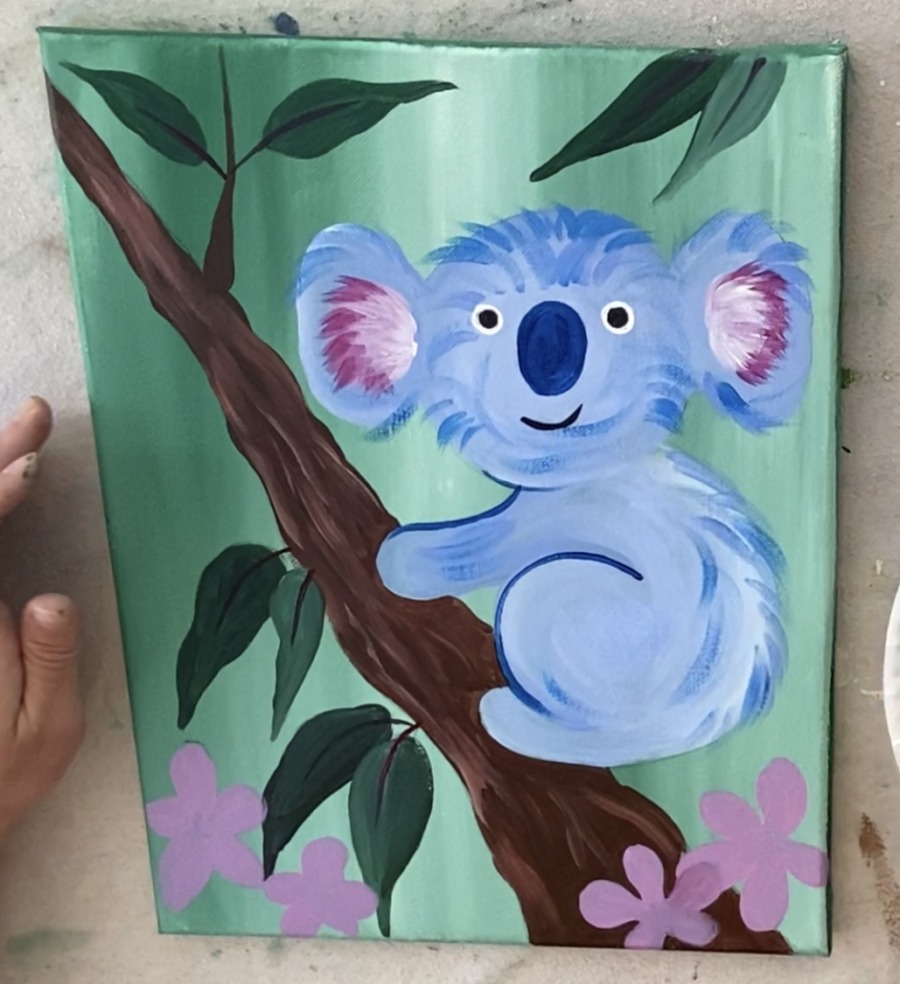
14. Add dark and light to the nose & paint claws
Next I did black on the bottom left part of the nose then used my finger to smear/blend it back into the blue.
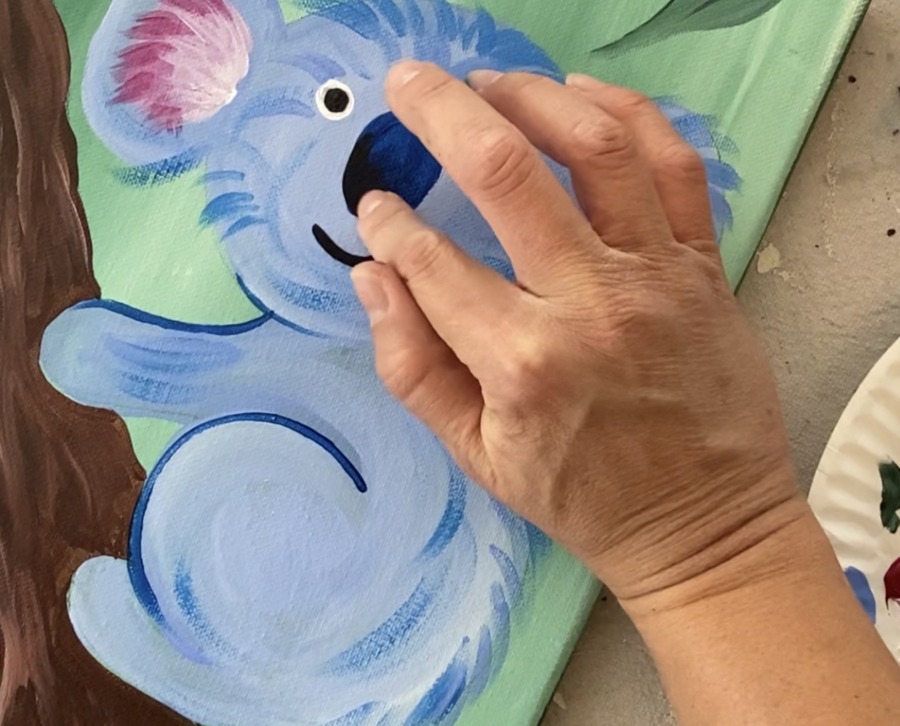
Then I did a thin white line in the upper right area of the nose and used my finger to smear that too.
To do the claws, use the very tip of your round brush to get a somewhat thicker stroke that goes to a very thin stroke (the tip of the claw). This is just like a “comma stroke!”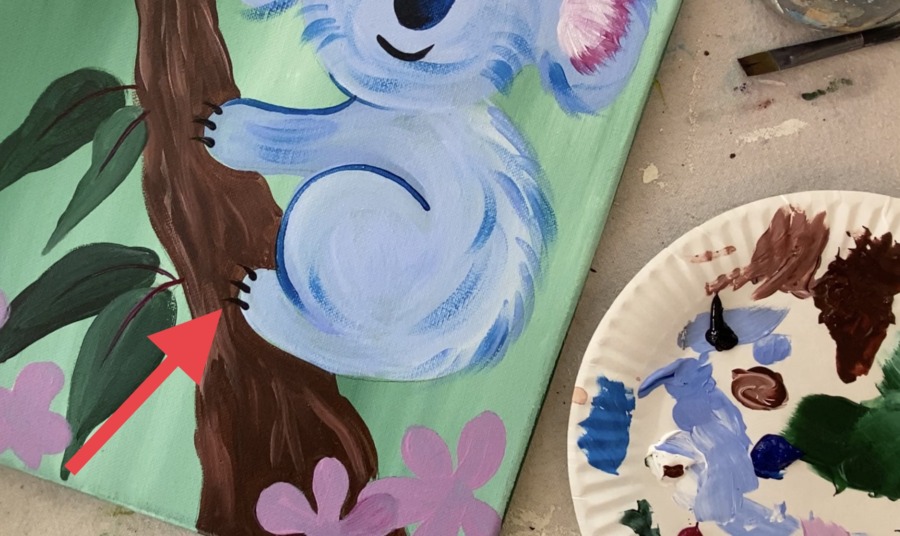
15. Do the highlight inside the eyes
Use your 4 round brush to paint two tiny white dots inside the black part of the eye as the highlight. 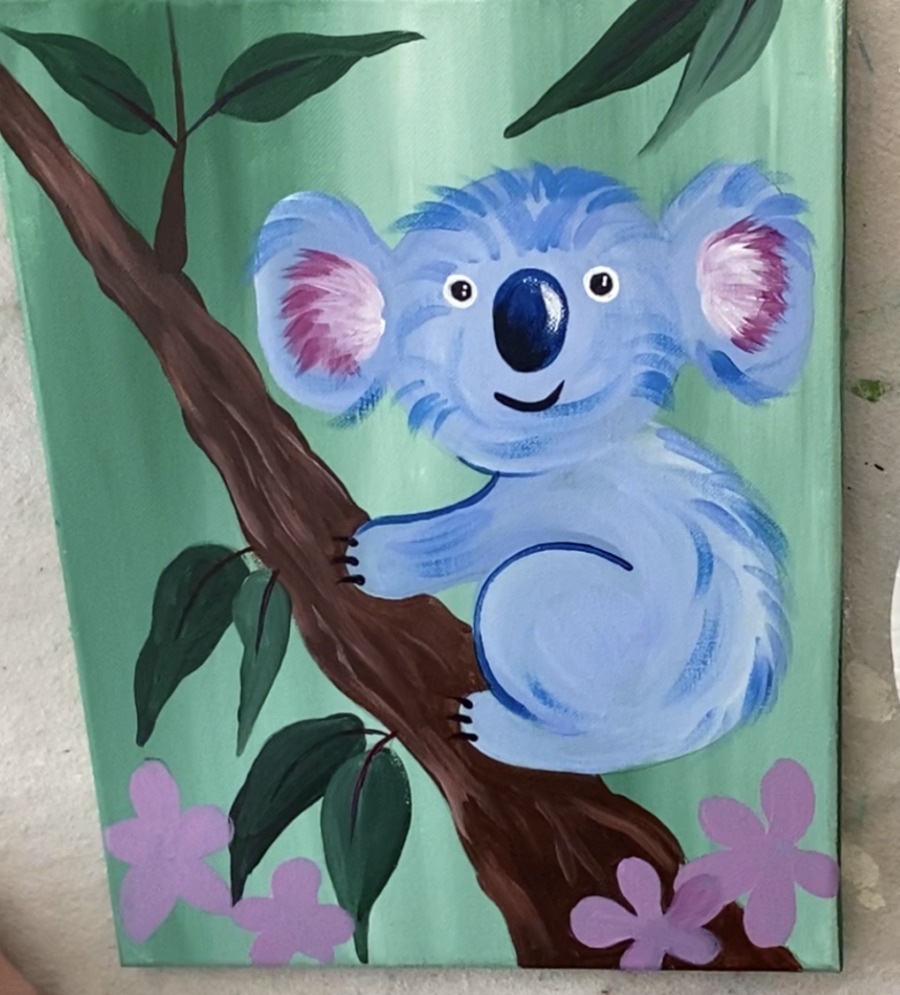
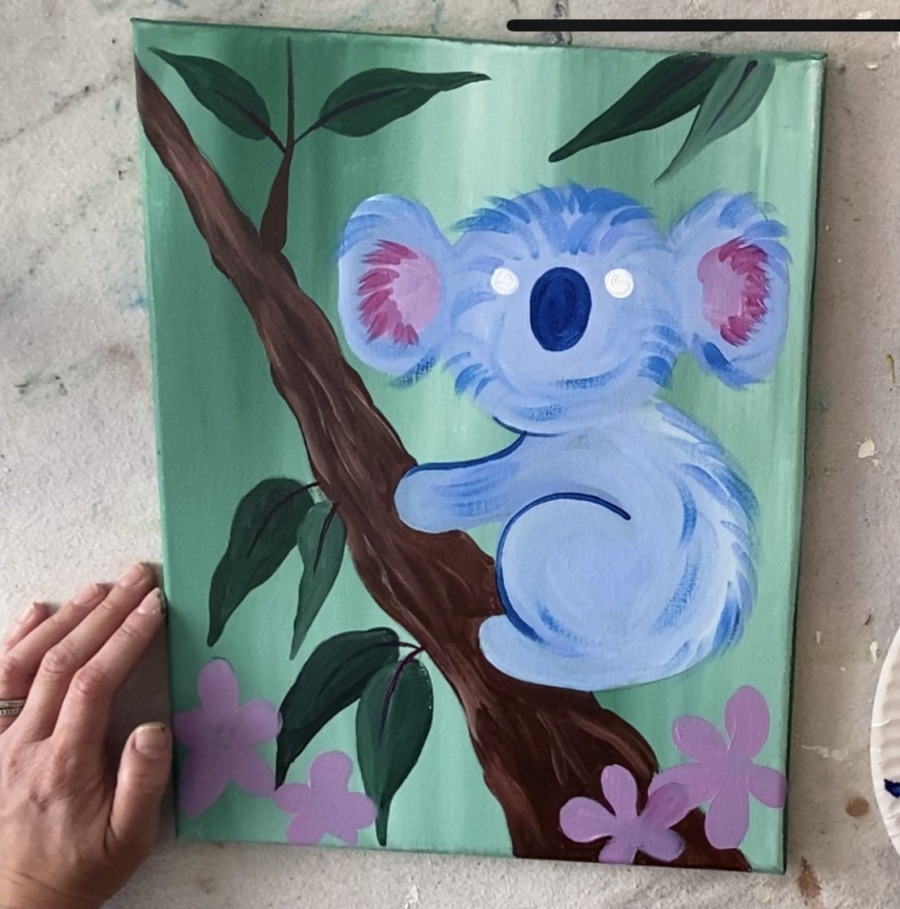
16. Paint white fur texture
Use your 4 round brush to paint some more white fur texture on his back, top of the ears and on the head.
17. Paint black fur texture
Then do some black texture on the ears, top of the head and around the face and back. Use just the very tip of your 4 round brush to do this to get very fine lines. 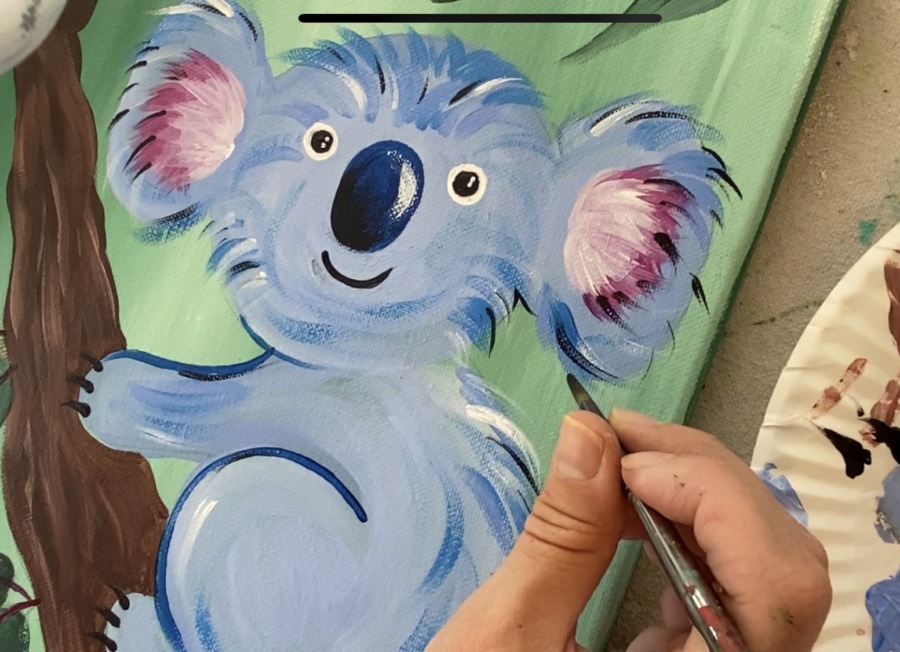
18. Paint detail on flowers
To do the detail in the flowers, I first added quinacridone to the ends of all the petals and used my finger to smear/blend it back into the pink.
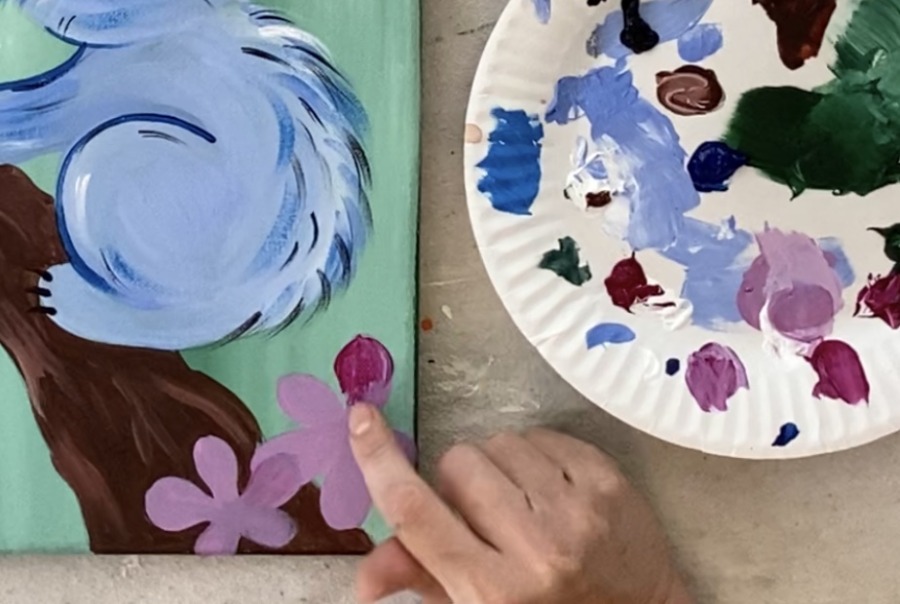
Then add white to the middle of all the flowers and smear that white with your finger (just a little white because it takes over fast!). 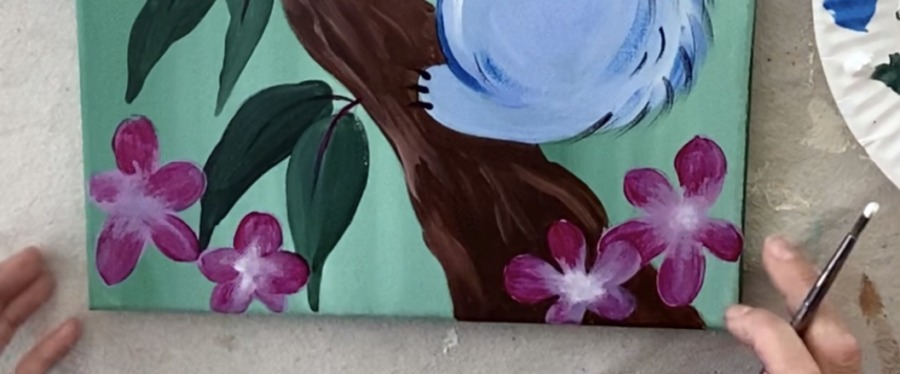
Then use your round brush to paint the middle circle of the flowers as well as small white lines that come out from the middle circle. 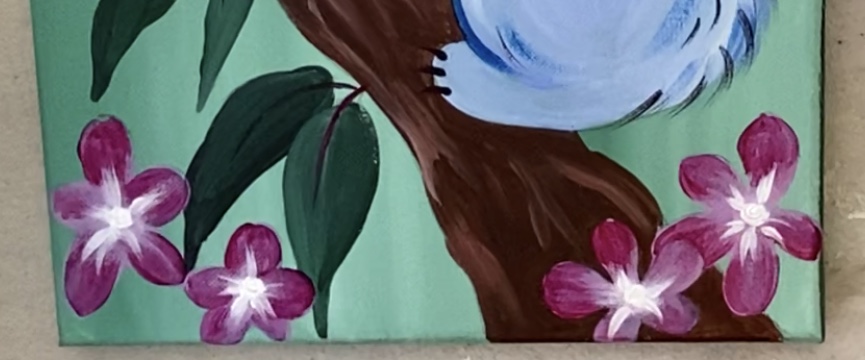
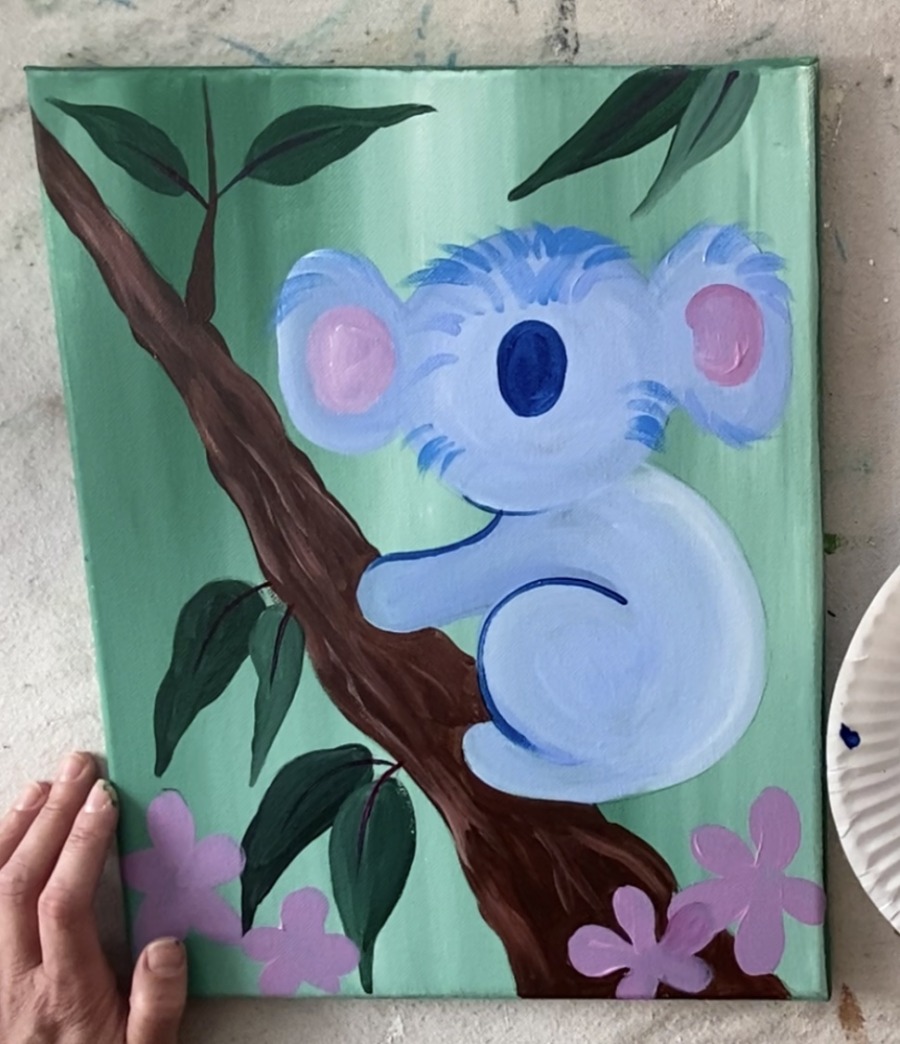
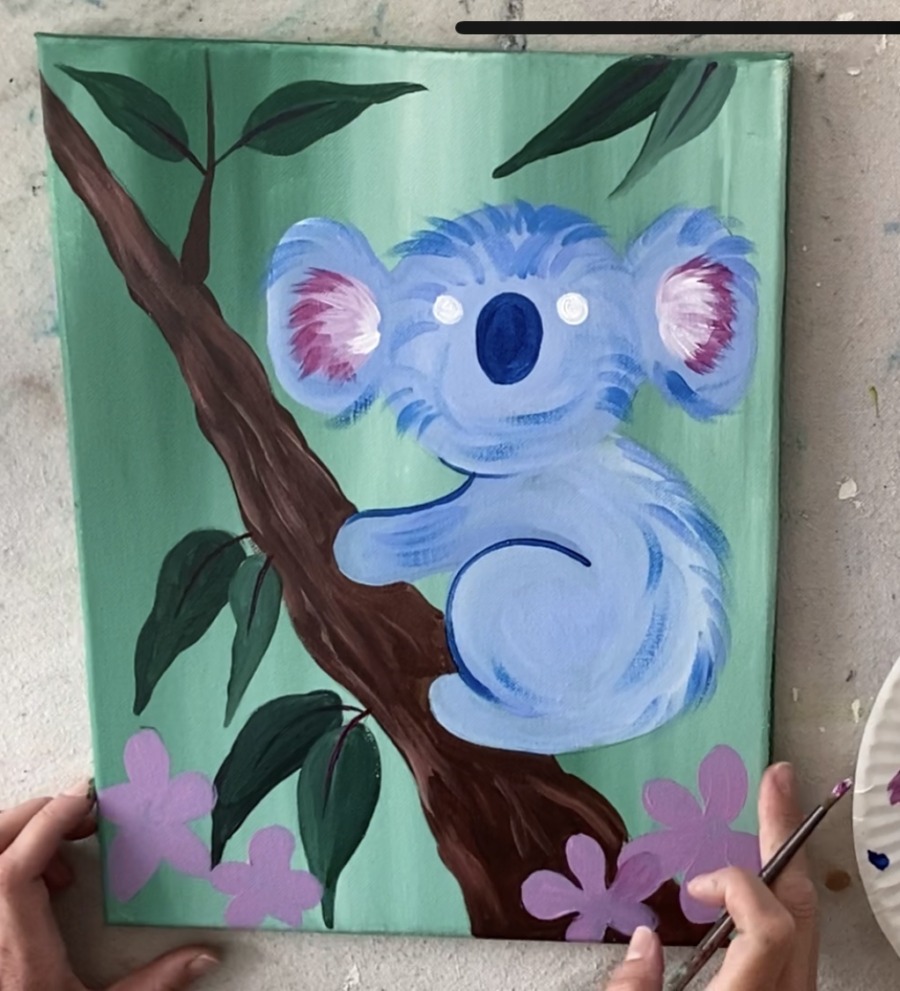
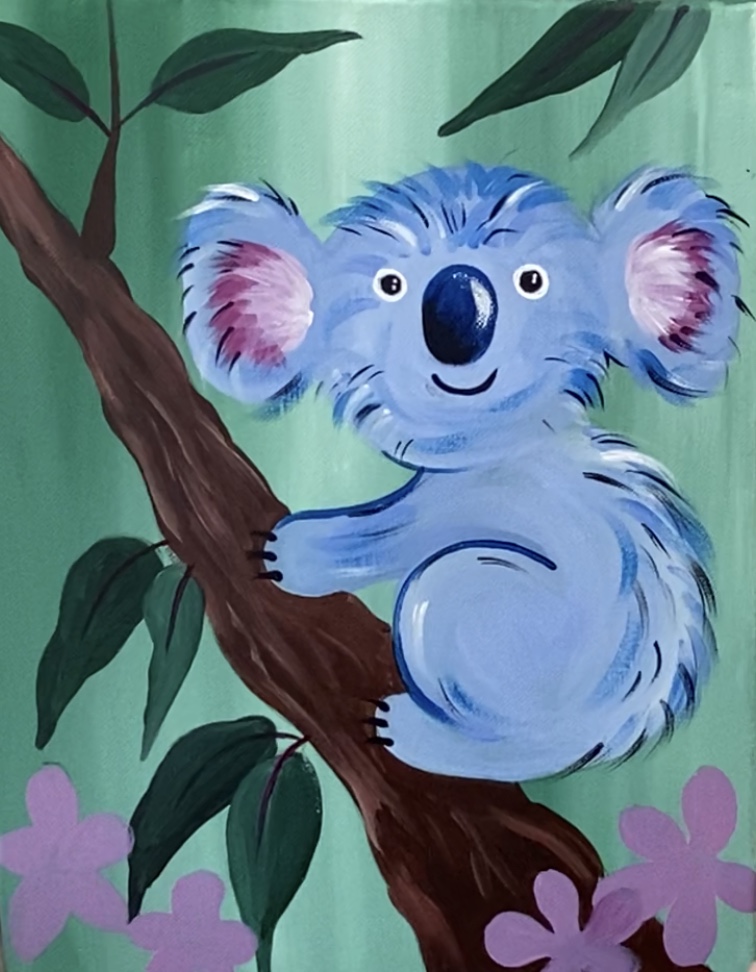
This is a basic version of this painting! I went a few steps further and added some more detail in the nose and flowers on the head! (Because why not!) If you want to keep it like this you can or you can continue on!

19. Advanced option: details on nose
For the nose detail, I mixed black and white to make a very light gray and then painted diagonal oval shapes at the bottom of the nose. 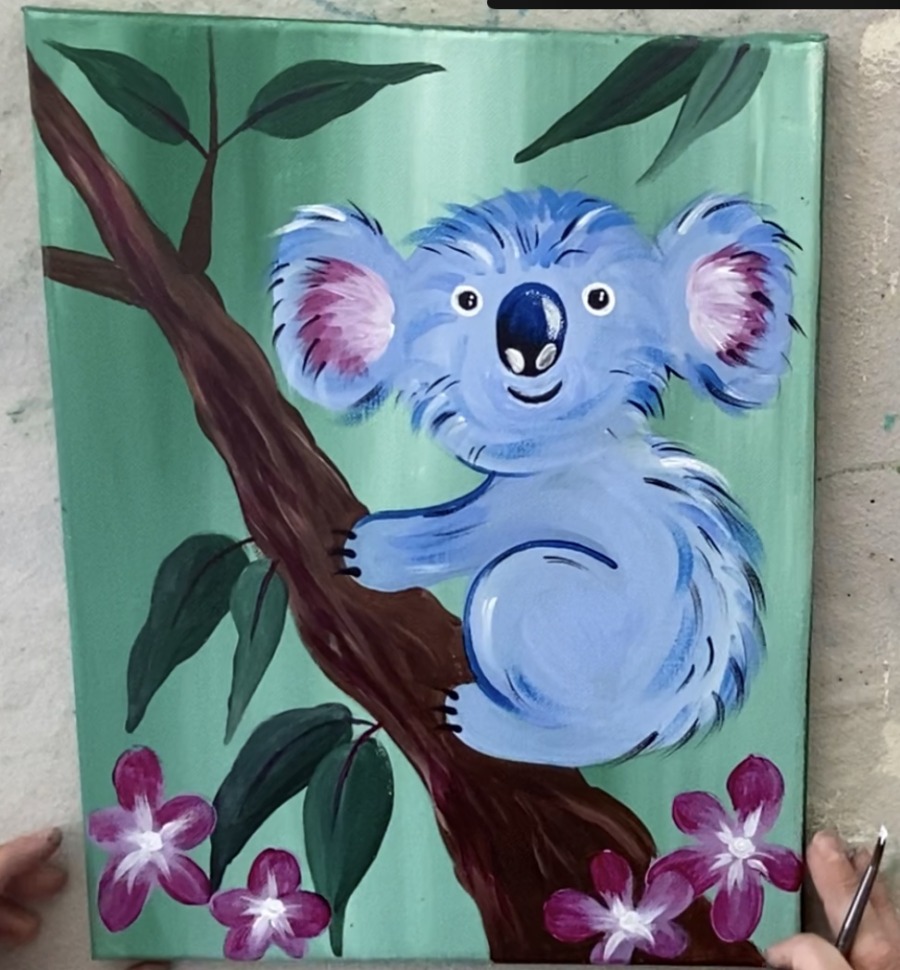
And darken it a bit so the inner bottom part of the oval is darker and the very top is lighter. 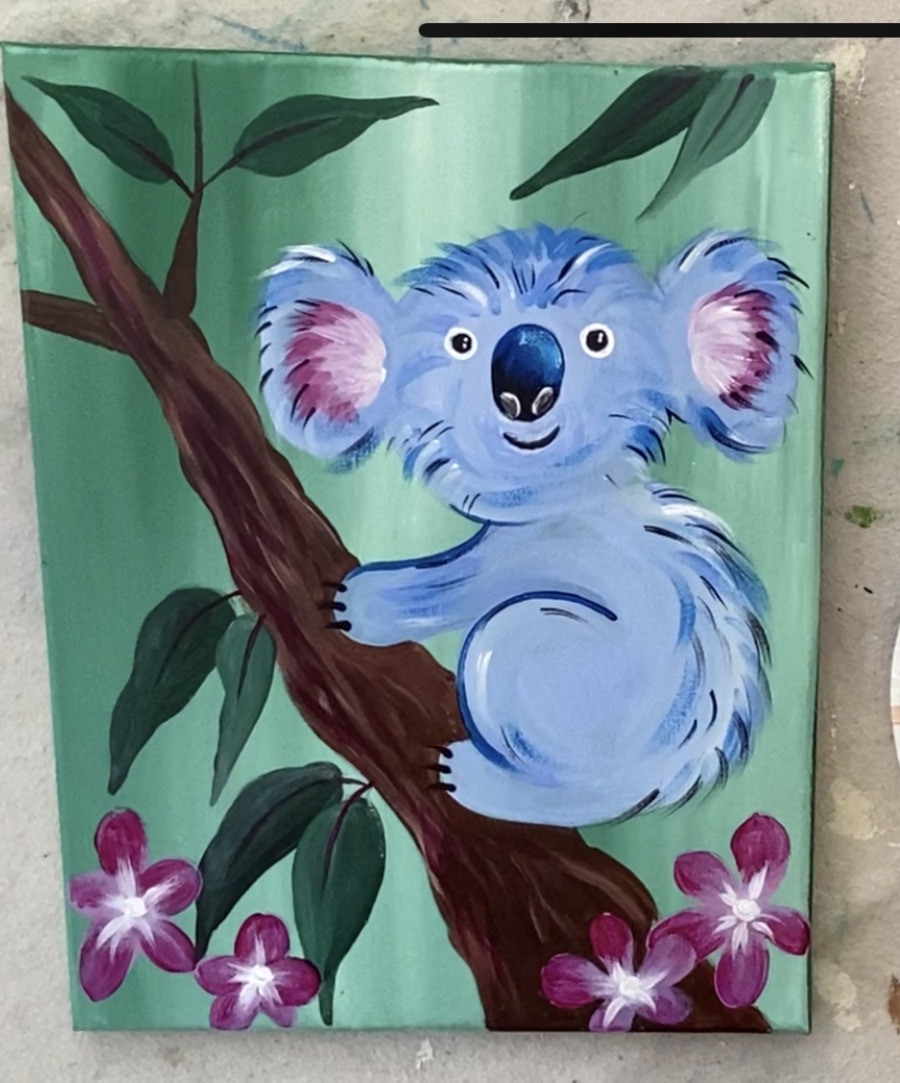
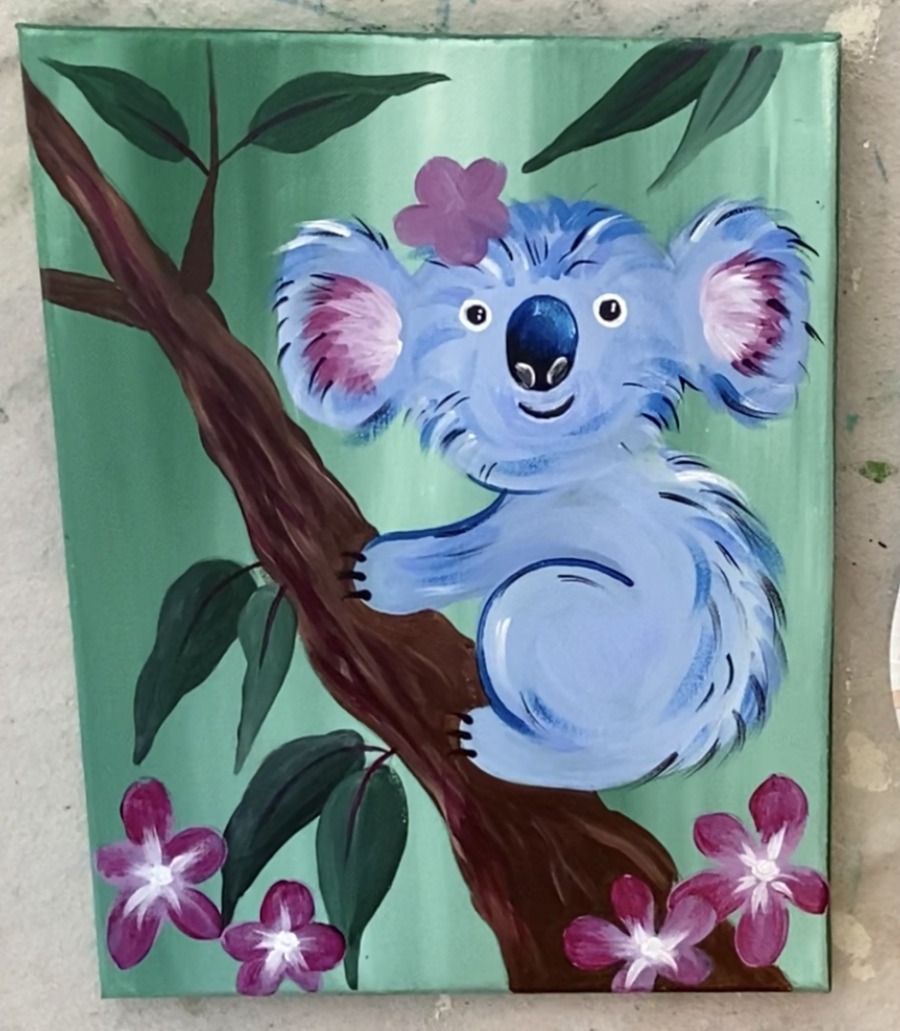
20. Advanced option: floral detail on head
For the flowers, I used the same colors (quinacridone magenta and titanium white) and same technique used in the flowers on the bottom. Paint a flower on the head that overlaps slightly.
And do the details with the darker color on the end of the petal and lighter in the center. I also did a leaf stemming down with deep green permanent. 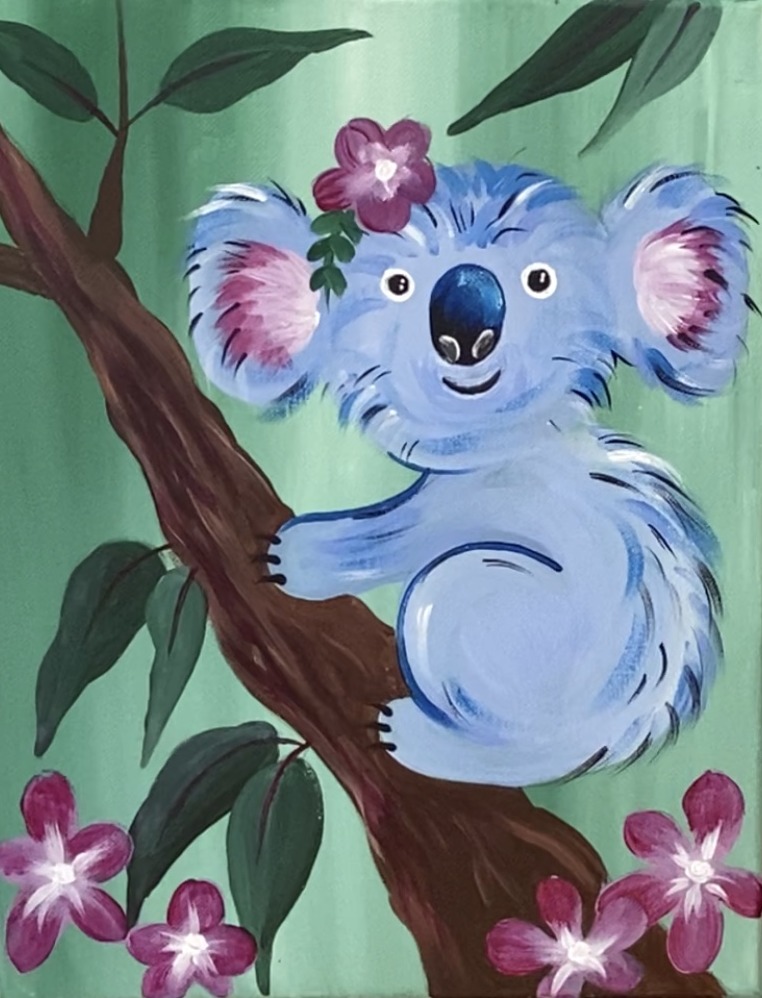
Then I did a lighter flower next to the larger one and another branch and bundle of little flower dots at the tip of that branch.
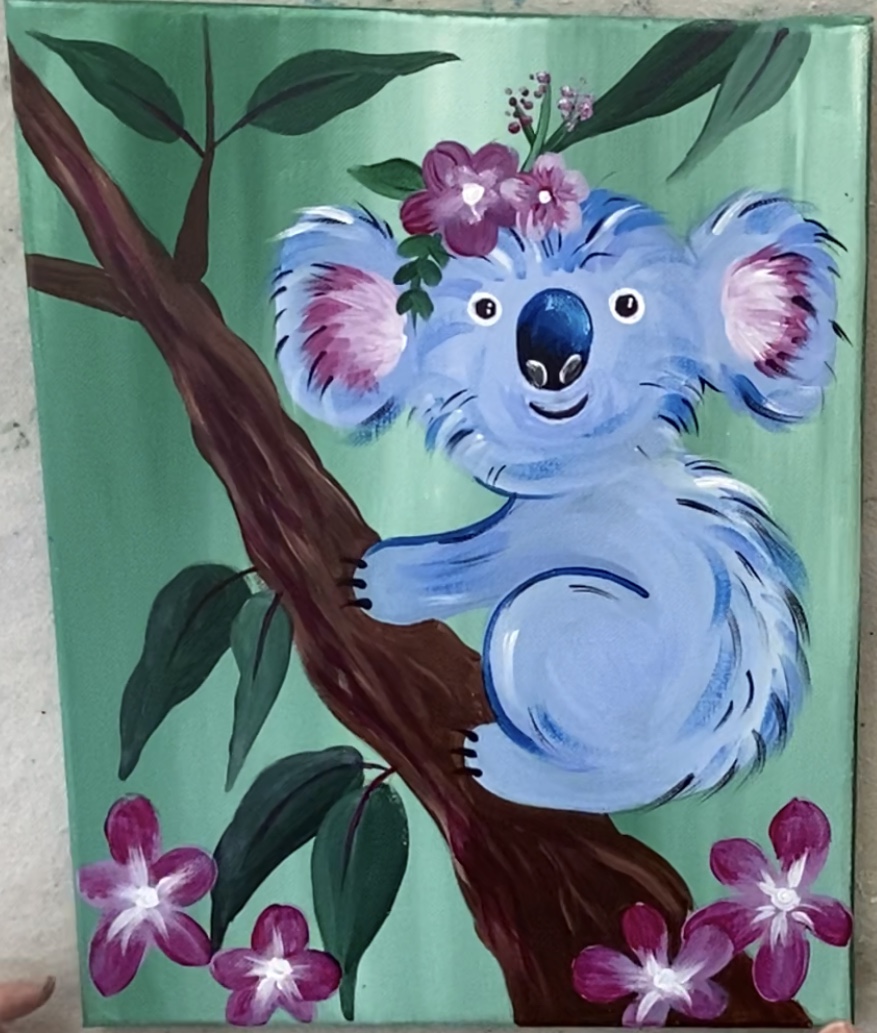
You may also notice I added some white on all the leaves! I did this by mixing white with some deep green permanent. Then I lightly “dry brushed” with the 4 round brush angular lines on all the leaves.
Finished!
Share Your Art