

Would you like to save this?
This acrylic painting tutorial demonstrates how to paint clouds! There are a few different techniques for painting clouds depending on what kind of sky you are painting and what kind of clouds.
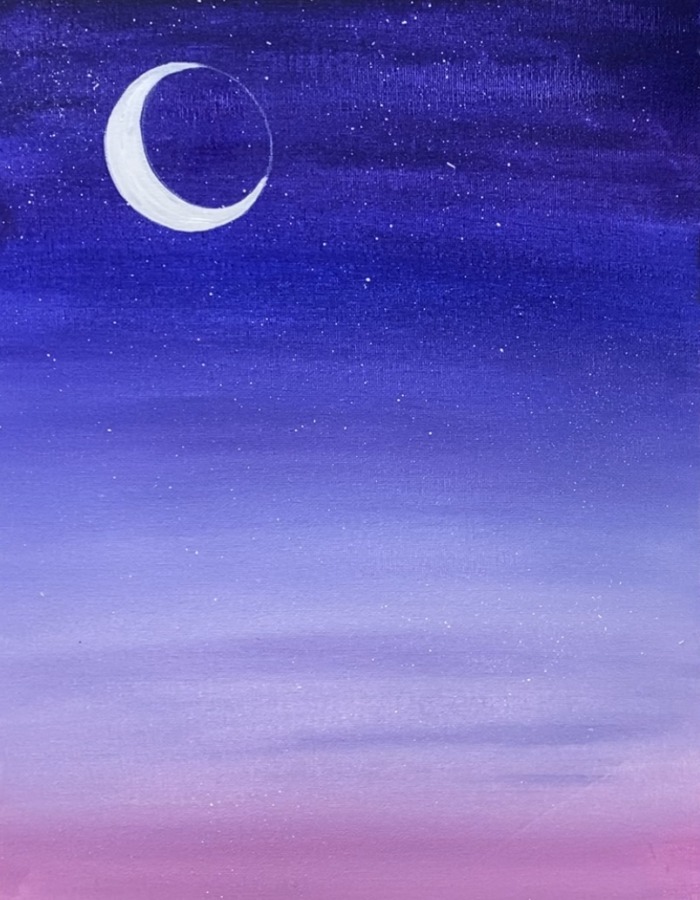
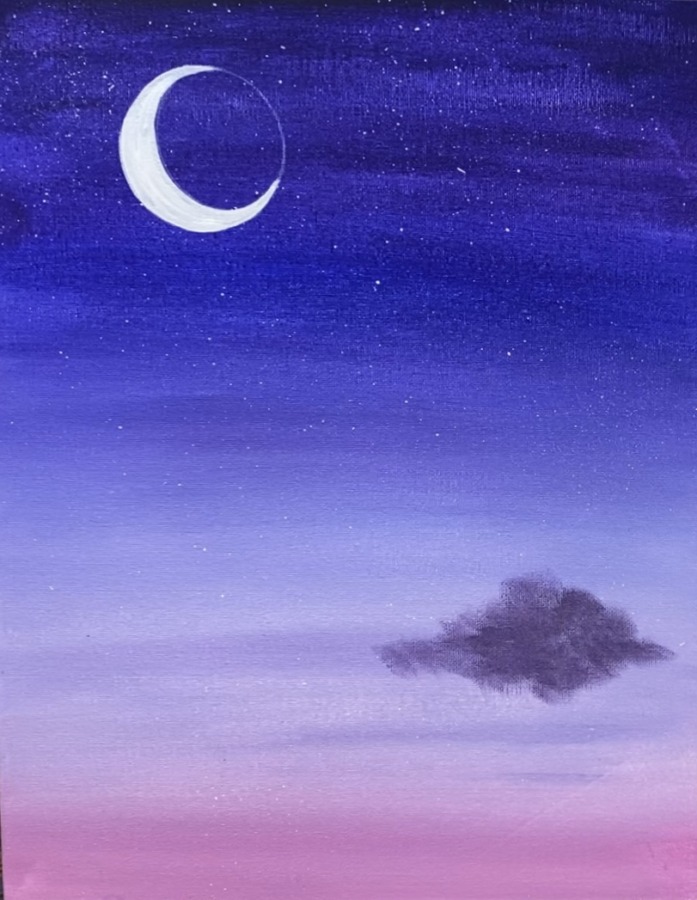
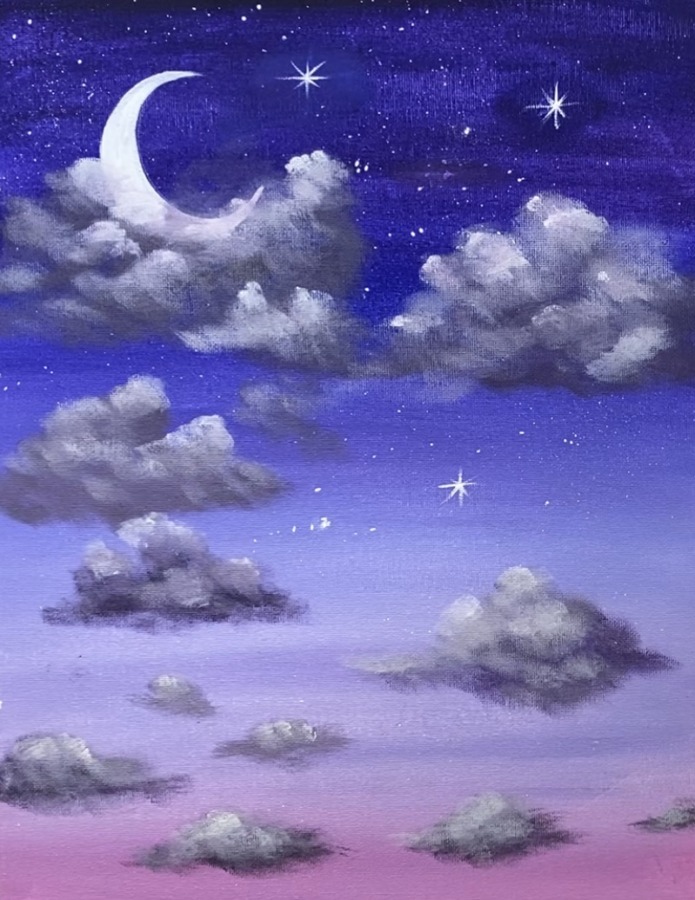
For this technique, I will be showing you specifically how to paint fluffy, dreamy, cumulus clouds in a sky with a pretty purple to pink gradient.

See also “how to paint fluffy clouds”. This tutorial is a basic introduction to the techniques I will be using to paint these clouds.
I used a lot of “dry brush technique” when I paint clouds. That means there is not a lot of paint on my brush, no water is used and I have a towel on hand to wipe off excess paint. When you do “dry brush technique” this allows your cloud to look “fluffy” and somewhat see through. You can also add multiple layers to it to build depth in your cloud without making it look too “opaque”.
Clouds are tricky especially for beginner painters! I recommend that you keep practicing if you get frustrated with this painting.
It took me a long time to figure clouds out and I still struggle with them too! I think once you find a brush and a technique that works for you, that will allow you to feel more confident in your cloud techniques for all your landscape and sky paintings!
Enjoy and happy painting!
Materials
How To Paint "Dreamy Clouds"
The focus of this tutorial is how to paint clouds. Specifically these are fluffy cumulus clouds at dusk (or dawn).
Materials
- 11 x 14 Canvas (Or any size!)
- Acrylic Paint
- Brushes
- White Chalk Pencil or White Color Pencil
- Eraser
- Toothbrush (for stars)
- Paint Palette
- Water Cup
- Towel or Rag
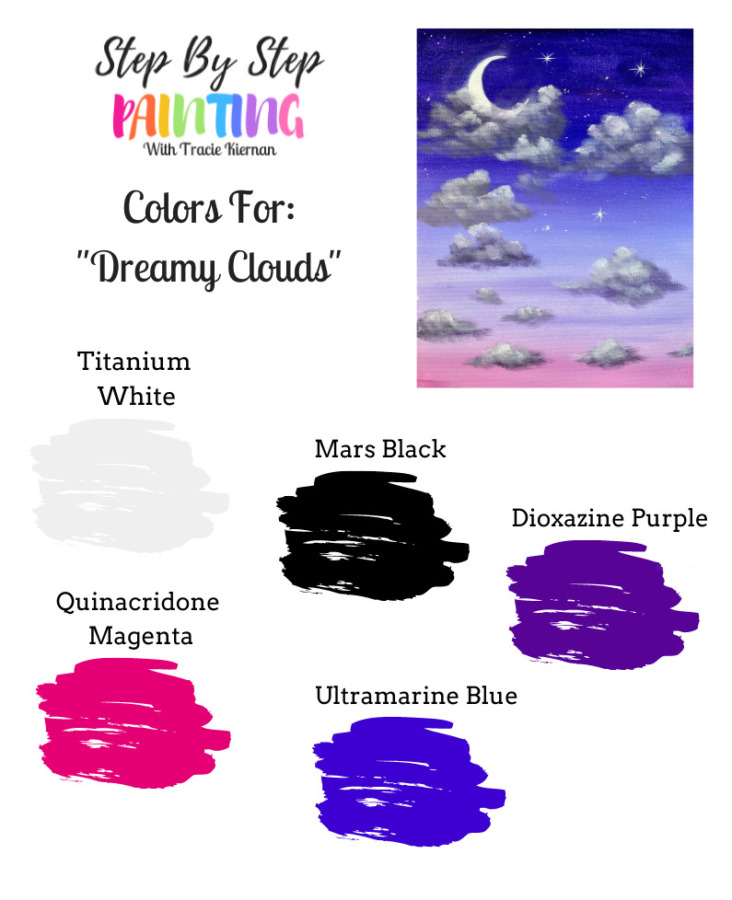
Colors
- Dioxazine Purple
- Ultramarine Blue
- Quinacridone Magenta
- Titanium White
- Mars Black
Brushes
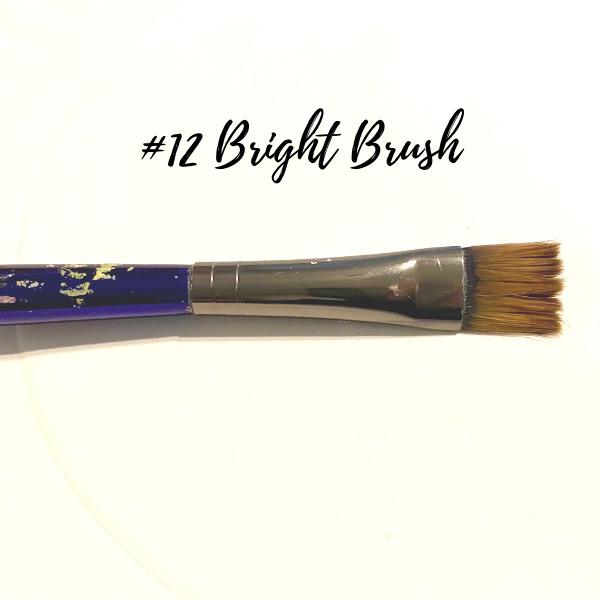
- 12 Bright Brush (for clouds)
- 3/4" Flat Wash Brush
- Toothbrush (for stars)
- #4 Round Brush
- 10/0 Round Detail Brush
- White Paint Pen (optional but helps with stars)
Color Palette
This painting was done with Liquitex BASICS student grade acrylic paints. The 48 piece set includes all the colors you would need for this tutorial. I highly recommend you buy an extra titanium white tube by itself because that color is used the most!
Using Craft Paints?
If you are using craft paints such as the Apple Barrel Craft paints, you can try substituting with these colors.
- Black
- White
- Purple Iris
- Too Blue
- Bright Magenta
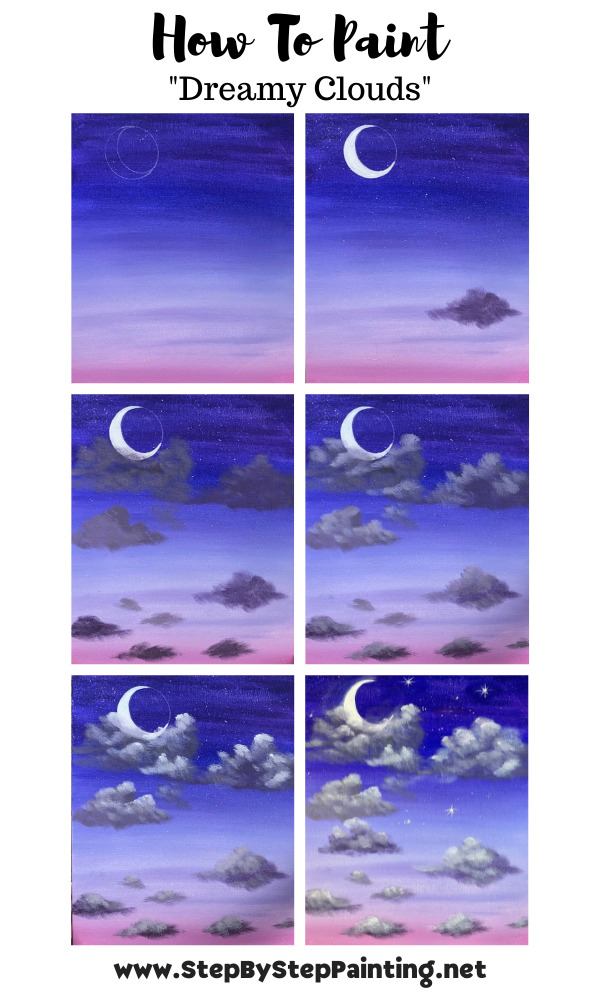
Directions At A Glance:
Video:
Step By Step Directions:
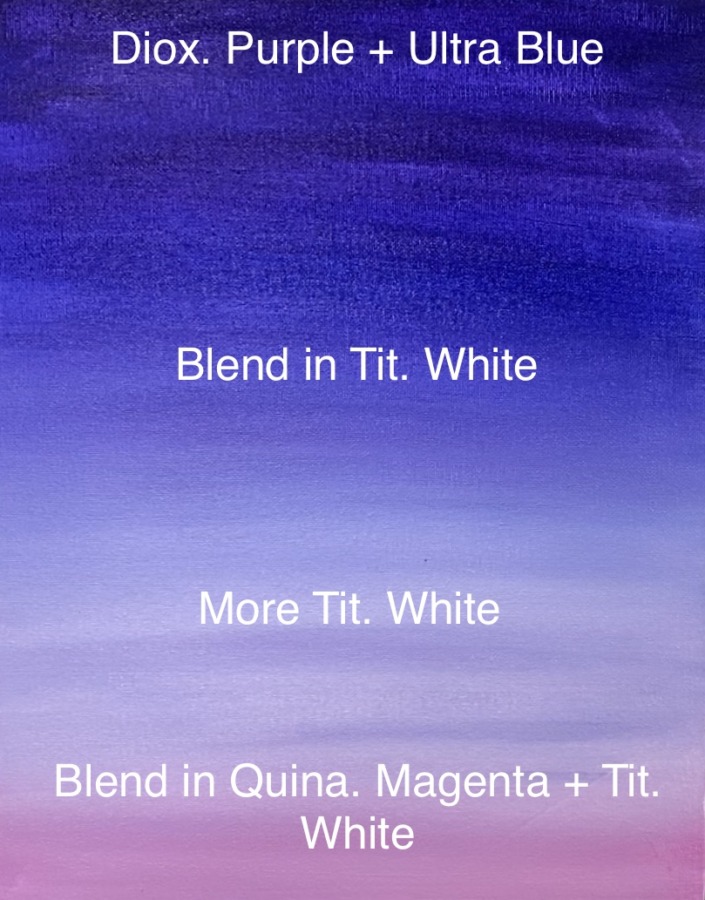
1. Paint Gradient Sky
Tip: in the video I briefly explain why using a fine mist spray bottle may help with the blending of this sky! I used a little 2oz travel spray bottle and sprayed my palette first (to keep the paints slightly more moist).
I also sprayed the blank canvas before beginning. You don’t want the canvas to be soaking wet, just a little damp. This will help with the blending, especially if you are a beginner and want more working time to blend your sky!
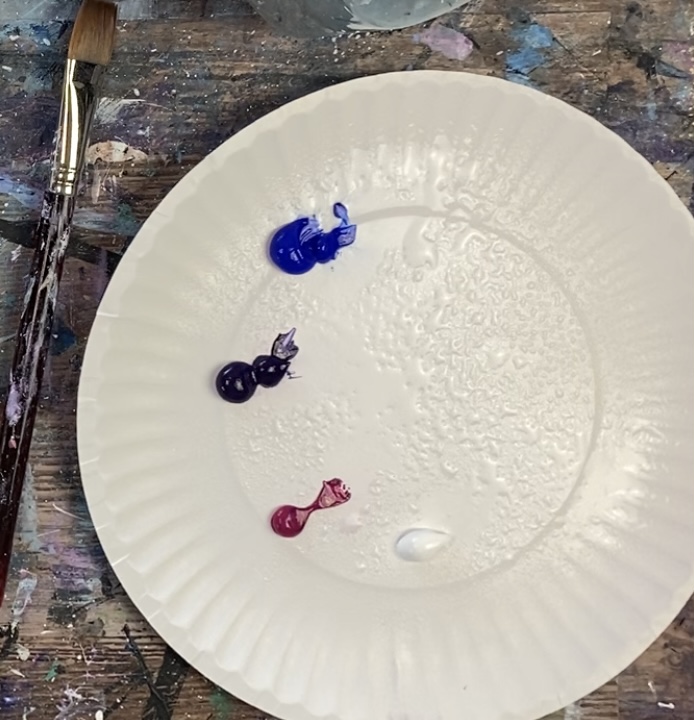
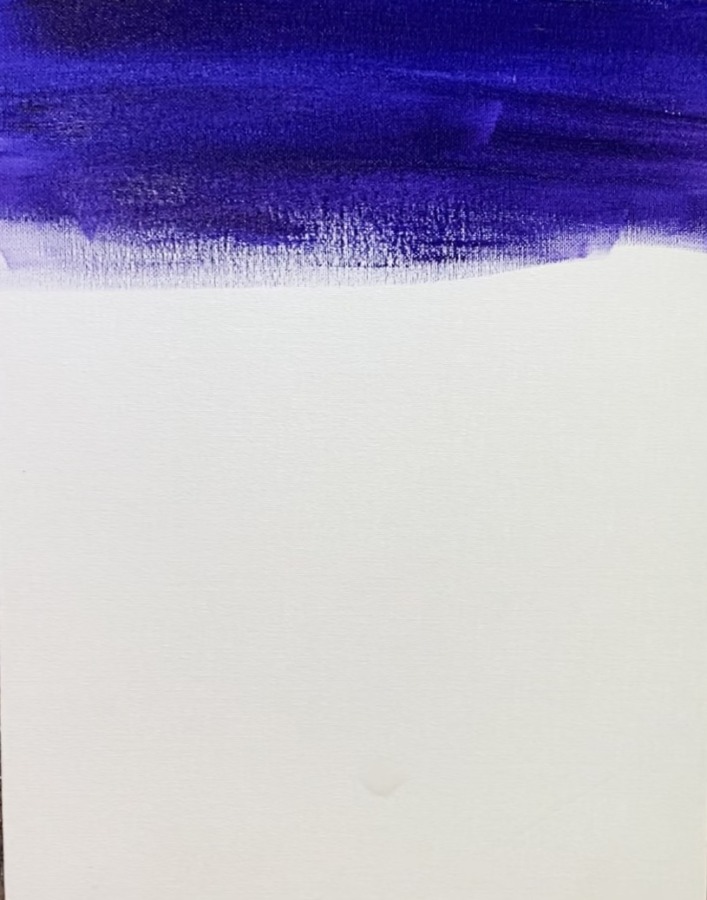
Load your palette with: ultramarine blue, dioxazine purple, quinacridone magenta and titanium white. Use a 3/4″ flat wash brush, dip in your water cup and pat it dry. Then mix equal parts ultramarine blue and dioxazine purple on your palette.
Start at the top of your canvas and paint left and right strokes blending the two colors together. Work in horizontal strokes.
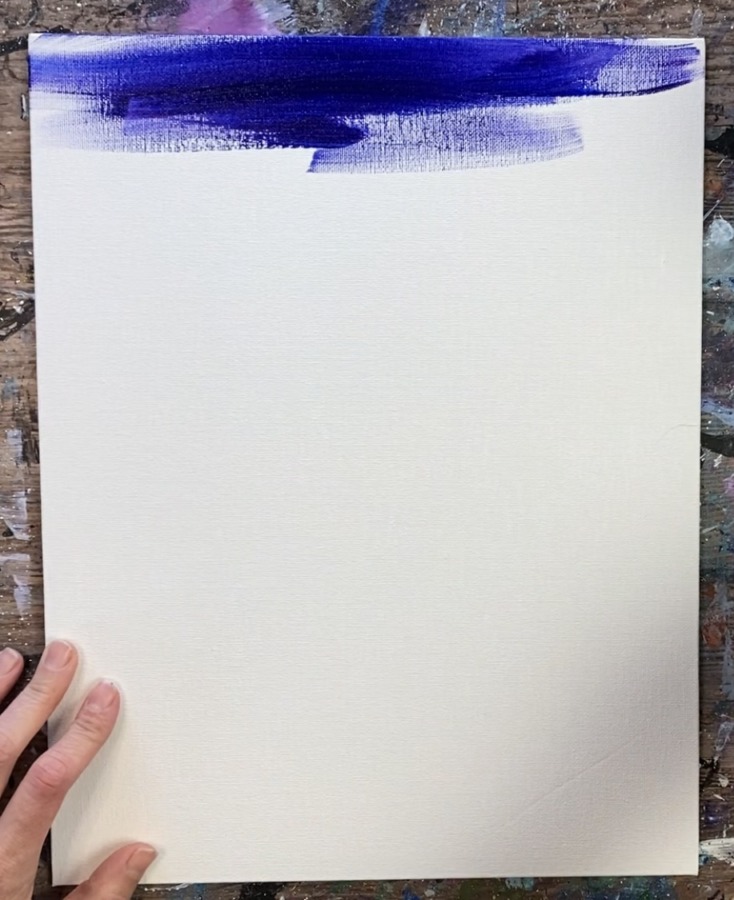
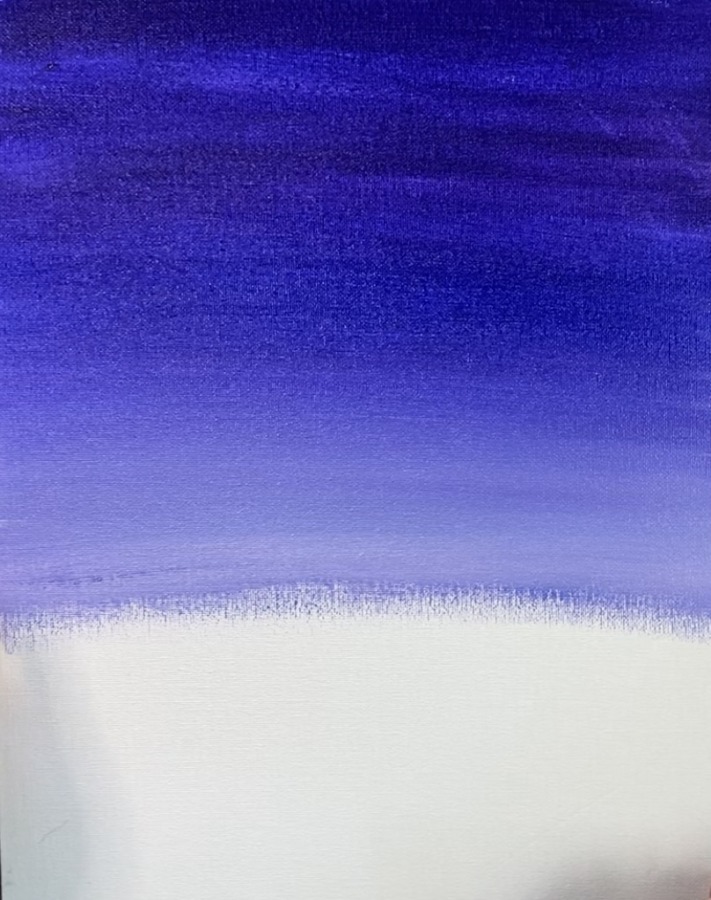
Go to the halfway point of your canvas. Then add titanium white to your brush without rinsing it. Blend the titanium white below the blue area. Then blend up so the dark blue transitions to a light blue-purple in the middle of the canvas.
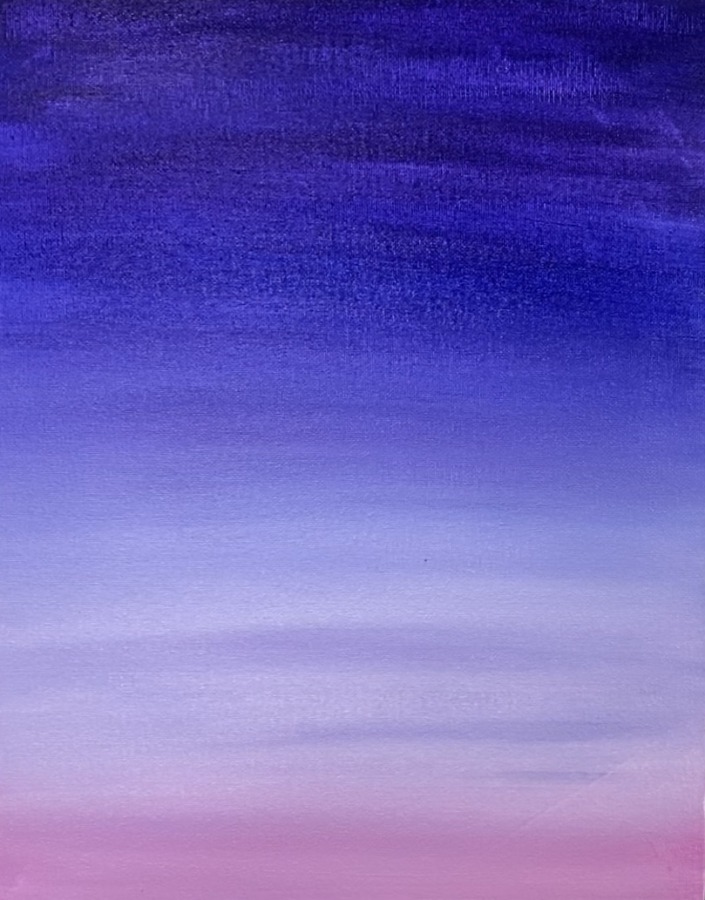
Go down to almost the bottom of the canvas. Then mix about 1 part quinacridone magenta to 3 parts titanium white. Paint the pink on the bottom of the canvas. Paint left and right strokes then go up into the light area.
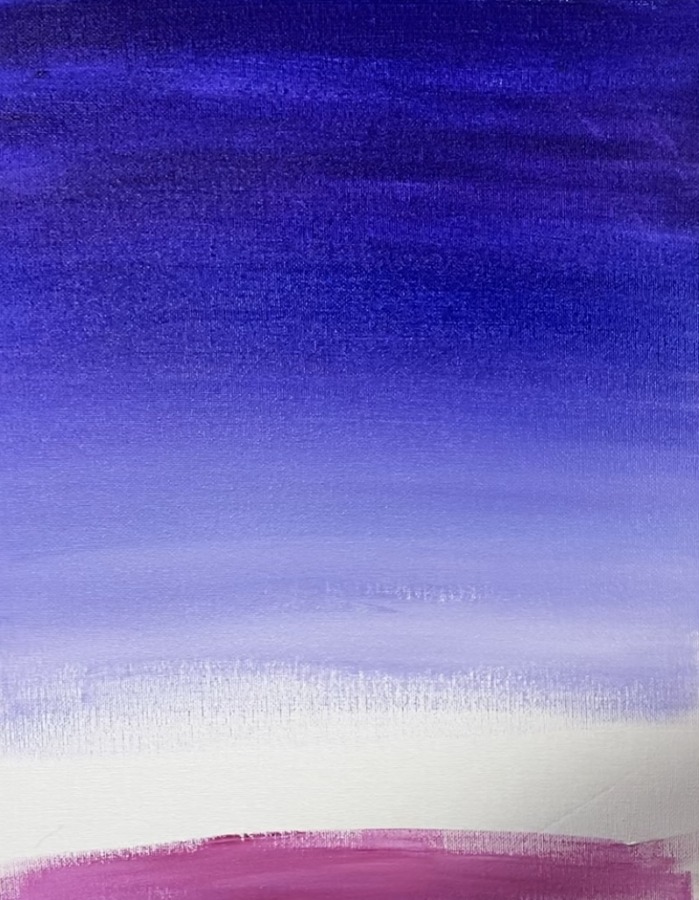
Add more titanium white if needed to help blend the pink area to the light blue-purple area.
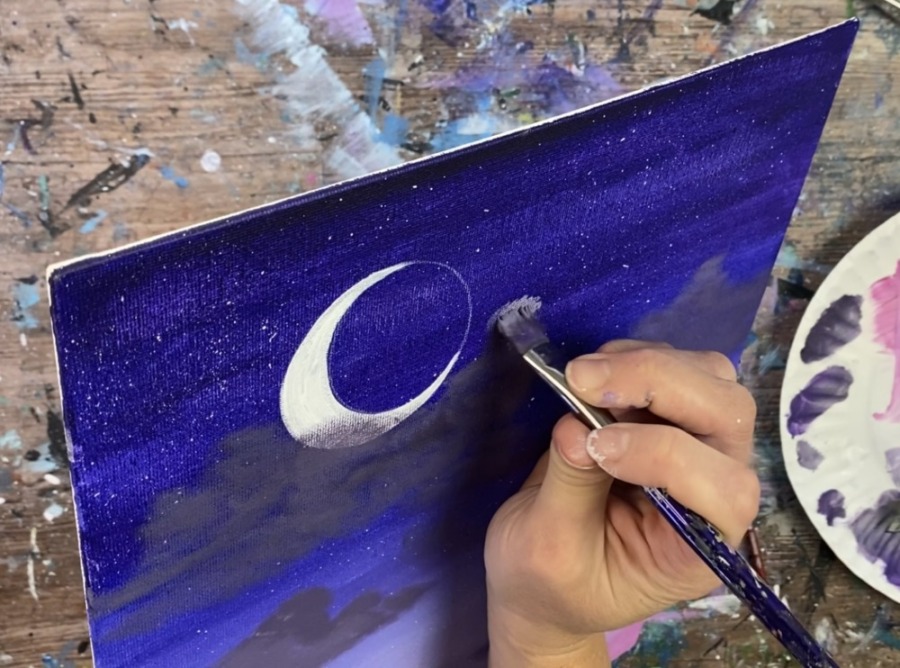
2. Draw/ Paint Crescent Moon
To draw the moon, trace a circle on the upper left part of your canvas. You can use any size circle but I chose a small “push pin container” to trace. That container was about 2.5″ in diameter.

Trace the circle using a white color pencil or white chalk pencil.
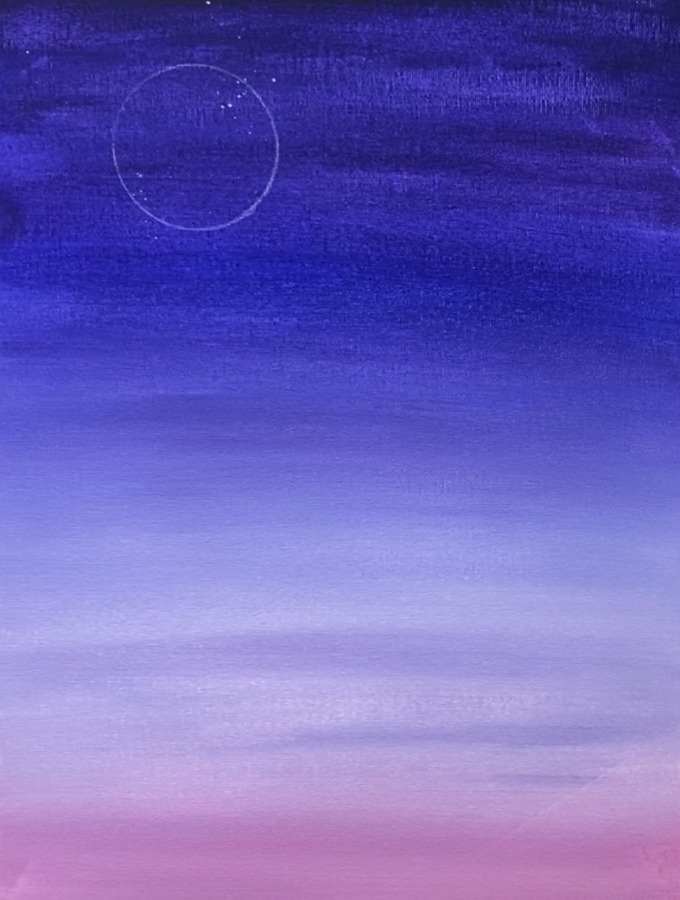
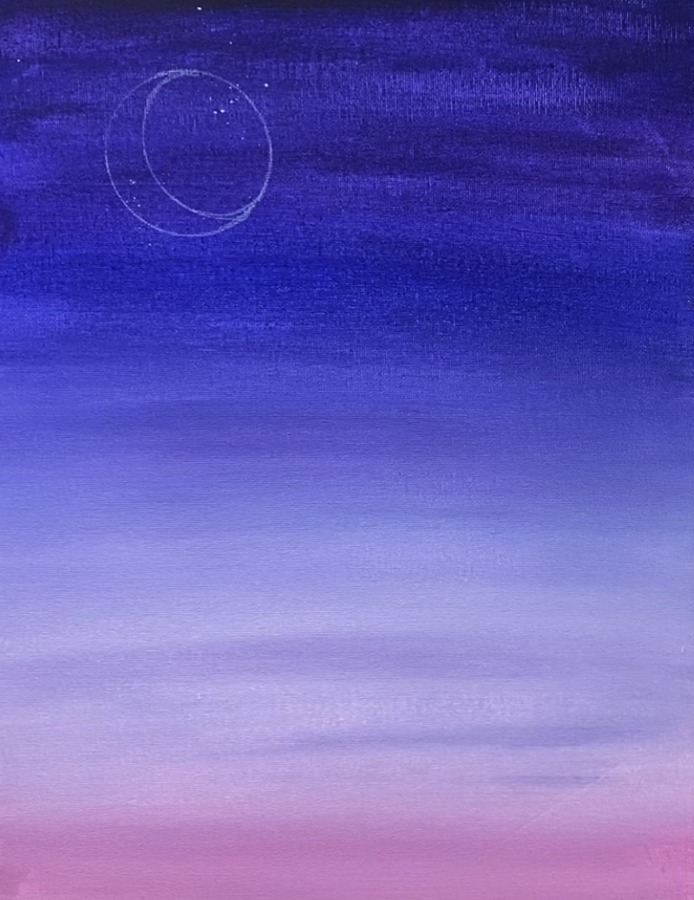
Then use the same circle to trace the inside of the crescent moon shape. Simply move the circle to the right to however wide or thin you want the crescent shape to be. You can choose to erase the outer part of the circle or leave it.
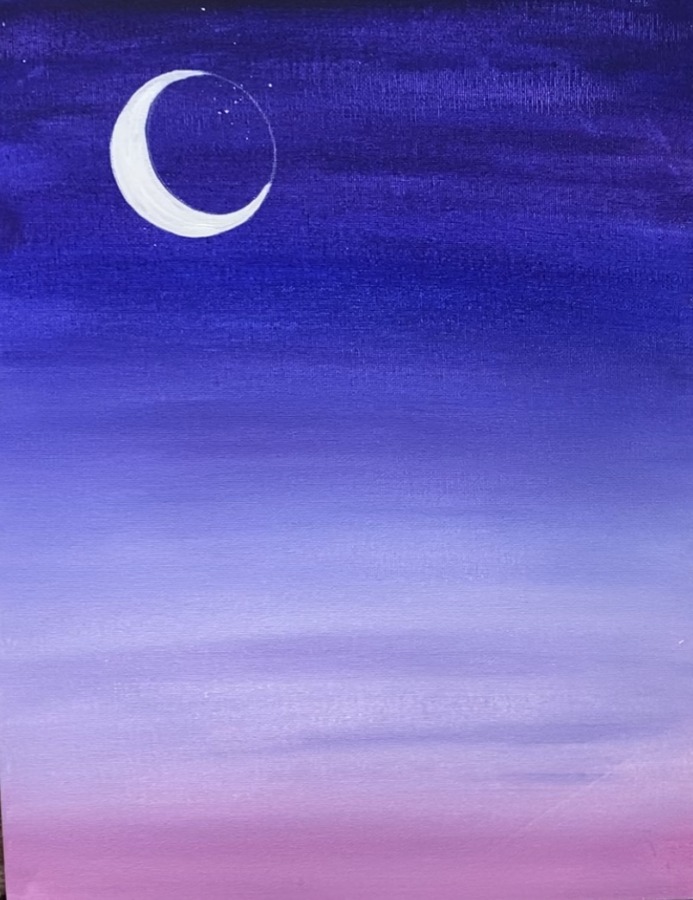
Then paint the moon with a #4 round brush.
3. Paint Stars
For the stars, I used a tooth brush and splattered fine white dots onto the sky. Use titanium white and slightly water it down. It should be almost an ink consistency but not watery. Flick the brush to make little stars all over the sky.
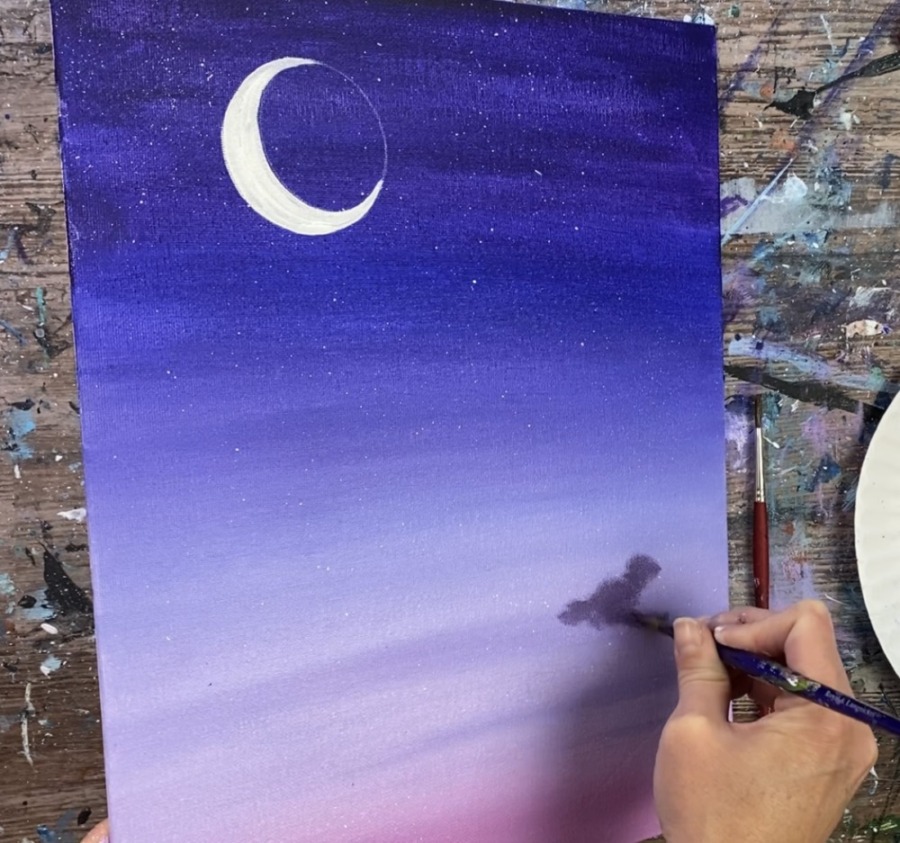
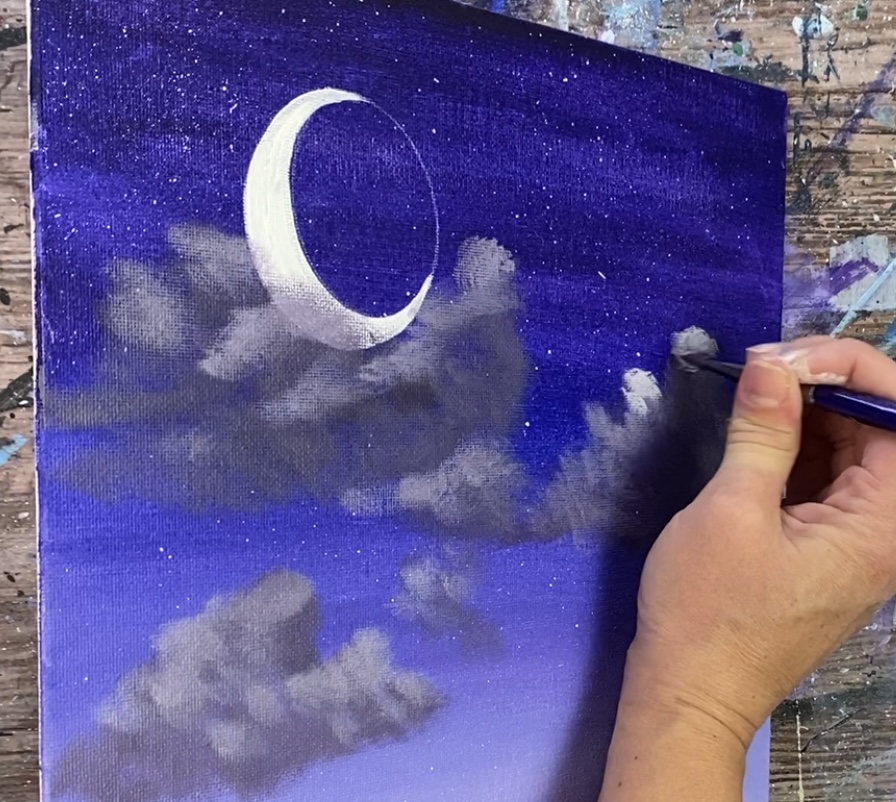
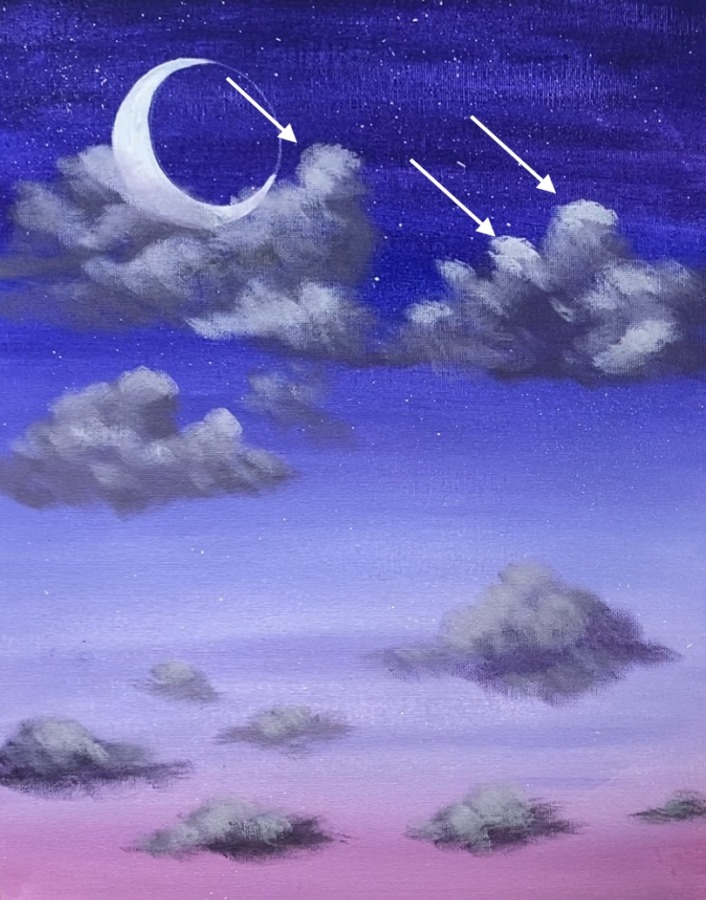
4. Paint Dark Layer Of Clouds
For painting clouds, I like using a #12 bright brush like this one! I find the flat tip of the brush easy to form the shape of the clouds. Some prefer using a more rounded tip like a filbert brush or even a round brush. Use whatever brush you feel most comfortable with!
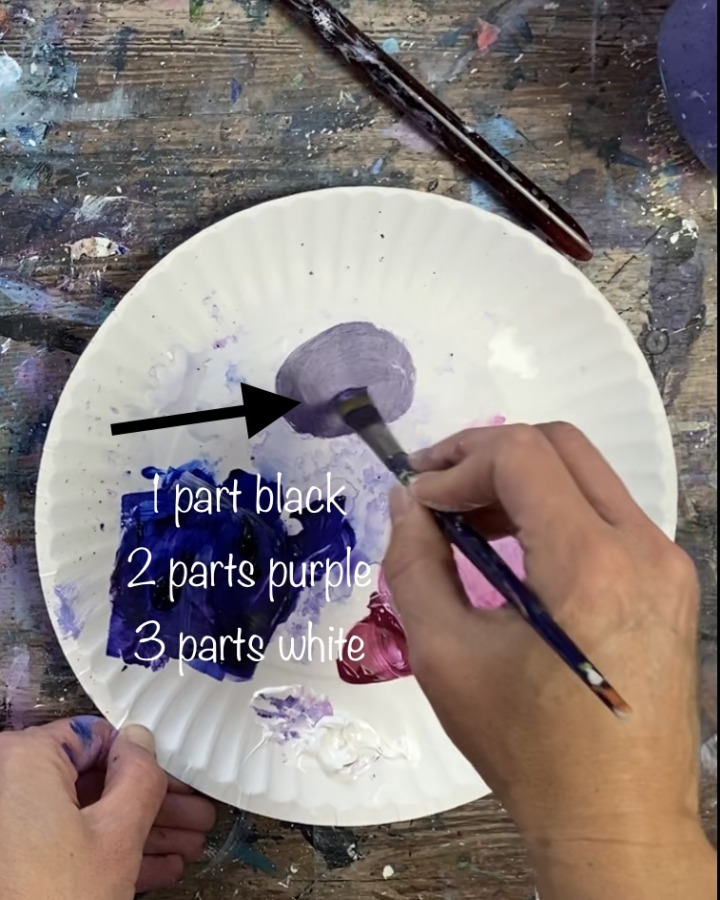
With these clouds, we are going to start with the darkest layer and work our way up to a lighter layer/ highlight the clouds. Mix a dark gray-purple color on your palette. This is about 1 part mars black, 2 parts dioxazine purple and 3 parts white. You may need to gradually add in more black or white.
Then, VERY IMPORTANT, load only the tip of your brush with the gray-purple color. Then WIPE OFF the brush so there is only a small amount of paint on the brush. You can wipe it off on the palette or use a towel.
The layer of paint that you apply to the canvas should be dry, see through and hard to apply because there’s hardly any paint on the brush.
This “dry brush technique” will make your cloud look “fluffy” and a bit see through.
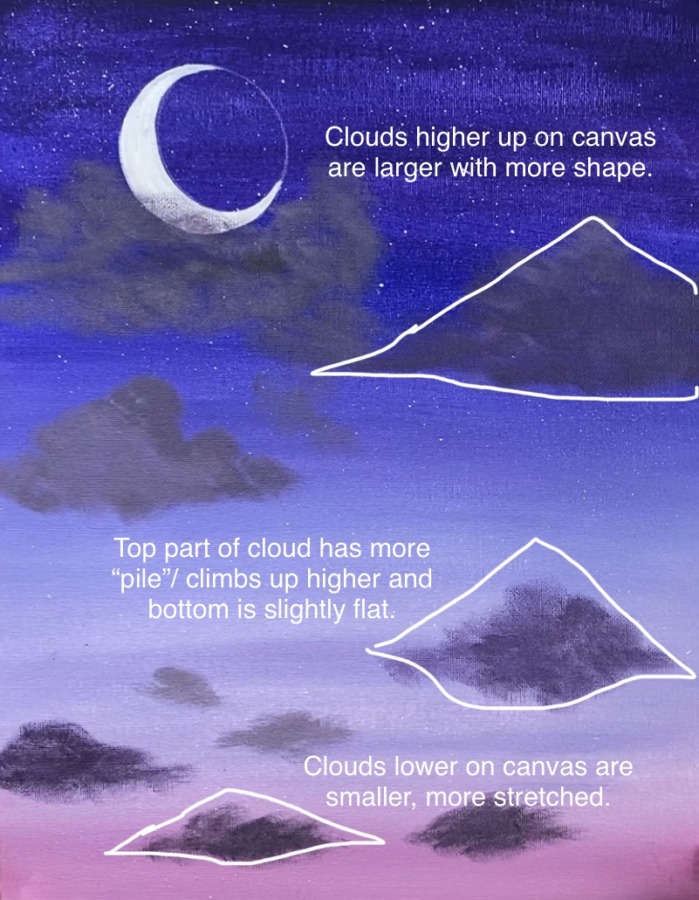
Form the shape of the cloud. Clouds can be all sorts of shapes! I like to make mine sort of flat on the bottom and a higher “pile” in the middle.
When you do your strokes, you want to move the brush in small circular directions.
Try to make different shapes and sizes of clouds. The clouds that are higher in the sky are larger and have more form. The clouds that are lower in the sky and smaller, more stretched and closer together.
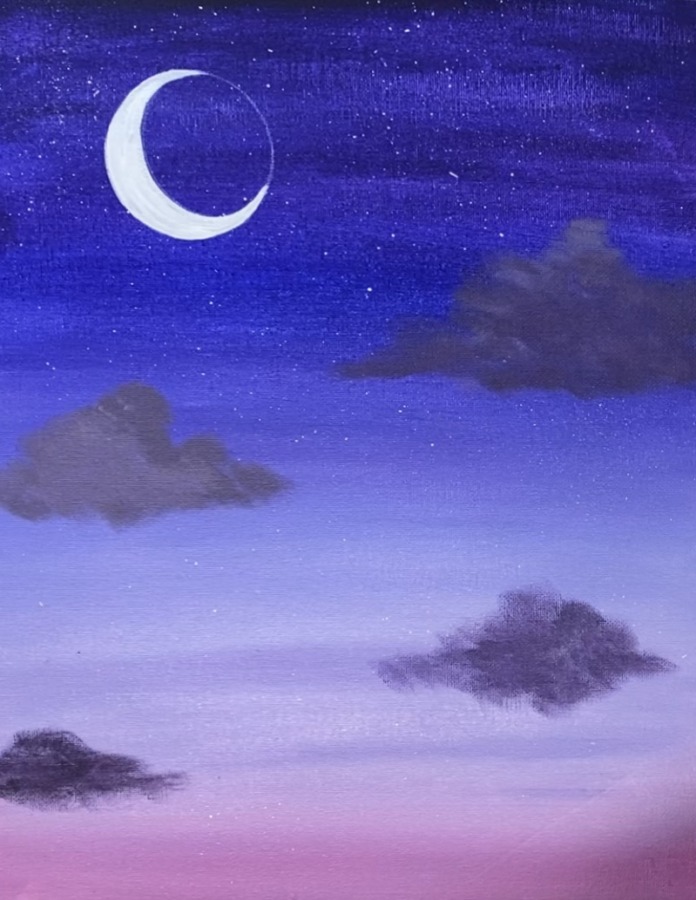
Make a cloud that overlaps the bottom of the moon slightly. When you paint over the moon, your color should look dry and see through. If it is too dark and “opaque” you may need to wipe more paint off your brush.
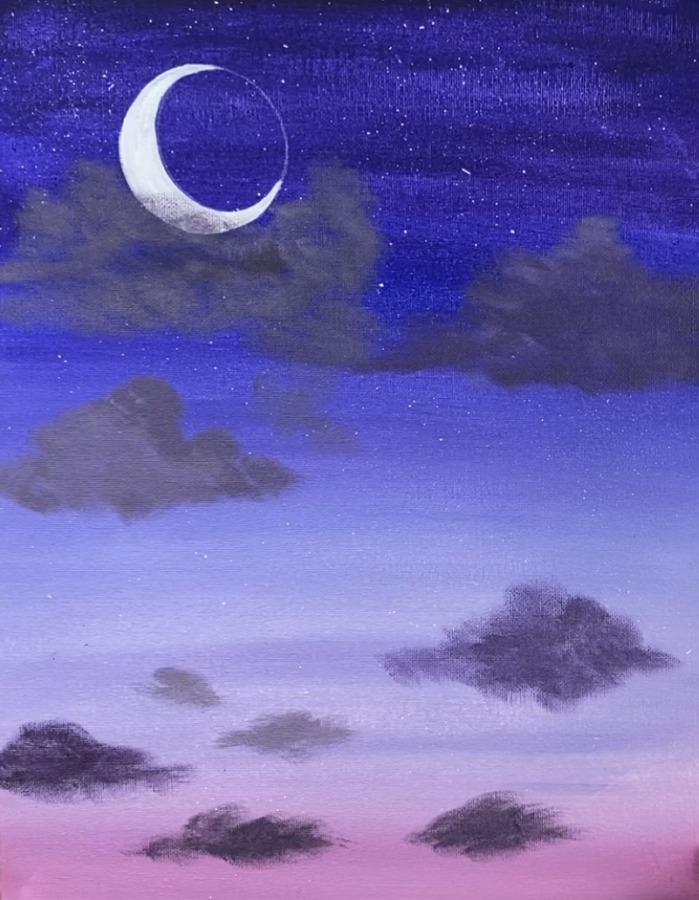
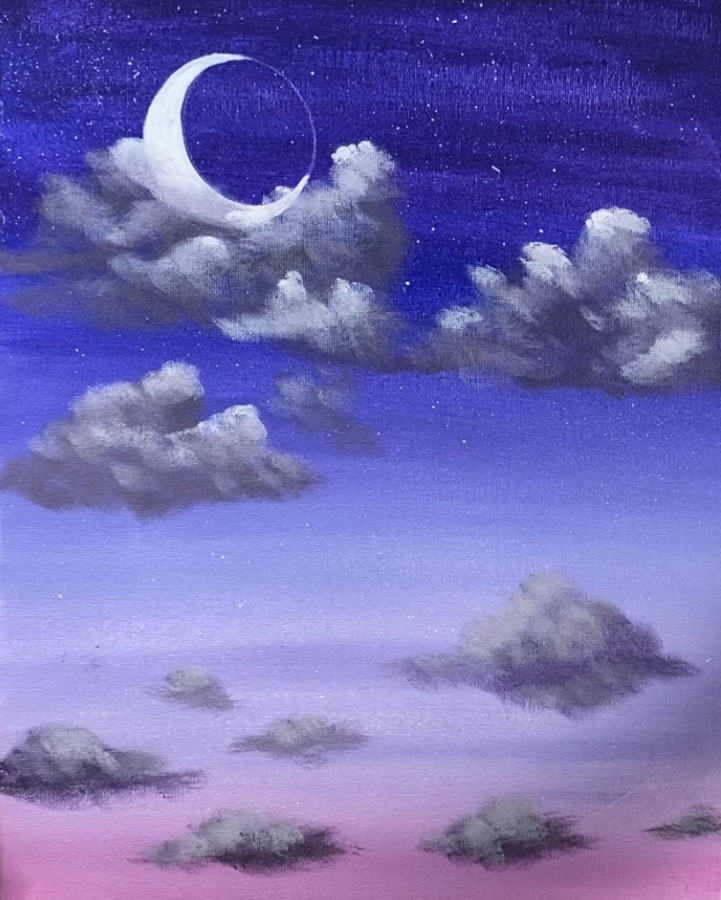
5. Paint Highlights On Clouds (medium color)
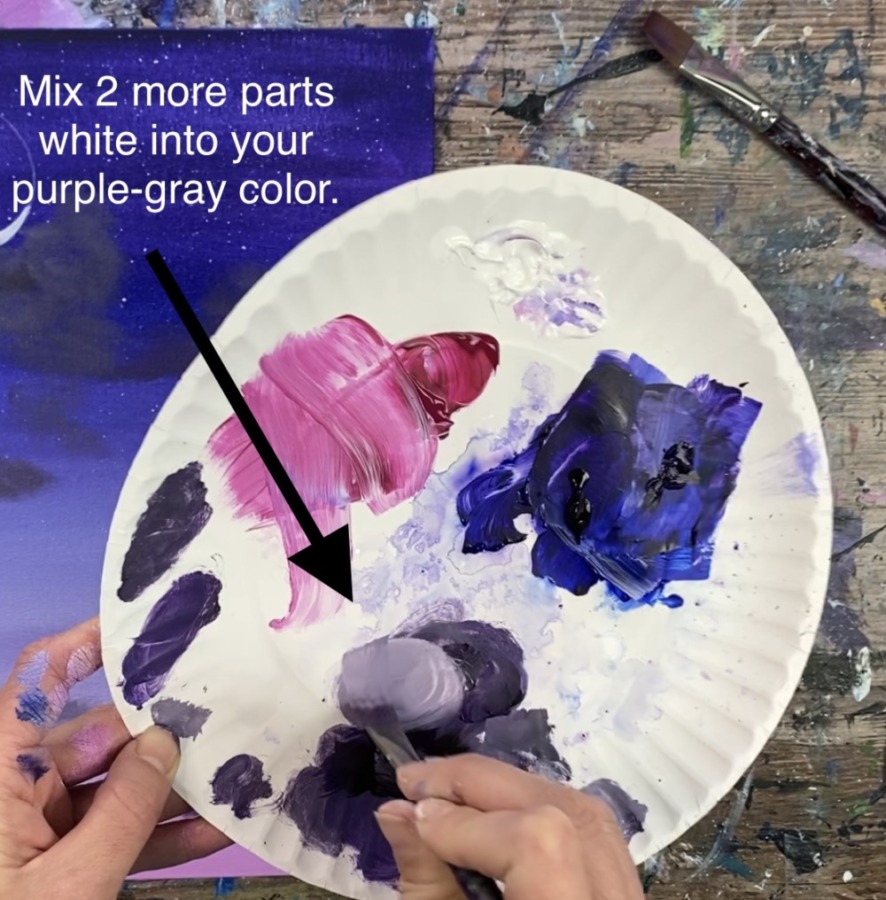
Next you will need to make a lighter version (about 3 shades lighter) of the purple gray color you mixed to make the first layer of clouds.
Paint small circular strokes only on the top left edges of the clouds. DO NOT cover all of the darker gray. You want that darker gray to still be showing in the final results of the cloud because it gives it depth.

By painting only the top left diagonal edges of the clouds, you are giving them form. Remember, your brush shouldn’t have a lot of paint on it and your strokes should still look translucent/ not a lot of coverage.
Do this on each of your clouds. You can also create some new edges on the middle areas of the clouds to create more form.
6. Paint More Highlights On Clouds (lighter color)
Then on your palette, make your third lighter color! Add two more parts titanium white to your brush (or wipe your brush off and only load it into titanium white).
Paint the top left part of all the clouds again but DO NOT cover the medium gray or the dark gray. You are painting the far, far edges of the clouds.
With this third lighter color, there is not a lot of it! Only small amounts. The small amounts, however, make a big difference in highlighting these clouds.
With this lighter color, you can also extend the cloud a little further out to make it look like they are climbing/piling higher. Also, make sure you add the light highlight color where the cloud overlaps the moon.
Do this on each of the clouds. At this point, you should be able to see your dark gray layer, your medium gray layer and your bright layer all working together to make your cloud look fluffy and with dimension.
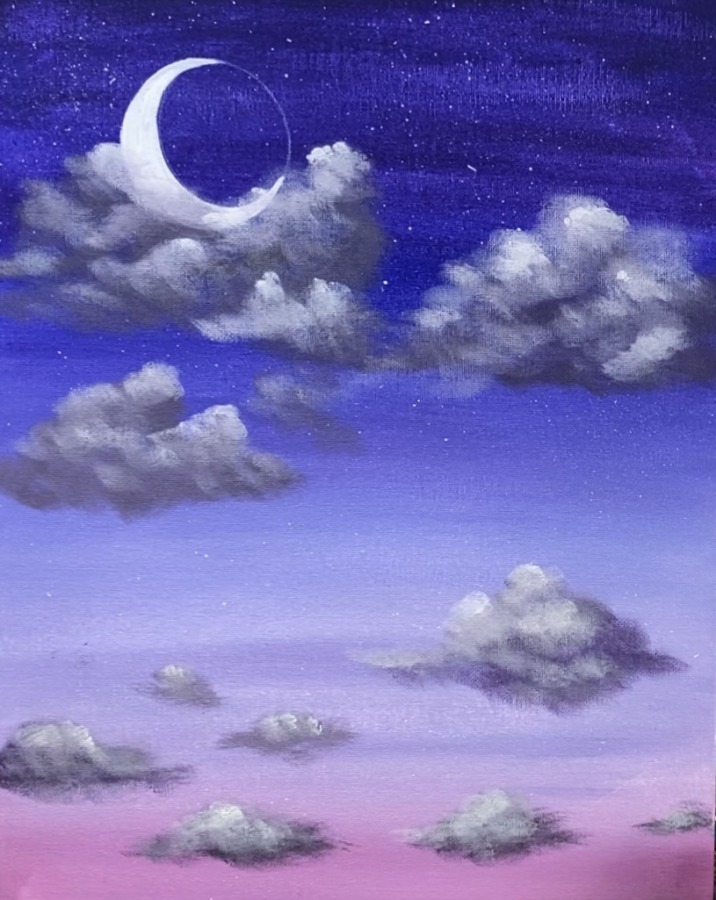
You can create more clouds if you want. I did another cloud in the middle and even had this one overlap slightly the one above it.
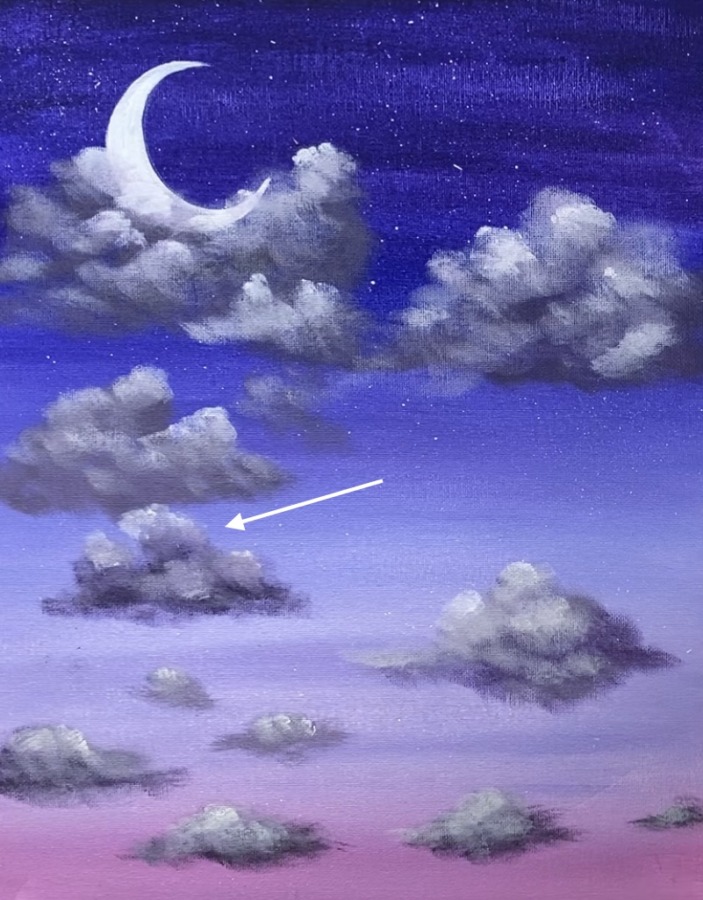
7. Paint More Star Details
Use a 10/0 round brush (or any small round brush) to paint individual stars. You can make some stars look like they are glowing by using your finger to “blur” the paint dot and then painting another dot.
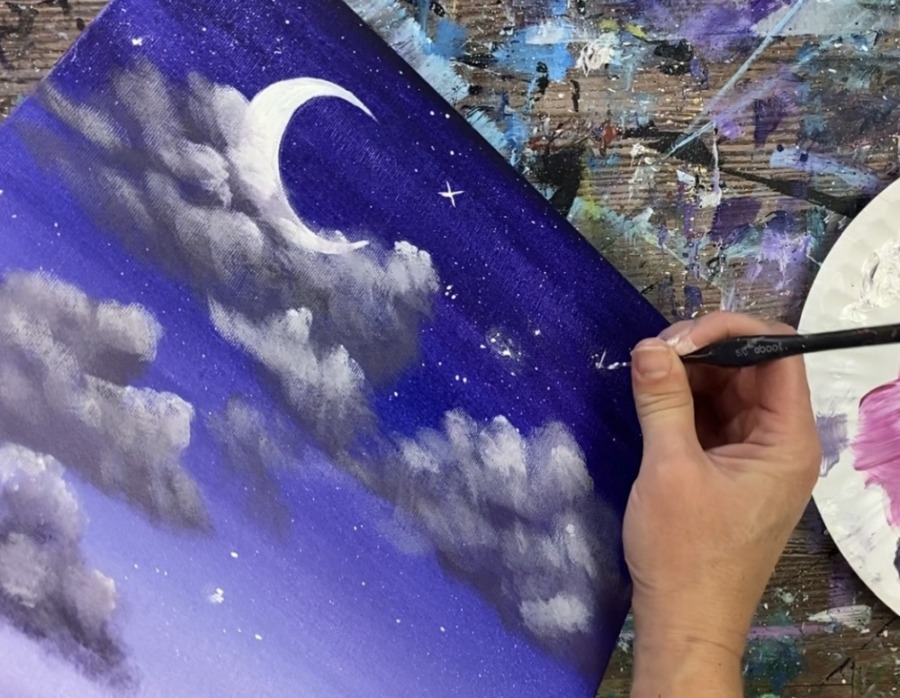
Paint little white clusters of dots all over. If you want, you can make some of your stars with a blue hue in them or gray (I did mine all white). You can also paint some sparkle/diamond stars by painting an “asterisk”. This is easy to do with a white paint pen if you have one.
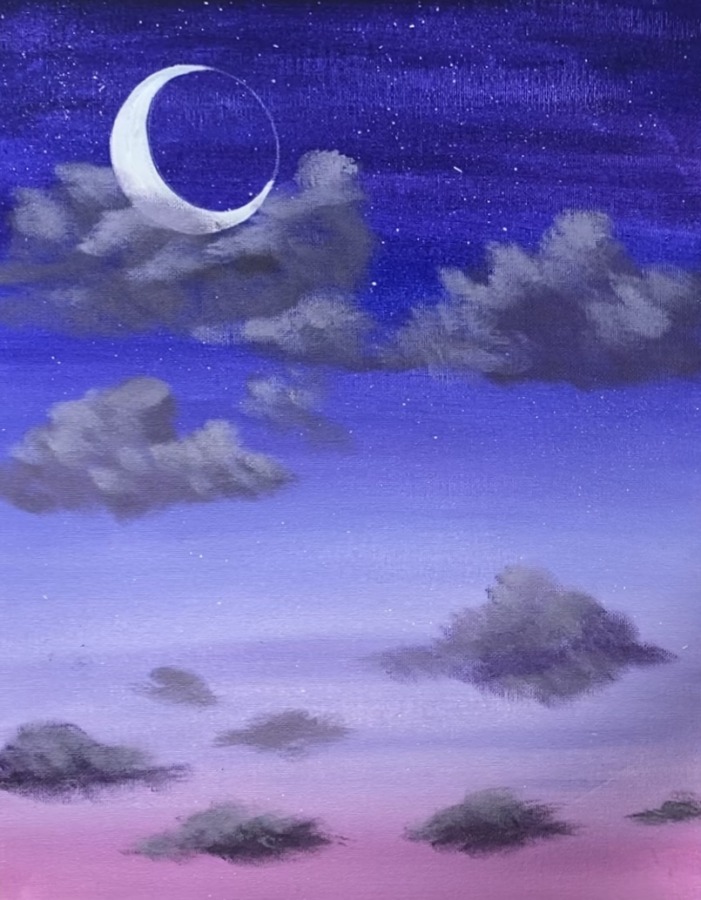
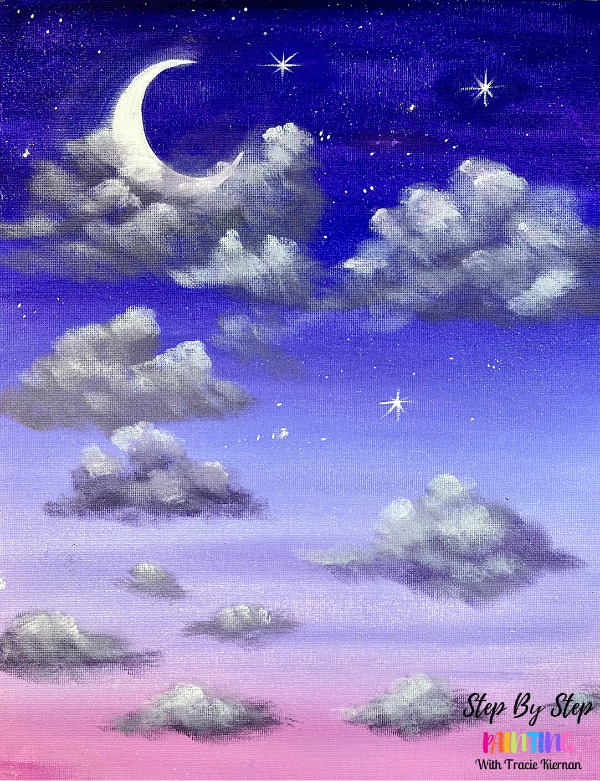
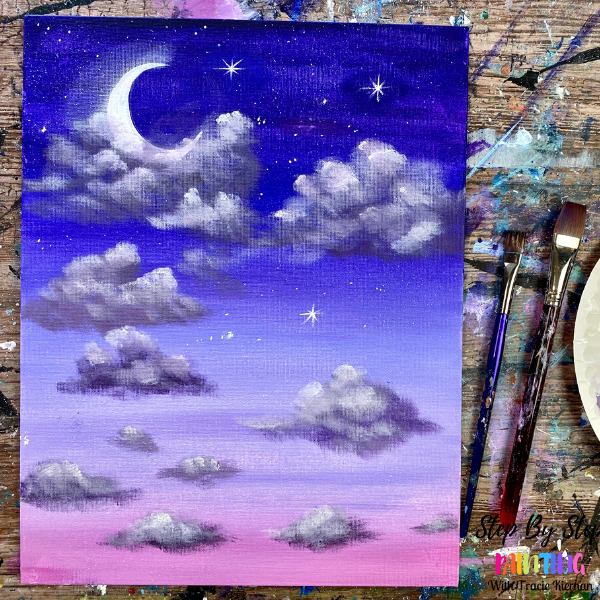
Finished!
That’s it! Hope you enjoyed! If you found these clouds a challenge, I understand! Clouds are a “tough cookie” to learn how to do with acrylic painting. The best advice I can give you is to keep practicing. You will be amazed how much progress you will make with practice.
Share your art here:


