
Would you like to save this?
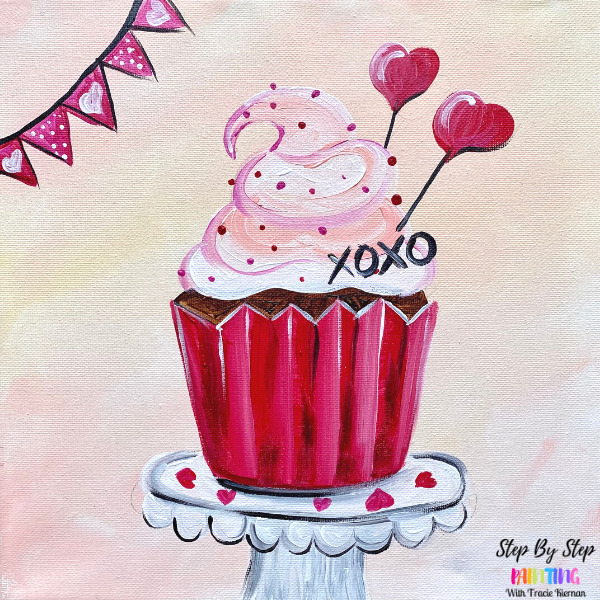
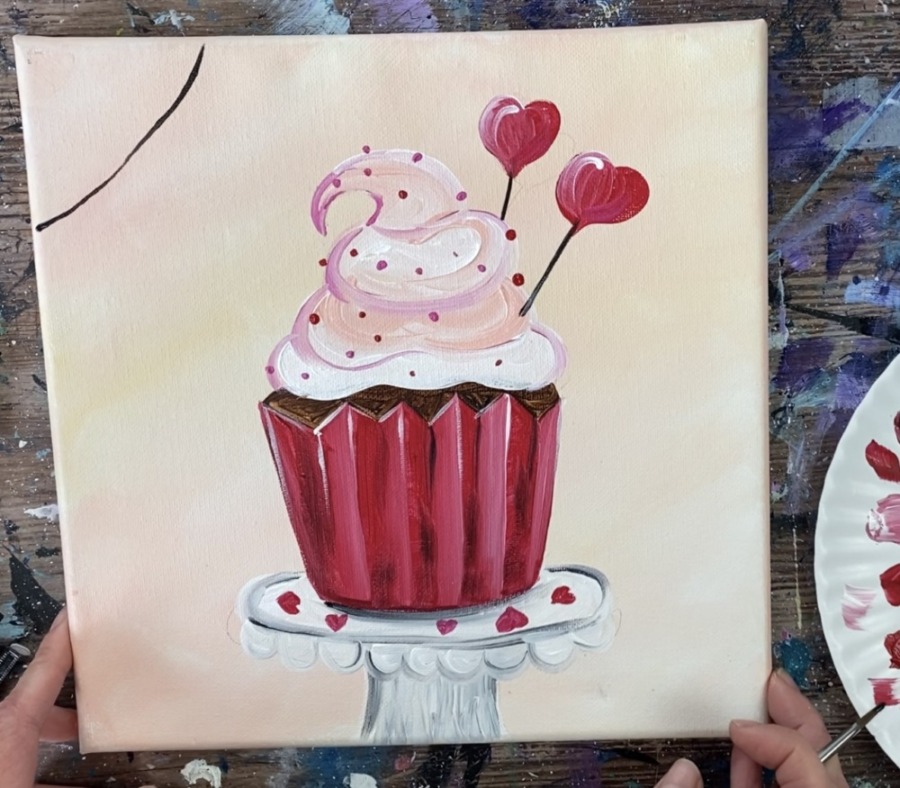
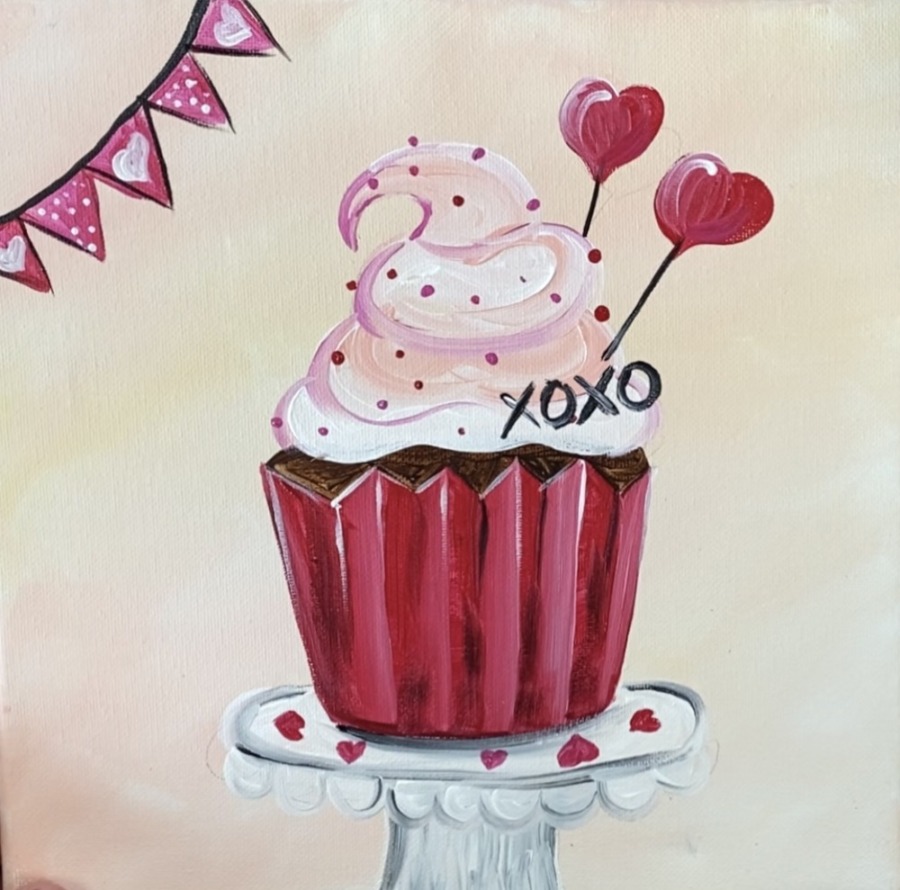
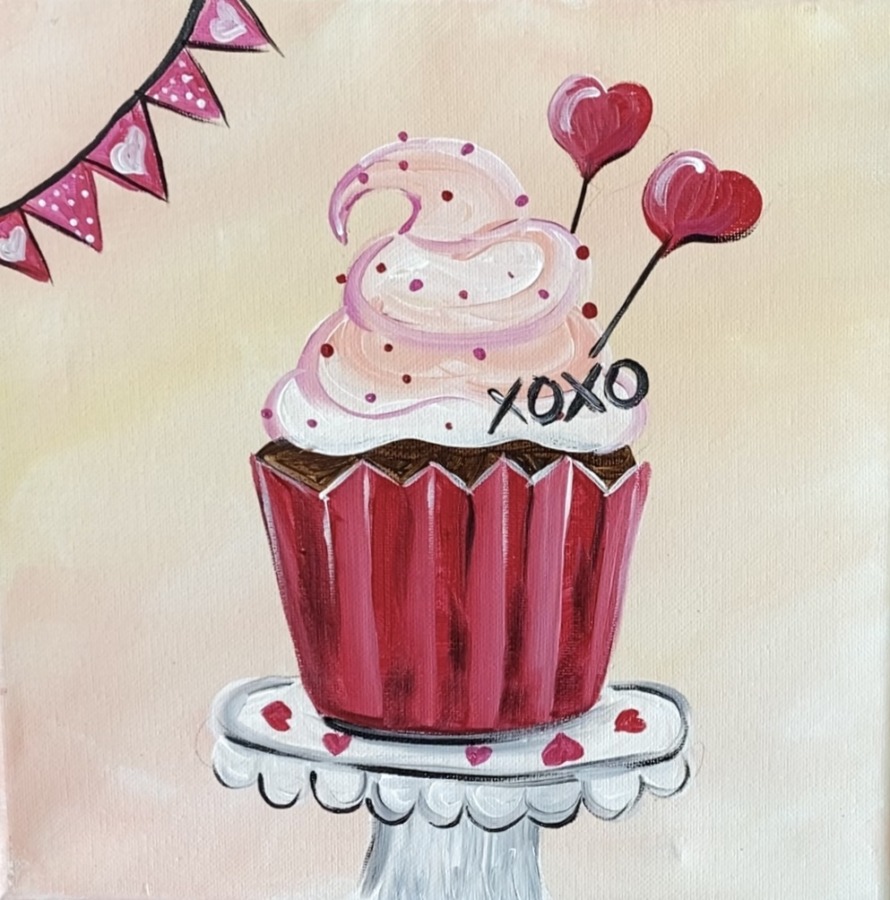
This acrylic painting tutorial for beginners will demonstrate how to paint a cute Valentine’s Day cupcake on a square canvas.
I did this painting on a 10″ x 10″ stretched canvas. The cupcake design drawing will be demonstrated in the video and the written tutorial. If you don’t want to do the drawing, I am also provide a free template that you can download and use to transfer the design to you canvas.
Enjoy and happy painting!
Materials Needed
Cute Valentine's Day Cupcake Painting

Learn how to paint a cute Valentine's Day Cupcake painting with acrylics on a 10 x 10 canvas.
Materials
- 10 x 10 Canvas
- Acrylic Paint
- Brushes
- Optional Traceable Template
- Ruler
- Pencil
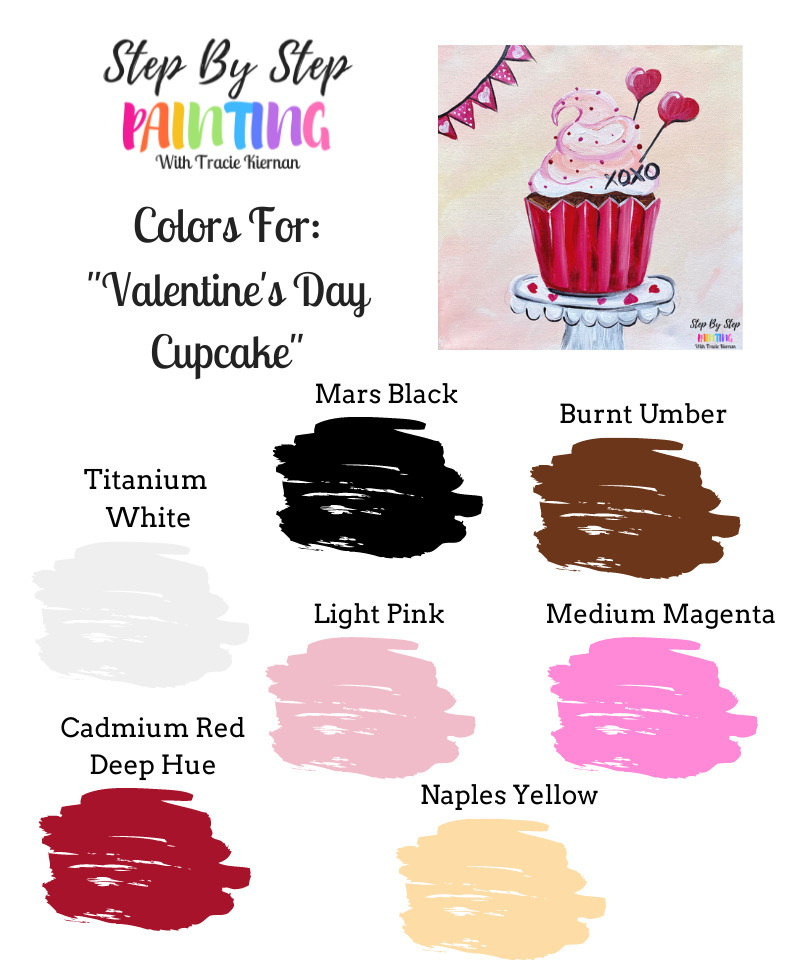
Colors
- Naples Yellow
- Cadmium Red Deep Hue
- Medium Magenta
- Light Pink
- Titanium White
- Mars Black
- Burnt Umber
Brushes
Color Palette
I use Liquitex BASICS acrylic paint for my tutorials!
Using Craft Paints?
If you are using craft paints such as the Apple Barrel Craft Paints, I would suggest substituting with these colors:
- White
- Black
- Cameo Pink
- Red Apple
- Candy Pink
- Pale Daffodil
- Brown Oxide
Traceable

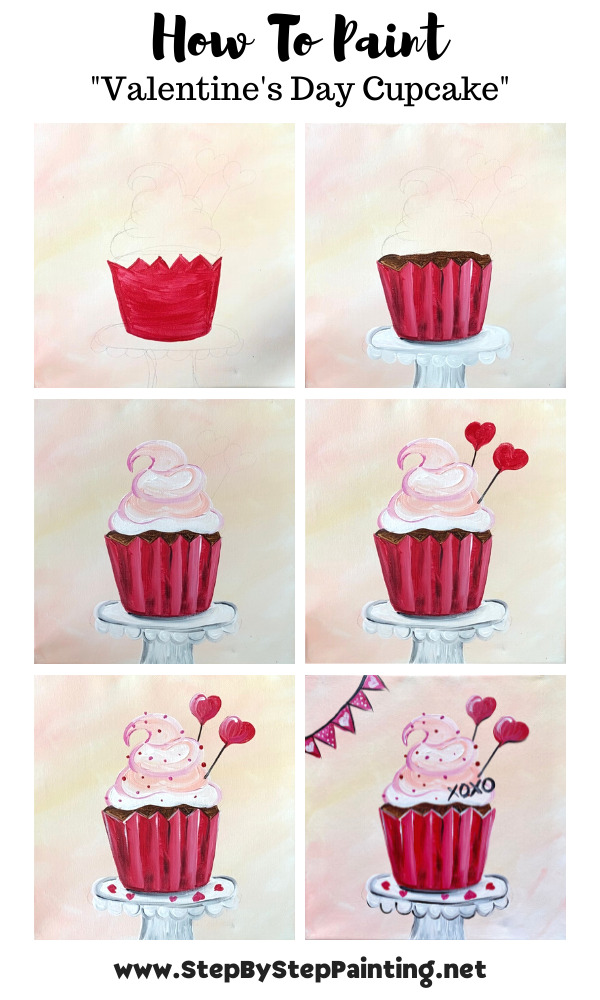
Directions At A Glance
Video
Step By Step Instructions
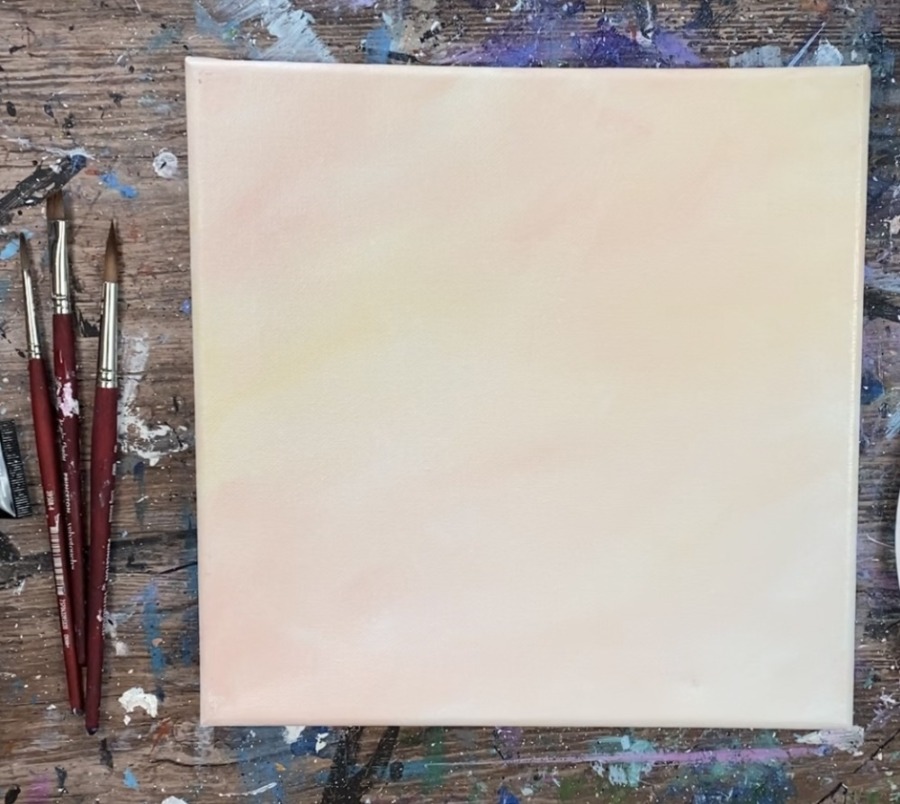
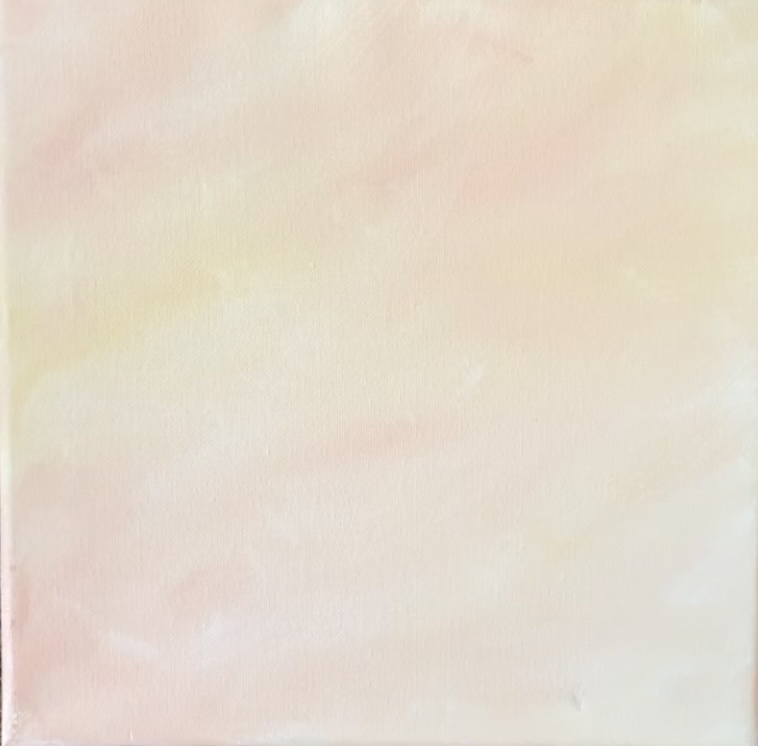
1. Paint Background
Use your 3/4″ flat wash brush to triple load the brush in three colors: titanium white, Naples yellow and light pink. Load a higher proportion of white to the other two colors so the background is very light.
Paint expressive strokes doing wet on wet blending (blending the colors on the canvas).
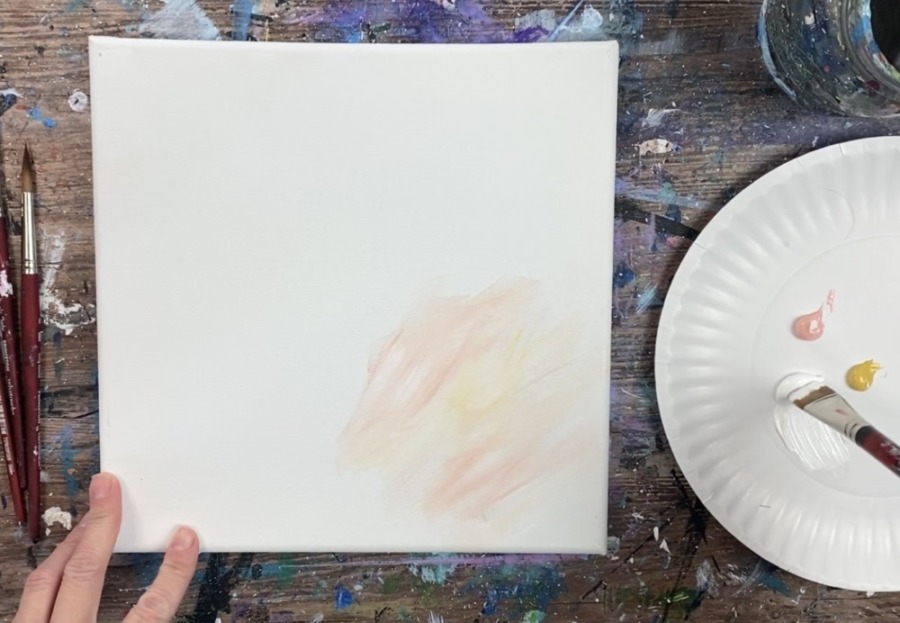
Fill the entire canvas with this color combination. Make sure you’re only using small amounts of the Naples yellow and the pink to keep the background very light and neutral.
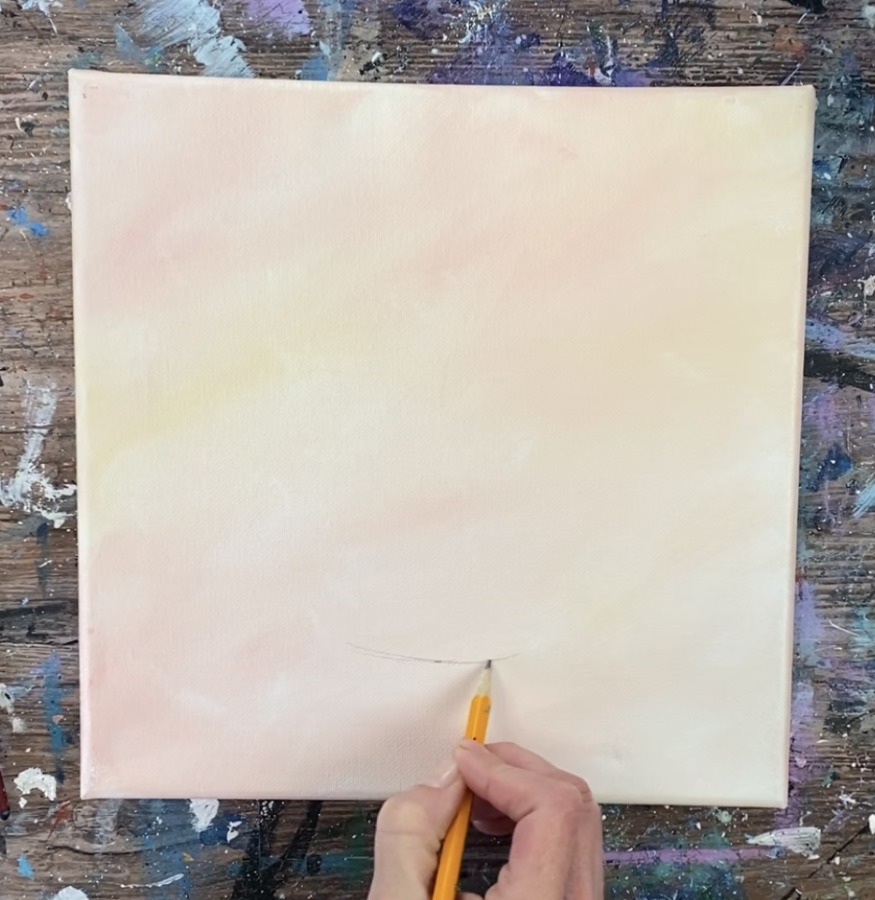
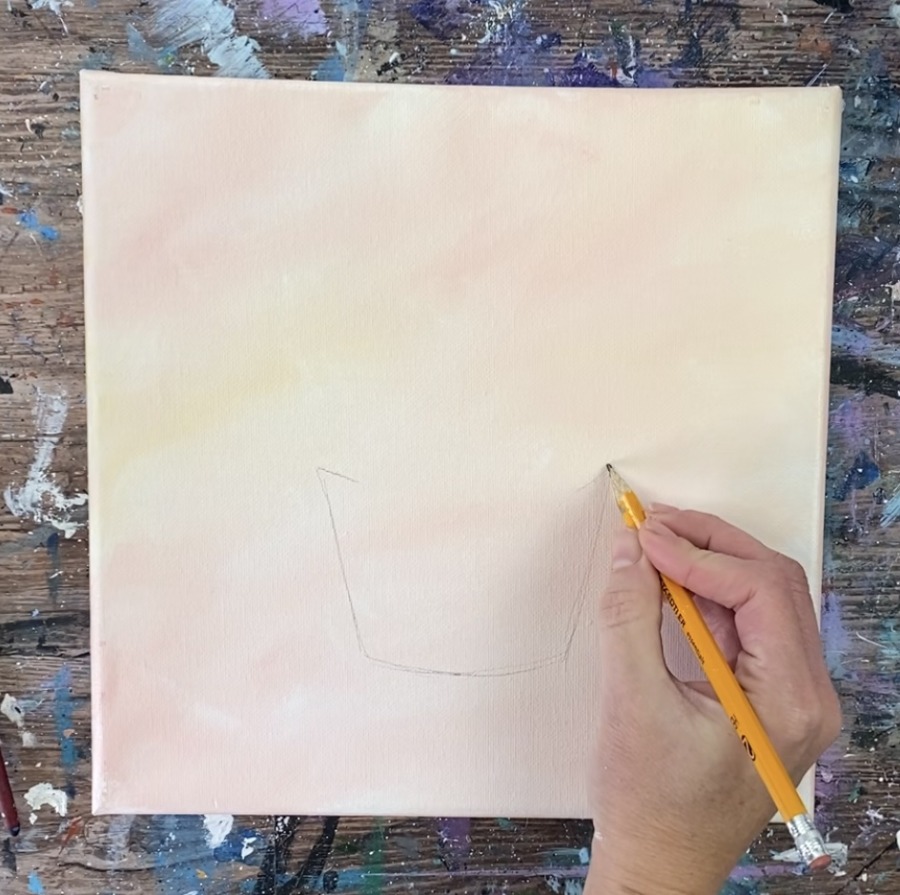
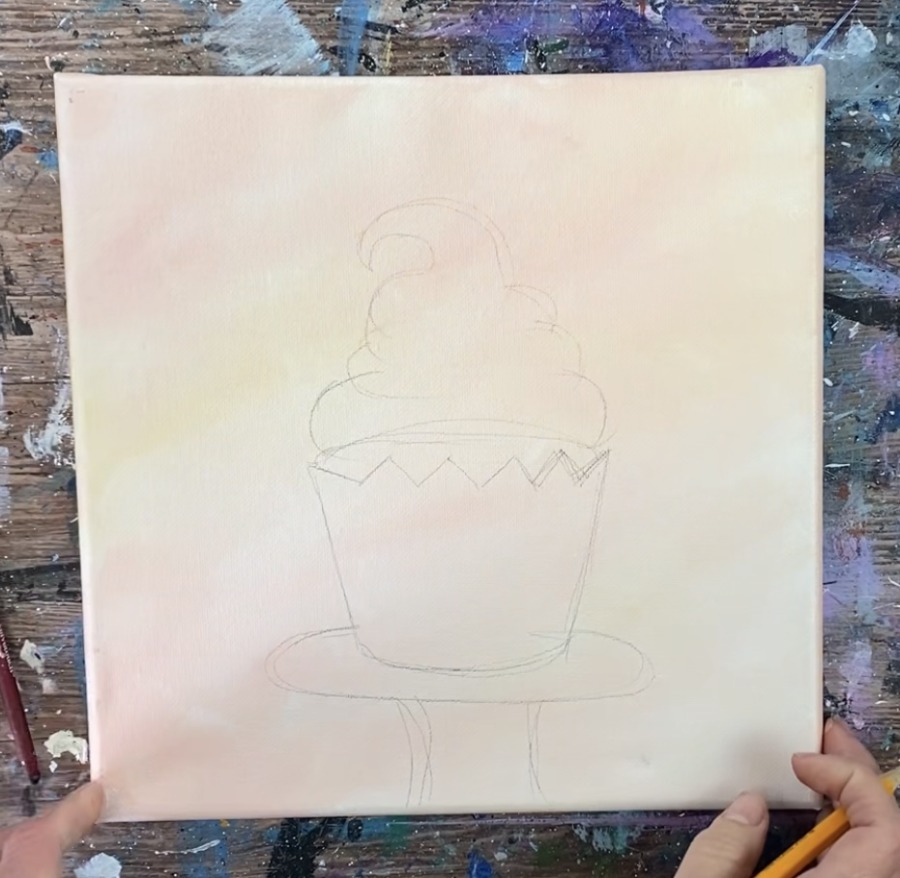
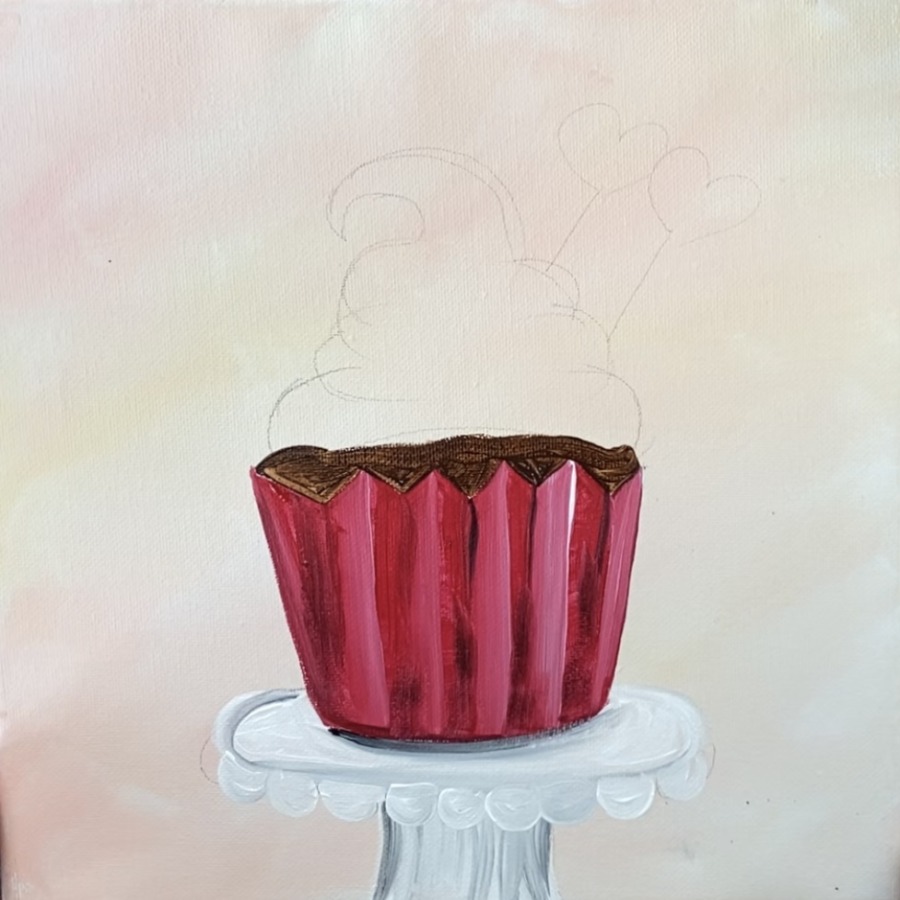
2. Draw Cupcake
Use a pencil to lightly draw the cupcake design on the canvas or use the traceable template and a sheet of graphite paper to transfer the design.
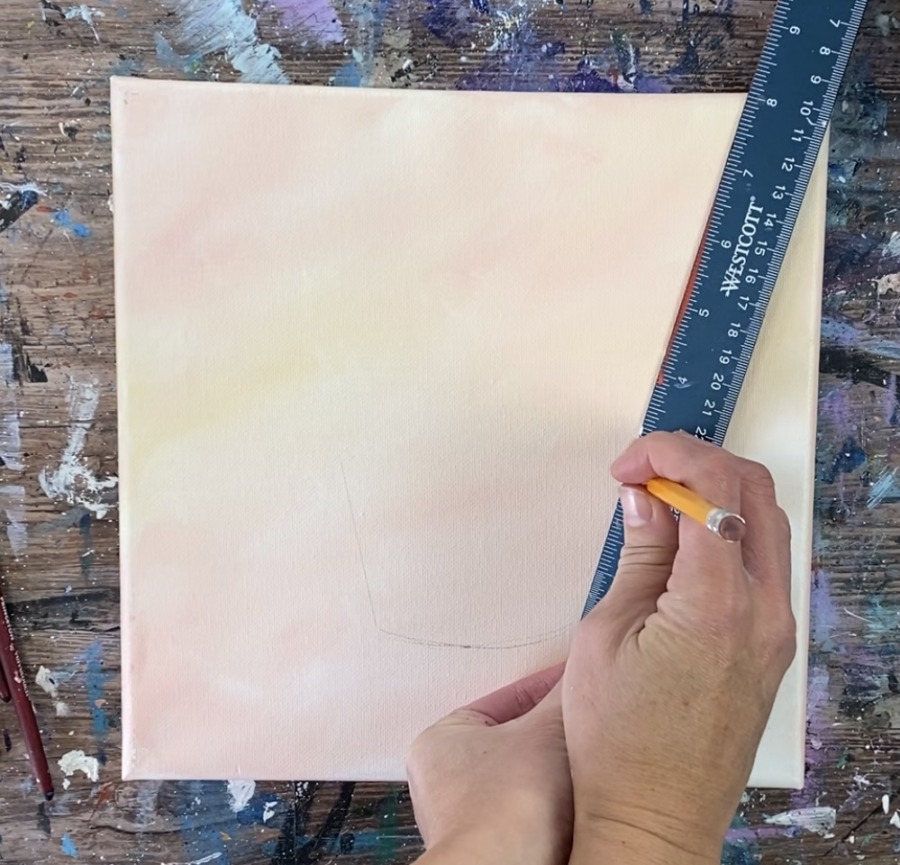
Draw the bottom curve of the cupcake liner. The position of this is about 2.5″ from the bottom of the canvas.
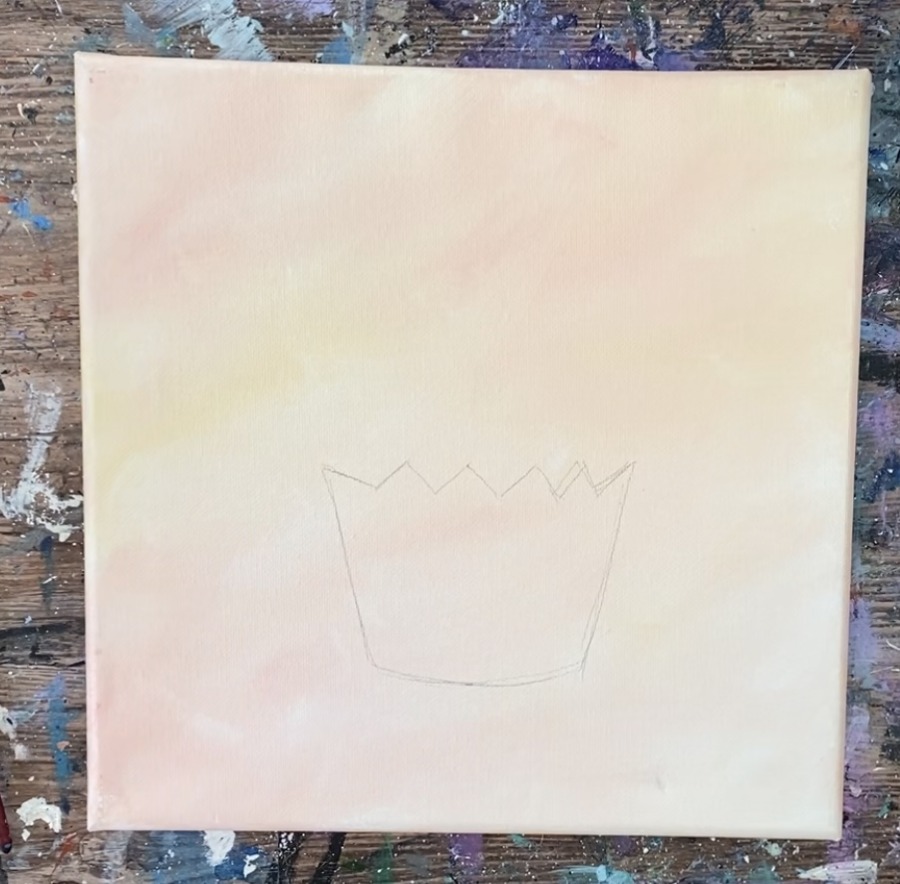
Then draw two diagonal lines on each side. These lines are about 2.5″.
Then draw zig-zag, triangular lines across the top of the liner.
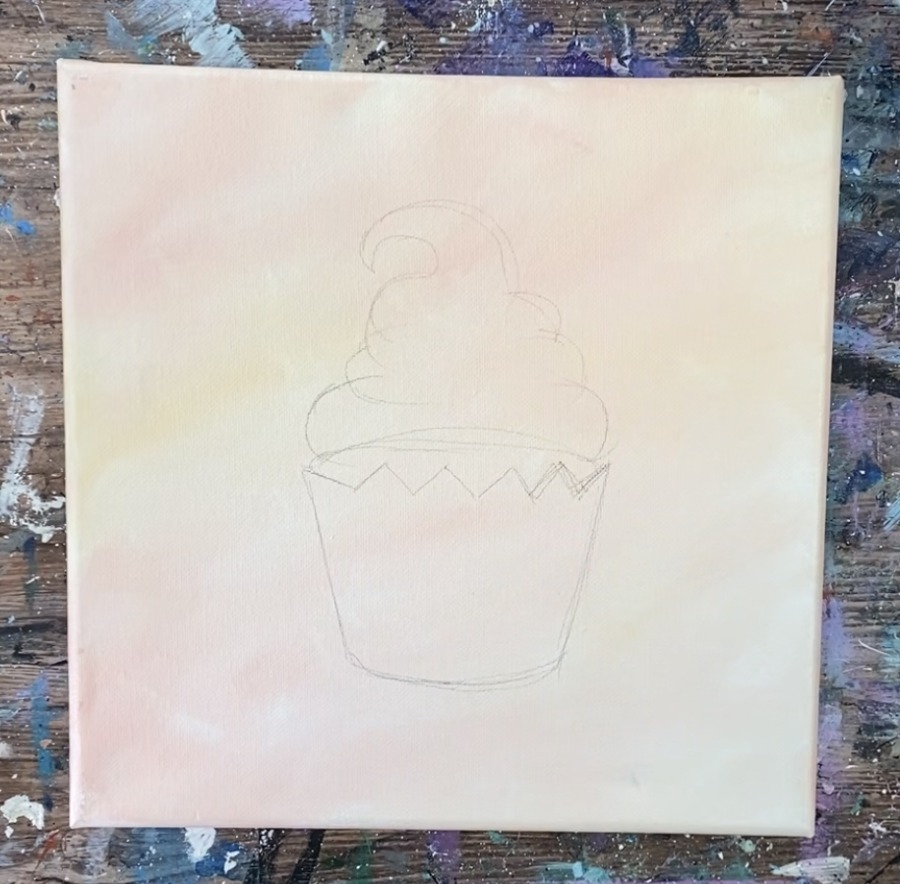
Then draw an arc line above the zig-zags.

Draw the frosting using curved lines forming the shape of the frosting that goes to a point on the top.
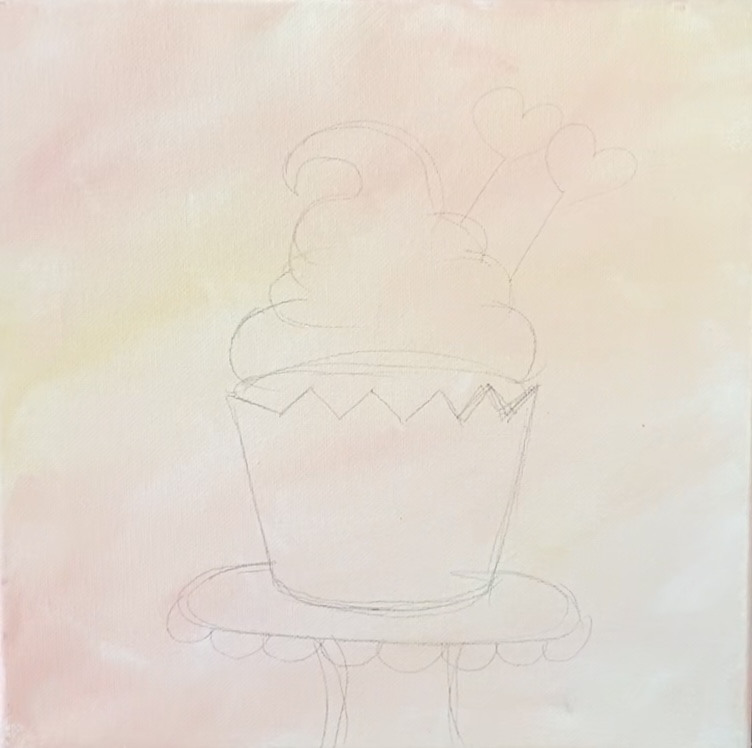
Draw an oval elliptical shape below the cupcake.
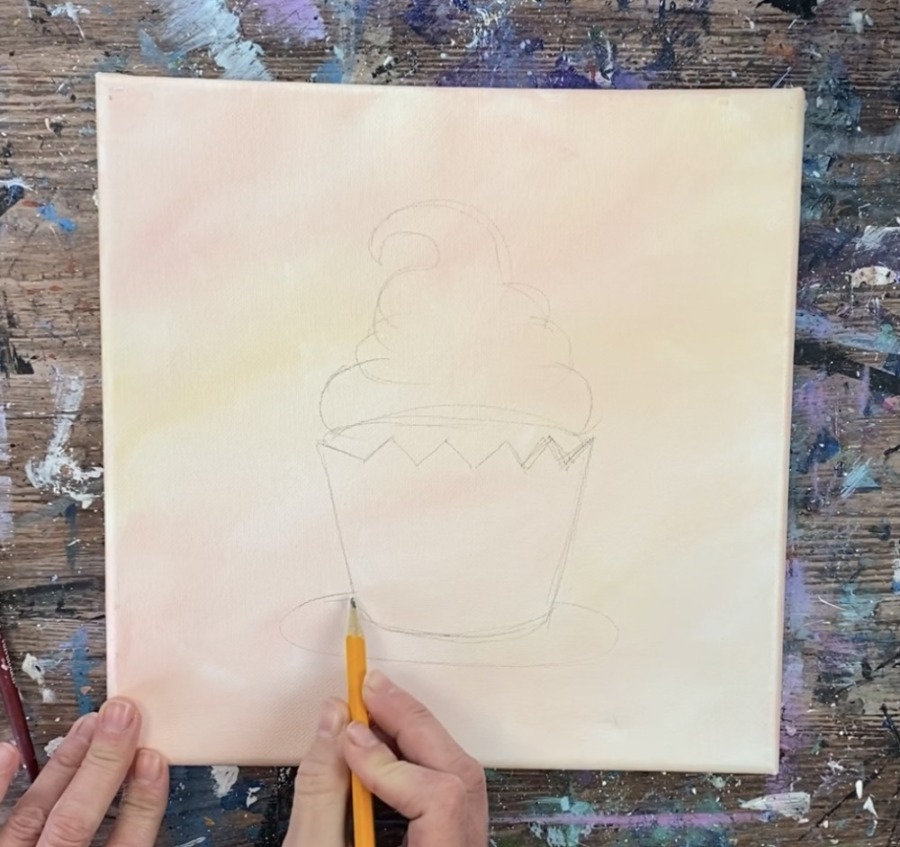
Then draw two curved lines under that oval piece to complete the shape of the stand.
Then draw a scalloped edge under the bottom of the plate of the stand. Draw two heart shaped lollipops on the side of the frosting.
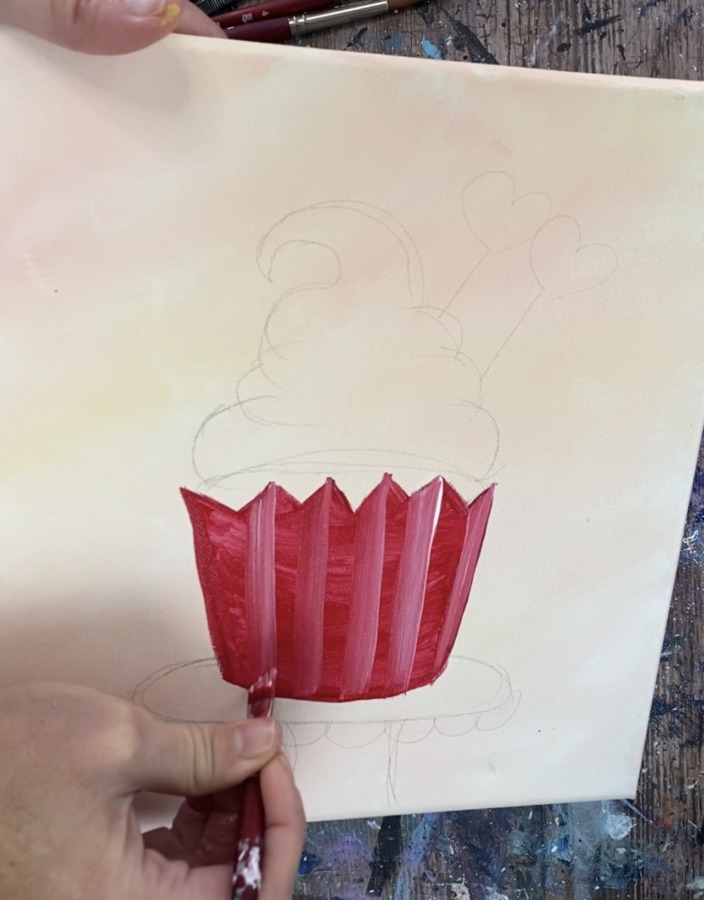
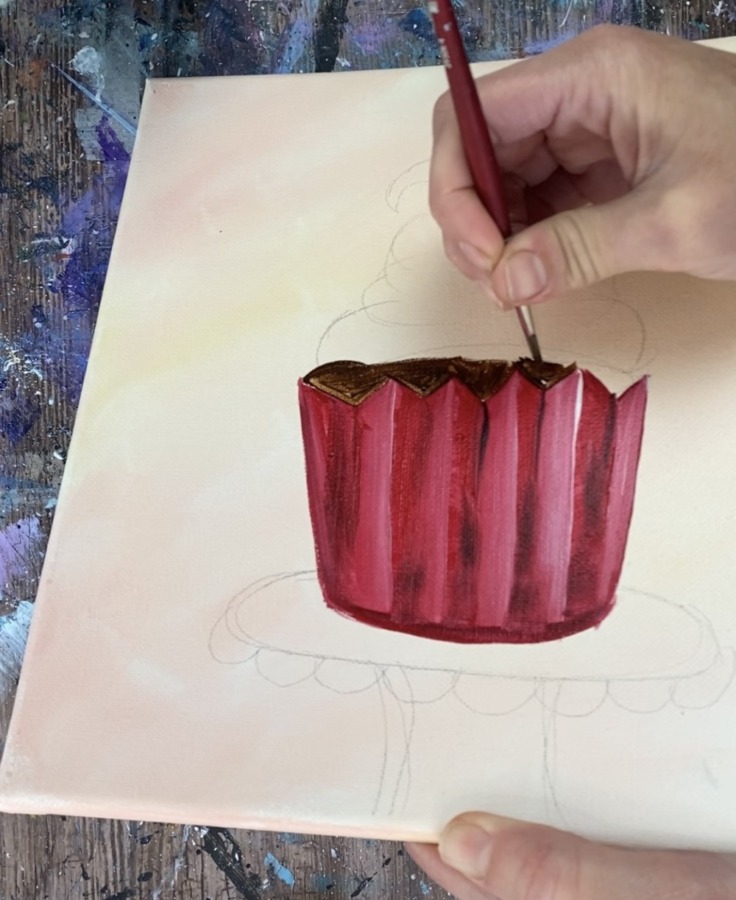
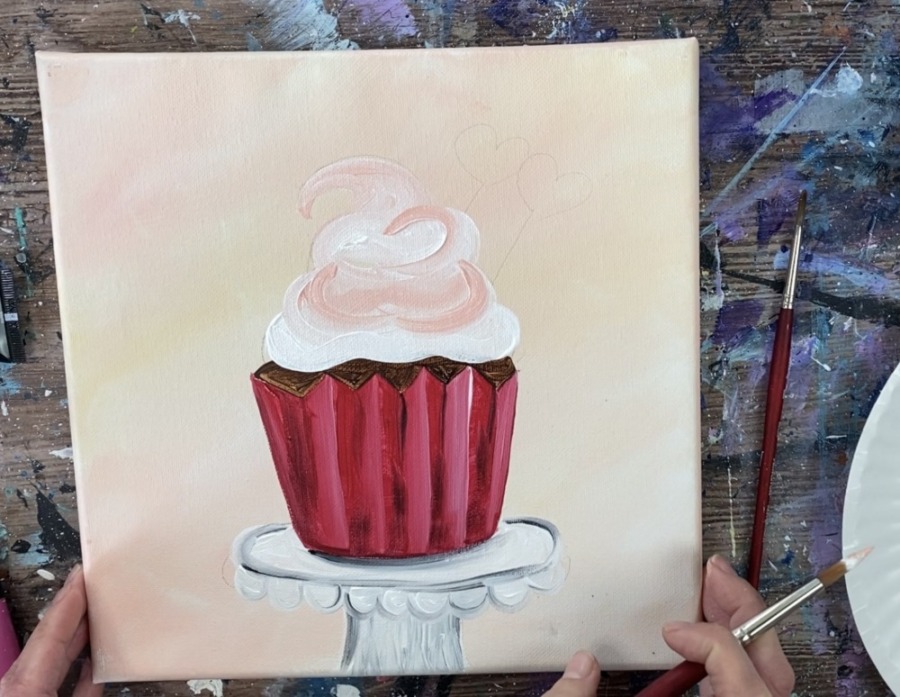
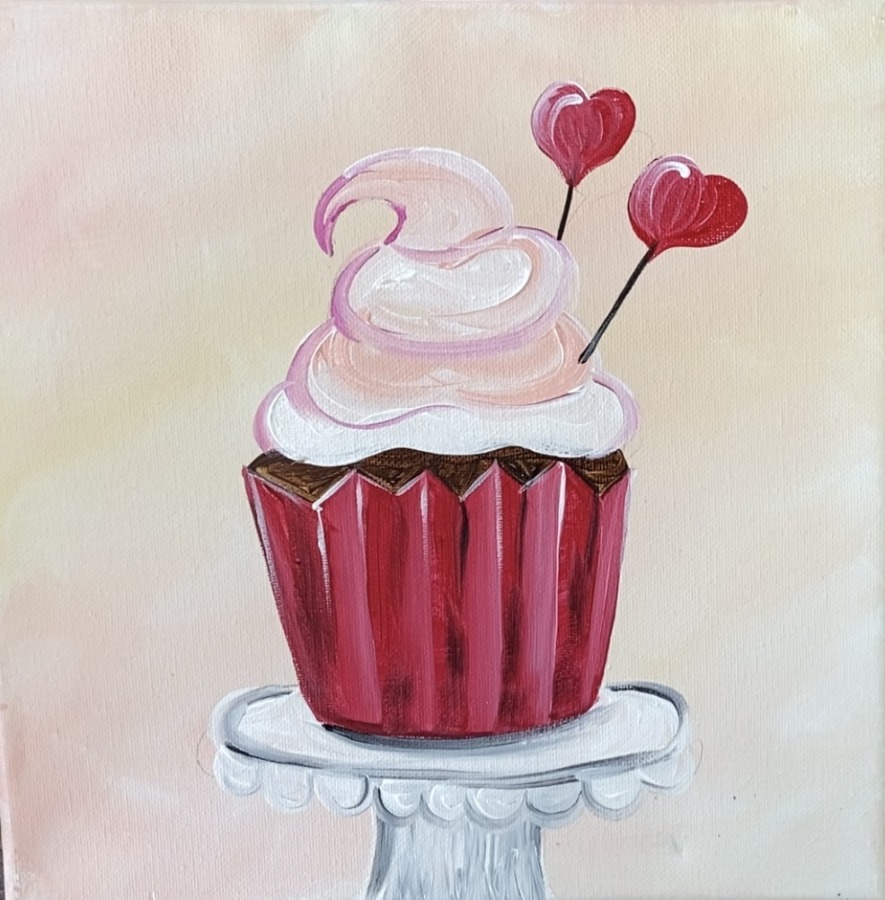
3. Paint Cupcake Liner
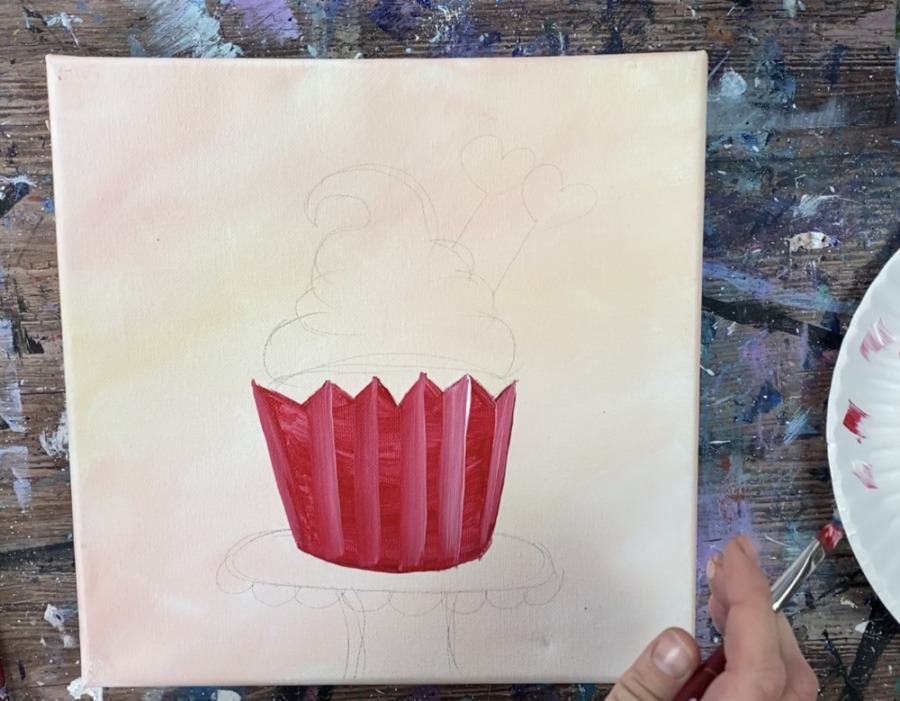
Use a 3/8″ angle brush to paint the liner of the cupcake a solid coat of cadmium red deep hue.
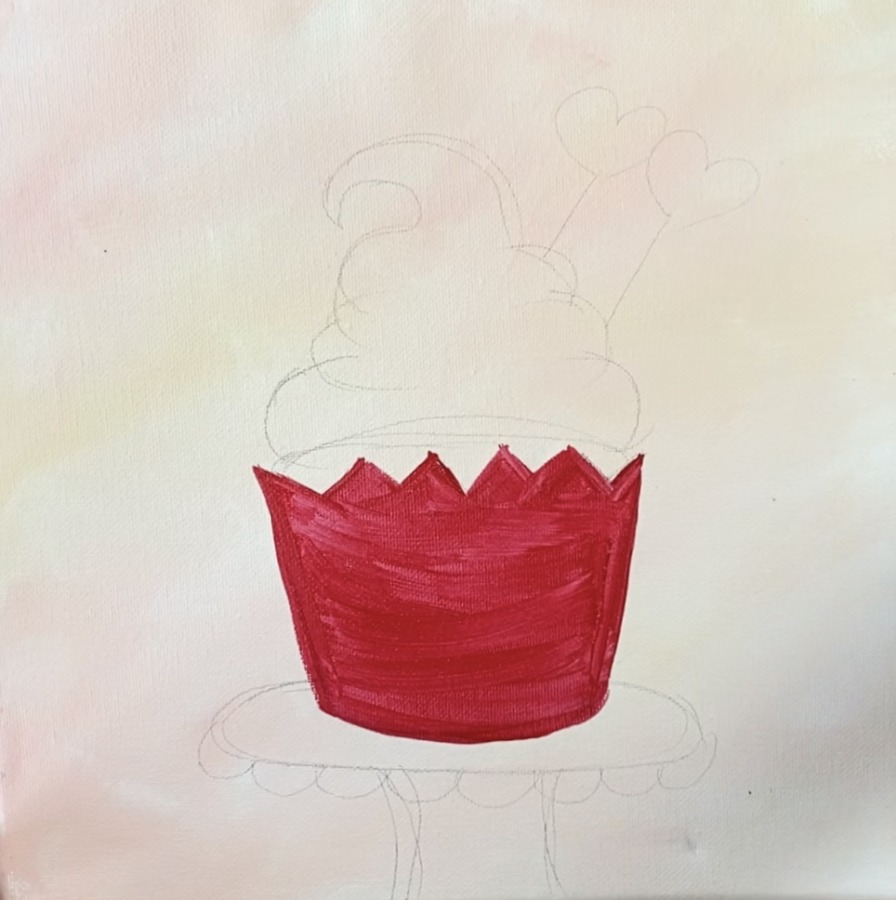
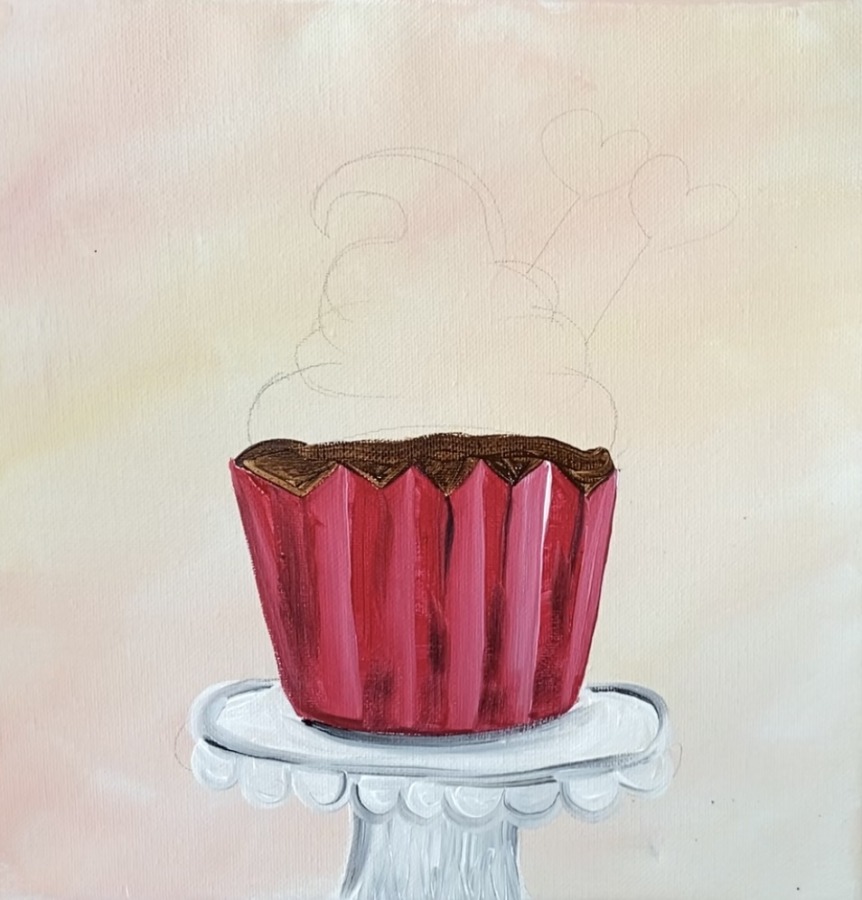
Then mix some white into the red. Use the angle brush to paint this lighter red color on the left side of each of the triangle pieces.
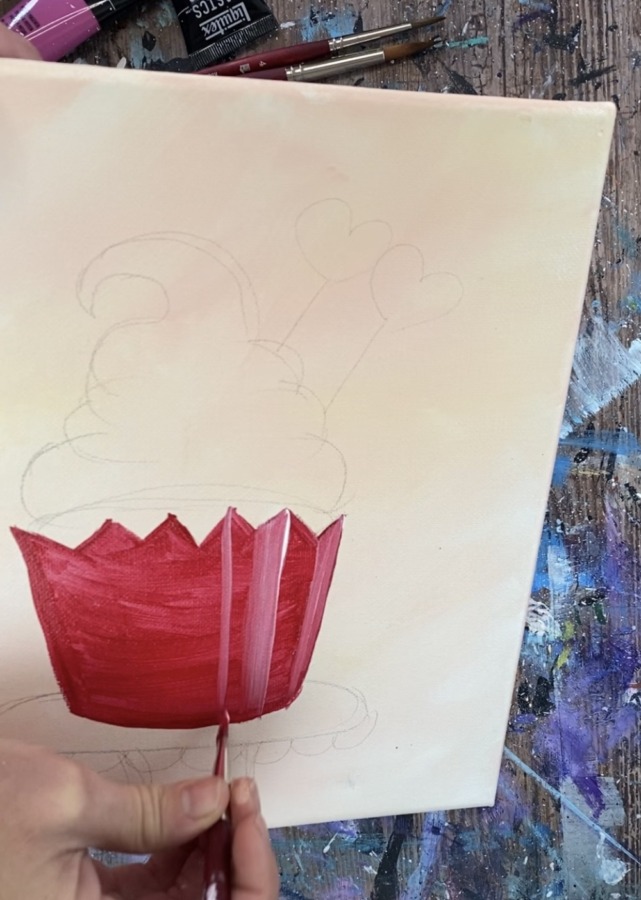
Use the angle brush to stroke downwards starting at the top of the triangle piece and going to the bottom of the liner. This was done on the left side of each of the triangles. There will be wet-on-wet blending because the first coat of paint is not dry yet (and that is okay).
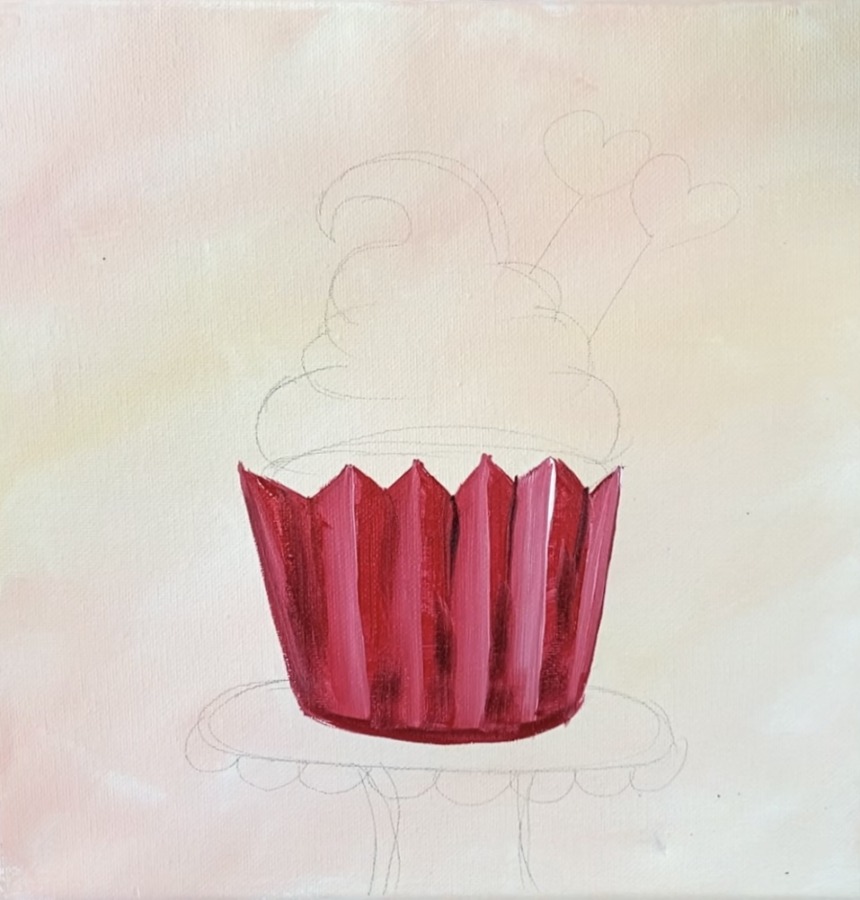
Then mix a small amount of black into the dark red. Paint some of this dark red-black color on the right side of the lighter color strokes. You don’t have to cover all of the red, just a few strokes of that darker color to give it some shadow.
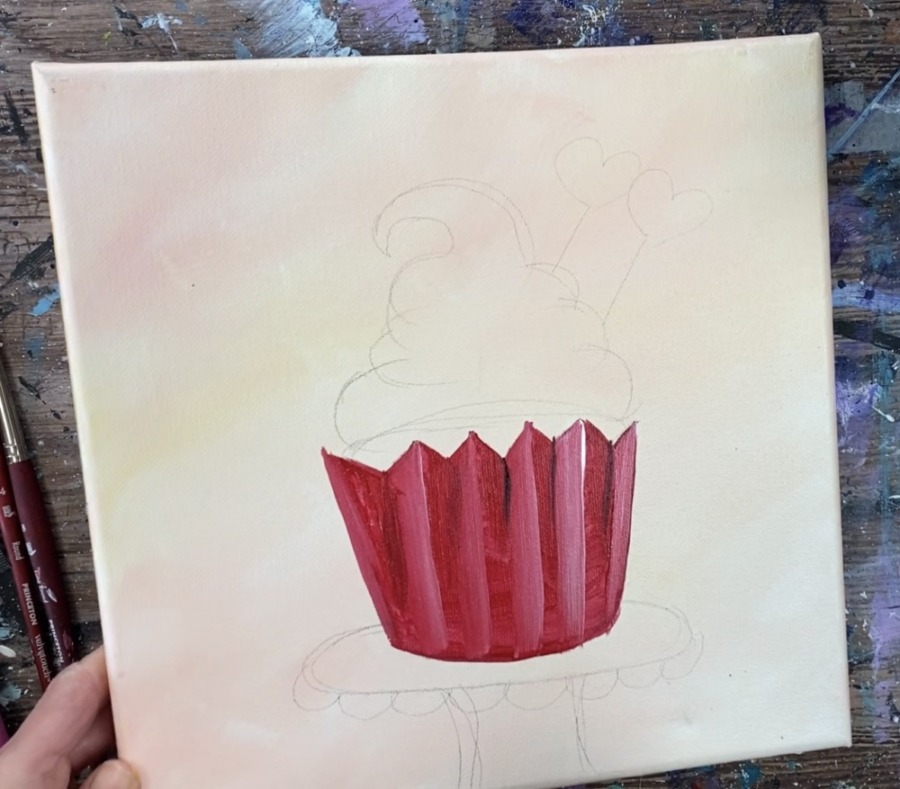
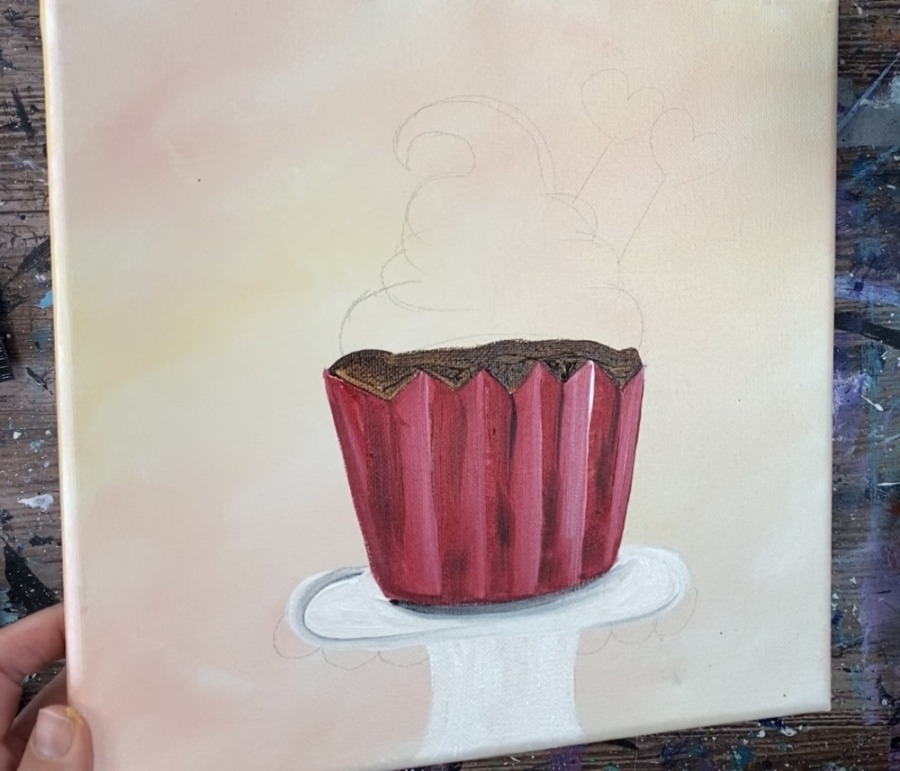
Loosely outline the bottom arc of the cupcake liner.
4. Paint Chocolate Cake
Use a round brush to paint the chocolate “arc” part of the cupcake that is below the frosting. Do this with burnt umber.

5. Paint Cupcake Stand
Use a #4 round brush to paint the shape of the stand titanium white.
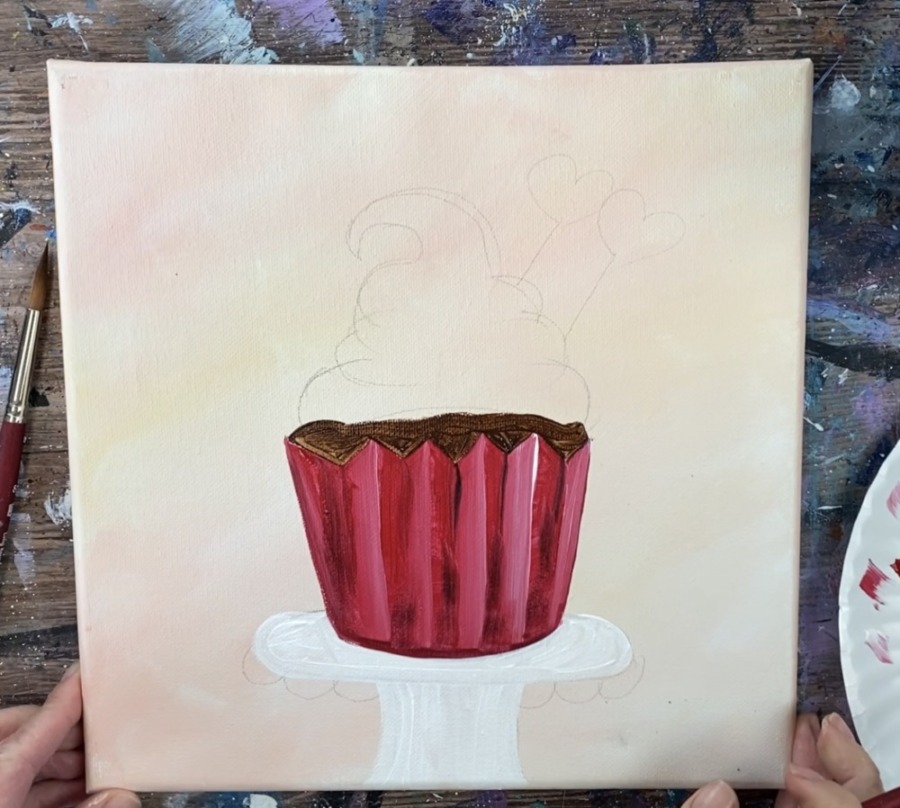
Then mix a light gray on your palette by mixing a little bit of mars black into titanium white (about 1 part black to 3-4 parts white). Blend that gray below the bottom of the cupcake liner for shadow. Loosely outline the edges of the base of the stand.
Then paint some gray on the stand base. Strokes go in the direction of the shape you are filling in.
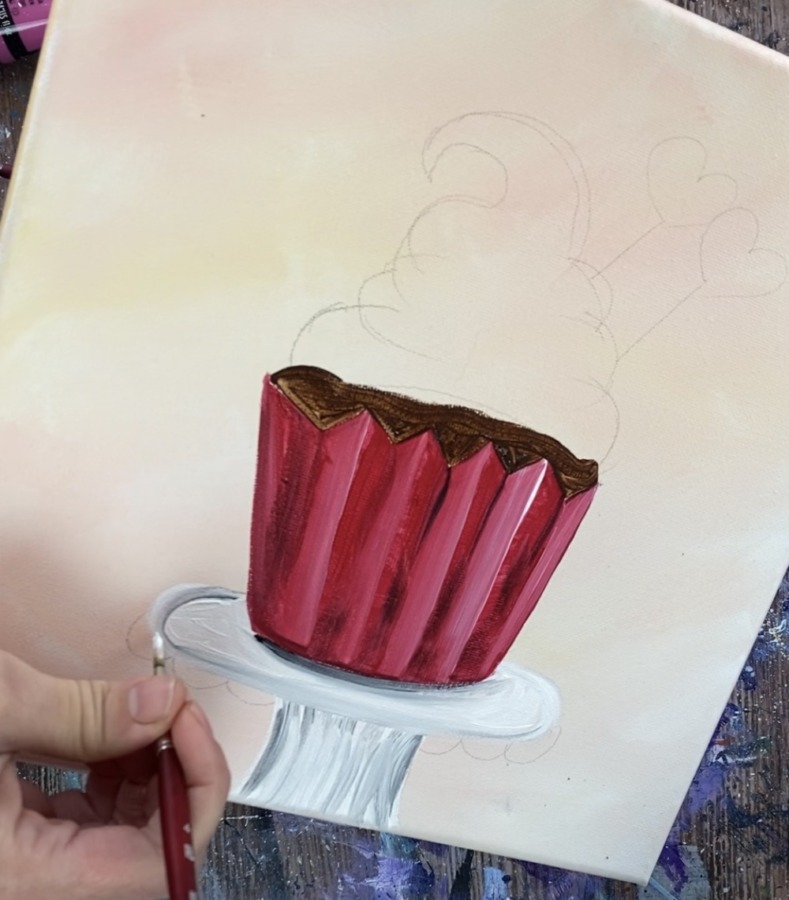
Then paint the scallop shapes under the plate of the base. Vary the color of the white and the gray to get contrast and so that the scallop shapes stand out.
Then loosely outline the base and the scallop shapes with more gray. Add a small amount of black below the cupcake base for more shadow.
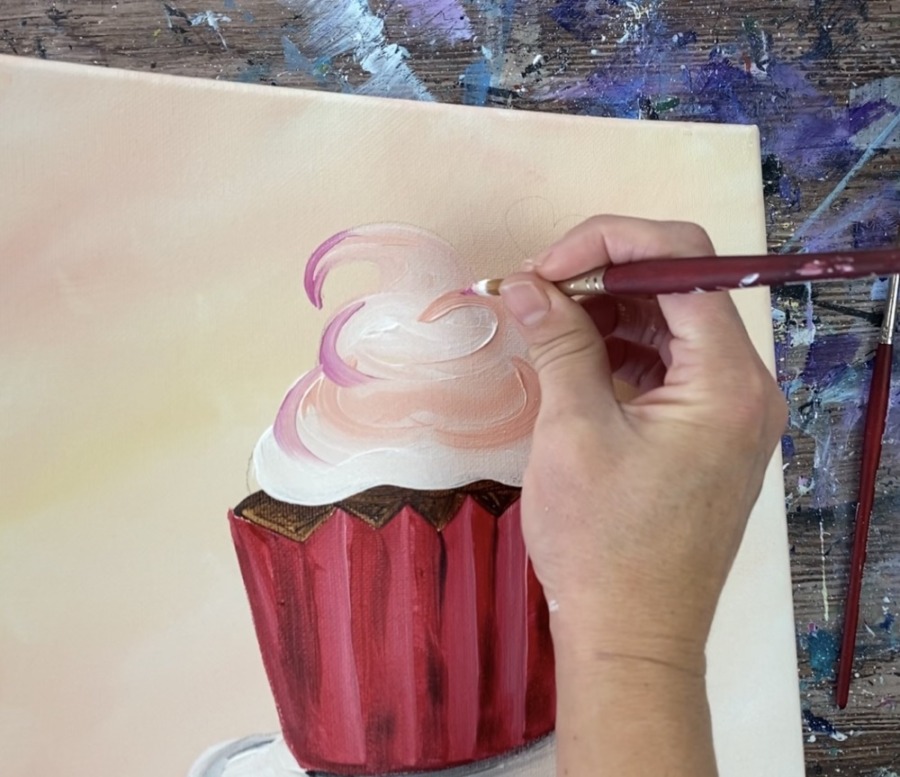
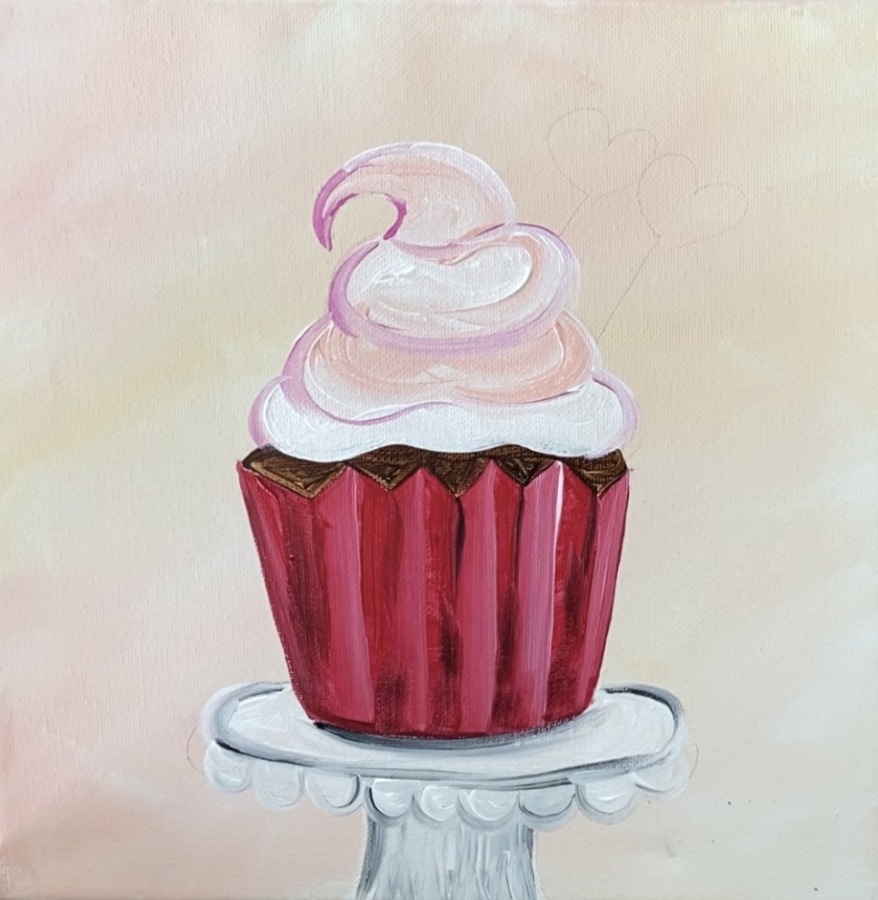
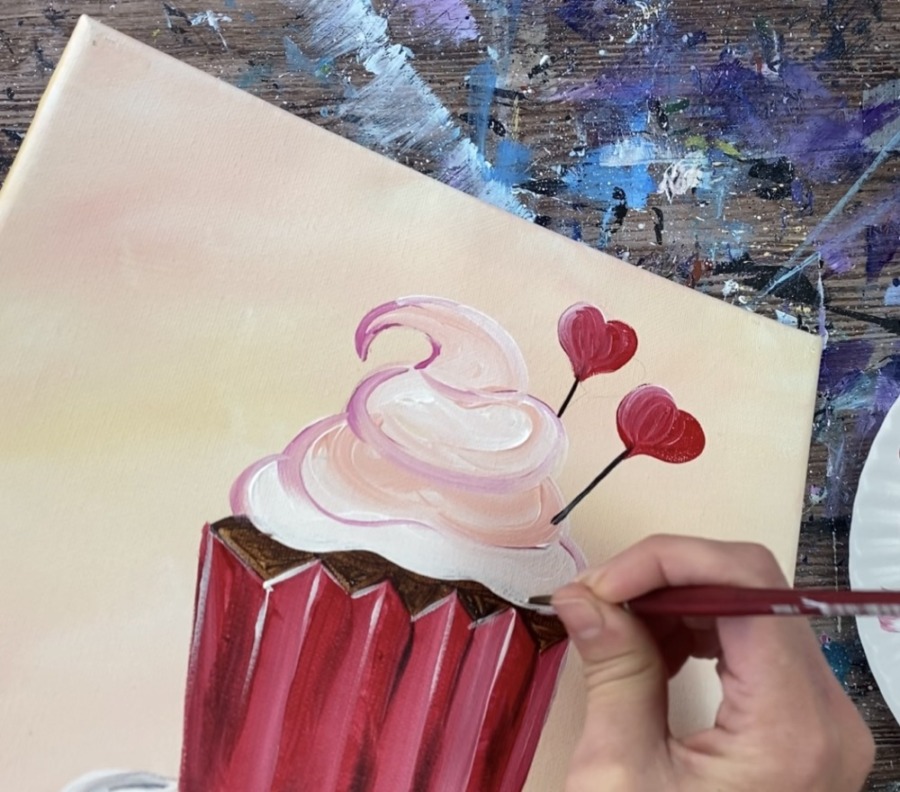
6. Paint Frosting
The technique used to paint the frosting is the same technique used in this cupcake painting tutorial. You want to do thick, curved strokes gently blending colors on the canvas.
Use your #8 round brush. Double load it in both titanium white and light pink. Start at the bottom of the frosting. Paint thick, wavy strokes allowing the white and the pink to gently blend together.
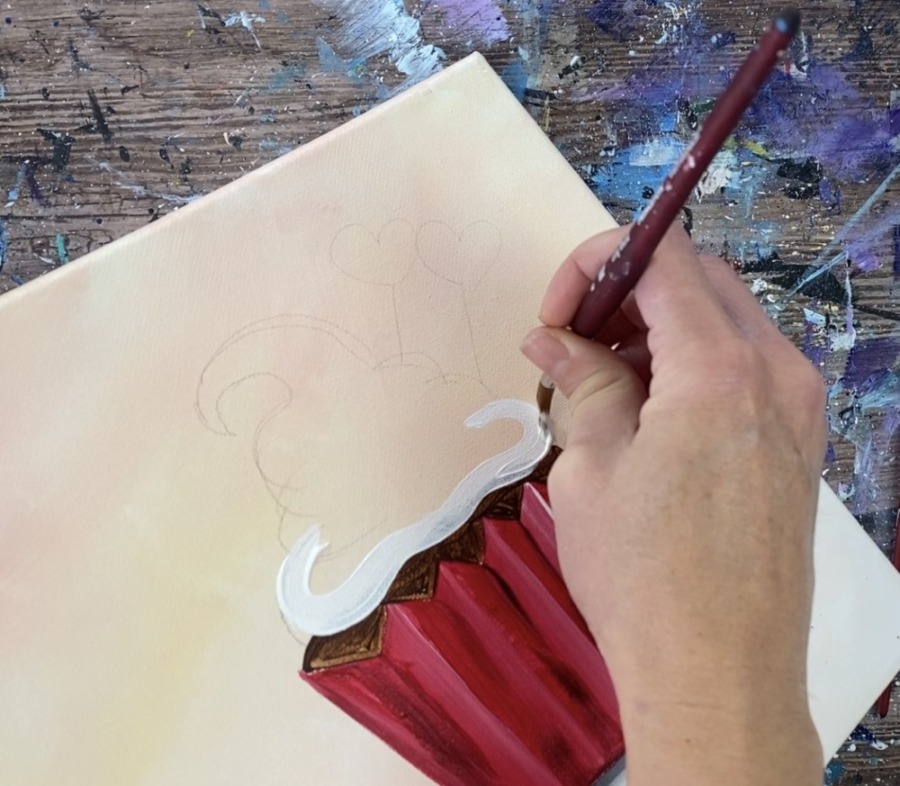
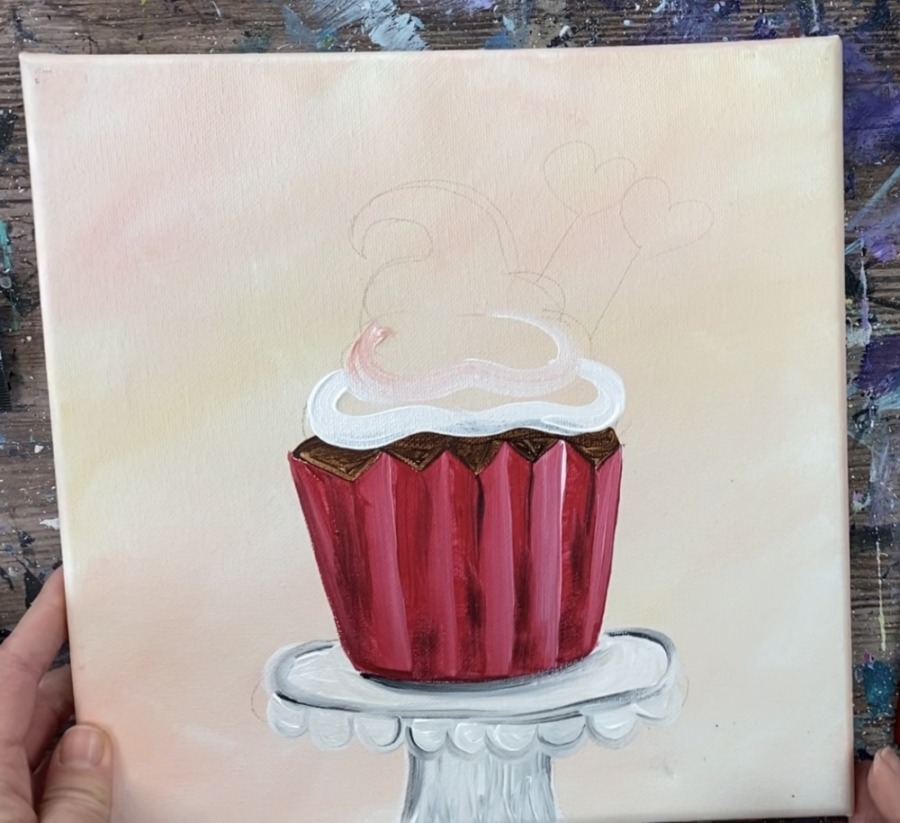
Paint in wavy strokes working your way up to the top tip/dollop of the frosting. Try not to over blend the white and the pink.
To create contrast, add some medium magenta to your palette. Load a small amount of the magenta to the tip of your brush and loosely outline some of the edges of the frosting allowing that magenta to slightly blend.
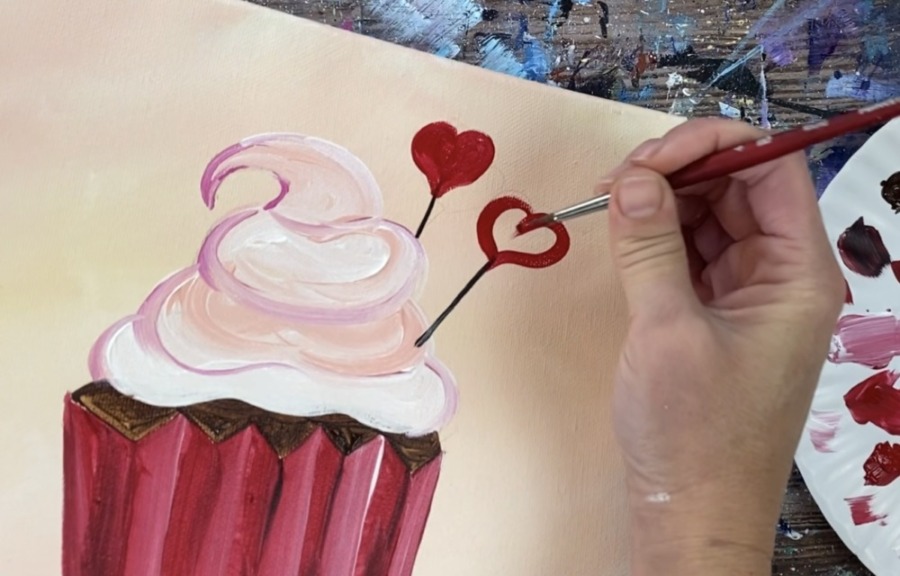
7. Paint Candy Heart Decorations
Use a #4 round brush and mars black to paint two diagonal lines for the sticks of the candy hearts.
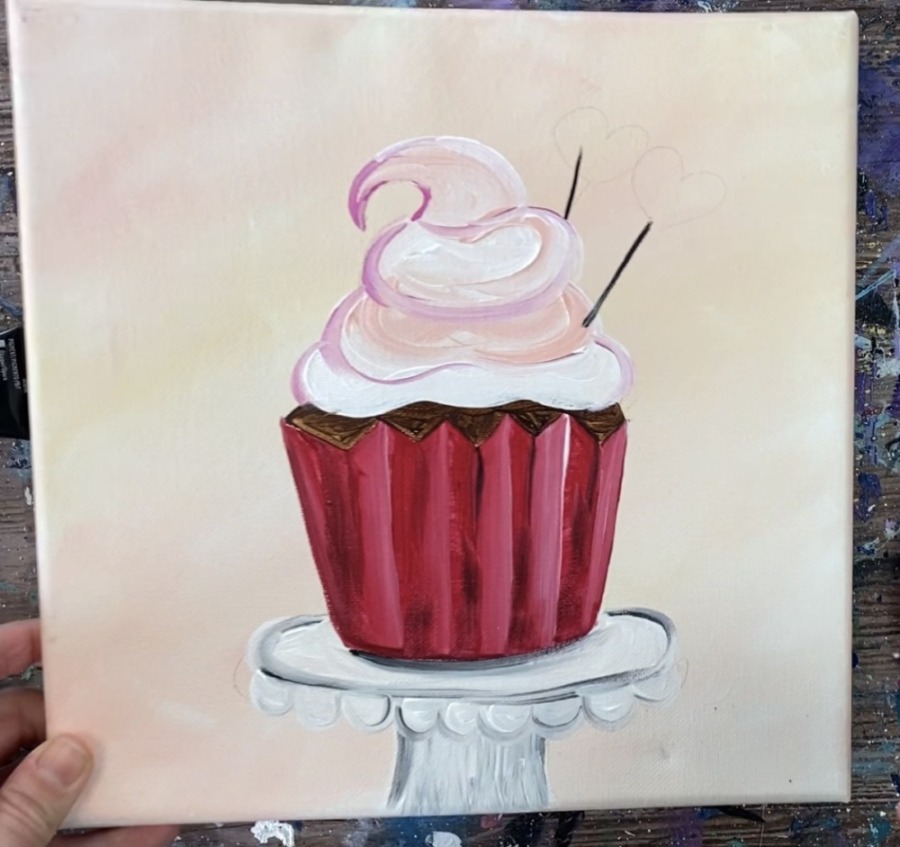
Paint the two hearts on the ends of the lines. Use a #4 round brush and cadmium red deep hue to paint the shapes solid.
8. Paint Highlights On Cupcake Liner & Candy Hearts
Blend a little titanium white on the left side of the hearts blending it gently into the red.
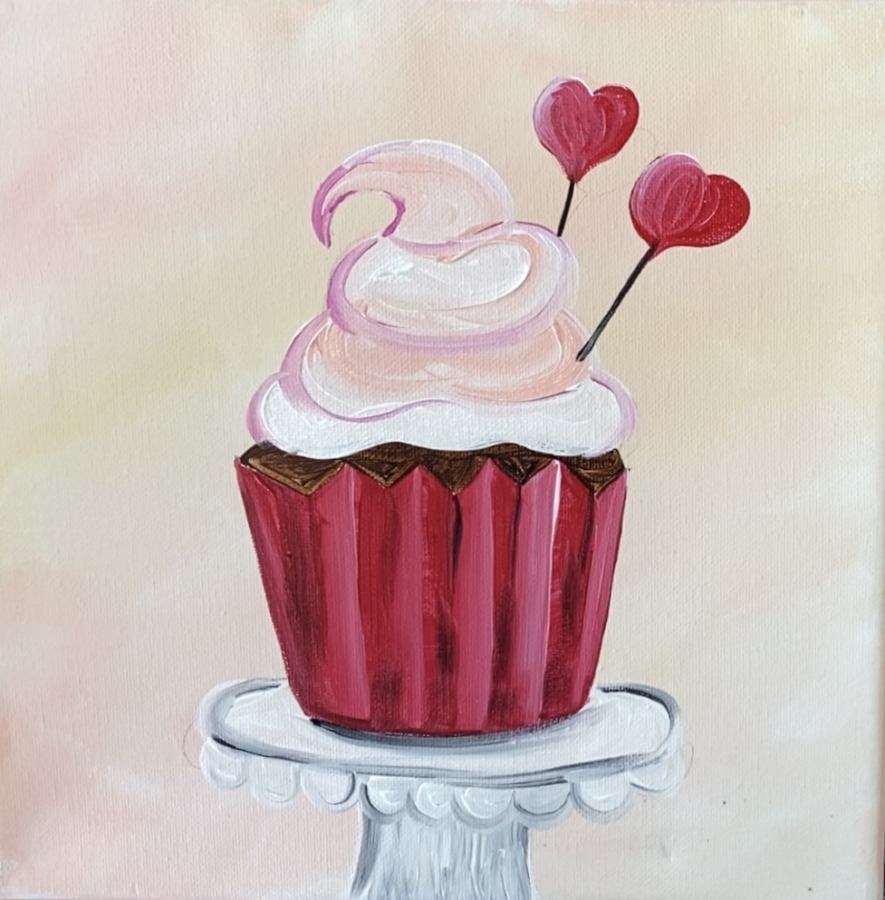
Using the #4 round brush and titanium white on the tip, loosely outline the top part of the liner (zig-zag part) and some of the vertical lines that go from the top of the triangle tip down.
The vertical white lines that go from the top tip of the triangles down do not go all the way down to the bottom of the liner. They are “loose” and not solid. This gives your liner a little bit of contrast and form.
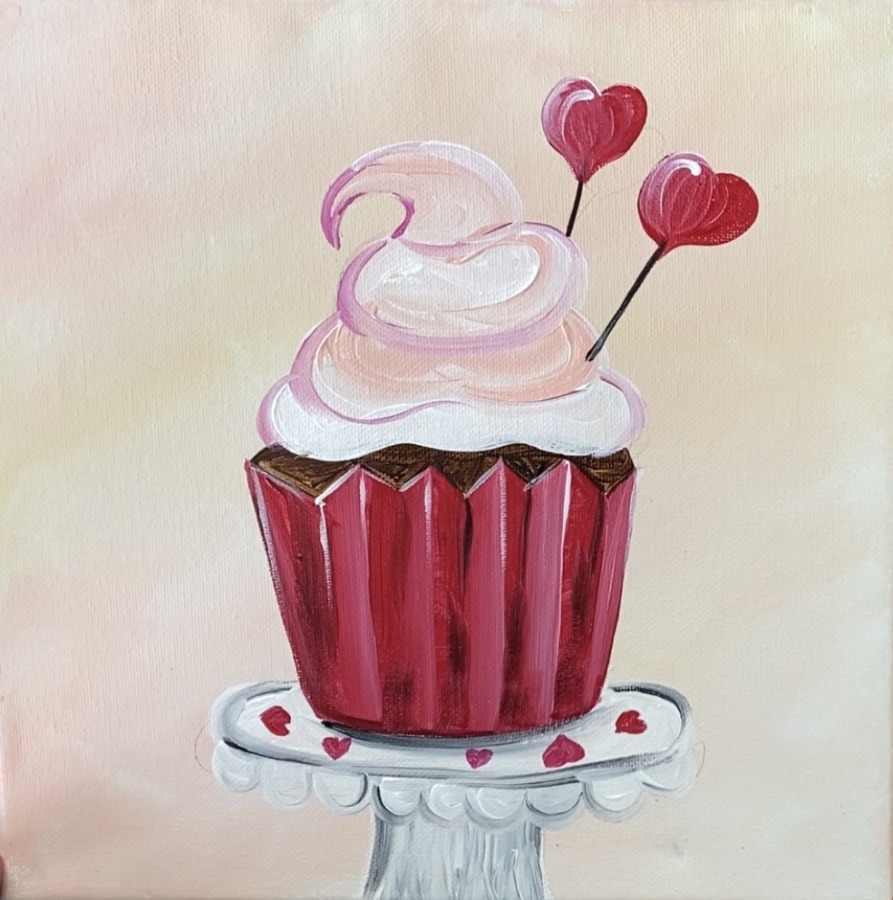
9. Paint Little Heart Pieces On Stand
Paint little hearts on the stand using the #4 round brush and the cadmium red deep hue.
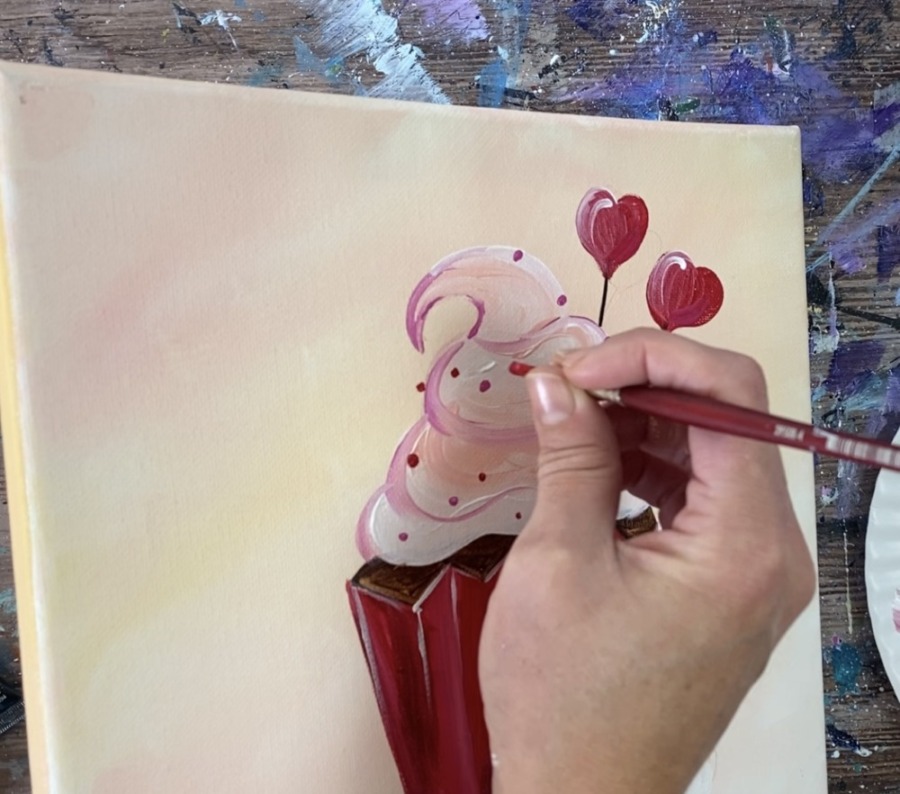
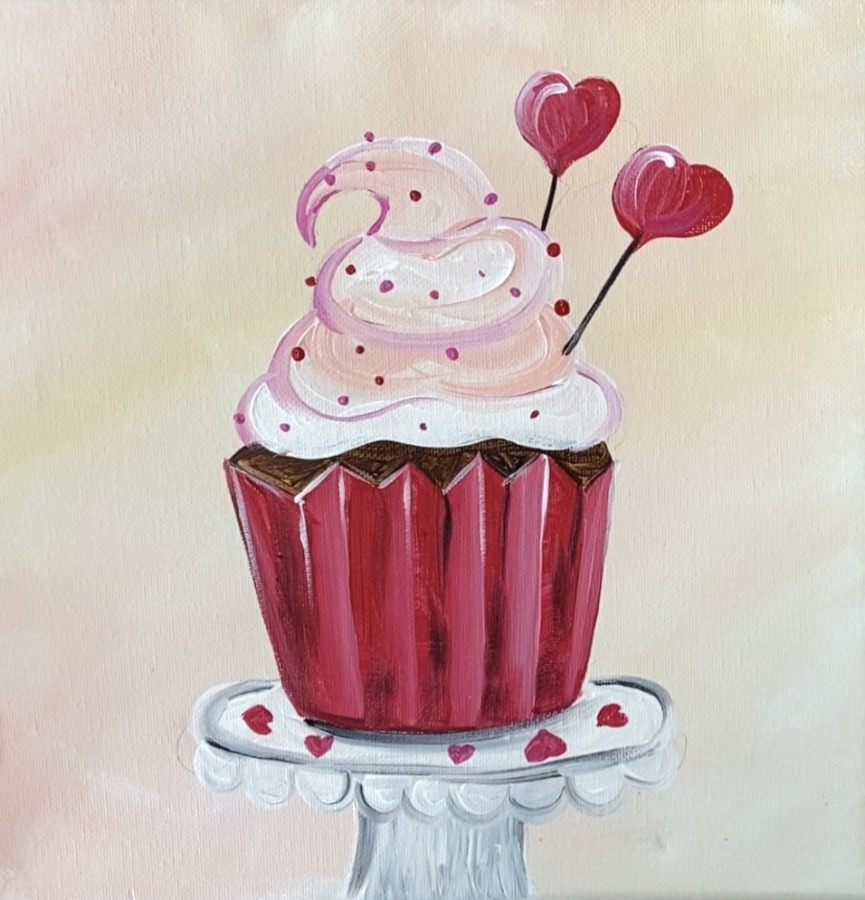
10. Paint Sprinkles
Paint little dots with varying colors of the red, pink and white. Load the paint on the tip of your #4 round brush and dot to create thick sprinkles.
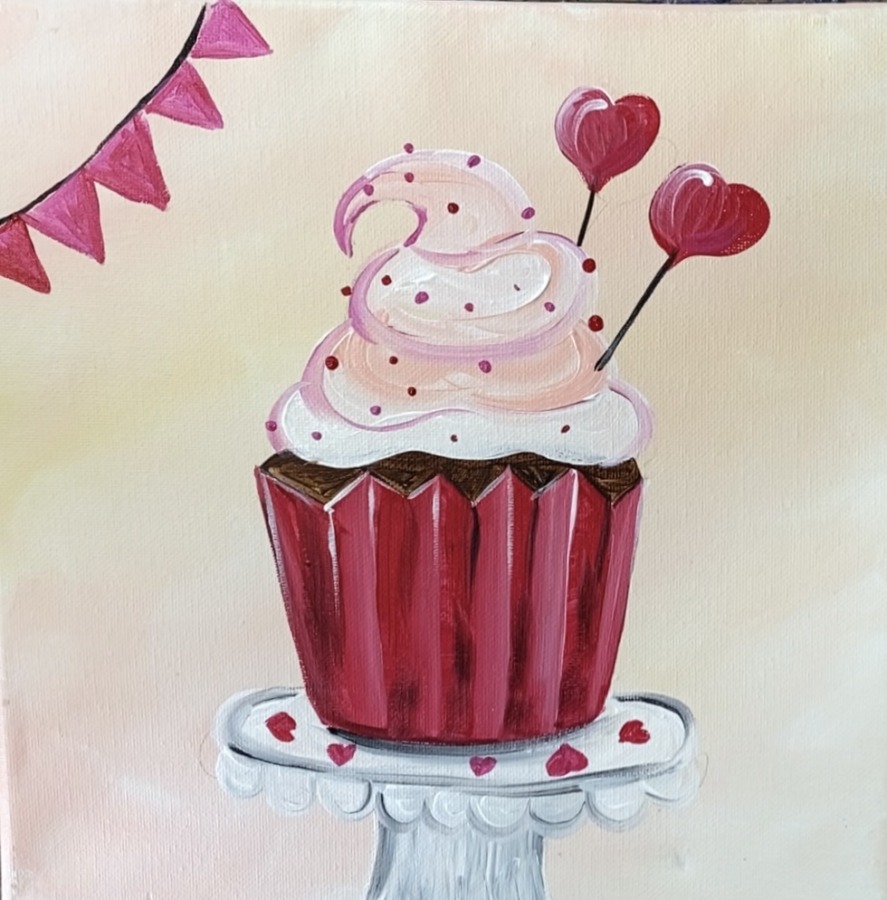
11. Paint Banner & XOXO
Paint a black curve in the upper left corner using mars black and the #4 round brush.
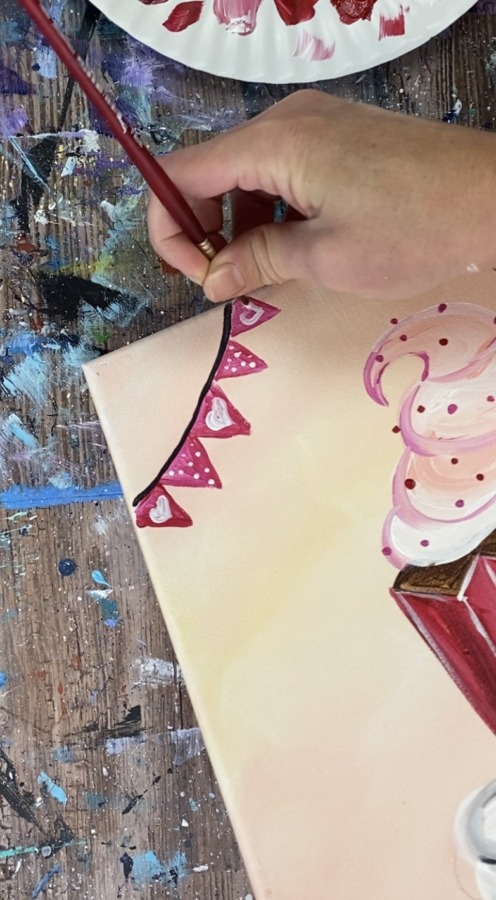
Then paint triangles using medium magenta mixed with a little cadmium red deep hue.
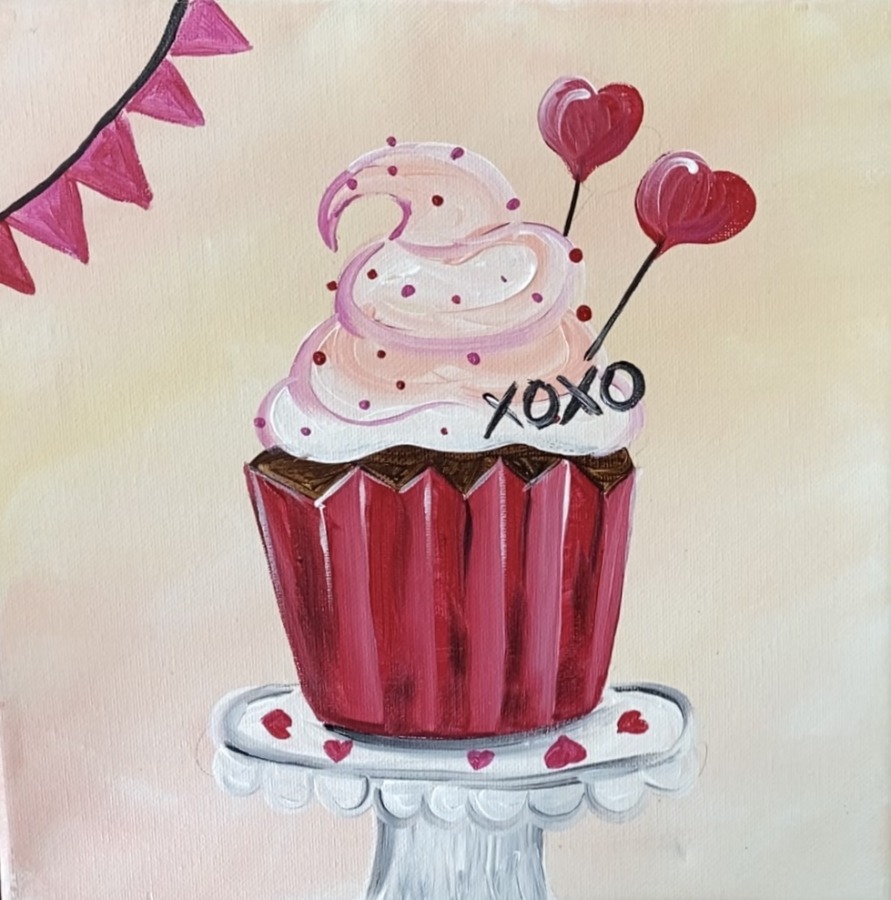
Paint “XOXO” on the cupcake using mars black.
Then decorate the banner with hearts and dots using the #4 round brush and titanium white.
12. Final Touchups/ Loose Outlining
If needed, loosely outline the banner with mars black. Outline part of the stand (some of the scallops) and wherever you think needs a bit more contrast.
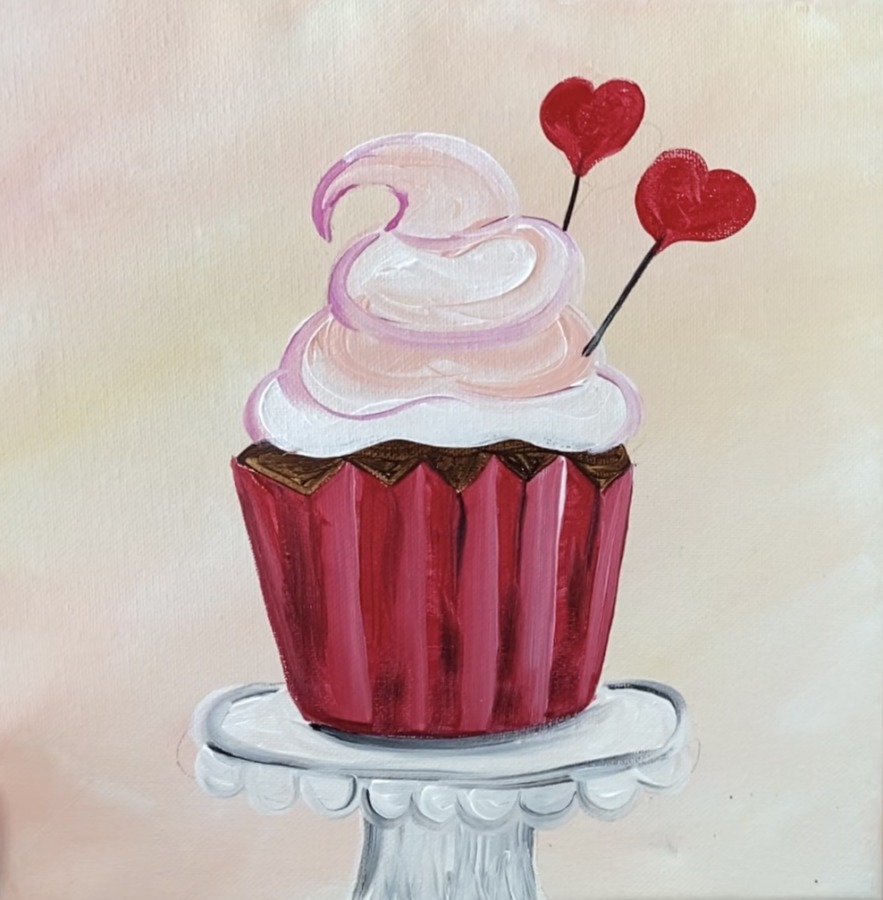
Finished
An adorable cupcake painting! Sign your name and show it off!

Share Your Art Here


Do you do any painting on 3 by 3 canvas
Hi Patty! I do not have any 3×3 tutorials but you can do this design or any square tutorial on the 3×3!