
Would you like to save this?
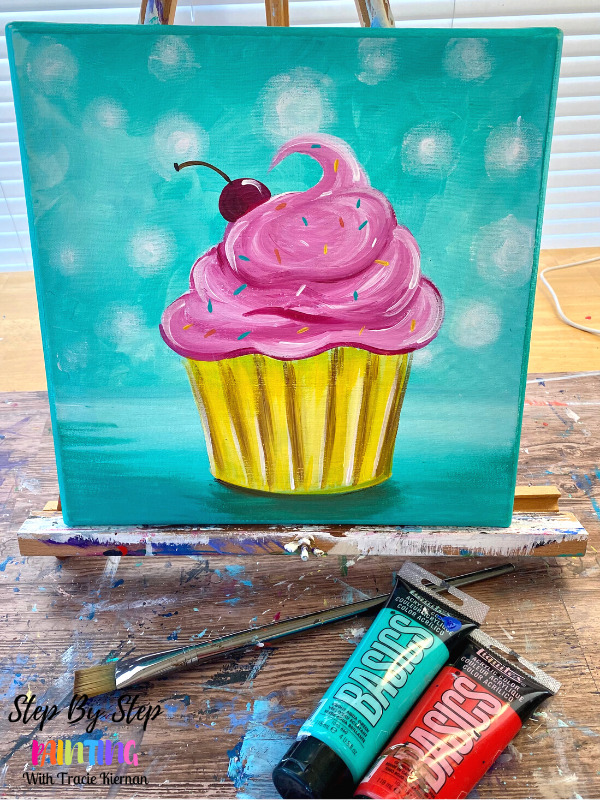
Learn to paint an easy cupcake painting on an 12″ x 12″ or any size square canvas! This is a very easy painting and a great one you can do with kids or as a birthday party!
The colors of this painting can easily be customized. Change the background color, the frosting and even the cupcake liner! You can also customize the decorations with different sprinkle shapes.
Enjoy and happy painting!
Materials
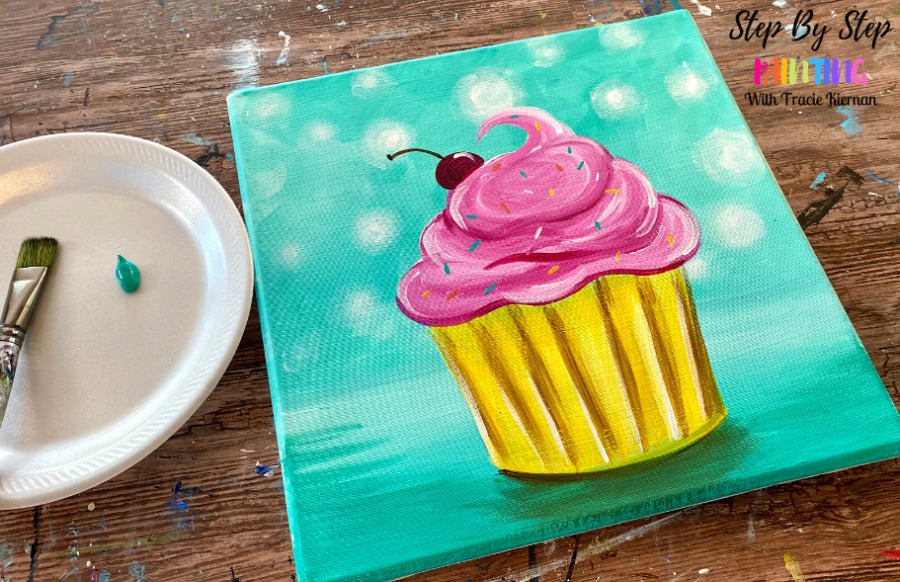
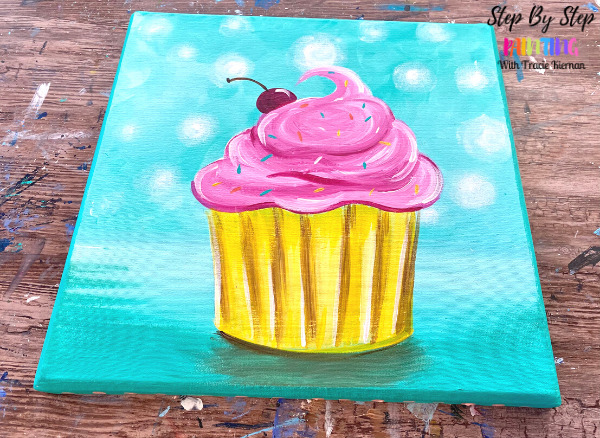
Cupcake Painting Easy
Learn how to paint a simple & easy cupcake! This is a great painting you can do with the kids or as a birthday party! Customize the colors and the decorations on the frosting.
Materials
- 12 x 12 Canvas
- Acrylic Paint
- Paint Brushes
- Pencil
- Optional Traceable
- Optional Traceable Paper
Brushes
- 3/4" Flat Wash
- #4 Round
- #8 Round
Instructions
- See full tutorial on www.stepbysteppainting.net for instructions.
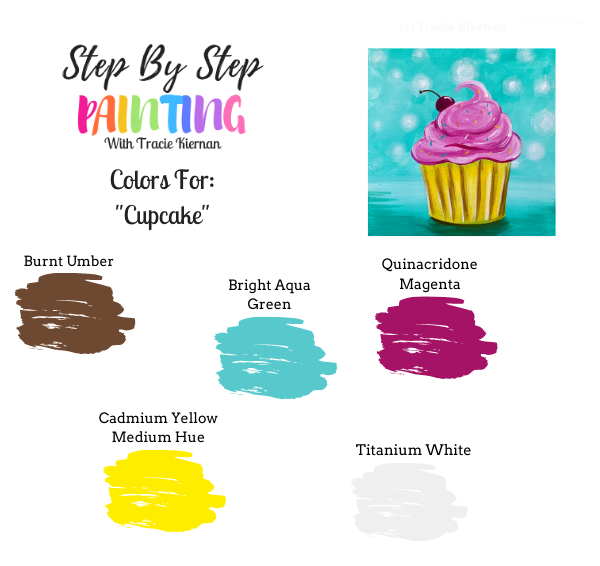
Color Palette
Customize the colors in this palette! For the background, select one color (preferably one that will contrast with the cupcake color) plus titanium white.
Using Craft Paints?
Here are Apple Barrel Craft Paints I would Recommend:
- Nutmeg Brown
- White
- Bright Yellow
- Fuchsia
- Bimini Blue
Free Traceables!
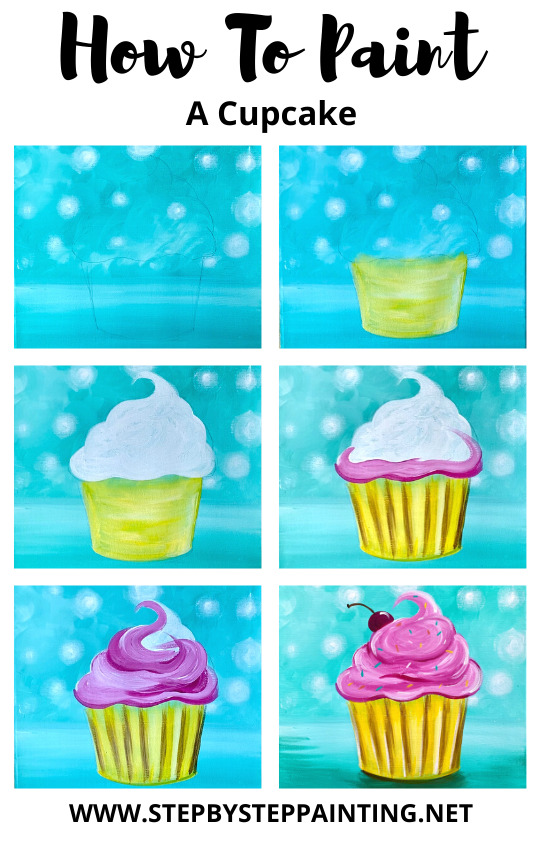
Directions At A Glance
Video
Step By Step Directions
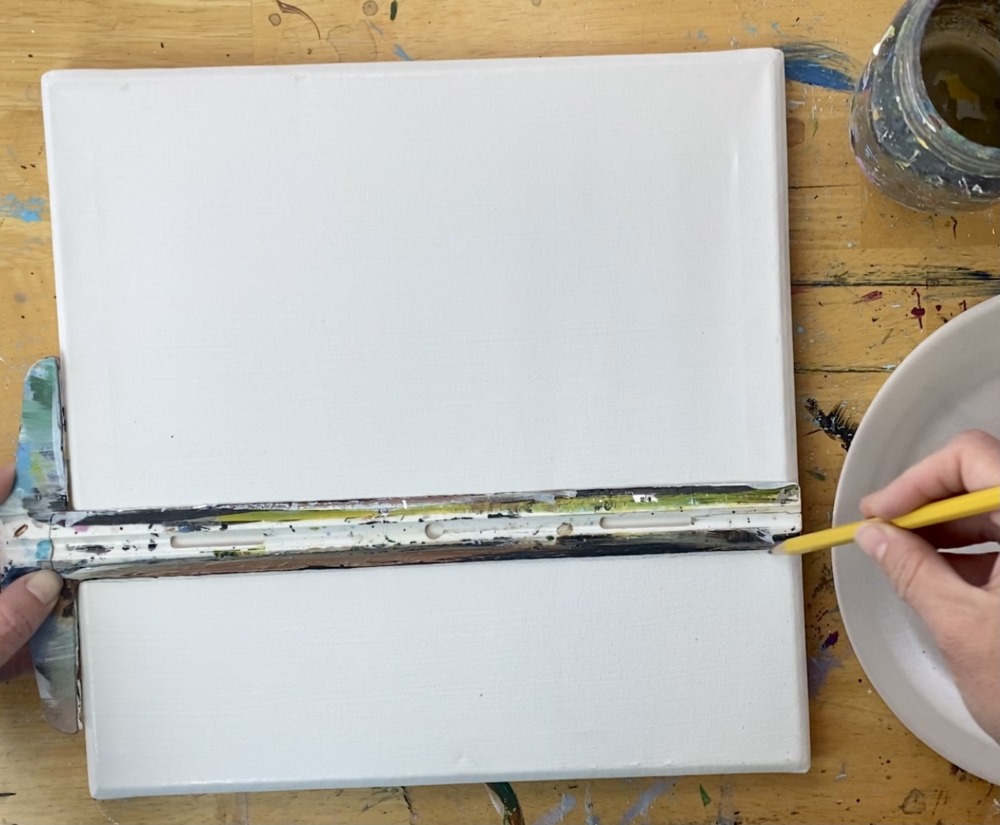
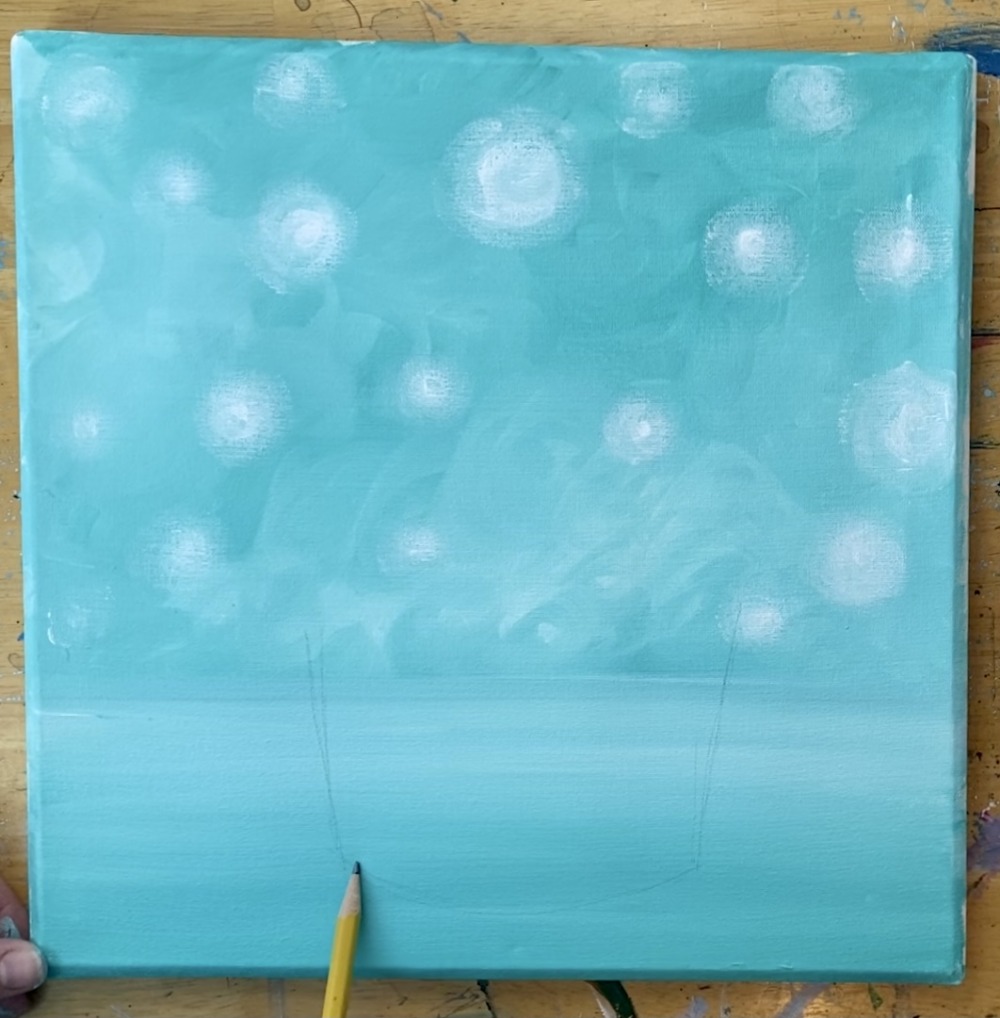
1. Paint the background and the table area
Use a t-square ruler to draw a horizontal line at 1/3 up the canvas. This does not have to be exact. The line will divide where the background and flat surface will be.
Next select the color you will use for your background plus titanium white. In this demonstration, I used “bright aqua green”.
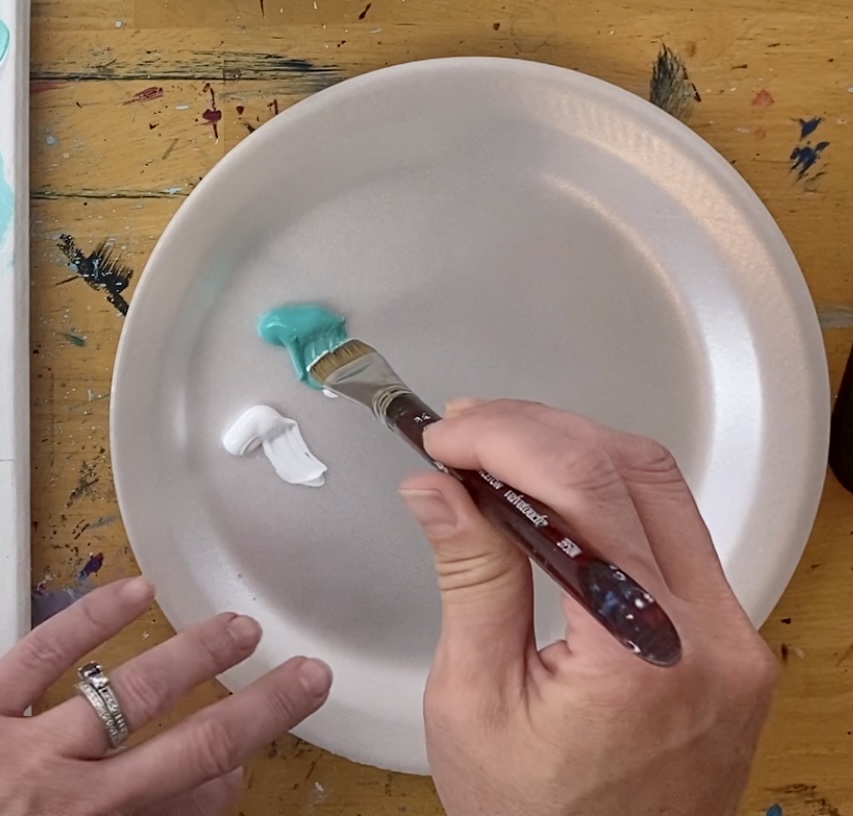
Use a 3/4″ wash brush (or similar size large flat brush). Load it into both the aqua and the white.
Then paint circular “swirly” strokes allowing the aqua to blend together but not all the way. Create different variations of white/aqua. It should look kind of “cloudy” in its texture.
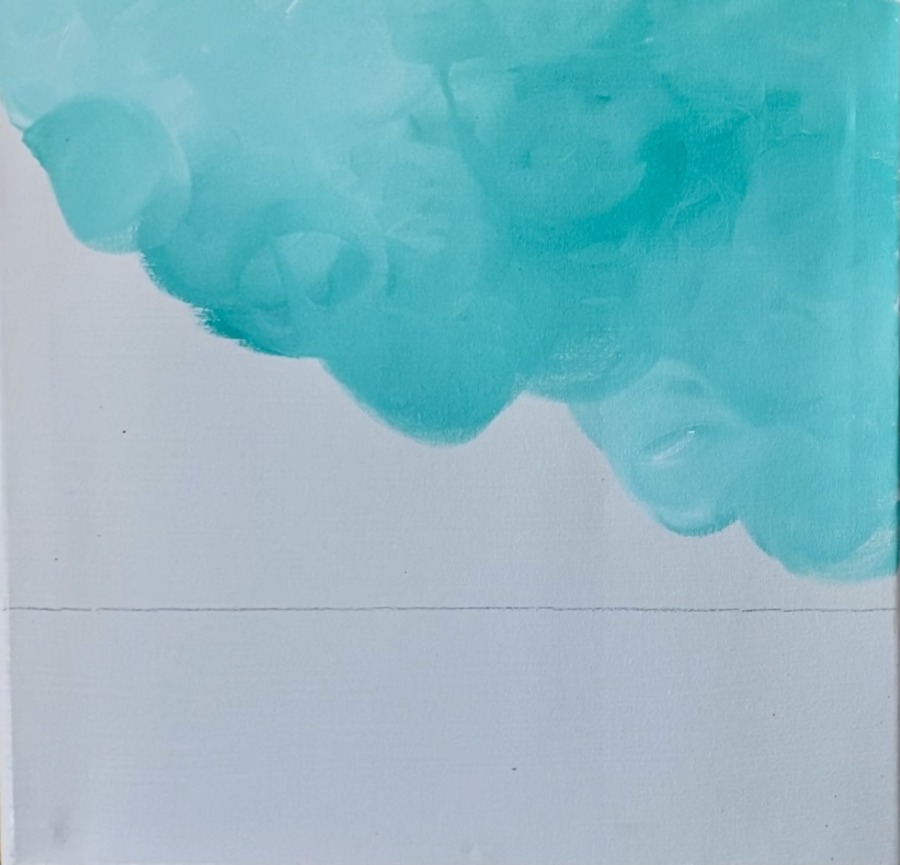
Try not to paint below the line but if you do get a little below that line, that is okay!
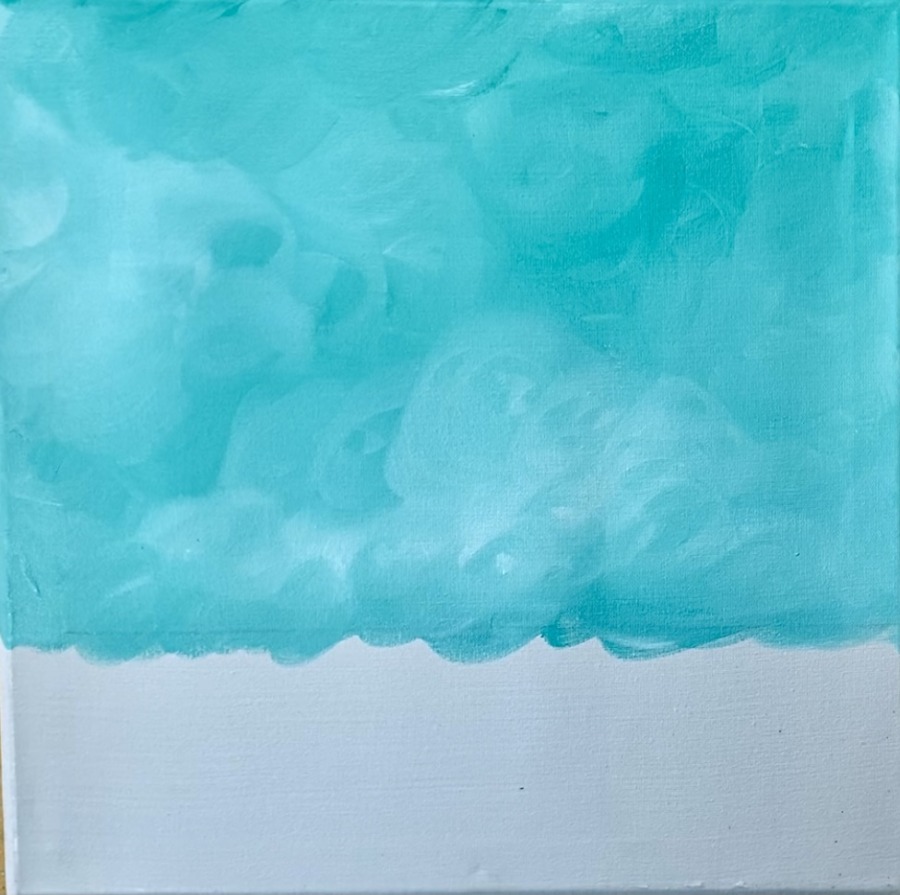
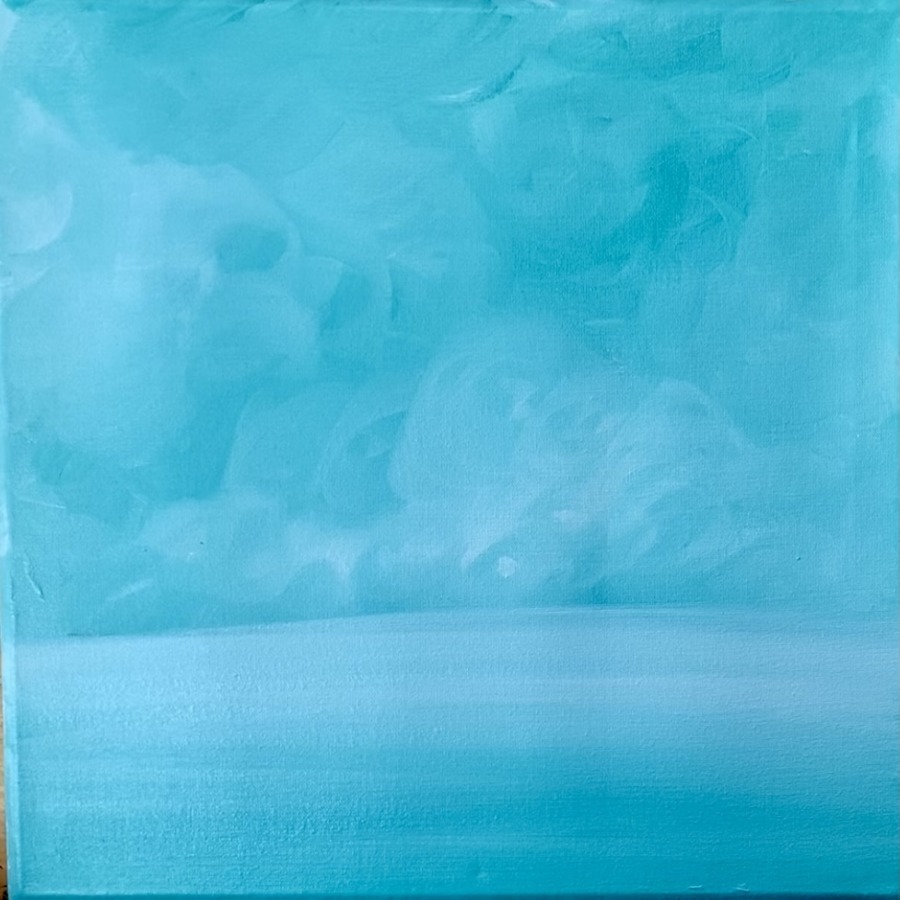
Next paint the flat surface area. Start with just the aqua not mixed with white. Then paint left and right strokes on the bottom of the canvas. Gradually mix white into it so it blends to a lighter aqua at the top just under that line.
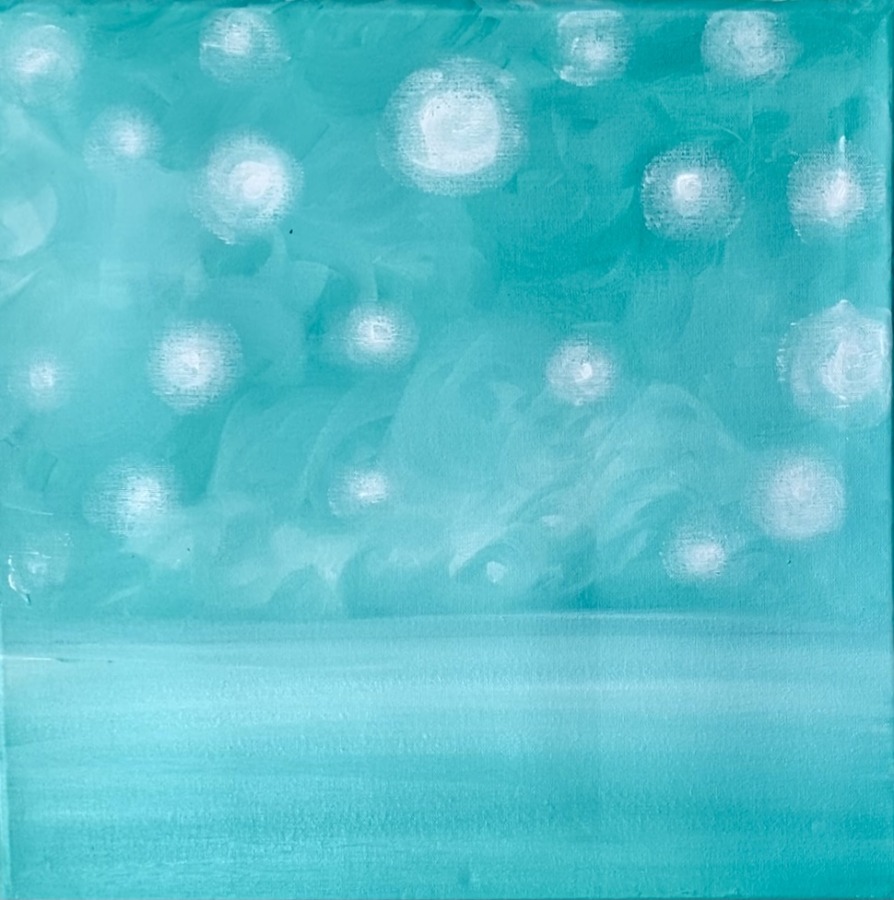
Next add some fun polka dot texture in the background! To do this, I used my index finger dipped in titanium white and formed circle spots all around the background.
Tip: only load a very small amount of paint on your finger & try wiping off a little. This will make the spots more “blurry” looking.
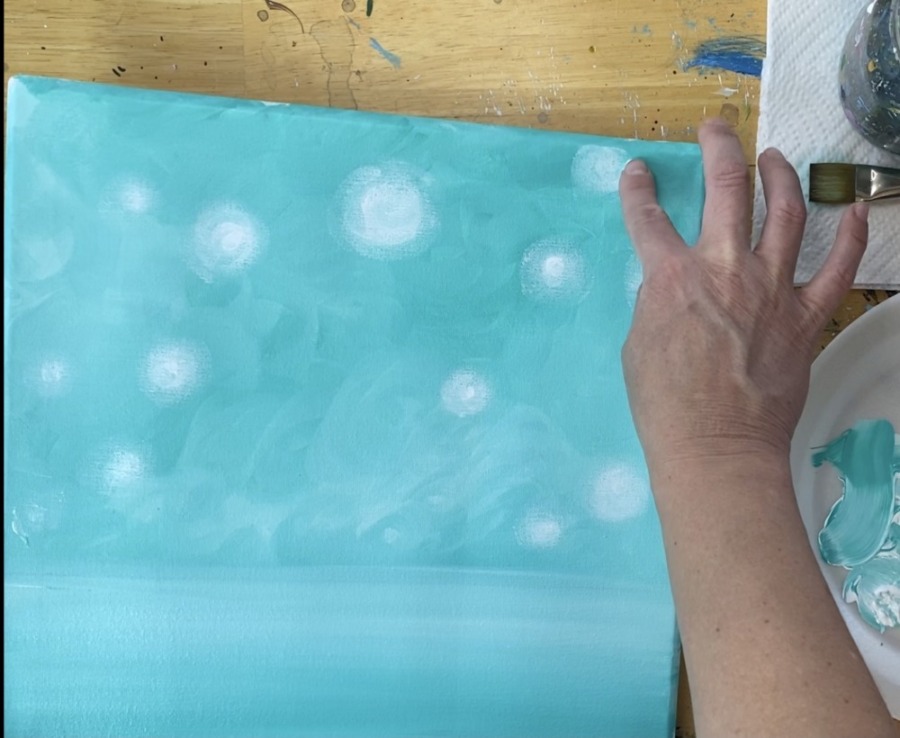
I made circles of different sizes.
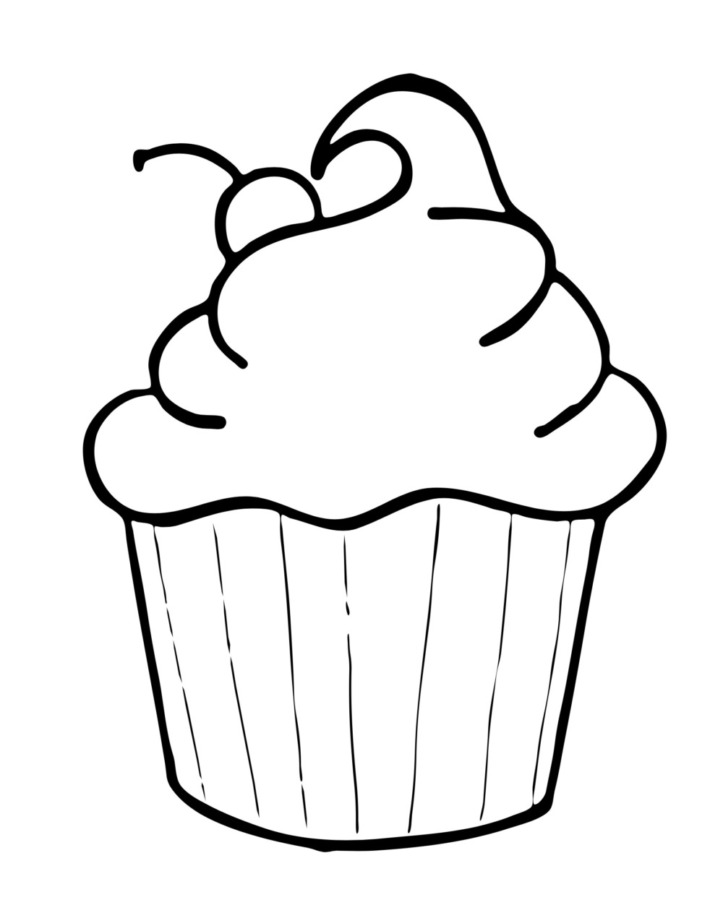
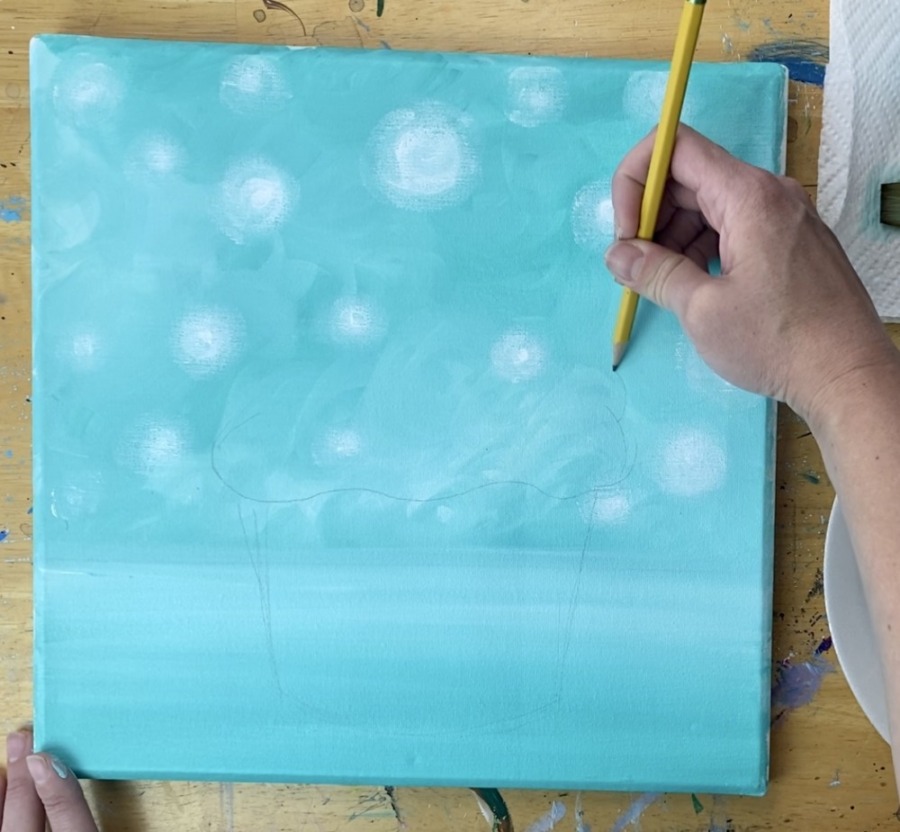
2. Draw The Cupcake (Or Use Traceable)
Wait for this to completely dry. Next you will be drawing the shape of the cupcake. This cupcake is large and rests on the flat surface.
See a great step-by-step drawing tutorial for different cupcakes over at “Art Projects For Kids” Blog!
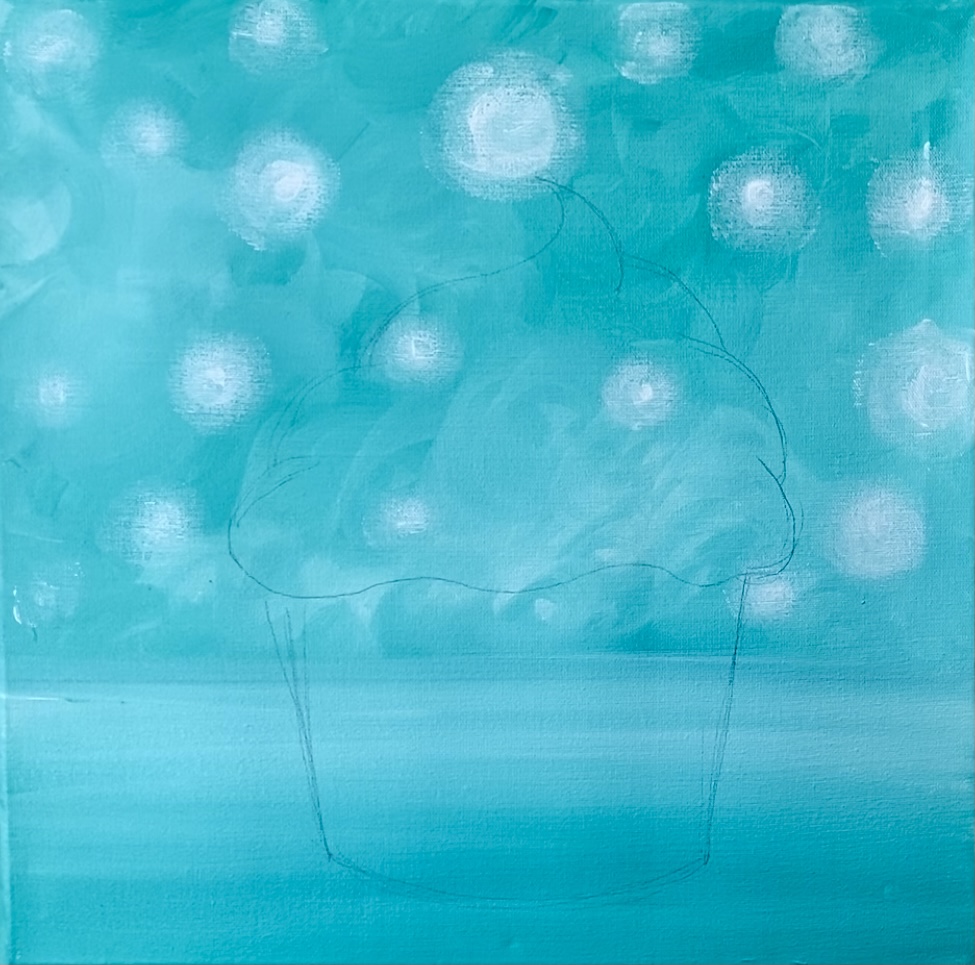
Start at the bottom and draw the shape of the cup. This has two slightly diagonal lines on each side as well as a curved bottom.

Then draw the outline of the frosting on top of the cup. Don’t worry about details in the frosting folds or any decorations at this point. You just need the outline of it for now.
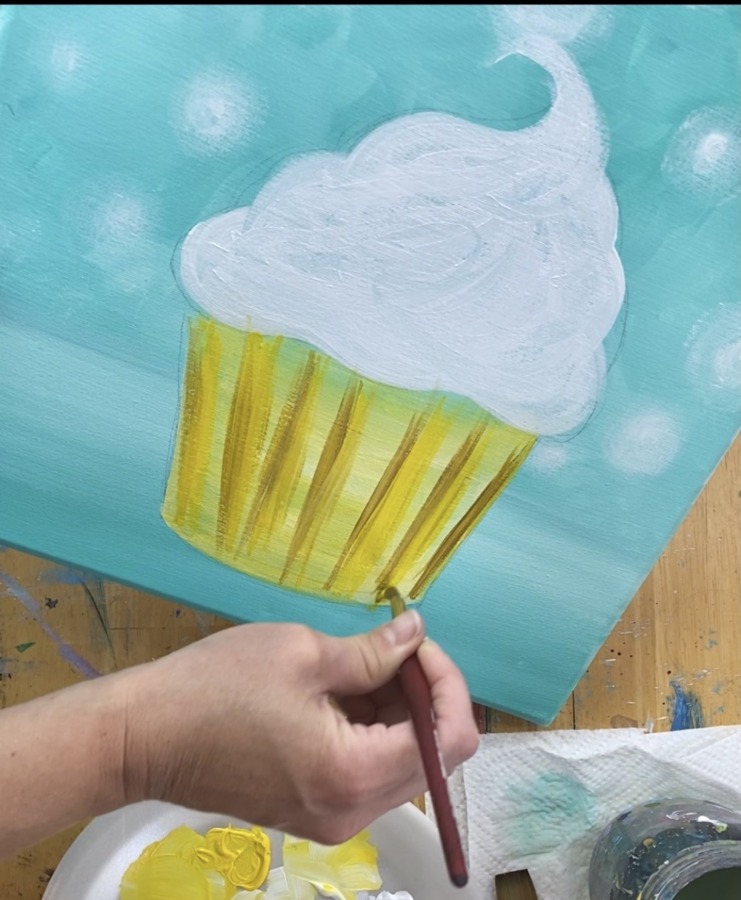
3. Paint Base Layer Of Cupcake Liner
Next you will be using the two colors: cadmium yellow medium and titanium white. Load your 3/4″ wash brush in both of the colors. Paint the cup area of the cupcake.
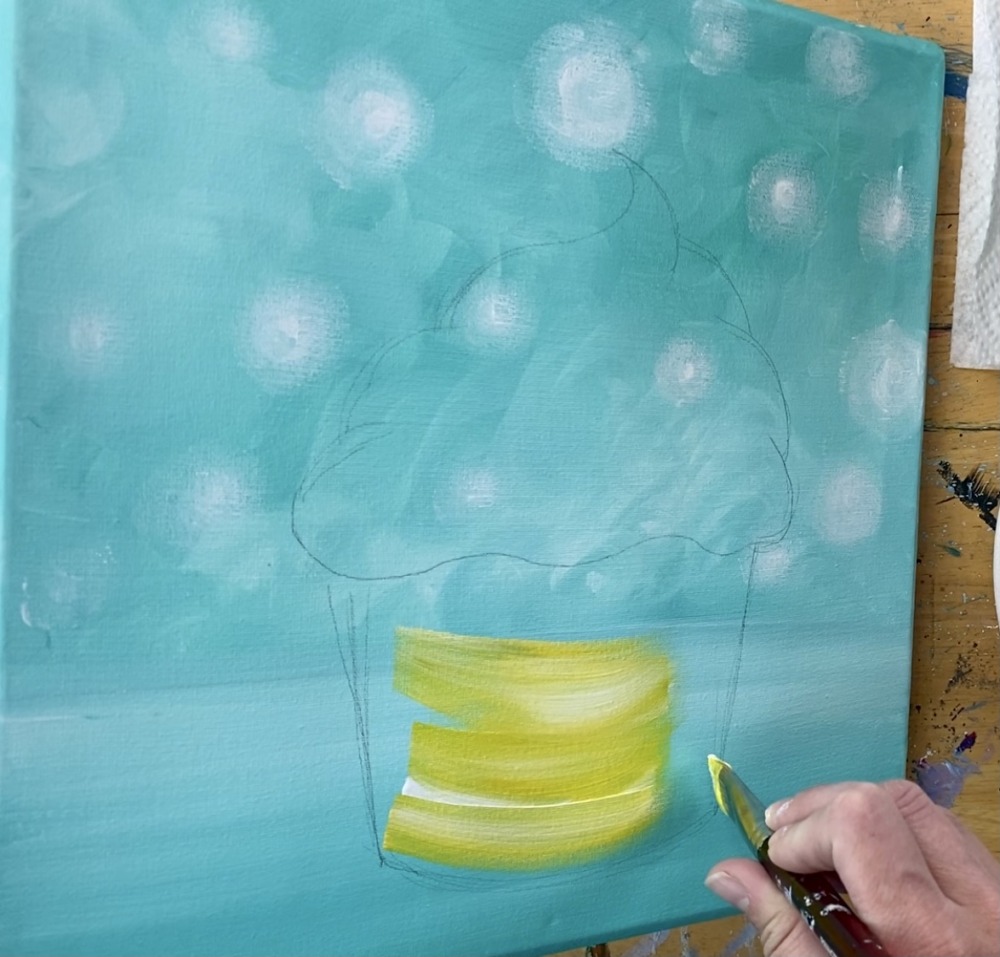
Go in a curved direction allowing the yellow and white to blend forming the shape of the cup. Fill in all the area that you drew.

For the edges of the cup, you can use the tip of the brush to “cut in” on that shape. This is just the first layer! You will be adding texture later.
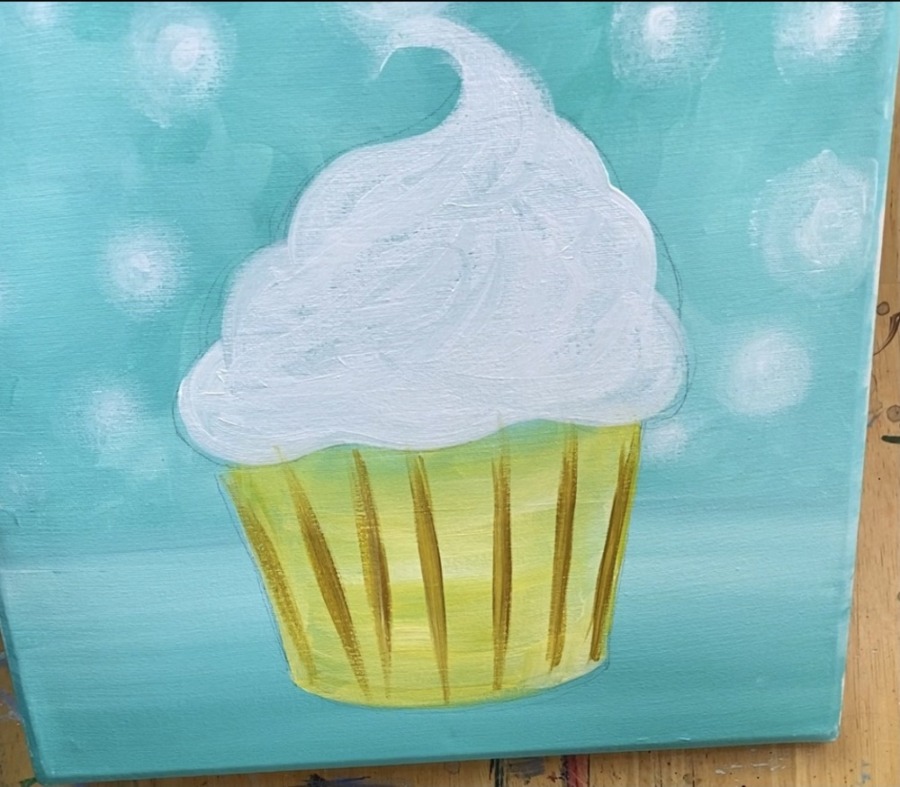
4. Paint Base Layer Of Frosting
Next paint your frosting area with just titanium white. I used a #8 round brush (a large round brush) because this area is very curvy and it is easier to use a round brush.
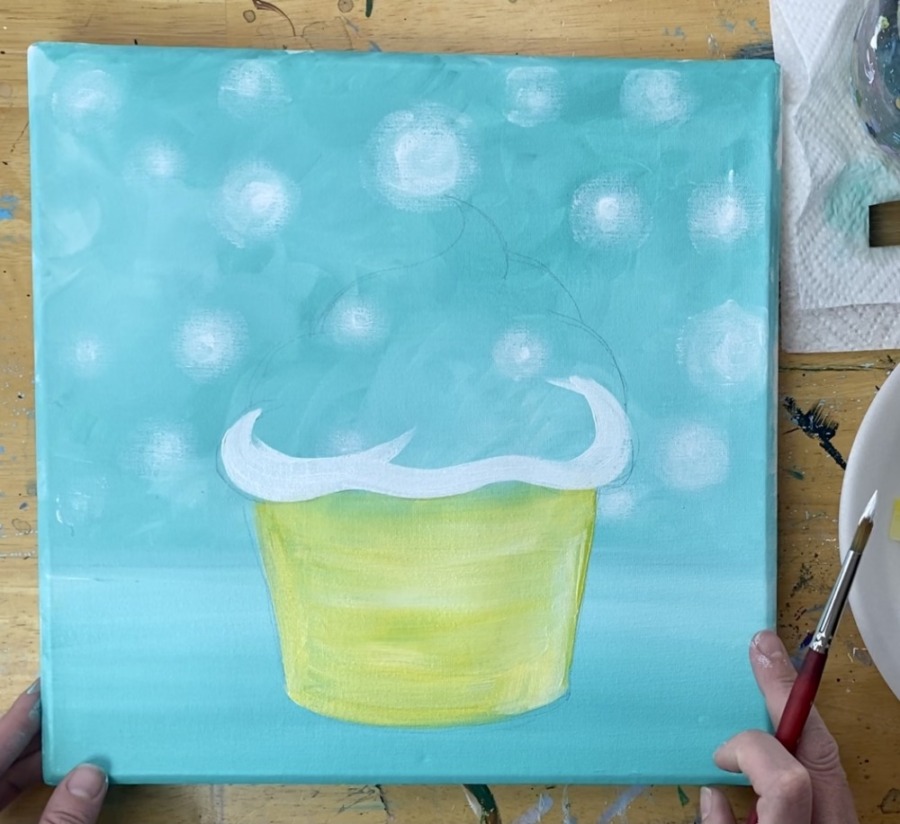
Outline the area of the frosting using curved strokes.
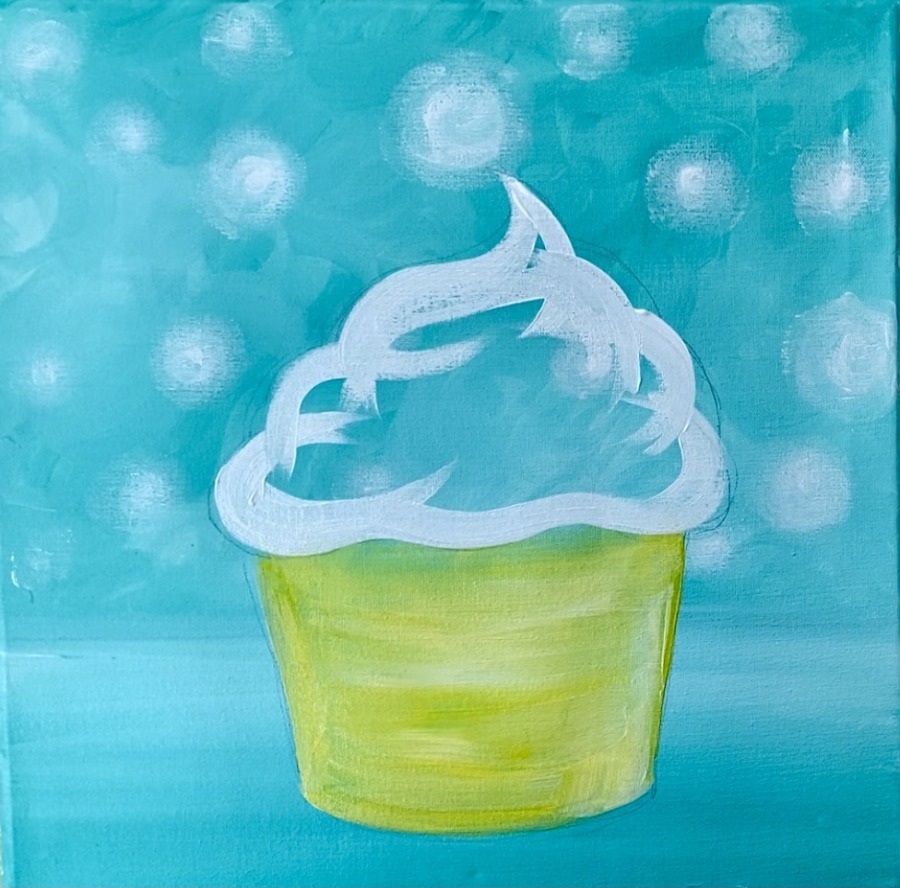
Then fill the entire shape in solid white. This is the first layer and the color will be added in a later step.
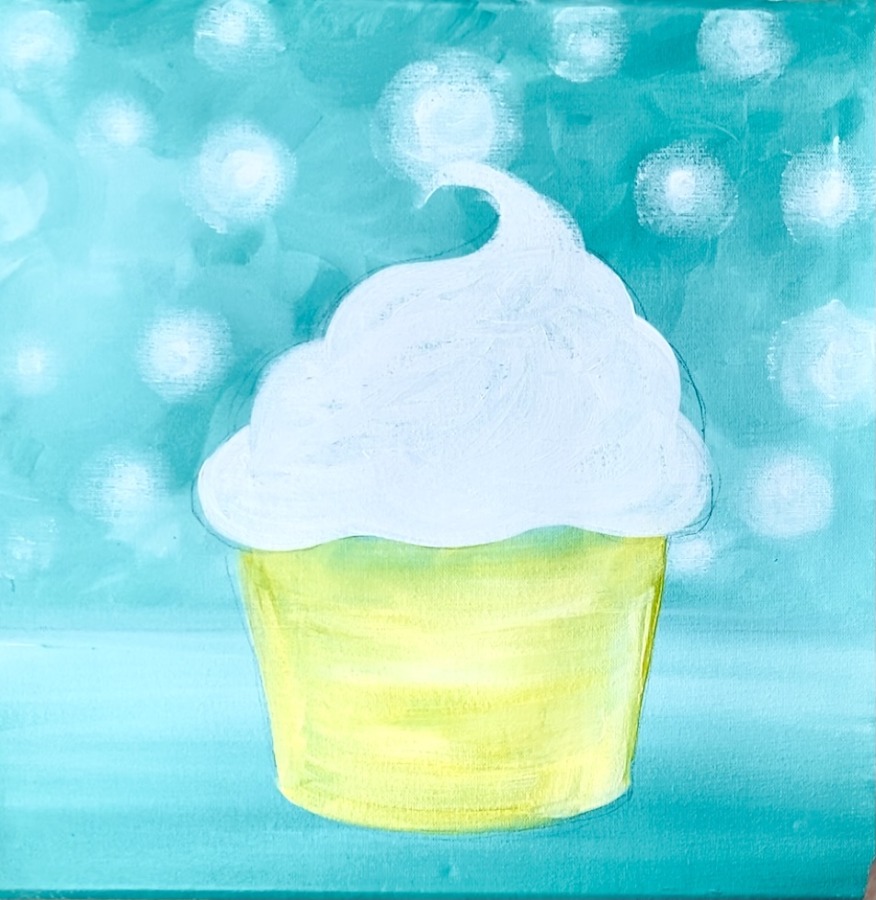
Tip: if any pencil marks are still showing, wait for the paint to dry and then erase.
5. Paint Texture On Cupcake Liner
To do the lines on the cupcake liner, use brown mixed with a little cadmium yellow medium as well as your #8 round brush.

Paint the lines on the cup. These lines should go in a diagonal direction parallel to the sides of the cup shape.
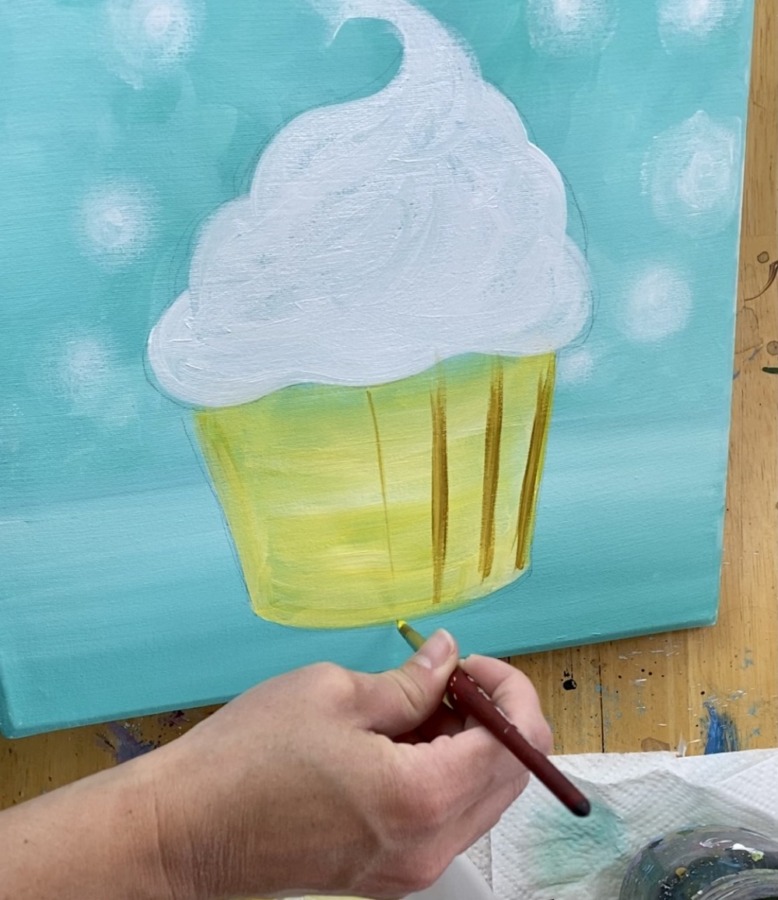
Use the round brush to paint each of the lines.
Then load some more yellow on your brush. Paint yellow lines next to each of the brown lines.
Then add some white to your brush to make a lighter yellow. Paint this lighter yellow next to the other yellow lines.

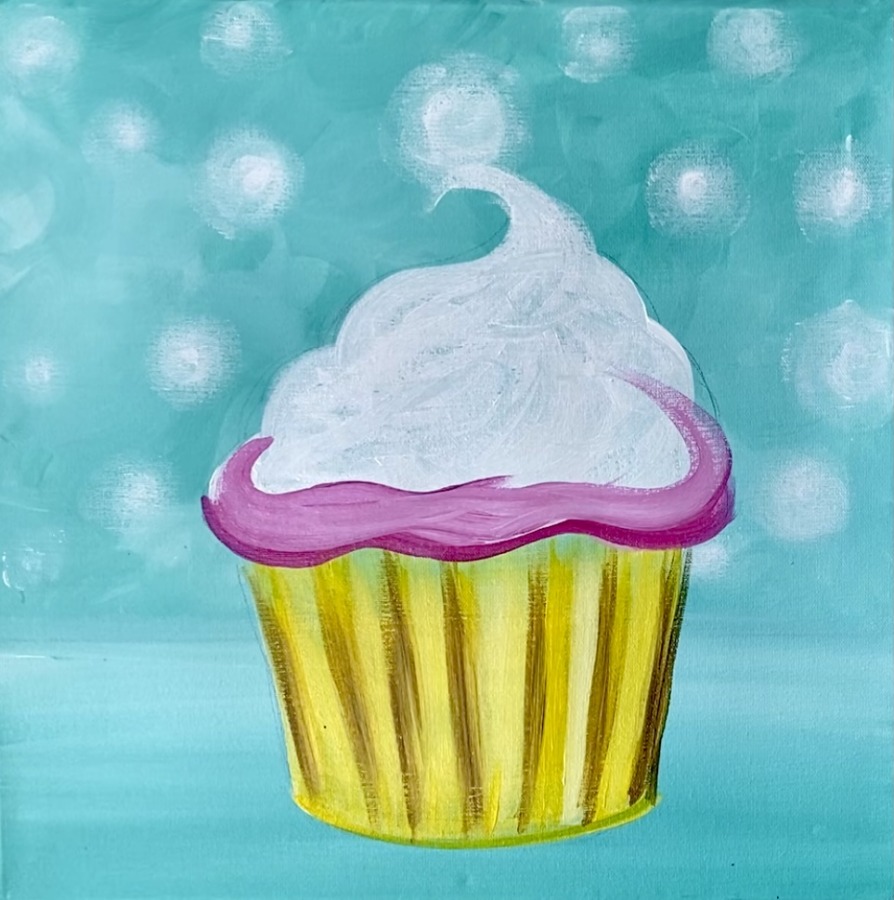
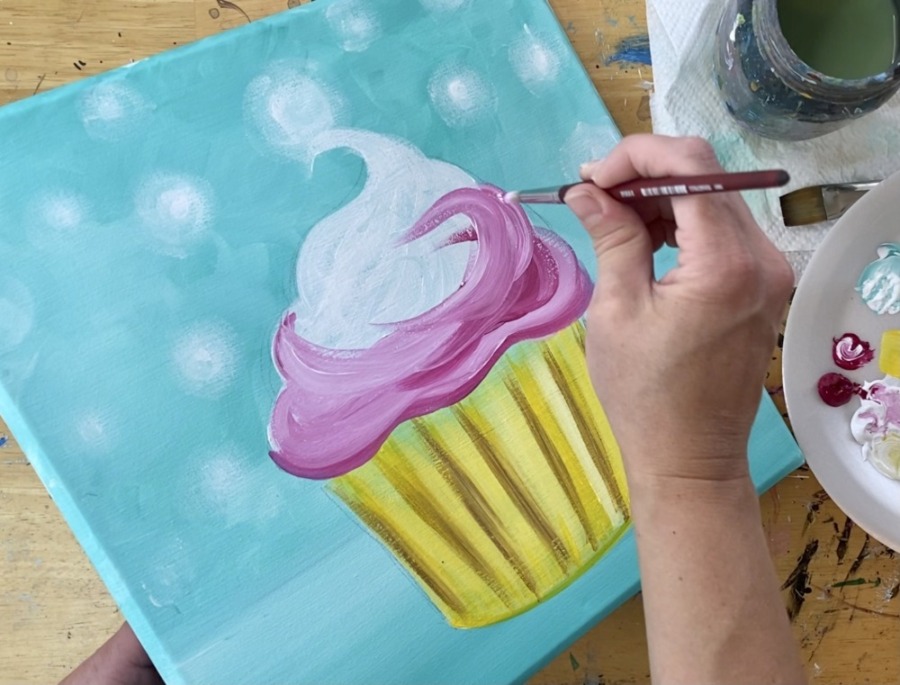
6. Paint Cupcake Pink Frosting
The frosting technique is created by allowing the quinacridone magenta to blend with the white to create varying tints of that pink. I recommend practicing with the round brush and the two colors (magenta and white). Practice painting swirled strokes that mimic frosting. Get a feel for how the pink and white blend to create different tints!


Then start at the bottom of the frosting. Go in a horizontal direction and zig-zag/ swirl your way up the cupcake.
Vary the lights and darks by adding more or less magenta to your brush. If your brush seems to get “overloaded” you can wipe it off (or rinse it) and load it in more of the color you would like to blend with.
Keep swirling your way up the cupcake shape! Don’t worry about making it look perfect or real, just have fun with it!
Try not to over blend! If you do, it will all turn the same color. Keep darks and lights showing in the folds of the frosting. You can always wait for this to dry and go back over with more highlight or shadow.
7. Paint Cherry
For the cherry, I used quinacridone magenta and the #8 round brush. I painted this circle so it looked like it was pushed into the frosting.
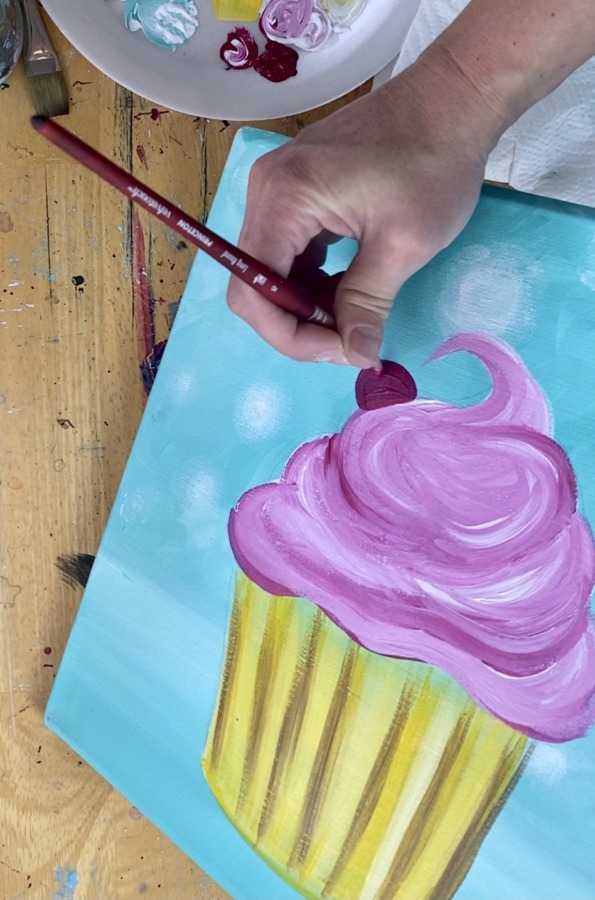
Then paint the stem using burnt umber (brown) and a small round brush (I used a #4 round). You can also use a sharpie or a black paint pen to paint the stem. Draw a curved line with a little mark at the tip of the stem.

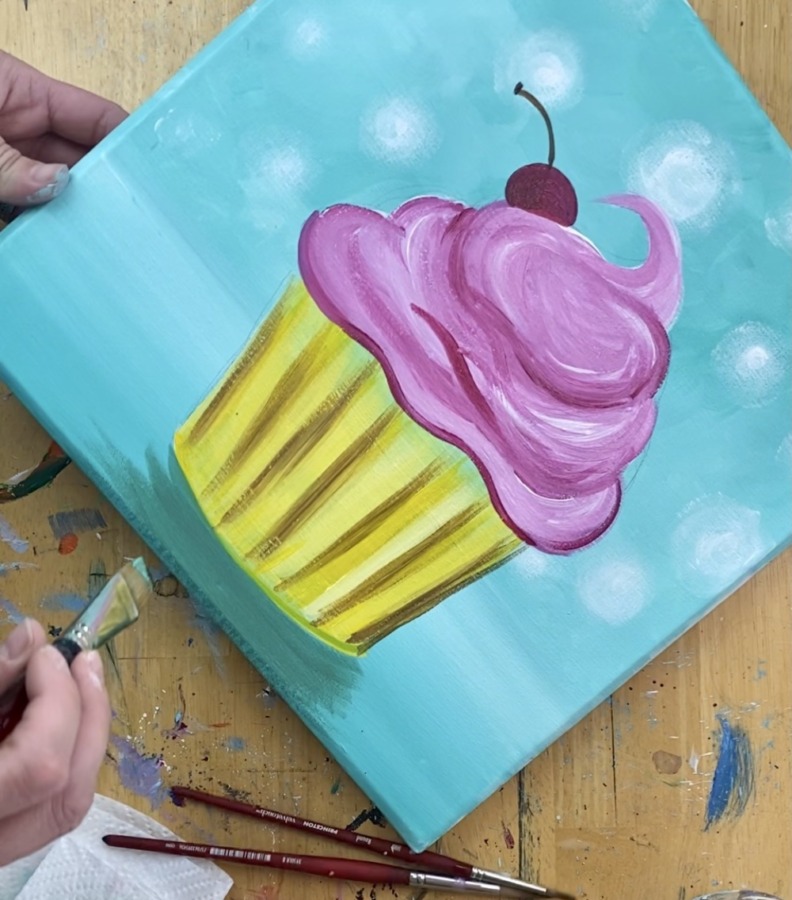
8. Paint Shadow On The Ground
To make the darker shadow area, you will need to make a darker version of that bright aqua green. I did this by mixing a little bit of burnt umber into the bright aqua green (about 1 part brown to 3 parts aqua).
Paint left and right strokes under the cupcake cup so it creates a dark shadowy area.
Optional: Paint some darker turquoise on the surface of the left and right of the cupcake but not as dark of shade just under the cupcake.
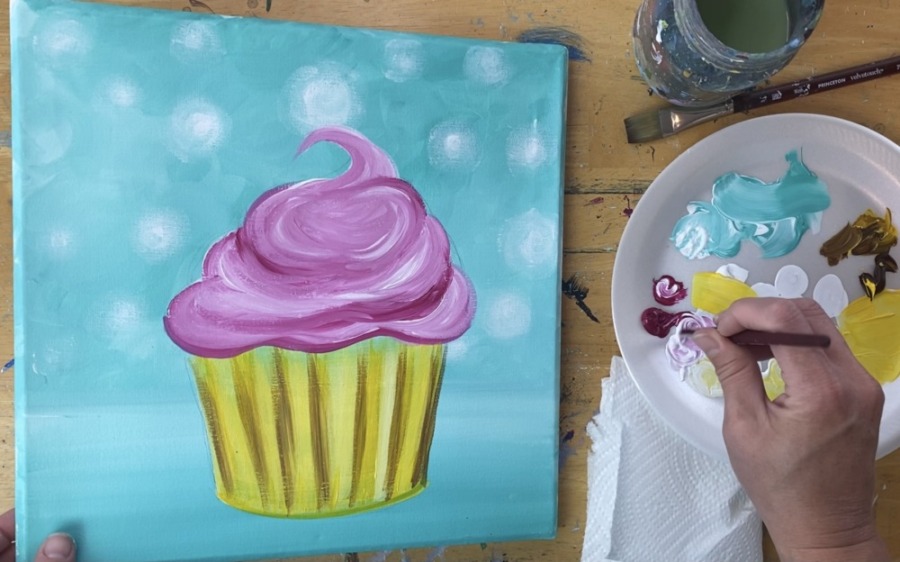
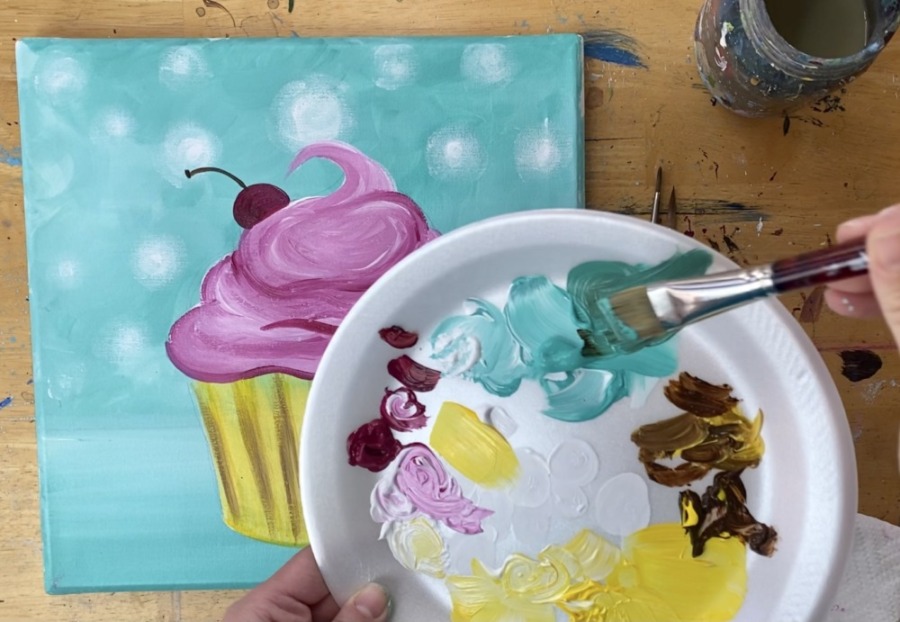
9. Paint Sprinkles
Use your #4 round brush and different colors on your palette (yellow, aqua, white, etc.) to paint small diagonal marks for the sprinkles. You can even make colors such as orange but mixing the magenta with the yellow!
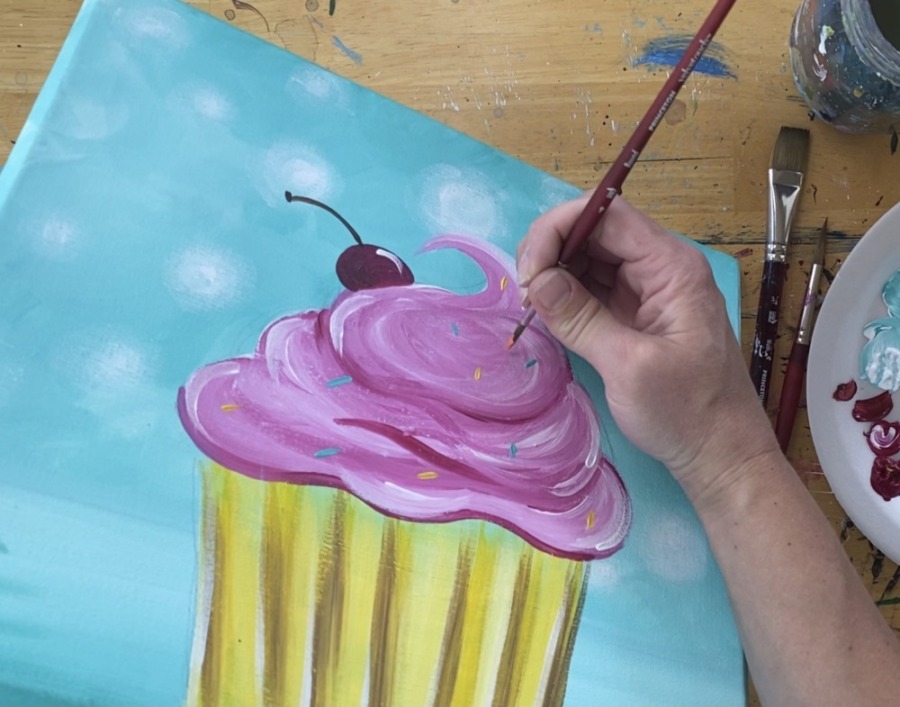
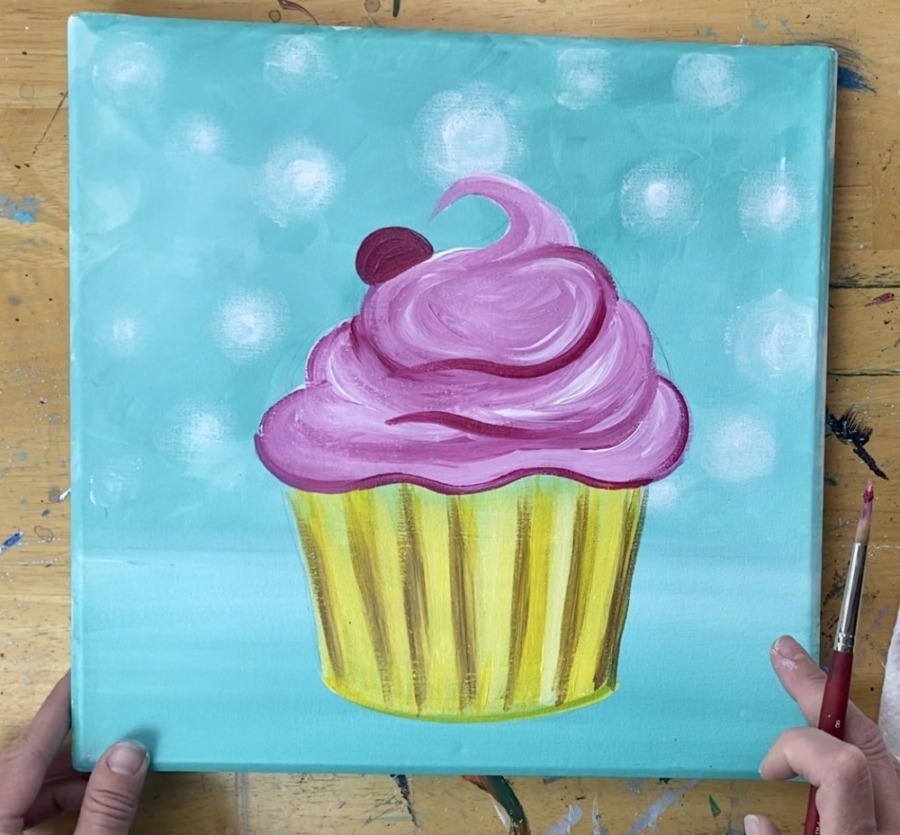
Do final touch ups as needed! I did a highlight on the cherry with titanium white and some highlights on the frosting.
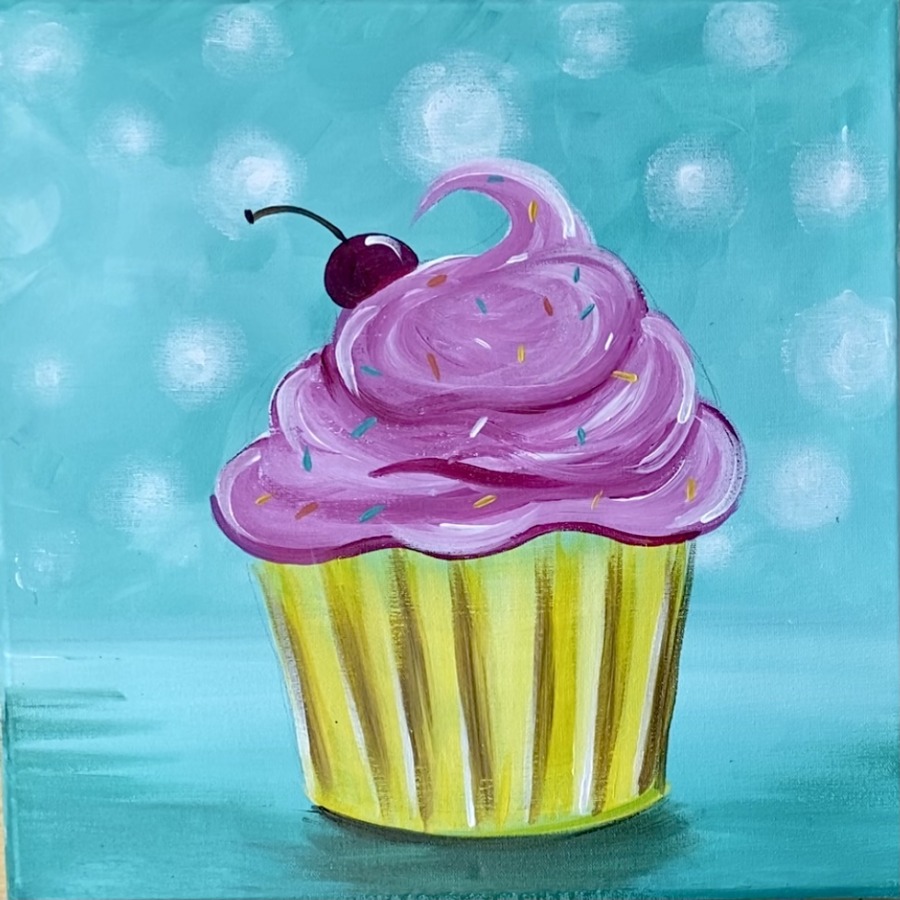
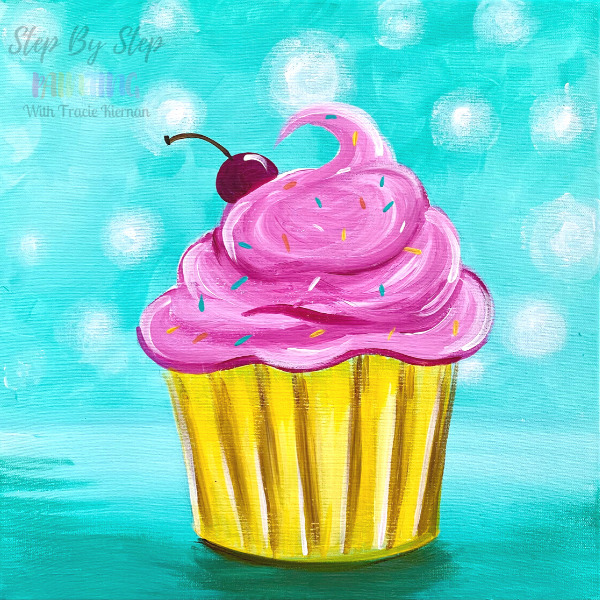
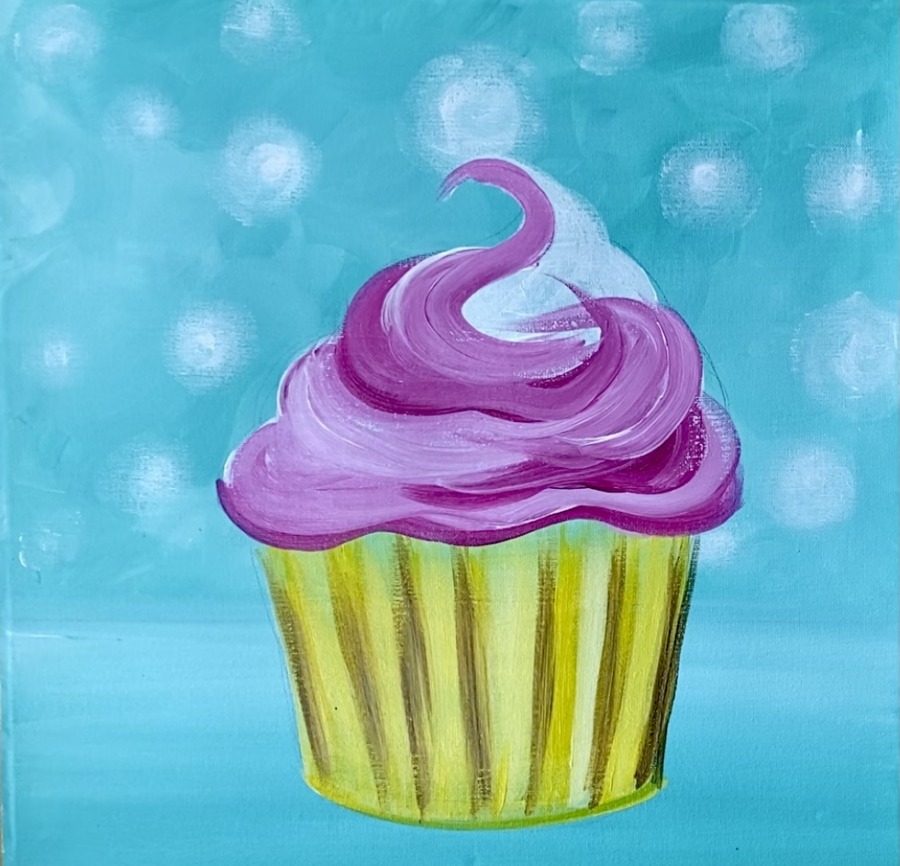
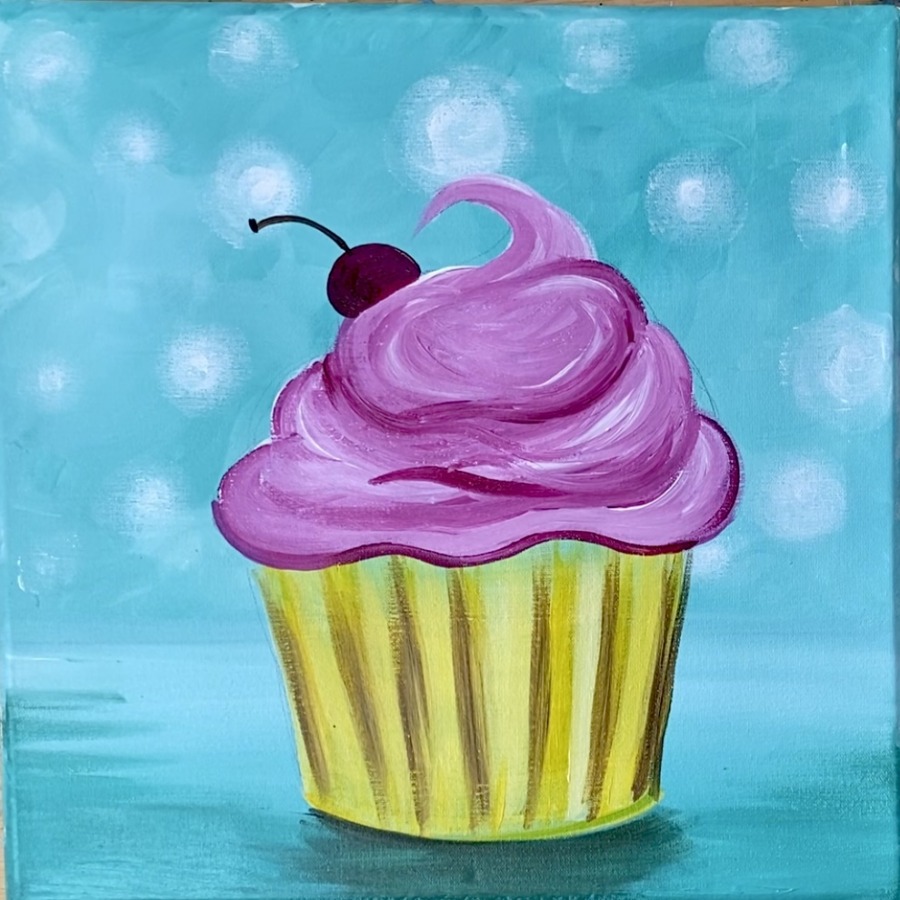
Finished!
Such a fun and simple design! This painting would be great as a collaboration piece! Hang multiple cupcake paintings of different colors together!
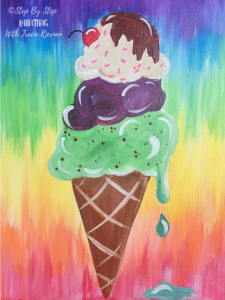
See Also…
A great painting that would pair well with this cupcake is the Ice Cream Cone painting! Head over to that tutorial to learn how to paint this!
Oh my goodness, SO cute! I can’t wait to try it!
Thanks Jenn!
Thank you so much for listing paints in Apple barrel craft paint it helps a lot, Thanks Tracy