How To Paint An “American Barn”
If you love barns, you’ll love painting this rustic barn adorned with an American Flag and surrounded by sunflowers! I had so much fun with this painting and it comes just in time for one of my favorite holidays, the Fourth Of July!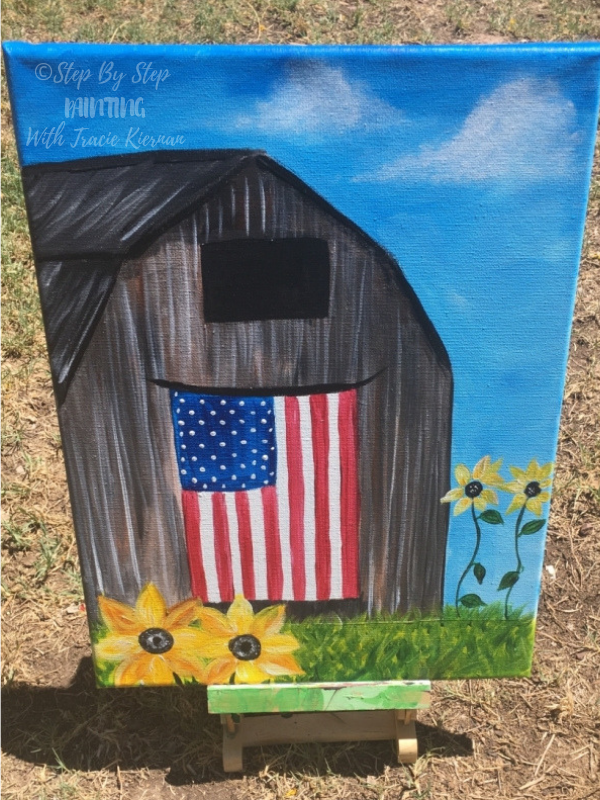
Would you like to save this?
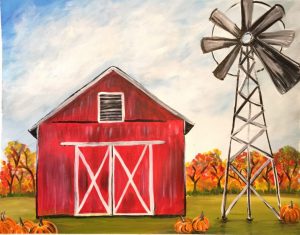
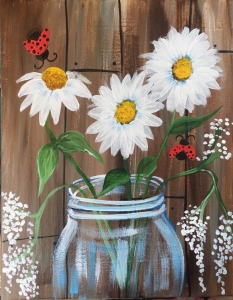
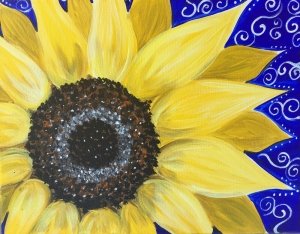
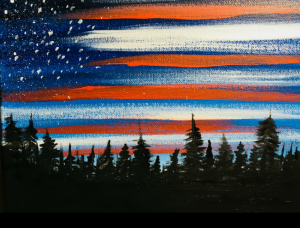
This barn painting goes well with some of my other farm/ rustic themes too! So if you’ve done some of these other paintings, be sure to display it close to them.
See Also:
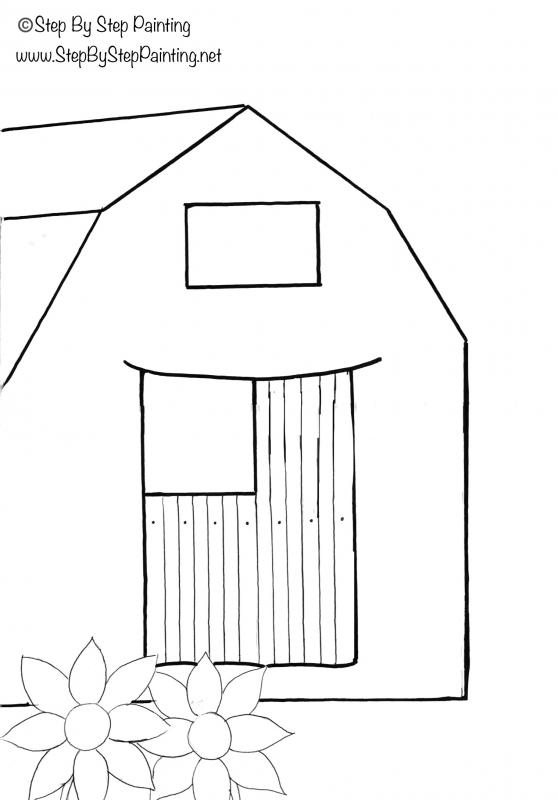
The acrylic tutorial for beginners comes with a free traceable download for the barn so you won’t have to worry about drawing. Simply use a sheet of graphite transfer paper to get the main parts onto the canvas. You can get that download in my PDF library.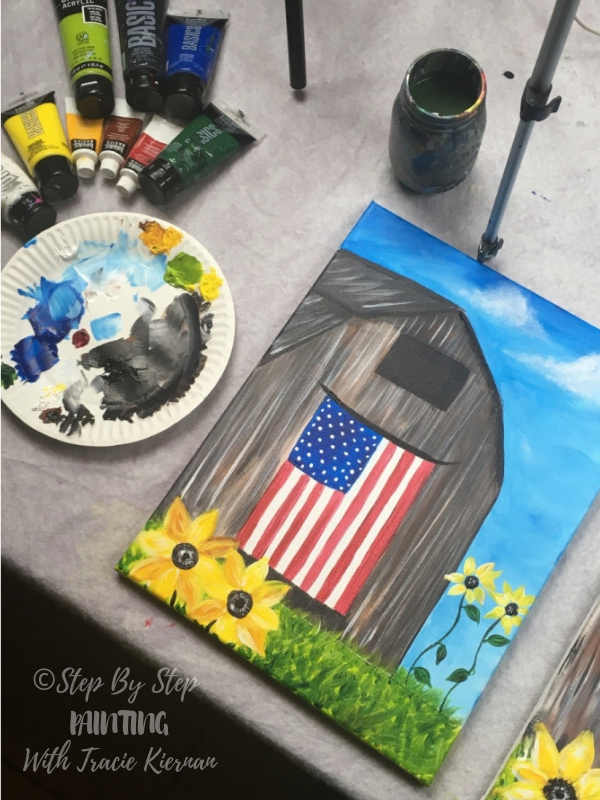
My Palette & Brushes
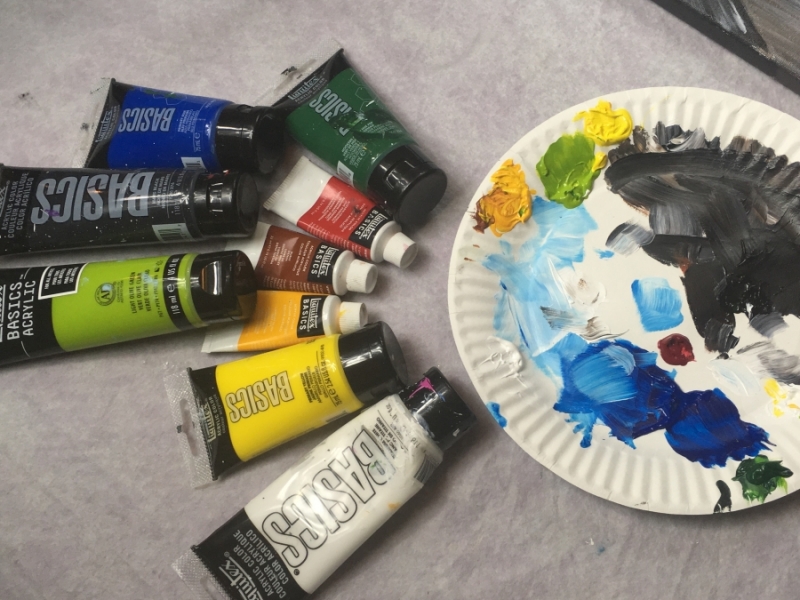
I love how artist’s palettes look after they’re finished with a painting!
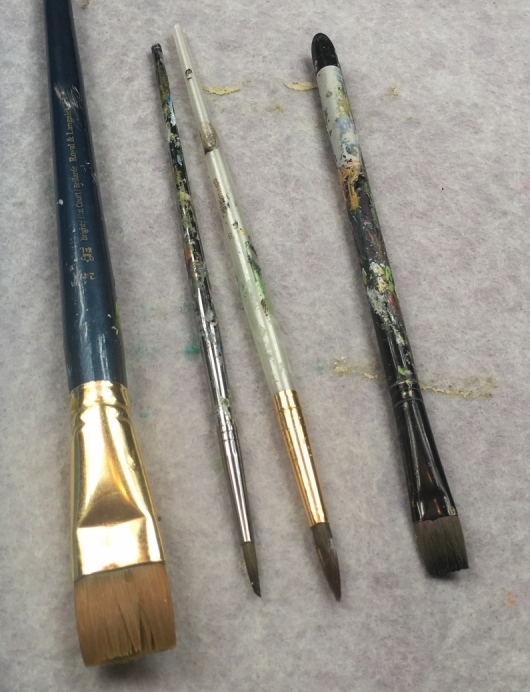
I also took a photo of the brushes I used! Oh how I use and abuse my brushes – they are well loved! I use Royal and Langnickel brushes (specifically in the Zen line) however, in this tutorial I also grabbed a Majestic R&L Brush and one of their basic Crafter’s brush.
Materials:
How To Paint "American Barn"

This rustic barn is adorned with an American Flag and surrounded by sunflowers. This easy to follow step by step tutorial comes with a free traceable of the barn drawing.
Materials
- 12" x 16" Canvas
- Acrylic Paint
- Paint Brushes
- Gray Graphite Transfer Paper
- Traceable
- Pencil
Colors
- Alizarin Crimson Hue
- Primary Yellow
- Cadmium Yellow Deep
- Light Green Gold
- Hookers Green
- Primary Blue
- Titanium White
- Mars Black
- Burnt Sienna
Brushes
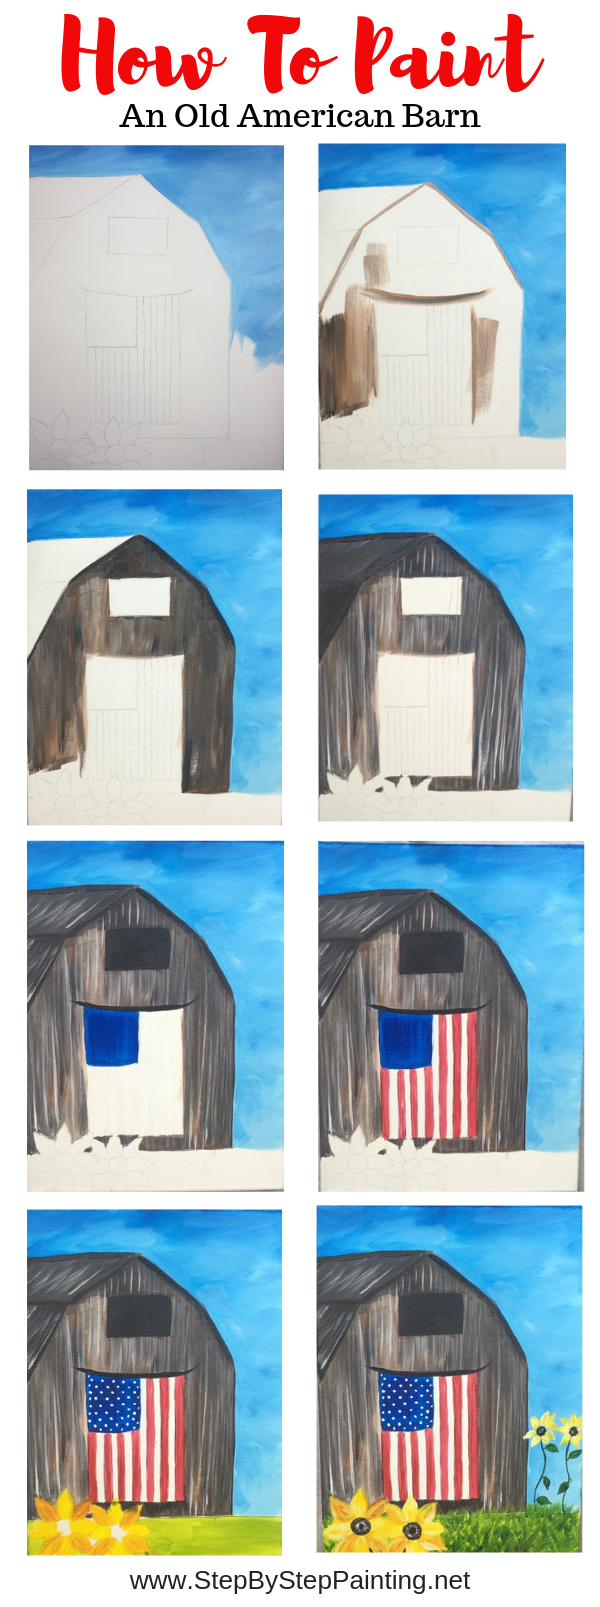
Instructions
- Scroll down to see more detailed instructions.
- Transfer the barn onto the canvas using transfer paper.
- Paint the sky using titanium white and primary blue.
- Paint the barn using burnt sienna, titanium white and mars black.
- Paint the flag with primary blue, titanium white and alizarin crimson.
- Paint the grass with light green gold and hooker's green
- Paint the sunflowers
- Dry brush the clouds
Color Palette: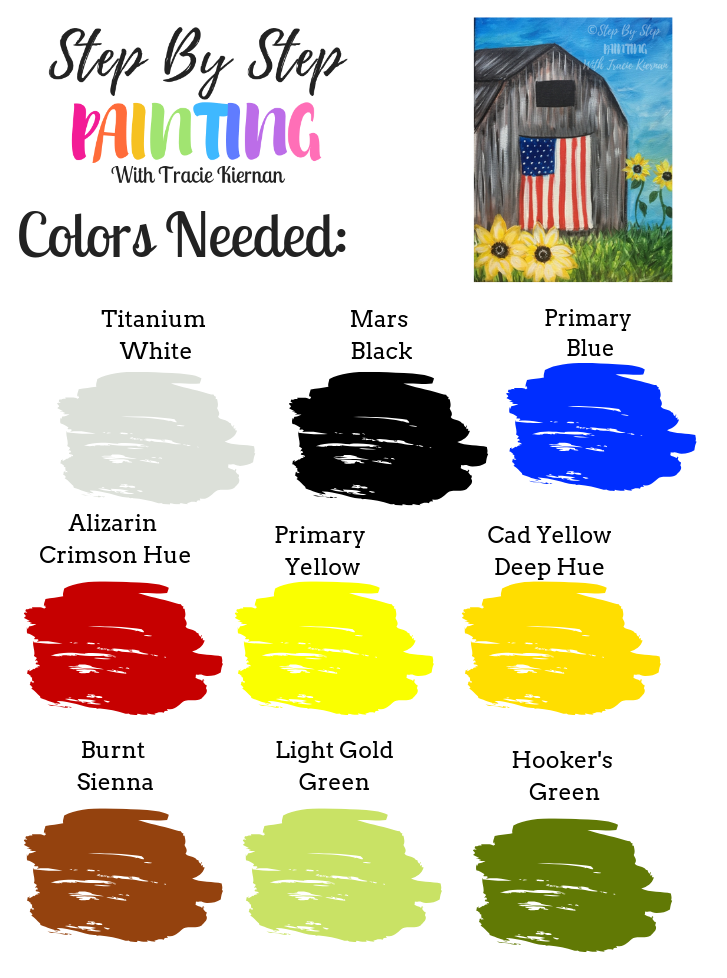

Traceables:
This design works on various size canvases! Go to PDF library to grab the downloads
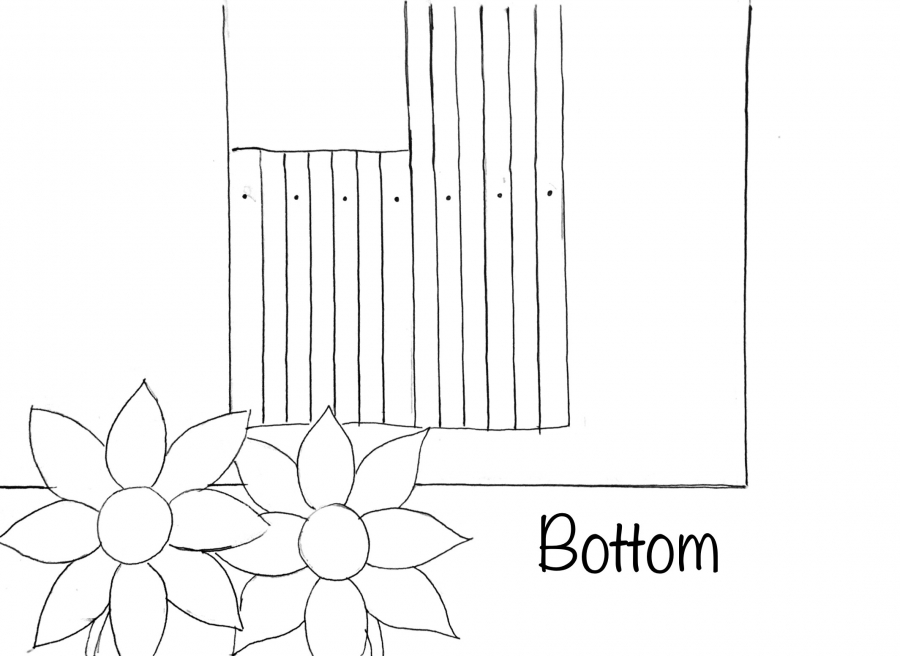
Top & Bottom Traceables (for 11×14 or 12×16 canvas):


Single Sheet Traceable (for 8×10 or 16×20 canvas):
- Note: you’ll want to enlarge by 50% if you’re doing 16×20

- Go To The PDF Library To Grab the PDF Download
- To learn about enlarging, see my post about that here.
Directions At A Glance:

Video:
Step by step directions:
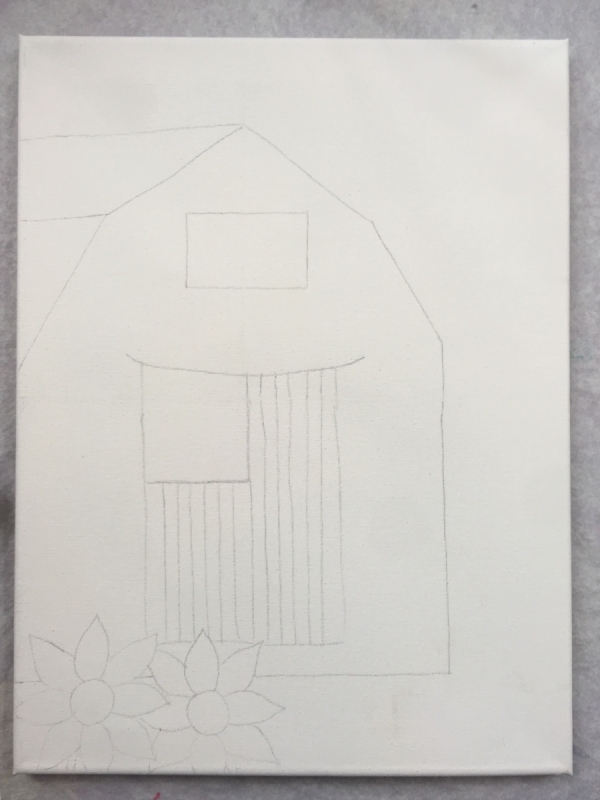
Step 1
Transfer the barn to the canvas using the traceables and a sheet of graphite paper (shiny side down). Since I’m working on a 12″ x 16″ size canvas, I positioned the top and bottom traceables so they lined up. 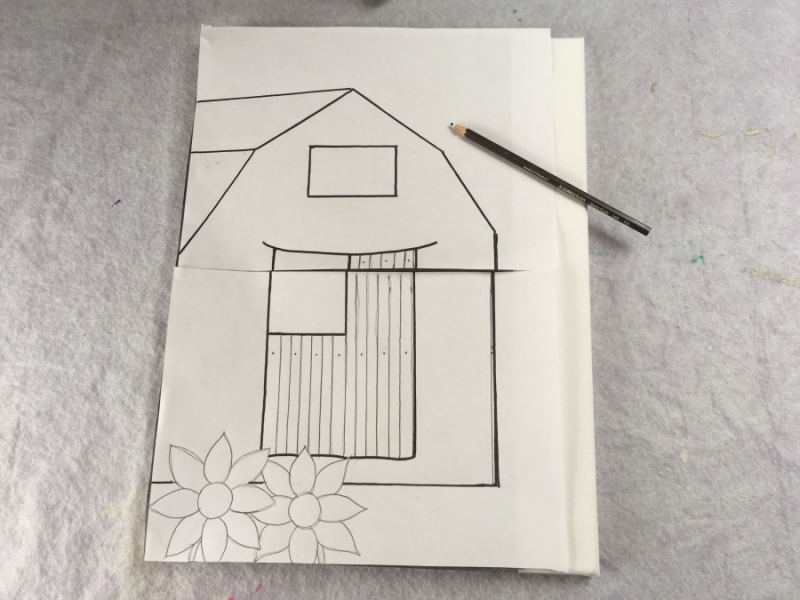
You’ll want to trace the canvas so it’s flat on the table and press firmly with a pencil. 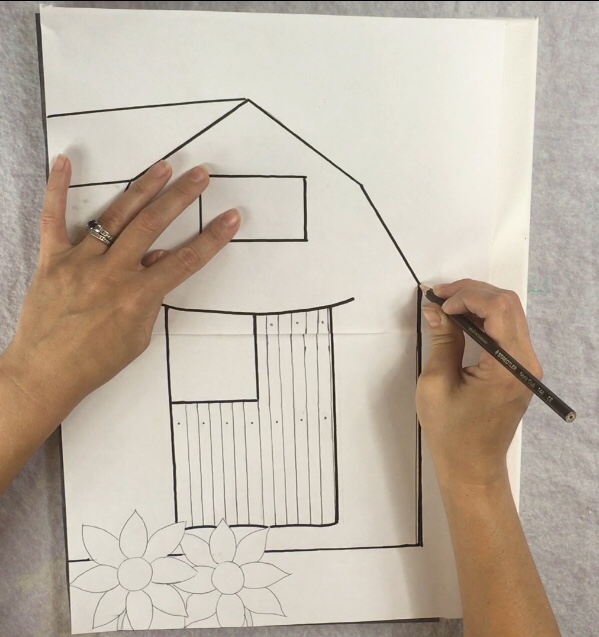
Step 2
Load the colors primary blue and titanium white on to the palette. You’ll also need to get your 3/4″ flat brush ready. 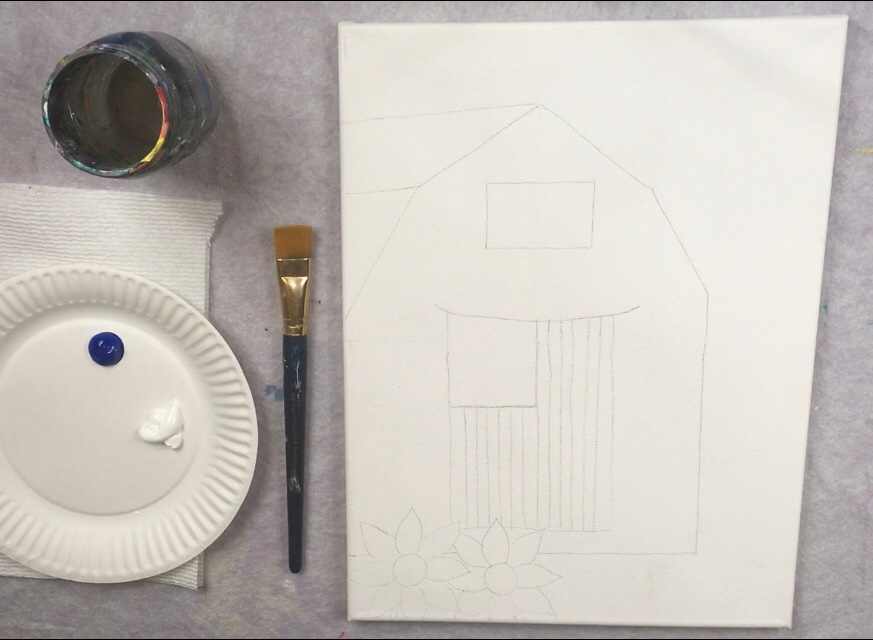
Start by loading your brush in water and patting it dry. Then load it into just the primary blue. Paint the pure primary blue on the top of the canvas. Form your strokes going in an “X” cris-cross style. 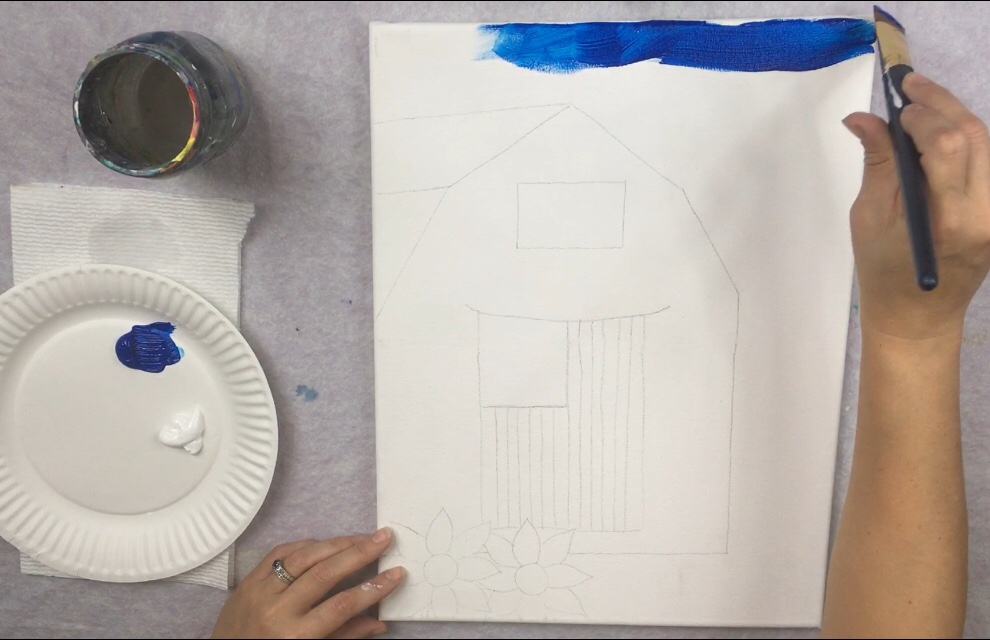
Go all the way across the top of the canvas with this blue and short coss-hatch style of strokes. Then load your brush in titanium white without rinsing the brush. 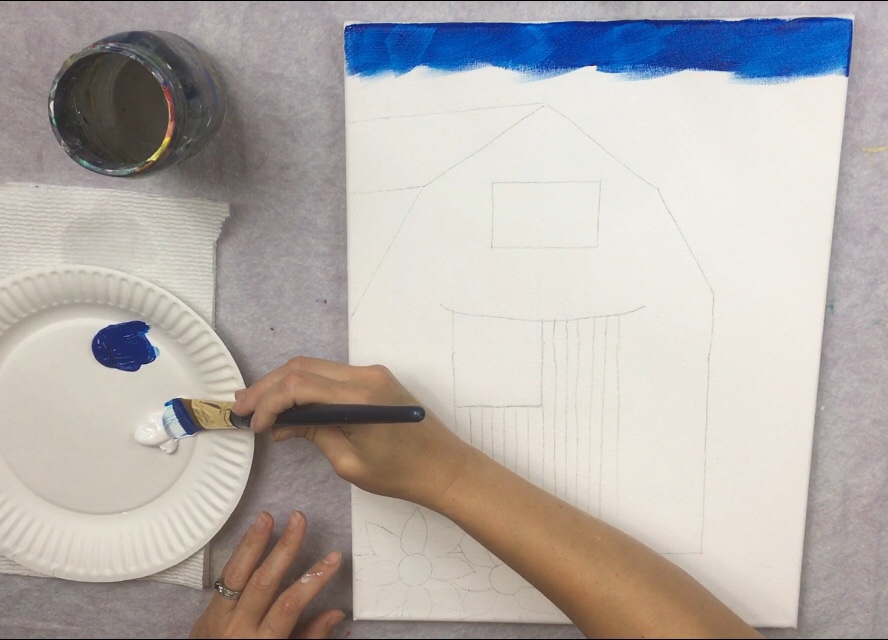
Continue down the canvas doing the cross hatching style of stroke. This will blend the primary blue in with the titanium white to create a bright sky blue color. The sky essentially needs to be darker on the top and slowly get lighter as it goes to the bottom. Be sure to blend in that white gradually and gently so you get a nice smooth transition of color.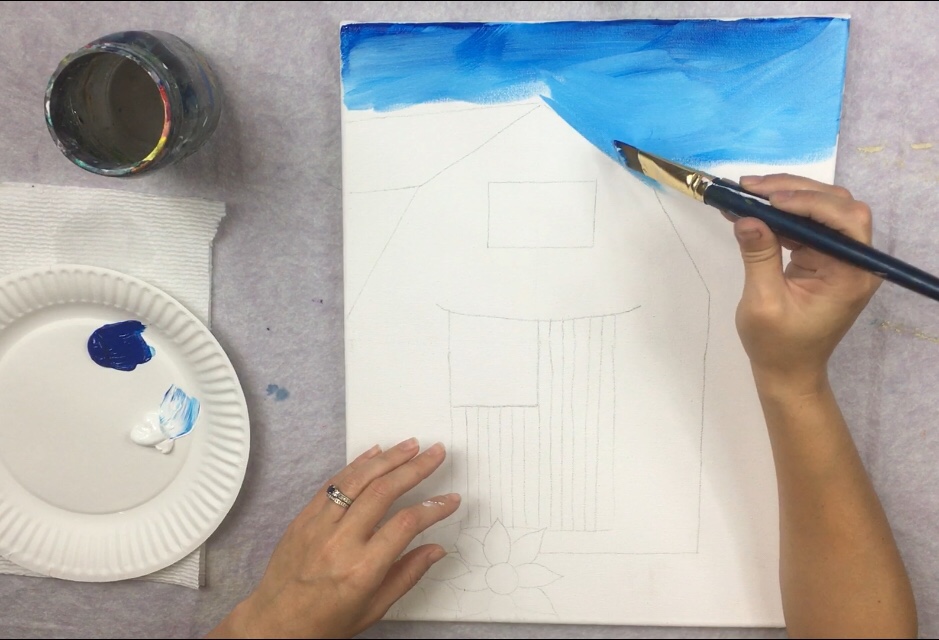
Use the tip of your brush to “cut in” the shape of the barn.
This sky is all filled in down to the bottom horizontal line (which lines up to the bottom horizontal of the barn). 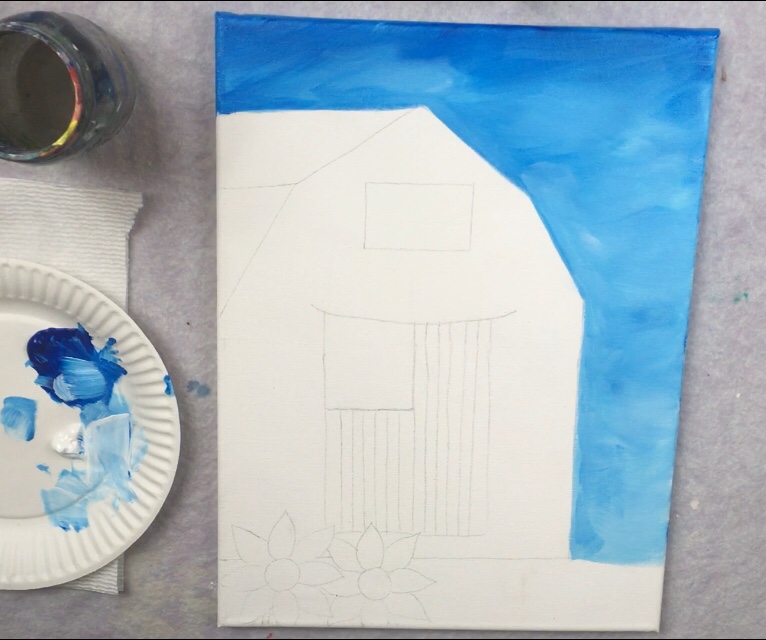
Step 3
Load your palette with titanium white, mars black and burnt sienna. 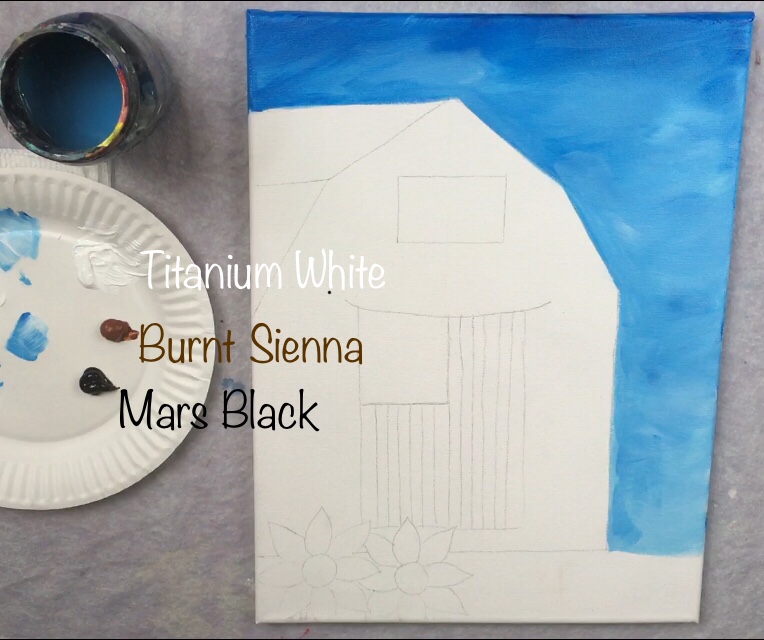
Next thoroughly clean off all the blue of the 3/4″ wash brush. Pat it mostly dry. Then “triple load” it in the three colors titanium white, mars black and burnt sienna. (Note: I dipped the brush in titanium white and dipped one corner in black and the other in the burnt sienna)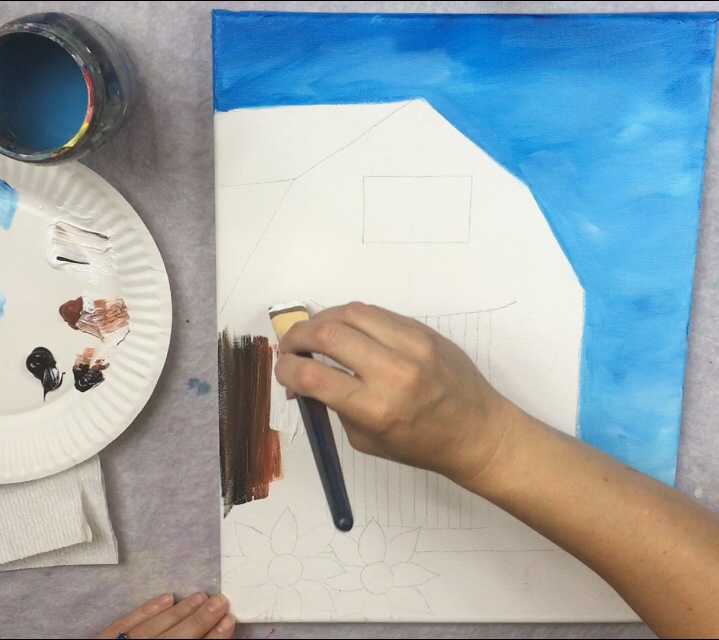
Paint up and down strokes using the full width of the brush. The three colors will blend together to form a blended rustic sort of color in the barn. It’s important that you don’t completely blend the colors all the way. It should look streaky. 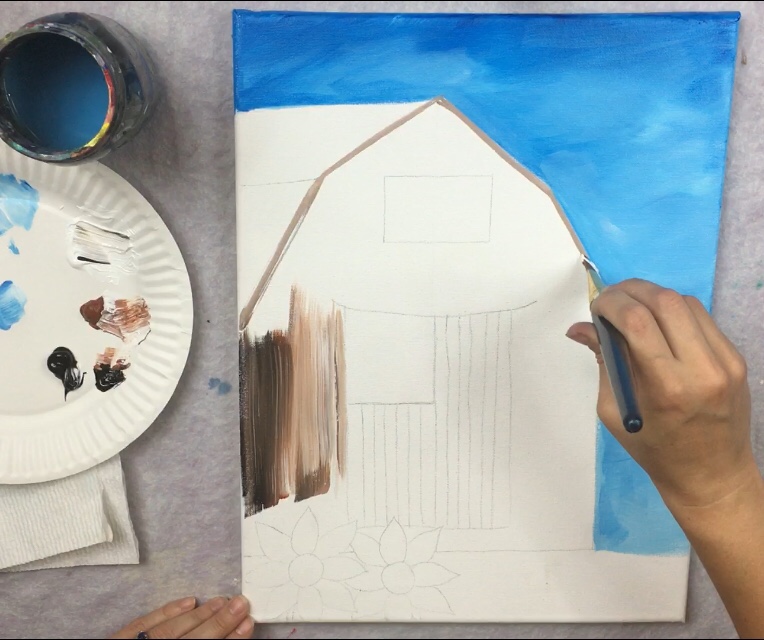
Use the tip your brush to “cut in” the shape of the barn. 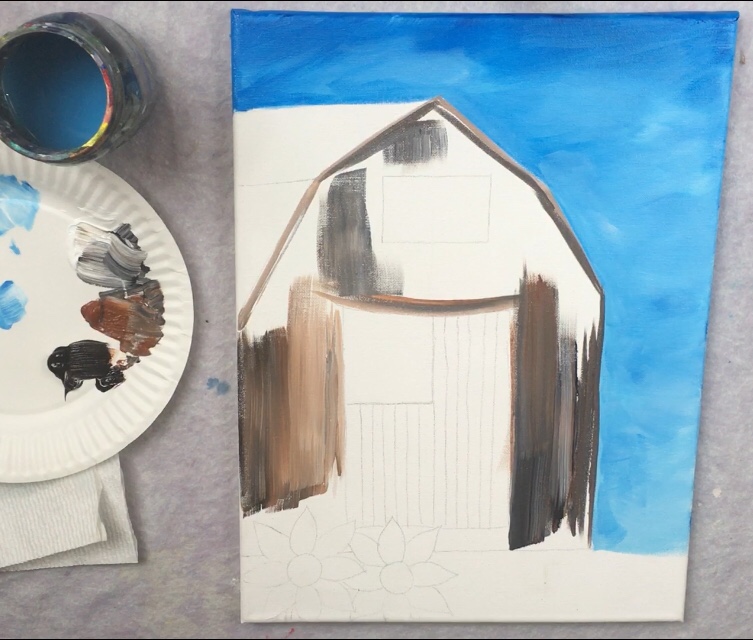
Also, you may wish to use a #12 bright brush to fill in smaller areas. Simply triple load this brush the same way. 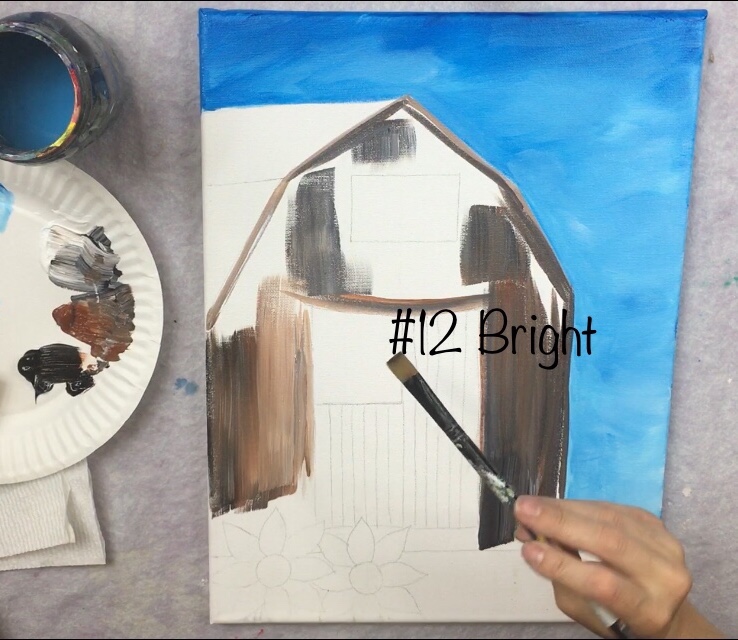
As you blend in the three colors, you may decided if it needs more white or brown. If you want a more grayish looking barn, use more white. However, if you want a more brownish looking barn, make sure you use more brown. It’s also important to know that you not use too much black.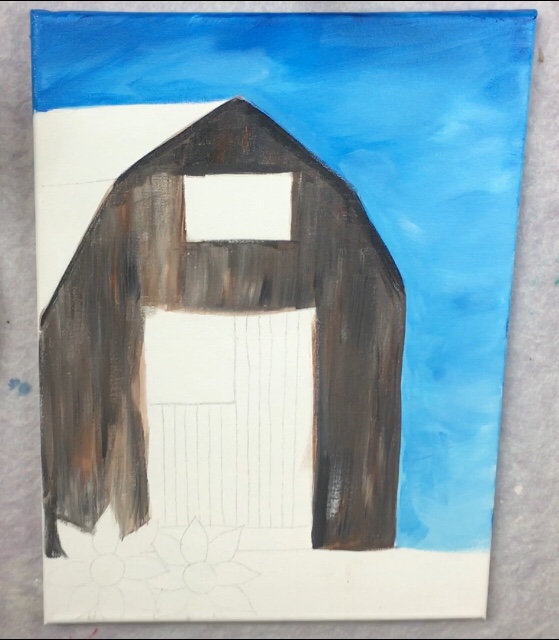
Step 4
To paint the side of the roof, I used the same “triple load” brush technique. The only thing I did differently was add more black onto the brush so that it appears darker. Also, the direction of the strokes go in the same angle of the roof. 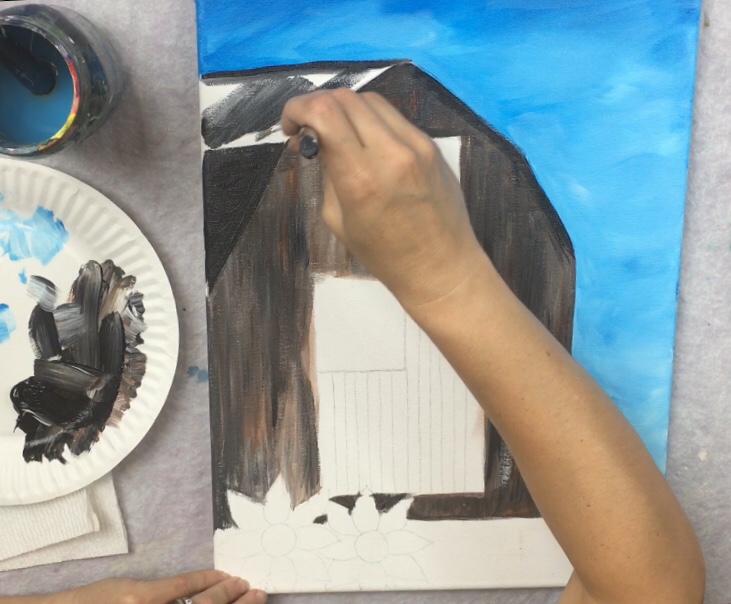
The top angled roof was also slightly lighter than the bottom angled roof. This is a minor detail that is not as noticeable in the end so if you want you can make them the same shade or differ them. 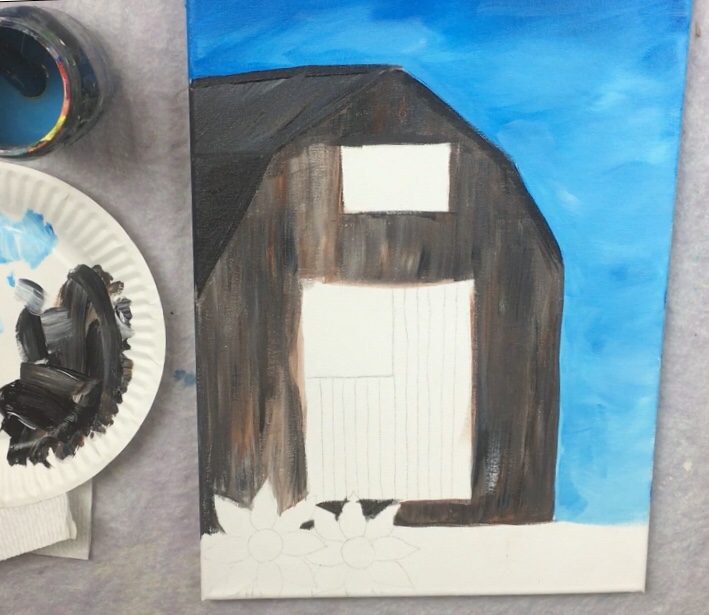
Step 5
To paint the white vertical lines in the barn, I used a #12 bright brush completely cleaned off and dry. You’ll want to make sure this brush is very dry. Then dip the tip in a little bit of titanium white. 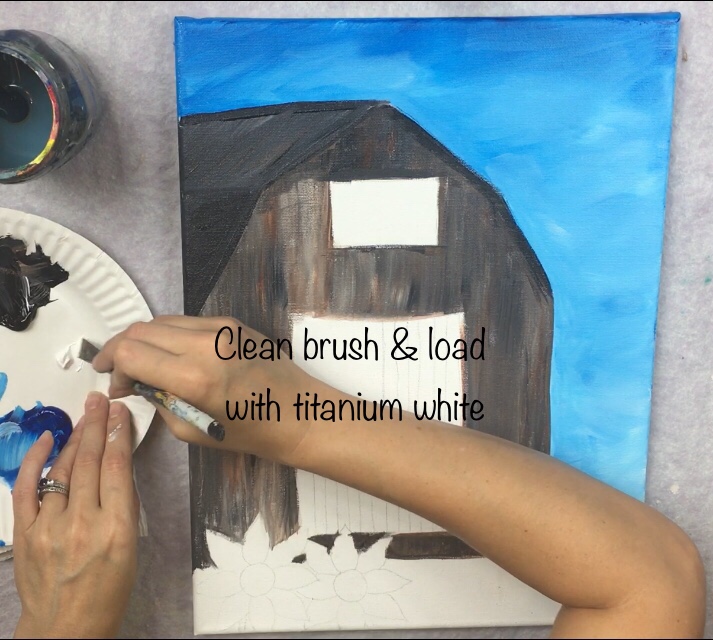
Then use the tip of your brush on its side to paint thin vertical lines all throughout the barn. Don’t worry that they are perfectly vertical or perfectly spaced apart. You don’t even have to make them go all the way up the barn from one edge to the other. Just paint light, dry brush style vertical lines. It actually makes the barn look more “rustic” if the lines are a little “sloppy”. 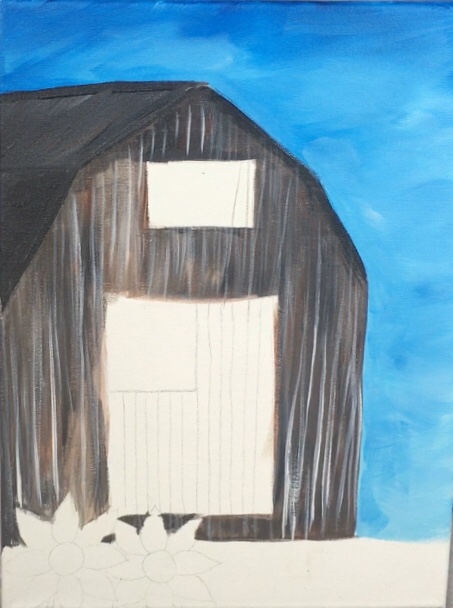
Do the same for the roof with the dry brush white lines but make them go in an angle. 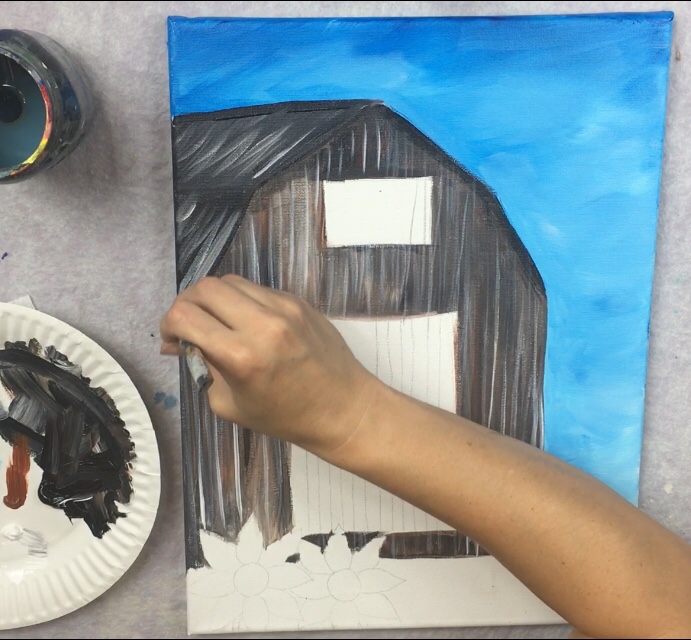
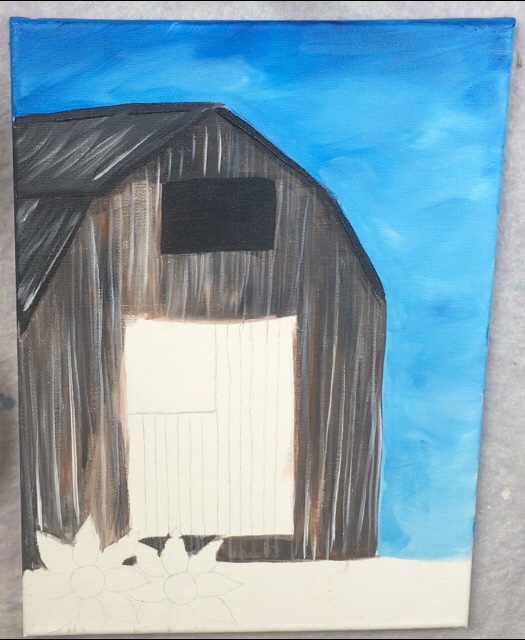
Step 6
Although I kind of already did this when I was painting the barn, I went back and made sure the roof lines were outlined with black. I did this with my #12 flat brush tip.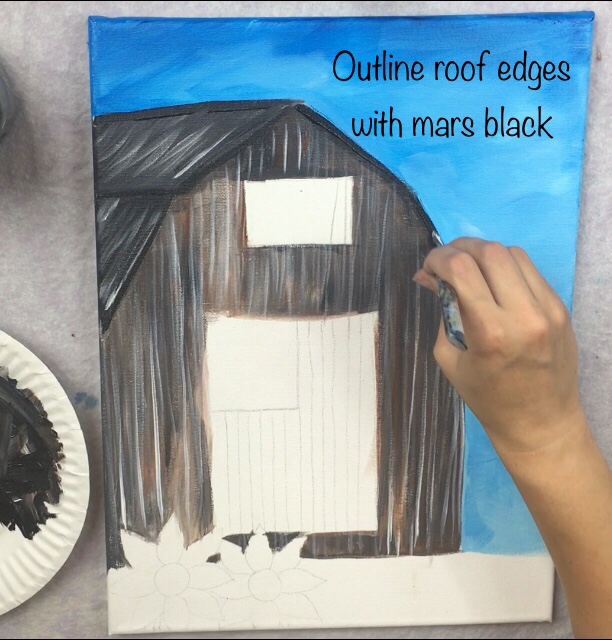
Also, paint the window solid black using that same brush. You may want to add a bit of water to that black to get it to spread. 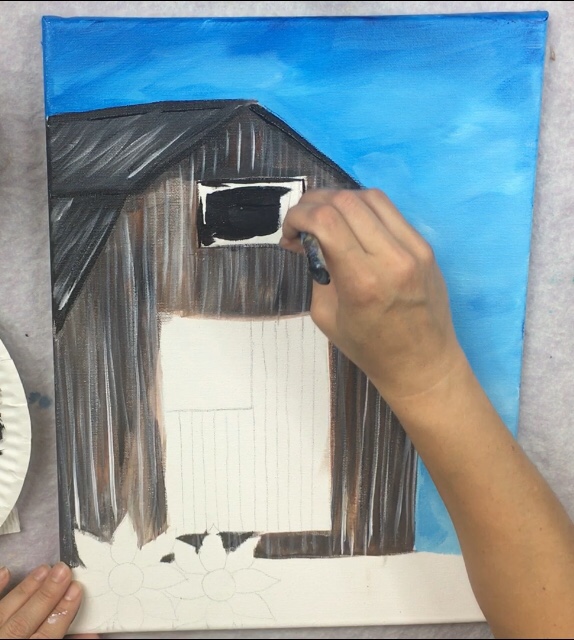
Step 7
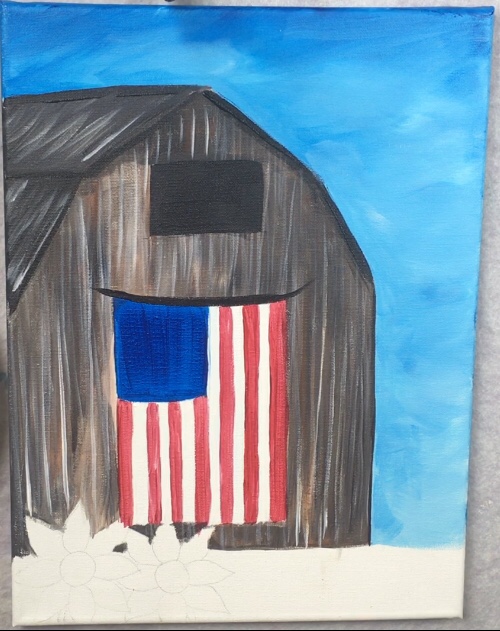
Next I painted the flag. You’ll want to make sure your water & brushes are nice and clean so you can get the bright colors in this flag (muddy water doesn’t help). 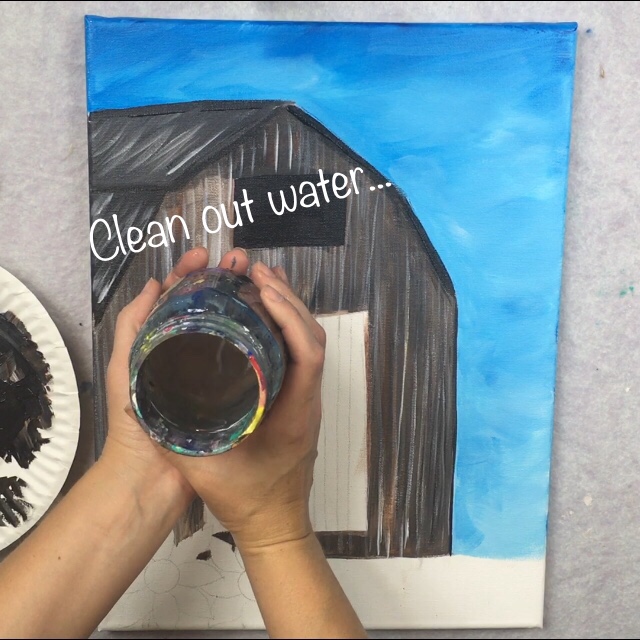
First I painted the blue part of the flag with primary blue. You can use any brush for this step but I used my 12 flat brush. Apply a good two coats so it’s nice and opaque. 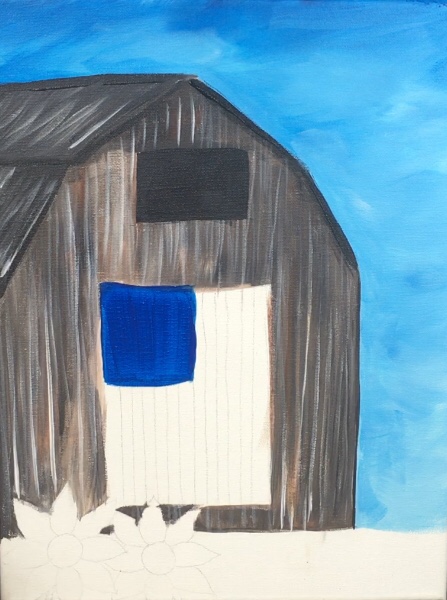
Then paint the white stripes with the #4 round brush. I found it best to paint the white stripes first! You can go outside the lines a little bit here if you’d like because the red stripes will kind of even the white out. 
Then I painted a black curved line above the flag. I did this with mars black and a #4 round brush. 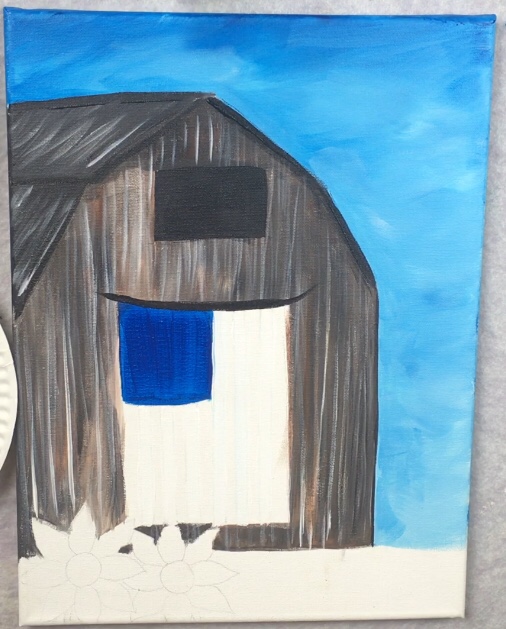
Then you can do the red stripes. You’ll want a steady hand for this step and carefully fill in each strip. Start with the first strip on the far left and work your way to the right. The last stripe should be red. 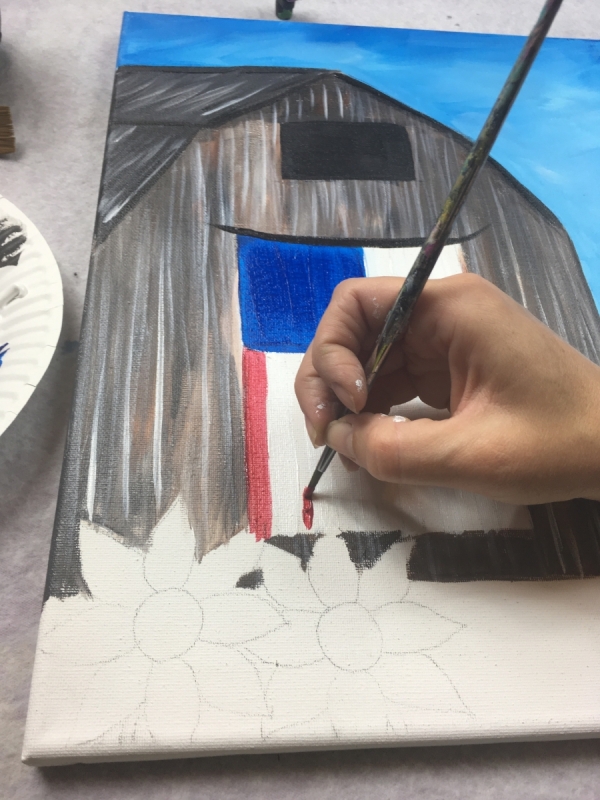
Note: I did not count 50 stars here but you may do that if you’d like! I simply used my #4 round brush and painted white dots going in sort of a brick staggered pattern. 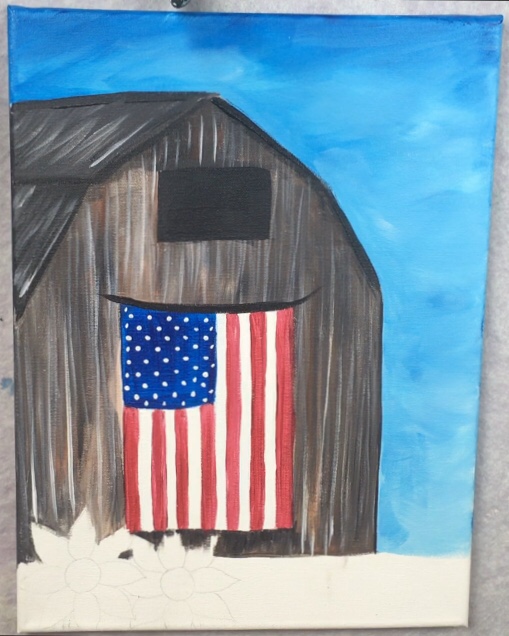
Step 8
Next I painted the base color of that ground and that was done with light green gold and a 3/4″ flat brush. Simply paint the entire ground with left and right strokes going around the shape of the sunflowers. 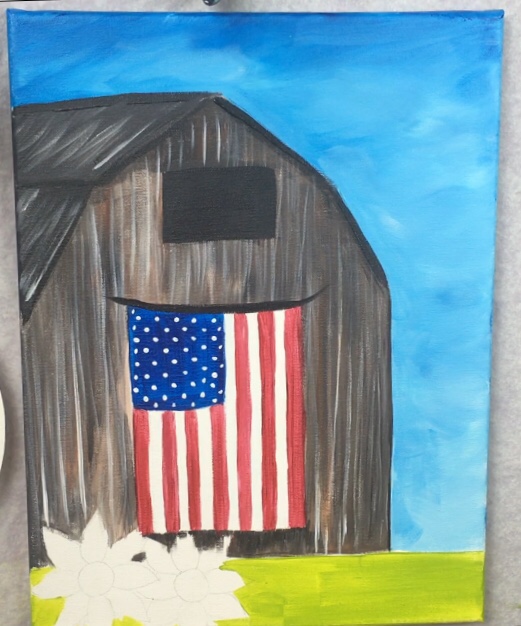
Step 9
Then I painted the large sunflowers on the bottom. I started with the darker petals and to do those, I loaded my #4 round brush in burnt sienna and cadmium yellow deep. This will make a dark golden yellow color. Paint a few coats so it completely covers the petal.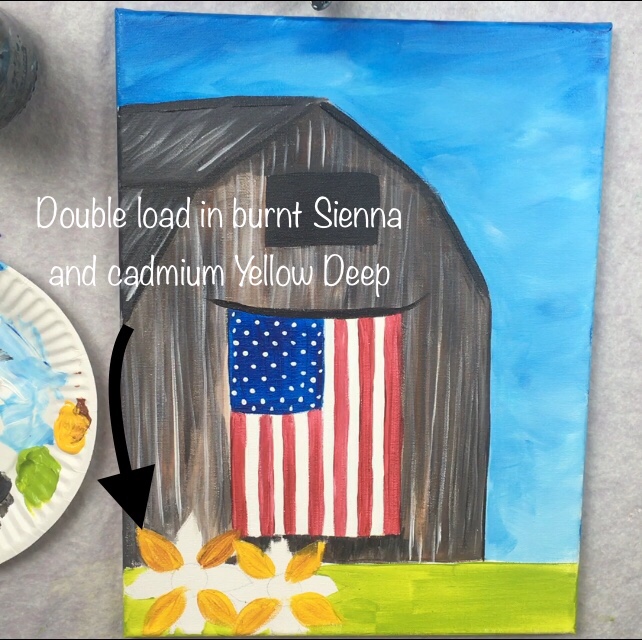
The other petals were painted with primary yellow (but I did not rinse my brush off). This will create a lighter yellow. Do a few coats so the petals are completely covered. 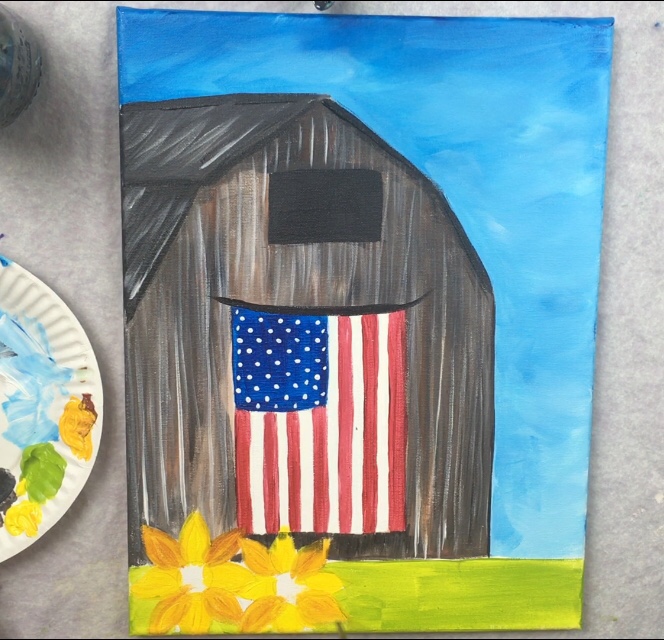
I also painted some white lines on the petals before the yellow dried. This gave the petals a bit of texture. To paint the centers of the flowers, I loaded my #4 round brush in mars black and burnt sienna and painted the circles. 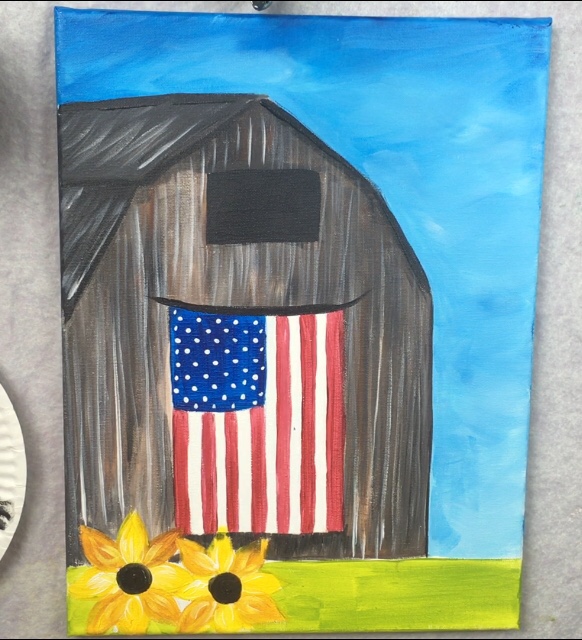
Then I did the texture on the circles with little white dots that blended in with the black. I did this with the tip of the #4 round brush. 
Step 10
To paint the texture of the grass, I used my #4 round brush and the color hooker’s green. Paint little short lines going diagonally and vertically in all directions starting at the horizon line and working your way down.
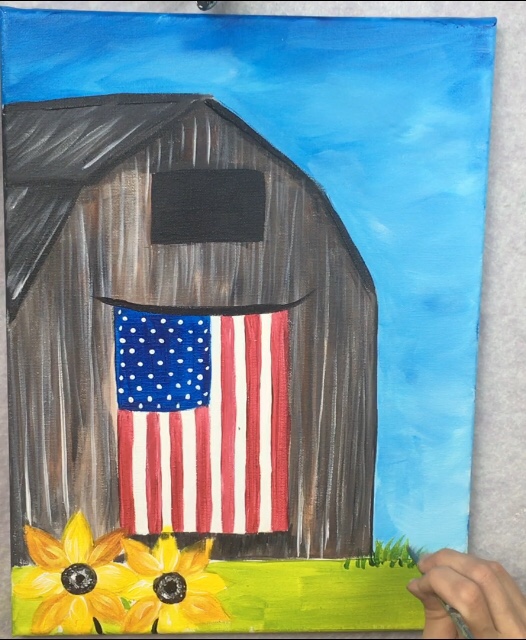
Work in rows going horizontally across the green gold layer working your way to the bottom. 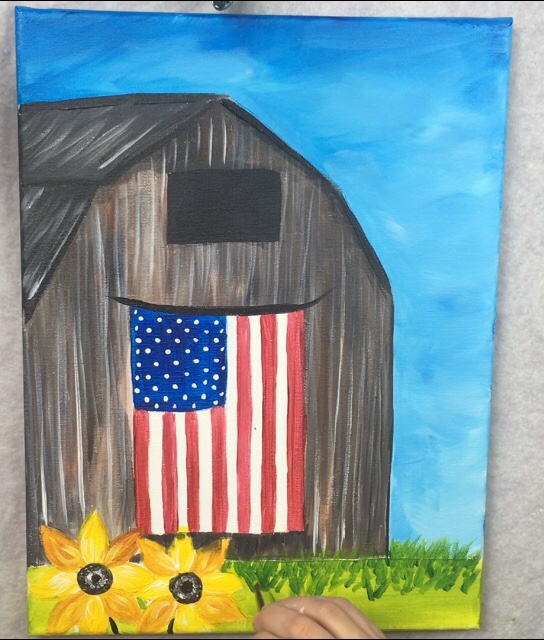
Optional: To get color variations in the grass, load your brush in a bit of yellow, brown and light green gold. You can paint multiple layers of strokes on this grass to make it look more “dense”. 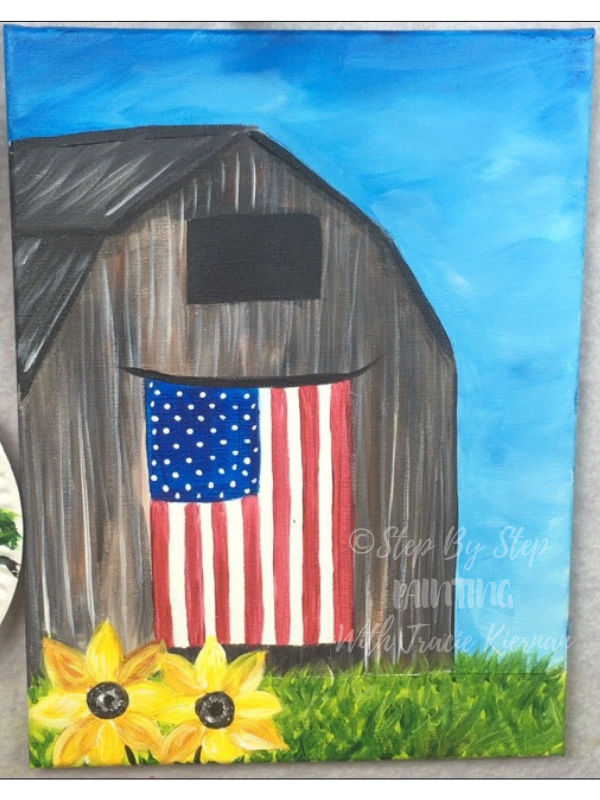
Step 11
To paint the sunflower stems next to the barn, use your round brush dipped in hooker’s green and a little bit of mars black to create a dark stem color. Paint the leaves as well. Note that I also painted stems on the bottom sunflowers with this same color.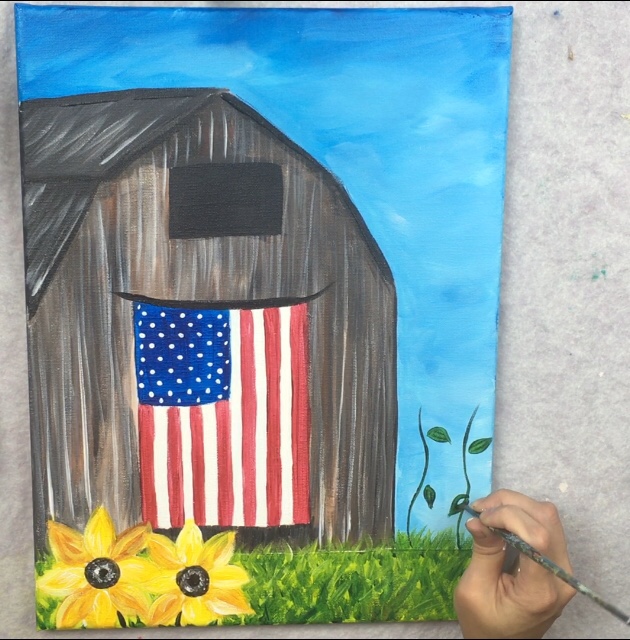
For the centers of the flowers, I used my index finger to stamp mars black and burnt sienna circles. 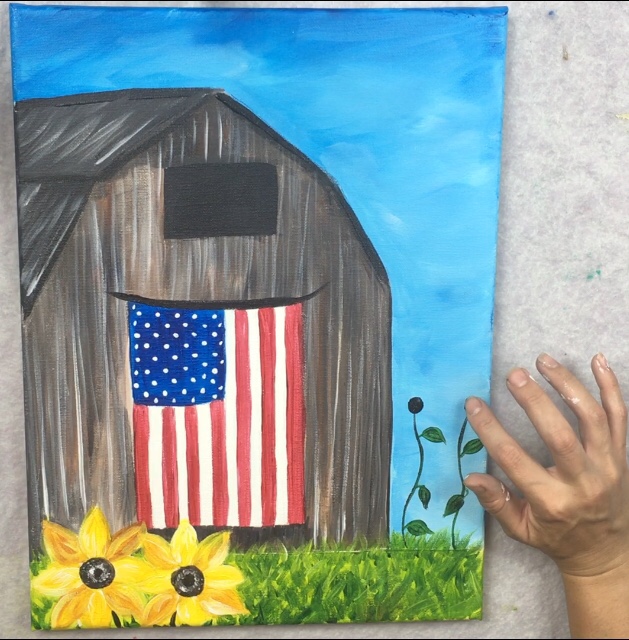
Then I painted the petals using primary yellow and titanium white. You can also add variations of cadmium yellow deep into these petals just like the sunflowers on the bottom. I also made the little dot marks with white on the circles. 
Step 12
For this next step, I painted “dry brush clouds”. I use a lot of different brushes for clouds, but for this painting I specifically grabbed a #8 round brush. This is bigger than the #4 round brush. 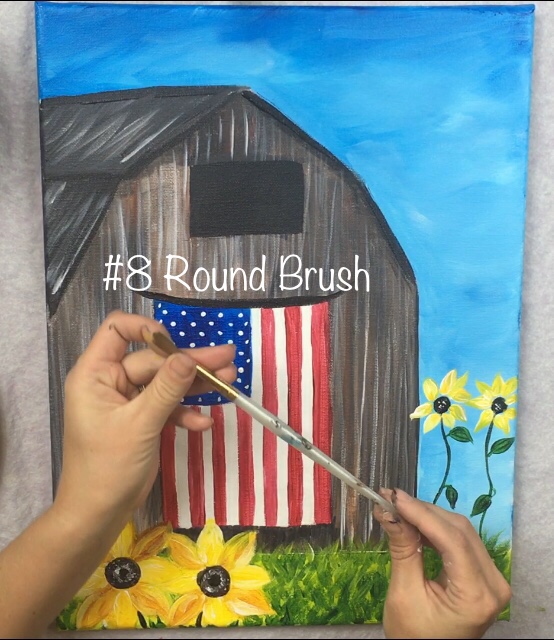
To do dry brush style, load the brush in titanium white and then wipe some of it off with a paper towel. This ensures your brush is only loaded in a small amount paint. 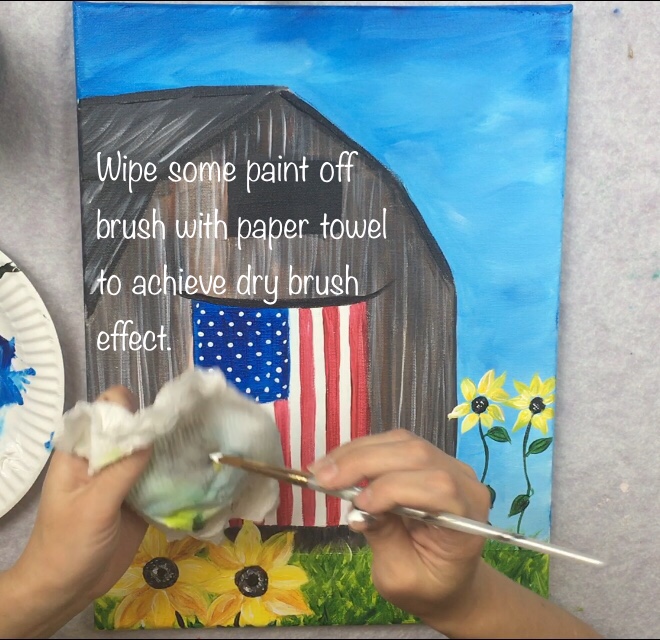
Then test it out. It should be very light, not bright and solid at all.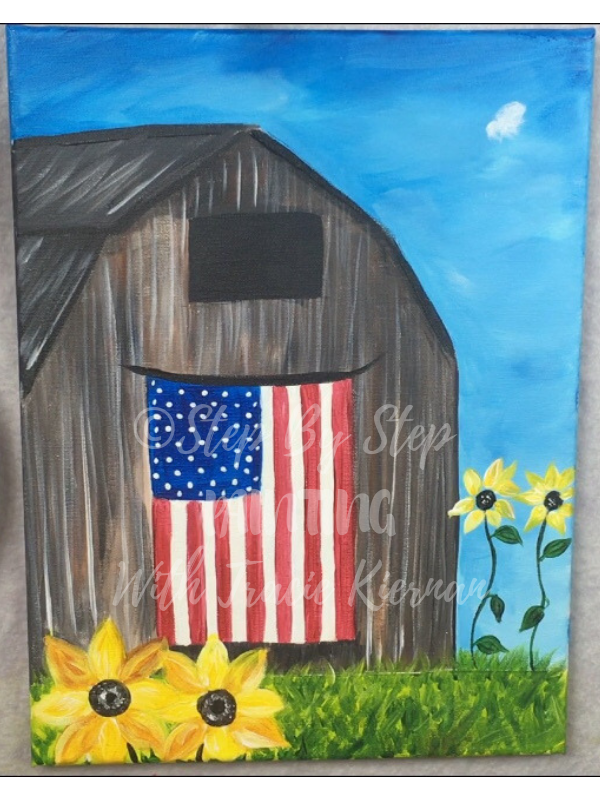
To paint the clouds, make small rounded strokes with your brush forming the shape of a cloud. The direction of the brush is going in small counter clockwise circles. 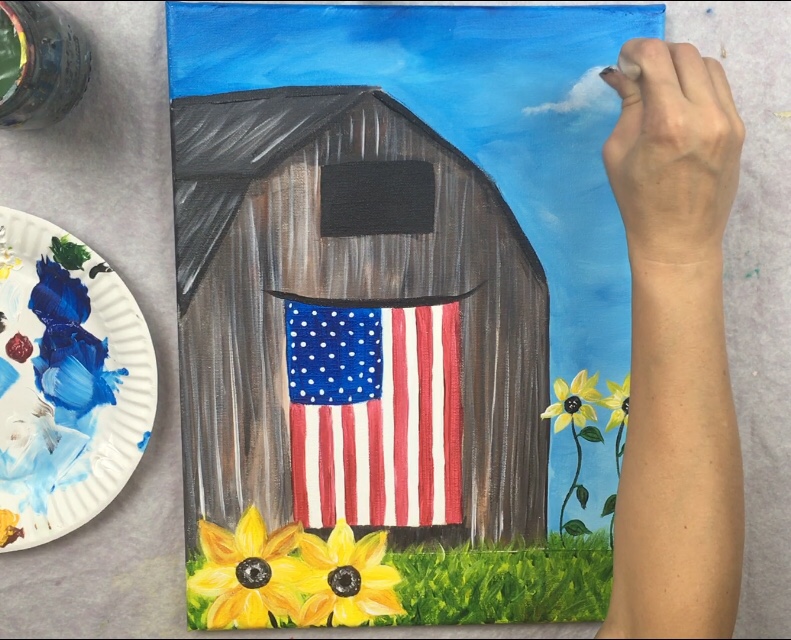
Since I’m painting cumulus clouds, I had this cloud be “fluffy” at the top and sort of flat horizontal on the bottom. As you go to reload the brush, make sure you continually wipe it with the paper towel to achieve light feathery results. You should still see a lot of blue showing through this cloud. 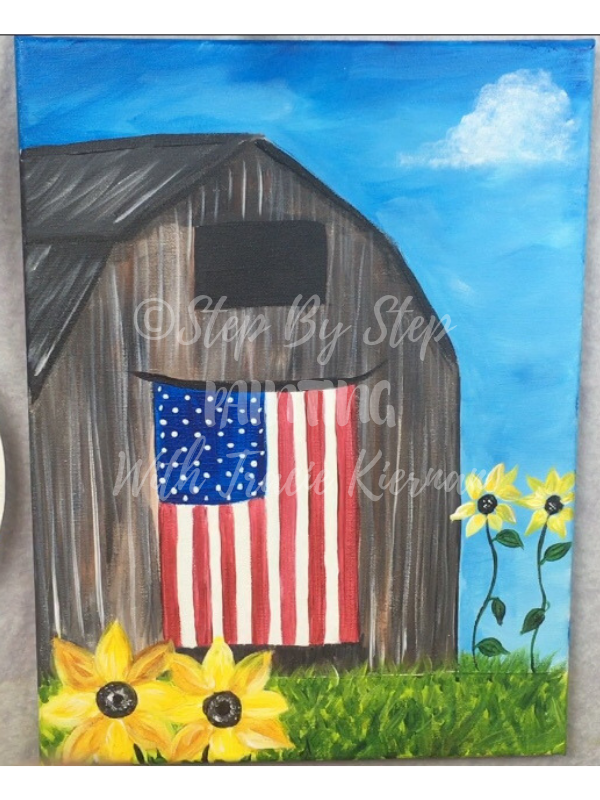
I repeated this with a second cloud in the sky. 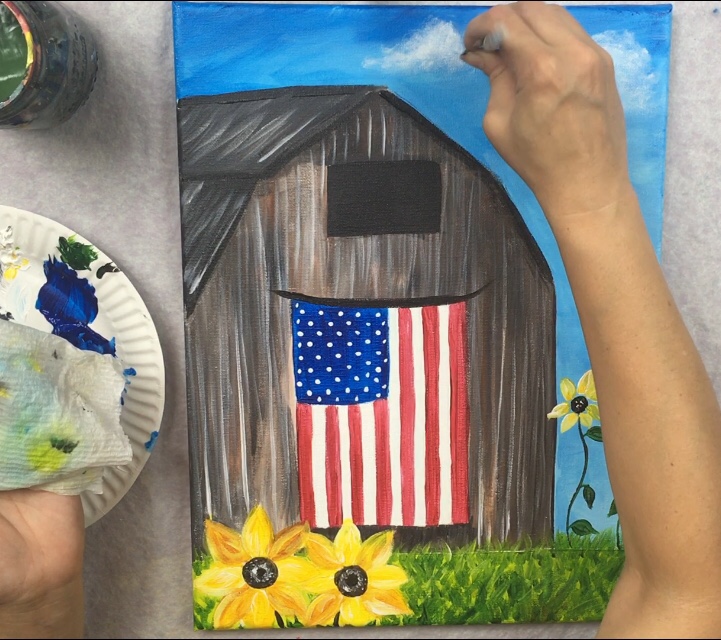
Then if you wish, you can add a bit of “dimension” to the clouds by adding more white layers on the left sides. You can control the brightness of the white by adding more white.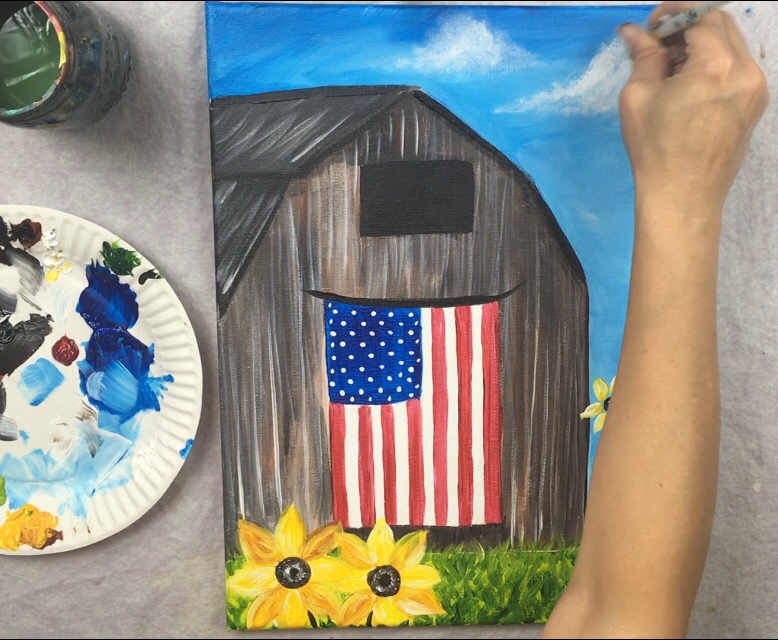
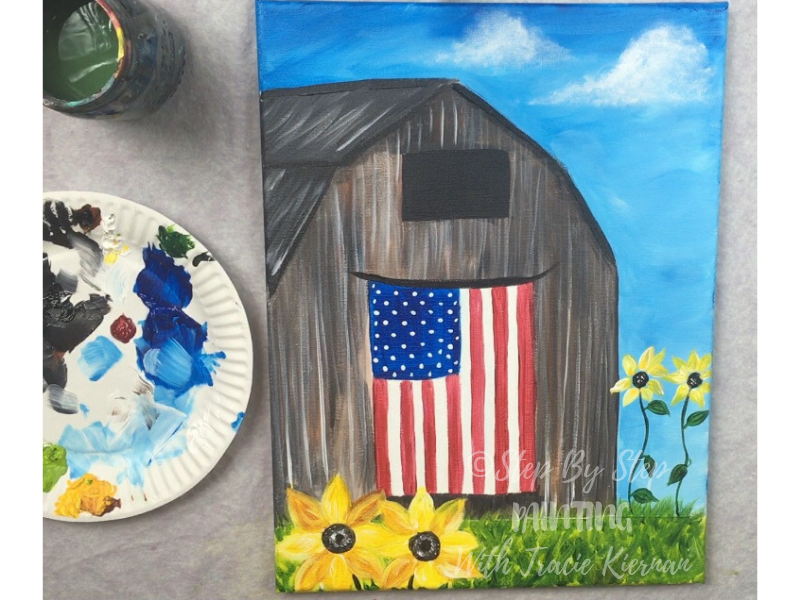
Finished!
That’s it! The barn painting is complete! Thank you for reading this tutorial! If you enjoyed, be sure to share this with your friends and family and also upload a picture of your painting!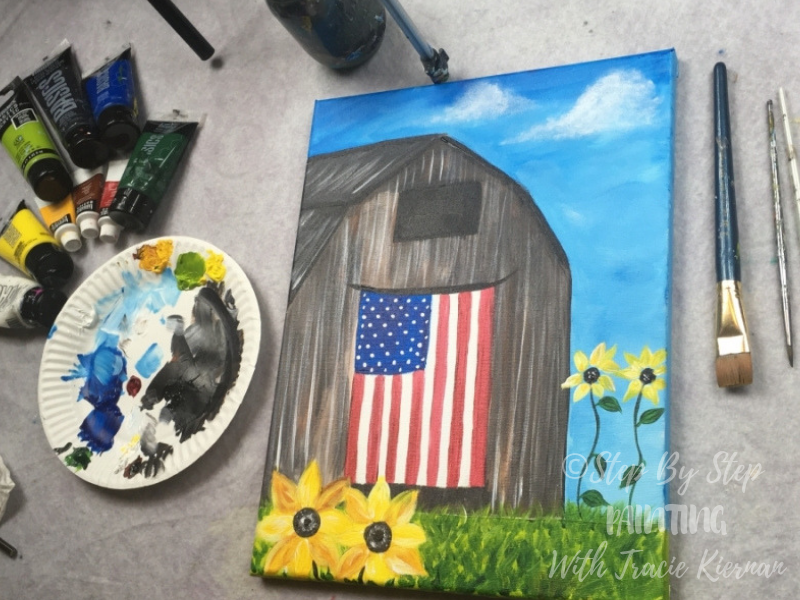
Share this tutorial!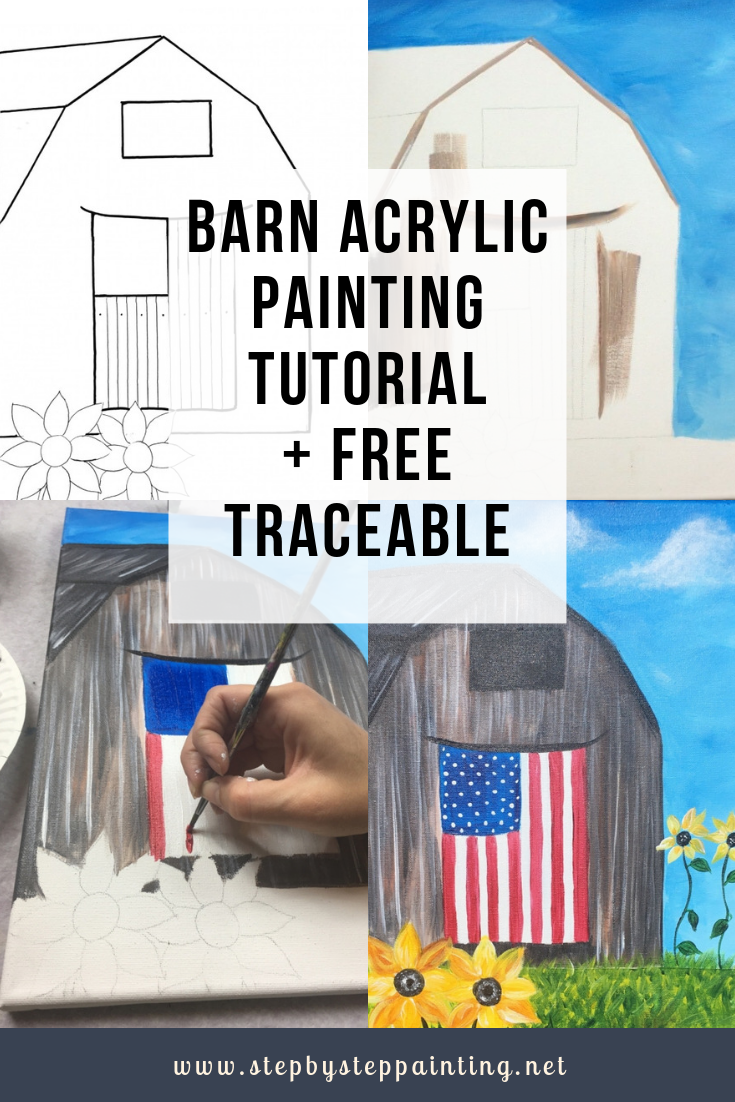

Share Your Art On Social Media!
You can upload a photo on a Pinterest Pin, upload a photo on the Step By Step Painting Facebook page and/or upload a photo on Instagram. Note: if you want me to see your instagram photo, tag @tracie_kiernan_art


See More!