
Would you like to save this?
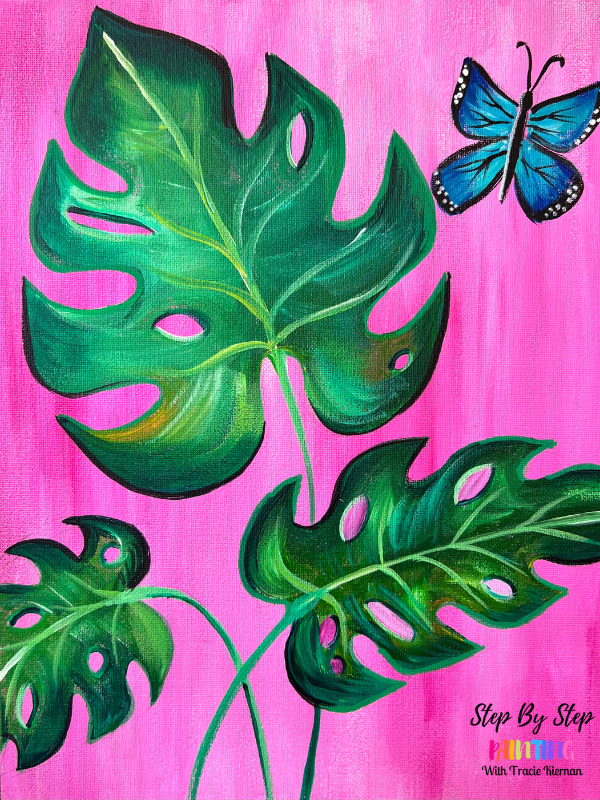
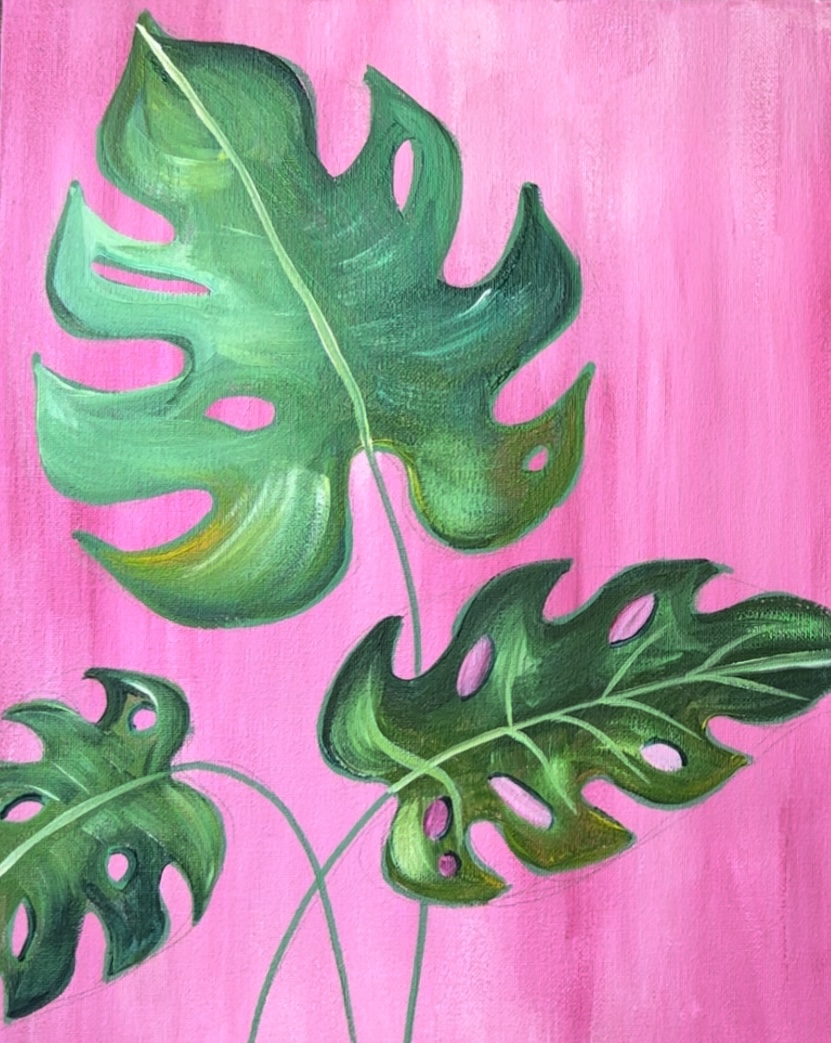
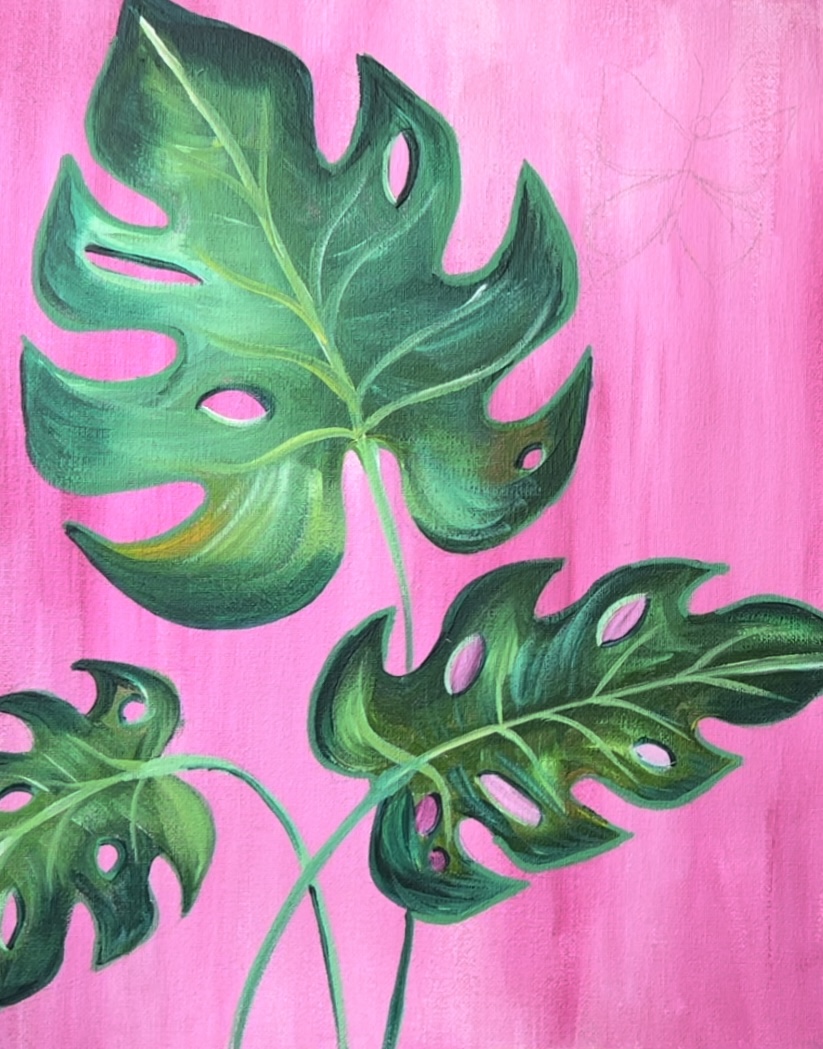
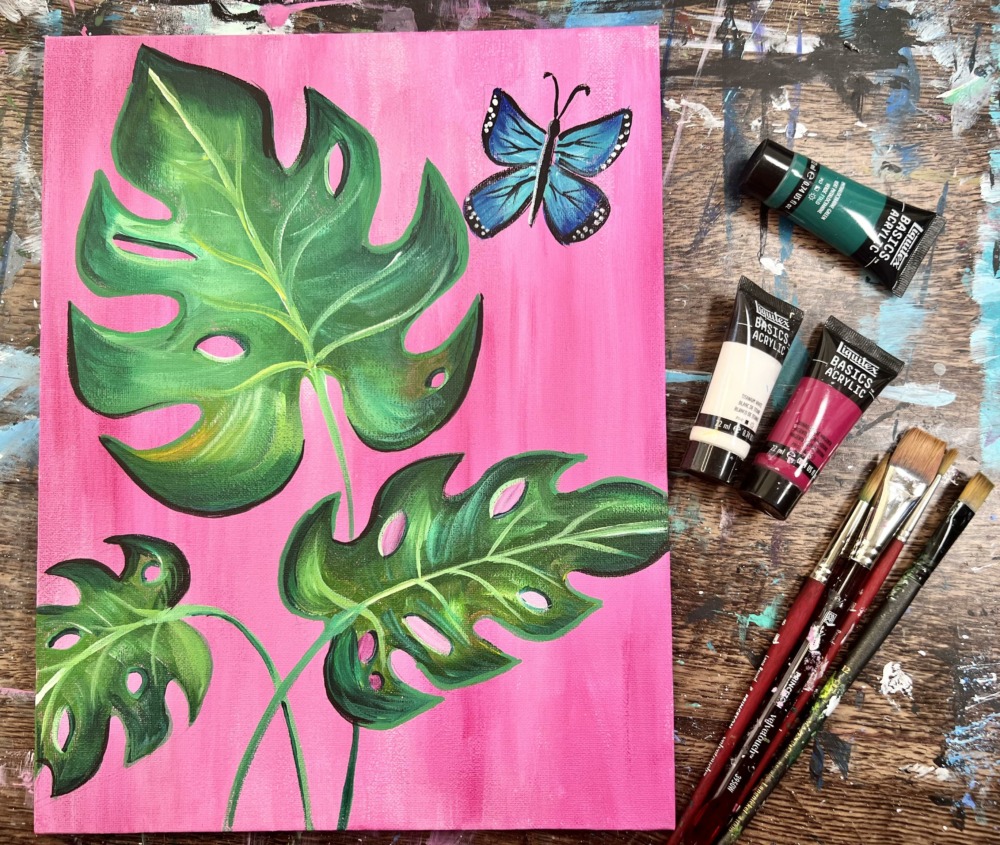
This acrylic painting tutorial will show you how to paint vibrant green tropical monstera leaves against a hot pink background!
You are welcome to change the color of the background, the butterfly color and/or omit the butterfly. That hot pink is created by mixing “quinacridone magenta” with “titanium white”.
Enjoy and happy painting!
Materials:
- 11 x 14 Canvas
- Acrylic Paints
- Brushes
- *Green POSCA Paint Pen (optional but helpful)
- Paint Palette
- Water Jar
- Protected Workspace
- Optional Tracer Template
- Optional Graphite Paper
*You can also use a black sharpie for this. The pen is used to outline the leaf shapes before painting them in.
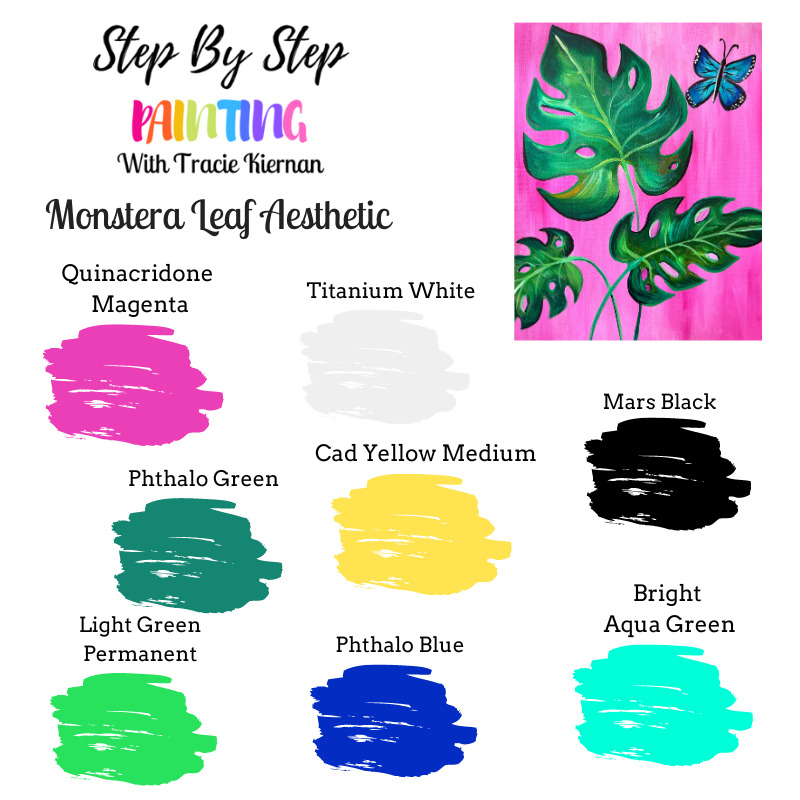
Colors:
- Quinacridone Magenta
- Titanium White
- Mars Black
- Phthalo Green
- Cadmium Yellow Medium
- Brilliant Yellow Green
- Phthalo Blue (if doing butterfly)
- Bright Aqua Green (if doing butterfly)
Brushes:
- 3/4 Flat Brush
- 12 Bright Brush
- 8 Round Brush
- 4 Round Brush
Color Palette:
I used Liquitex BASICS acrylics for this. If you are using a different brand, you can use the color chart below to help you match colors.
Craft Paint Conversion:
If you are using craft paints such as the Apple Barrel Craft Paints, I would recommend subbing to:
- Bright Magenta
- White
- Black
- Holly Branch
- New Shamrock
- Bright Yellow
- Too Blue
- Bimini Blue
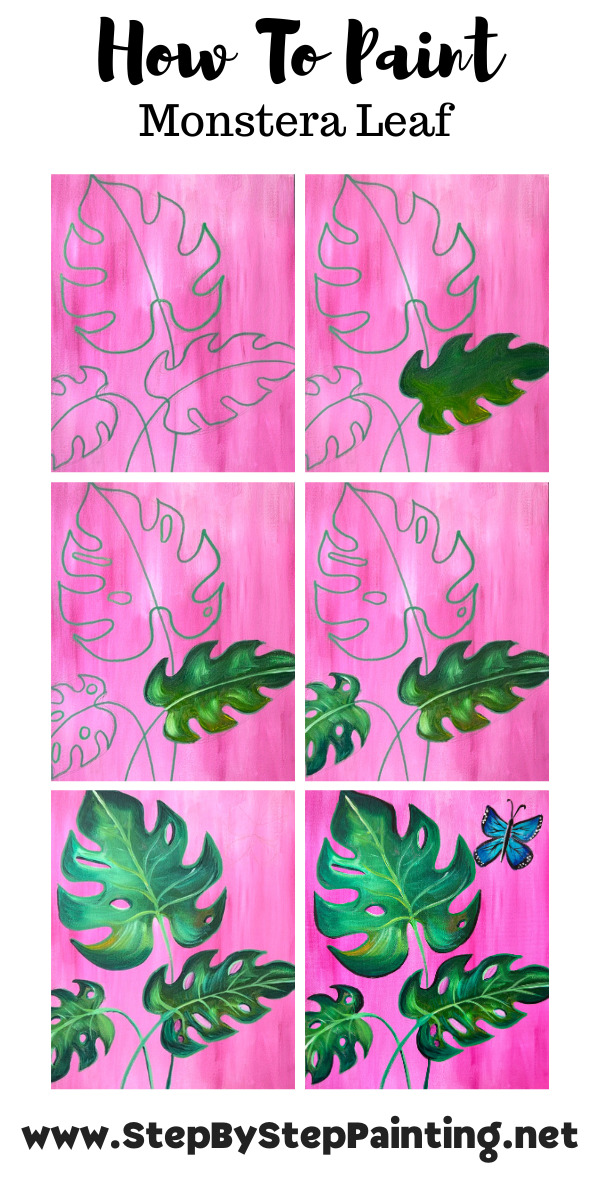
Directions At A Glance:
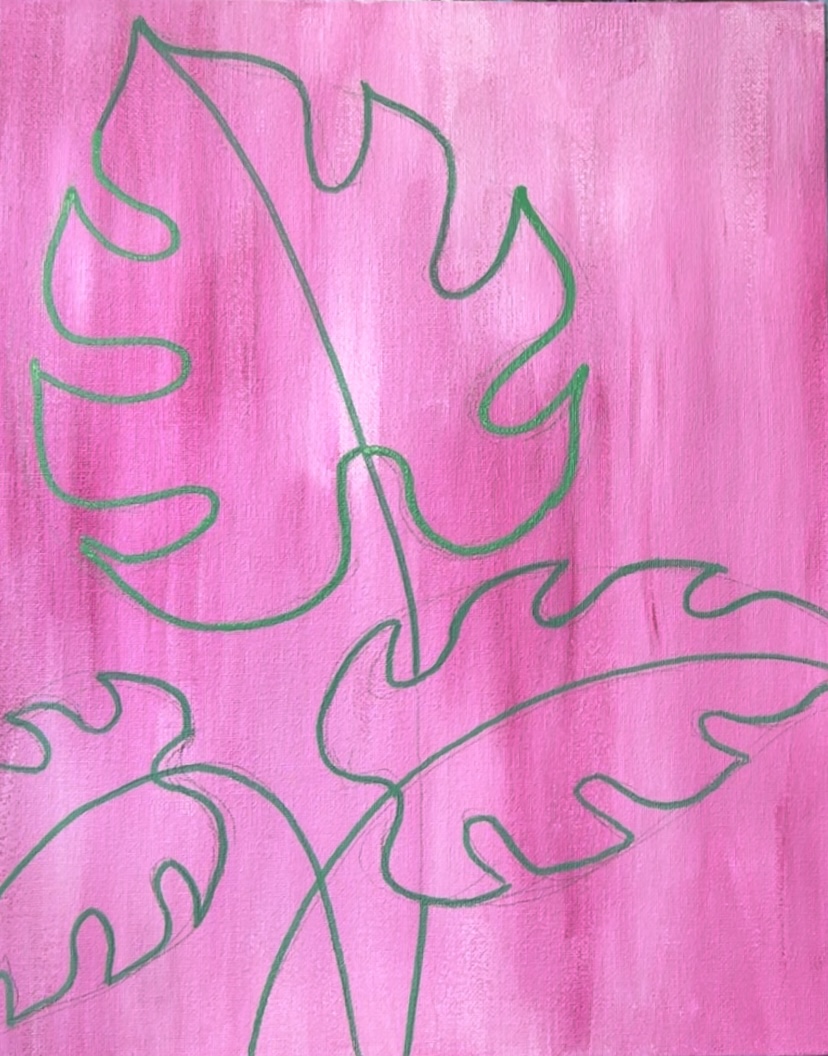
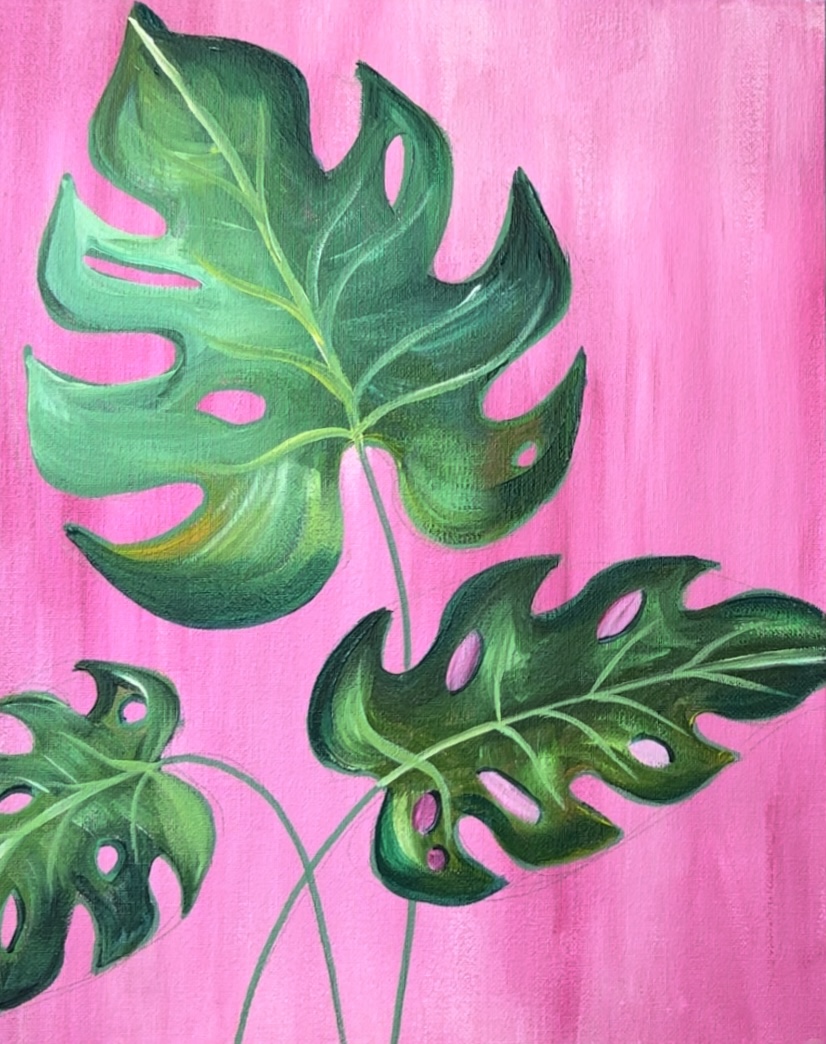
Traceable:
This is an optional traceable template. You can trace this before or after the background is painted. If you are tracing this before the background, I recommend you outline the template with a sharpie or black paint pen so you can see it through the first layer of paint.

Video:
Step By Step Instructions:
1. Paint The Background
Load your palette with quinacridone magenta and titanium white. Use a 3/4 flat brush. Double load it into both the magenta and the white. Paint all up and down strokes.
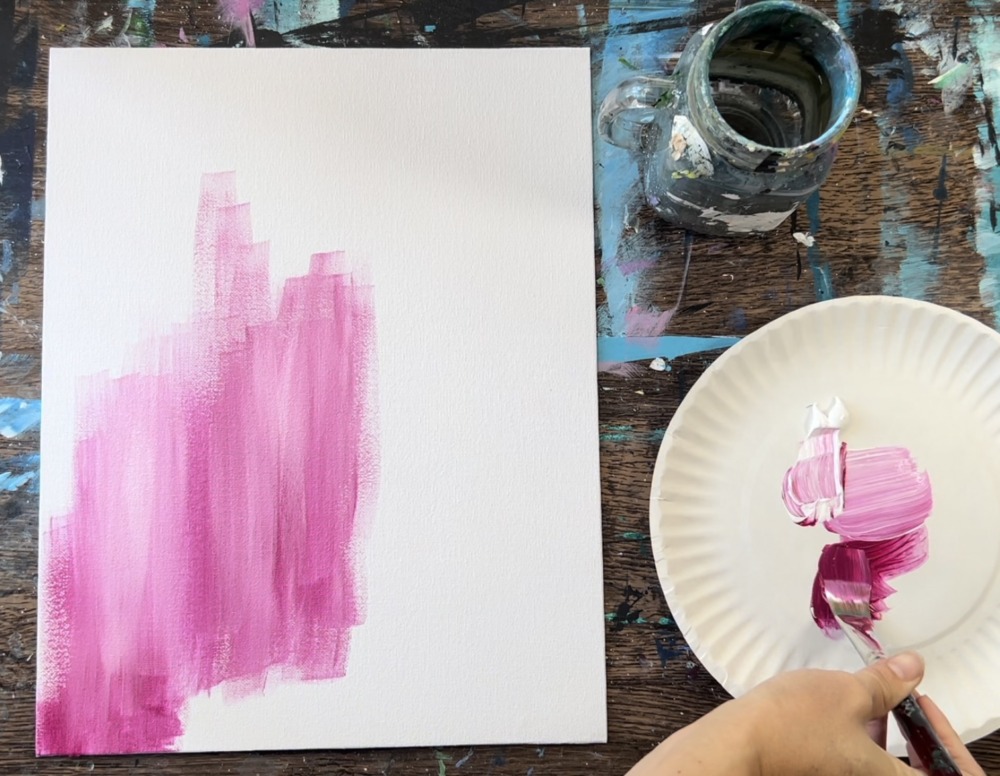
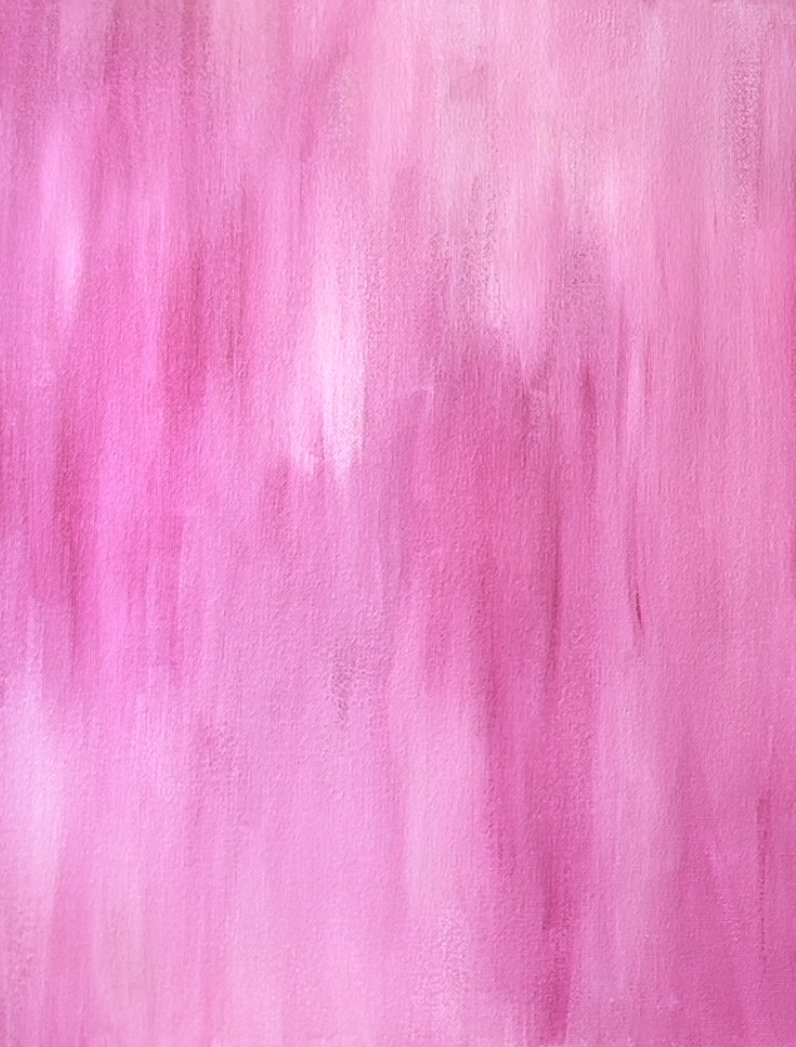
Fill the entire canvas with an abstract blend of these two colors. The magenta and the white will mix together to form that pretty hot pink color. You can vary the darks and lights by adding more magenta or more white to the brush but the trick is to not over blend the colors.
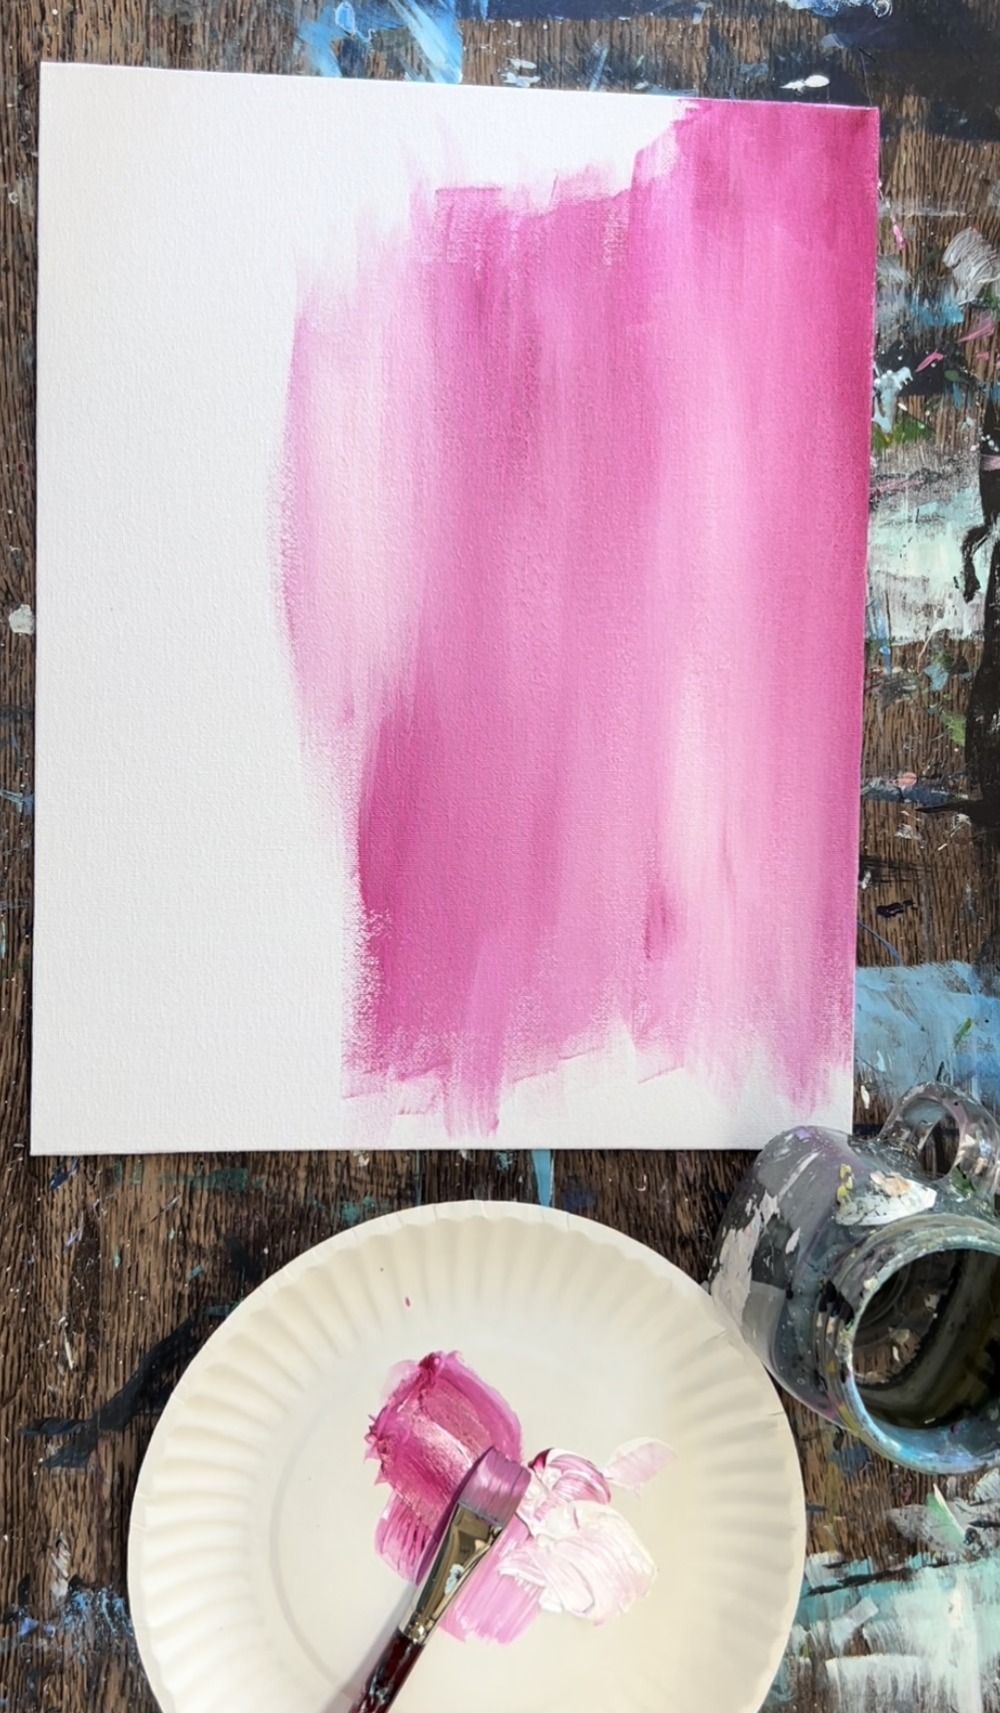
This should be a relatively thin layer of paint. Add water to the brush if needed to speed up the painting process and help with the flow and blending of the colors.
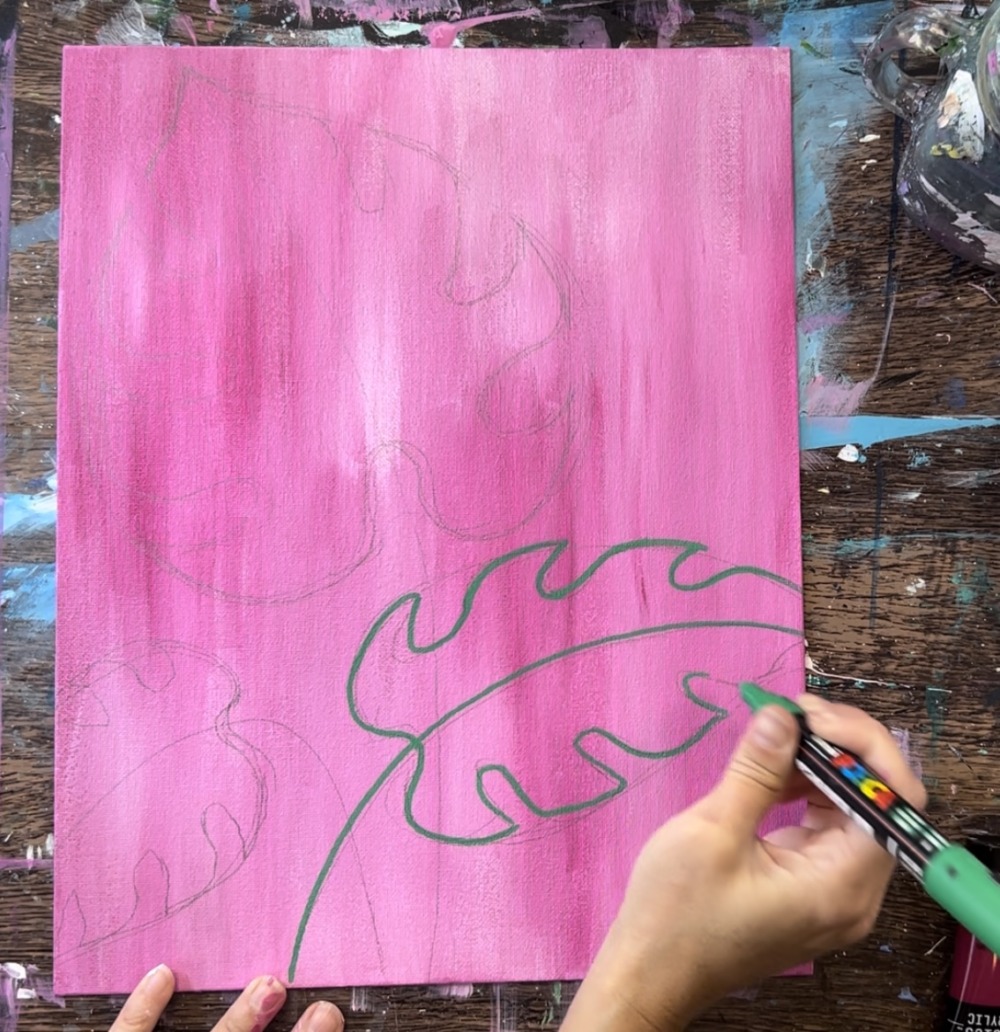
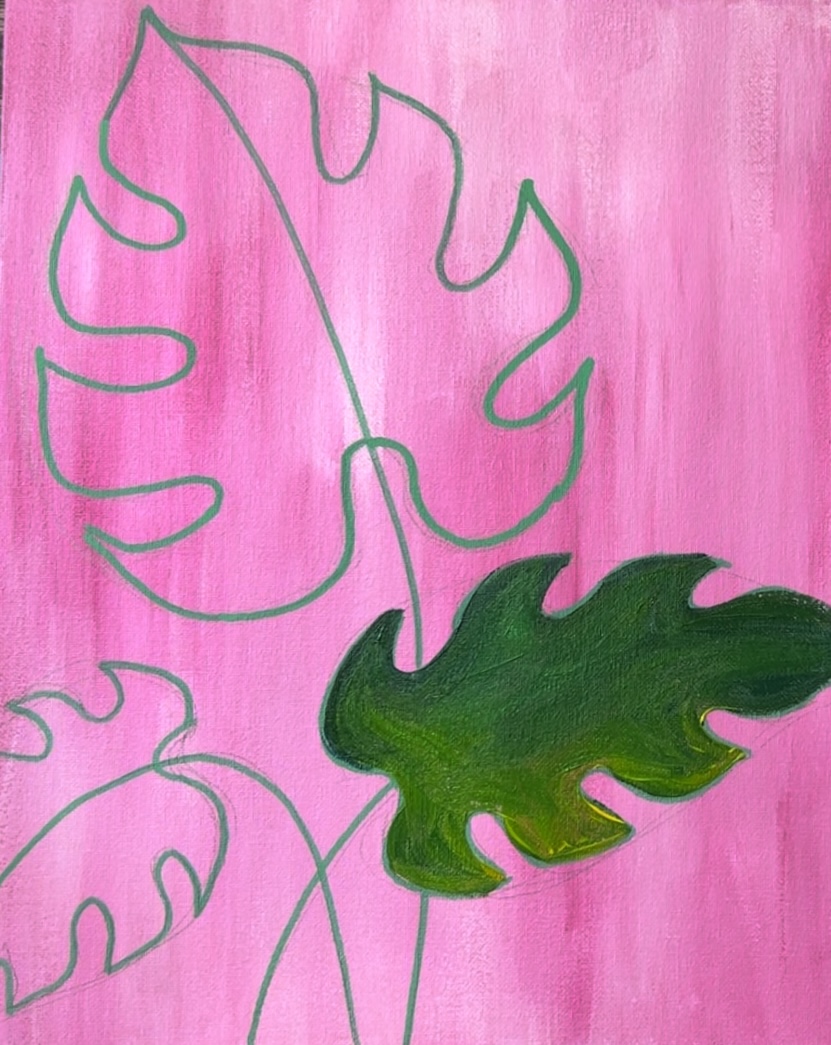
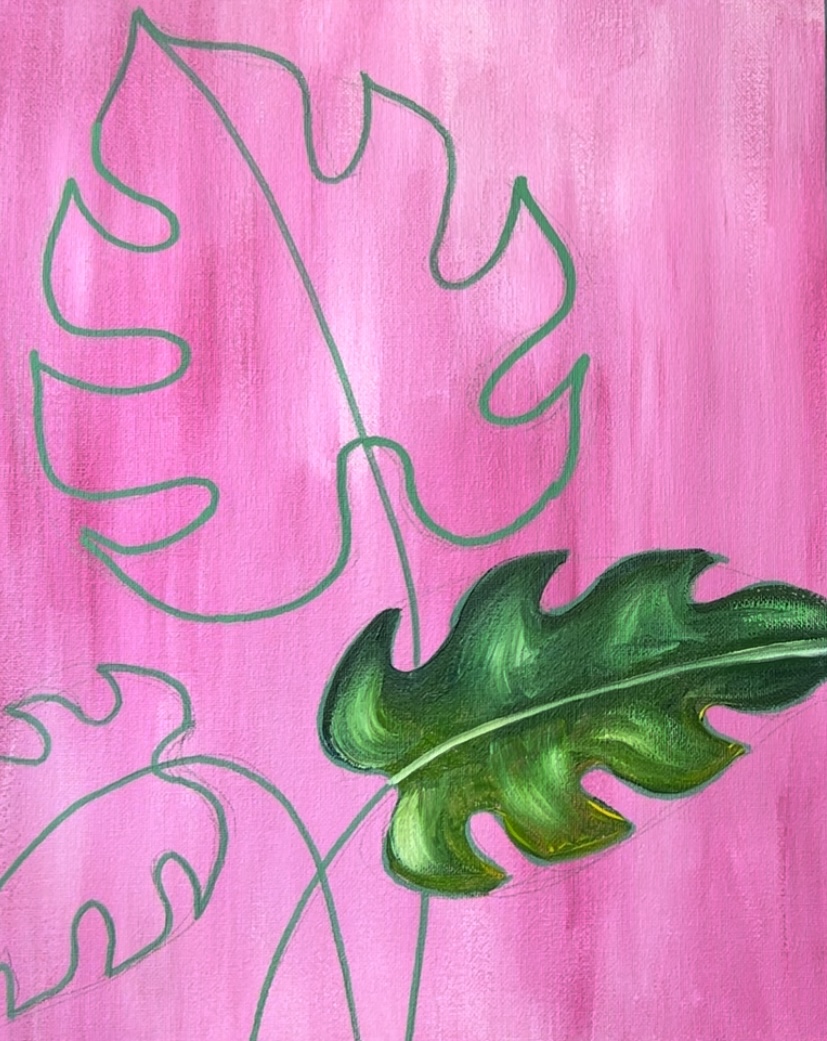
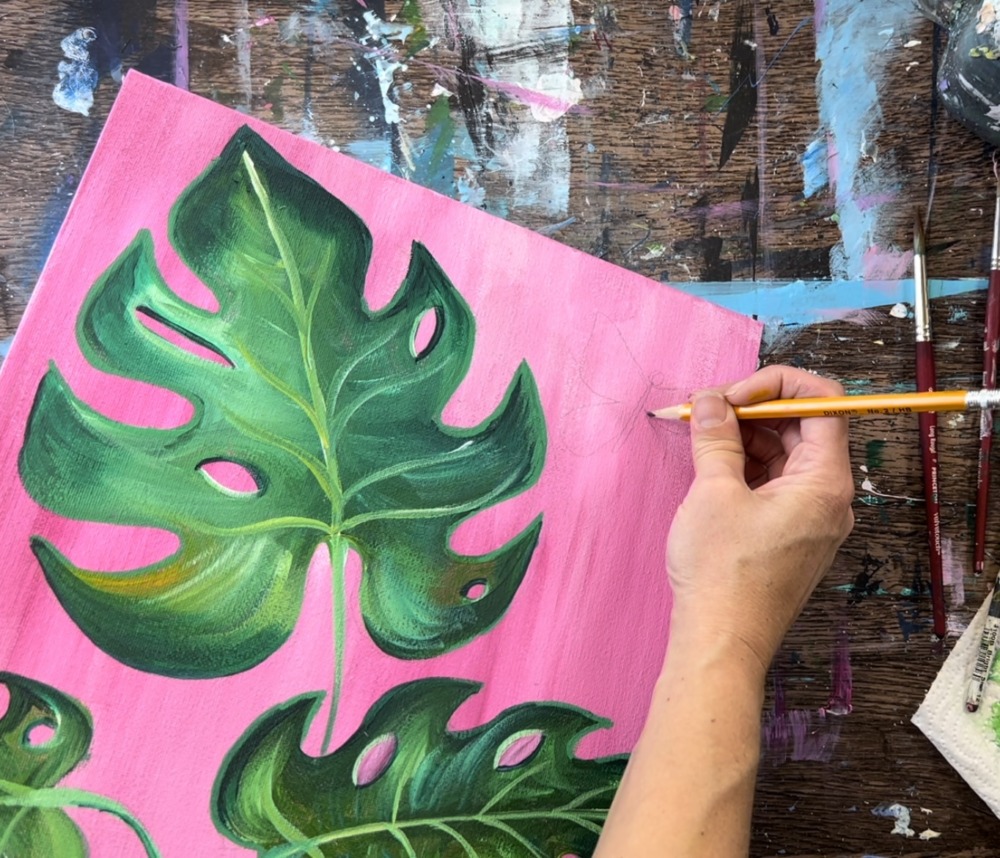
2. Draw The Monstera Leaves
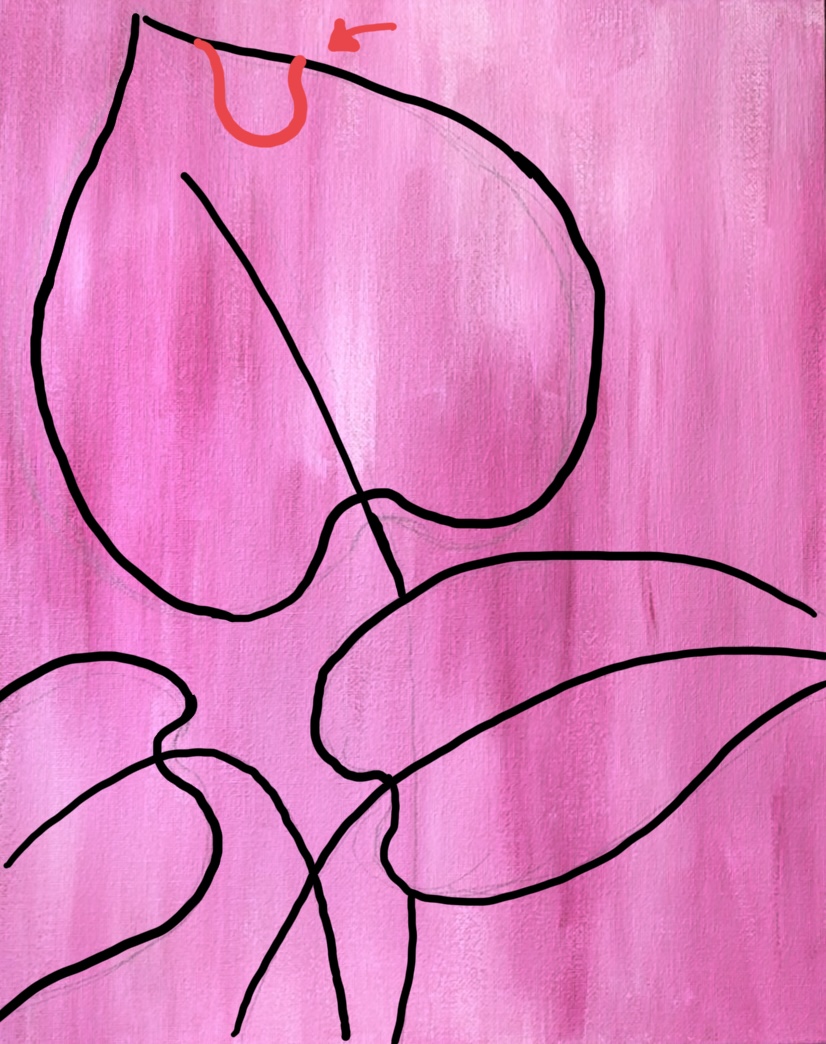
After the background dries, use a pencil to draw the monstera leaves. You are welcome to change the size and placement of the leaves. I started with the largest leaf in the top right. Start by drawing the center line of the leave. Then form a large rounded leaf that goes to a point and then curves inwards at the end of the stem.
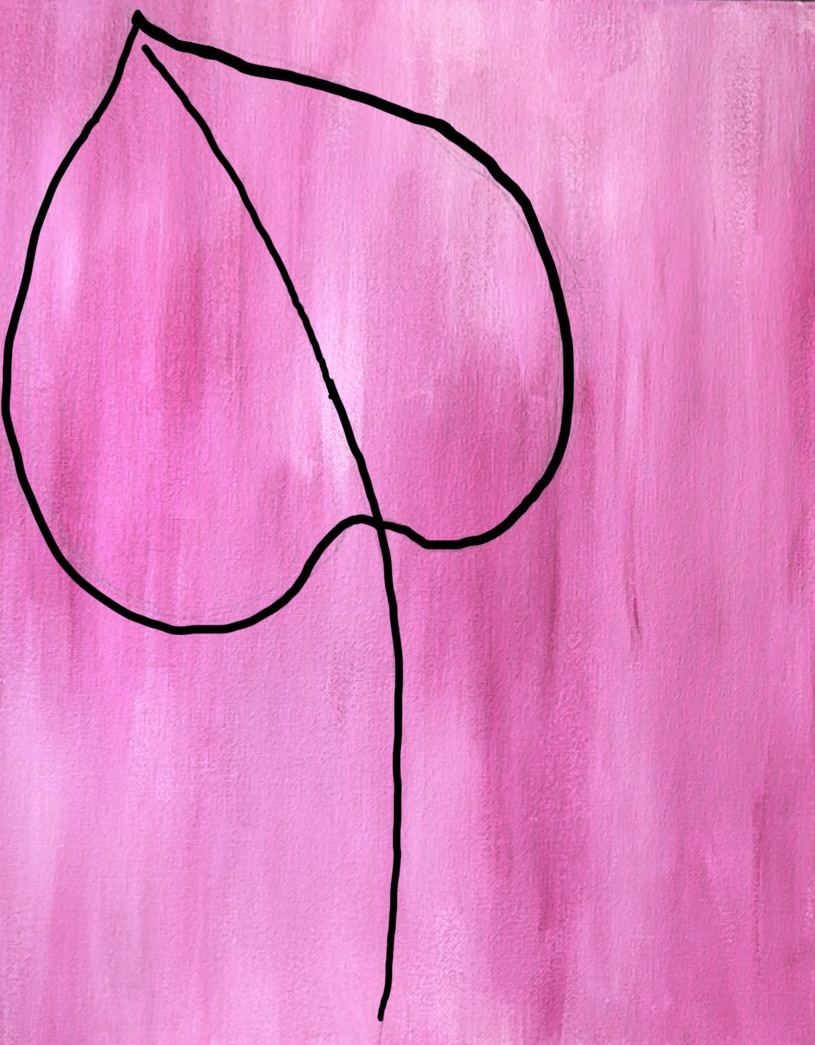
Note: these lines are shown with darker lines to show the drawing portion. I recommend you draw with pencil first.
Draw a second, more narrow leaf in the lower right that overlaps the stem of the first larger leaf.

Then paint a second leaf on the lower left. This one goes mostly off the canvas and dips backwards. The stem crosses the stem on the right.

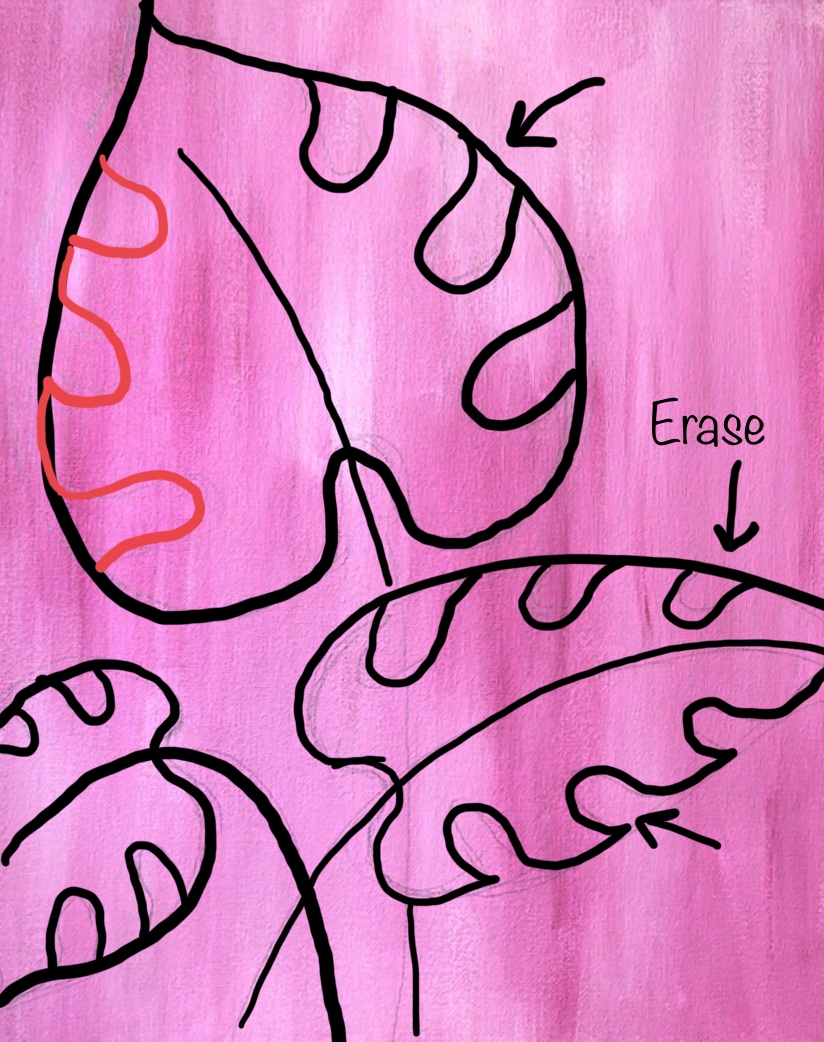
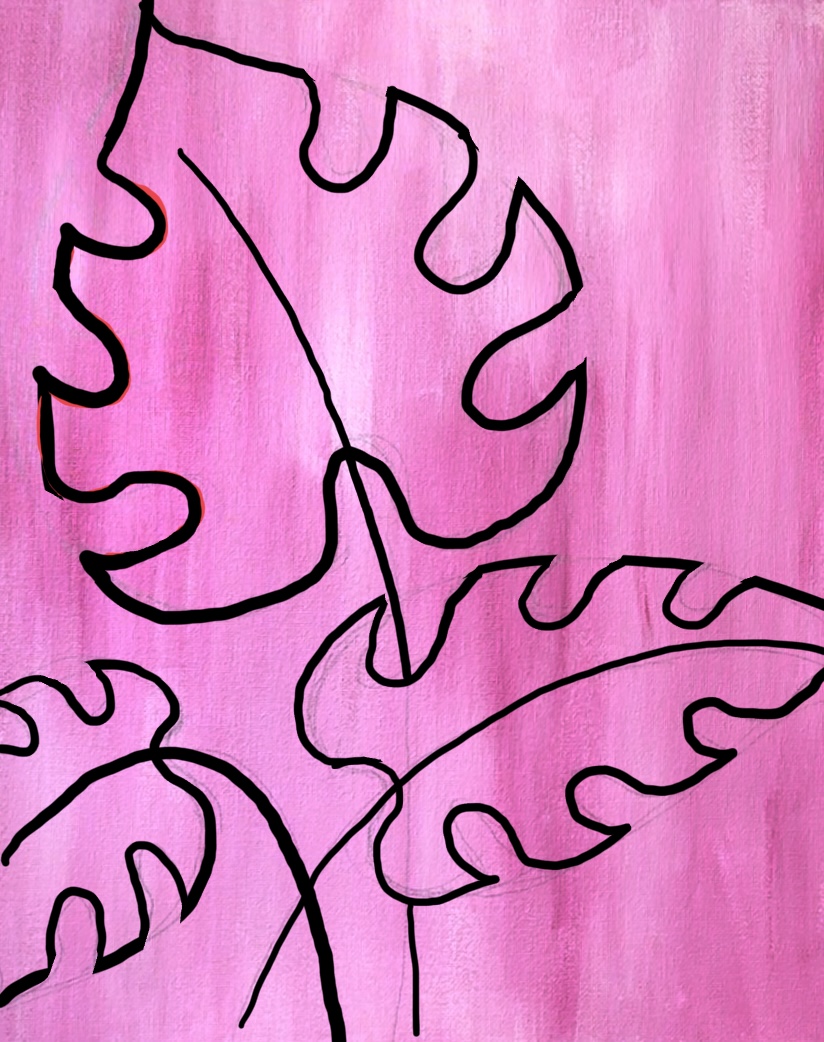
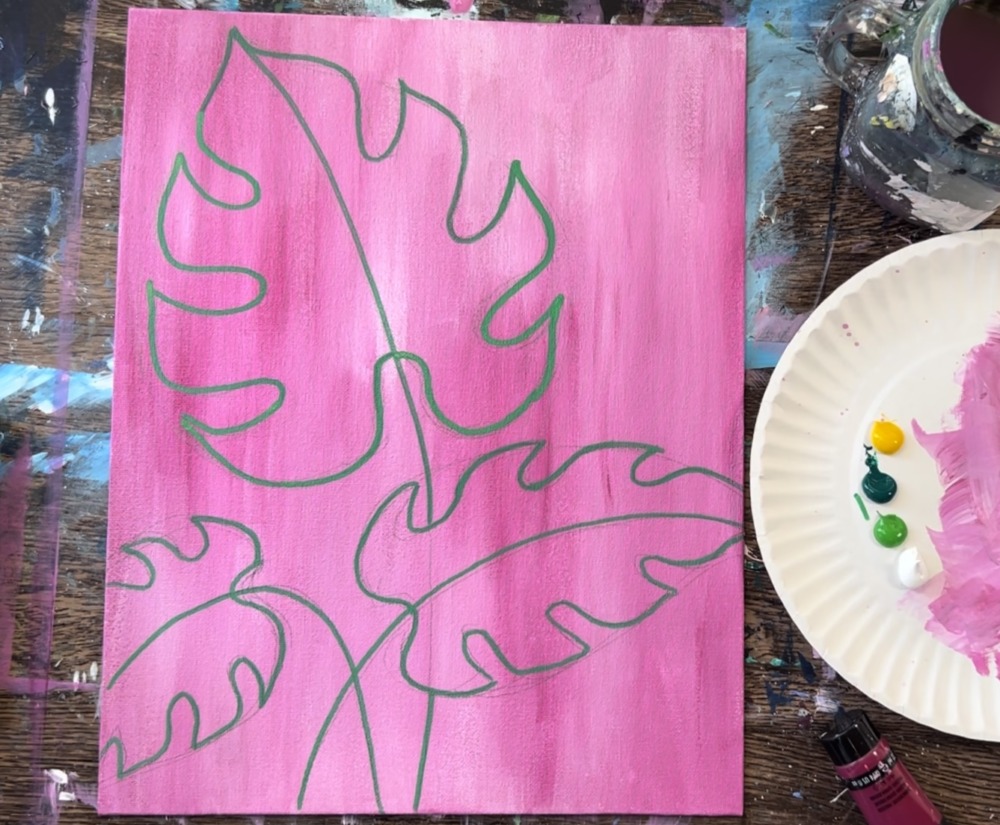
Next, turn these into monstera leaves. Draw “notches” on the inside edges of the leaves. Then erase the unwanted part of the line.
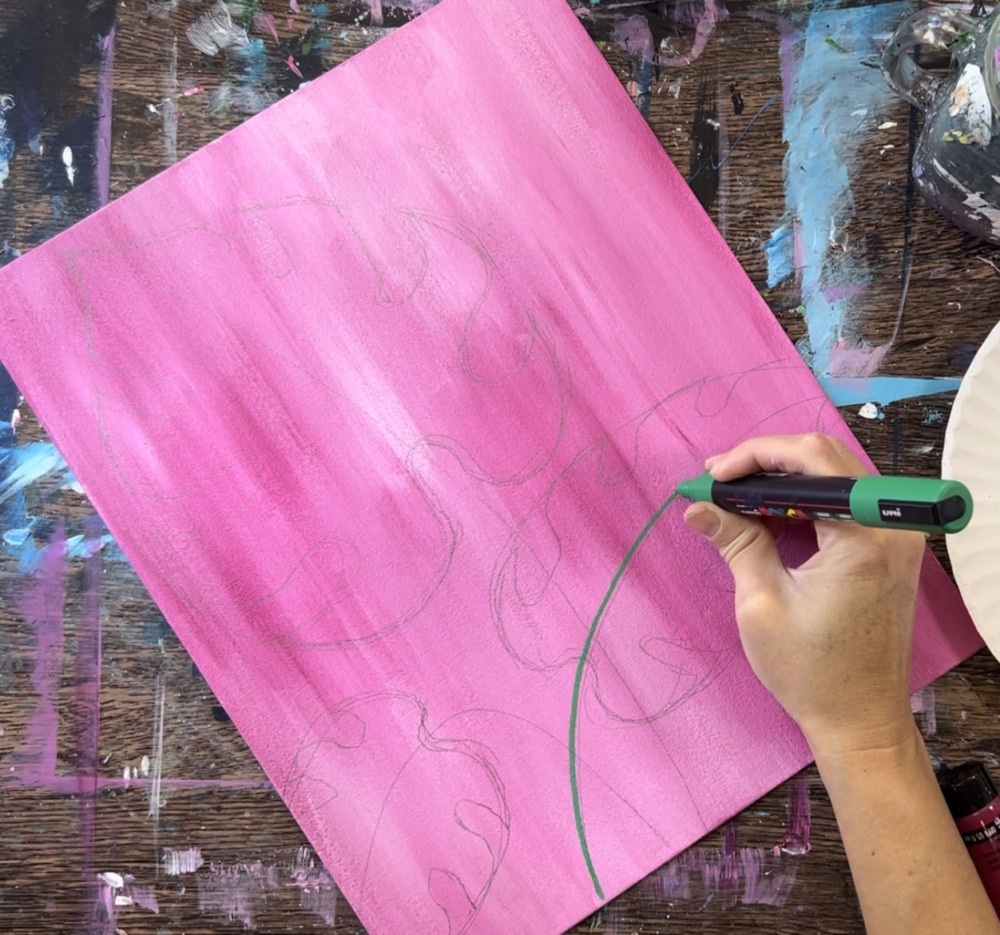
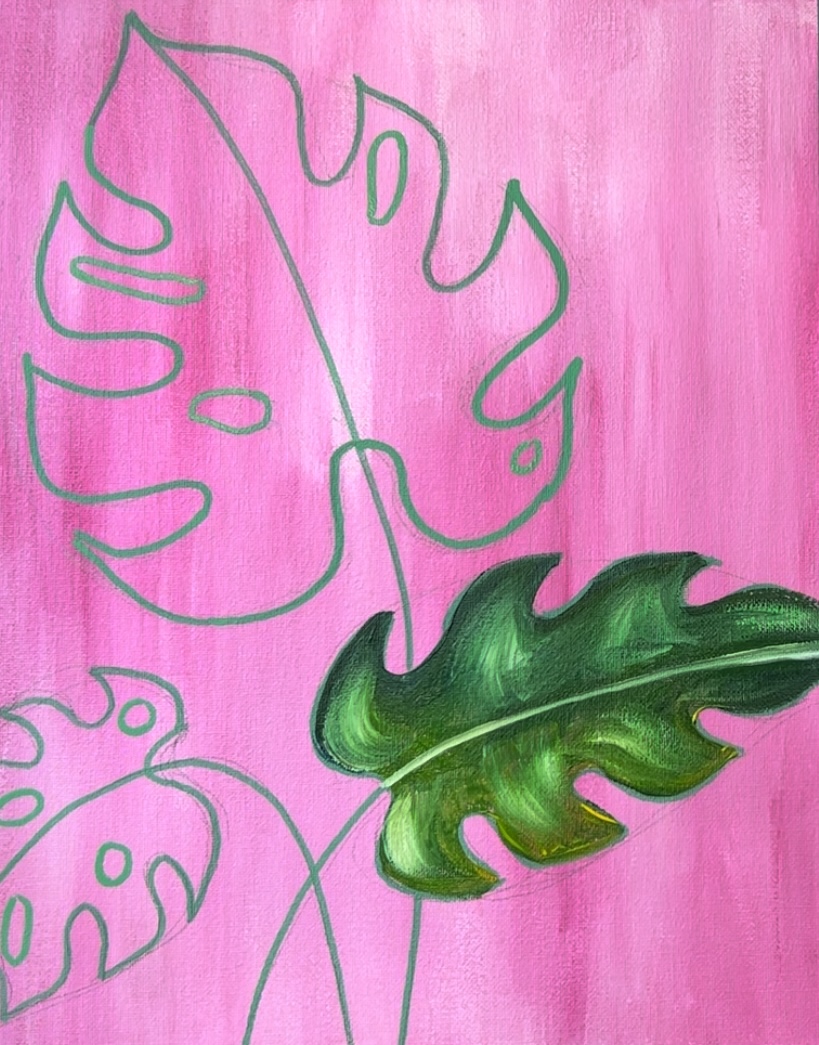
3. Trace Leaves With Paint Pen
Next, use the green POSCA paint pen to trace the monstera leaf drawing. Trace over all of the lines you drew with pencil. Tracing these lines really helped with the overall painting process of the leaves. You can also choose to not trace if you don’t have a green paint pen. You can also do this with a black paint pen or sharpie.
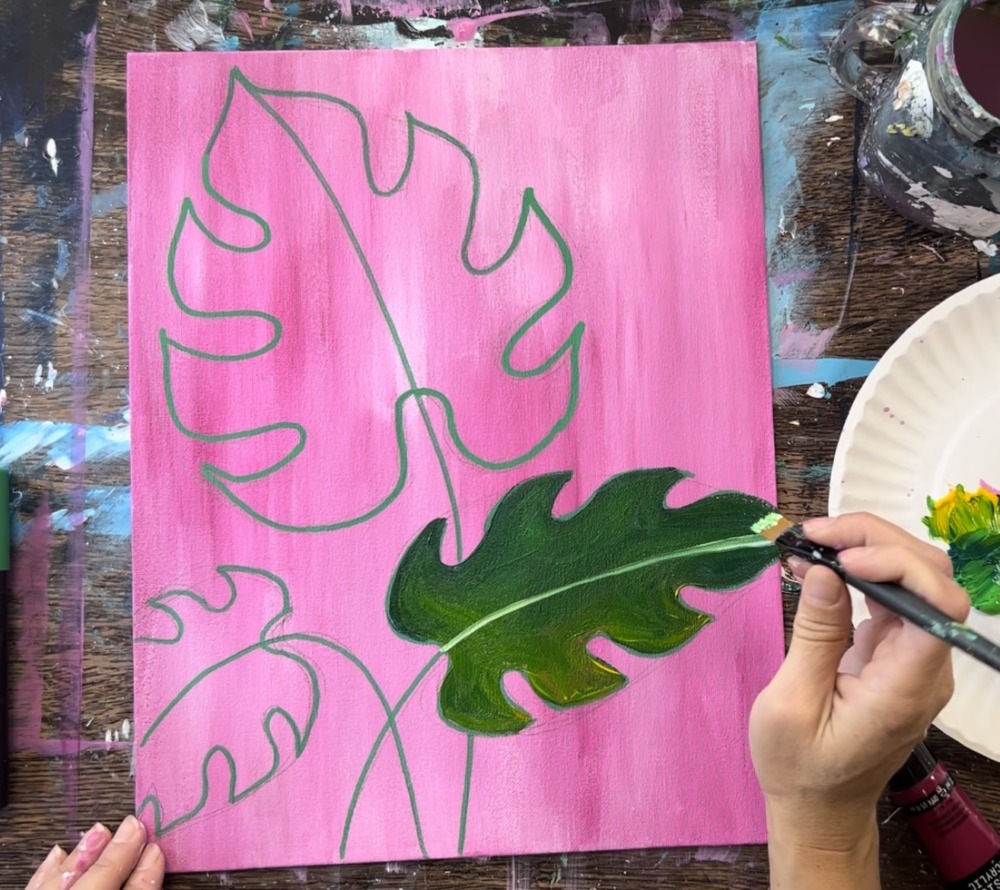
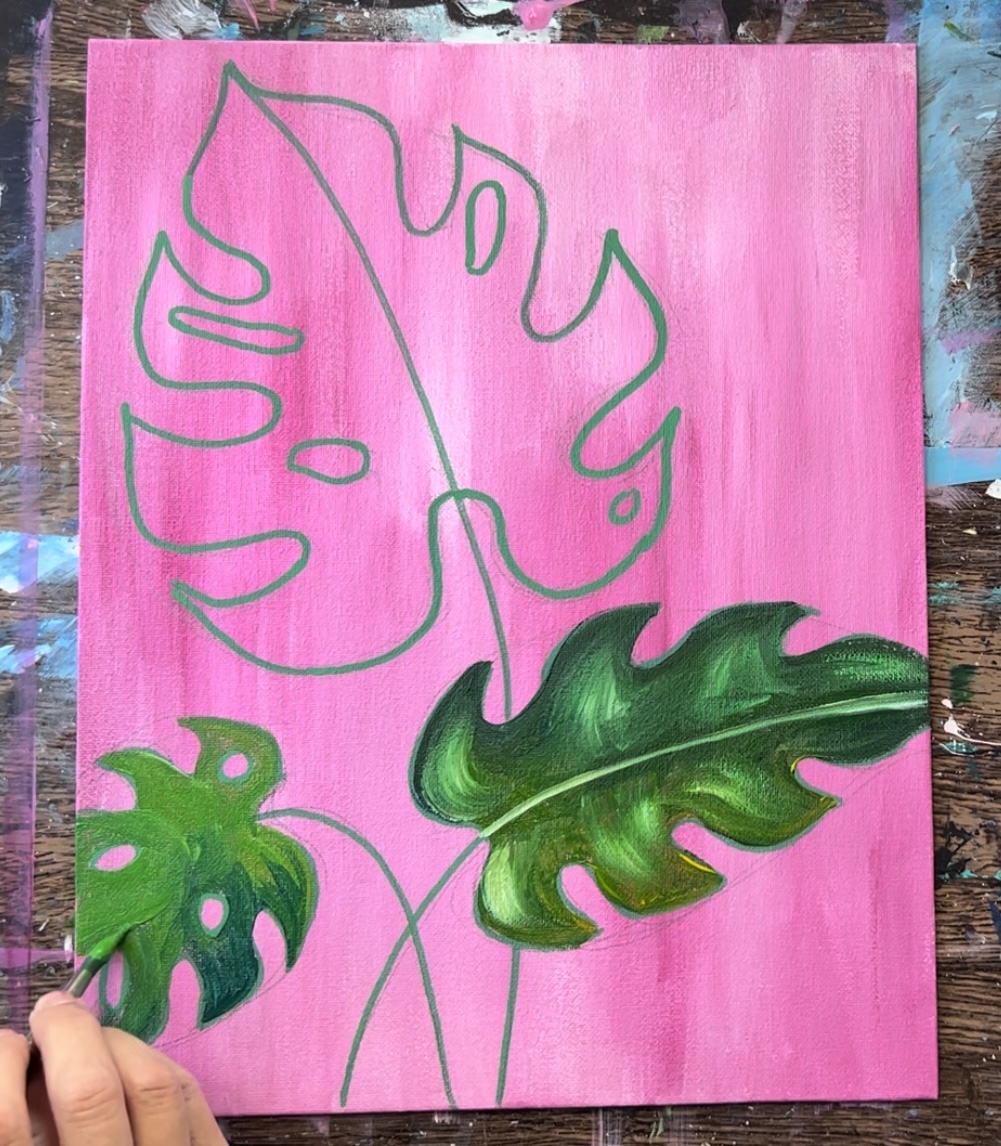
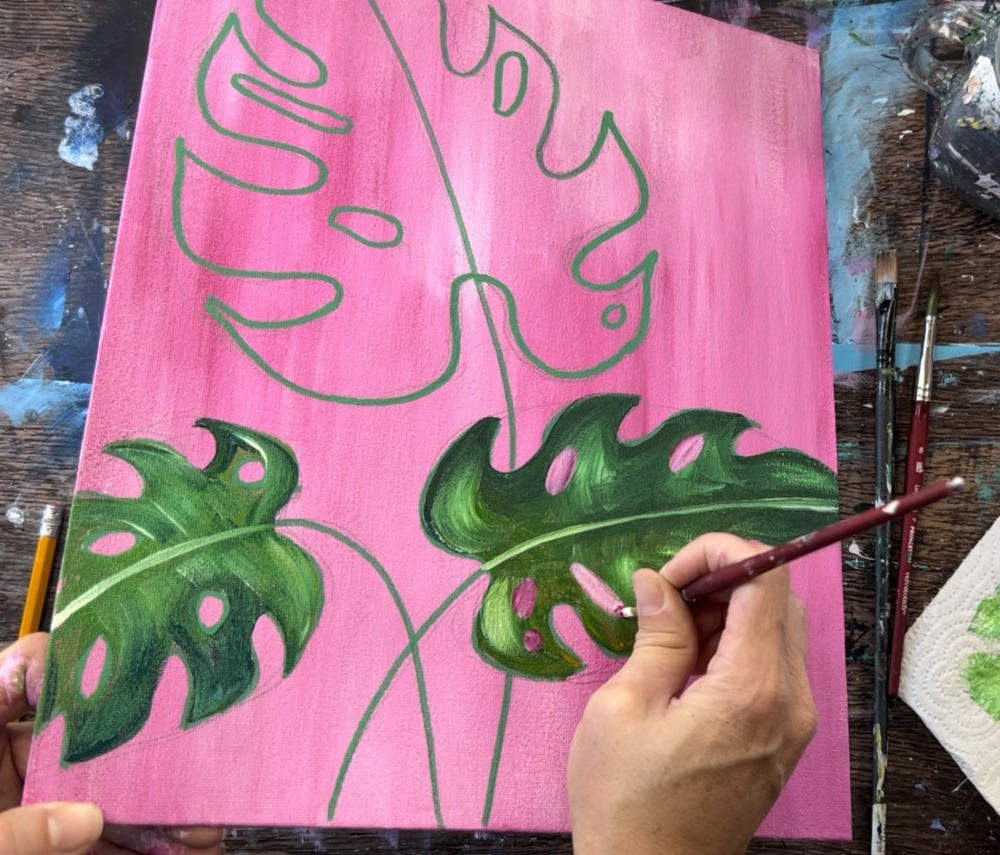
4. Paint Leaves
Load your palette with the four colors: titanium white, light green permanent, phthalo green and cadmium yellow medium. I used both a #8 round brush and a 12 bright brush to paint these leaves. The 8 round brush was helpful because this brush has a fine tip to it and a thick base. That means you can paint thin and thick strokes. If you don’t have this particular brush, any round brush would work for getting into the small cures and points of these leaves.
Start by mixing phthalo blue with a little bit of yellow. Then paint the leaf on the lower right.
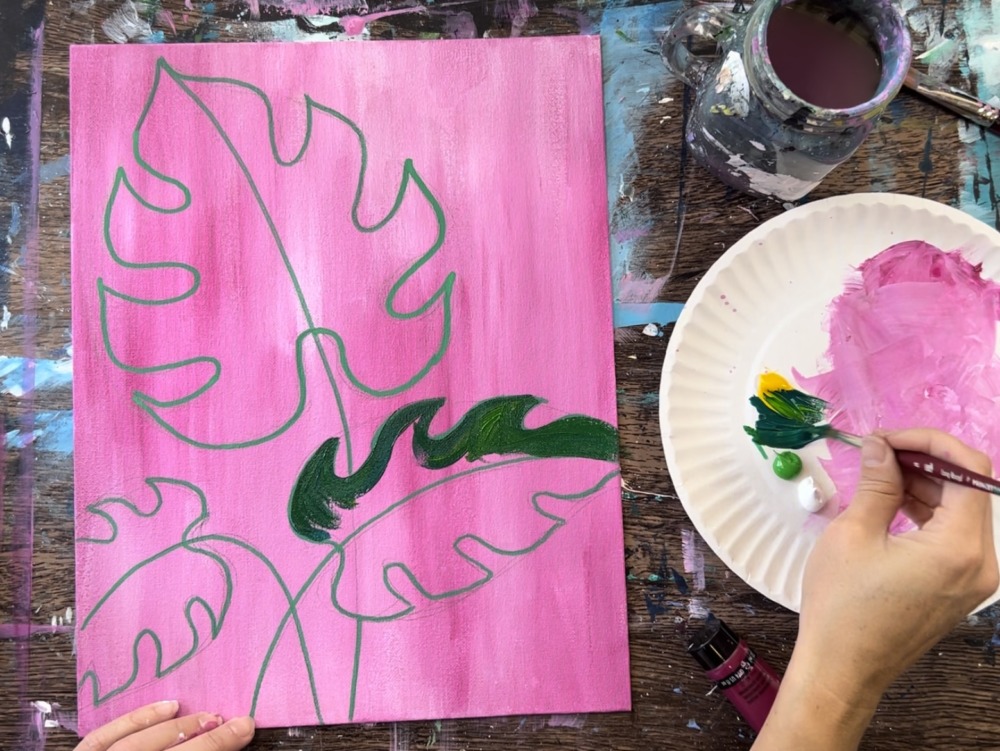
Note: this is the order that I went in. You don’t have to go in this exact order. You also can change the combination of colors in these leaves. Example: use more yellow or the other green.
Paint the leaf a solid coat of this green and yellow. You will want to blend the colors gently on the canvas so you get a variation of greens in your leaf. There should be darker areas and some lighter.

Then use the 12 bright brush to paint the line down the center of the leaf that attaches to the stem. Use about equal parts titanium white mixed with any of the greens. This will create a light green that will show up against the dark of the leaf.
Next, give the leaf a “shiny look” by “dry brushing” light green using the 12 bright brush. Load the brush in equal parts white and any of the greens (I used phthalo green). Then wipe some of the paint off with a paper towel. Paint a curved stroke on the leaf. This will create a translucent layer.
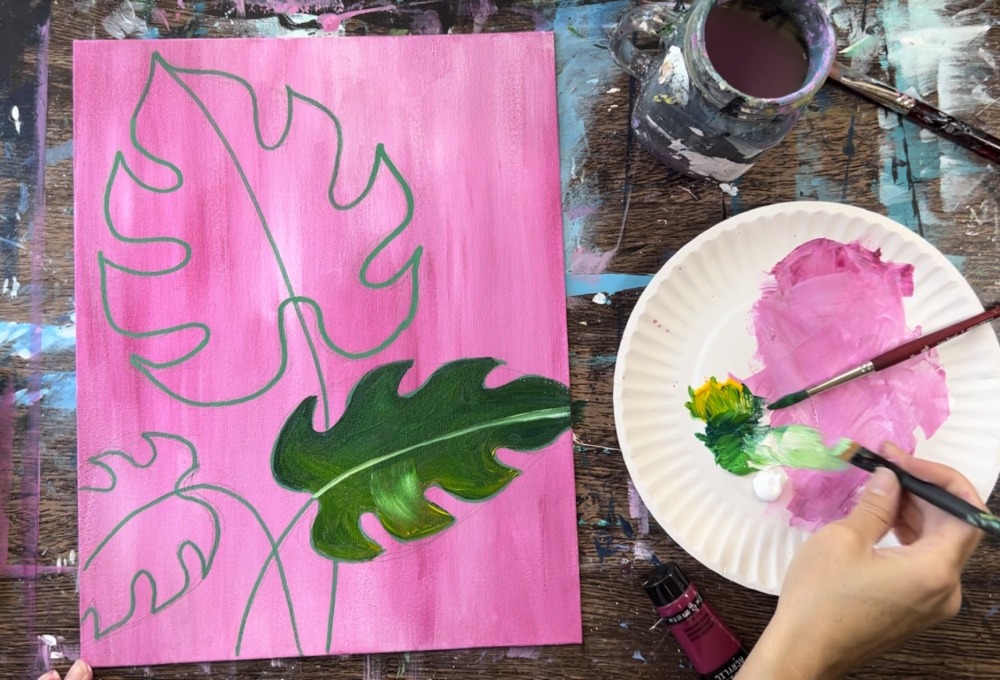
Do this all throughout the leaf on each of the “prongs”. Don’t cover up all of the dark layer.
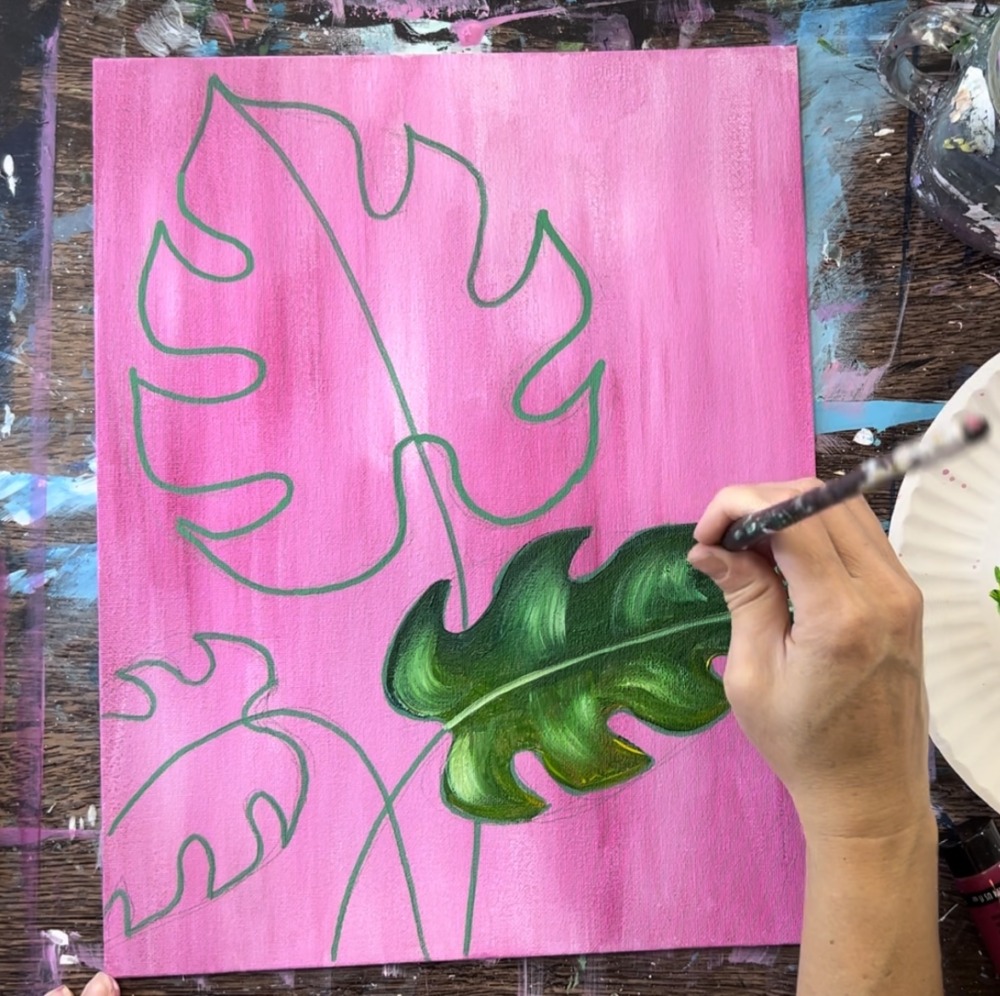
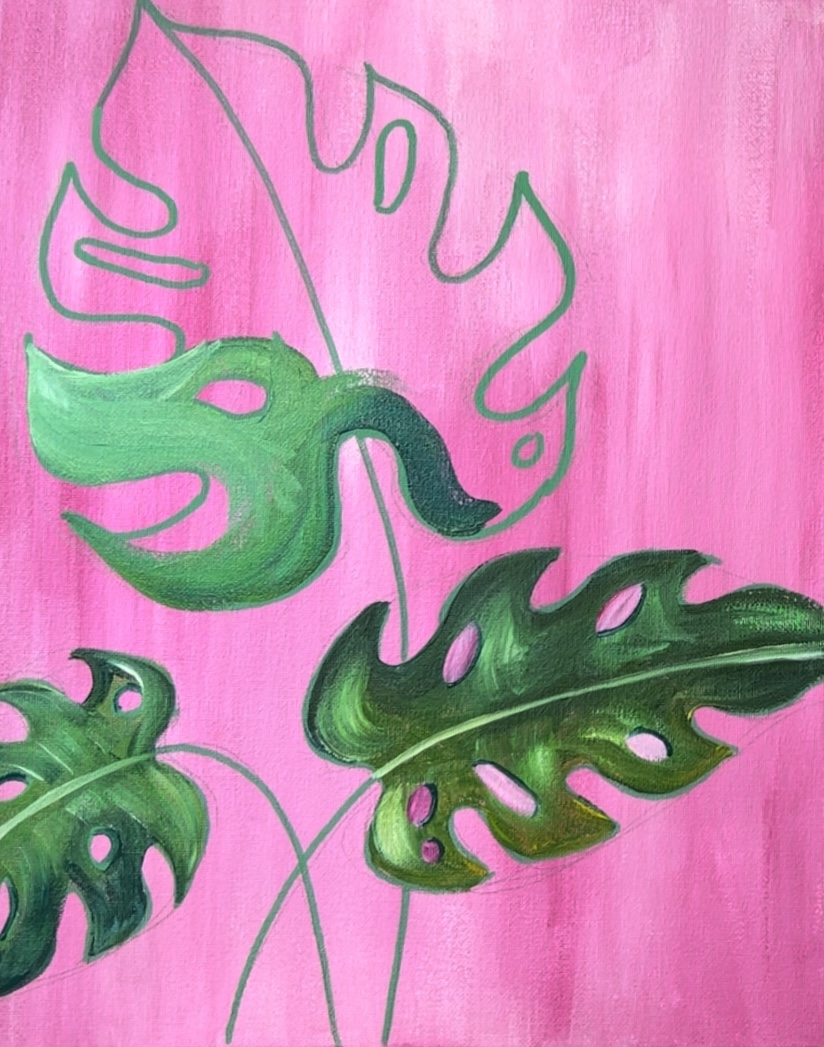
Next, draw holes in the leaves. I forgot to draw holes in the first leaf before painting it. However, you can paint the leaf first and then paint the pink holes over the leaf. To draw the holes, use the green paint pen to draw a variety of circles, ovals and stretched ovals on the leaf prongs. Do this on each of the leaves.
Paint the second leaf using a combination of all of the greens on your palette. Paint around the holes in the leaf.
Then paint the center part of the stem that goes across the leaf and use the 12 bright brush to paint the “shiny” dry brush style strokes.
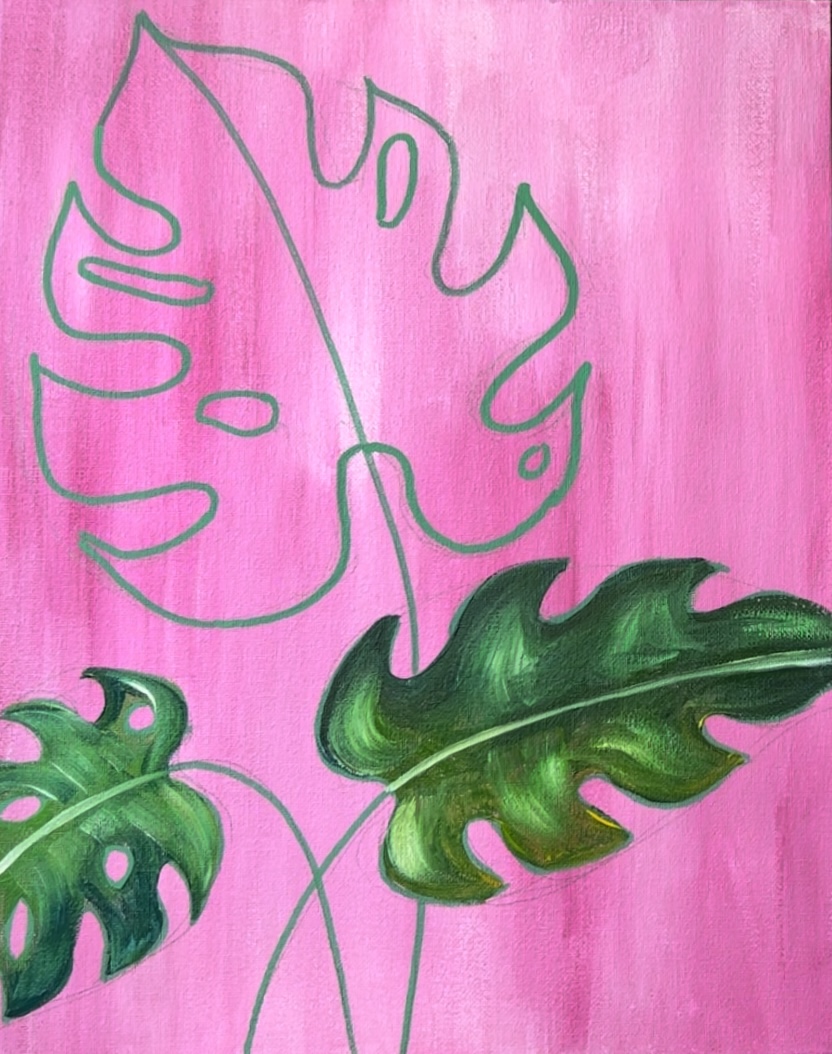
If you are opting to paint the holes after painting the green of the leaves, use a #4 round brush and the same color of the background (quinacridone magenta and titanium white) to paint the holes.
Then paint the large leaf using the same technique and the #8 round brush. Vary the greens in this too and blend them gently on the canvas.
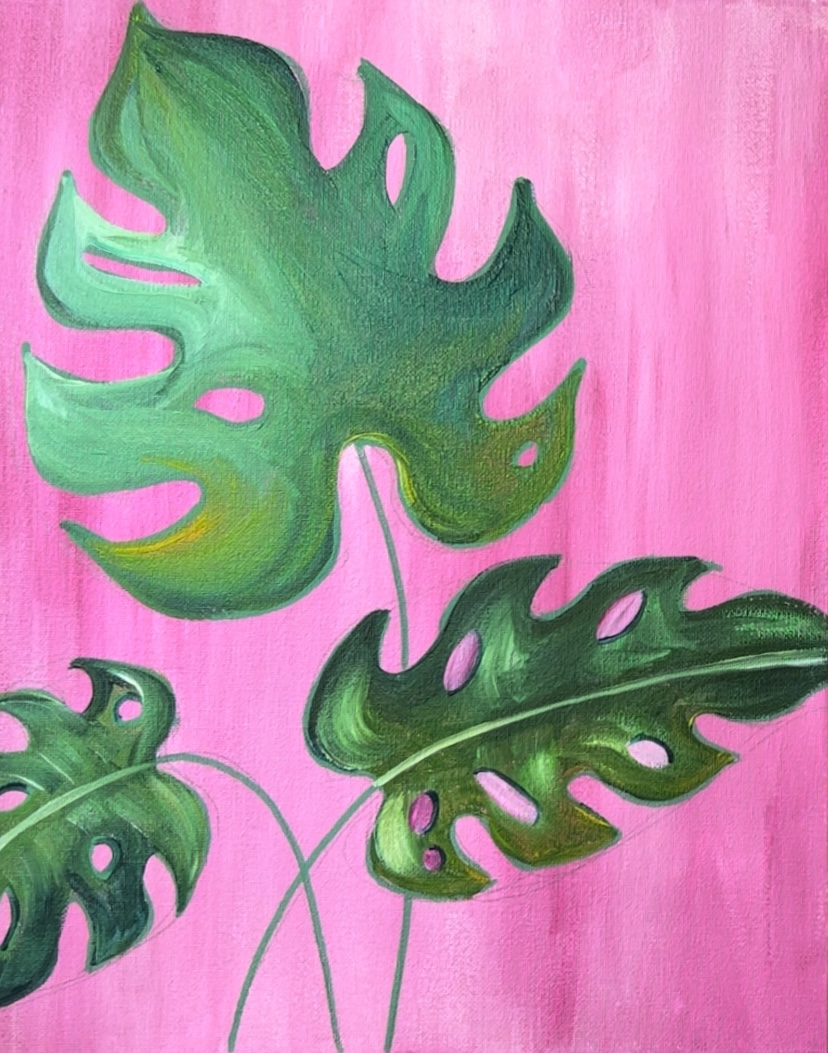
Then add the “dry brush strokes” using the 12 bright brush.
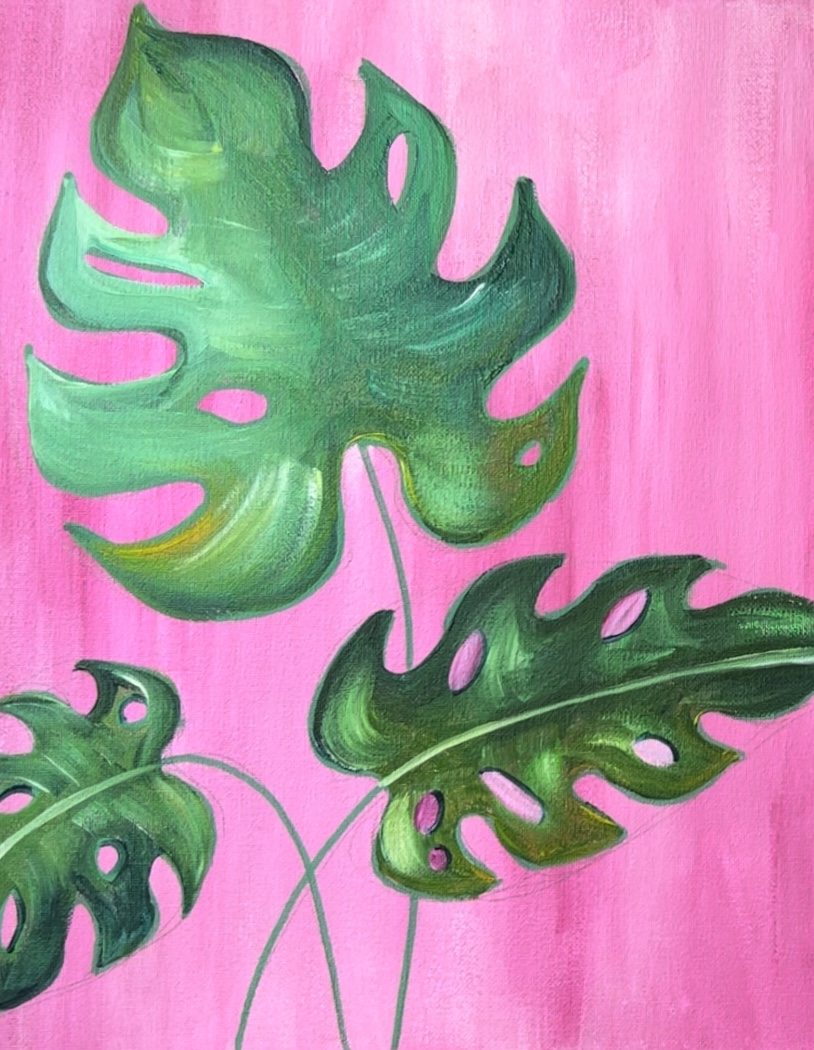
Use the 12 bright brush to paint the center stem line.
Then paint the leaf veins using the 12 bright brush and the light green.
5. Draw & Paint Butterfly
This is an optional step if you would like to fill this bit of empty space in the upper right of the canvas. You can also do another leaf here.
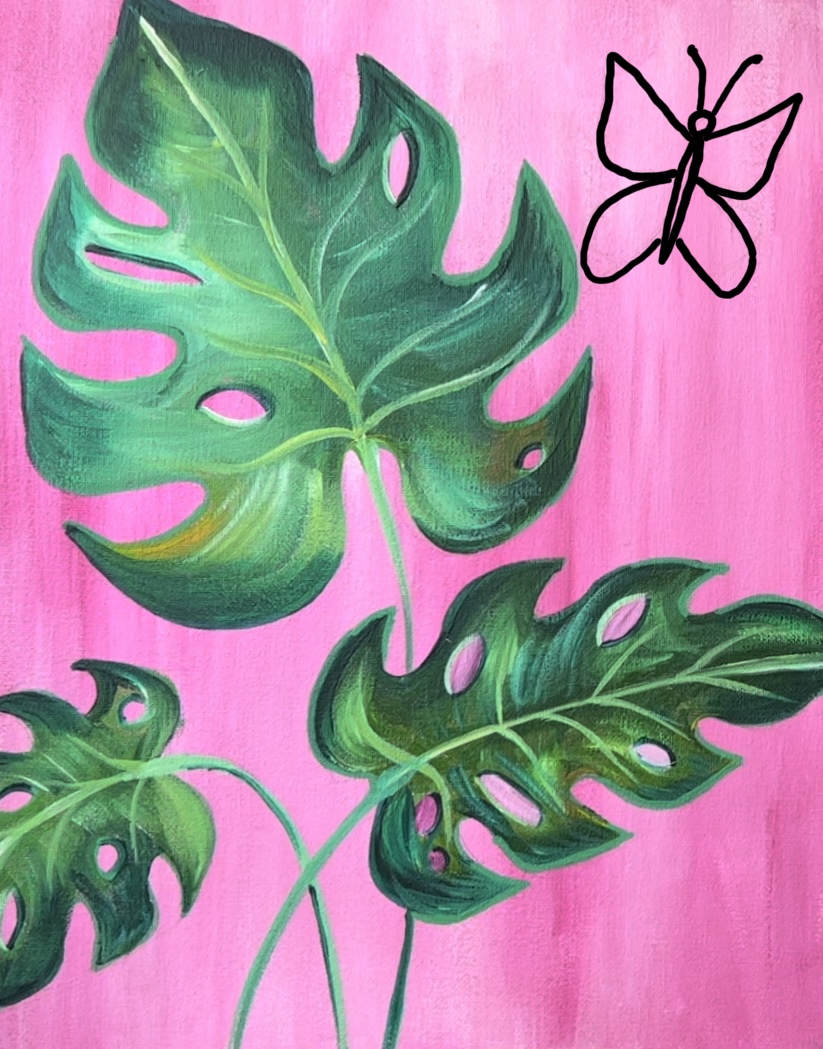
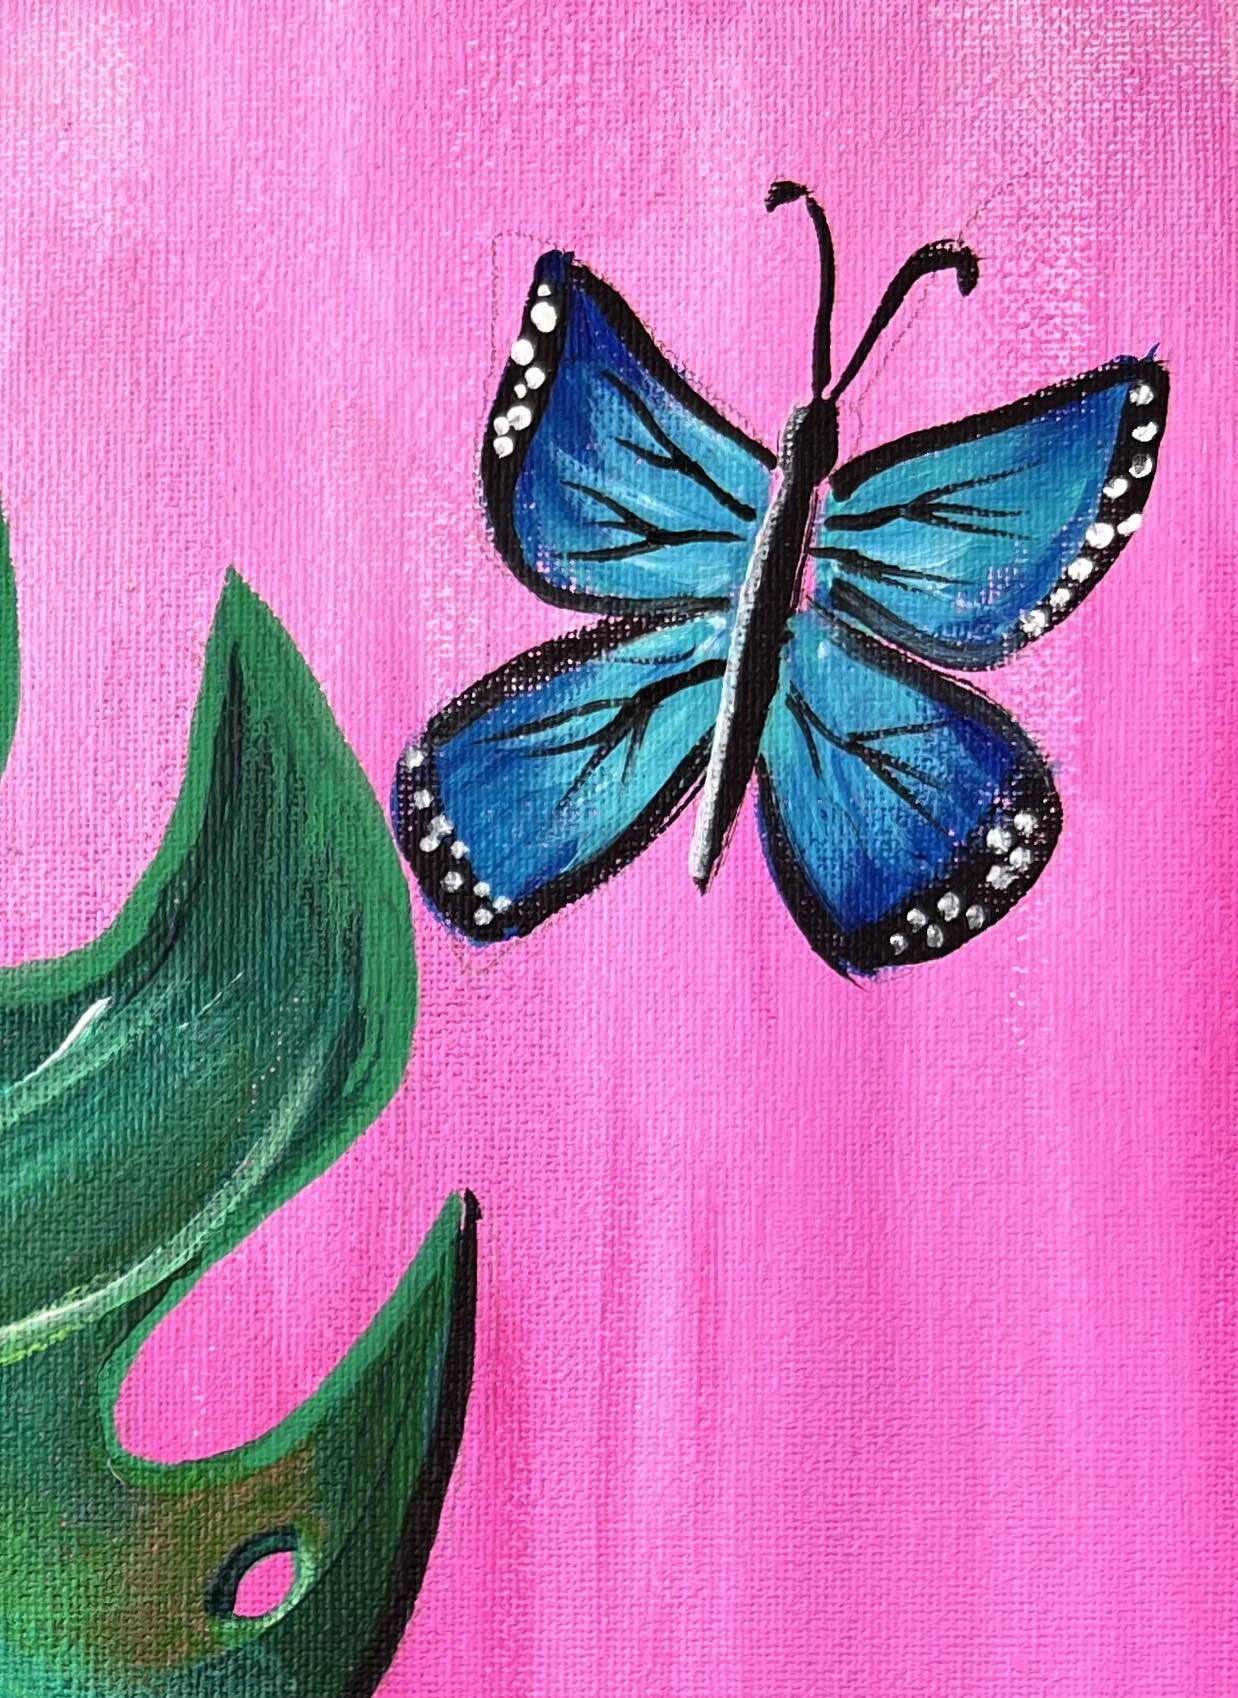
You can use the diagram below to help you draw the butterfly! You are also welcome to change the style of this and/or the colors!
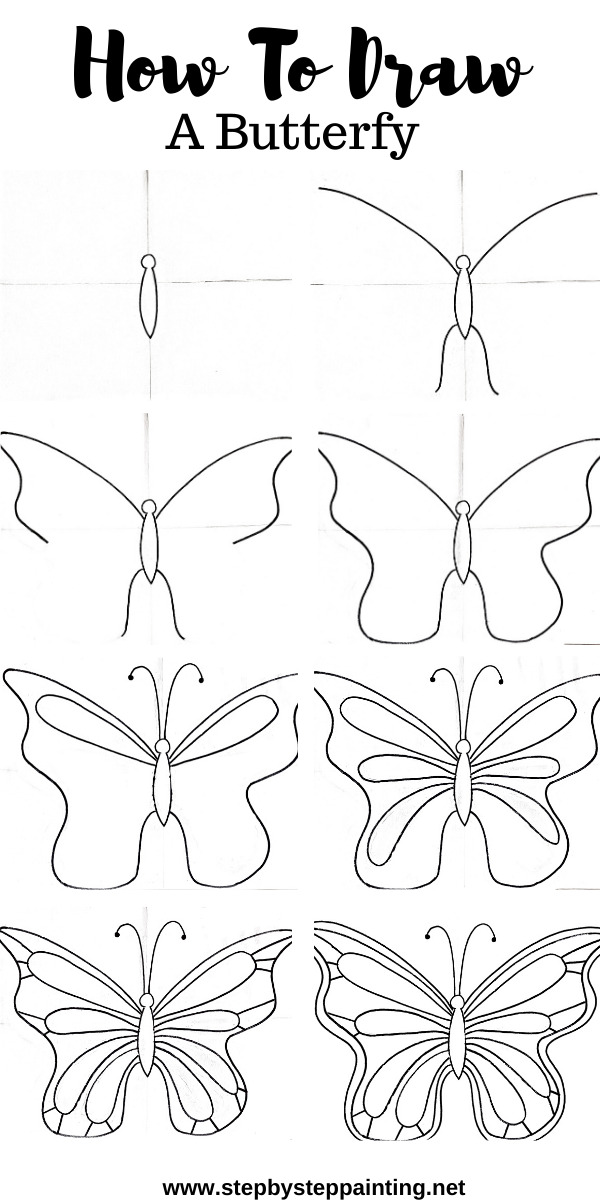

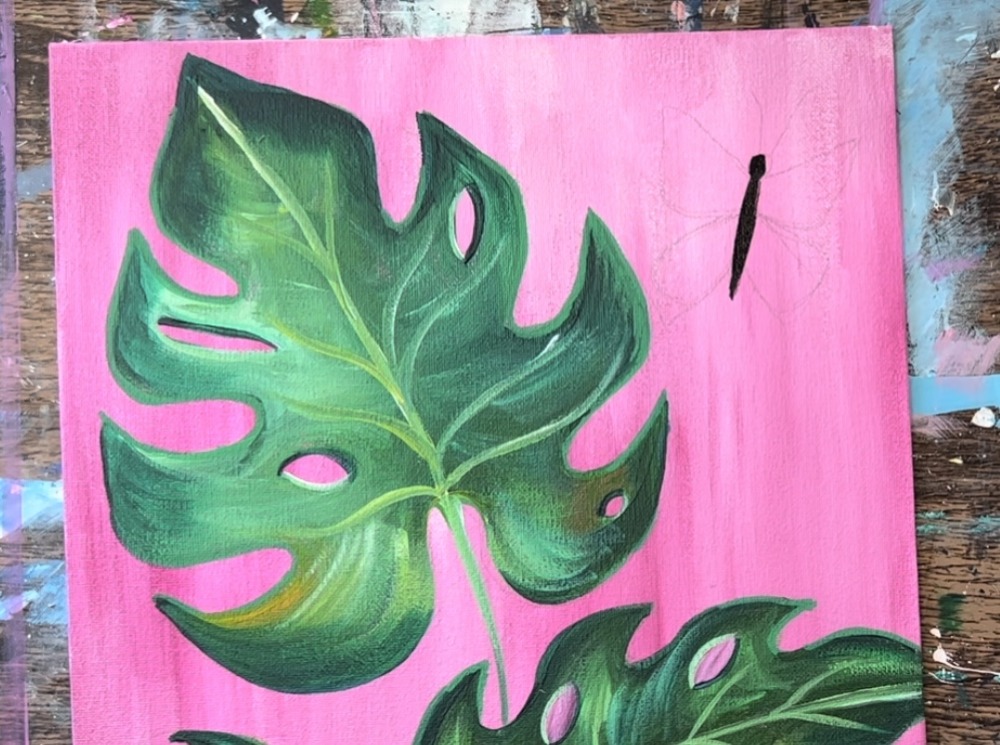
Use a pencil to lightly sketch the butterfly.
Use the #4 round brush and mars black to paint the body, head and antennae of the butterfly.
Then, load your palette with the colors you will paint your butterfly! I did “bright aqua green” and “phthalo blue”. Start by painting the base of the butterfly’s wings with “bright aqua green”. Drag the strokes in an angle direction.

Then blend phthalo blue into the aqua blue. The edges of the wings will be slightly darker and the bottom of the wings lighter.
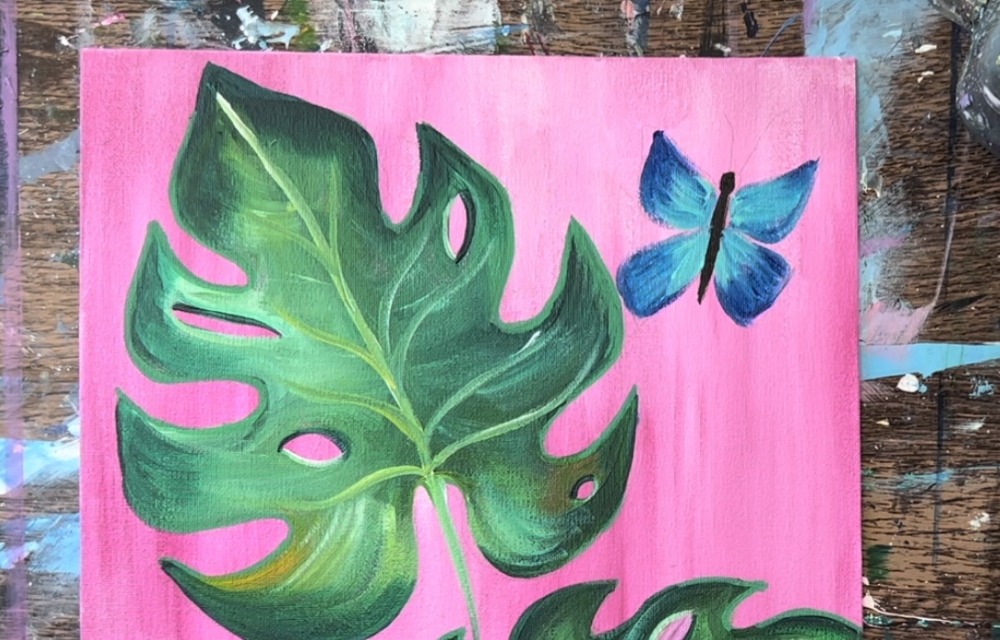
Paint the antennae and a border on the edges of the wings.

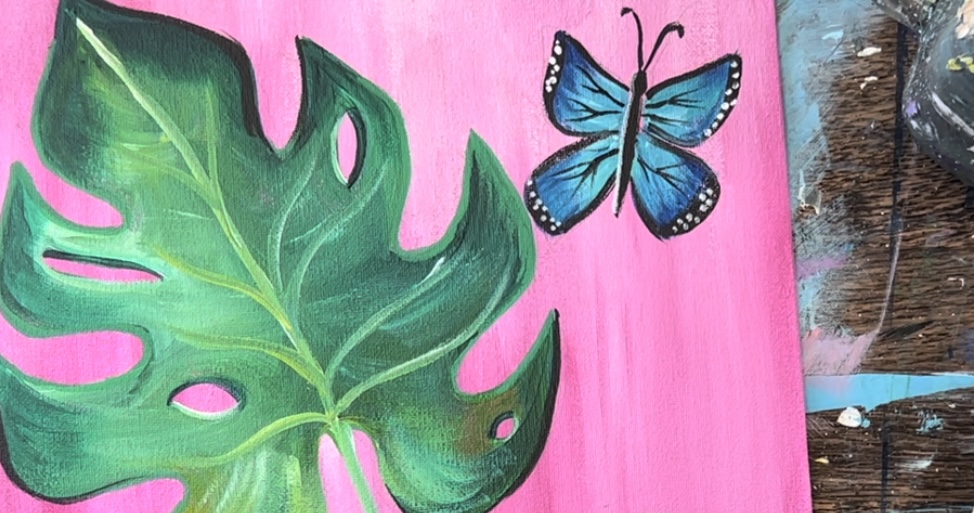
Then use titanium white to paint small white dots in the black border area.
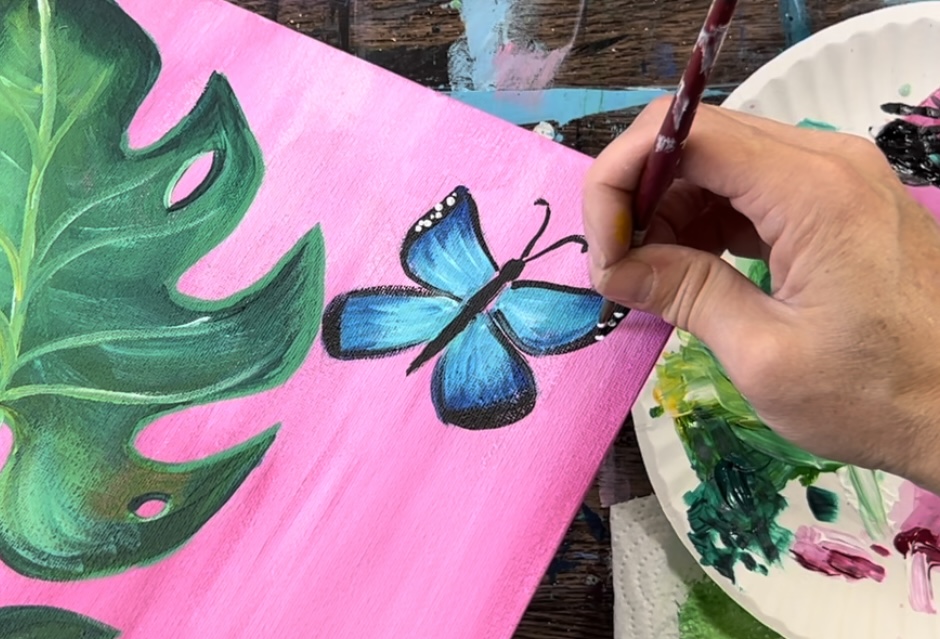
Loosely paint veins on the wings of the butterfly.
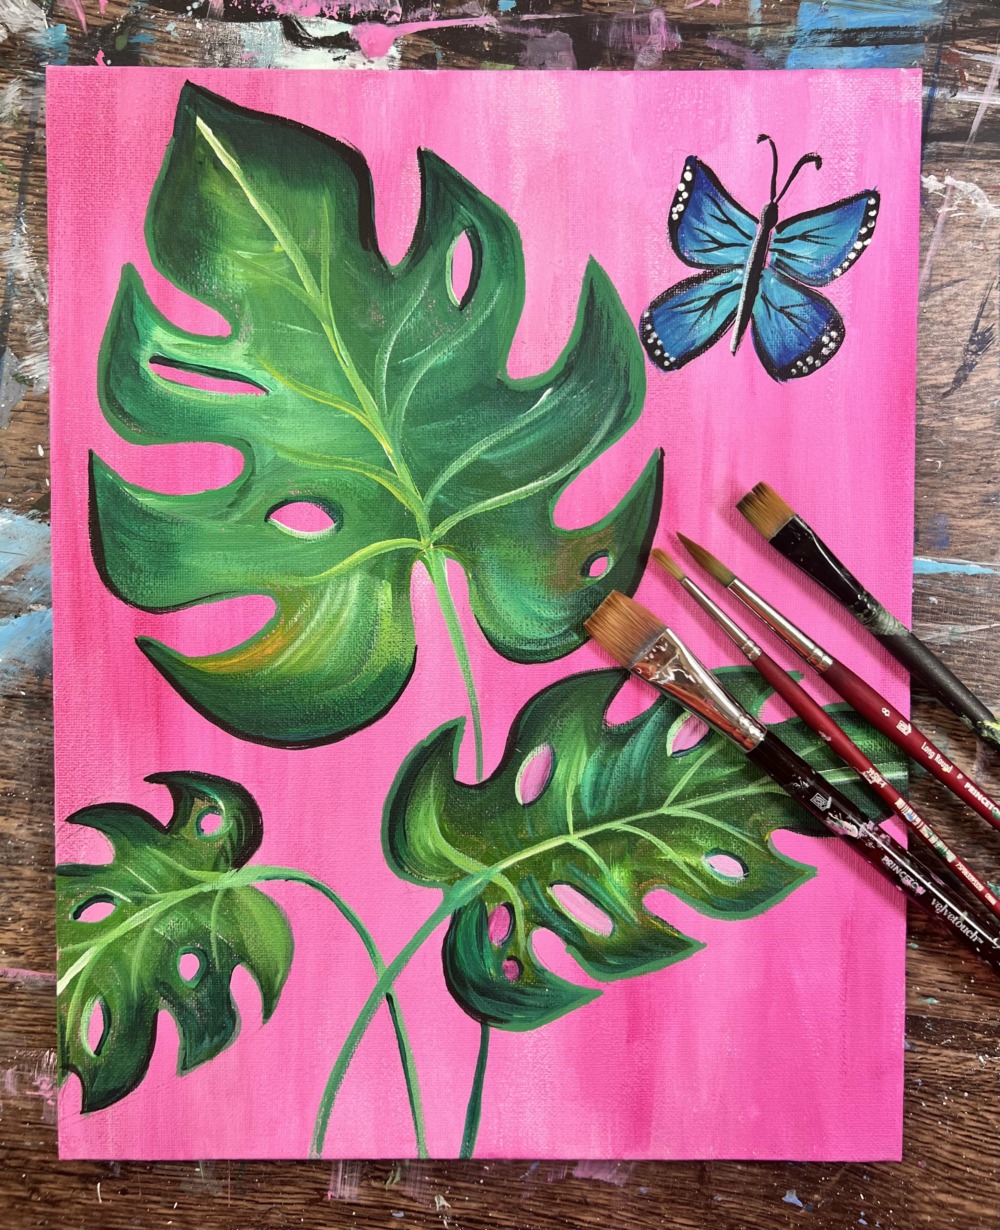
Finished!
What other colors would you suggest for the background?
A very light blue, maybe a black or a gray color. Anything that would contrast well with the green 🙂