

Would you like to save this?
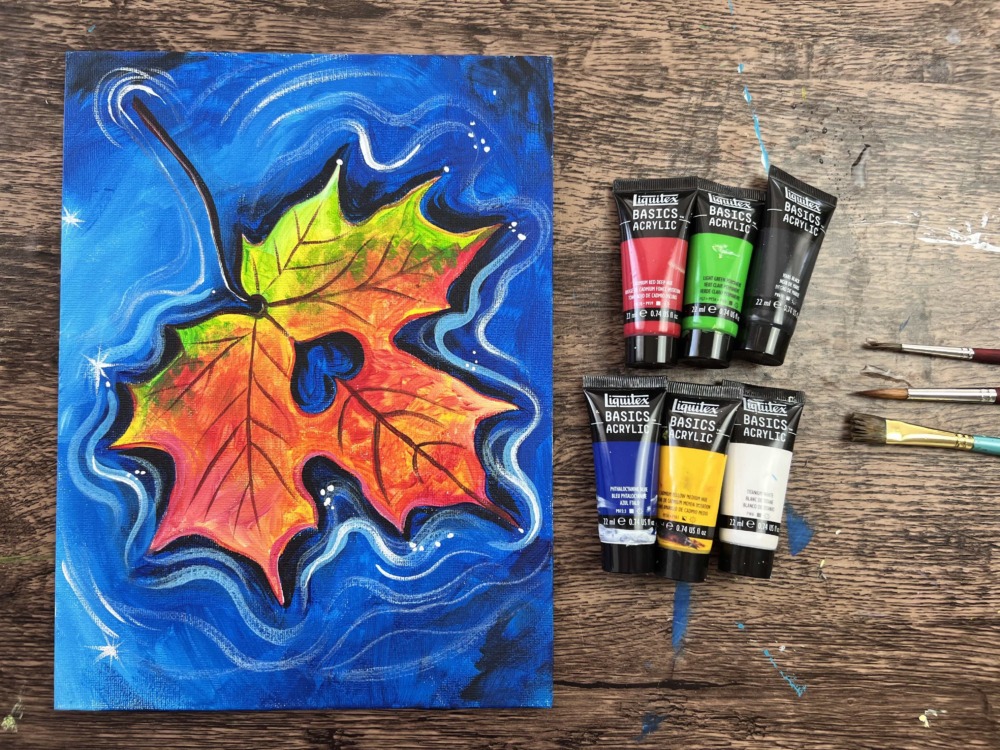
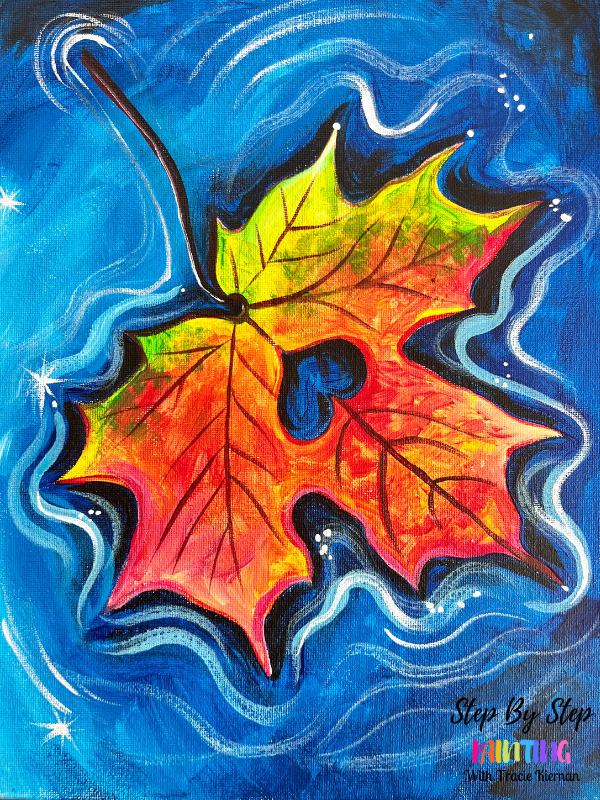
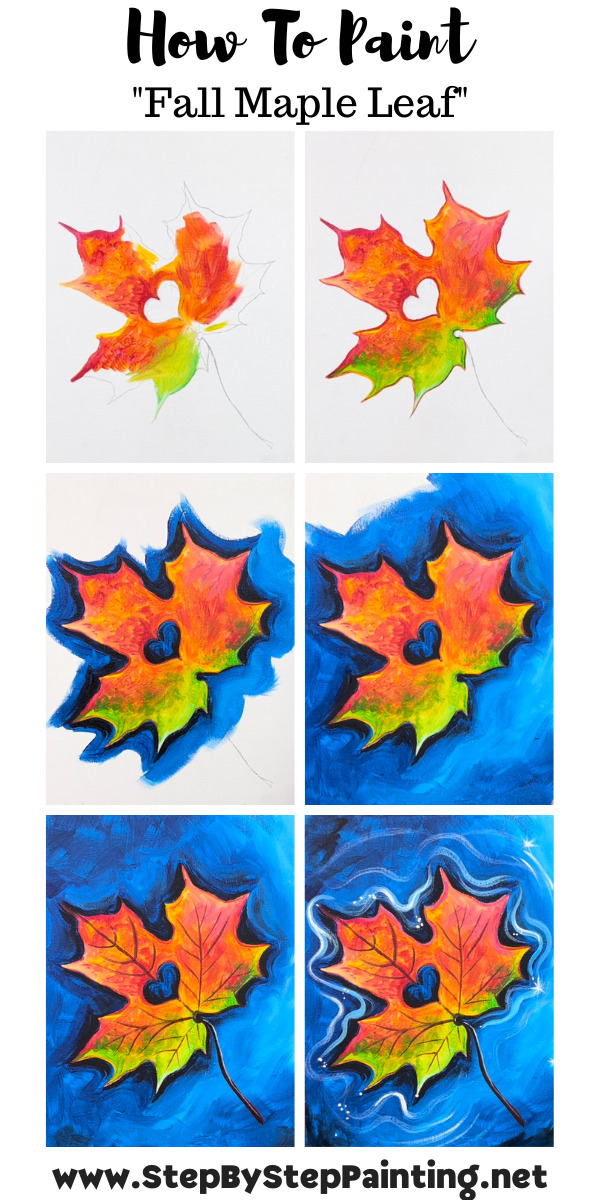
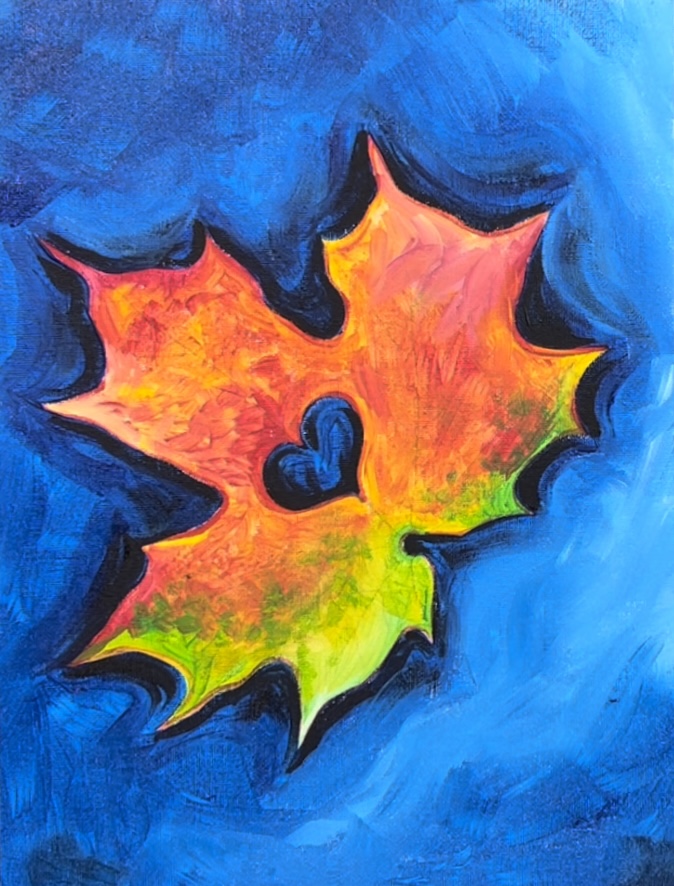
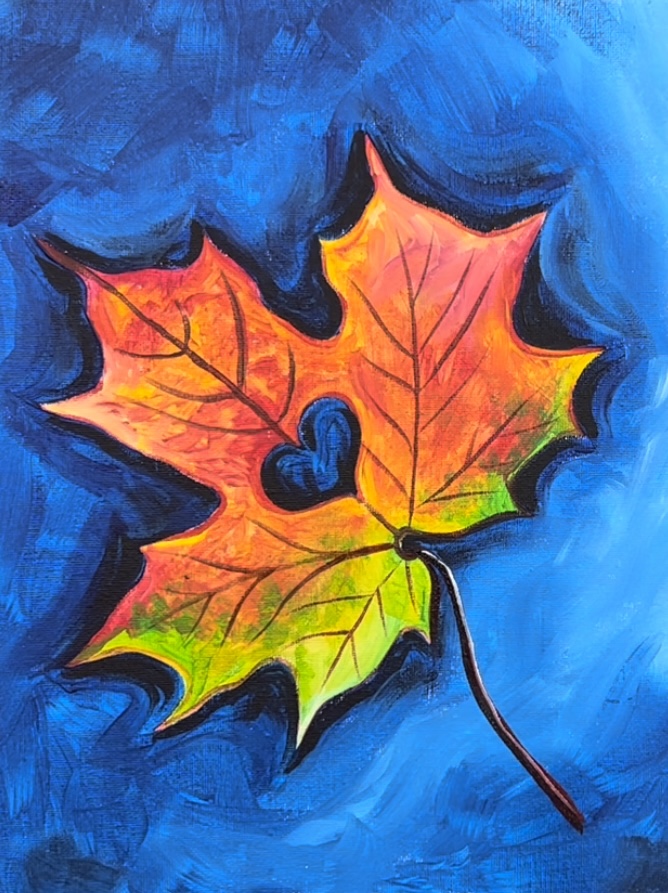
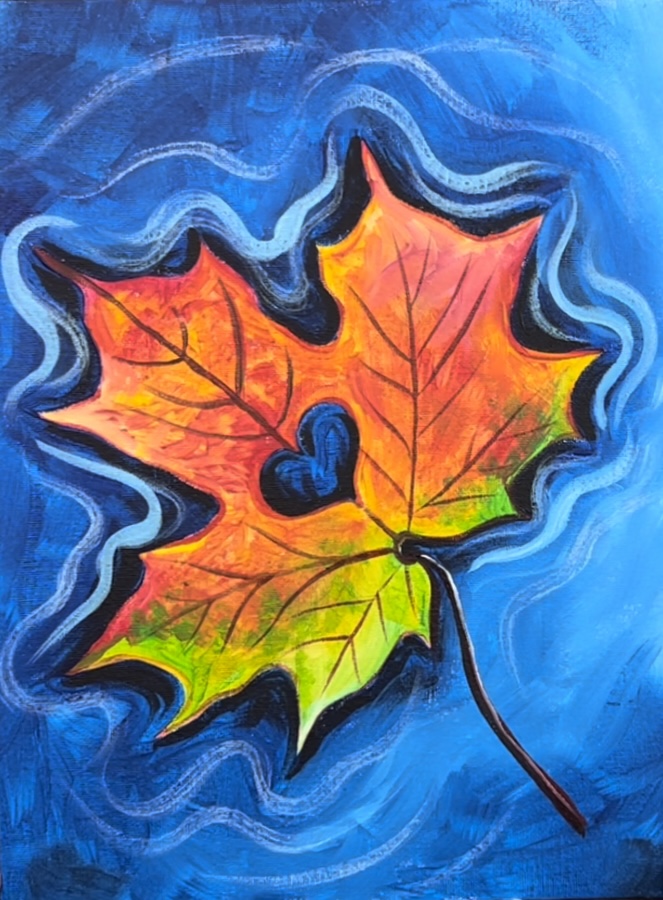
Learn how to paint a vibrant, whimsical fall maple leaf on water with ripples. This acrylic painting tutorial is demonstrated on a 9 x 12 canvas using 6 different paint colors.
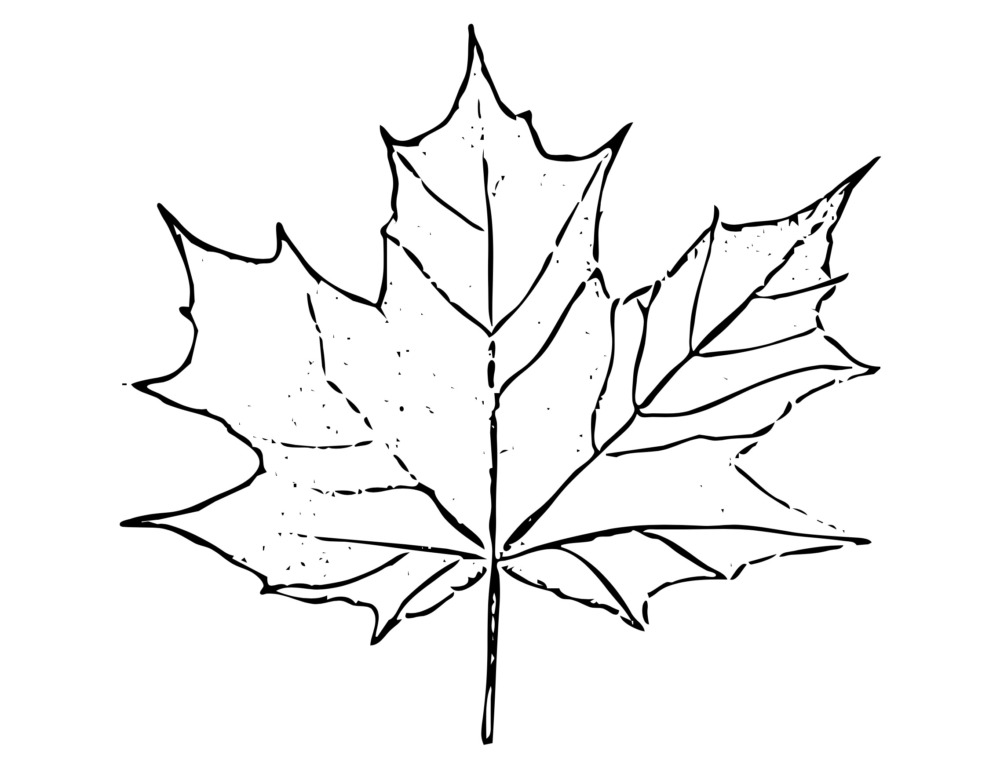
In this lesson, I am providing a traceable template for the leaf that you can use to transfer to your canvas so you don’t have to worry about drawing the leaf. The focus will be painting the beautiful blend of fall colors and detail on the leaf!
Enjoy and happy painting!
Materials Needed
How To Paint A Fall Leaf
Learn how to paint a vibrant fall leaf floating in water. This tutorial is demonstrated on a 9 x 12 canvas but can be painted on any size.
Materials
- 9 x 12 Canvas
- Acrylic Paints
- Brushes
- Traceable
- Graphite Paper
- Pencil
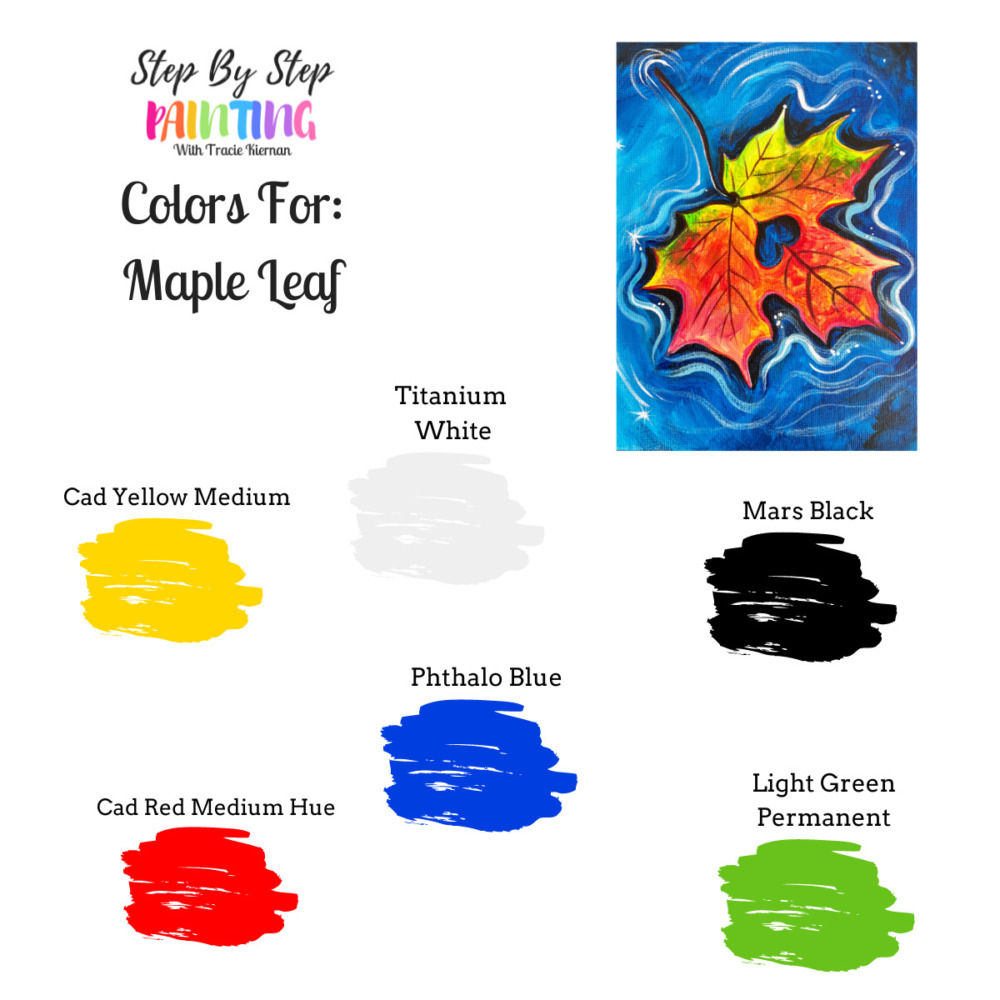
Colors
- Titanium White
- Mars Black
- Phthalo Blue
- Cadmium Red Medium Hue
- Cadmium Yellow Medium Hue
- Light Green Permanent
Brushes
Color Palette
Using Craft Paints?
I used Liquitex BASICS acrylic paint for this tutorial. If you are using craft paints such as the Apple Barrel Craft Paints, I would recommend subbing to these colors:
- White
- Black
- Red Apple
- Yellow
- Parakeet
- Cobalt Blue
Traceable Template
Print this out on one sheet and transfer to your canvas. You can also click the image to download the image and use that to resize the traceable if using a larger canvas.

Directions At A Glance
Video
Step By Step Instructions
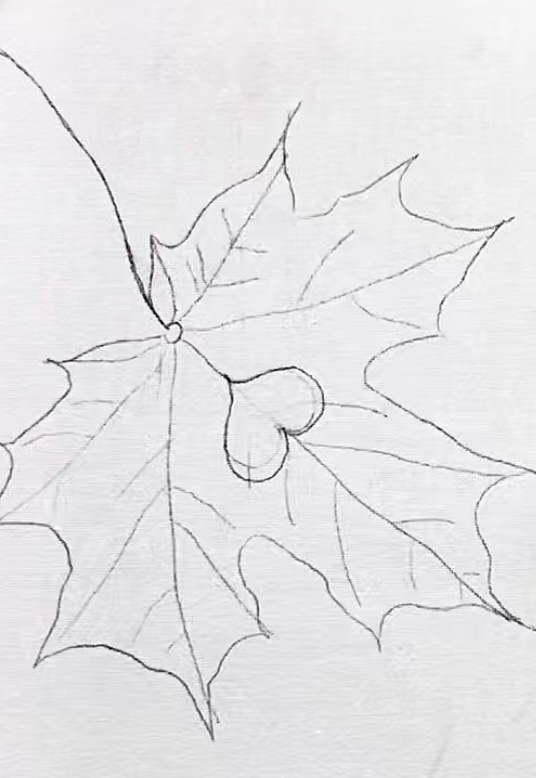
1. Transfer Leaf Drawing To Canvas
Print out the template for the maple leaf. Position it onto the canvas and place a sheet of graphite paper below it.
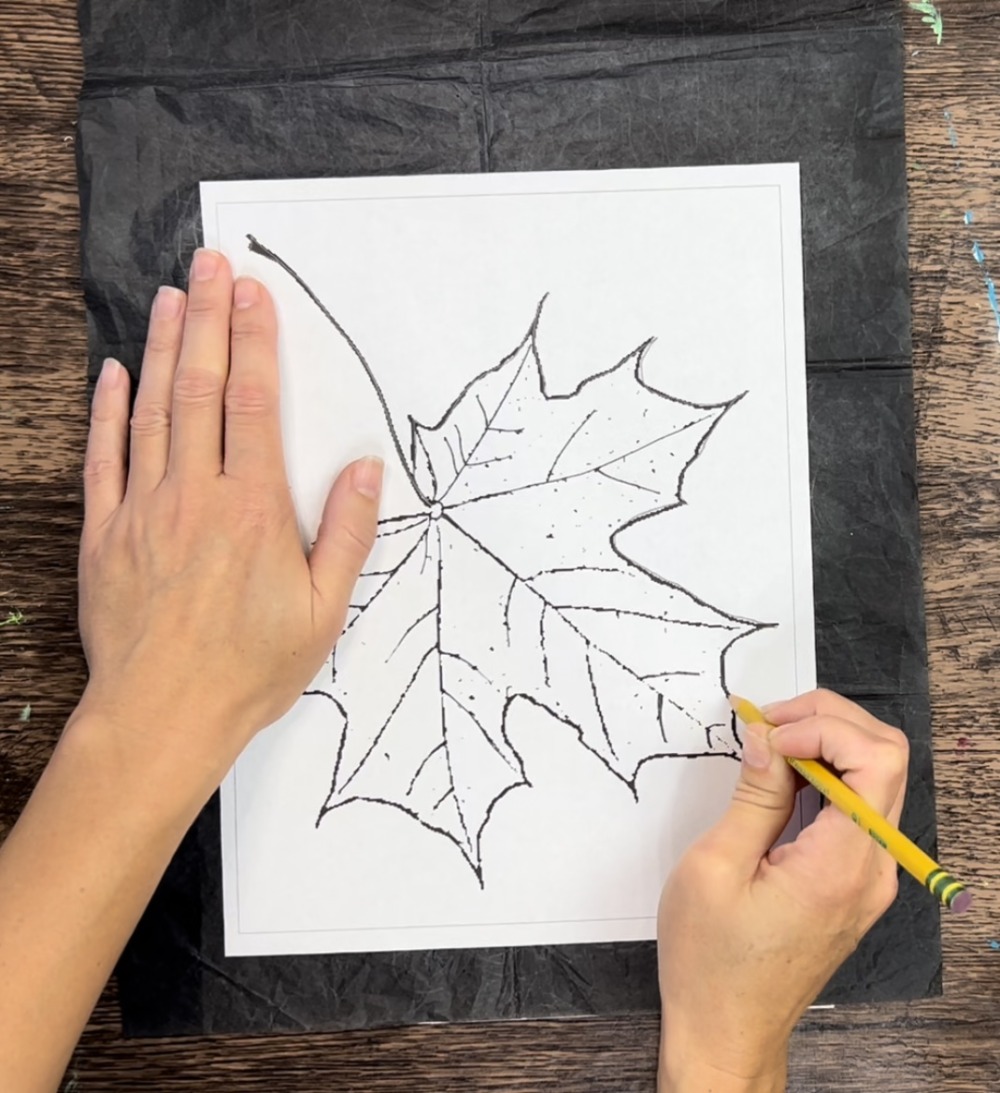
Then firmly trace the leaf design. The drawing of the leaf will transfer to the canvas.
Next, draw a heart shape in the middle of the leaf and erase the inside of the heart.
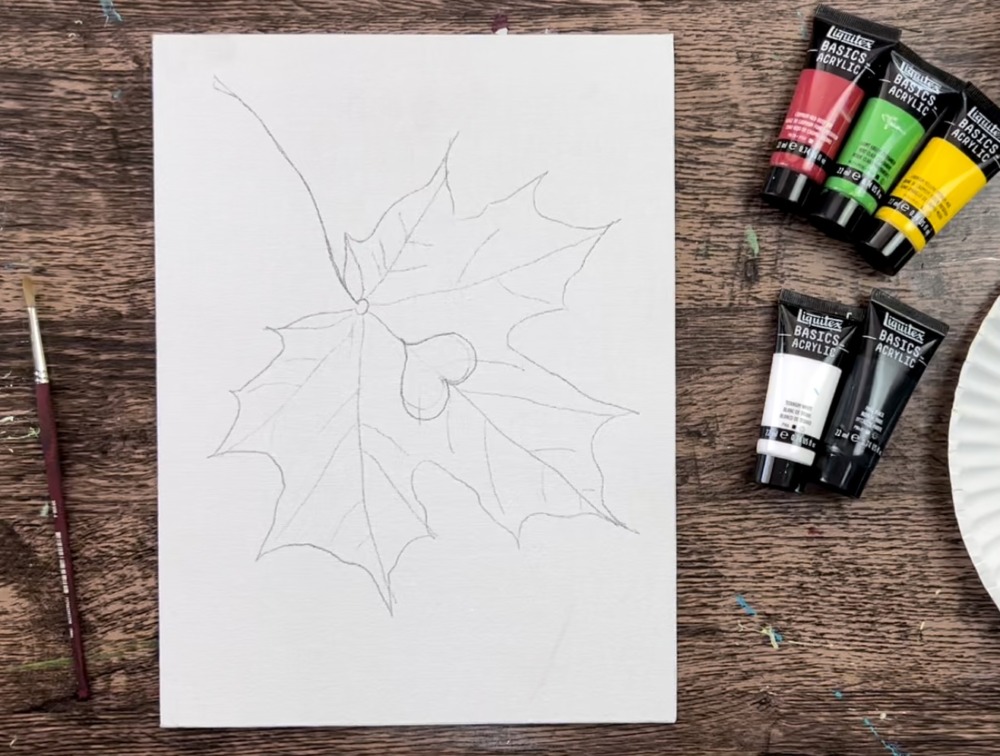
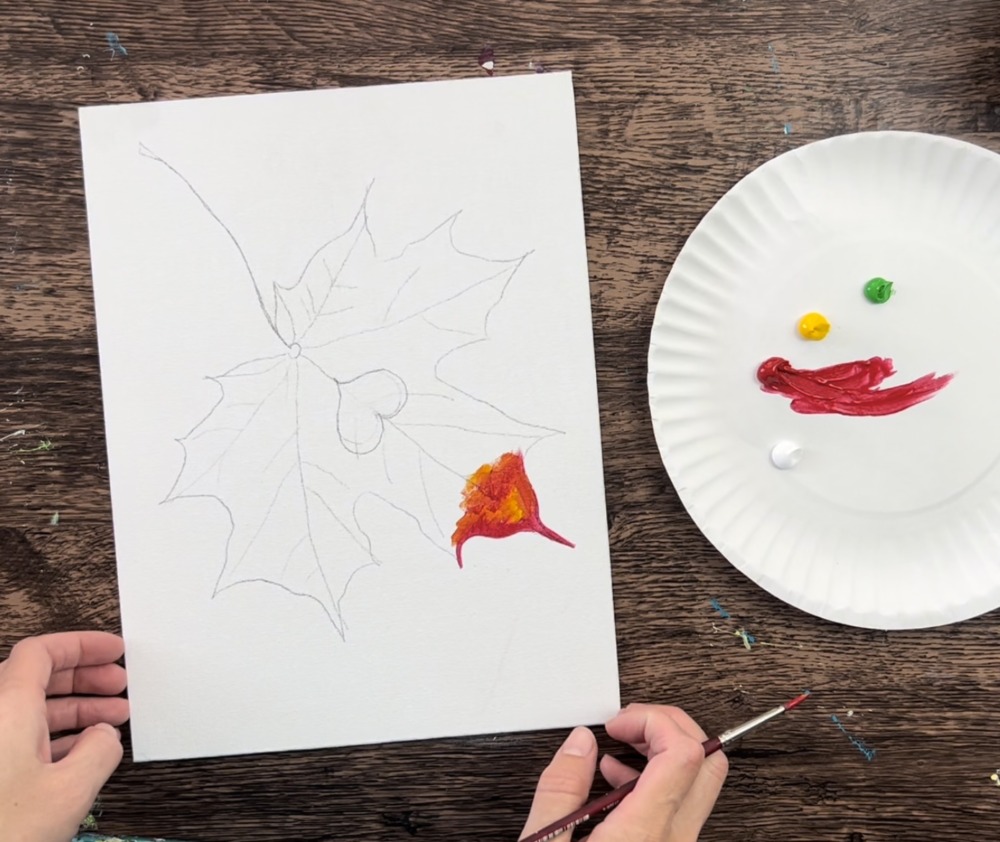
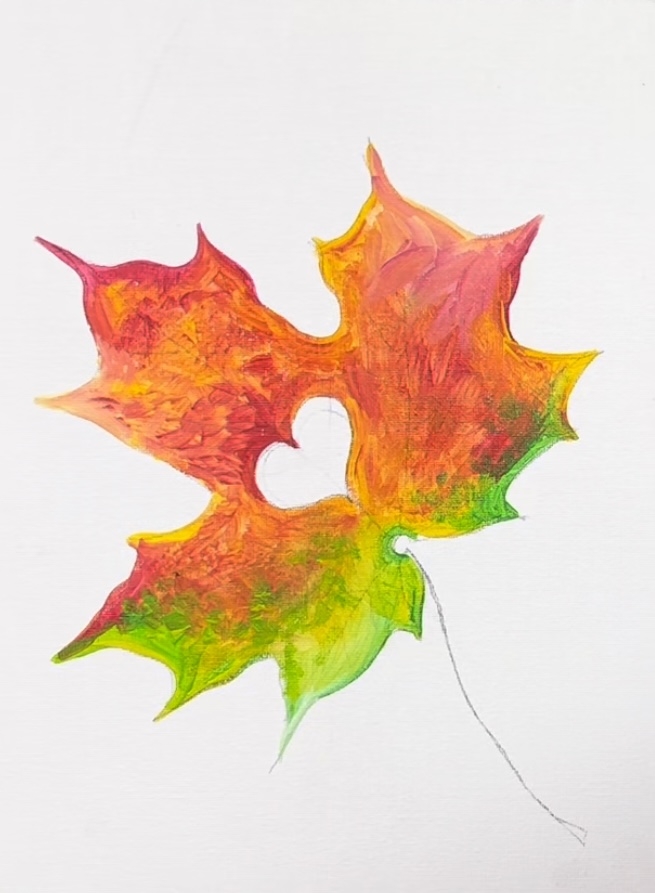
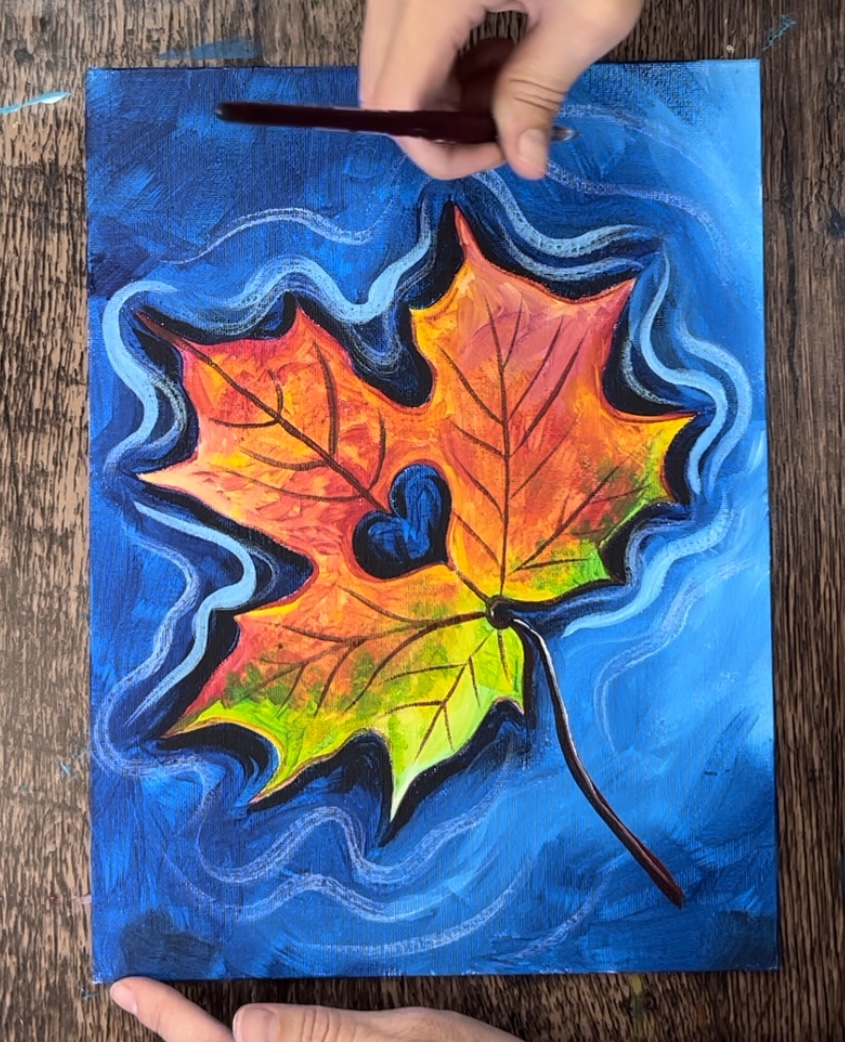
2. Paint Leaf
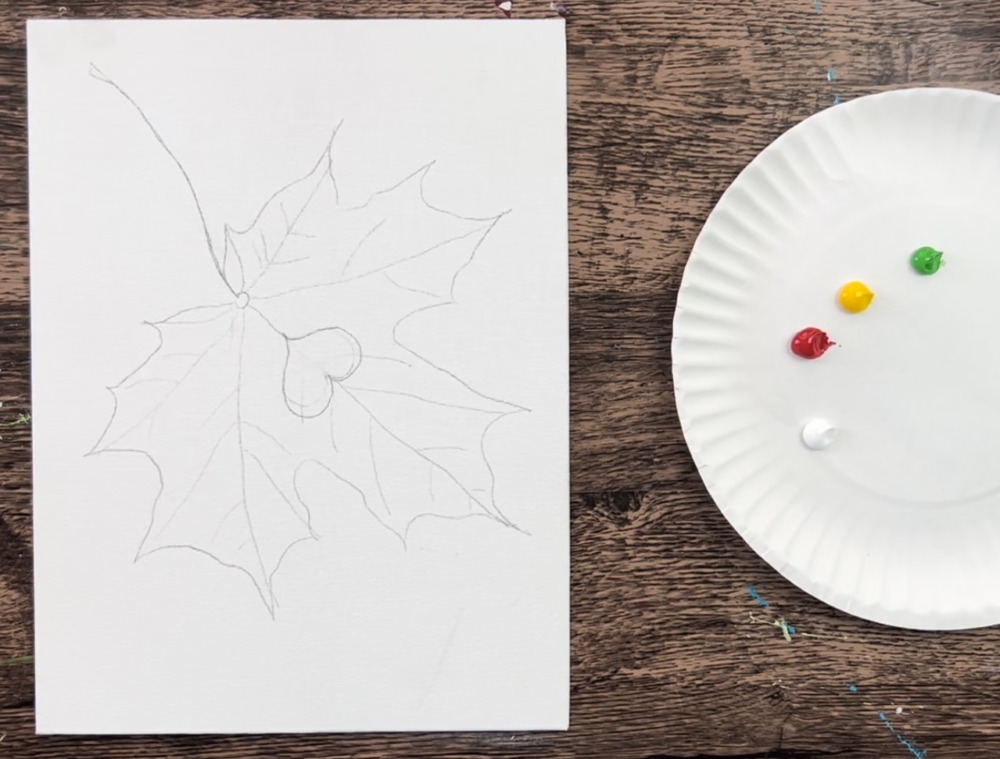
Load your palette with the colors: cadmium red medium, cadmium yellow medium, light green permanent and titanium white. Note: you can use any shade of red, yellow and green for this!
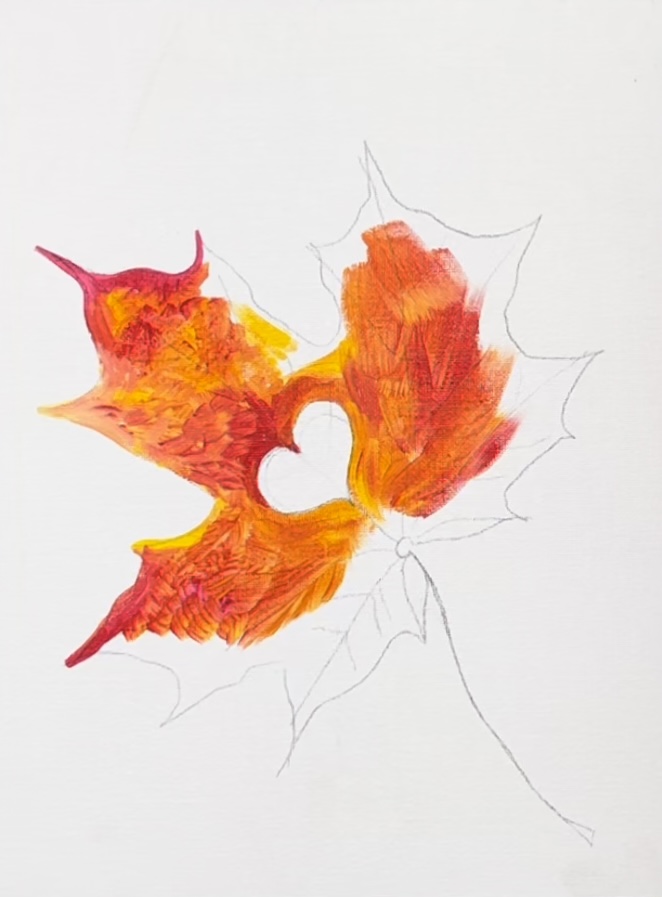
Use your #4 round brush to start painting the shape of the leaf in. Start on one point of the leaf and with the color red. Make sure to outline the leaf so the edges are crisp.
Start blending in yellow. Without rinsing the brush, load some yellow on the tip. Then gently blend it using short angled strokes.
Create variations of the yellow and red that blend to orange. You are going to continue to fill this leaf up with a blend of the yellow and orange but try not to over blend the colors.
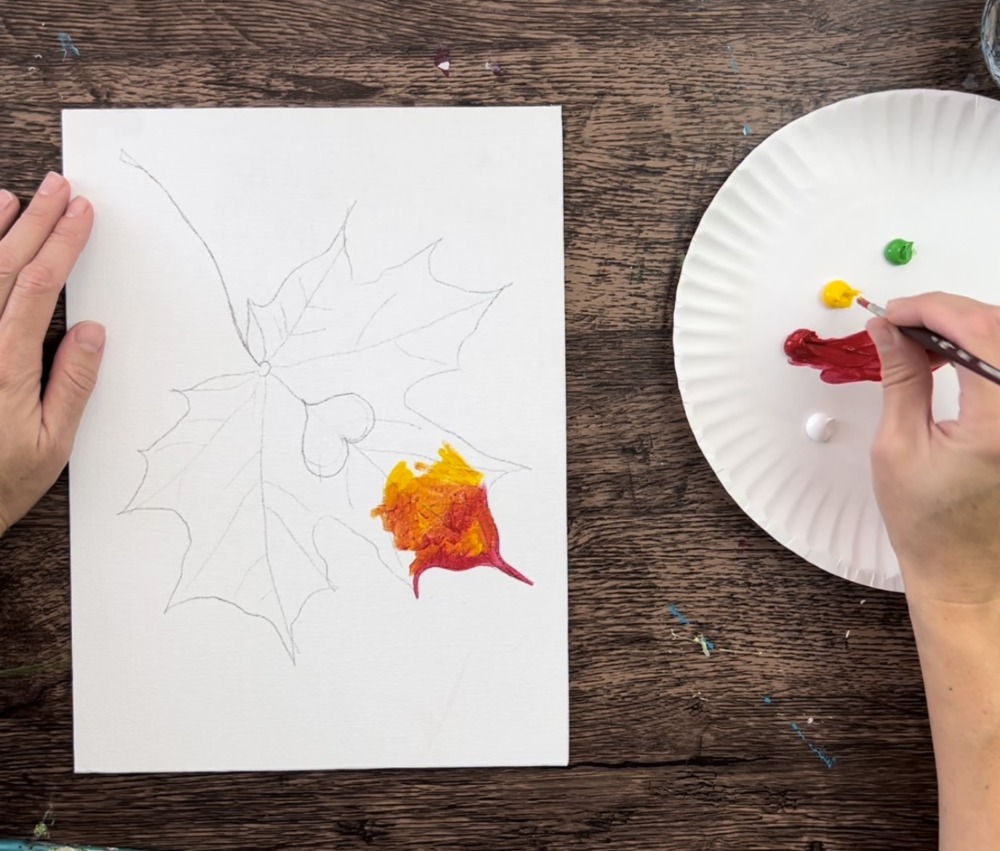
You can also blend white into the leaf.
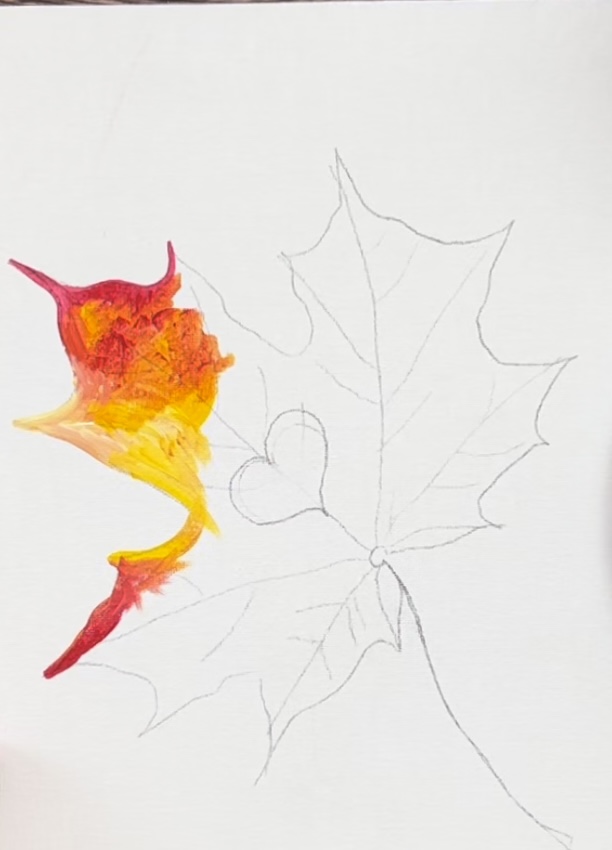
Use your #12 bright brush to cover more space faster with the leaf. Continue to blend a combination of the red, yellow and white. Use the round brush to help outline the edges of the leaf and the edges of the heart shape.
If you want green on your leaf, blend the green towards the bottom using the light green permanent. Mix it with yellow and blend it up into the orange area. You might get a little bit of a brown color from mixing the green with the red but that is okay!

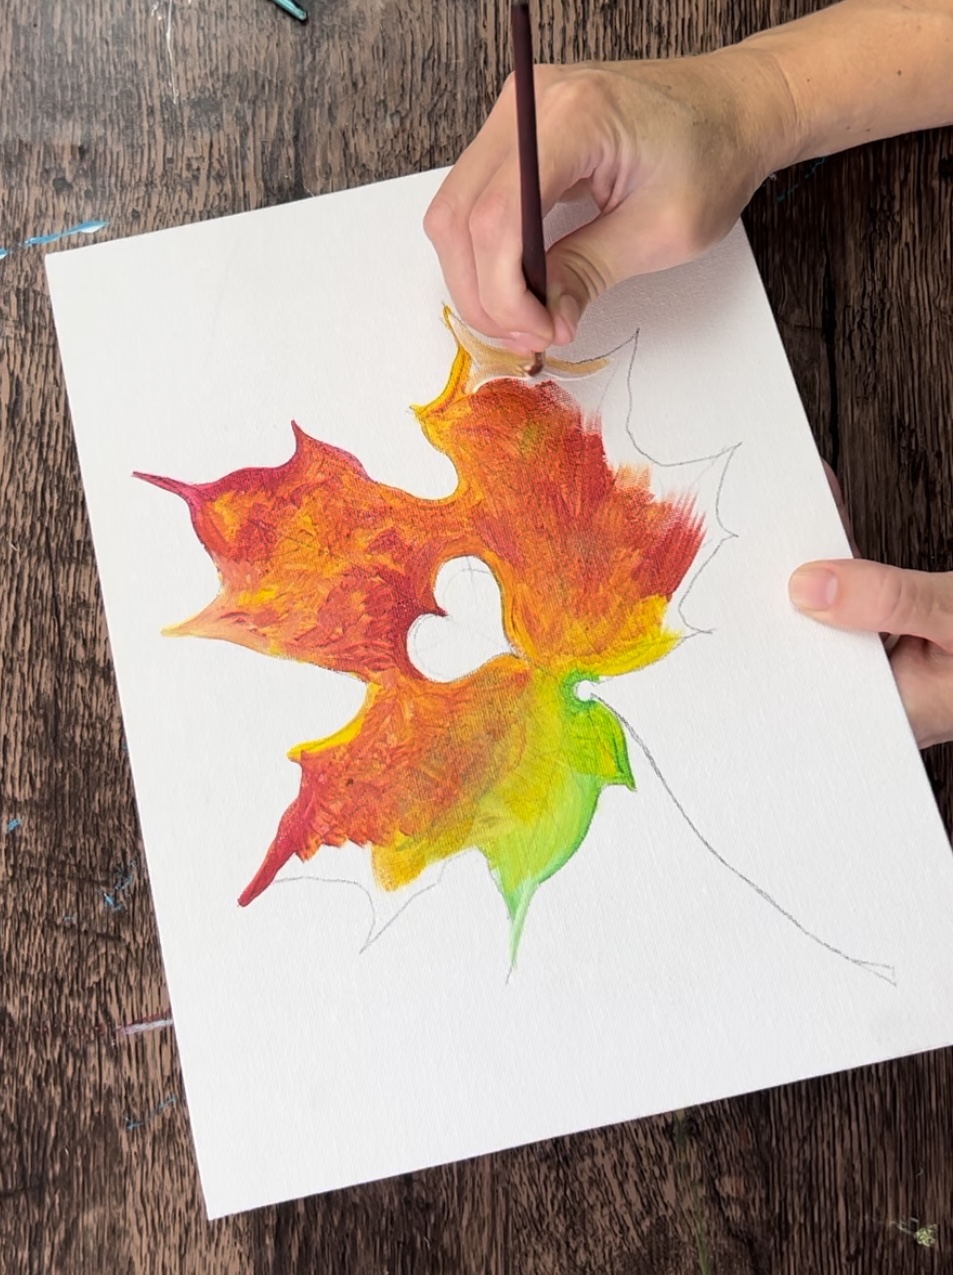
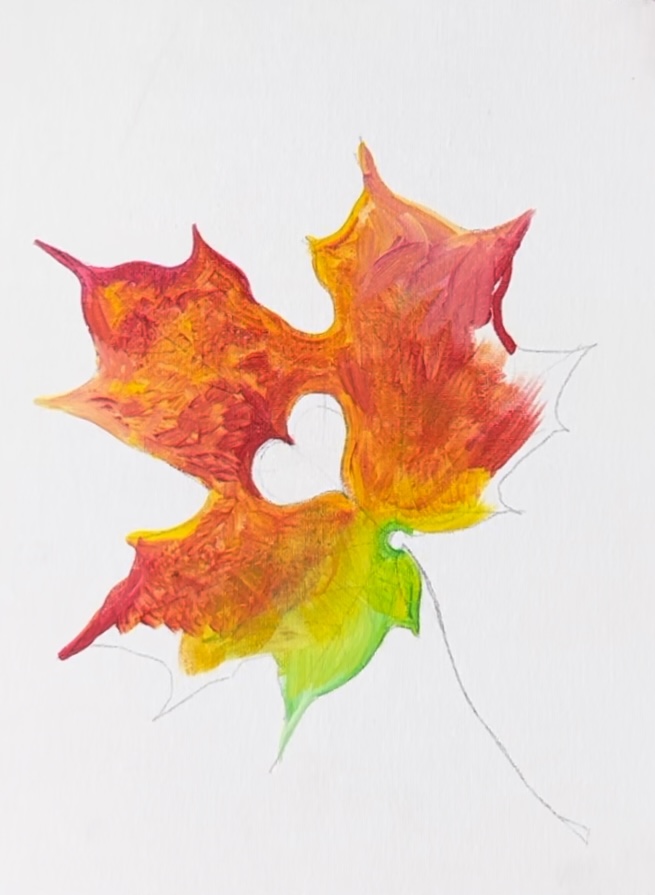
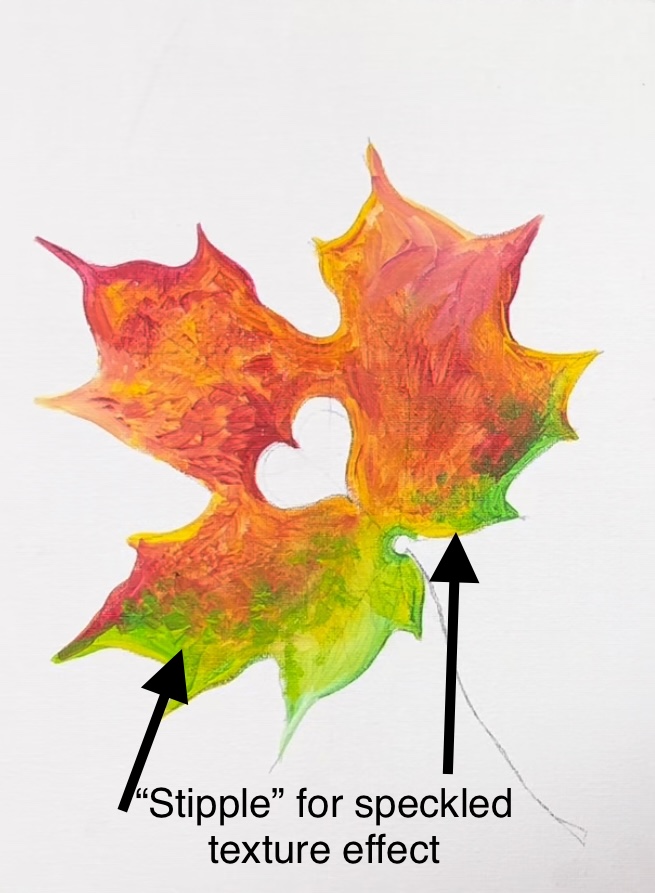
You can also take some of the green and “stipple it” over the orange areas where it blends. To do this, simple make little dotted strokes with the green over some of the orange. This creates a “speckled” effect.
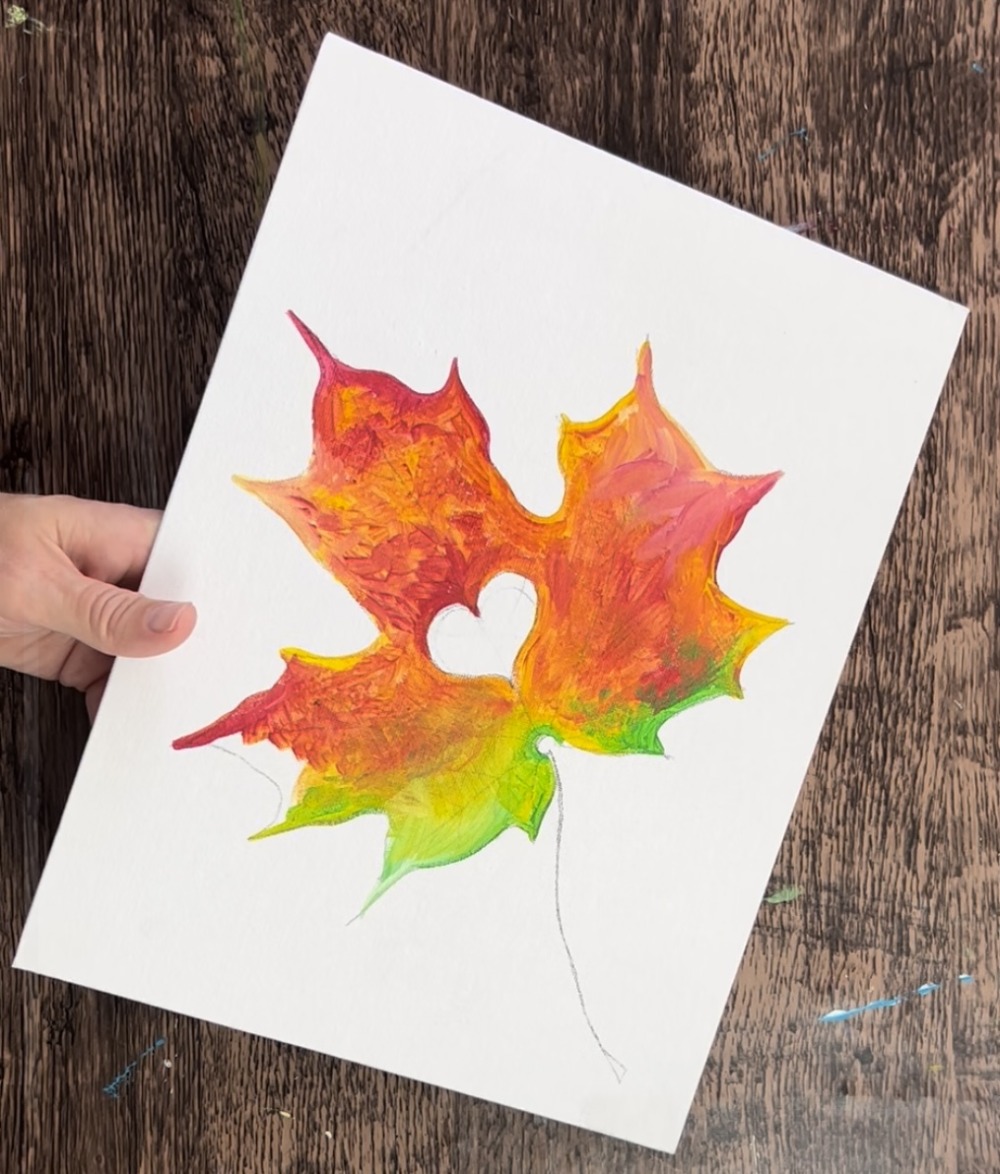
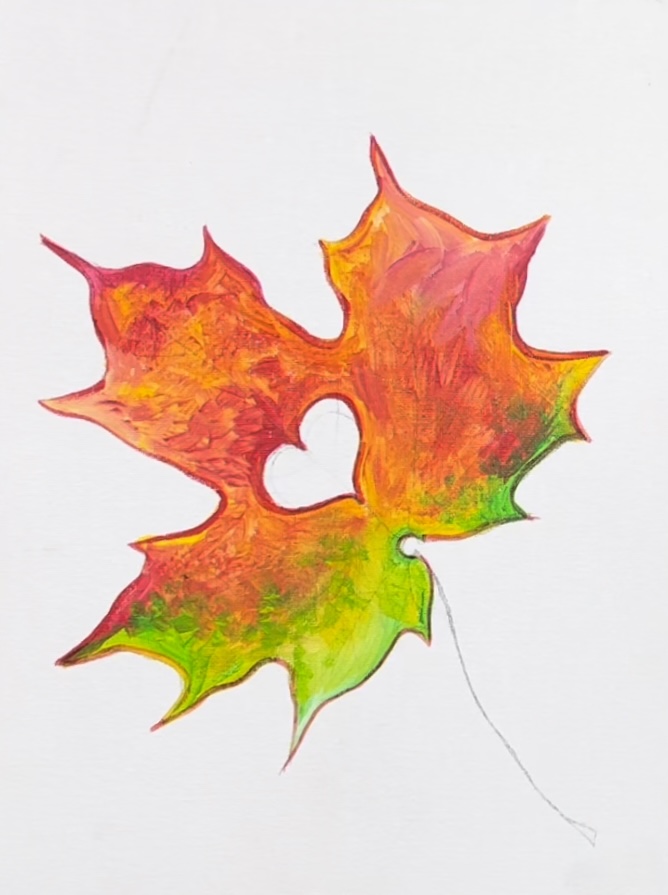
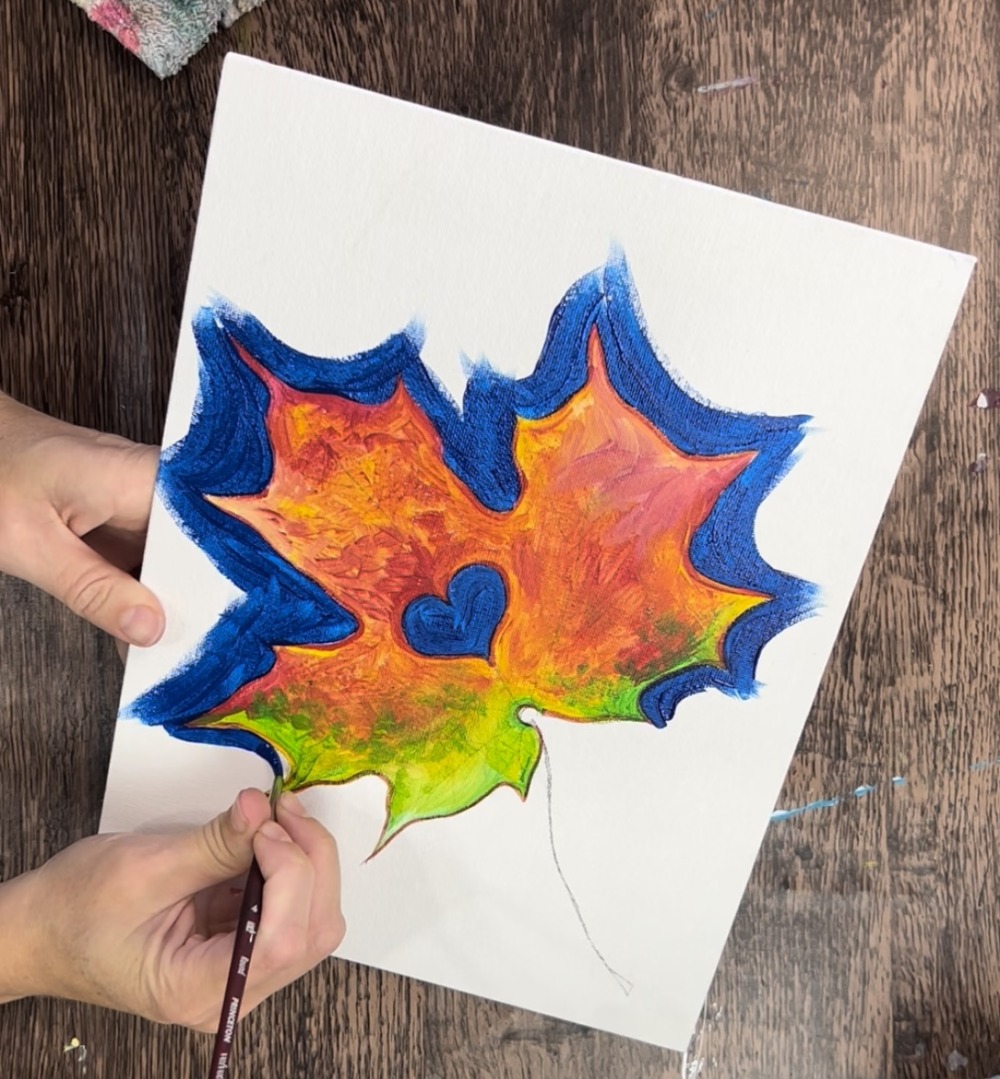
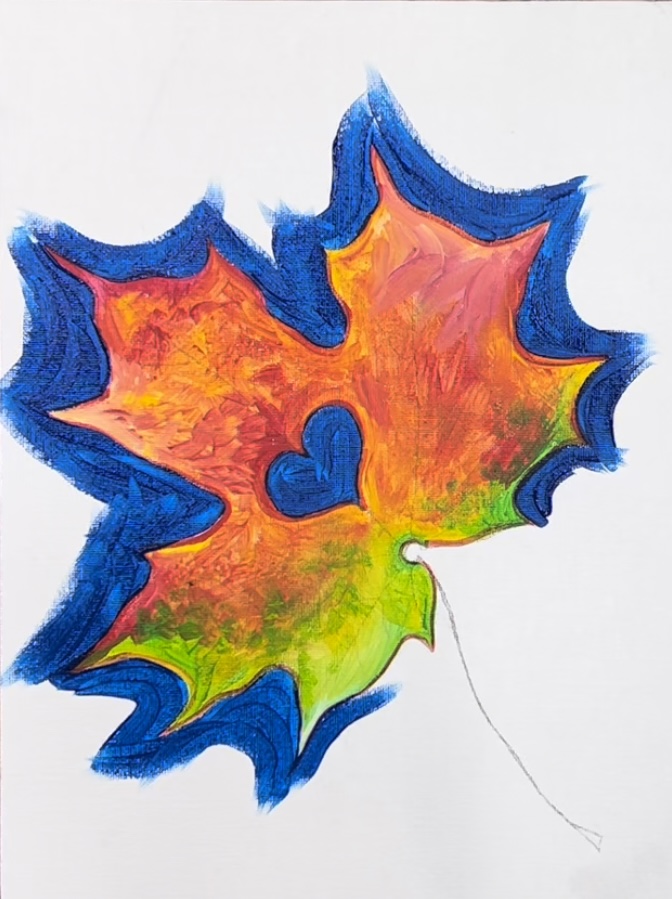
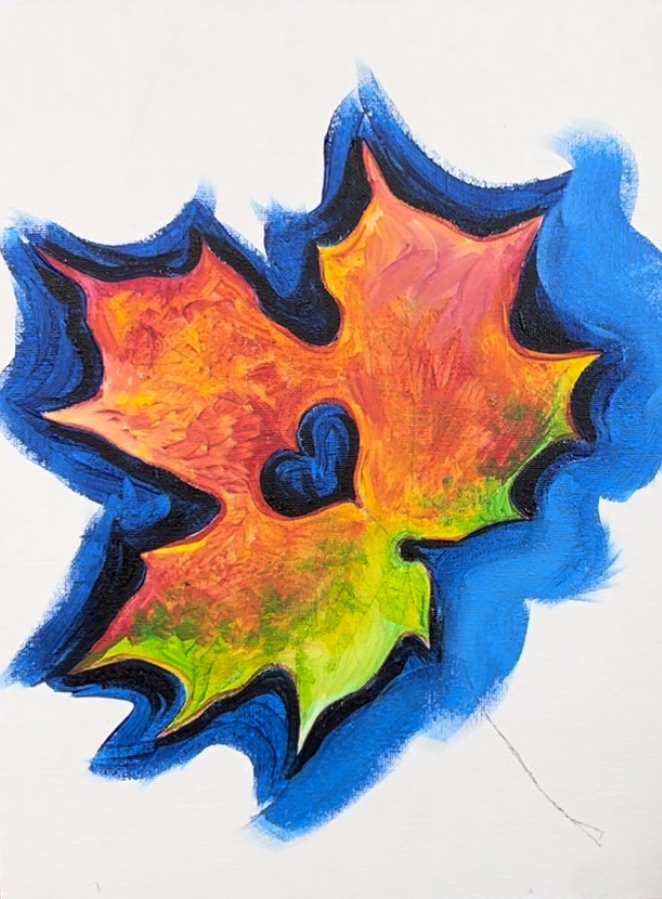
Next, neatly outline the shape of the leaf with a very thin line using the cadmium red medium. Add a little water into the paint if needed to thin it down.
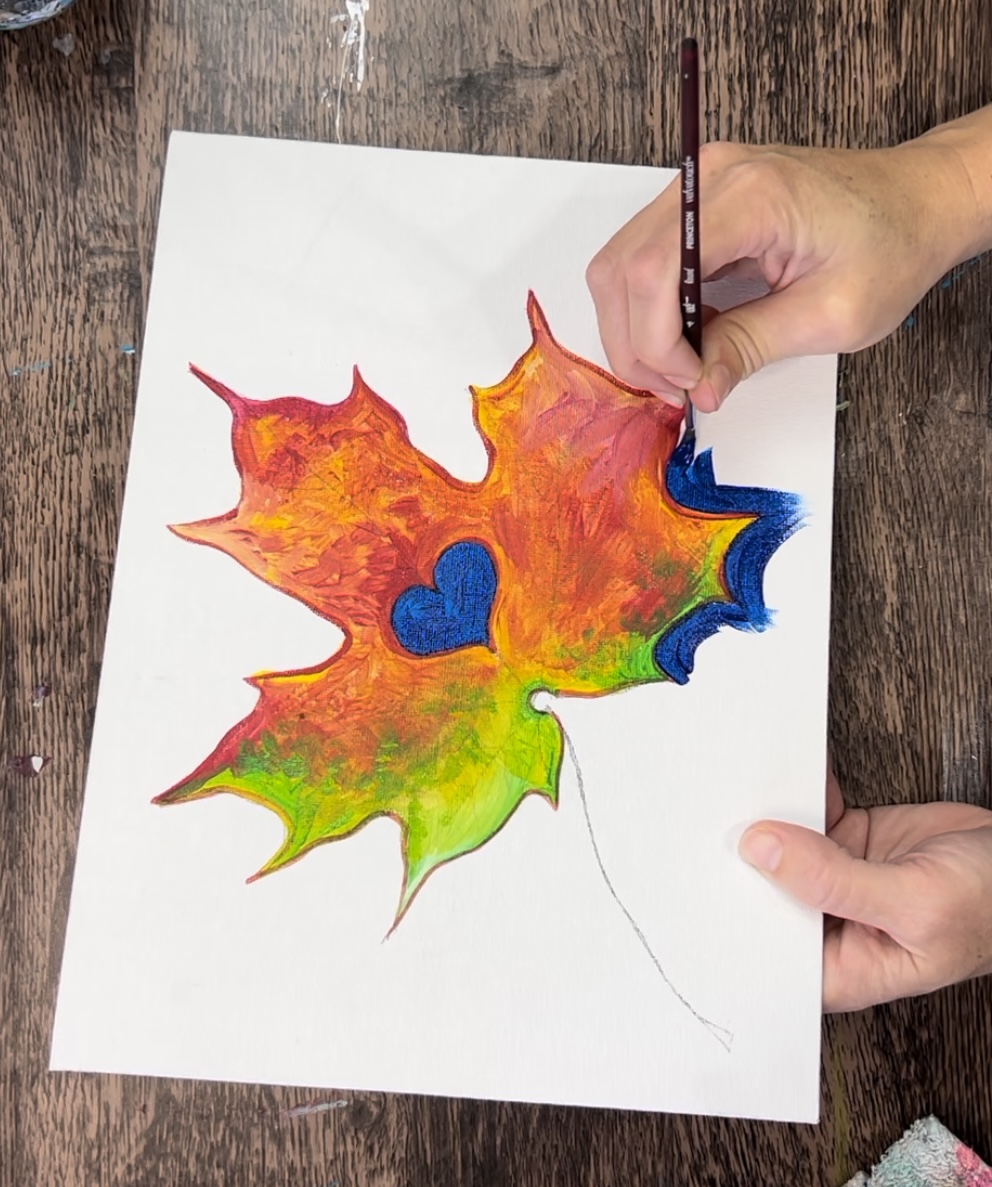
3. Paint water around negative space of leaf and inside heart
Use the color phthalo blue to paint the inside of the heart and the negative space around the leaf. Do this with the #4 round brush. Paint about a half inch border of this blue that counters around the shape.
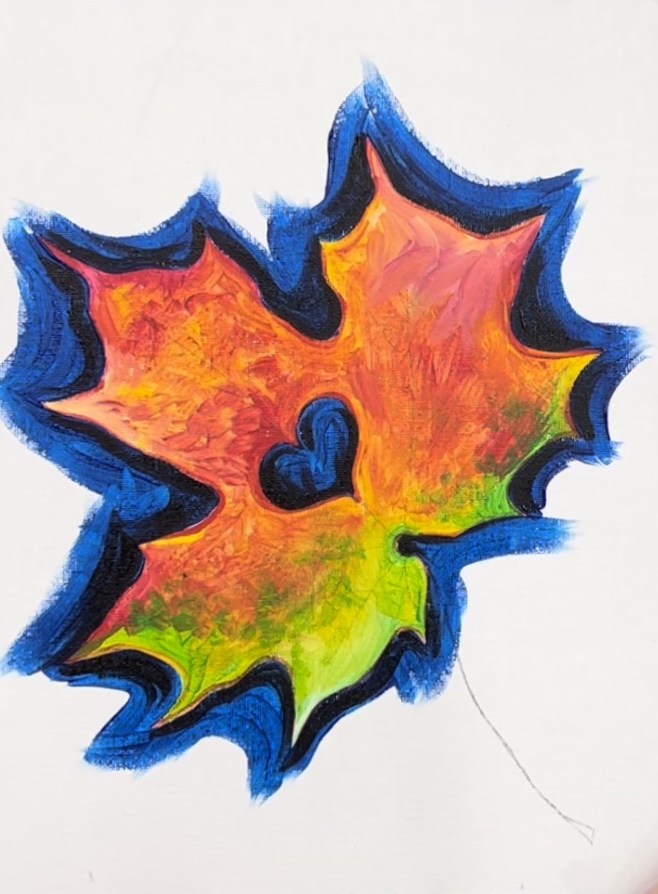
4. Paint Dark Water/Shadow Around Negative Space Of Leaf And Inside Heart
Next, load a small amount of black on your brush (without rinsing it). Loosely blend the black into the blue along the negative space/ outline of the leaf so this area is darker.
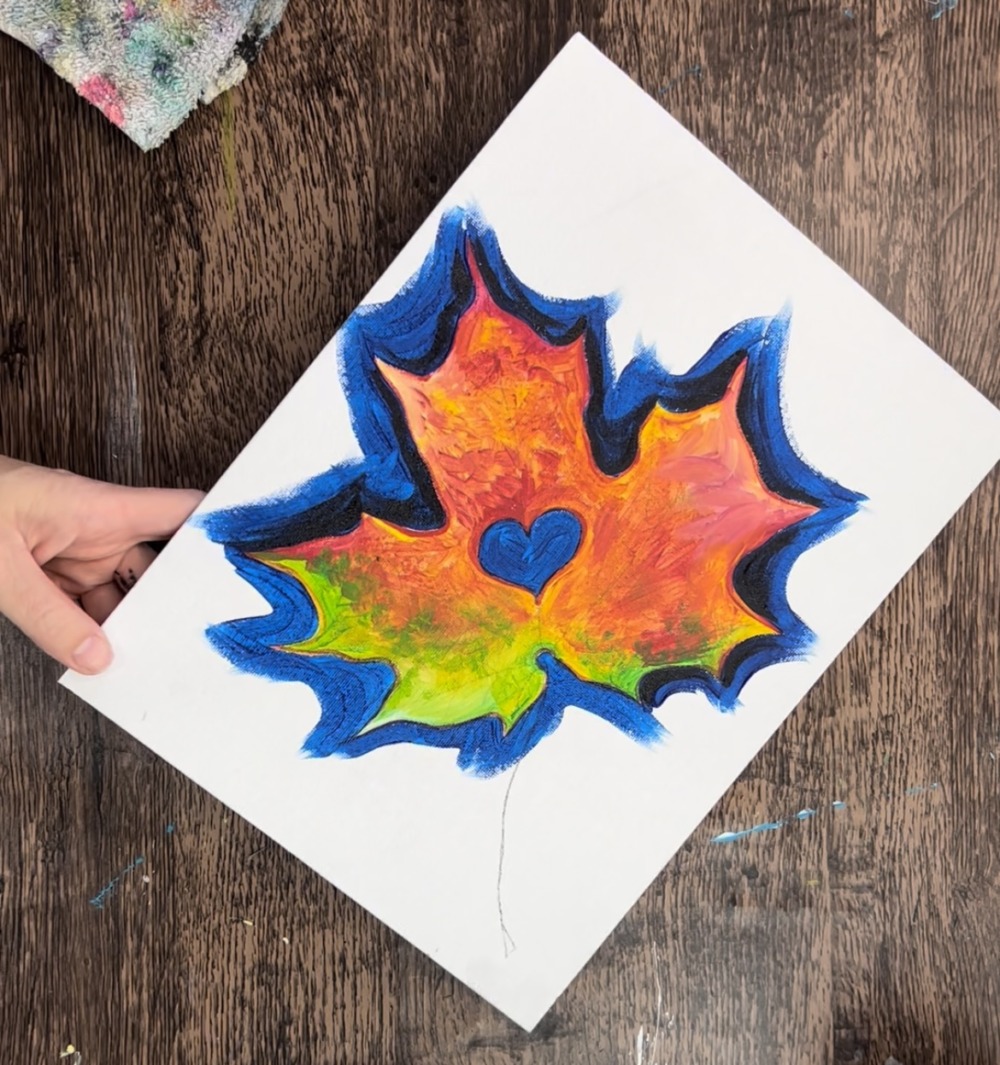
This black is applied loosely around the leaf but a lot of that blue is still showing through. It is also only about 1/4″ of black around the leaf but does not have to be consistent. Add some black in the heart cut out area as well.
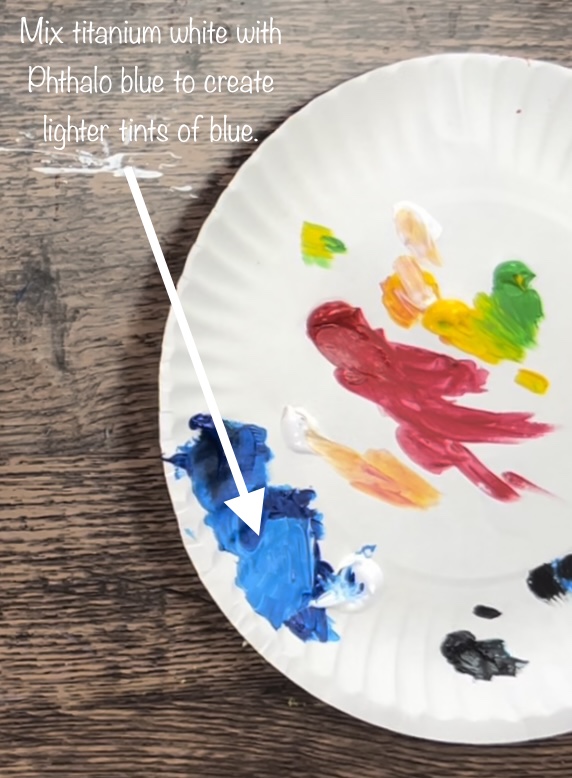
5. Paint lighter color of the water
Use the #12 bright brush to paint more water. These are contouring strokes. The direction of the strokes go around the shape of the leaf. Mix equal parts titanium white and phthalo blue on your palette. Then use this lighter blue to paint “flowing” strokes around the leaf shape.
You can vary this color by adding more white or more blue to it. When you get to the outer areas of the water, you can do more “expressive strokes”. This means you can paint/ blend the colors onto the canvas and go in an angled direction.
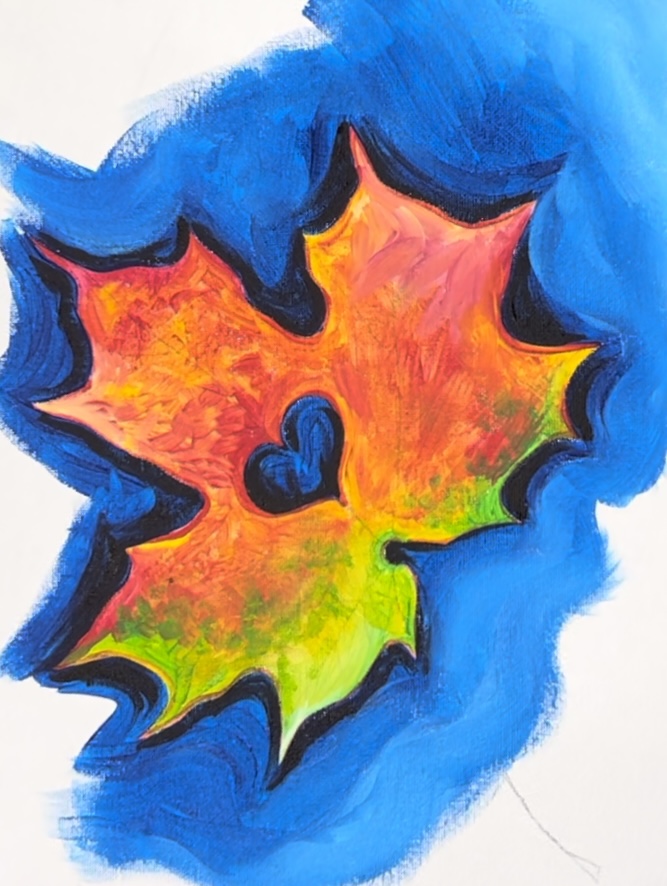
Keep filling the water area with a blend of the blues and whites. The area of the water that is closest to the leaf should remain dark.
You can add small amounts of black to the outer water areas as well such as blending the black with the blue in the corners. This helps create more depth in your water.
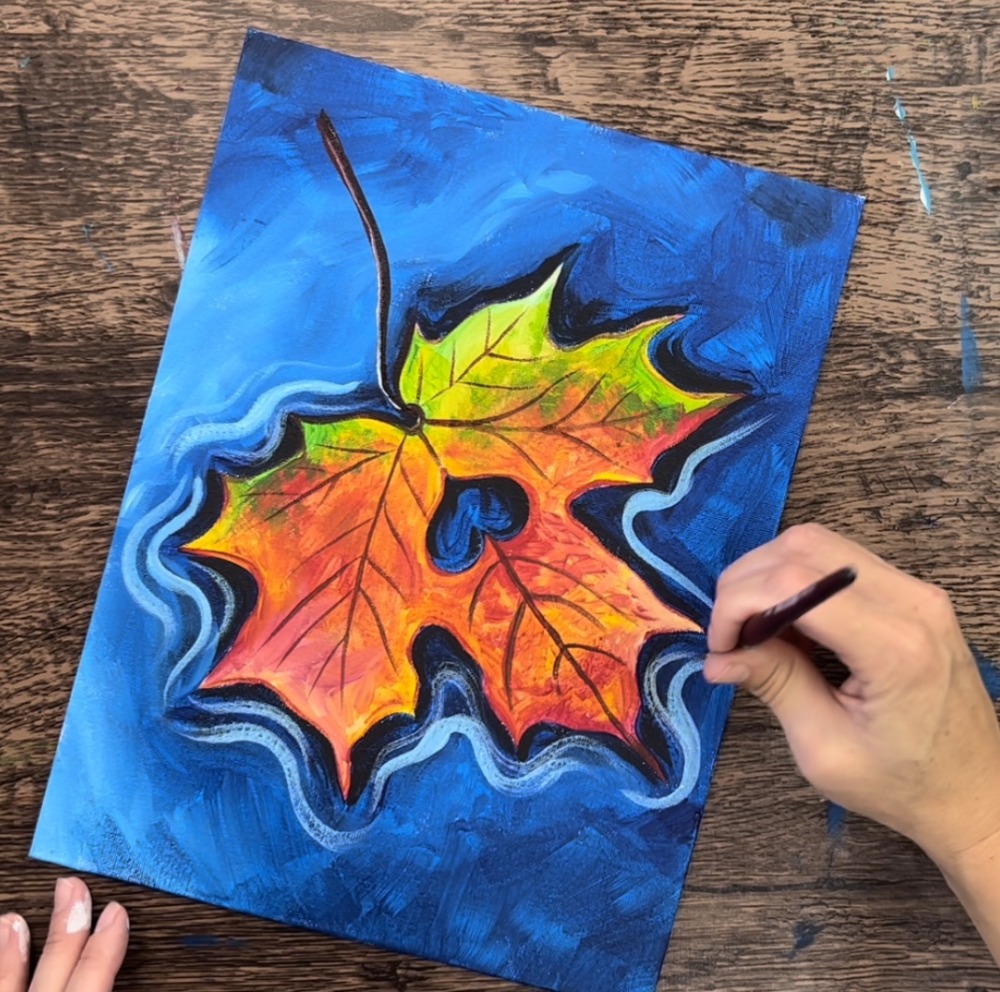
6. Paint veins & stem
For the stems, I recommend using a brush that has thin and long tiny bristles. I used the #8 round brush in the Princeton Velvetouch Pack of Brushes. This brush has a very fine point to it and can be used for painting details. Alternatively, you can use a tiny round brush.
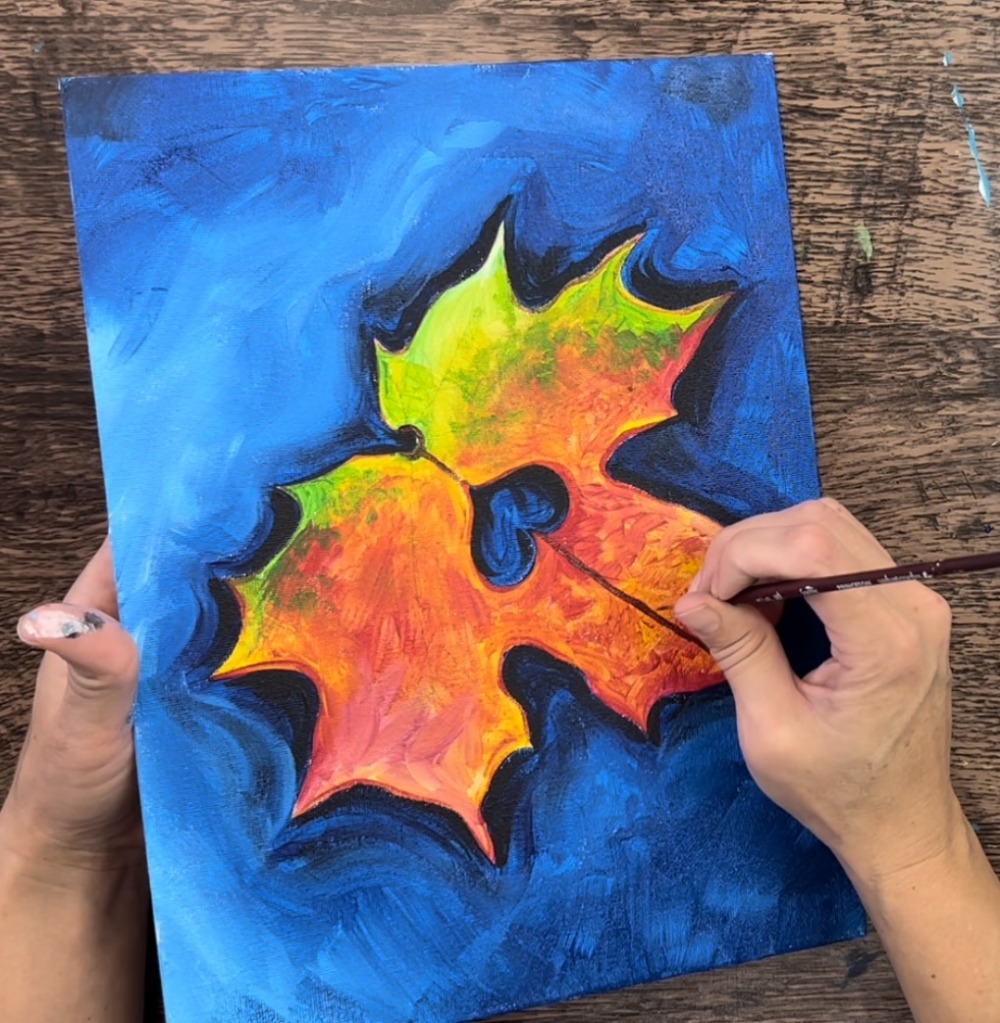
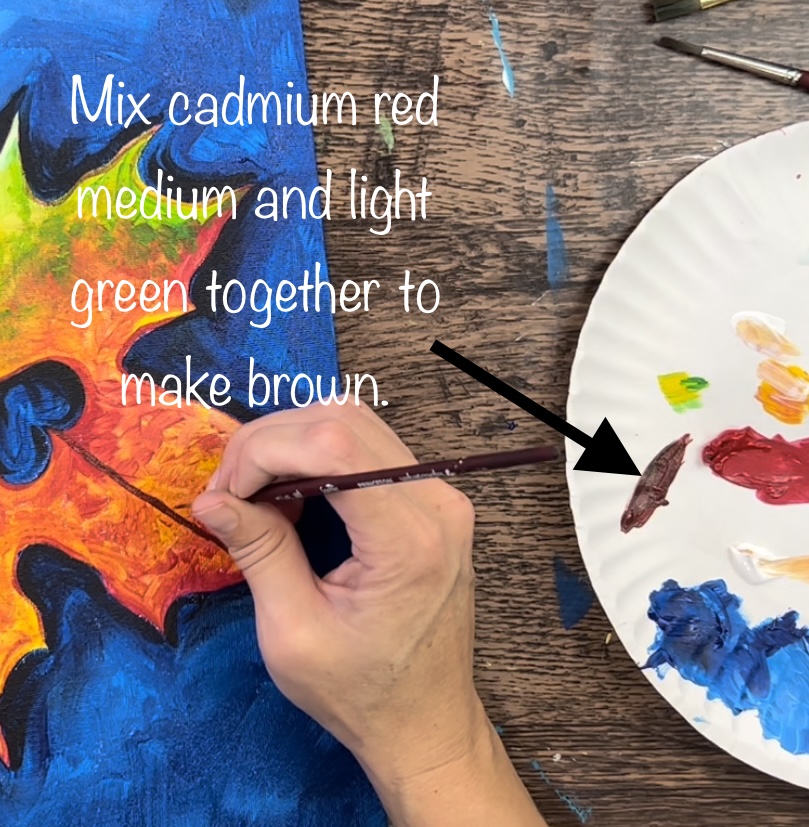
On your palette, mix green and red together (equal parts) to make a warm brown. Then thin that paint down so it will be easy to apply. Use your brush to paint the main middle line of the leaf.
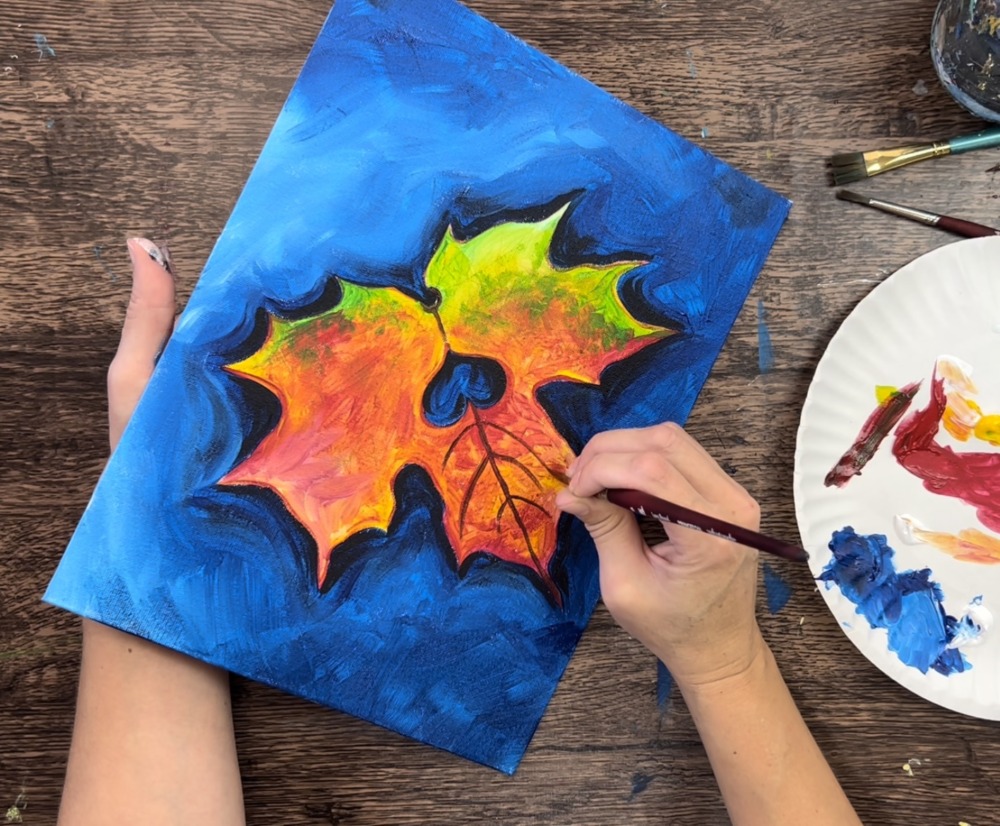
Then paint the other angle lines of the “secondary veins”. These should be slightly smaller than the primary vein lines that go down the center of each of the leaf sections.
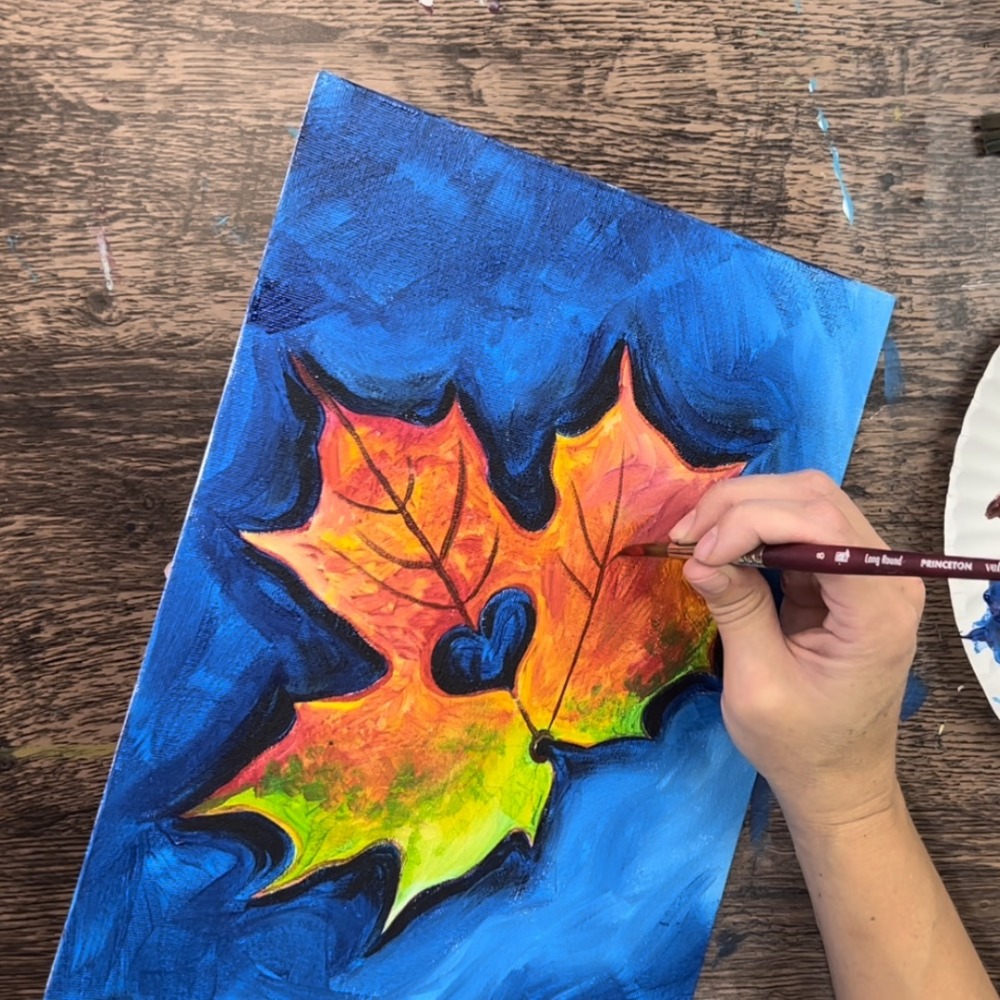
If needed, look at your traceable template to help guide you through the vein line placement. You can also “retrace” your vein lines with the traceable and the graphite paper.
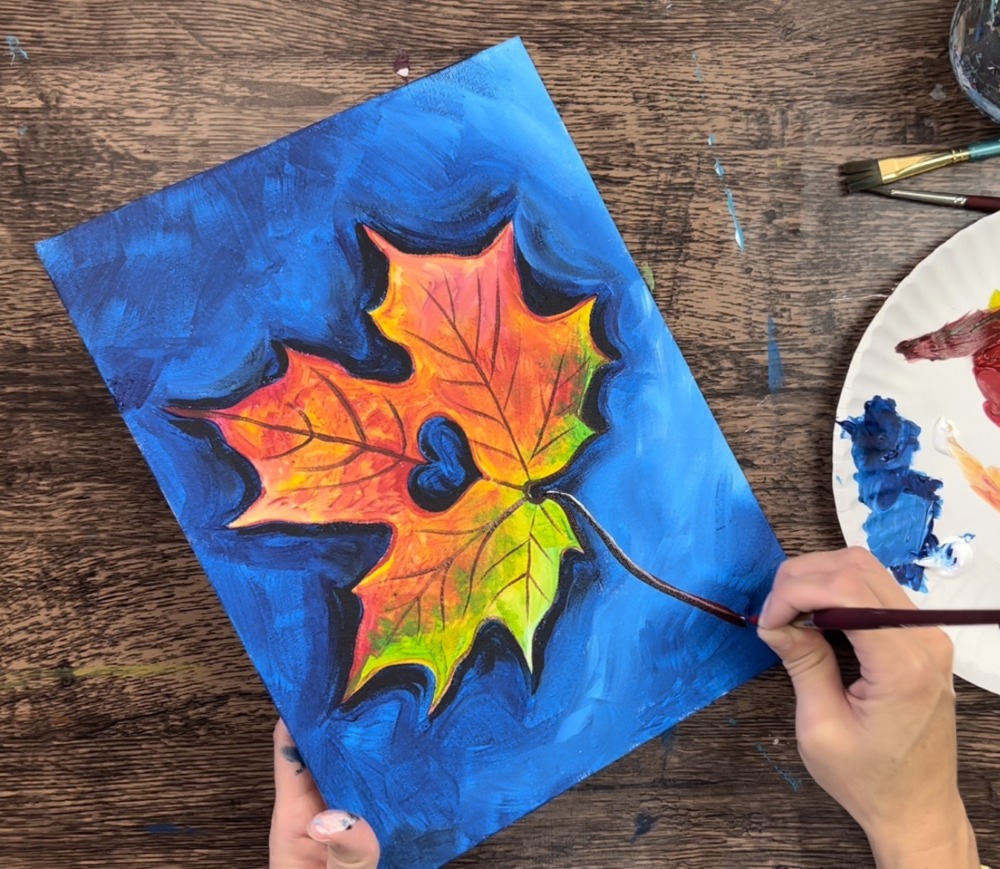
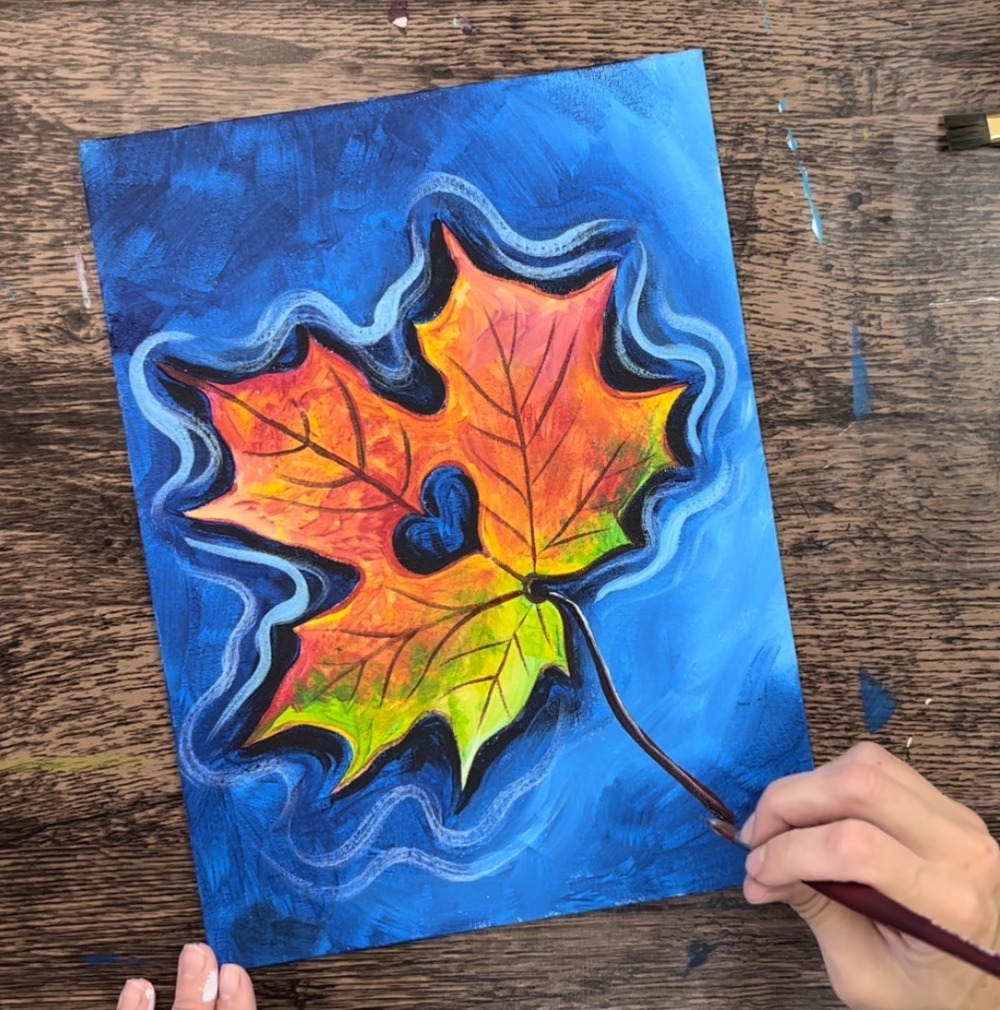
Paint the stem of the leaf using your brown that you mixed on the palette. Use the #4 round brush and paint a curved line from the base of the leaf downwards. Then add a white line on the right side of it for a highlight.
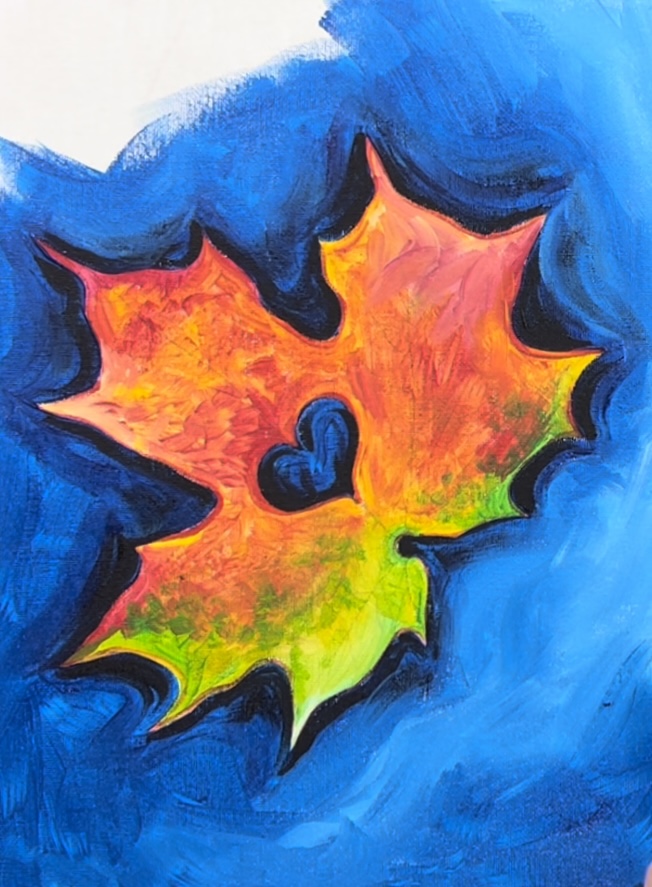
7. Paint ripples
Mix a light blue on your palette by mixing 3 parts titanium white and 1 part phthalo blue. Use the #8 round brush. Paint loose contouring “squiggle lines” that hug the outer negative space of the leaf.
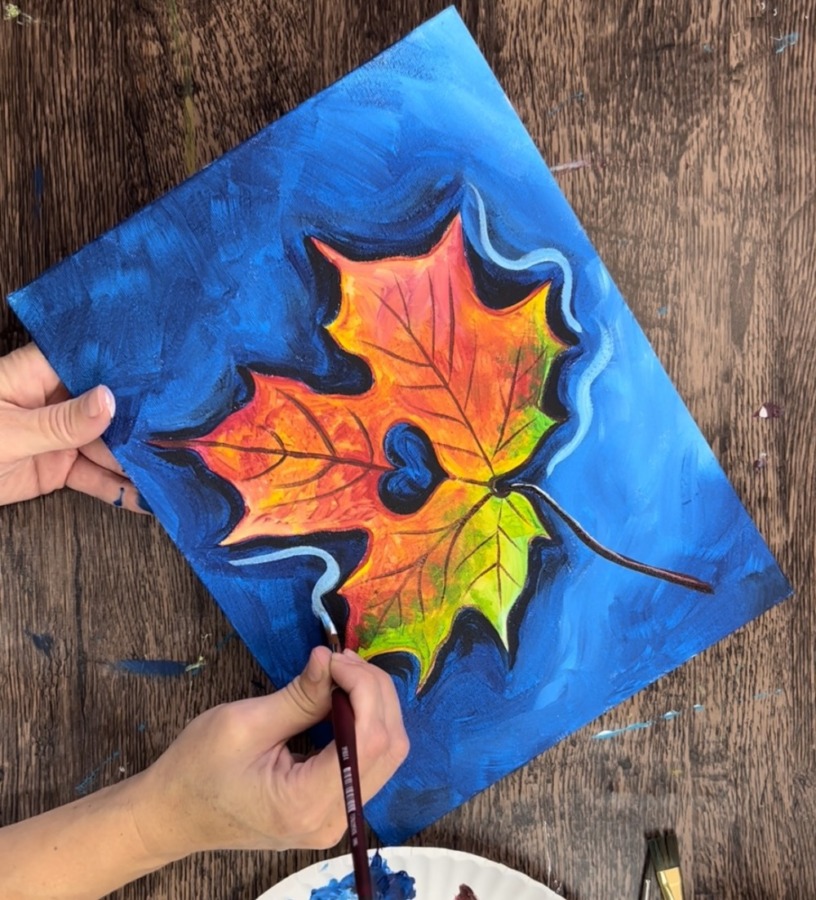
These do not all have to be connected.
Paint another set of ripple lines next to the first set. Vary the thickness of the lines. Some of the lines are thicker, some thinner.
Then add more ripple lines further out into the water. These lines gradually loose their form and become more elongated and stretched.
I also did more of a “dry brush” for these other lines. I let the light blue paint run dry so they showed up kind of light and translucent.
8. Paint water sparkles
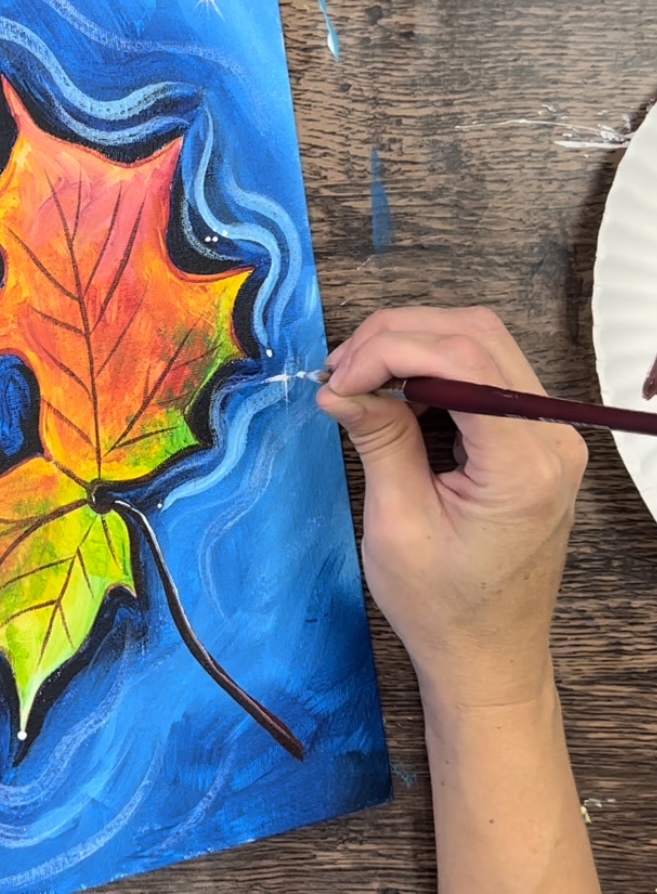
To paint the sparkles, paint an “asterisk” style star using the brush that was used to paint the leaf veins. Use titanium white. Paint two vertical lines and then two sets of diagonal lines.

You can paint these sparkles scattered along different areas of the water and close to the leaf. Also, paint clusters of little white dots throughout the water ripple area.
I did three sparkles and a few more clusters of little white dots.

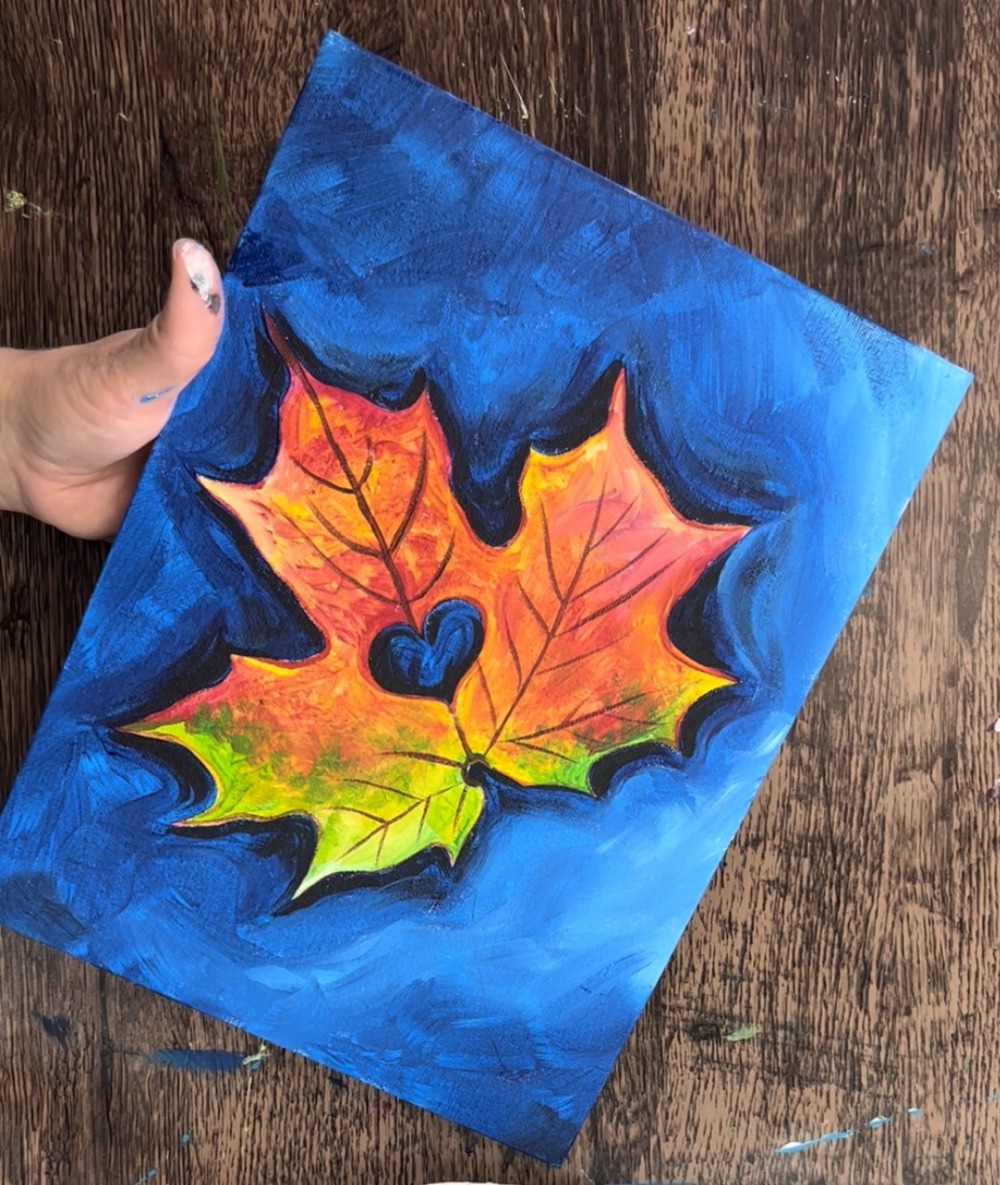
Finally, touch up the ripples if needed. I added another layer over some of the already painted ripples with just titanium white paint. I also added some ripples that go around the base of the stem and up to the base of the leaf.
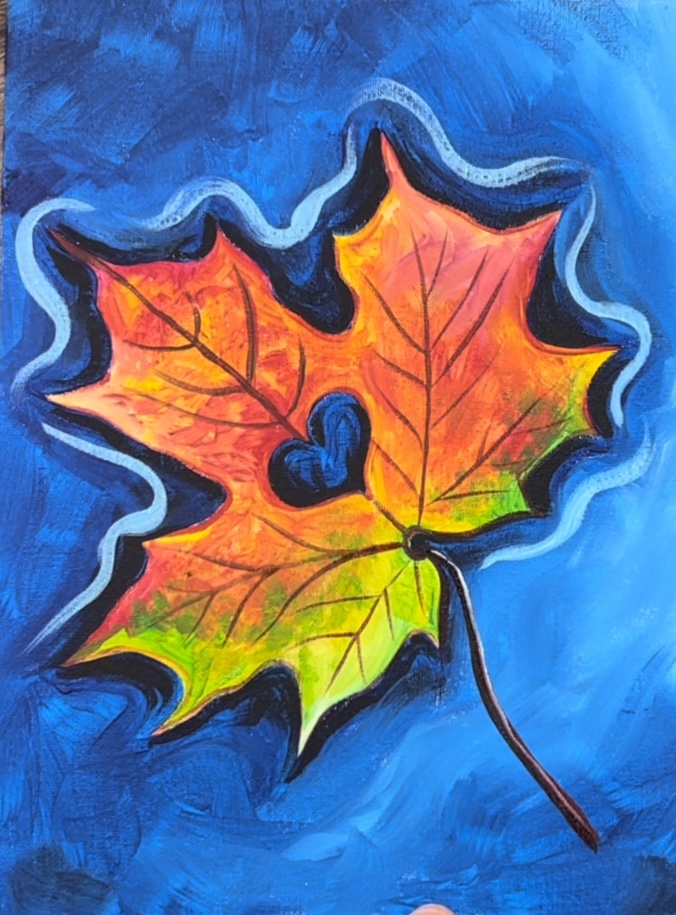
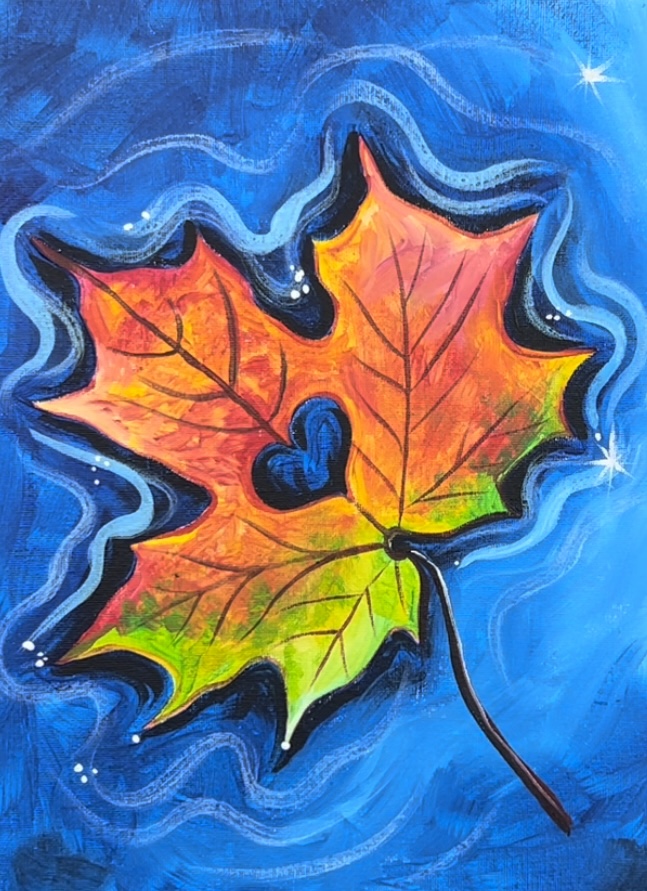
Finished!
Share your art here:


