
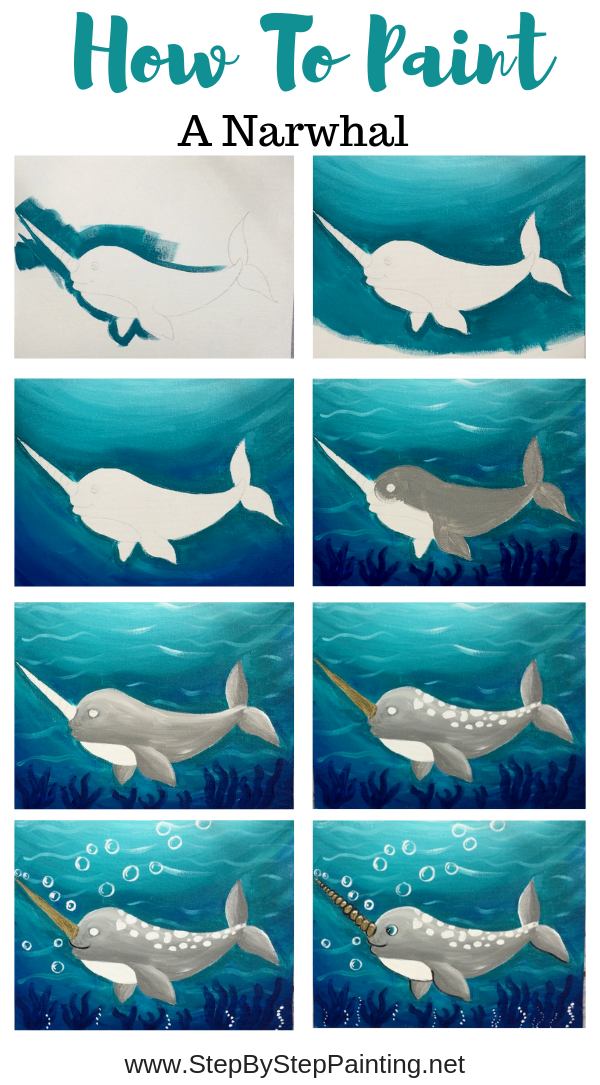
How To Paint A Narwhal
Would you like to save this?
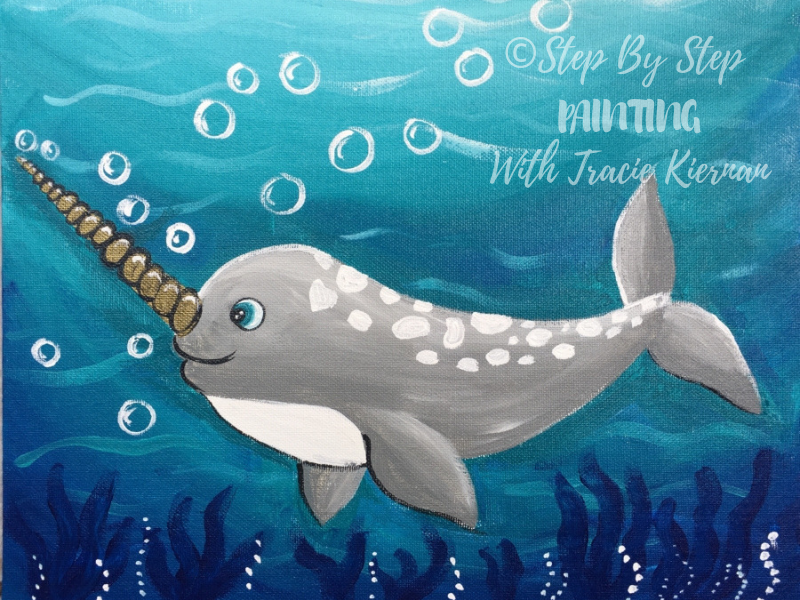
Learn how to paint a Narwhal! If you have narwhals and unicorns fever (or you know someone that does), you’ll love painting this cute acrylic painting! This is also a great one you can try with your kids.
This narwhal painting was done with acrylics on an 11″ x 14″ canvas. The tutorial includes a free traceable of the narwhal that you can trace right onto your canvas using graphite paper. There is no need to worry about drawing the narwhal!
Enjoy and happy painting!
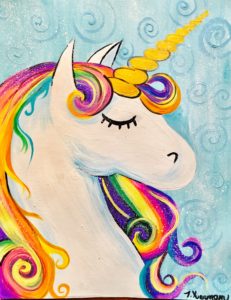
See Also:
Materials:
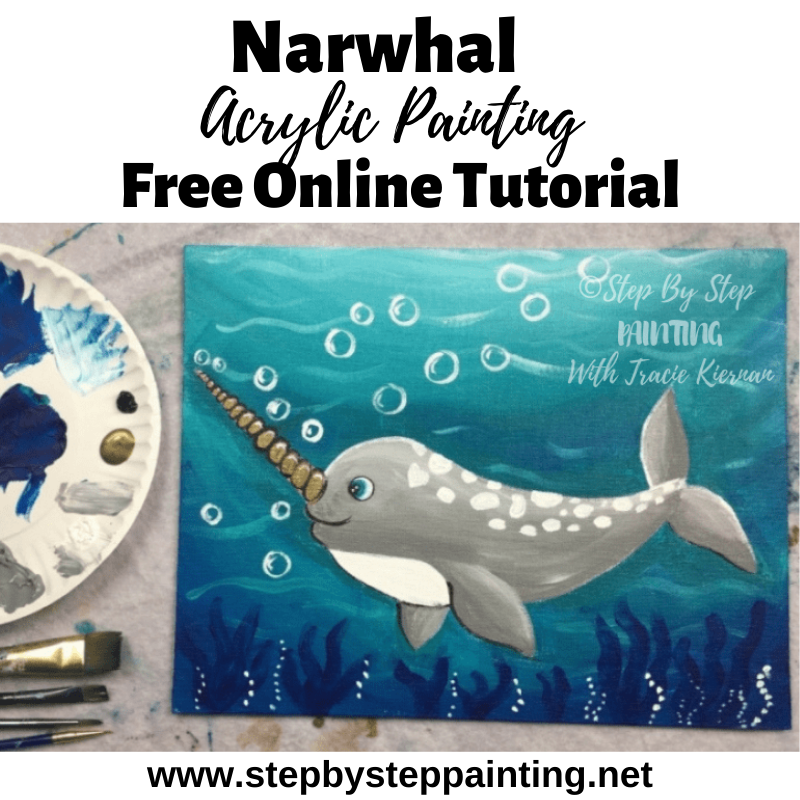
How To Paint A Narwhal

Learn to paint a narwhal with acrylics on canvas. This tutorial comes with a traceable of the narwhal that you can print and use graphite paper to transfer to your canvas.
Materials
- 11" x 14" Canvas
- Acrylic Paint
- Brushes
- Traceable
- Graphite Paper
- Pencil
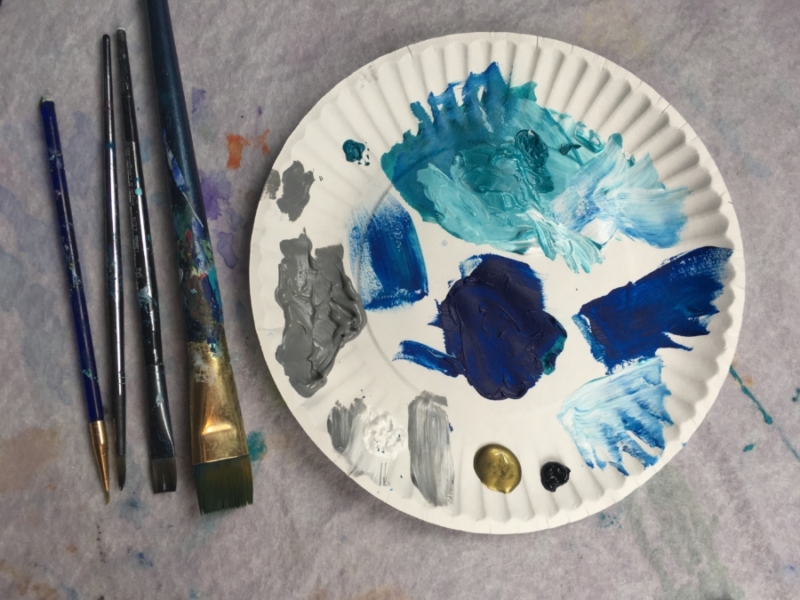
Colors
Brush Sizes
- 3/4" Flat
- #12 Bright
- #4 Round
- 10/0 Round
Instructions
- Trace the narwhal onto the canvas
- Paint the negative space around the narwhal with a 12 bright brush and a 4 round brush and the color turquoise blue.
- Use a 3/4" flat to paint the rest of the ocean. Blend white with turquoise blue at the top.
- Blend phthalo blue with turquoise blue at the bottom.
- Paint wavy lines in the ocean and paint phthalo blue sea weed at the bottom of the canvas.
- Paint the entire narwhal neutral gray value 5 leaving the belly and the eye and horn white.
- Blend in titanium white using wet on wet blending to create shading on the narwhal.
- Paint the horn with bronze.
- Paint spots on the narwhals back with titanium white.
- Paint bubbles with white and a 10/0 round brush.
- Paint the eye of the narwhal and add some black outlining on the horn and bottom areas of the narwhal.

Color Palette: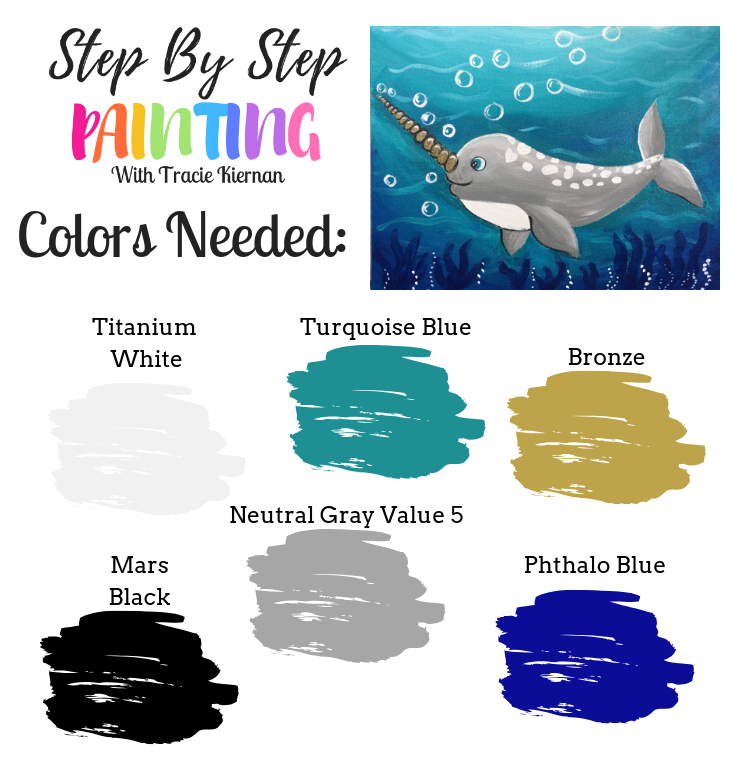

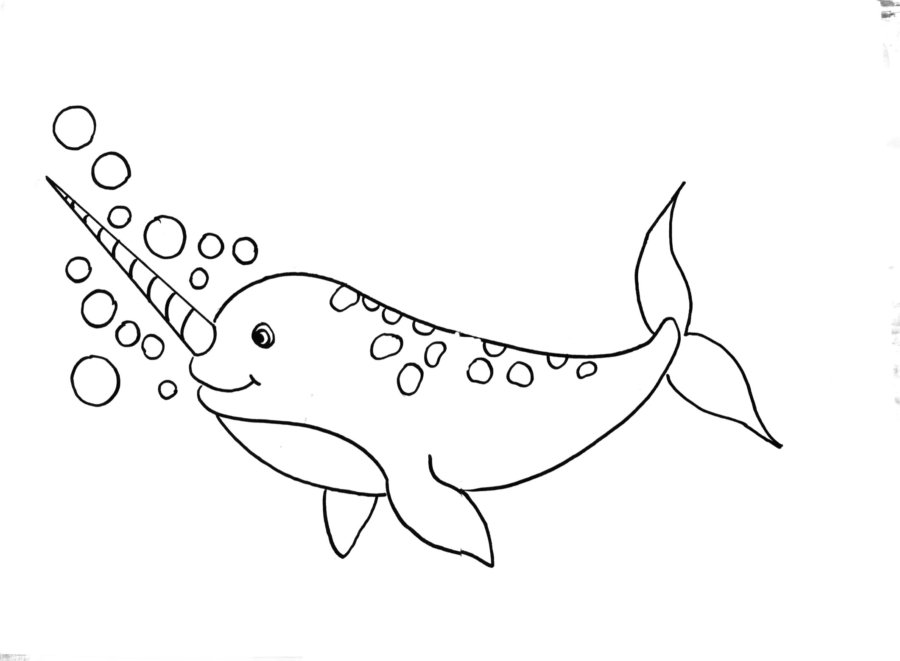
Traceable
Go to the PDF library for the FREE download!
- If you’re doing this on a 11″ x 14″ canvas, you’ll want to print the two page version of this traceable.
- If you’re doing this on an 8″ x 10″, then you can print the single page.
- If you’re doing this on a 16″ x 20″ canvas, you’ll need to scale the single page up by 50%. See my post here about how to scale up.
Directions At A Glance:
Video:
Step By Step Directions:
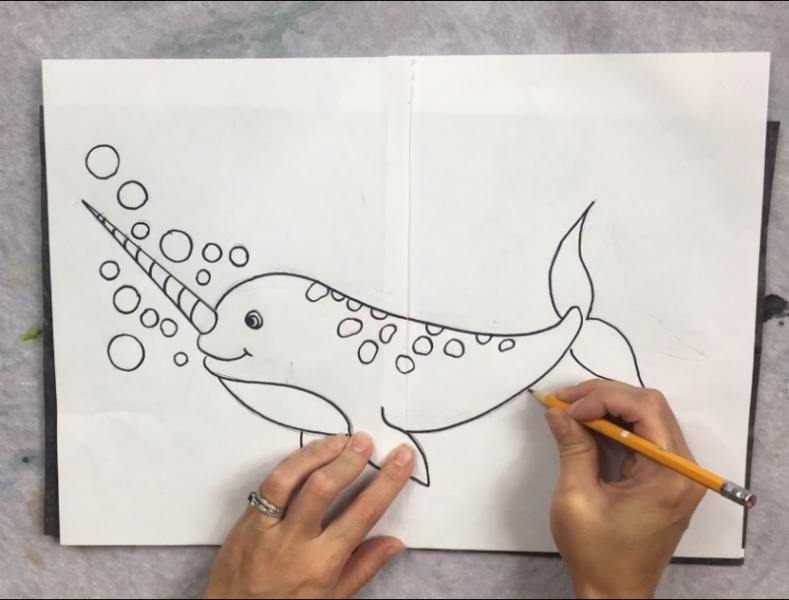
1. Trace the narwhal onto the canvas
Print the traceable out on 8.5″ x 11″ paper and tape the two sheets together to form the whole narwhal. Then place a sheet of graphite paper below the traceable. Trace over the lines with a pencil.
The narwhal drawing will transfer to the canvas. I did not chose to trace the bubbles and the spots. Those are on the traceable just for reference, however, you may wish to trace those if you’d like. 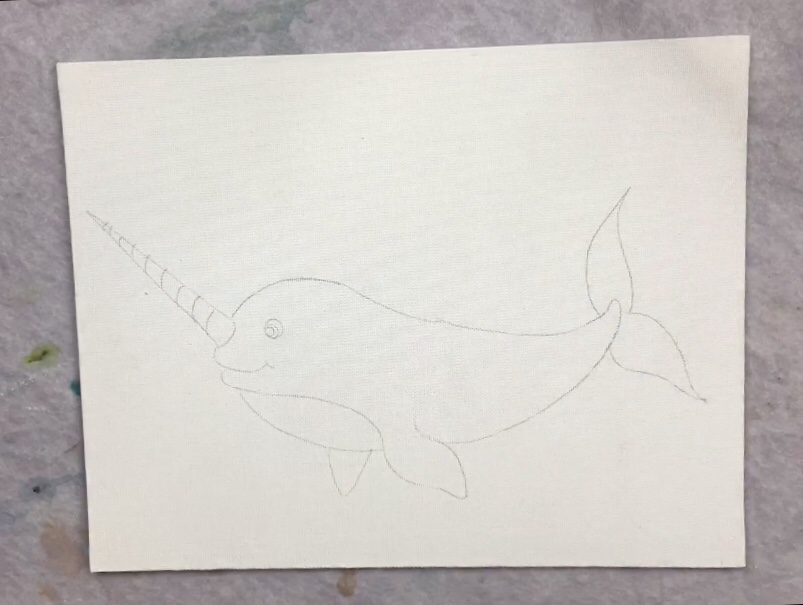
2. Paint the negative space around the narwhal
Because we will be painting the entire ocean around the narwhal, it’s best to “cut in” on the shape of the narwhal first. That means painting around the narwhal as close as possible. I used a 3/4″ flat and a #4 round brush to do this. Use the color turquoise blue.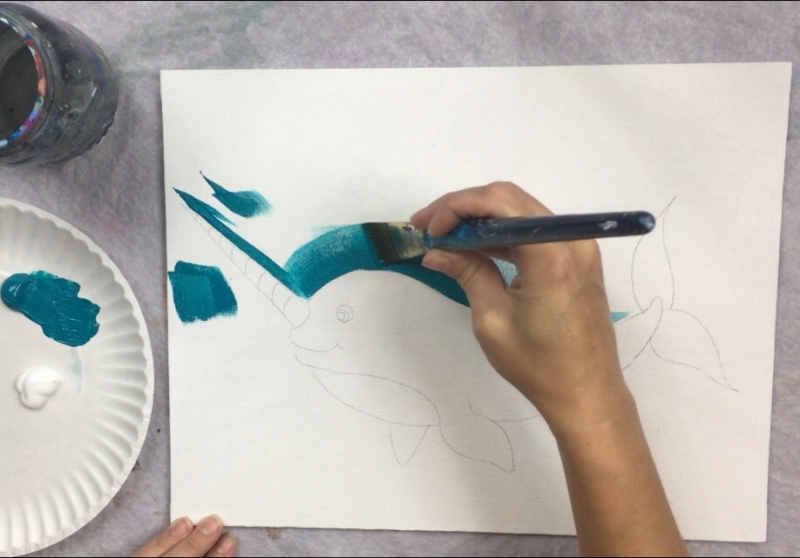
Using a round brush is helpful for getting into the smaller areas. 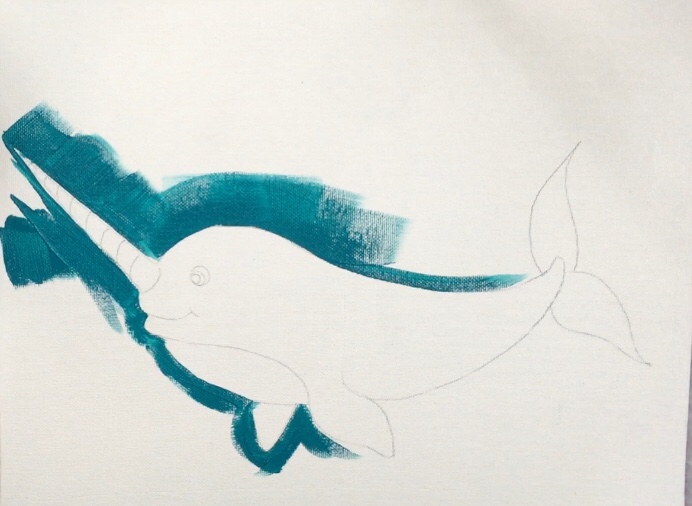
Basically paint as close as possible. As you work your way away from the narwhal, use your 3/4″ flat brush. Paint in large curved strokes so that the curve is downwards (the direction of a smiley face). 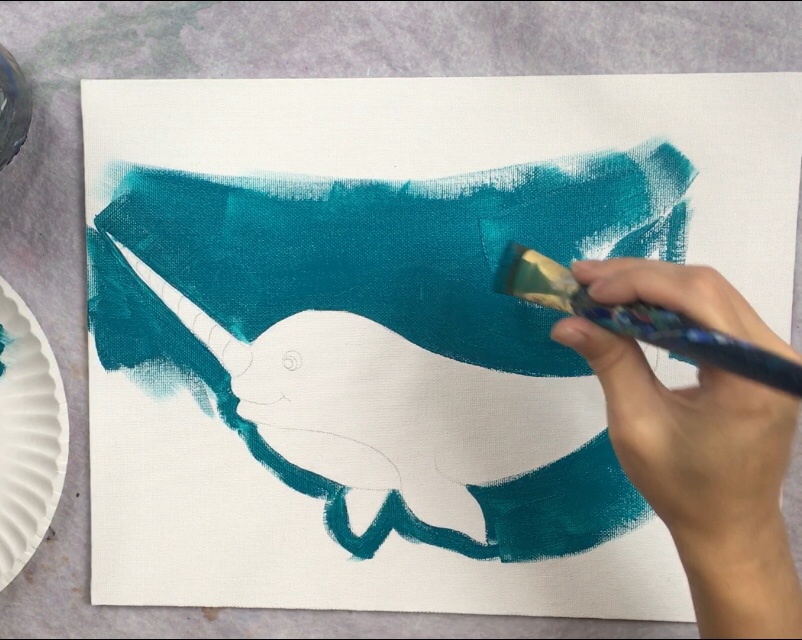
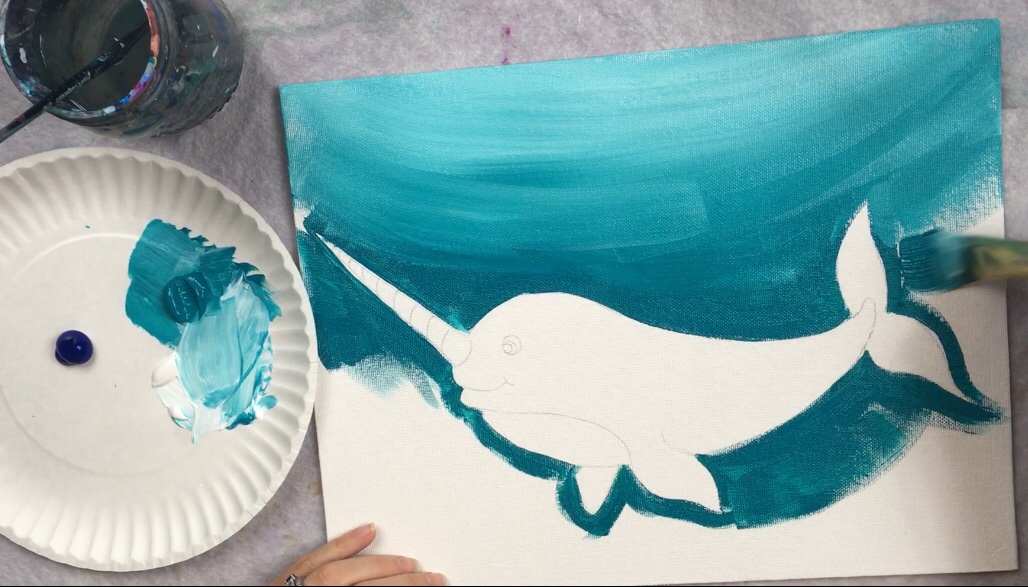
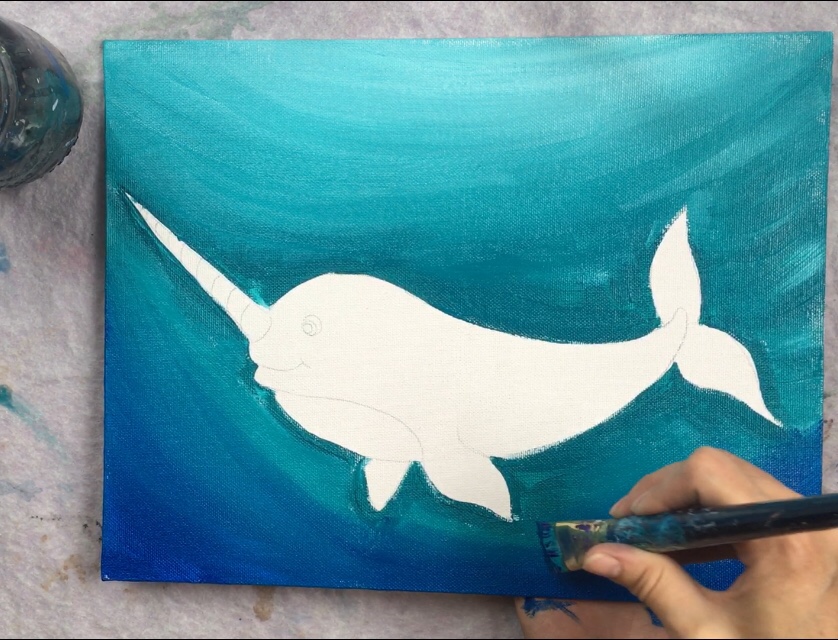
3. Blend White At The Top Of The Canvas
While your 3/4″ flat brush still has turquoise blue, load it with titanium white (double load). 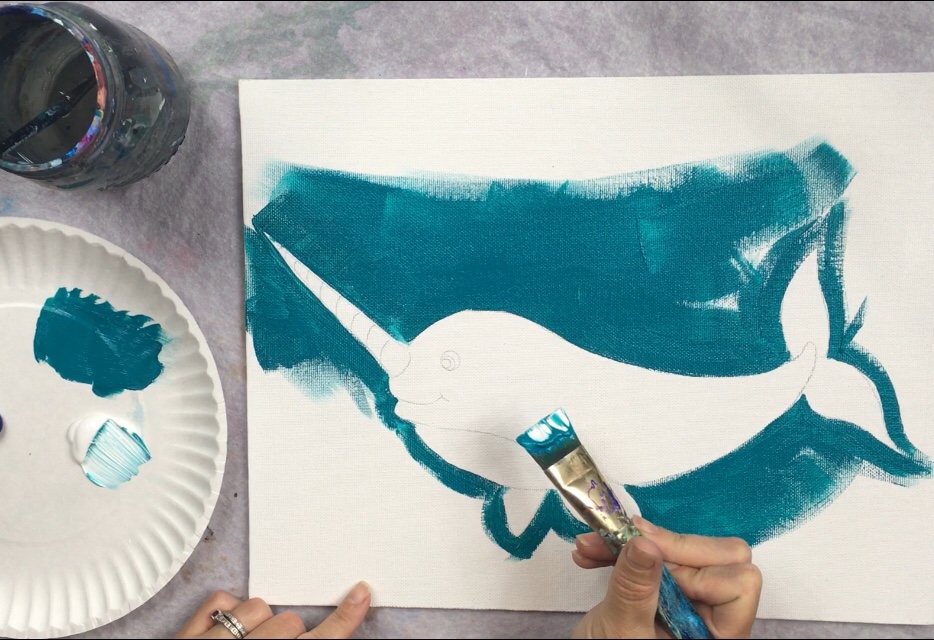
Since the turquoise blue is still wet on the canvas, it will blend with the titanium white. Basically, you need the turquoise to blend with the white so that it is lighter on the top of the canvas and gradually blends to turquoise in the middle. 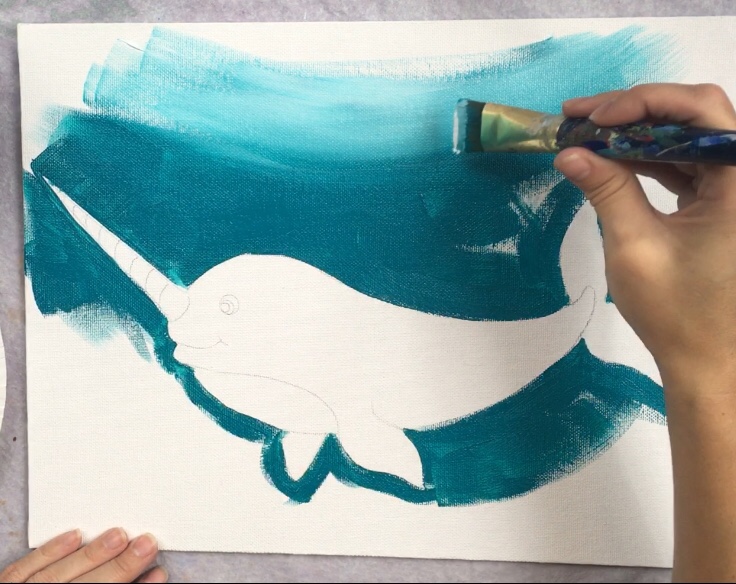
Keep working the paint until the two blend together. It’s okay to add more turquoise if needed. Also, as stated above, the direction of the strokes is going curved.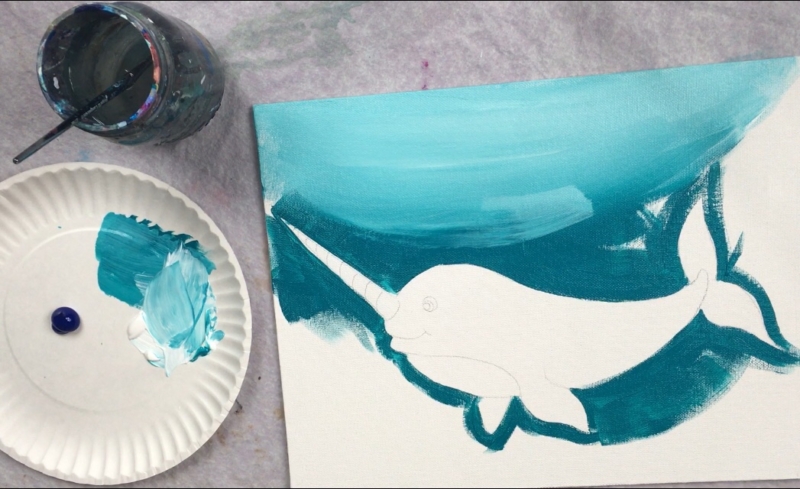
Once your top is blended, add more turquoise in the middle and under the narwhal. Go almost all the way down with this turquoise but leave a blank area on the bottom.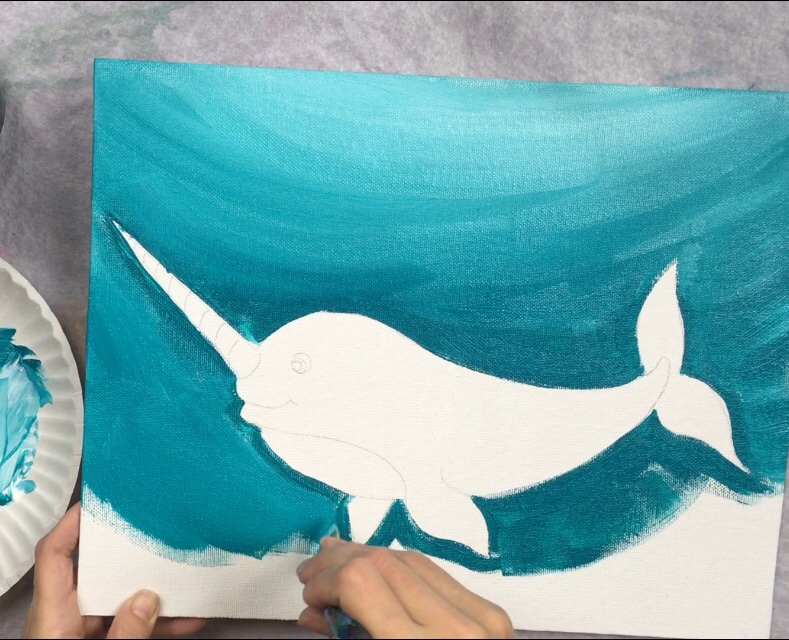
4. Blend Phthalo Blue On the Bottom
Load your (not rinsed) 3/4″ brush in phthalo blue. 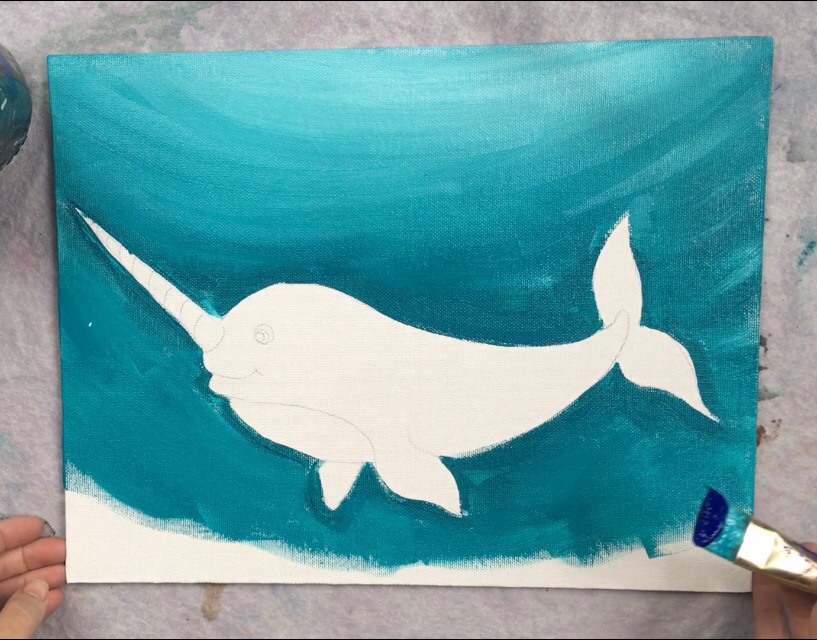
Blend in this blue on the bottom so that it blends with the turquoise. I started this in the corners and then did the same curved direction to blend with the turquoise on the bottom. 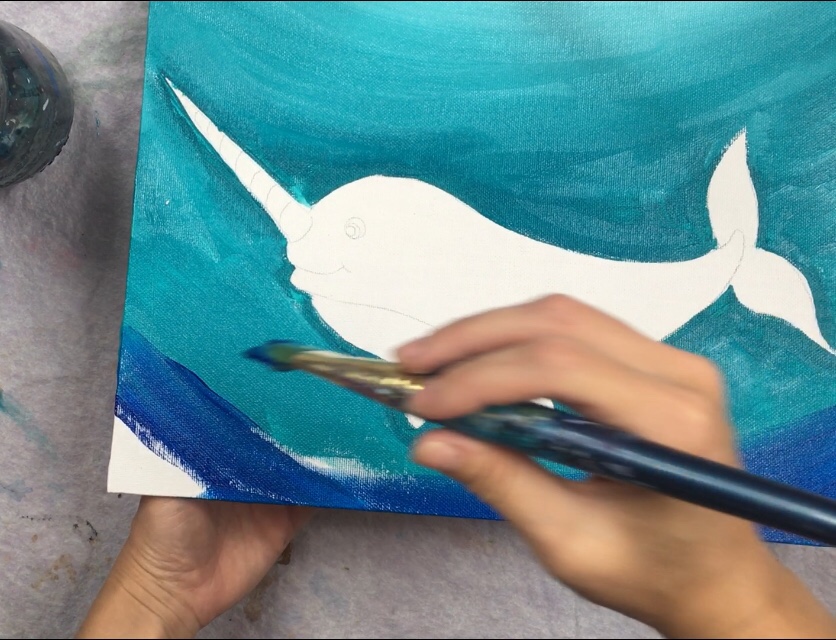

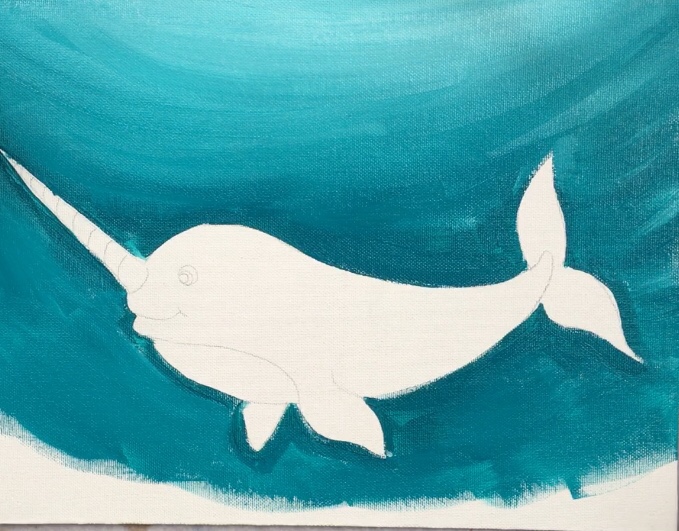
5. Paint wavy lines in the water
Next I used my #4 round brush to paint wavy lines in the water. 
Use a mixture of titanium white and turquoise blue slightly watered down. The wavy lines should be a subtle color – not too bright. 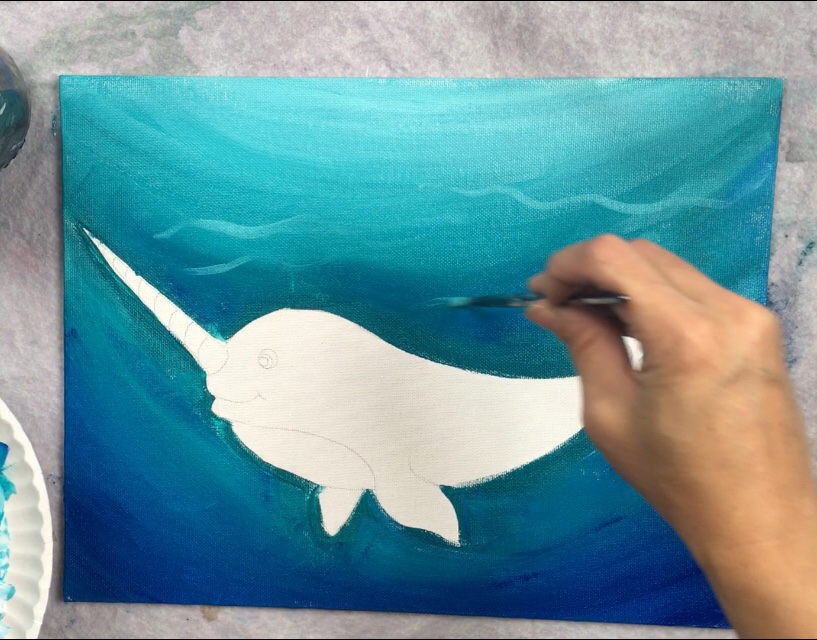
As you go to reload the color, you may wish to add more white to some of the lines and more turquoise to other lines. On the bottom, you can add phthalo blue to some of the wavy lines. Keep these lines very light and feathery, as stated above they should be subtle. 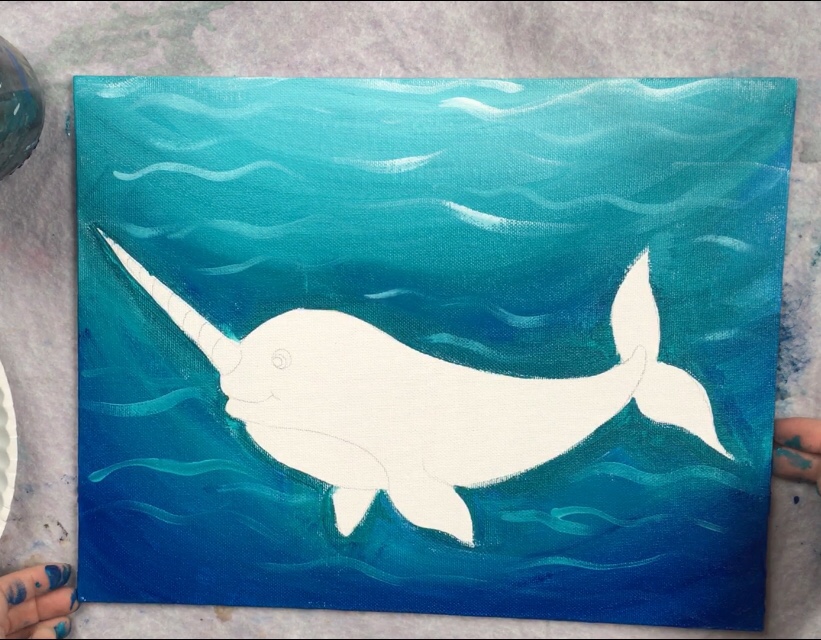
6. Paint Some Seaweed
Use a #4 round and phthalo blue to paint seaweed. The phthalo blue will show up dark enough against the bottom but if it doesn’t, you can add a tiny bit of mars black to it. Paint wavy lines in clusters to represent seaweed. 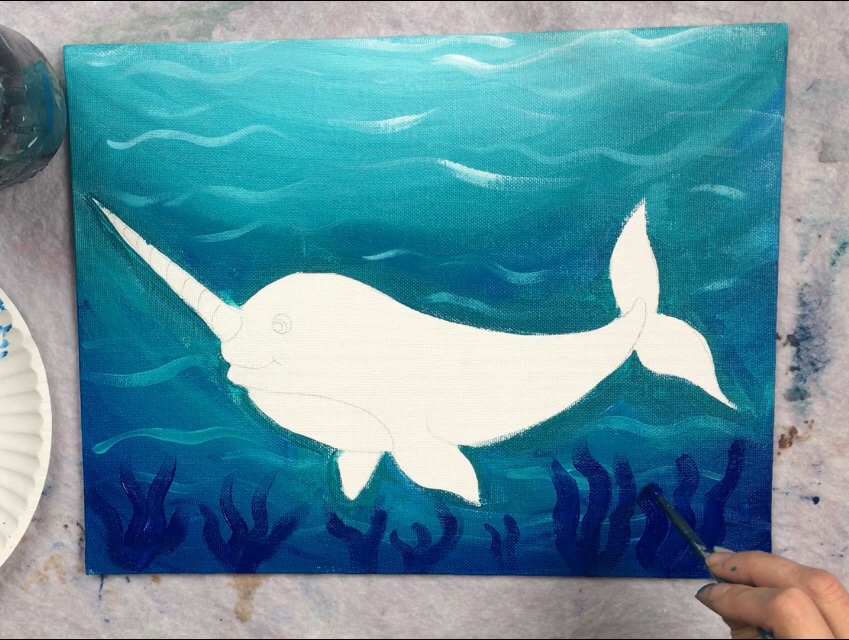
7. Paint The Narwhal Gray
Next you’ll need to clean out your water and get a clean #12 bright brush and neutral gray value 5. 
Dip your brush in the water, pat dry. Then use the neutral gray value 5 to paint all of the narwhal. Leave the eye, chest and horn white for now.
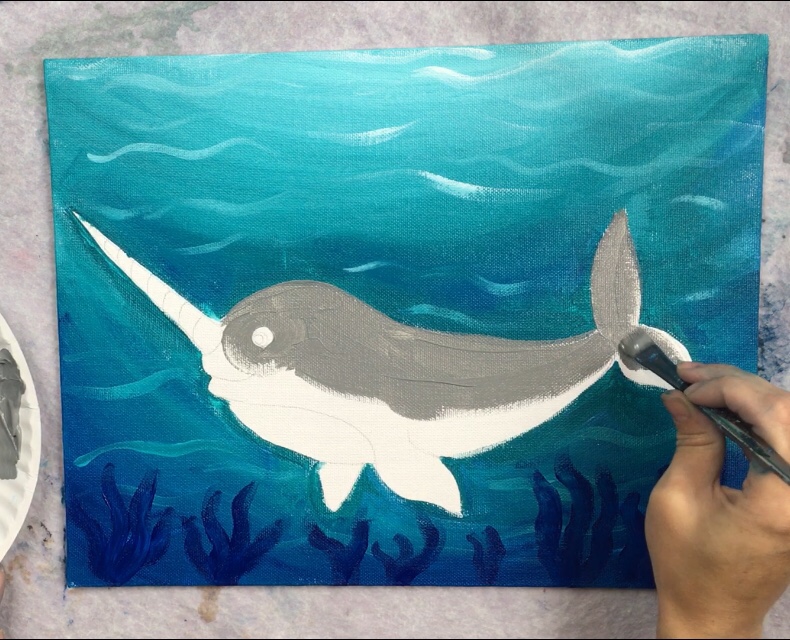
8. Paint Shading On The Narwhal
To give the narwhal some shading, add titanium white to your brush that already has the gray on it. Then apply the white on the top and blend it in with the gray so the narwhal’s back is lightest at the top and blends to gray in the middle. 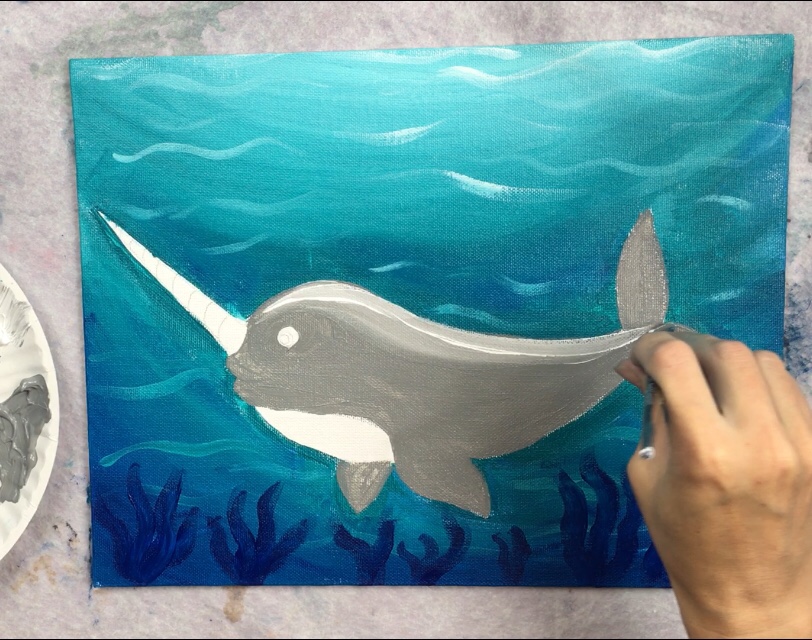
Wet on wet blending allows the gray and white to blend together. Do the same blending on the narwhal’s tail fin by adding the white on the left of the tail fin. 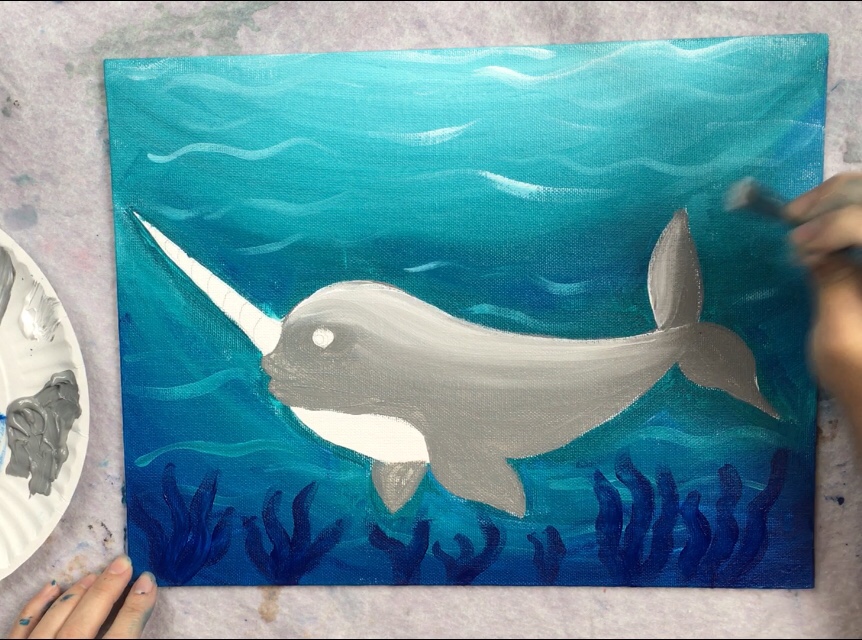
Then repeat another white highlight on the narwhal’s other tail fin. Then add the highlight on the right side of the narwhal’s front fin. 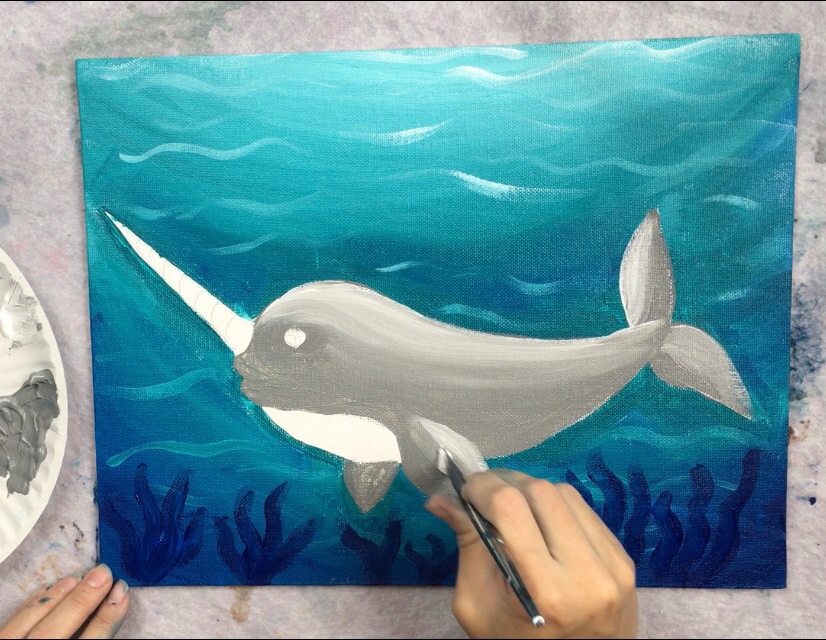
Then blend more white on the narwhal’s other fin. Blending this white with the gray creates the smooth texture of the narwhal. Don’t worry too much if your “light” is in the right spot, just try to create a smooth blend of the white to the gray on the chosen edges of the fins. 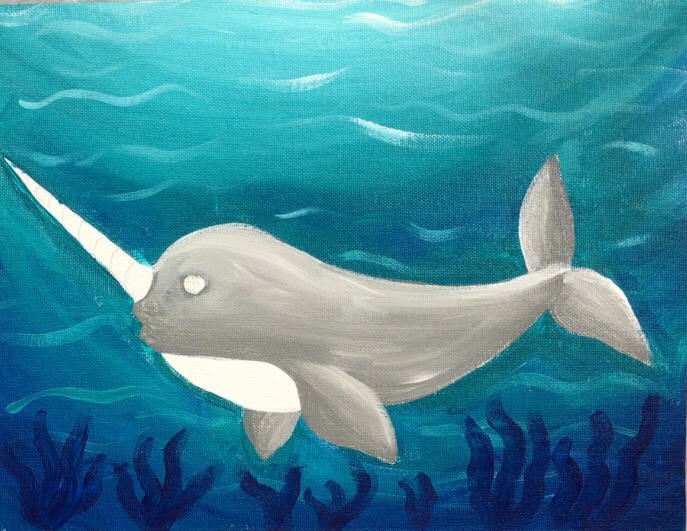
9. Paint the chest white
Use a #4 round brush and titanium white to fill this area in with white. 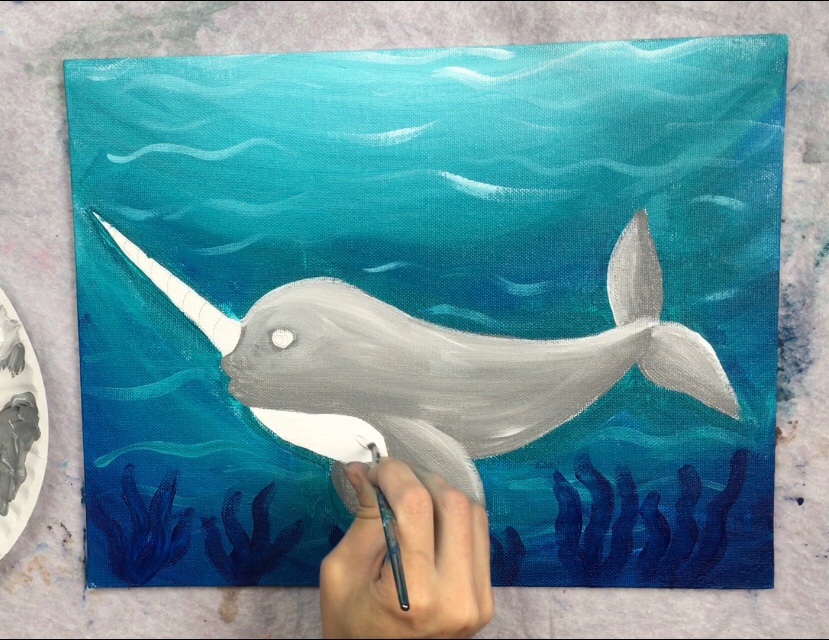
10. Paint the horn bronze
I used a #4 round to paint the horn bronze. You may want to also use your 10/0 round to get into the small area where the point is. 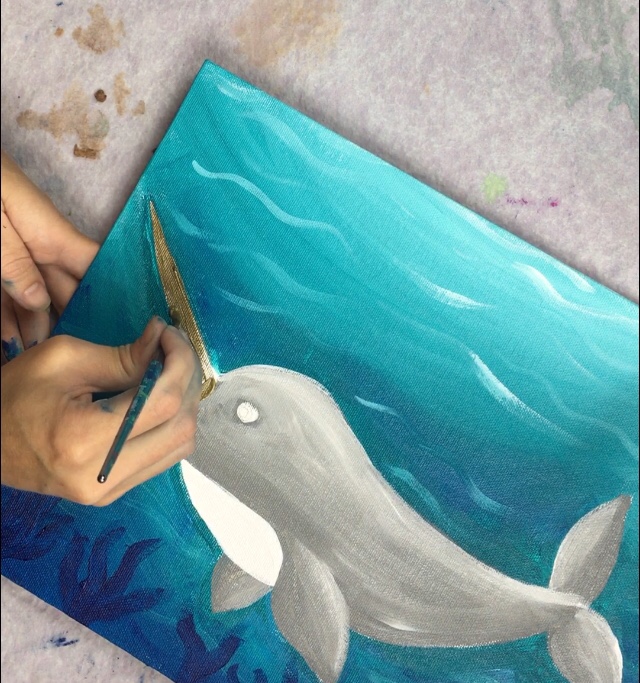
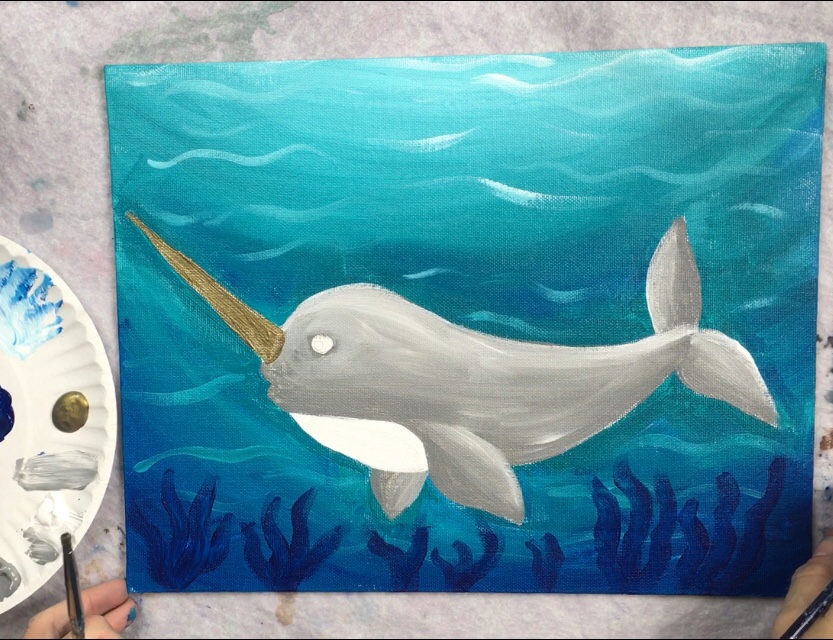
11. Paint the spots
I used my 10/0 round for this step but you may wish to use your #4 round. Basically, use titanium white to paint spots along the narwhal’s back. You can use the traceable as a reference guide for the shape and placement of the spots. 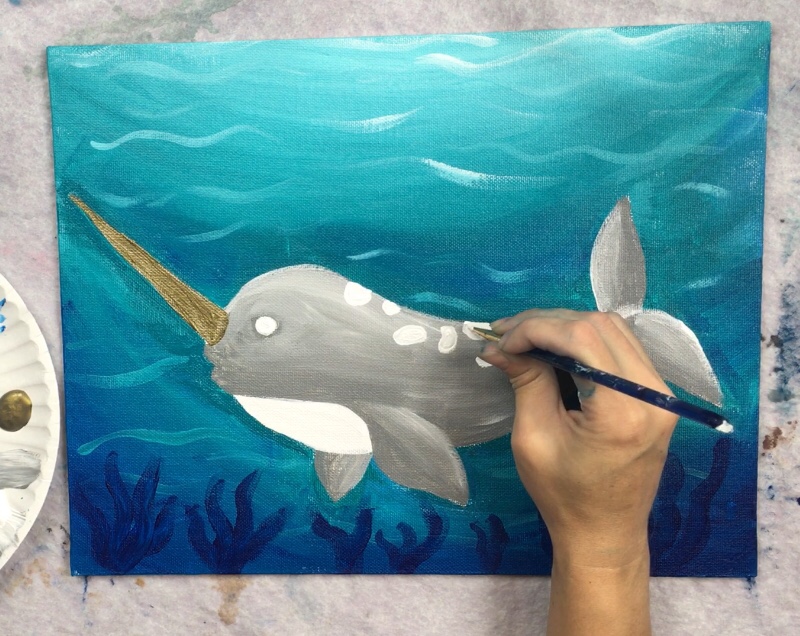
12. Paint Bubbles
Use your 10/0 liner and titanium white to paint various size circles. Use the traceable as a reference guide. I also added circles in the top middle area of the painting. 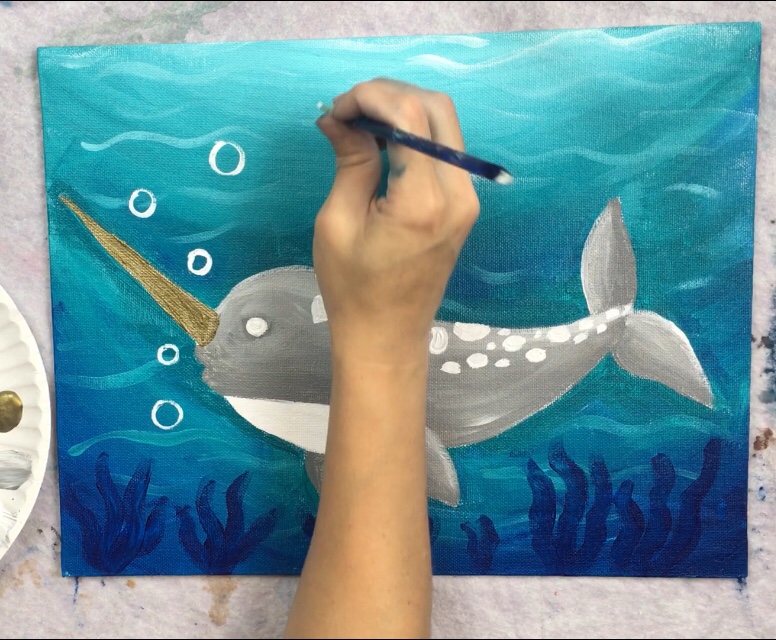
Then on the bottom within the seaweed, I painted tiny dots to represent tiny bubbles. 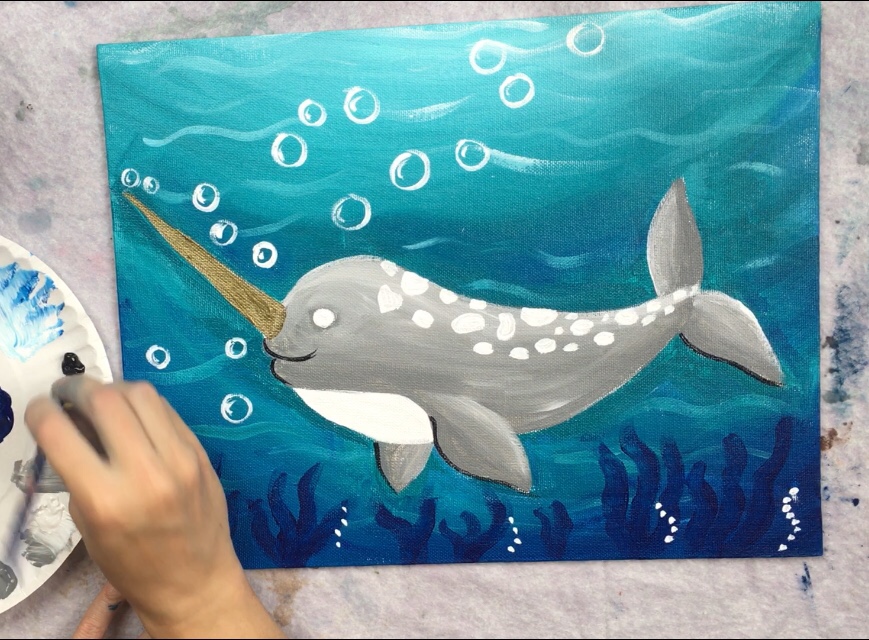
There’s also a white highlight line on the left side of all the circles. 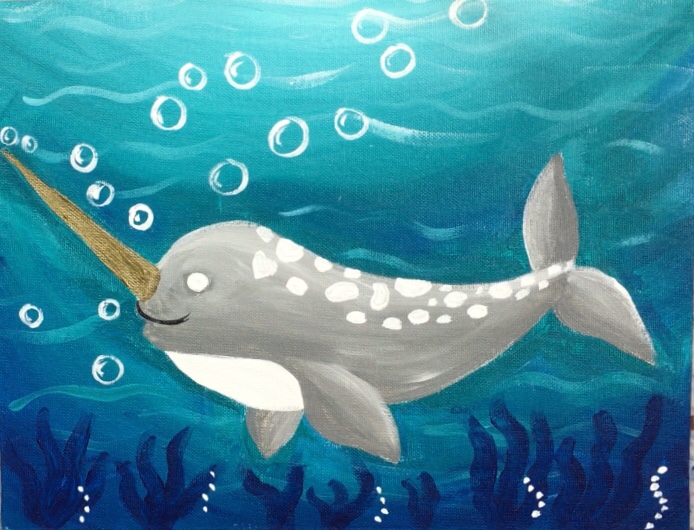
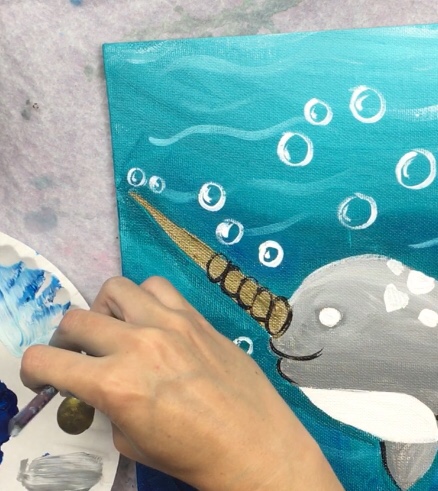
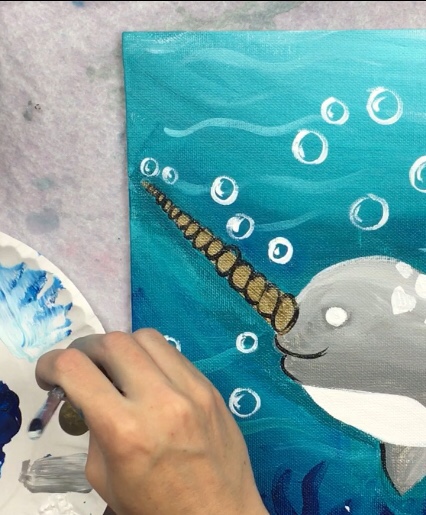
13. Outline parts of the horn and mouth
Use your 10/0 round brush and mars black for this step. First paint the mouth and outline the outer edge of the lips. Then paint ovals going slanted all up the horn. These “slanted ovals” get slightly smaller as they go to the tip. 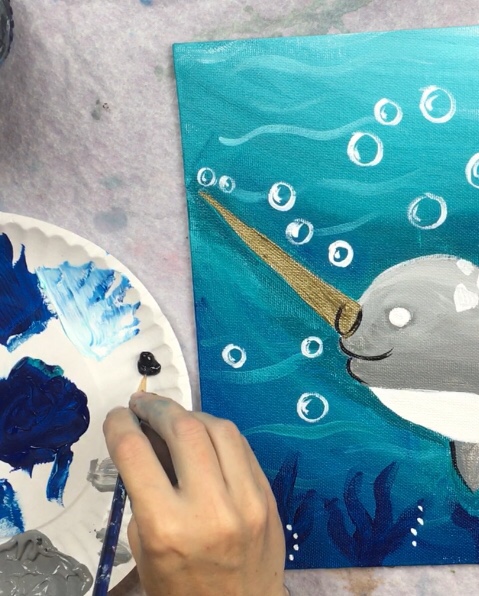
Tip: you can also use a black paint pen or sharpie for these fine black line details.
12. Paint the eye and a few more black outline lines
To do the eye, start by painting the “pupil” with mars black and a 10/0 round. Then (optional) outline the left edges of the bottom fins.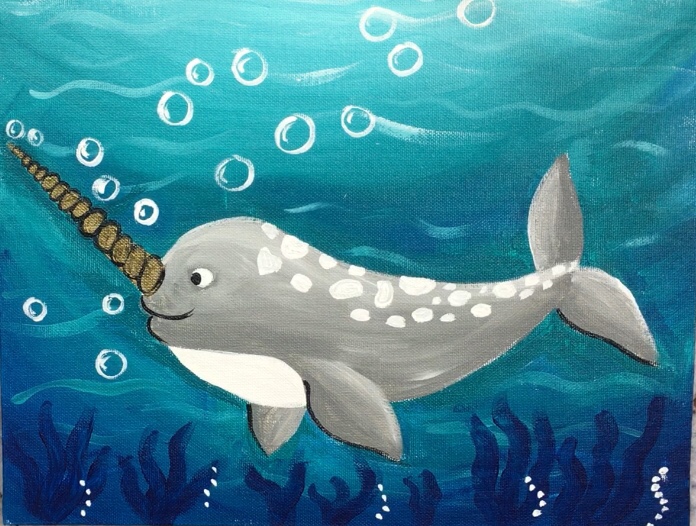
Then I used turquoise to paint the “iris” of the eye. Following that, I used white to paint the “sclera”. 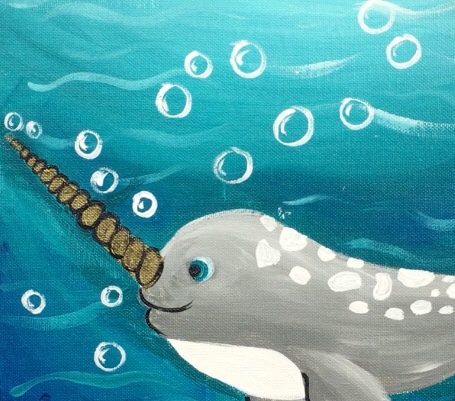
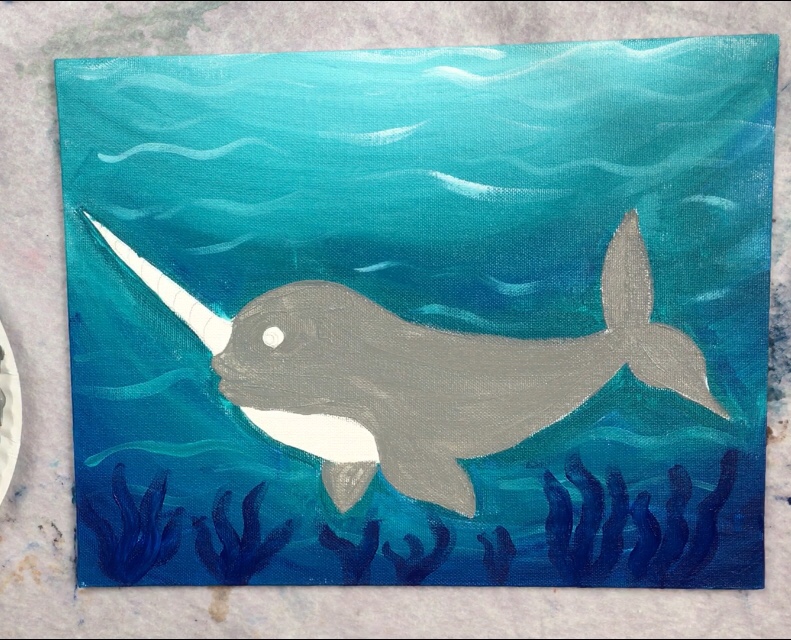
Finally, the eye was outlined with black and then two white dots were added on top of the black “pupil”.
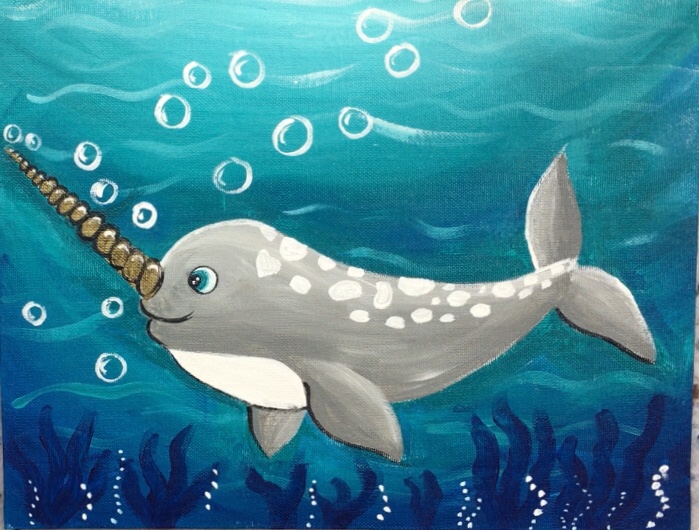
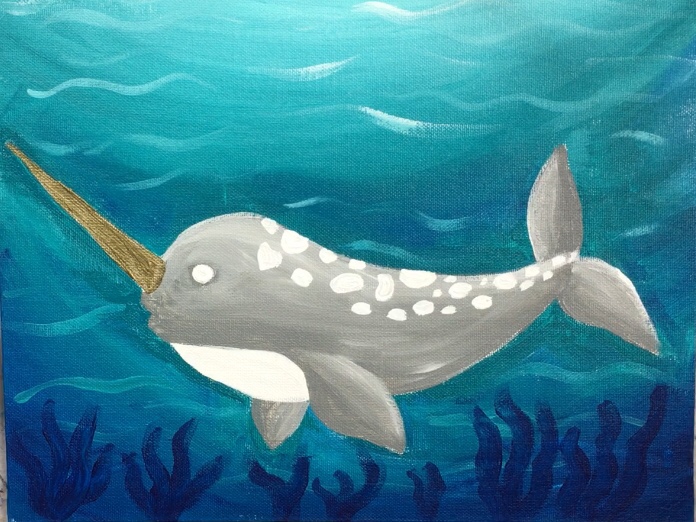
Finished!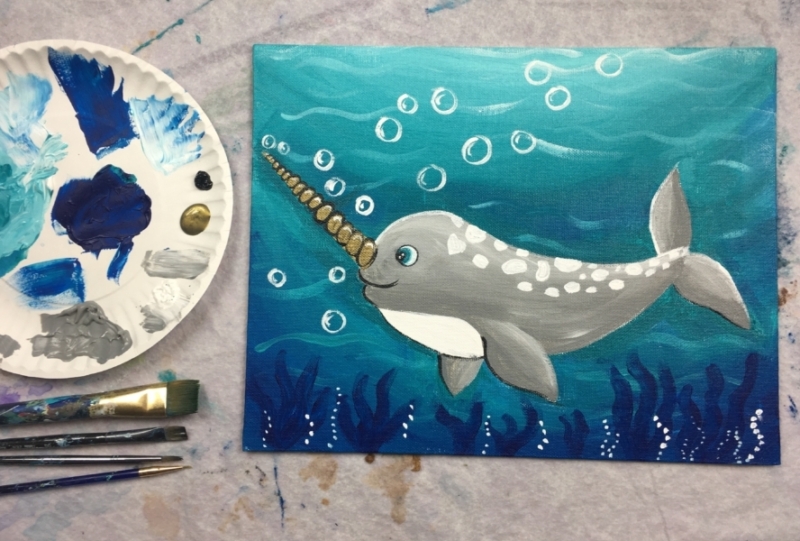

Share Your Art!


See Also: