
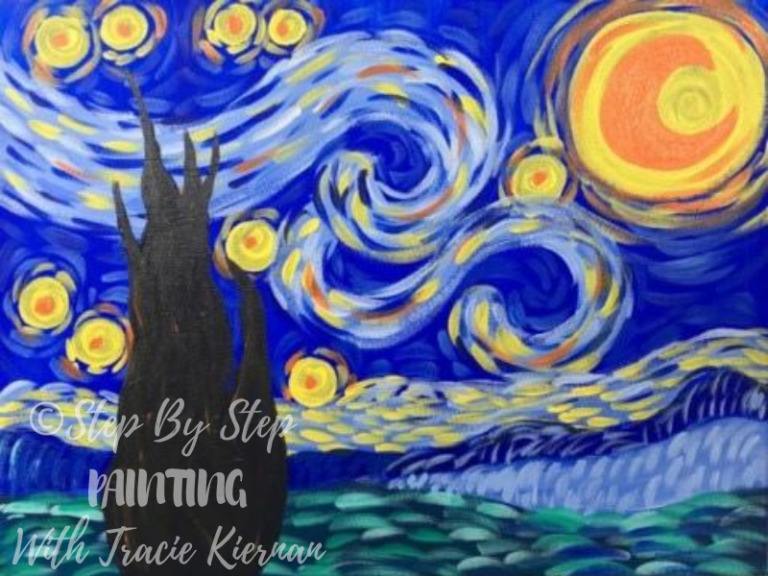
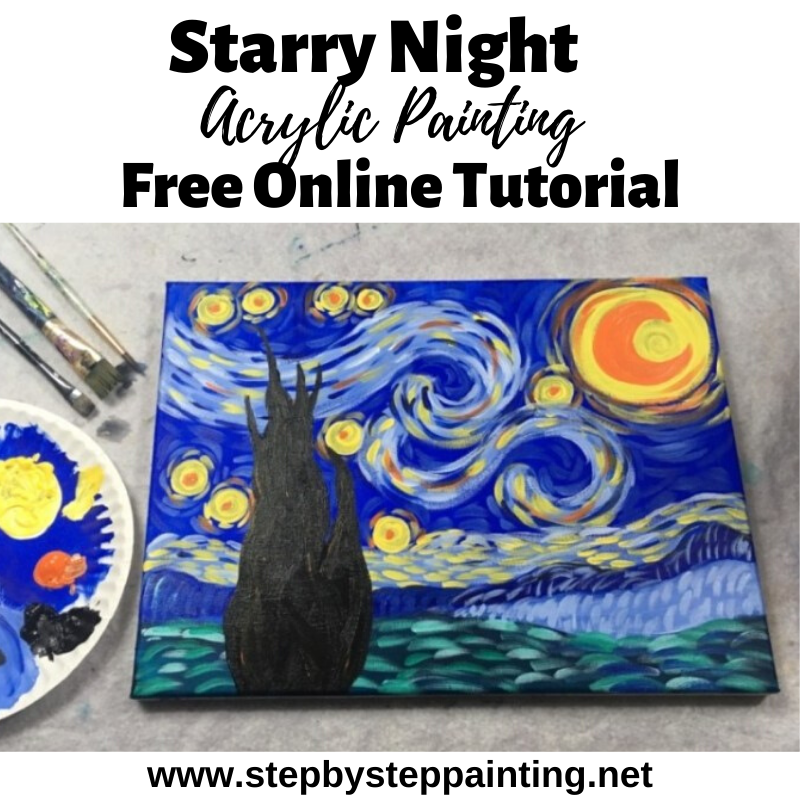
How To Paint Starry Night
 Learn how to paint Starry Night with acrylics on canvas!
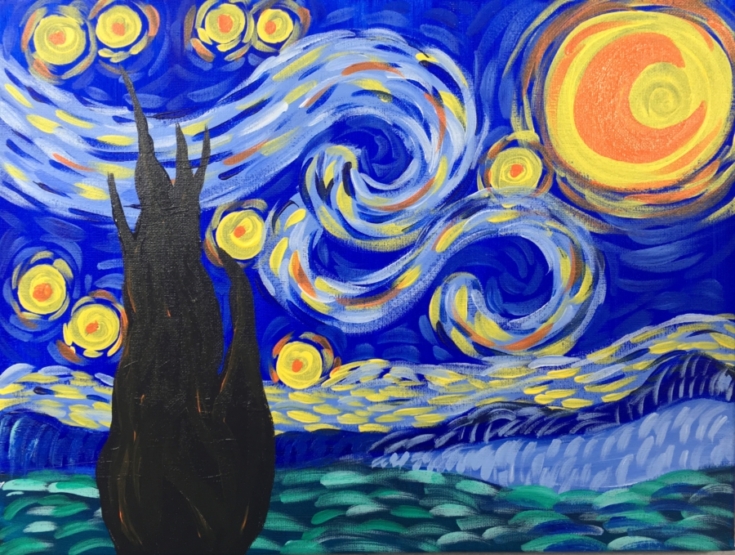
This is an easy and simplified version of the famous Starry Night Painting by Vincent Van Gogh!
If you’ve ever wanted to know how to paint a starry night (and you are an absolute beginner), then this should be a great tutorial for you!
It’s also a great painting you can do with your kids and provides an excellent opportunity to learn a little bit about Vincent Van Gogh. Starry Night is one of my favorite paintings.
The original Starry Night:
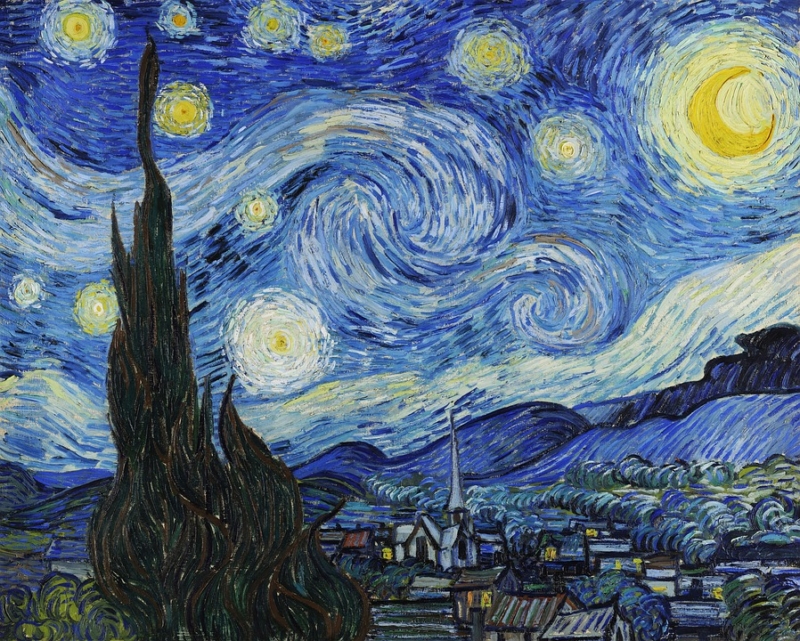
Vincent Van Gogh painted Starry Night in June 1889 during his time in an asylum (Saint-Rémy-de-Provence) in Southern France.
This was his view from his window and, interestingly, the village was not part of his view. He added the village for creative reasons.
Also, interesting, it is said that the brightest star that is closer to the horizon, just above the mountains, is Venus!
You can read more about this famous painting here in “11 Things You Didn’t Know About The Starry Night”.
Enjoy this tutorial and happy painting!
Materials For Starry Night Painting:
How To Paint Starry Night
Learn how to paint starry night! This easy replica of the famous painting is simplified into a "paint night" style painting that you can learn how to do at home.
Instructions
- Lay your canvas in horizontal landscape mode. Use a 3/4 inch wash brush to paint your entire canvas ultramarine blue. Leave a little bit of a gap on the bottom.
- Paint the bottom land area with phthalo green.
- Paint a lighter blue hill behind the phthalo green land in the right side of the canvas.
- Paint a further mountain range with light blue mixed with ultramarine blue.
- With a piec of chalk, draw the large spiral in the sky. Draw a smaller spiral under the larger spiral.
- Paint the large and small spiral with light blue.
- Paint a light yellow circle in the upper right corner for the base of the moon.
- Pant smaller circles throughout the sky for the base of the stars.
- Paint yellow dash lines along the horizon and on the light blue spirals.
- Paint ultramarine dash lines.
- Paint light blue dash lines.
- Paint ultramarine blue dash lines throughout the sky around the stars.
- Paint dash lines on the graound.
- Paint an orange crescent moon and orange circles on the stars.
- Paint a few oranage dash lines.
- Paint the cypress tree black.
- Add some texture to the cypress tree with a bit of orange before the black dries.
Color Palette: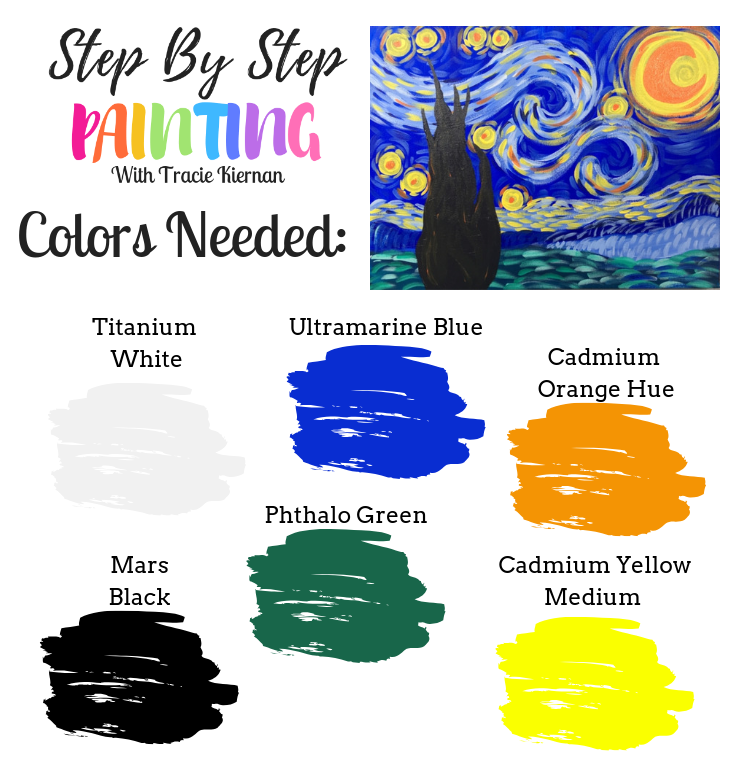

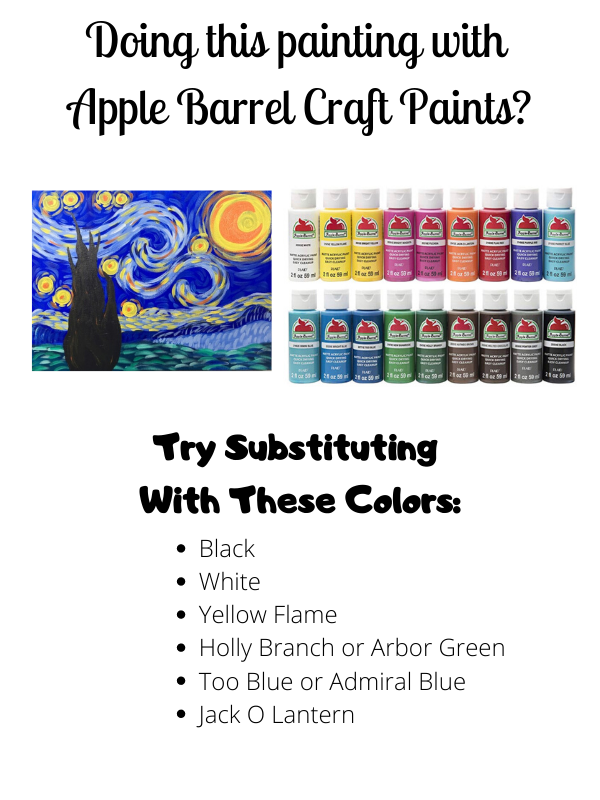
Craft Paint Conversion
I often get asked which Apple Barrel paints would work for my tutorials. These Apple Barrel Paints are very inexpensive, readily available and great for DIY Paint Parties.
Below is a suggestion chart. Note that they are not a complete match to the colors I used but can be a close representation enough to render a great painting!
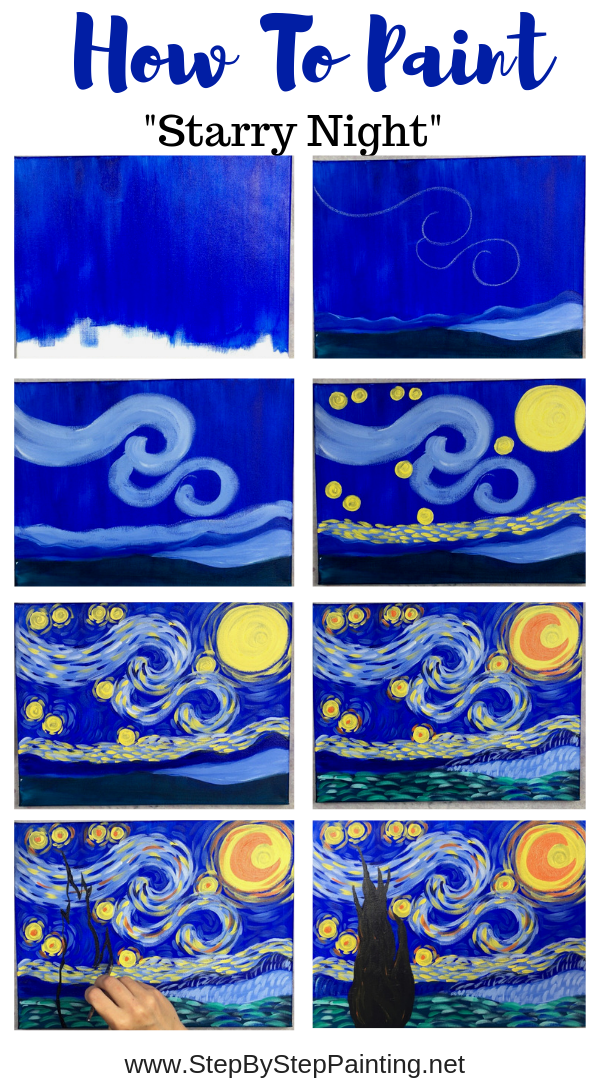
Directions At A Glance:
Video For Starry Night Painting:
Step By Step Directions:
1. Paint The Canvas Ultramarine Blue
Position your canvas in landscape mode.
Using your 3/4″ flat brush that is slightly wet, paint full width up and down strokes all across the canvas. 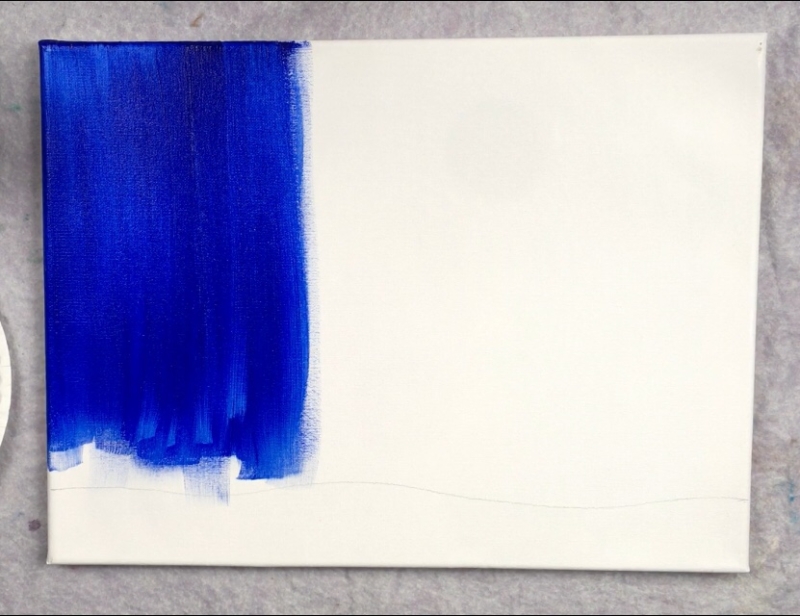
Leave a gap at the bottom (about three fingers high of a gap).
Also, I recommend only doing one thin coat of this blue sky so try not to apply the paint too thickly.
If you need to water it down slightly, you may do so.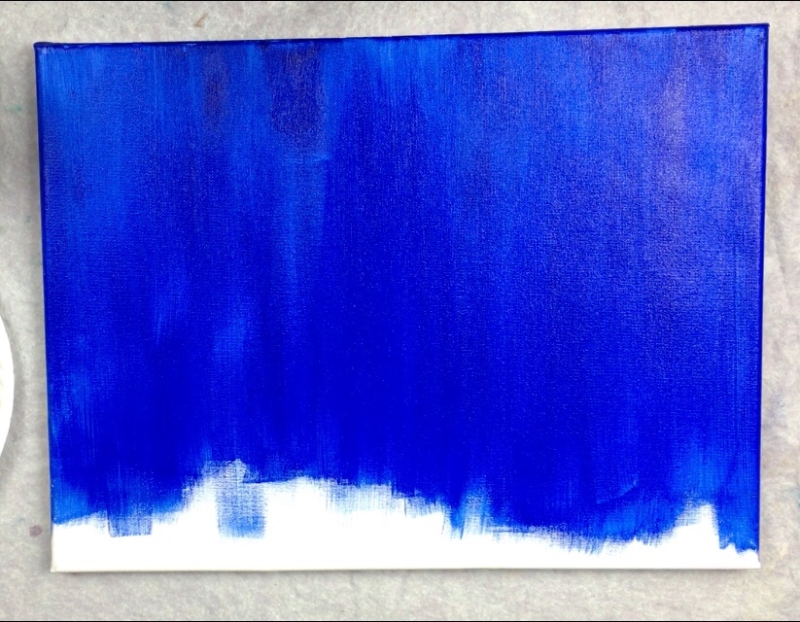
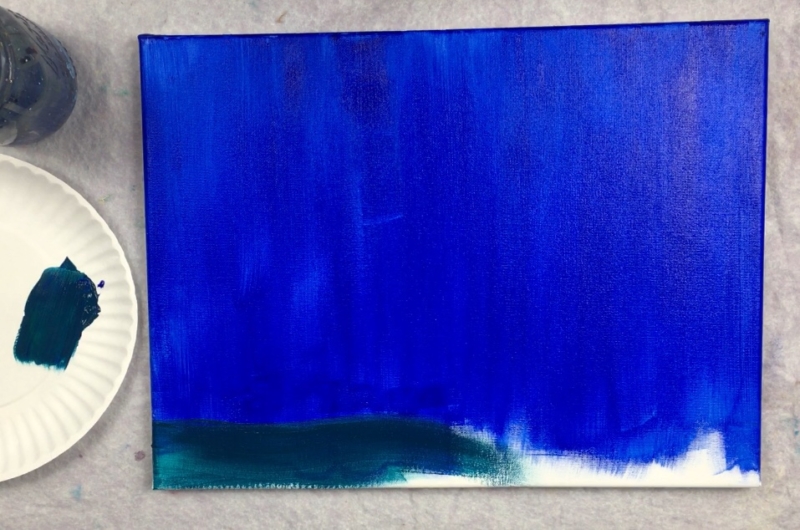
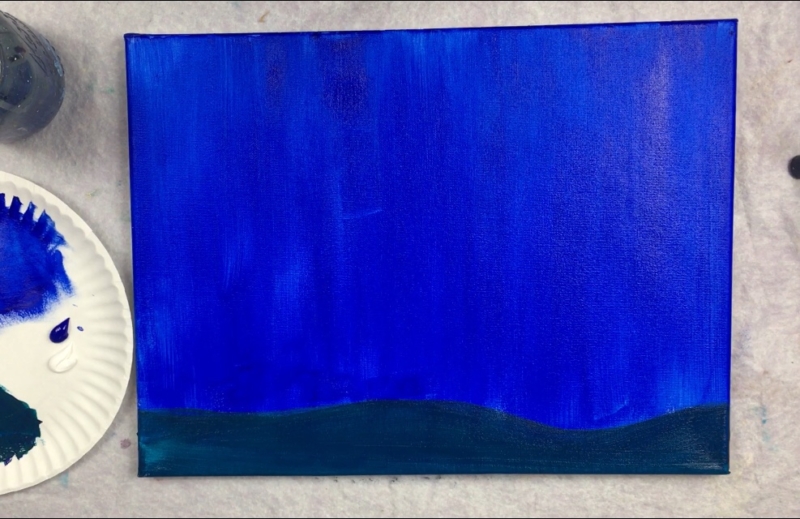
2. Paint the bottom part of land phthalo green
Next mix phthalo green and ultramarine blue together (about equal parts). 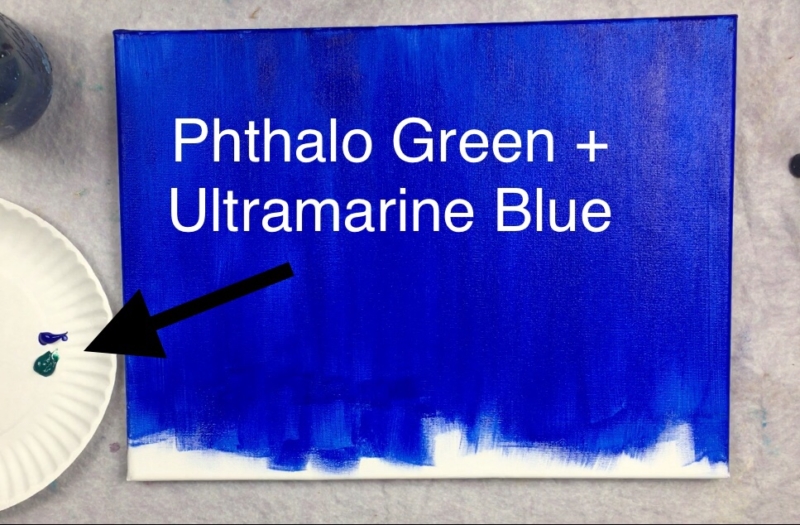
Use your 3/4″ flat brush to paint a wavy land line on the bottom of the canvas.
The height of this line on both sides is about three fingers high.
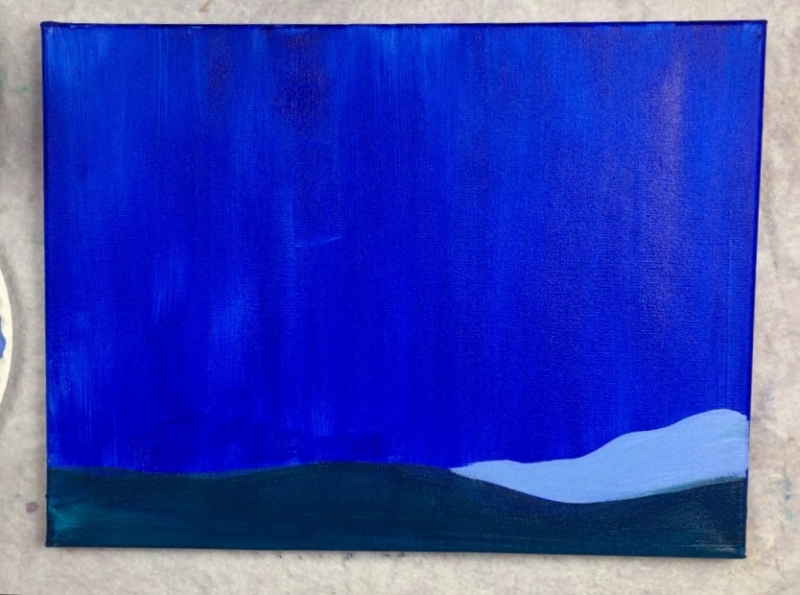
3. Paint A Light Blue Hill
To make “light blue” mix about 3 parts titanium white and 1 part ultramarine blue.
Use a #12 bright brush to paint a hill above the upper right part of the land. 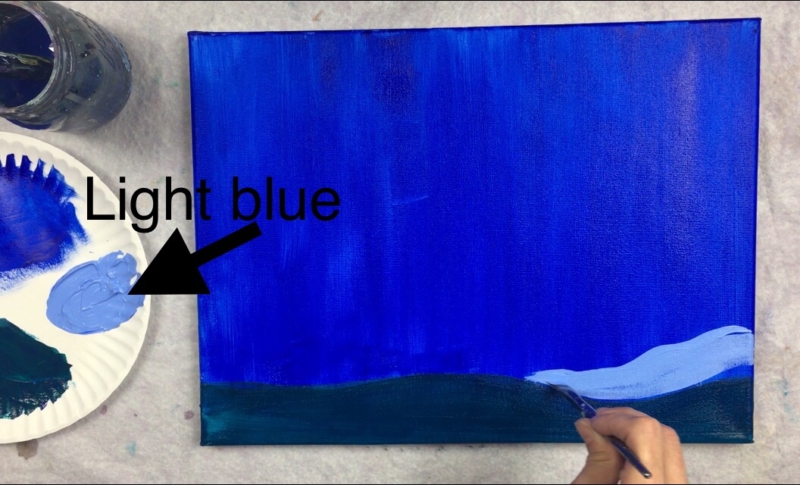
4. Paint A Light Blue Mixed With Ultramarine Blue Mountain
Next mix the light blue with the ultramarine blue.
This should be a blue that is slightly lighter than the background. Paint another mountain line above the light blue hill. 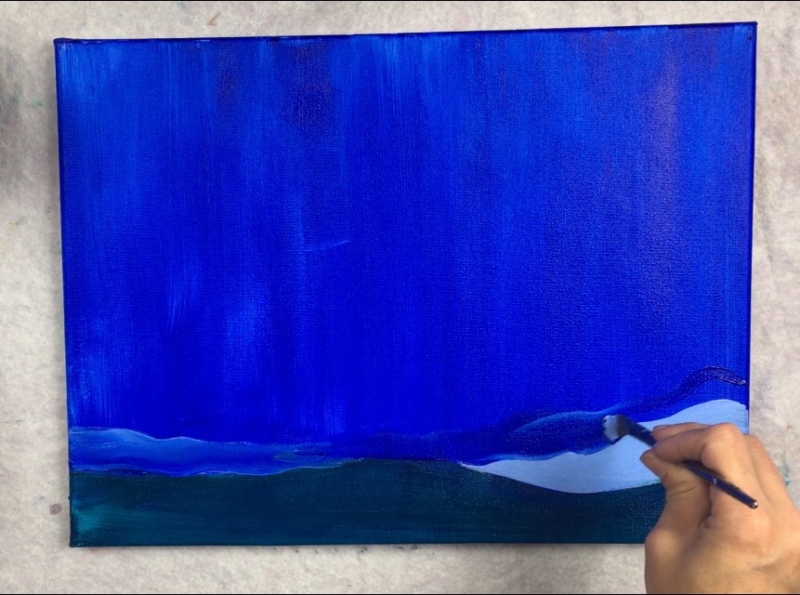
This mountain line goes all the way across the canvas. 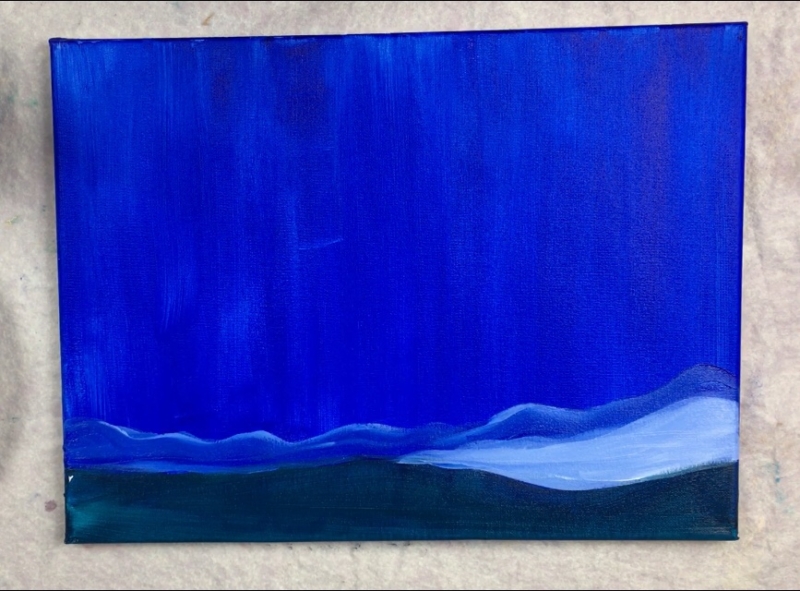
5. Draw Spirals With Chalk
Make sure the blue is dry before you proceed with drawing with chalk. Basically use white chalk to draw a large spiral in the sky. 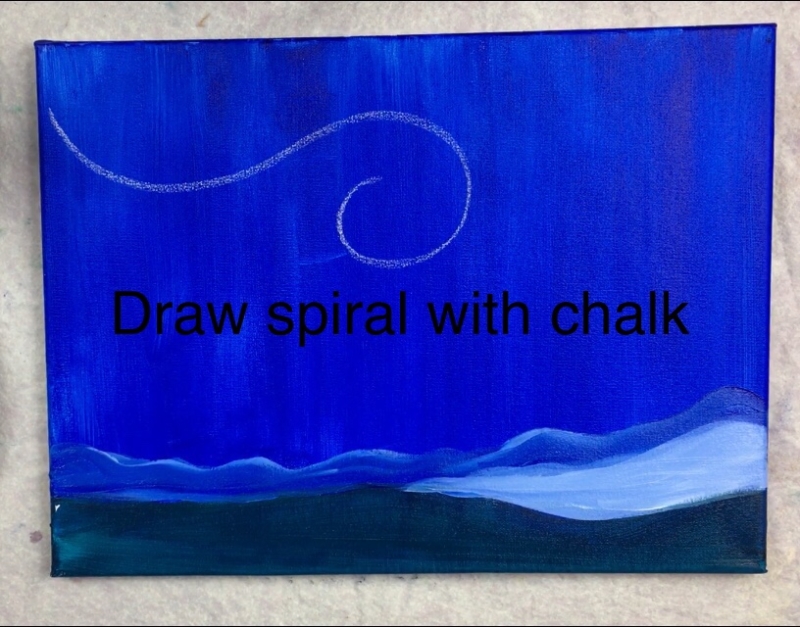
Then draw another spiral line just under the first spiral line. 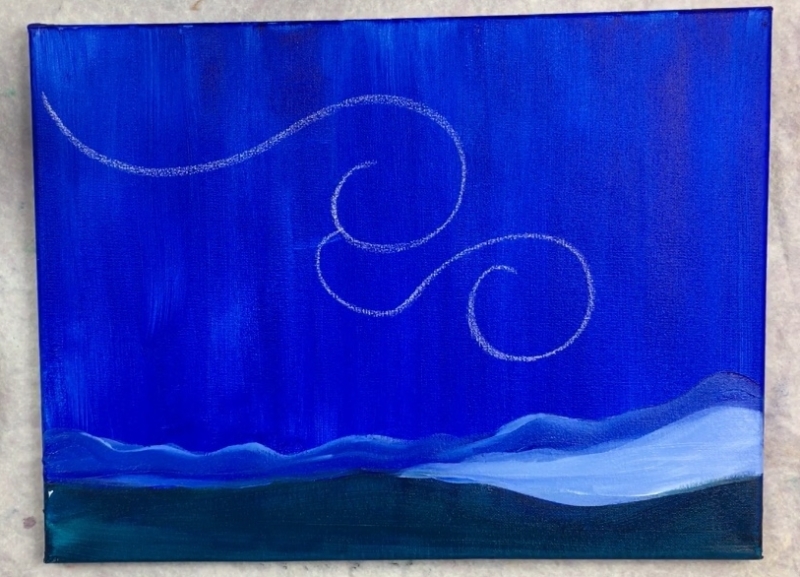
Then draw one more chalk line going all the way across the canvas just above the mountains. 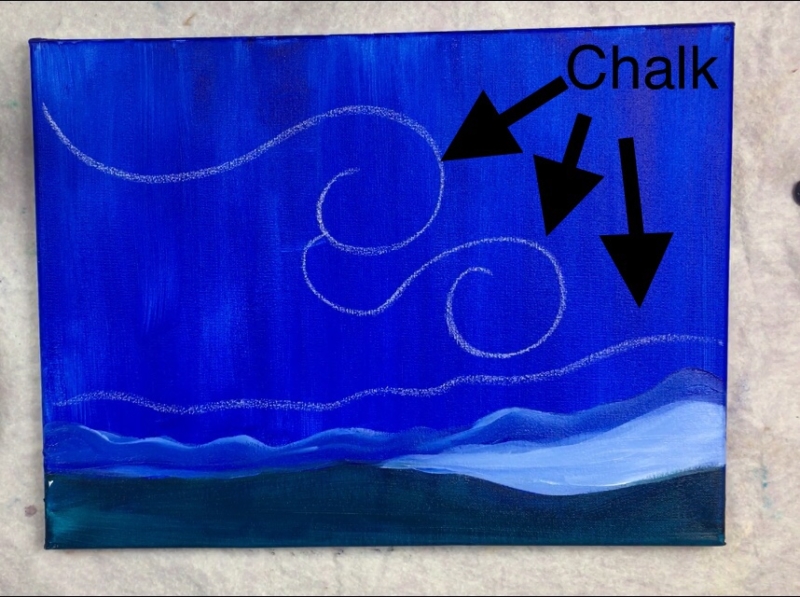
6. Paint Thick Light Blue Spirals Over The Chalk
Use a #12 bright brush and light blue to paint over the spirals.
This line should be nice and thick (about 2-3 inches wide).
If you need to, make more light blue on your palette by mixing the titanium white with the ultramarine blue. 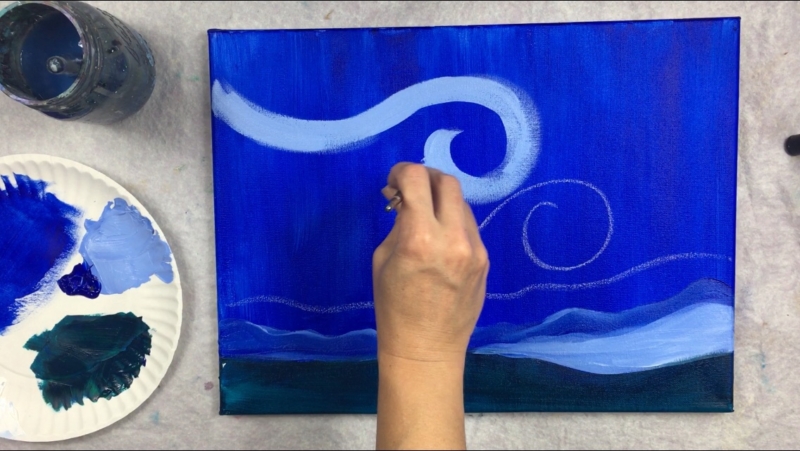
Paint both spirals. 
Next paint the bottom line part just above the mountains. 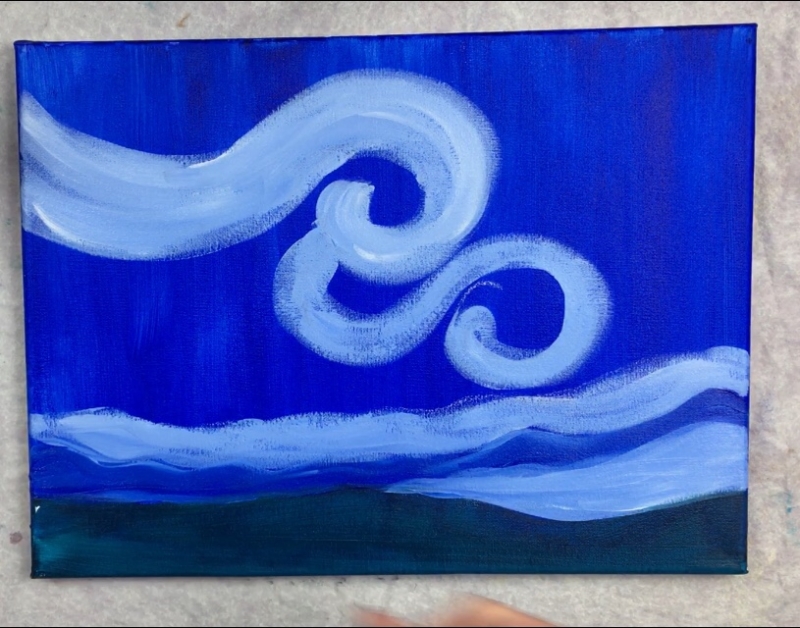
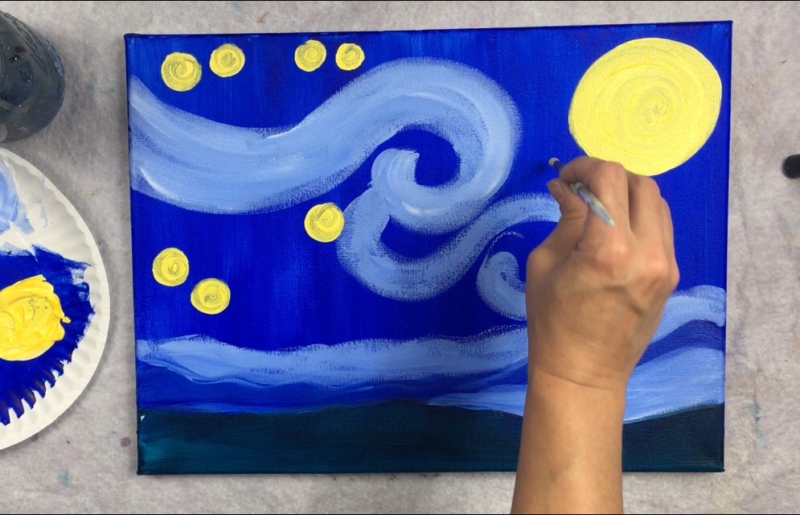
7. Paint a “light yellow” circle where the moon is and small light yellow circles where the stars are
You’ll need to make “light yellow” next.
Do this by mixing cadmium yellow medium white titanium white (about 3 parts yellow, 2 parts white). 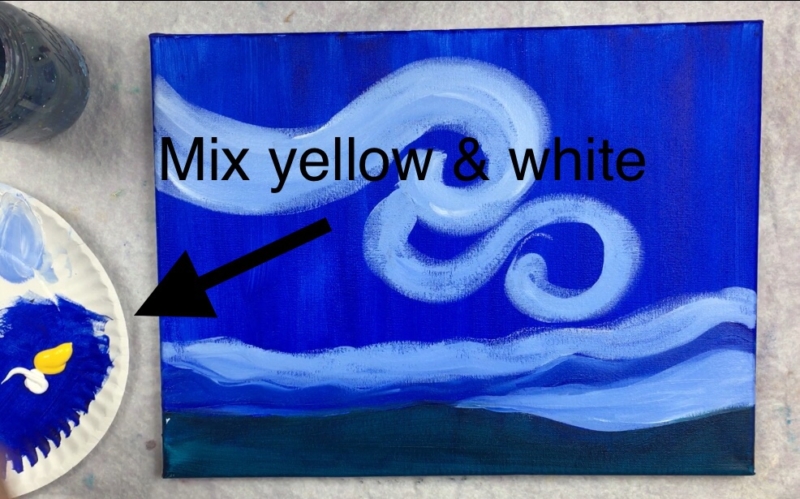
Use a #6 round brush to paint a large circle in the upper right corner. 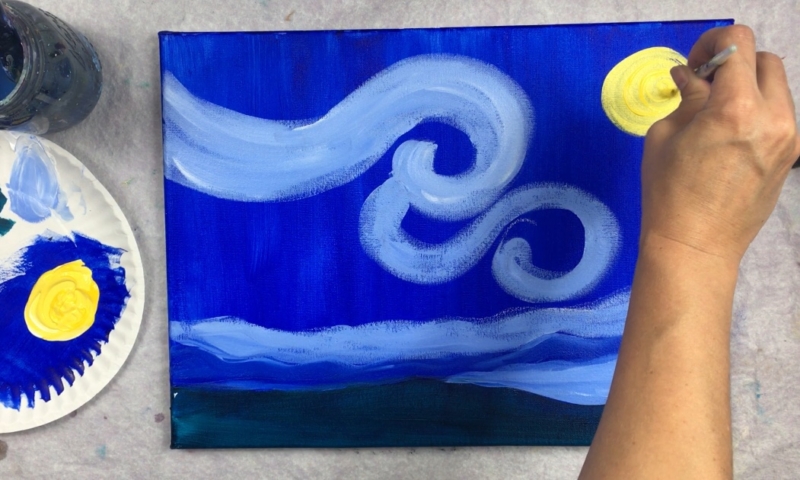
Paint smaller circles with light yellow. 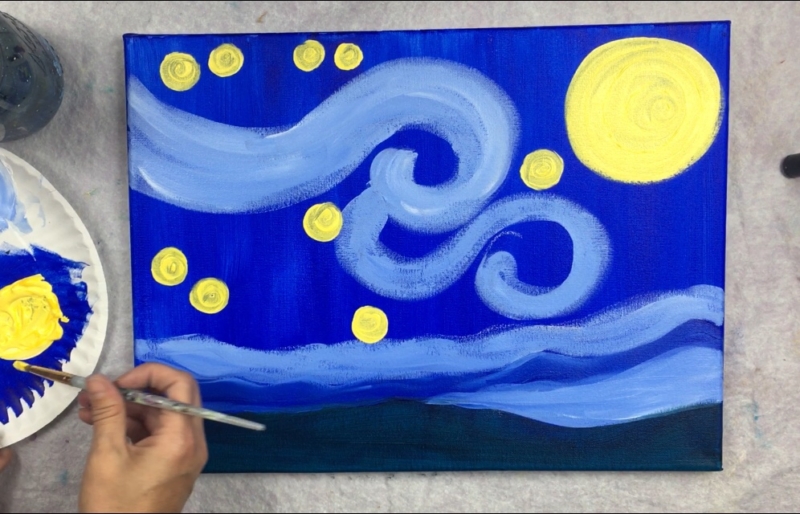
8. Paint Light Yellow Dash Lines
Using your #6 round brush, paint light yellow dash lines above the mountains. 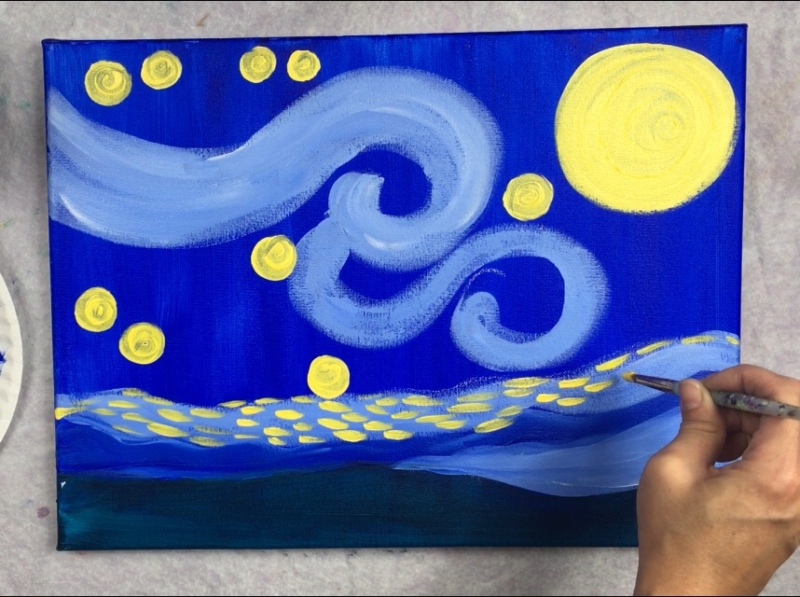
Then paint dash lines on the spirals. 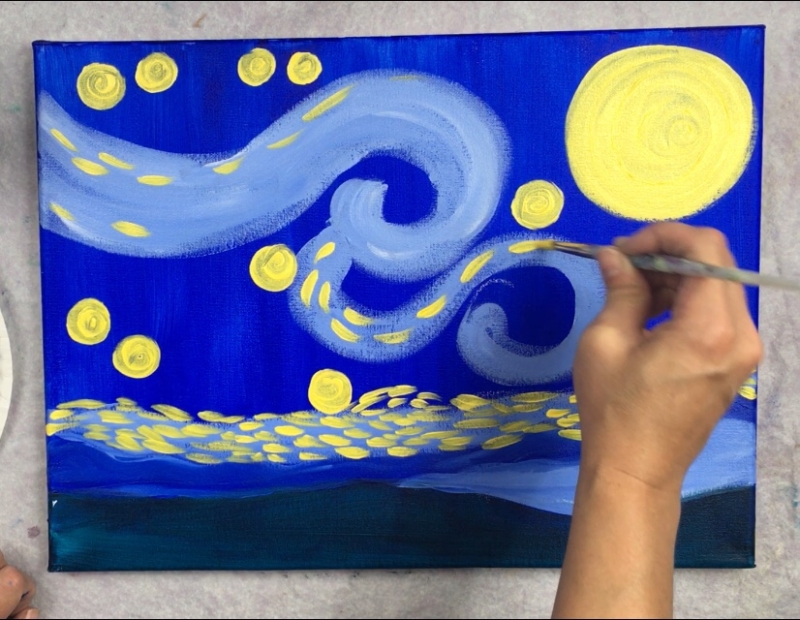
Then paint dash lines around the moon circle. 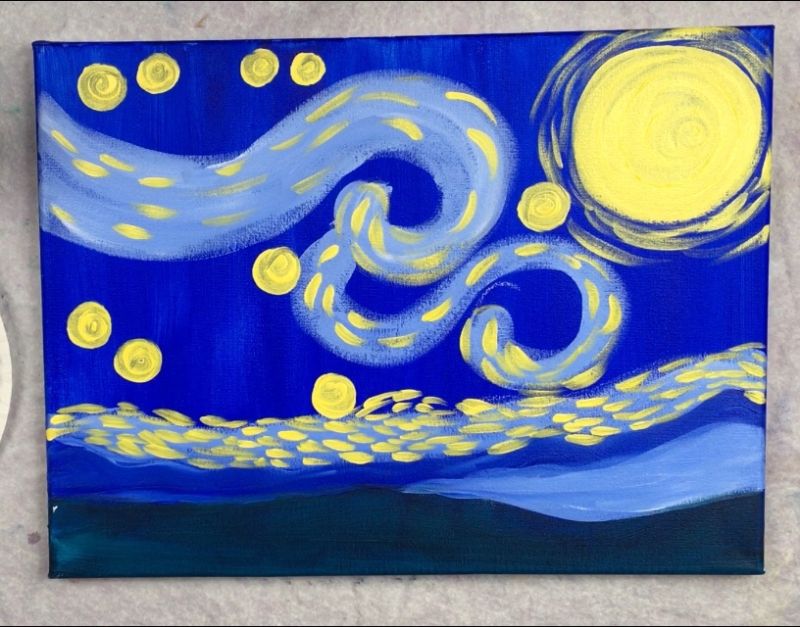
And next there are dash lines around the star circles. Just do one row of these dash lines.
9. Paint Ultramarine Blue Dash Lines
Clean all that yellow off your round brush.
Then use ultramarine blue to paint dash lines on the spirals. Be careful not to go over the yellows if the yellows aren’t dry yet. 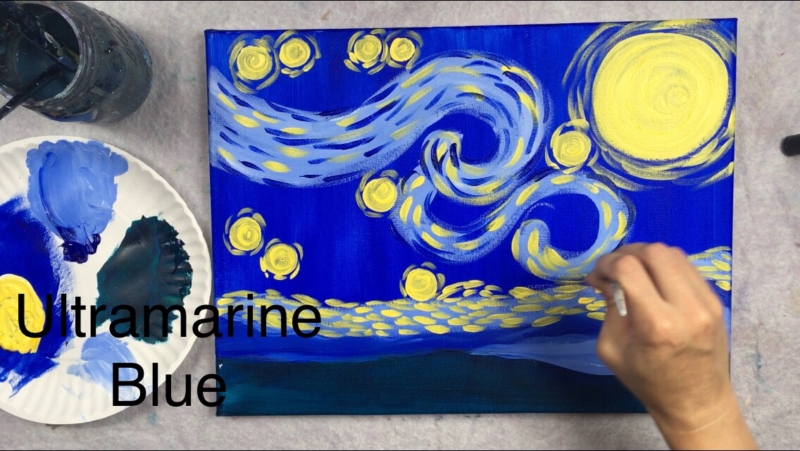
Next, I redefined my top mountain line by using the ultramarine blue to re-paint the shape.
This is helpful if your yellow dash lines went over the mountains. 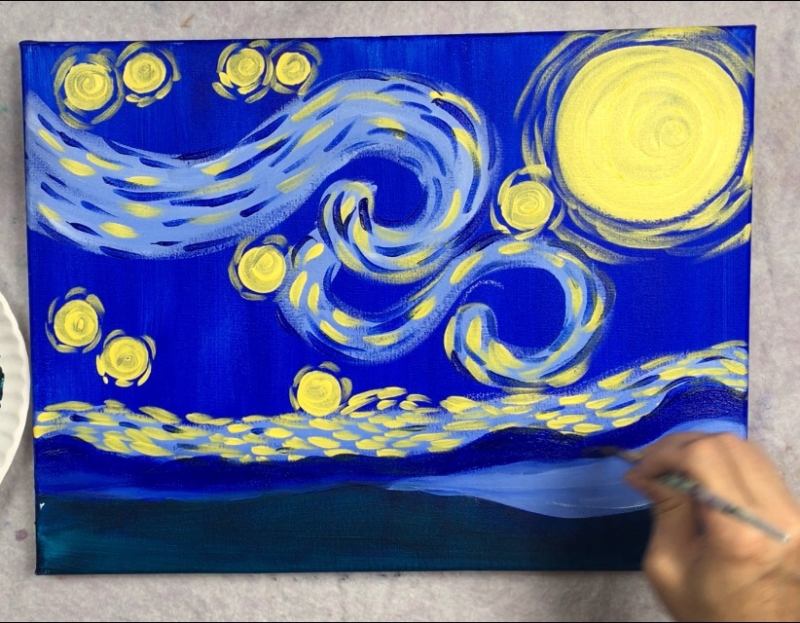
10. Paint White + Light Blue Dash Lines
Then paint more dash lines! This time use white mixed with the lighter blue (to make an even lighter blue).
Paint dash lines on the spirals. 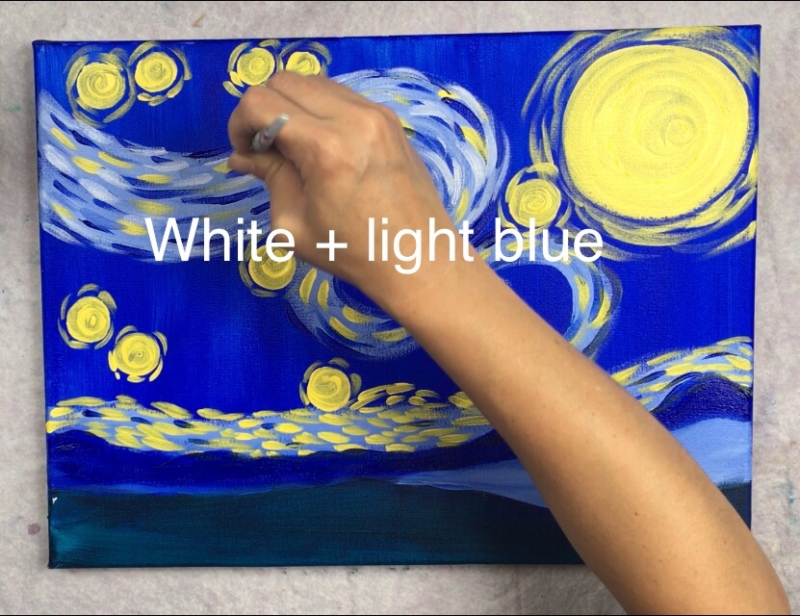
11. Paint Ultramarine Blue + Light Blue Dash Lines In Sky Around all Stars, Moon And Spiral
Then you’ll want to fill in the rest of the sky with dash lines.
I mixed ultramarine blue with light blue to make a blue that almost matched the color of the sky but it was a little lighter so it would show up. 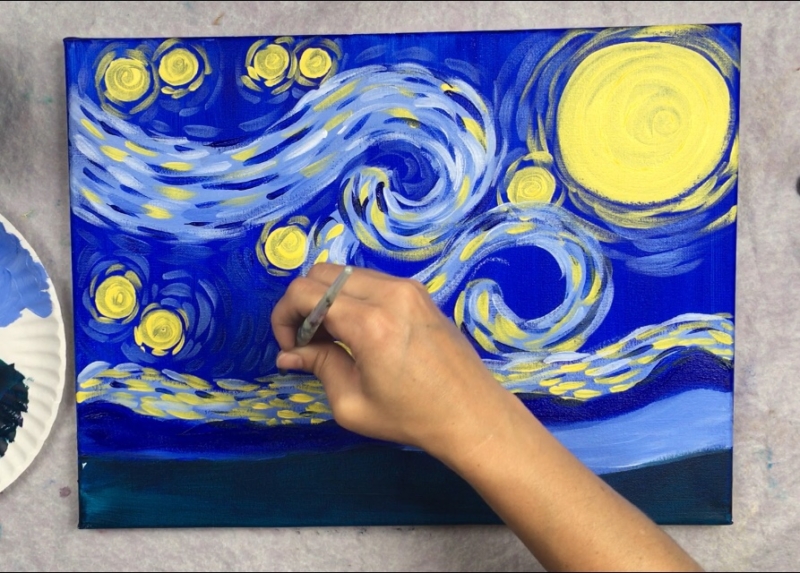
Make these dash lines all throughout the gaps in the sky between the stars, moon and spirals.
The direction of the dashes should contour with the shapes that are around them. 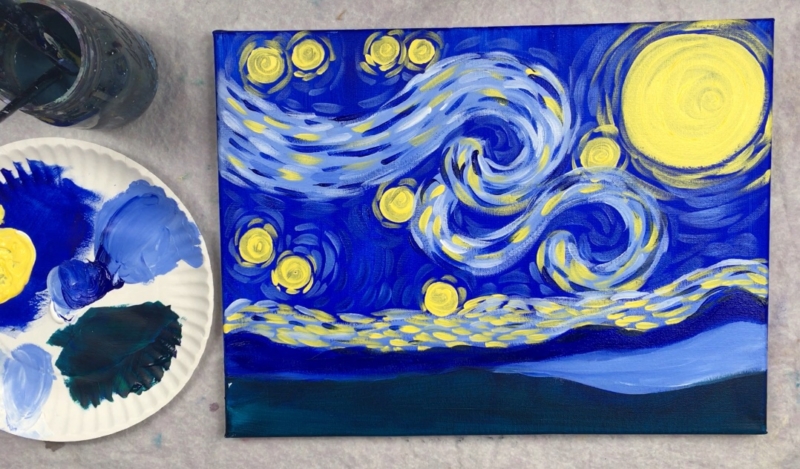
12. Paint Dash Lines On Land
I used the same “light blue mixed with white” color to paint dash lines on the light blue hill. These dash lines are going more diagonal.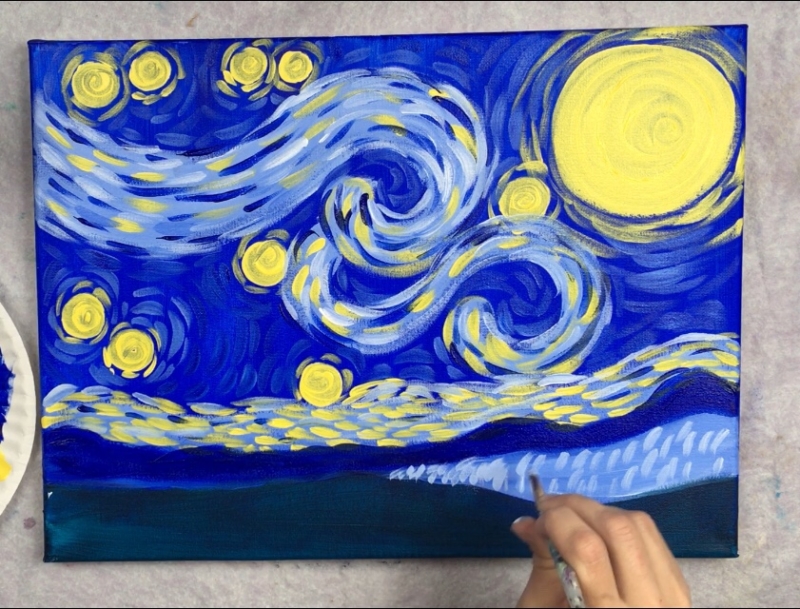
Then do the same color dash lines on the dark blue hill on top but try to make the lines smaller and thinner. 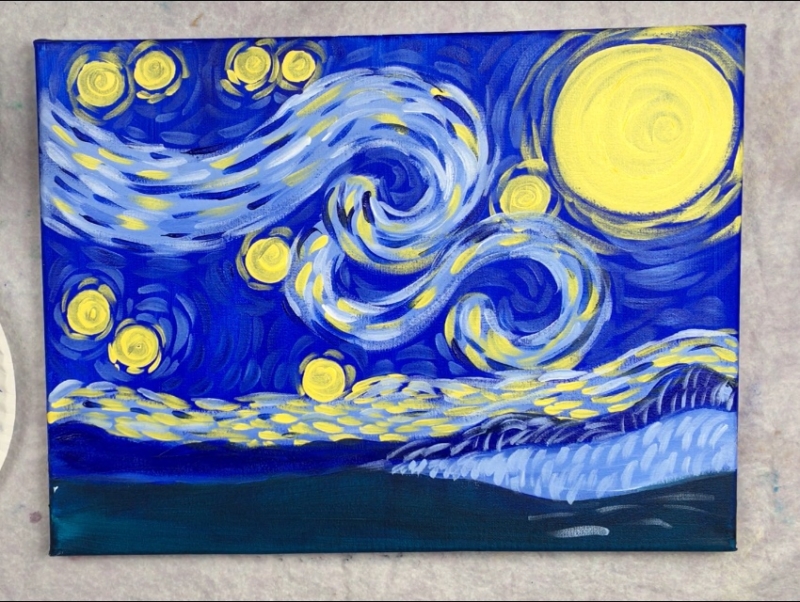
For the ground dash lines, mix phthalo green with white. Paint sort of horizontal/ arched lines all along this area.
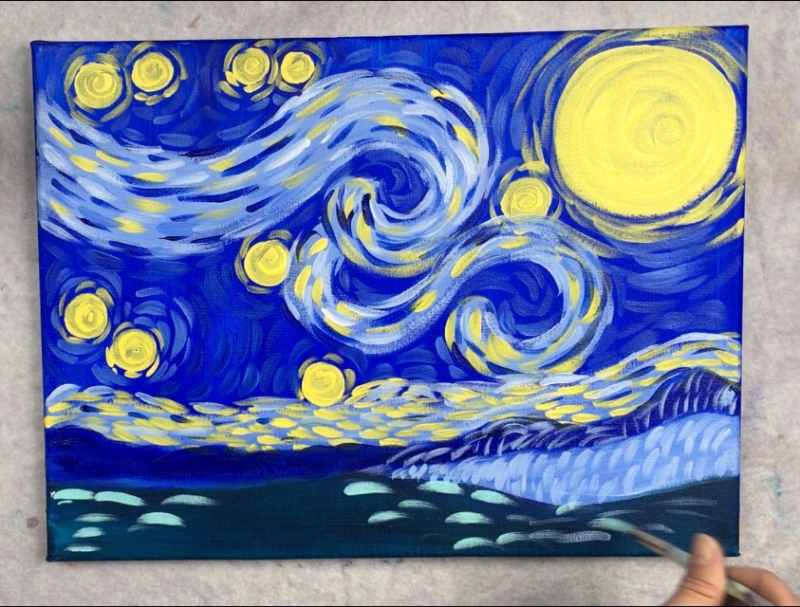
If the color looks too bright, try adding more phthalo green on your brush to get slightly darker lines. 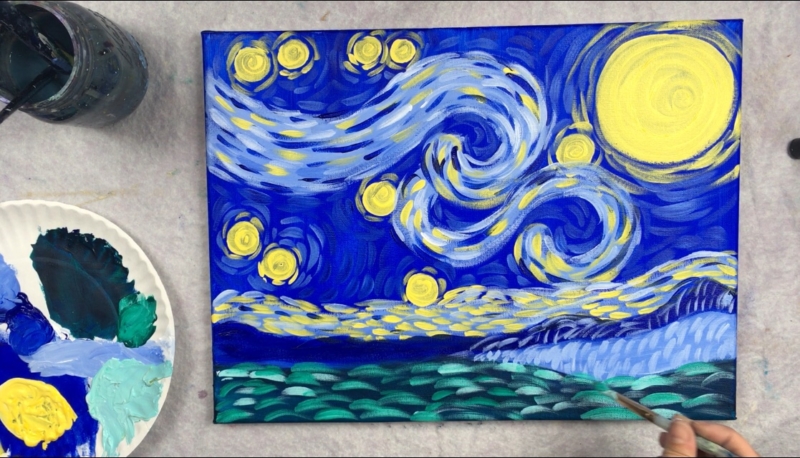
13. Paint The Crescent Moon Orange
Next completely rinse your #6 round brush and dry.
Then add cadmium orange hue and paint a crescent. I always start my moons by painting the letter “C”. 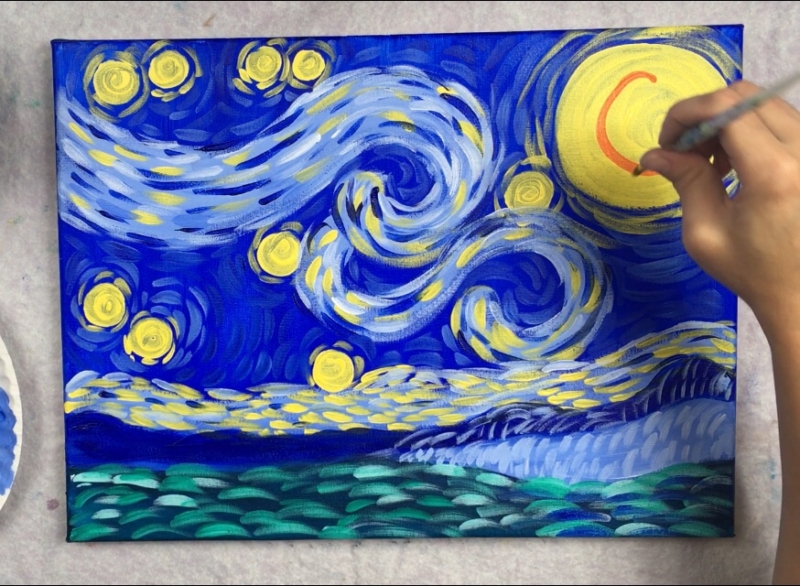
And then form it into a crescent. 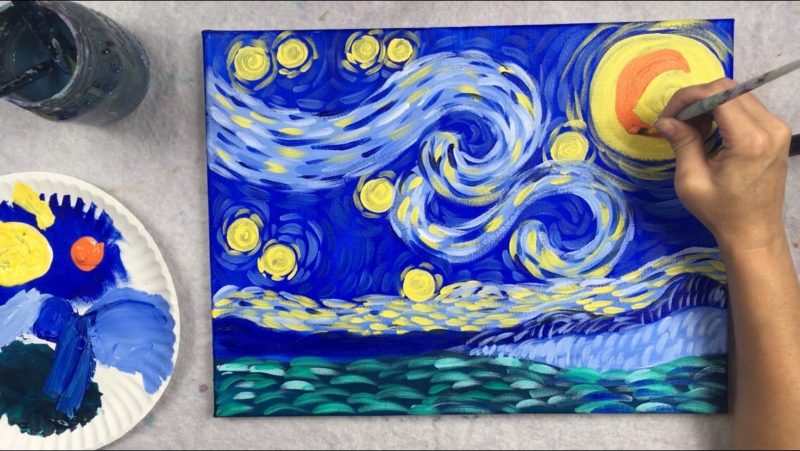
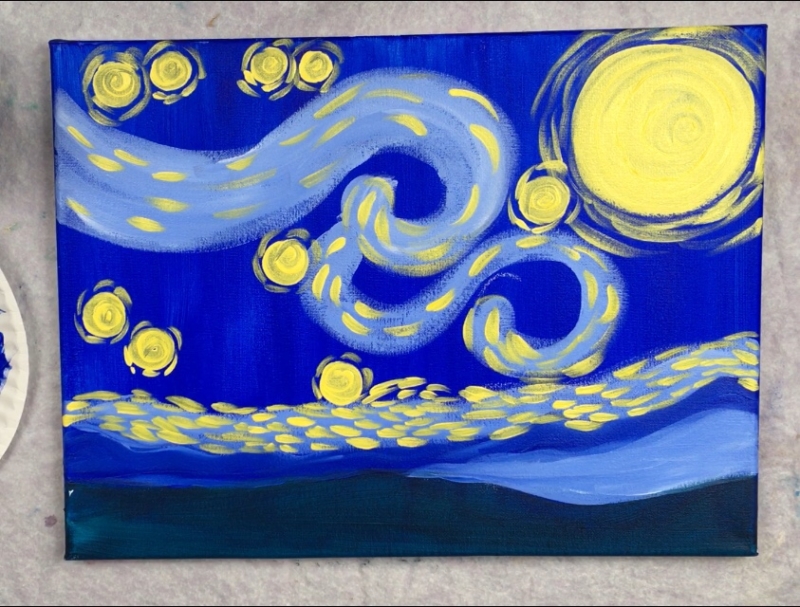
14. Paint The Stars Orange & Dashes Around Moon & Stars
Then paint orange dash lines around the moon. These lines around the moon were kind of “wispy” and not very thick. 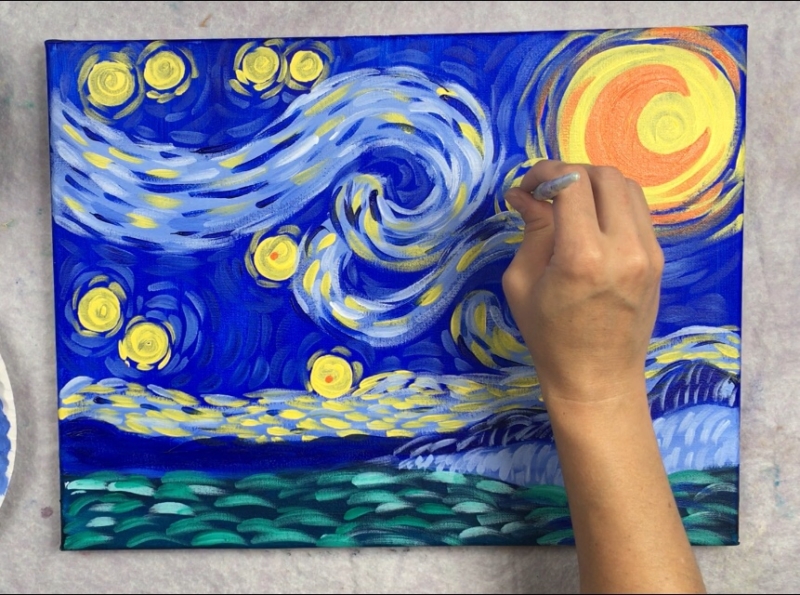
Paint little orange circles inside of the yellow circles and paint some orange dashed lines around the stars. 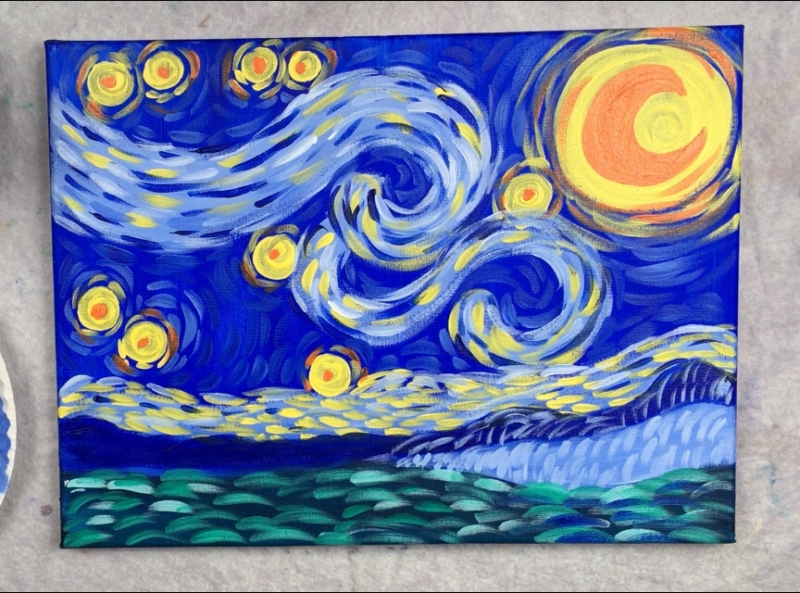
15. Paint Some Orange Dash Lines In Spirals
Finally, I painted a few orange dash lines on the large light blue spirals. 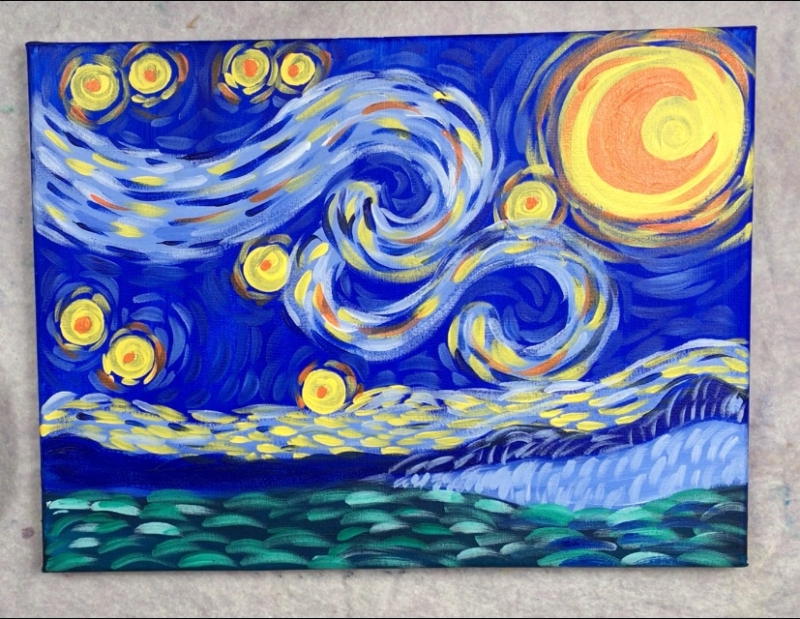
16. Paint The Cypress Tree Black
The last step in this painting is doing the cypress tree.
You can wait until everything is dry and use chalk to draw out the cypress tree.
I just kind of “winged it”. It helps to look at the original version of the painting to see the shape of this.
Basically, use a #12 bright and mars black to draw out the shape. 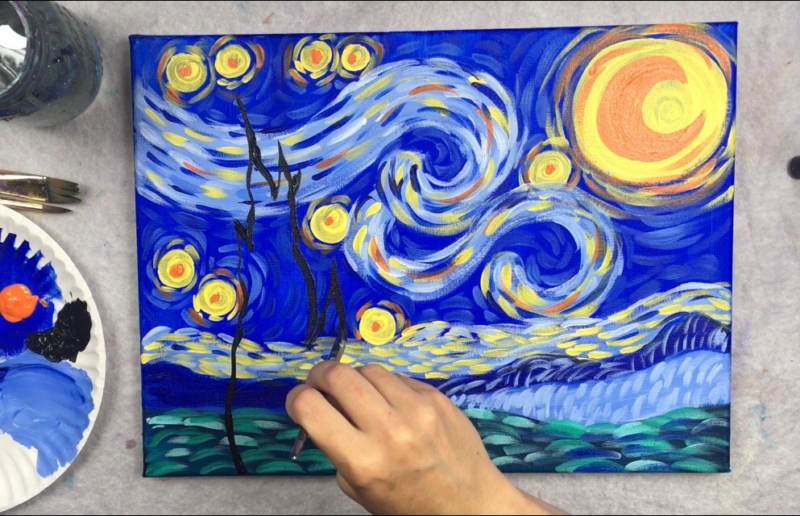
Then fill in the cypress tree solid black. 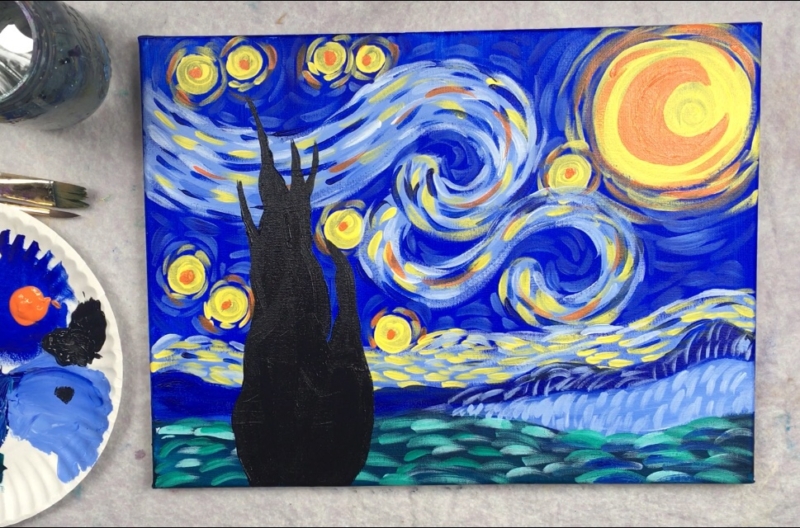
17. Optional: Paint Some Orange Waves/ Texture In The Cyprus Tree
To get some “texture” into that black, use cadmium orange hue to paint some wavy lines.
Do this while the black is still wet so that it blends in with the black. 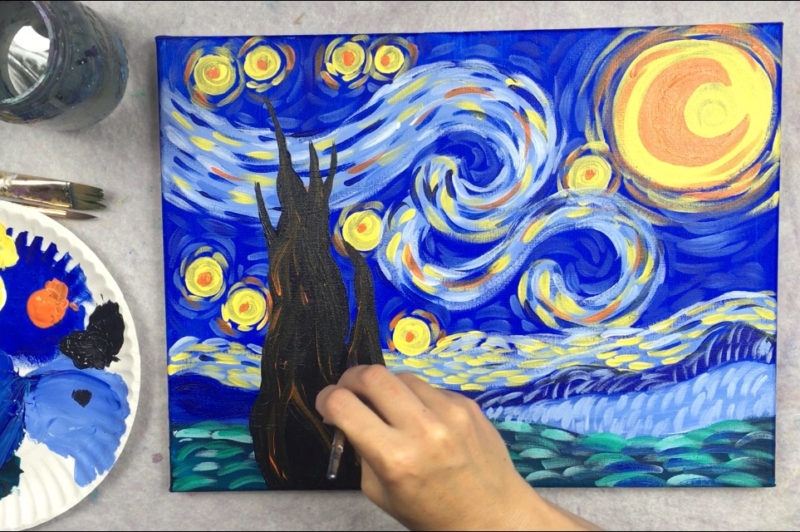
The orange texture lines should be subtle. 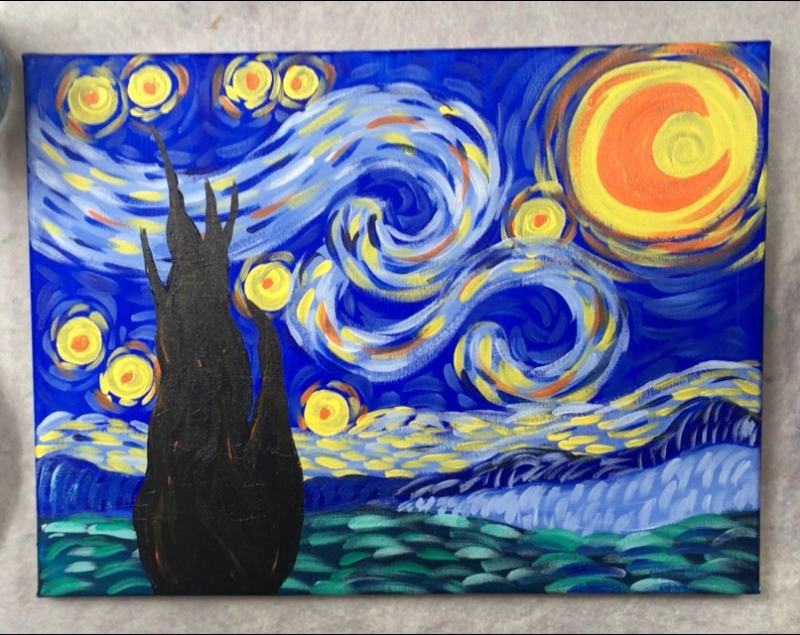
Finished!
You now have your very own starry night!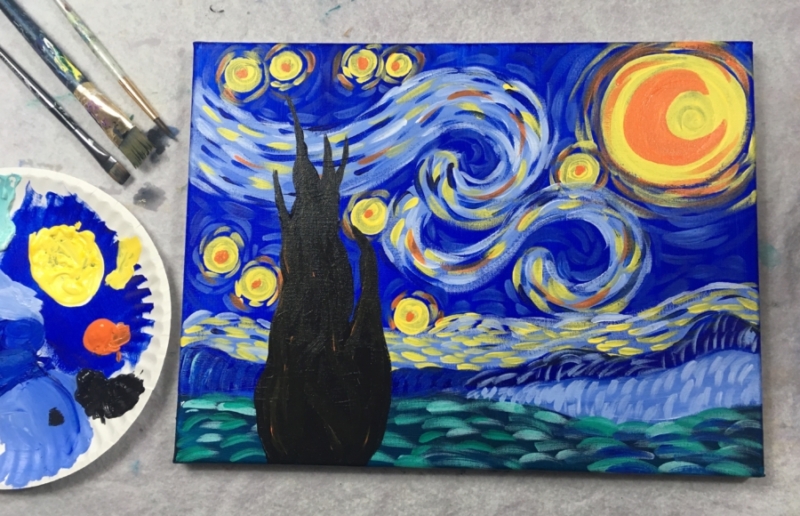
I just used this for for my daughter’s yr 4 art project this week.
Thanks very much for the very easy to follow instructions.
You’re welcome!!
Me and my partner painted this together – despite not being able to see each other. Worlds apart. But your easy, step by step tutorial allowed us to come a little closer, and share something together. Thank you for that <3
What a great story thank you for sharing this! I’m so glad you both enjoyed painting starry night together!!
Ever since I learned Starry Night is Neil deGrasse Tyson’s favorite painting I saw it in a new light and always wanted to emulate it. Thanks for showing us these step by step painting tutorials. They’re easy to follow and fun!