

Would you like to save this?
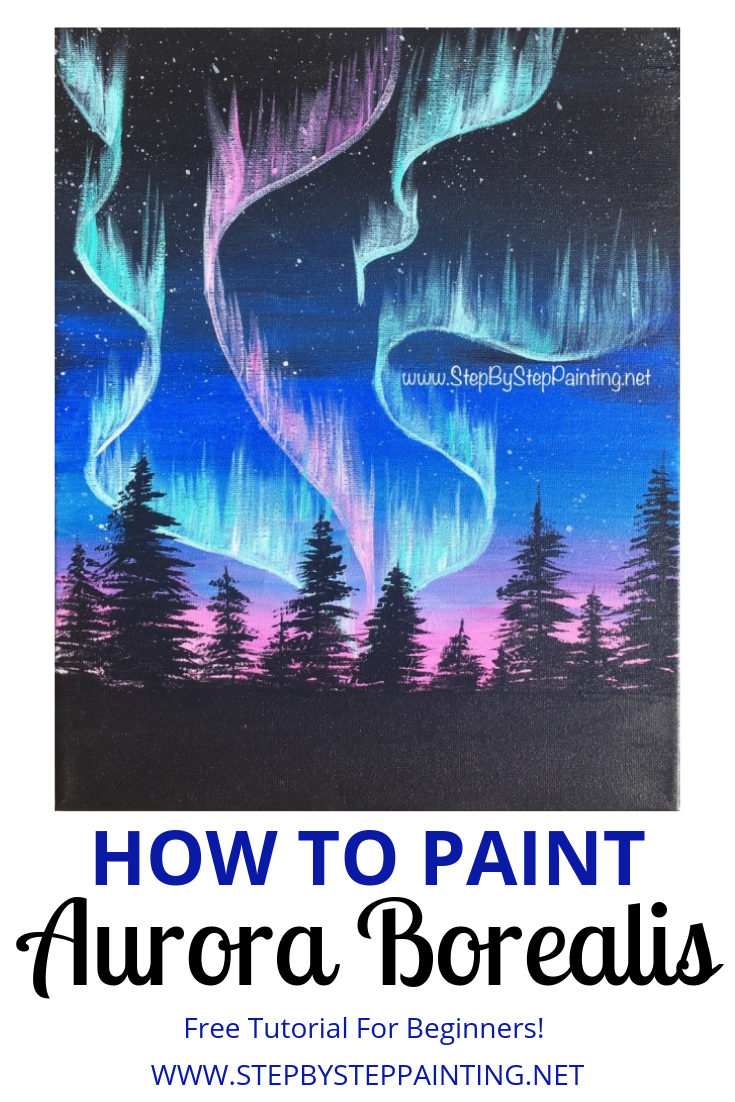
How To Paint Northern Lights
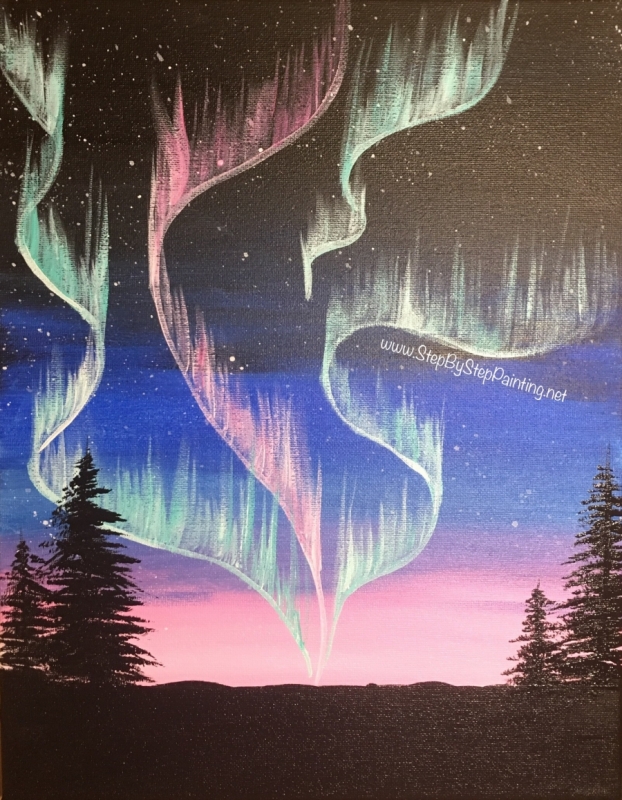
This step by step acrylic painting tutorial will show you how to paint the Northern lights also known as the Aurora Borealis!
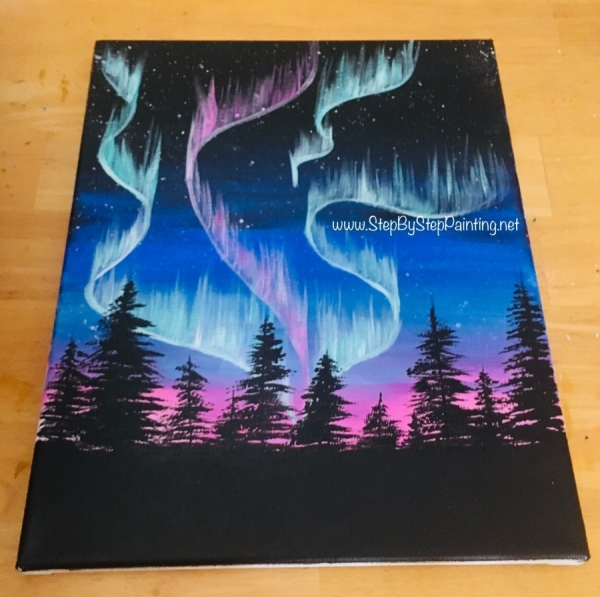
After you set up the simple layer of colors in the sky I will show you how to add a silhouette of a tree skyline.
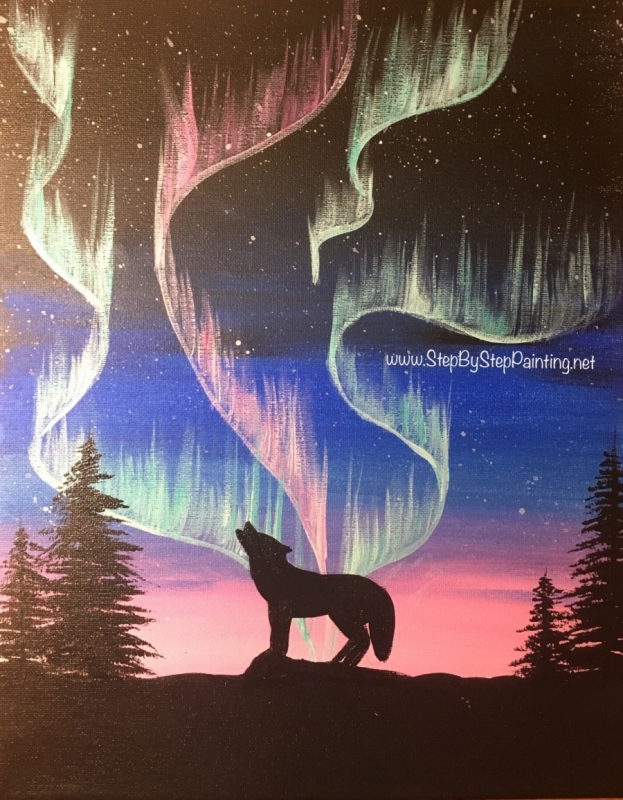
You can alter this painting to add shadowy figures such as a wolf or a a polar bear!
There’s some advanced ways you can paint the bright lights but I’ve opted for a much simpler method which only uses an angle brush double dipped in white and your chosen light color and dragging the paint upwards.

Any how, I hope you enjoy learning how to paint the Northern lights!
Happy Painting Artists!
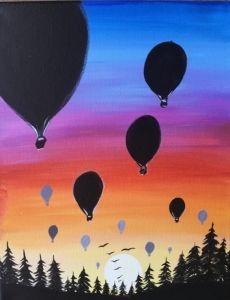
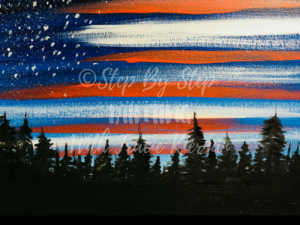
Similar Paintings With Tree Skylines:
Materials:
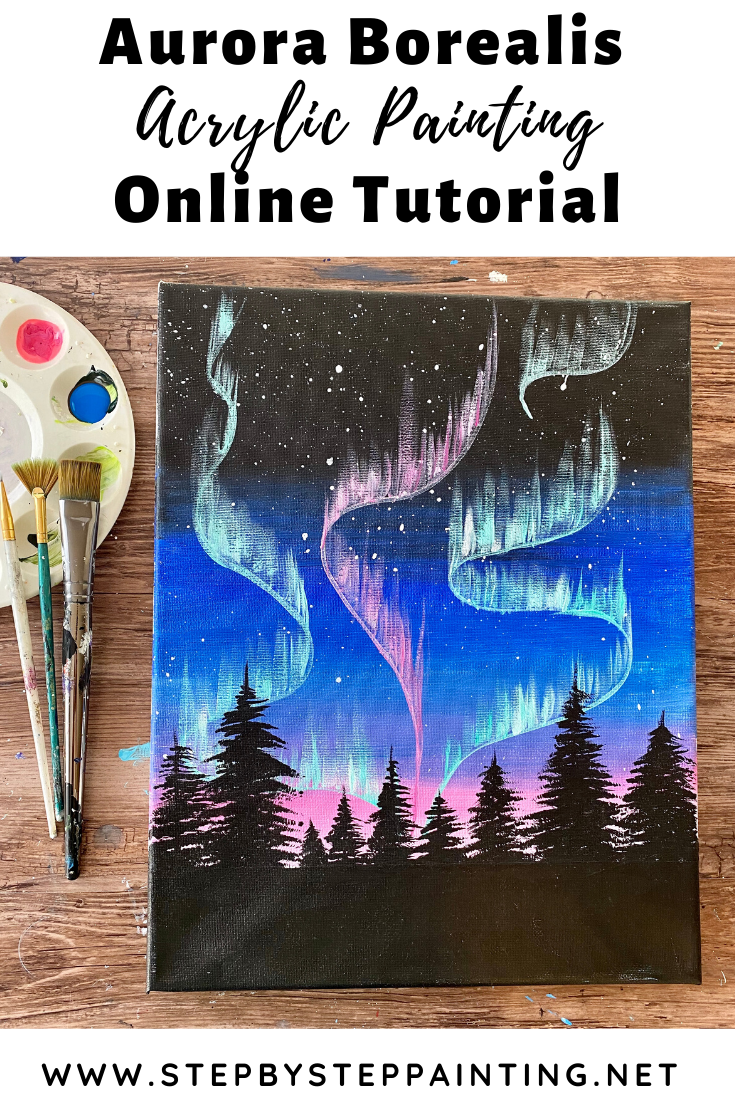
How to Paint The Northern Lights An Easy Technique
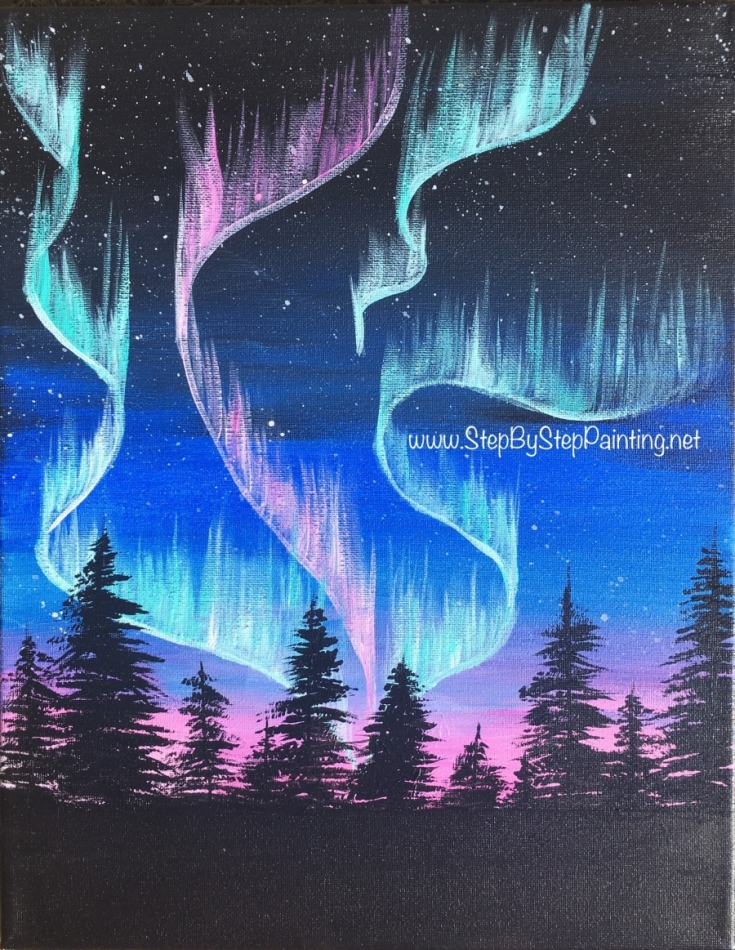
This step by step acrylic painting tutorial will demonstrate an easy technique for painting The Northern Lights.
Materials
Basic Supplies
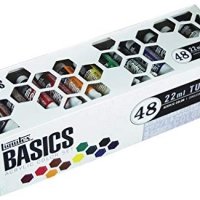
- Acrylic Paint
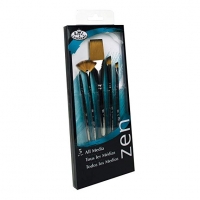
- Paint Brushes
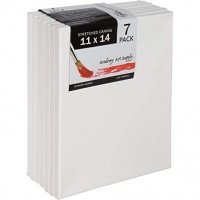
- Canvas (I used 11 x 14 but this design works on any size)
- Painters Tape
- T-Square Ruler
Paint Colors
Brush Sizes
- 3/4" Flat
- 1/4" Angle
- Fan Brush
- 10/0 Liner
- Toothbrush
Recommended Products
As an Amazon Associate, Michaels Affiliate and a member of other affiliate programs, I earn from qualifying purchases.
Color Palette

Directions at a glance:

Video of how to paint Northern lights:
Step How to paint Northern lights:
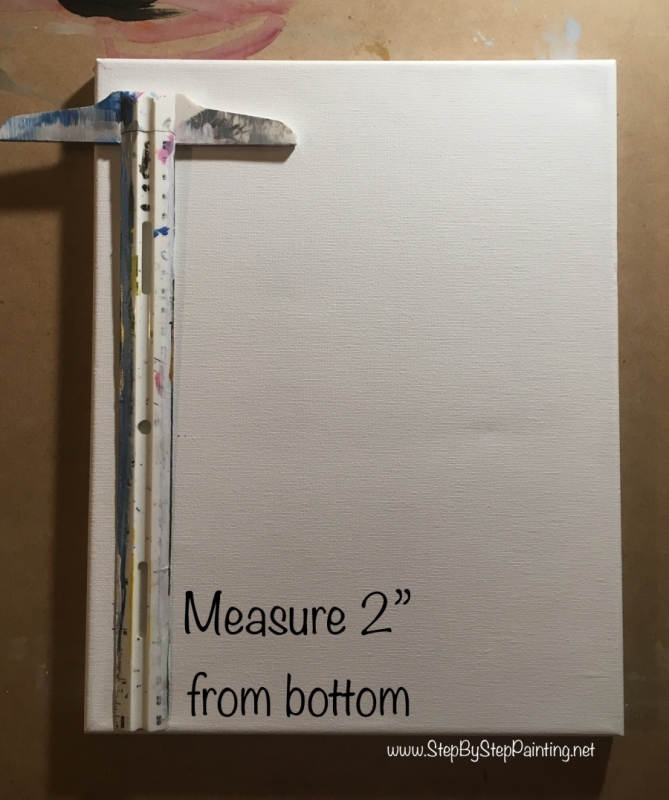
1. If you’re using an 11″ x 14″ canvas, measure 2″ from the bottom.
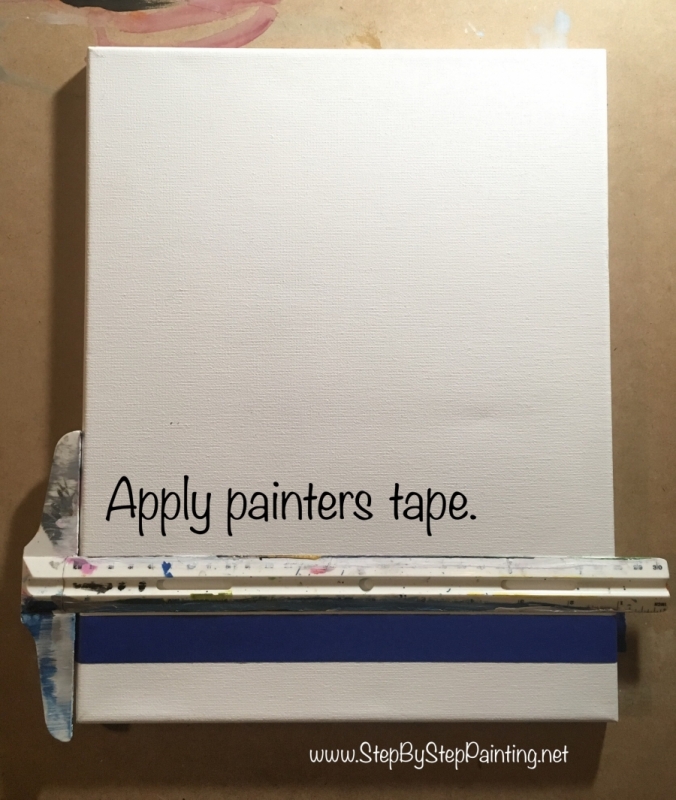
If you are using a different size canvas, estimate about 1/7th of the canvas up. This will be the horizon line and everything in the sky will be painted above this line. Use painter’s tape and your T-Square ruler to apply the paint line horizon.
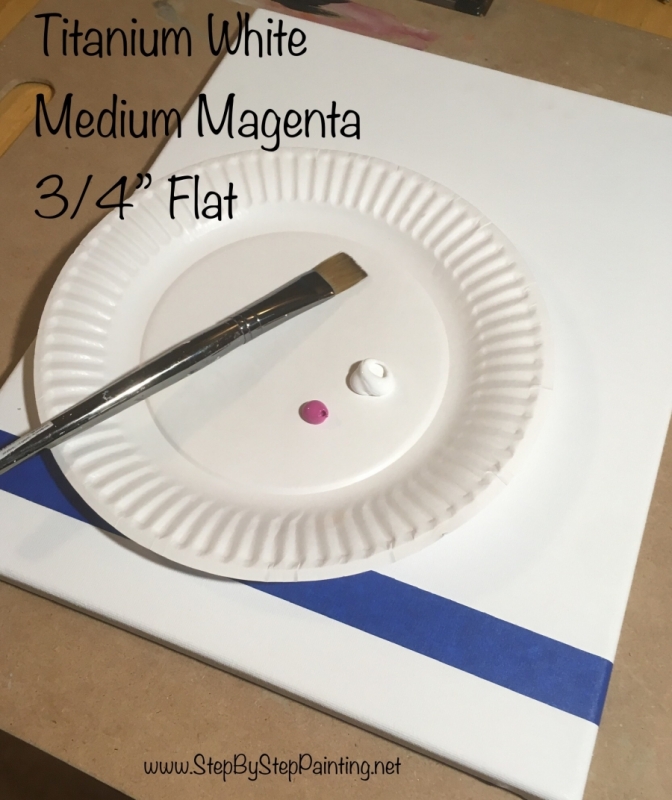
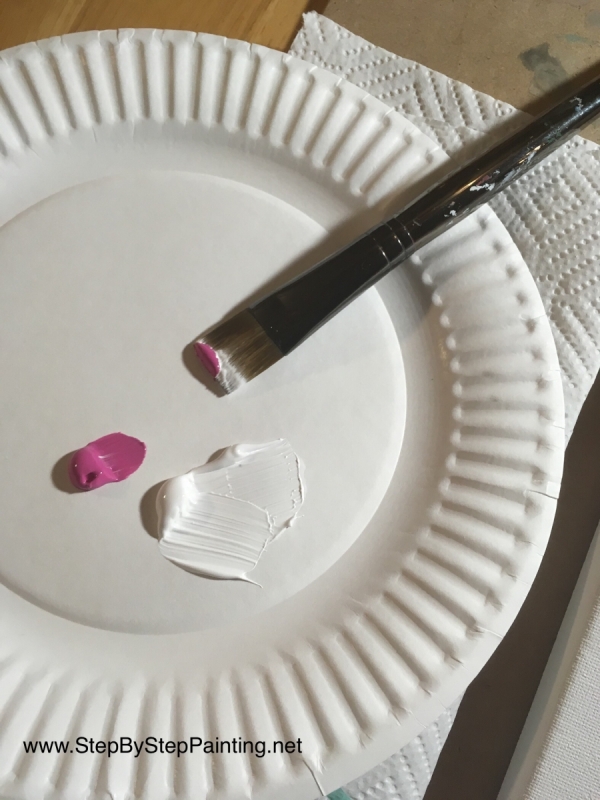
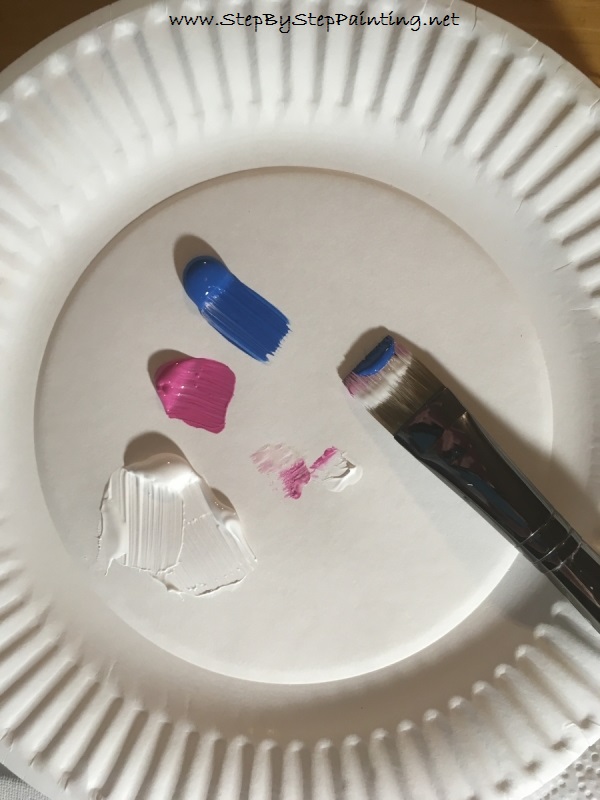
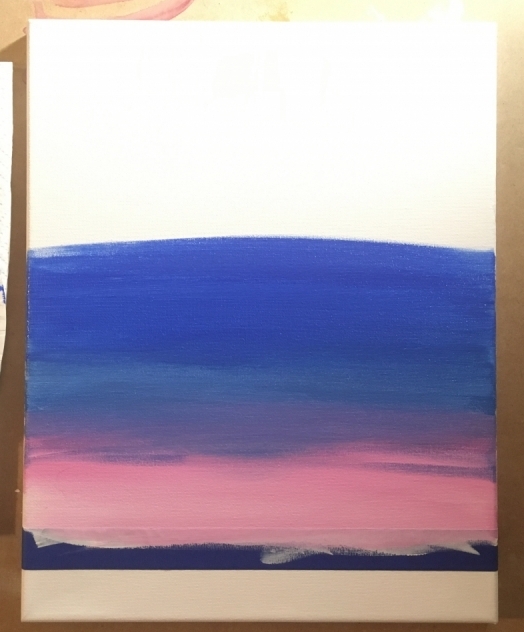
2. Use a 3/4″ flat and the two colors Titanium White & Medium Magenta to paint a pink glow above the horizon line.
Start with just the titanium white and paint about an inch of white along the horizon. Then add the medium magenta to the brush and paint it over the white. The medium magenta will blend with the white creating a light pink color.
The entire sky is going to be done with this 3/4″ flat brush and all left and right strokes.
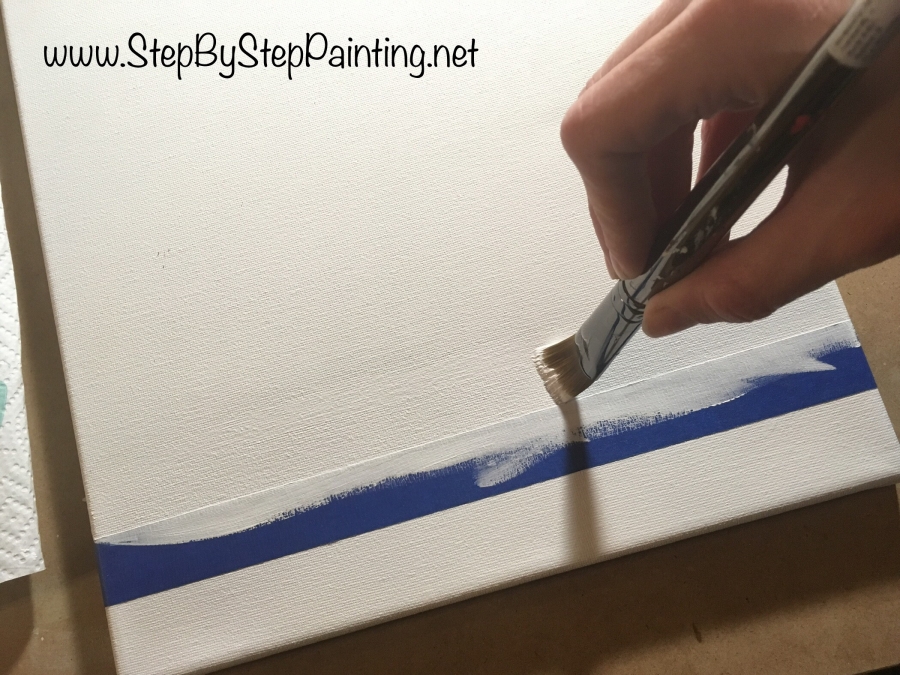
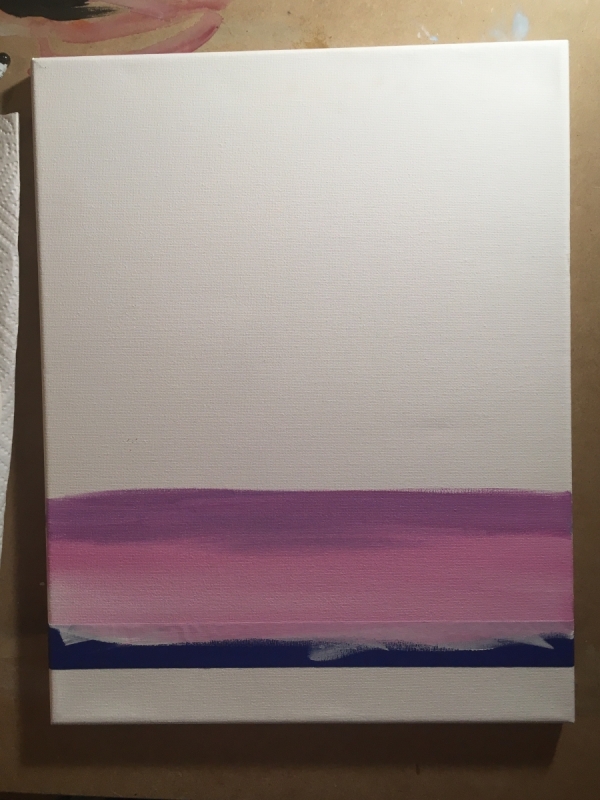
Don’t rinse your brush after the white, leave it on there. Then add medium magenta to your brush and paint over the white area lightly. Your pink will turn to a lighter color.
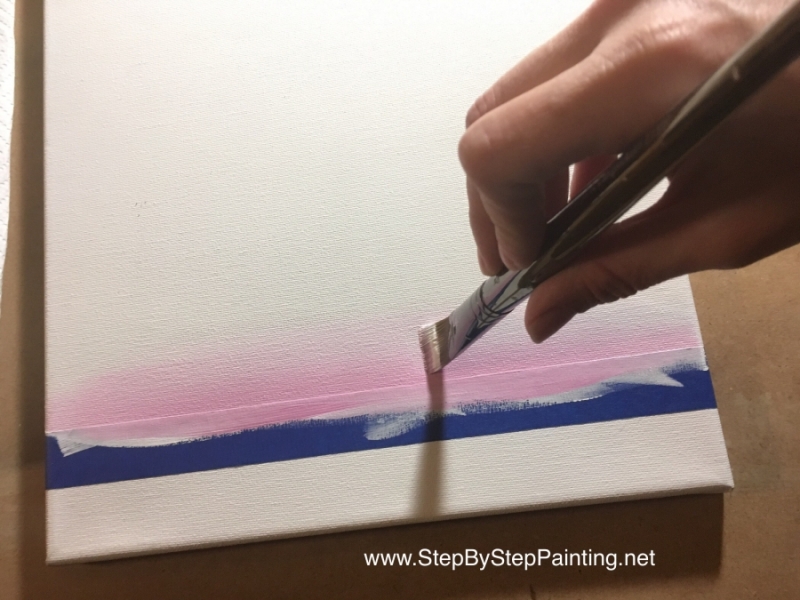
Go up about three inches with this medium magenta and titanium white combo. The goal of this sky is to make a fade from the light pink to the dark blues and eventually to black. In the next step, you are going to blend the magenta into cerulean blue so don’t let this painting dry yet!
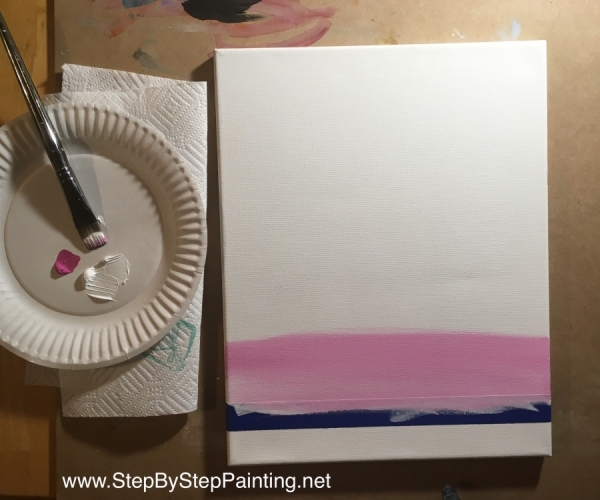
Note: the medium magenta got slightly darker as I went up, meaning there was less white and more pure medium magenta.
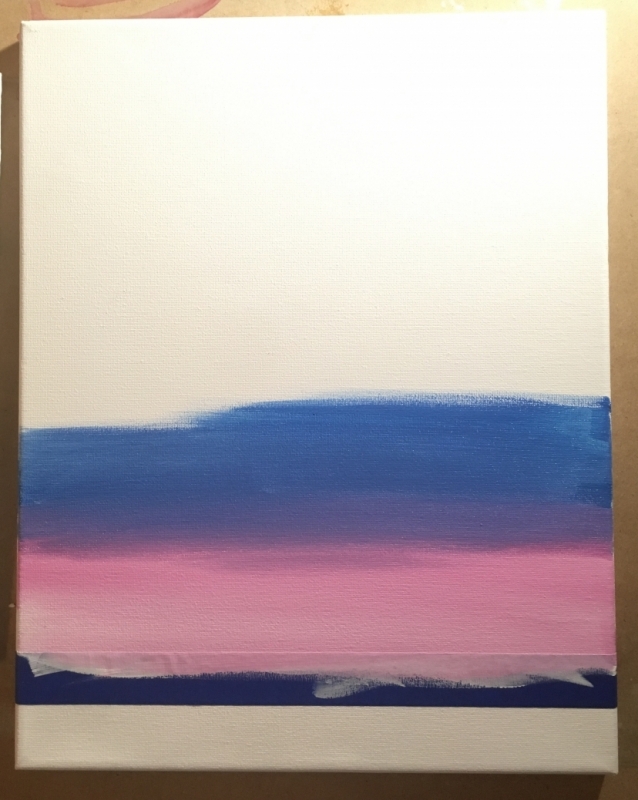
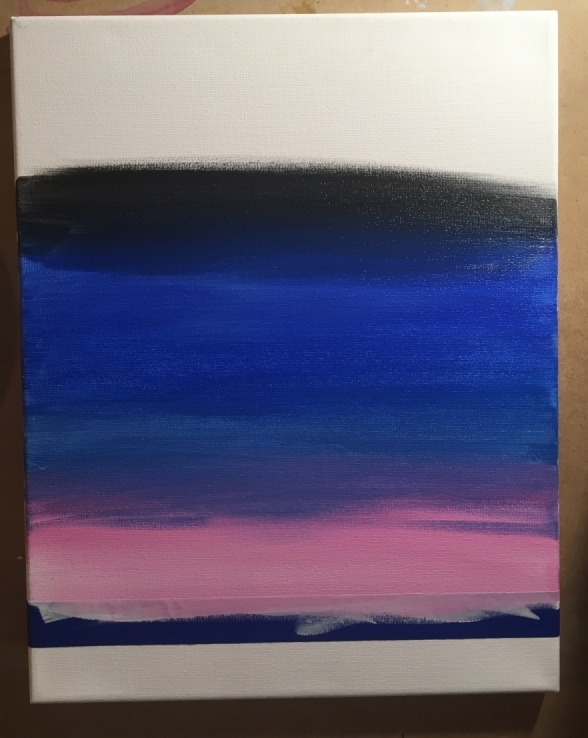
3. Blend Cerulean Blue into the sky
It might seem a bit tricky at first to get the magenta to fade to the cerulean blue so start out slow. I did not rinse my brush, I simply dipped it into the cerulean blue and let it blend on the canvas. Don’t load your brush with too much paint or the cerulean will take over.
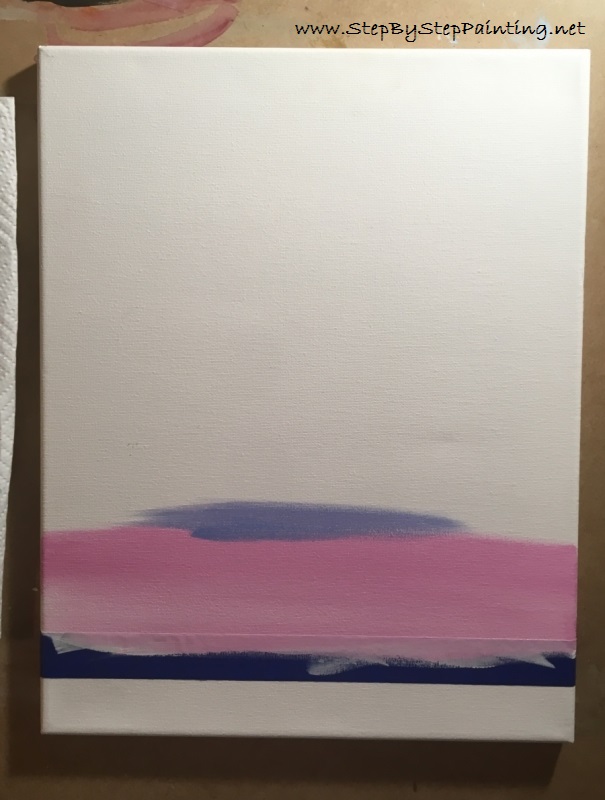
Go slow when blending the cerulean with the medium magenta. Lightly stroke over the area where the two colors meet until they fade together. Then as you work your way up the canvas, add more cerulean blue so that the sky gets gradually darker. In the next step we will be blending cobalt blue.
Go up about three inches. At this point, I was almost at half way up the canvas.
4. Blend Cobalt Blue into the sky as you work your way up
At this point, you may want to rinse your brush off if there is any magenta or white residue on it. I did not have a lot left on my brush so I did not rinse. Basically add cobalt into the sky, blend it with the cerulean blue and work your way up. Your sky should be getting darker…but not too dark because we haven’t added the black yet!
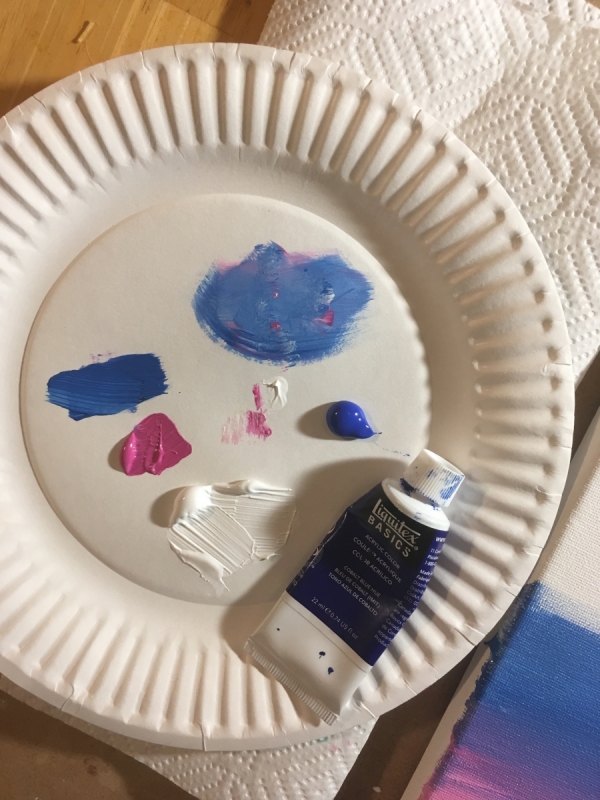
Go up another 2-3 inches. There still should be a nice gap left for the mars black.
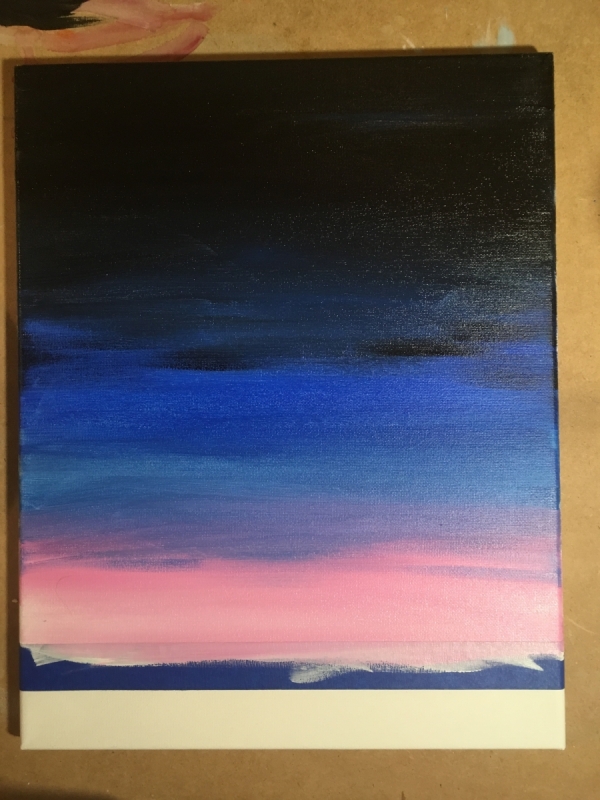
5. Blend the rest of the sky at the top with mars black.
Rinse your brush off to ensure no white residue is still on it. Be careful with this black! It spreads fast and you still need to blend cobalt blue into the black. Start out by adding only a tiny bit of black to your brush. Then with left and right strokes blend your way up the canvas adding more black and less cobalt blue.
Tip: It might help to add more cobalt blue as you work your way up to get this black to blend better. If you look closely at my black, there are streaks of cobalt blue in it.
7. Flicker stars on the canvas with a toothbrush and titanium white.
I used an old toothbrush for this step. Basically dip it in water then pat it dry. Then dip it in the titanium white. The paint should be ink consistency so it will splatter. If it’s too wet, it will drip but too thick and it won’t splatter.
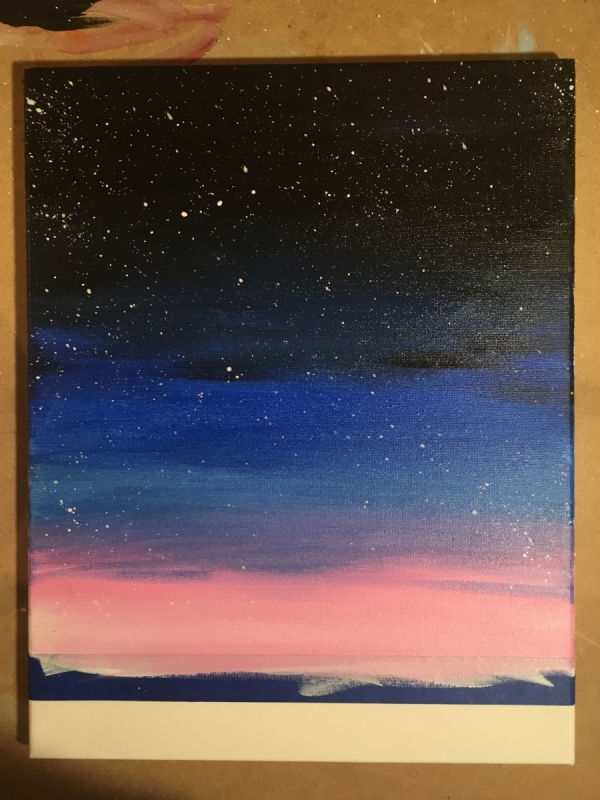
8. Wait for this sky to dry!
This is an important step! In order to paint the auora borealis effect, the surface of this sky needs to be nice and dry! So take a break and come back to your painting when it is dry. Or if you’re not ready for a break, you can go on to number 9 and practice the Northern Light Technique on paper.
9. Practice the Northern Light Technique on a separate paper.
I think practicing this technique is important to understand the concept and feel confident about what you are doing with the angle brush before applying it to the canvas. It’s super easy once you get the hang of it! I grabbed my sketchbook and my 1/4″ angle brush. I also grabbed the colors bright aqua green and titanium white.
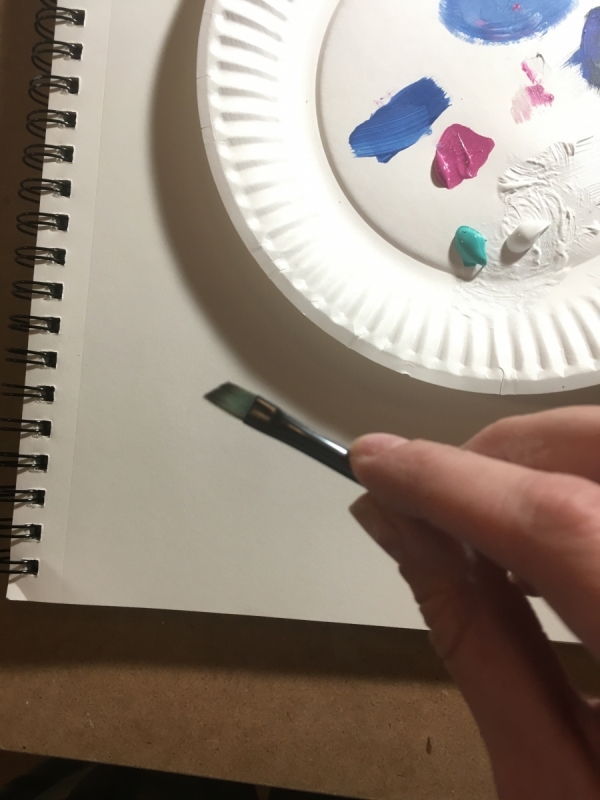
Double load your angle brush (that means dip it in both white and aqua green). Then paint some spiral lines on the paper. Use the angle brush the same way you use it when you paint a wall in your home! Hold it so the top tip of the angle is opposite of the direction you are painting. This allows your line to be thin and more controlled.
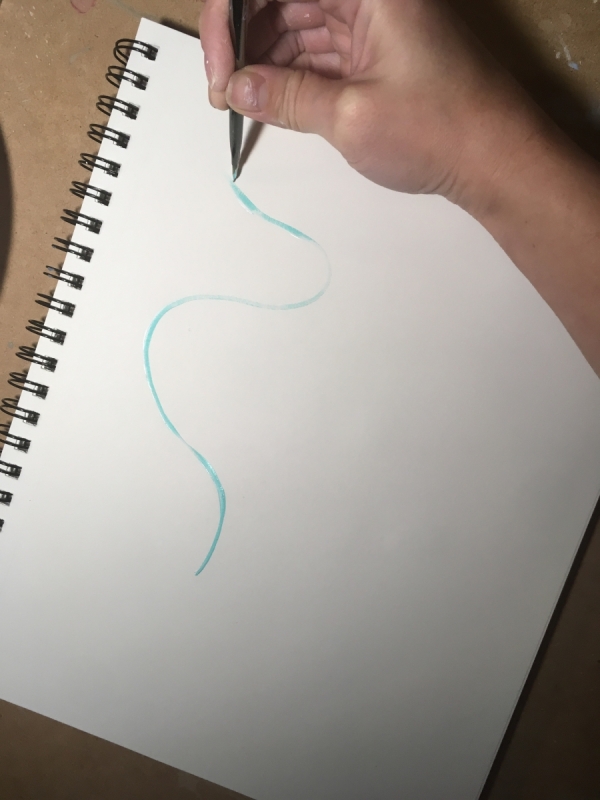
I started each line on the bottom and painted the squiggly line up. Each bottom line kind of meets in the same area. For practice, I painted four squiggly lines and they are all different.
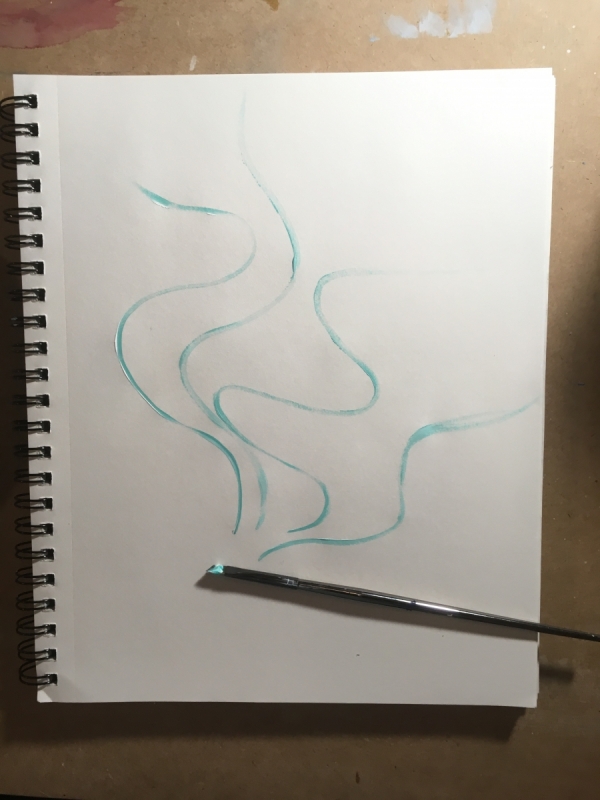
For the purposes of this tutorial, I will call this part of the auora the “string” and the part that flairs up vertically, the “flair”. To do the “flairs” you are going to still used the 1/4″ angle brush double dipped in bright aqua green and titanium white. Then paint vertical lines going from the “string” and fading away as it goes up. Tip: don’t load your brush with too much paint and don’t load it with water either. This is “kind of” a dry brush effect where it is translucent and you will see the canvas color below.
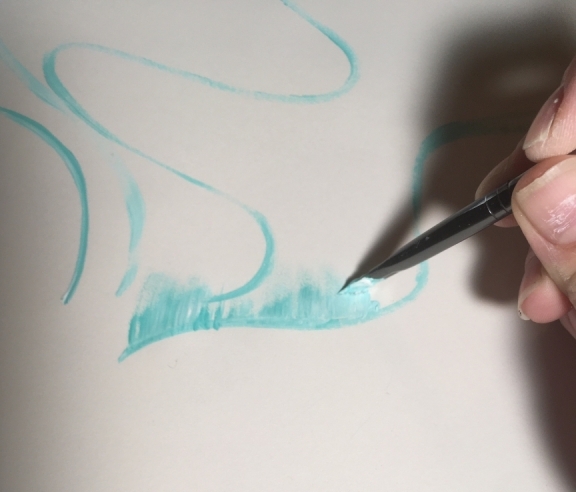
Try doing two different brush stroke methods. Use just the tip of your bristles on the sides to create a very thin vertical line stroke. Then try using the full width of the bristles to create a wider brush stroke. Try making taller flairs and shorter ones. Some flairs are brighter with more paint and some are dryer and duller.

Very important: all the “flair” strokes MUST be vertical! Paint these vertical strokes all along the string. Some areas may not see a vertical stroke because the string is going vertical. If you continue this vertical stroke technique all along the string starting from the bottom and working your way to to top, you will create the effect.
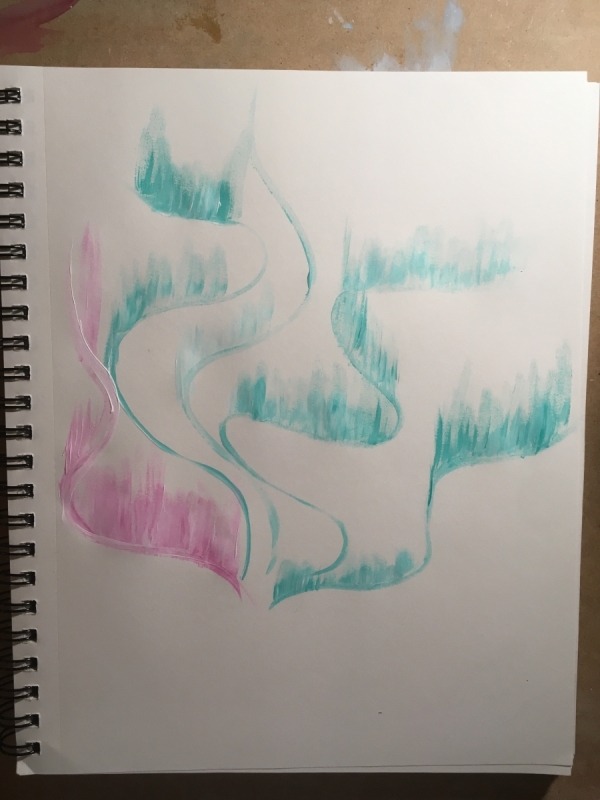
I did one practice with medium magenta and titanium white. This was done the exact same way by double loading the angle brush. You can essentially use any color for your auora and use the same technique. Keep in mind that this will look A LOT different on a darker background.
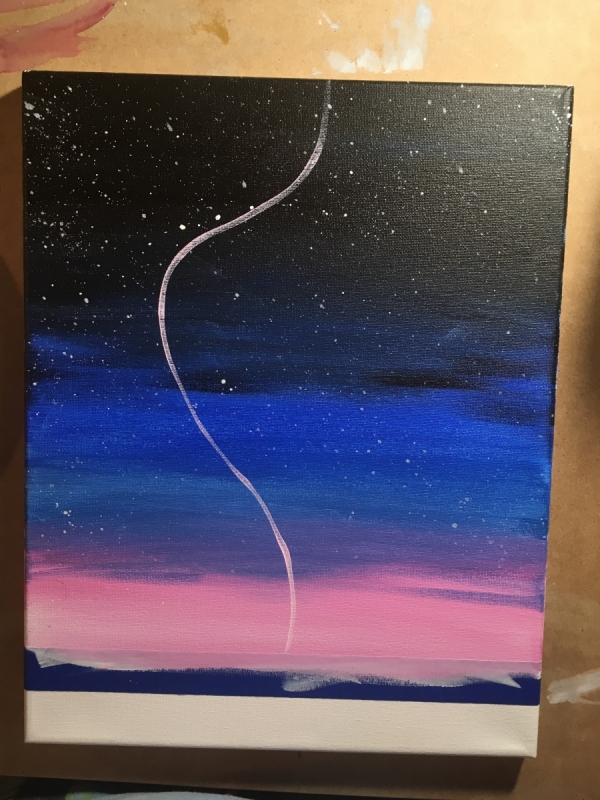
10. Apply the Northern Lights to your actual painting
In my painting, I have one medium magenta auora in the middle. Load your 1/4″ flat brush with medium magenta and titanium white. Start at the bottom close to the horizon line. Paint a long wave stroke to the top. This was all done in one stroke and, yes, my paint did run dry as I reached the top.
Then paint your vertical flairs. Remember, all these lines MUST be vertical. Use your angle brush to apply each stroke starting from the string and fading up.
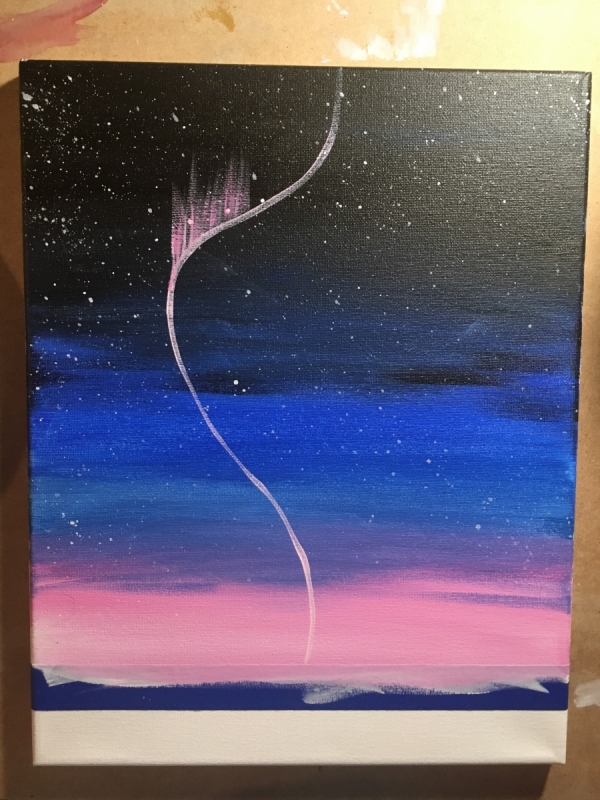
Using the brush on it’s side creates a thinner flair.

Using the full width of the brush creates a thicker fair. Do a combination of both brush strokes. Also, alter the heights of the flairs. Some are taller and some shorter. Some have more paint, some less.
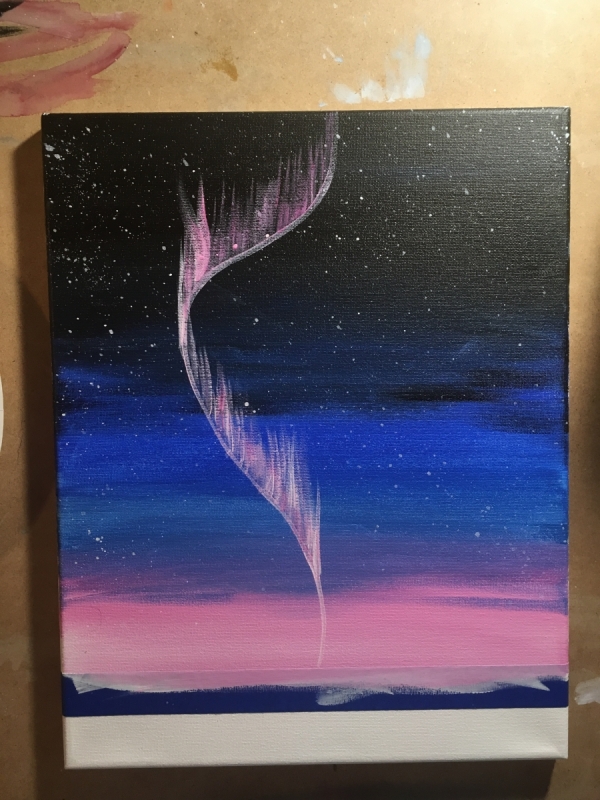
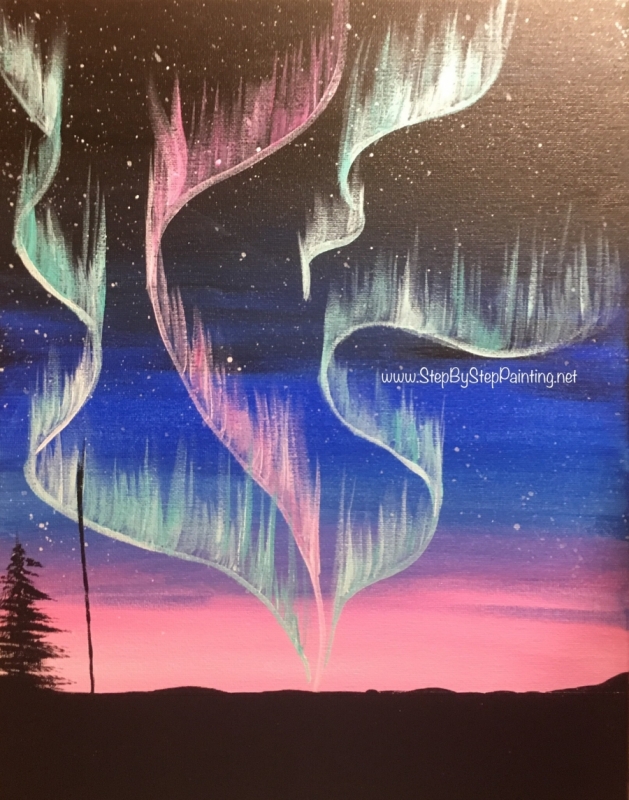
Repeat this technique with bright aqua green (or more medium magenta if you want more pink in your sky). Note that most of my auora lights meet at a point just above the horizon. Doing this helps create the look of depth but it is not entirely necessary.

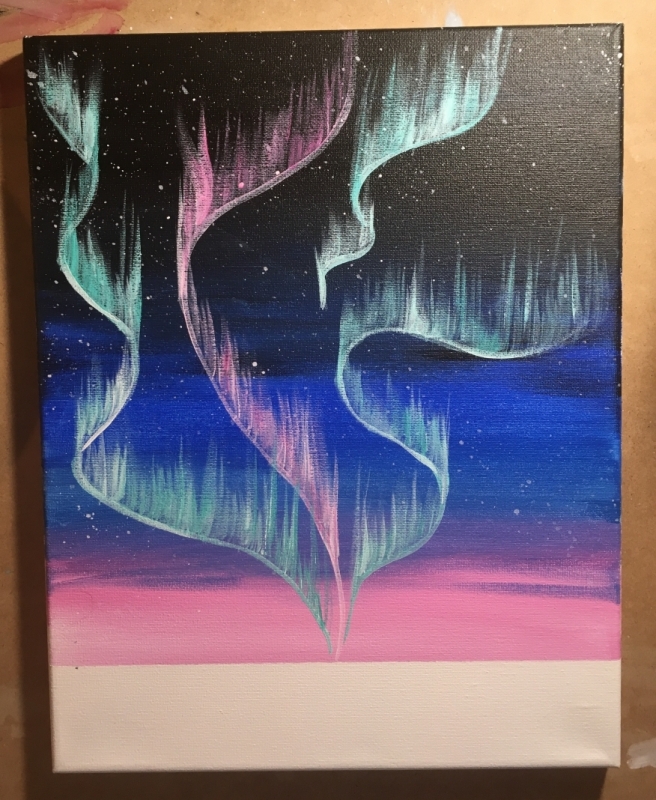
11. Release the painters tape and fill the bottom land with mars black.
While you can paint an entirely flat land, I actually made mine look bumpy and more natural. The left and right sides went up slightly and the rest of the line had dips and grooves.
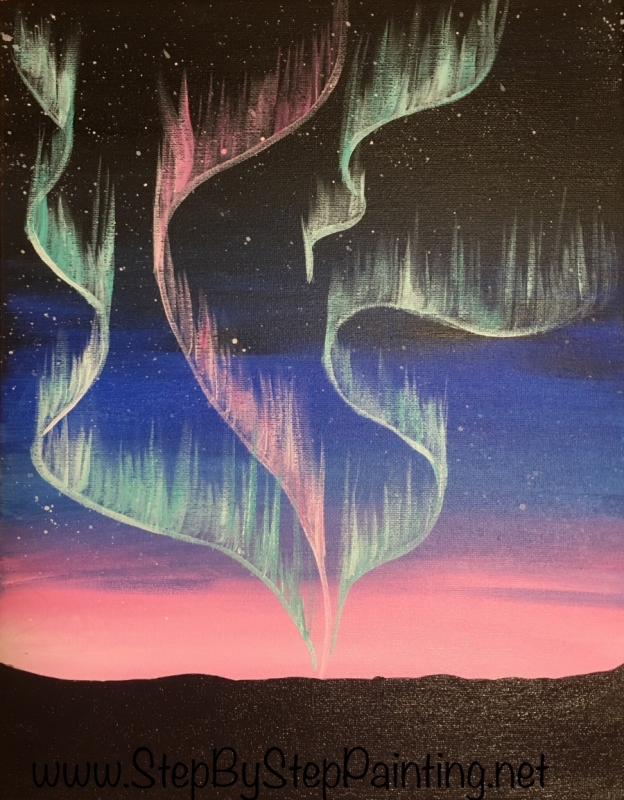
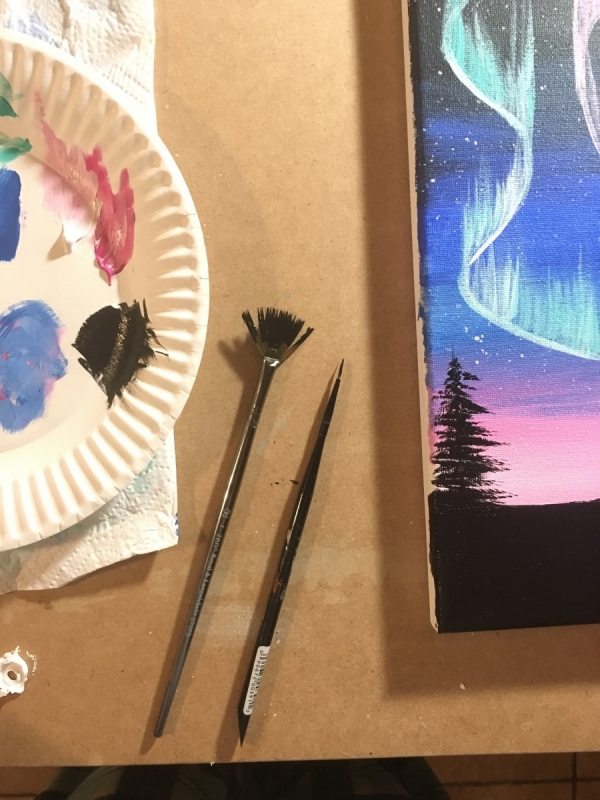
12. Paint the trees with a fan brush.
Refer to this tutorial for how to paint trees with a fan brush. Use your 10/0 liner to paint the middle line of the tree trunk. Then use your fan brush to paint the branches. It helps to water the black down slightly to an “ink consistency” when doing trees, that way your black will flow better.
If you want to add a wolf or some other animal silhouette in the middle, leave a space. I recommend that you look on www.pixabay.com for the silhouette you’d like. Pixabay is a royalty free website that you can use to find silhouttes for your art. I used this silhouette example and drew it onto the canvas (instead of printing it). You may wish to print the image out to a smaller size (hint I use MS Paint for resizing jpeg images! You can save it, resize it to a smaller size and print for your canvas painting). 
Source: www.pixabay.com
I did add a flat rock below my wolf (actually it was a happy accident because I drew the wolf above the ground so it looked like it was floating).
If you’re not adding a wolf silhouette (or bear, moose, etc.), you can easily paint the entire skyline with tree silhouettes. Tip: vary your tree heights to give it more of a natural effect.
Finished!
Once you get the hang of painting an auora borealis, they are a stunning addition you can add to any of your night sky paintings! Thank you for viewing this tutorial. Sign your name, show it off and don’t forget to share this with friends, family and on social media.
Share Your Art Here


Thanks for sharing this blog because I’m looking for that type of blog.
I love your painting instructions, simple, but are full of things you need to cover for the problems to make it right. Peggy
Thanks Peggy!
Hi, am I able to buy a PDF version of this to give as a Christmas gift ??
Hi Lauren! I don’t currently have a PDF for this but I can make one available!
Thank you for sharing this painting. You move and speak slow enough that it makes it so easy to follow your instructions. Twenty years ago, I was an oil painter and painted the lights but I hadn’t painted for 10 years until recently and I decided to try acrylics. It’s a lot of trial and error for me but improving and my next painting will be this one. Your written instructions along with your oral explanation makes it very easy.