Would you like to save this?
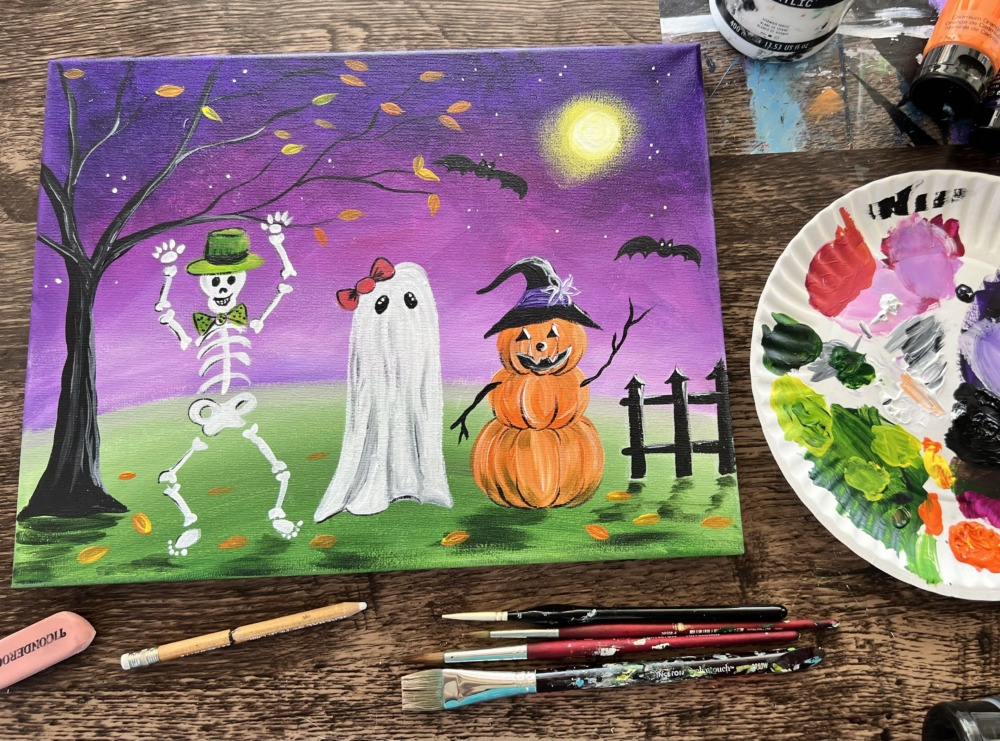
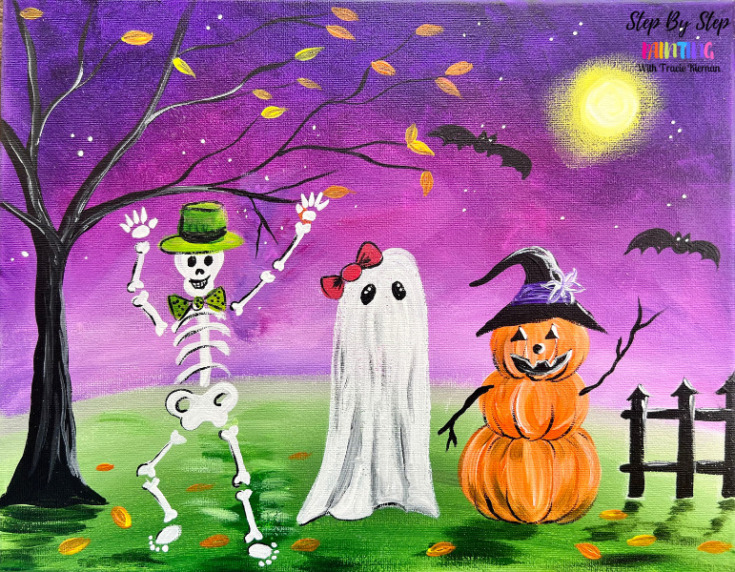
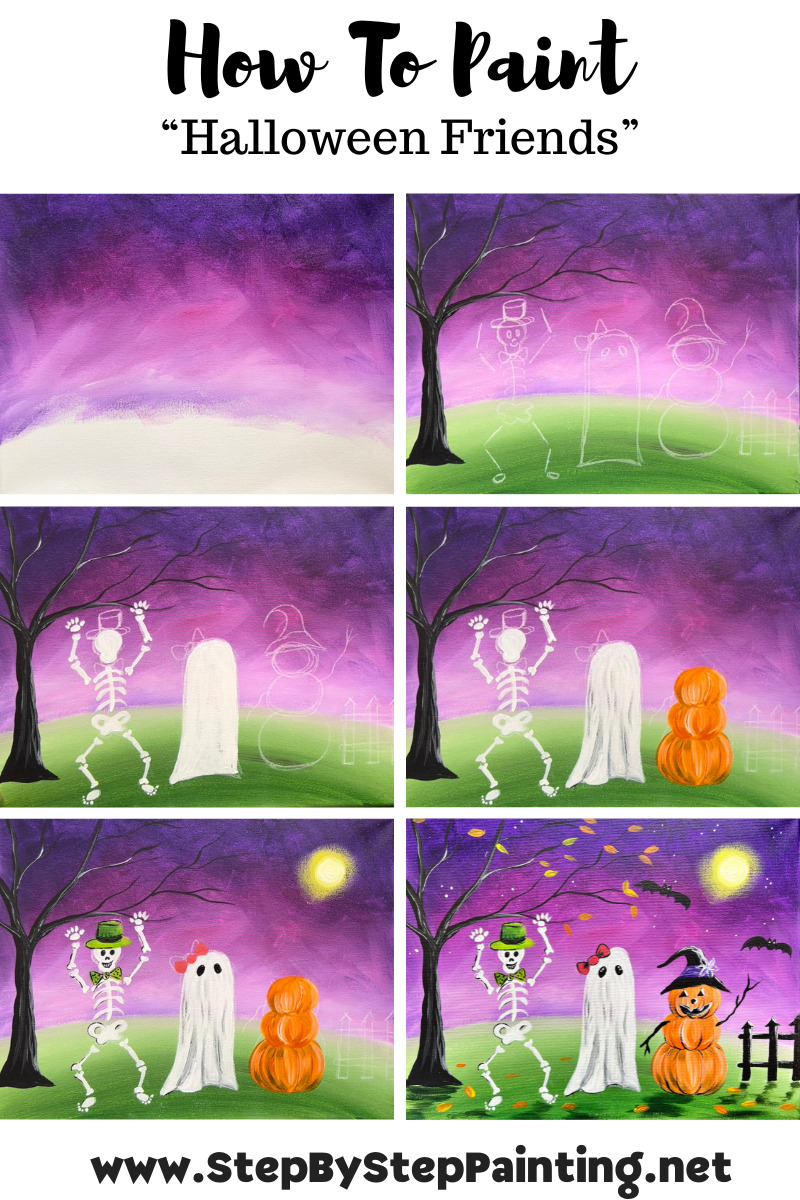
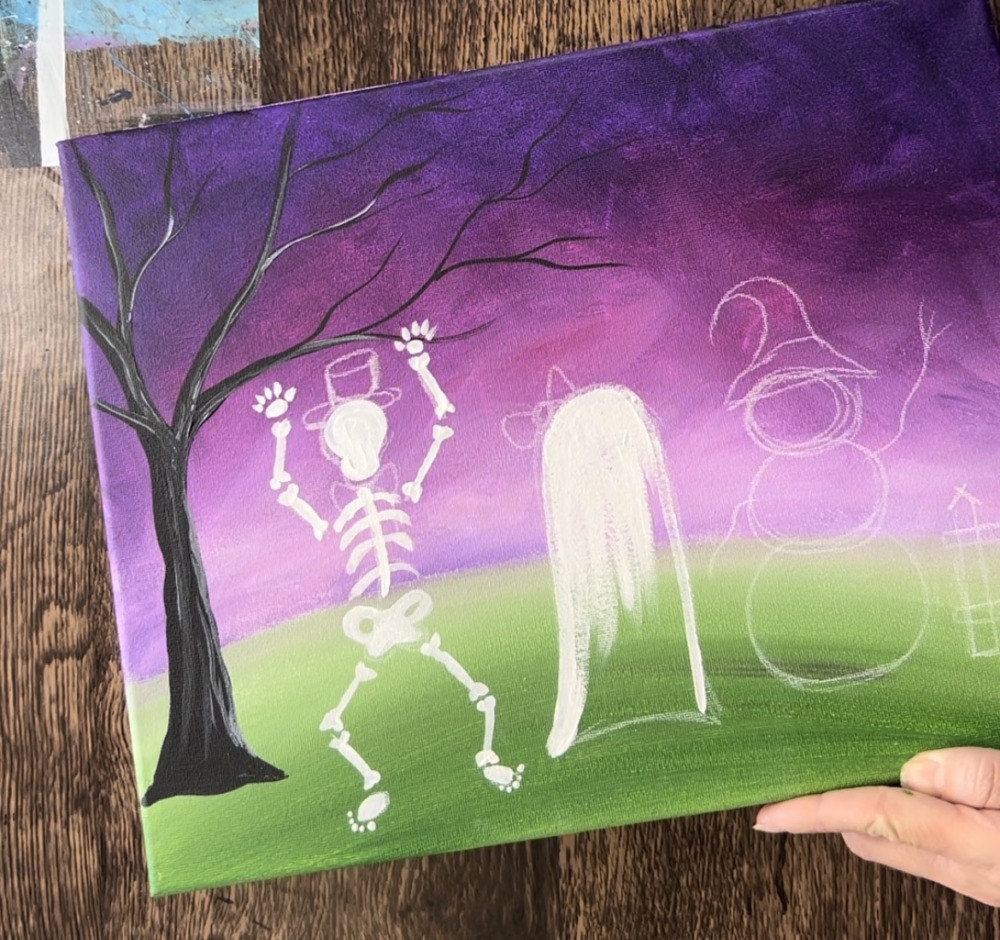
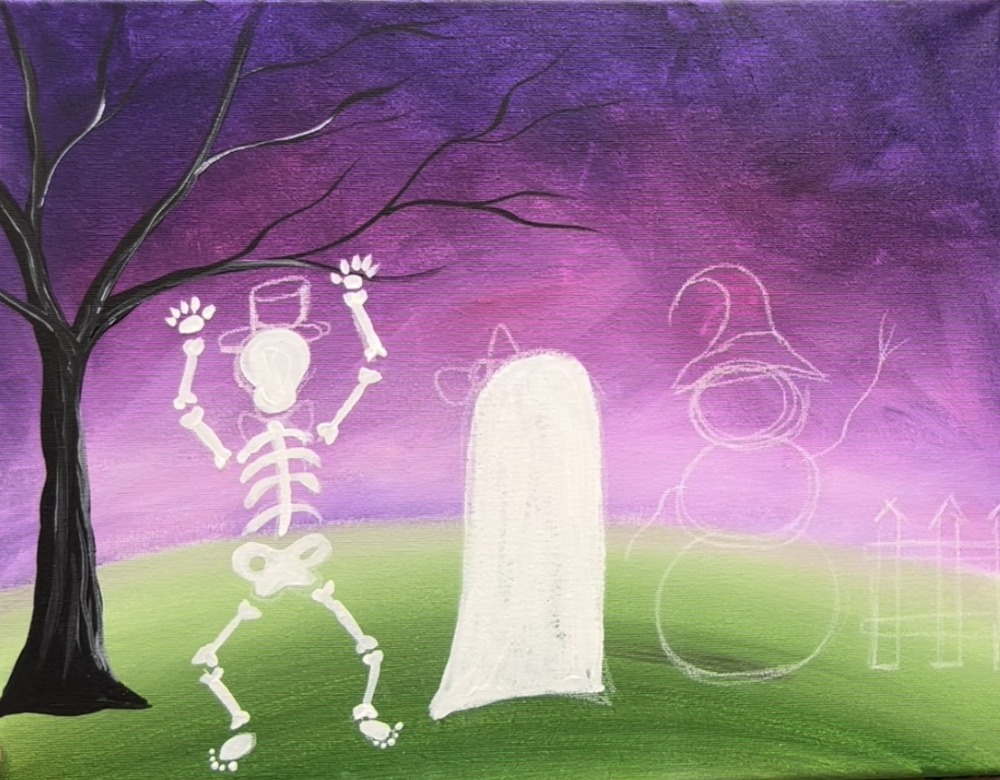
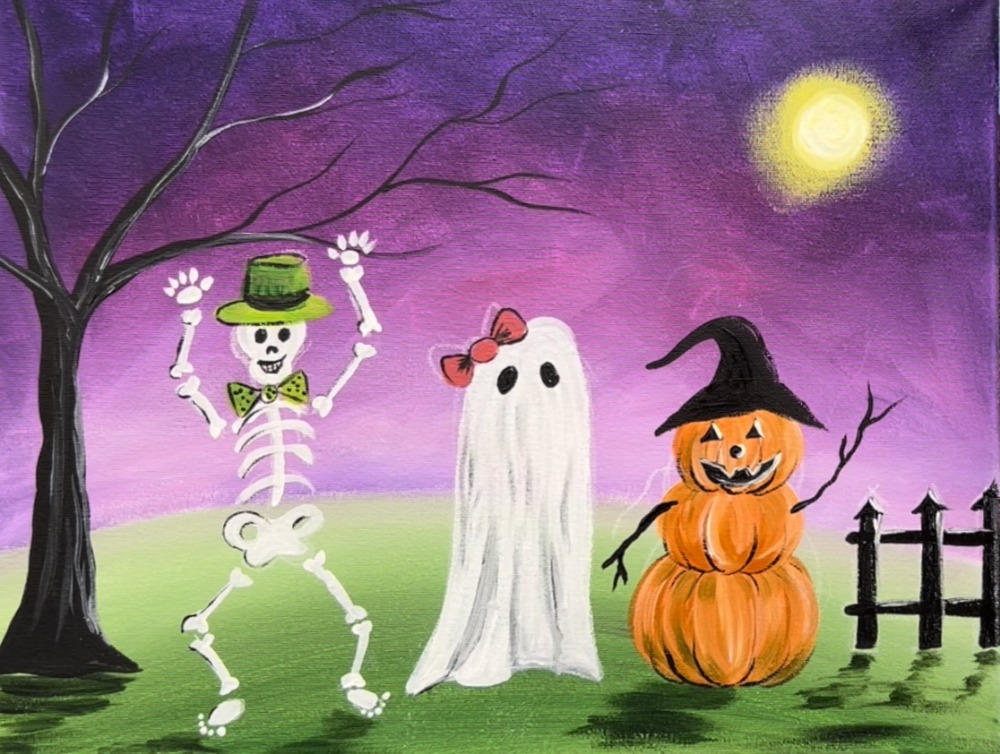
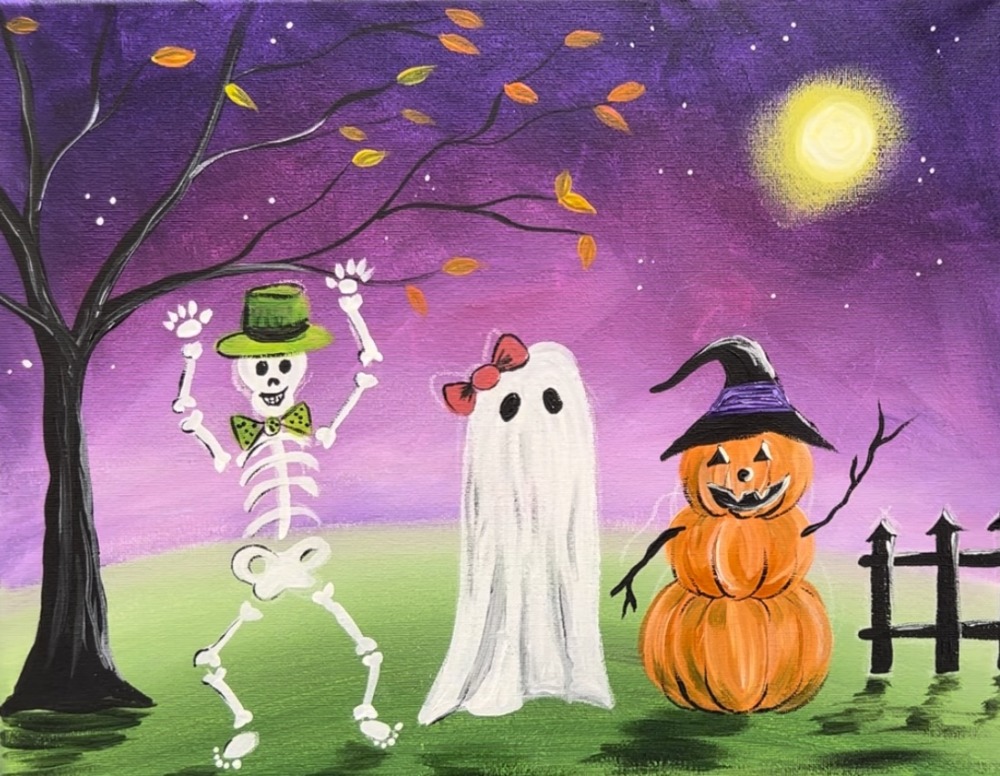
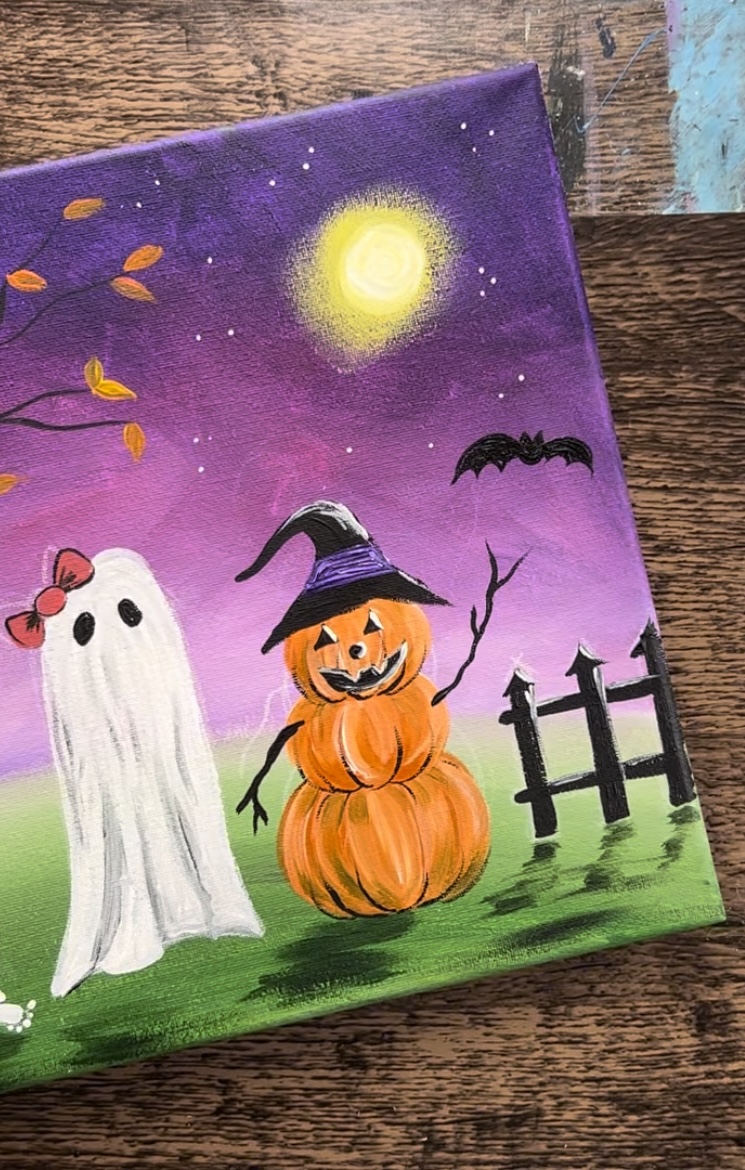
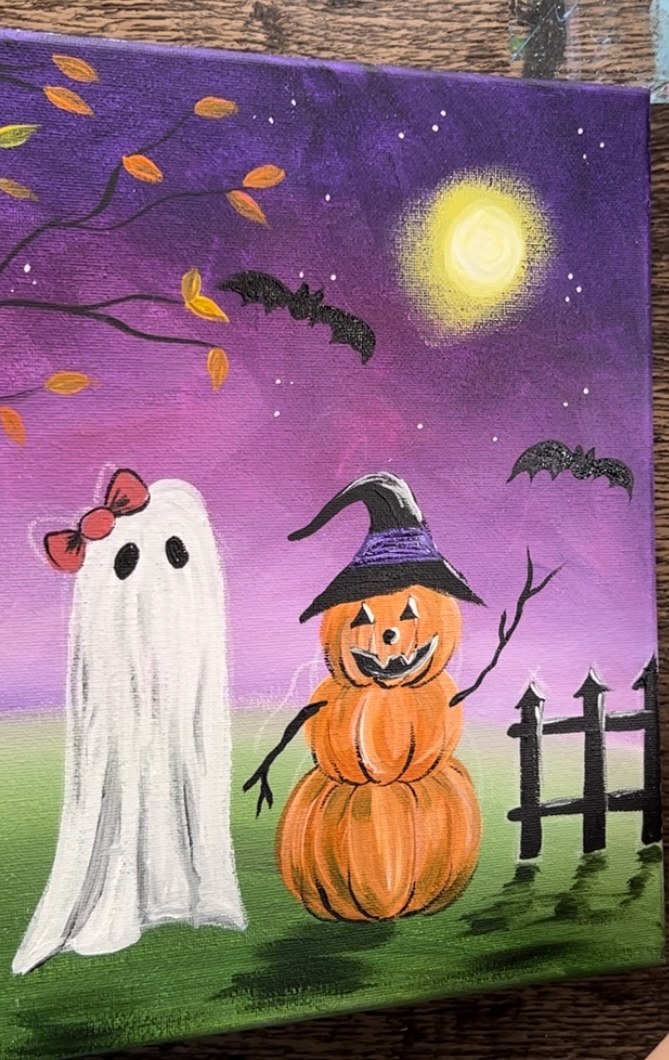
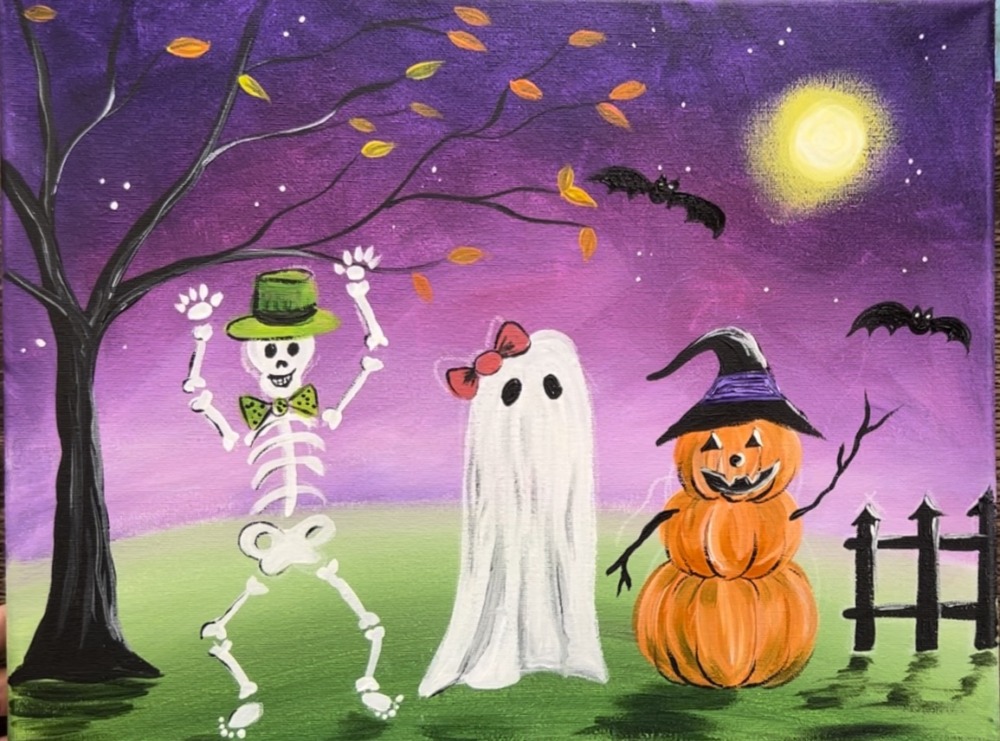
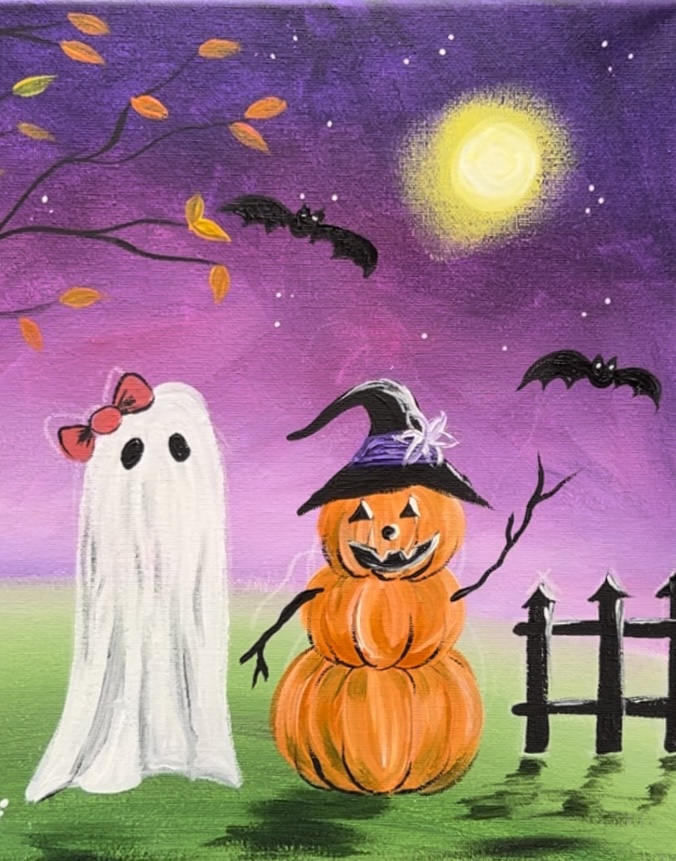
Paint a super adorable Halloween scene with skeleton, ghost and pumpkin topiary. This painting is very detailed but you are welcome to simplify it or even add more spooky elements to it!

I did this on an 11 x 14 canvas. You can use any size canvas for this.
Enjoy and happy painting!
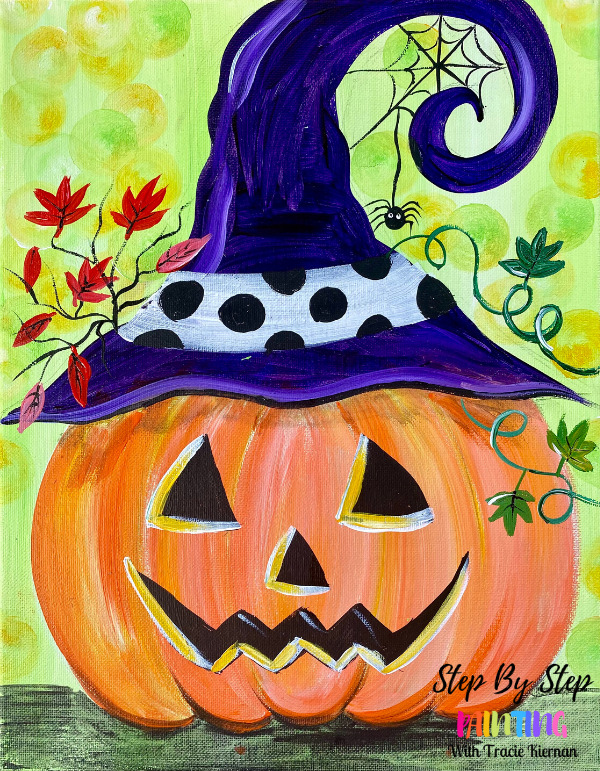
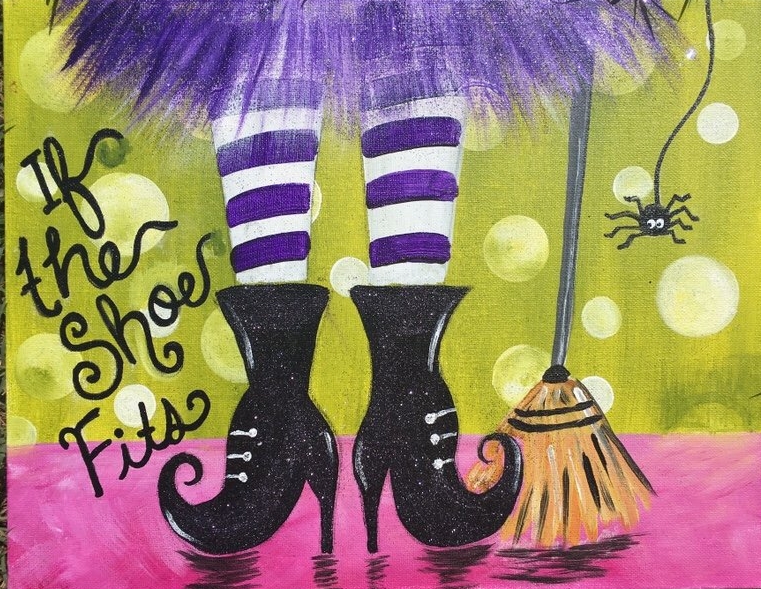
See Also…
Materials Needed
Halloween Friends - Acrylic Painting Tutorial
Materials
- 11 x 14 Canvas
- Acrylic Paint
- Brushes
- White Chalk Pencil
- Drawing Pencil
- Palette
- Water Cup
- Protected Workspace
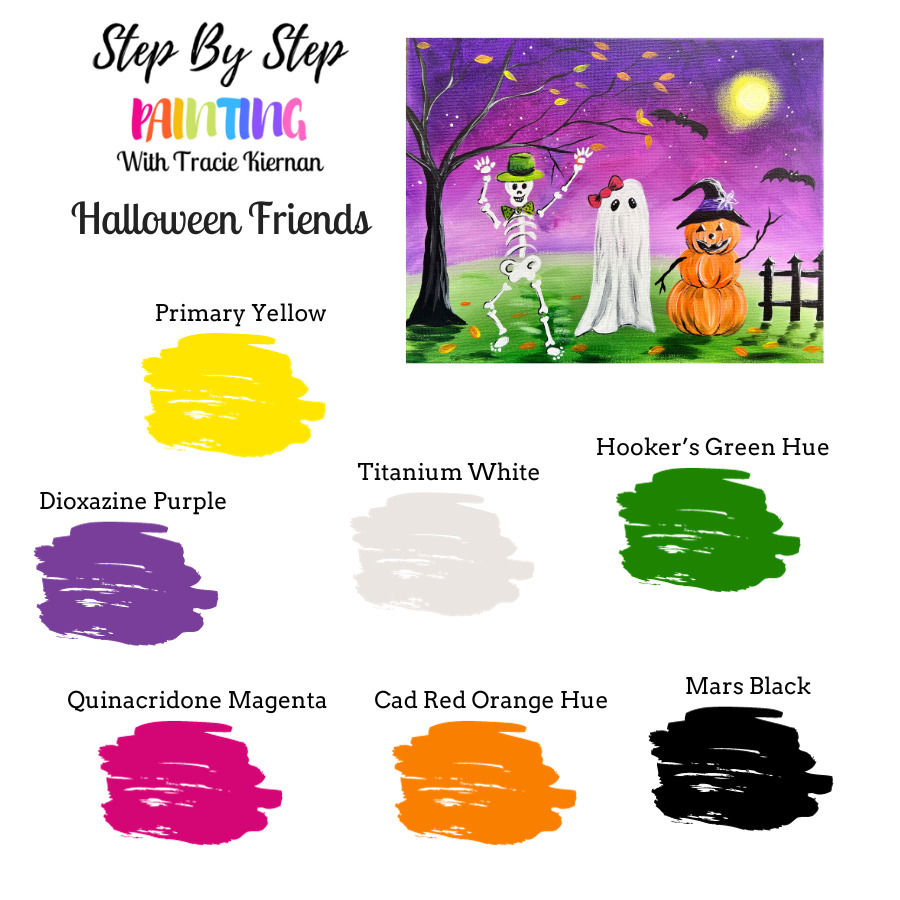
Colors
- Cadmium Orange Hue
- Primary Yellow
- Hooker's Green Hue
- Mars Black
- Titanium White
- Dioxazine Purple
- Quinacridone Magenta
Brushes
- 3/4 Flat
- 8 Round
- 4 Round
- Tiny Detail Brush (3/0 Round)
Color Palette
I used Liquitex BASICS acrylics for this painting. If you are using a different brand, I would recommend using the color chart below to help match colors.
Directions At A Glance
Video
Step By Step Directions
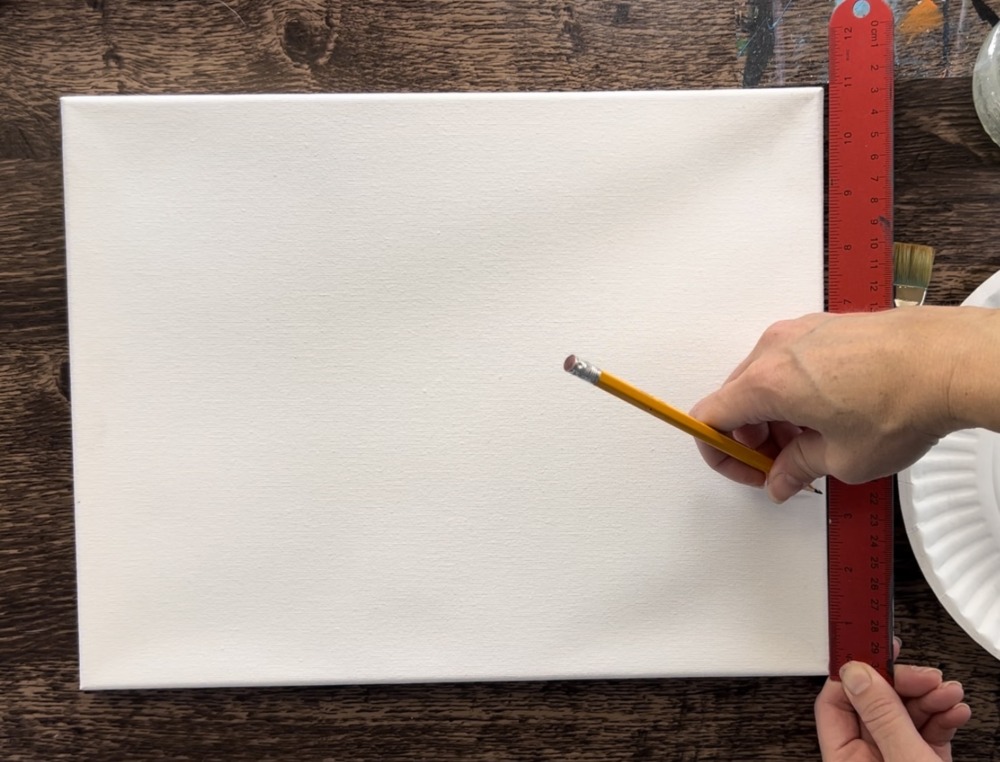
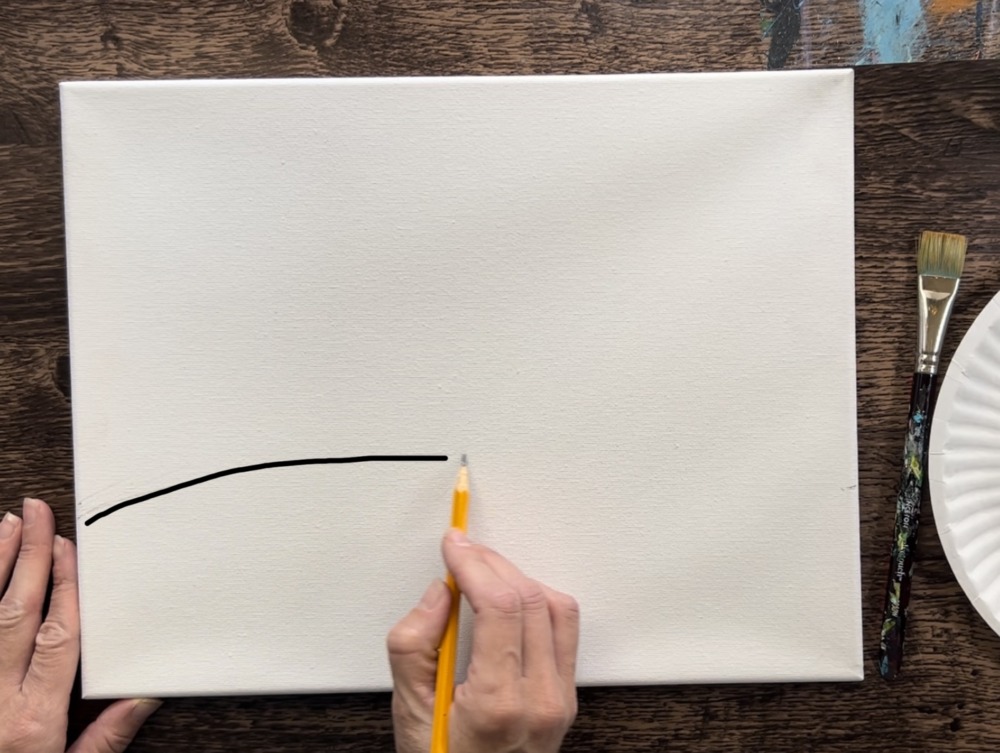
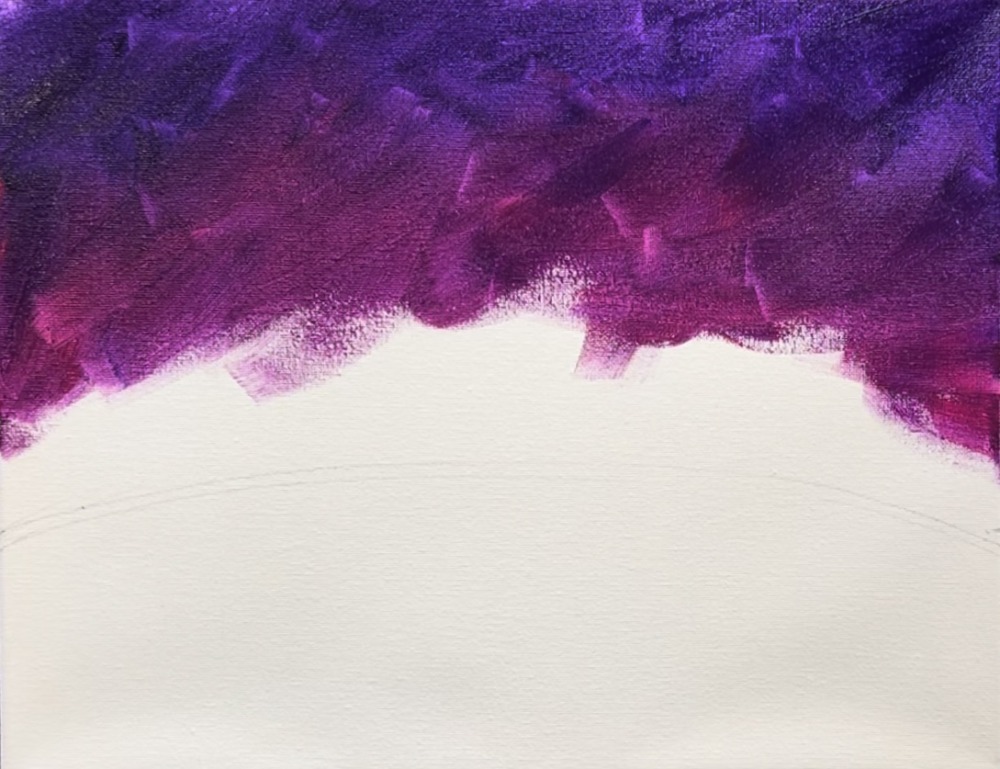
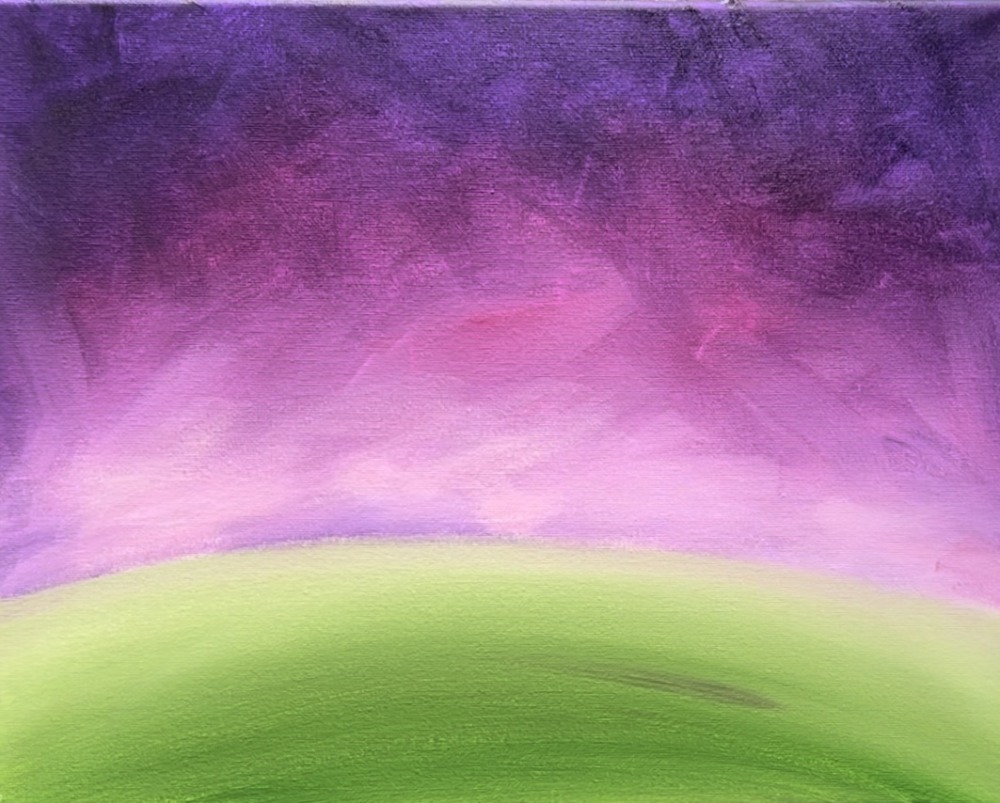
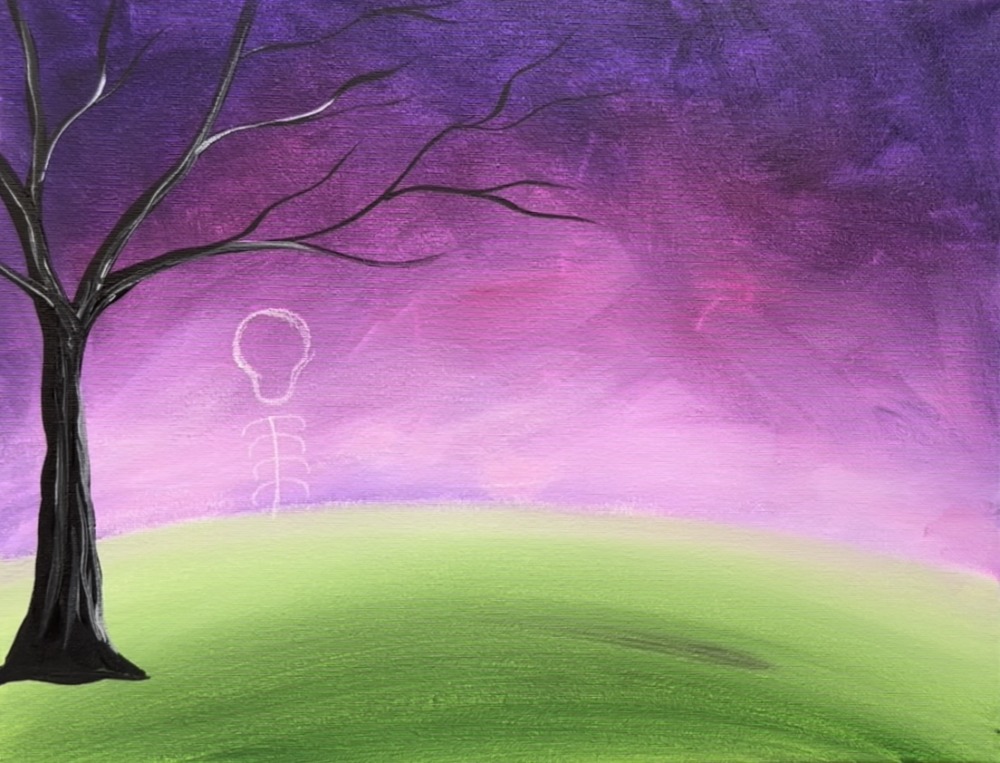
1. Paint Sky
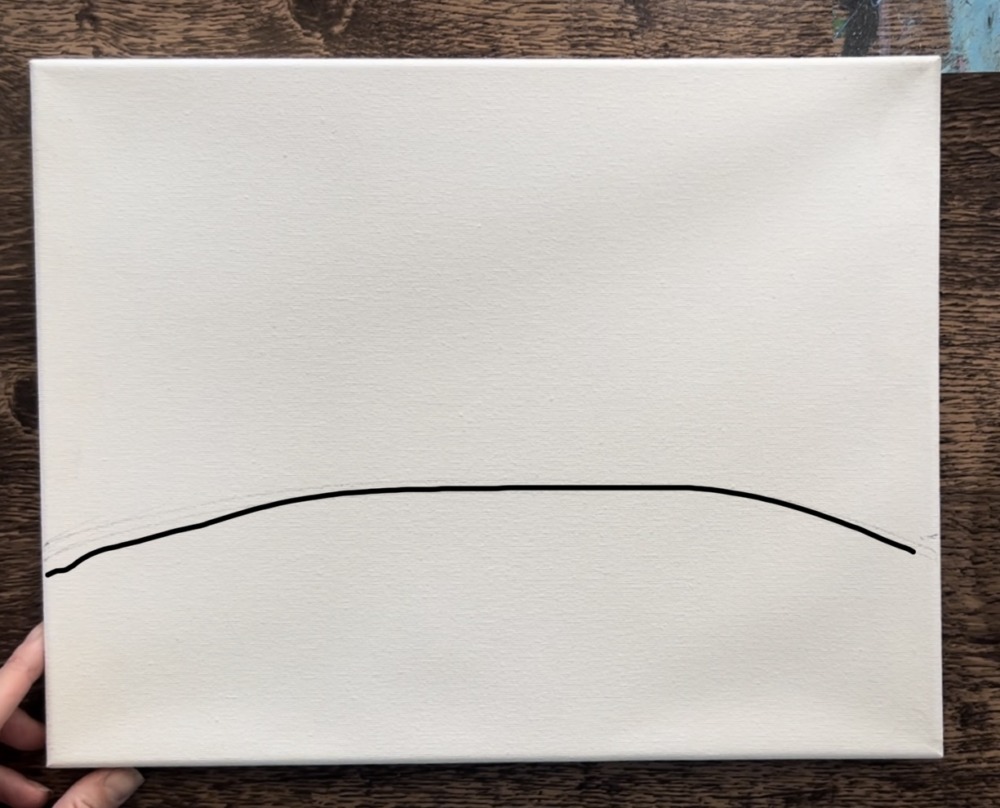
Position the canvas horizontally. Measure 3.5″ from the bottom of the canvas and draw a curved line from one end to the next. This will divide the land and the sky.
Next, load your palette with: dioxazine purple, quinacridone magenta and titanium white. Use a 3/4″ flat brush. Load it into the dark purple. Start at the top and paint expressive “X” style strokes.
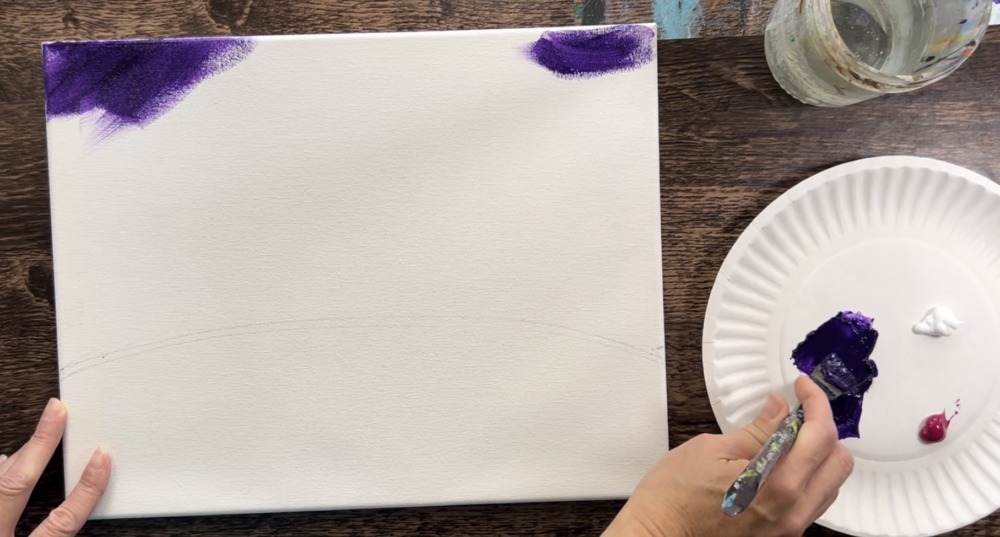
Fill about a quarter of the top area with this purple.
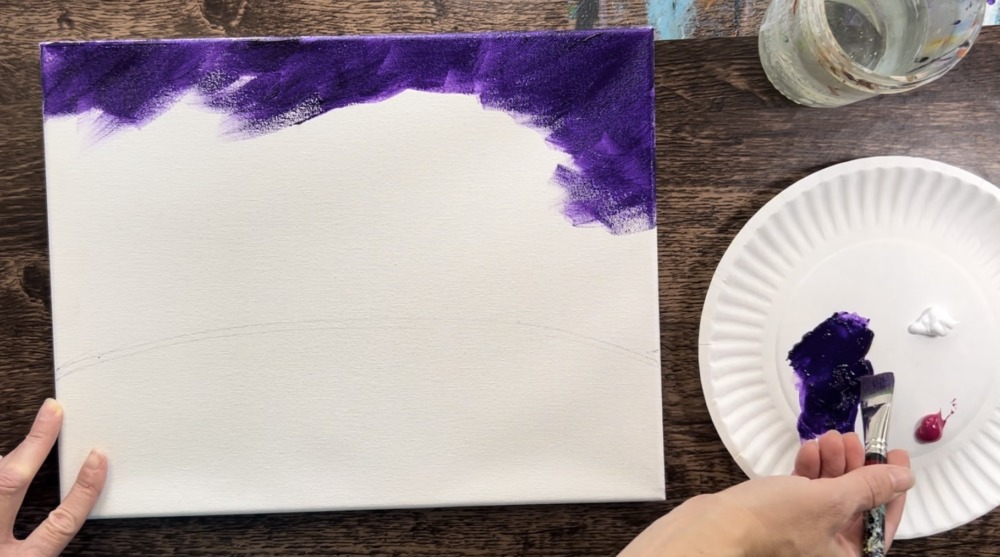
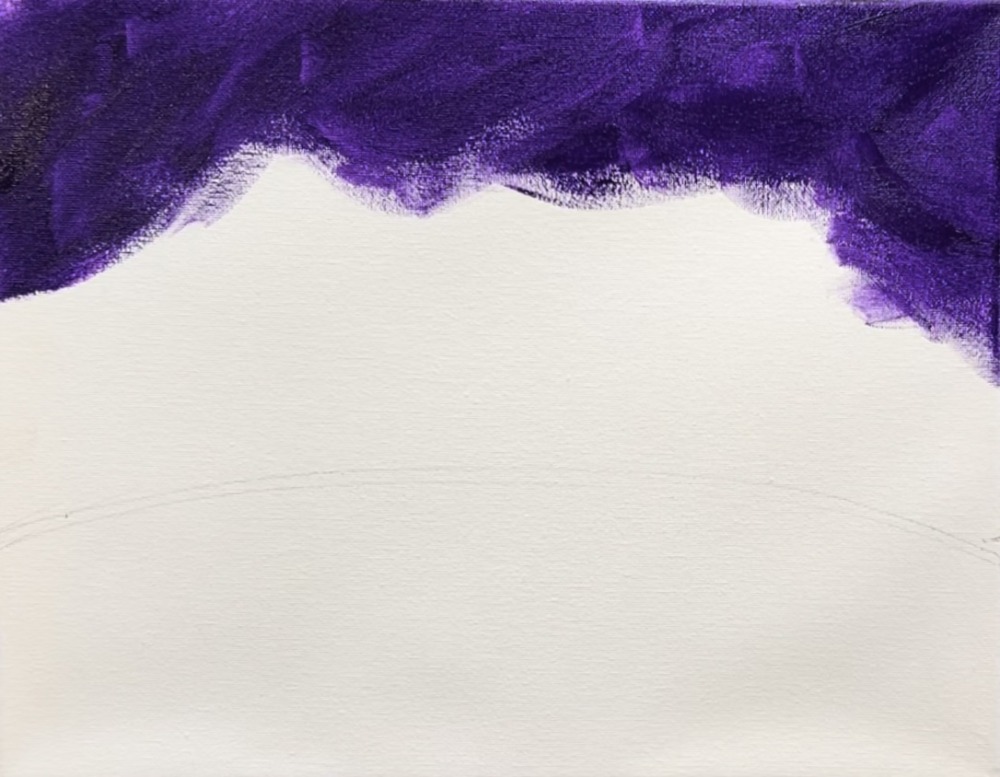
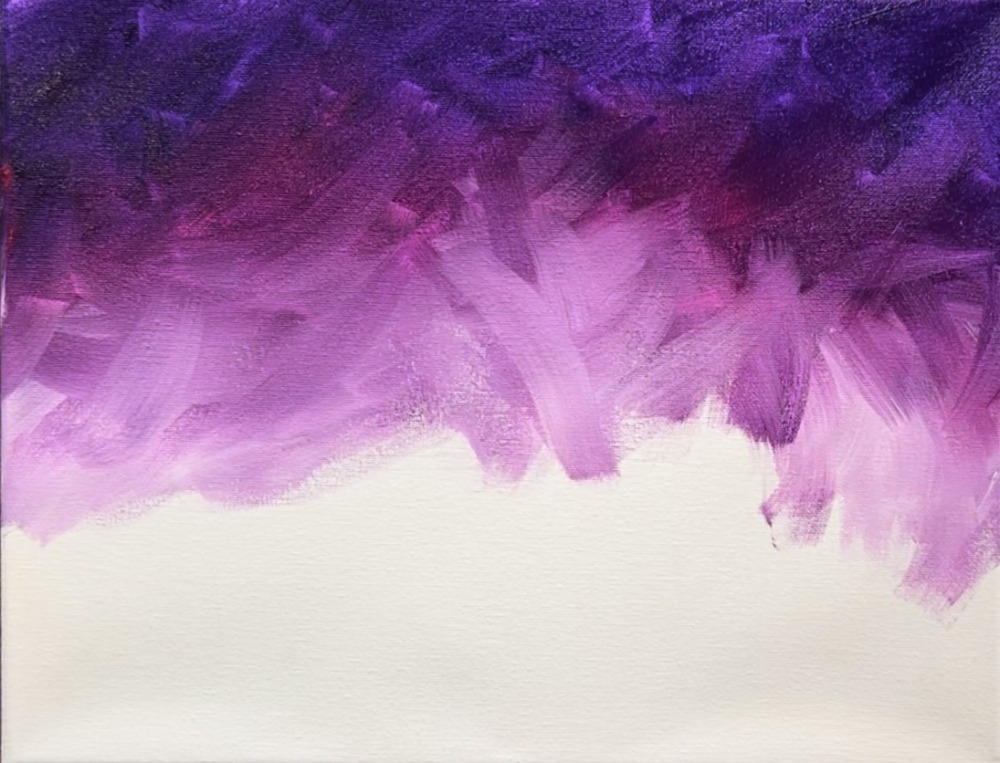
Then, without rinsing the brush, load it into quinacridone magenta. Blend this magenta in with the dark purple. It will turn a warm, lighter purple. Continue to paint with “x” style expressive strokes. Allow the sky to go in kind of a curved directions.
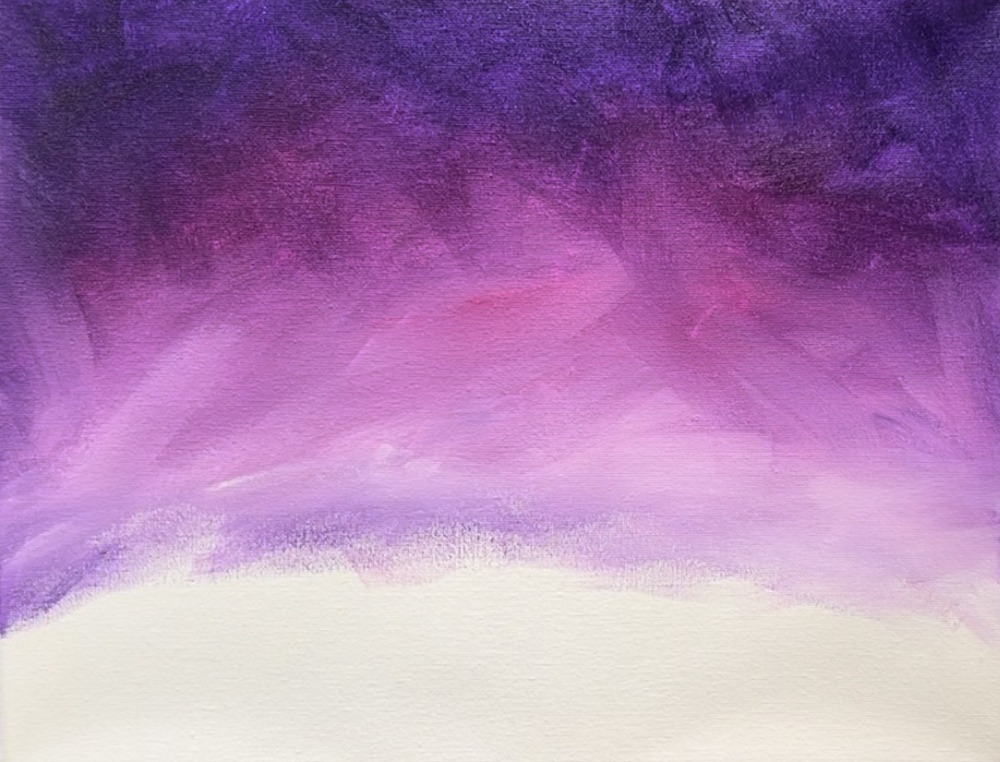
Next, without rinsing the brush, load a small amount of titanium white onto the brush. Gently blend the white on the bottom just above the curved line. It will turn a light pink-violet color. If needed, blend more of the magenta in.
Wipe the brush off and gently smooth some of the paint strokes.
2. Paint Ground
Load your palette with hooker’s green hue permanent. Use the 3/4″ flat brush to paint the green area on the grown. Paint this in a curved direction and start on the bottom.
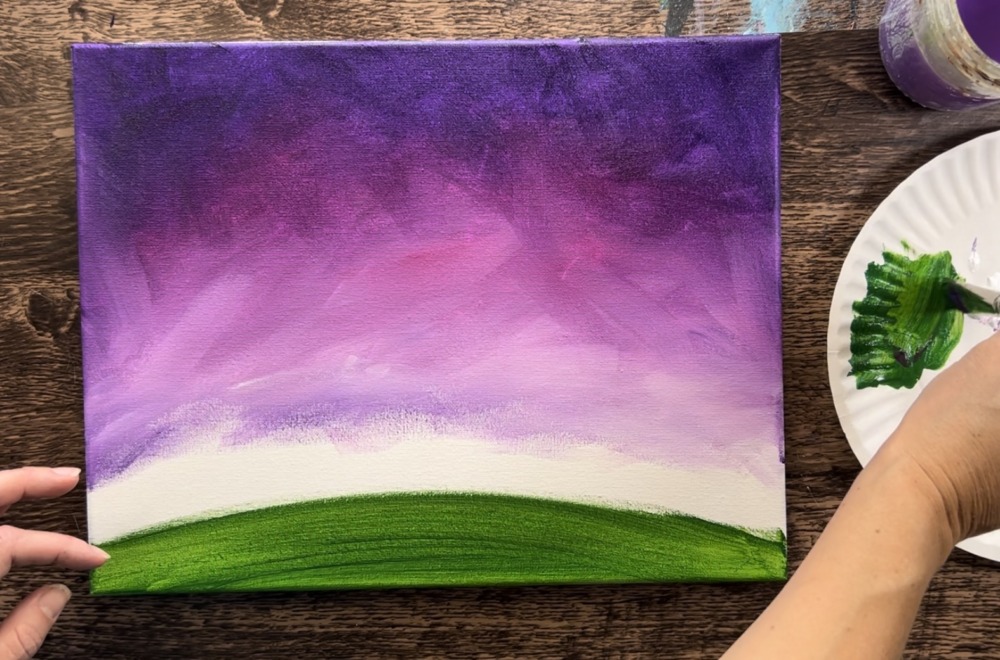
Go about halfway up with this green.

Then, load a small amount of titanium white onto the brush (without rinsing). Gently blend this green so that it turns to a lighter green at the top.
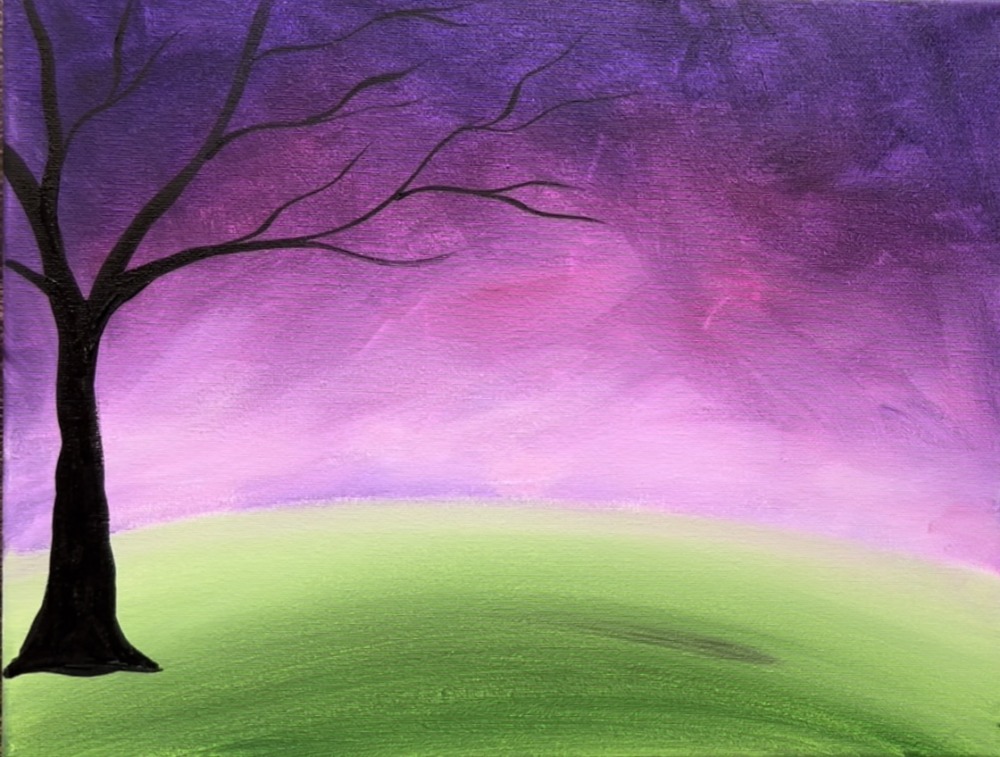
3. Paint Tree
Use a #8 round brush and mars black to paint the tree. It helps to add a small amount of water into the black to thin it down a bit. Start at the bottom and paint the trunk so that it opens a bit wide and then goes narrow as it goes up.
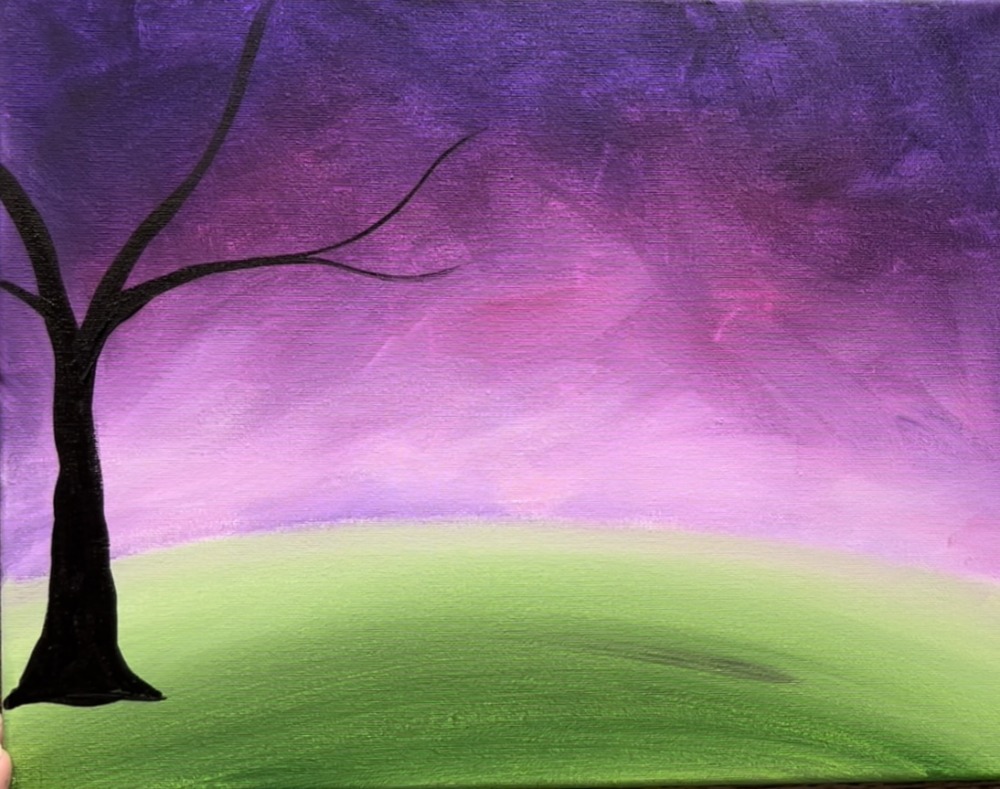
Use the tip of the brush to paint thinner tree branches. You can make them look a little “spooky” by making the branches go kind of “wavy”.
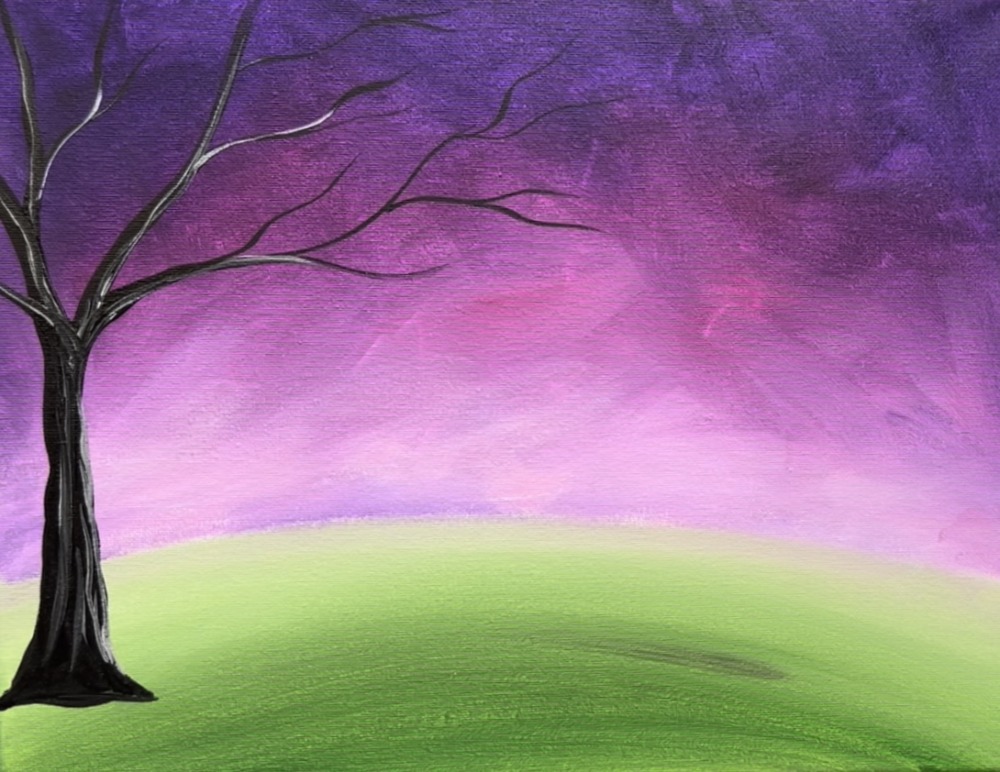
Optional: add a small amount of titanium white to the brush and paint some texture on the branch and trunk. Paint loose, vertical lines on the right side of the trunk and blend it in with the black. Then paint on the right side of some of the branches.
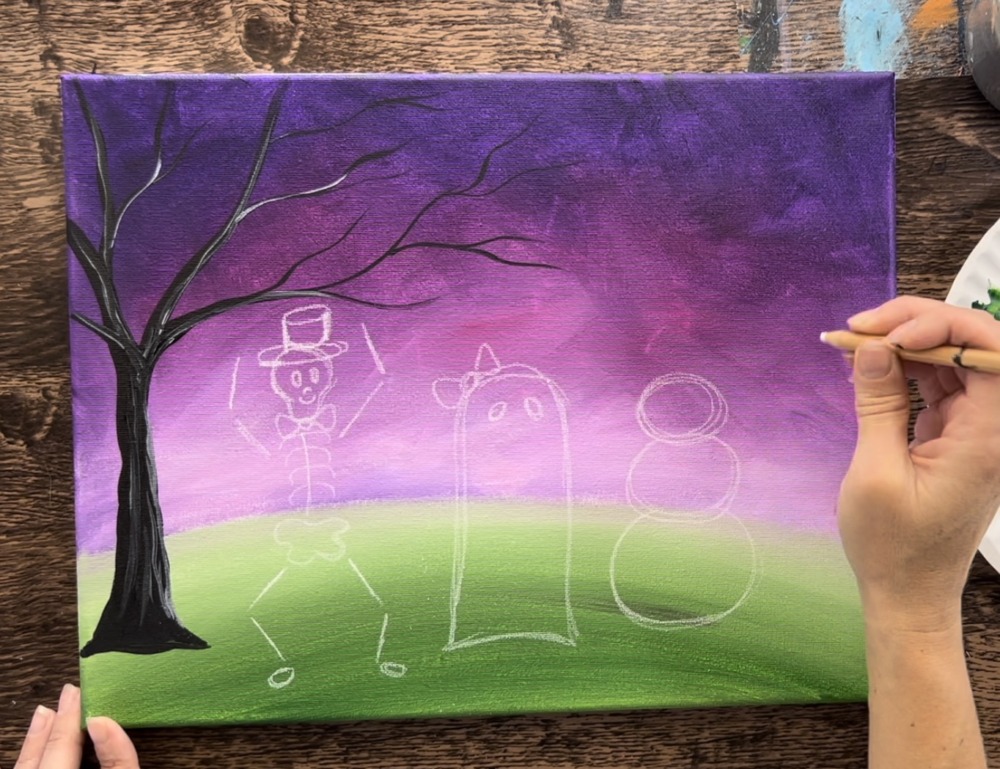
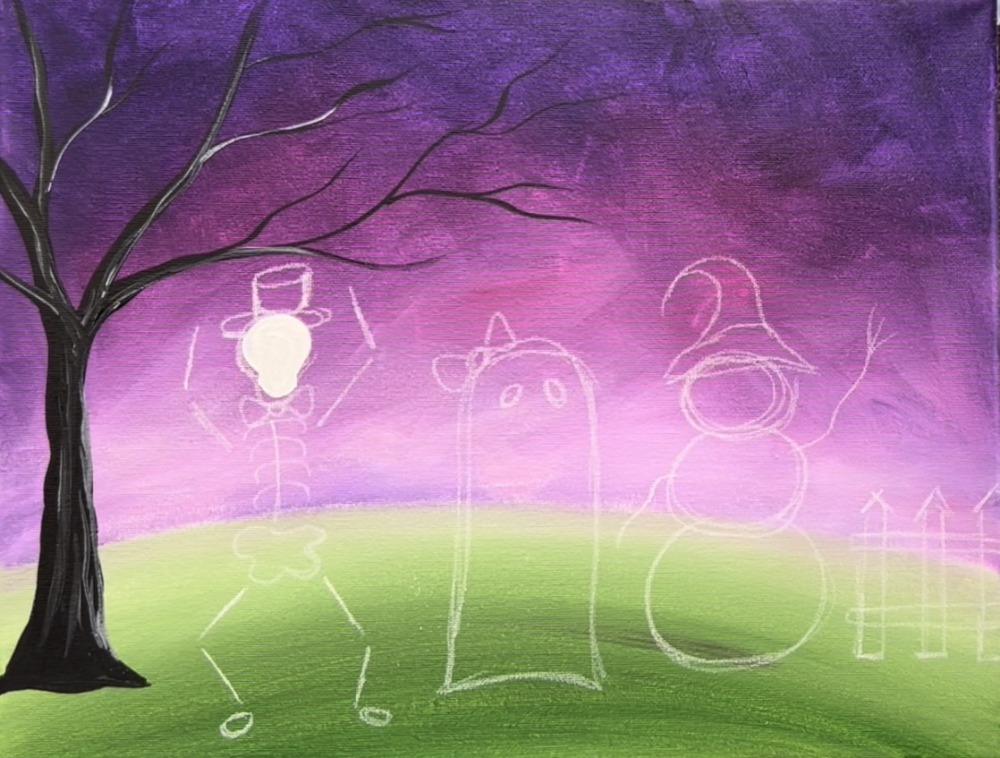
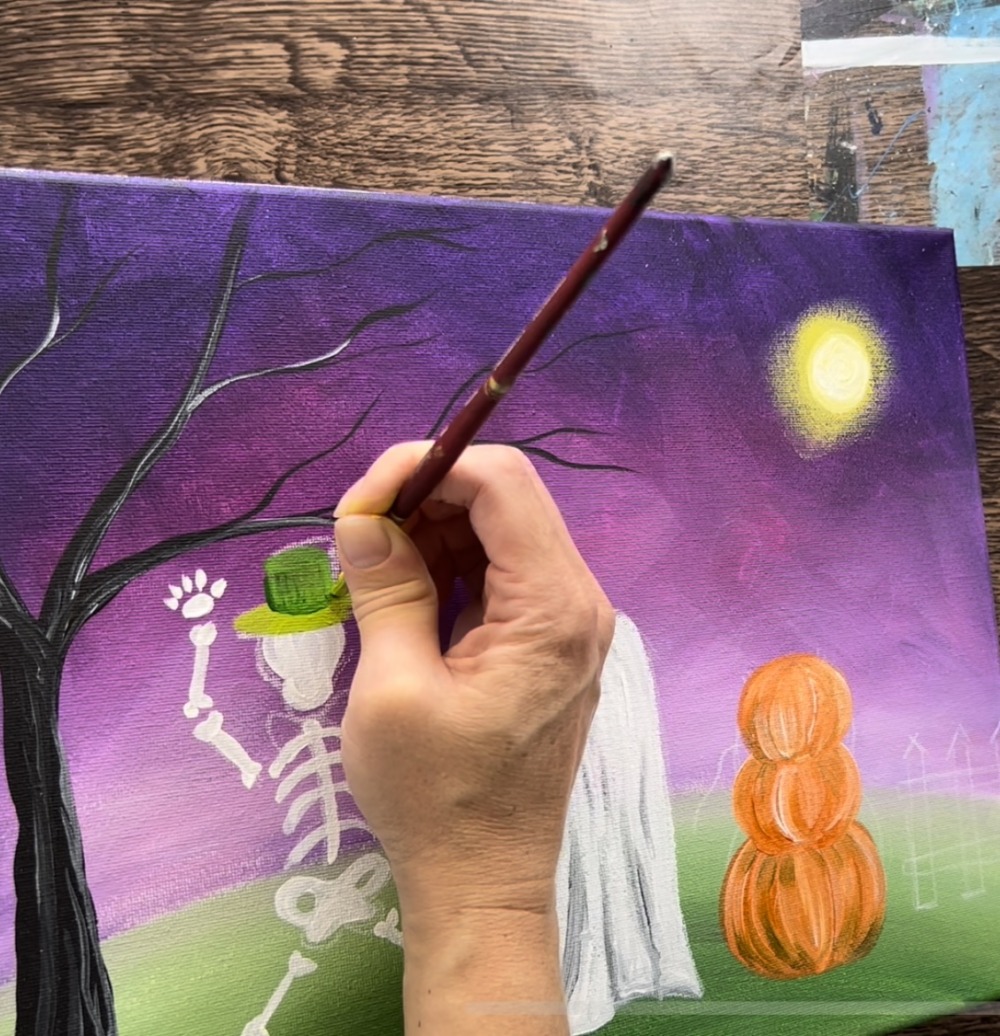
4. Draw Skeleton
Use a white chalk pencil to draw the skeleton. Start by drawing the head (it’s almost like a lightbulb shape).


Draw a straight line down for the spine and then curved lines for the ribs.
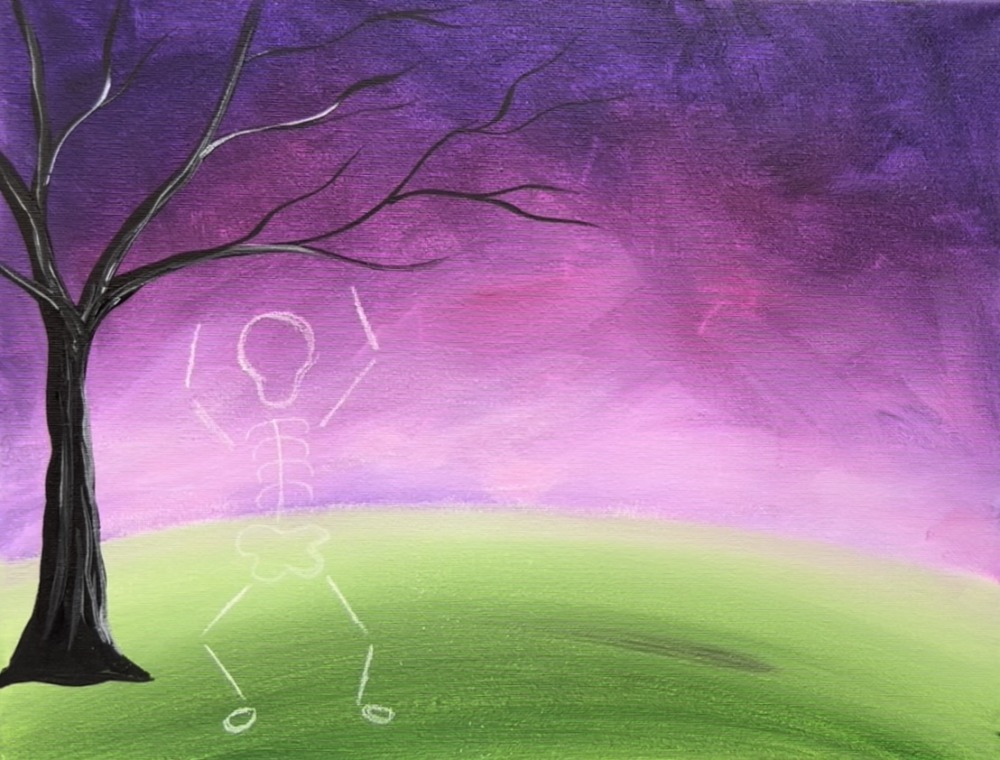
Draw the hip bone and then draw the legs. For the drawing portion, I did basic “stick figure” like arms and legs. You can change the style of this by making the legs and arms go in different directions.
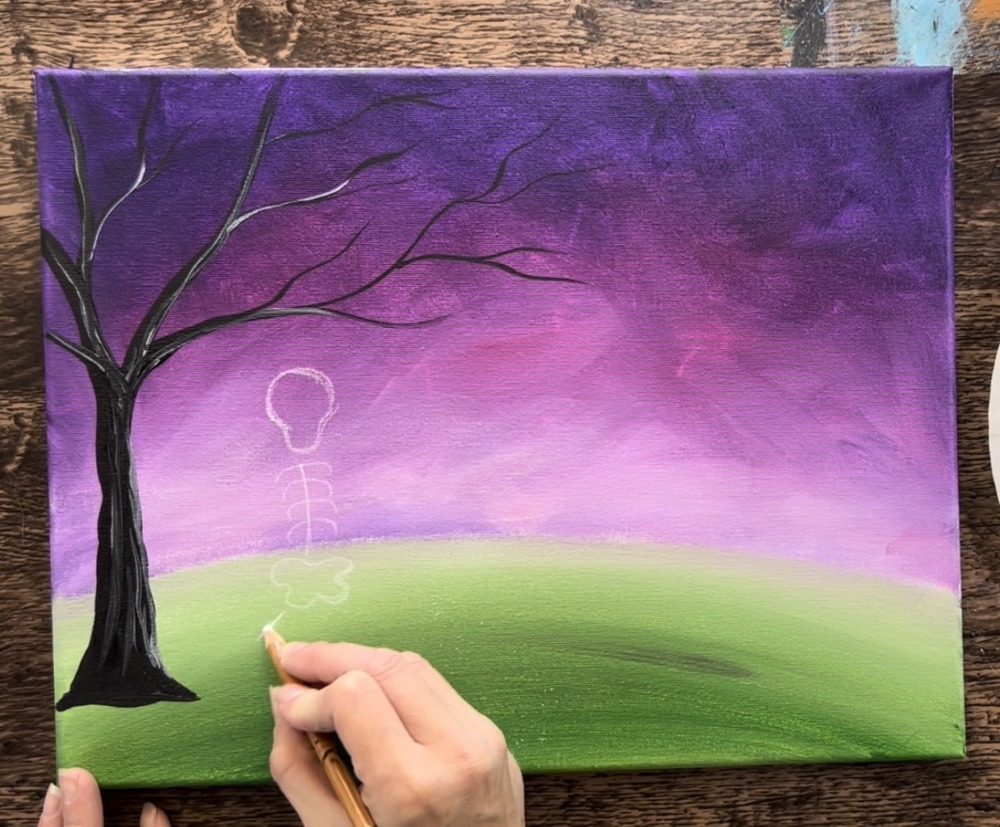
Draw two jointed lines for the arms and two jointed lines for the legs. Then draw small ovals for the feet. I did not do the hands or fingers and toes. I also did not draw the ends of the bones. These will be done later when we paint the skeleton in.
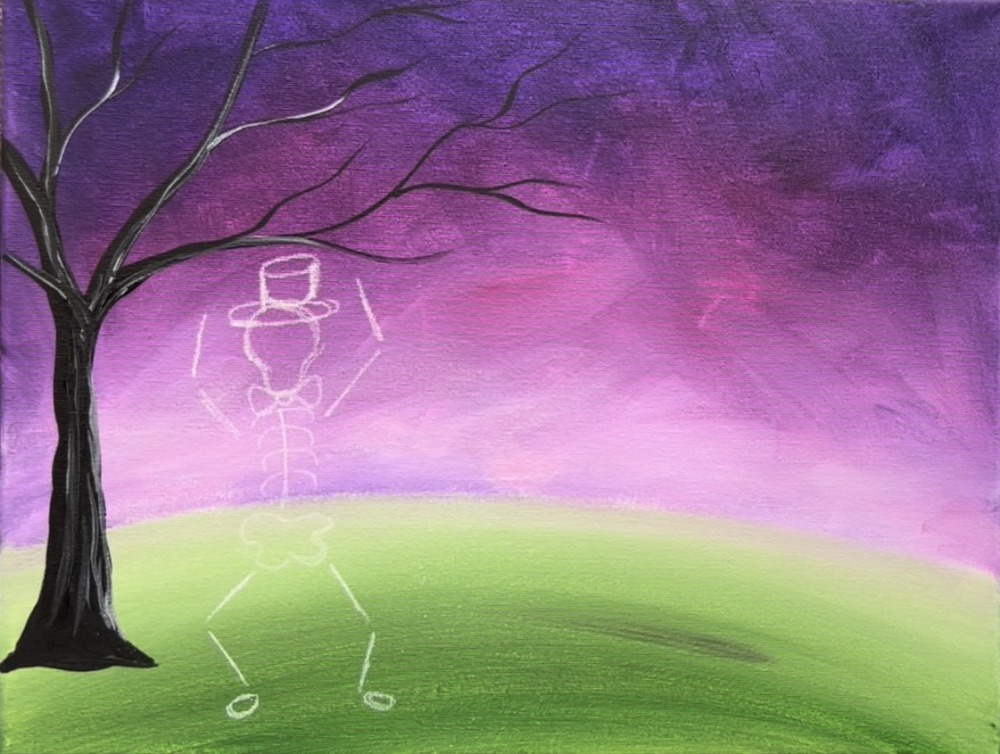
I drew a hat and bowtie.
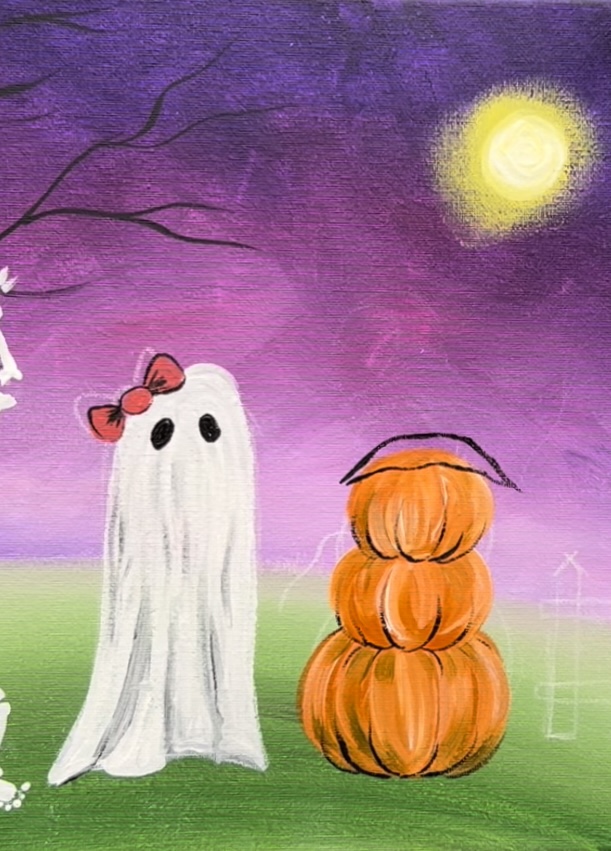
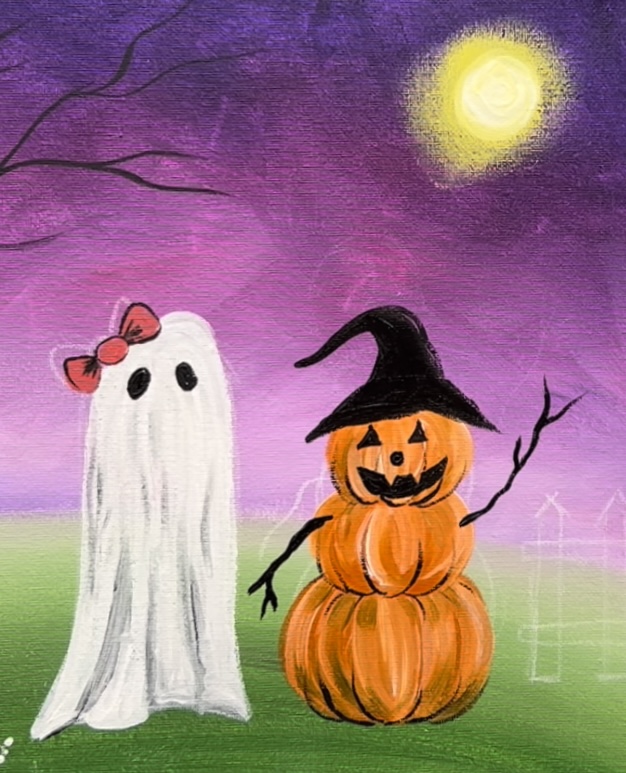
5. Draw Ghost
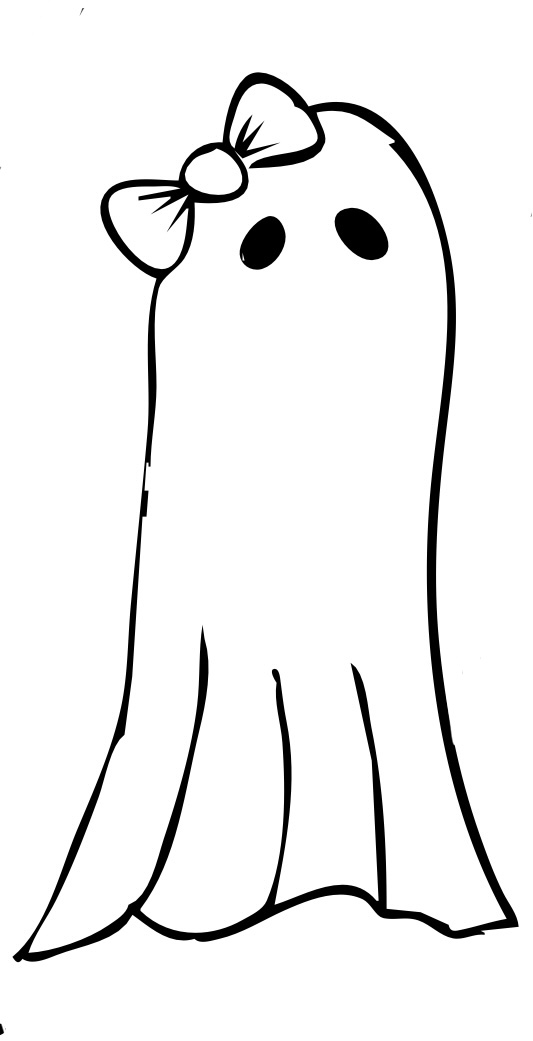
Draw a very basic ghost shape. Draw the eyes and a bow.
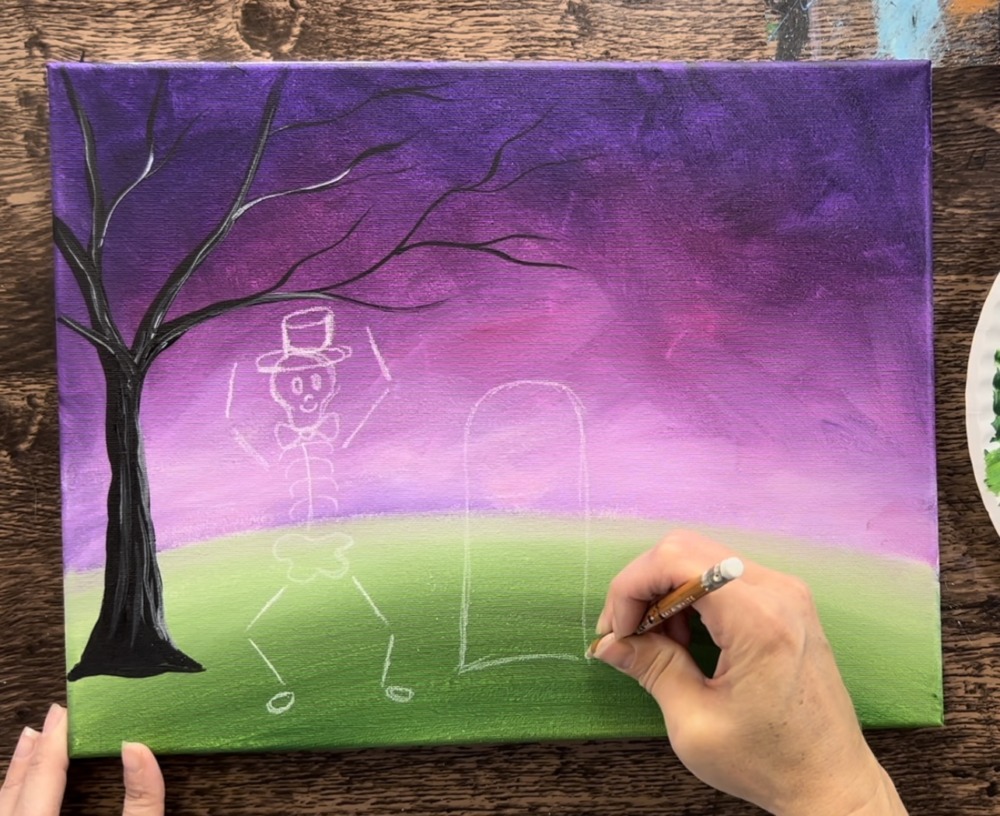
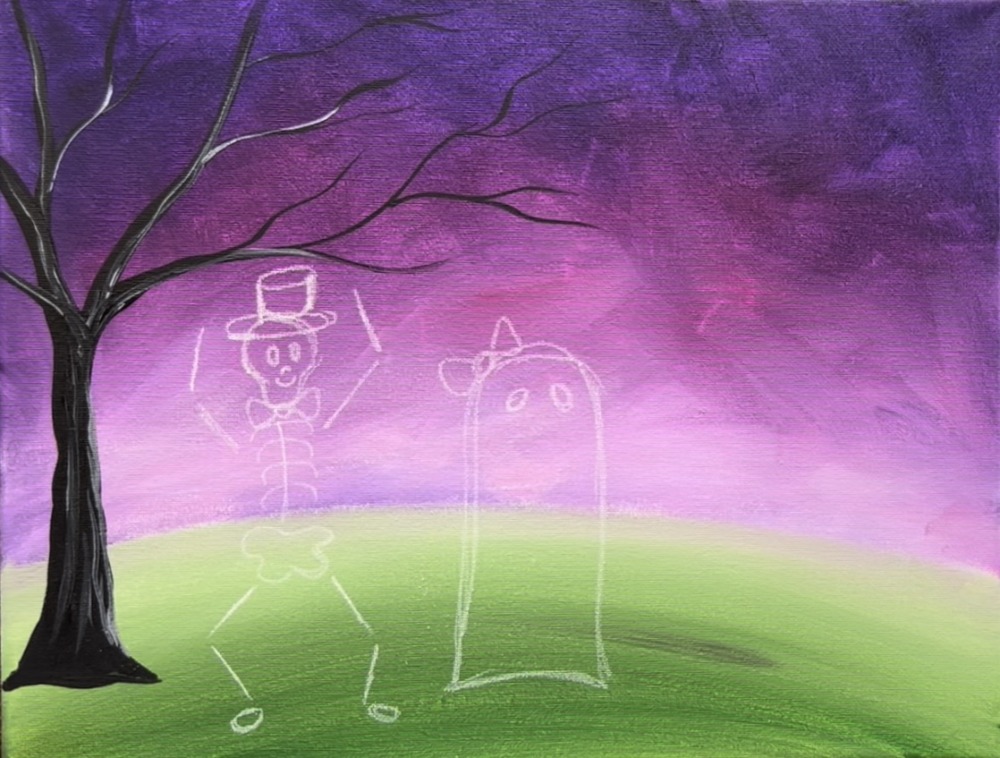
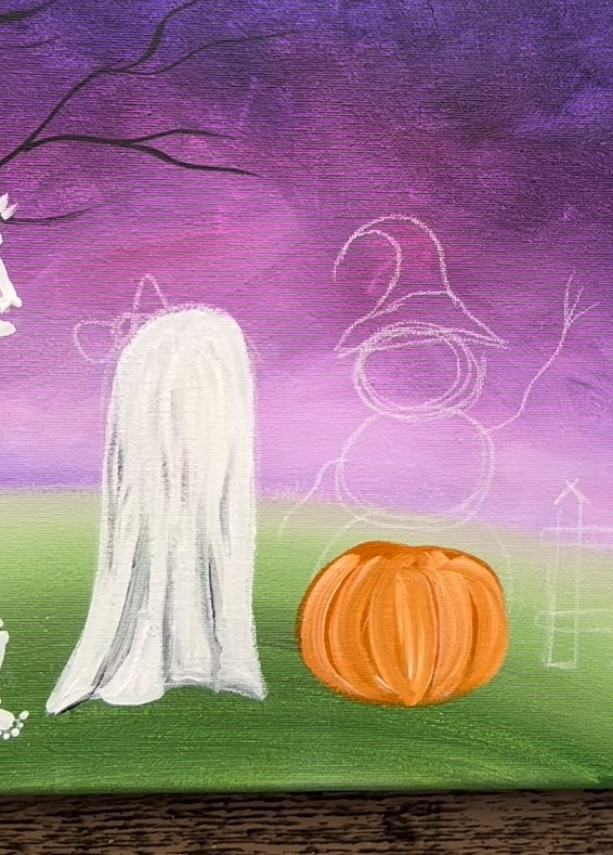
6. Draw Pumpkin Topiary & Fence
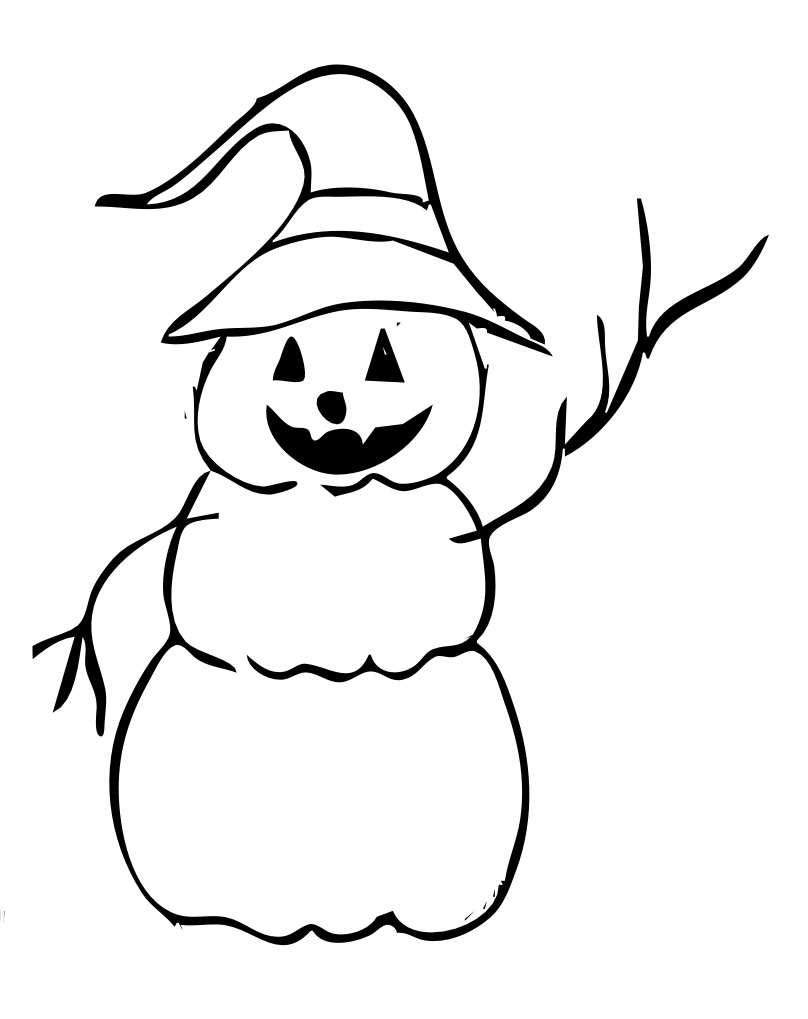
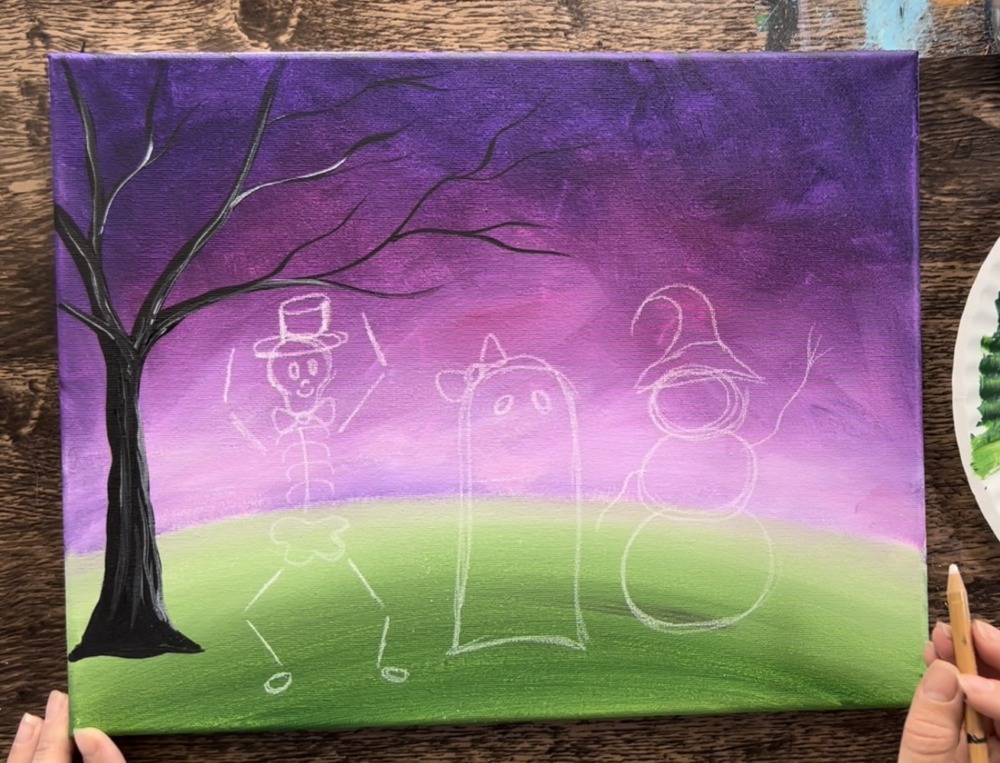
Draw the pumpkin topiary as if you are drawing a snowman. Draw three circles with the smallest circle at the top and largest at the bottom with each slightly overlapping.

Then draw two stick arms and a witch hat on the top of the top circle.
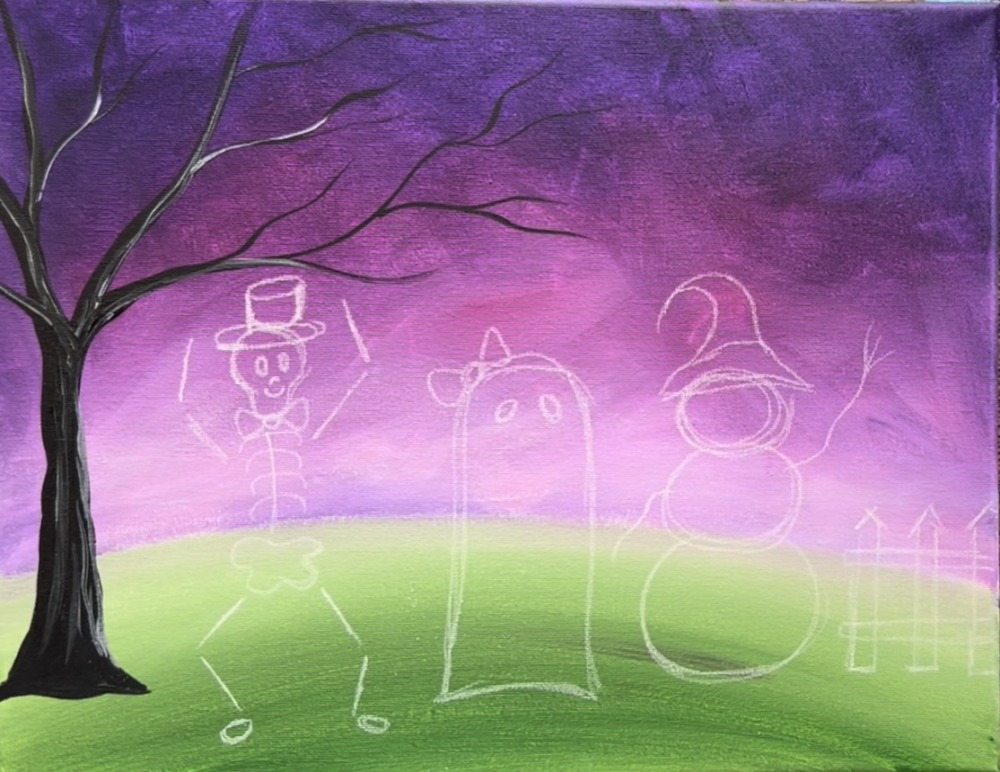
Then sketch the fence. I did three vertical posts that had a triangular top to them.
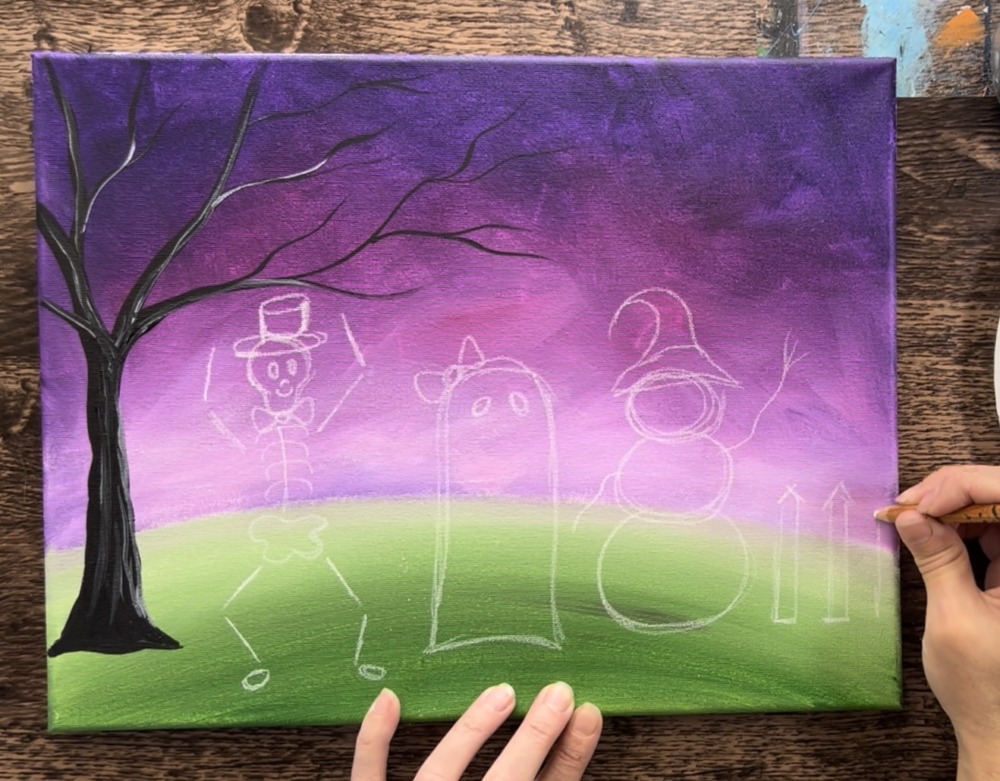
Draw two horizontal lines going across the three vertical beams.
7. Paint Skeleton
Load your palette with some fresh titanium white and use a #4 round brush. Start by painting the head a solid coat of white.
Paint the pelvis, spine and ribs. If needed, switch to a 3/0 tiny detail brush for the smaller lines. Note that when you are painting this skeleton in, you are making the lines you initially drew to be thicker.
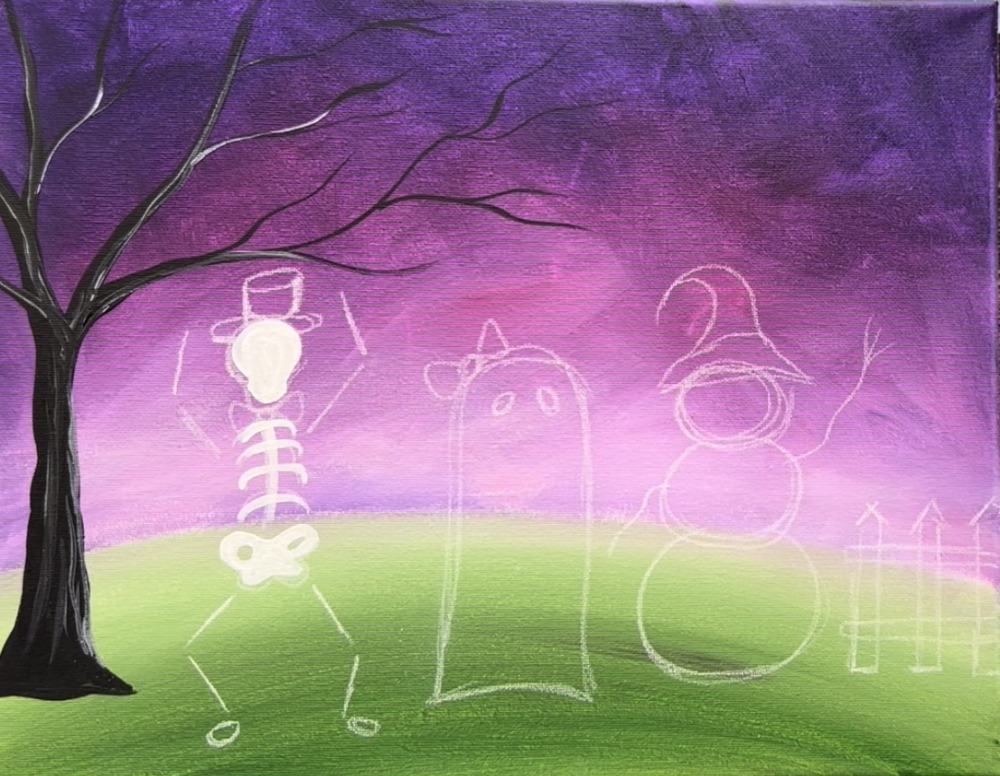
As you paint the leg and arm bones, make the initial line thicker and add two rounded ends to make them look like bones.
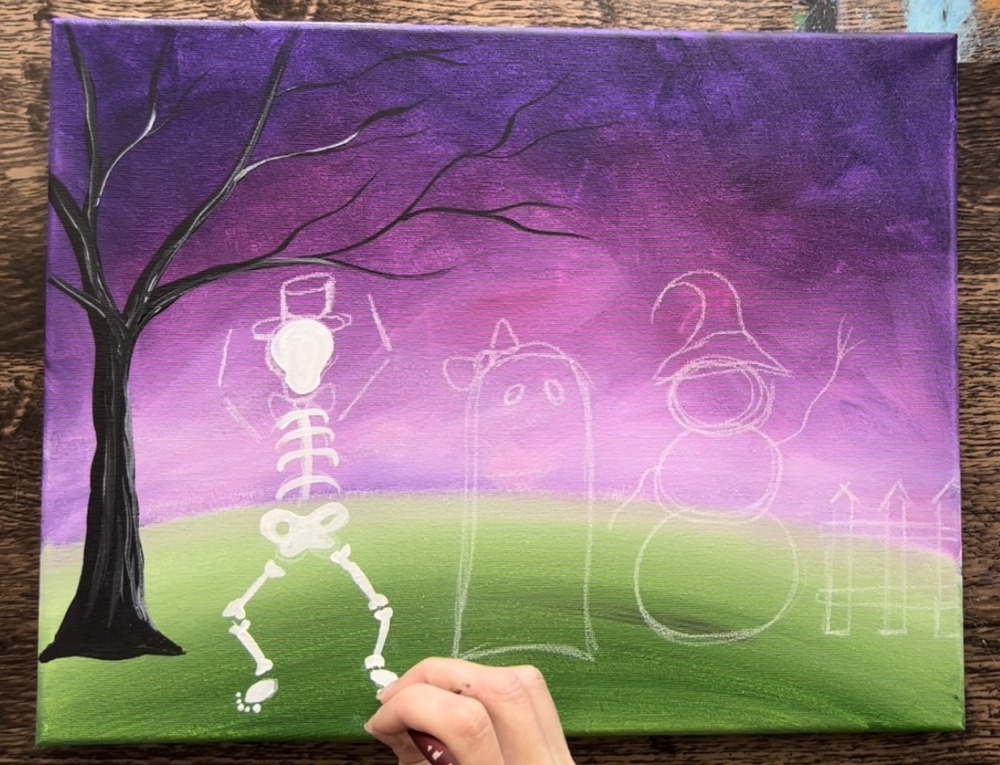
Paint small ovals for the feet and hands and then paint five little dots for the toes. Paint the thumbs and small vertical marks for the fingers. You’ll need to wait for this to dry before adding more details to the skeleton.
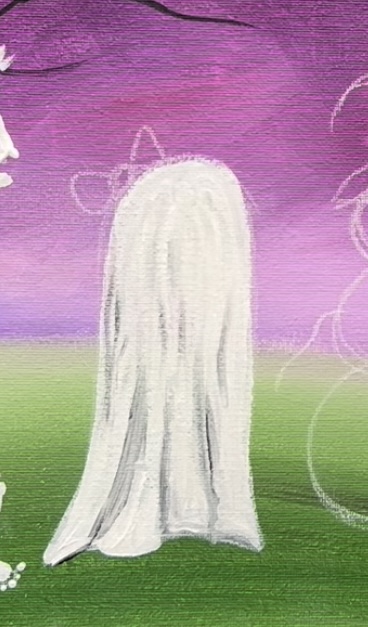
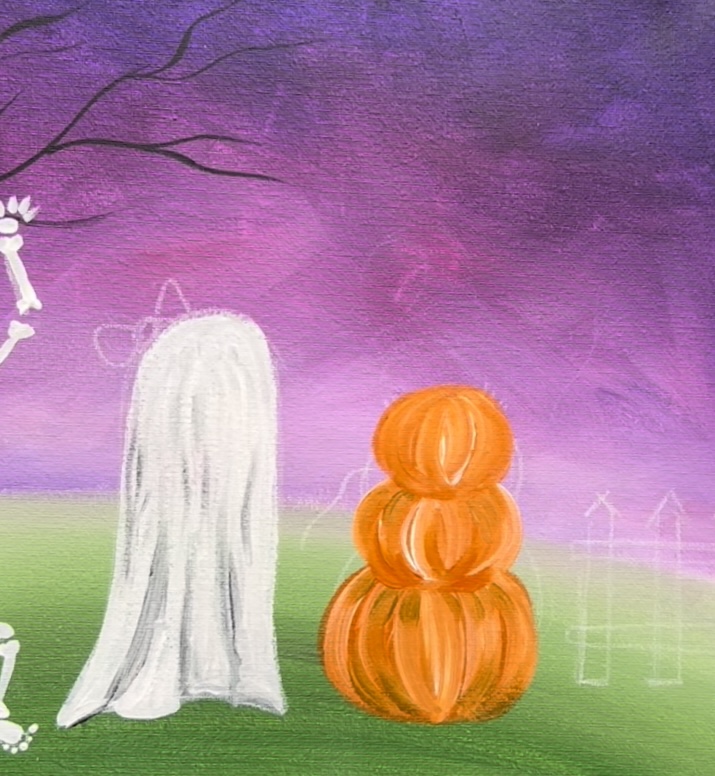
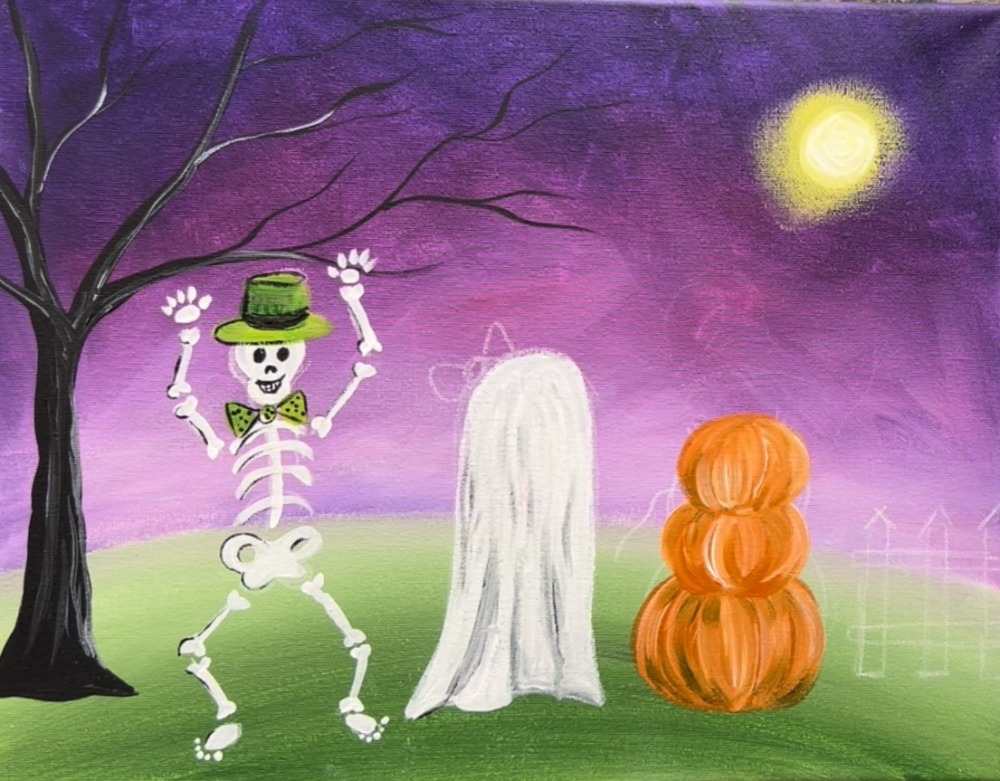
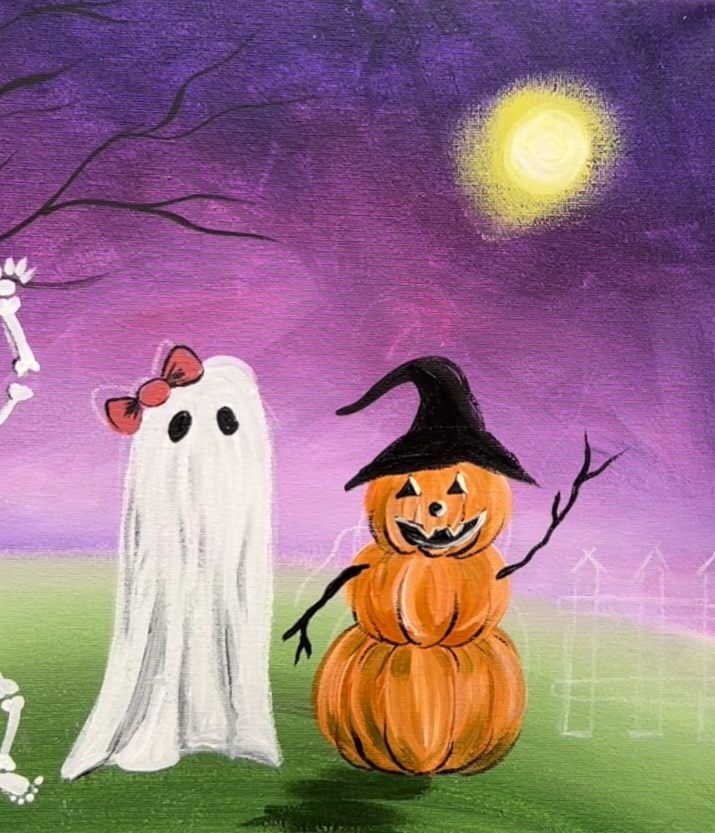
8. Paint Ghost
Use the #4 round brush and titanium white to paint the ghost. As you paint this ghost, drag your brush in downward strokes.
Paint the entire shape of the ghost with a solid coat of white.
Then mix a gray on your palette by mixing a small amount of black with titanium white. Paint gray lines on the bottom of the ghost for the shading/ wrinkles.
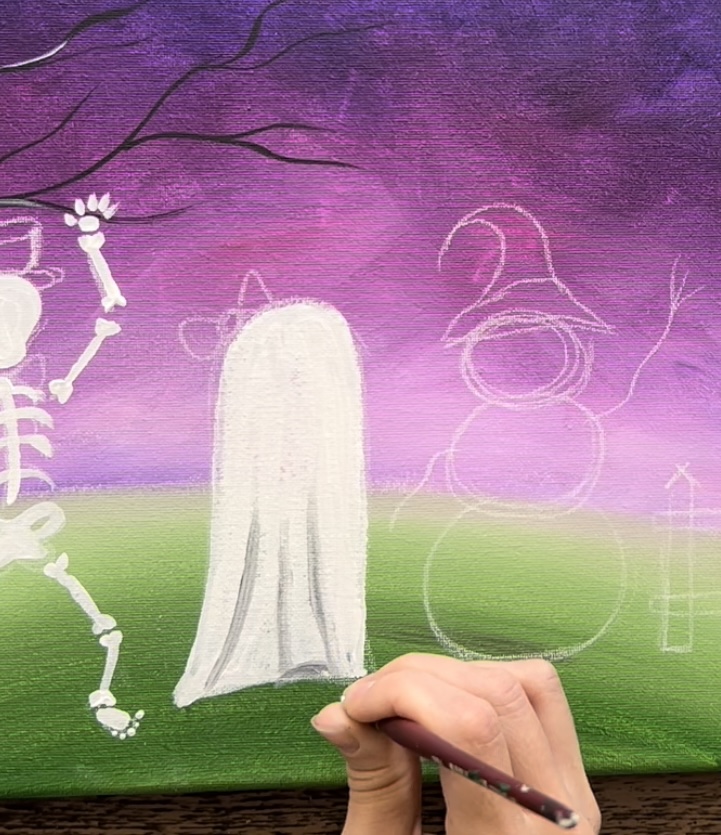
Add more shape on the bottom edge of the ghost to give it a bit of a three dimensional look.
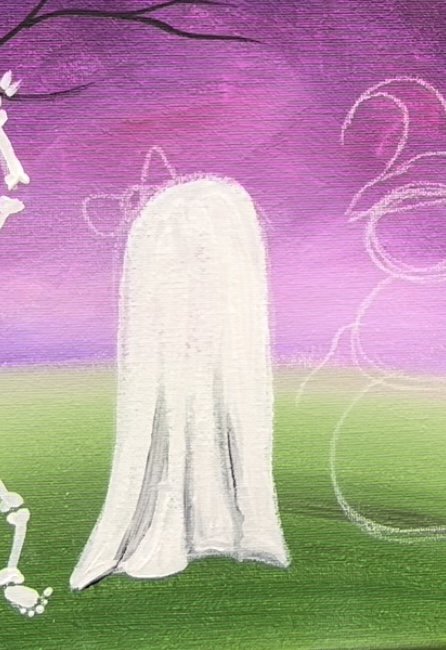
Then add some more very light gray, loose strokes at the top of the ghost.
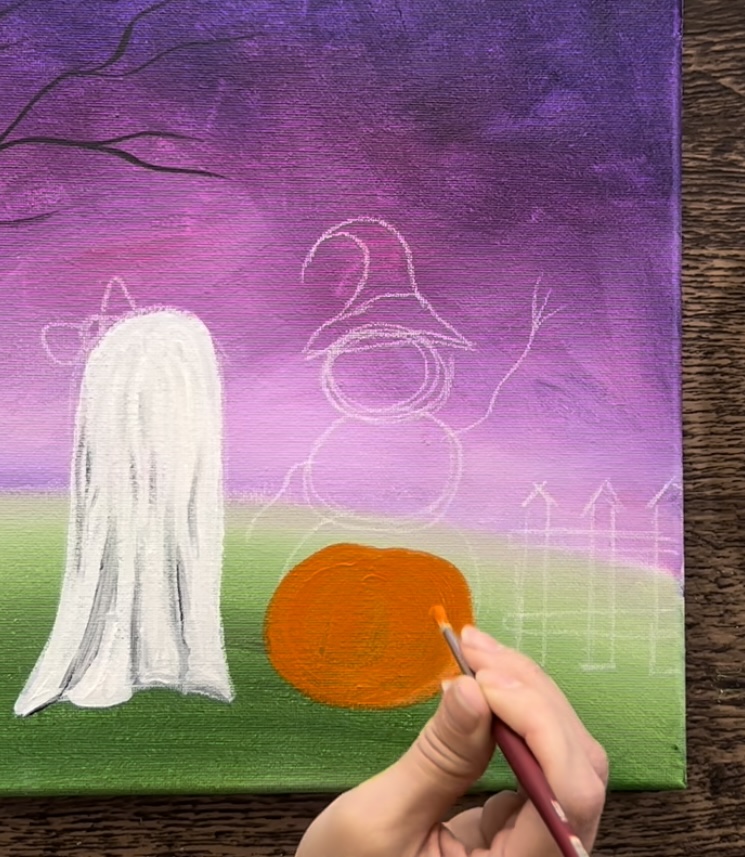
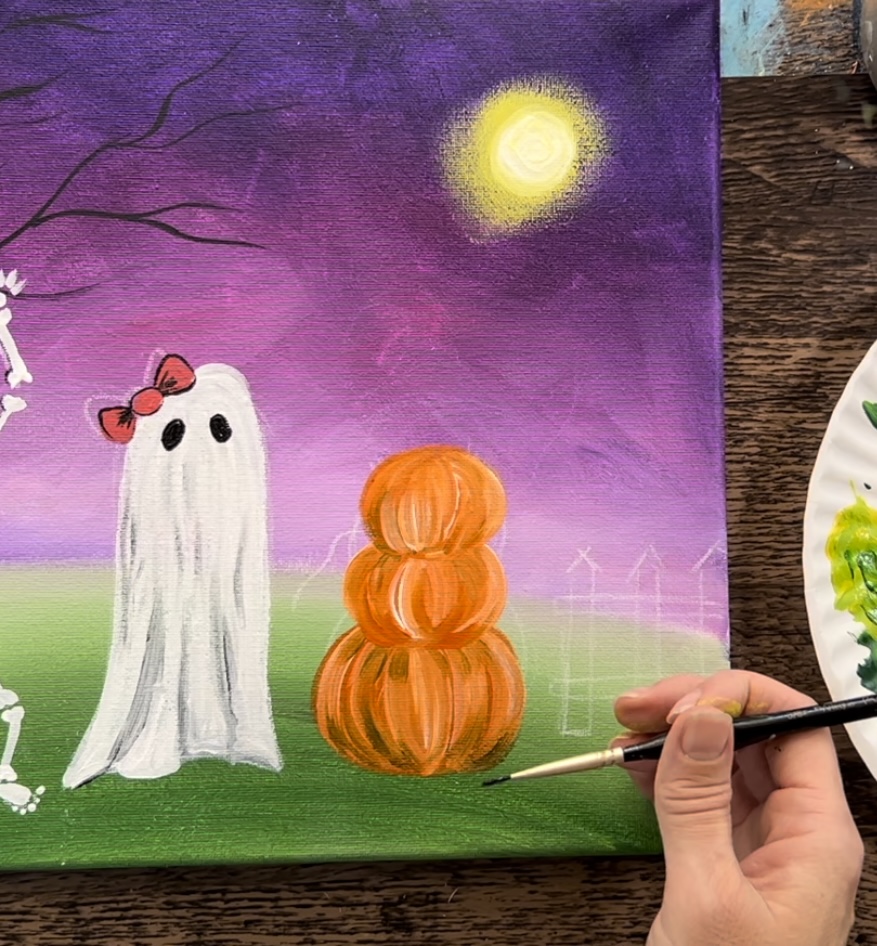
9. Paint Pumpkin Topiary
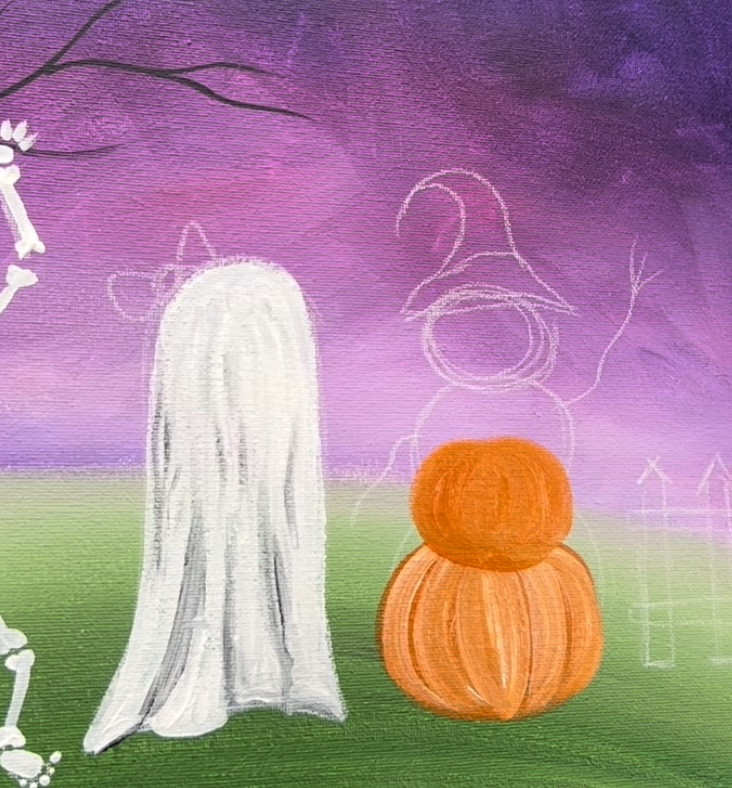
Load your paint palette with cadmium orange hue paint. Use the #4 round brush to paint the bottom of the pumpkin. Paint this a solid coat of orange at first without highlighting/ shadowing.
Then wipe the brush off but done rinse. Load a small amount of titanium white onto the brush. Paint an oval in the center of this pumpkin circle. Let that blend with the orange a bit.
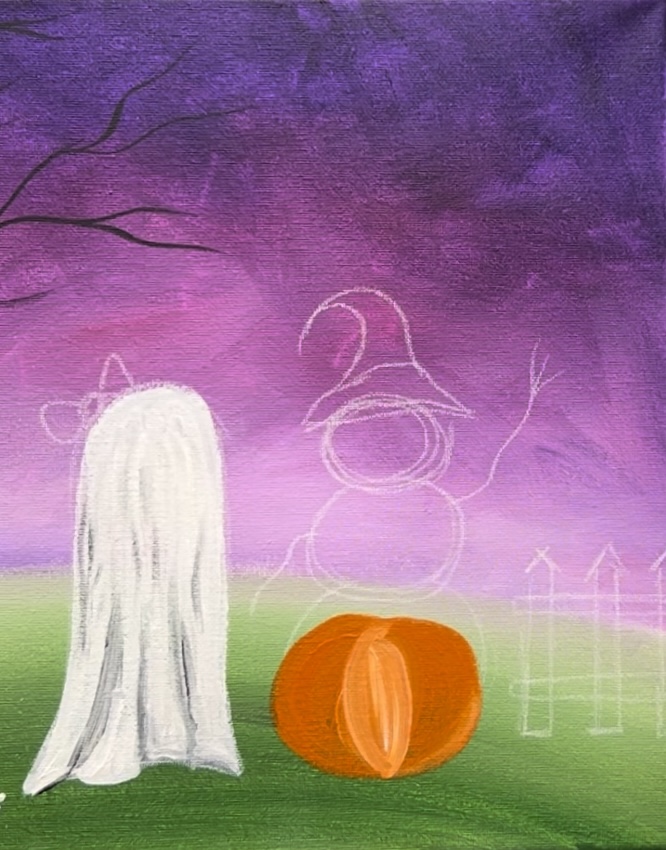
Then use the white to blend with the orange to paint two more “curved bumps” on each side of the pumpkin.
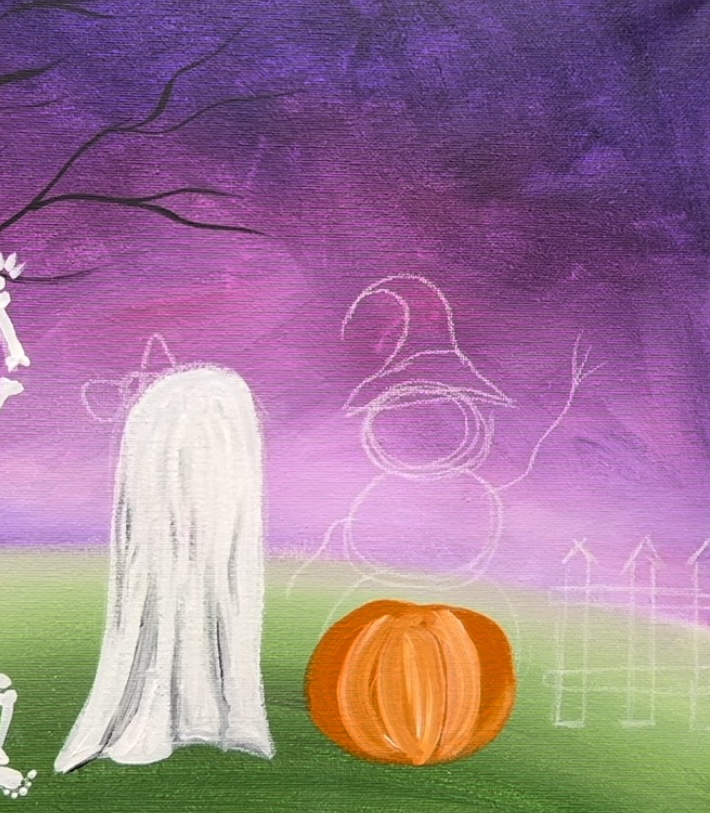
Paint another set of curved lines on each side. Tip: if your curved lines are too “light”, add more orange into the white. Try not to over paint the curved lines, let it blend as you paint each of the curves but don’t blend it all the way.
Paint the next pumpkin using the same techniques/steps used in painting the first pumpkin. Start by painting an orange circle that slightly overlaps the first circle. Note: I made this pumpkin topiary shorter than what I drew.
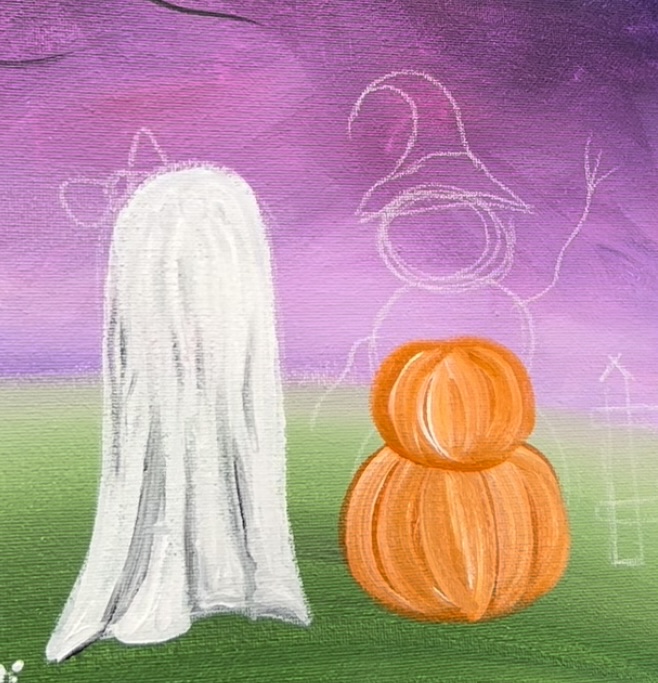
Paint the third and top pumpkin using the same technique.
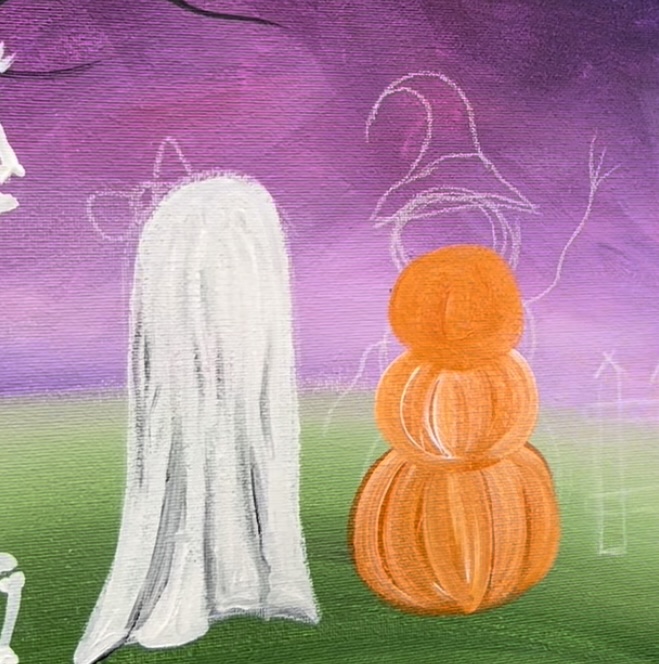
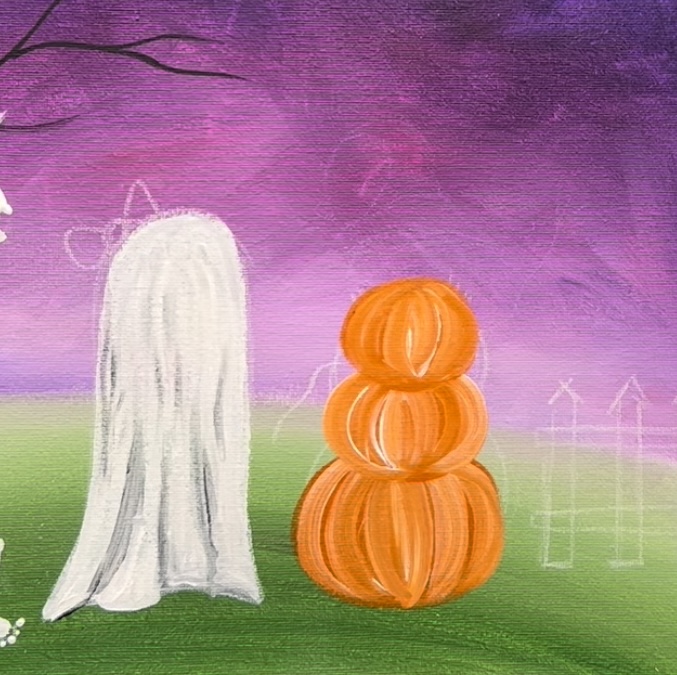
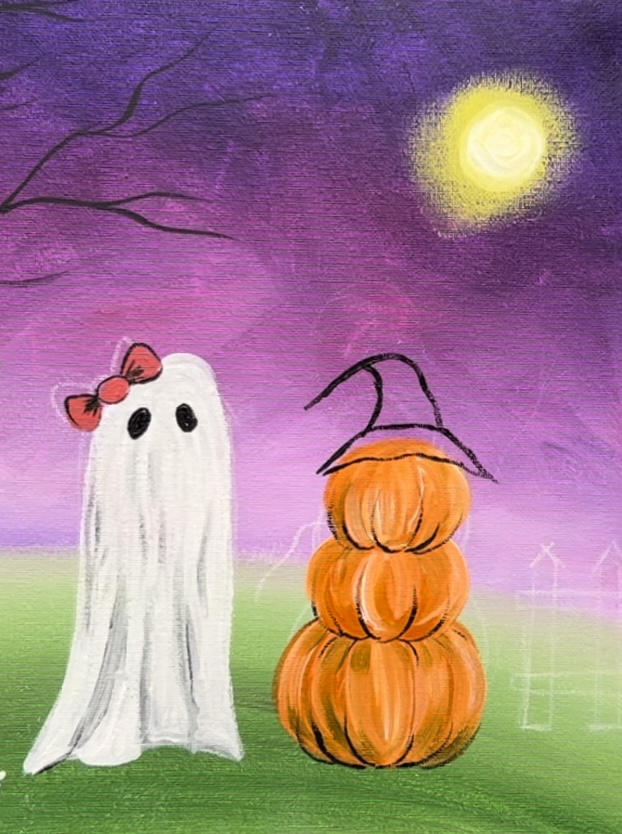
This next step is optional. To add some “shadows” to the pumpkin topiary, mix orange with green on your paint palette. This will make a dark orange/ brown color. Use the #4 round brush to paint shadows on the bottom of the pumpkins. Curve this color upwards a bit and let it blend with the orange.
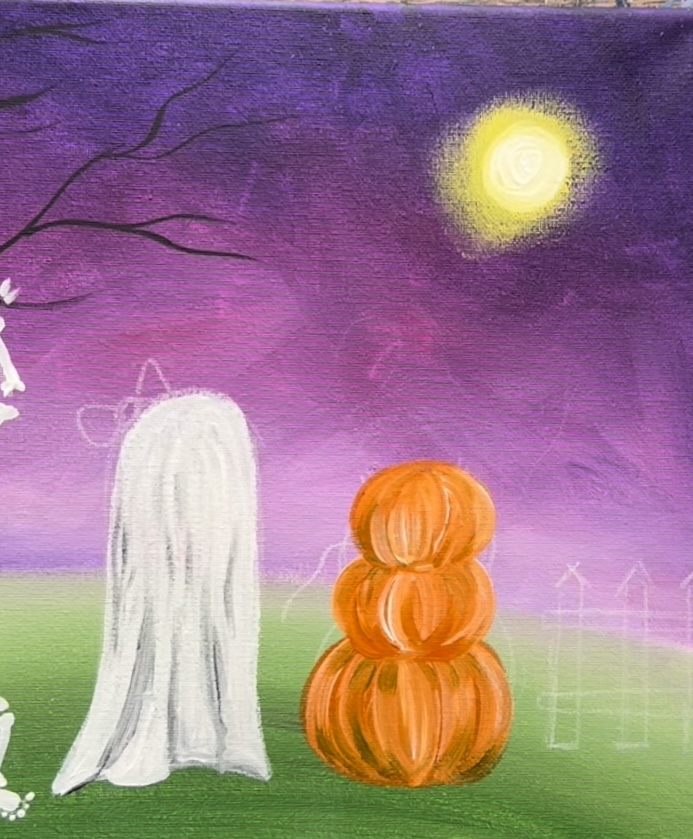
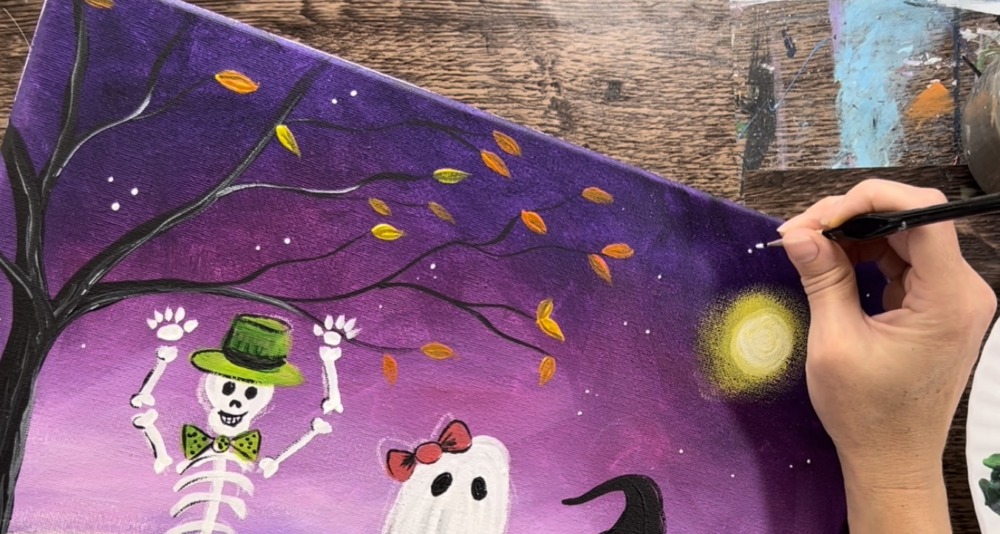
10. Paint Moon
Load your palette with primary yellow and titanium white. Use the #4 round brush and mix the two colors together to get a light yellow. Use your brush to paint about a 1″ circle in the upper right corner of the canvas.
Then use your finger to smear the circle so that it looks blurry on the outside of then circle. This will create that “glow” in the moon.

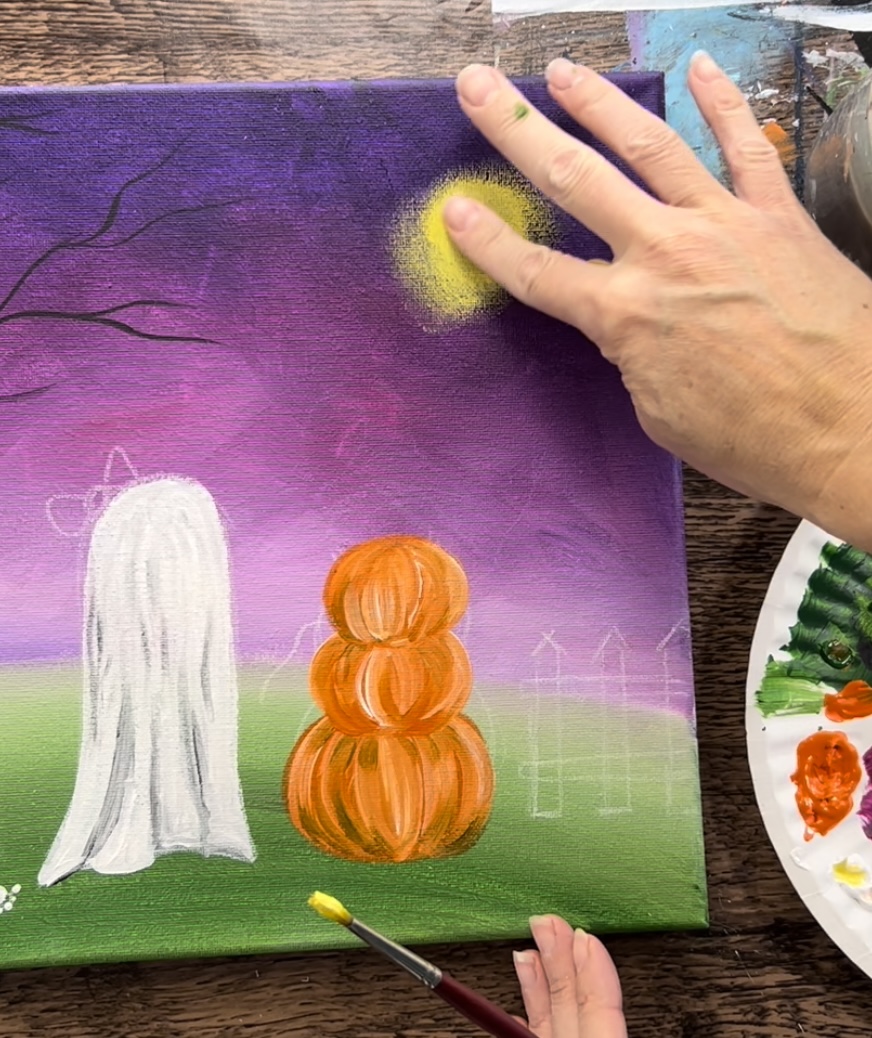
Next, use your brush and titanium white to paint a circle in the center of that bigger blurry circle. This will make the moon look very bright.
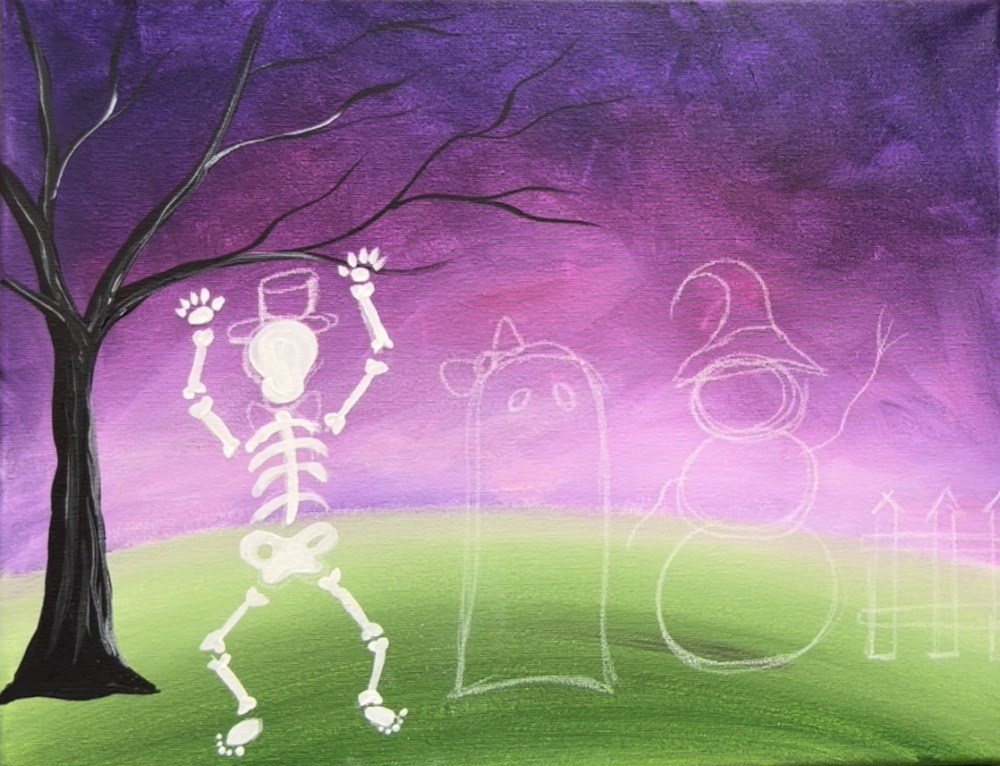
11. Paint Details On Each Of The Characters
To paint the hat and bowties of the skeleton. Mix a “lime green” color on your palette by mixing yellow with green and a little bit of white.

The hat is painted with a variety of greens. I did darker green at the top and lighter green on the bottom.
The bowtie was painted with the same green.

Then use a small detail round brush and mars black to paint the eyes, nose and mouth. Outline the bowtie.
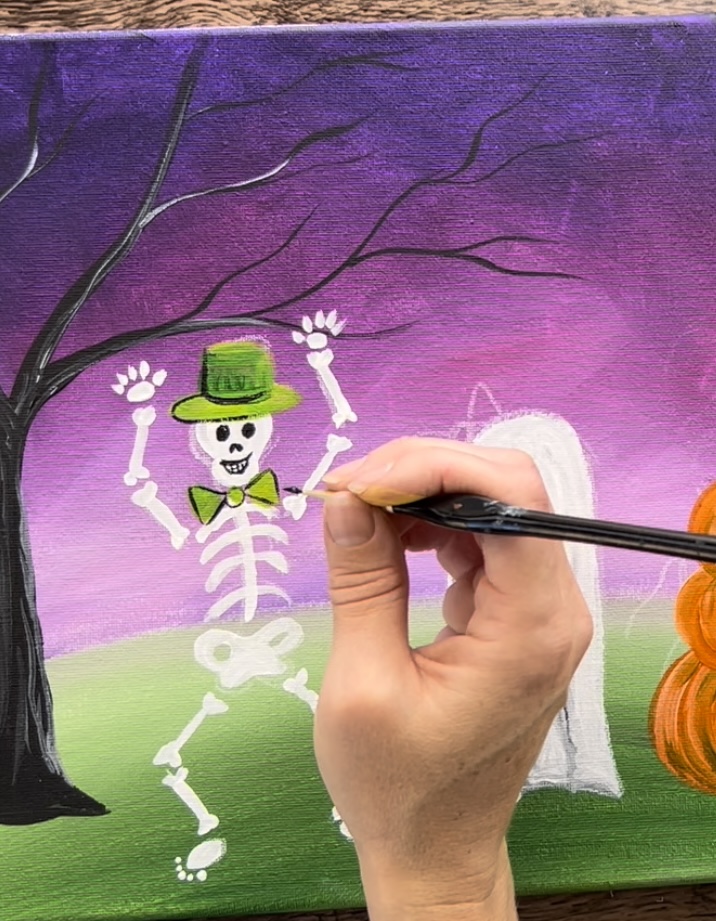
Add little dots on the bowtie. Then outline the left side of some of the bones to give them a little contrast.
Next, paint the eyes on the ghost.

To paint the bow, I mixed a dark coral color on my palette. Mix about equal parts quinacridone magenta with a little bit of titanium white and orange. Then use the 4 round brush or the detail brush to paint the bow.
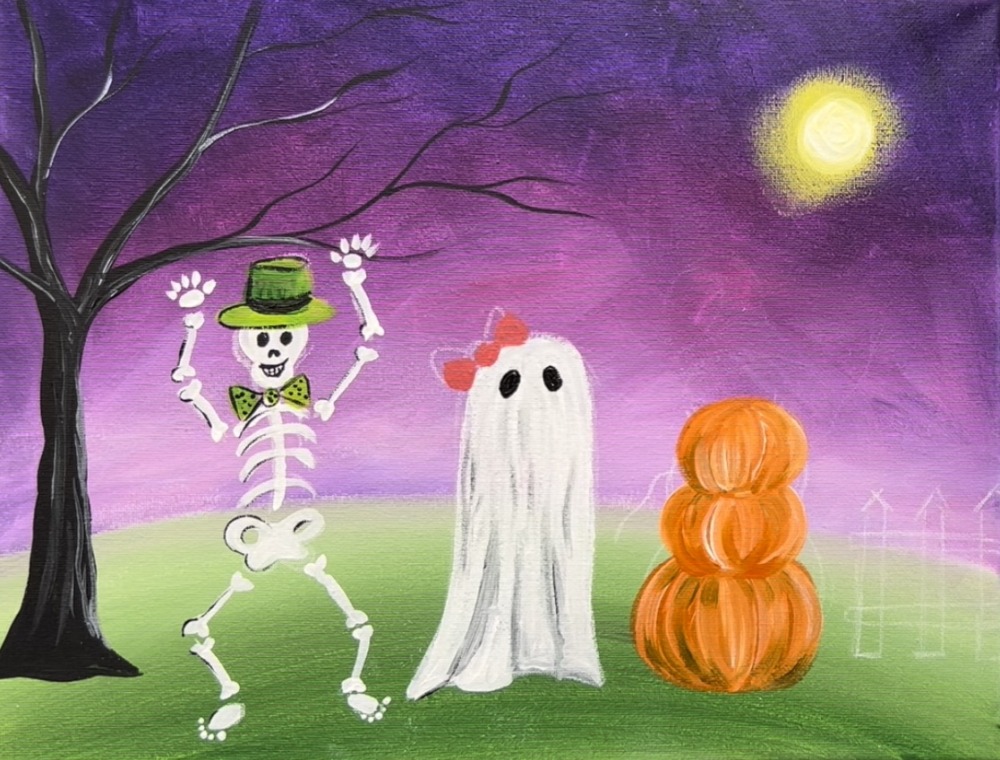
Use the tiny detail brush and mars black to outline the bow and paint small diagonal lines at the base of each of the triangular pieces.
Use the detail brush and mars black to slightly outline the “bump lines” on the pumpkins. Then draw the witch hat out.
Paint the face of the pumpkin with basic shapes such as triangles for the eyes, circle for the nose and then a pumpkin mouth.
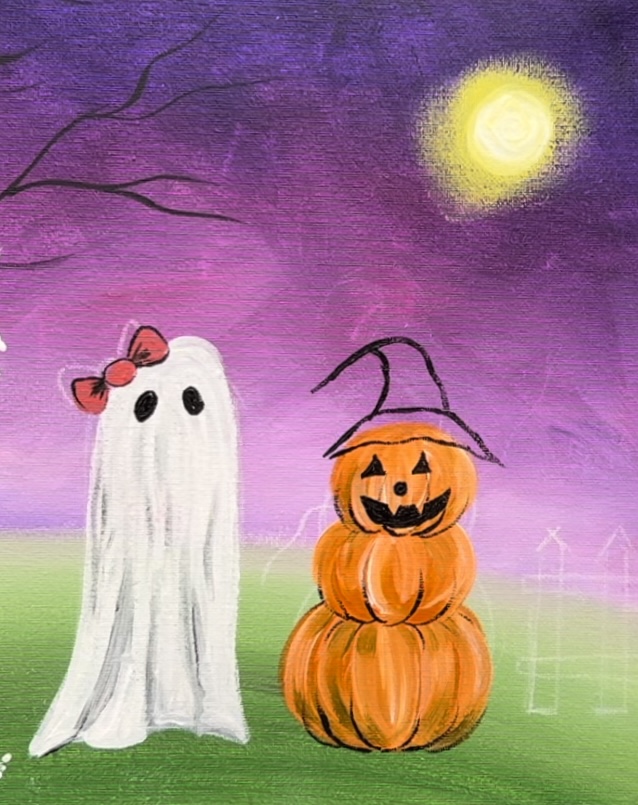
Next, paint the arms using the detail round brush and mars black. Paint two stick pieces. You can change the direction of these sticks.
Then use titanium white to highlight the inside of the eyes, nose and mouth. Paint the edges with white on the far right of each of the shapes.
12. Paint Shadows
Mix a small amount of mars black into the green to make a dark green. Then use the #4 round brush to paint left and right strokes to create shadow on the ground under each of the characters. I made my shadows go diagonally to the left because of the moon.

13. Paint the Fence
Use the 4 round and/or the 3/0 round brush to paint the fence mars black.
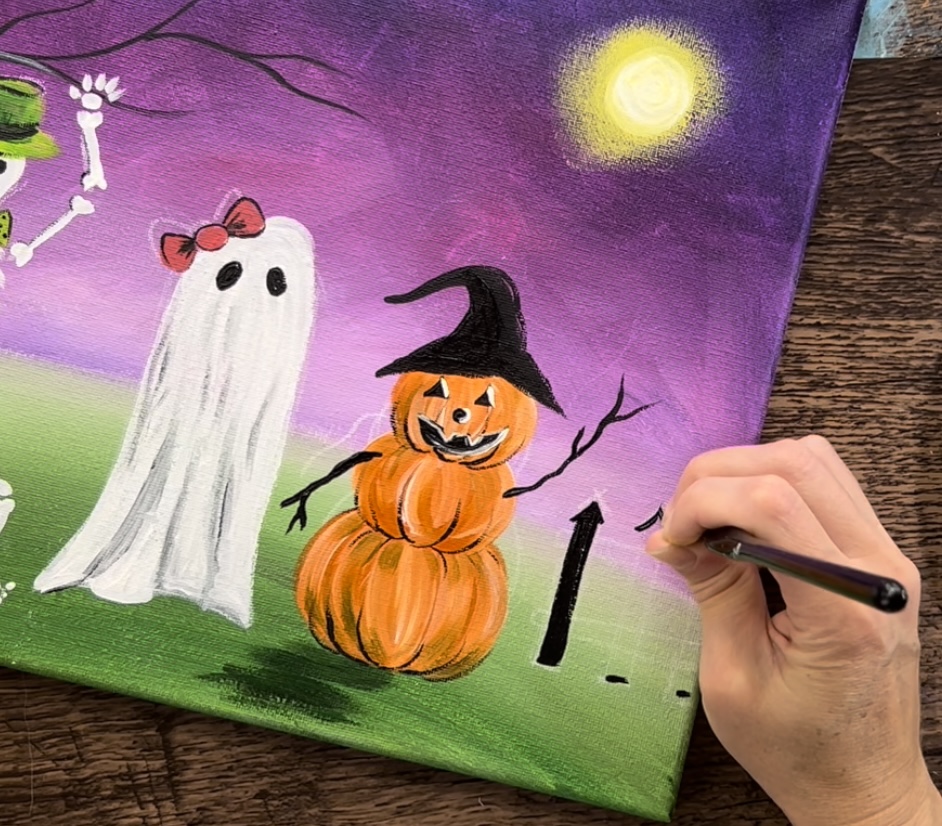
Then add a little titanium white to the detail brush. Paint a little highlight on the right side/ outline each of the fence posts.
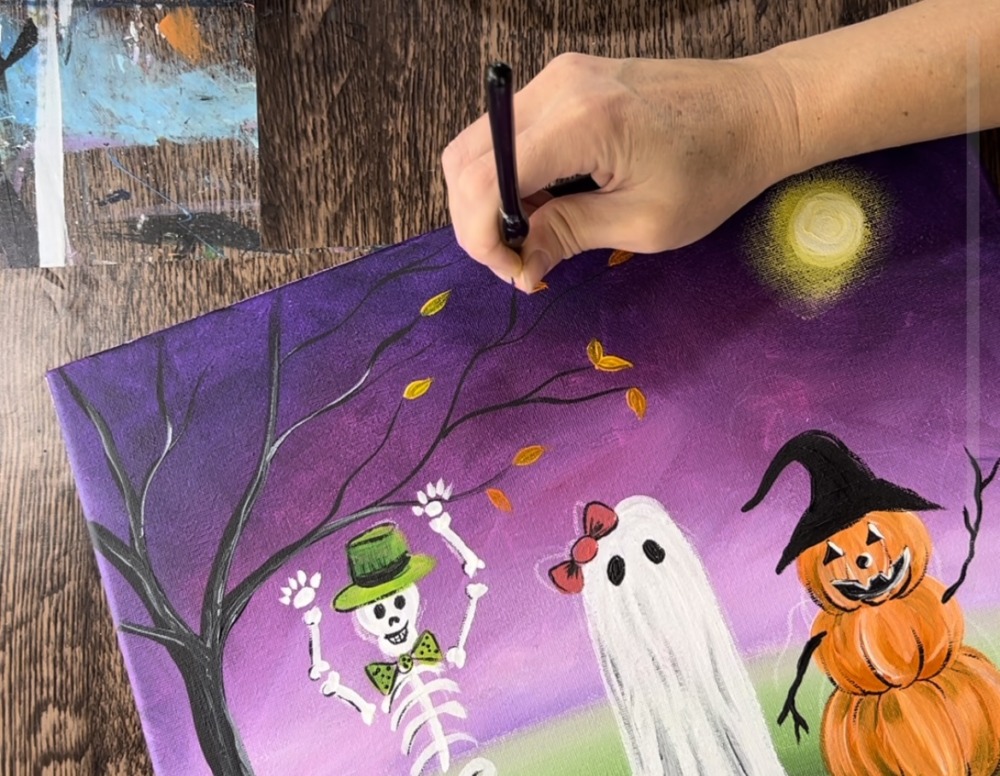
14. Paint Leaves On Tree & Stars
Use a 3/0 round brush and orange and yellow to paint the leaves. Paint rounded/ pointed leaf shapes on the ends of each of the branches.
Then use the 3/0 round brush to paint little white dots in the sky for stars.
15. Paint Bats
Use the 3/0 round brush and mars black to paint the bats. Start by painting a circle with “cat like” ears.
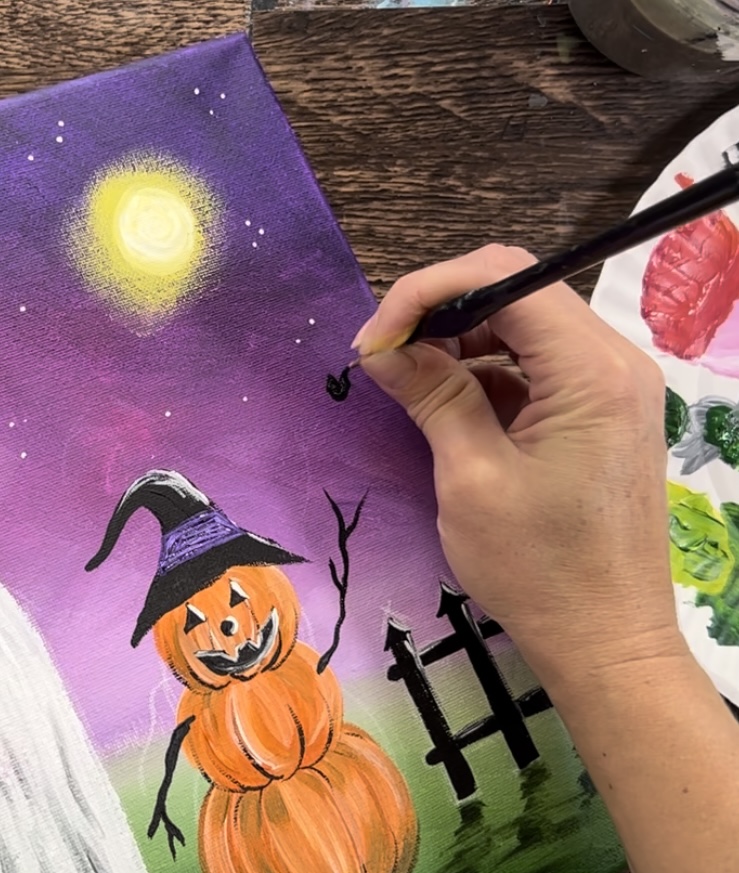
Then paint a curved line and “scalloped” lines on the bottom. Fill it in solid with black.
I did two bats! You can do more if you want.
Next, paint a set of two white dots for the eyes of each of the bats.
Another added detail I did was a little white flower on the witch hat. There is also a white highlight on the right side of the hat.
15. Final Details, Witch Hat Decoration & Leave on Ground
Another final detail you can do is add fall leaves on the ground using any of the round brushes and the orange/ yellow colors.