

Dinosaur Painting
Paint your very own dinosaur painting! This step by step acrylic painting tutorial is for the absolute beginner.
Its also a great one you can do with the kids!
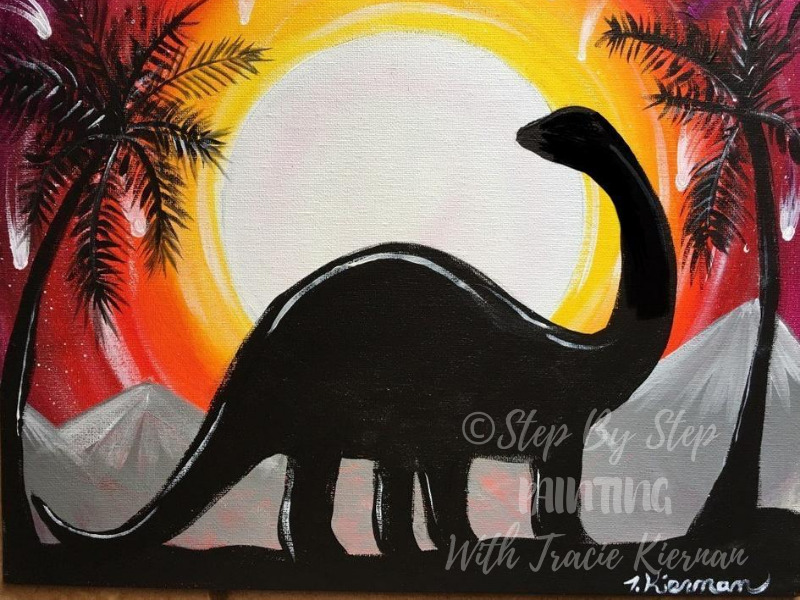
Learn how to do an easy yellow radiating moon background and trace a provided dinosaur template to paint in as a silhouette.
The background was done in what is called “analogous colors”. This means that the colors are right next to each other on the color wheel so they are easy to blend. 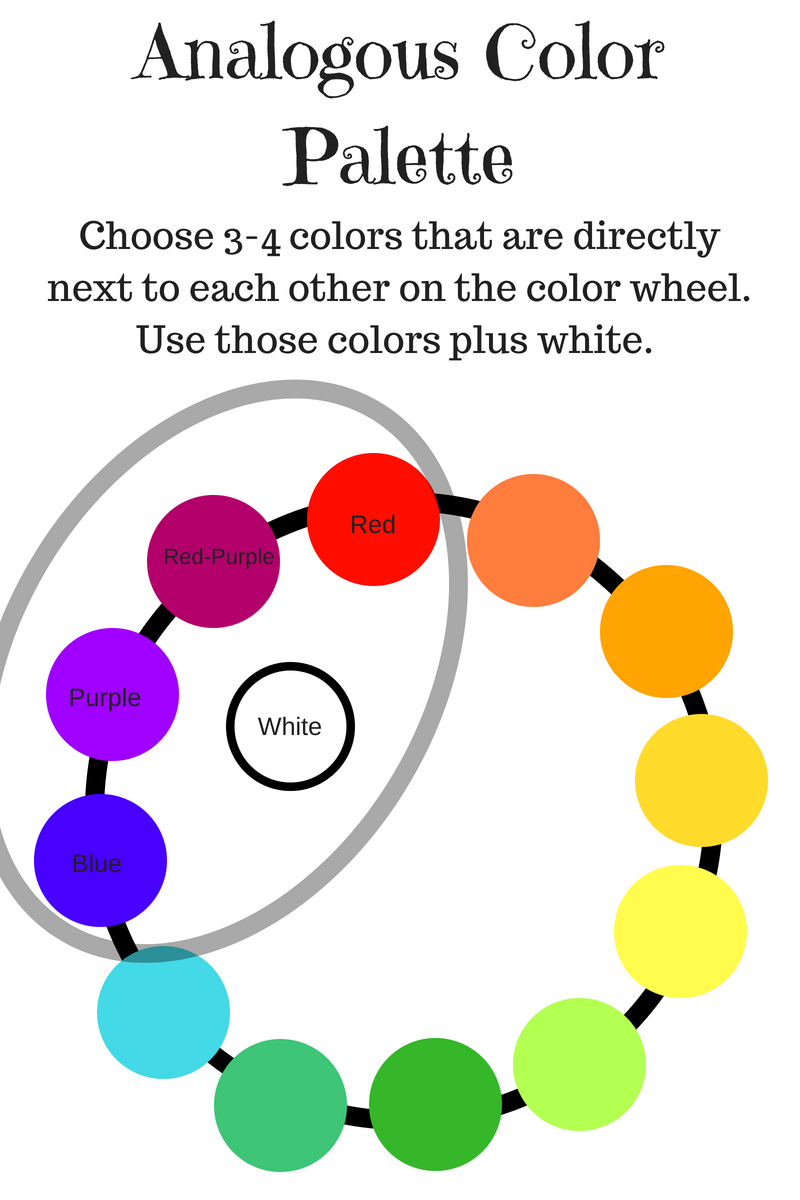
The background is the exact background in my Owl Silhouette Moon Painting and the composition of the mountains is a lot like the Bear Silhouette Painting! I like to recycle color combos and compositions.
Also available in this post is a dinosaur printable so you don’t have to do the drawing.
Enjoy this fun painting!
Materials
How To Paint A Dinosaur
Paint your very own dinosaur painting! This acrylic painting tutorial will guide you through the steps and techniques for rendering your own painting.
Materials
- Acrylic Paint
- Dinosaur Traceable
- 11 x 14 Canvas
- Circle Plate to Trace (about 7-8”)
- White Chalk
- Graphite Transfer Paper
Colors
- Cad Red Medium
- Deep Violet
- Cad Orange Hue
- Cad Yellow Medium
- Mars Black
- Titanium White
- Neutral Gray Value 5
Brushes
- 1/2” Flat (or 3/4” flat wash)
- #4 Bright (1/4” Flat)
- 0 Round
- 4 Round
Instructions
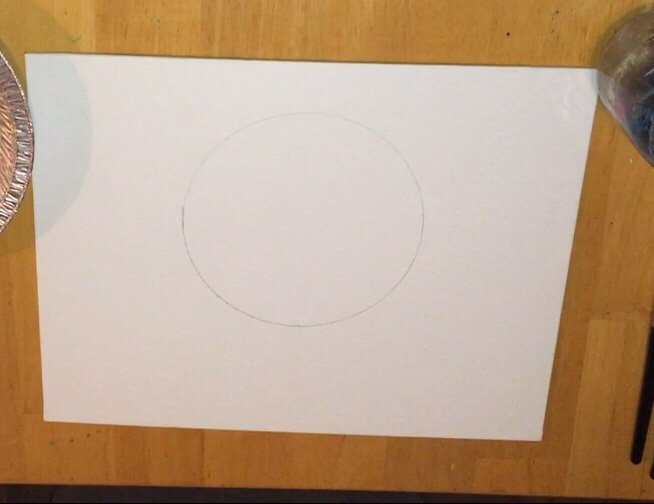
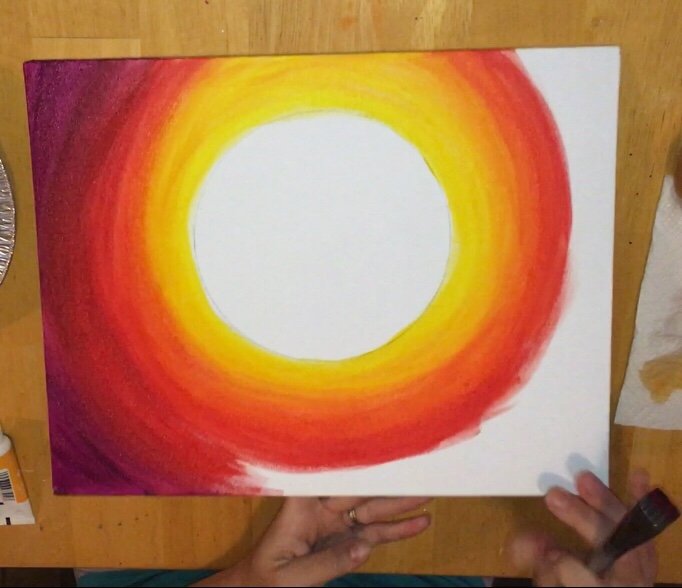
- Trace a 7-8 inch circle in the upper middle part of the canvas.
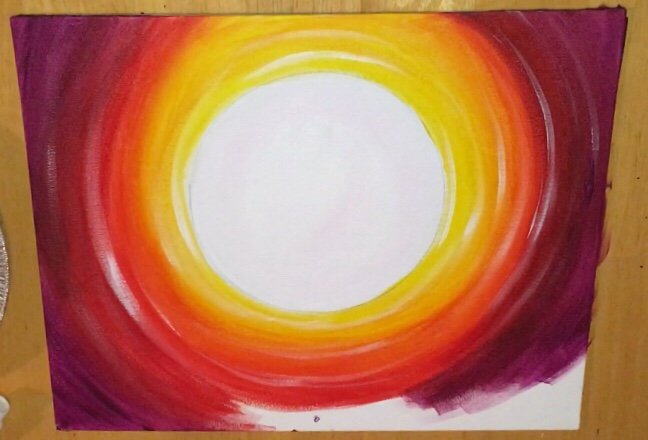
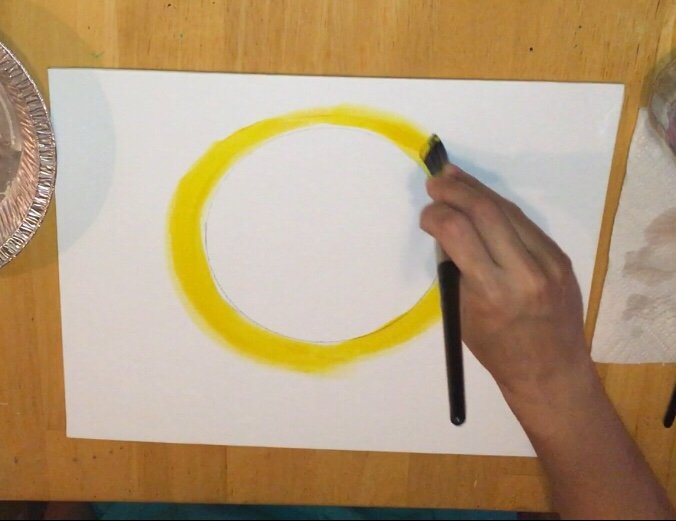
- Paint a yellow ring around the circle.
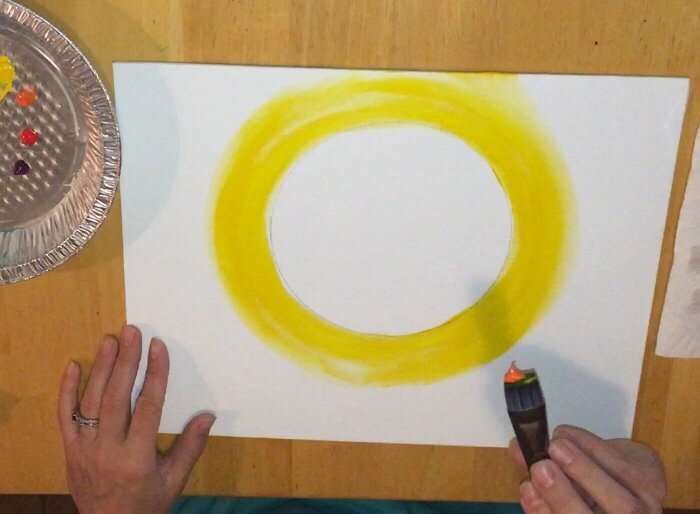
- Paint and Blend orange next to the yellow ring.
- Paint and Blend red next to the orange ring.
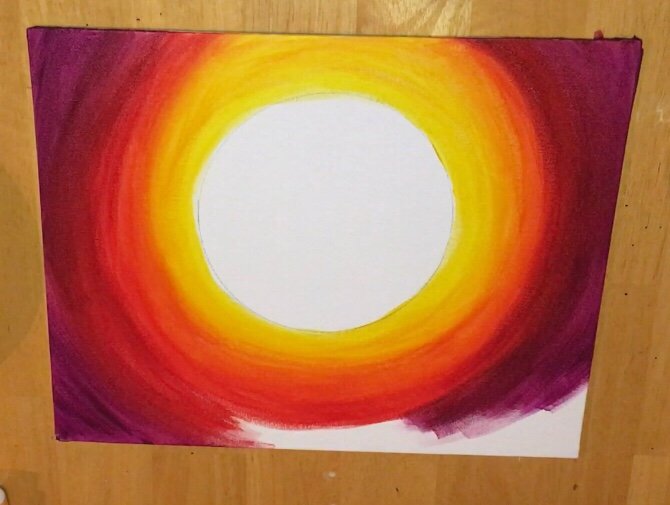
- Paint and Blend deep violet next to the red ring and go all the way to the edge of the canvas.
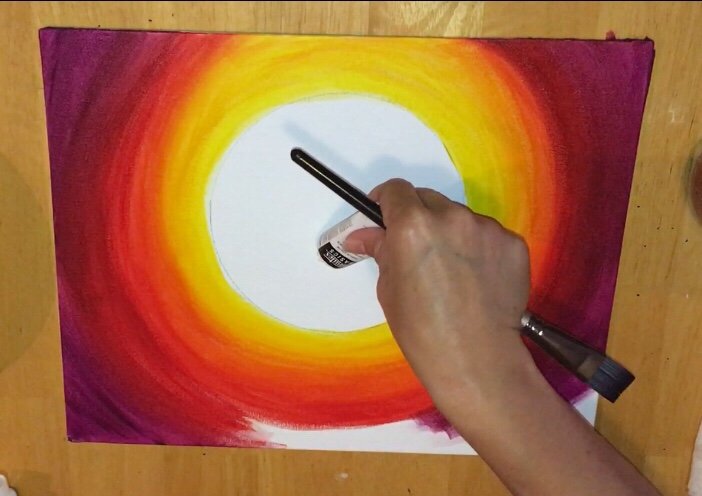
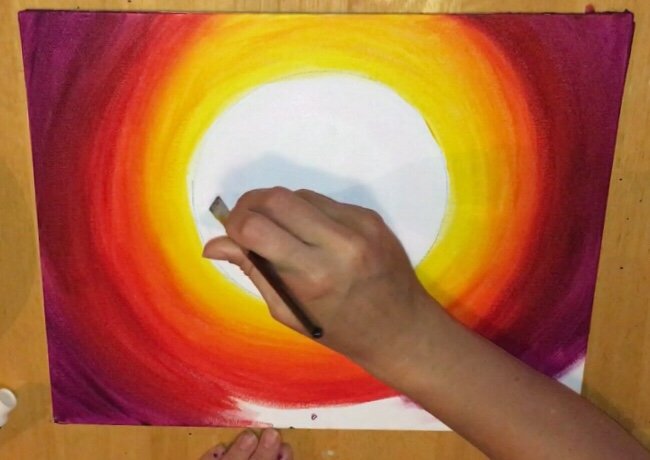
- Paint the moon white.
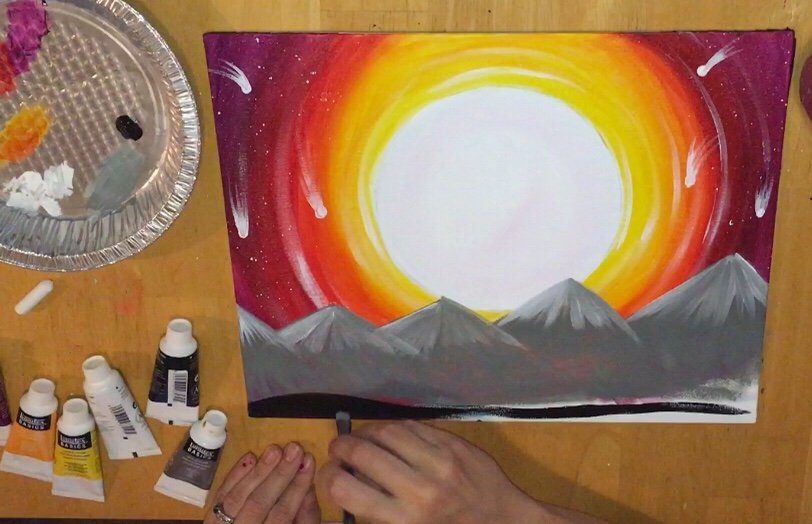
- Paint white moon beams next to the moon then paint some stars and shooting stars.
- Use neutral gray value 5 to paint the mountains
- Add some white on top of the mountains
- Paint the ground black
- Trace your dinosaur onto the canvas using a sheet of graphite paper
- Use a round brush to paint the dinosaur black
- Use chalk to draw palm trees
- Paint the palm trees black
- Add some white highlight to the dinosaur silhouette and, optional, paint a face!
Paint Used For This Painting:
I used the Liquitex BASICS acrylic paint from this 48 piece mini tube set.
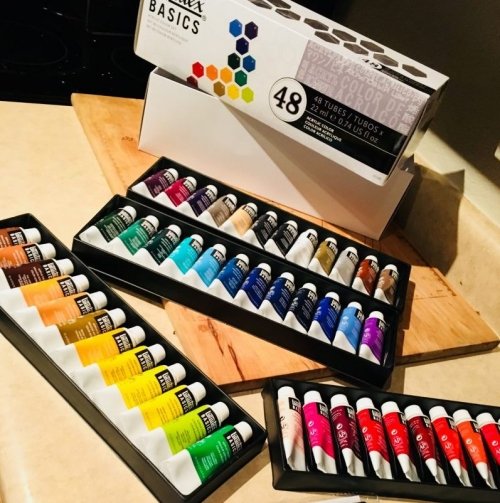

I’m using Liquitex BASICS 
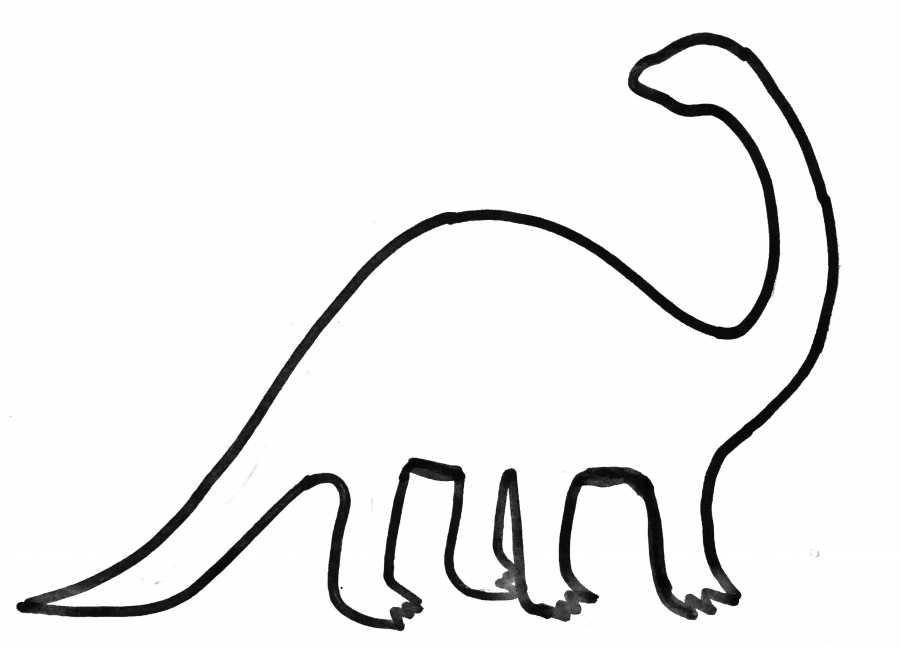
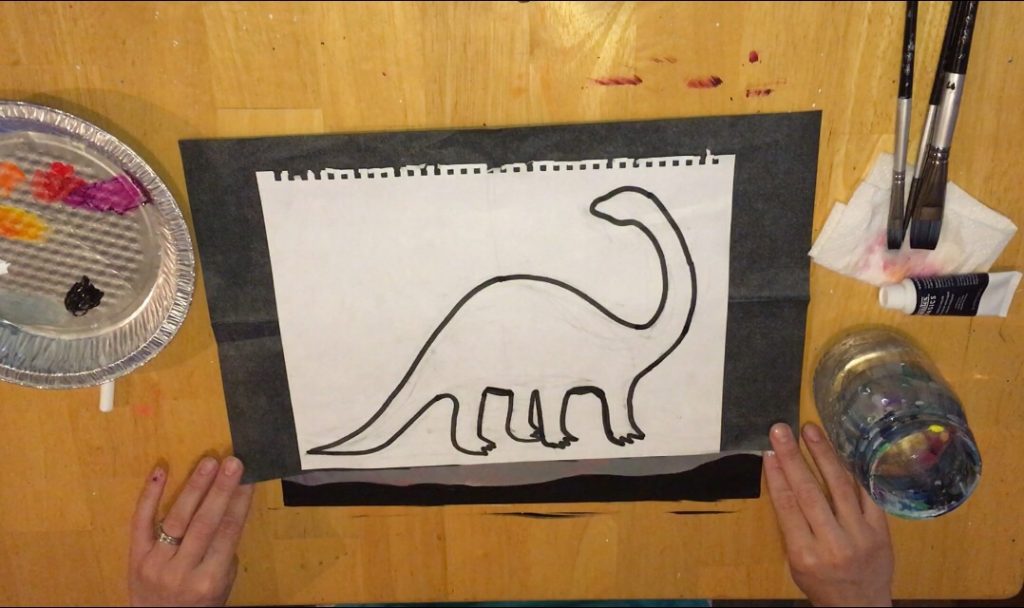
Traceable For Dinosaur
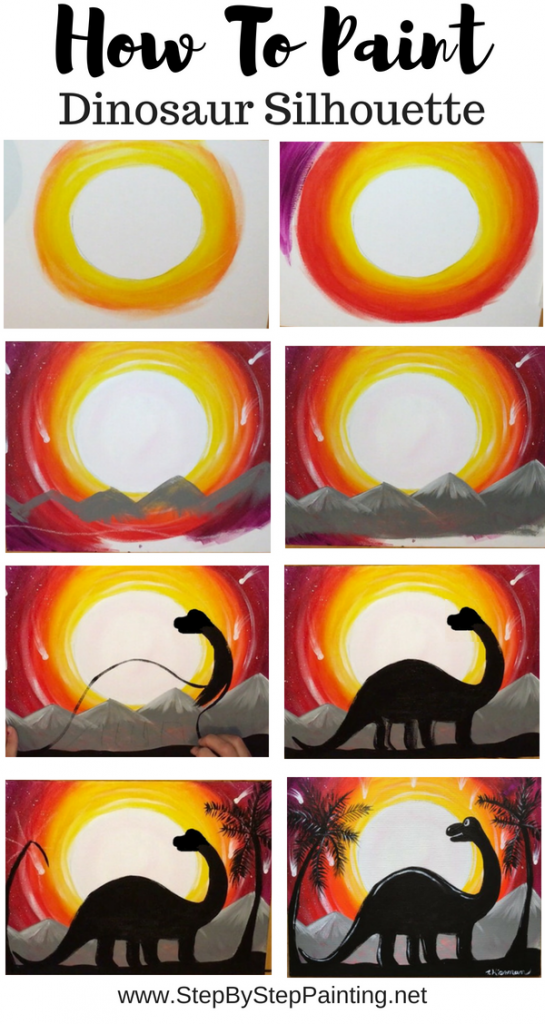
Directions At A Glance
Video:
Step By Step Process Pictures
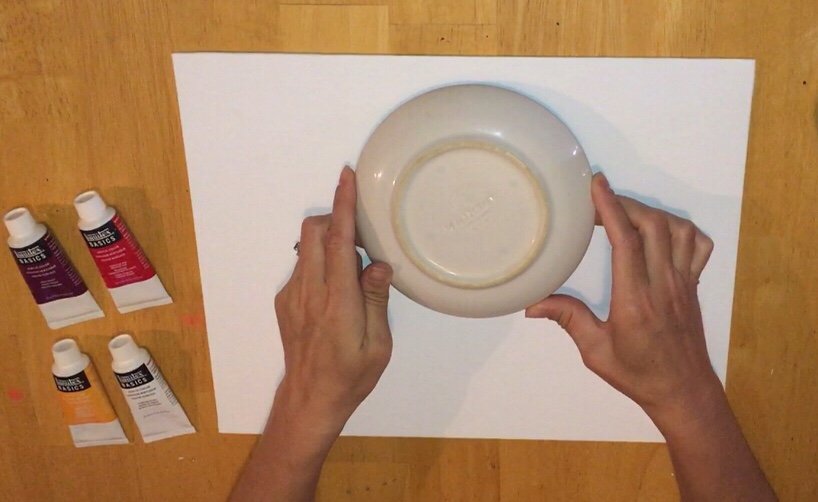
1. Trace a circle on the middle/ upper part of your canvas. The canvas is going side to side like a landscape painting.
Since I’m using an 11″ x 14″ canvas, I found a small ceramic plate to trace my circle. If you’re doing this on an 8 x 10, you can trace a solo cup and if you’re doing this on a large 16 x 20 canvas, use a paper plate.

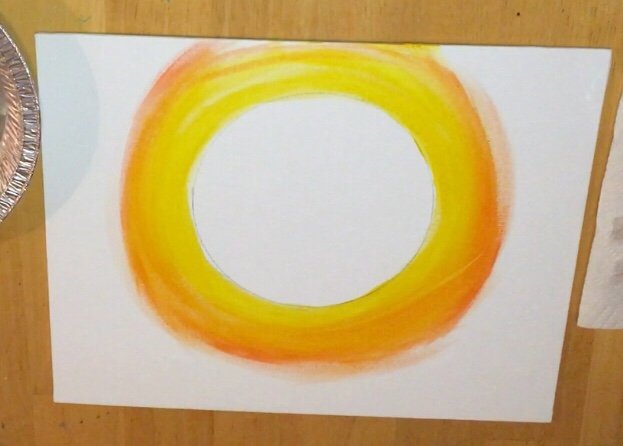
2. Using a 1/2″ flat brush (mine is labeled #11) , paint a cadmium yellow ring around the circle.
This ring is about two inches thick but definitely estimate! 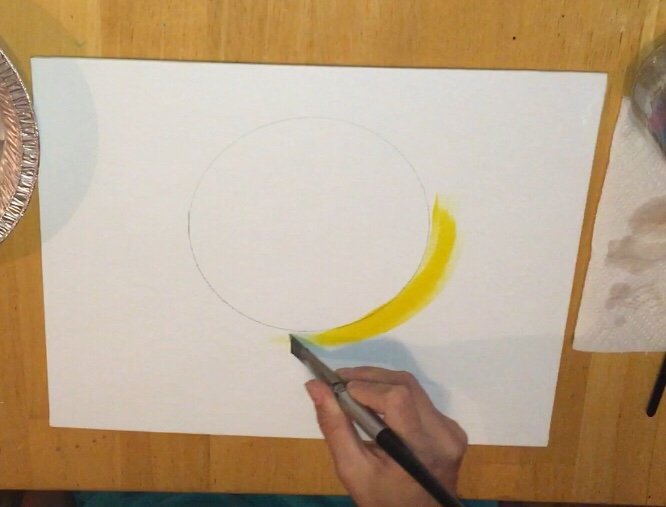
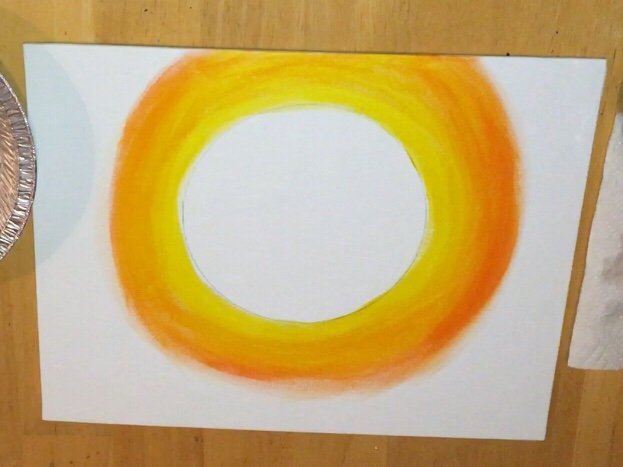
3. Add cadmium orange hue to the brush and blend in the next ring.
To blend, I make sure that yellow isn’t dry yet. Paint over the yellow a little so the orange and yellow overlap. Also, add in more yellow to the orange for a smooth color transition. I did this orange yellow blend about an inch or two out before switching to red.
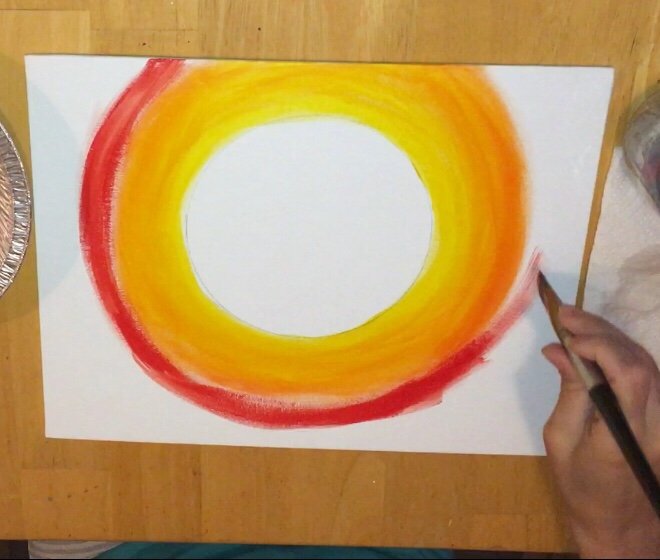
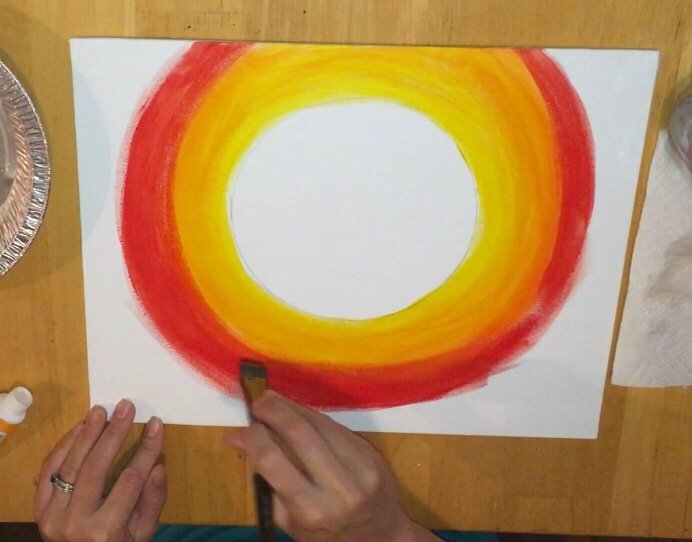
4. Paint the cadmium red medium ring
Next add cadmium red medium to the brush without rinsing. Blend the red with the orange the same way you blended the orange with the yellow. For a smoother transition, add more orange to the brush.

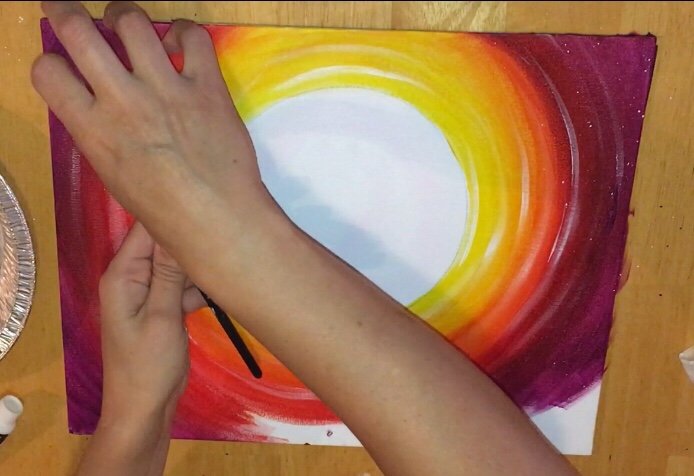
5. Paint Deep Violet on the edges and blend to the red.
For the deep violet, I like to start at the edges and then work my way to the ring. Red and violet are a harder transition to blend because that cadmium red has some orange in it. It’s almost like trying to blend purple and orange. Just do the best you can with the transition! It helped me to load my brush with more cadmium red medium and apply it over the violet a bit more.

6. Paint the Moon White
I know it’s silly to paint white on white but I never like to leave blank canvas. I like to at least see the texture of the paint. Basically, I painted the entire circle white!
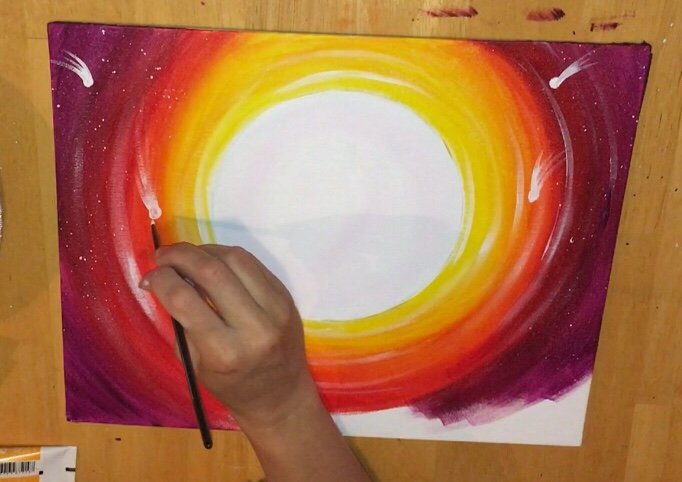
7. Paint some moon beams with the #6 (1/4″ flat brush
Using the tip of that smaller flat brush, paint some light feathery lines radiating around the moon.
8. Splatter some stars and paint some shooting stars!
I didn’t use a toothbrush to splatter, I used a regular flat brush. Water down the white a tiny bit and then flick on some stars. Then I used a #4 round brush to paint little shooting stars. Basically paint a circle yet and then paint a trail behind the circle.
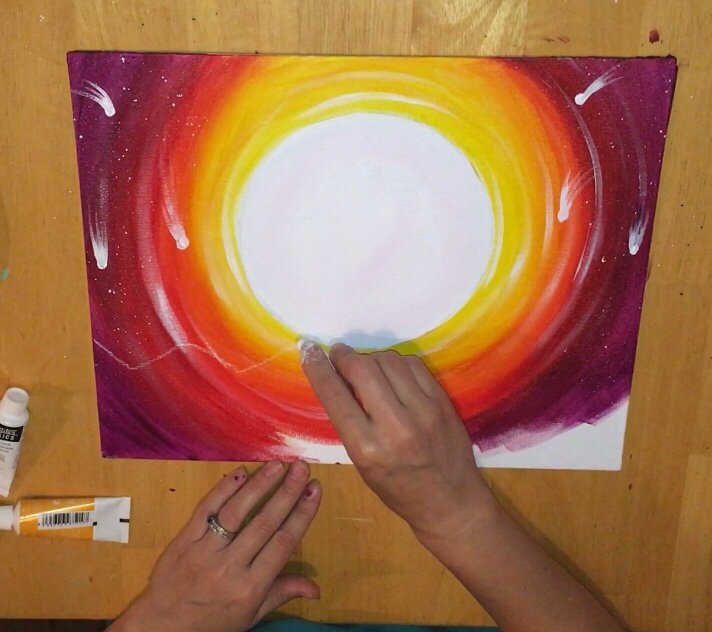
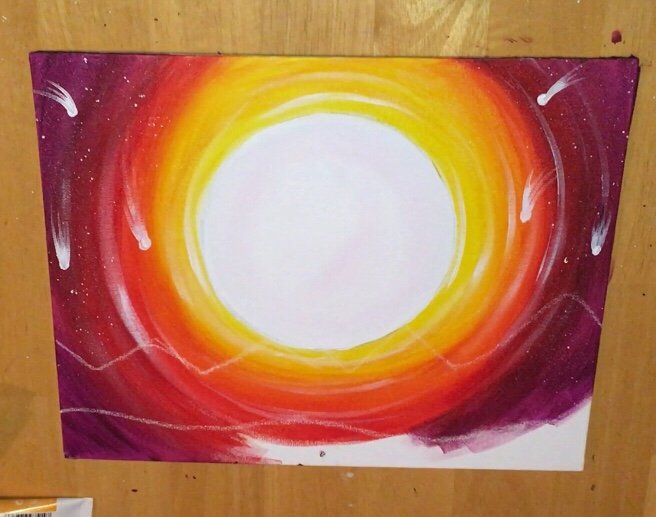
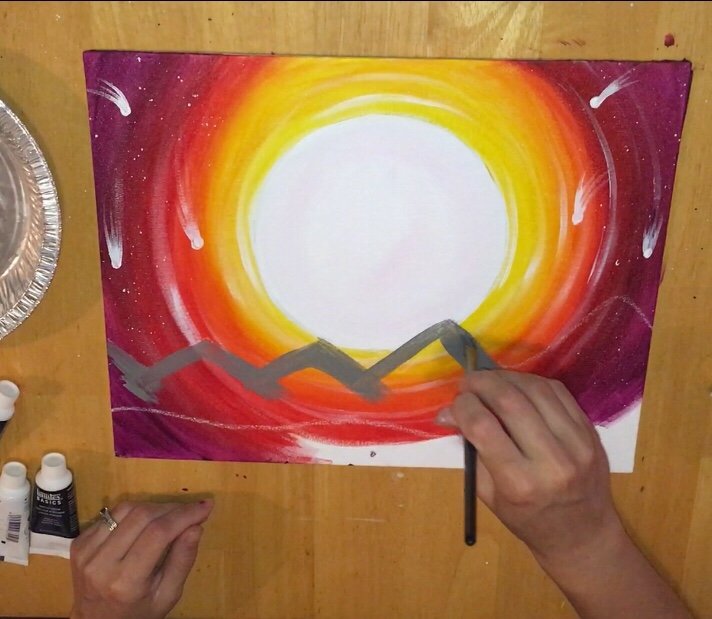
9. Draw mountains and bottom line with white chalk.
Just under the moon, draw a mountain zig-zag line. Then about one inch from the bottom of the painting, draw a bumpy line to represent the ground where this dinosaur will be standing.
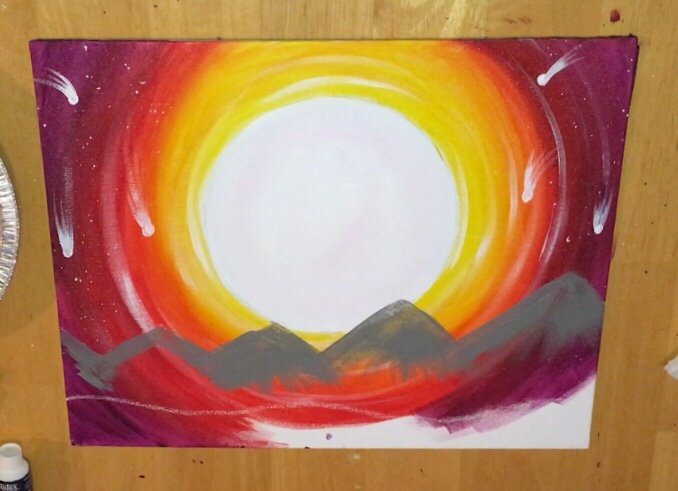
10. Use a flat brush to paint the mountains “neutral gray”.
When you’re painting these mountains in, use the tip of any flat brush to get sharp edges. Then your strokes on the actual mountains should be sharp angler strokes that go with the shape of the mountain.
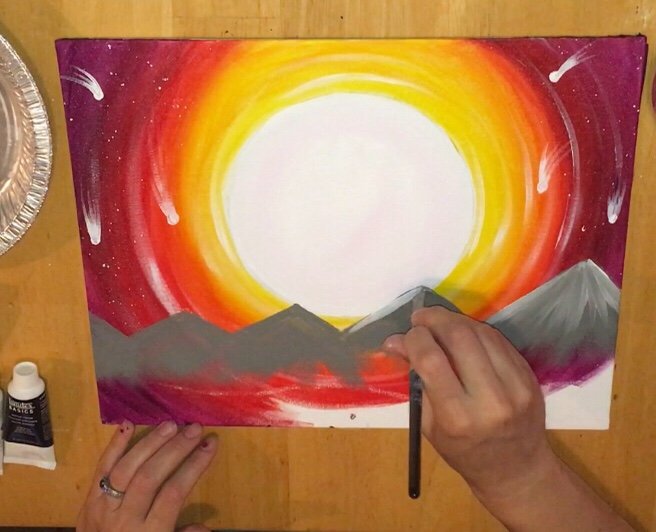
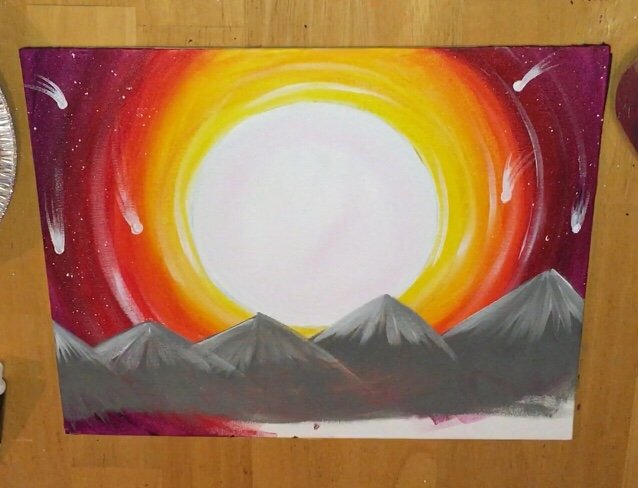
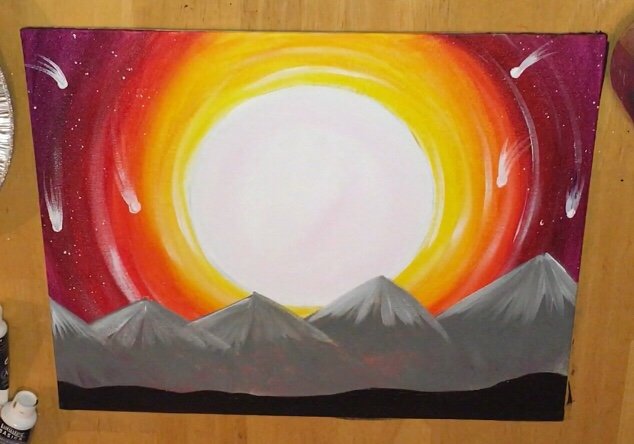
11. Use the flat brush to paint white lines on the tips of the mountains.
I did this in my bear silhouette painting but it adds nice interest on the tip of the mountains instead of having them be solid gray. Load the brush with white before that gray dries. Use the edge of the brush to drag lines in a diagonal formation.

12. Paint the entire bottom black.
Using that #6 flat, I painted the ground black. This is the bottom ground that the dinosaur and the palm trees will be standing on.
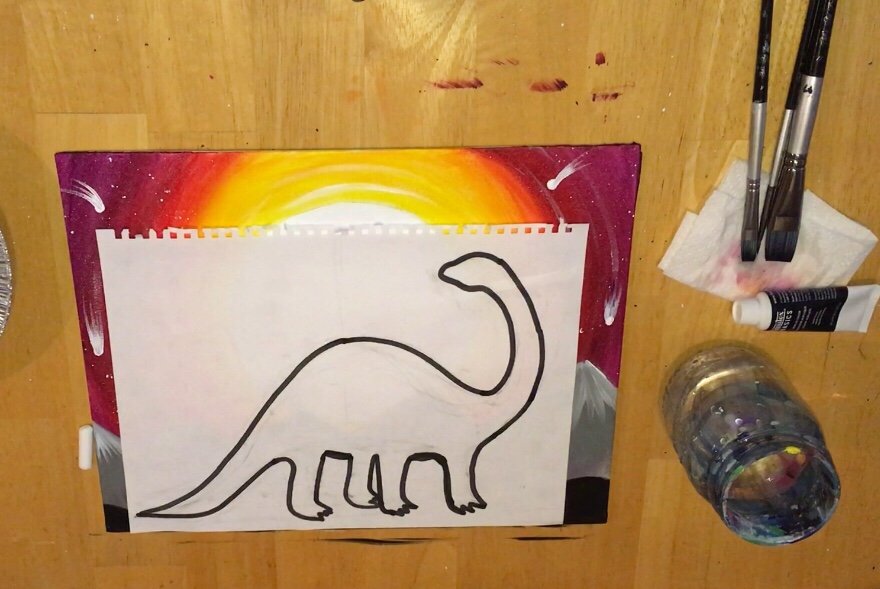
13. Trace the dinosaur on the canvas
This silhouette design was found on Pixabay.com. They offer royalty free images that you can use for paintings like this! I linked to it in the section above. Since I didn’t have a printer so I decided to draw the dinosaur instead. I have also provided my drawing for you to print. If you like the Pixabay silhouette better, use that one! Trace the dinosaur over a piece of graphite paper.
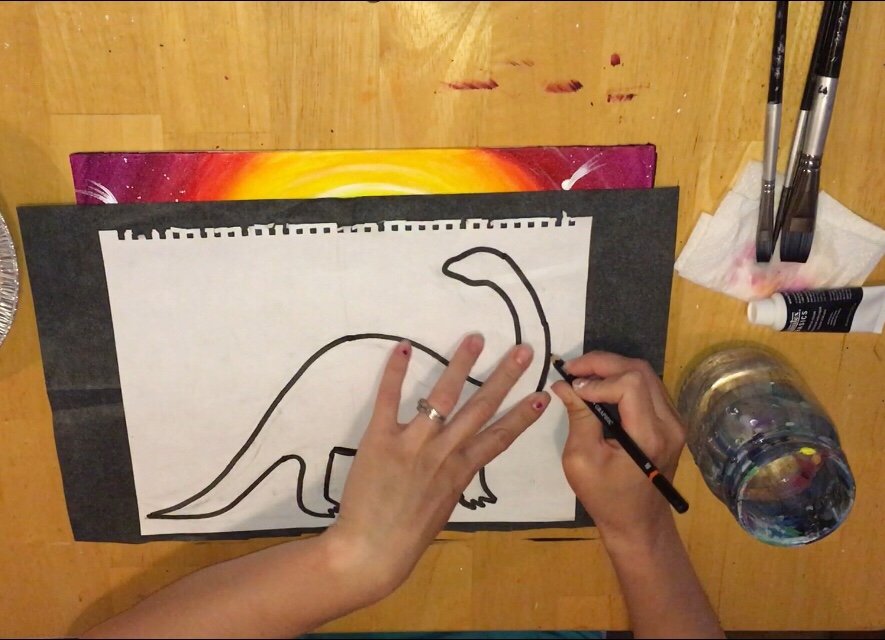
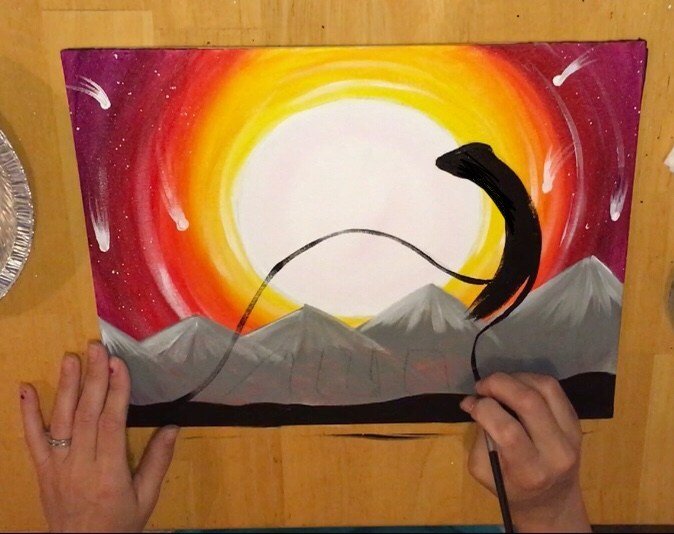
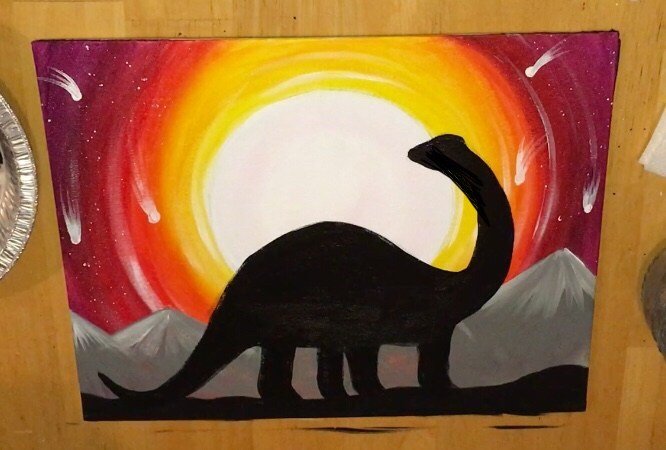
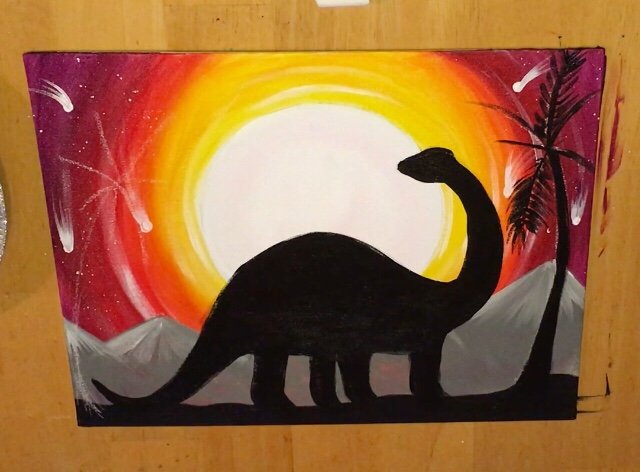
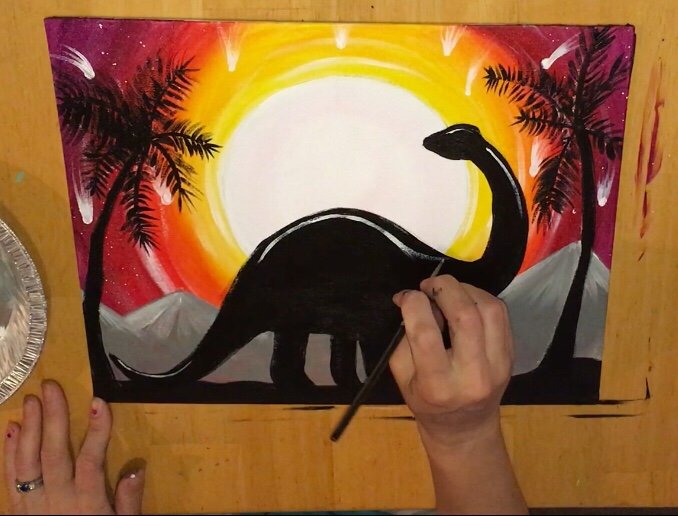
14. Use a #4 Round Brush to paint the silhouette.
I like using round brushes to paint silhouettes in. It’s up to you what brush you’d like to use here! Paint in the silhouette like a coloring book here – solid black! Note that I made his tail curve up a bit even though it’s not like that in the drawing.
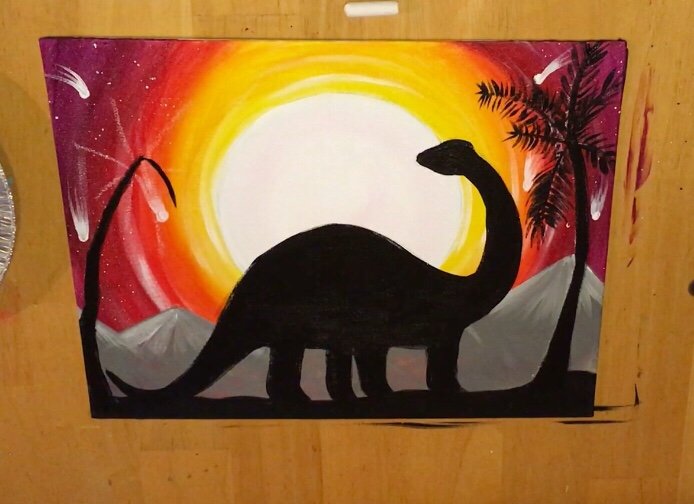
15. Draw the palm tree with chalk.
You can also do without palm trees too! I used chalk to draw the trunk and the lines of the palm tree. For design purposes, I had both trees curve inwards like the circles in the sky.
16. Paint the palm trees with a round brush.
For the trunk I used a #4 round brush but for the palm tree branches, I used a #0 ( a tiny detail round brush). I like to paint the center line of the palm branches first and then start at the tip and paint each palm line separately.
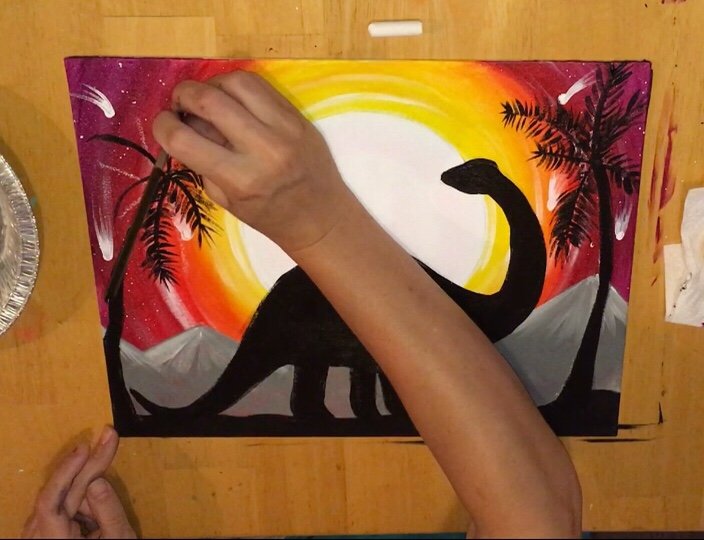
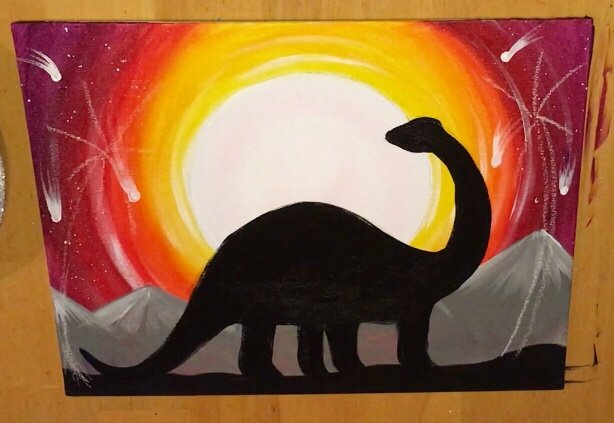
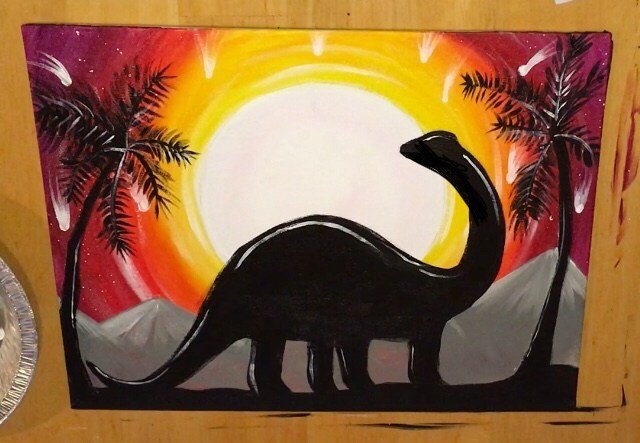
17. Optional: highlight the shadow with white.
On some of the edges of the silhouettes, I used a tiny #0 round brush to paint white lines. This gives the shadow some dimension. I’d say you can totally skip this part if you don’t like the effect or if you’re simplifying this with your kids! I also did some white lines on the palm trees.
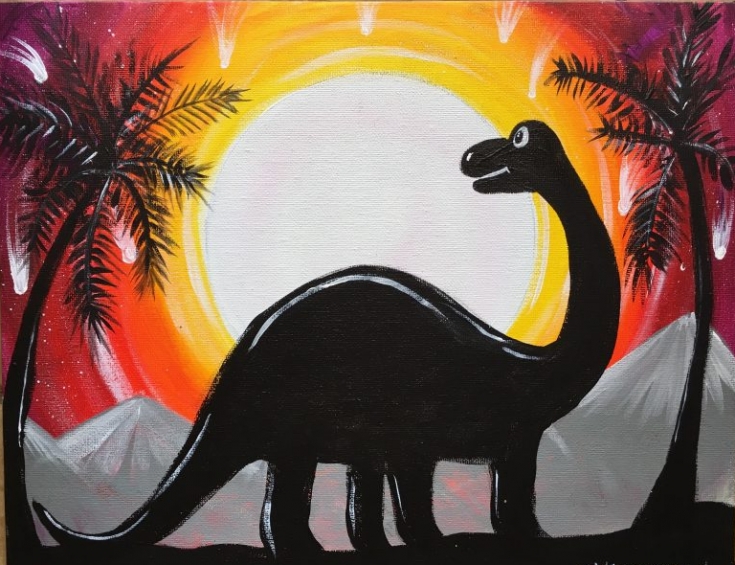
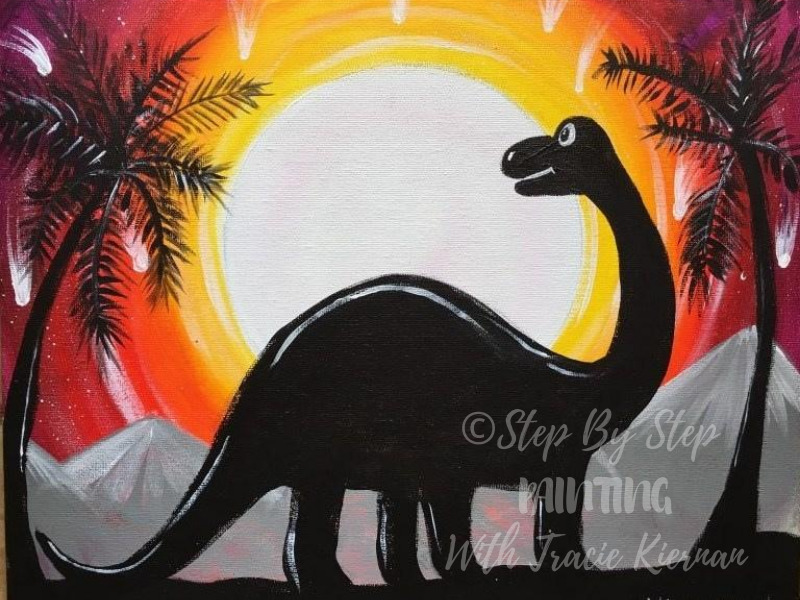
18. Make the dino look more cartoon like.
My son wanted me to make the dinosaur look like Arlo from the Good Dinosaur. This was my legit attempt!
A lot of times I do my paintings a second or third time and change the design slightly. I do demo this in the video!
The silhouette shape of the head does change so you’ll just have to see in the video how exactly I did this.
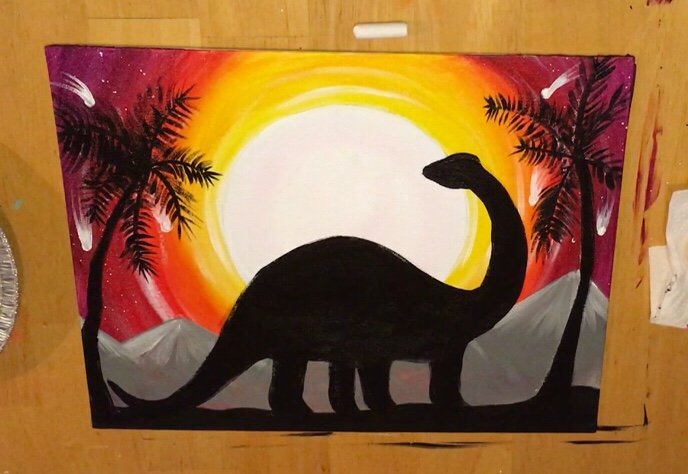
Finished! Sign your name and show your dino off!
I definitely had a lot of fun with this one! Part of it is because my kids were excited to get new art for their room! I can’t wait to see what you come up with! Don’t forget to share your art on Pinterest or Facebook! You can also directly message me on the Facebook page.
Share Your Art


Amazing! You make painting so easy!!!
Thank you Linda! That’s always great to hear! Hope you enjoy painting the Dinosaur!
Really really good and clear instructions. A project waiting ahead for my class to get on with.
Thank you!
Thanks so much for the great instructions – I’m going to teach this at my summer camp!
Hello! I love your website and I use it often! I am painting this for my brother on his birthday. Thank you so much!
You’re welcome!!!
Thank you so much. Will be trying this for a painting party for my daughter and her cousins. Of course I will try it for to see if I can explain is as easy.
You’re welcome!
Thankyou so Much.
Will it look alright if I paint the dino green and the trees brown with green leaves?
Thank you
Karen
I think it should be fine as long as the green is dark enough to show up against the background color! Even a bright green may work.