
Cross Painting Tutorial
Create your own cross painting step by step with this acrylic tutorial for beginners.
You can customize the colors in this design or even add a bible verse or quote on it.
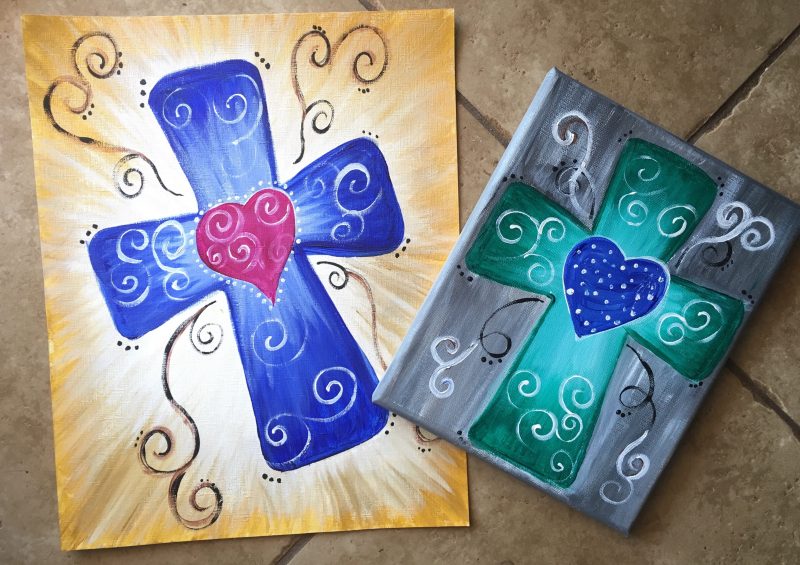
I ended up doing two different versions with a background and color variation. Feel free to be creative and add your own personal touches!
Thanks for viewing this post and I hope you enjoy!
Grab A Freebie Of This Tutorial Download! Find Out More Here!

Materials
How To Paint A Cross

Create a beautiful cross painting with acrylics on canvas. This tutorial has a traceable for the cross that you can transfer to your canvas using graphite paper.
Materials
- Acrylic Paint
- 11 x 14 Canvas
- Paint Brushes
- Traceable
- Graphite Transfer Paper
Colors
- Yellow Oxide
- Unbleached Titanium
- Titanium White
- Gold
- Ultramarine Blue
- Light Blue Violet
- Quinacridone Magenta
- Bronze
- Mars Black
Brushes
- 3/4 Flat
- 12 Bright (1/4” flat)
- 4 Round
- 0 Round
Instructions
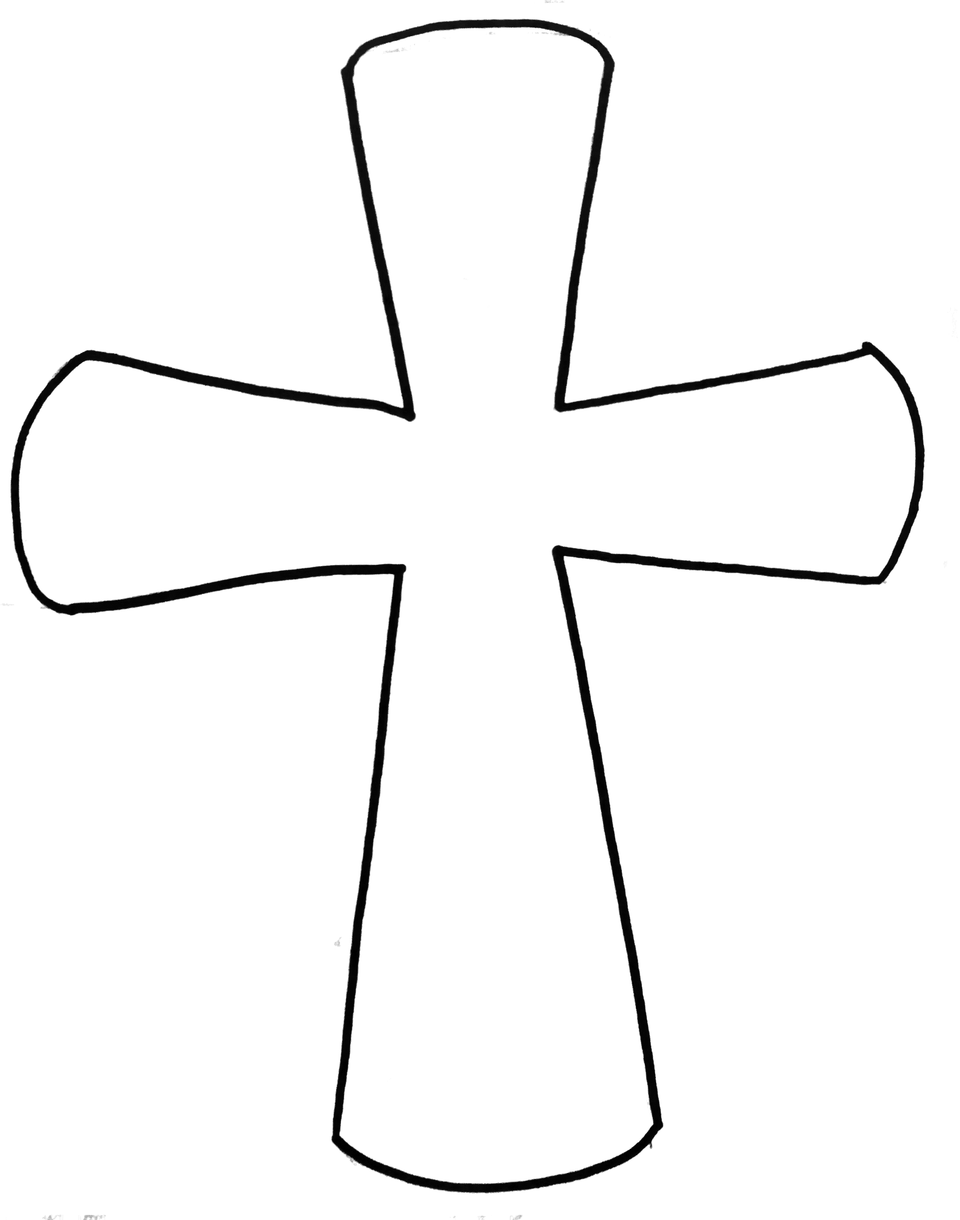
- Draw or transfer the cross onto the canvas. You may decide to have the cross going diagonal on the canvas or vertically.
- Start with a 3/4 flat brush and yellow oxide. Paint radiating strokes starting from the edge of the canvas.
- Blend unbleached titanium in its the yellow oxide so that the strokes get lighter as it goes to the center.
- Add titanium white to the center of the canvas around the cross. The background should be brightest in the center.
- Add strokes of gold to the background going in the same direction of the strokes.
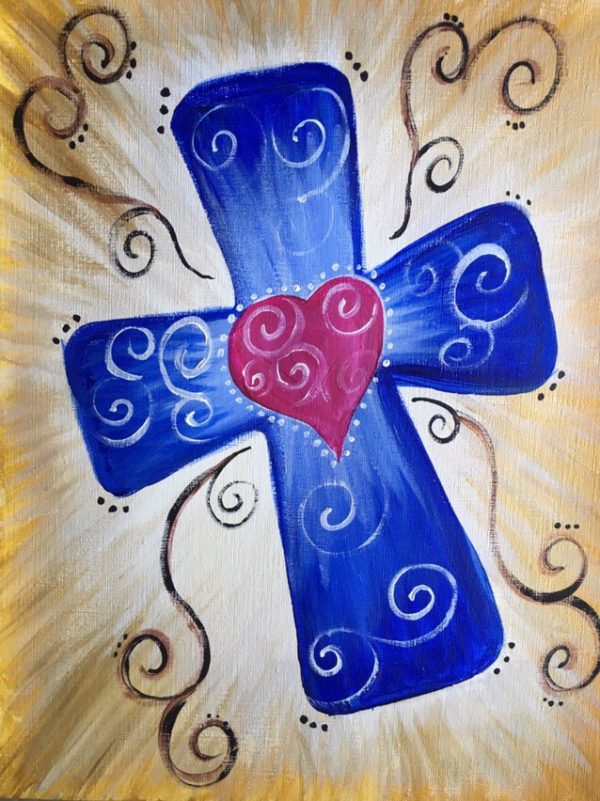
- Paint the cross ultramarine blue starting from the edges and leaving the center white for now.
- Gradually add light blue violet in the center and then titanium white in the very center.
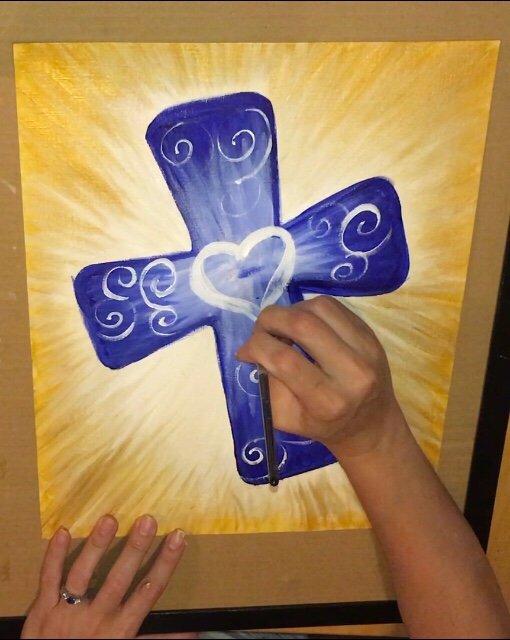
- Use a round brush to paint titanium white spirals and then paint the heart in the center white.
- Paint black spirals and dot designs in the background around the cross.
- Paint bronze spiral designs in the backgrond.
- Paint the heart quinacridone magenta.
- Paint white dots and designs on the heart.
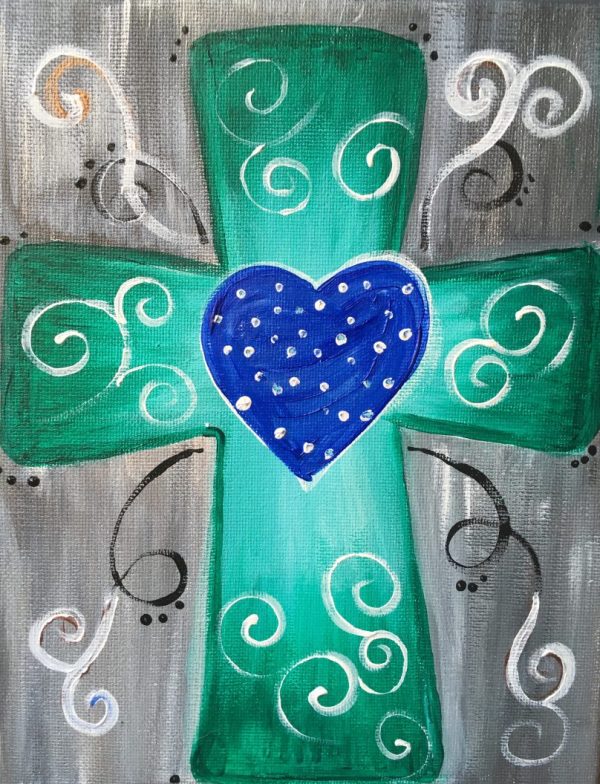
Note: I get a lot of questions about if I have a tutorial for the gray cross. I do not. It is very similar in technique to the blue and gold cross only you are drawing/ tracing the cross so that it is going vertical instead of diagonal.
The colors I used in Gray/Green version:
- Neutral Gray (Background)
- Titanium White (Background and Spirals)
- Mars Black (Background and Spirals)
- Silver (Background)
- Phthalo Green (Cross)
- Bright Aqua Green (Cross)
- Light Blue Permanent (Cross)
- Ultramarine Blue (Heart)
Traceable
Download the 11 x 14 Traceable
I have other canvas sizes available in the FREE download for this tutorial!
Directions At A Glance
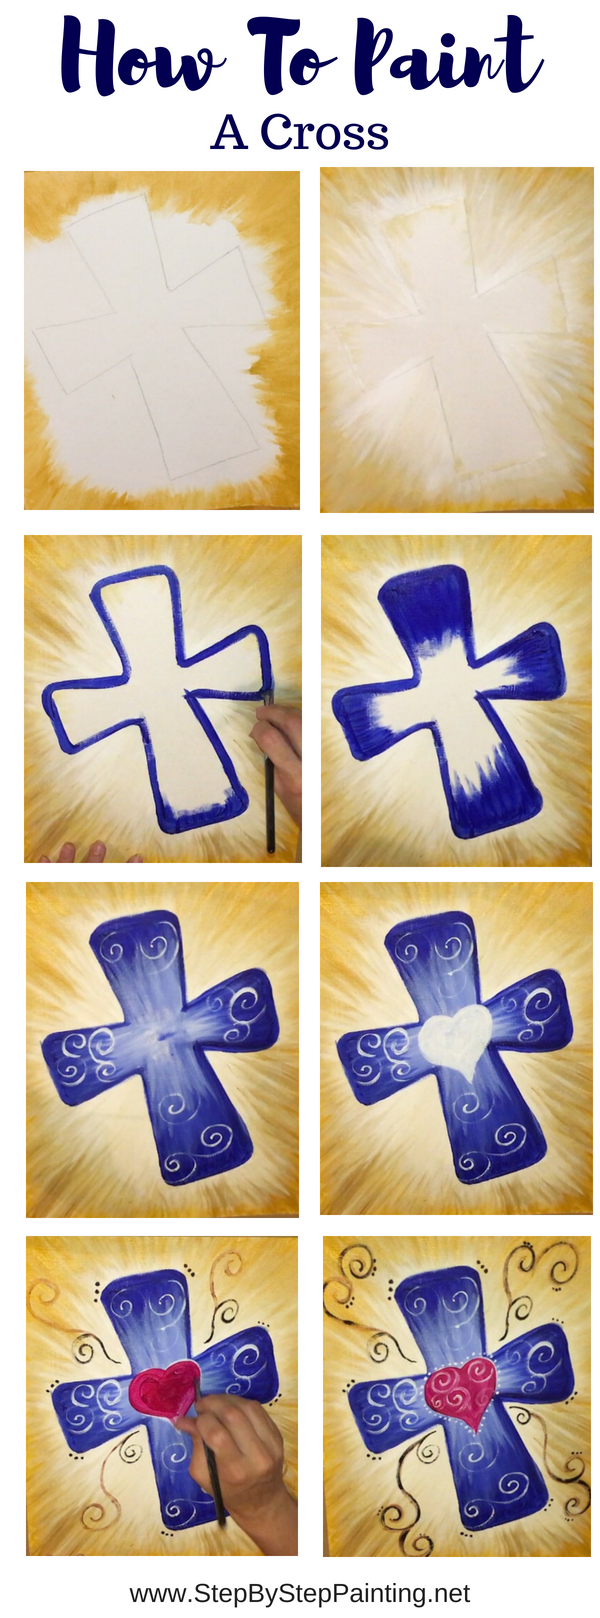
Video For Cross Painting:
Step By Step Process Pictures
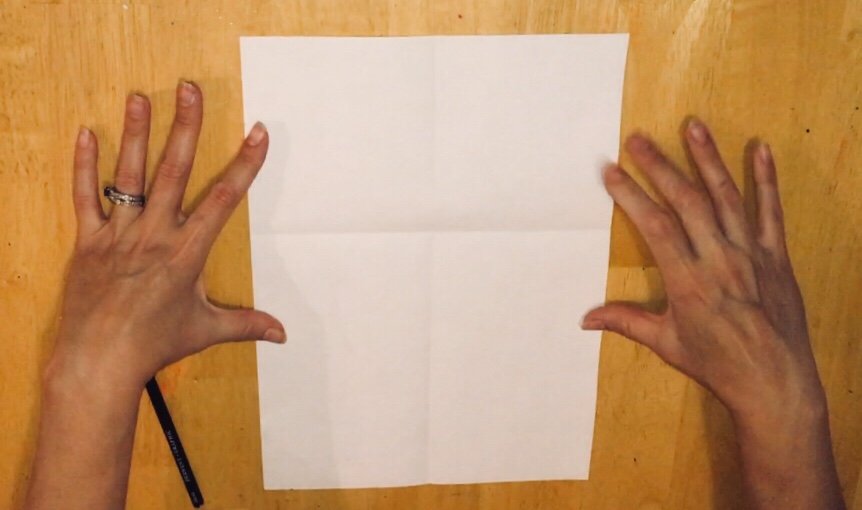
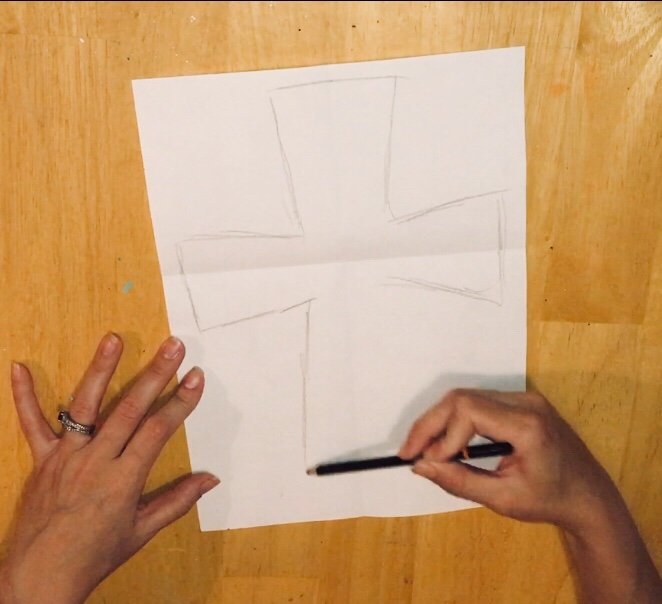
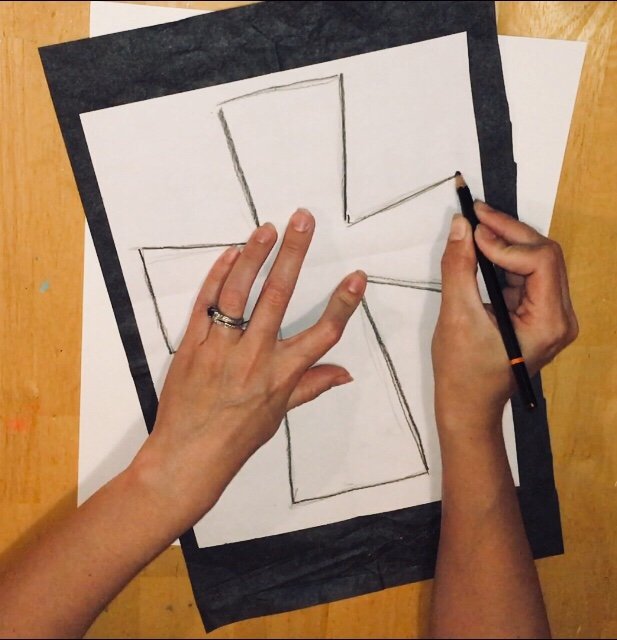
1. Draw A Cross On A Piece Of Sketch Paper
You can use the printable that I provided but I think it is super easy to draw a cross on a piece of sketch paper or even right on the canvas!
I started with a 9″ x 12″ piece of sketch paper. Then I folded it vertically.
I also folded it a little less than half way down.
If you look at the image below, you can see my crease. These folded lines helped with the symmetry of the cross and I was able to easily draw it.

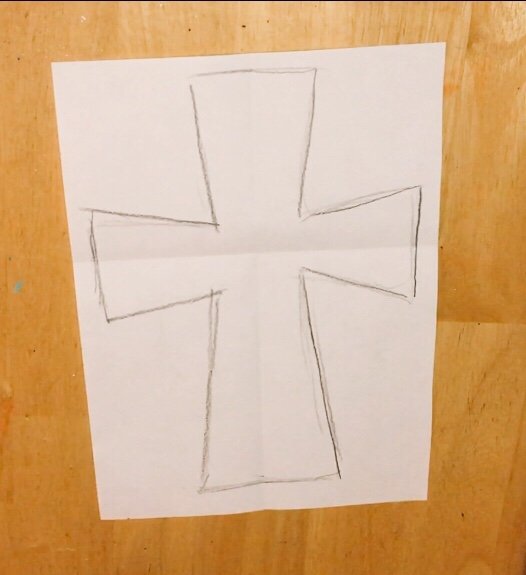
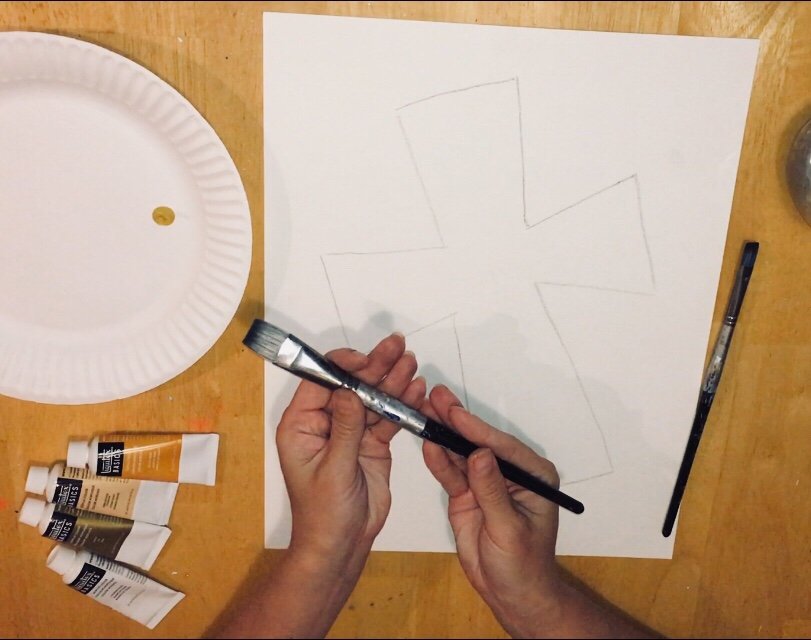
2. Transfer the cross to the canvas.
If you have graphite paper, trace the cross.
If you don’t have graphite paper, you can always color on the back of it with a graphite pencil and then draw over the drawing.
I tilted my cross to the left. You can do this too!
Or if you think it will be too challenging to do the diagonal design, you can make your cross going vertical.
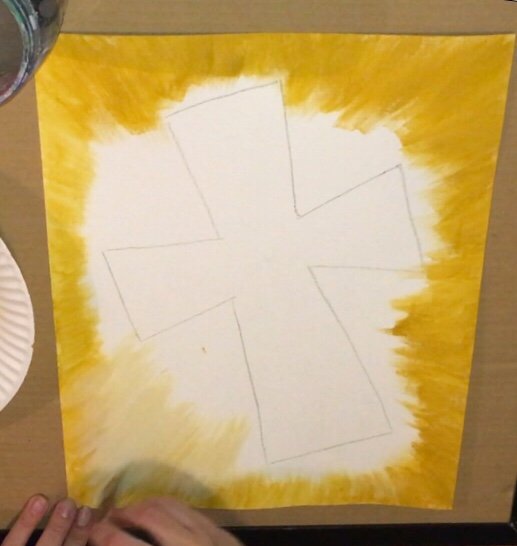
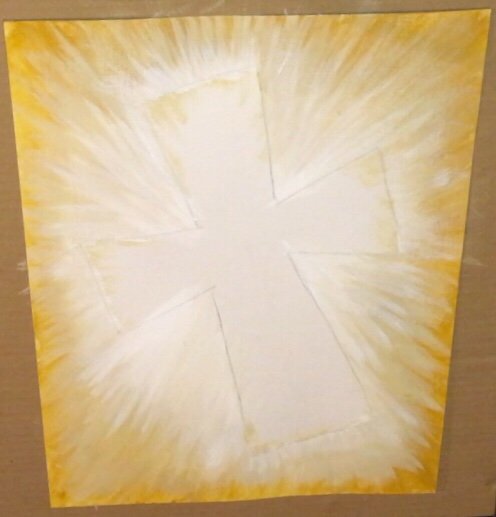
3. Use a 3/4″ Flat Brush To Paint Yellow Oxide Along The Edges Of The Canvas
This background is a “starburst” background. The direction of the strokes are going diagonal like a big asterisk star!
I started from the edges and worked my way to the middle.
The first color I applied was yellow oxide. Use the tip of the brush to form strokes that go in lines the way an asterisk will go. See the images below:

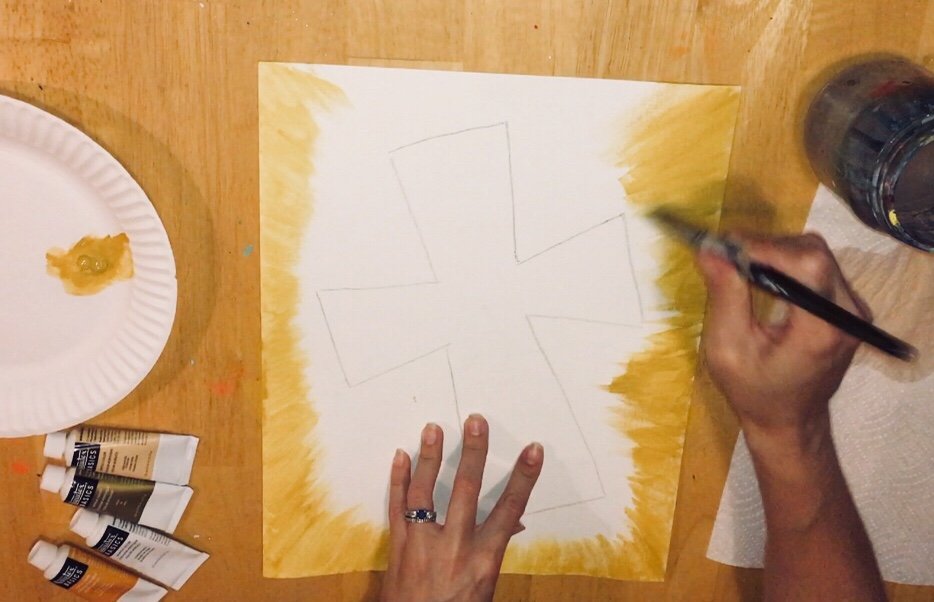
*Tip Paint up and down strokes if the starburst is too challenging. I did up and down for this version.
Equal amounts of white, black, gray and silver.
Paint in all up and down strokes with a 5/8″ flat brush. Blend the colors right on the canvas.
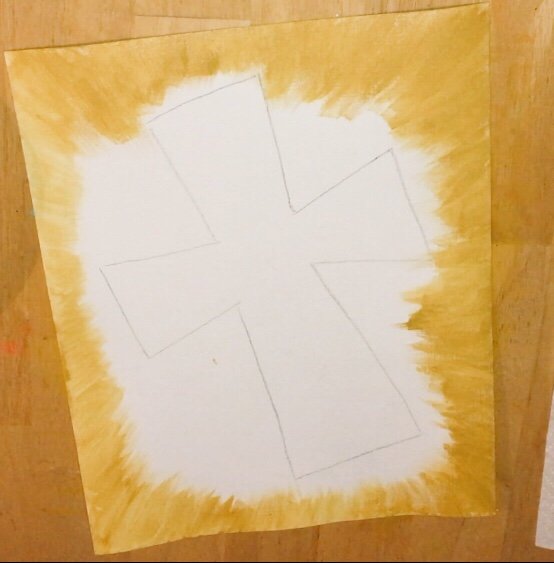
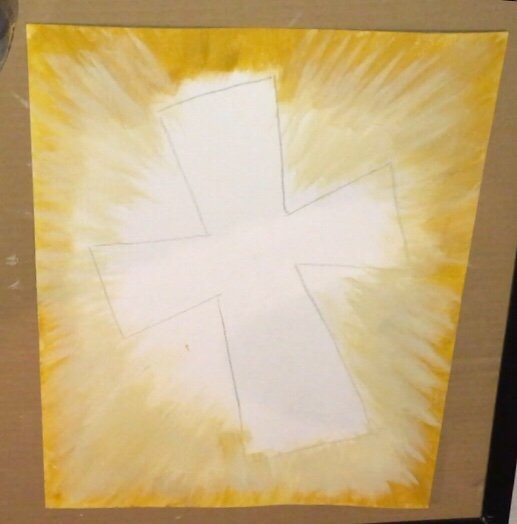
4. Add Unbleached Titanium
Don’t rinse the brush off.
In the same way you painted the yellow oxide, now add unbleached titanium and work your way to the middle.
Let that unbleached titanium blend with the yellow oxide.
If it’s not blending, don’t worry too much! Use the tip of the brush to make sharper strokes going diagonal like a starburst.
Essentially the color is going to be brightest in the middle around the cross. See the images below:
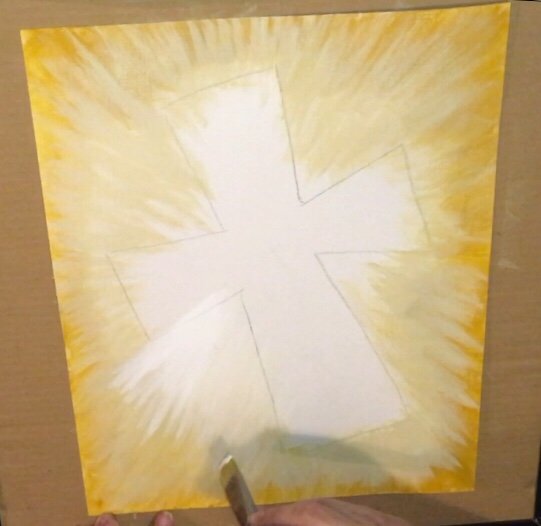
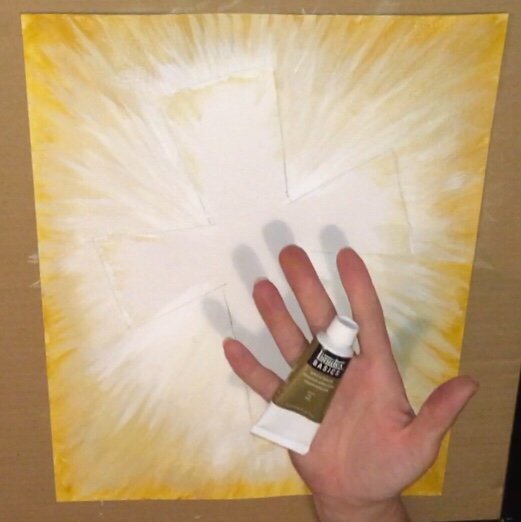
5. Add Titanium White
Again, don’t rinse the brush. Add titanium white and work your way all the way to the cross.
If you paint over the cross a bit, it’s not a problem!
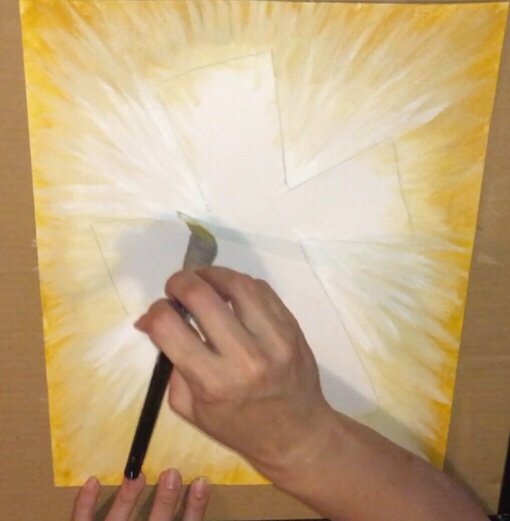
6. Add Gold
Next add gold.
Since gold paint is translucent, I just slightly painted over the darker yellow areas using the tip of my brush.
I did not paint over the white area because I still wanted that to stay bright.
In other words, just paint gold over the yellow oxide and unbleached titanium.

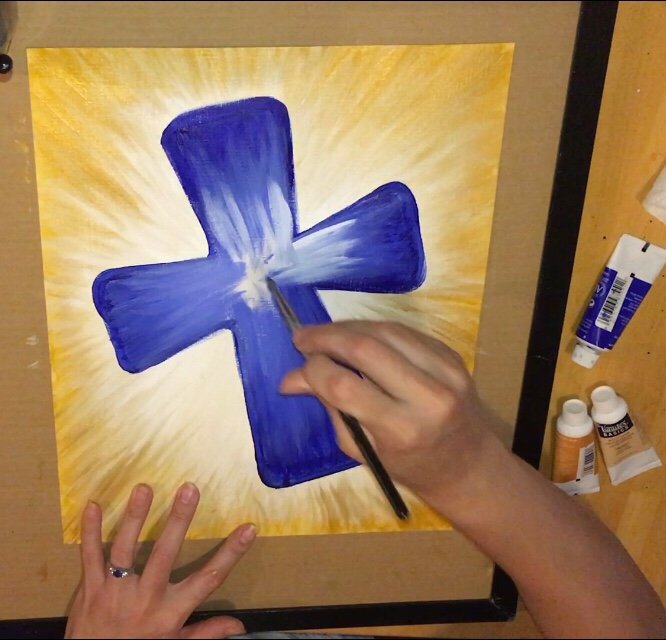
7. Paint The Cross Ultramarine Blue, Light Blue Violet and Titanium White
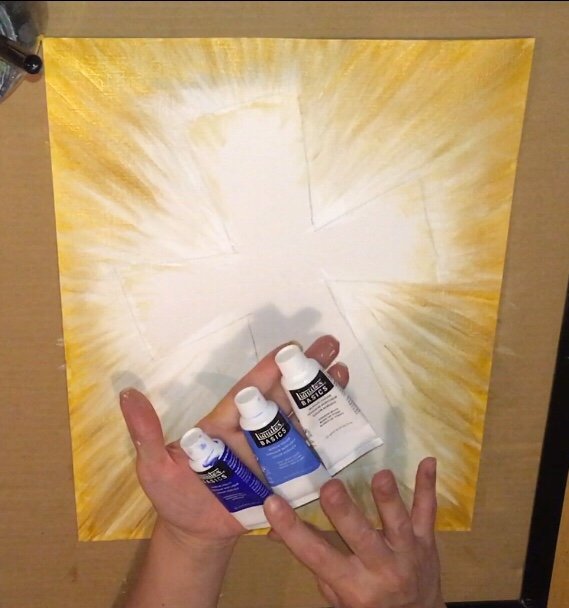
Use a 1/4″ Flat Brush to Outline the cross with ultramarine blue.
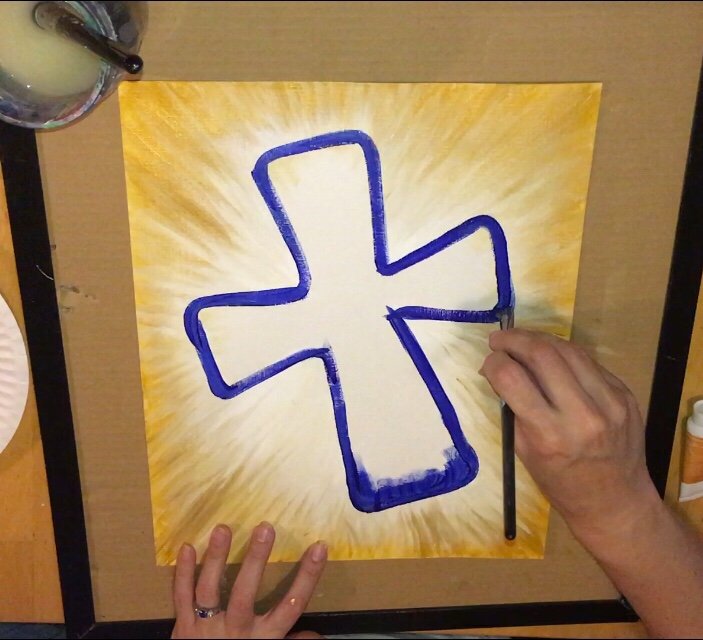
Then paint in the outer edges of the cross using up and down strokes and horizontal strokes that go with the shape of the cross.
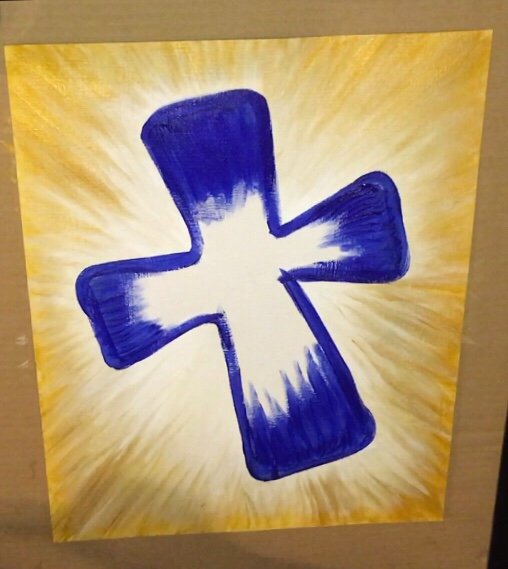
Gradually add light blue violet and blend in with the ultramarine blue.
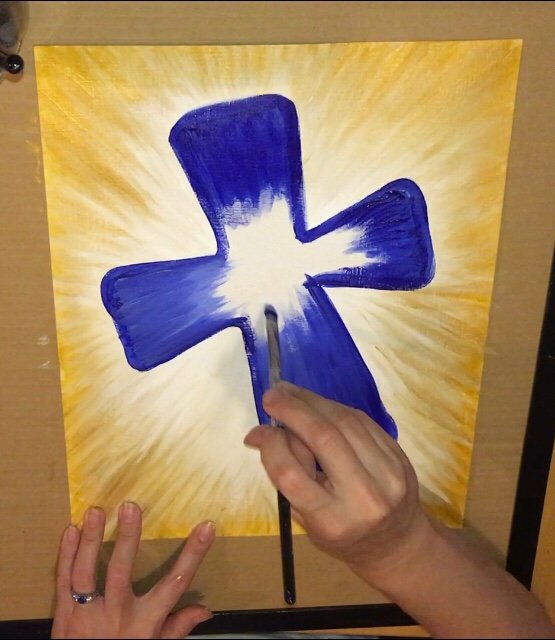
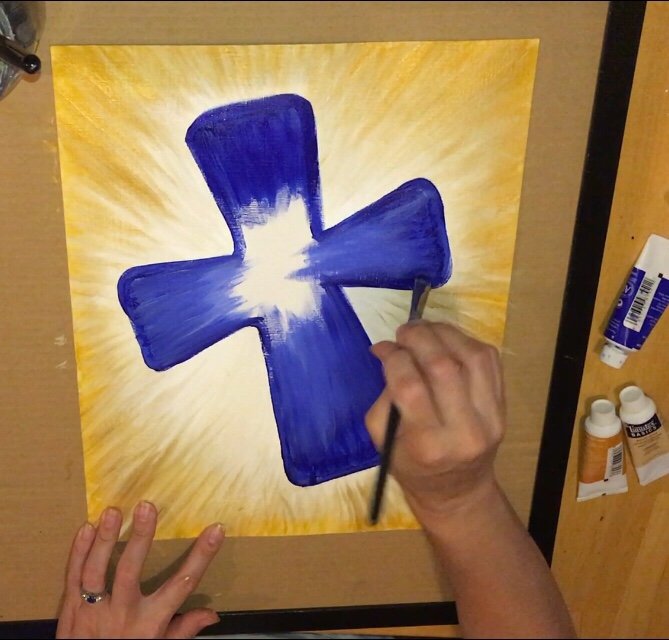
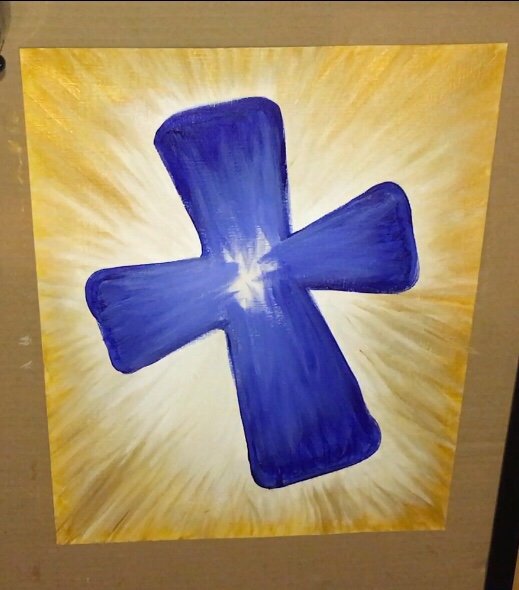
Then gradually add white in the middle blended with the light blue permanent.
Essentially the cross will start out dark on the edges and get lighter in the middle. See pictures below:
I did the same this for the cross in this version. For the darker color I used phthalo green then blended in bright aqua green then light blue permanent and then white!
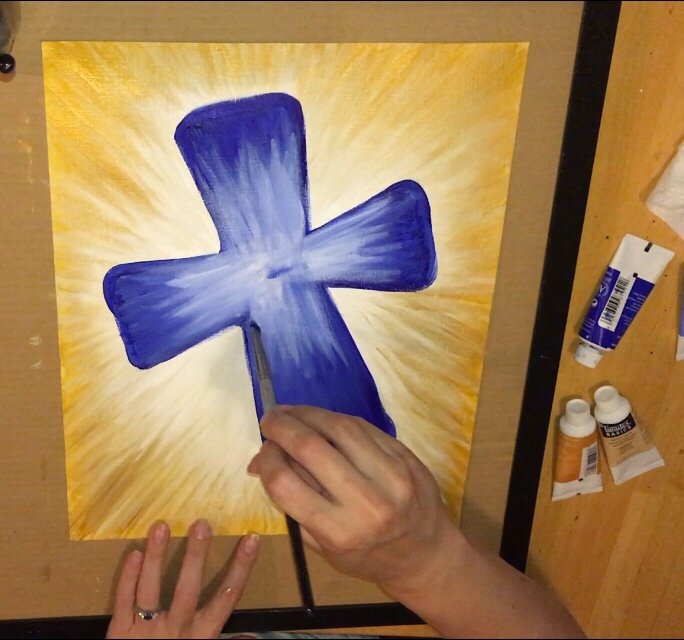
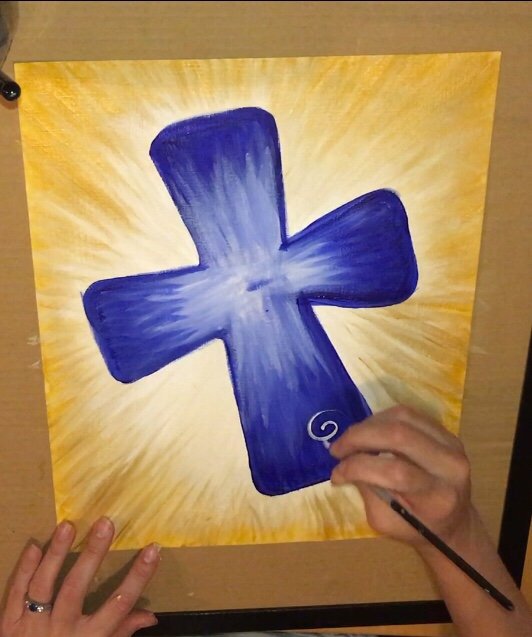
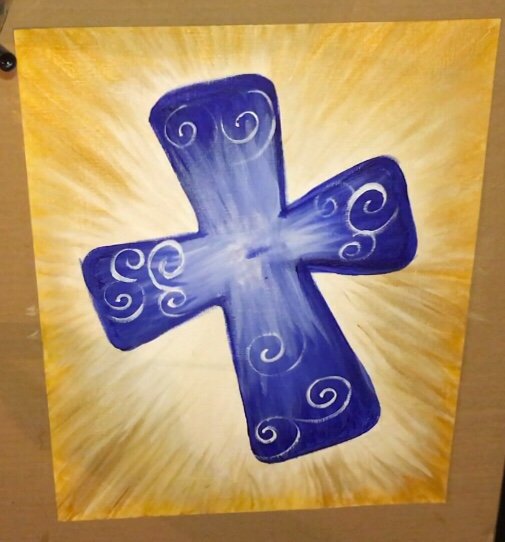
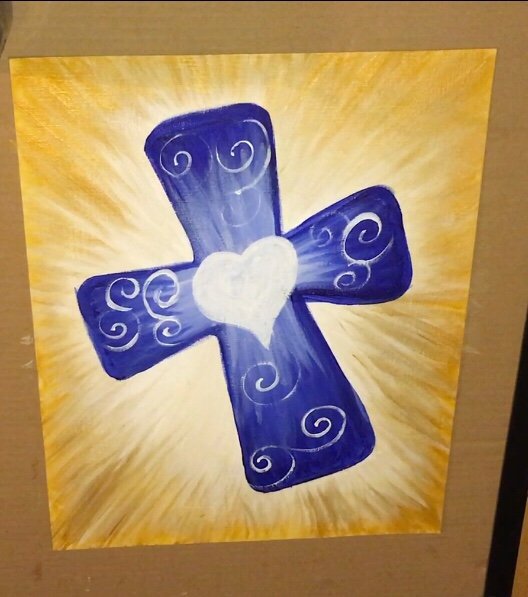
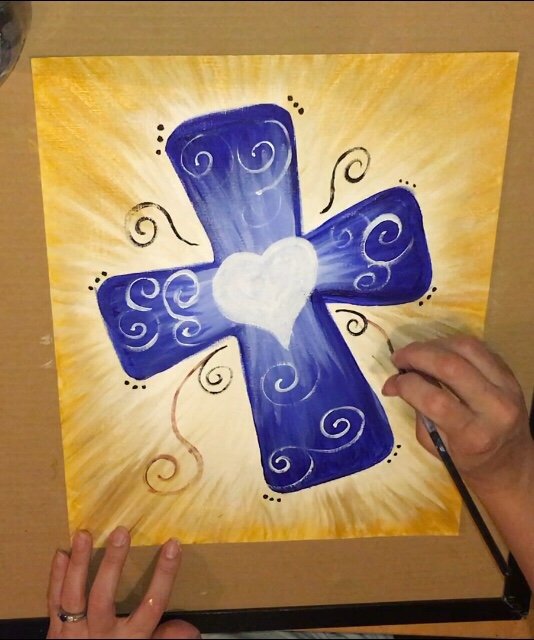
8. Use a Round Brush to paint Titanium White Spirals
Using a #4 round brush, I painted titanium white spirals on the blue cross.
9. Block out a white area for the heart
Then I used that same round brush to paint a heart.
The white area needs to be blocked out first for that quinacridone magenta to really be opaque.
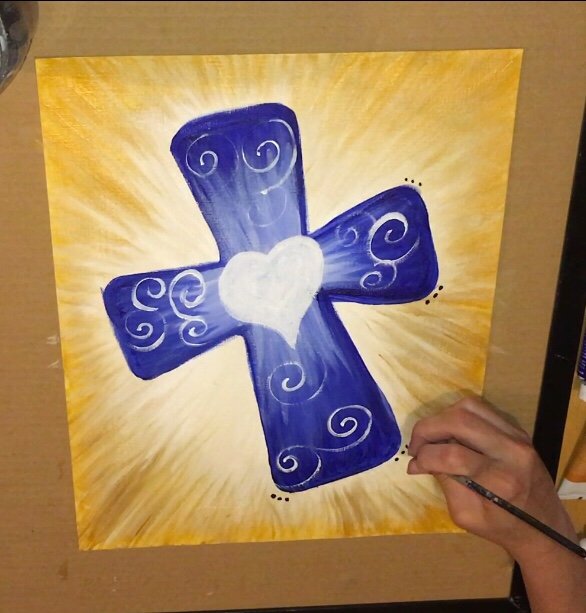
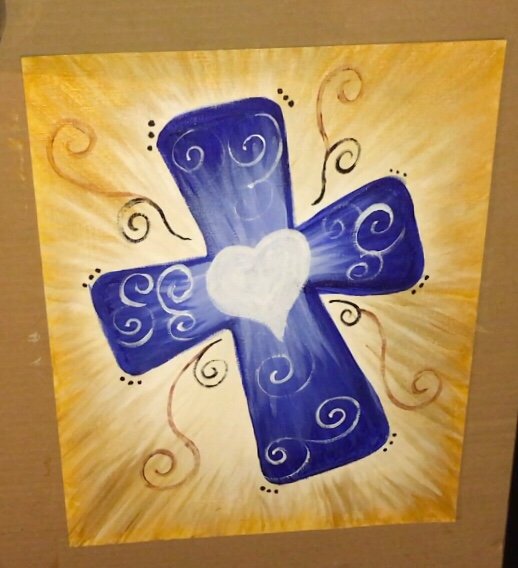
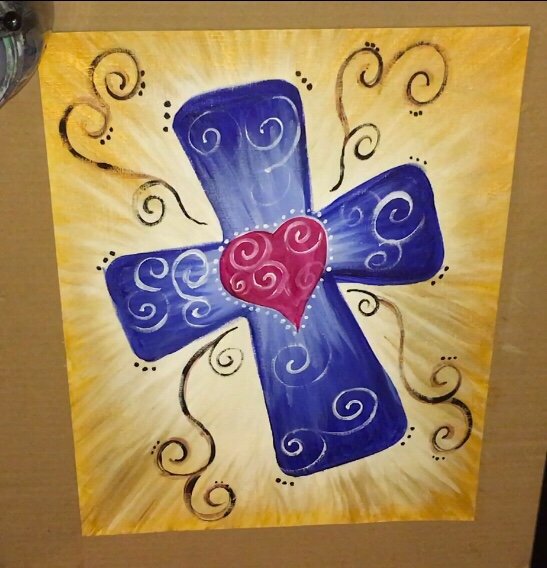
10. Start painting some dots and spiral designs on the outside of the cross.
I used a small #1 or #0 round brush to paint the spirals with mars black.
I also added three tiny dots on all the rounded edges of the outside of the cross.
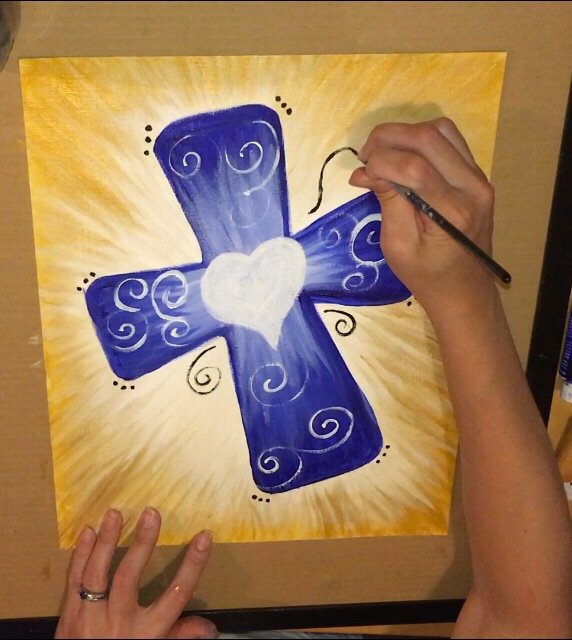
11. Then I switched to Bronze in the spirals
To add variety, I switched to bronze to paint more spirals.
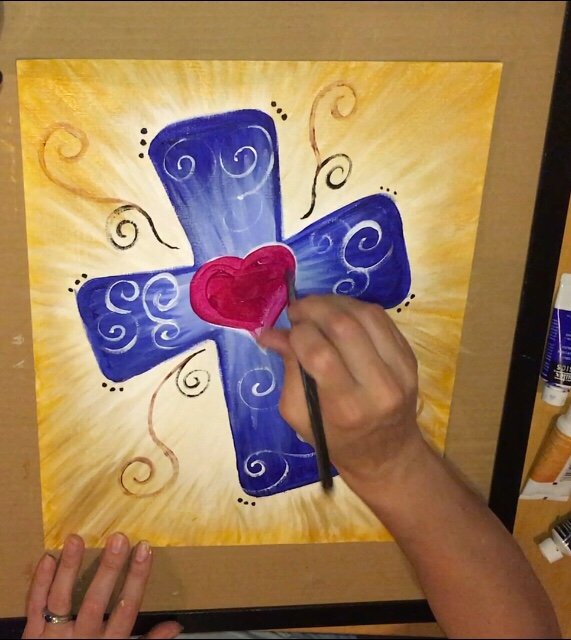
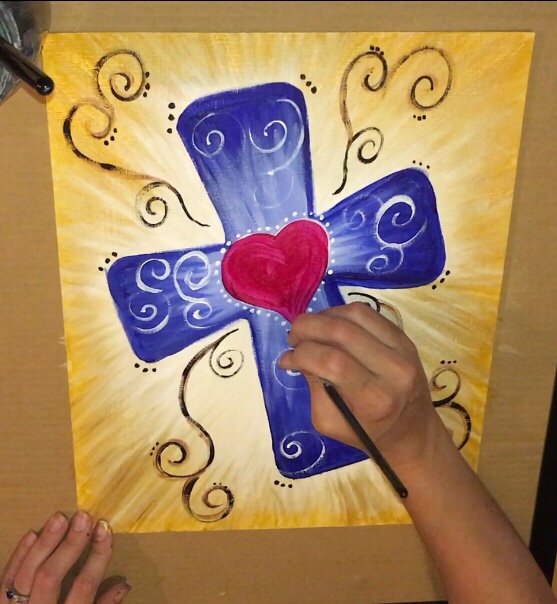
12. Paint the heart quinacridone magenta
I used a 1/4″ flat brush to paint in the heart with quinacridone magenta.
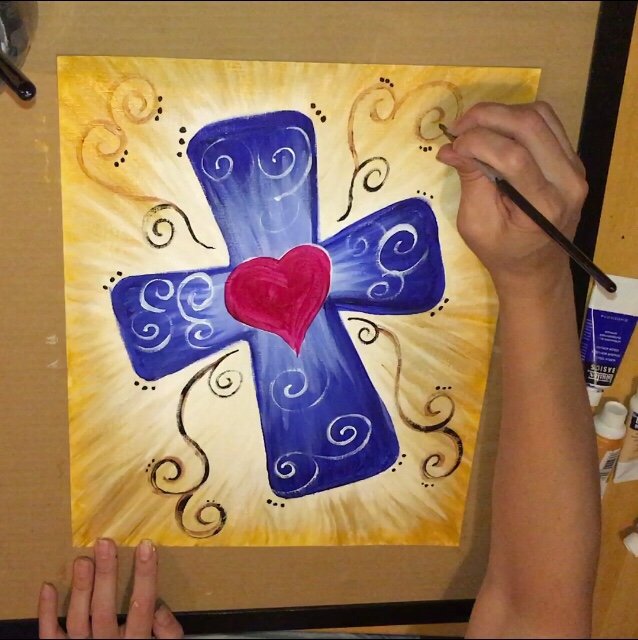
13. Some more details in the spirals!
Then while that magenta was drying, I did some more spirals and dots with mars black and bronze.
I also painted little dots around the heart of the cross.
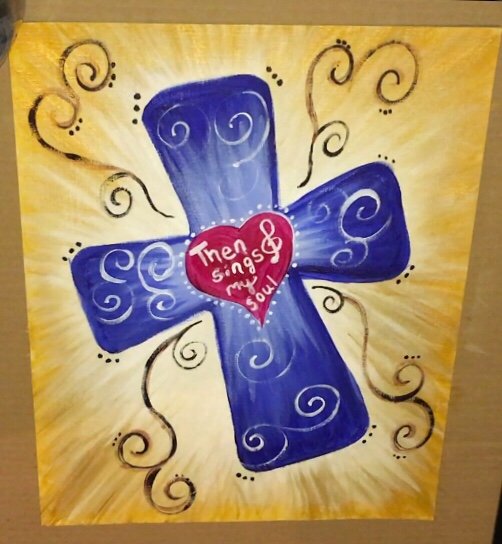
14. Some final touches!
The two things I couldn’t decide on for this painting was whether to do spirals on the heart or a quote on the heart.
I tried it both ways!
I think if you want to do a bible verse, you can make the heart a bit bigger or use very small handwriting.
You can also do a verse on the edges of the canvas or along the outside edges of the cross.
You can even do away with some of the spirals and do a verse in the outer areas!
That’s It! Finished! What a beautiful piece of art to display in your home or gift to someone!

Want to be able to print out step by step instructions with less pages to help teach classes where I work – I have to print these out on my home computer
yes please i want step by step instructions to print out on the cross
Hi Tammy! The only way you can print these is using your print settings just like when printing off of any website. When you go to print, go to your “print preview” and select which pages you want to print – that way it’s not printing 20+ pages for you. Also, you always have the ability to print the traceables on one standard page because I offer those in PDF format.
Do you have a step by step video for the version with the gray background?