Have a DIY paint party at home!
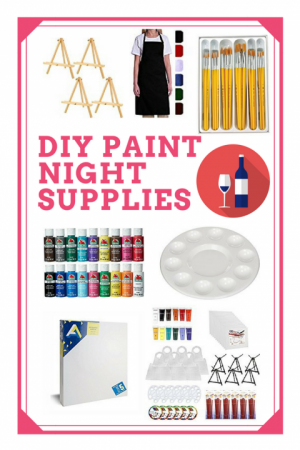
Want to have a paint party at home?
The trend of painting and sipping your favorite bubbly is still on the rise and I’m loving every bit of it!
Going to a paint studio is a lot of fun and I strongly encourage you to go and support your local studio if you’ve never tried this experience before!
The atmosphere is very relaxing, the instructors are fun and gifted at guiding you through the process of painting a beautiful masterpiece. And best of all, anyone who has never picked up a paint brush before can execute something to be proud of!
On the contrast, having a paint party at home has its benefits too!
The biggest differences between having one at home versus having one in a studio is that you have more time and flexibility to plan things and it may be cheaper than going to a studio.
Popular FREE Online Tutorials By Tracie Kiernan:
I’ve compiled this blog post about how to host your own paint party! There’s a lot of supplies and logistics to figure out for this type of party!
In this guide I will detail some recommended supplies that are suitable for a paint party. I’ll also provide you with some pointers and tips that I’ve learned and may be helpful for you.
This post contains affiliate links.
How To Have A Paint Party At Home
Having a paint party at home is so much fun! The added benefit is more time to do your painting and it may be friendlier on your budget. Use this guide to help you plan your special event.
Materials
- Acrylic Paint (Scroll down in this post for suggestions)
- Canvases
- Brushes (these are different than the professional brushes I use for my tutorials)
- Table-Top Easels
- Instructional Easel
- Table Cloths
- Water Containers (these are non-spill!)
- Paper Towels
- Palettes or Paper Plates
- Aprons
- Hair dryer (for quicker drying between steps and so your guests don’t take home a wet painting)
Instructions
How To Set Up For The Evening:
- Decide how many tables and chairs you’ll need based on how many people are attending. For example: a 5’ x 3’ dining table could fit 6 easels. You may need to rearrange your room to fit extra tables depending on the number of guests you’ll be having.
- Lay table cloths on the tables and set up the easels and the canvases.
- Lay brushes, palettes, water cups and paper towels in front of each easel. Make sure each easel has the correct brush sizes needed for the painting.
- Set up an instructional area (if you are doing the teaching). You’ll need a standing easel and a place to set your palette, brushes and water.
- Hang up a sample painting or a print out to use as a visual.
- Set up your TV to cast a video or demonstrate steps (if you are doing the TV method).
- Set up a paint station where all the paints and extra brushes and paper towels will be.
- Designate someone that will help pass out paints and extra supplies. You can either put all the colors on each palette or pass out colors as they are needed.
- Pre-trace designs on the canvas (if necessary) with graphite paper. Or have traceables and graphite paper ready for your guests to trace.
Notes
Read further in this blog post for more tips and suggested supplies for your DIY Paint Party!
First Things First…Supplies!
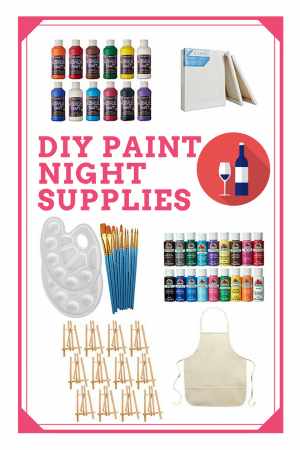
Shop Paint Party Supplies
You’ll need the obvious: paint, brushes, canvases and maybe easels (if you want to make this paint party legit)!
Craft paint works fine on canvas and it’s easy on the budget! Most craft paints are acrylic paint (unless it says otherwise).
- I love using Apple Barrel paints for paint parties and they are readily available to Walmart and Amazon!
- If you want to use higher quality paints, maybe because you’re just painting with a small group, then go for the student grade paints at Michael’s such as Liquitex BASICS or Artist’s Loft. Liquitex BASICS is actually the standard paint I use for my tutorials. However, it could get pricy to buy those for a paint party. You can easily convert colors by looking at the color chart on the tutorials and match. You don’t HAVE to have a perfect match for colors!
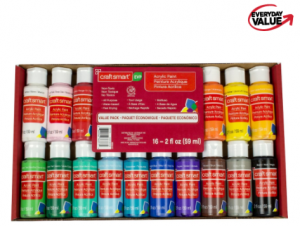
- There’a also another cheap brand of craft paints called “Craftsmart” that Michaels sells! You can get a large pack with multiple colors.
How much paint should I get?
I use the formula .2 oz per color per painter. The 2oz bottles of craft paints can go for up to 8 people (in my experience).
BUT if there’s a lot of one color, I just buy an extra bottle or tube of that color.
White is usually a staple color for my tutorials so I always make sure I have extra of that color.

What Brushes Should I Get?
This always gets kind of tricky because it depends on what painting you’re doing and most brush packs come with a random assortment of sizes.
You could buy a few variety packs and improvise with brushes that are similar in size to the tutorial you’re using.
- I find that Amazon.com has several bulk paint brush sets.
- Here is one that has “relatively” the most common size brushes you may need.
- You can also try purchasing individual sized brushes you might need for your tutorial:

What Size Canvases Do I Get?
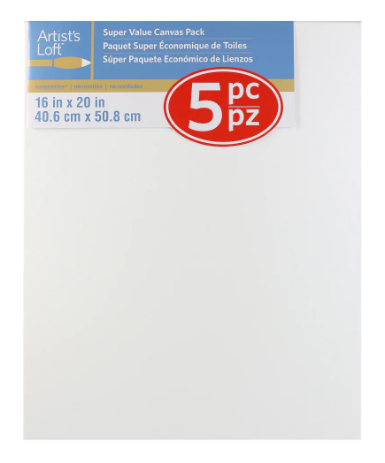
It’s up to you what size to get! The standard paint night canvas size you typically do in a studio is 16″ x 20″ .
I prefer using the 11″ x 14″ or 12” x 16” size at home. Smaller canvases take up less space on your dining room table.
But the choice is up to you!
Tip: If you’re painting with kids, definitely grab smaller canvases. 8×10, 11×14 or 12×16 are good sizes.
My Canvas Picks:
The Artist’s Loft bulk packs at Michael’s are the BEST deal on canvases!
Amazon:
I also like to get the bulk packs on Amazon.com.
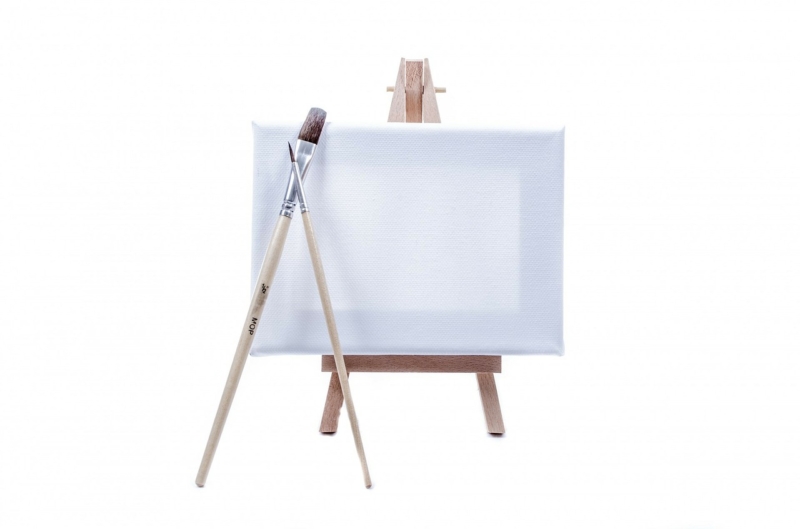
Should I get easels?
Easels give your painting the best perspective to work with. They also save space!
I can easily fit six painters at my small dining room table if they all have easels!
If you’re buying easels online, pay attention to the size in the description. A lot of them look larger in the picture but are only about 12″ high and won’t be able to support a 16 x 20 canvas.
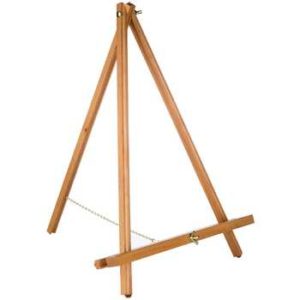
My Table Easel Picks:
I own these easels from Hobby Lobby! Hands down these are the BEST easels for paint parties and they are so cheap!
Other Things You’ll Need…
What should we use for Palettes?
I use paper plate palettes because I don’t like cleaning them afterward.
I also recently discovered that using those little paper medicine cups is a genius idea! You can put your individual paint colors in each of the cups!
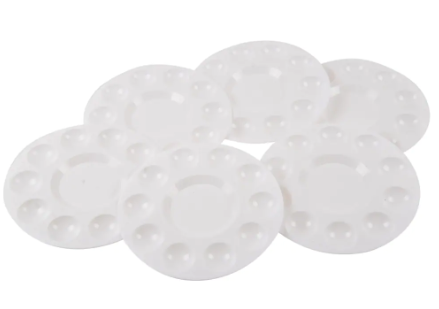
If you’re interested in multi packs of palettes, I’ve listed a few below.
Should we get aprons?
You can have a paint party without aprons.
However, everyone requests these at paint parties because of the fear that paint will stain clothing.
You can get relatively inexpensive bulk sets of aprons on Amazon.
 Do we need graphite paper?
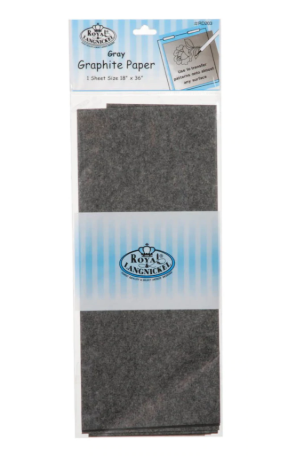
Graphite paper is a very small investment, it can but cut to size and reused nearly an unlimited amount of times.
A lot of painting tutorials online include a traceable that you can print and distribute for your paint party.
Or better yet…pre trace the design on everyone’s canvas and you can skip the part where they have to trace their own!
Just place a piece of graphite paper below the print out and it transfers to the canvas. Sometimes you can outline the design with a sharpie and the dark pattern will show through the first layer of paint for your guests to see!
My Graphite Paper Picks:
Water Cups:
Don’t forget water to rinse your in between colors! I typically use plastic disposable cups or old Tupperware.
You got your supplies now how do you teach the painting?
That’s up to you!
If you’re hosting, you can be the one to learn the painting first and then teach it to the crowd in the same manner the instructor in a studio teaches the painting (step by step, stroke by stroke).
You can also set up your TV to “cast” a painting tutorial video so you can sit down and paint with everyone.
Another way to do this is to print out the instructions and hand them out to the crowd (or between two people so they can share the directions). I actually have a few tutorials in my e-book shop where I sell printer friendly instructions!
Or you can do all three methods!
I personally like to be the instructor when I host my in home painting parties because I love being the teacher!
If you’re doing it this way, take some time before the party and do a sample painting.
When you are teaching the steps during the party, simply go to my website with your phone and use my instructions to teach the class (I use my website for my own notes to teach my classes because I don’t remember all the steps either!).
Any other tips?
Timing!
These paintings take longer than you think.
And when you are socializing, they take even longer. Make sure you start your party at a decent time (before 7pm is my recommendation) so that your guests don’t get too tired to paint after two hours have gone by.
Clean those brushes!
Keep your brushes in good shape after the party!
Make sure you give them a good rinse before any paint dries on them. Use a mild soap or a brush cleaner like my favorite General Pencil Brush Cleaner!
Quick Note About Traceables
If you have a traceable, pre-trace the canvases! It makes things run so much smoother. And a lot of times tracing it with a sharpie makes it easier to see! When you trace the outline with sharpie, your guests will still be able to see the drawing through the first and sometimes the second layer of paint.
Sometimes, however, the painting requires you to paint the background first and then trace the design. If you are having your guests trace their designs, make sure they are laying their canvas flat and pressing firmly when they trace. It’s very difficult to trace your traceable with the painting on the easel.
Drying Time
Acrylic paint dries fast. However, if the paint is applied too thick, the painting will take longer to dry.
Plan on having a hair dryer available so your guests can quickly dry their paintings between steps or to make sure their paintings are dry enough to take home.
Conclusion…
Enjoy your party and have fun! If you’re using one of my designs, share your photos on the Step By Step Painting Facebook Page!
I love hearing about your paint party at home!











Thanks for sharing this.
I’m hosting soon and you’ve really laid it all out for me. Thank you so much for this!