How To Paint A Flamingo Sunset
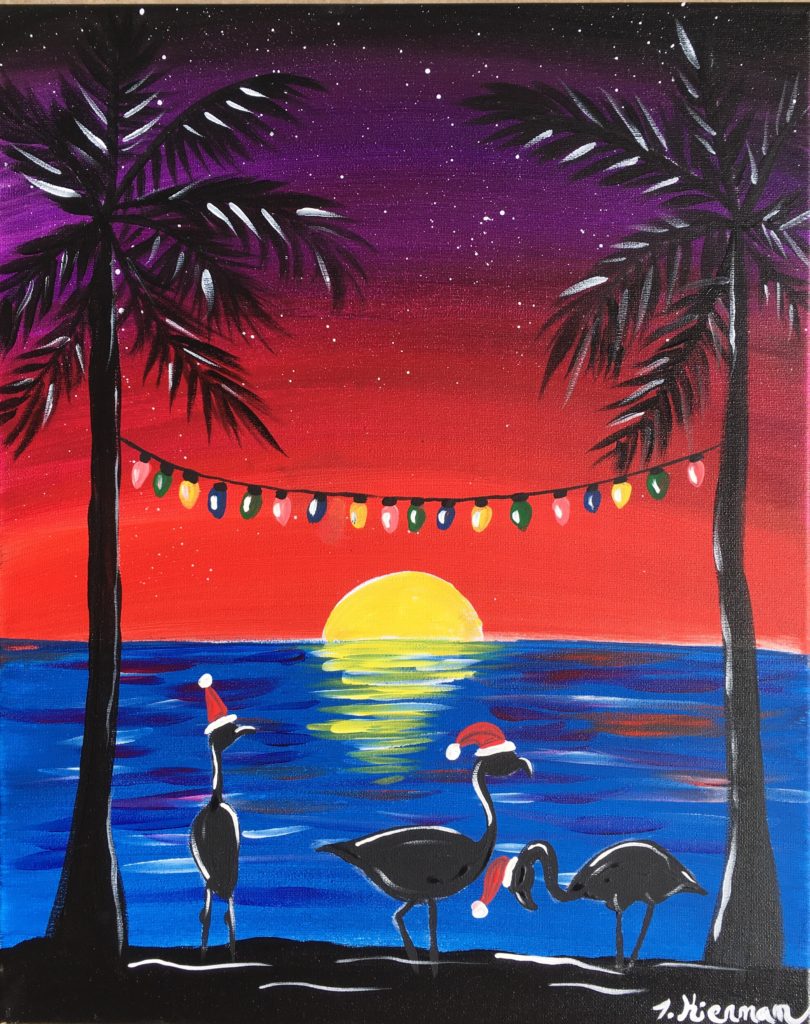
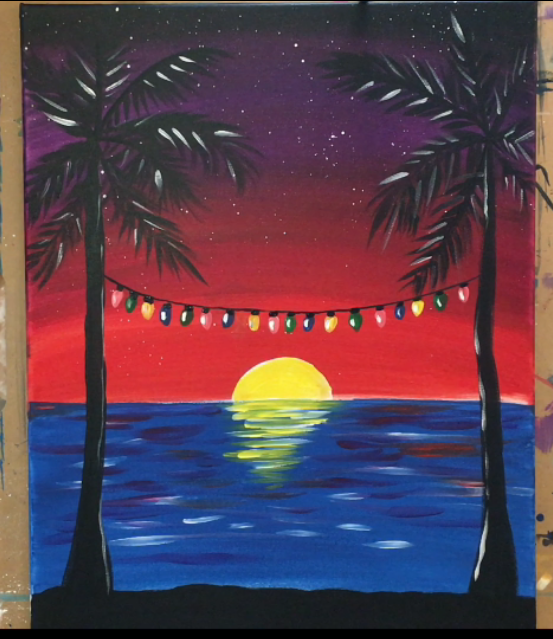
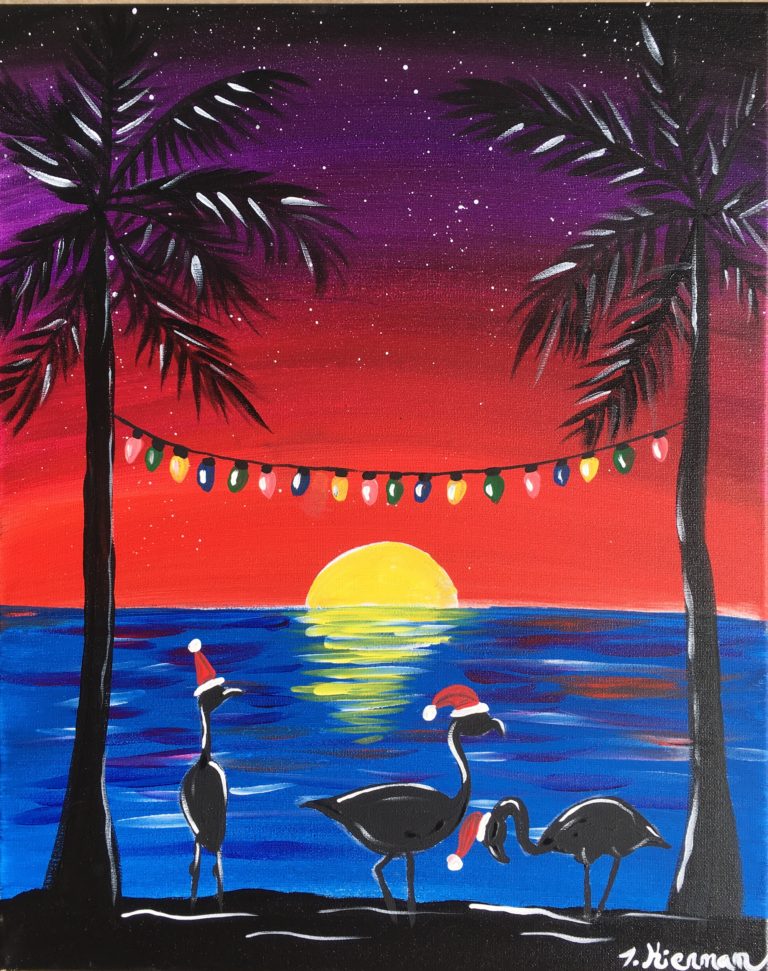
Learn how to paint a sunset with water, palm trees and flamingo silhouettes. This painting looks like it might be hard for the beginner but it is so easy!
It may be classified as a Christmas painting because there are lights and Santa hats but you can definitely omit the hats and replace the Christmas lights with clear white bulbs!
This tutorial includes a full video, materials list and step by step picture directions. Make sure you click on the “I tried it” pin on the bottom to upload your painting and see everyone else’s painting as well!
This post contains affiliate links.
Materials:
- Acrylic Paint (Liquitex BASICS acrylic paint)
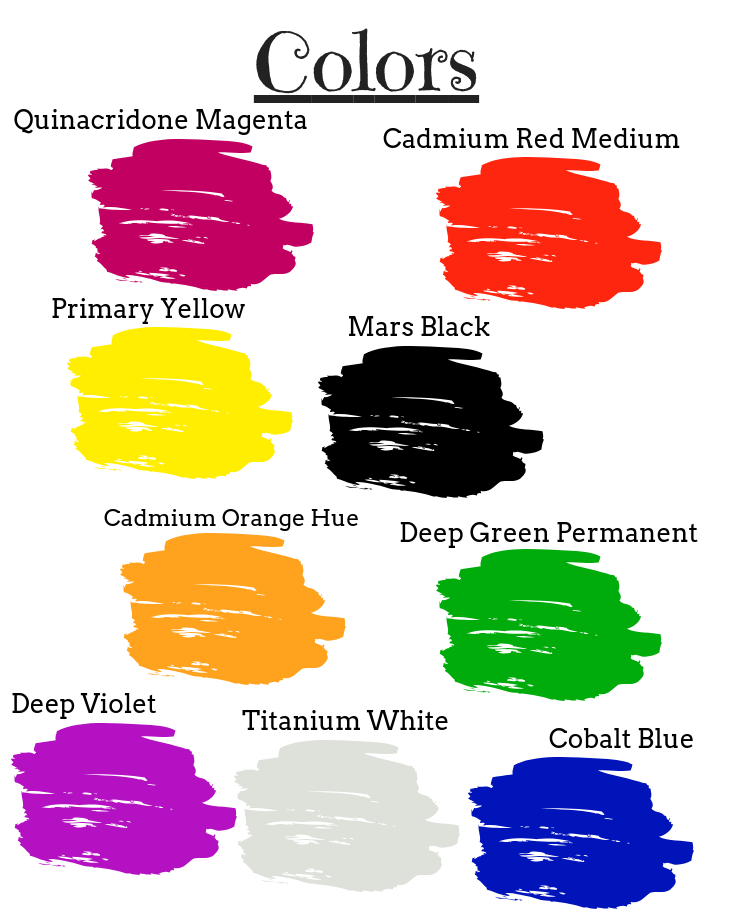
- Colors
- Mars Black
- Deep Violet
- Quinacridone Magenta
- Cadmium Red Medium
- Cobalt Blue
- Titanium
- Primary Yellow
- Light Green Permanent
- Canvas (I used a 16″ x 20″ canvas.)
- Brushes
- 3/4″ Wash
- #0 Round
- #10/0 Liner
- #4 Bright

Directions At A Glance:

Video:
Step By Step Instructions:
1. Paint The Sky
Quick note: my horizon line is about 7″ from the bottom. I didn’t take a picture of this but I measured and made a little mark so I knew how far my sky was going down. I used a 3/4″ flat brush and painted the very top of my canvas with mars black (about a half inch).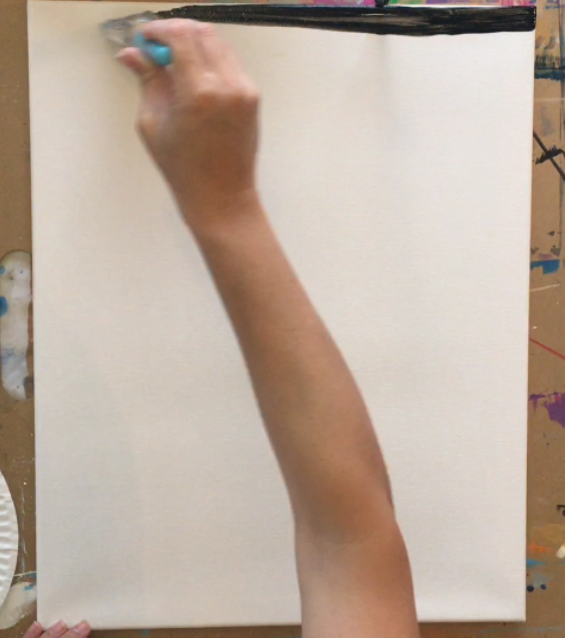
Then I rinsed off my brush and loaded the tip of it with deep violet. I painted about six inches down with this color. I also blended it up into the black.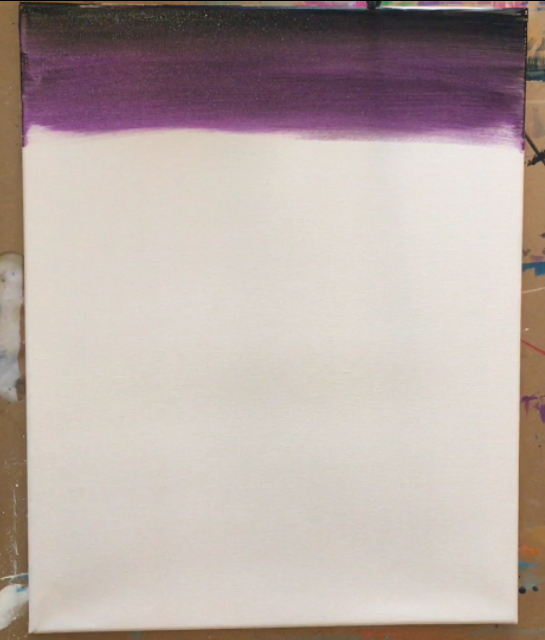
My strokes did not stay completely horizontal. I started going in an “arc”. You can do this or keep it straight! 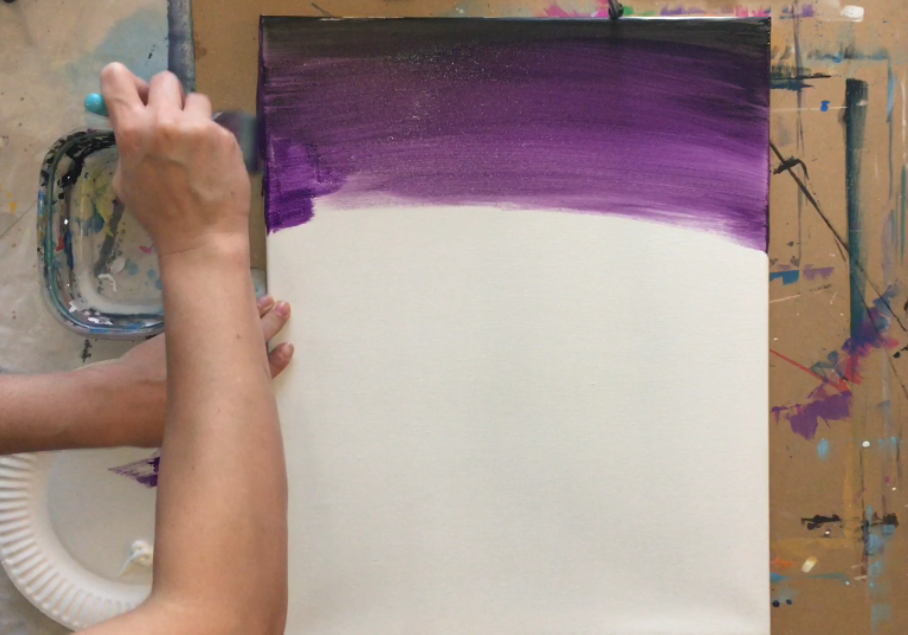
Then I rinsed my brush and added Quinacridone Magenta on the tip of the brush. I blended that magenta in with the deep violet and continued down the canvas. 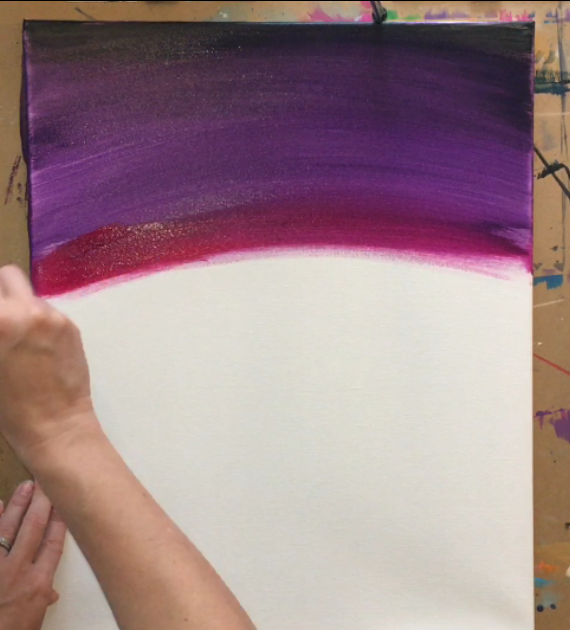
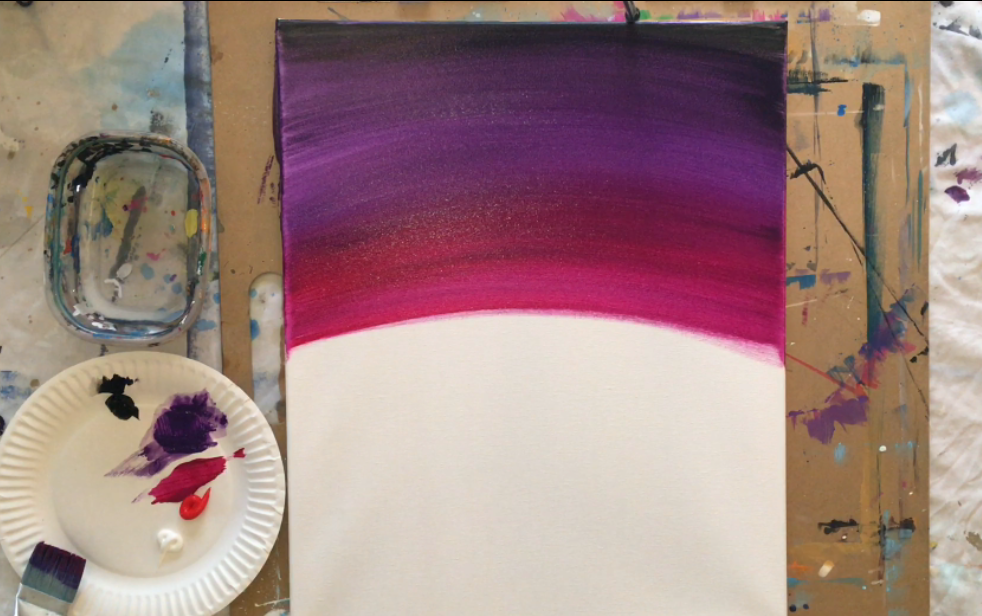
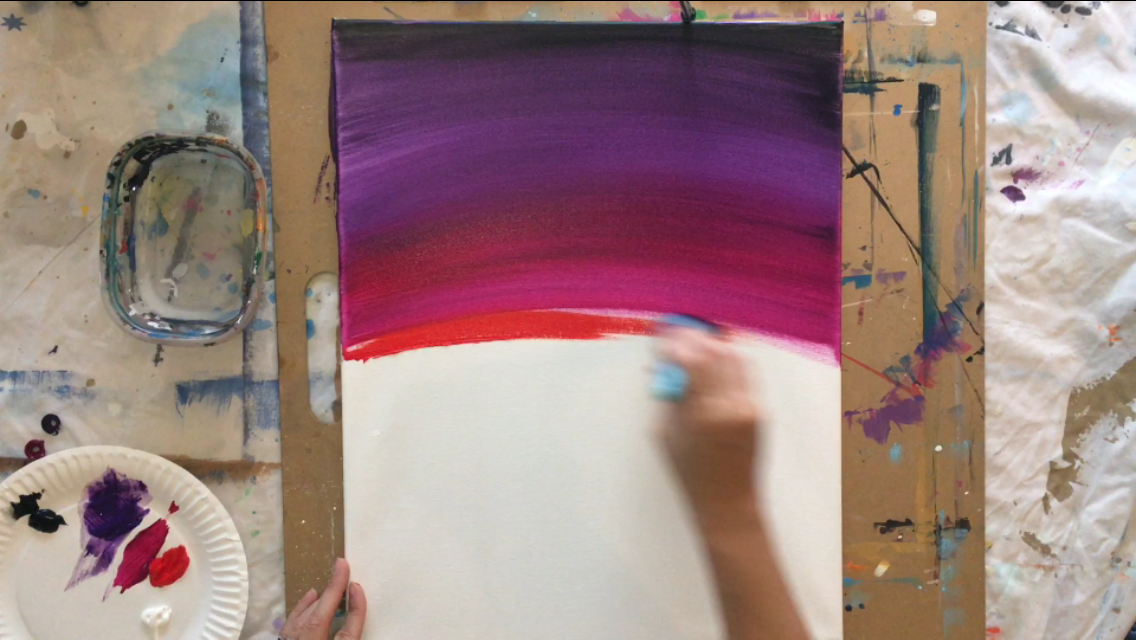
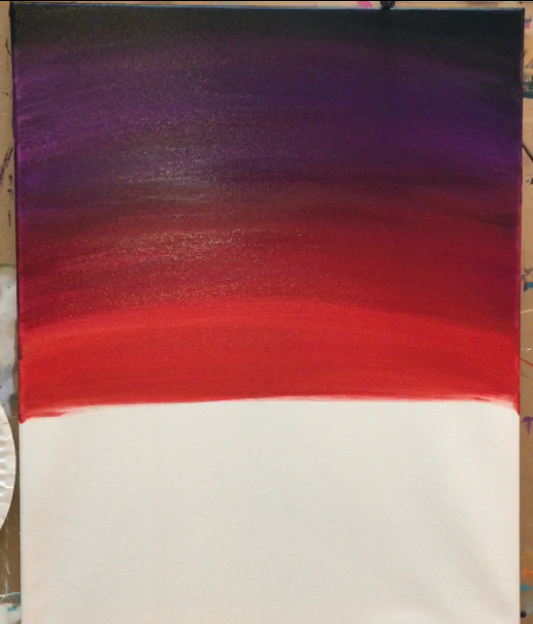
Then I cleaned the brush again and added Cadmium Red Medium. I went all the way down to where the horizon line will be (which is 7 inches up from the bottom).
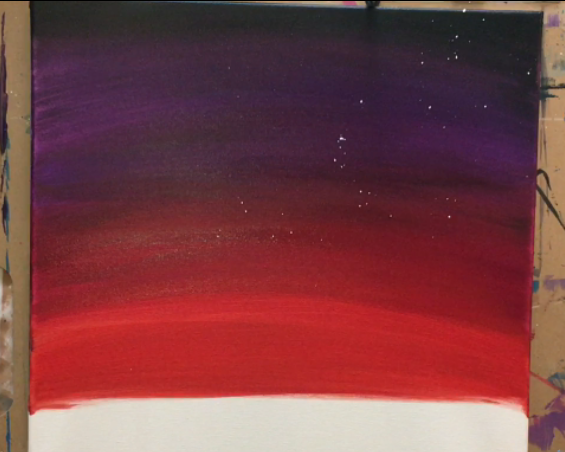
2. Paint the Stars
I used a smaller flat brush, watered down white paint and I “flicked” the brush for the stars. You’ll get tiny dots of splatter paint on the sky. You can ALSO use a tooth brush for splattering stars in the sky. 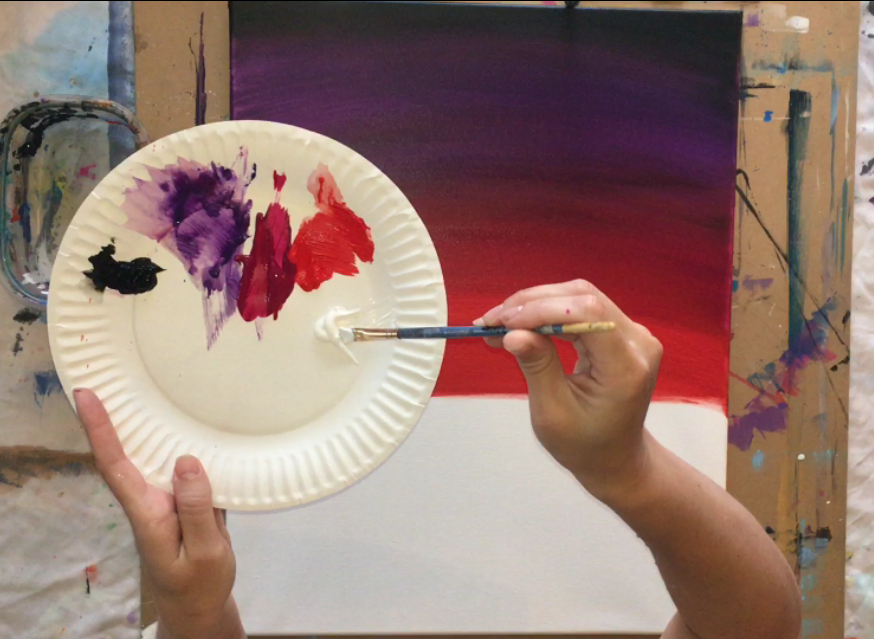
3. Paint the sun
Then I painted the sun titanium white. I used a #4 Bright Flat brush for this. 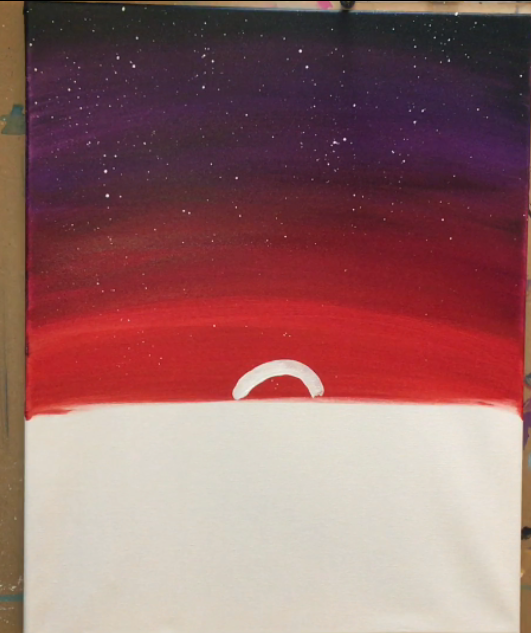
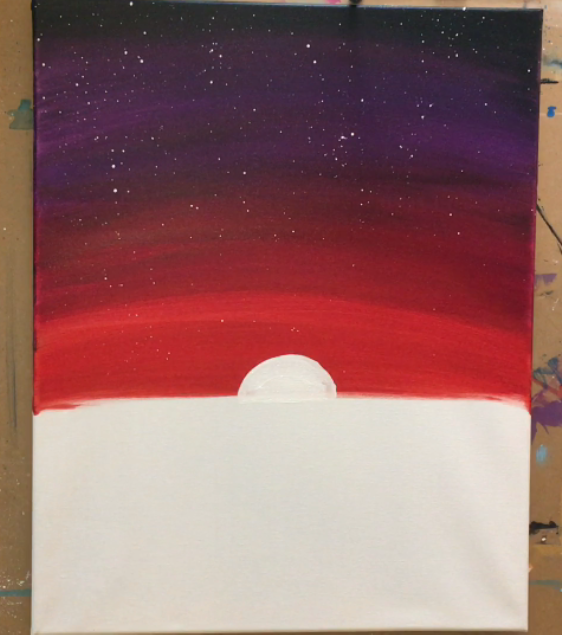
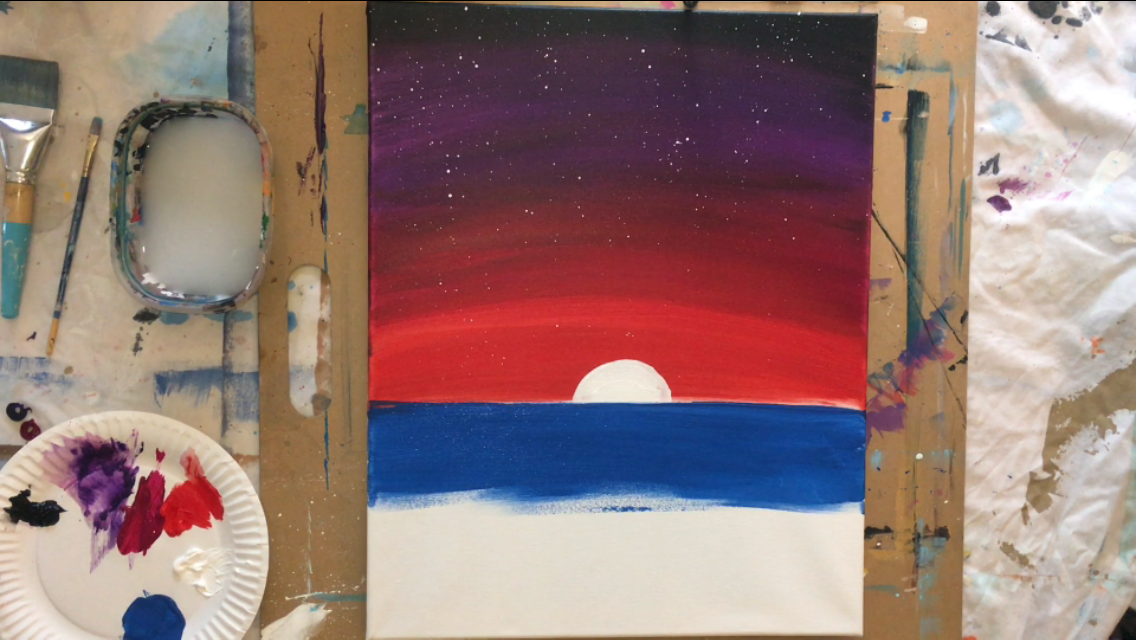
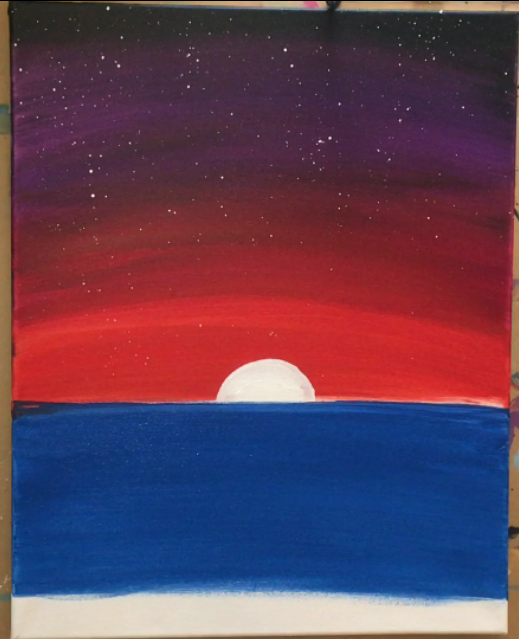
4. Paint The Water Cobalt Blue
Next I painted the water horizontally with cobalt blue and a 3/4″ Wash Flat Brush. Don’t worry about the reflection in the water yet. Go all the way down until there is about 2 inches of space left on the bottom of the canvas. 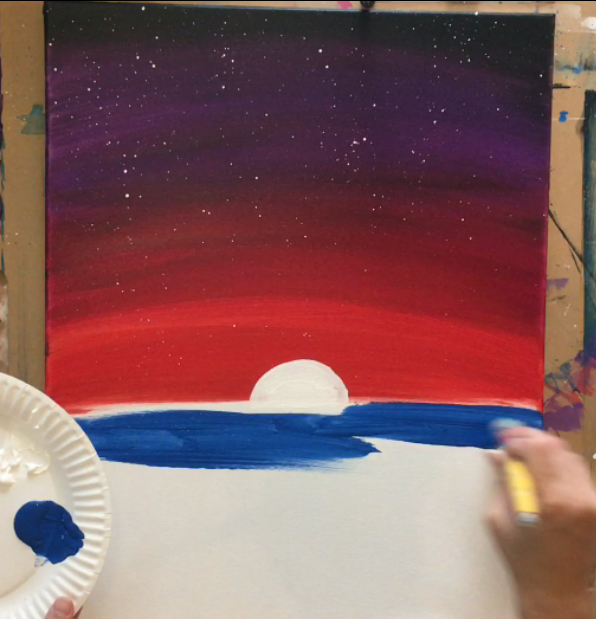
5. Paint Reflection Under the Sun & In The Water
Allow that blue to dry a bit too! Next I got my #4 Bright flat brush back, loaded it with titanium white and painted the reflection under the sun. These are just small horizontal/zig-zag lines. 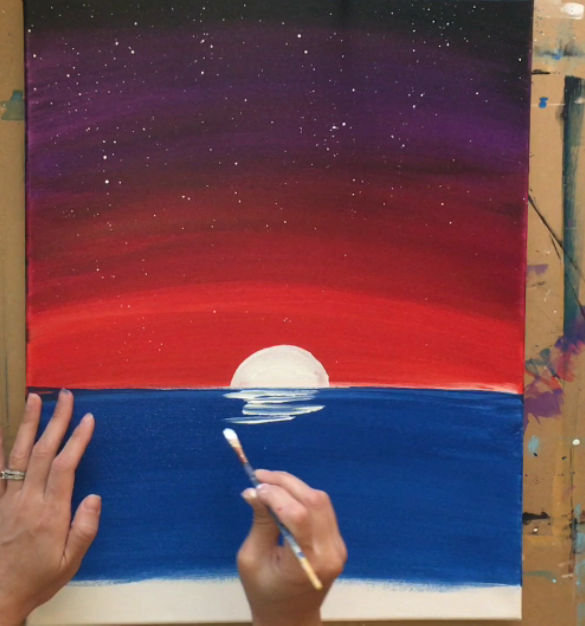
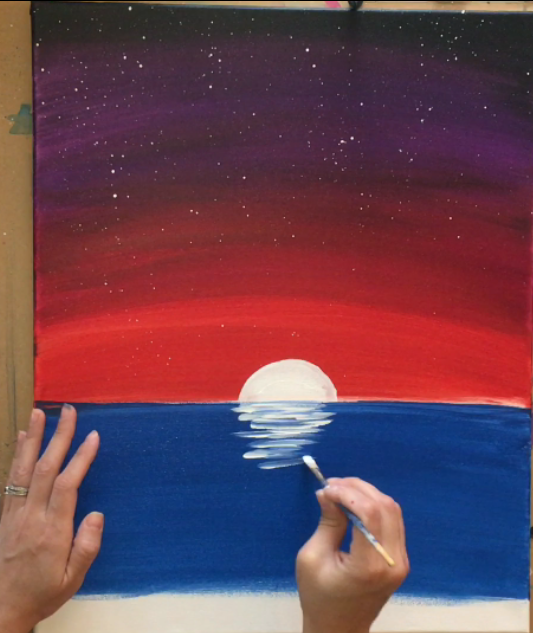
Then I made little horizontal dashes in the water to give some indication of water texture. I used white, then magenta, violet and red for these lines. 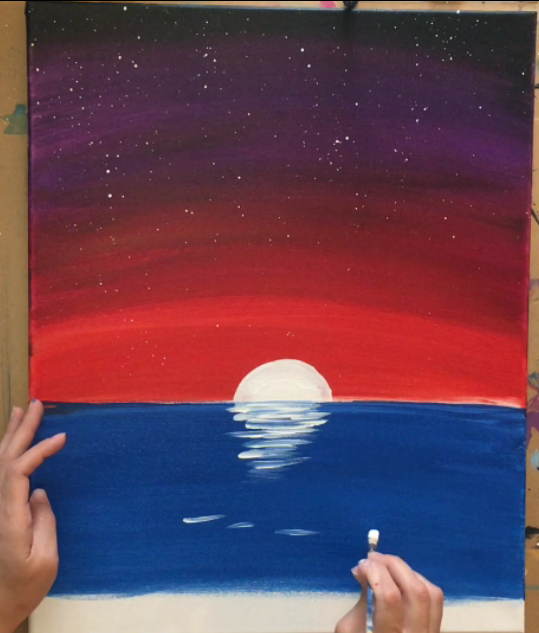
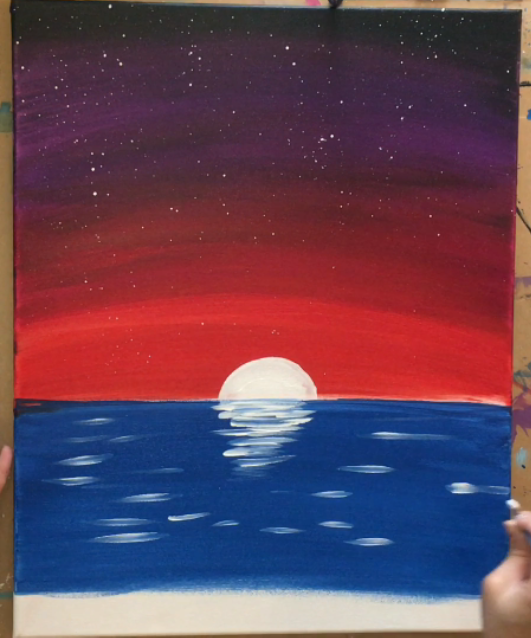
Then Add more lines in the water but this time with cadmium red medium & quinacridone magenta. I did these lines lightly over the white lines but not covering up all the white lines. 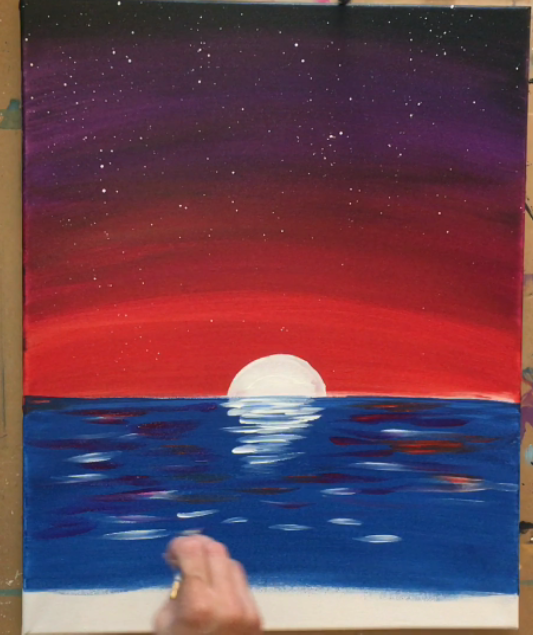
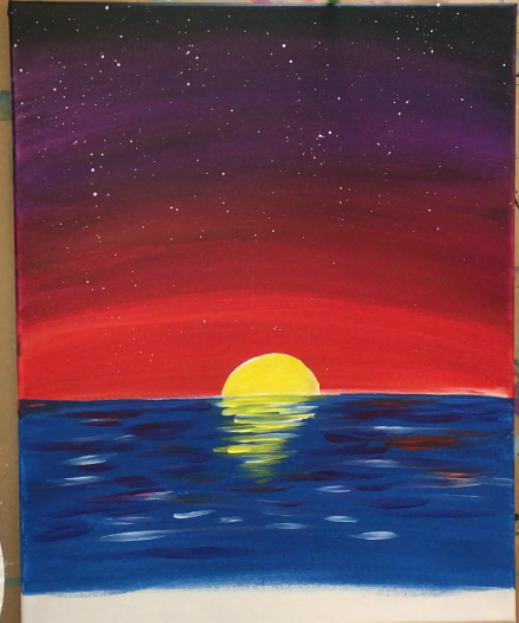
6. Paint The Sun Yellow
I painted the sun in yellow as well and the reflection lines just below the sun. This was done with that #4 bright. 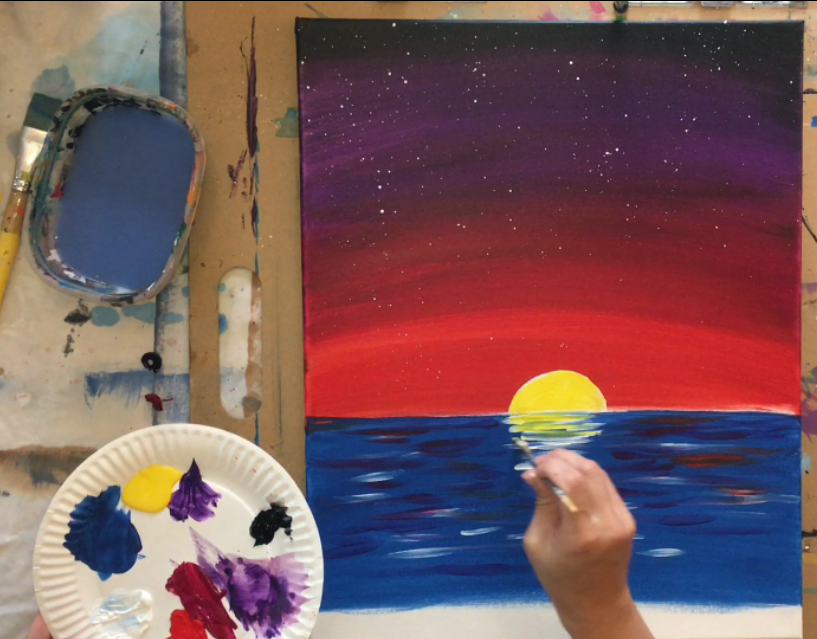
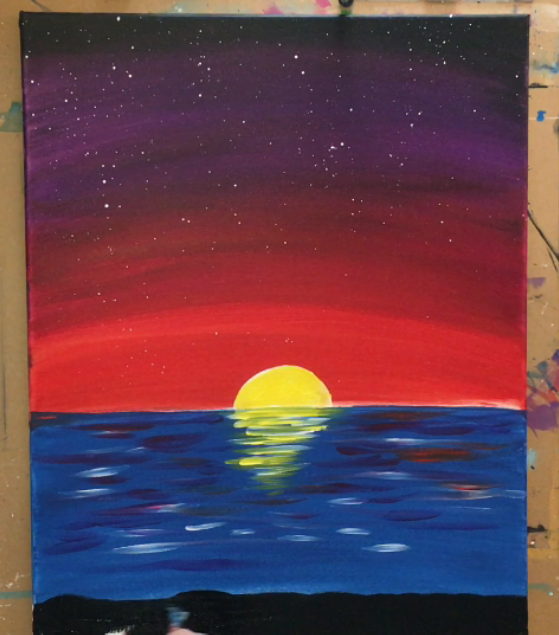
7. Paint The Bottom Land
The bottom of the canvas was painted black. I also made the land look kind of “bumpy”. I did this with a #4 bright brush. 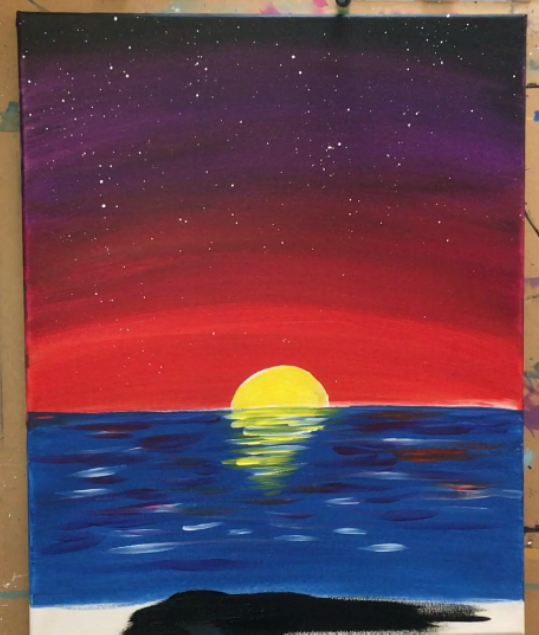
8. Draw Palm Trees With Chalk
Next I used chalk to draw the palm trees. Follow along with my chalk drawings below.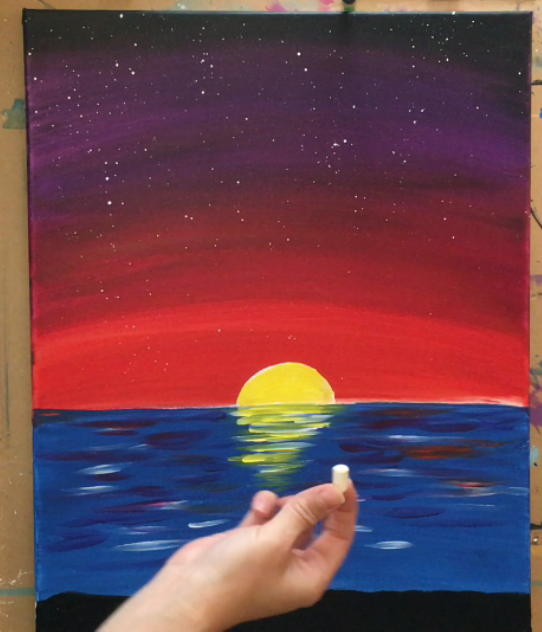
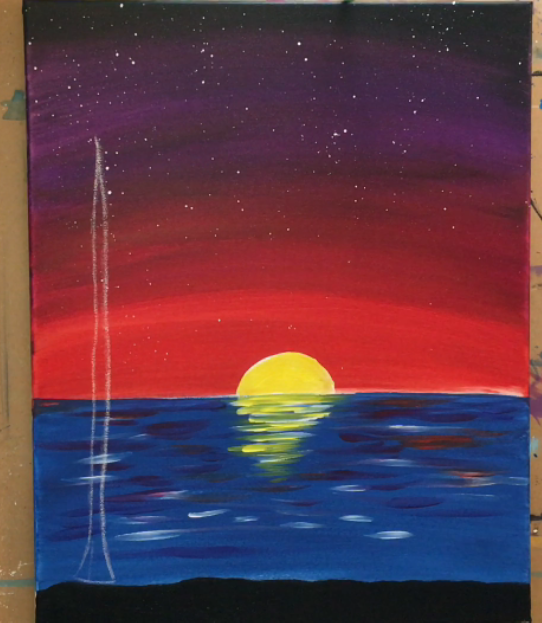
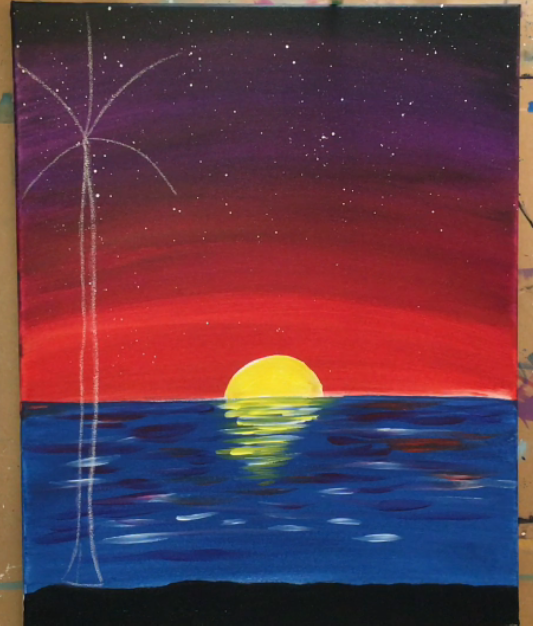
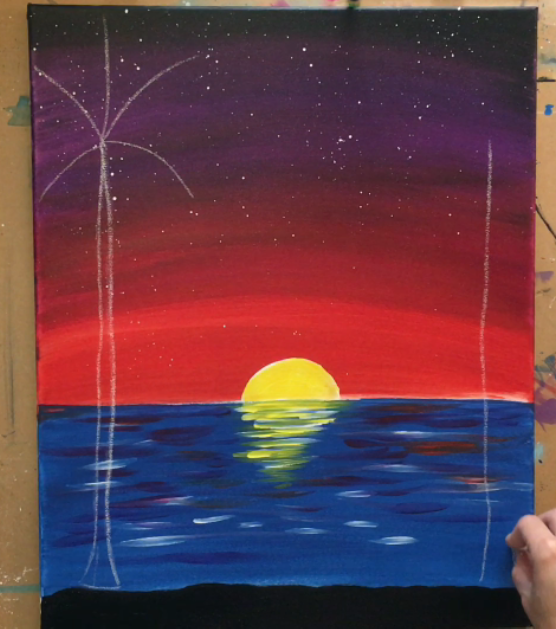
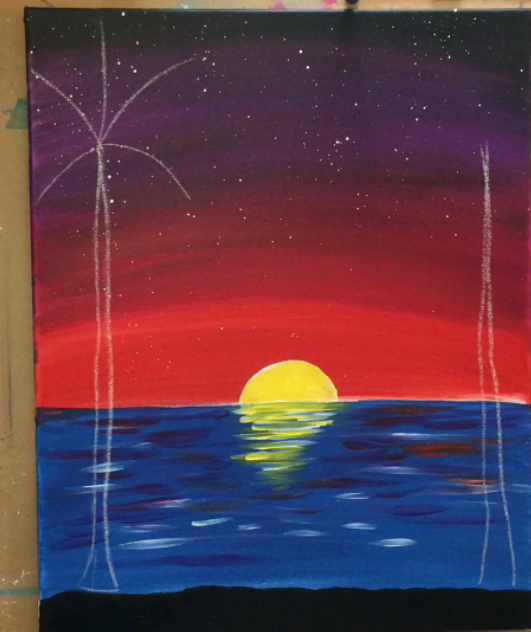
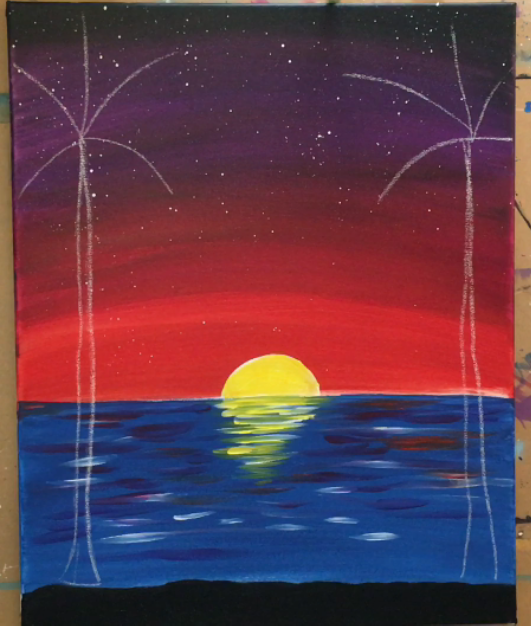
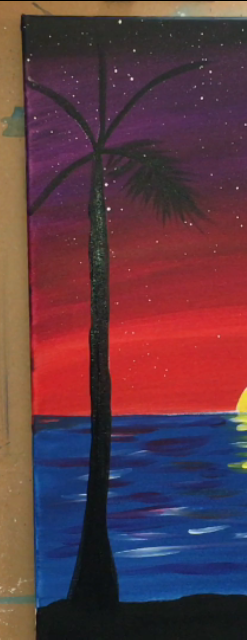
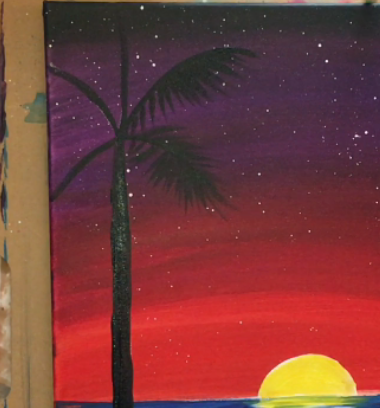
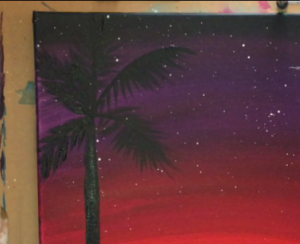
9. Paint the Palm Trees Mars Black
Then I painted in the trees! Use any brush you’d like for this, just make sure it’s small enough to get those small lines. I used a #4 Bright Brush for the Trunk and a #0 for the branches. You can also switch to a #10/0 liner for the smaller branches. 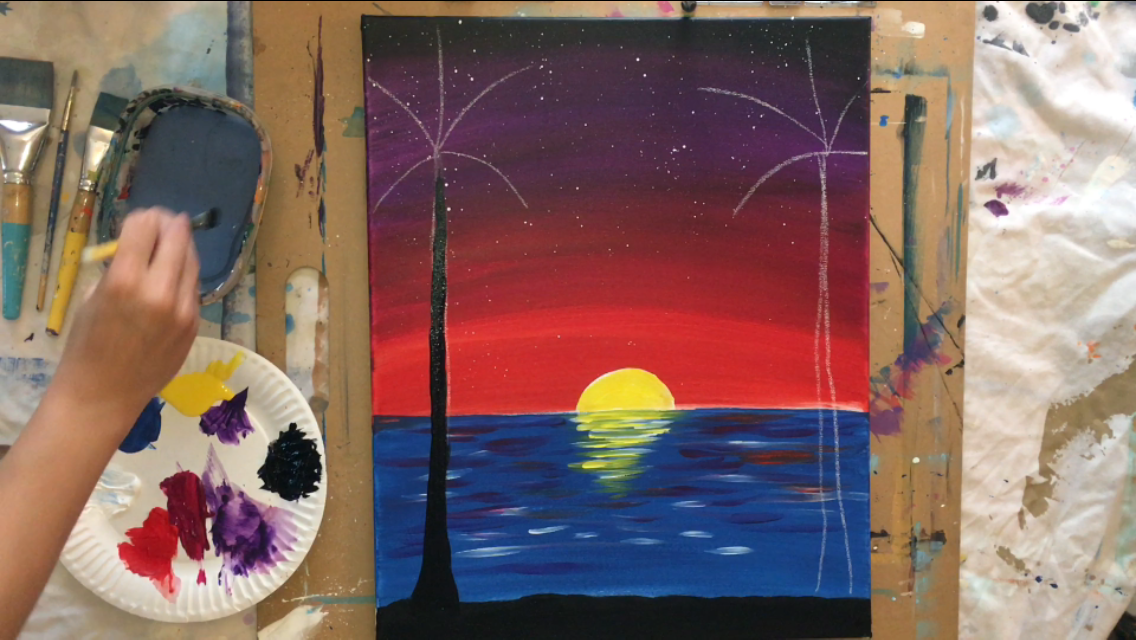

I used a small brush for the leaves. Start from the main line and “wisp” each palm leaf line to a point. One line at a time.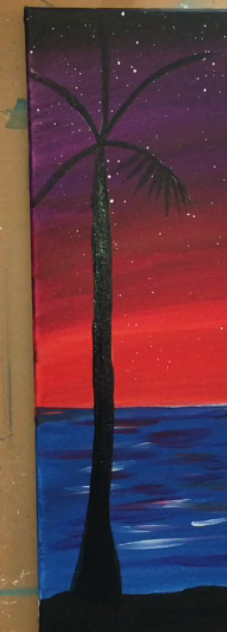
10. Add Highlight To The Palm Tree Silhouettes
Then I added some white on the leaves. This will make the palm tree “pop” a bit more because of the dark background. Use a #10/0 liner brush for this. 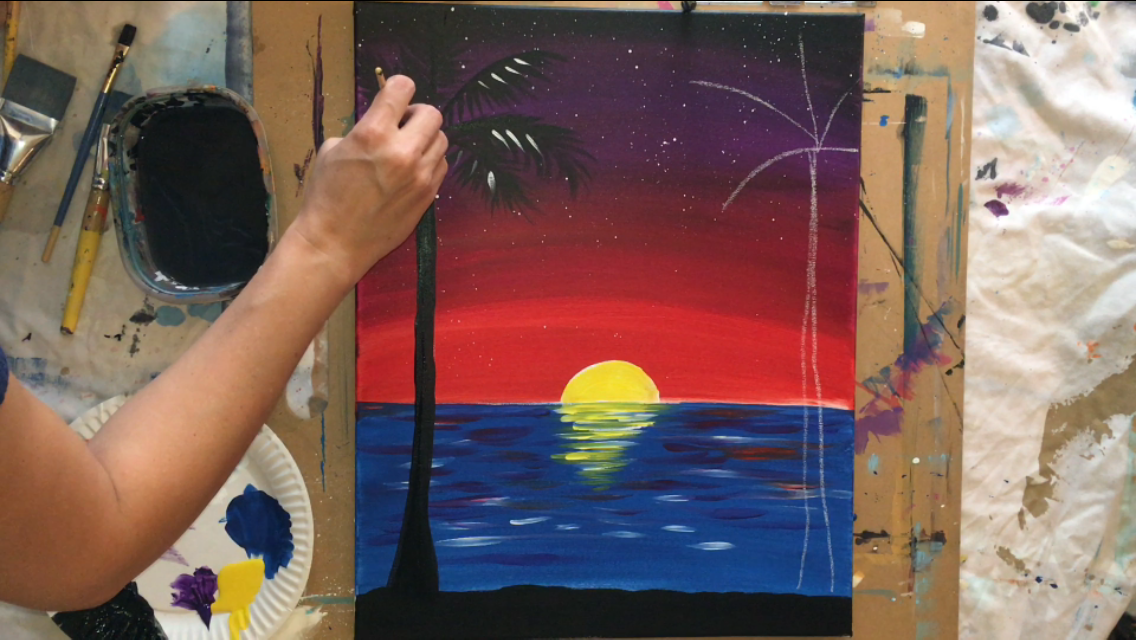
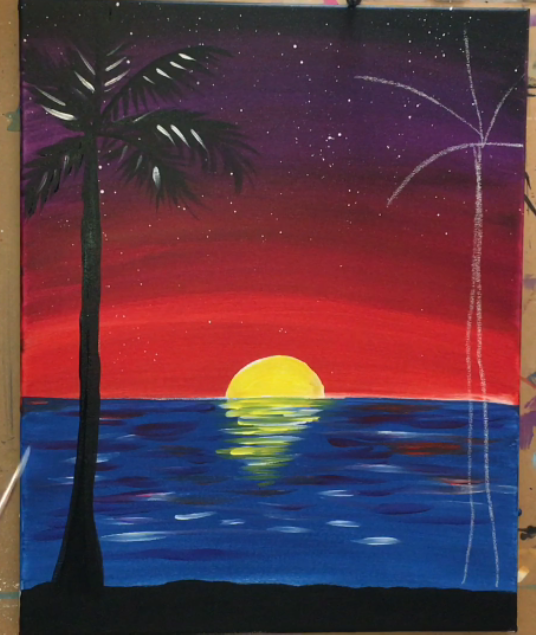
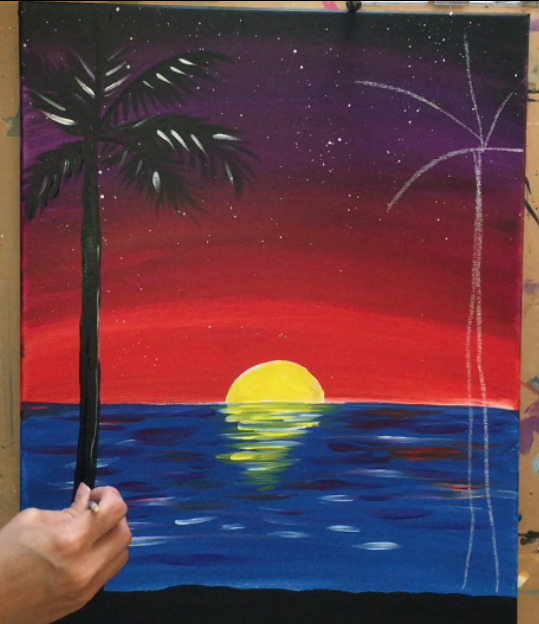
I painted the second palm tree the same way. 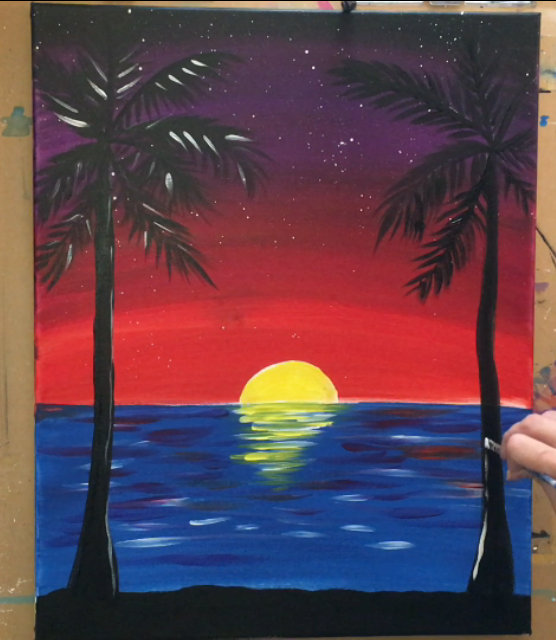
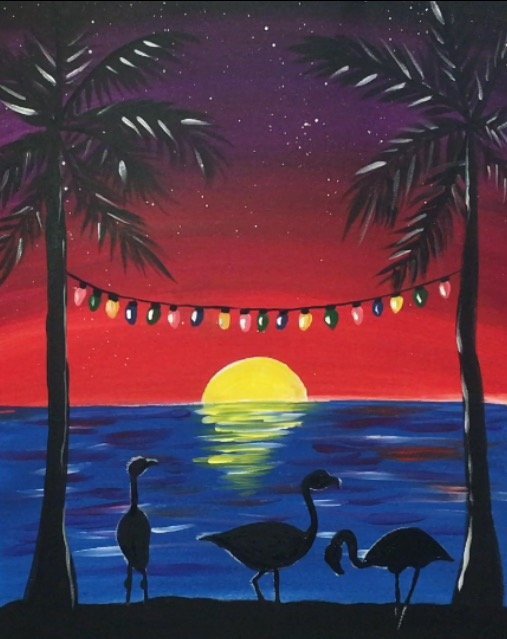
11. Paint The Christmas Tree Lights
Then I used a tiny #10/0 liner brush to paint the line for the lights. 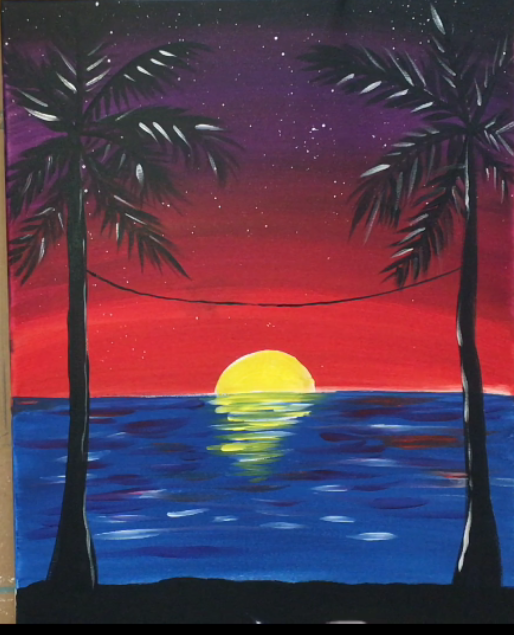
I painted the lights. They are simply a tiny oval shape not touching the line. I painted each color separately. (deep green permanent, cobalt blue, primary yellow, cadmium red medium mixed with white)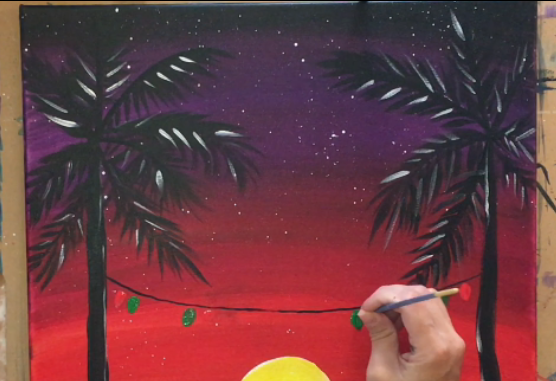
To make the red lights show up, I mixed red & white together. 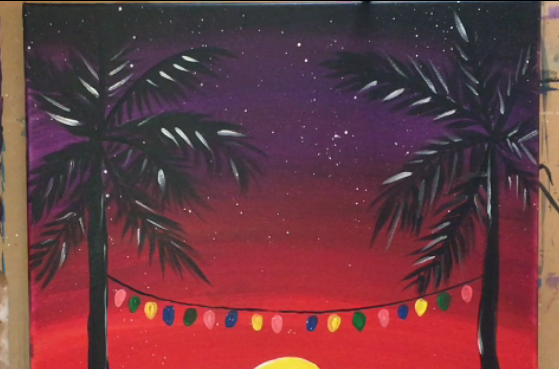
The lights are connected to the string line by just a small black line (light socket). 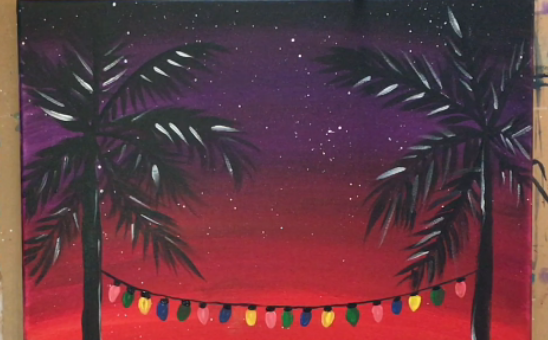
I added white highlight to the lights as well. This is just a tiny white line on the left side of each light.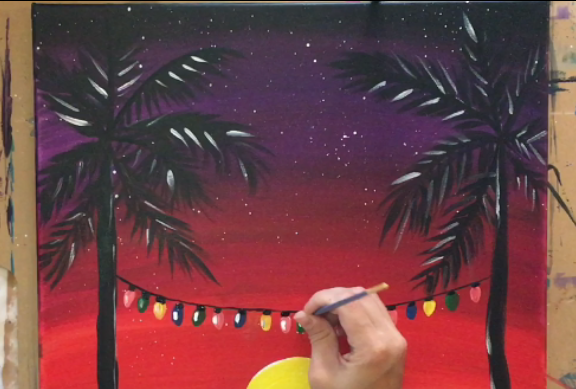
12. Paint the flamingo silhouettes
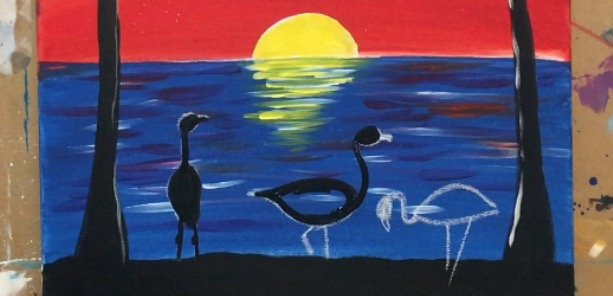
Next I did the flamingos!!! I drew these all out with chalk first. I recommend practicing on a separate piece of paper first! Follow my chalk drawings below. Or you can come up with your own flamingo poses! They are actually really easy to draw!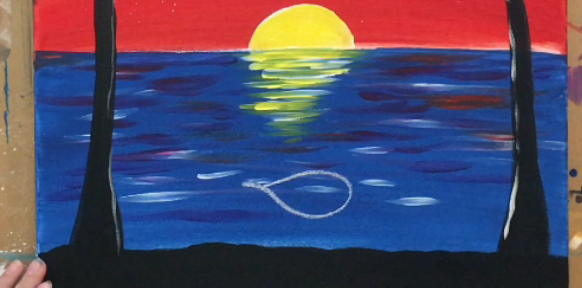
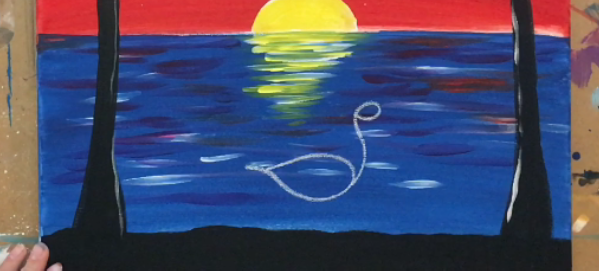
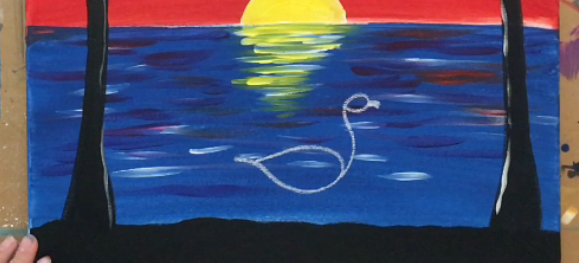
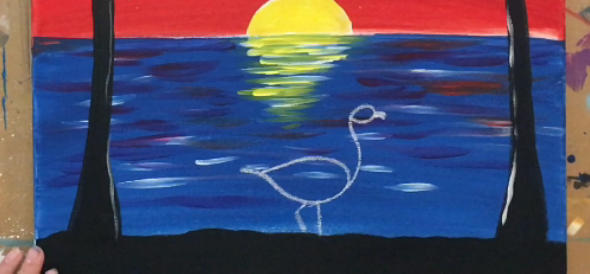
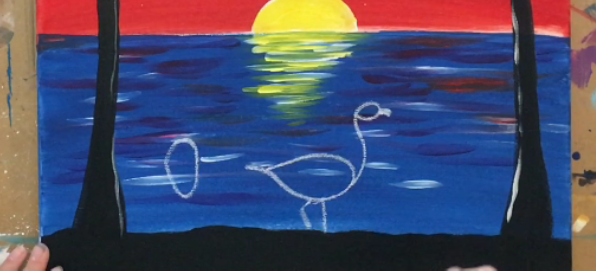
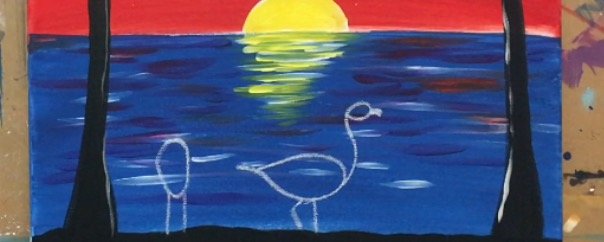
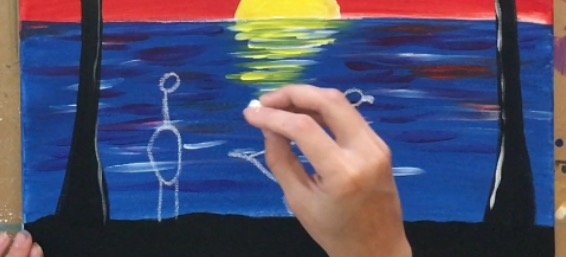
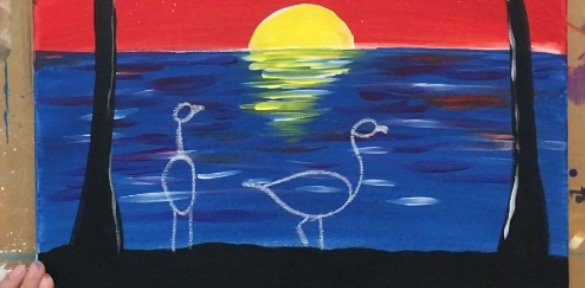
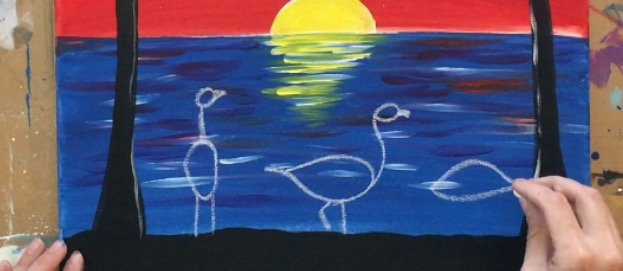


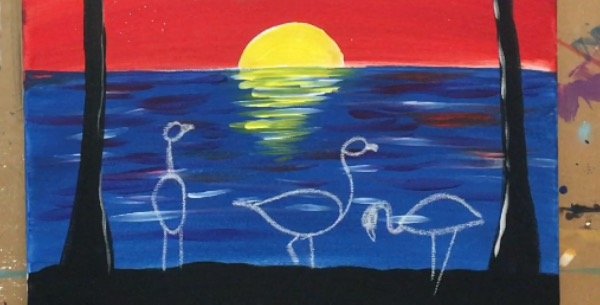
Then simply paint the flamingo silhouettes in with black! You’ll need a tiny #10/0 brush and a steady hand to do this. 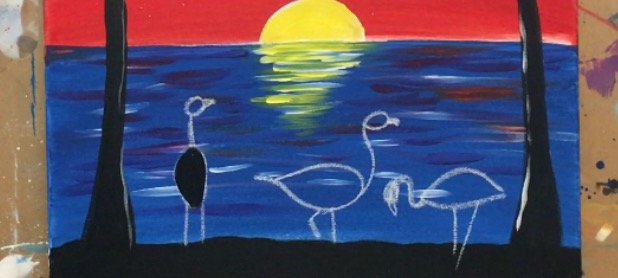
13. Paint Santa Hats On Flamingos
I painted Santa hats on the flamingos. Again, use a #10/0 liner brush for these tiny details. The Hat was done with cadmium red medium and titanium white. 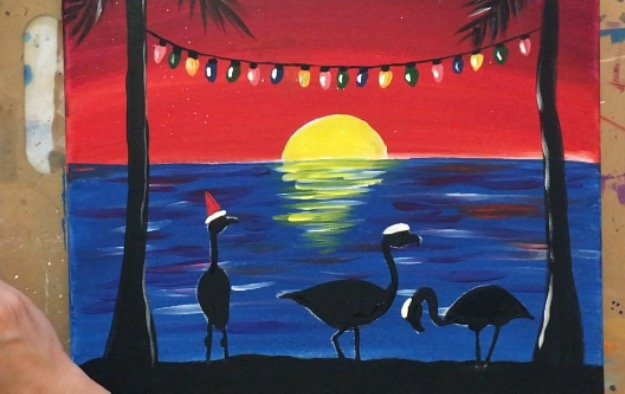
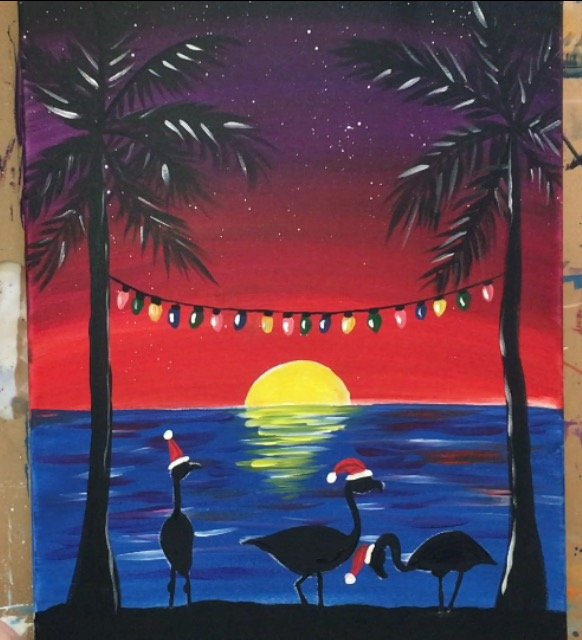
14. Add Highlights to the flamingo shadows and on the ground.
Finally, I added some white highlight lines like I did on the palm trees. I did this on the flamingos and on the ground. This helps the black pop against the darker blue water. 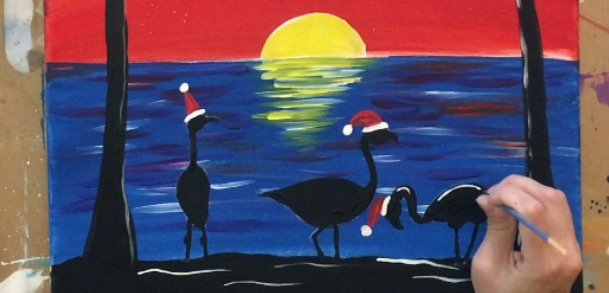
Finished! 


Can you make this with snow at the bottom on the land, instead of the black? If so, how would you actually do it and it look right. Thank you for the help.
Sue Haxton
Hi Sue! I think you can definitely try it with the white snow on the bottom! The one thing I would consider is the fact that if the snow is showing white then it is no longer a silhouette or a shadow. Therefore you may have to color the flamingos and the palm trees. The flamingos might still be able to pass as a shadow but maybe not the palm trees. I’d try it out on a smaller canvas or canvas paper first to see how it works then if you like it, go for it!
Thank you, Tracie.