

Would you like to save this?
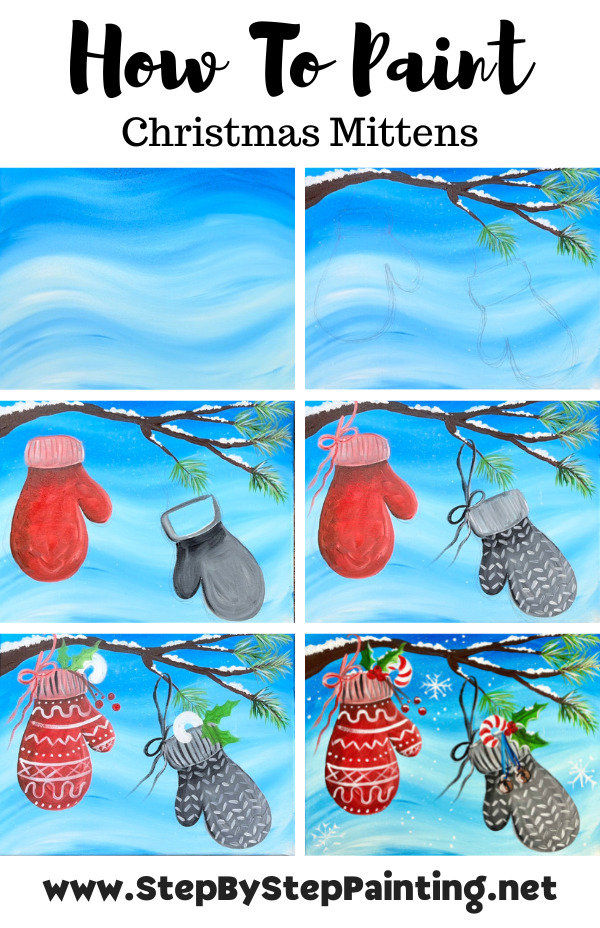
Learn how to paint Christmas mittens! This winter design can be customized with different colors, patterns and you can add other things inside of the mittens. You can also omit the Christmas decor for a winter themed painting.
There is a template for the mittens linked in this tutorial. You are welcome to use the template or draw the mittens with me in the tutorial.
Enjoy and happy painting!
Materials Needed:
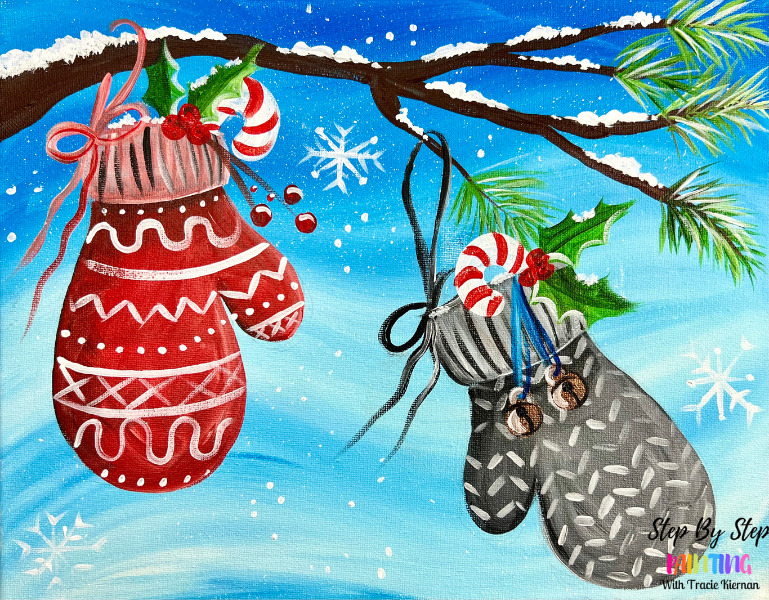
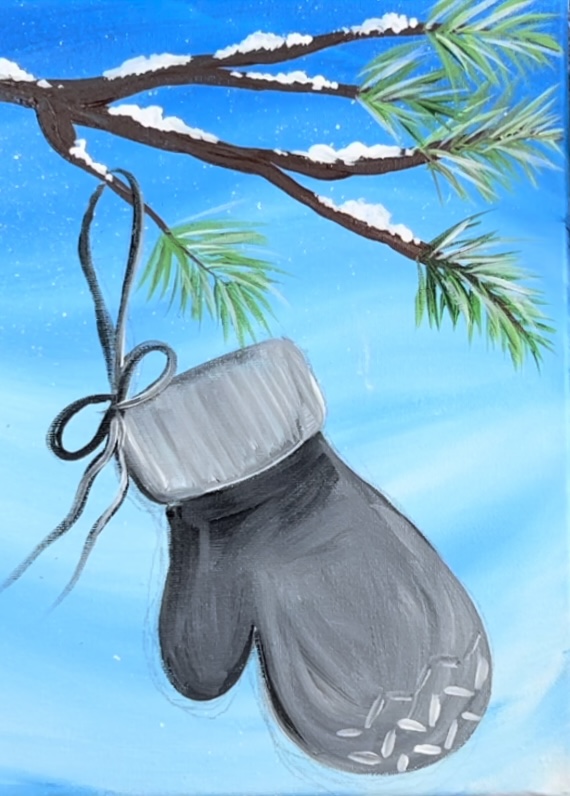
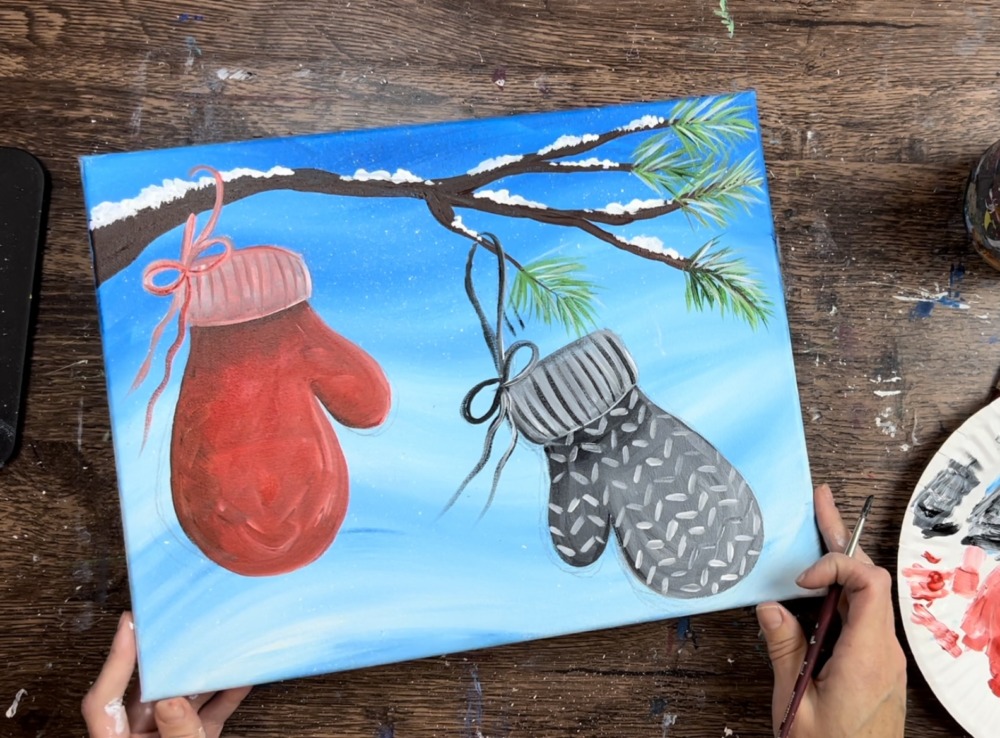
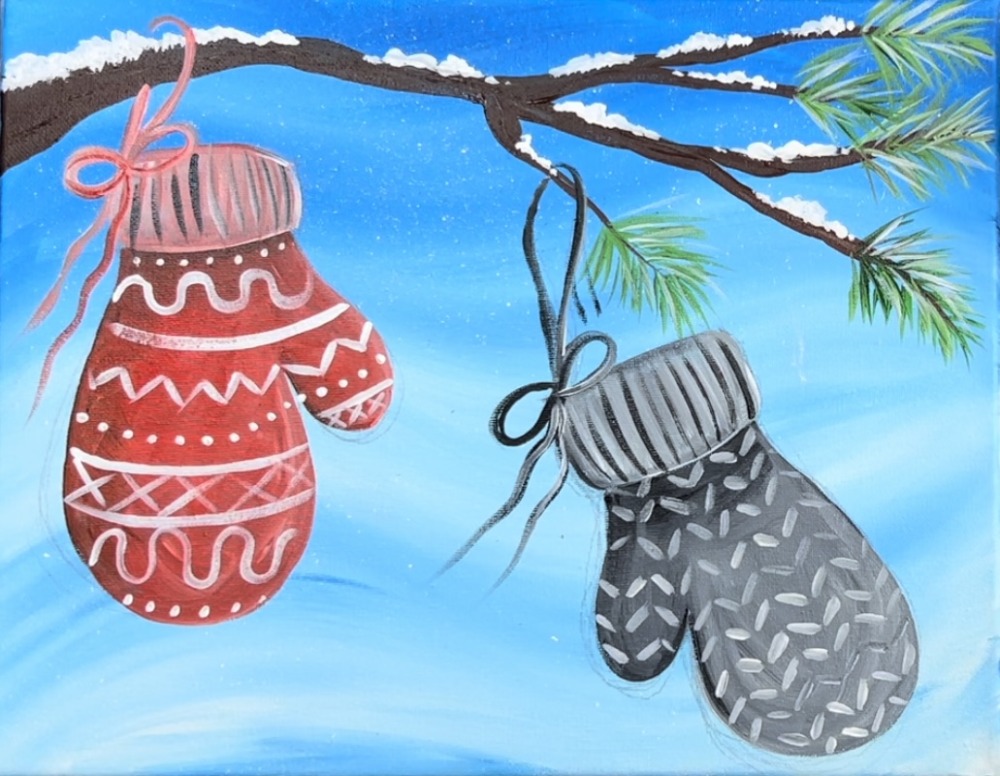
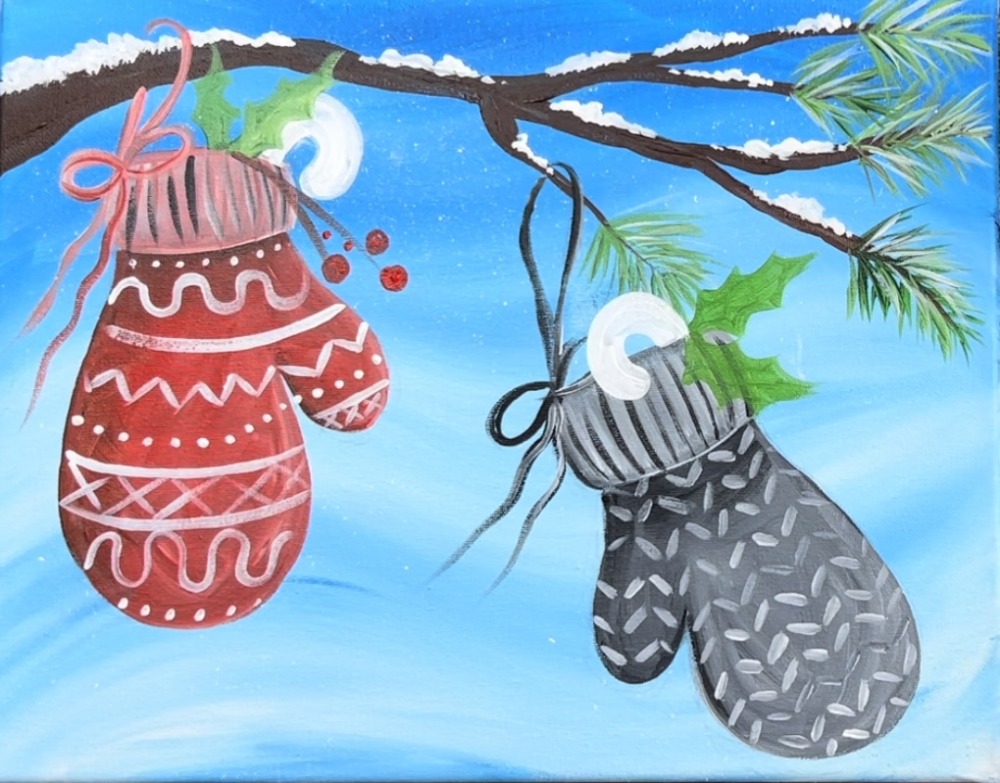
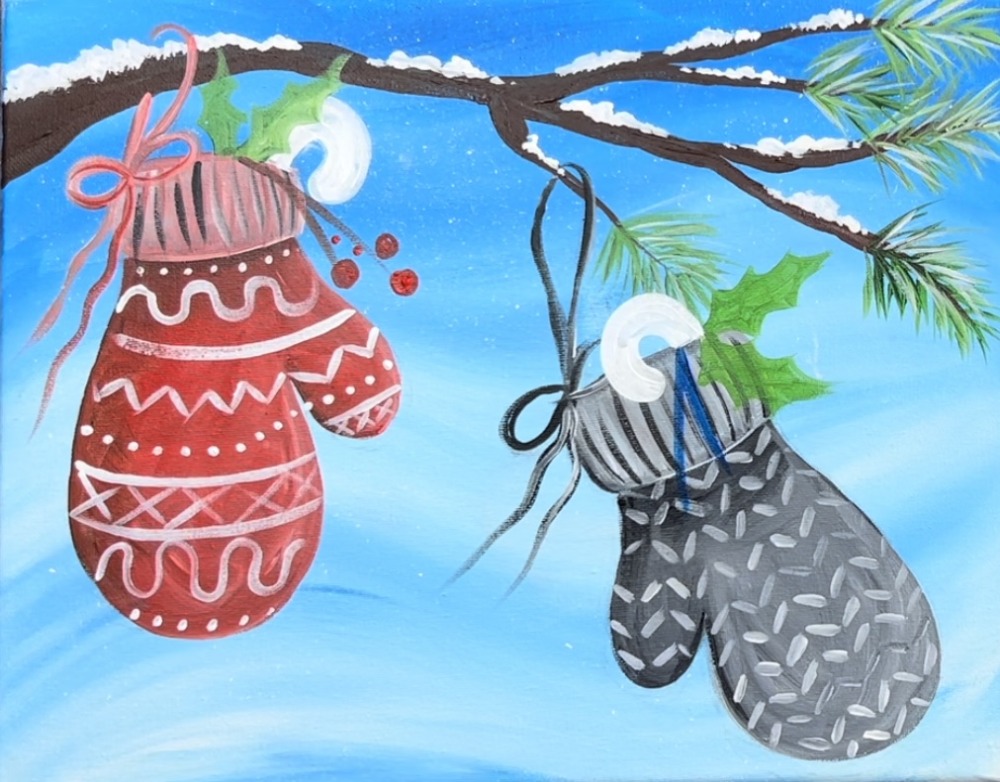
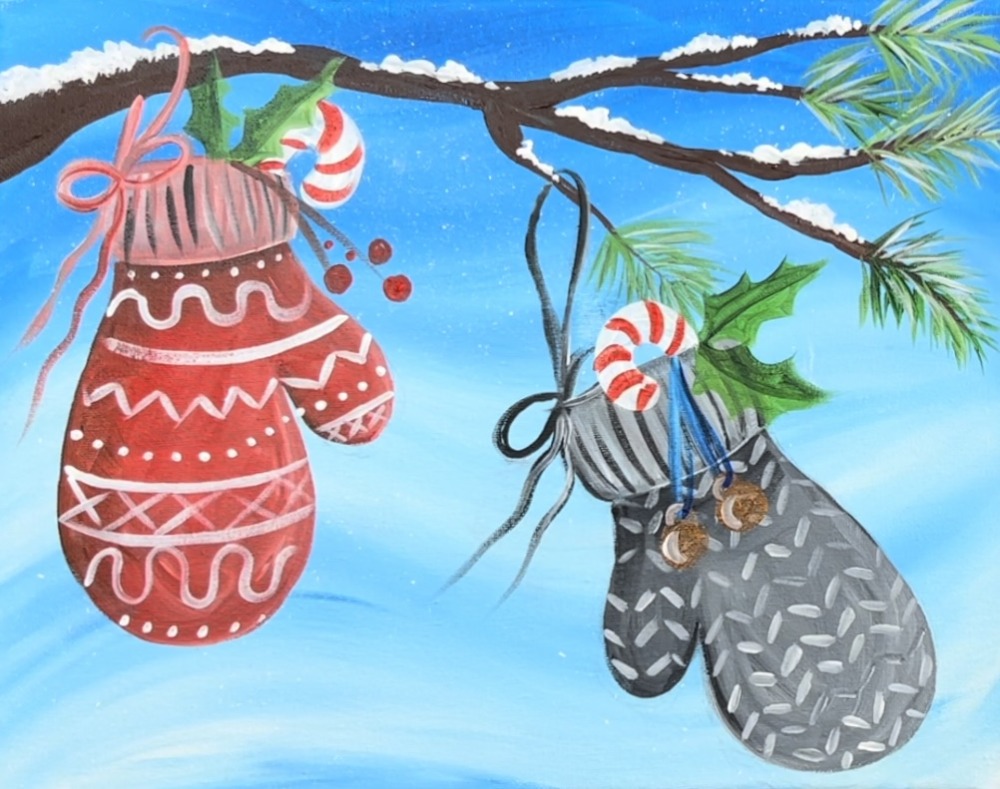
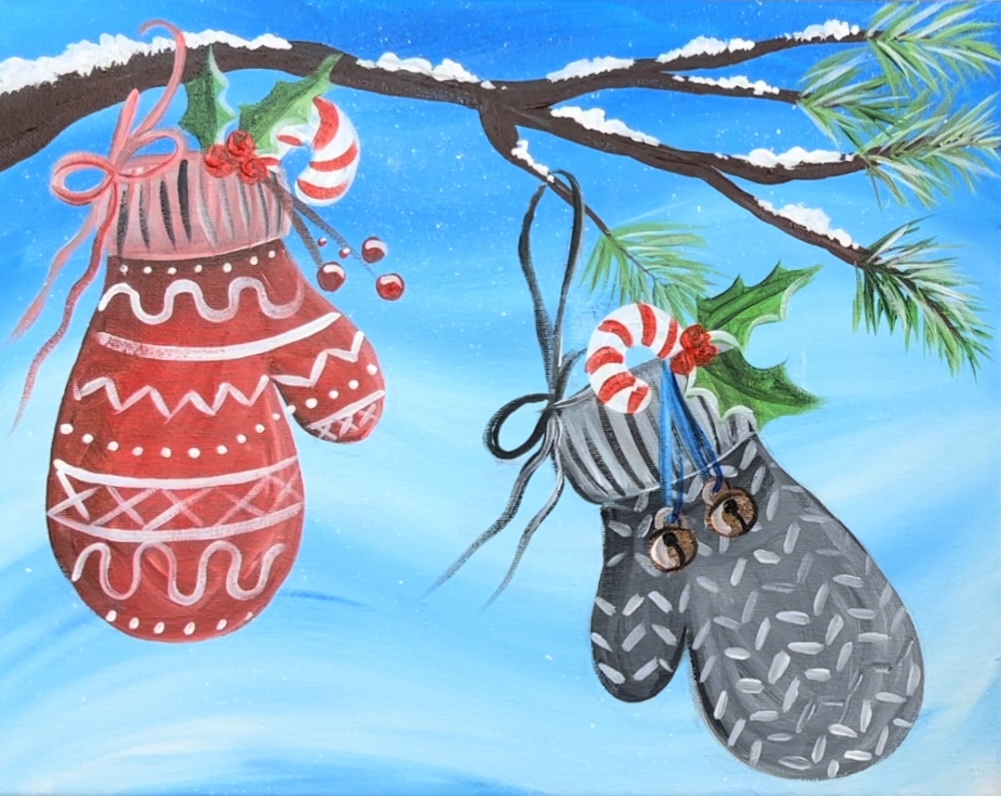
"Mismatched Christmas Mittens"
Learn to paint Christmas mittens hanging from a pine tree branch with snow! This tutorial includes a mitten template but Tracie will also be showing you how to draw the mittens. Customize the colors and decorations on your mittens or even add names to them for a truly customized painting.
Materials
- 11 x 14 Canvas
- Acrylic Paint
- Pencil
- Brushes
- Optional Mitten Template (or you can draw with pencil)
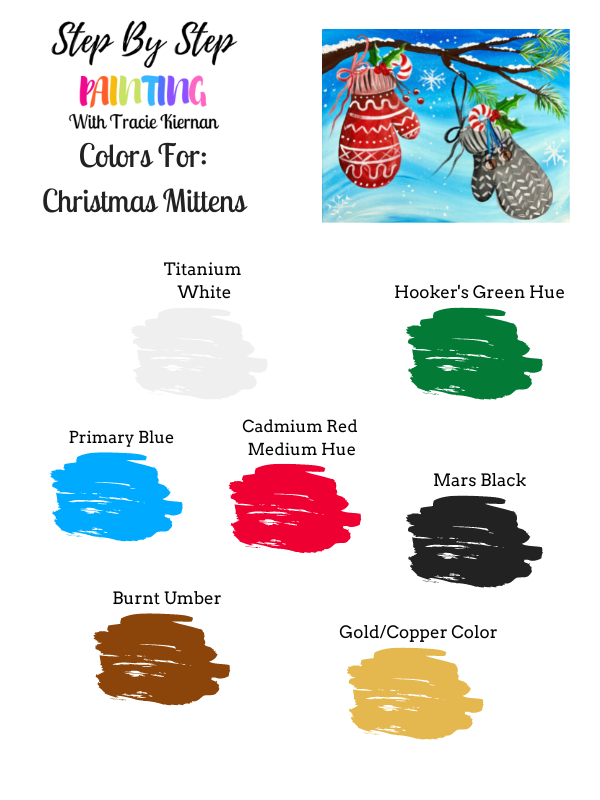
Colors
- Titanium White
- Mars Black
- Burnt Umber
- Cadmium Red Medium Hue (or any red)
- Hooker's Green Hue Permanent
- Primary Blue
- Any metallic copper, silver or gold color (optional)
Brushes
- 3/4" Flat Wash Brush
- 3/8" Angle Brush
- #4 Round Brush
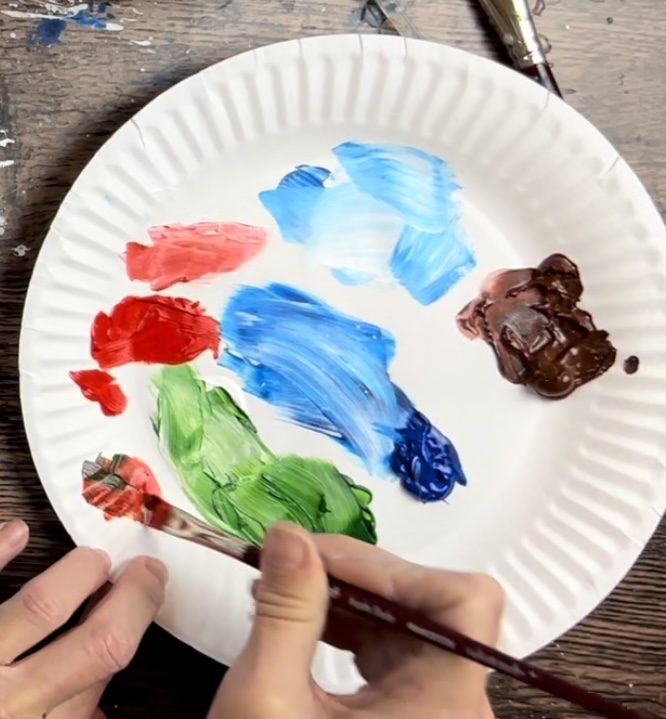
Color Palette
I used Liquitex BASICS acrylics for this tutorial. If you are using a different brand, use the color chart below to help you match colors.
Using Craft Paints?
If you are using craft paints such as the Apple Barrel Craft Paints, I would recommend subbing to these colors:
- White
- Holly Branch
- Bright Blue
- Flag Red
- Black
- Nutmeg Brown
- Gold or any metallic color
Directions At A Glance:
Mitten Template:

Video:
Step By Step Directions :
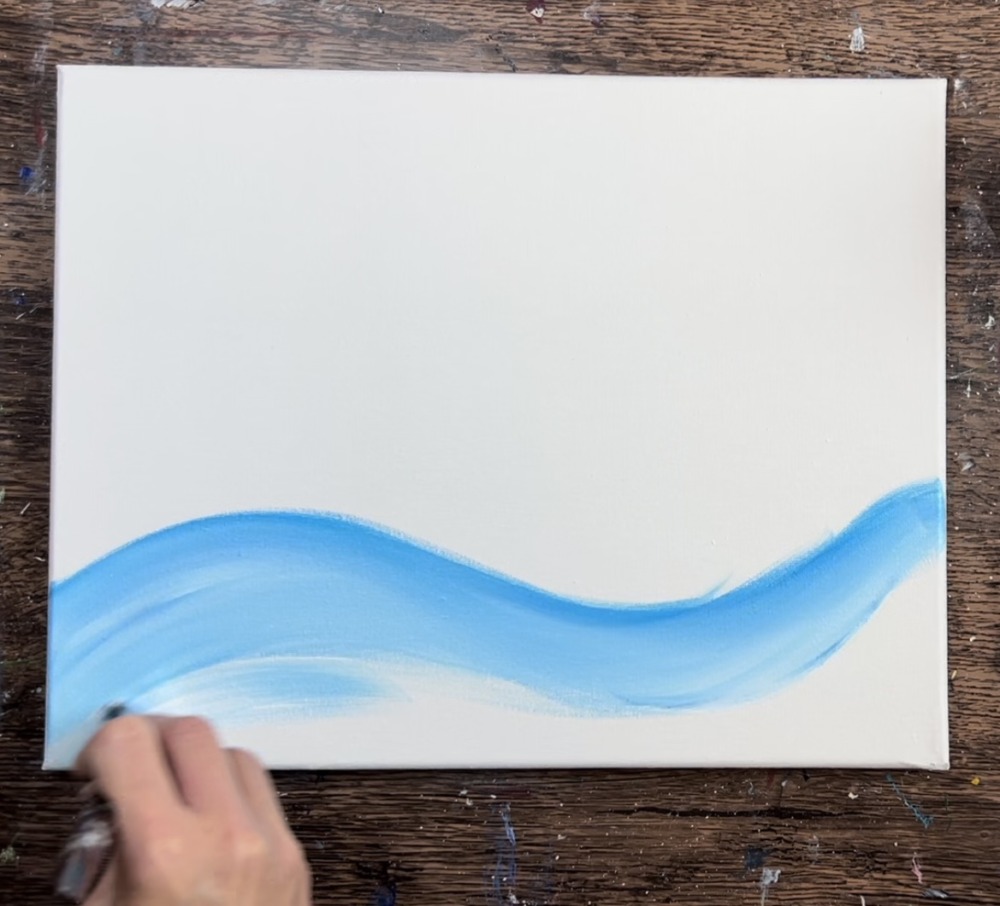
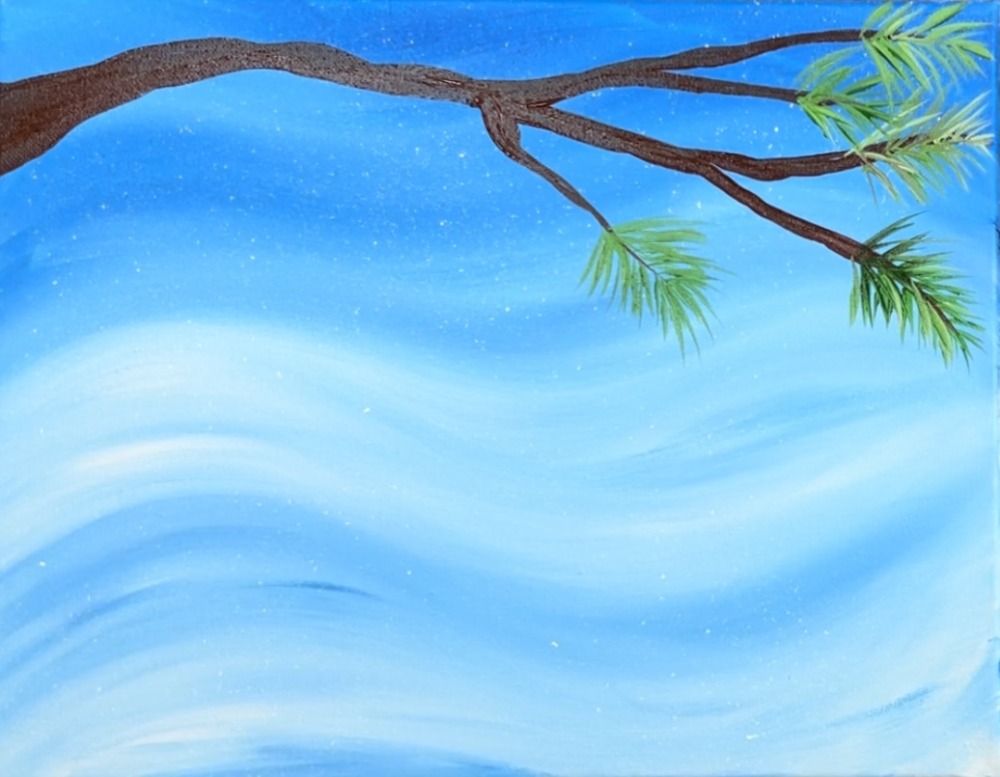
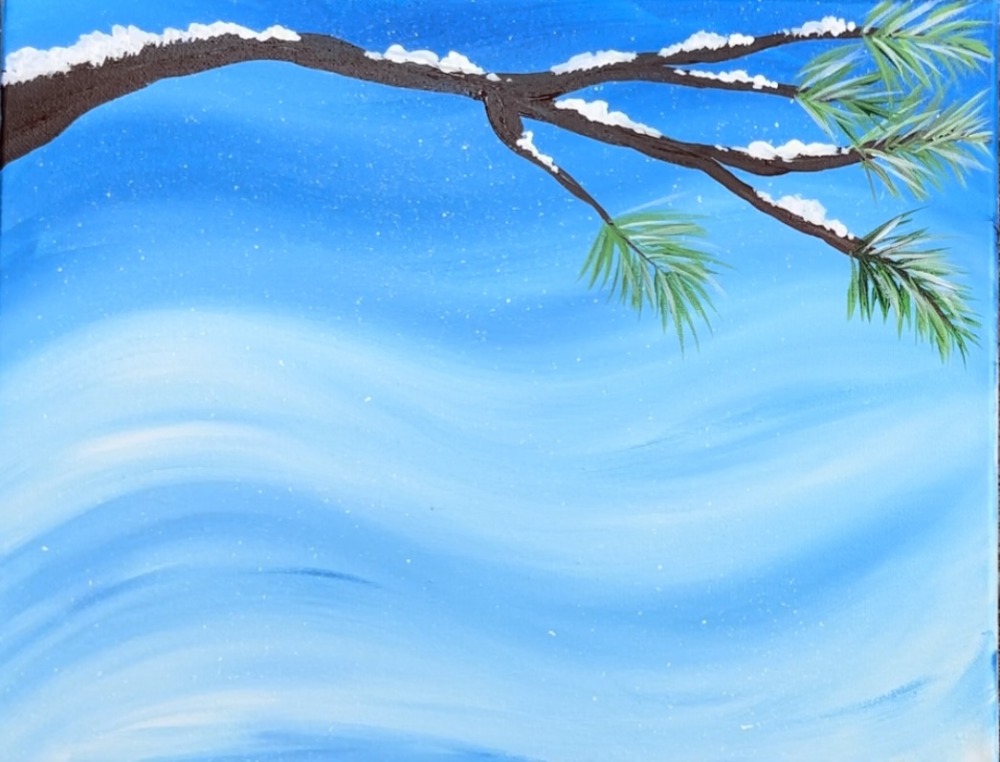
1. Paint the background
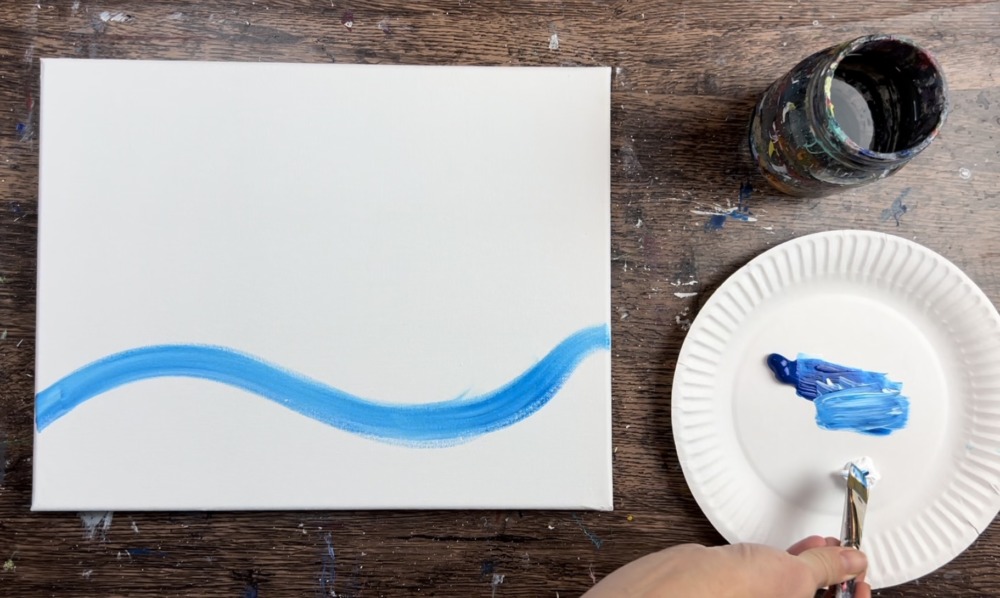
The background of this painting is a blended background of blue and white. The direction of the strokes are going in a wavy direction to mimic wind in the background. As a simple alternative, you can paint the background using straight strokes instead of wav.
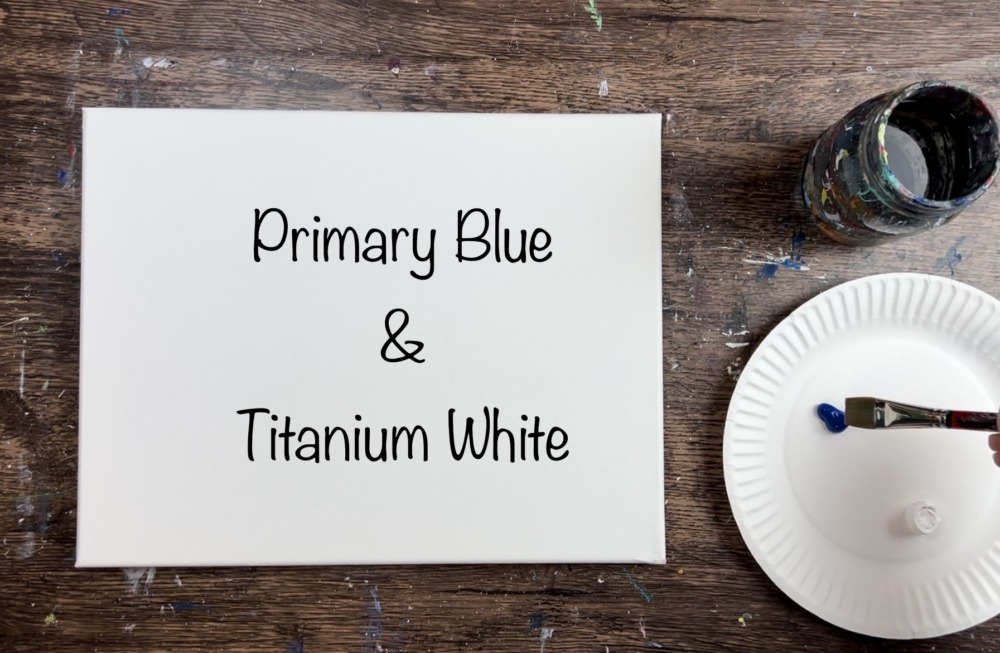
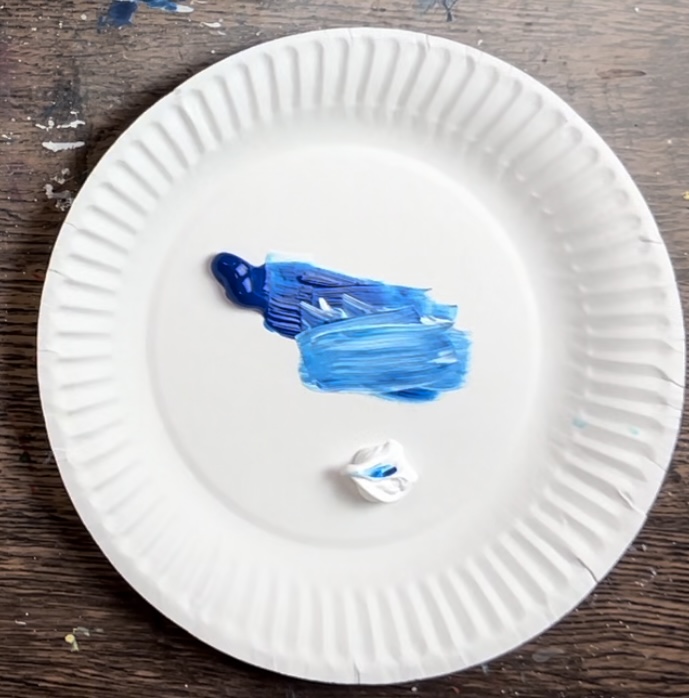
Load your palette with primary blue and titanium white. Use a 3/4″ flat wash brush.
Mix equal amounts of blue and white together to make a lighter blue.
Then paint a long wavy line that goes from one end of the canvas to the next.
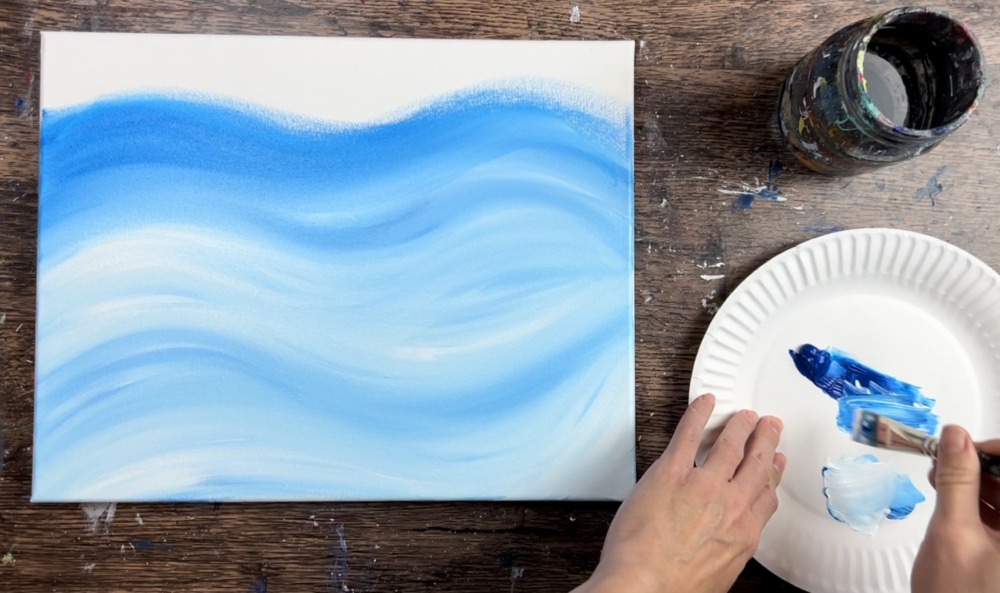
Then gently blend different amounts of white and blue and paint in the direction of the wave. You will want your blue and white to vary. I made the top of my background slightly darker and the bottom slightly lighter.

You can change the direction of the wavy line.
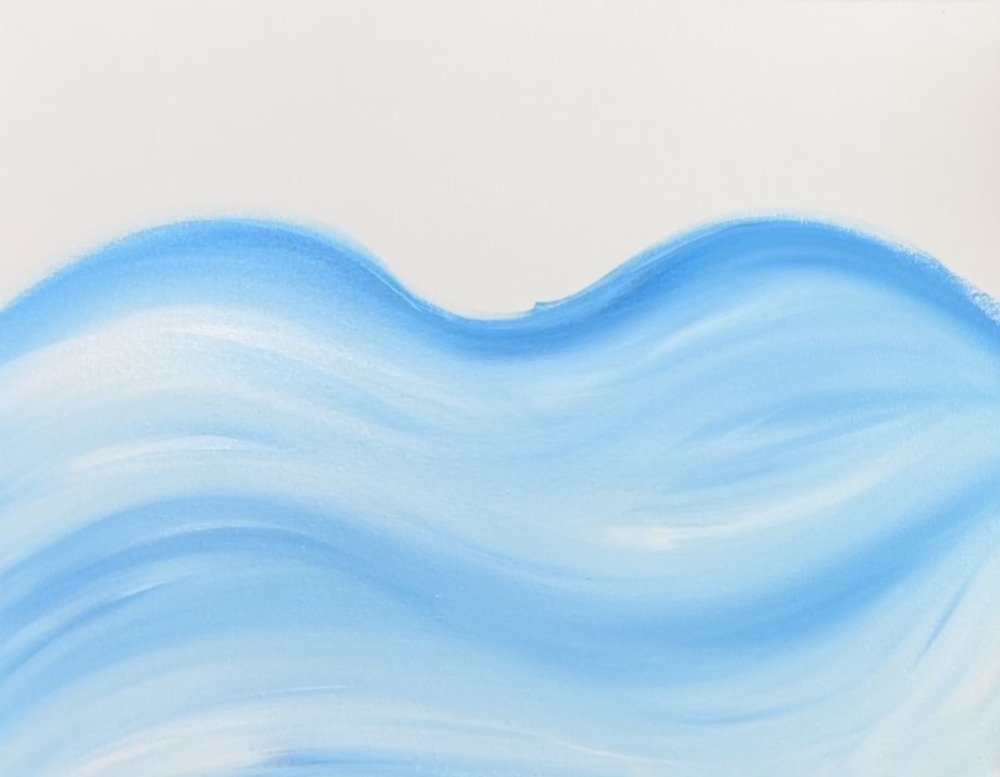
Fill the entire canvas with this blending/ wavy technique.
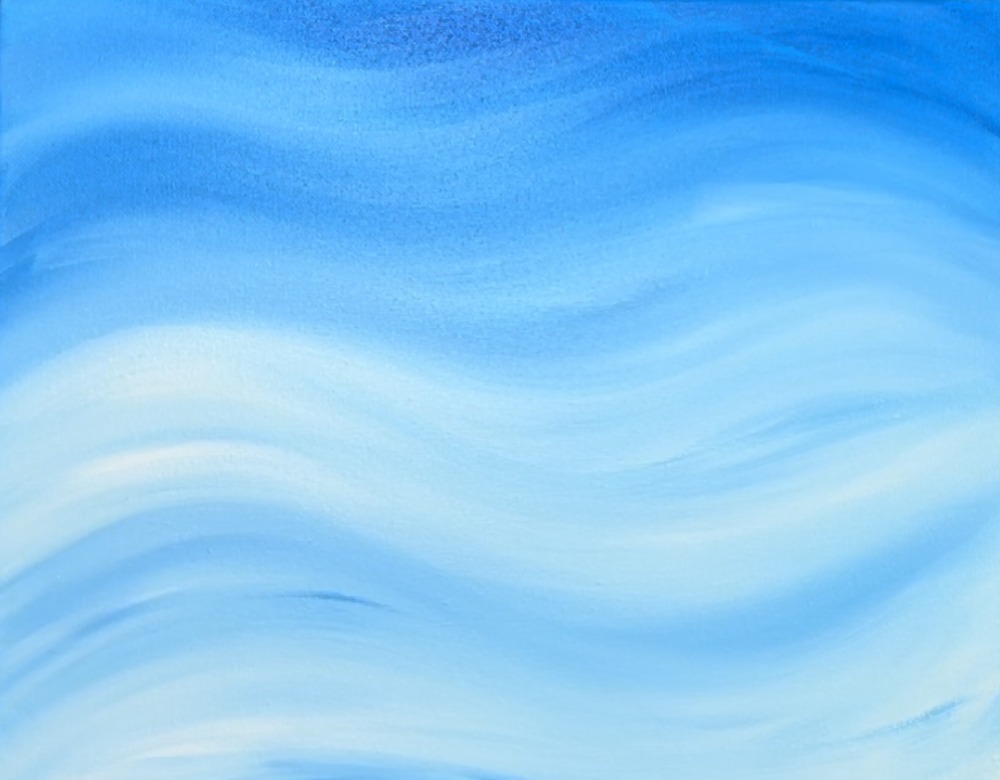
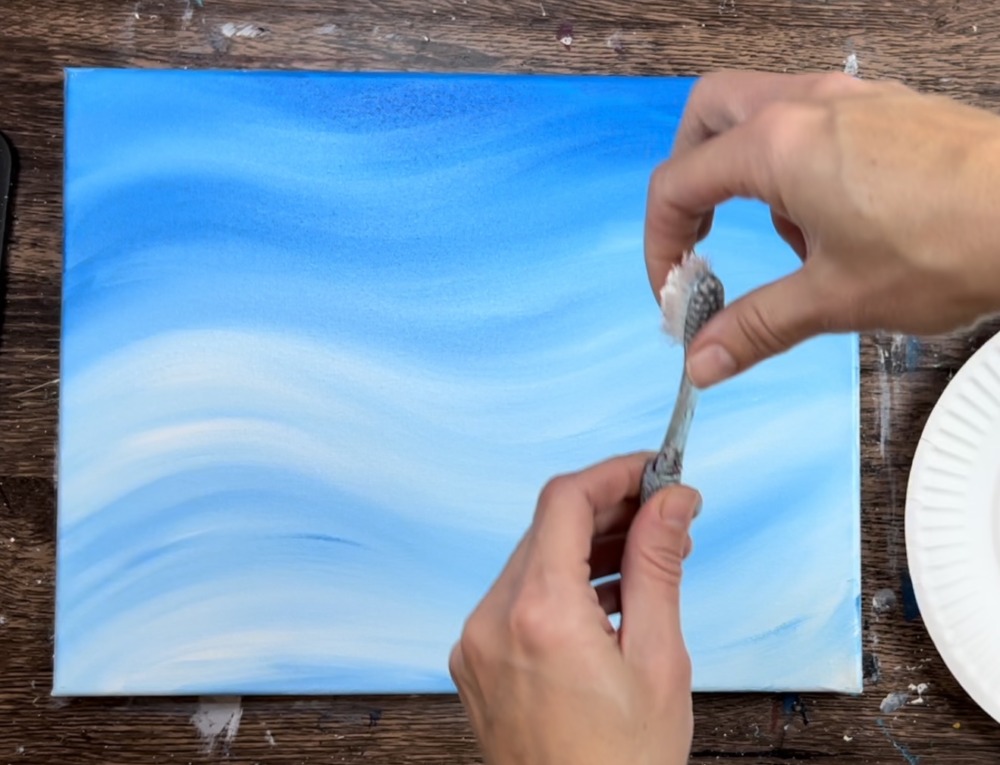
Next, use a toothbrush to flick little white snow dots all throughout the background. To do this, load the toothbrush in a little bit of white that has been slightly watered down. Test this out on a separate surface before flicking the brush over your canvas. You want the little dots to be fine but not too watery.

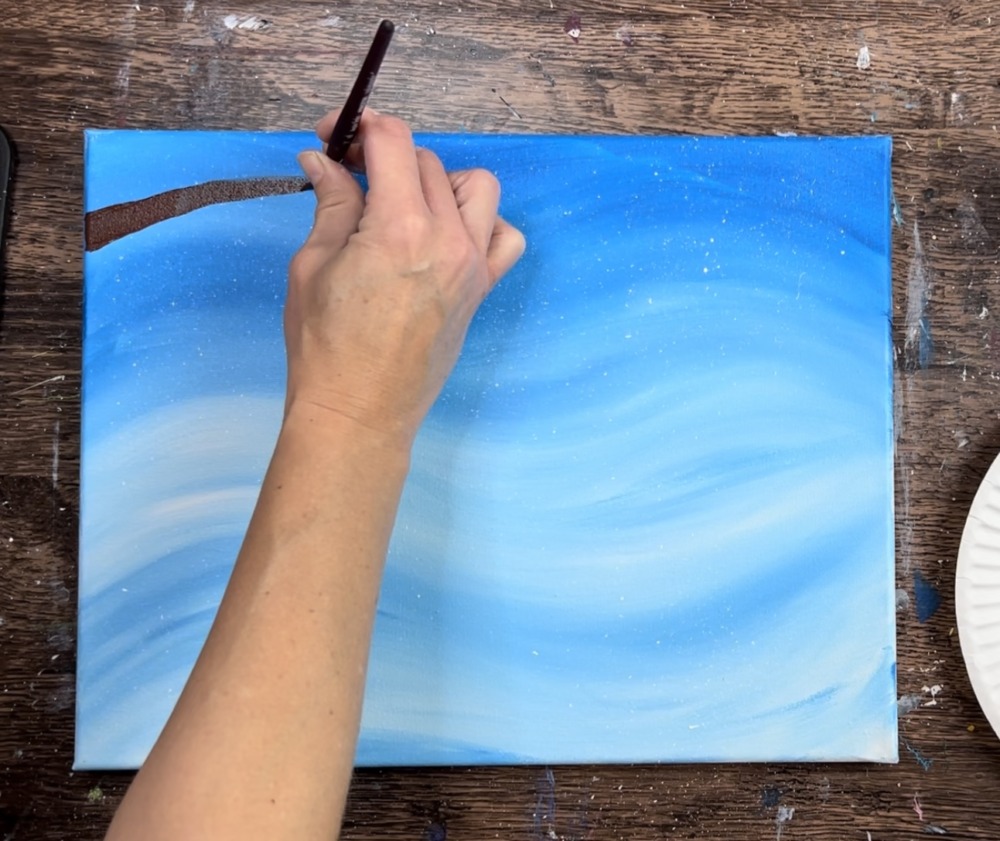
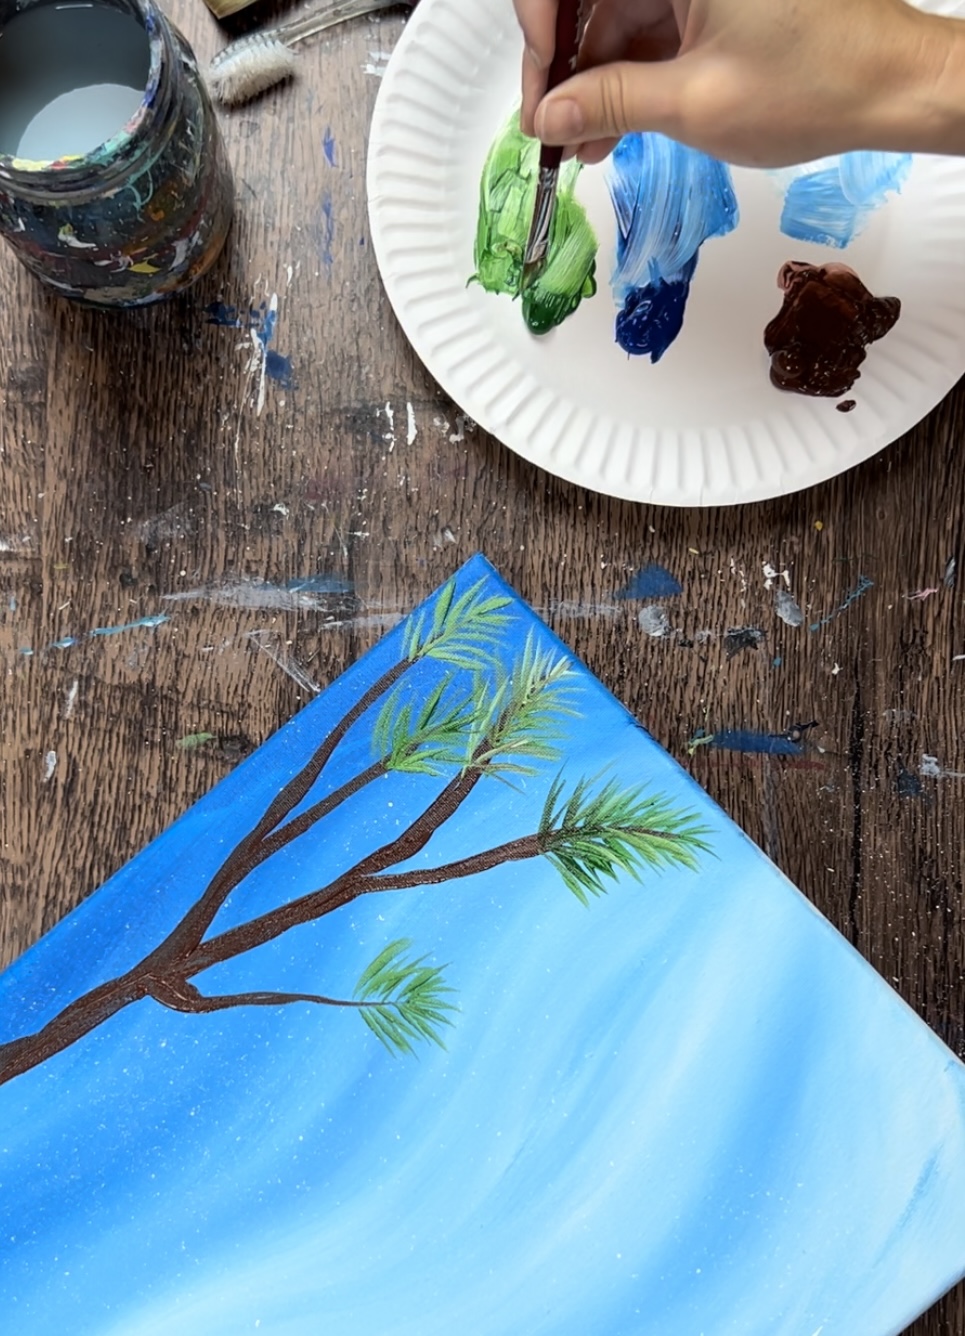
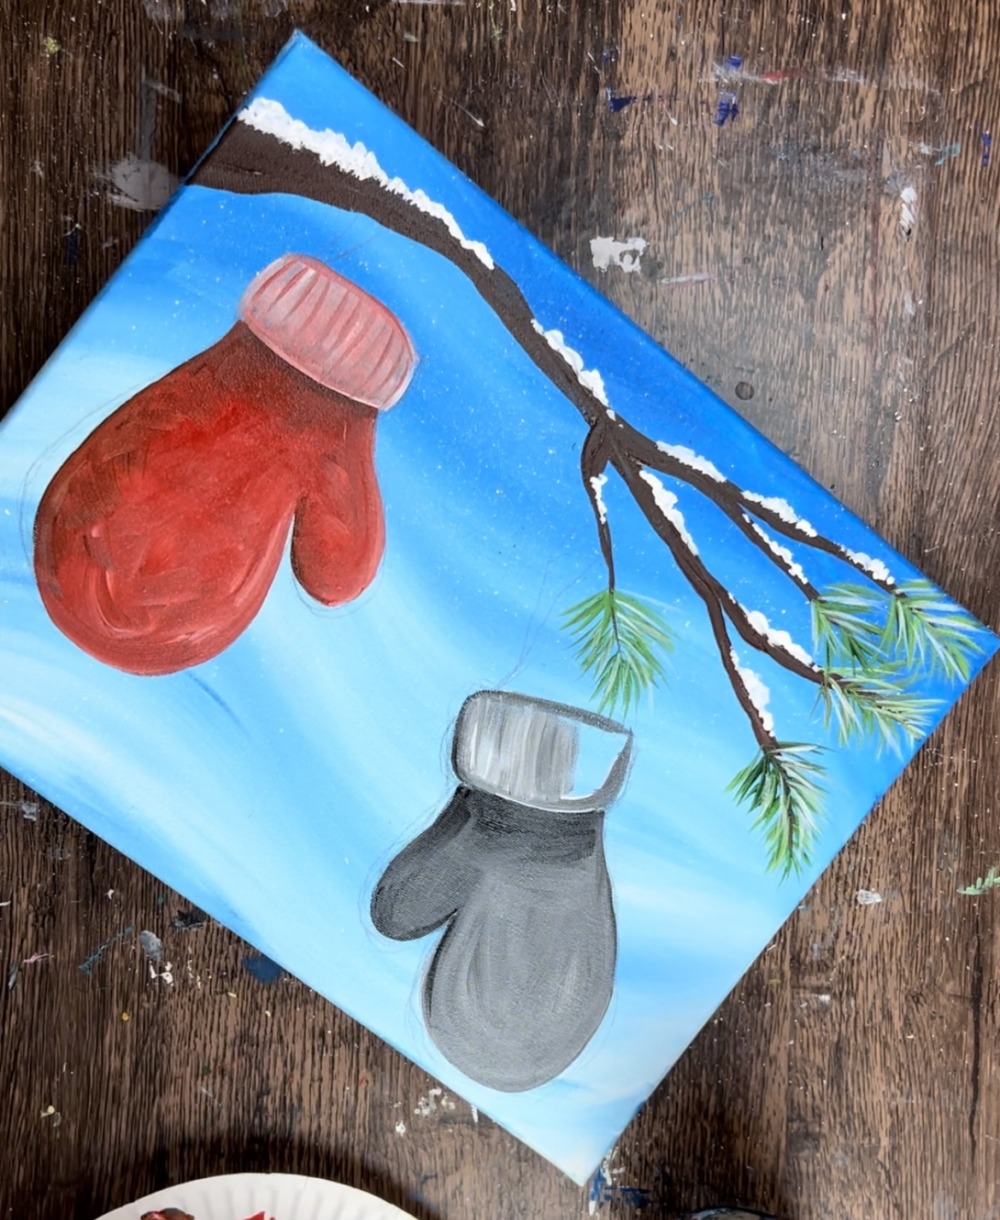
2. Paint branches and pine needles
Use a *3/8″ angle brush to paint a branch. Load burnt umber onto your palette. Then start on the top left of the canvas. Paint a thick branch that goes thin towards the center.
*You can also use a different brush for these branches! Try either a round brush or a small flat brush, whichever you feel most comfortable with.
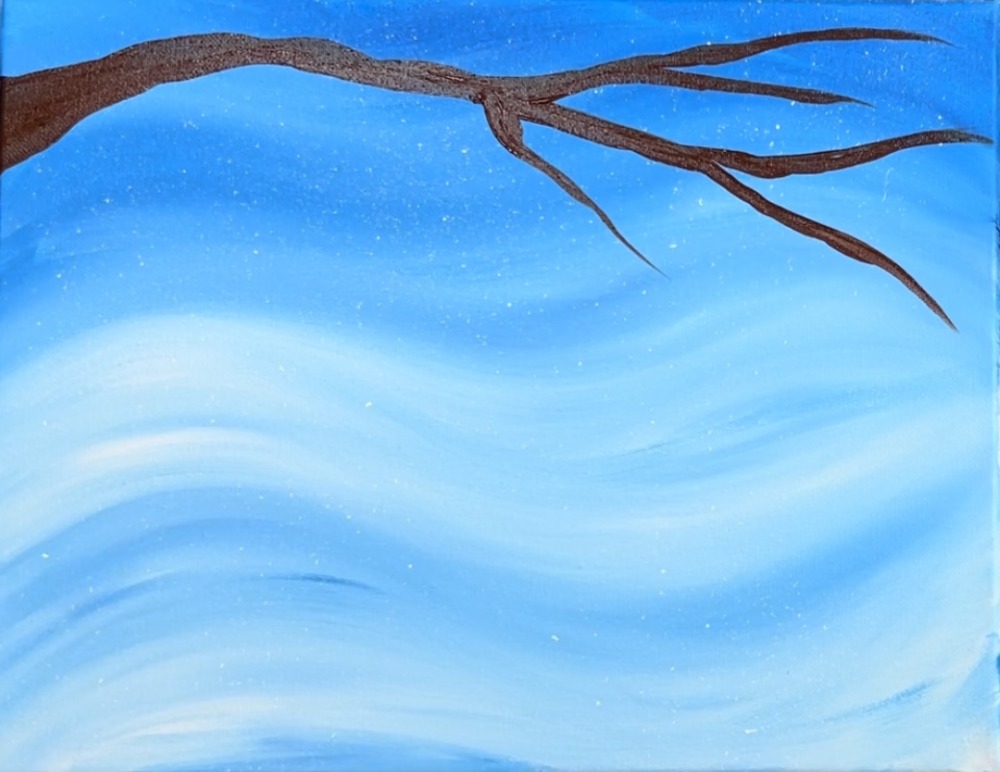
Use just the tip of the angle brush to paint thinner branch lines that branch out into three different sections.
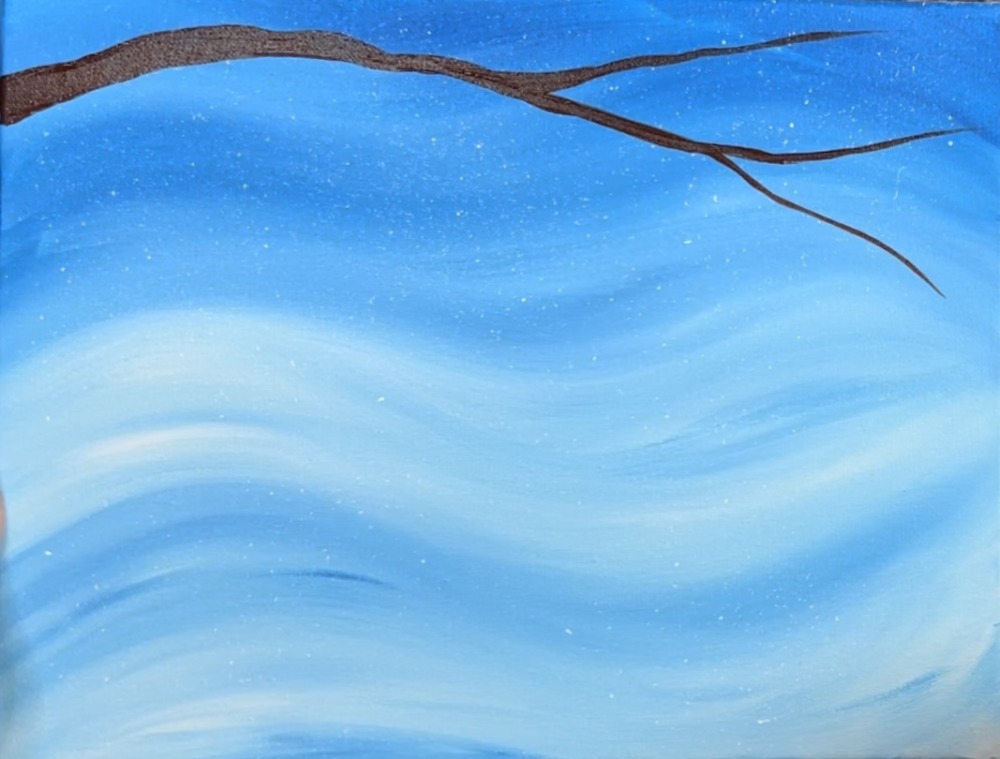
Then add a few more branch lines.
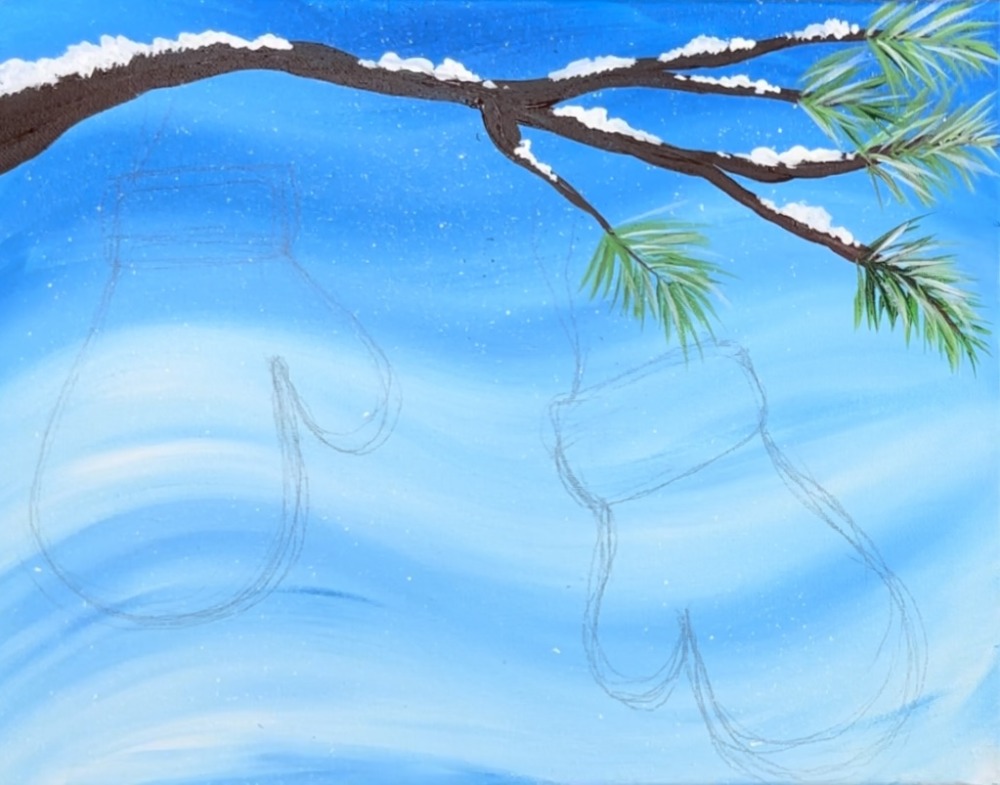
Then paint the pine needles. Load you palette with hooker’s green hue permanent. Then use a clean 3/8″ angle brush to paint the little pine needles one at a time. Load the paint just on the tip of the brush and paint the thin stroke going from the base of the branch and outwards.

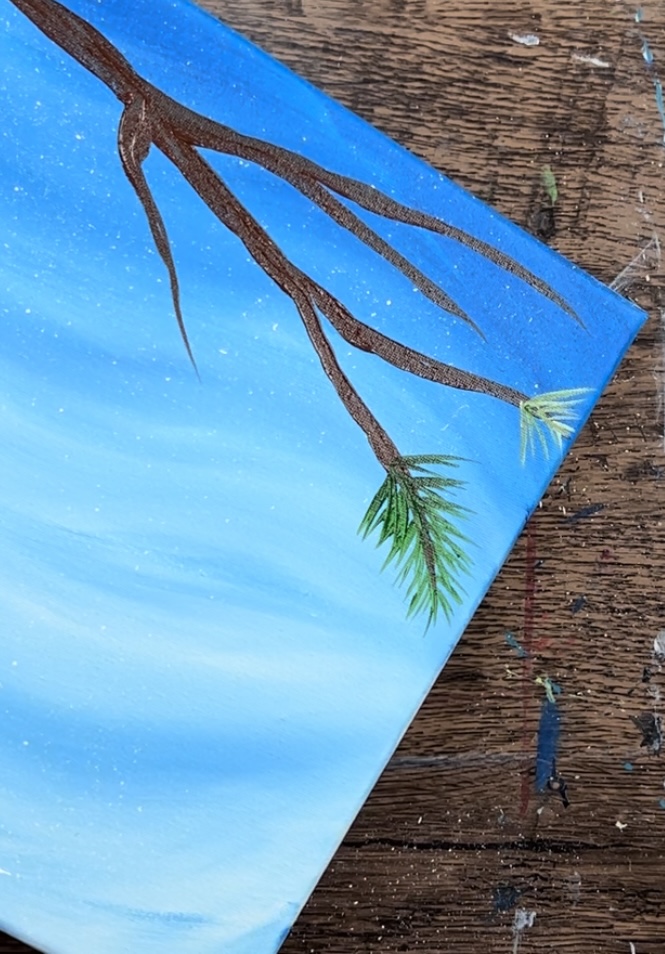
To get the different variations of green, mix a little white into the green on your palette. Paint some of the pine needles with the lighter colors and some with the darker color.
If some of the brown from the branch blends with some of the pine needles, that is okay!
3. Paint snow on branches
Make sure your brown on the branch is dry before doing this step.
Next, use a #4 round brush to paint the snow on the brush. Load just the tip of the brush in titanium white. Paint little dots of white on the top parts of the branches.
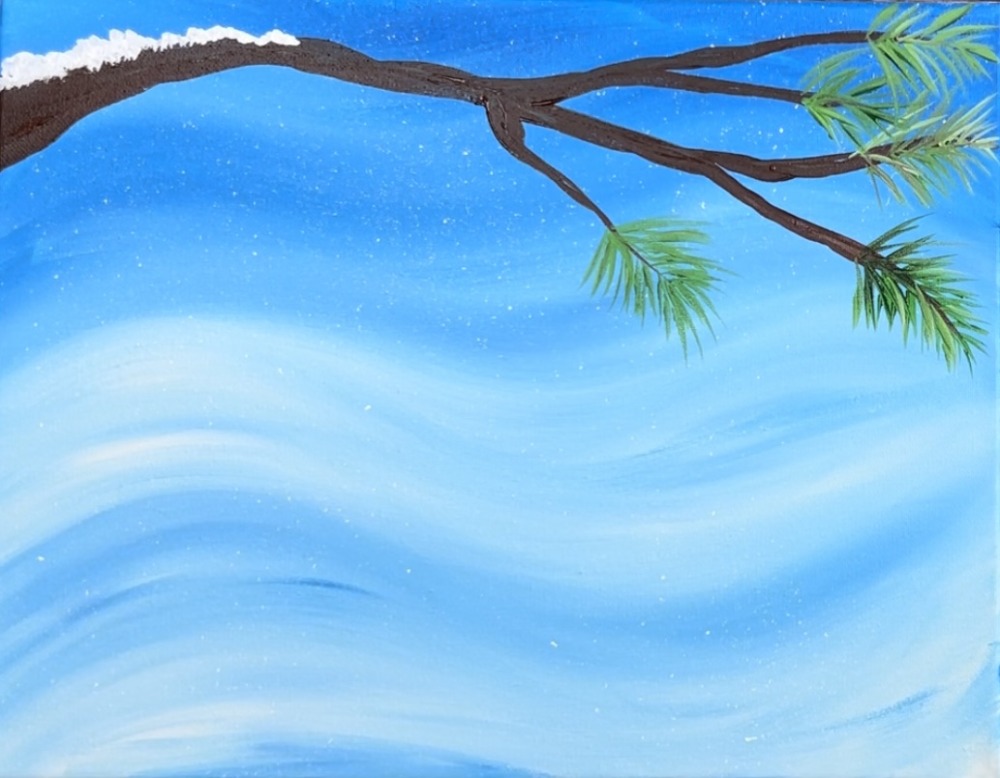
Vary this a little bit so some of the snow is piling up a little higher than some of the other areas.
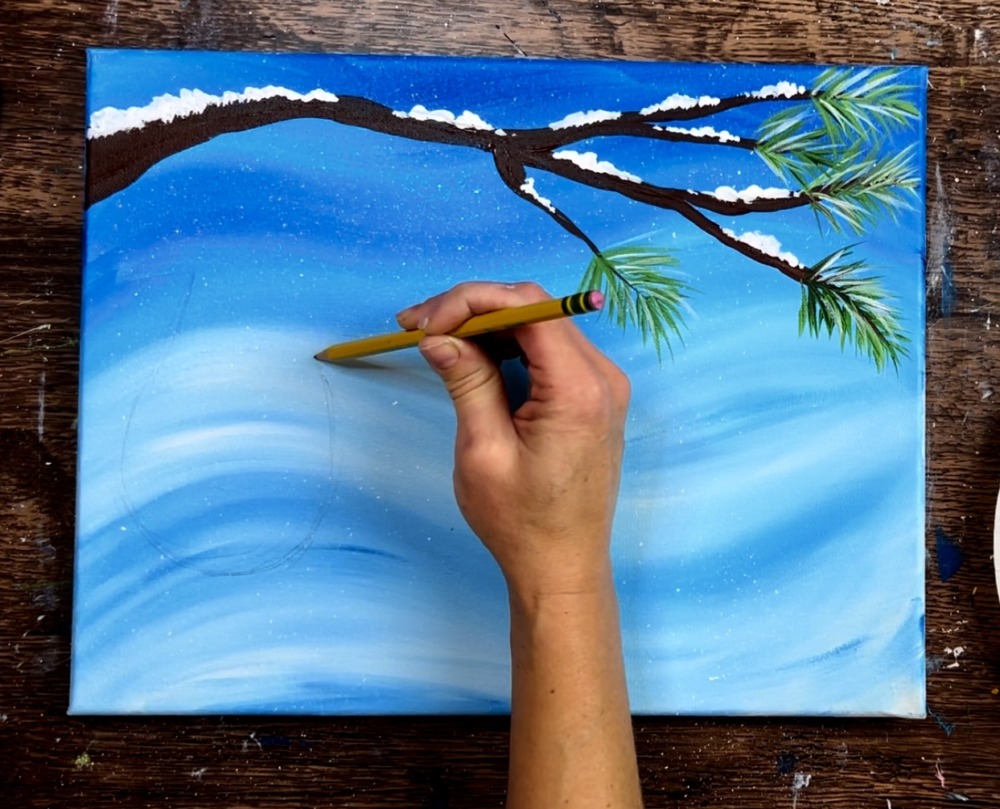
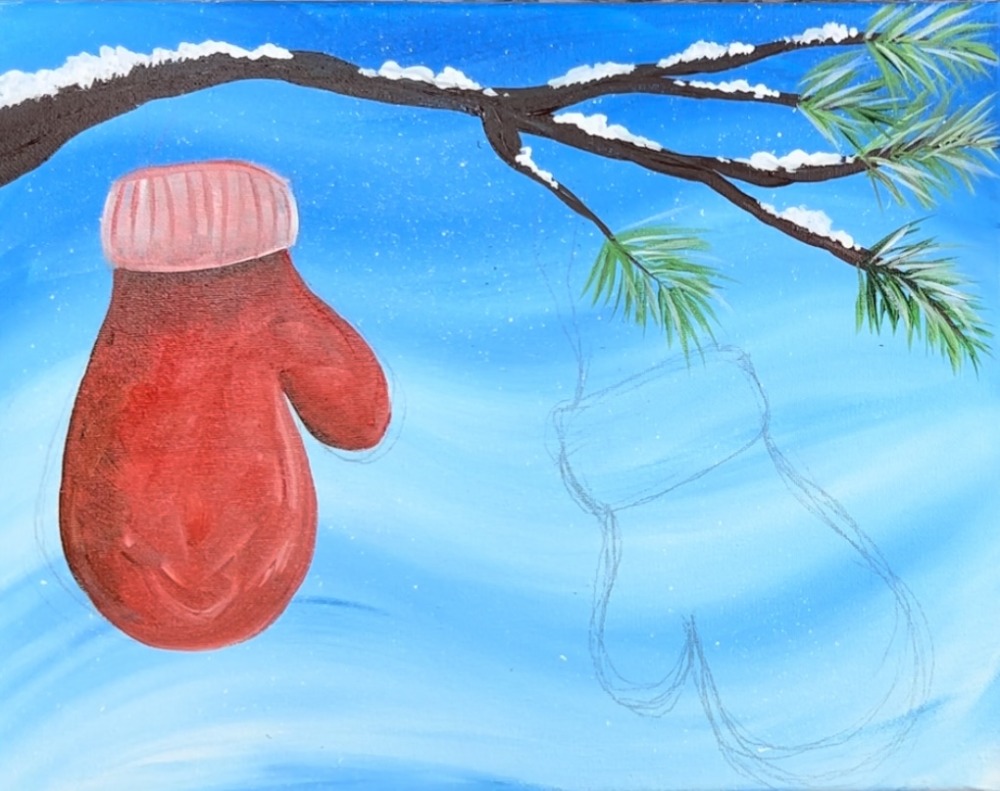
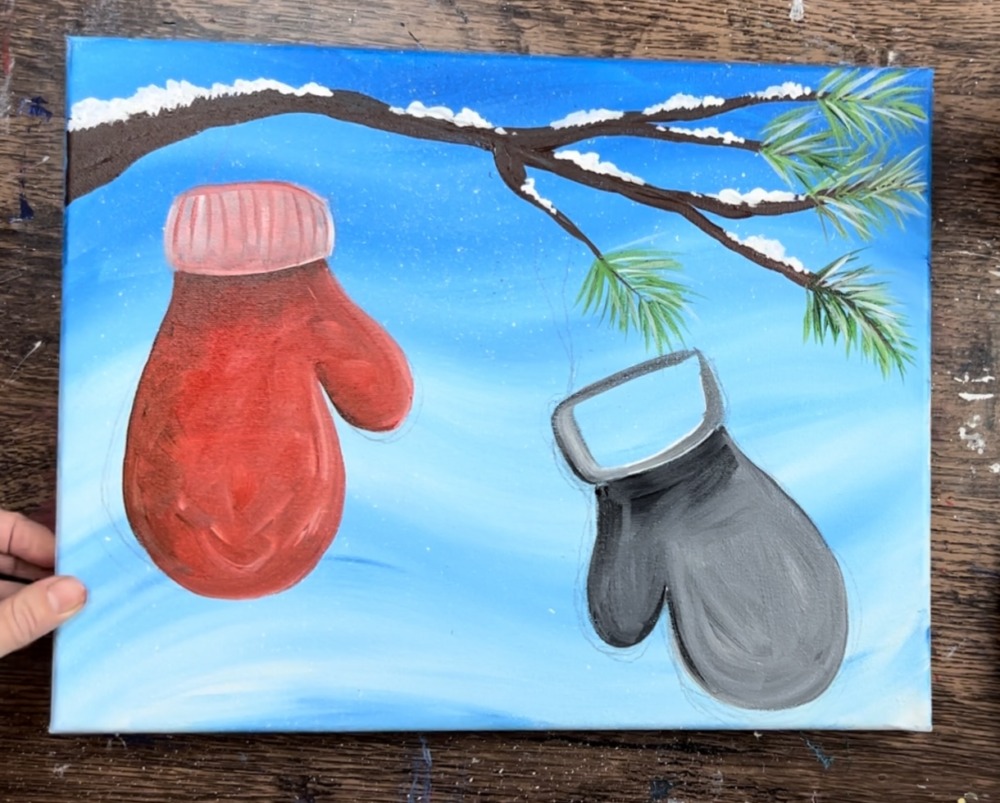
4. Draw mittens or use template to trace mittens
You can use the template for this painting. Simply print it out and either use graphite tracing paper to transfer it to your canvas or cut the mitten out and trace it.
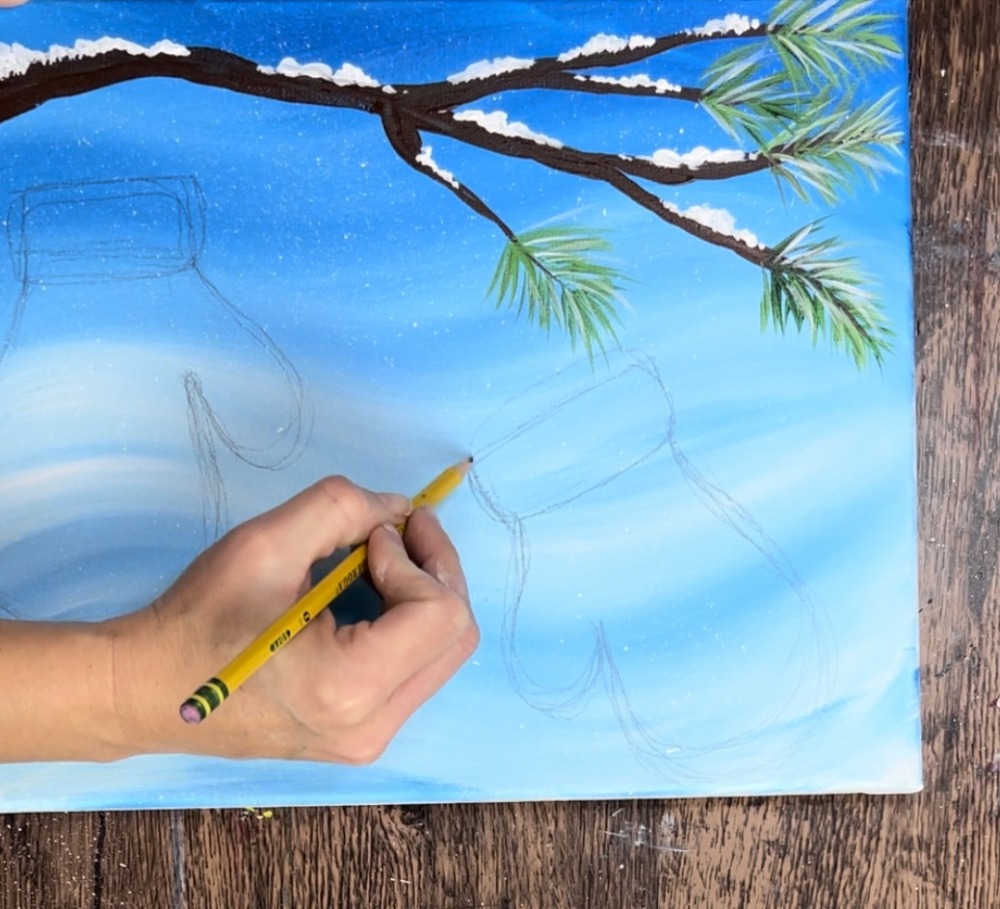
If you are drawing…use a pencil or a piece of chalk to hand draw the mitten.
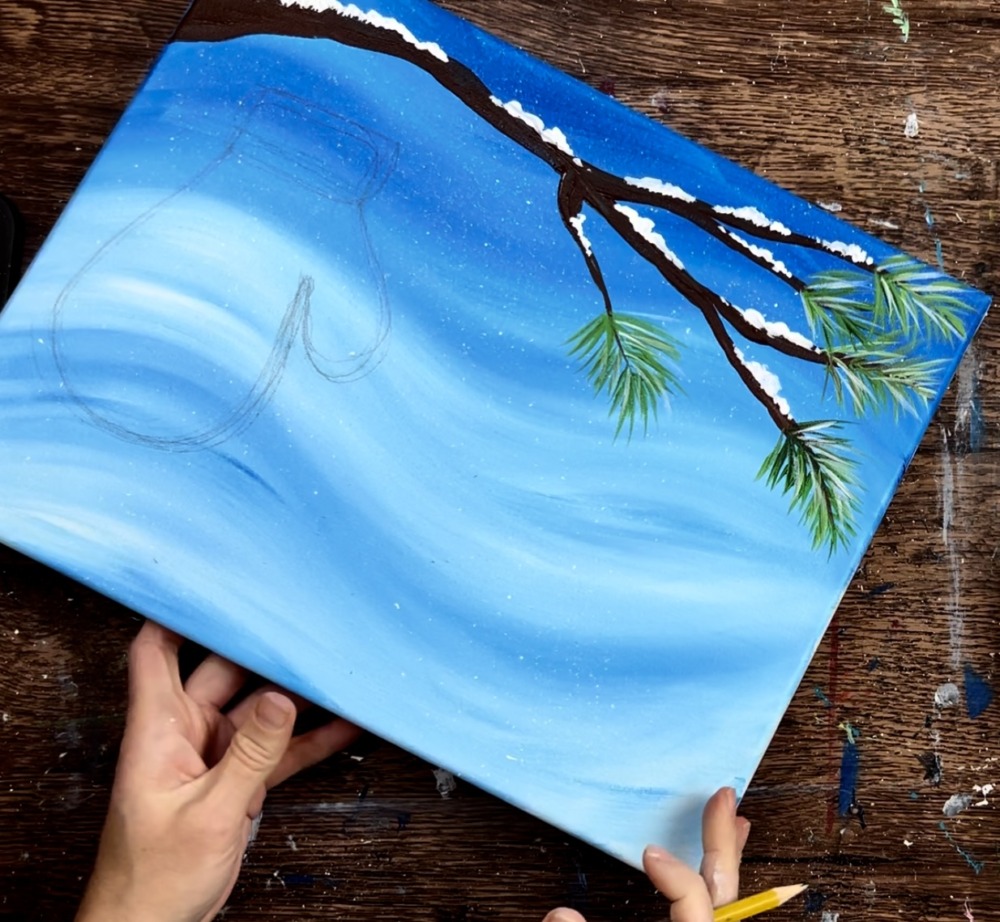
Draw a large rounded mitten shape and then a more narrow shape for the thumb. It may also help to turn your canvas upside down so you can draw the mitten right side up.
Then draw the cuff of the mitten as a rectangle with curved edges and curved corners.
Draw the second mitten. I did this one at an angle instead of it going straight like the first mitten.
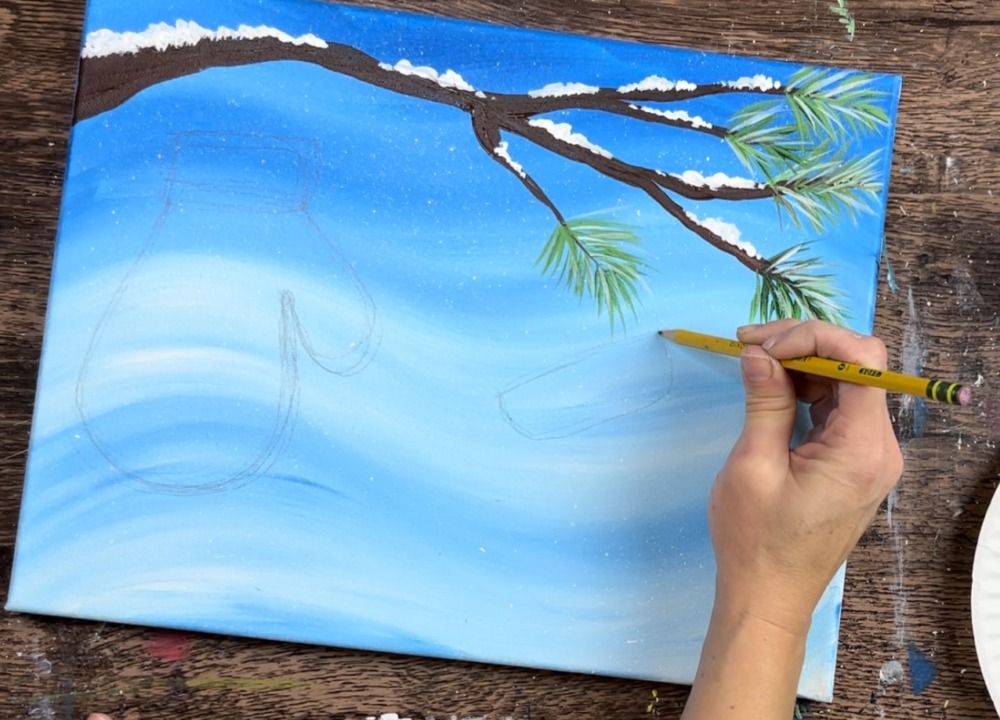
Then draw the strings that attach from the mitten cuff to the tree branch.
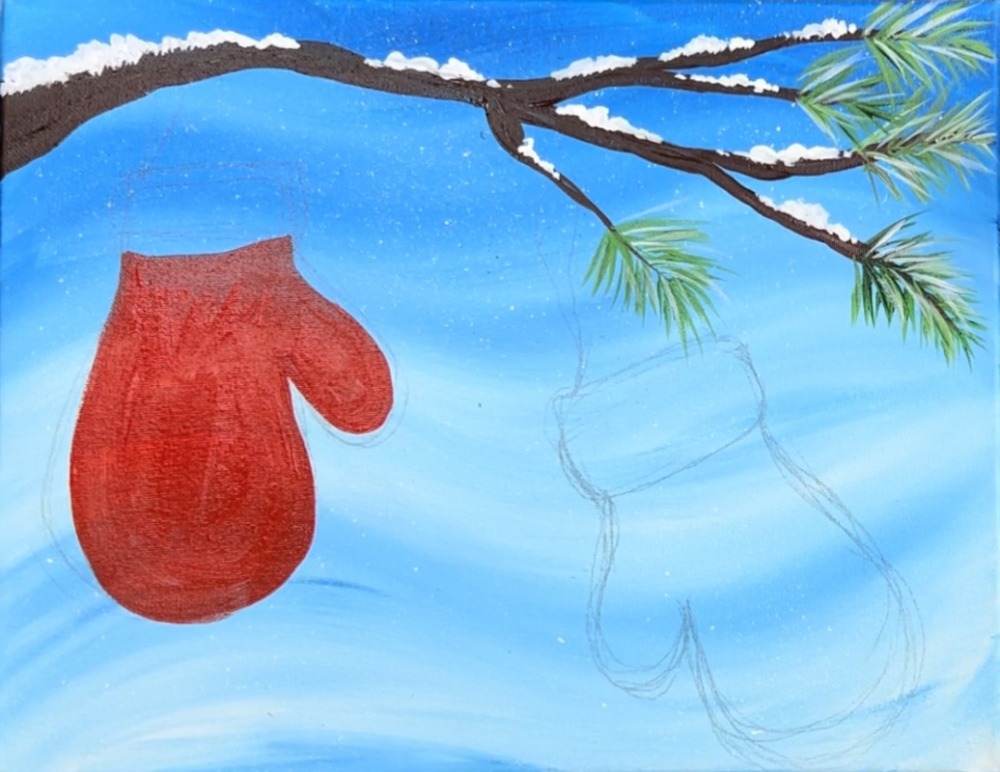
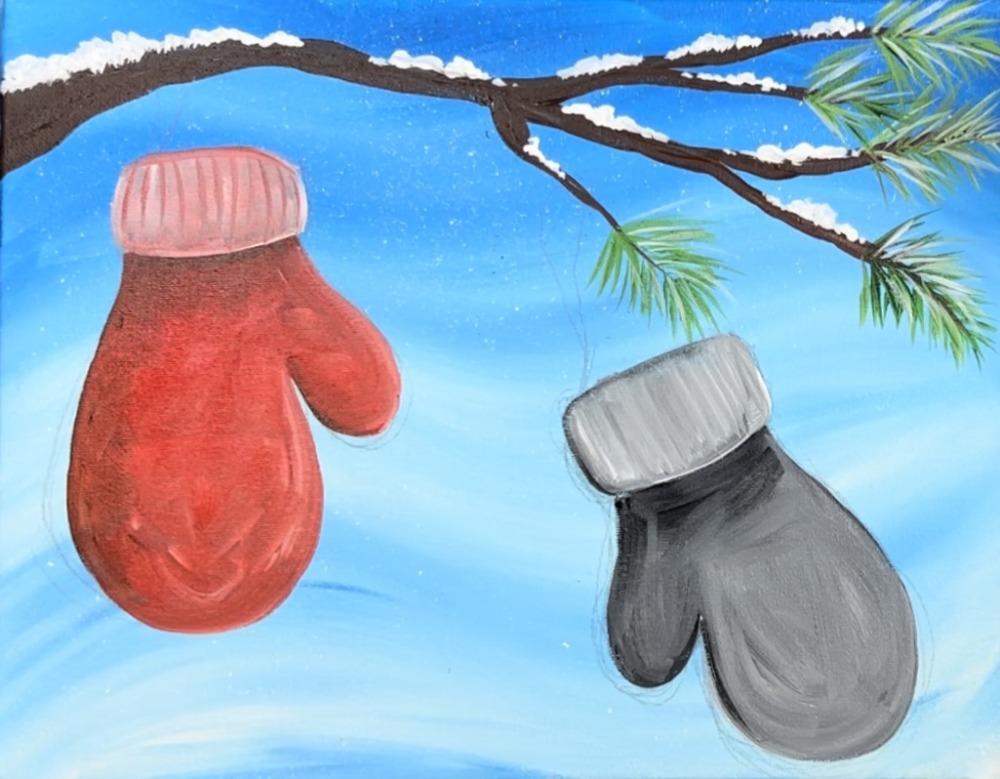
5. Paint mittens
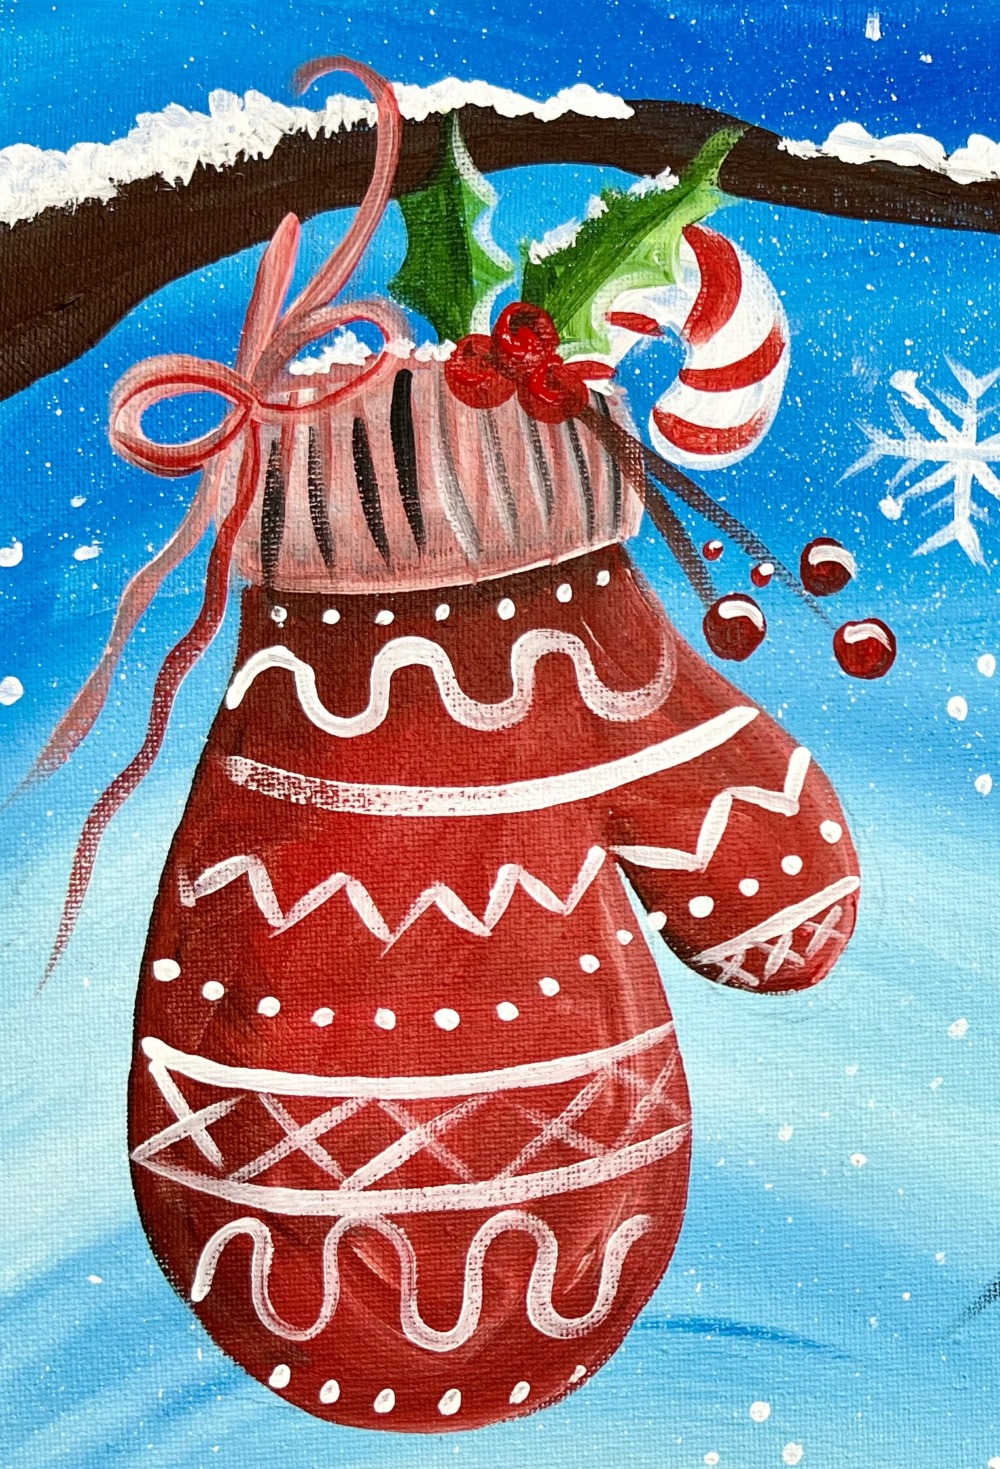
You can customize the colors on this! For the mitten on the left, I used cadmium red medium hue. Use the 3/8″ angle brush (or what brush you feel most comfortable with) to paint the mitten solid red.
Next, add a little highlight and shadow to your mitten. For the lighter color/highlight, mix a little white into the red. Then on the right side of the mitten, paint expressive strokes that start on the edge and blend into the red.
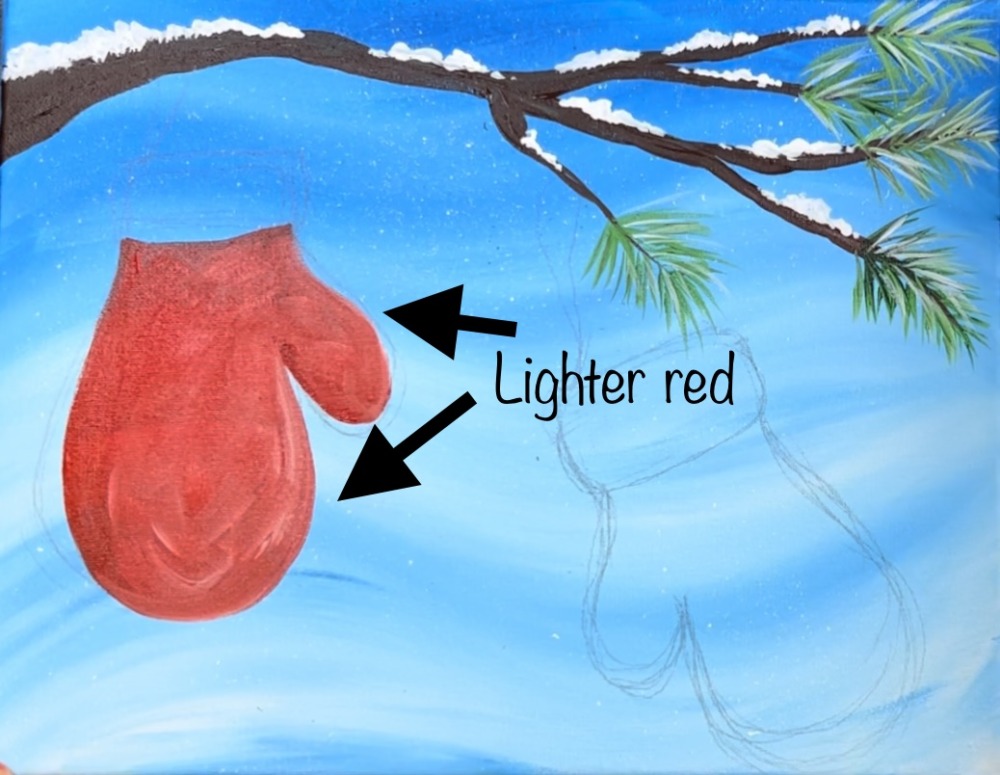
Then, to make the darker shadowy part of the mitten, mix a small amount of green into red (you’ll want about 1 part green to 2 parts red). The green is used for the shadowy color because it’s an opposite color than red.
Add the darker red color on the left side of the mitten and also at the very top just under the cuff.

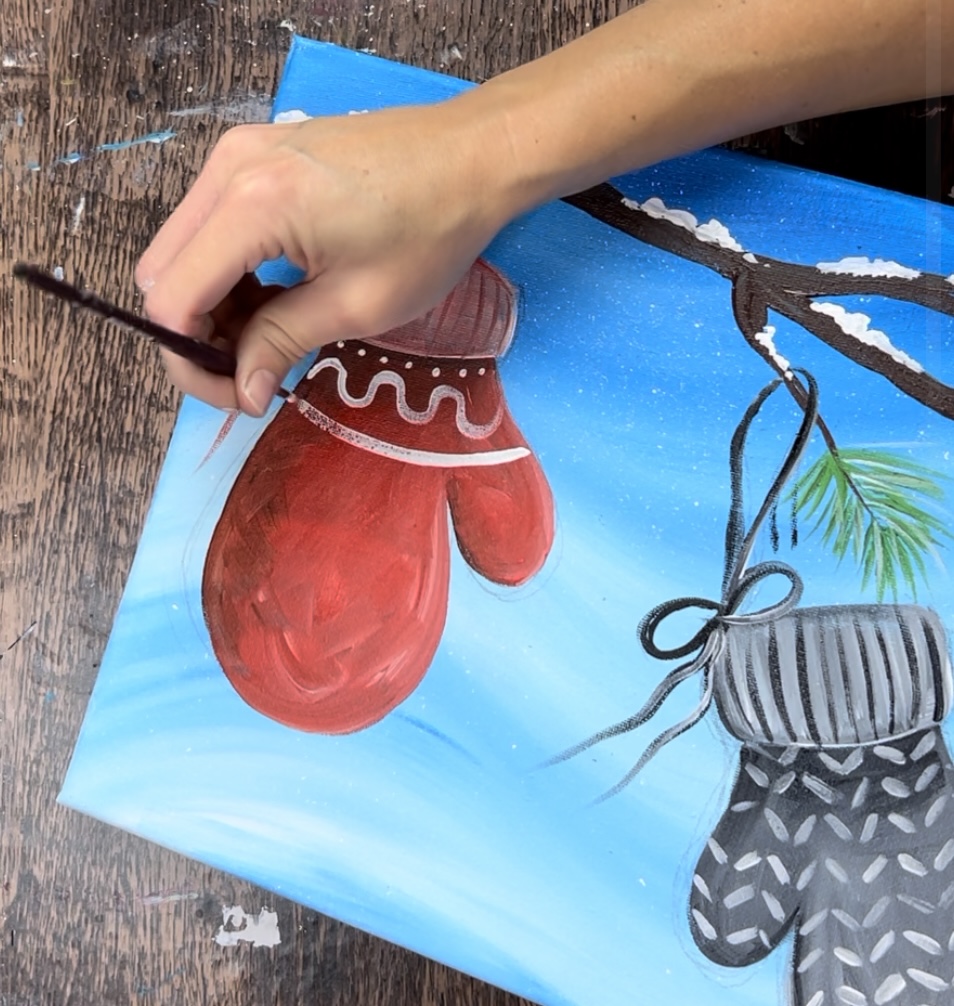
Next paint the cuff. Use red mixed with white to make a lighter white. Paint in vertical strokes after outlining the edge of the cuff.
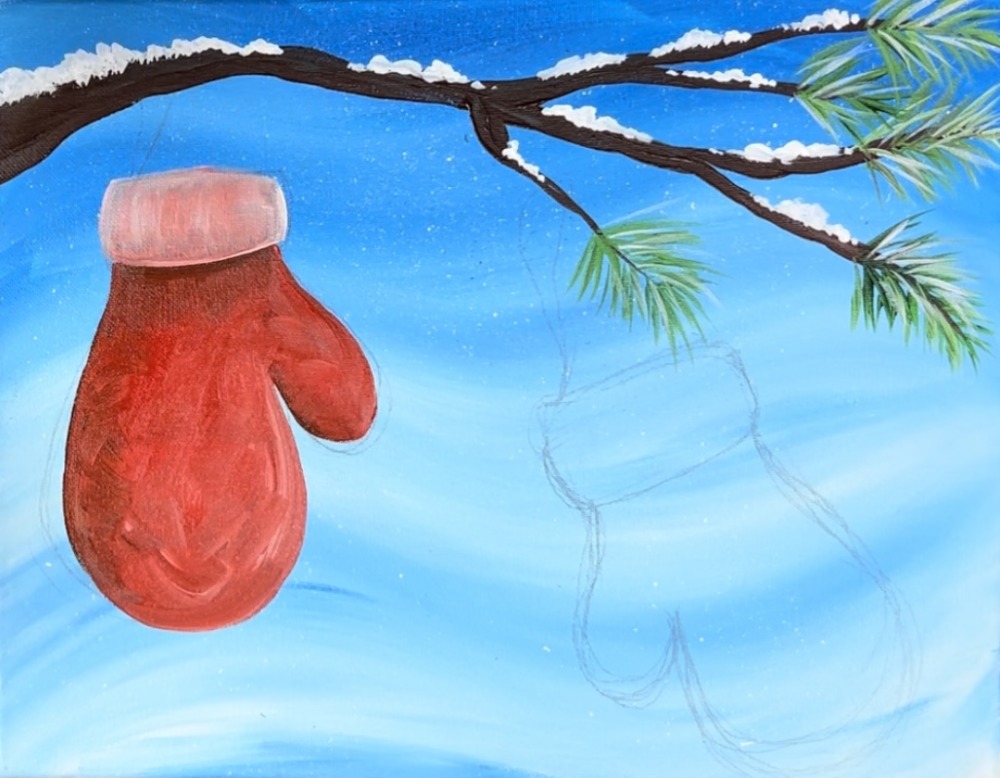
Then use the tip of your 3/8″ angle brush to paint solid red lines going in a vertical direction to create the sweater texture on the cuff.
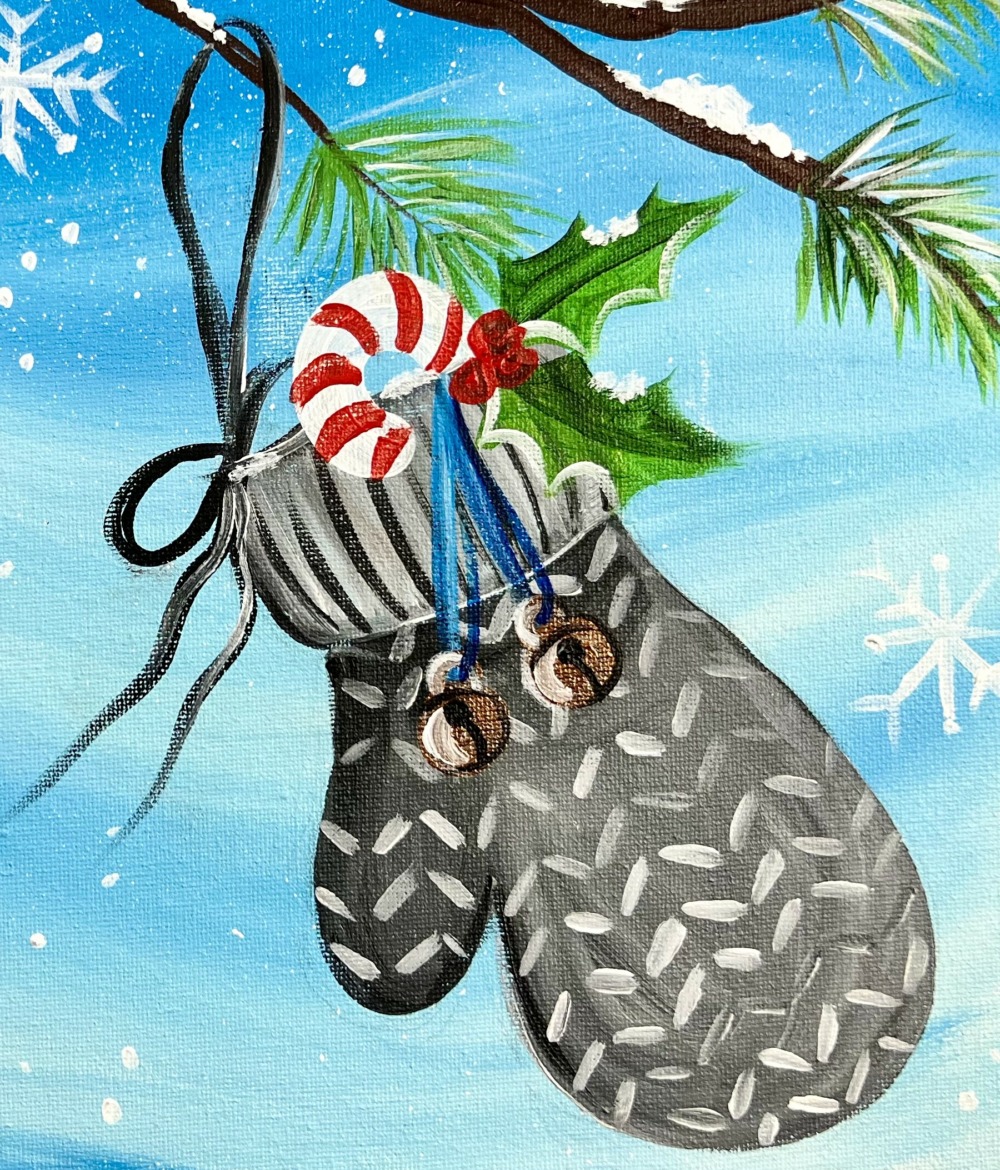
Paint the mitten on the right gray. Use titanium white and mars black. Mix about equal amounts of that color together to make a medium to dark gray. Paint the mitten using the same technique you used to paint the red mitten.
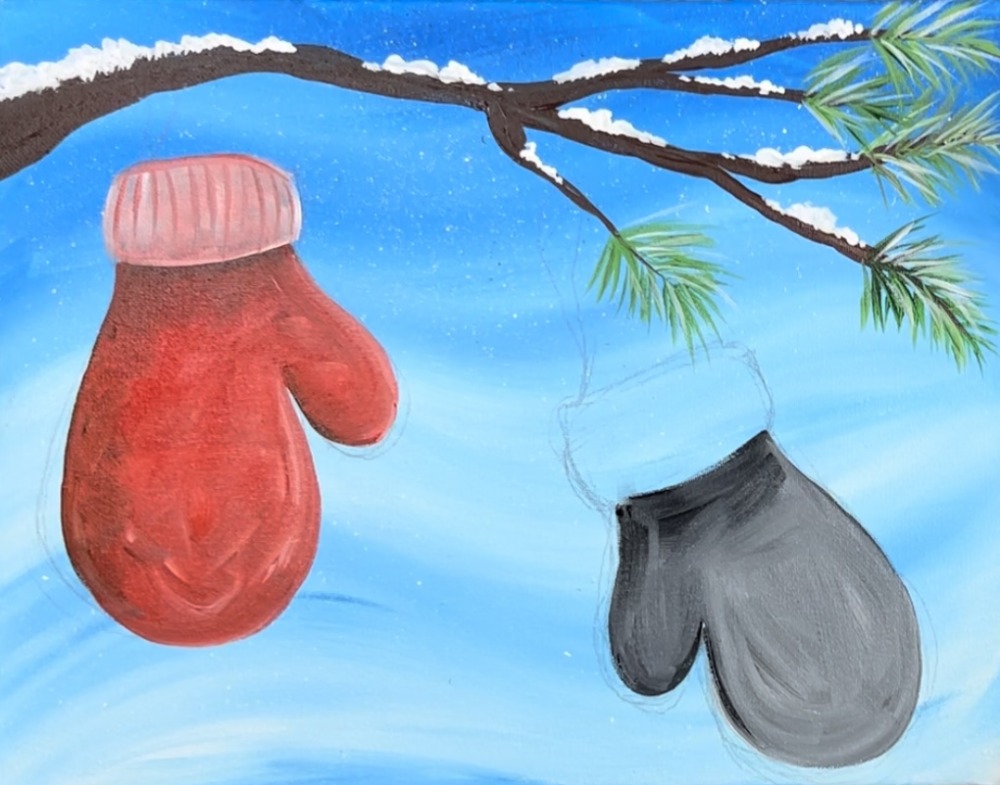
Make the darker parts on the left and the lighter parts on the right. Also, make sure the part just under the cuff is slightly darker.
Paint the cuff a lighter gray by mixing about 3 parts white to 1 part black. Paint that area in vertical strokes and add medium gray vertical lines for the sweater texture.
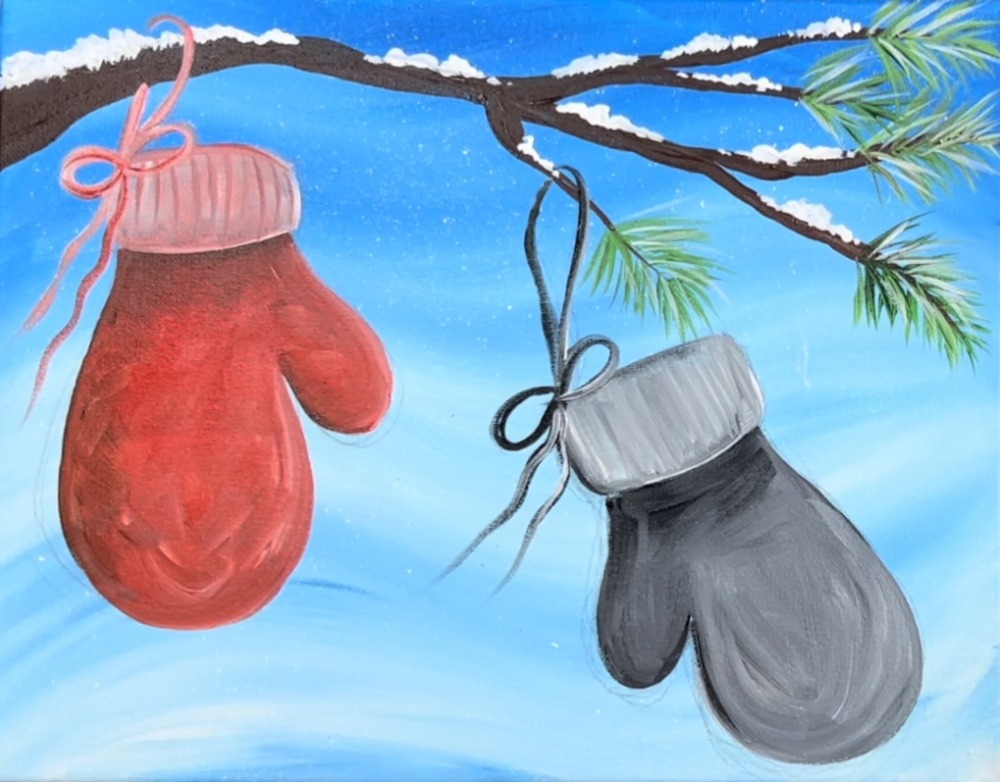
Next, paint the string that’s attached to the cuff. Use a #4 round brush and mix red and white together. Paint a loop that goes around the branch. Then create a bow tie attached to the cuff. Paint the strings so they flow loosely to the left.


Then paint another bow tie with the black and white paint so that it is a dark to medium gray. Paint this one so it is attached to another branch.
6. Decorate Mittens
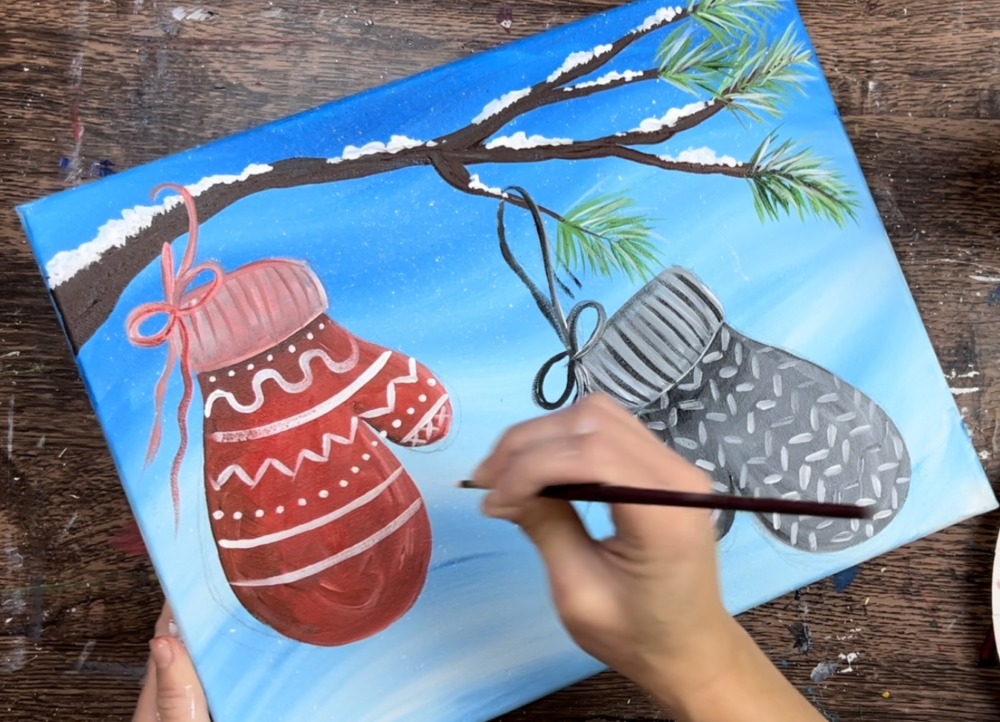
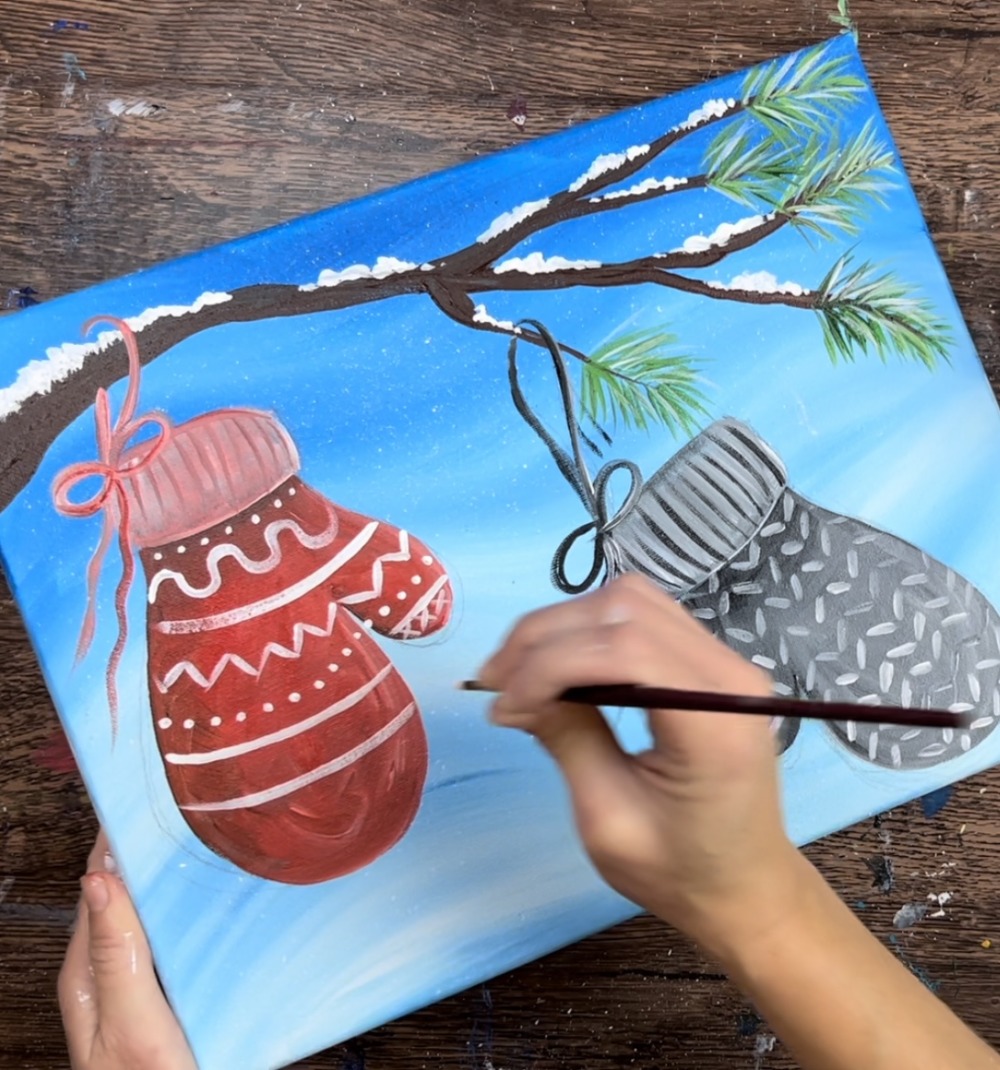
Use a #4 round brush to paint the sweater knit texture on the mittens. To do this, mix a gray that is slightly lighter than the medium/dark gray of the mitten. Paint small angle zig-zag strokes all going in the same direction and stacked. Start at the bottom and paint each row the same, working your way to the top of the mitten.
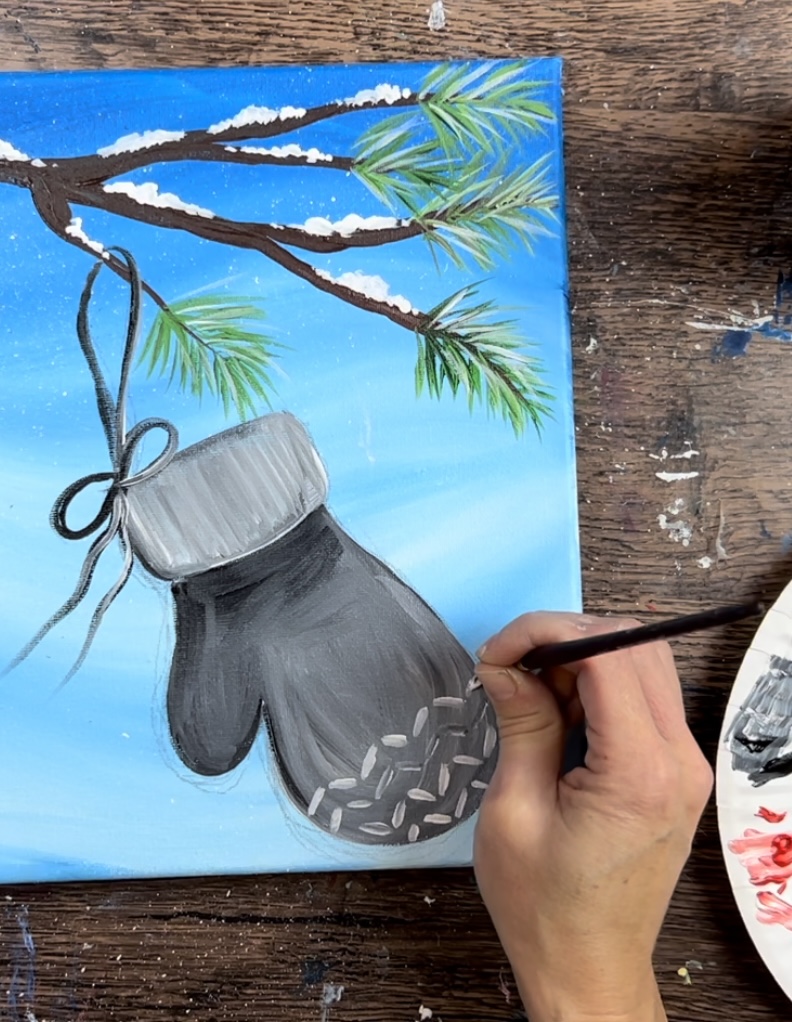

Do the same on the mitten thumb.
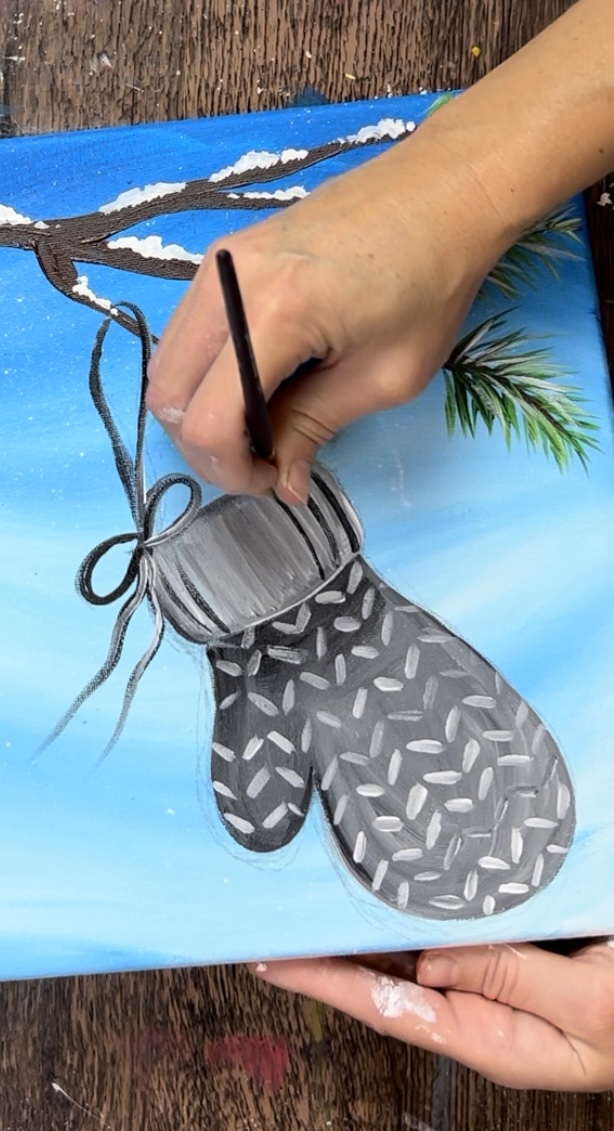
Next, paint very thin black vertical (slightly curved) lines on the mitten cuff to create more of the sweater texture. Do this with the #4 round brush and make each line very thin.
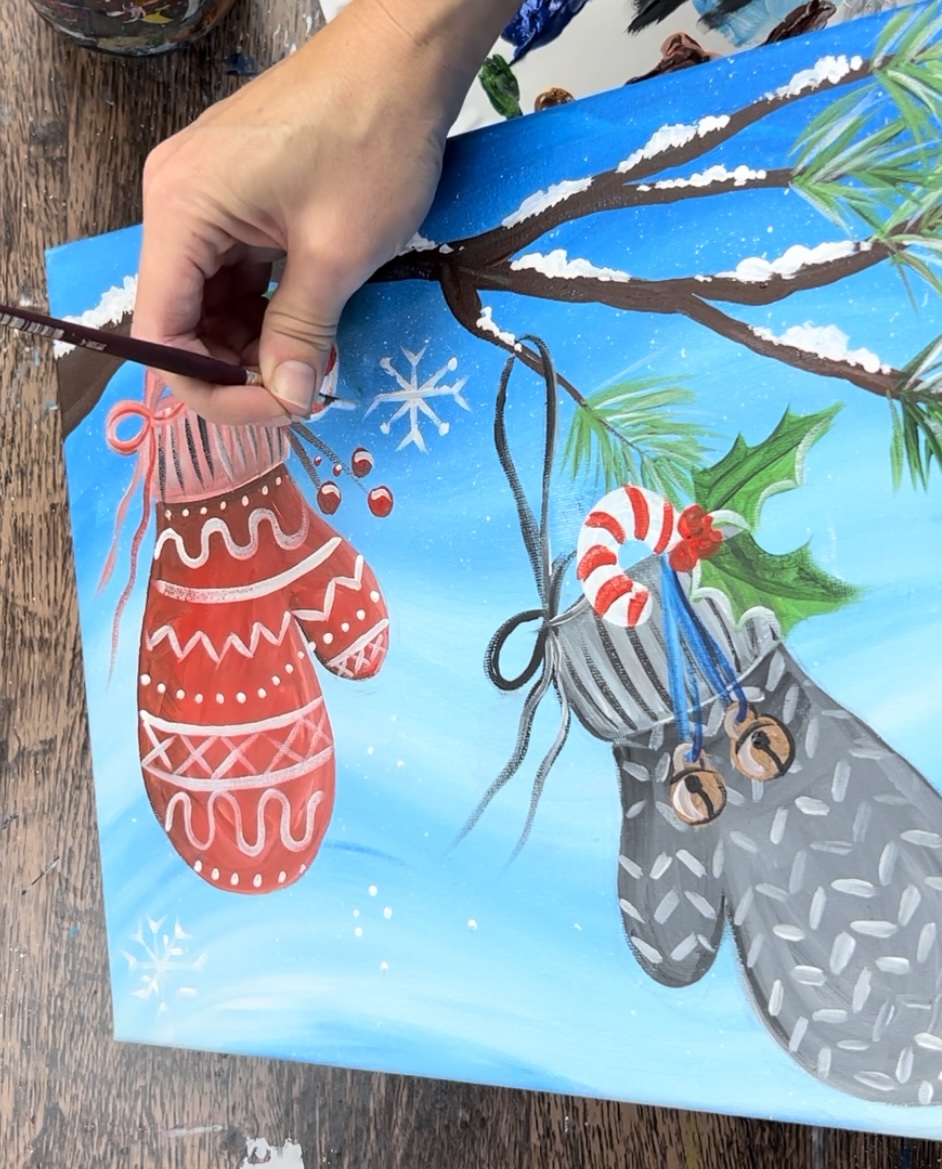
Next, paint the patterns on the red mitten. Do this with titanium white and a #4 round brush. Paint different pattern designs and make the designs go in a slightly curved direction.
7. Paint objects inside mittens
Then paint the objects inside of the mittens. This step is optional if you want to simplify the painting!
To do the candy cane, use the #4 round brush and titanium white. Paint the top arch of the cane. Tip: draw this with chalk or pencil first if the cane is tricky!
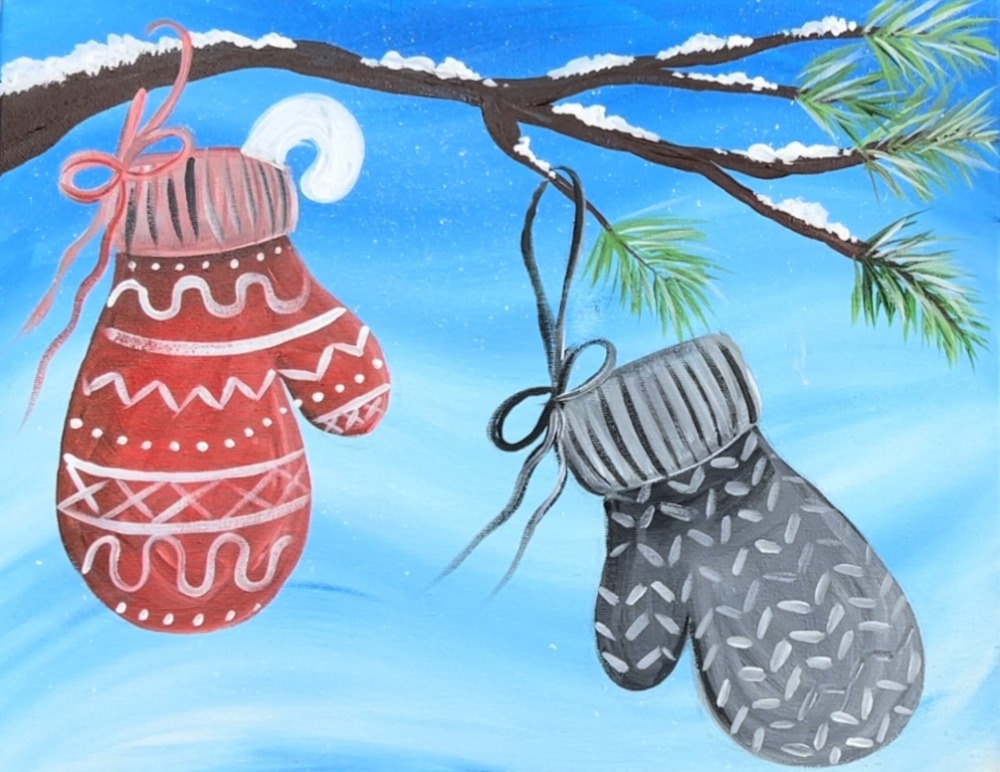
Next, do the holly leaves. Use the hooker’s green hue mixed with a little white. Paint pointed inverted leaves. They may need to slightly overlap the candy cane and/or the branch depending on the direction you are painting them in.
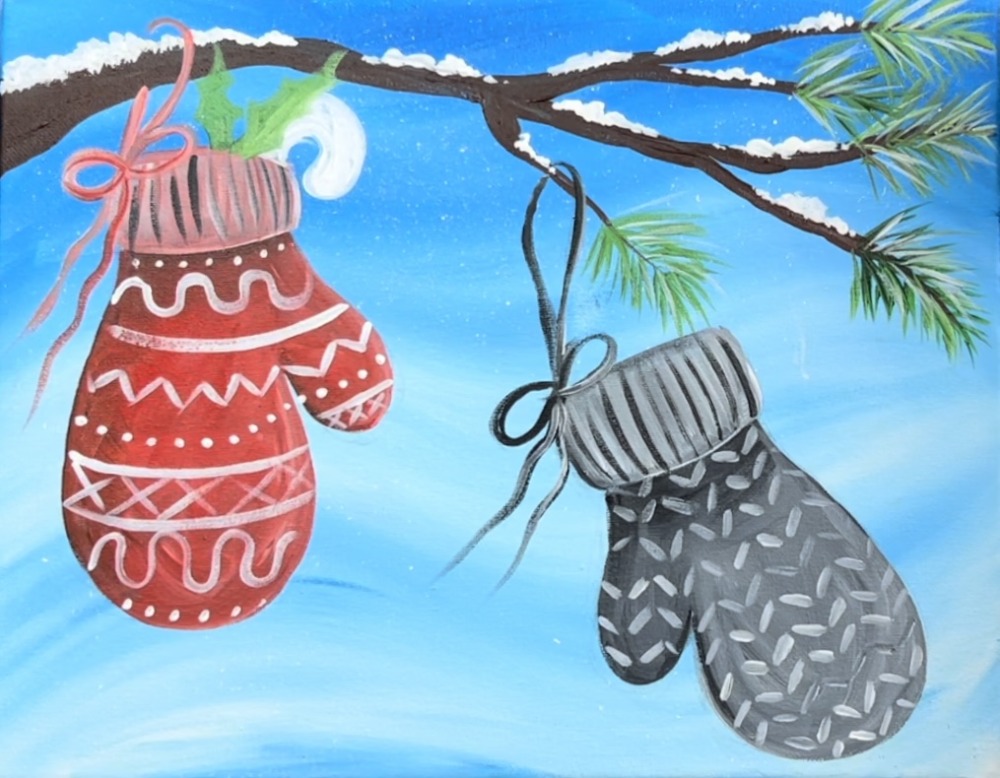
For the berries, use brown to paint two stick lines hinging over the cuff. Then paint small red circle berries on the ends of the branches. Paint another candy can in the second mitten.
Paint more holly leaves hanging out of the gray mitten.
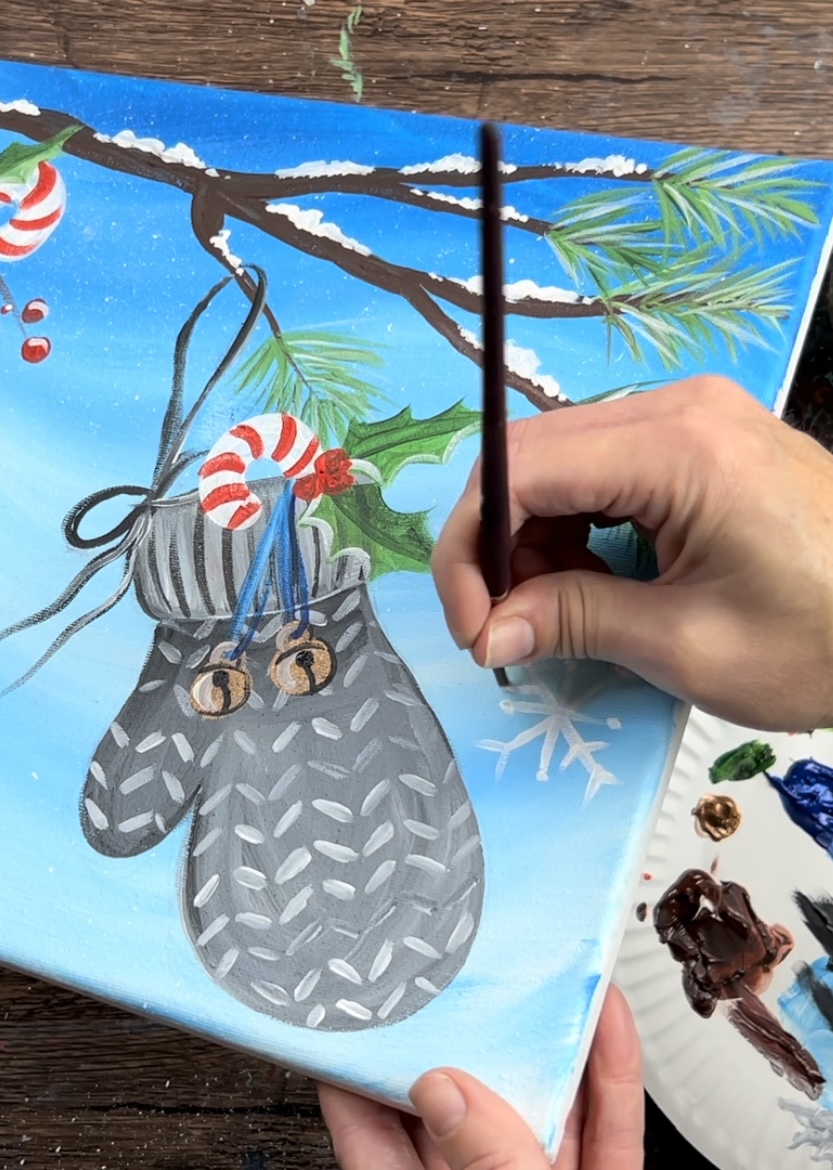
Then, if you are doing bells, use the primary blue (or another color) to paint the string of the bells.
Use copper (or any metallic color) to paint two circles on the ends of the strings.
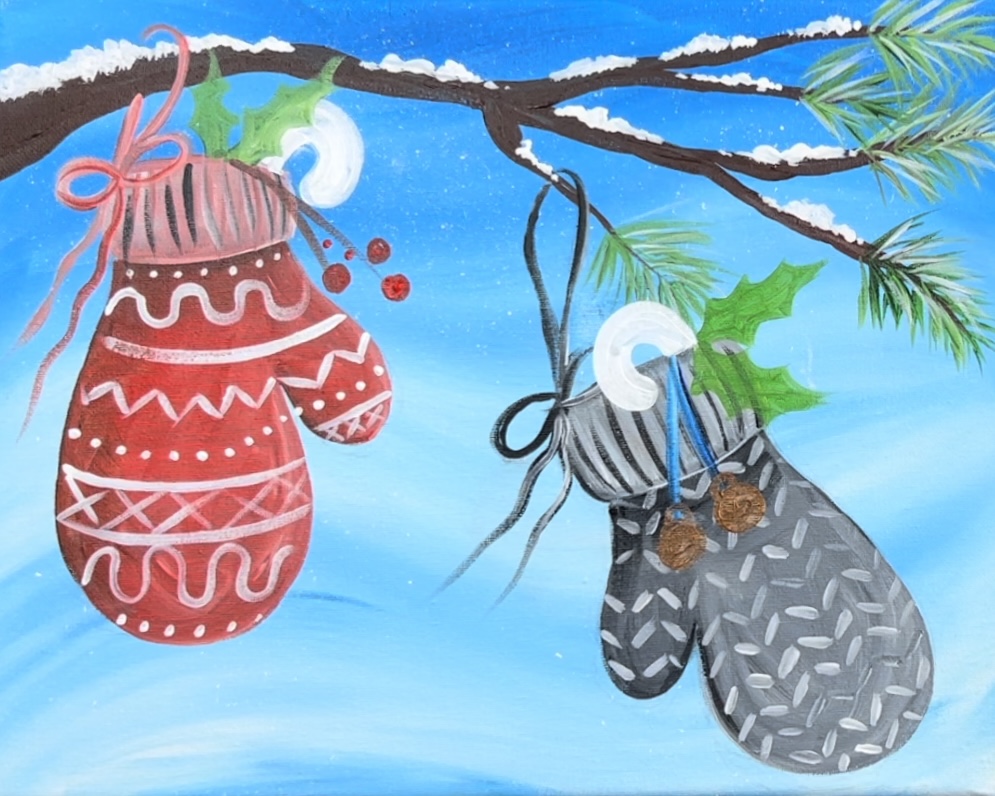
Then paint a little handle on the top of the bells and finish the string so that it is going through the little bell loop.
Paint red stripes on the candy cane. Then add a second coat to one side of each of the holly leaves. Do this with a darker shade of green.
Then add more detail on the bells. Paint a black circle in the center and a line going down to the bottom edge of the circle.
Paint a white highlight line on the left side of the bells.
8. Paint snowflakes & flurries
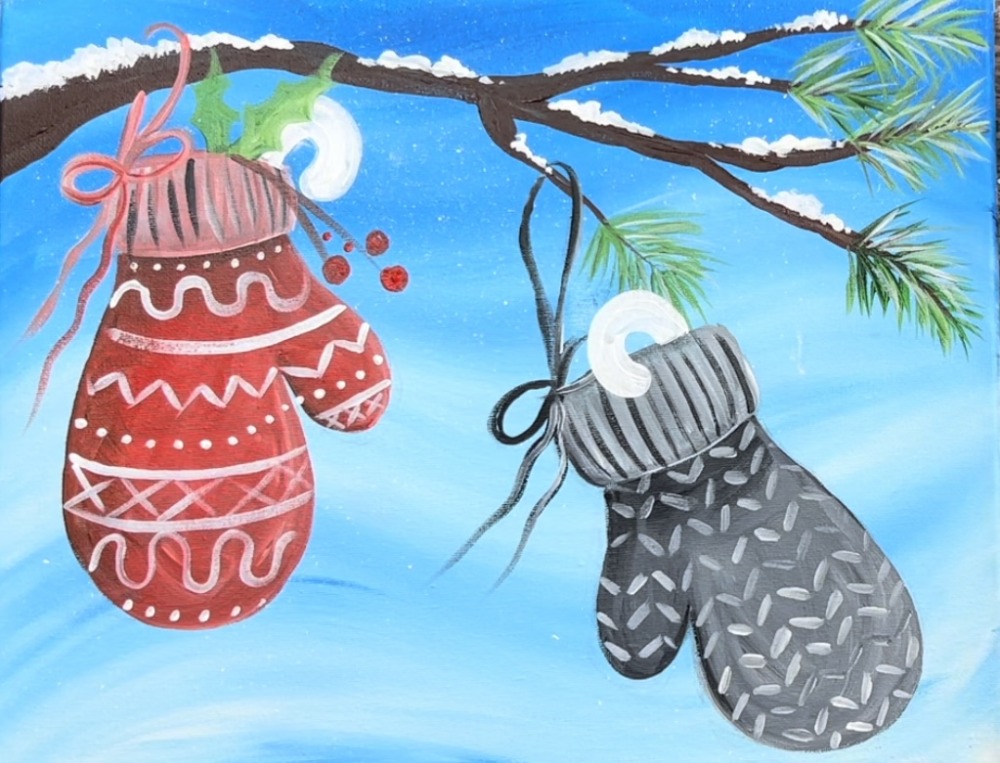
As a final step, paint snow flakes in the background as well as snow dots.
You can also add little bits of snow on the top edges of the mitten cuffs and a little bit on the holly leaves.
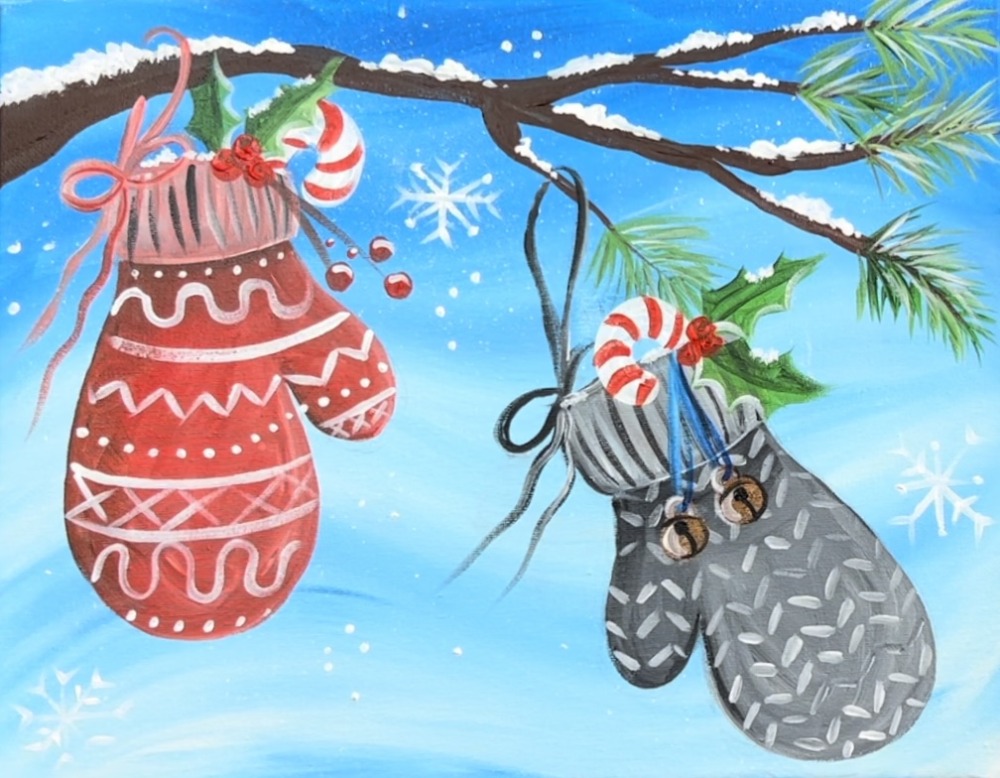
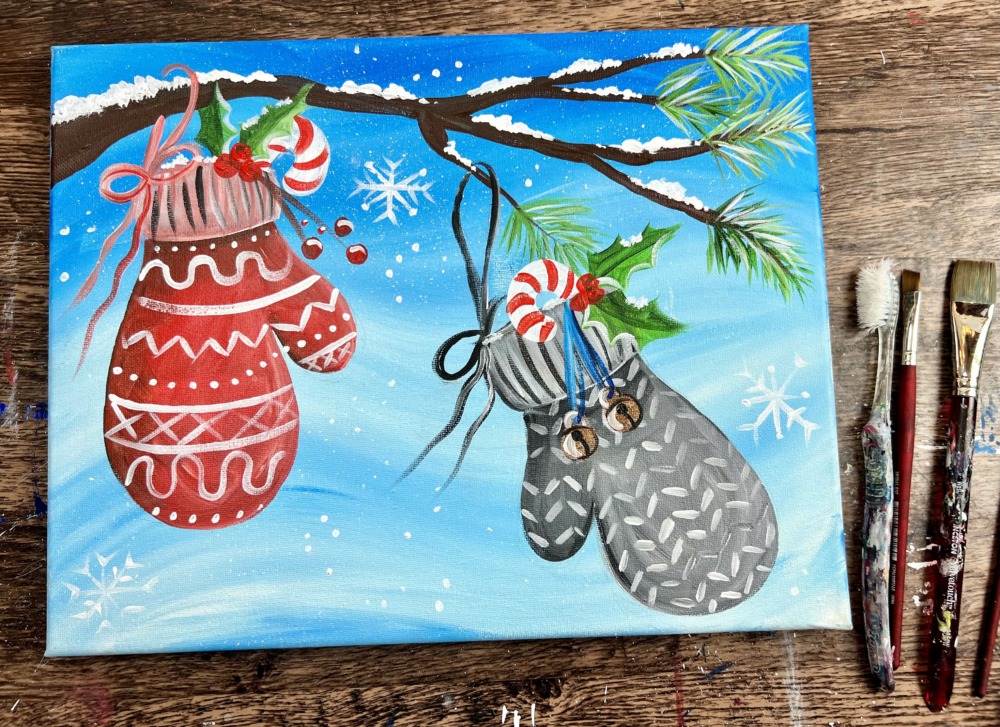
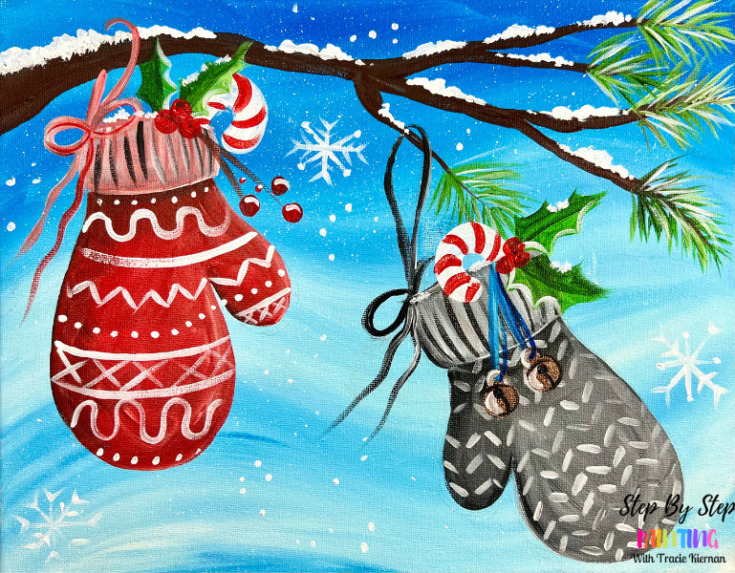
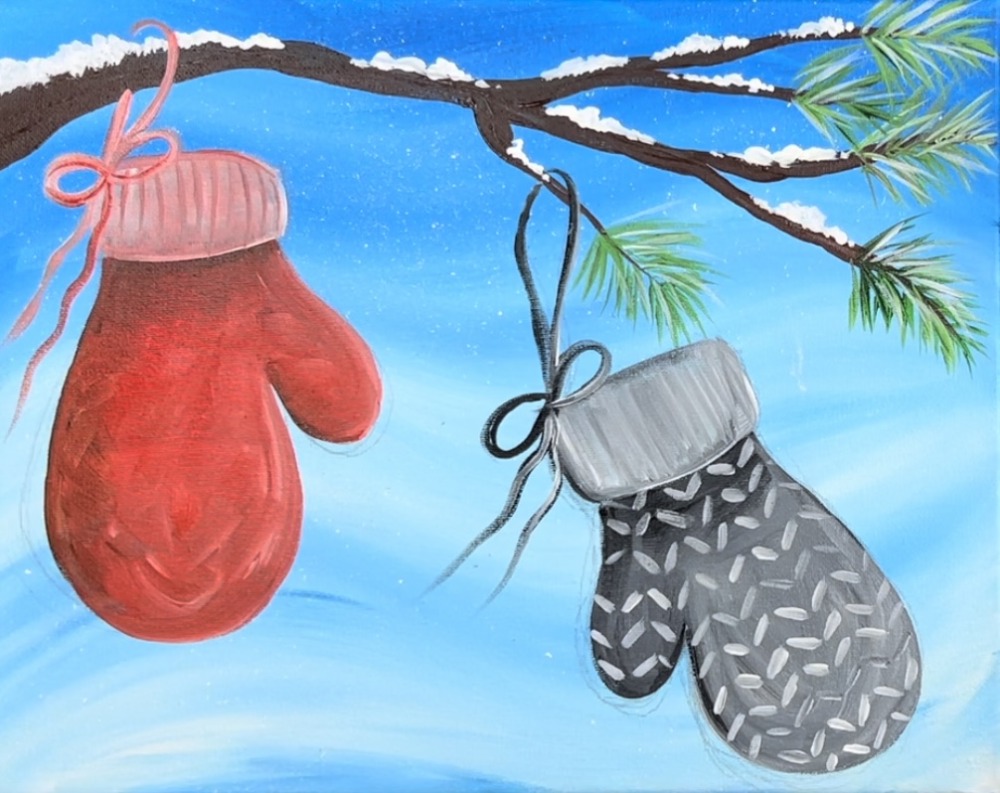
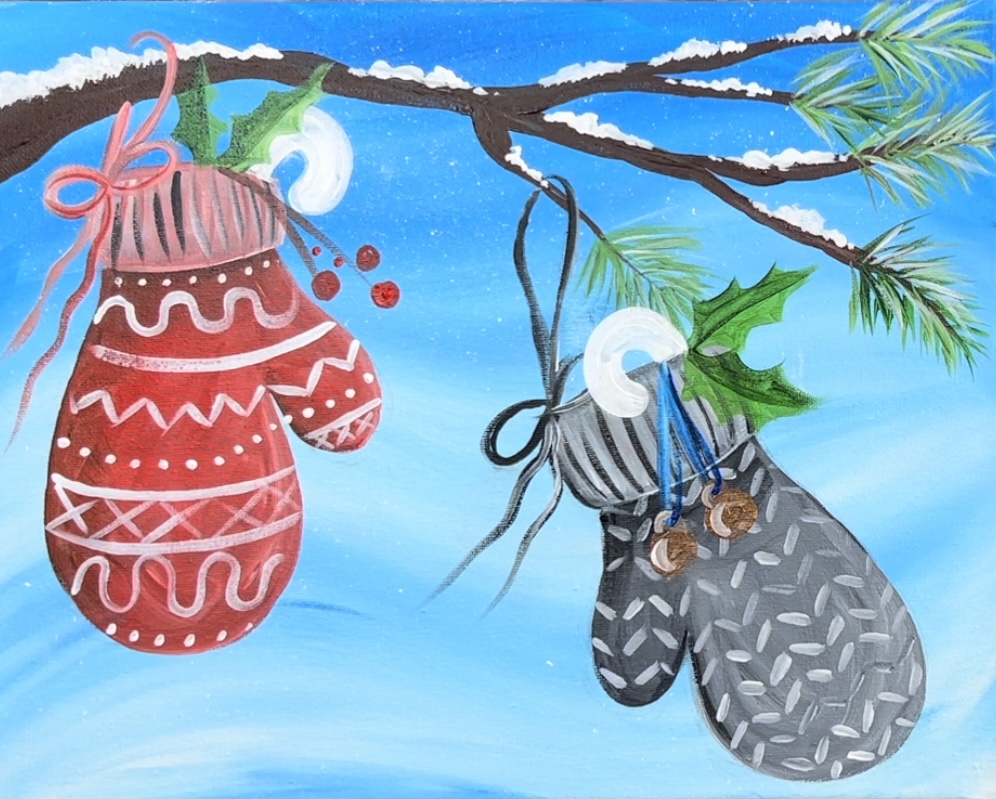
Finished!
Share your art here:


