
Would you like to save this?
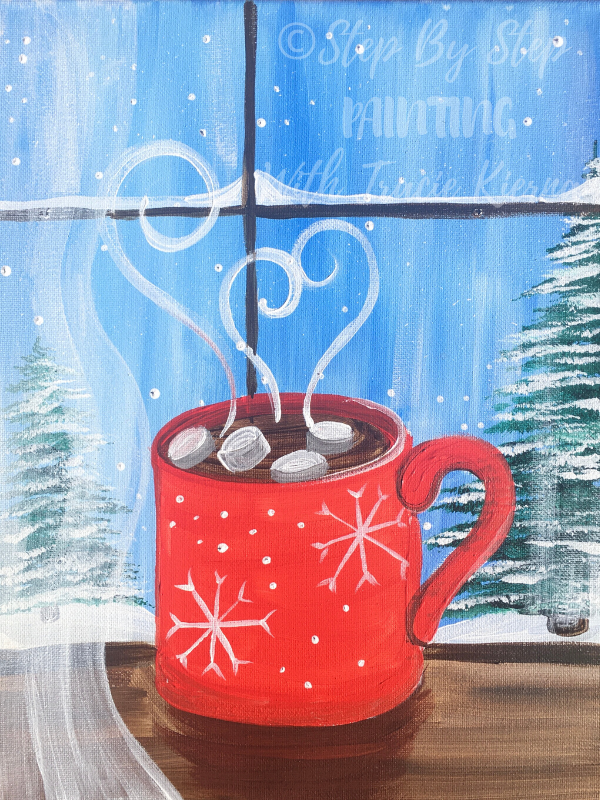
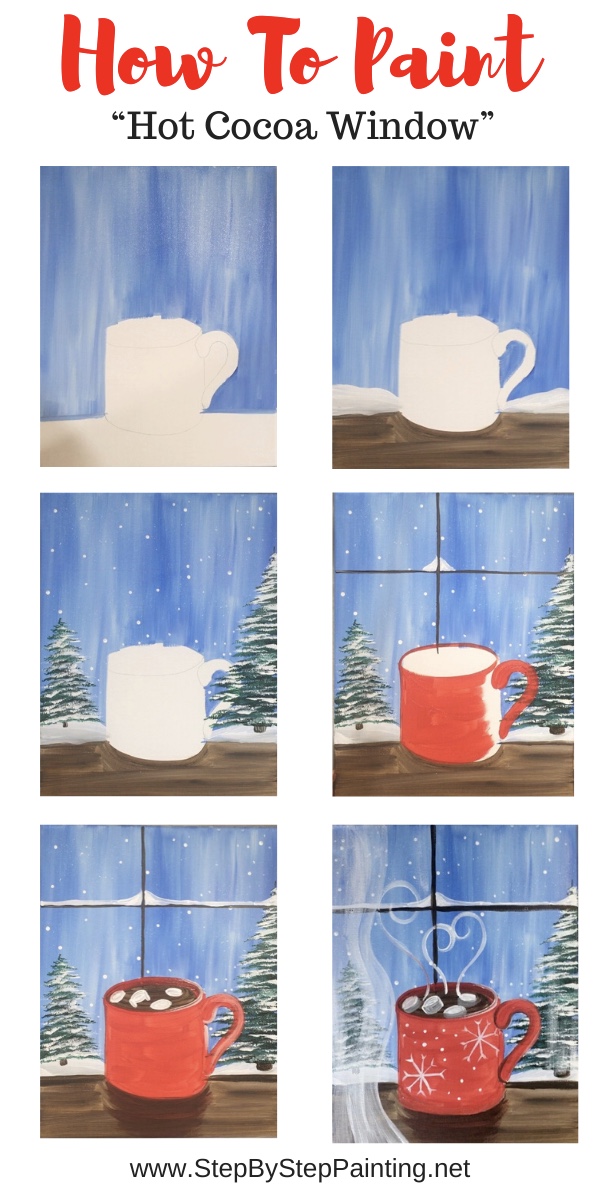
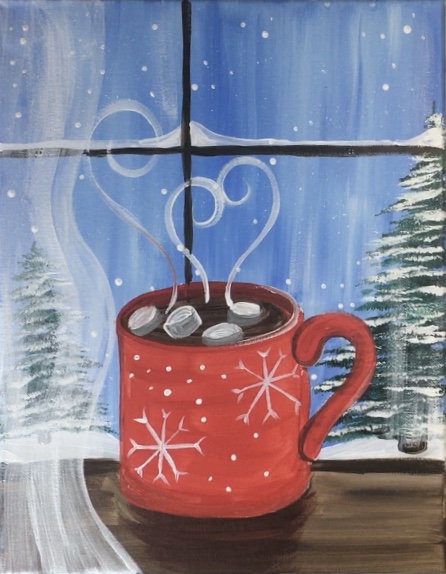
How To Paint “Hot Cocoa Window”
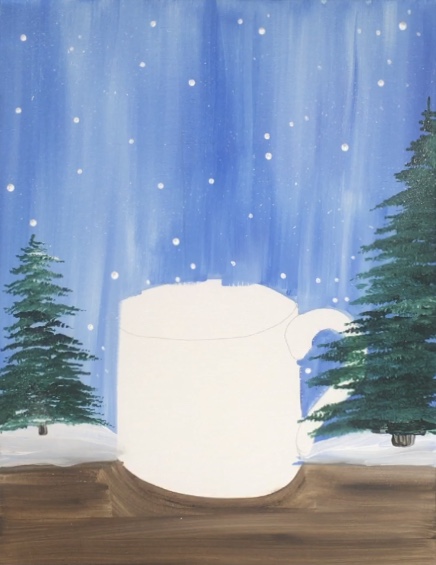
Cozy up to a cup of hot cocoa beside a window with a view of a winter scene.
This step by step acrylic painting tutorial will guide you how to do this painting!
There is also a free traceable you can download in the PDF traceable library.
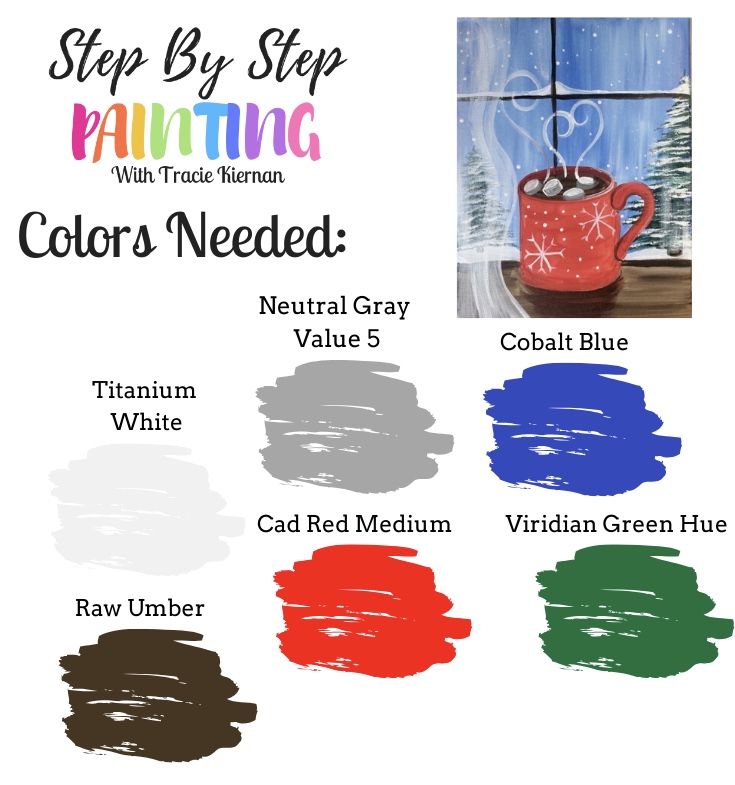
Color Palette
I used Liquitex BASICS acrylic paint for this painting with one color (viridian green) being DecoArt Americana Premium.
Apple Barrel Color Suggestion:
Here is a chart for converting the colors in this tutorial for the Apple Barrel Paints. 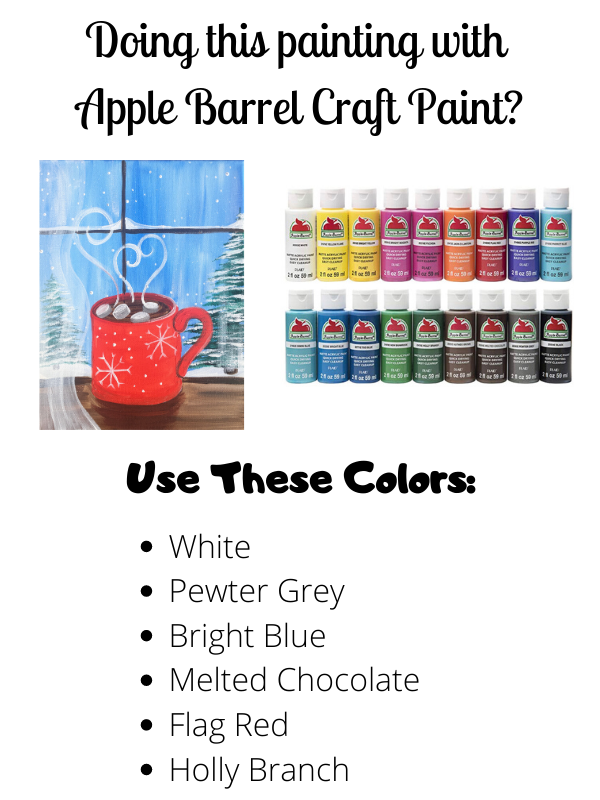
Traceable
Trace this on an 8.5 x 11 sheet of paper. Line it with the bottom of the canvas and lay a sheet of graphite paper below.

Materials
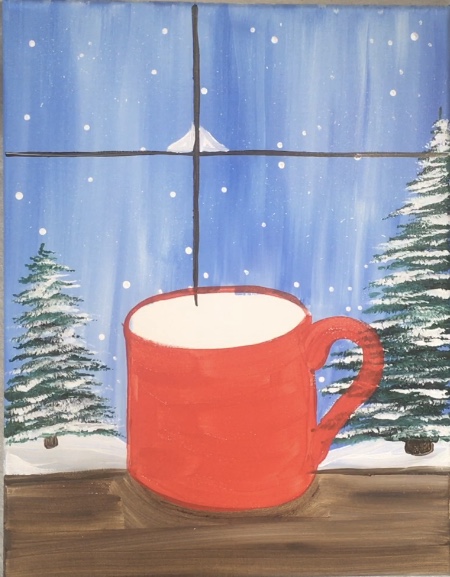
How To Paint “Hot Cocoa Window”

Cozy up to some hot cocoa and paint this view of a winter scene! This step by step acrylic painting tutorial includes a traceable off the cup. Paint this on an 11” x 14” stretched canvas.
Materials
- Acrylic Paint
- Brushes
- 11 x14 Stretched Canvas
- Traceable
- T-square Ruler or straight edge
- Palette, Water Cup, Protected Workspace
- Graphite Tracing Paper
Colors
- Cobalt Blue
- Cadmium Red Medium
- *Viridian Green Hue
- Neutral Gray Value 5
- Titanium White
Brush Sizes
Instructions
- Trace the traceable onto an 11 x 14 canvas.
- Paint the sky with cobalt and titanium white with a 3/4 flat.
- Paint the window ledge under the coffee cup with raw umber and titanium white with a 3/4 flat.
- Paint the snow with a 4 round and titanium white and neutral gray value 5.
- Paint the trees with a fan brush and viridian green and titanium white.
- Paint the lines on the window with raw umber and a 12 bright.
- Paint snow on the lines on the window with a 4 round and titanium white.
- Paint the coffee cup cadmium red medium with a 12 bright.
- Paint the hot chocolate inside the mug and the shadow under the mug.
- Paint the marshmallows with a 4 round and with titanium white and neutral gray value 5.
- Paint the designs on the mug.
- Paint the swirls coming up from the mug.
- Paint highlights on the right side of the mug handle and the mug.
- Paint dry brush strokes on the window with a 12 bright and titanium white.
- Paint the sheer curtains with watered down titanium white and a 12 bright.
Directions At A Glance


Video
Directions
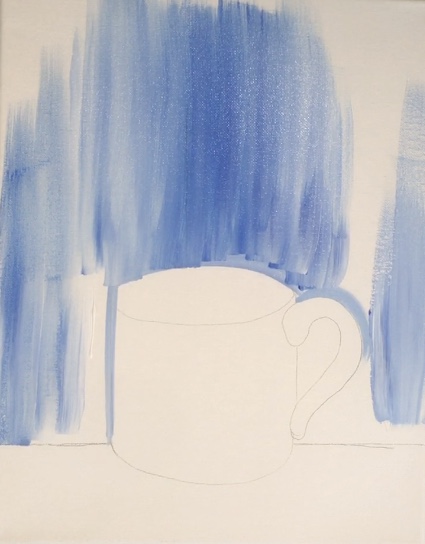
1. Trace The Traceable Onto The Canvas
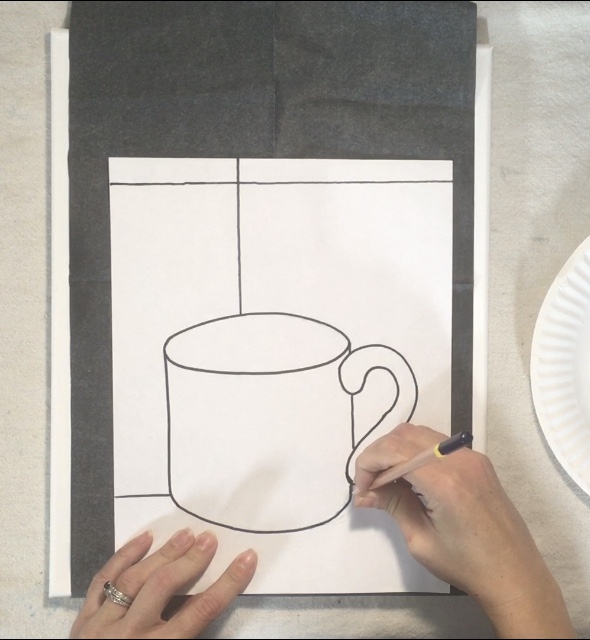
Trace the coffee traceable onto the canvas with a sheet of graphite paper.
The placement of the printable should line up with the bottom of the canvas.
2. Finish The Window Lines
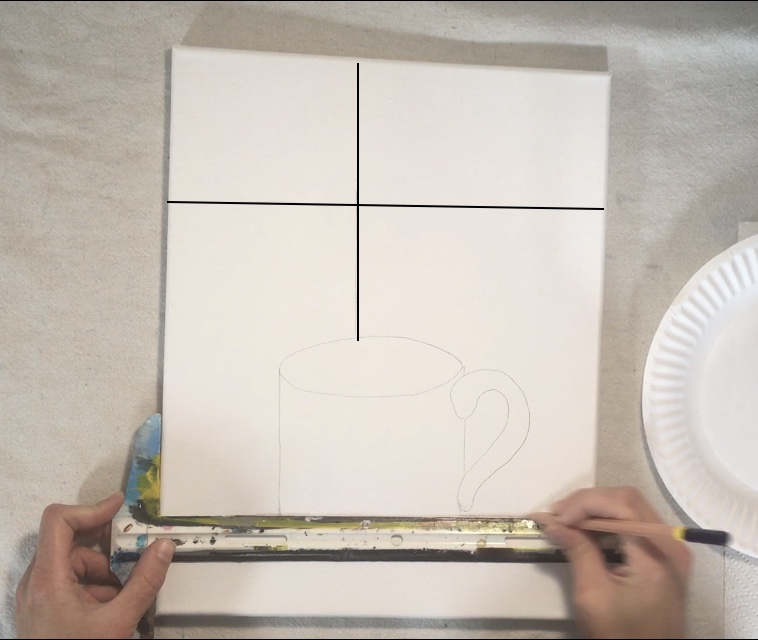
Use a straight edge or a t-square ruler to finish window lines and bottom horizontal line of window sill.
Note that the image below doesn’t show the window lines finished, however, I do recommend you finish them and press relatively hard with the pencil so these lines will show through the blue in a later step.
3. Paint The Sky
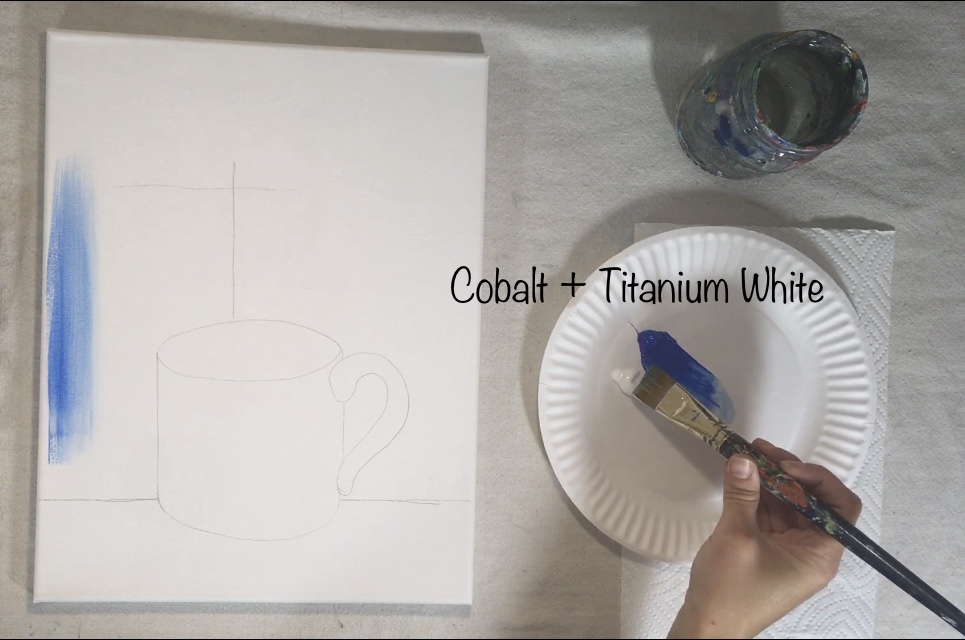
When you paint this sky, you’ll want the color to be a little watered down.
Load your 3/4 flat in water but only pat it a little dry so the brush is wet.
Double load your 3/4” Flat Brush in cobalt and titanium white.
Paint up and down strokes with this combo covering the entire sky around the cup and above the window ledge.
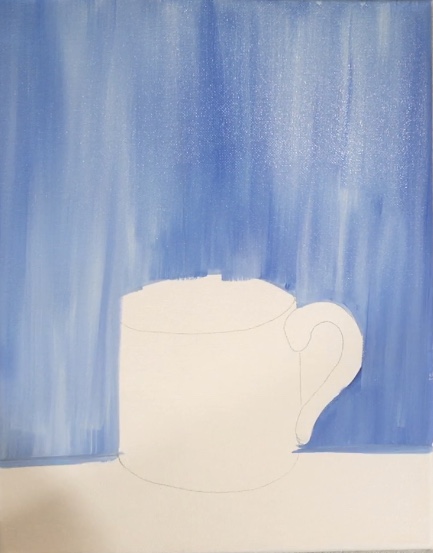
Don’t worry about the window lines or if you paint over the coffee cup a bit.
The focus right now will be the entire scene that is seen outside the window.
4. Paint The Brown Window Sill/ Ledge
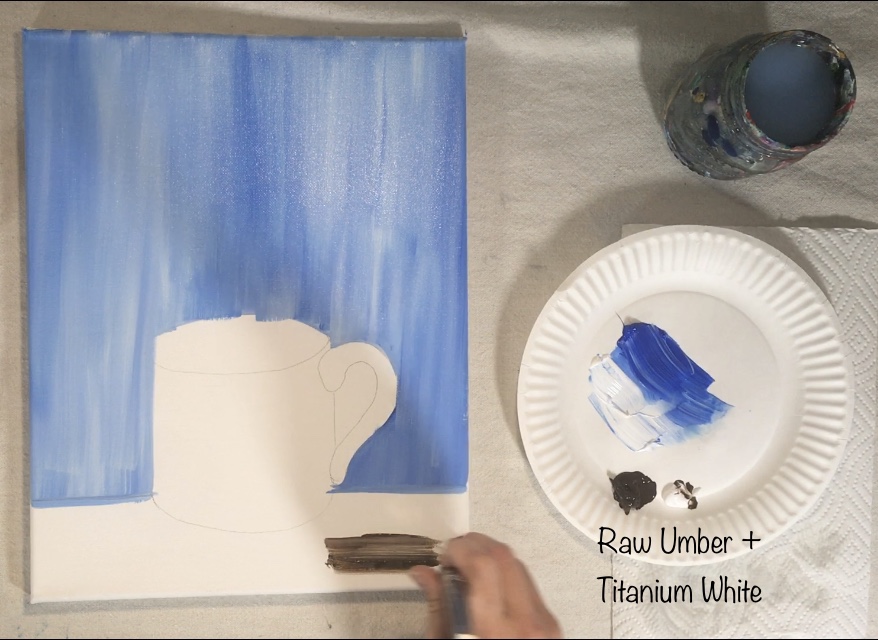
Double load your 3/4 brush in raw umber and white. Paint left and right horizontal strokes using the full width of the brush.
Allow the brown and white to mix together to make a wood look to the window sill.

5. Paint The Snow
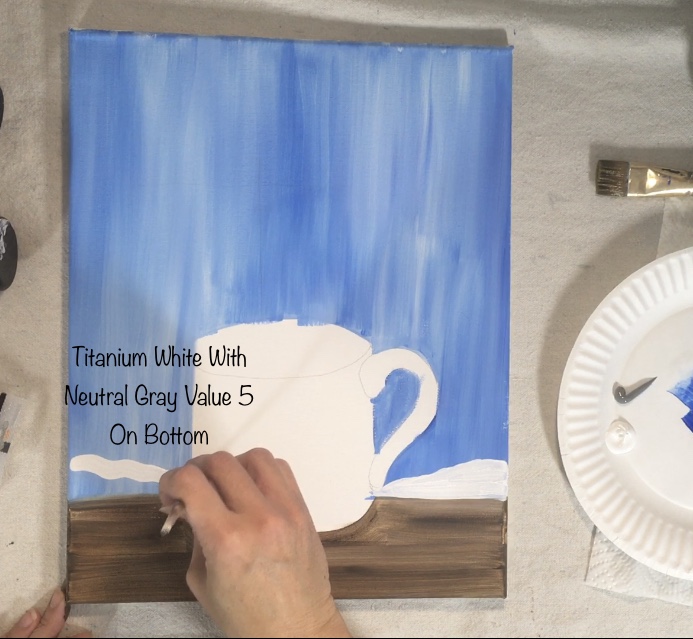
Use a #4 round brush to paint the snow on the ground. Paint a lumpy line just above the window sill.
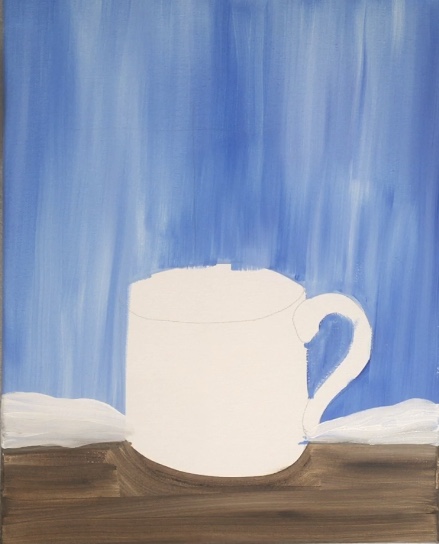
Then load the brush in a little bit of neutral gray value 5. Blend it onto the bottom of the snow so the bottom is slightly darker. Blend it back up into the white.
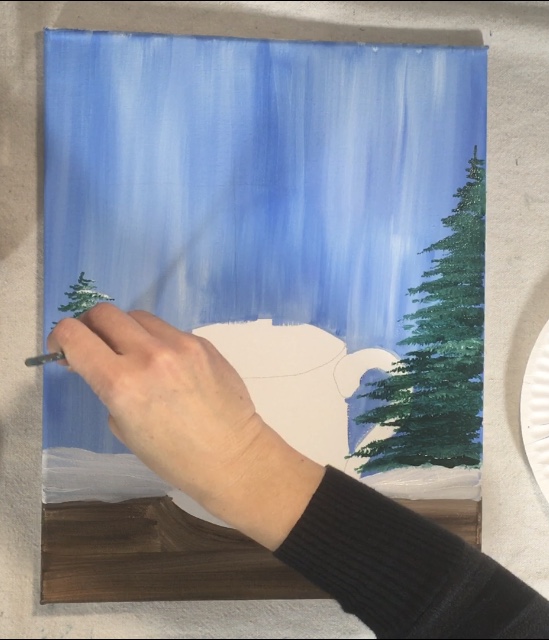
6. Paint The Fan Brush Trees
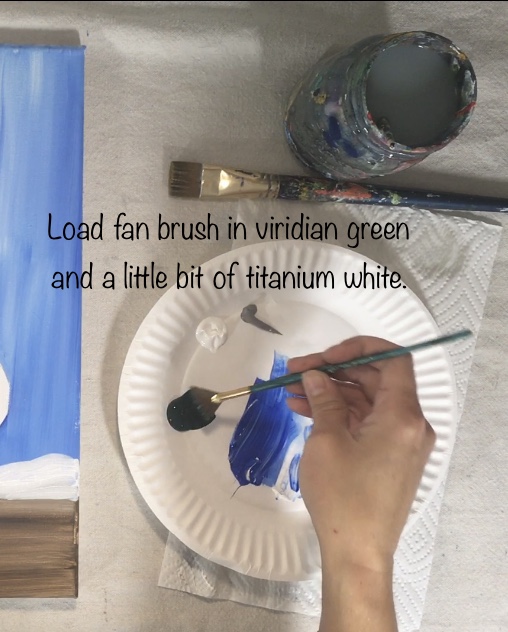
Load your fan brush in viridian green hue. Then load it in a tiny bit of white.
This purpose of the white right now is to lighten the green a bit and give some color variety in the trees.
Snow will be painted later.
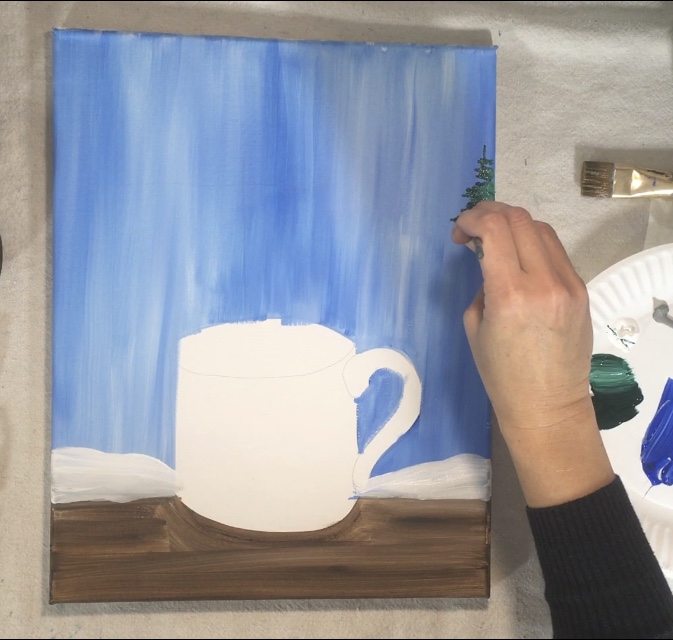
Then start with the large tree on the right. Start at the top. Use the fan brush to stamp the tree so that it starts out narrow at the top and gets wider as you work your way down.
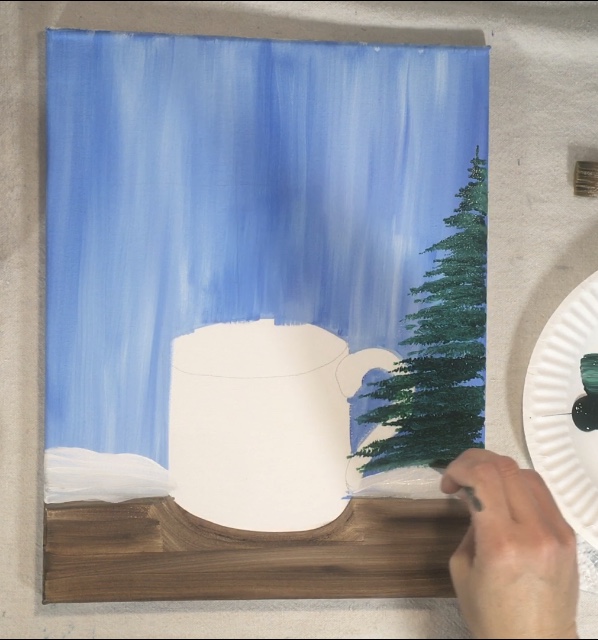
Work in a zig zag horizontal motion as you form the tree. Use just the top of your fan brush to apply the paint.
For more tips on how to paint fan brush trees, you can see me post here and here that goes in more detail how to do this technique.

To do the tree trunks, I just used my 4 round brush and raw umber to paint little stumps under the trees.
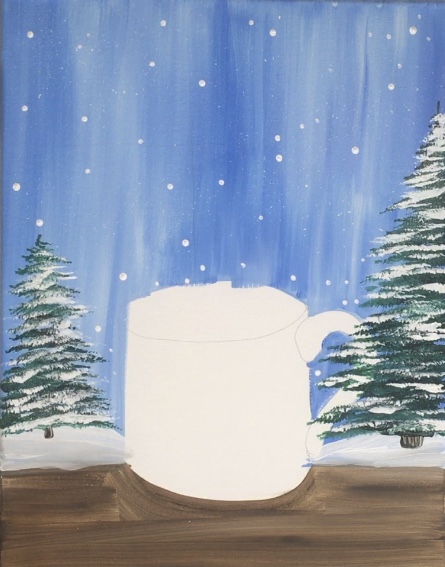
7. Paint The Snow In The Sky
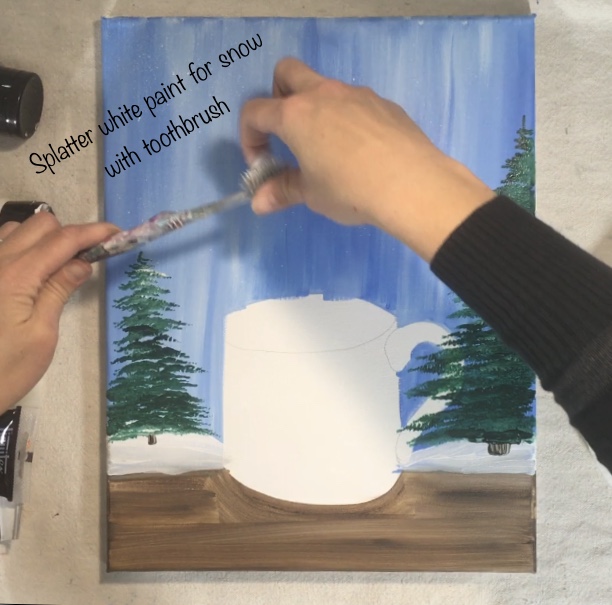
Use a toothbrush to splatter titanium white snow in the sky. You can get the little specks on the trees as well.
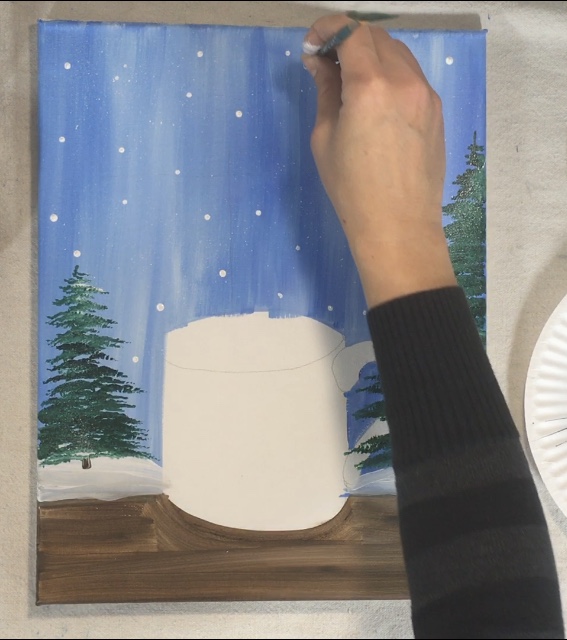
You can also use the back of your paint brush to stamp little dots for larger falling snow.
8. Paint The Snow On Trees
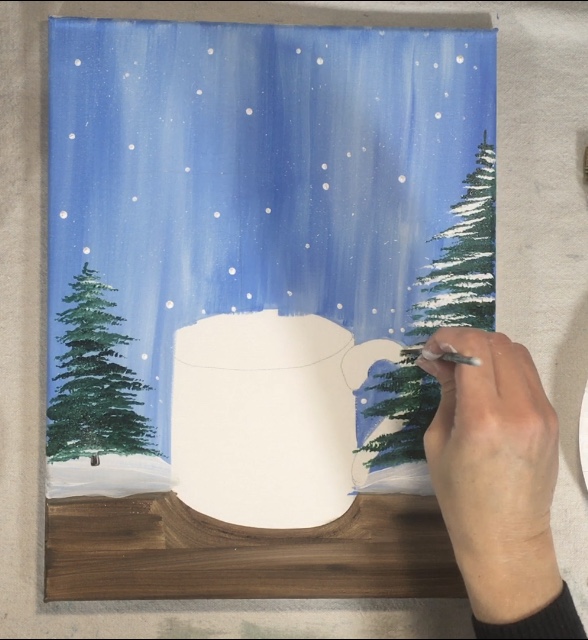
To do the snow on the trees, make sure your trees are completely dry.
Then load your clean fan brush in titanium white and stamp on the snow.
Do this technique the same way you did the trees only leave a lot of green still showing.
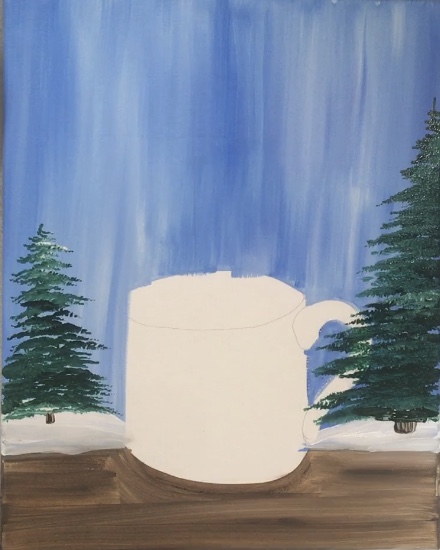
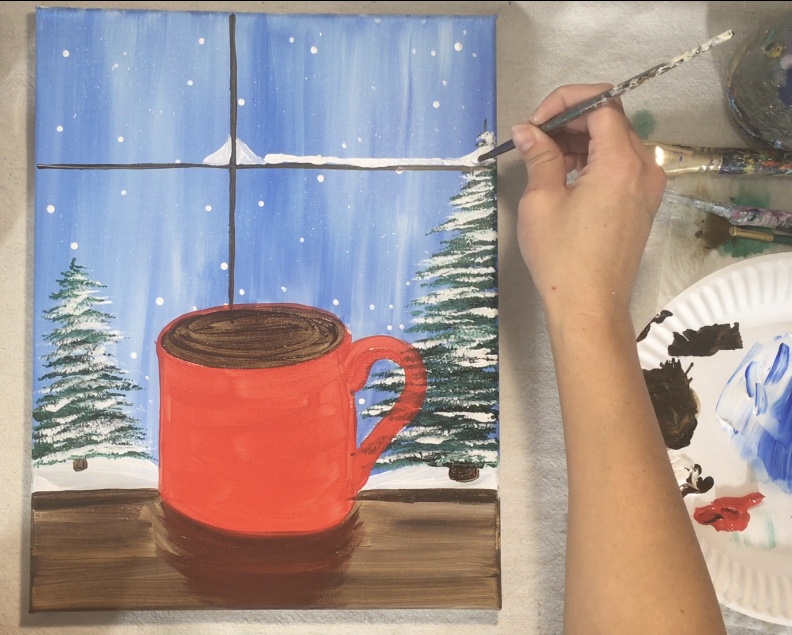
9. Paint The Window Lines
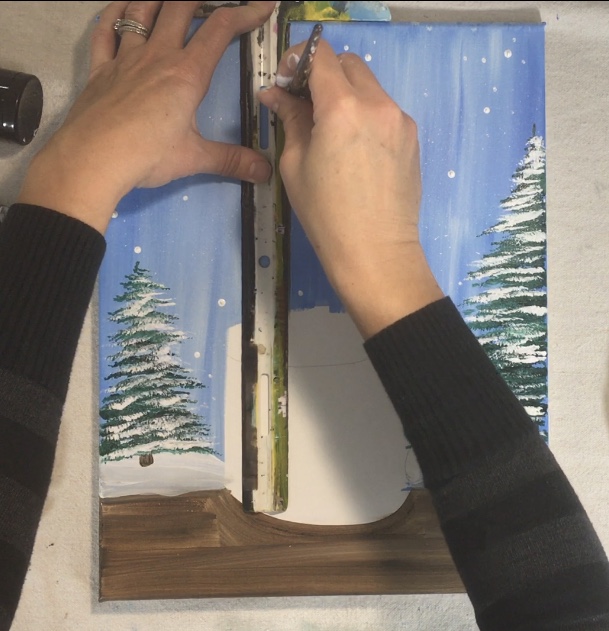 Use a straight edge and a 12 bright dipped in raw umber to paint the lines.
You should still be able to see the lines you originally traced onto the canvas but if you cannot, use the traceable again as a guide or estimate where the window lines may be.
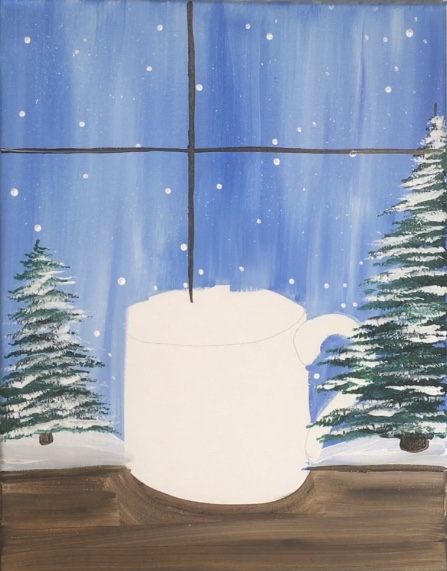
10. Paint Snow On The Window Lines
 Use a round brush and titanium white to paint snow on the window lines. Start in the corners.
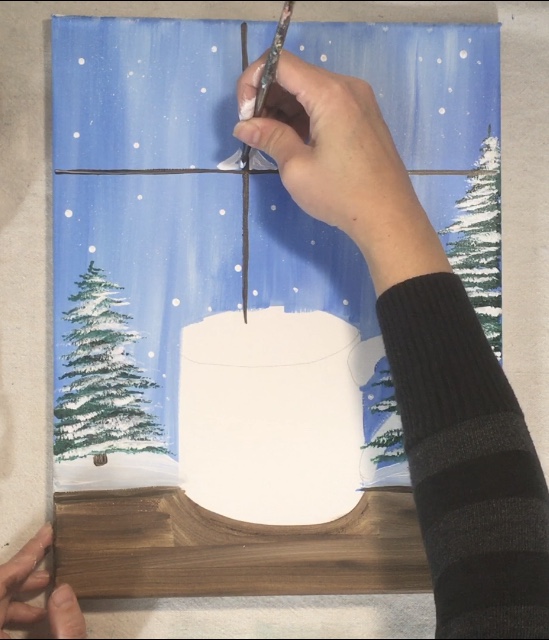
11. Paint The Mug
 Use a 12 bright and cadmium red medium to paint the mug. Outline the edges and then paint the entire shape in solid.
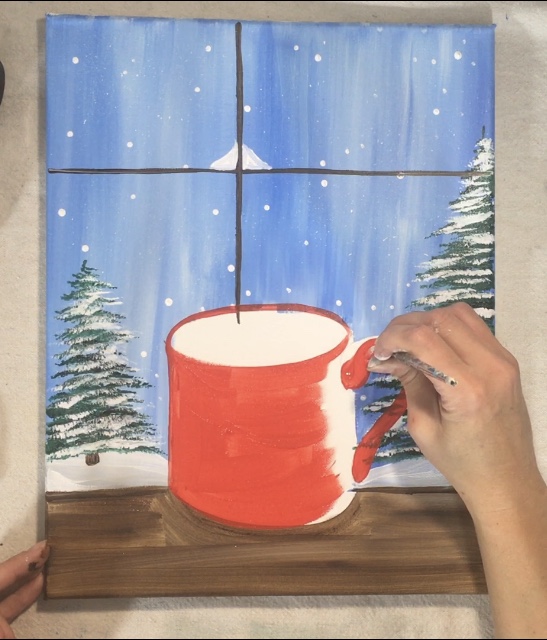 For the handle, use a 4 round brush to paint because that’s a smaller area.
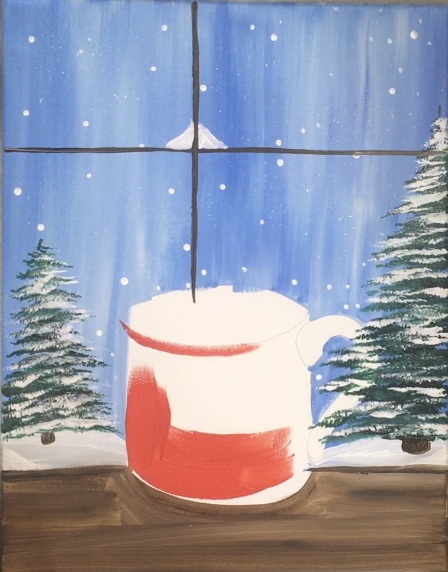
 Note that you’ll need a few coats of the red to paint completely over anything that it may be overlapping.
On mine you can still see some of the tree showing through the handle.
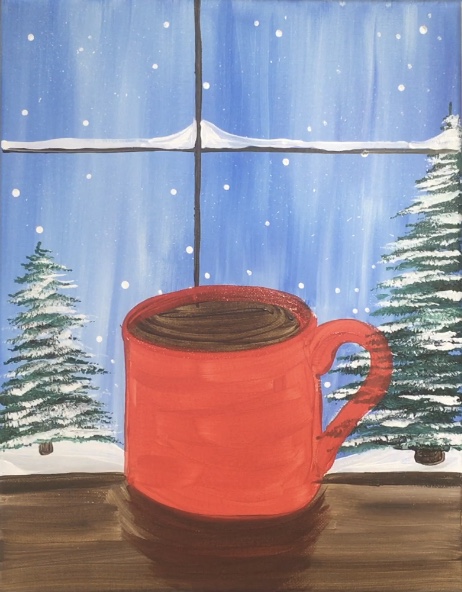
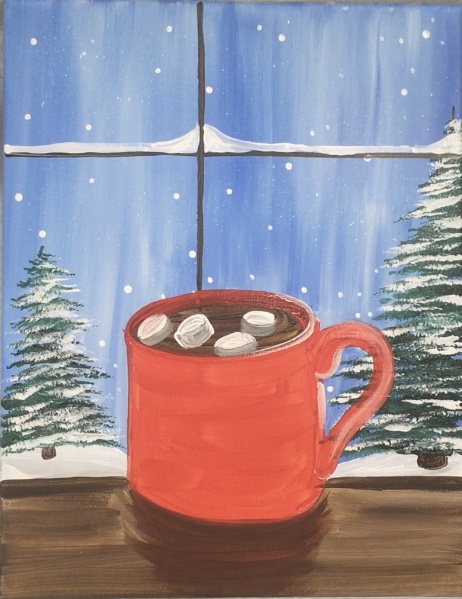
12. Paint The Hot Cocoa In The Mug
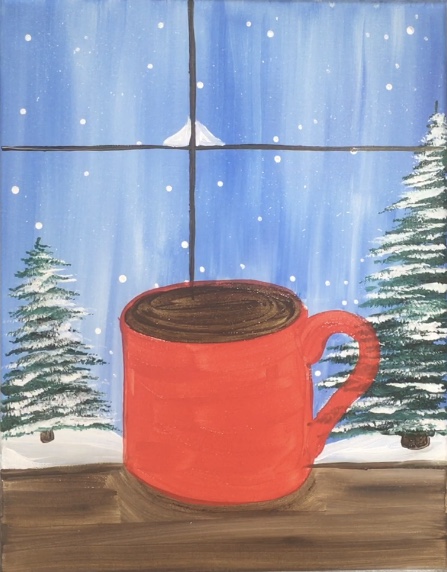 Use a round brush the paint the inside of the mug with raw umber.
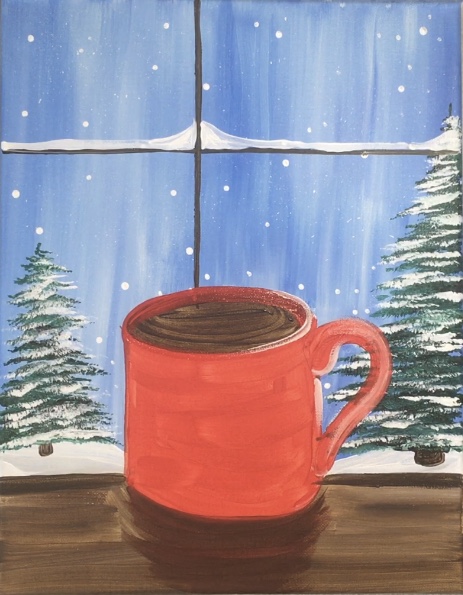
13. Paint shadow & more snow on window lines
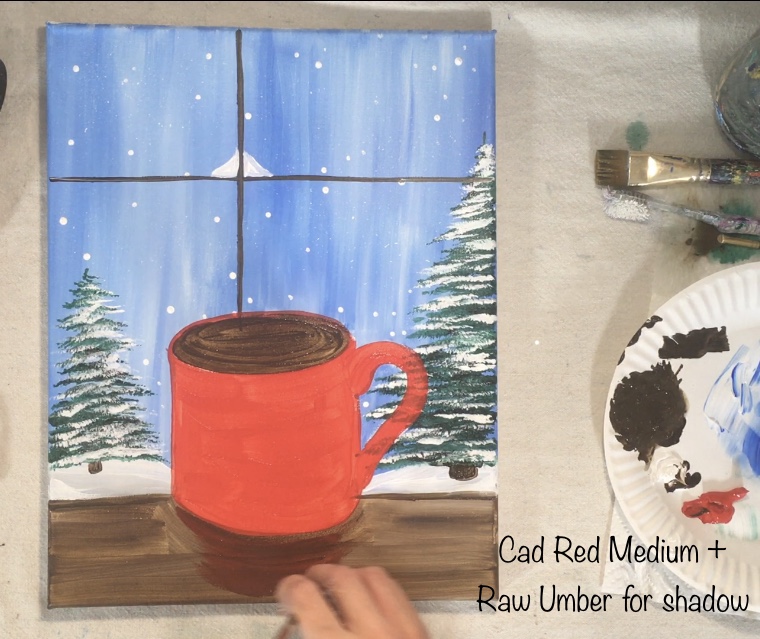 To do the shadow, mix cad red medium with raw umber (about equal amounts).
Paint an area just under the mug to represent the shadow. I used a 4 round brush for this step.
 Then use a round brush to paint more snow on the horizontal window line.
14. Paint Inside Rim Of Mug & Some Highlight
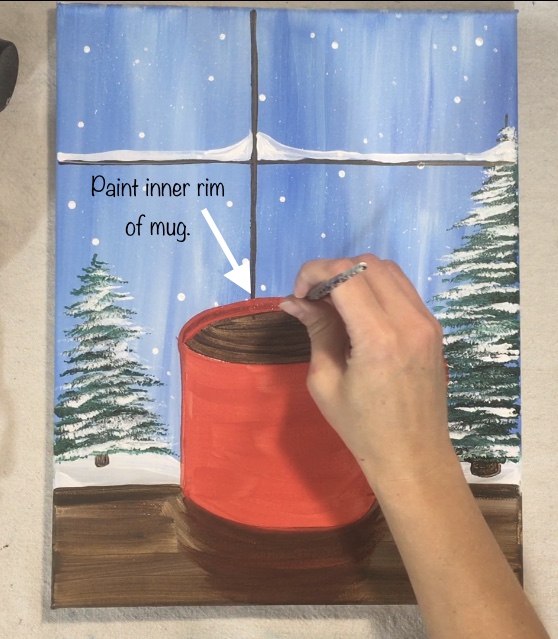 Then I repainted the inside part of the mug to make it look like the hot cocoa isn’t all the way to the top.
Use cad red medium and a 4 round brush to paint a thicker line just on the top part of the mug.
 Then use titanium white on the 4 round brush and paint a highlight on the outer right part of the handle, right side of the mug and right part of the rim.
15. Paint Marshmallows
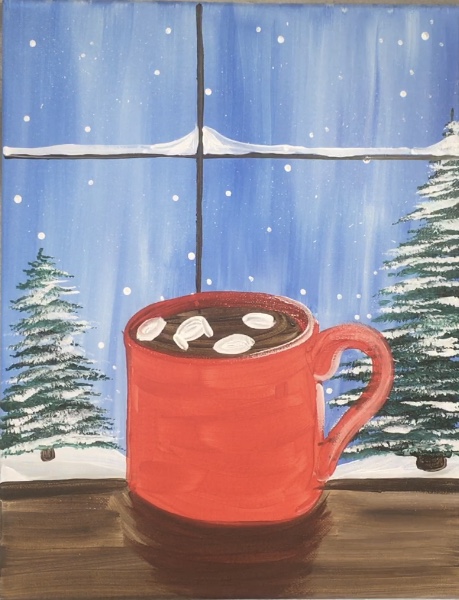 To do the marshmallows, use a round brush and titanium white.
Paint the oval top part of the marshmallow first and then a few lines going down so they kind of look 3D.
 Then use neutral gray value 5 to paint the bottom part of the marshmallow.
In other words, the top oval part is titanium white and the sides of the marshmallow is neutral gray value 5.
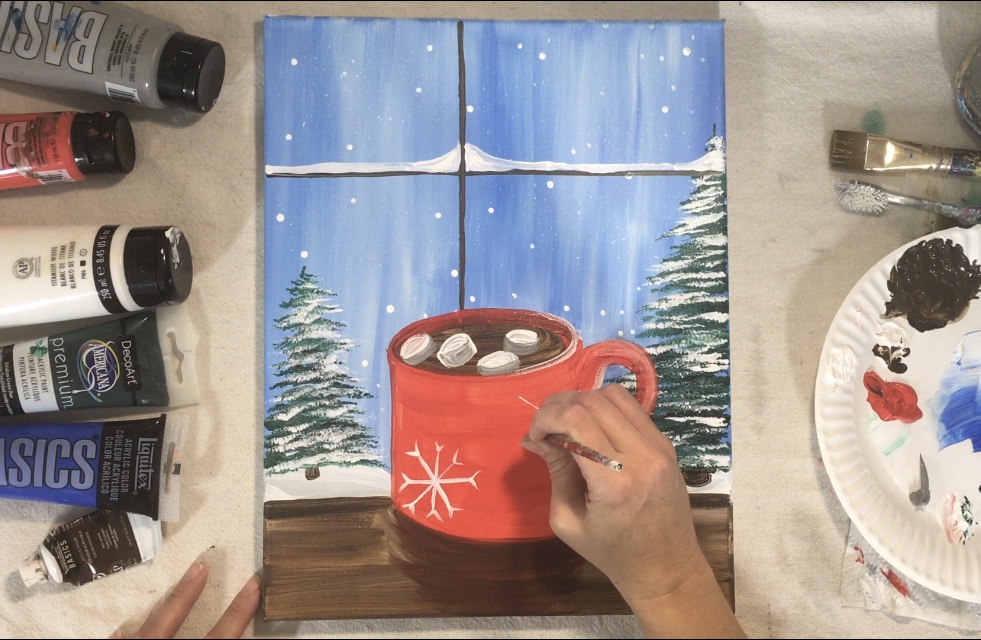
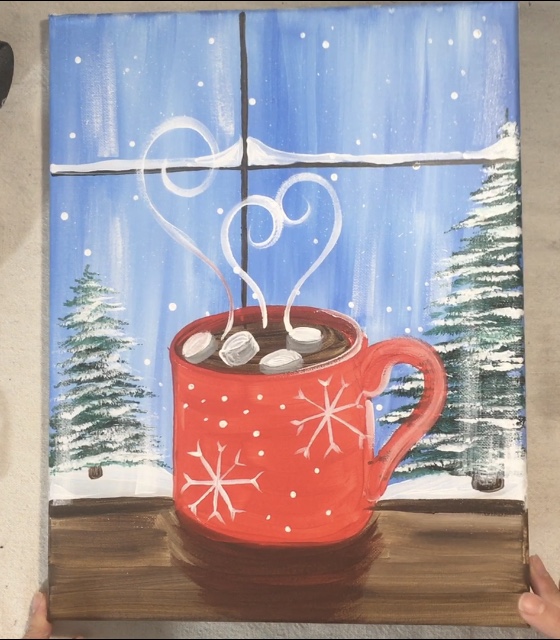
16. Decorate Mug & Paint Spirals
 To decorate, use the round brush. I did a simple snowflake design, however, you can do other designs too or even write a word or quote on the mug.
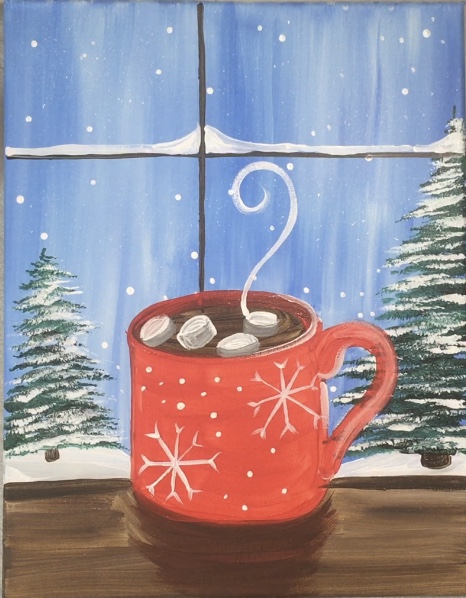 Then when you are done decorating the mug, use the 4 round brush and titanium white to paint the spiral coming up from the hot cocoa.
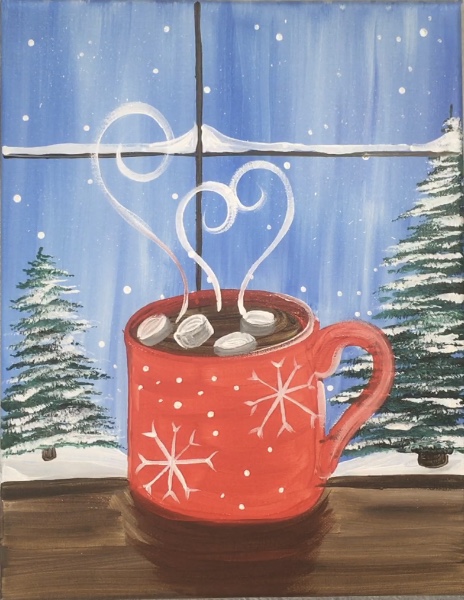 I did three spirals of varying heights.
17. Dry Brush The Frost On Window
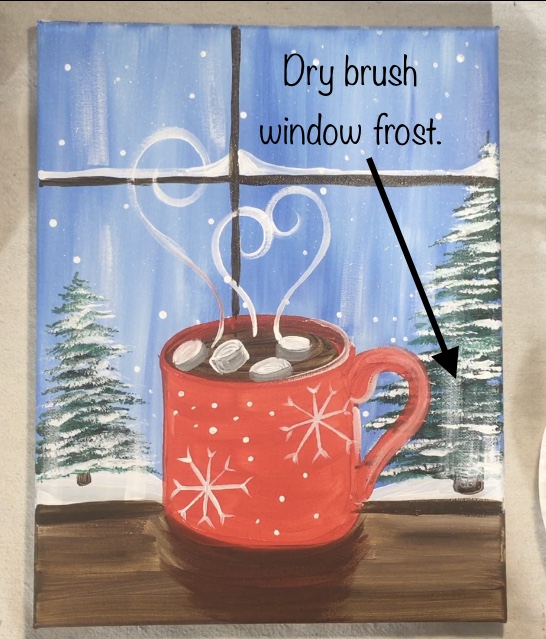 Next, to create the look of the frost on the window, do a dry brush effect with the 12 flat brush.
When you dry brush, dip your brush in the white and then wipe it off with a paper towel.
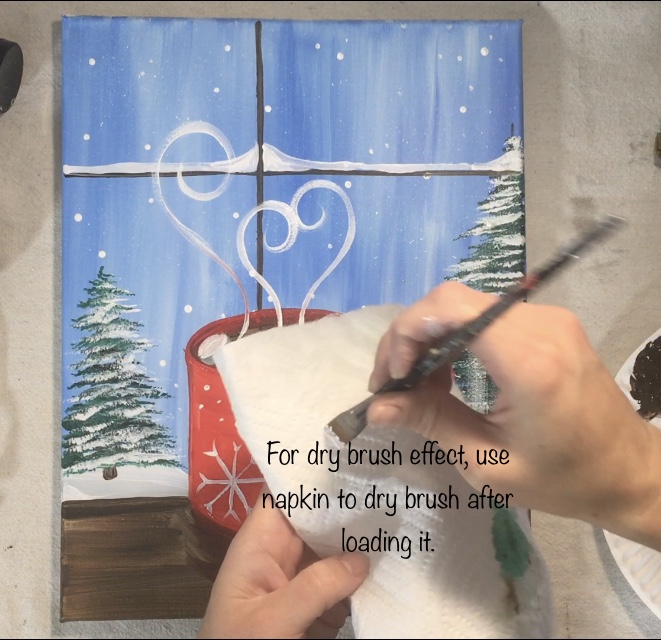
 Then make streaks of this dry brush all throughout the window. All of these streaks should be going vertically.
The stroke should be very translucent because it is dry.
And, because it is translucent, you will still see the outside of the window and any tree you may paint slightly over.
18. Paint The Shear Curtains
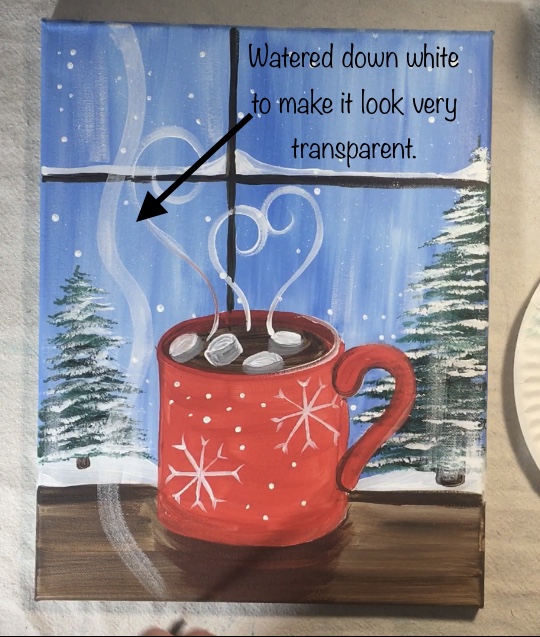 Next do shear curtains. To do this, water down titanium white to an ink/water color consistency.
Test a little out on the canvas to make sure it is see through.
Then lay your canvas flat on the table (if it is not already flat).
Paint a long wavy line from the top to the bottom of the canvas. I used a 12 flat brush for this step.
 Make the line thicker. Ensure that it is see through. If it is not showing through enough, try watering down the white even more.
 To make the entire curtain, I continued to do the watered down white all the way to the left of the canvas.
Each stroke starts at the top and goes to the bottom of the canvas. Some areas of the curtain are slightly more opaque and you can do that by adding another coat of watered down paint.
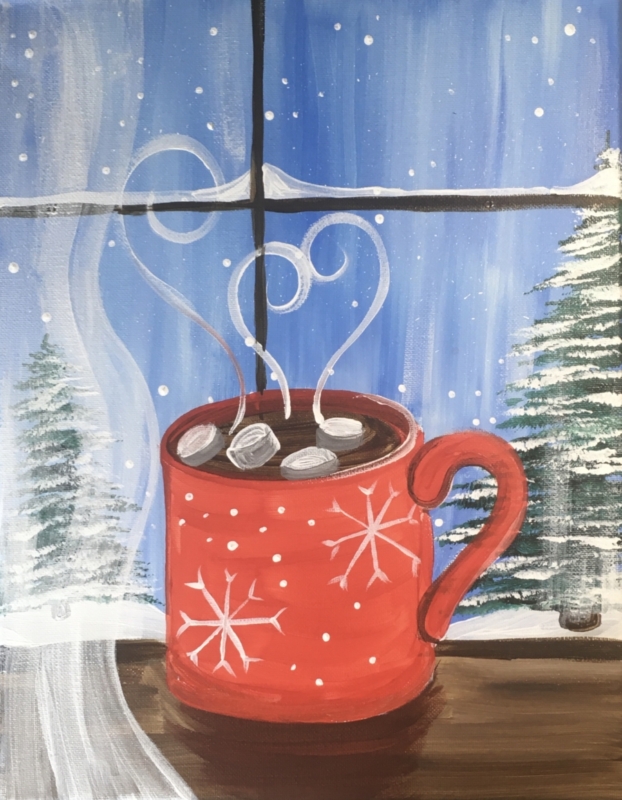
Finished!
And that’s it! Sign your name and show it off!
Share Your Art!


I just wanted you to know how helpful you’ve been and how grateful I am for your site. I’ve been going through major depression recently and I decided to take up a hobby to help. I wanted to try acrylics and your tutorials have been amazing and shown me that with absolutely no classes I can create beautiful fun pictures. It’s really helped my depression and I now have an art room in my house where I paint and hang up all my works! I’ve already done so many of your tutorials and hope you continue to make them! Thanks so much, you have made a great difference in my life through this and I just wanted you to know that!
Thank you Paige for this sweet message! I am so glad you have found aid through painting and have found my tutorials helpful and enjoyable! I love that you have an art room. You are very welcome! Of course I’ll keep making them!
You’re website is absolutely perfect for me! I love it so much and am grateful you take the time to make these tutorials. I love all of the info, directions and videos with every painting. It has helped me tremendously and I’ve painted 3 canvases already in the past week! Your website and guidence has given me lots of happiness and peace of mind by creating something beauti ful. Love love love everything about it!
Thanks Emily ?
Hi Tracie,
Thank you for the detailed tutorial! Tried it and it turned out beautifullly!
Love form India!
I Farnaaz! I’m so glad you liked it! You’re welcome $