
How To Paint Santa Sleigh In Sky
Would you like to save this?
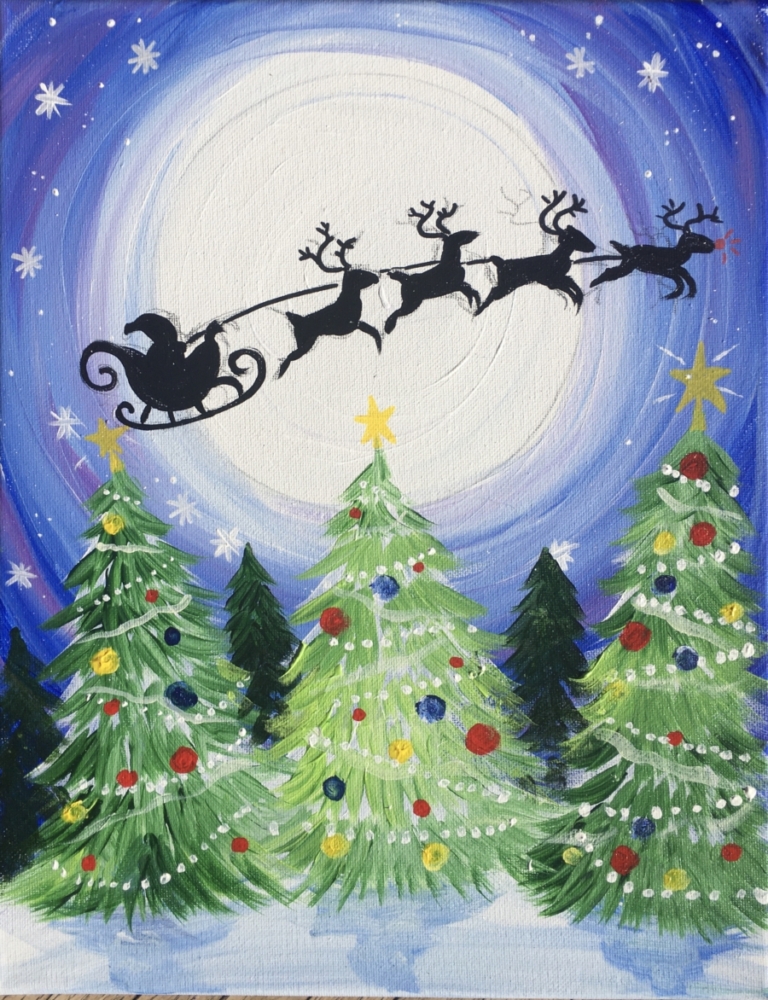
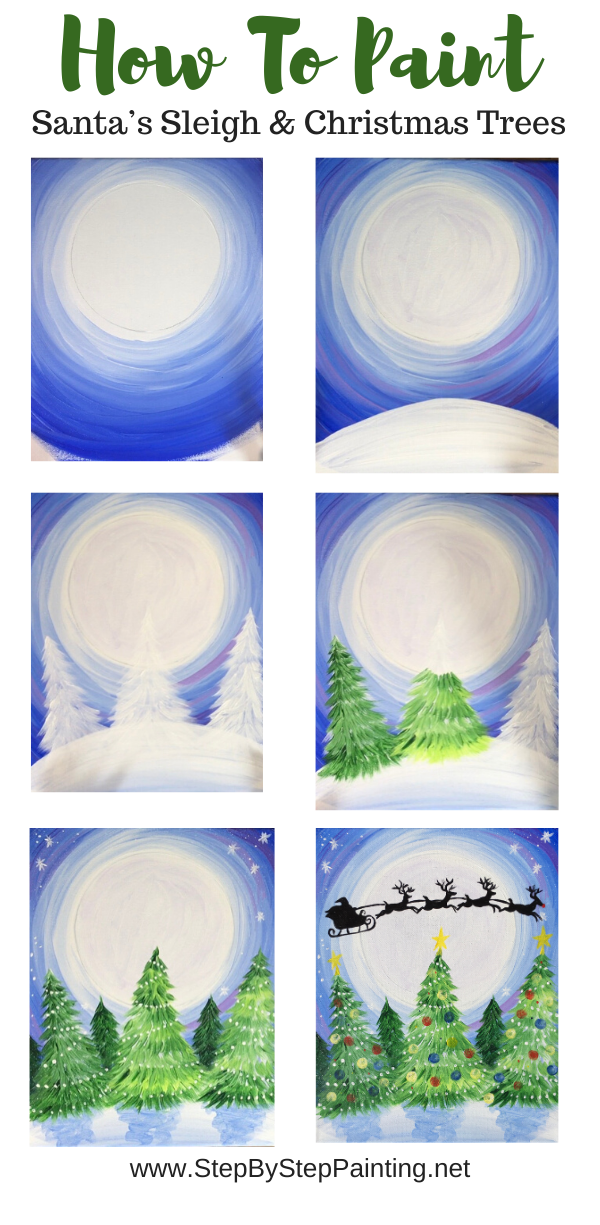
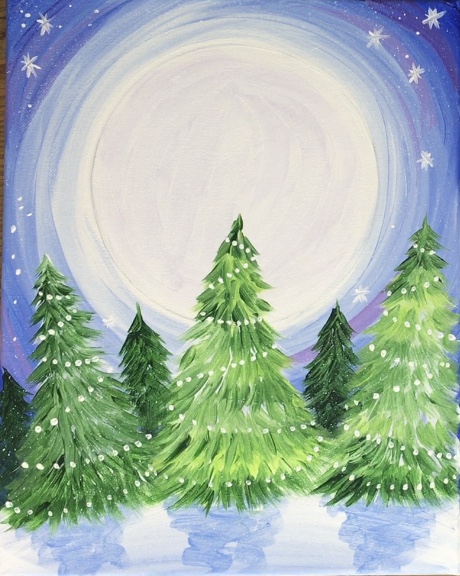
Learn how to paint a Christmas Tree snowy night scene with a silhouette of Santa’s sleigh in the sky.
This step by step acrylic painting tutorial will guide you through the steps and has a traceable of the silhouette that you can download, print and trace onto your canvas.
I used only two brushes for this painting – A large #8 round brush and a 10/0 round.
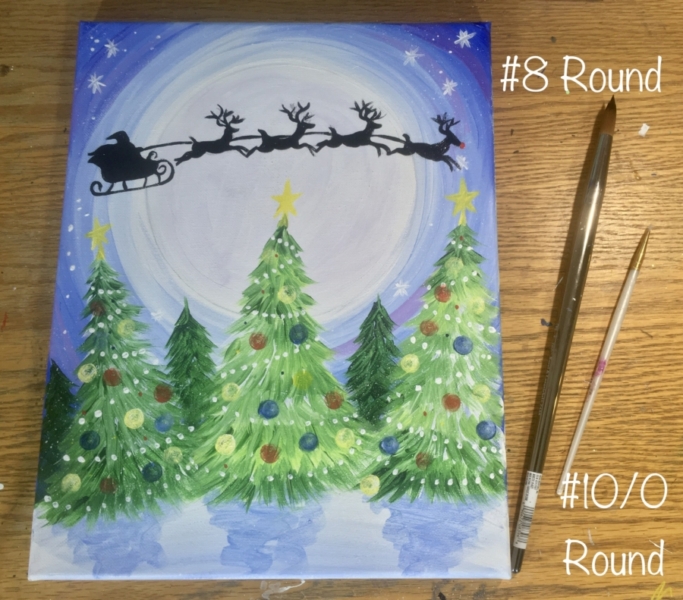
This large round brush is a new brush I purchased from Michaels, its the Royal and Langnickel Zen brush and I love it because of its versatility!
It’s super thick and round at the ferrule but the bristles go to a fine point. This means you can paint both thick and thin lines with just one brush.
If you don’t have or want to get this jumbo brush, you can still do this painting. Use a 3/4” flat brush and a #4 round brush to substitute.
I also used the smallest pouncer in this Martha Stewart Foam Pouncer set. I used it for the ornaments in the tree. Again, if you don’t have the pouncers you can use any size round brush or even your fingers to paint on the ornaments.
Hope you enjoy this painting, I absolutely love how it turns out. Such a whimsical & magical scene!
Happy Painting!
Materials
How To Paint Santa Sleigh In Sky

Paint a whimsical Christmas Eve night scene with a silhouette of Santas Sleigh over decorated Christmas Trees.
Materials
- Acrylic Paint
- 11” x 14” Canvas
- Paint Brushes
- Graphite Transfer Paper
- Traceable
- Tiny Foam Pouncer (optional)
Colors
- Titanium White
- Mars Black
- Cad Red Medium
- Primary Yellow
- Hookers Green Permanent
- Brilliant Yellow Green
- Ultramarine Blue
- Dioxazine Purple
Brushes
- #8 Round Brush (Z43R)
- 10/0 Round
- Toothbrush
Notes
If you don’t have a #8 round brush, use a 3/4 flat and a 4 round instead. And if you don’t have the foam pouncers you can use your fingers or a 4 round to paint the ornaments on the trees.
Color Palette

Directions At A Glance

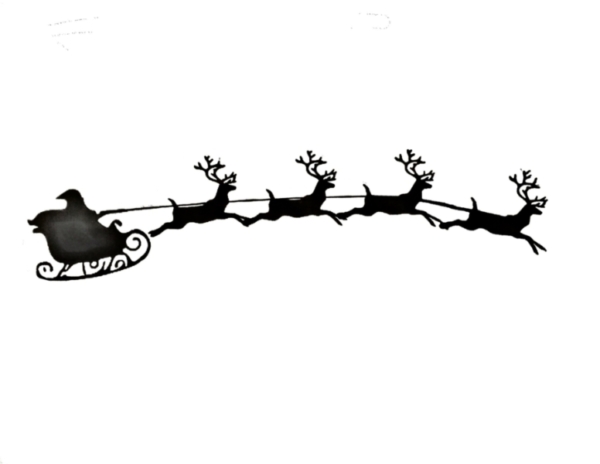
Traceable
Print on 8.5” x 11” copy paper. Trace at the very end of the painting so the silhouette goes across the moon!
Video
Step By Step Directions
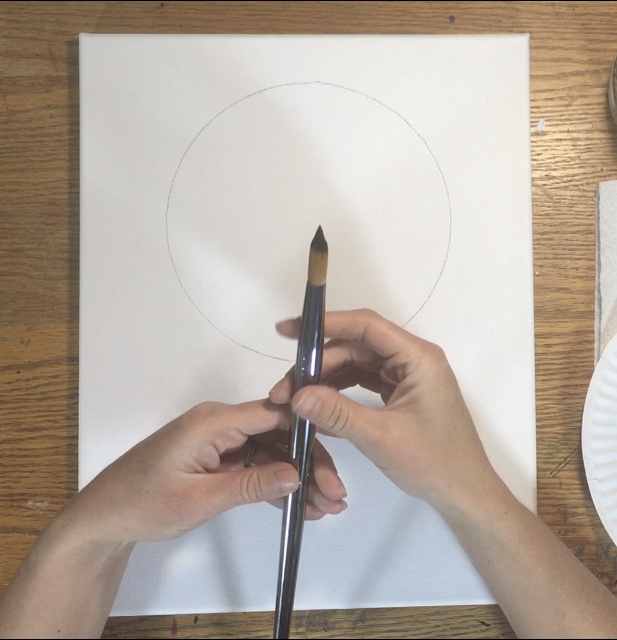
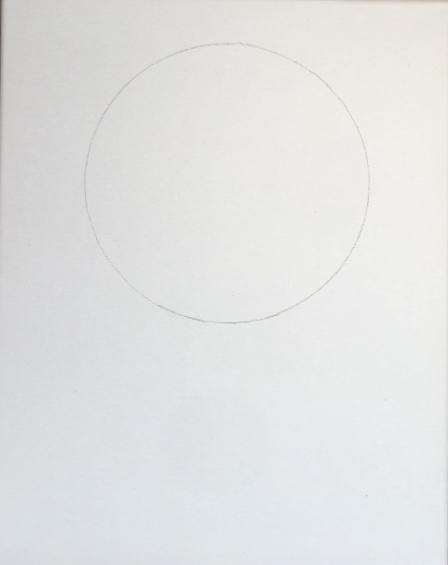
1. Trace a circle for the moon
I used this plastic palette to trace the shape of the moon. The palette is about 6.5” in diameter however you can use anything of similar size. Trace it in the center towards the top of the canvas. 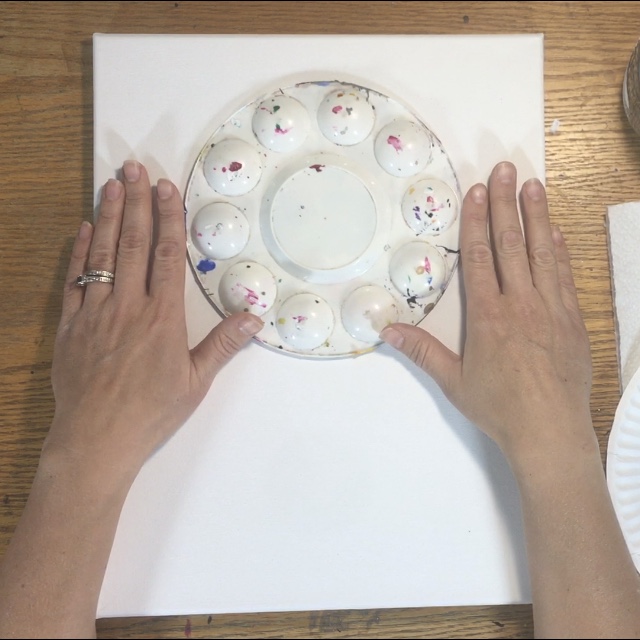
2. Paint The Sky
For the sky, I used the colors: titanium white, ultramarine blue and dioxazine purple. Start with titanium white and a #8 round brush. If you don’t have the #8 round you can also use a 3/4” flat. Start by painting a white ring around the circle. 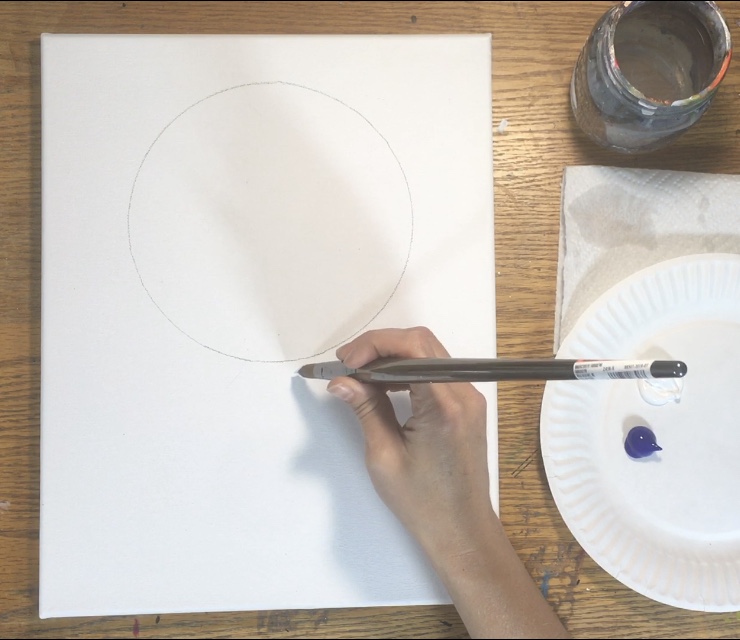
Paint the white almost to the edge of the canvas. If you look at the photo below you can kind of tell how far I went with the white. Your strokes should go in the direction of the circle, kind of spiraling outwards as you reach the edge of the canvas. 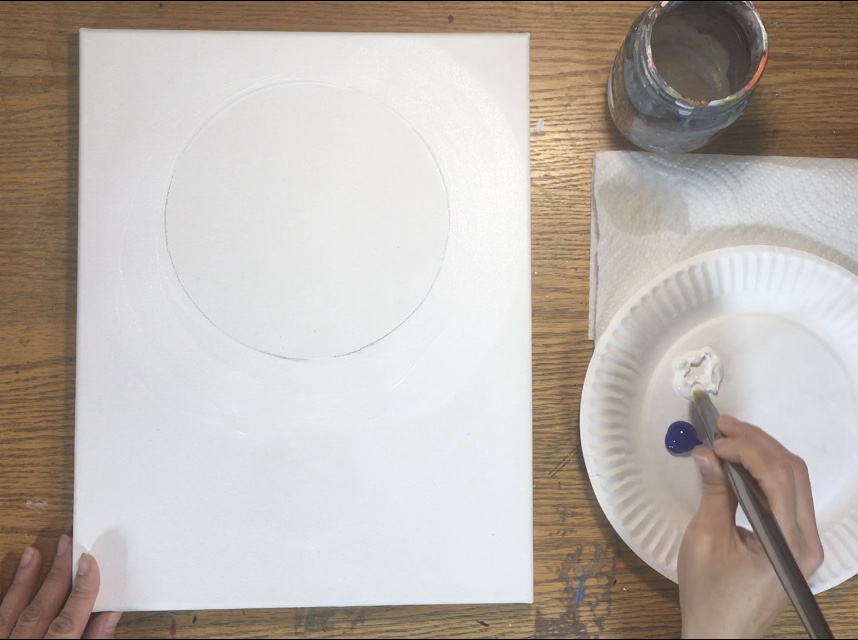
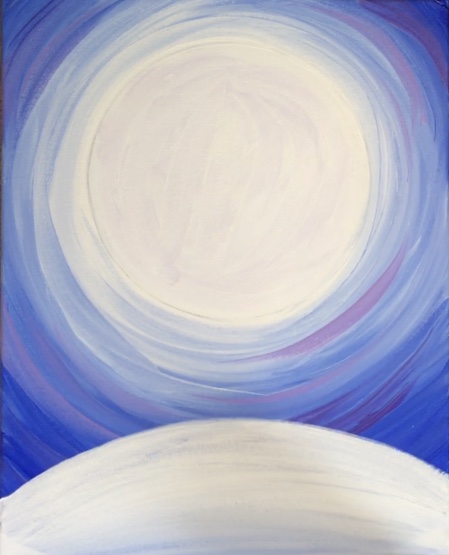
Then without rinsing your brush, load the tip in ultramarine blue. Make sure you don’t let that white dry because we will be doing “wet on wet” blending next. 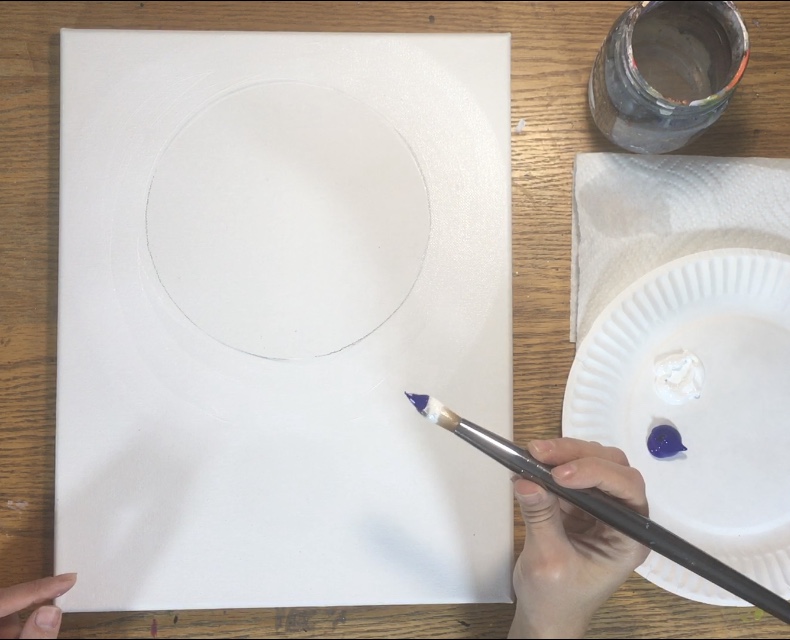
Blend the blue gently in with the white going in the same direction that you painted the white. Your white should be lightest next to the circle but gradually turn to blue and then dark blue on the edges. 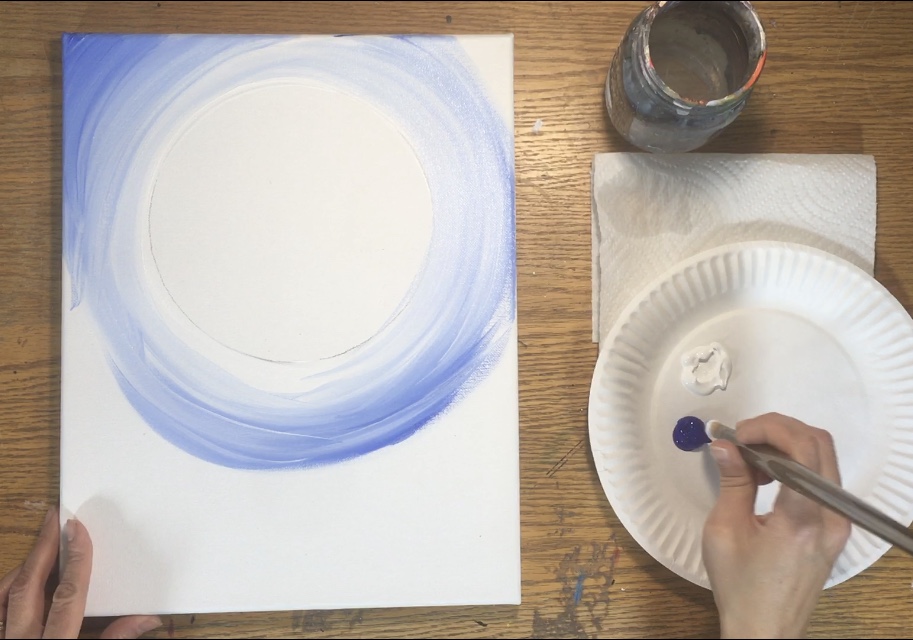
If needed, load your brush back in the white to help with the blending. Try to keep the white pure closest to the circle. 
Gradually add more and more ultramarine blue as you approach the edges of the canvas. These colors all will create the impression that they are spiraling around the moon.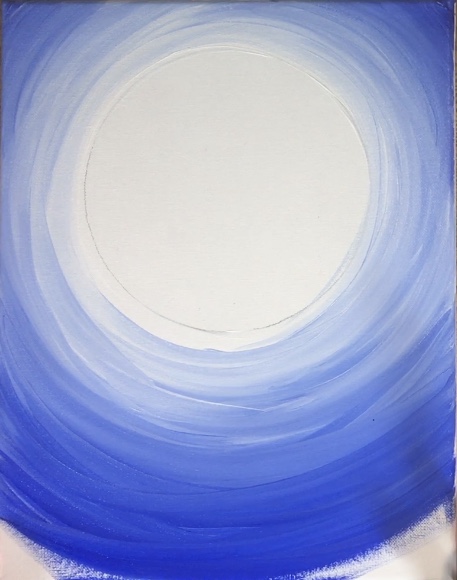
There is some purple in this sky as well! On your palette, mix dioxazine purple with titanium white (about equal amounts) until you get a lavender shade of color.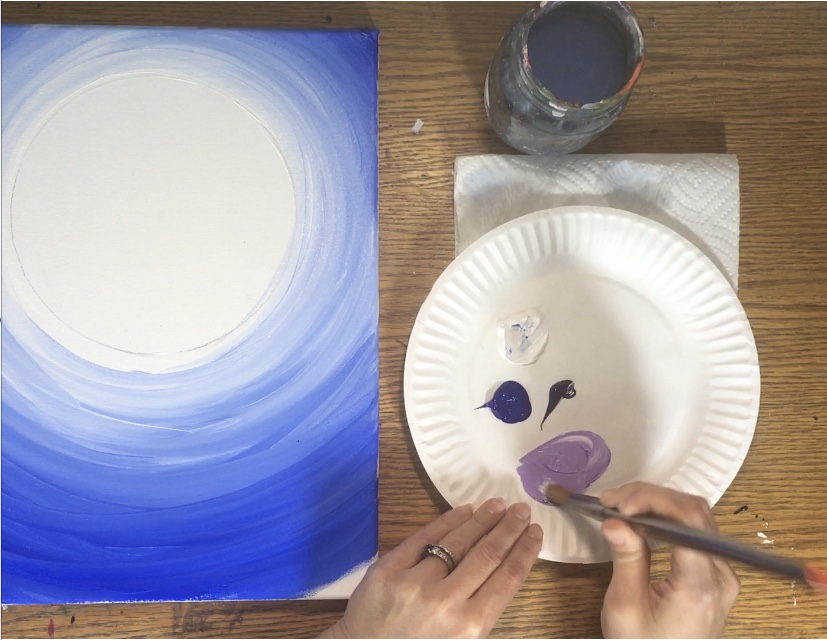
Then load your brush with just this light purple. Paint a few strokes of this purple going in circular directions around the sky. 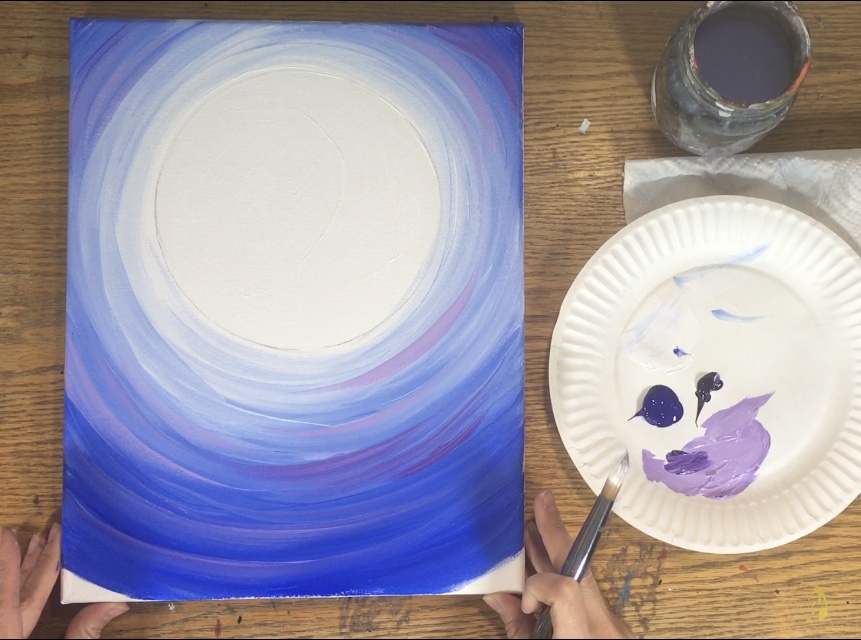
3. Paint The Moon White
Use your #8 round brush to paint the moon a solid titanium white. 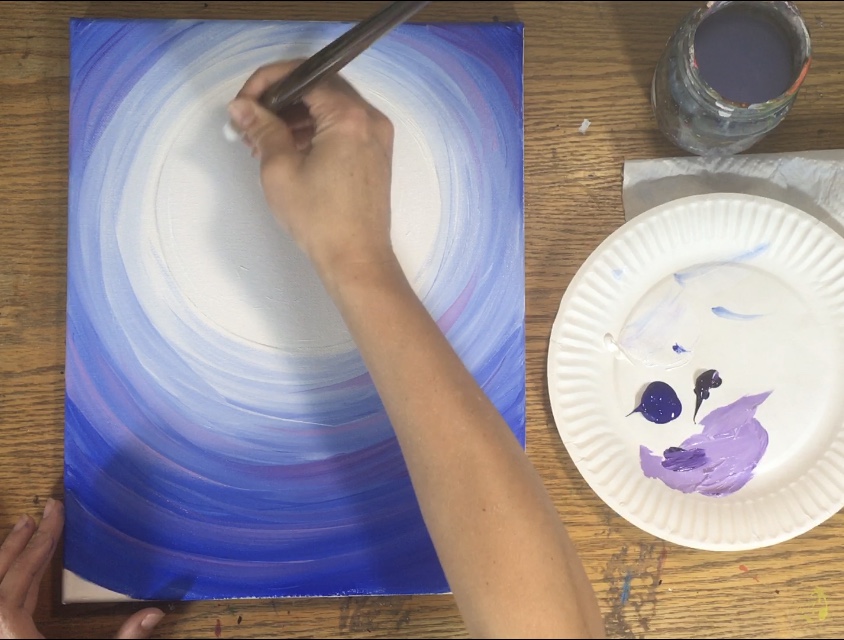
4. Let the painting dry…
You can take a break or use a blow-dryer to dry your painting.
5. Paint The Snowy Hill
Use your #8 round brush to paint a hill on the bottom of the canvas. This was done with titanium white and I went up about 3.5”.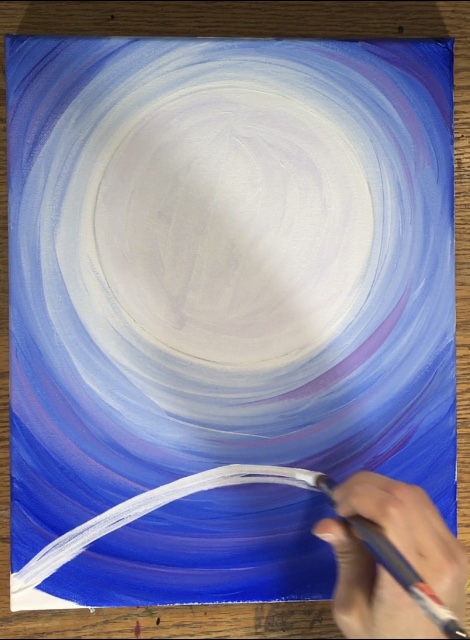
Paint this hill in solid with the titanium white 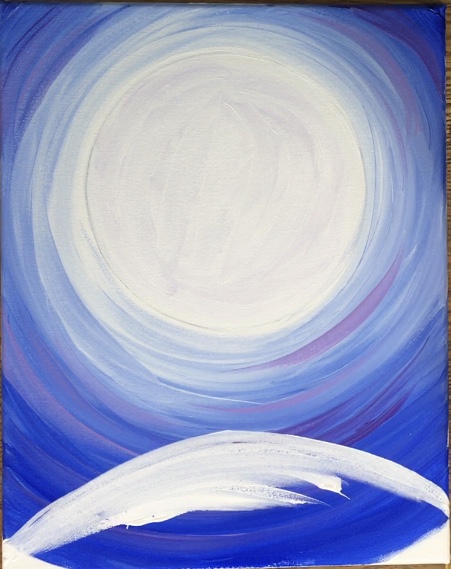
Then if you want you can add a little bit of shading to the bottom of the hill. Apply a tiny bit of ultramarine blue to your brush and blend it up into the white (gently). 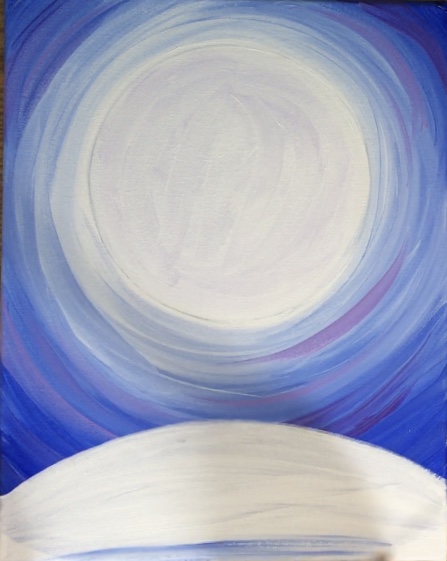
6. Paint The Trees
To do the trees, I used the #8 round brush. I painted each of the three trees titanium white first and then I painted them green after the white dried. The first tree I painted was the one in the middle. Start at the top. Stroke your brush downwards and form the shape of the tree.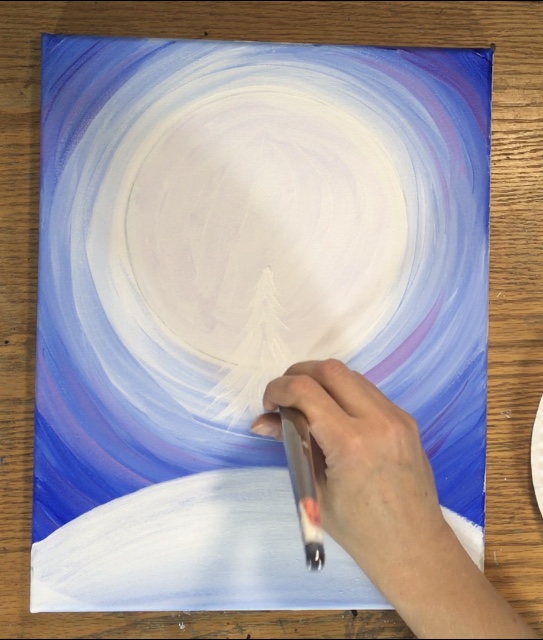
Paint the bottom of the tree so that it overlaps the hill leaving about an inch and a half space from the bottom of the tree and the bottom of the canvas. 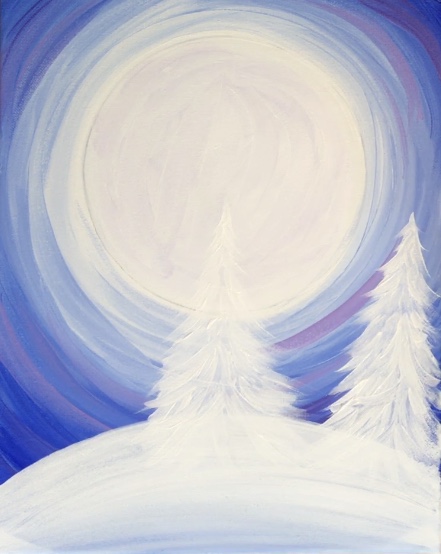
Each tree was relatively the same height, however, the ones on the left and right go slightly diagonal. 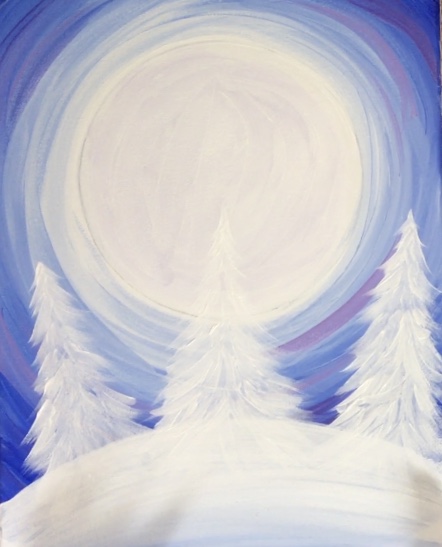
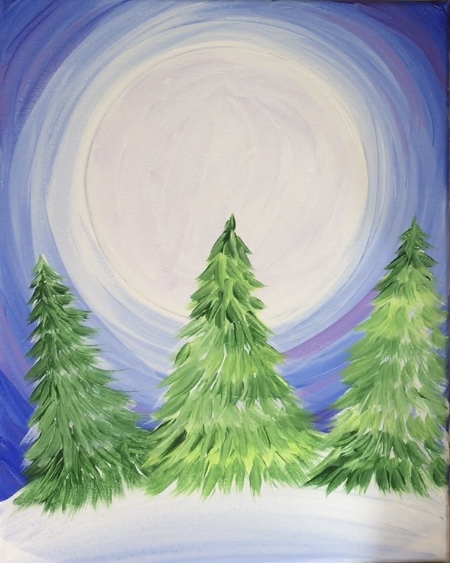
Then when the white dries, use green to paint over the white. I started with the tree on the left. I used my #8 round brush (rinsed off and dried) and the color hookers green. Start at the bottom of the tree and paint a row of strokes that go from top to bottom. Use only the tip of your round brush because these strokes are smaller. 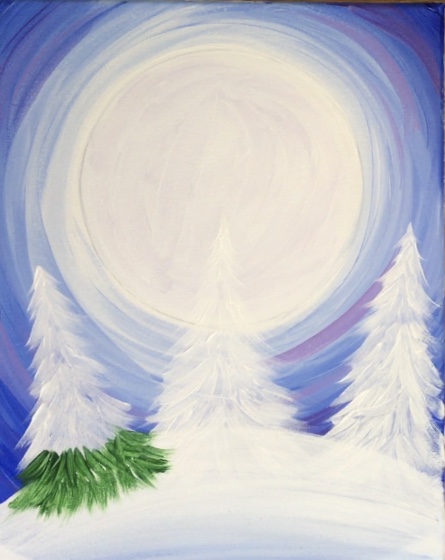
Then paint a second and third row of these kinds of strokes. Each new row will overlap the previous row to make it look like the tree has depth. For “color variation” you can also add a tiny bit of white to your brush and let the white and green blend together.
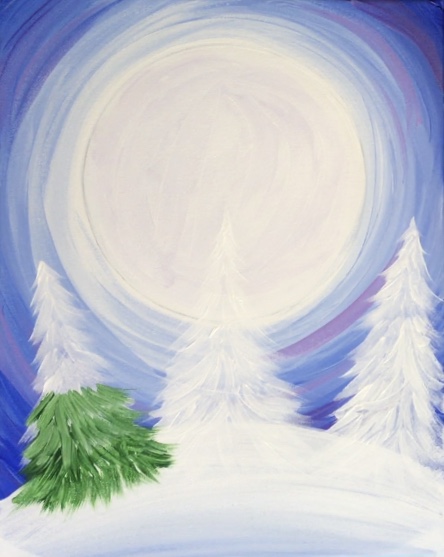
For the tree in the middle, I started with the color brilliant yellow green (which is a very yellowish green). I did the first bottom row with this color but then loaded my brush in hookers green as well to get a darker shade of green in there.
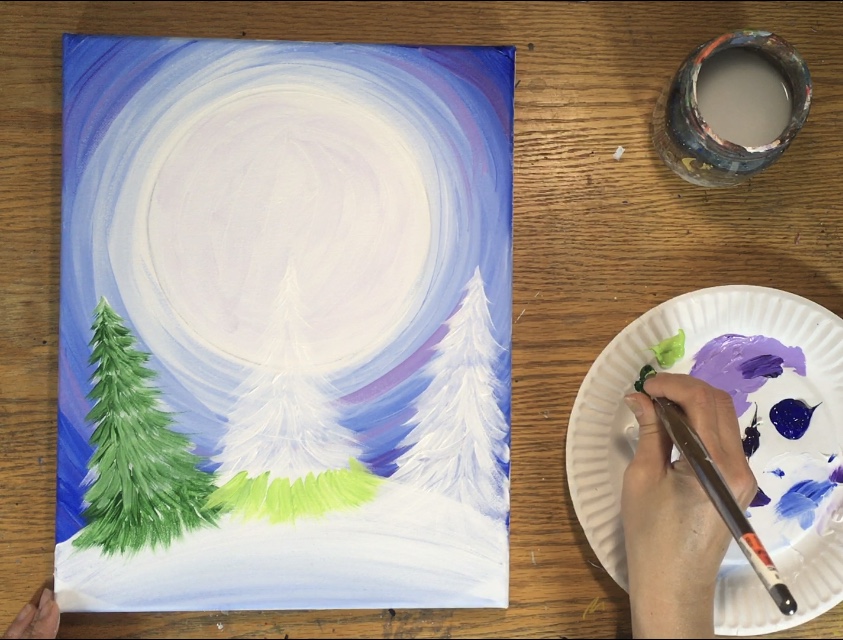
Work your way up painting the rows of the strokes with your brush loaded in both the brilliant yellow green and the hookers green. 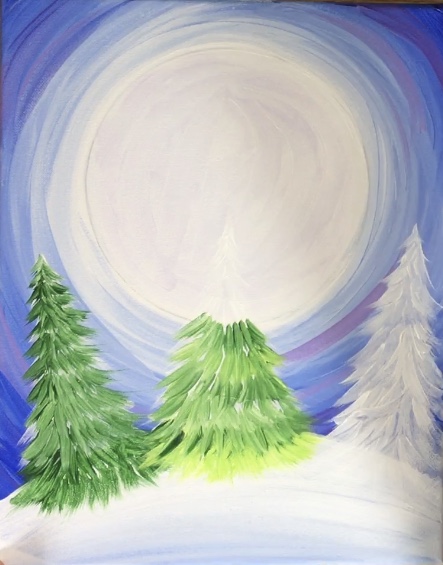
Then for the tree on the far right I did a combo of the hookers green with a little bit of brilliant yellow green and some titanium white.
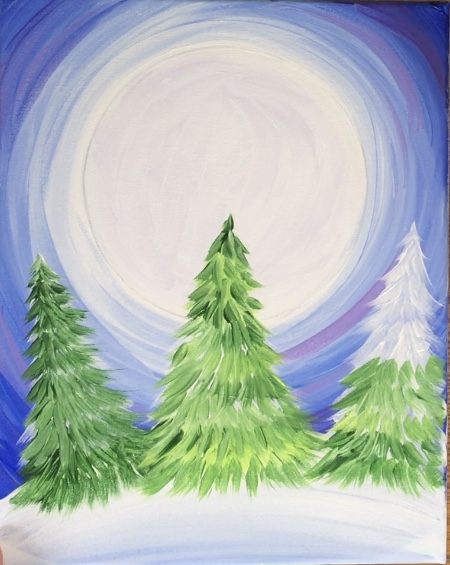
Next I painted the trees far in the distance (the darker ones). These don’t need to be whited out with white first. I just used my #8 round and hookers green to paint these smaller trees between the larger three trees. Do the same technique. Start at the top and stroke downwards to form the Christmas Tree shape. 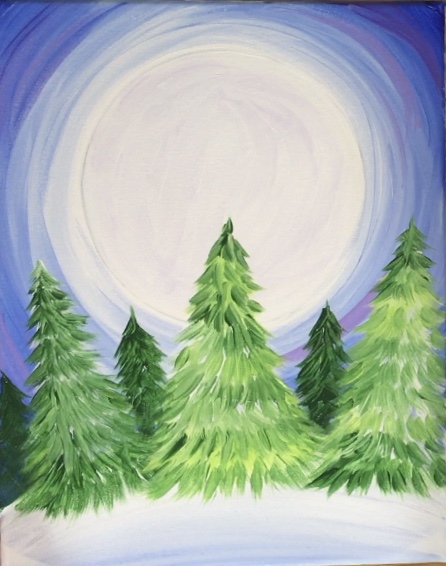
7.Paint Shadows Under The Trees
To do the shadows, I watered down the ultramarine blue and added a bit of white to the mix. You should get a medium shade of blue but watered down to a watercolor consistency. 
Then loosely paint the shadows under the trees so it forms sort of a triangular shape. I only did shadows under the three large trees. This blue should be very translucent. 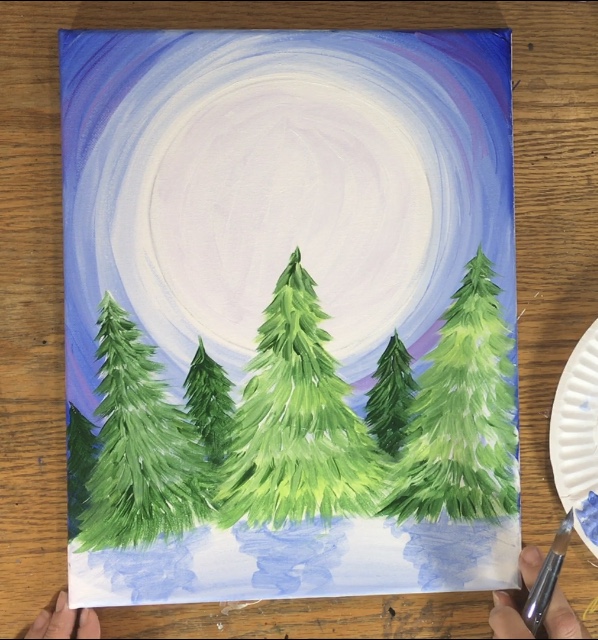
6. Paint Snow In The Sky
For the snow, I used the toothbrush to splatter paint little specks of white everywhere. You can allow this white to cover the trees as well. Just don’t go too crazy!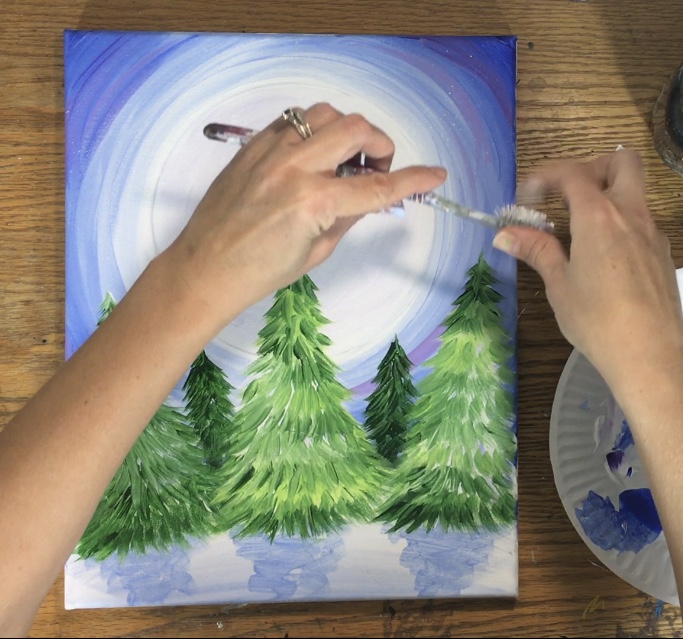
And, I finally switched from my #8 round brush to a different brush! I used a 10/0 round brush to paint the little dots in the sky as well as asterisks for stars or snowflakes. 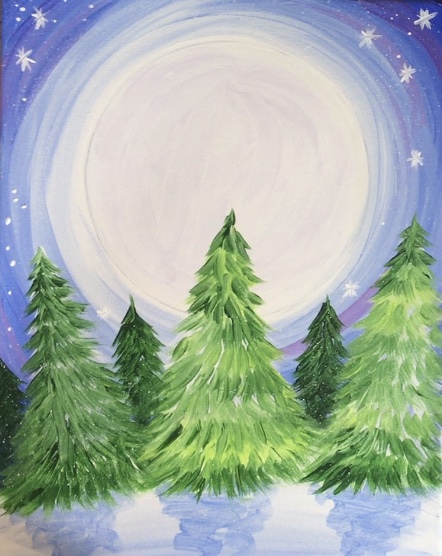
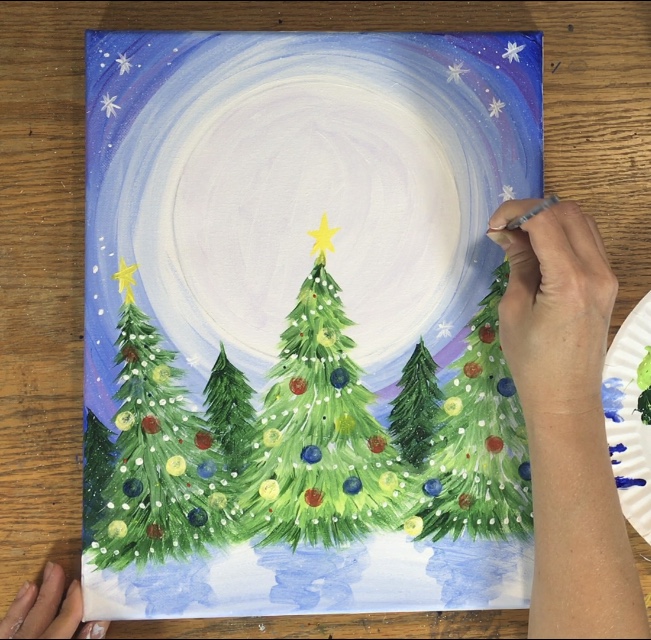
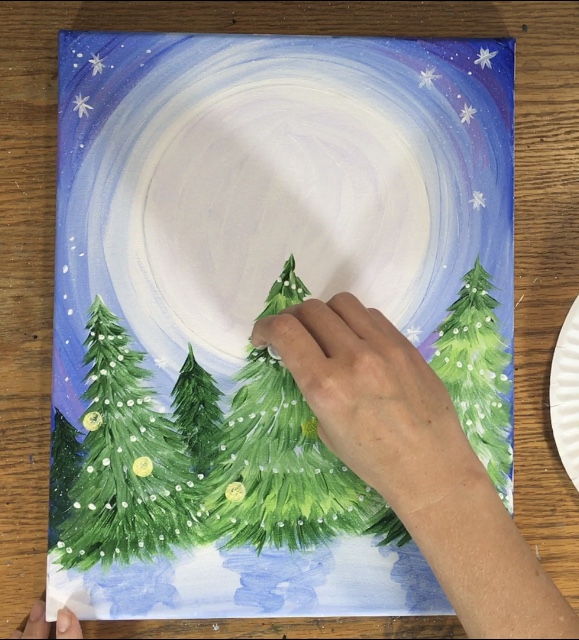
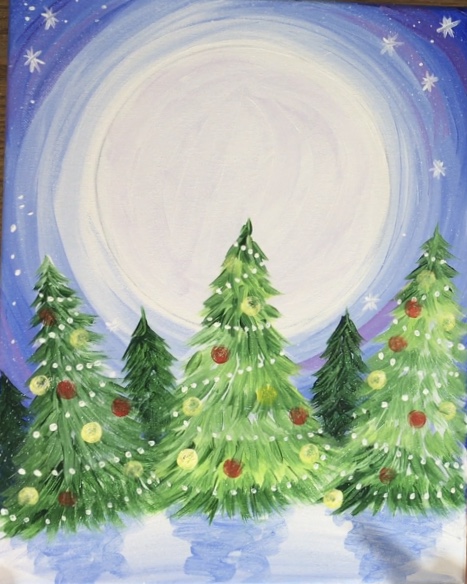
6. Decorate The Trees
Then I used my 10/0 round to paint little dots for a garland around each of the trees. These went in a sort of zig-zag direction.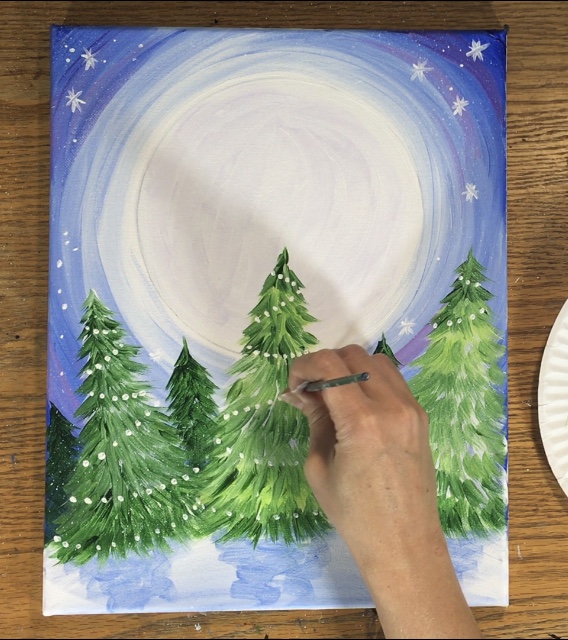
For the ornaments, I used the smallest foam pouncer from the Martha Stewart Foam Pouncer set. Bascially dip it in the color you would like to use, then stamp it out somewhat on your palette so that its not overloaded (less is more on these sponges). 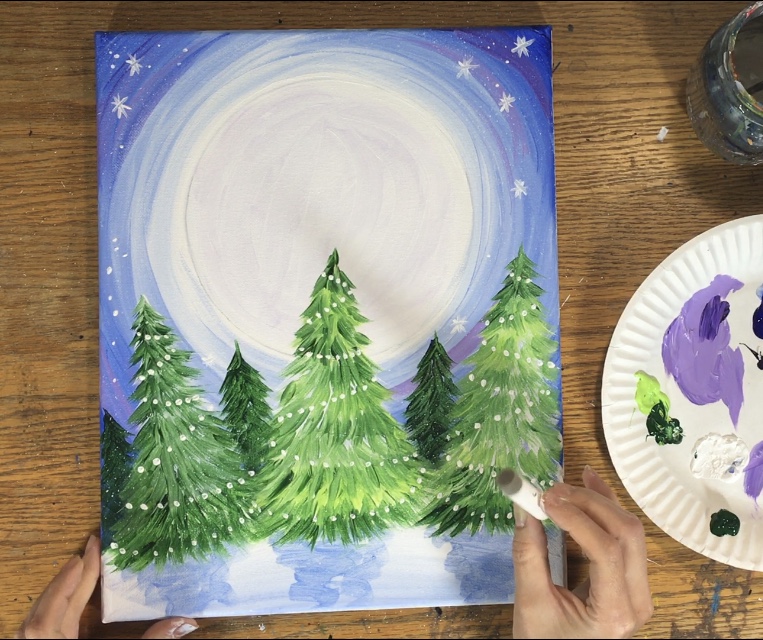
Press and twist each of the circles. I did one color at a time, starting with primary yellow. 
And then cadmium red medium.
When switching to another color, I find using a baby wipe helpful for wiping the paint off of these sponges. 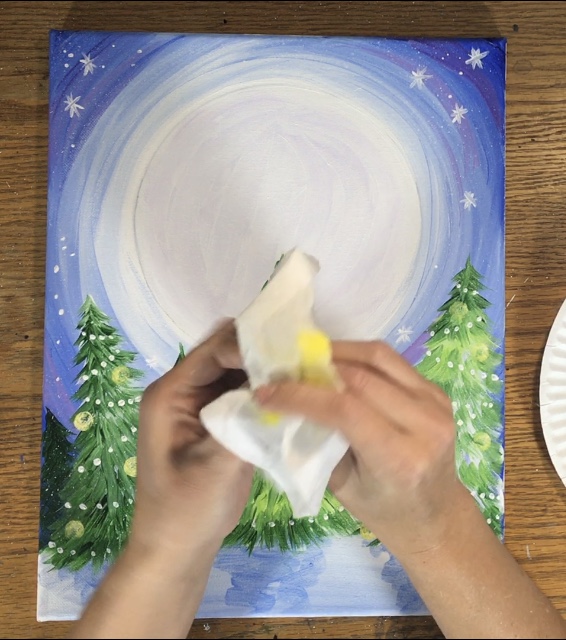
Then I did ultramarine blue ornaments. 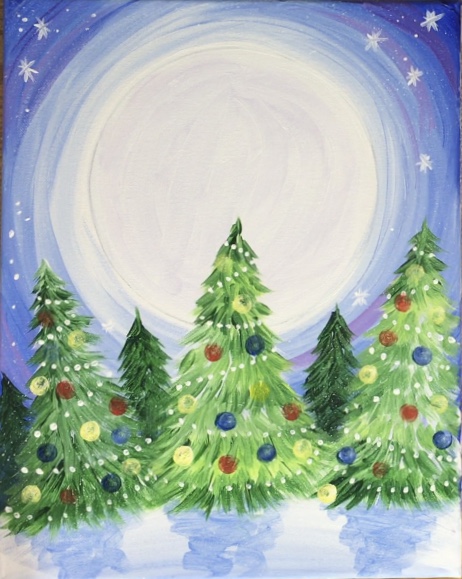
And finally the stars on top were done with primary yellow and a 10/0 round brush. 
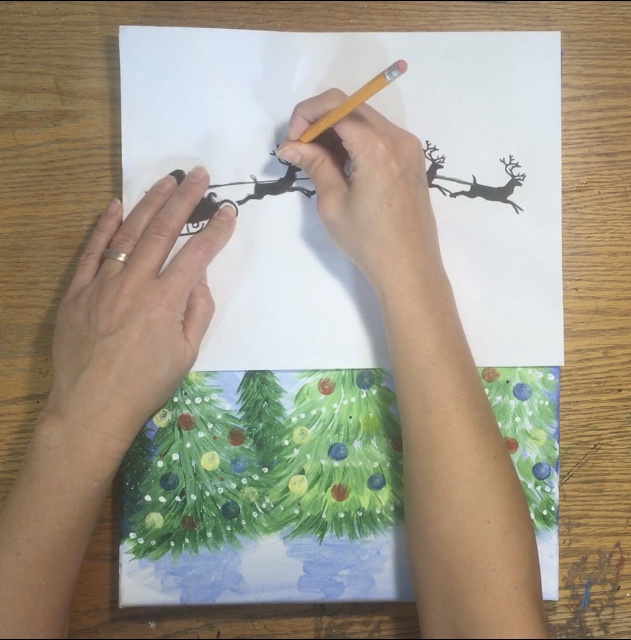
7. Transfer & Paint The Santa Silhouette
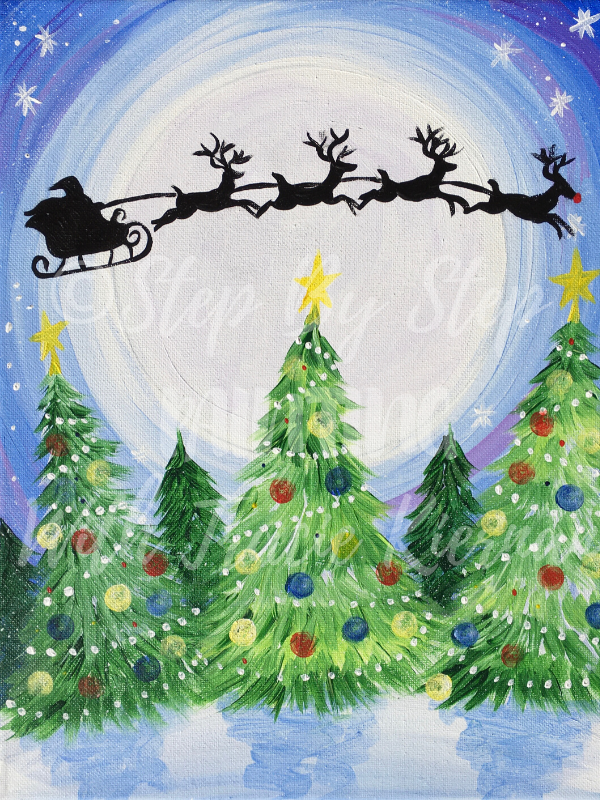
This is the final magical step we’ve all been waiting for! To do the silhouette, print out the traceable on standard size computer paper. Place a sheet of graphite paper below the traceable and trace. Since everything is solid black, I just traced the outline of the silhouette instead of the whole thing filled in. 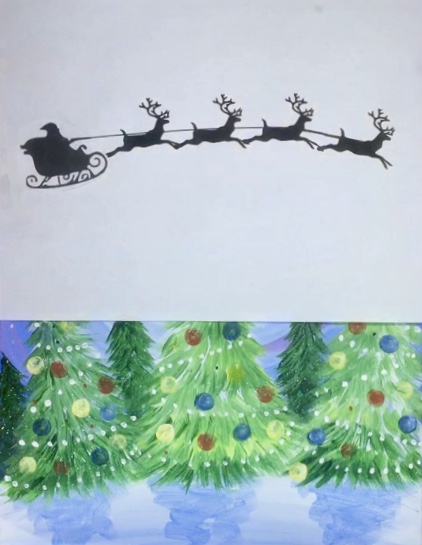
Then use a 10/0 round to paint the tracing in with mars black. 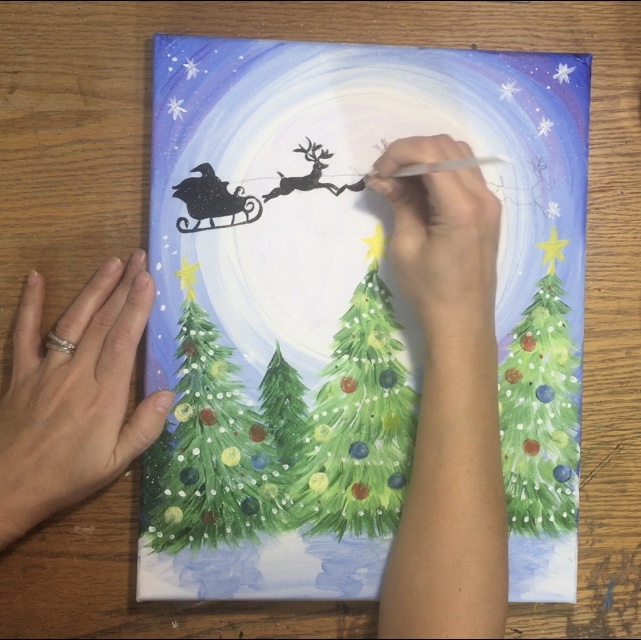
I added a red nose on the far right Rudolph and also erased any pencil lines after the black has dried.
Would you like to save this?
Share Your Art! Did you do this painting? 


This was a fantastic tutorial…..I am impressed and am hooked on painting now!
Thanks Lori!
I cannot wait to get a canvas to try painting this. Your instructions make it seem so easy. Thank you so very much for your kind artistic heart for sharing your work and instructions. I will be back often!!!
Great help! Can’t wait to try your paintings.I am even more interested in painting after visiting your site.Your tutorials make it seem very easy.