
Would you like to save this?
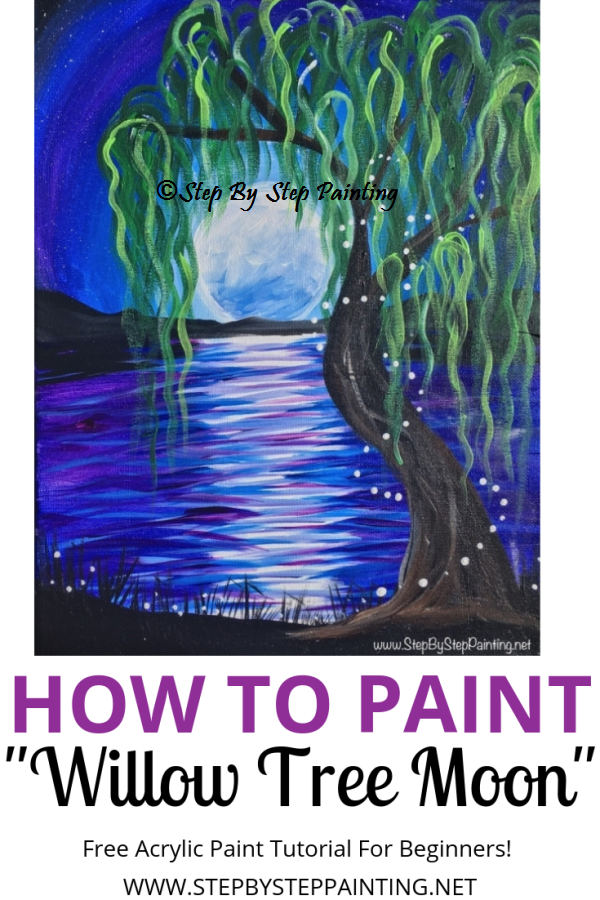
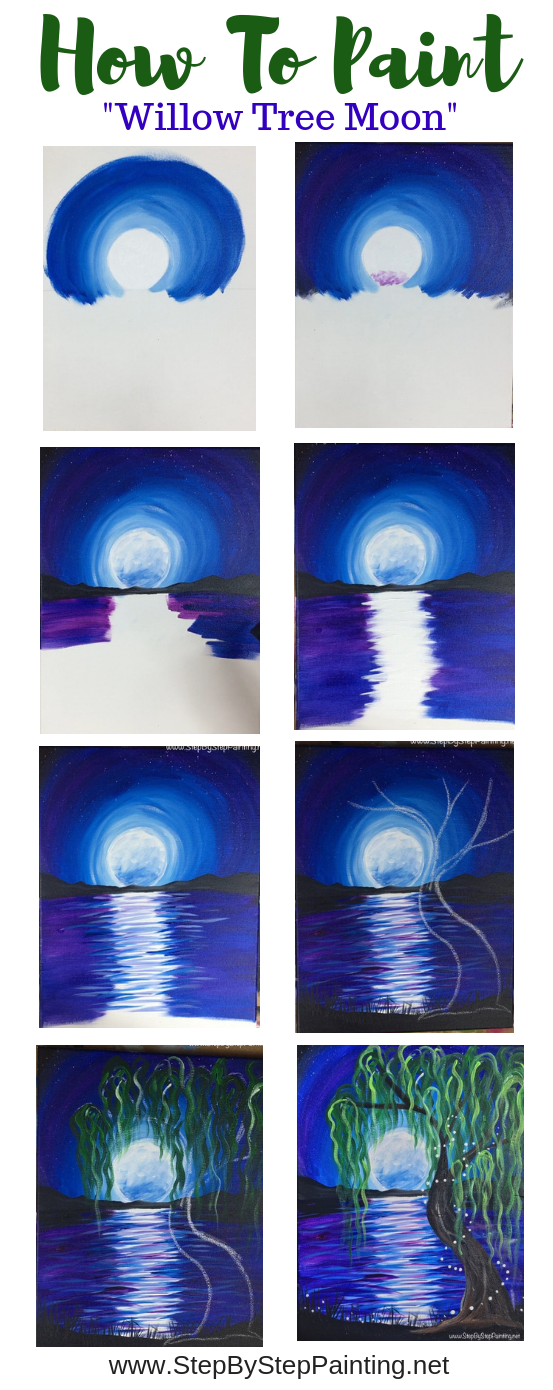
Learn how to paint this gorgeous willow tree beside a lake and a full moon! This step by step acrylic painting tutorial will guide you through each step with detailed pictures and directions.
There’s something extra whimsical and sort of magical about this painting and I had a lot of joy designing it! I think willow trees are one of my favorite trees for their beauty and symbolism. I especially love the little dots that go around the tree. Are they lightning bugs? Fairies? Fairy lights?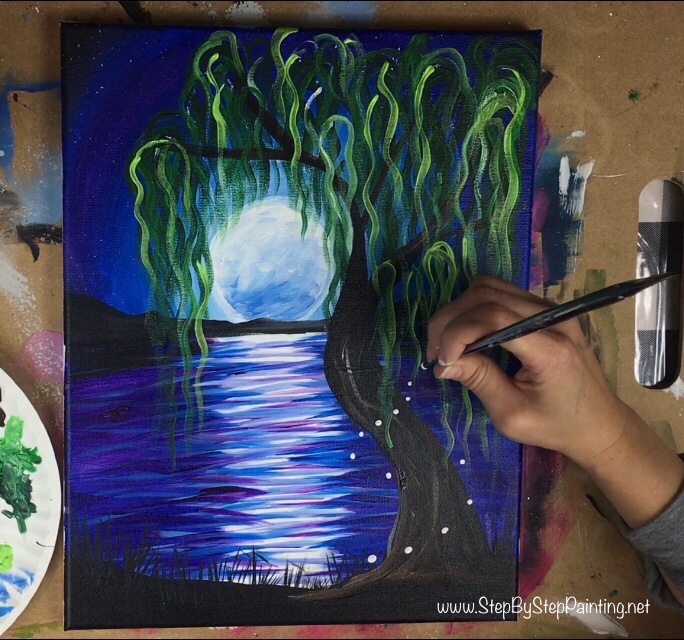
I hope you enjoy! Happy painting
Materials Needed
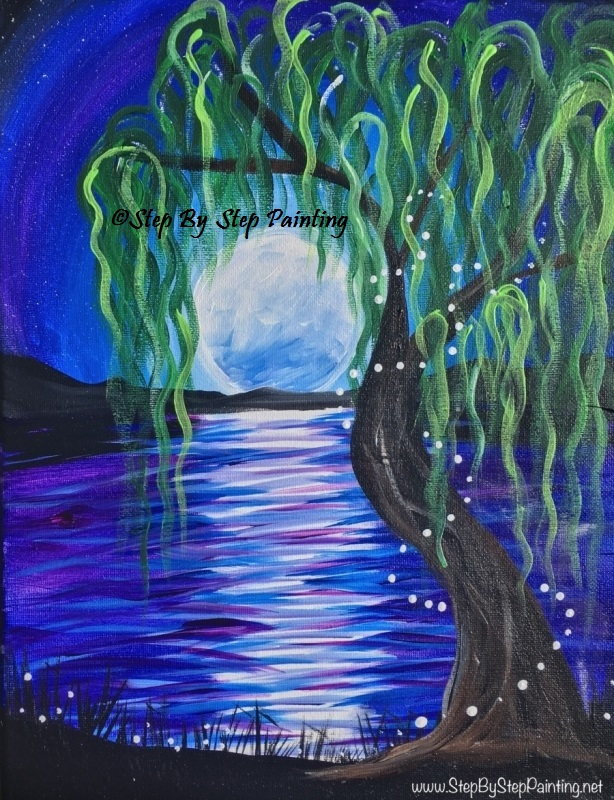
How To Paint "Willow Tree Moon"
Learn how to paint this beautiful scene of a full moon setting over a lake with a willow tree in the foreground. This is a free acrylic canvas painting tutorial that a beginner can do.
Materials
Basic Supplies
- 11" x 14" canvas (you can do this on any size!)
- Acrylic Paint (I used BASICS)
- Paint Brushes
- White Chalk
- 2.5" Circle To trace for the Moon (or larger if you're using larger canvas)
- Ruler to draw horizon line
Colors
- Phthalo Blue
- Prism Violet
- Titanium White
- Mars Black
- Burnt Umber
- Deep Green Permanent
- Light Green Permanent
- Brilliant Yellow Green
Brush Sizes
- 3/4" Flat
- #12 Flat
- #4 Round
- Toothbrush to splatter stars (optional)
Color Palette

Directions At A Glance

Video
Step By Step Directions
1. Draw the horizon line and the moon
Position the canvas so that it is vertical. Use a ruler to trace a horizontal line in the middle of the canvas. You do not need to measure, just estimate! 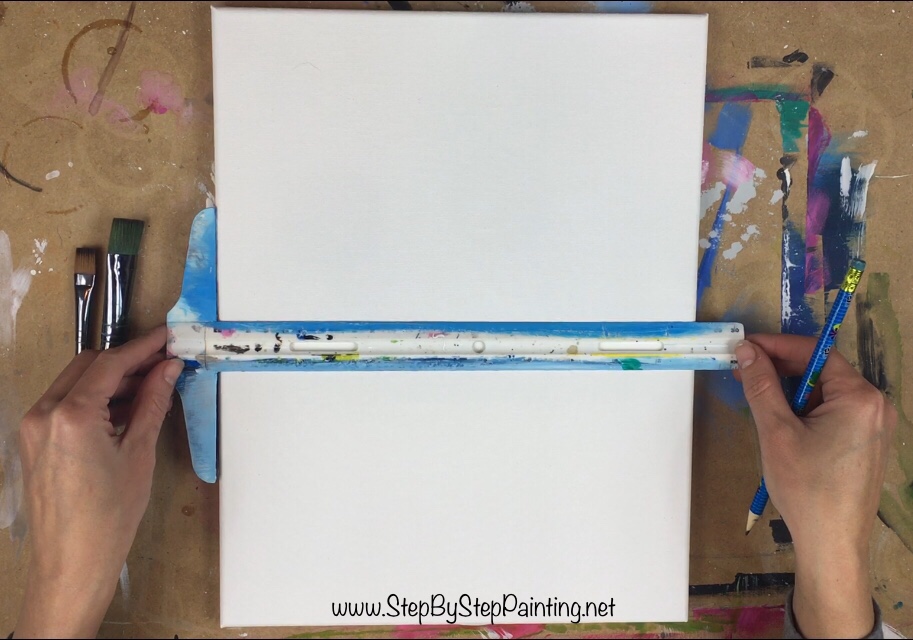
Then find a circle to trace for the moon. I used a small cup that measured 2.5″. You can find one this size or larger, it doesn’t matter. 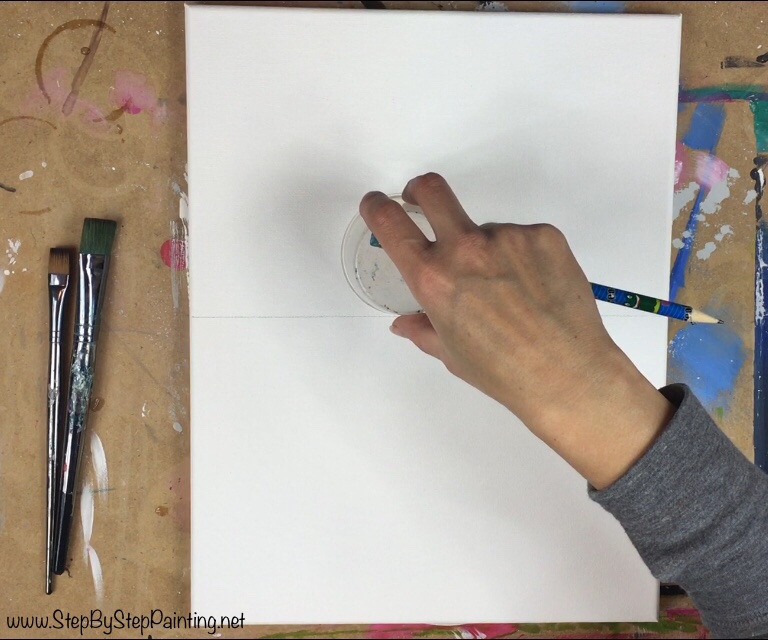
The moon is not exactly in the middle of the canvas, it is more offset to the left. Also, it is resting right on the horizon line. 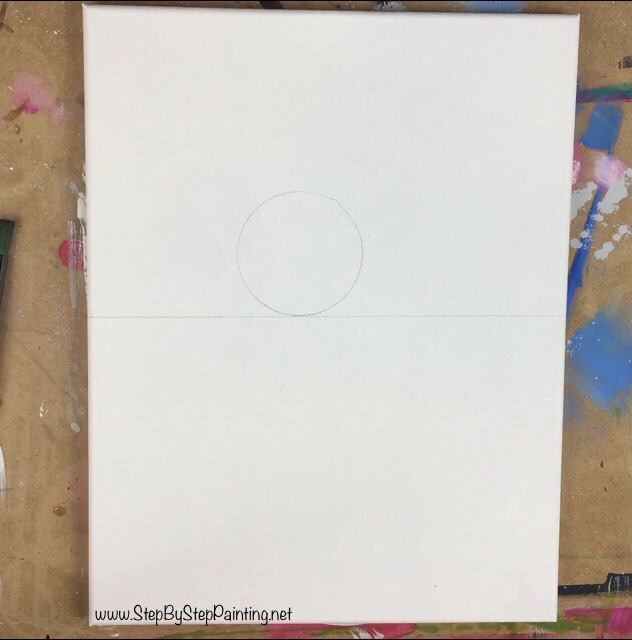
2. Paint the moon white
Using a #12 Flat brush and the color Titanium White, paint the moon white. 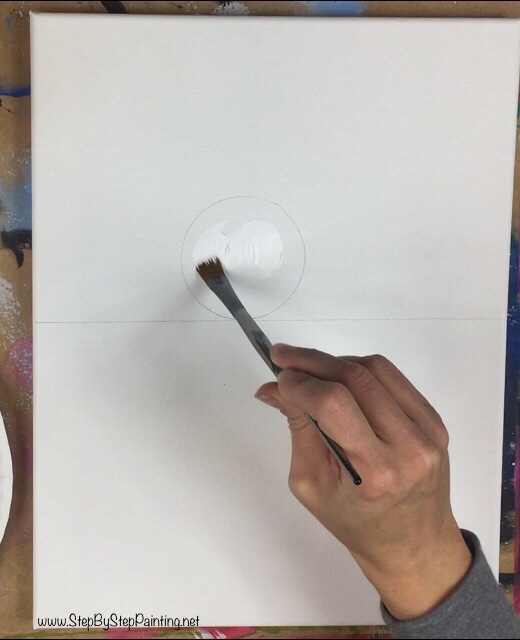
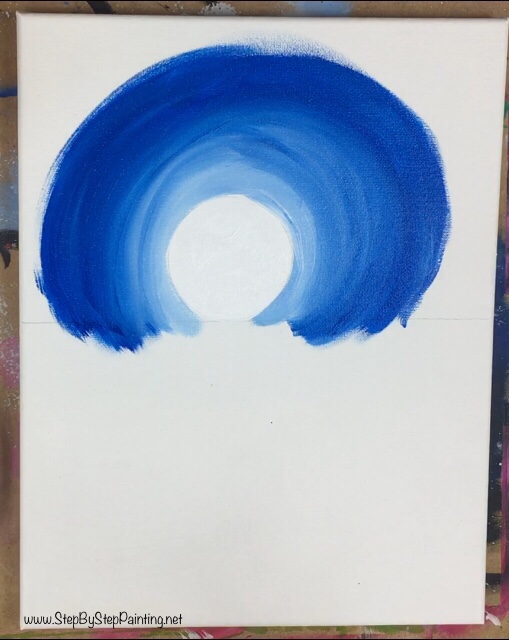
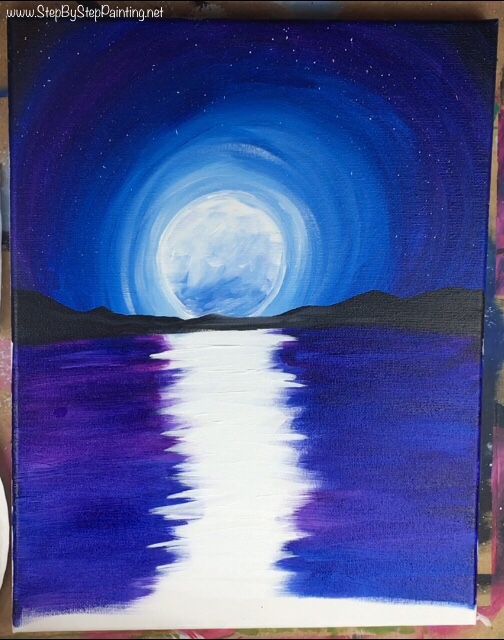
3. Paint the sky in “rings” around the moon.
This entire sky is going circular around that moon. Start on the very outside edge of the moon. On your palette mix titanium white with a little bit of phthalo blue to make a light blue. Still using your #12 flat brush, paint in circles around that moon. Then gradually add more blue to the paint so that the “rings” get gradually darker. 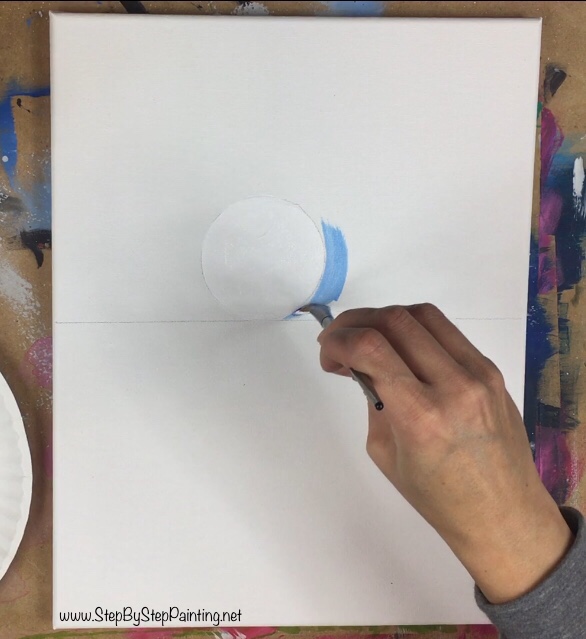
The lightest and brightest part of the sky is right there around the moon so this should be a very light blue! 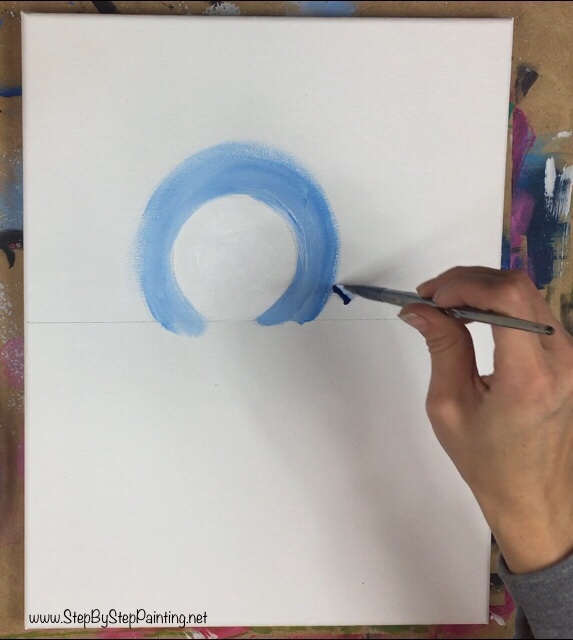
You may go below the horizon line a bit. Also, there is no need to rinse your brush as you are adding more blue to gradually get the sky to be darker. Do “wet on wet” blending as you are adding the blue. That means that the colors will blend themselves as you paint over them. 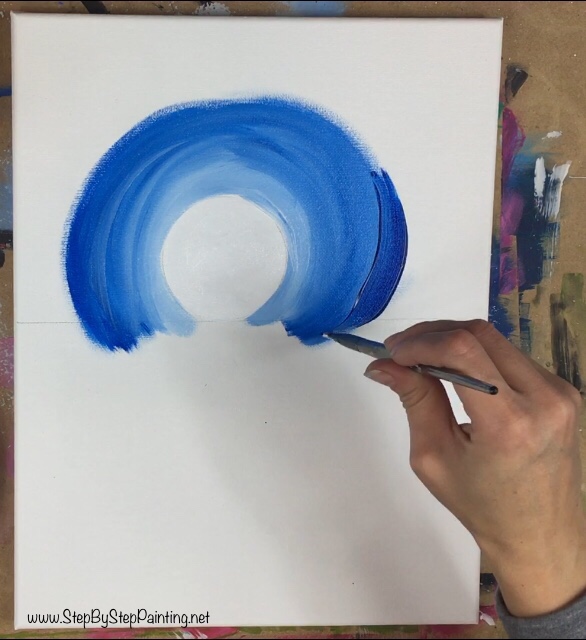
As you work your way towards the edge (about the half way point to the edge), add prism violet to your brush without rinsing it. (Note that if you still have a lot of white on your brush, you may want to rinse it off at this point to get the sky to be dark). Load your brush in both the prism violet and the phthalo blue and it will create this deep blue-violet color. Paint the rest of the sky with this. 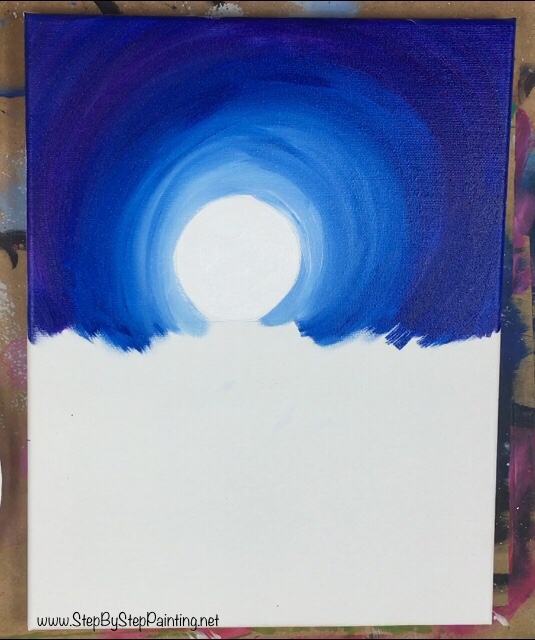
On the upper right and upper left corners of the sky (and bottom left and bottom right), add a tiny bit of mars black. Gently blend that mars black in with the rest of the sky (be careful not to add too much black). 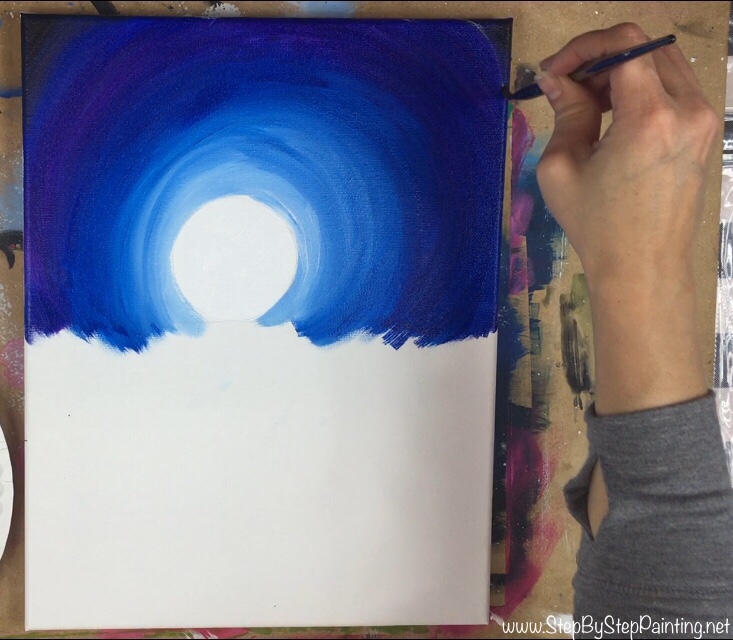
Tip: I used the #12 flat brush for the whole sky. However, if you feel that is too small of a brush for the large area that is the sky, you may wish to use the 3/4″ Flat.
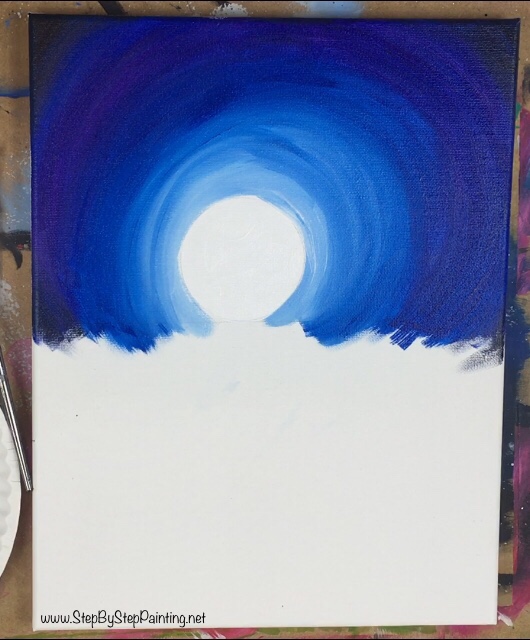
4. Splatter the stars
What is a night painting without splatter stars! If you’ve done any of my previous tutorials, you know what to do. Get out that old toothbrush, dip it in white and flick the paint onto the canvas! You’ll create little specks of stars.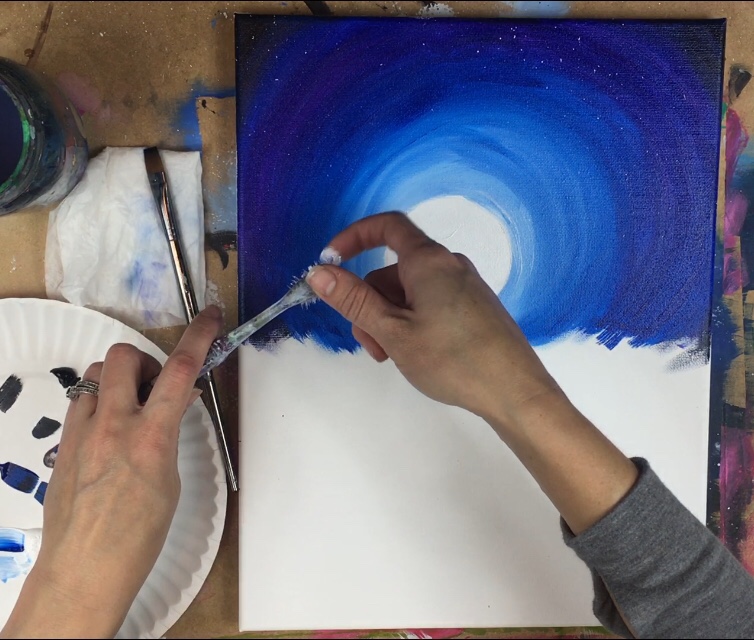
5. Paint the “moon texture”
To do the moon texture, I first repainted the entire moon white again so the base layer can be wet white and help with blending colors. Then I added prism violet to my brush and lightly did “X-Strokes”. These are little cross hatching strokes that go in different directions but the point is to blend the colors. Just add a little bit of purple on the bottom of the moon and let it blend with the white a bit. Very important: the bottom of the moon will be darkest and it will gradually get lighter as you work to the top. 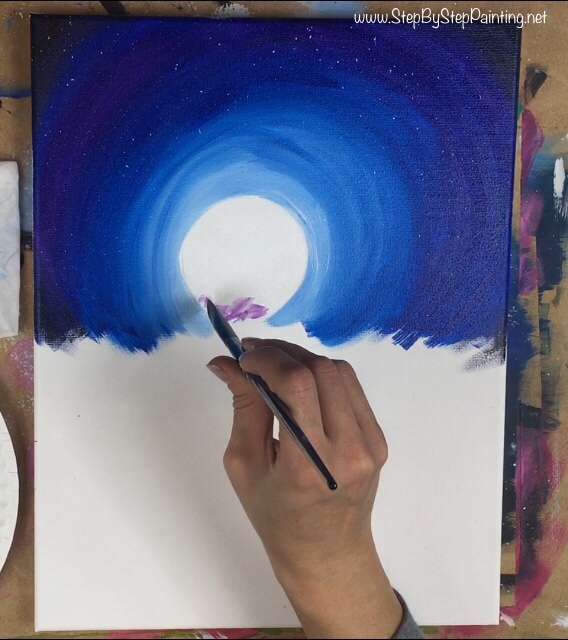
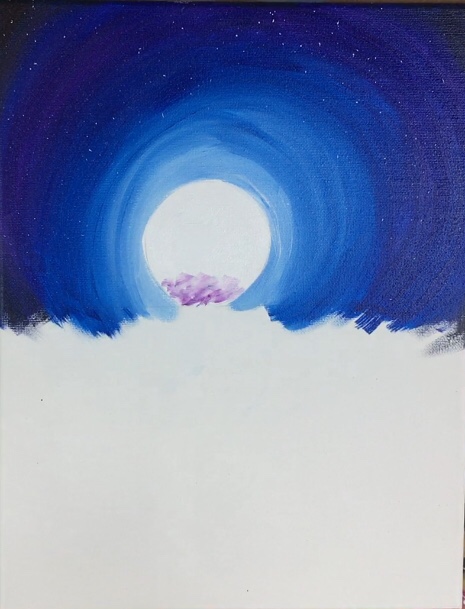
Then add phthalo blue to your brush (without rinsing). Paint the same style strokes over the purple. Lightly blend and it will create that blue-purple color. The point of the moon texture is to let it be darker on the bottom of the moon and gradually get lighter towards the top. As you are doing these “x-strokes”, you are adding more white to your brush and less blue/purple. Don’t worry if you go outside of the lines a bit. 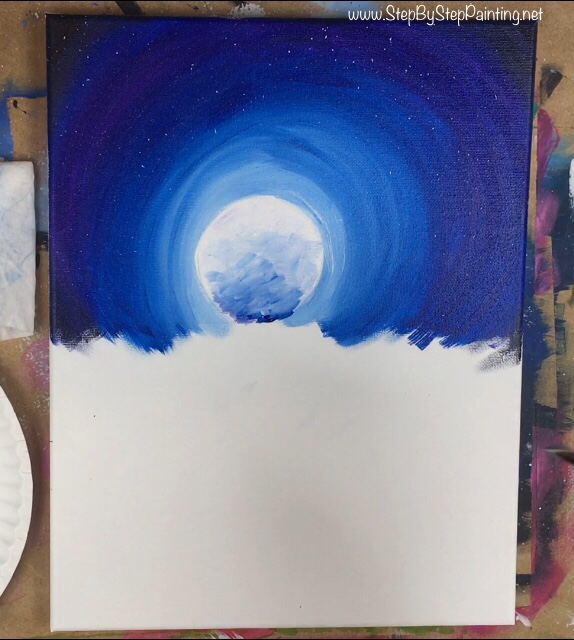
Then (if your sky seems dry enough) switch to a #4 round brush and outline the entire moon with just titanium white. Doing this outline will help to define the shape of that circle but also helps to create that glowing effect the moon gives off. 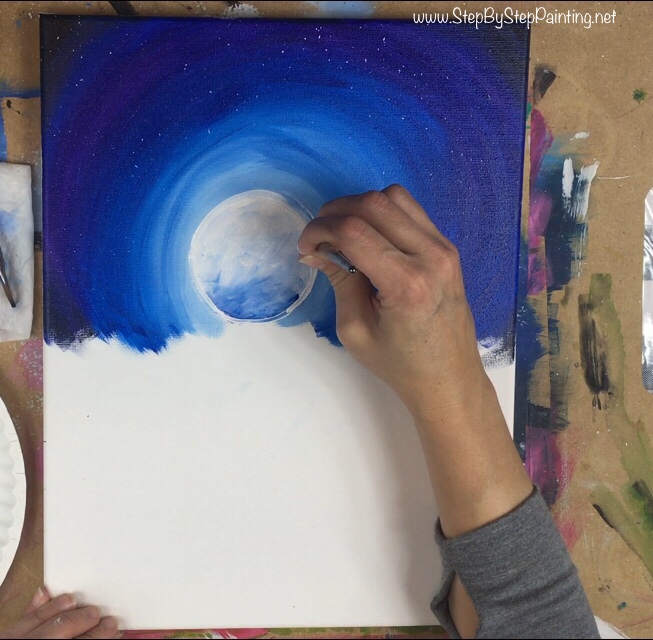
After you outline the moon, lightly paint feathery white strokes around the moon. These “moon beams” help to create a glowing effect in the sky just around the moon. Tip: make sure your brush is nice and dry for this effect. It might help to wipe off some excess paint if you have too much paint on your brush.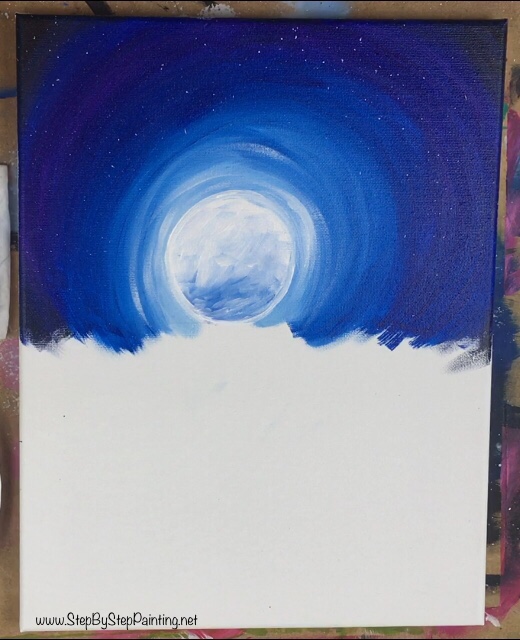
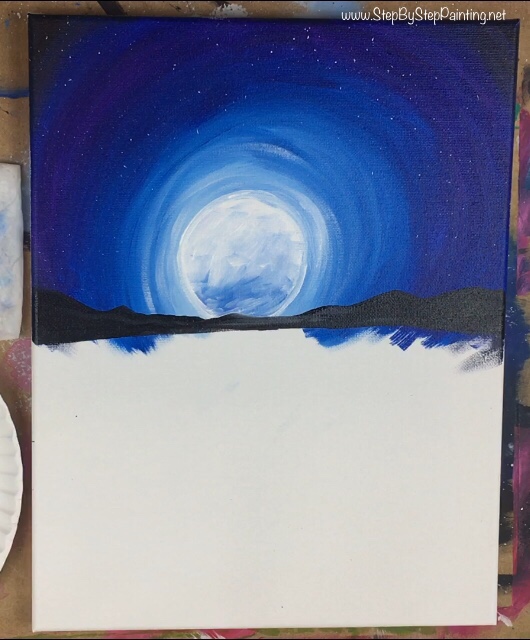
6.Paint the mountains
Use the #12 flat brush to paint the mountain. It helps to slightly water down the black so that it flows better. Use the tip of the brush to outline the mountain and then fill it in. These mountains are not that high, the highest points are actually on the edges of the canvas and are maybe one inch above the horizon line. Then the mountains overlap the moon just slightly. 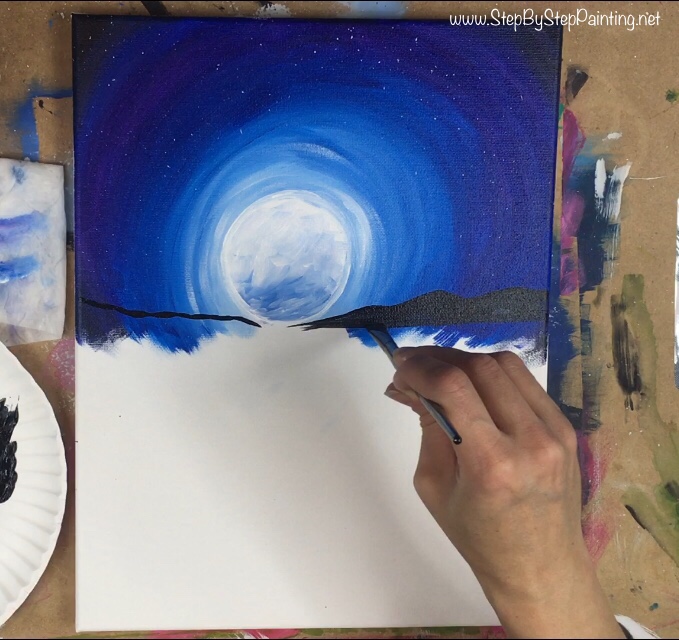
7. Paint the water but leave the middle under the moon blank for now
The water is a combo of the prism violet and phthalo blue. I also used a 3/4″ flat brush. Basically dip the brush in both of the colors and paint left and right thick strokes using the full width of the brush. Make sure to leave the middle area under the moon blank for now. 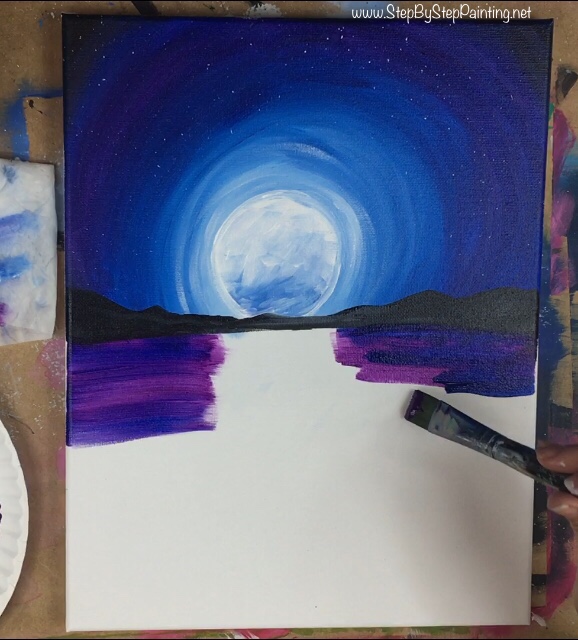
This blue and purple combo in the water is really inconsistent on purpose. When you load your brush, load it in one color and then the next. You don’t need to blend it all the way to make one solid color. 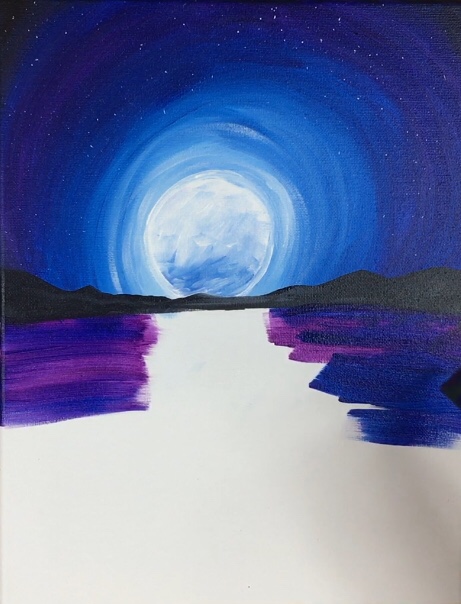
Leave a little bit of blank spot on the bottom for the ground (which will be painted in a later step). 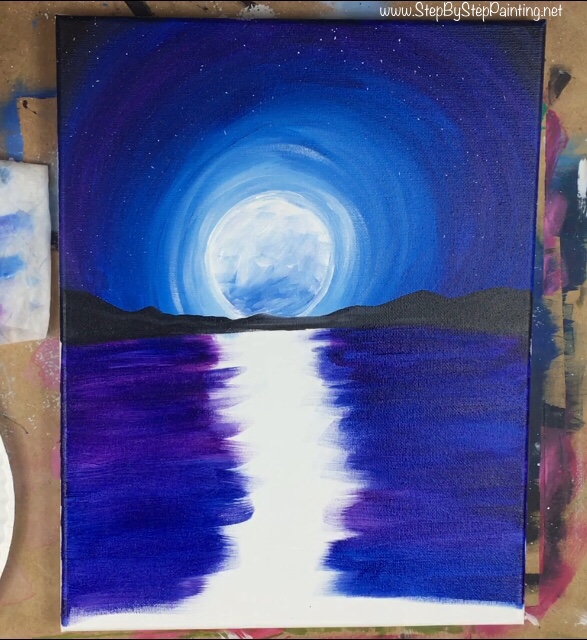
8. Paint the reflection in the water.
Completely clean off that brush! Then add just titanium white to the brush and paint that entire middle area. Keep in mind that this is a reflection not a rectangle. Try to use the tip of the brush to paint thinner strokes in some areas and then the full width of the brush to create thicker strokes. I also overlapped some of that white over where I painted the blue/purple water. See image below. 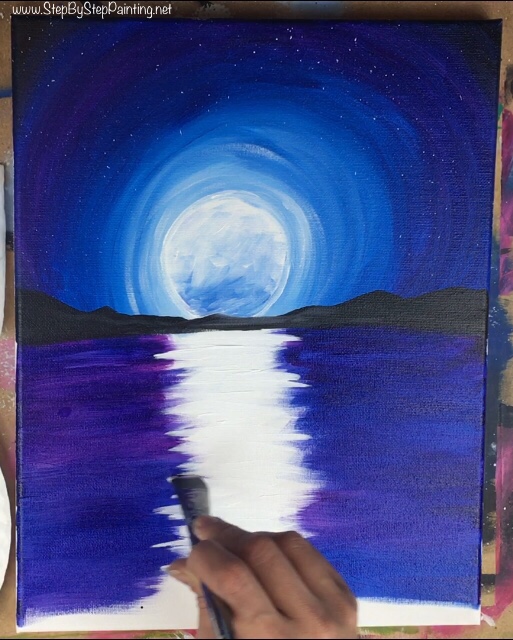
Then, without rinsing the white off the brush, add phthalo blue and prism violet. Paint horizontal strokes lightly over the middle and in other areas of the water. Use the tip of the brush to create the thin stroke lines. Keep in mind that even though we are painting color in the middle, this still needs to be the brightest part of the water so don’t add too much color here. 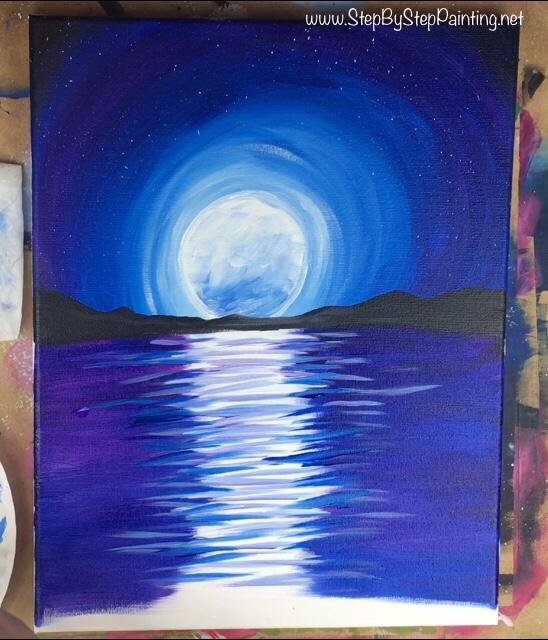
Add these thin horizontal strokes everywhere in the water using the white-blue-purple combo. You decide how much purple or blue you’d like to see in the water! I think I did a fairly even amount of both blue and purple. Just remember to keep the center bright. These horizontal strokes basically create the “water texture”. 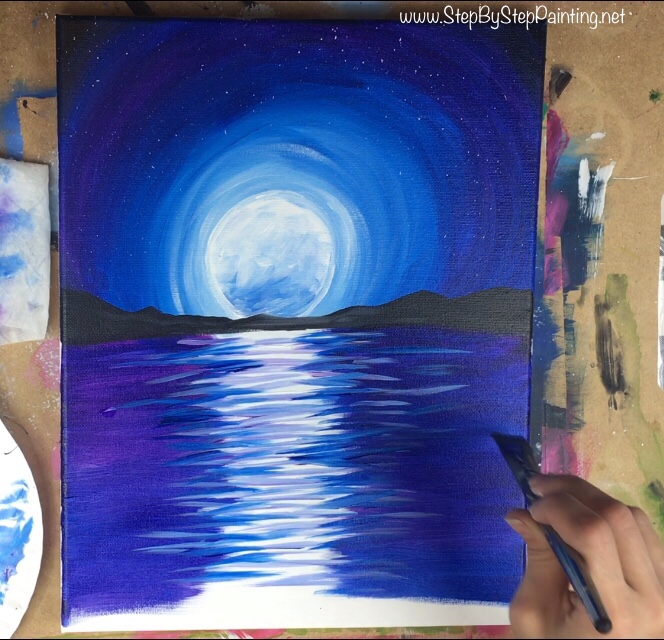
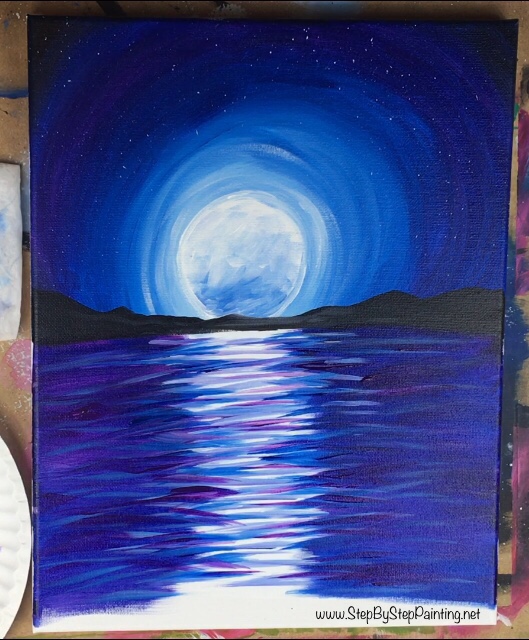
9. Paint the ground
Use the 3/4″ flat brush (rinsed off) and paint the entire area on the bottom black. Make this ground line kind of wavy and dipped down in the center. 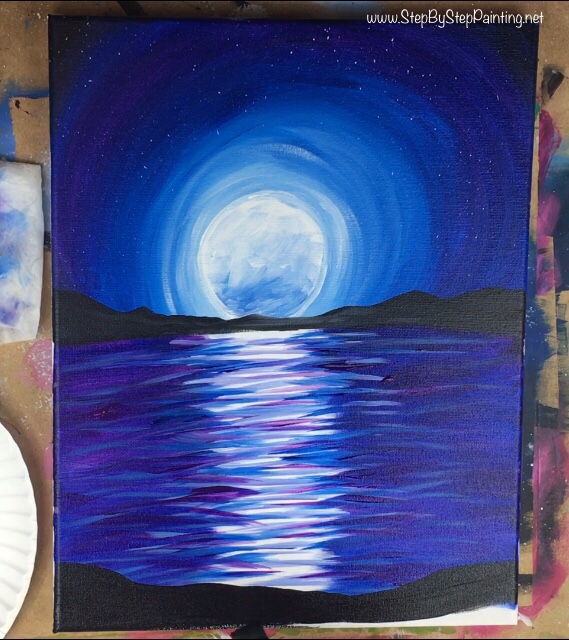
The use the #12 flat brush on its side (the tip of the brush) to paint grass. I used mars black. Do these little grass strokes at all different angles and some of the grass blades bent downwards.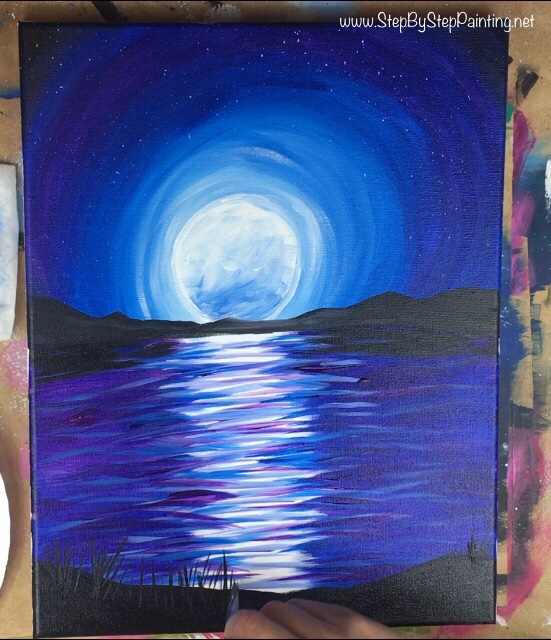
Also note there is a little bit of black reflection in the water just under the mountains that are along the horizon line. To do this, I slightly watered down the black a bit and painted below the mountains (just slightly) with that watered down black. Also see the picture below for how the grass blades look on the bottom. 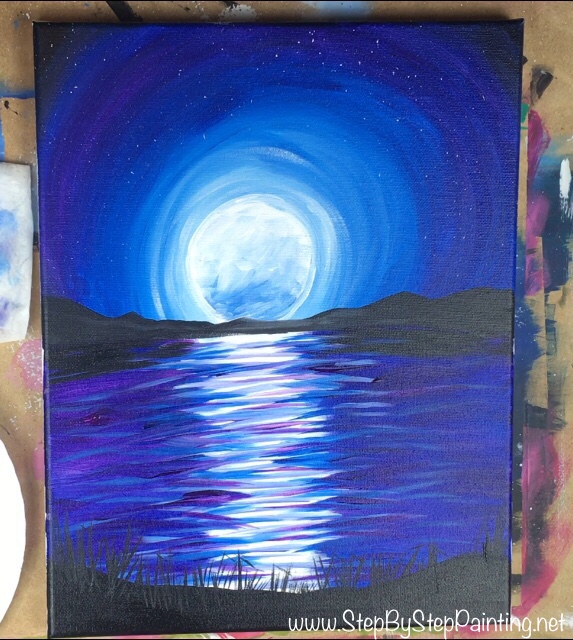
Let the painting dry.
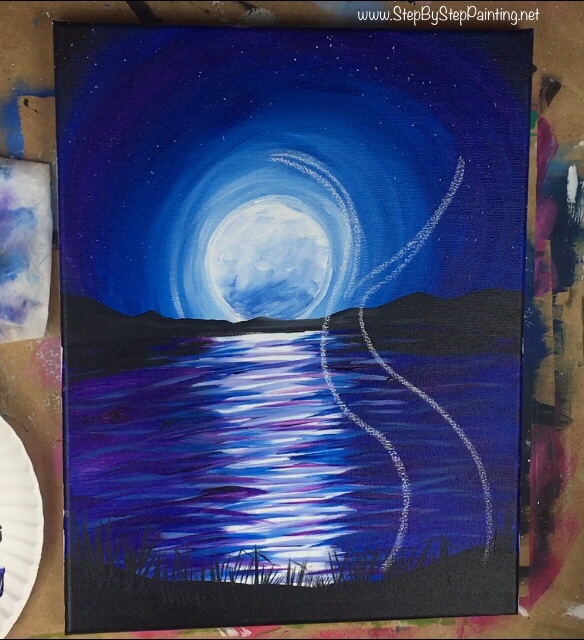
10. Draw the willow tree with chalk
The tree is actually quite simple to draw. You will need a piece of chalk to do this! Start out by drawing a wavy line that contours the moon. Start at the top and work your way to the bottom. 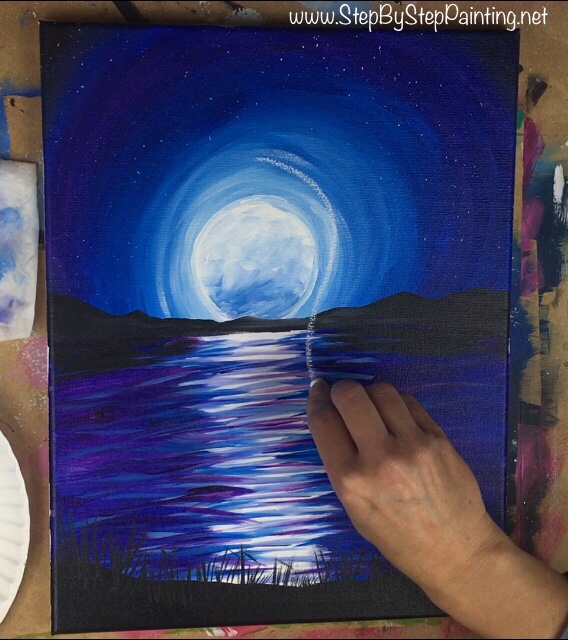
The “trunk” of this tree is very thin at the top and is thick on the bottom. When you draw the second line, make it thin and then let it get wider on the bottom. 
Draw the tree so that the branches split in a “Y” just above the mountains.
Then draw a few more “Y” branches splitting off from the two original branches. Draw the base of the tree as well with the roots showing.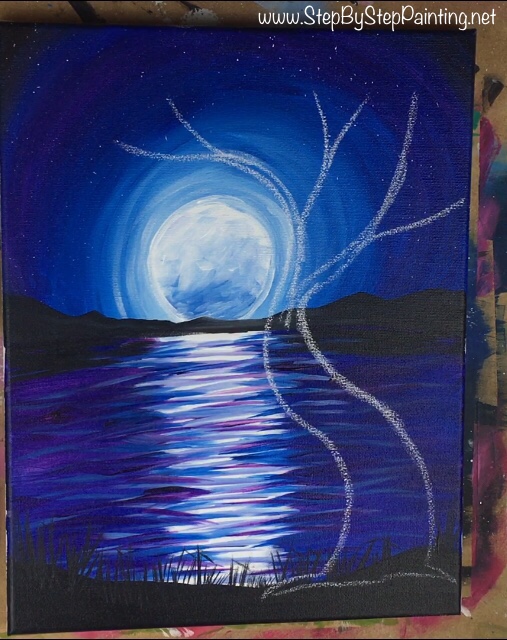
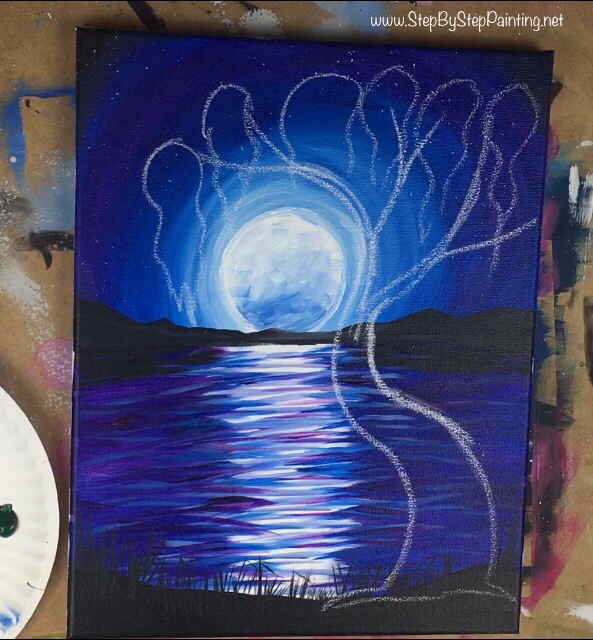
Then use the chalk to draw “jelly fish like” shapes on the tops of the branches. These are just to help out with painting the shape of the willow tree leaf bunches. 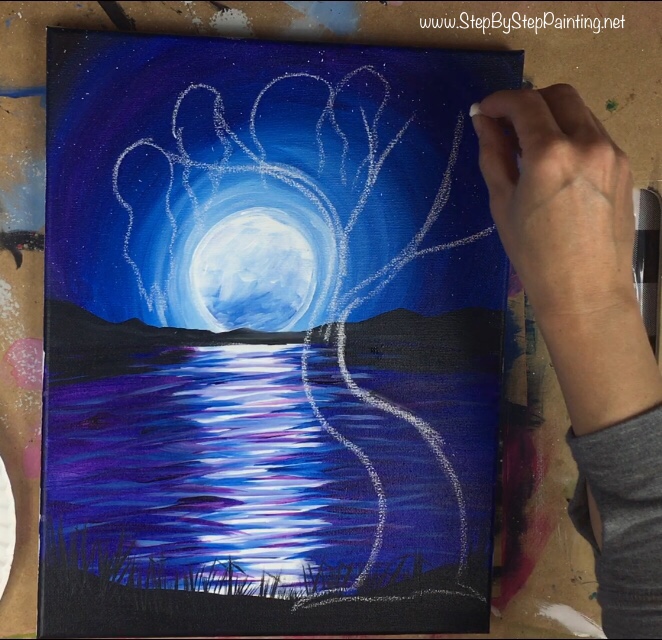
11. Paint the willow tree bundles.
Start with deep green permanent and a #4 round brush. Paint wavy lines starting at the top of each cluster and work your way to the bottom letting the paint run out on and “whisping away”. These remind me of “jelly fish” with these top being rounded and the bottom sort of going to a point. 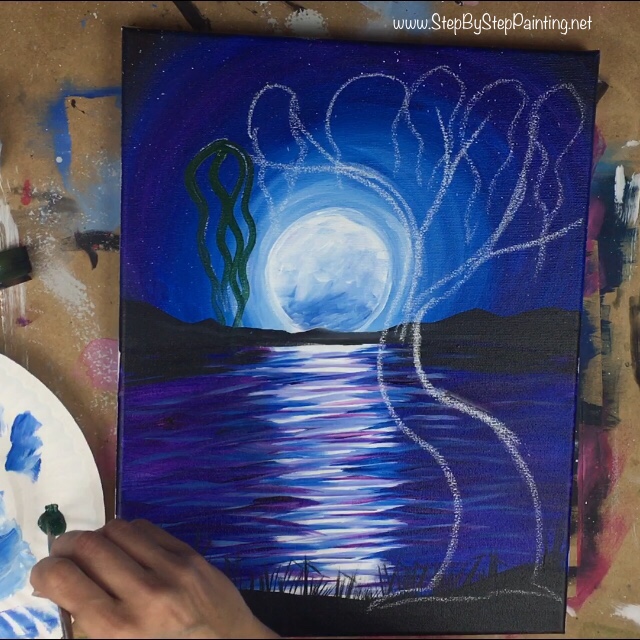
Continue to paint these deep green permanent wavy lines on all the bundles. Make some of the lines dip down slightly over the moon (but don’t cover the moon). Make it look like the willow tree bundles are contouring or hugging the moon. There really is a lot of variety in these strokes – some are longer some are shorter. 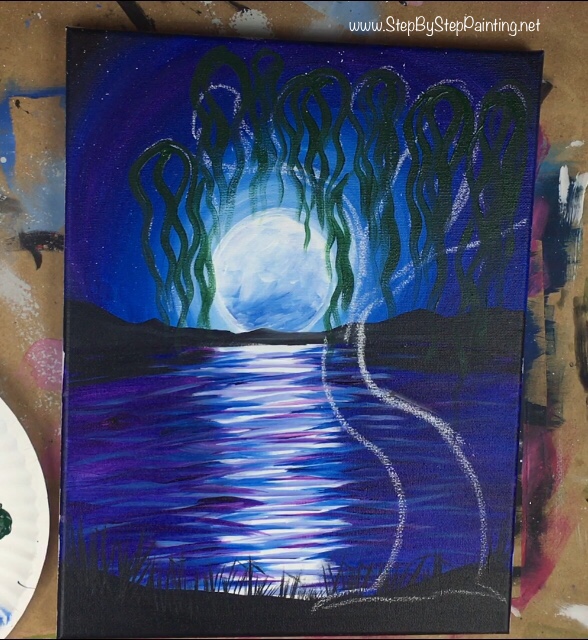
Next rinse off your brush and add light green permanent. Go over the dark green permanent with a new layer of willow tree leaves. The point is not to cover the deep green permanent but to add more “dimension” and “depth” by adding a lighter color. 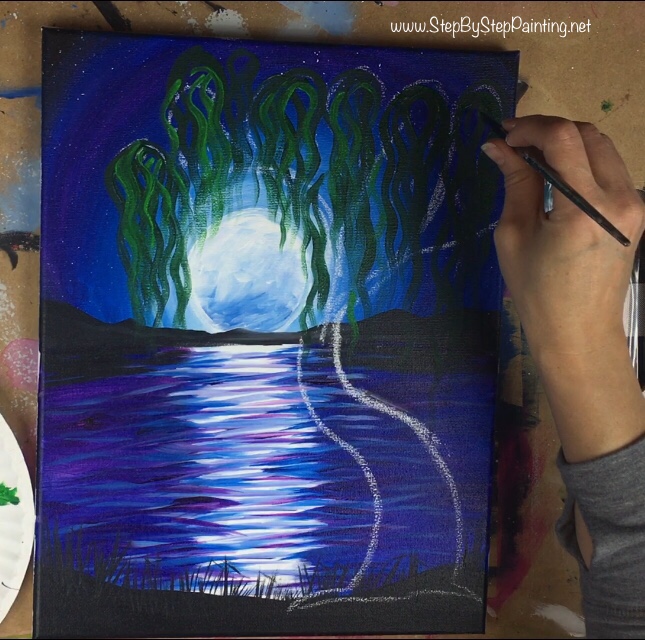
Then add a tiny bit of titanium white to your brush and the light green permanent. Paint more wavy lines of this green-white. Just do this in a few areas “here and there”. 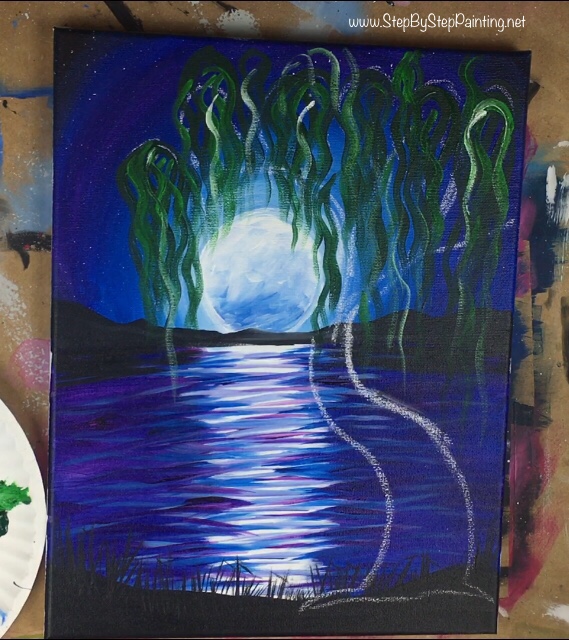
12. Paint the tree trunk
Use the #12 flat brush and burnt umber and mars black. Paint the trunk and all the branches using both of those colors double loaded on the brush. To get the branches to be thin, use the brush on its side (the tip). Go ahead and overlap any willow tree wavy lines too.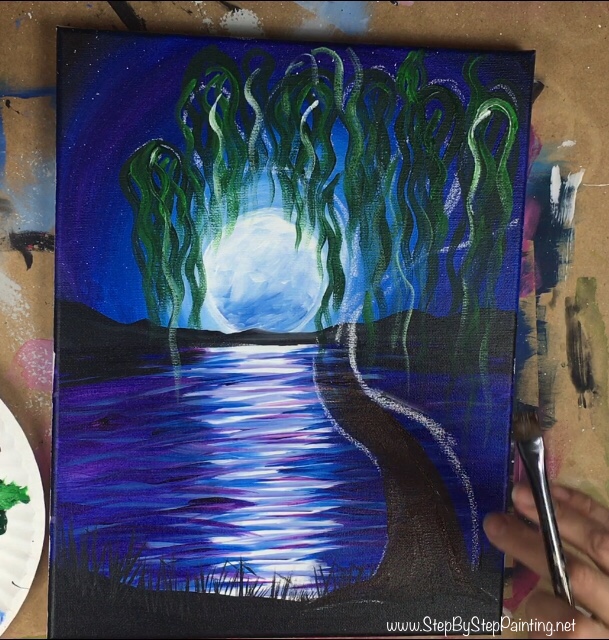
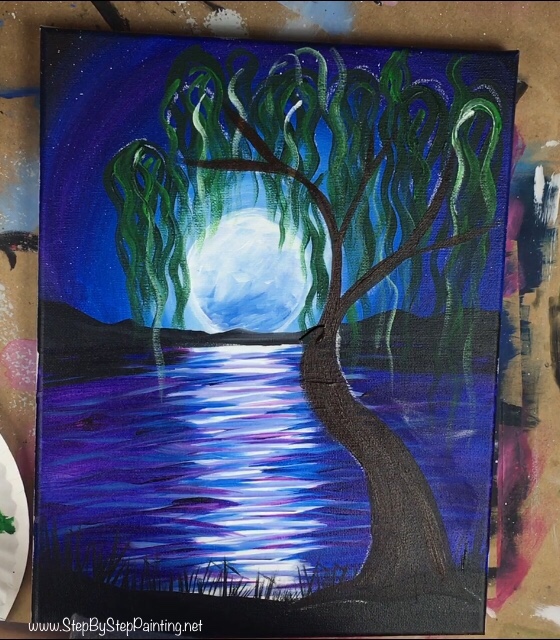
Optional: Then switch back to your #4 round brush and load it with a tiny bit of titanium white. Assuming this color is still wet, paint wavy lines on the tree trunk allowing that white to blend in with the wet brown/black of the trunk. This will create the texture of a willow tree branch. 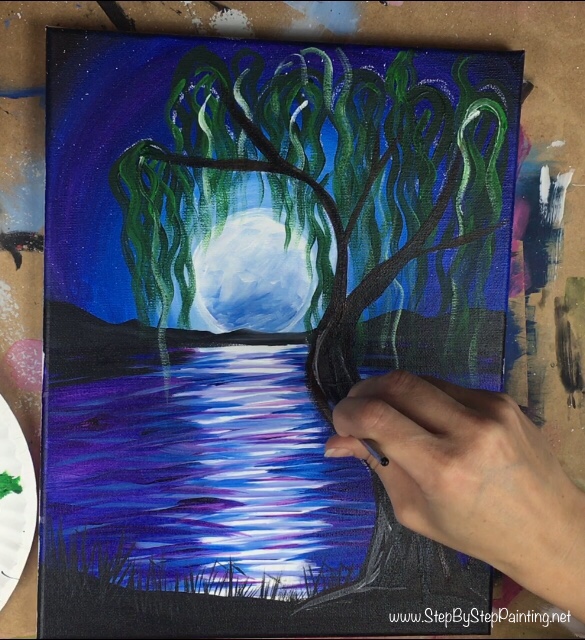
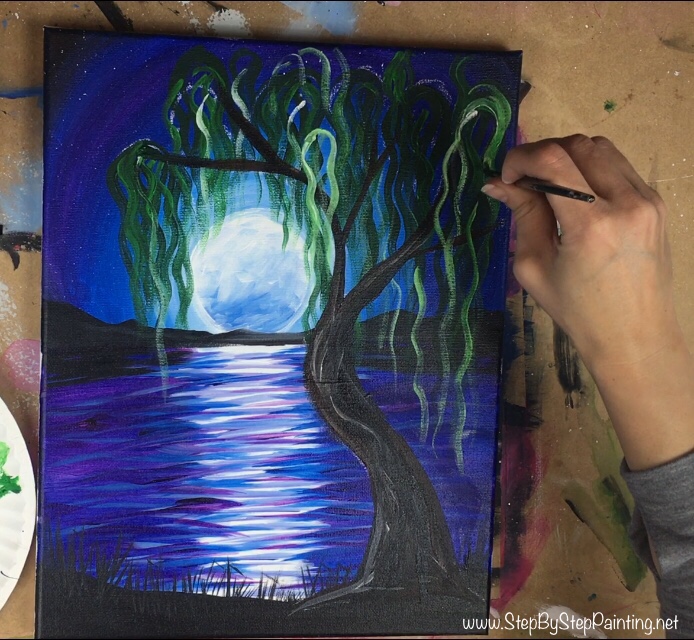
13. Paint some more willow tree wavy lines that overlap some of the branches and paint some brilliant yellow green wavy lines.
Doing some overlapping of the wavy lines over the branches will allow for more dimension in the tree.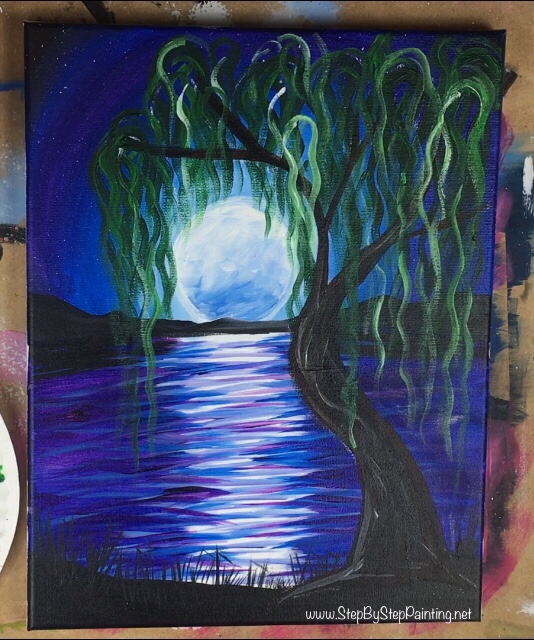
Then add some brilliant yellow green wavy lines. This particular color is very bright and vibrant and adds a nice highlight touch to make the willow tree “pop” a bit!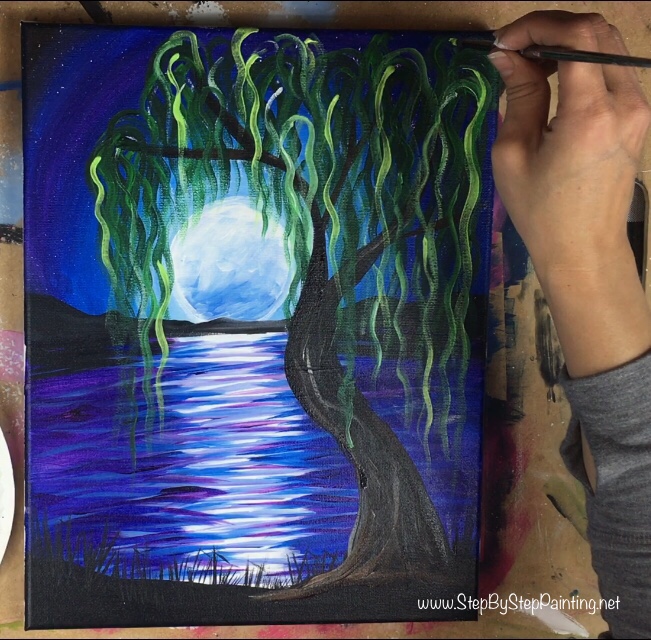

14. Optional: paint little white dots.
This is the point where you can add a nice whimsical touch to your painting! To do the little dots, I used the back of a paint brush handle and stamped each dot to where they were wrapping around the tree.
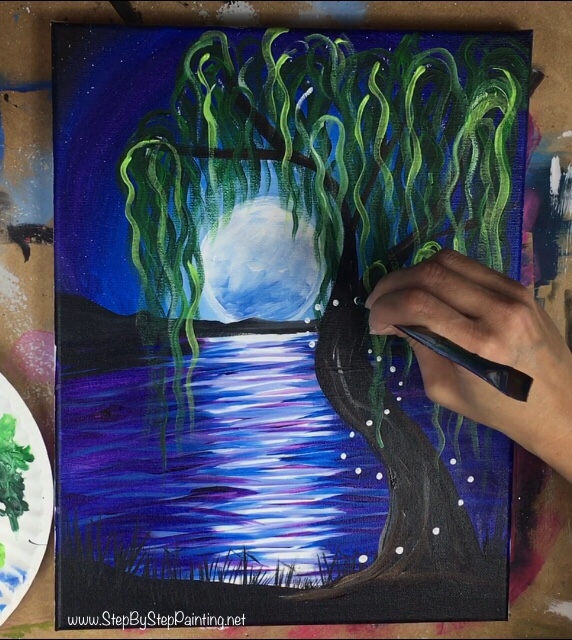
Then I painted a few dots in the grass!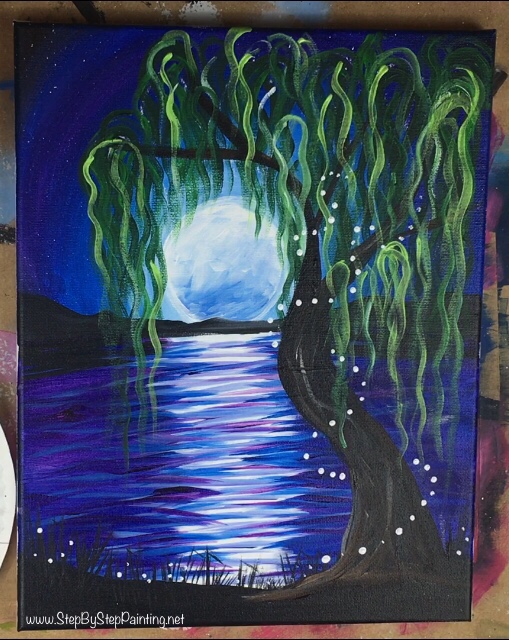
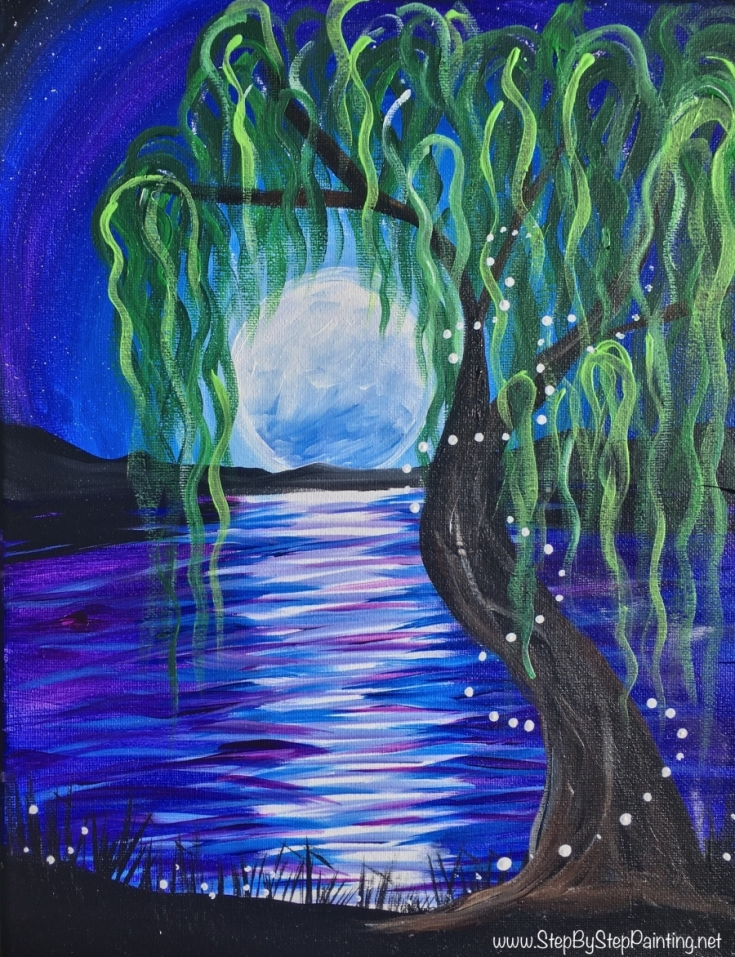
Finished!
Hope you enjoyed painting this gorgeous willow tree! Thanks for viewing this tutorial! Don’t forget to sign your name and show it off on social media!
Would you like to save this?
Share!
Did you do this painting? Share it on social media! Tag #traciekiernan or #stepbysteppainting on Instagram, upload a photo to Facebook and/or upload a photo to the Pinterest pin “add a photo”!


Thank you so much for these tutorials. They have helped me take my mind off my pain and been fun.
You are so welcome Teresa!
I have done over 70 paintings just beginning at 71 yrs old.
About 10 of yours still learning.
Don’t use traceable free hand love drawing.
Most of the things on the websites are oil.
Thanks
My whole family have art two sons grandson and granddaughter who teachers art just finished college
With BS in K thru 12 in art student teaching now.
That is wonderful Donald! Thanks for sharing your story, glad you did 10 of my paintings so far! And being an art teacher is an amazing career! That’s so exciting for your grandchildren!
This would be cool with some glow in the dark paint! I’m going back to your galaxy painting and doing that for my boys’ room 🙂
Yes totally! Never thought of the glow in the dark for this painting but that would be neat! ?. Hope you enjoy doing the galaxy for your boys! My boys have a “space theme room” and the galaxy paintings are hanging up in there. They love it!
I love this painting and chose it as one of a handful of step-by-step projects to attempt. I spent yesterday afternoon working on it. Though I’ve done a lot of stencil work and chalk-painting I’m almost a complete novice at painting using any medium unless taking Art I and Art II in high school (many moons ago!) counts. I have problems making strokes that result in clean lines (as in your palm fronds) but I thoroughly enjoyed this project. Next on my list of paintings to try is your ‘Whimsical Clovers’!
Thank you Laura!
I love it!
Your video was so easy to follow! Thank you! Had so much fun doing this painting. Can’t wait to try another one!
That’s great Nancy! Glad you enjoyed ?
Thank you for your instruction! Had fun 🙂
Hi. Haven’t tried painting in years. My daughter asked me & I did. Random search brought you to me. Requested beginner painting step by step. Taking a pic before adding the tree because i actually like it. Yours is amazing! Mine was recognizable! Yes, thank you for posting. You made me & my daughter, happy. Thank you. Our Creator blessed you. Keep going. 🥰❤🎯💐🎁