
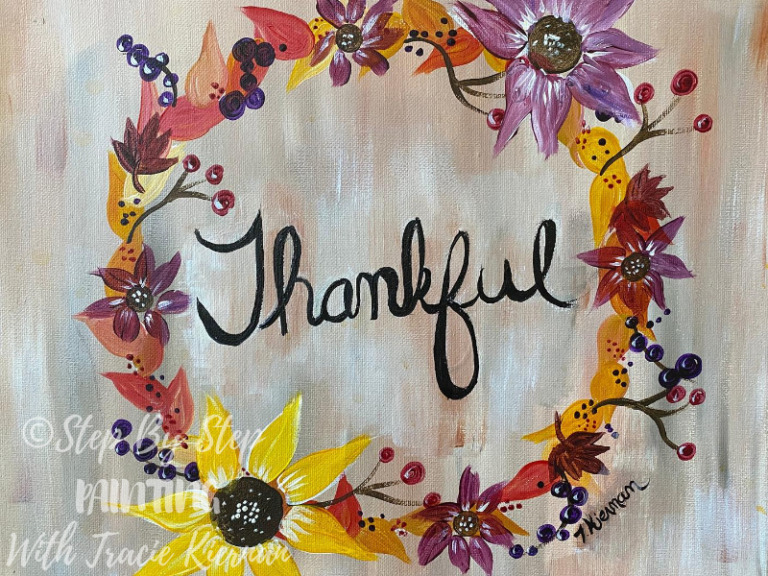
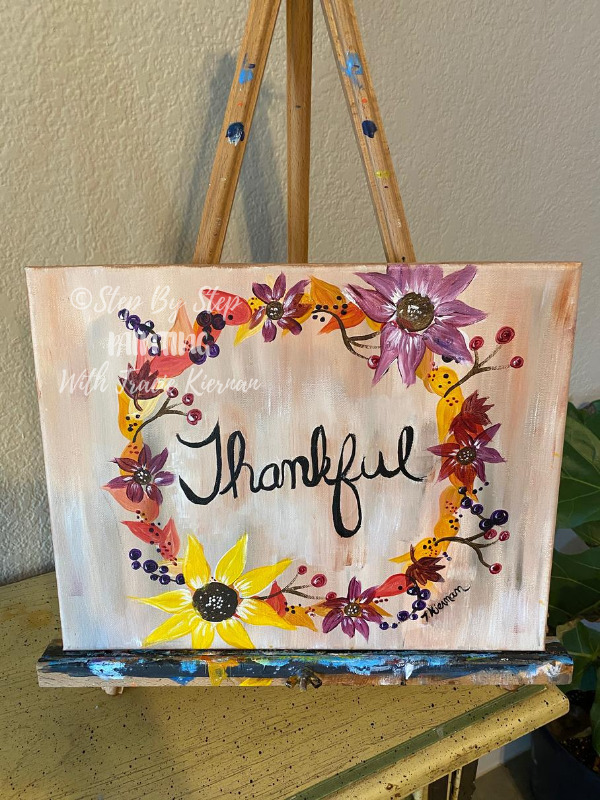
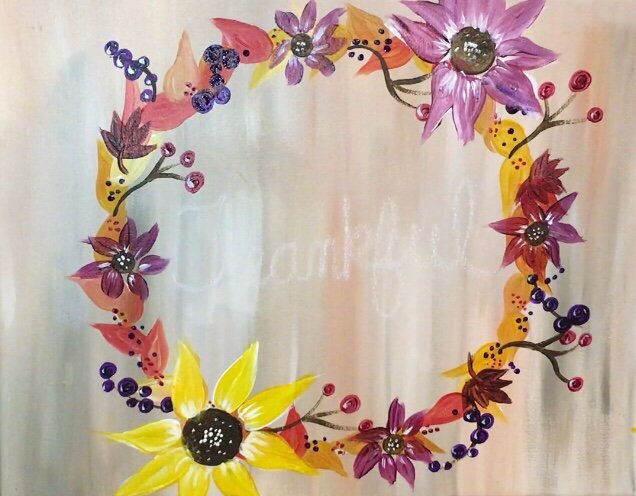
How To Paint A Fall Wreath
This step by step acrylic painting tutorial will show you how to paint an easy Fall/ Thanksgiving wreath on canvas. The design can go well with both your Thanksgiving decor and as a year round painting!
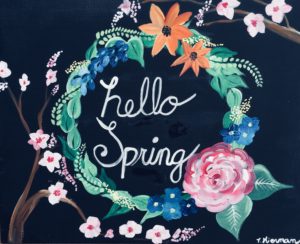
See Also:

The word can, of course, be customized to whatever word you’d like to add in the middle of the wreath “Blessed”, “Give Thanks”, “Family” or even a monogram.
Painting a wreath is actually really simple! I used a paper plate to trace a chalk circle onto my canvas before painting all the little leaves, berries and flowers! 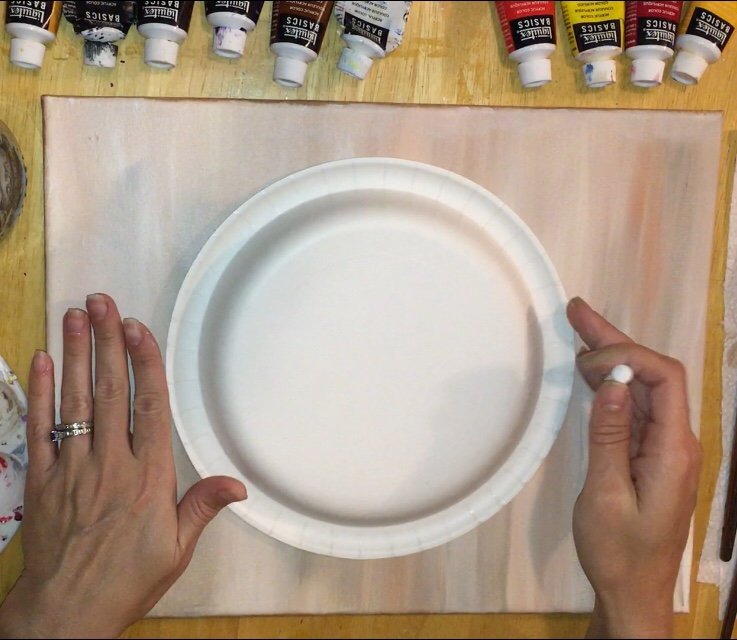
After tracing a circle, I painted the simplest leaf possible but overlapped them and used different shades of red and yellow from my Liquitex BASICS pack. 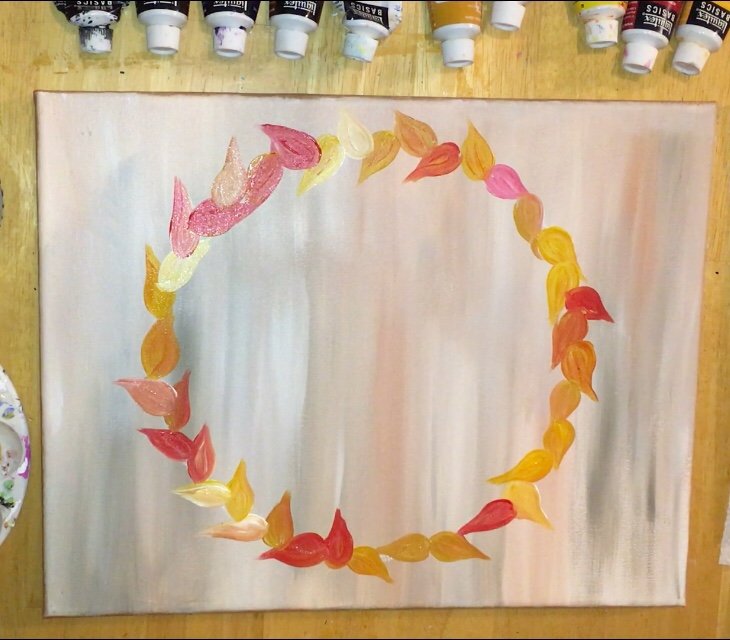
Then it’s all about adding more simple details around the wreath. I painted twigs, berries and then eventually some small and large flowers! I mention this later on in the directions but you can go your own way and add your own colors and details to the wreath if you like. 
Enjoy, happy painting!
This Post Contains Affiliate Links
Materials:
- 11″ x 14″ Canvas
- Acrylic Paint (I used Liquitex BASICS)
- Mars Black
- Titanium White
- Cadmium Yellow Medium Hue
- Dioxazine Purple
- Mars Black
- Burnt Sienna
- Alizarin Crimson Hue Permanent
- Raw Umber
- *Yellow Oxide
- *Cadmium Yellow Deep Hue
- *Naphthol Crimson
- Brushes
- Paper plate or circle to trace (about 9″)
- Chalk
- Pouncers (Optional but they are nice to stamp the flower circles!)
- Paint pen (Optional but it REALLY helps with the word. I used my 10/0 liner brush for the word)

Directions At A Glance: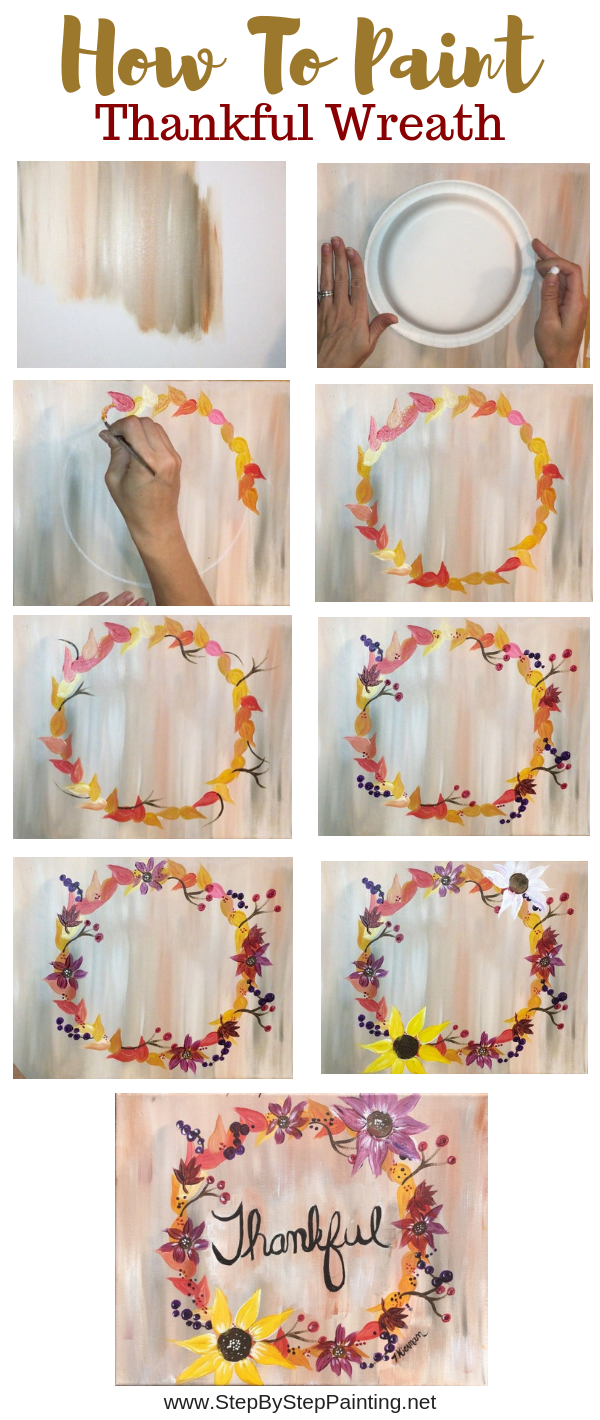

Video:
Step By Step Directions:
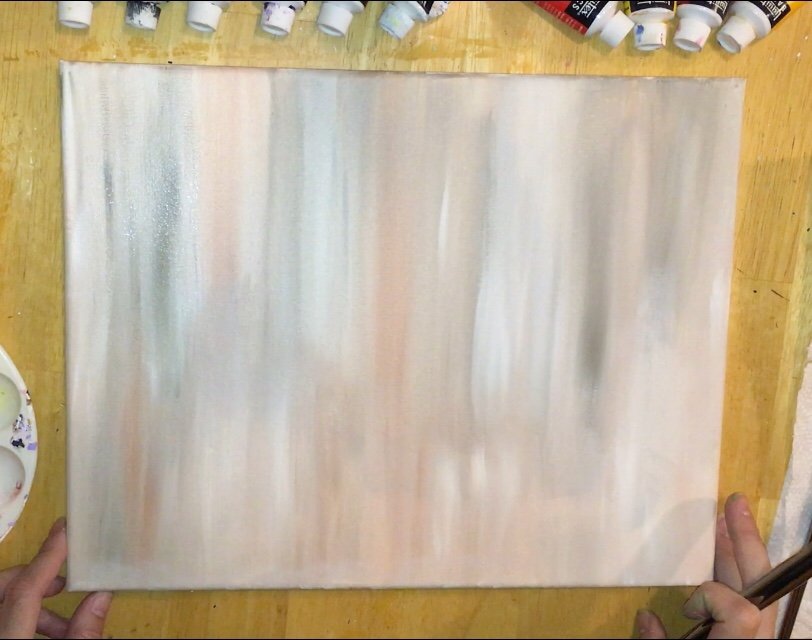
1. Paint the background with “burnt sienna”, “raw umber” and “titanium white”.
I used a 3/4″ wash brush triple loaded in the colors: “burnt sienna”, “raw umber” and “titanium white”. As pictured below, dip your brush in mostly white and then deep each corner in one of the browns. Paint up and down strokes and allow the colors to blend. Make sure you are using mostly light so that this turns into a “light brown” unmixed/ streaky looking background. 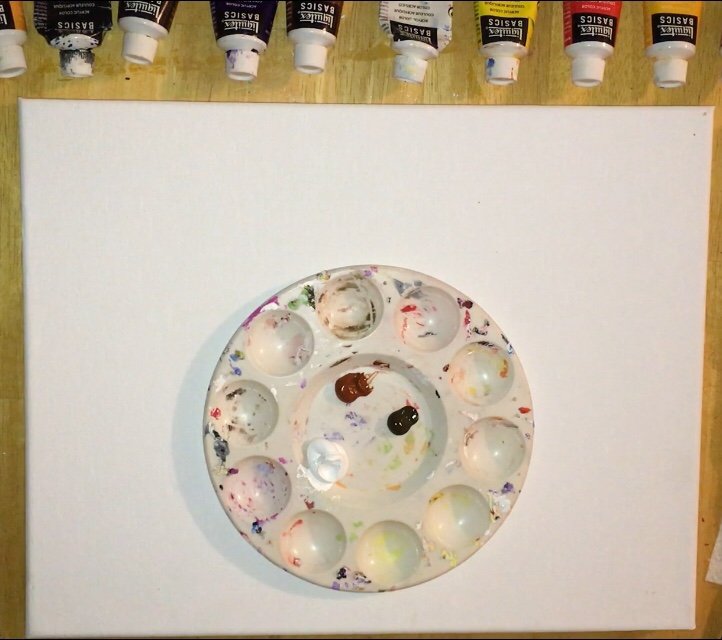
This brush is triple loaded in titanium white with burnt sienna (that reddish brown color) and raw umber (that dark cool brown color) on each corner. This is a 3/4″ wash brush.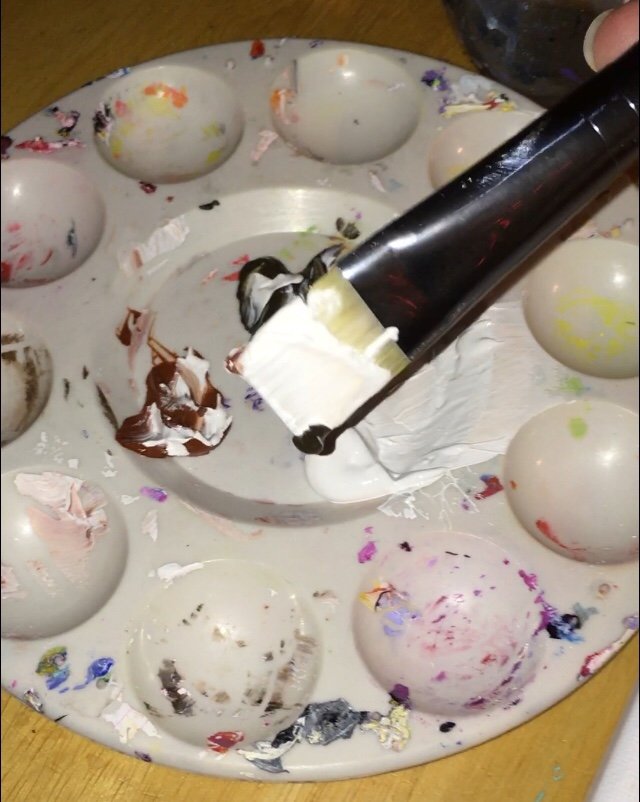
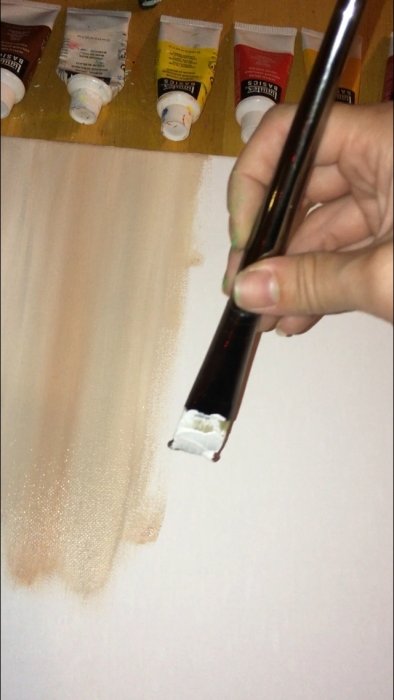
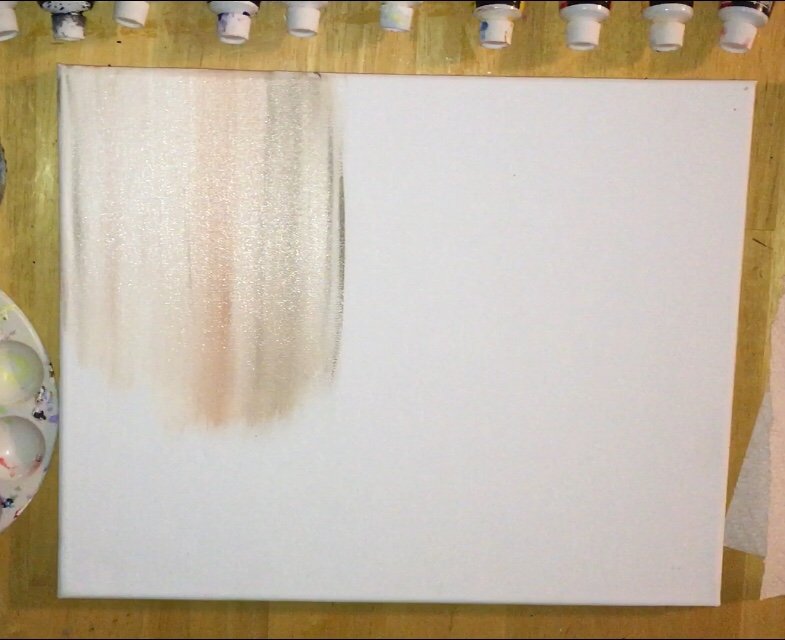
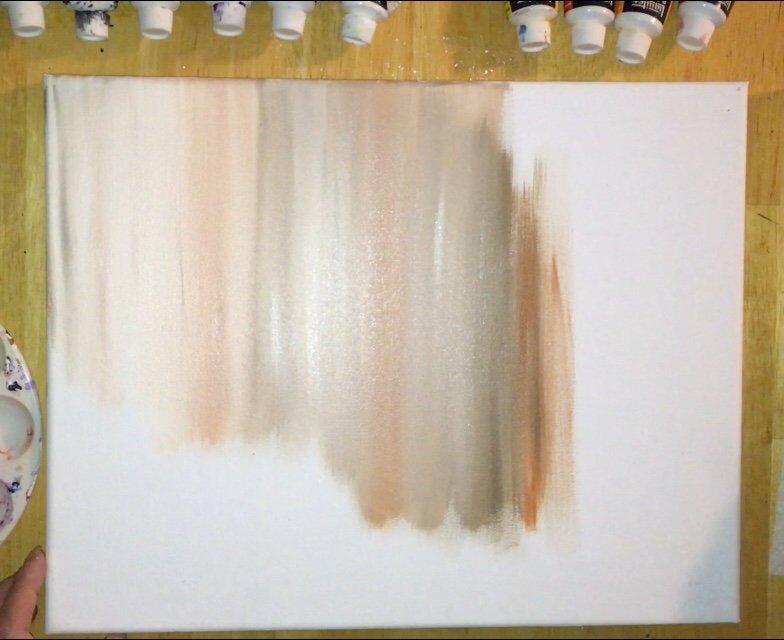
Keep your strokes going up and down and as consistent as possible. There shouldn’t be any brush marks showing. The colors are also not mixed all they way, they are blended on the canvas. 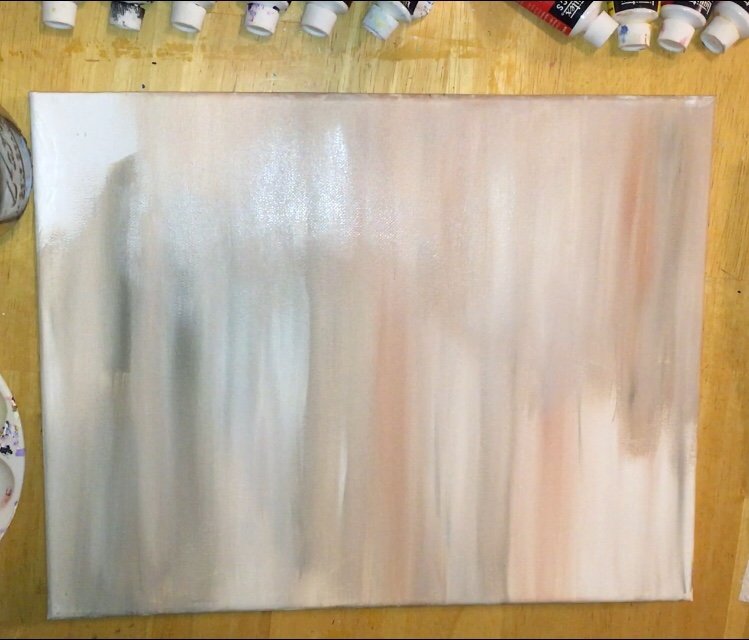
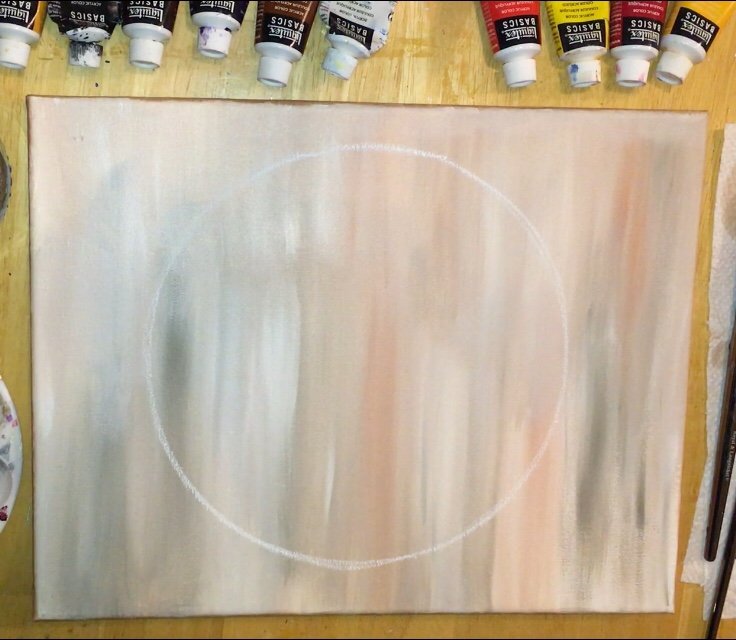
2. Trace a paper plate with chalk.
This was the typical party paper plate size, I believe about 9″. You can use any circle that you have around the house, just one that will almost fill up the canvas. Basically, trace the plate with a piece of chalk (or pencil if you don’t have chalk).
3. Load your palette with a variety of reds and yellows.
The colors that I used were: cadmium yellow deep hue, cadmium yellow medium hue, yellow oxide and naphthol crimson as well as titanium white. You CAN use different colors if you don’t have these exact ones. The goal is to create some Fall colored leaves on the wreath next. 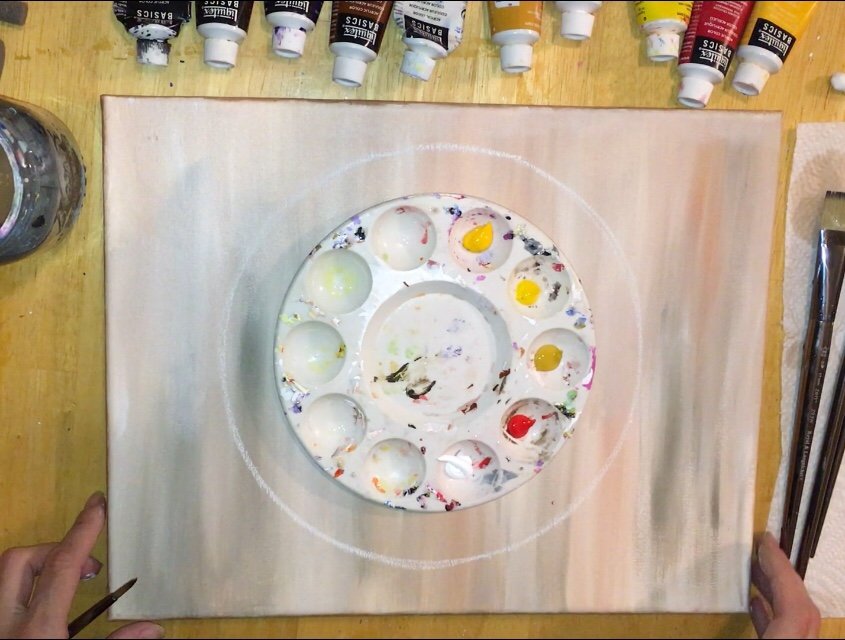
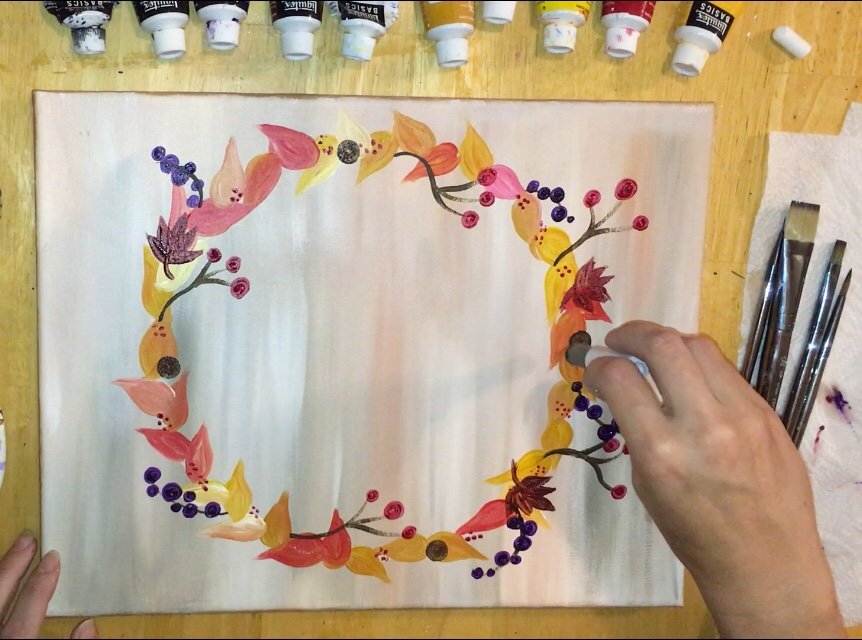
4. Paint basic leaf shapes along the circle.
I used a #5 round brush for this step. Basically dip the brush in any of the reds and yellows you loaded onto the palette. For the first leaf, I dipped my brush in titanium white and napthol crimson. 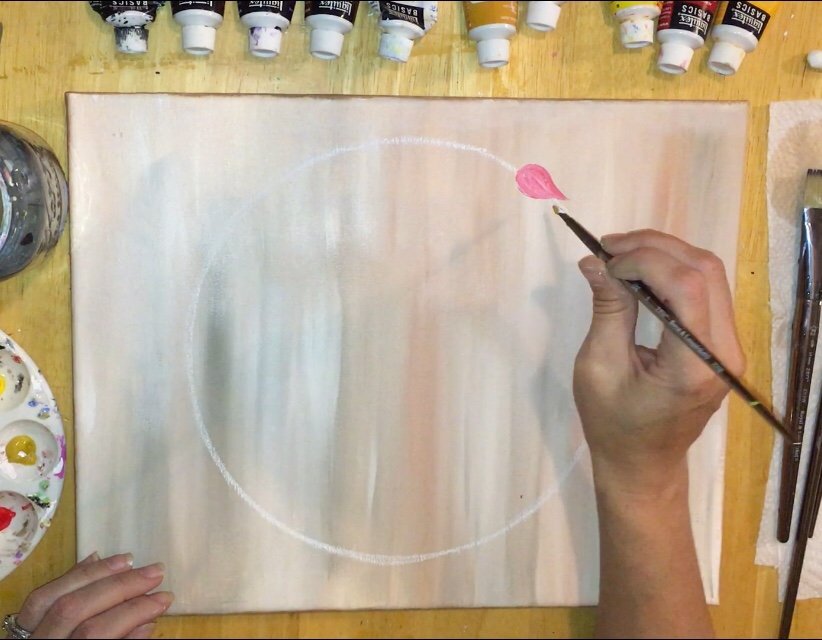
As you paint each leaf, reload the brush in a different red or yellow. The different color will mix to create a unique shade of red or yellow or even orange. 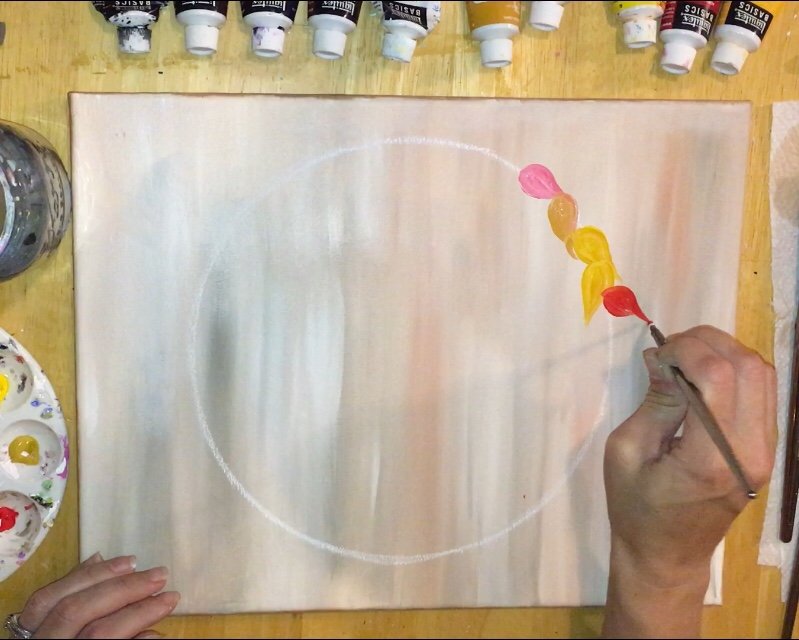
You can create a pattern or just randomized the colors. I did not clean my brush between loads, I just grabbed the color and painted each leaf. 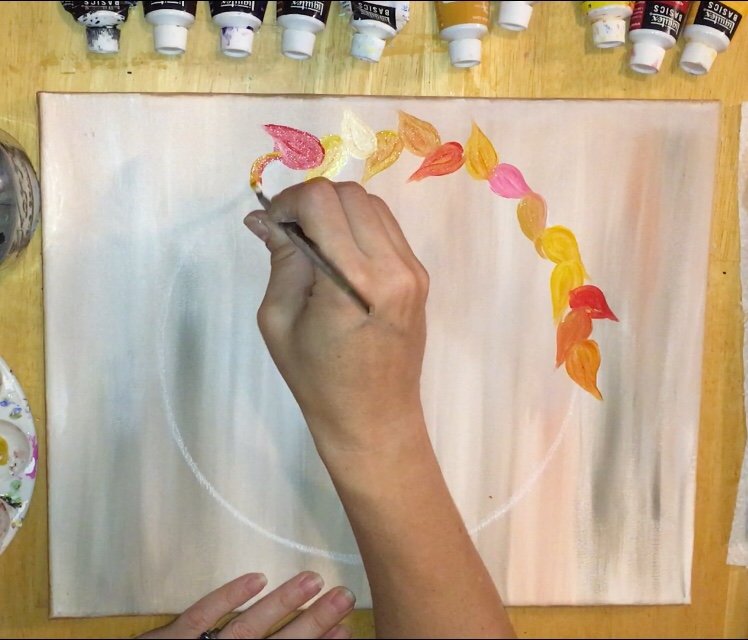
I also let the leaves overlap each other as I painted each one. They were at different angles. Some of the tips were pointing in and some were pointing out. 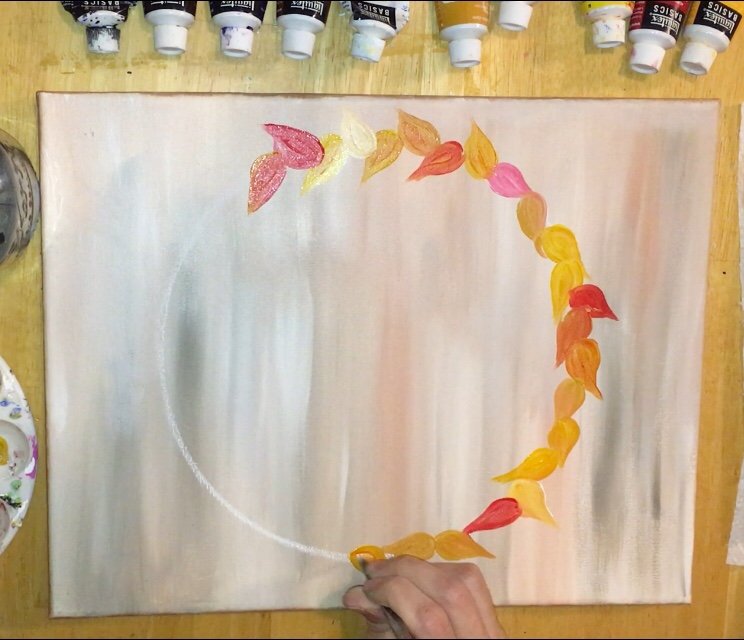
This is the base of the wreath. It’s nothing perfect! We will be adding more details as we go along.
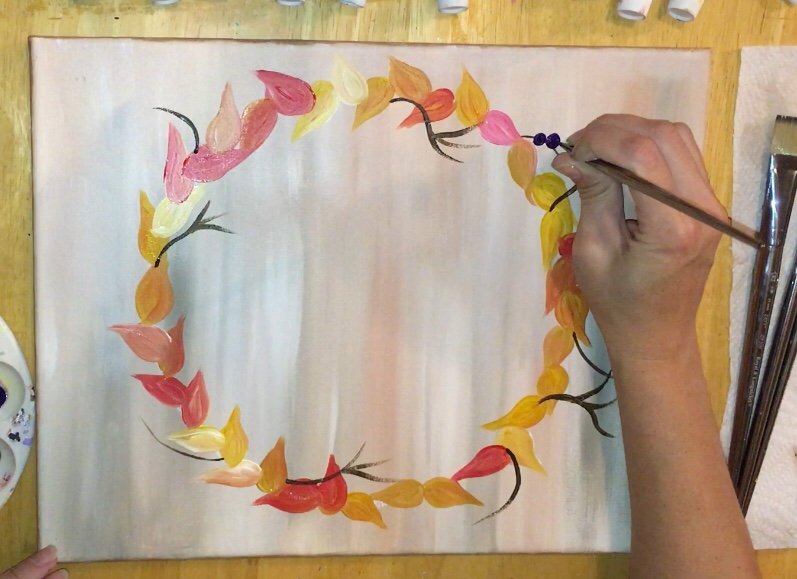
5. Paint some “twigs”.
I used a #10/0 liner for this step. Use the color “raw umber” to paint some twigs curving outward from the wreath. I did a total of 5. 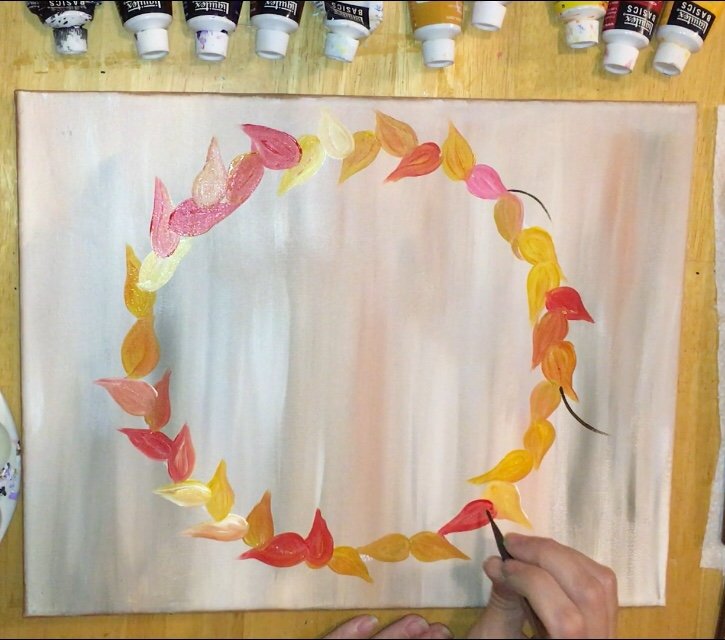
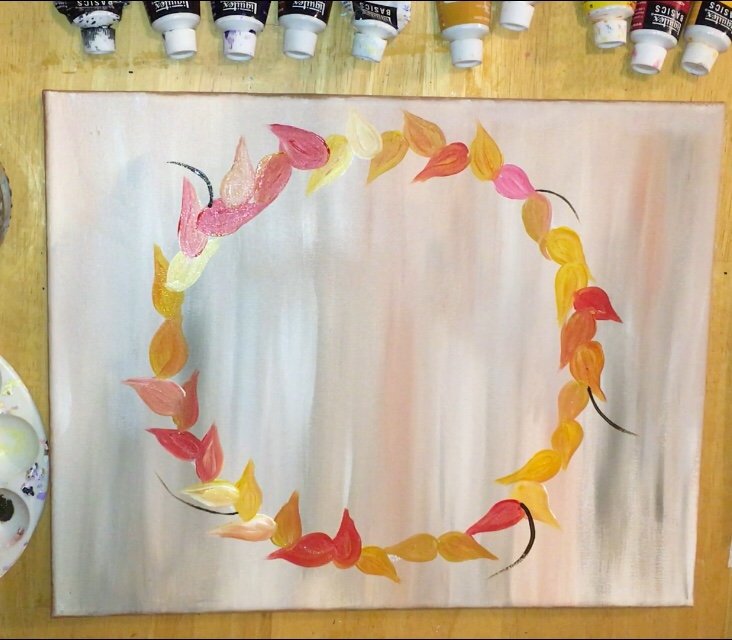
6. Paint some twigs with “stems”.
Next I used the same brush and same color to paint a different twig that was like a Y with a line in the middle. I painted 5 of them branching out from the leaves. 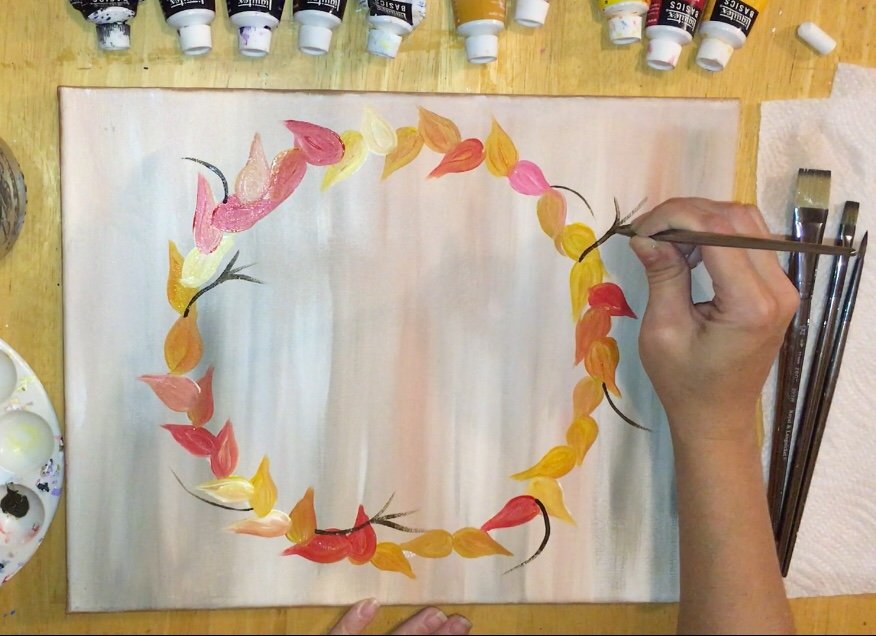
7. Paint some “dioxazine purple” berries.
Then I used the same brush (but rinsed) to paint “dioxazine purple” berries. This was done on only the twigs without the branches. Just paint some circles of various sizes that are bundled together along the twigs.
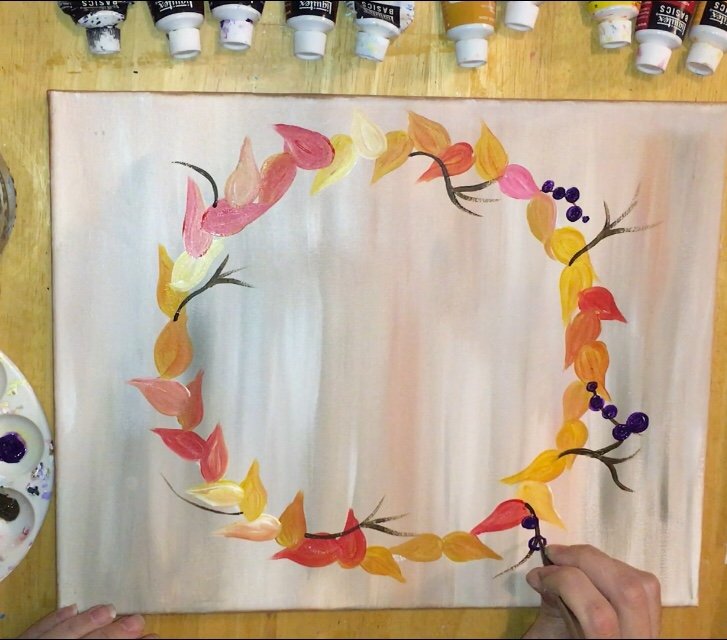
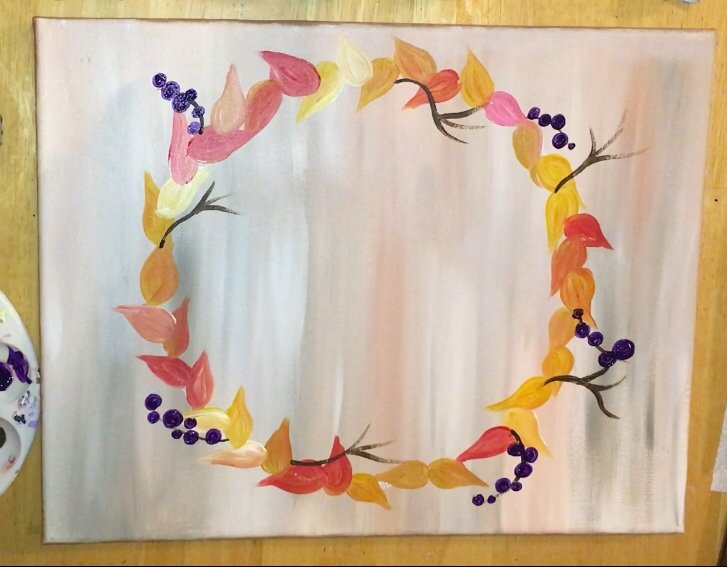
8. Paint some “Alizaron Crimson Hue Permanent” berries.
Then on all those “Y” twigs, I painted little circles attached to the ends with the color “alizaron crimson hue permanent”. That’s a big word for a red! It’s a beautiful, almost maroon color. 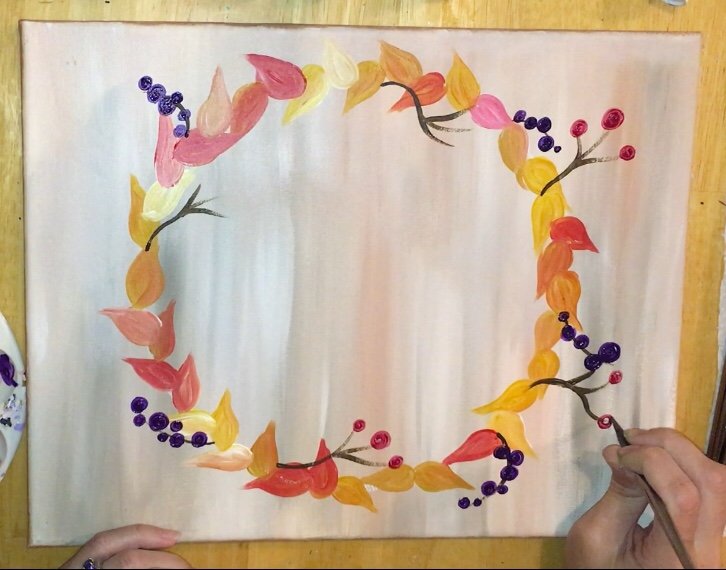
I also painted little tiny dots “here and there” in clusters in between some of the leaves and on the leaves. 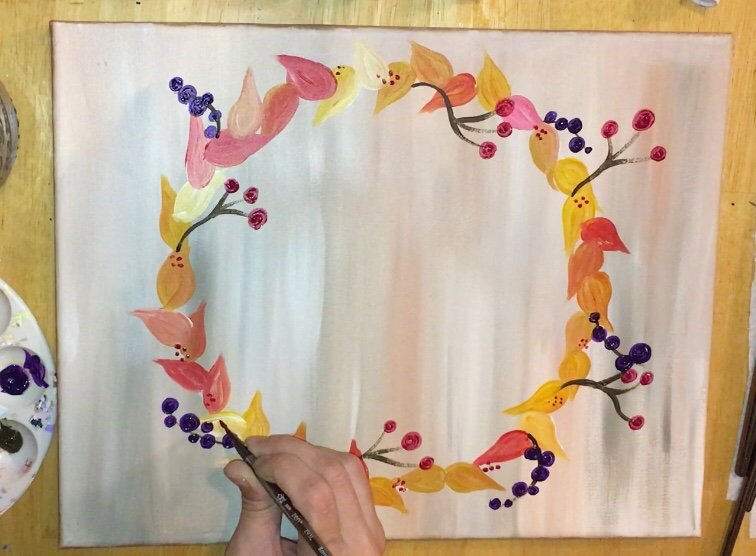
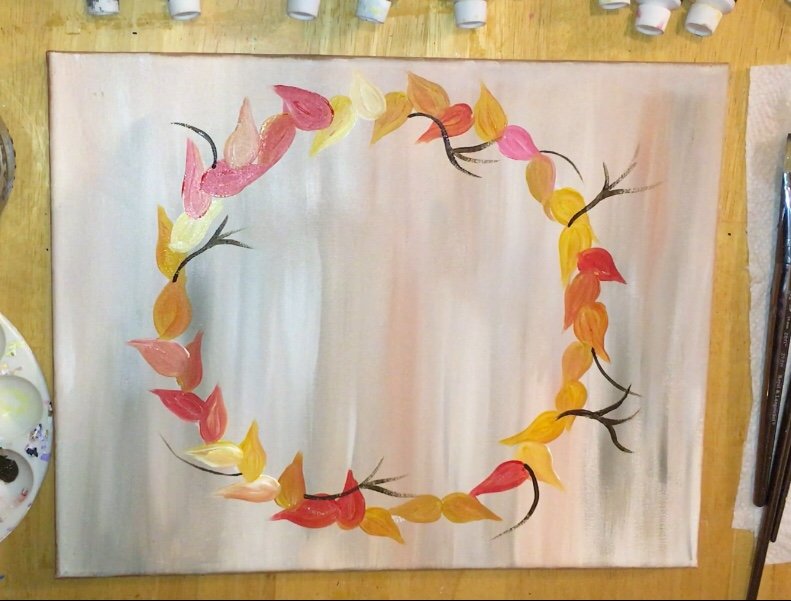
9. Paint a few different leaves
You may catch the “gist” of this wreath painting thing by now. It’s easy to customize and kind of “zen out” and do your own thing. You may decide you don’t want to copy everything I did on this wreath and go a different direction and that is okay!
Anyhow, next I mixed “dioxazine purple” with “alizaron crimson” and a little bit of burnt umber to create a dark maroon color. I used this color to paint a few maple style leaves. I did three of them. 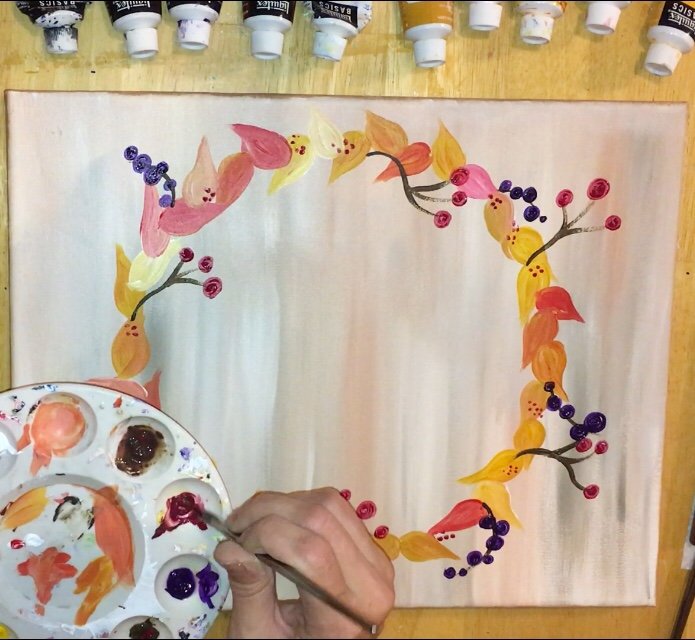
10. Stamp or paint 3-4 circles for the centers of the small flowers.
In this painting, there are four small flowers and two large flowers. I used the smallest pouncer in this set and the color raw umber. 
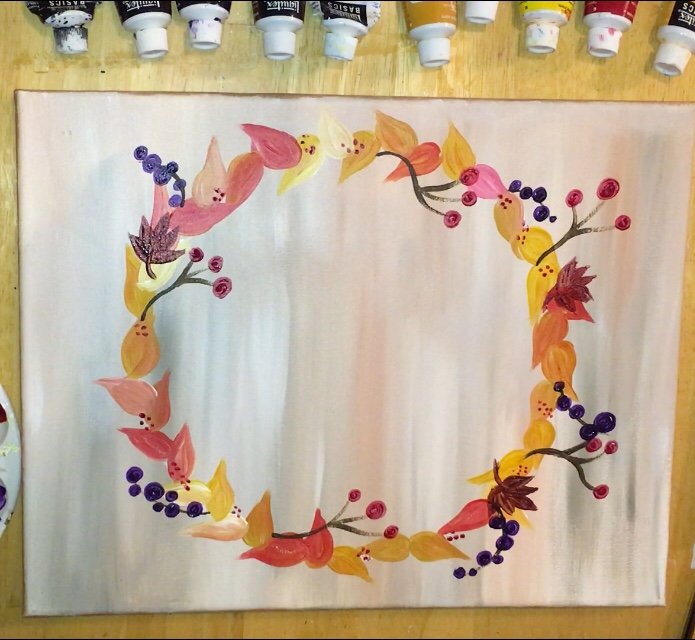
11. Paint petals on small flowers.
I mixed dioxazine purple with alizaron crimson. That was the color I painted the petals on the small flowers with. I also used my round brush for this step. 
After each of the petals on the flowers were painted. I did little white dots on the center circle of the flowers. 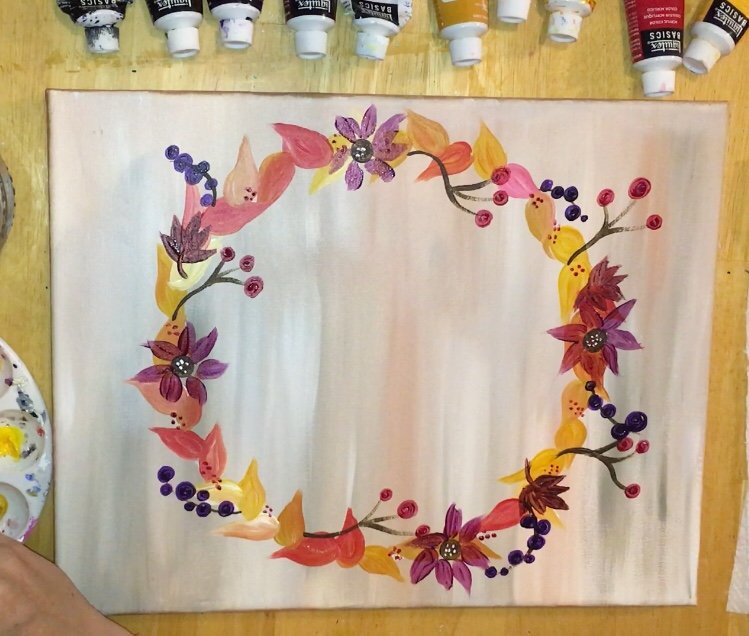
And I painted little white lines on the bottom of all the petals. 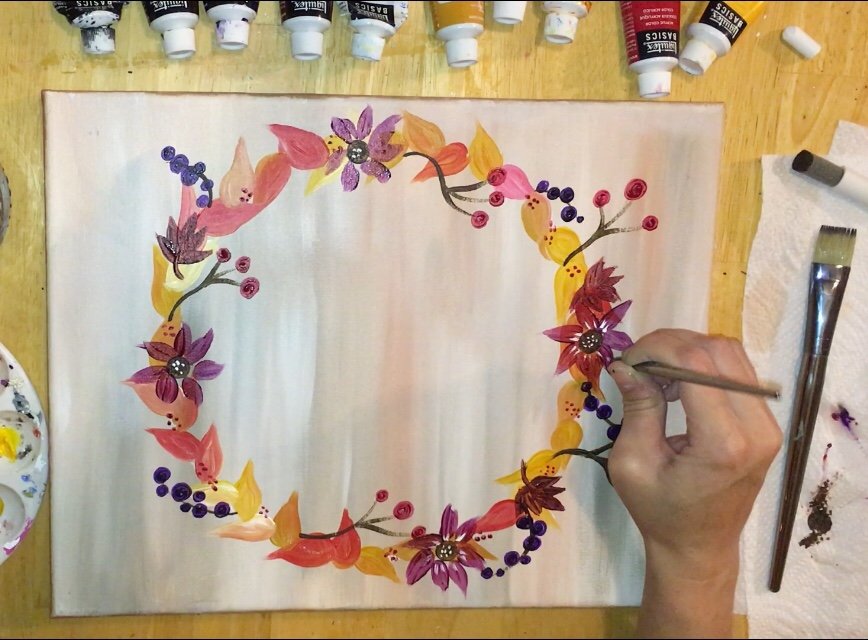
12. Stamp circles for the large flowers then paint the petals white.
I used one of the large foam pouncers dipped in raw umber. I stamped the circle. 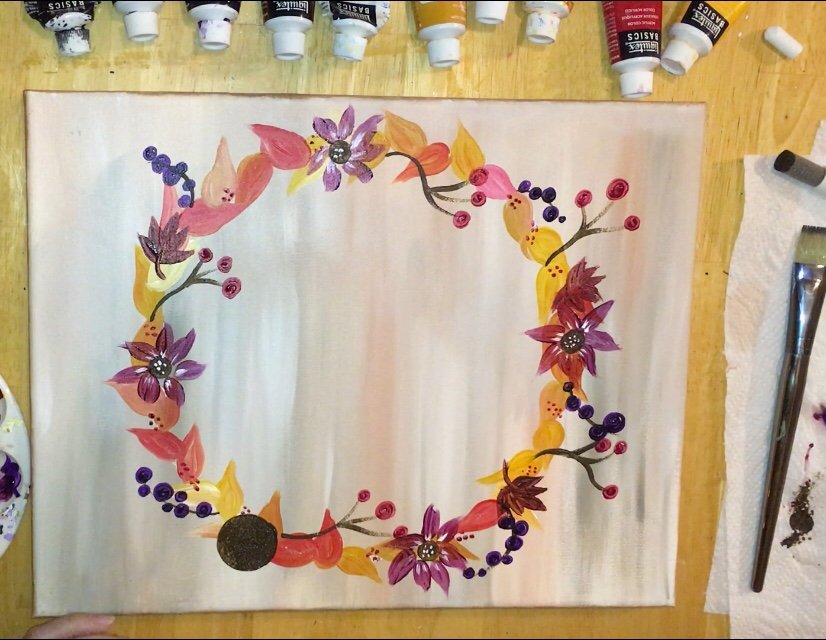
Then I used my #4 Bright brush to paint each petal. Use the full width of the brush to paint the larger part of the petal and then twist to create a petal point. 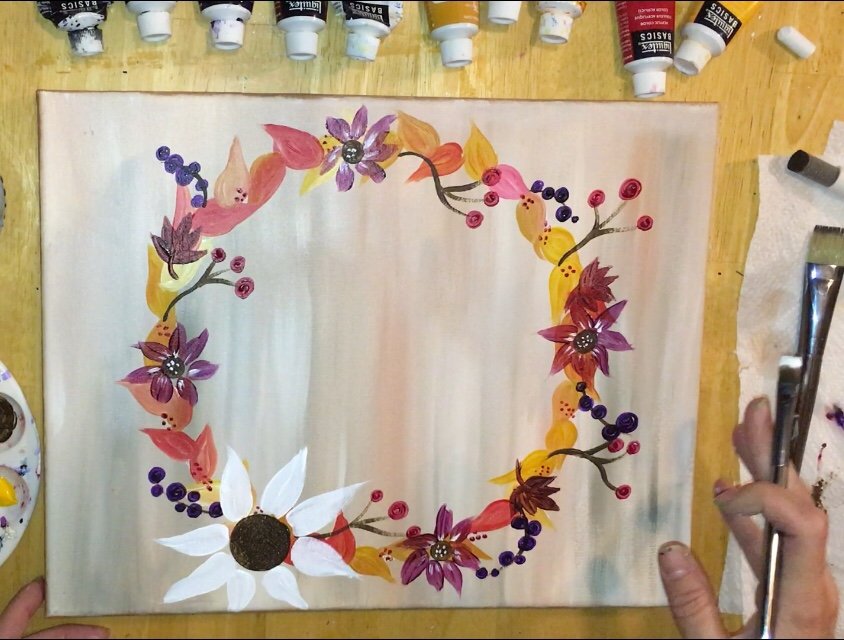
Then I stamped the other circle in the upper right. 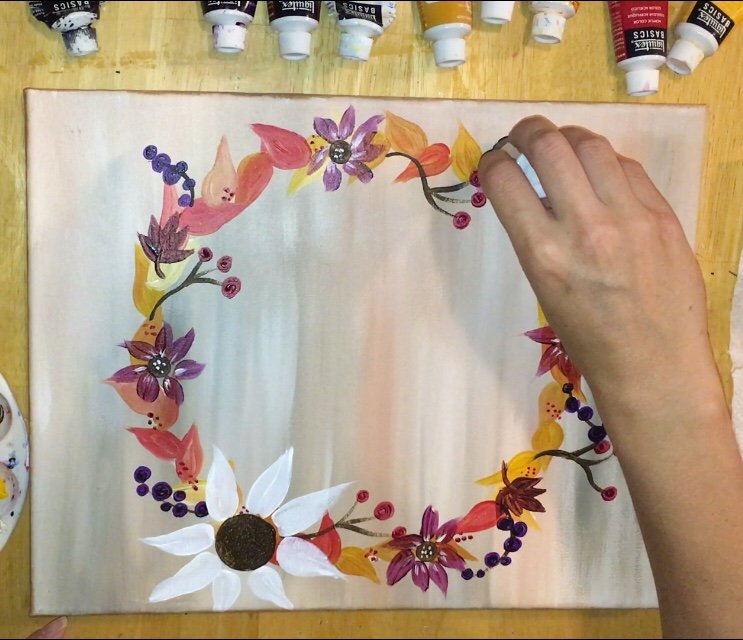
And, again, used a #4 bright to paint the petals. Press firm to start and then twist the brush to make the petal come to a point. 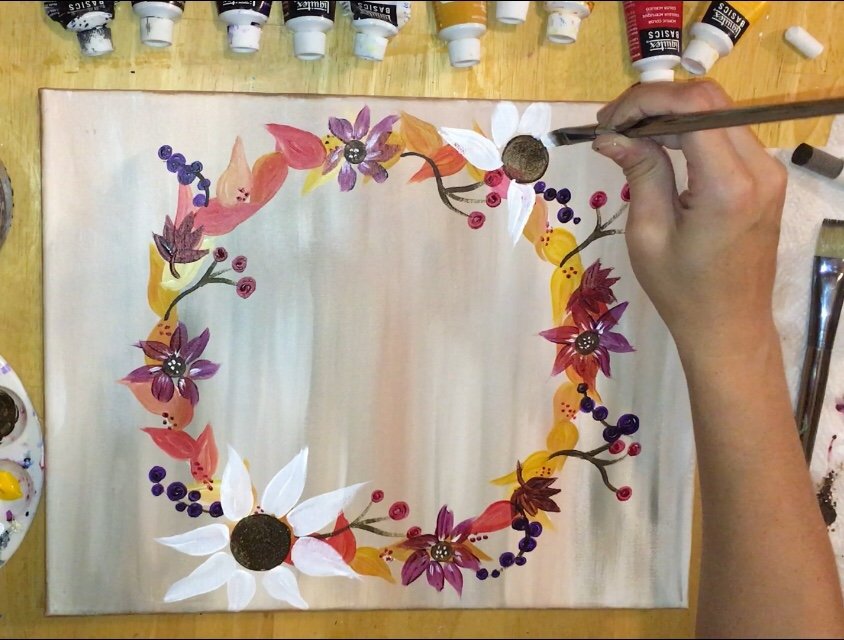
These petals were painted white to “white out” the area. 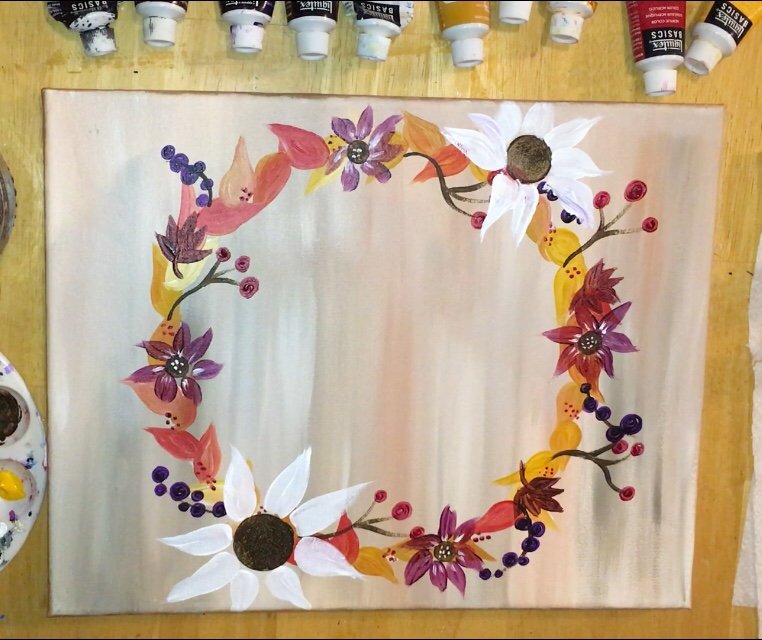
13. Paint one of the flowers with cadmium yellow medium.
To do the yellow in the flower, I used cadmium yellow medium and the #4 flat bright brush. Paint over the white to turn the petals yellow. 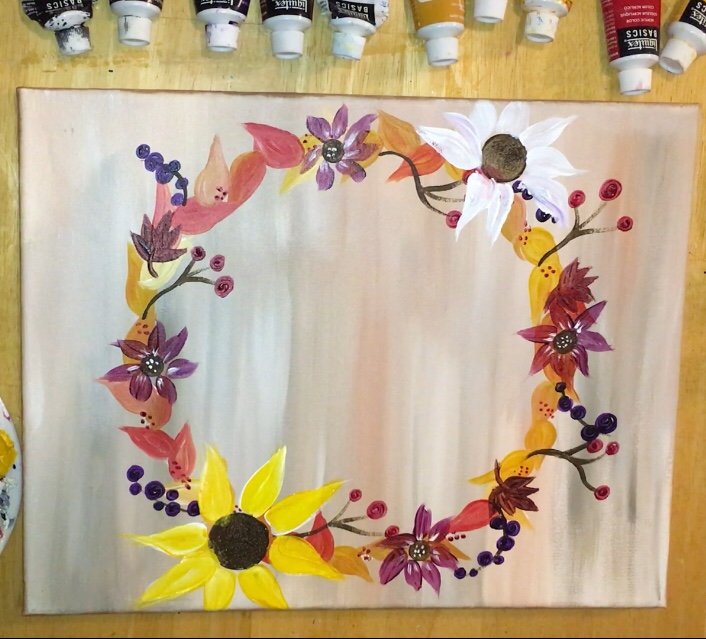
14. Add little white dots on the centers of the flowers.
To do the little dots, I used the 10/0 round brush and painted little titanium white clusters just on the centers of both of the large flowers. 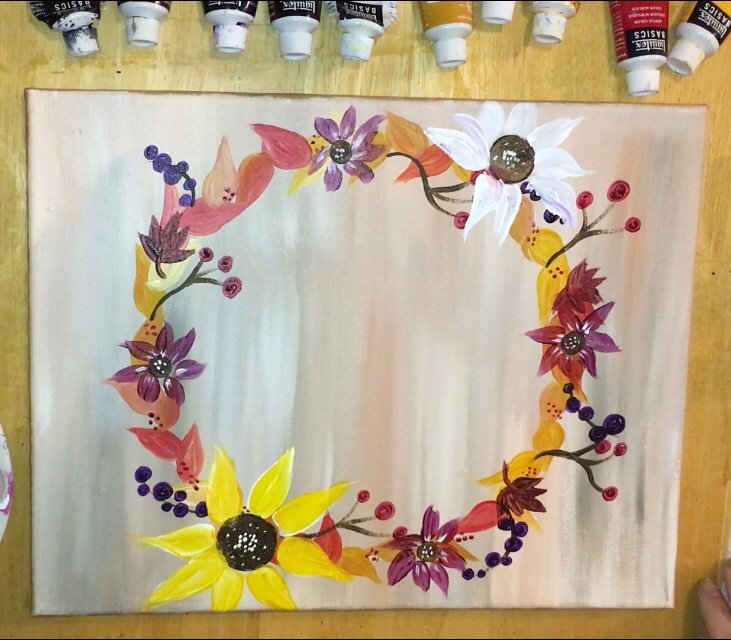
15. Paint the petals of the large flower in the upper right.
I used the color dioxazine purple mixed with alizaron crimson. I also added some white lines on the bottoms of all the petals. 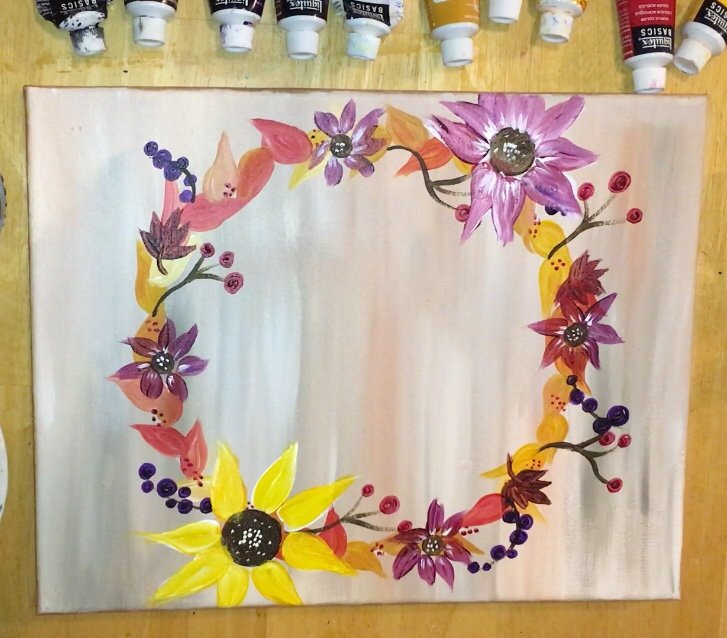
There were white lines added on the bottom of the yellow petals as well. Also there were little white highlights added on most of the berries!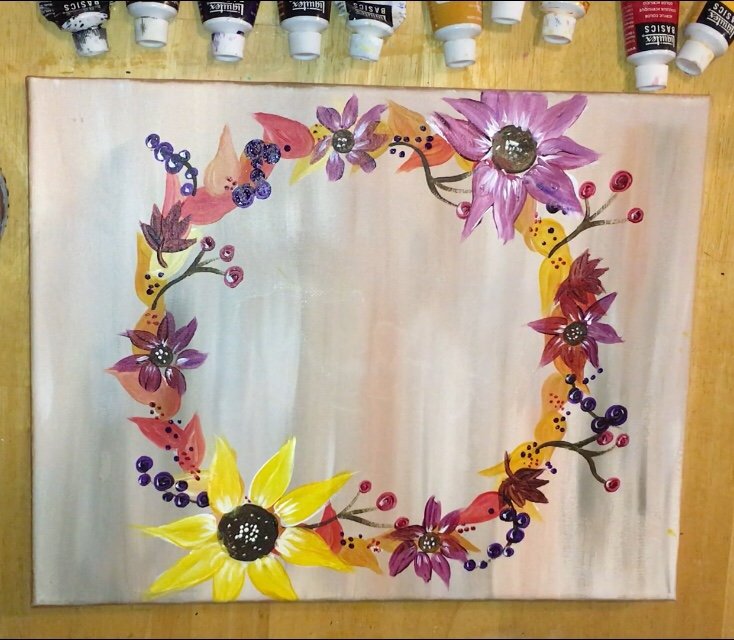
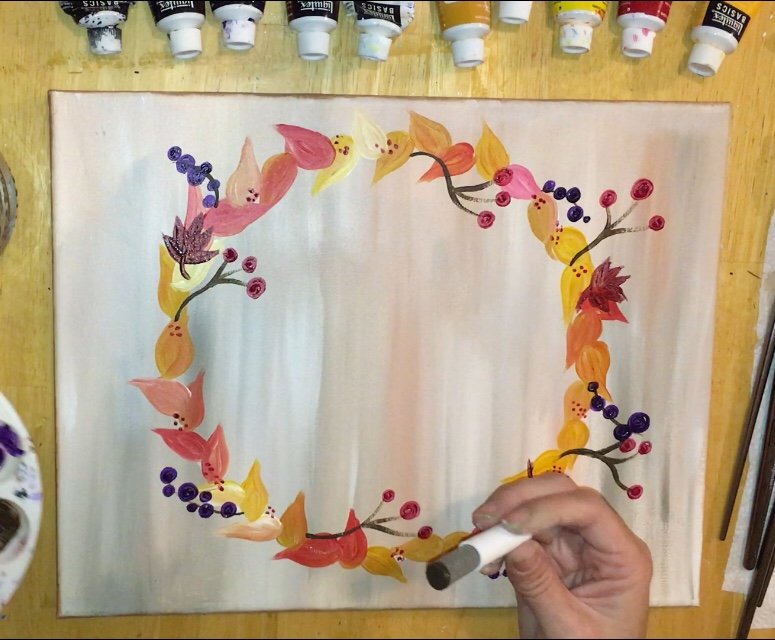
16. Use chalk to write out your word.
Writing with chalk first helps you get the spacing right and if you need to erase and redo the word, it an easily be done with water.
17. Paint the word with mars black and a 10/0 liner.
Use that tiny 10/0 liner to paint the word! It also might be easier to use a black paint pen for this step.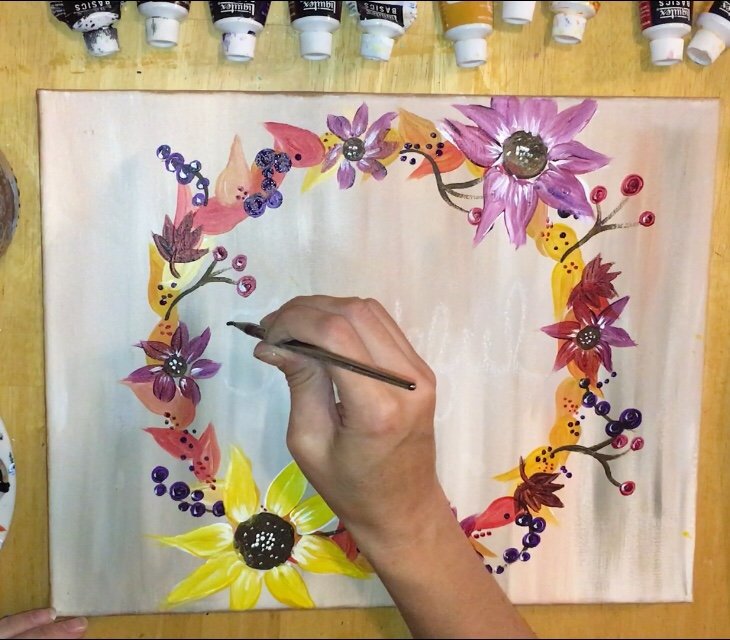
Finished!
Sign your name and show it off!

Share Your Art!
Let’s see your painting! Upload to Pinterest or Facebook!

Where can I find the traceable for the fall wreath? I love it!
Hi Jen! Unfortunately I do not have a Fall Wreath traceable.