

Would you like to save this?
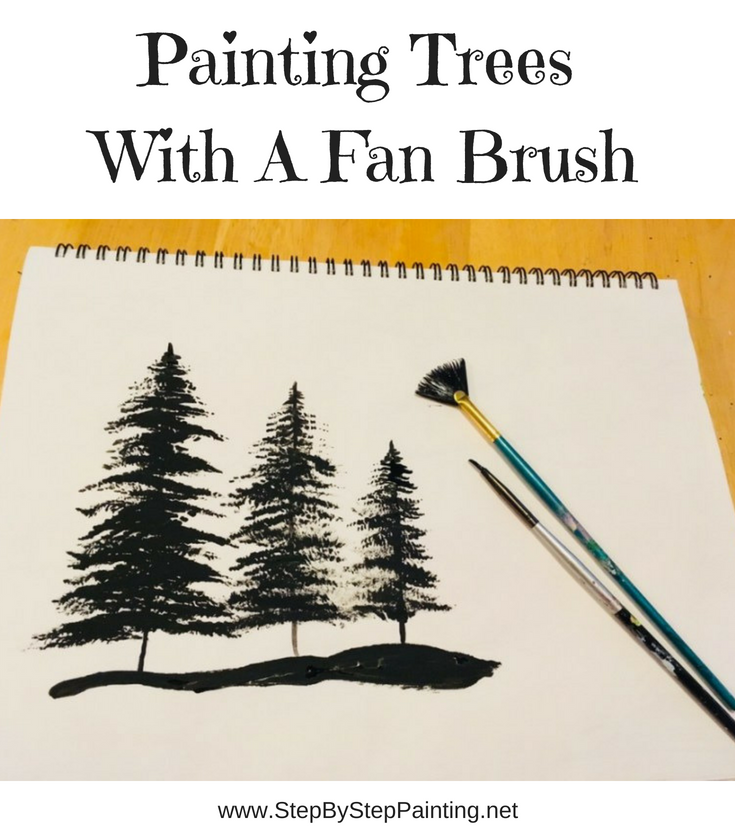
How To Paint Silhouette Trees With A Fan Brush (With Video)
Hello artist friends! I feel inspired to write this post because a fan brush is such a handy tool if you would like to paint pine trees in you acrylic paintings!
This post specifically demonstrates how to paint silhouette trees.
You can also grab your flat or bright brush to paint these kinds of trees. But actually, I sometimes like to grab the fan brush because it gives a different unique effect!
There’s so many different kinds of paintings you can do with tree silhouettes! You can paint a sunset sky first and then do silhouette trees. Then add some water reflecting underneath.
You can also paint a galaxy sky and then paint the trees in front of the galaxy sky! Or…I actually like the simplicity of the pure black trees against a white canvas.
Also a bonus – If you are attempting to paint my American Flag Sky painting soon or have painted it but struggled with the trees, I hope this mini demo will help!
I recommend that you practice this technique on several sheets of paper first. It takes a bit to “calibrate” with the brush and get the hang of it. But when you figure out the technique, it’s really quite addicting!
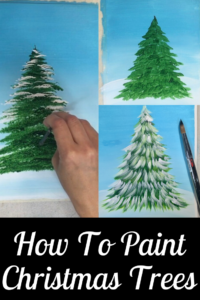
Are you looking for how to paint a green tree with snow on it?
See my post about how to paint snowy trees three ways, one in which uses this fan brush technique!
Now Let’s Paint Those Happy Trees!
This post contains a few affiliate links.
What You’ll Need
- Fan Brush
- Tiny Detail Brush (Any round brush labeled #0 or smaller -I’m using the “0” in this set.
- Practice Paper or Canvas Paper.
- Black Paint, preferably a thin paint. I’m actually using Apple Barrel black for the demonstration pictures and it was not thinned out with water. In the video, I used BASICS “Mars Black” that was thinned with a bit of water. It’s hard to do this technique if your black is too thick.
Video:
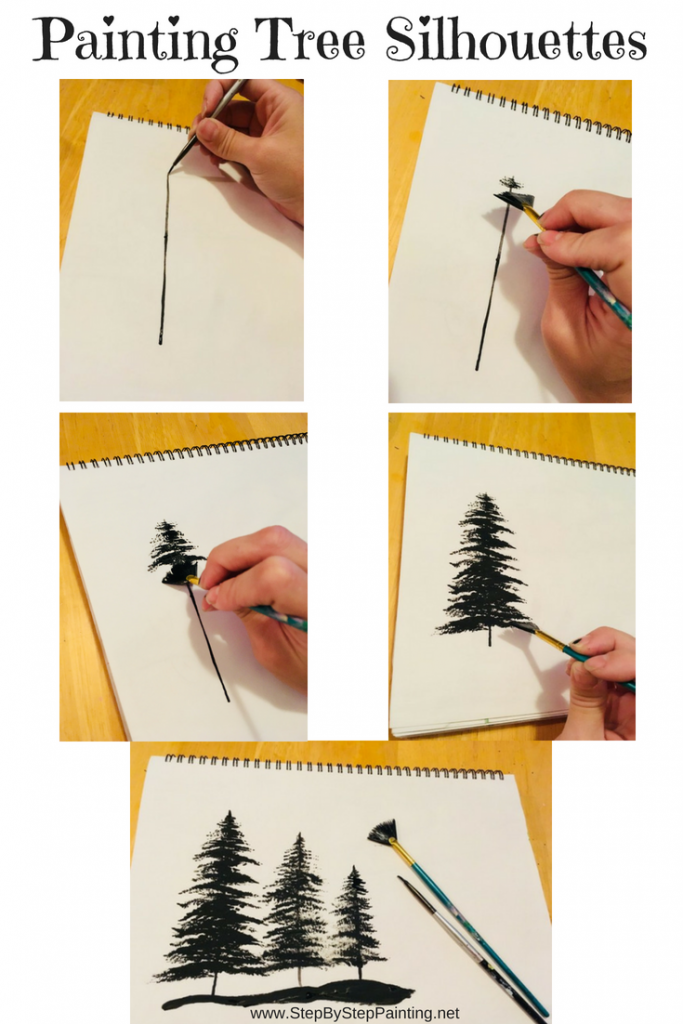
Picture Steps & Instructions
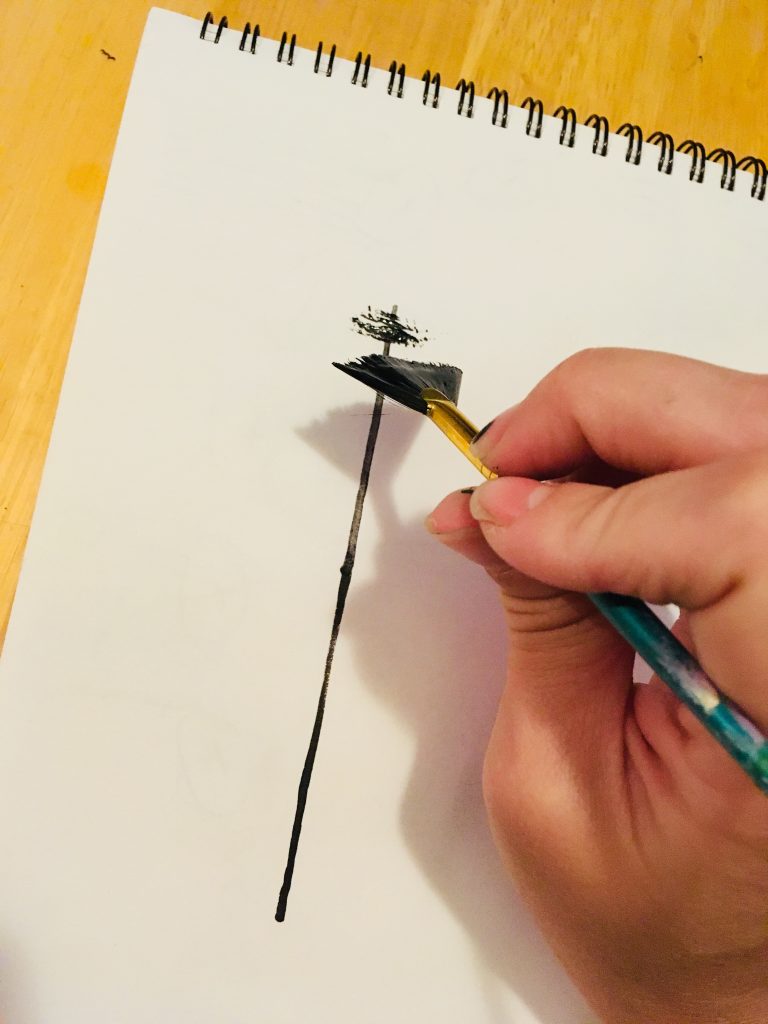
1. Use A Round Brush to Draw A Trunk
Using a very tiny round brush, paint a vertical line to represent the trunk of the tree.
I recommend watering down the black just a bit to help the flow. I am using Apple Barrel Black craft paint for this demo so it didn’t need to be watered down. 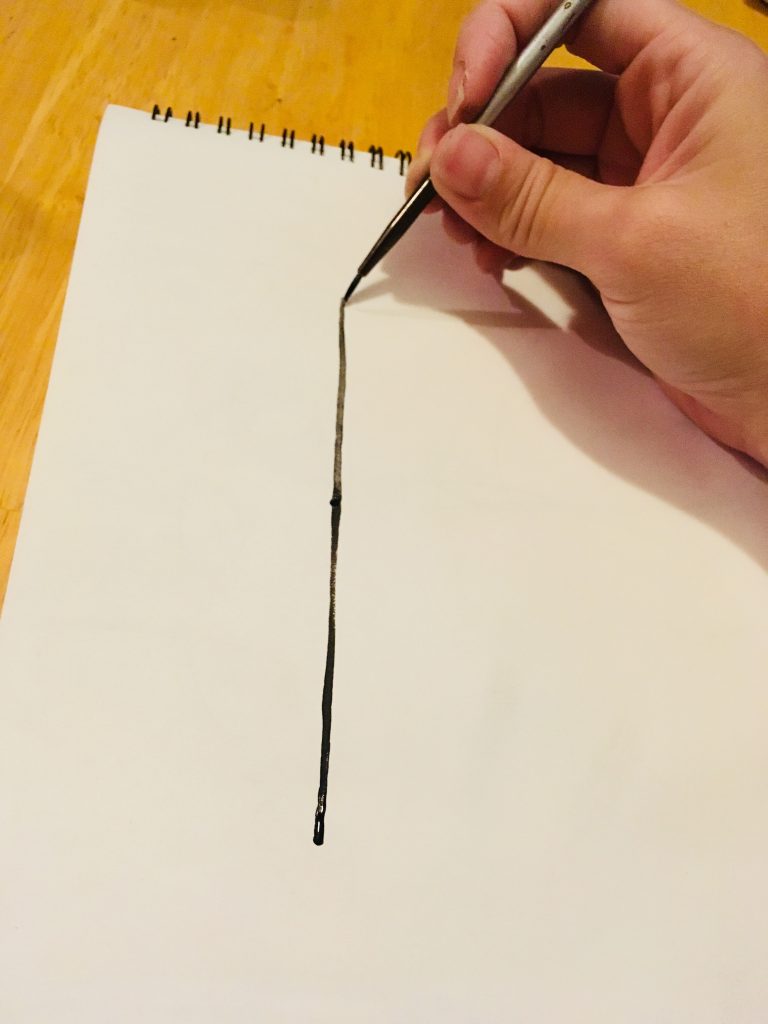
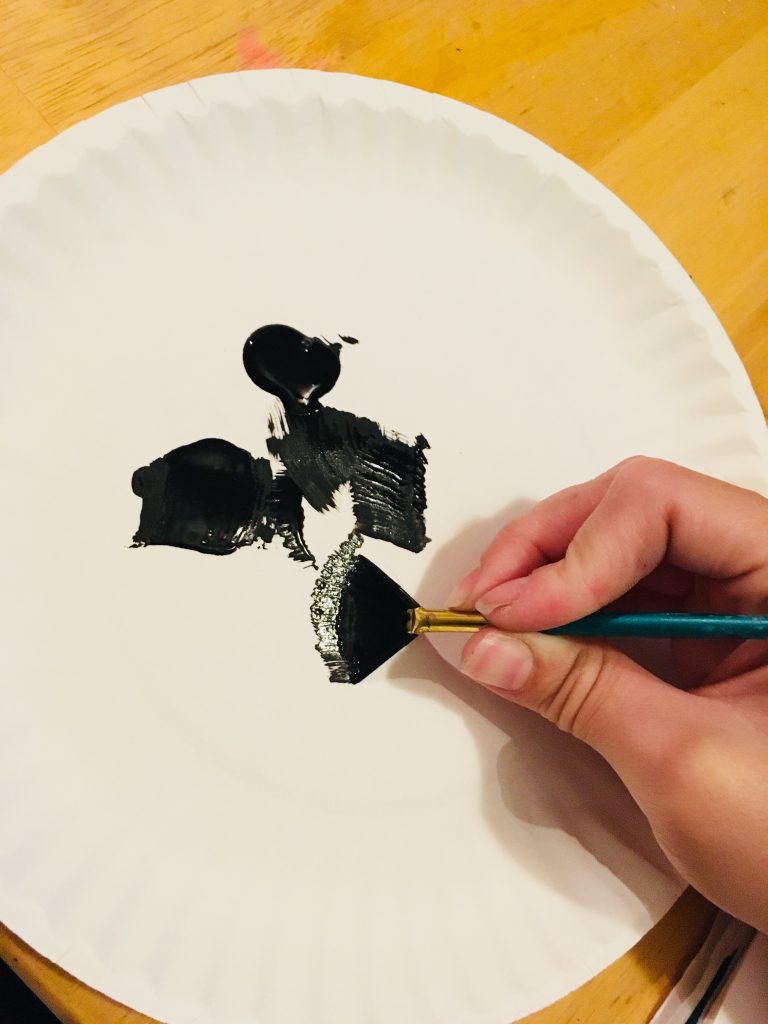
2. Load Your Fan Brush
When I load my fan brush, the bristles tend to clump together.
Try stroking the brush on the palette a bit to get the fan bristles to spread like a fan!
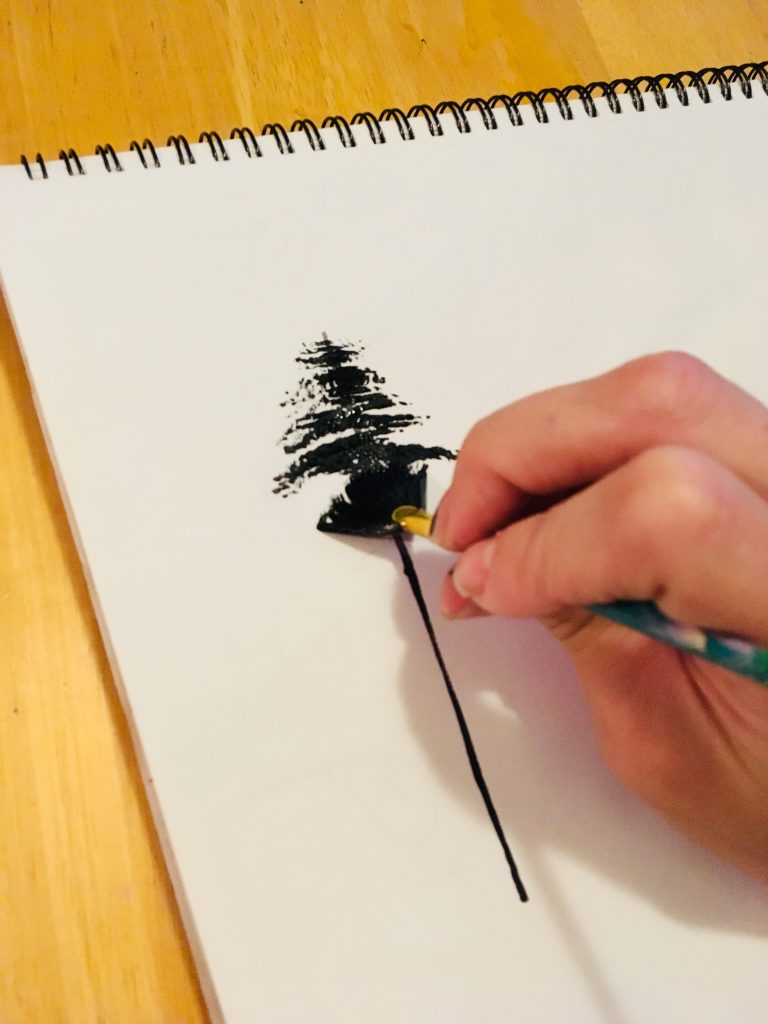
3. Stamp the tips from top to bottom
Start at the top of that vertical line.
Stamp just lightly to create a thin set of branches.
To do this, I only used the middle area of the fan brush and not the left and right sides.
Also, I am stamping just the tip of the bristles and not all the bristles.
4. Work your way down in zig-zag motion forming the shape of a pine tree.
As you work your way down, keep stamping the brush left and right in a zig-zag motion.
Apply more pressure to the brush to make these branches thicker, heavier and wider forming the shape of a pine tree.
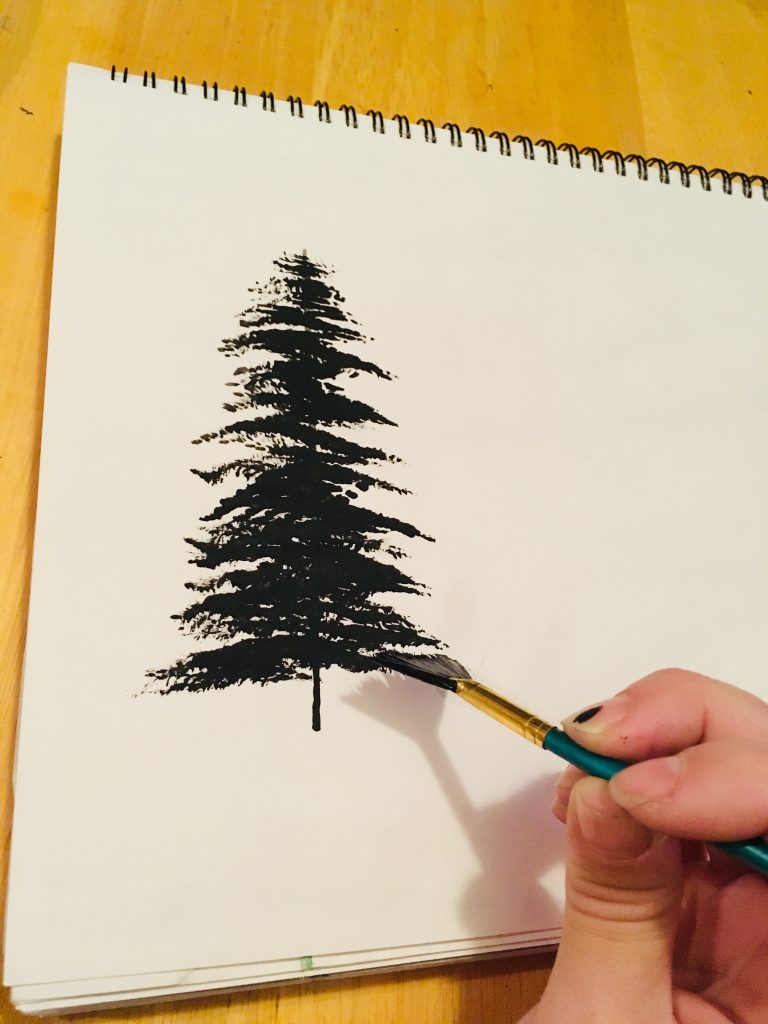
5. Keep working your way down, widening the shape.
As you keep “zig-zagging” your way down, make your tree form a wider shape on the bottom.
I leave a space for the trunk on the bottom too.
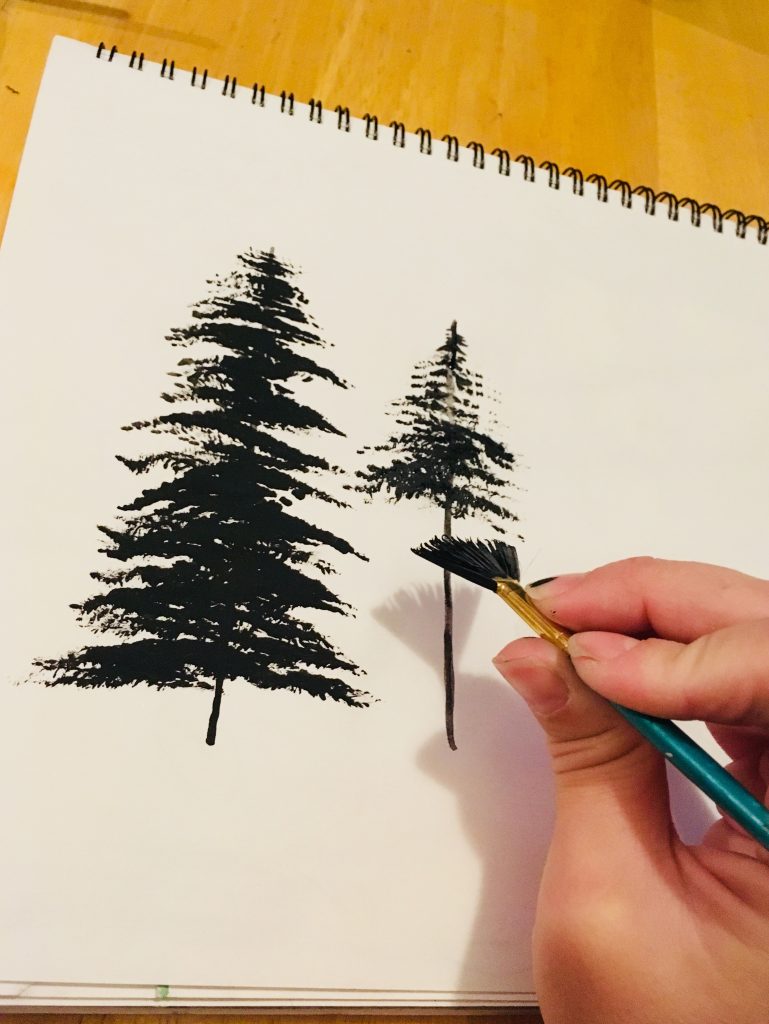
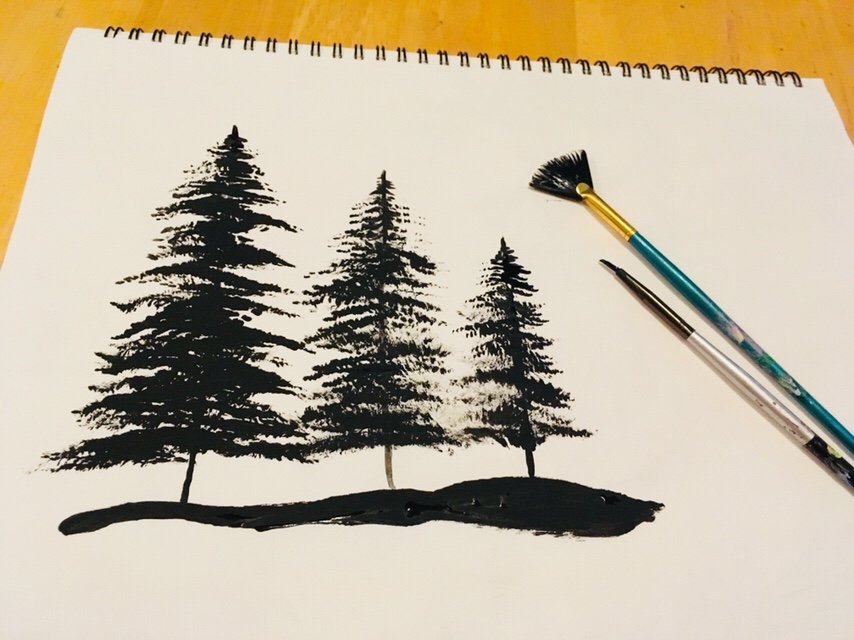
6. Vary the heights and shape of the trees.
If you’re painting a treeline silhouette, try varying the heights of the trees for a more natural look.
Also, you can vary the shape (thin and thick) and the amount of white space showing.
7. Use the tiny round to add more details on the top
If you “goofed” on the first step and couldn’t get the branches to be thin enough, try using a tiny detail brush to add the smaller branches on the top of the tree. 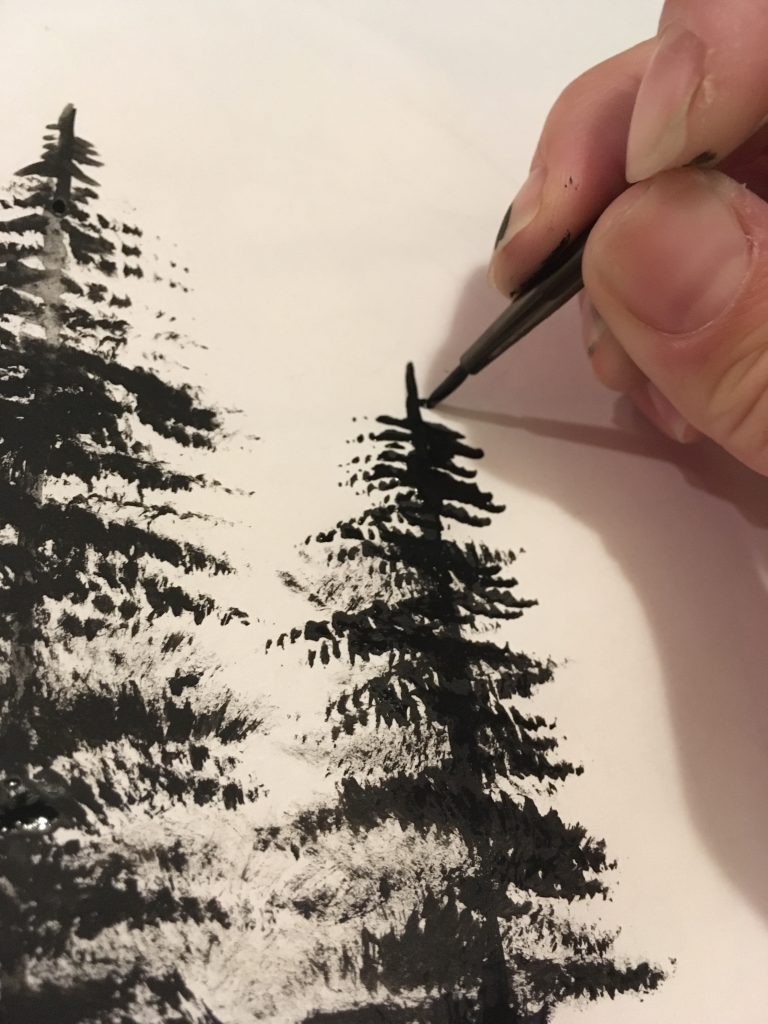
8. Practice Practice Practice!
This technique is tricky at first but I mentioned earlier that you’ll need to practice it a bit with that fan brush.
To paint the bottom line, I used a larger round brush.
And that’s it! Keep practicing and you’ll be an expert at painting those “Happy Silhouette Trees”!
Pin This Post:
See Also:
I cannot get the video to work for the flag,,,great tree video..
Hi, I’m going to link to the Facebook video of the Flag Painting, hopefully this one will work for you! Sorry you weren’t able to get it to play on the website. https://www.facebook.com/StepByStepCanvasPainting/videos/659390841075462/
WOOOOOUUUWWW !!!!
I want to learn this !
I can’t put a straight line on a paper or canvas without it becoming skewed. In fact, I can’t draw or paint at all. This is very easy, I hope. Thanks for the inspiration and the video, it will be used diligently. I’m also not good on English, but you made it very easy to understand. Thank you, I’m looking forward to testing the technique. Regards Lone Vibeke Jensen, in Denmark ❤️
Hello Lone from Denmark! So glad I can help. Enjoy this technique!
Hi!
Your technique reminds me of Bob Ross’ style. My family loved watching his shows on PBS.
Thank you for sharing your talents.
Thank you Beth! I grew up painting with Bob Ross on PBS, loved watching him too!
Painting leaves how to do that
Hi Jo! I like to “stipple” leaves with a round brush. If I’m doing fall, I’ll paint little dots with red and yellow or various greens for non-fall. I can probably put a tutorial out for this soon!
Thank you so much for this awesome video tutorial! I can’t wait to try it……now where is my fan brush- that I have never used?!!
Hi Debbie! It’s such an odd awkward brush isn’t it ?? Enjoy Painting trees! Thanks so much!
very nice. I loved it.
Thanks William, glad you liked it!
Can’t wait to learn
Awesome! Enjoy, it’s so much fun to paint these trees!
What type of paint do you use for something like this?
Hi Faith, I used black acrylic paint! Not too thick of paint. If the paint is too thick, water it down slightly to an ink consistency so it flows good.
Would the technique work on wood? My husband built me a corner shelf for my Christmas village and i was thinking of adding the trees on the back to give it a little depth.
Yes it would definitely work on wood! I’d do a little practice run on a similar piece of wood to see how the texture feels but most certainly you can do acrylic painting with a fan brush on wood.
Hi, trying to learn. The fan brush I bought does not look like yours, or paint like yours. Can you suggest a brand name please? Thank you.
Hi Elaine! I’m going to suggest the Royal and Langnickel Zen Brush. Look for it at Michael’s ?. I have since been using the #2 fan brush linked here: https://www.michaels.com/zen-all-media-long-handle-fan-brush/10366659.html#q=Zen+fan+brush+%232&start=1
Nice, your website helped me out a lot. I have been painting for a while now but my paintings were always second hand. Now they are much better and I get complements all the time! Thank you for helping me become a better painter.
You’re welcome Alexander!