Would you like to save this?
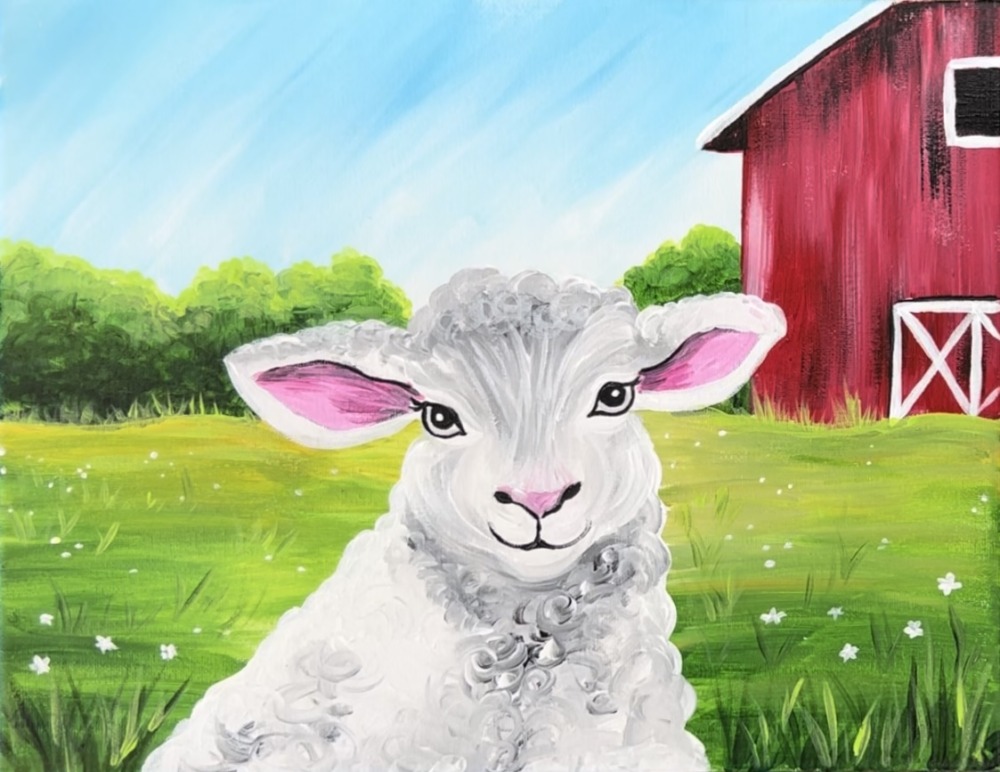
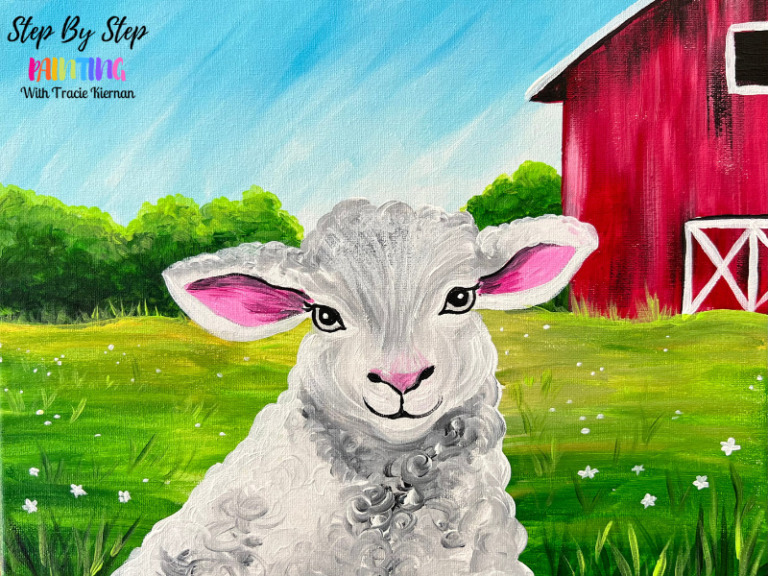
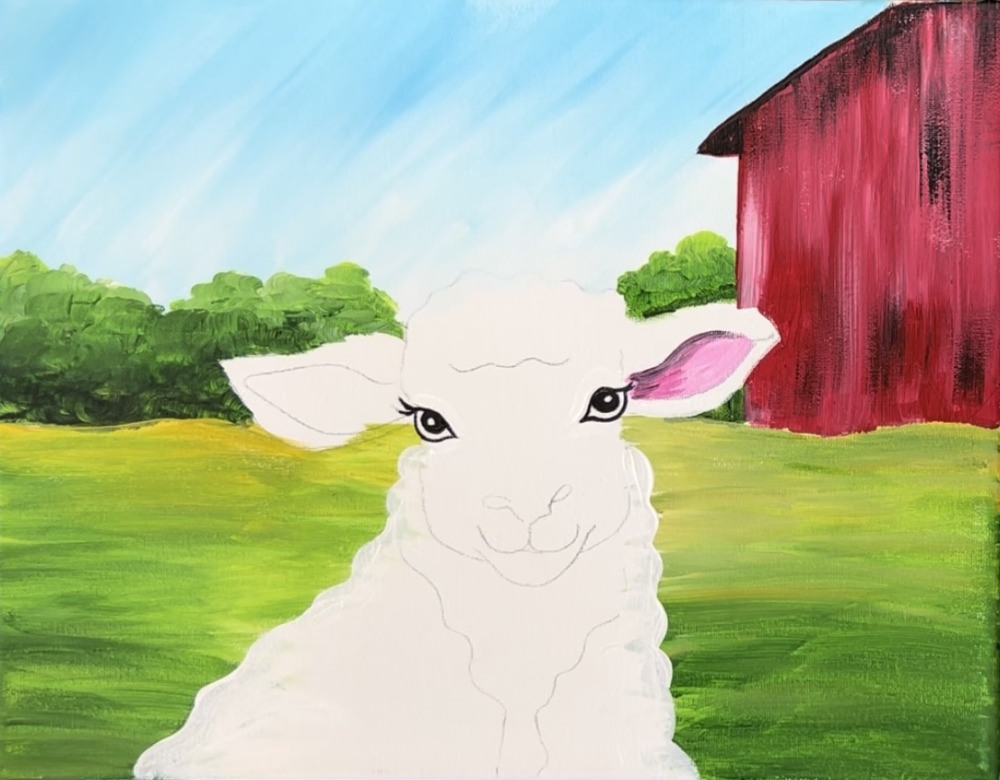
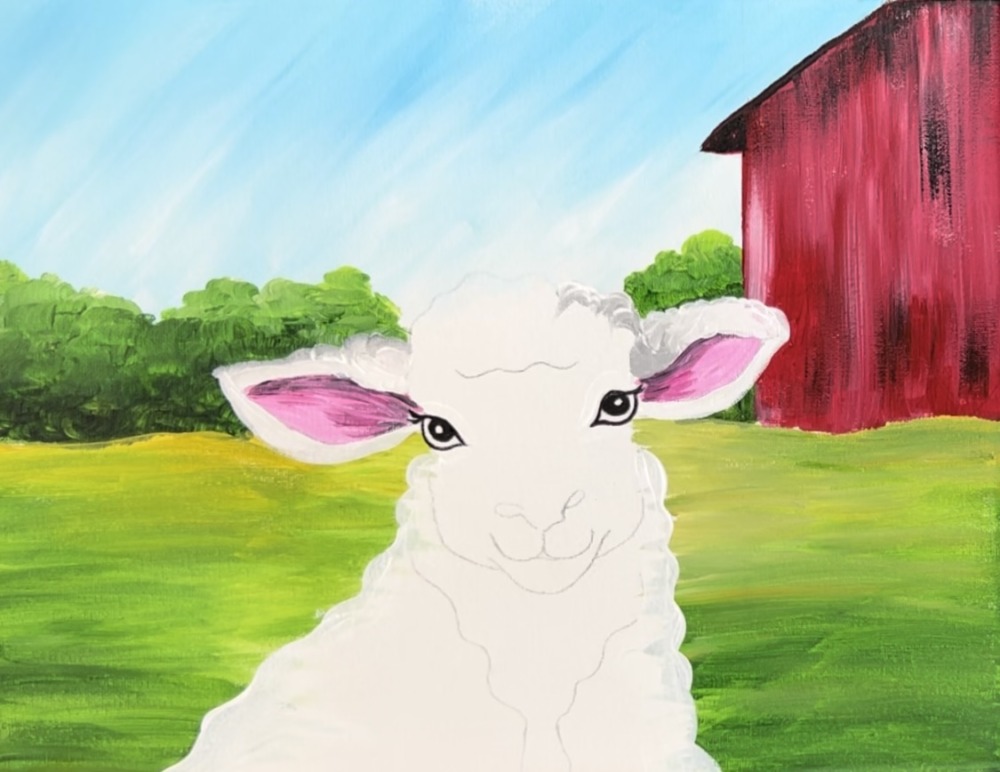
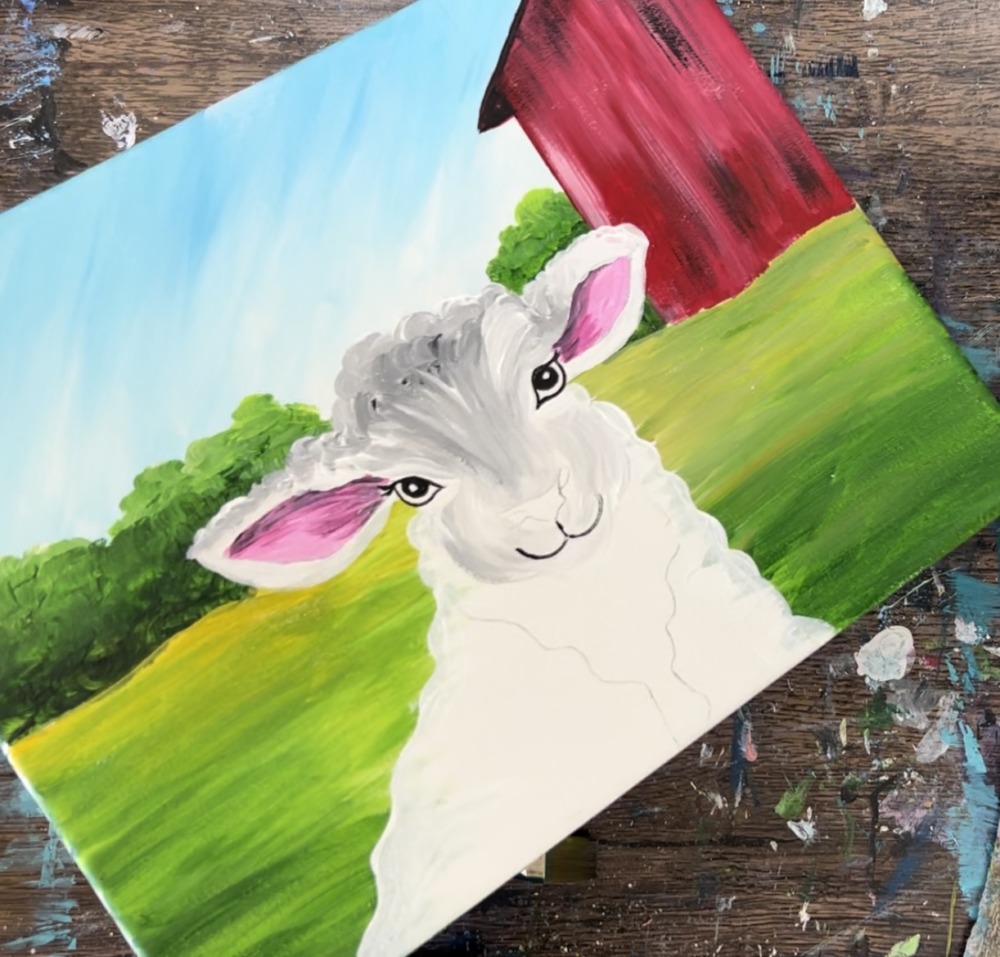
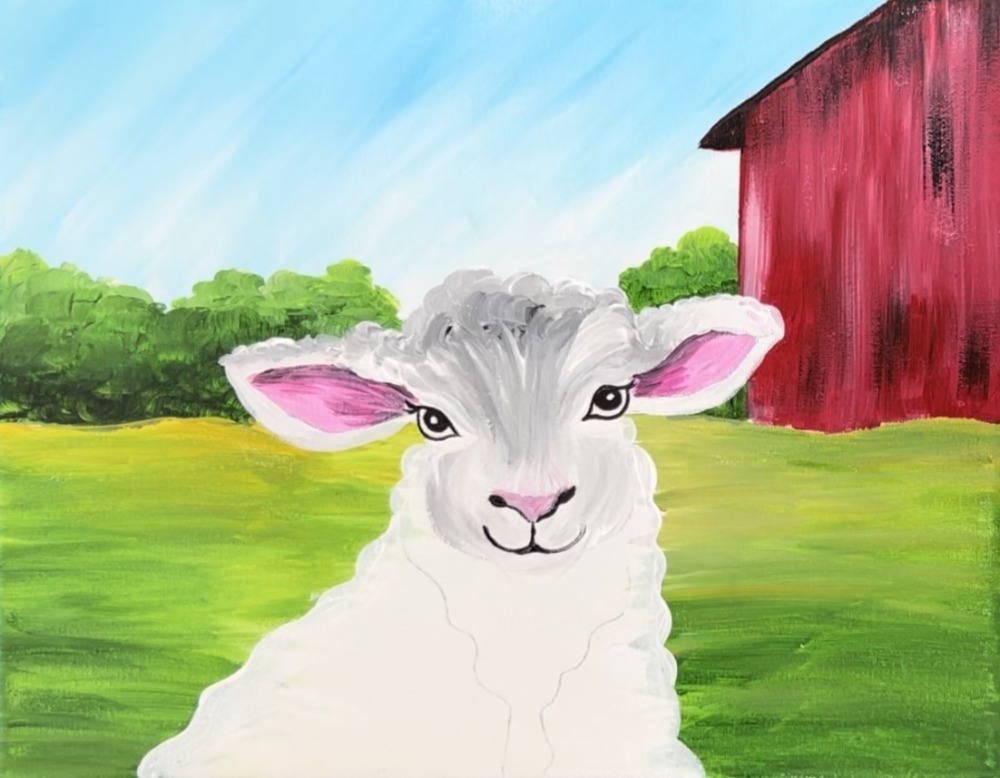
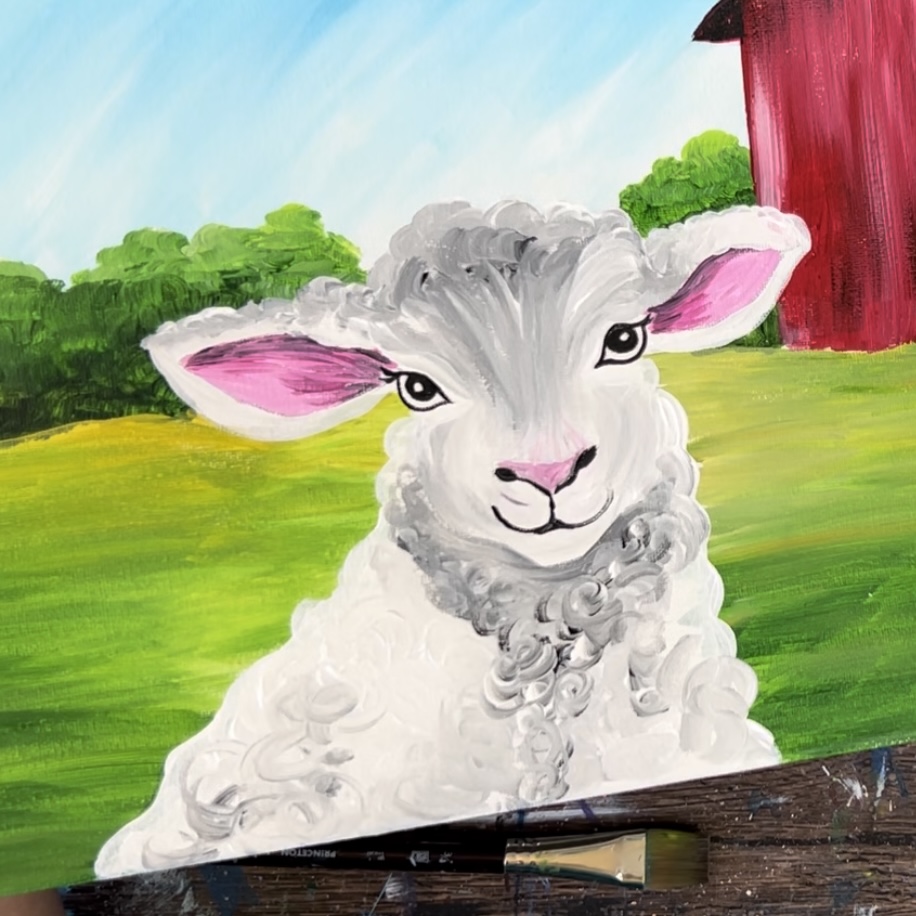
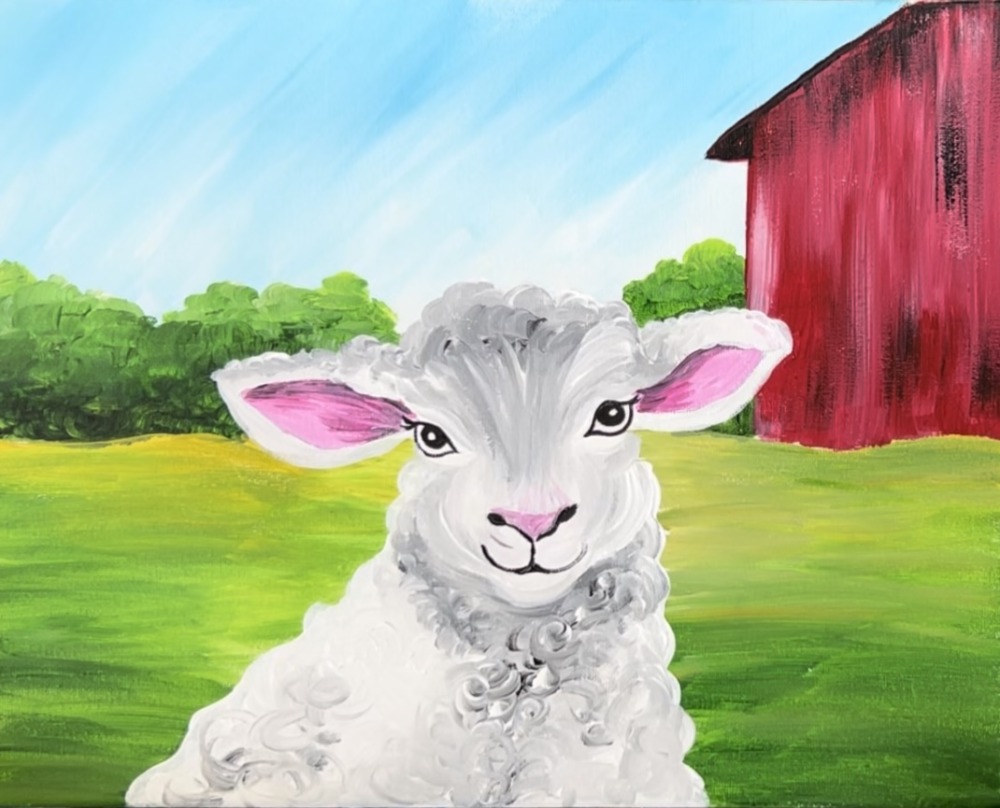
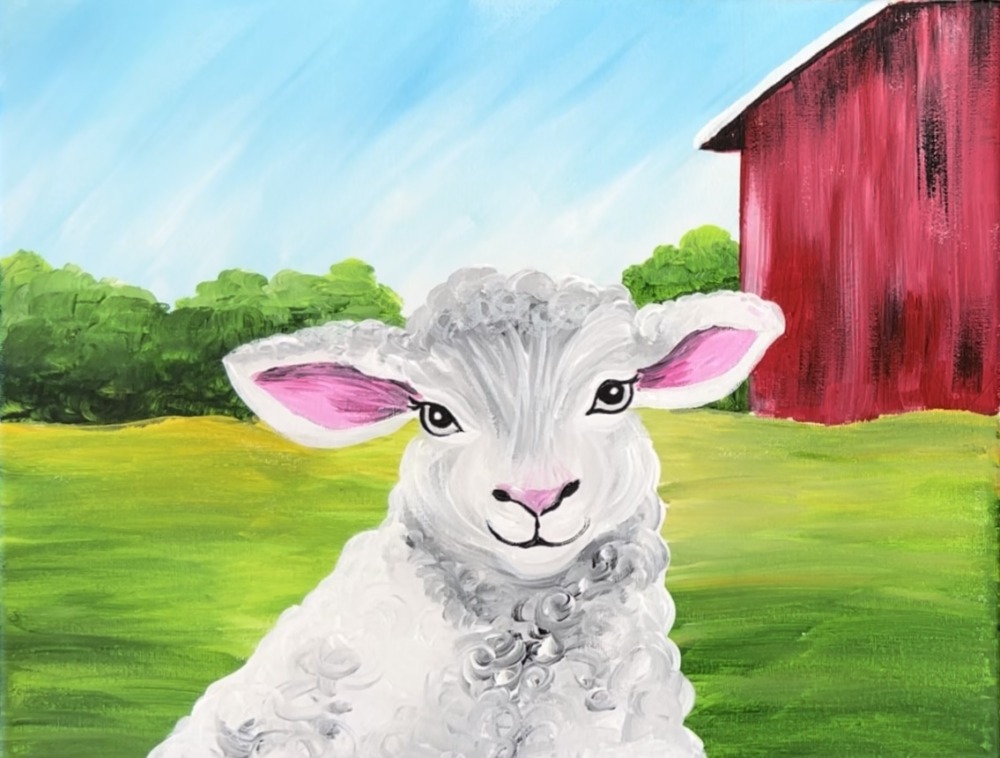
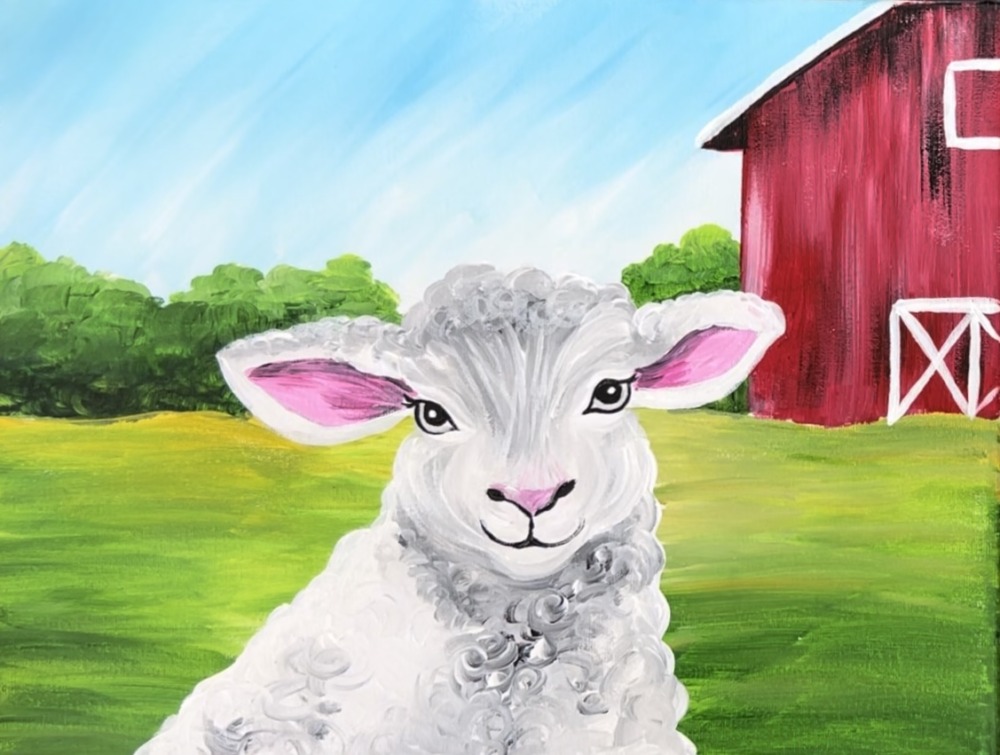
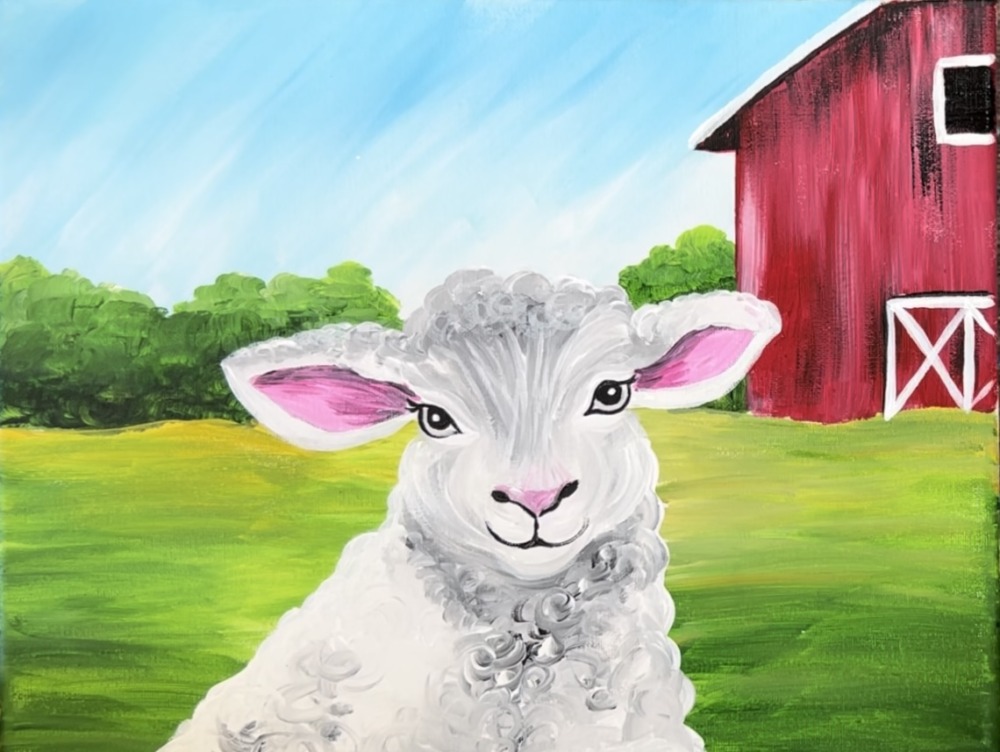
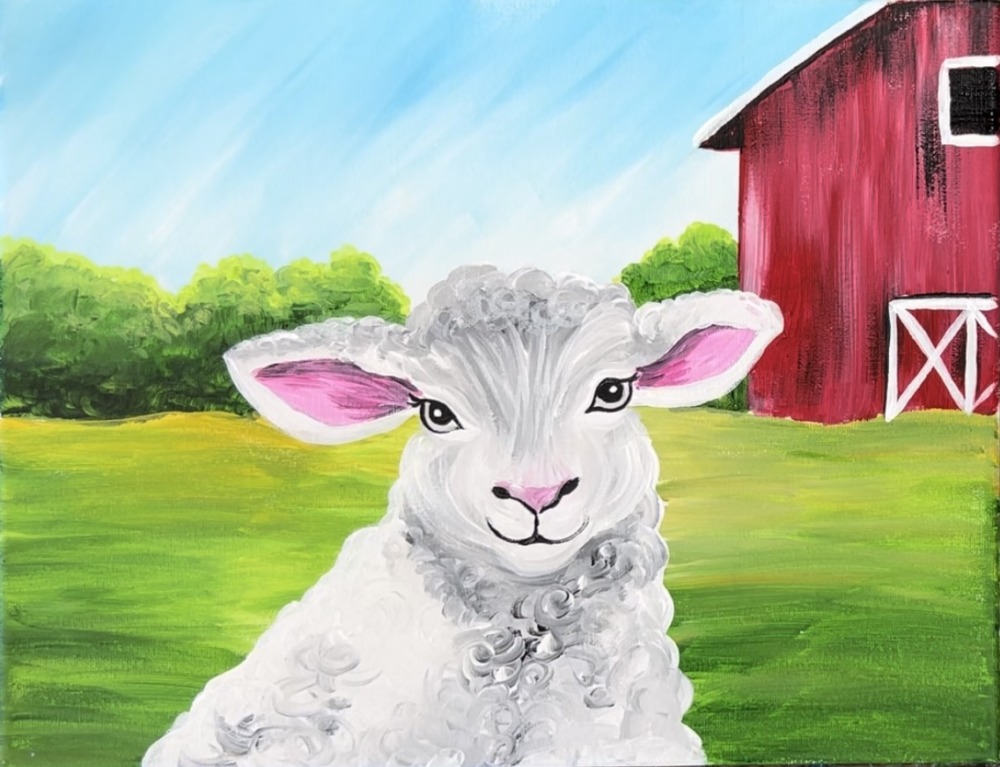
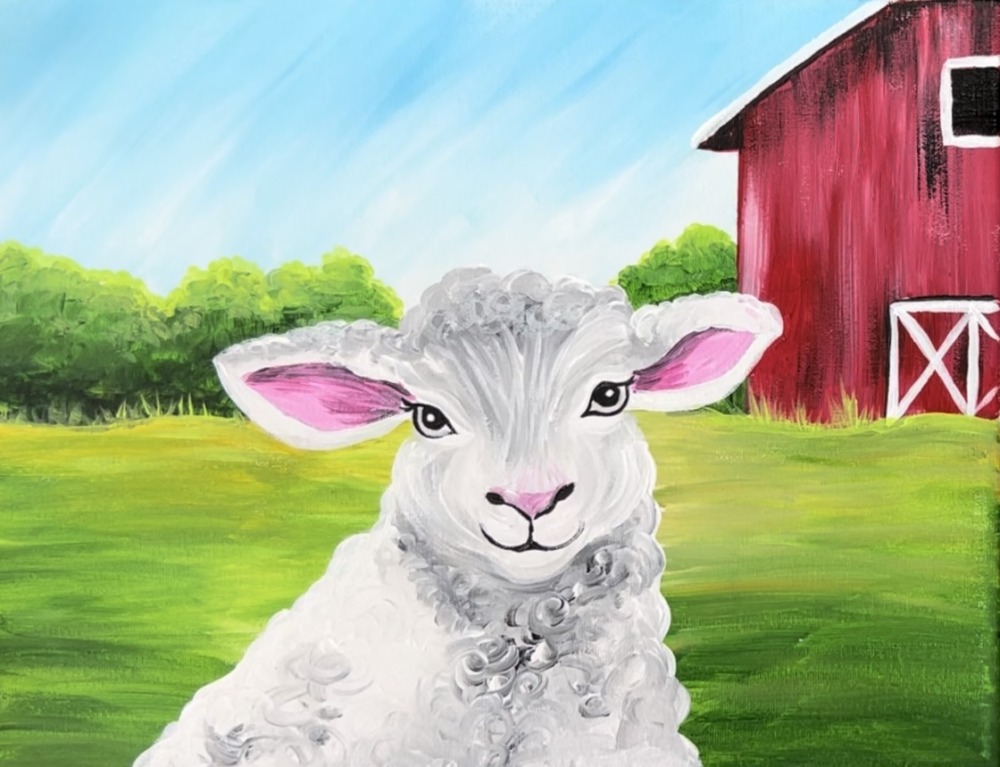
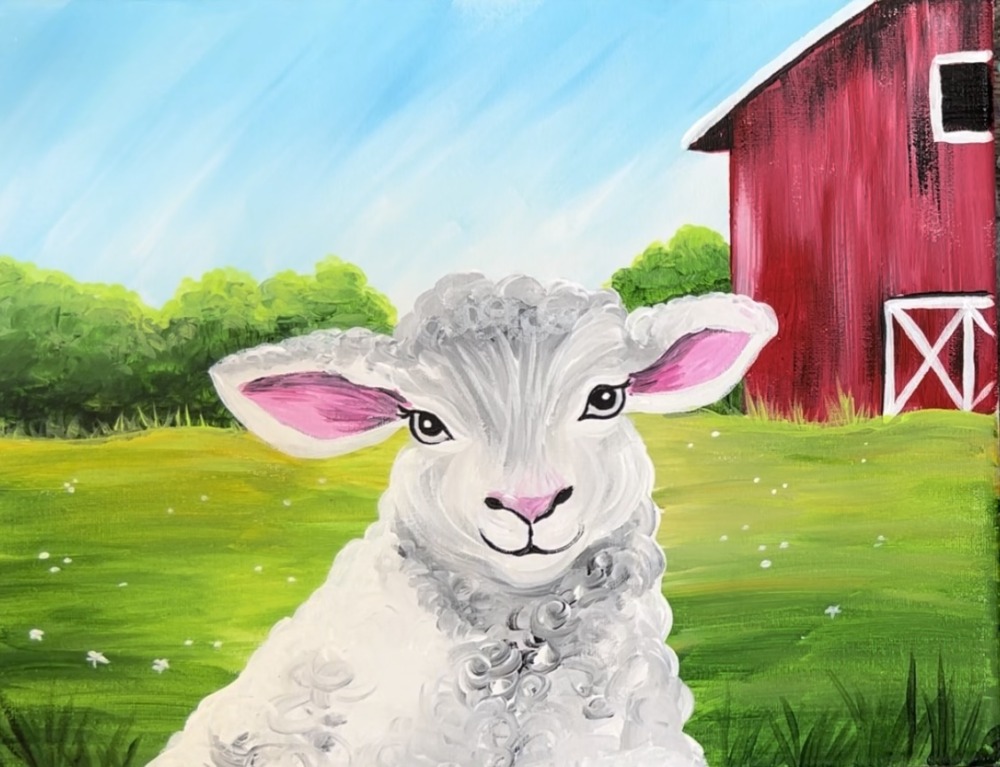
This tutorial will show you how to create a sheep painting with a red barn background on a simple farm landscape.
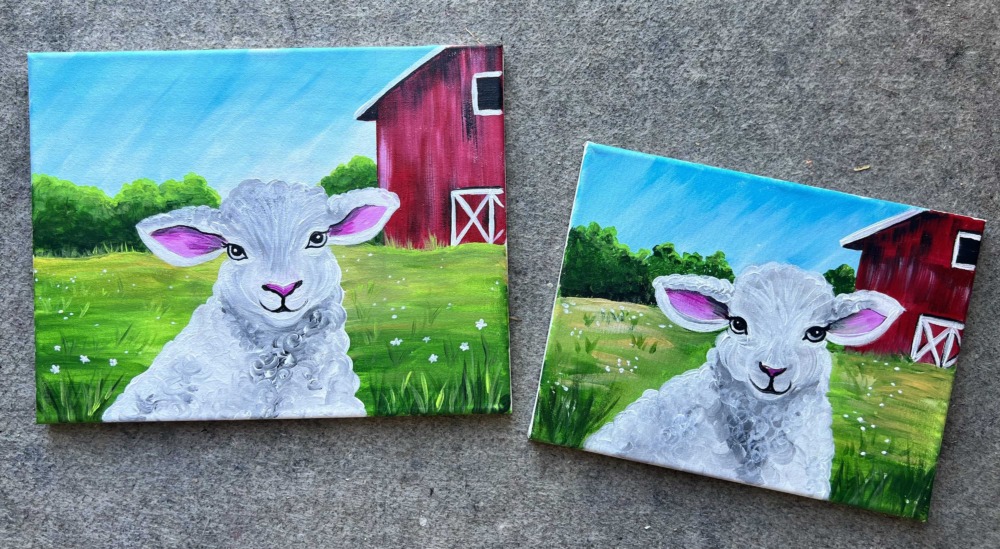
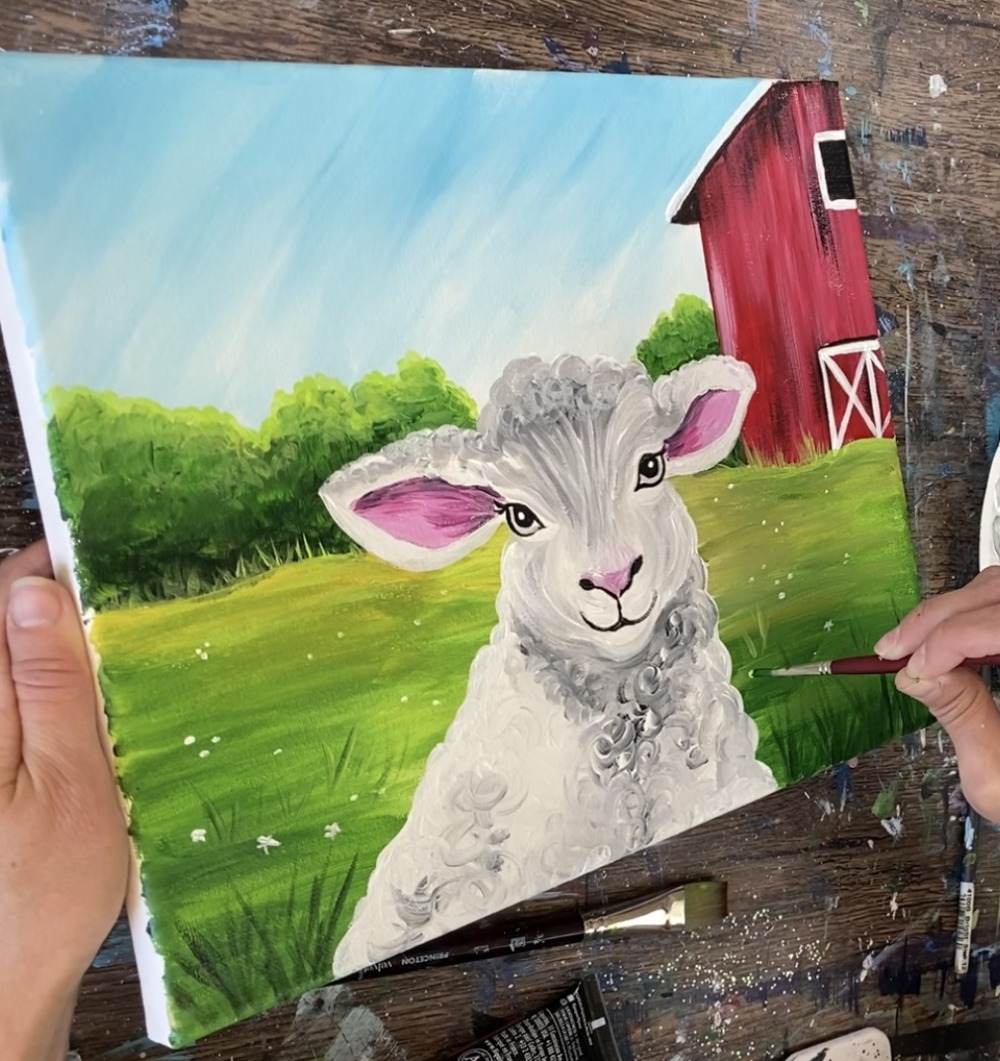
The painting can be done on any size painting. I did one on a 9 x 12 and one on an 11 x 14. The tutorial includes a traceable template that you can print out and transfer onto the canvas.
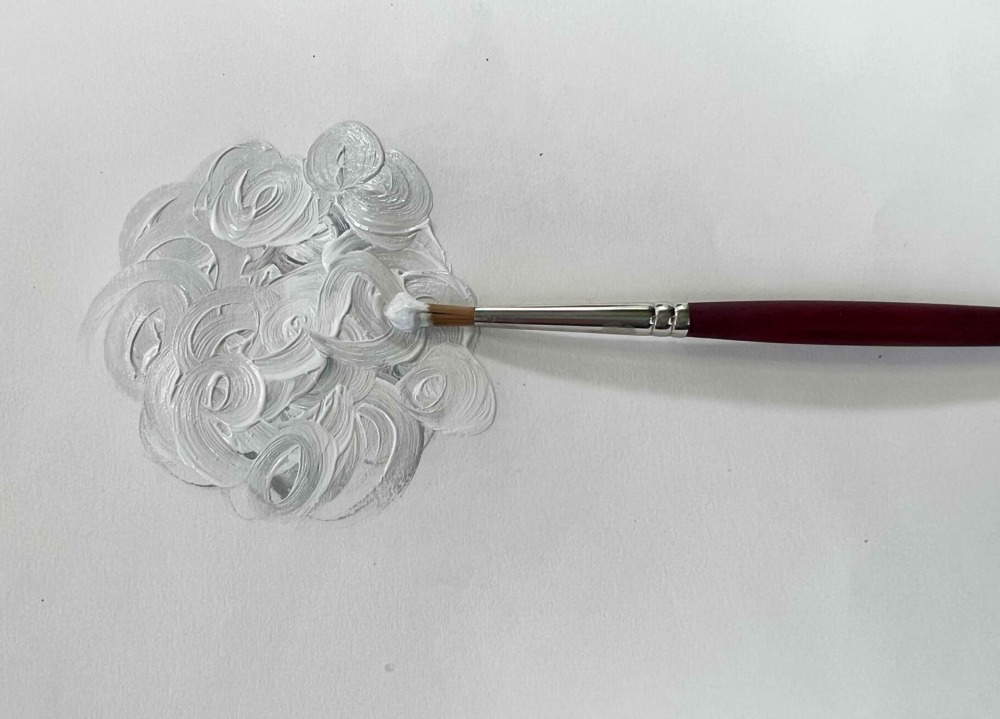
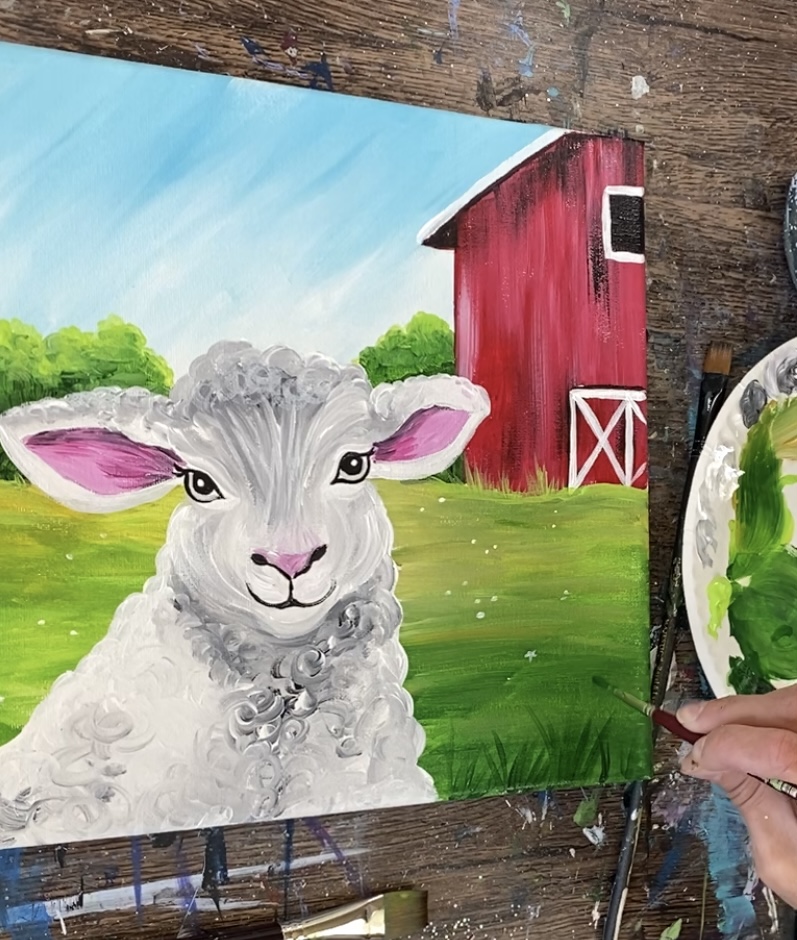
Painting sheep texture is actually quite simple! The technique I used to create this texture included using a round brush and gently mixing a small amount of black with white on the canvas. You create small to medium sized circles with your brush that gently swirl over each other.
Enjoy and happy painting.
Materials Needed
- 11 x 14 canvas (or any size canvas)
- Acrylic Paint
- Brushes
- Traceable
- Graphite Paper
- Pencil
- Optional black paint pen (helpful for eye details)
Colors
- Titanium White
- Mars Black
- Cadmium Red Deep Hue
- Hooker’s Green Hue Permanent
- Yellow Oxide
- Light Blue Permanent
- Medium Magenta
- Brilliant Yellow Green
Brushes
- 3/4″ flat wash brush
- 12 Bright Brush
- #4 Round Brush
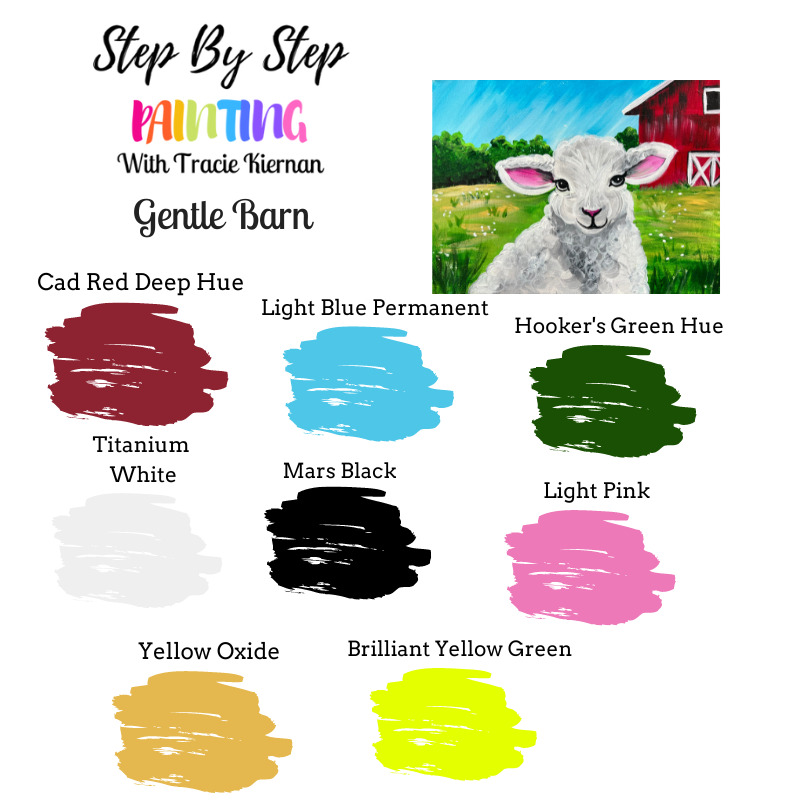
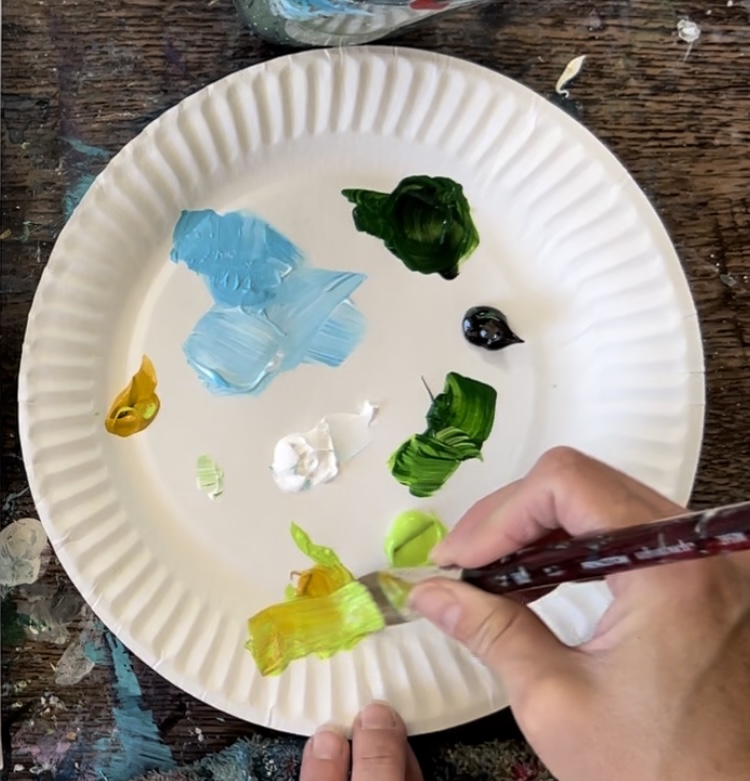
Color Palette
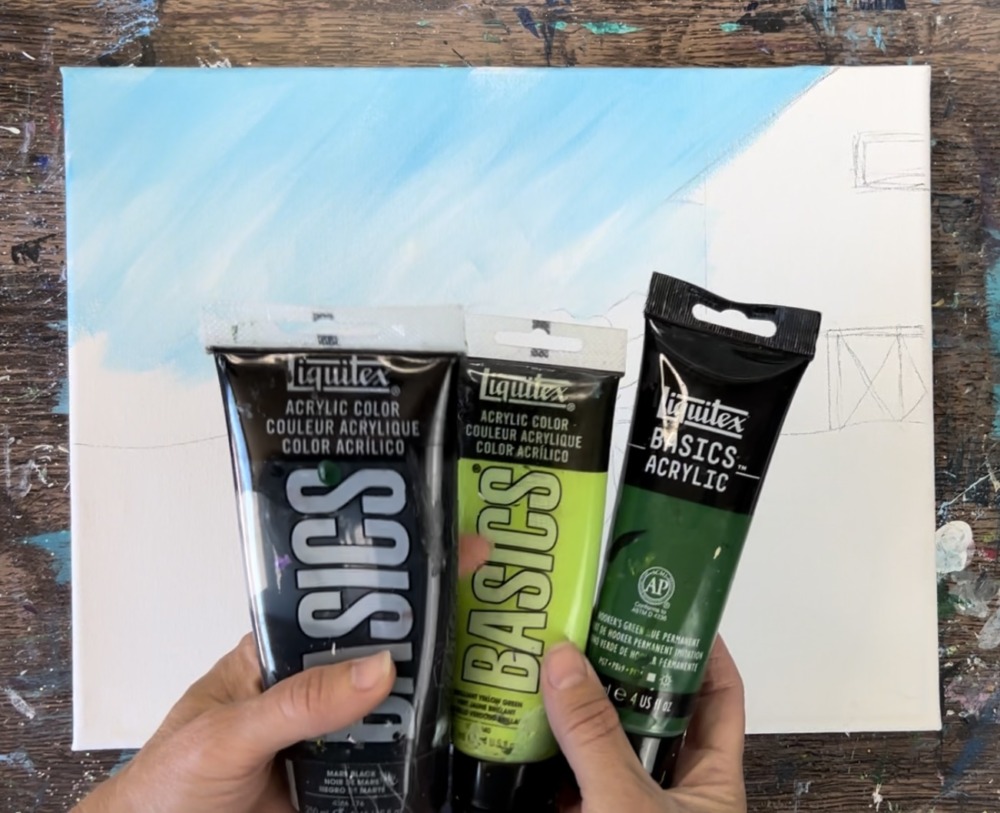
This painting is demonstrated using Liquitex BASICS acrylic paints. If you are using a different brand, I would recommend looking at the chart below to help you match colors. Note: the graphic below says “light pink”, I actually used “medium magenta” instead of this.
Craft Paint Conversion
If you are using craft paints such as Apple Barrel Craft paints, I would recommend subbing to:
- White
- Black
- Regency Blue
- Parakeet
- Caterpillar
- Cameo Pink
- Pale Daffodil
- Red Apple
Traceable
This tutorial is demonstrated using the traceable template. Print this out on one sheet of paper if you are using the 11 x 14 or 9 x 12 size. You can also click on the image and save it as a .jpeg for resizing.

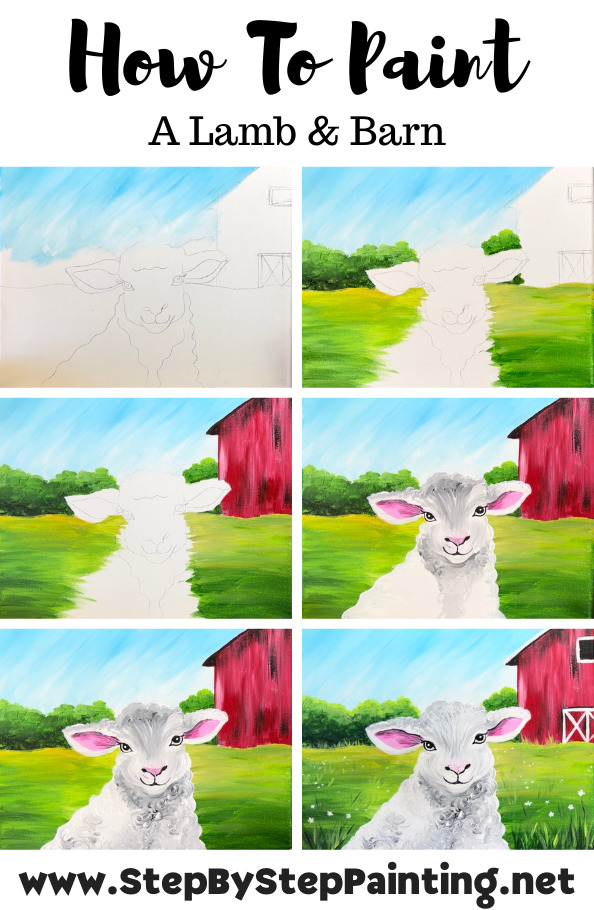
Direction At A Glance
Video
Step By Step Instructions
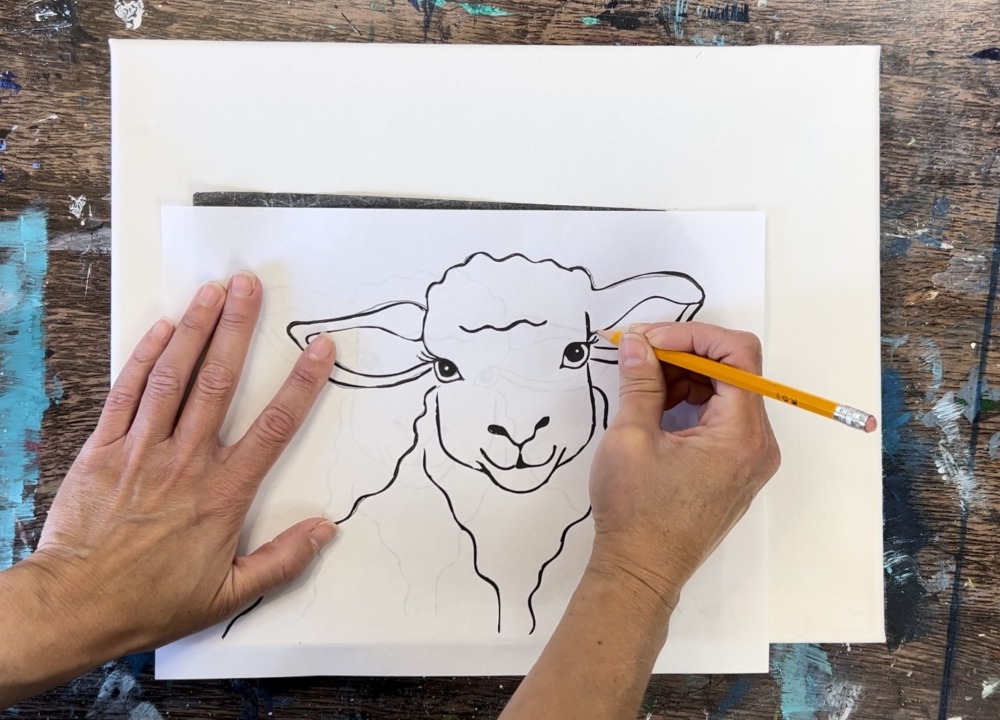
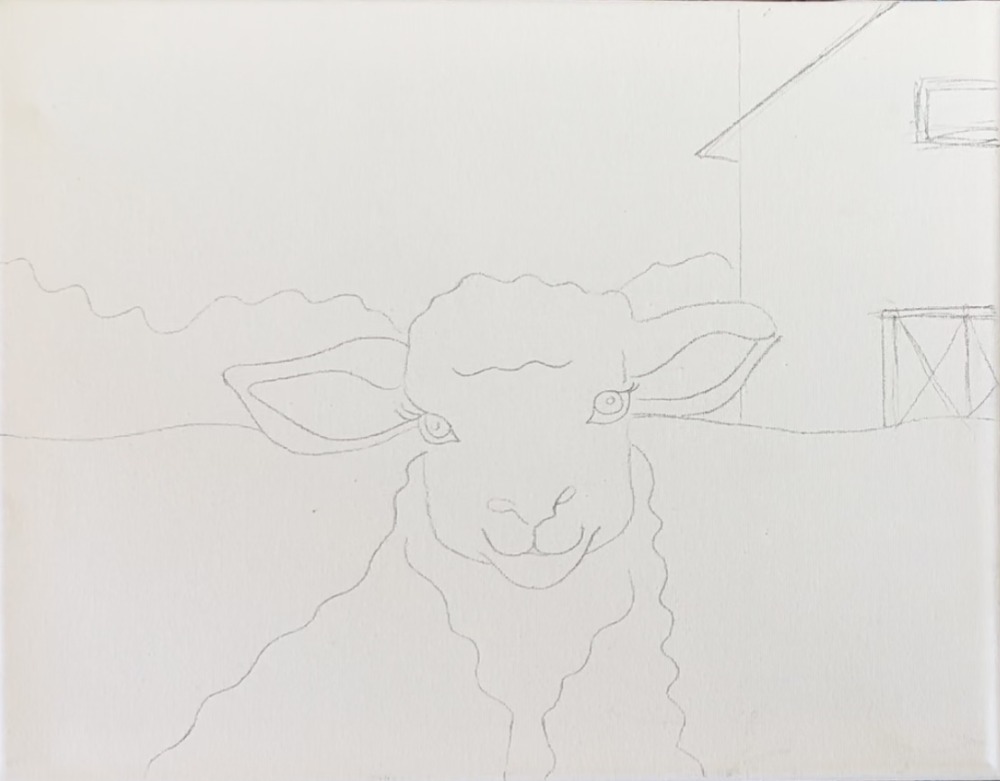
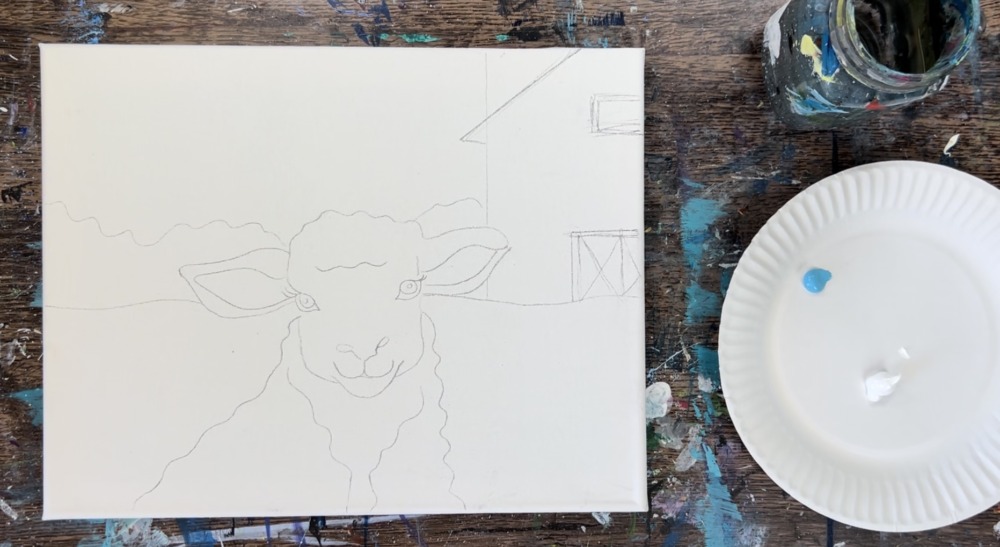
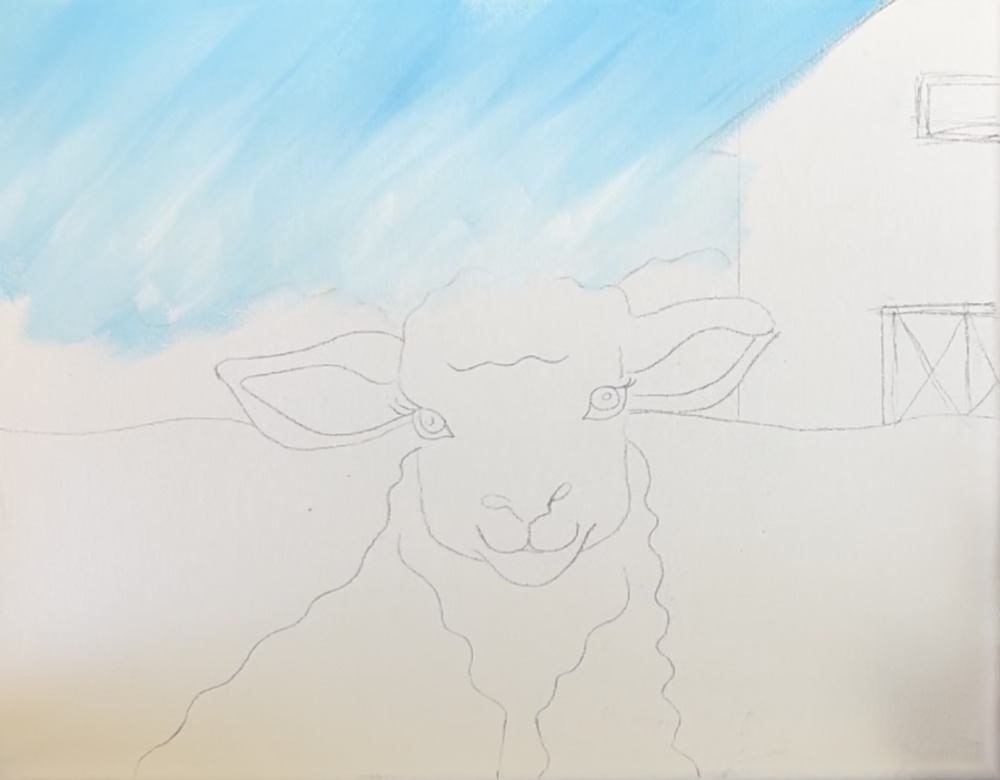
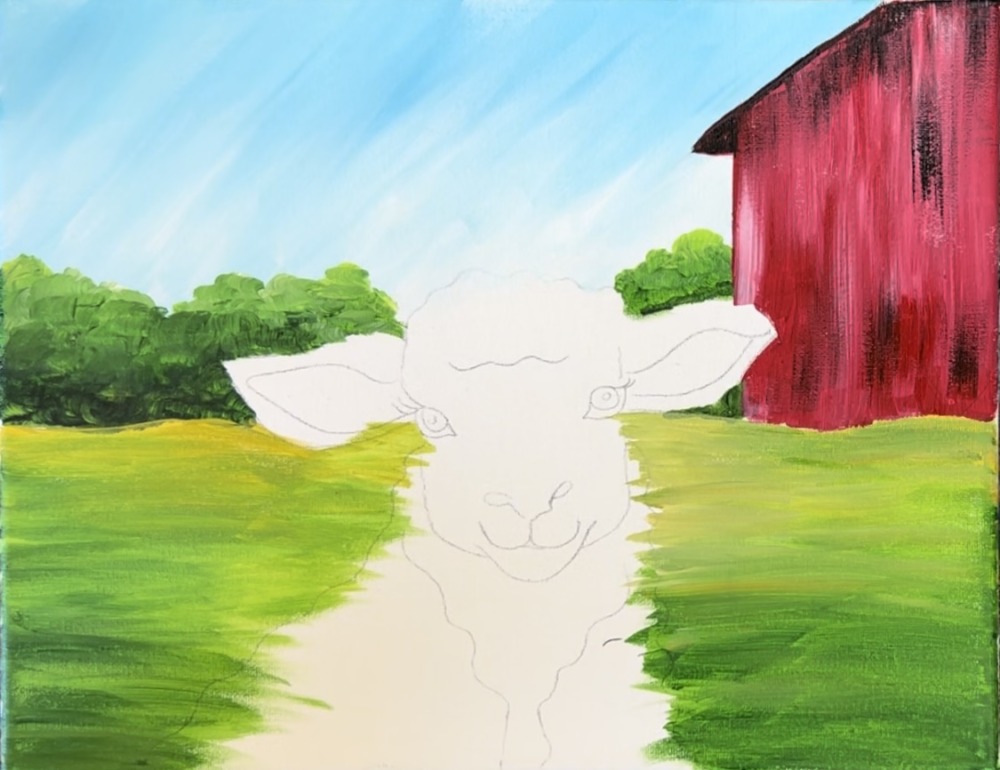
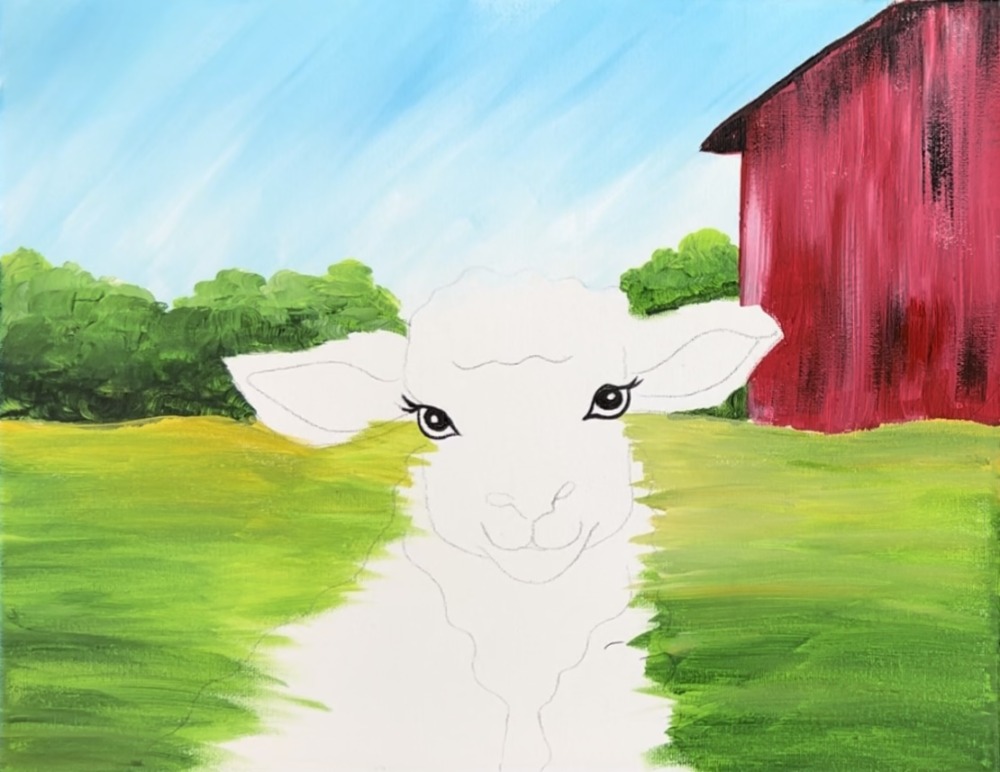
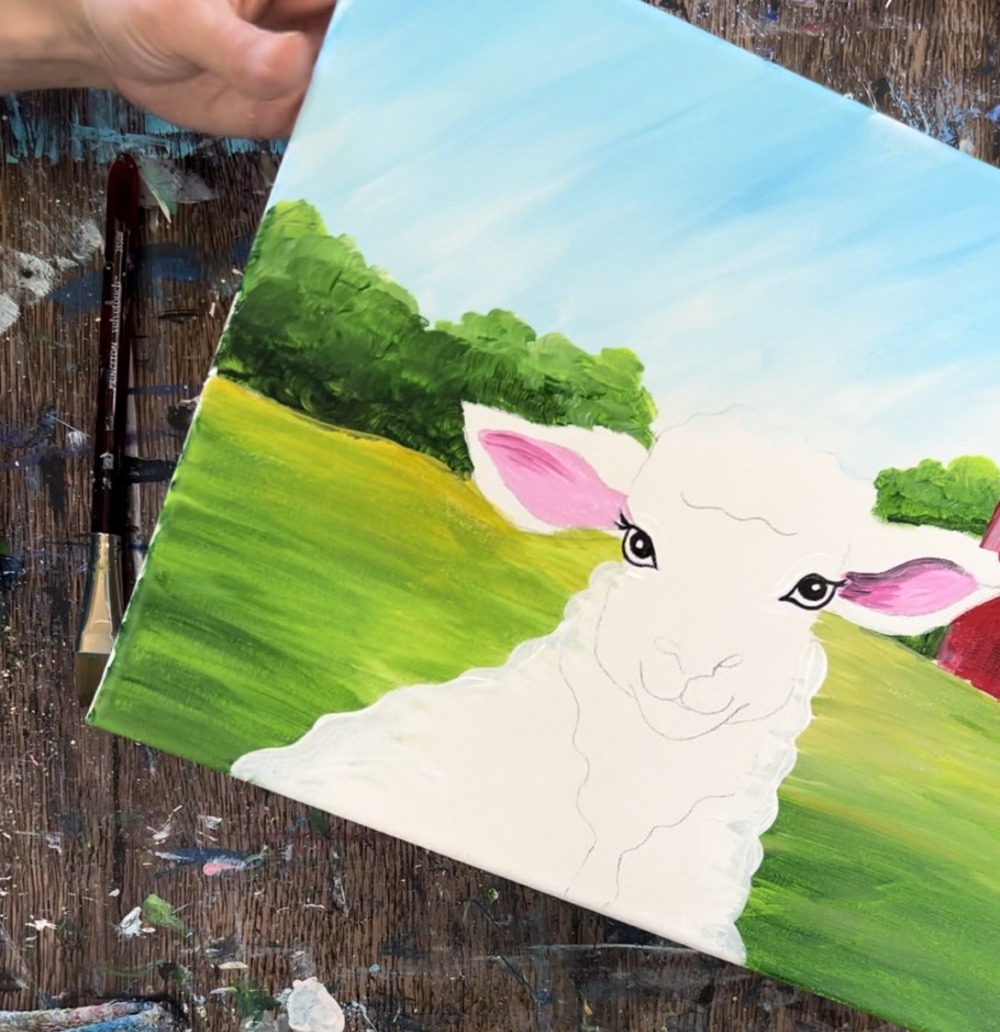
1. Trace Lamb Design On Canvas
Print the traceable template on one sheet. Place a sheet of graphite paper below the sheep. Position it so the bottom of the sheep is a little off center to the left.
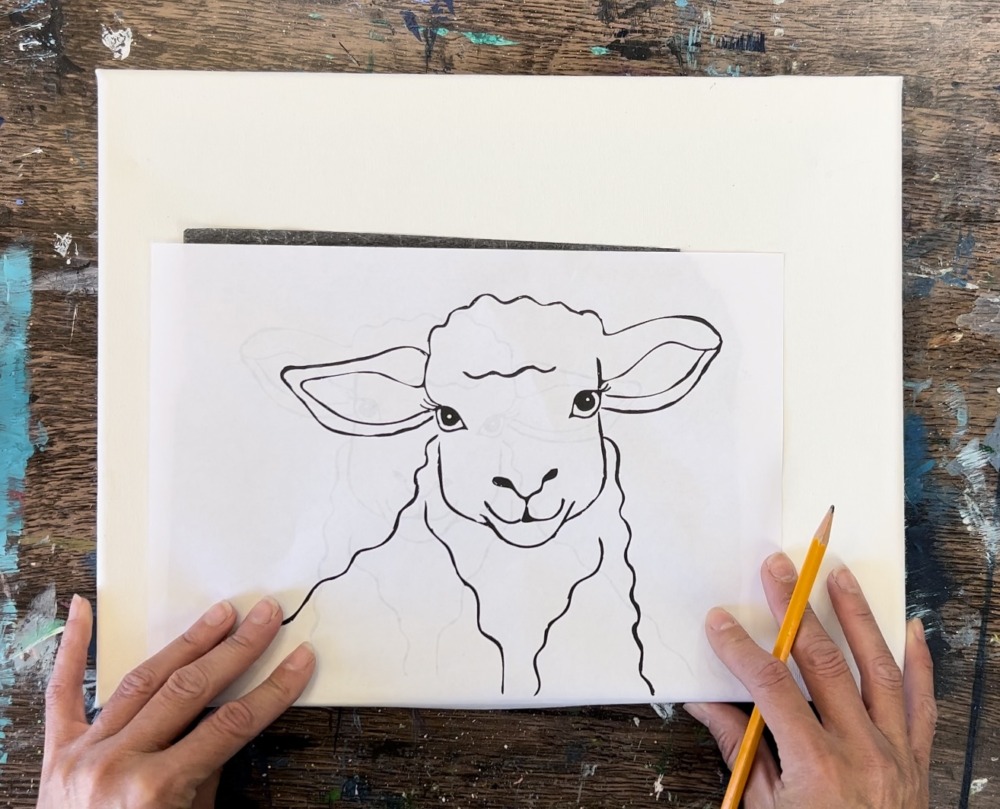
Note: there’s about 2″ of space on the left and about 4″ of space on the right.
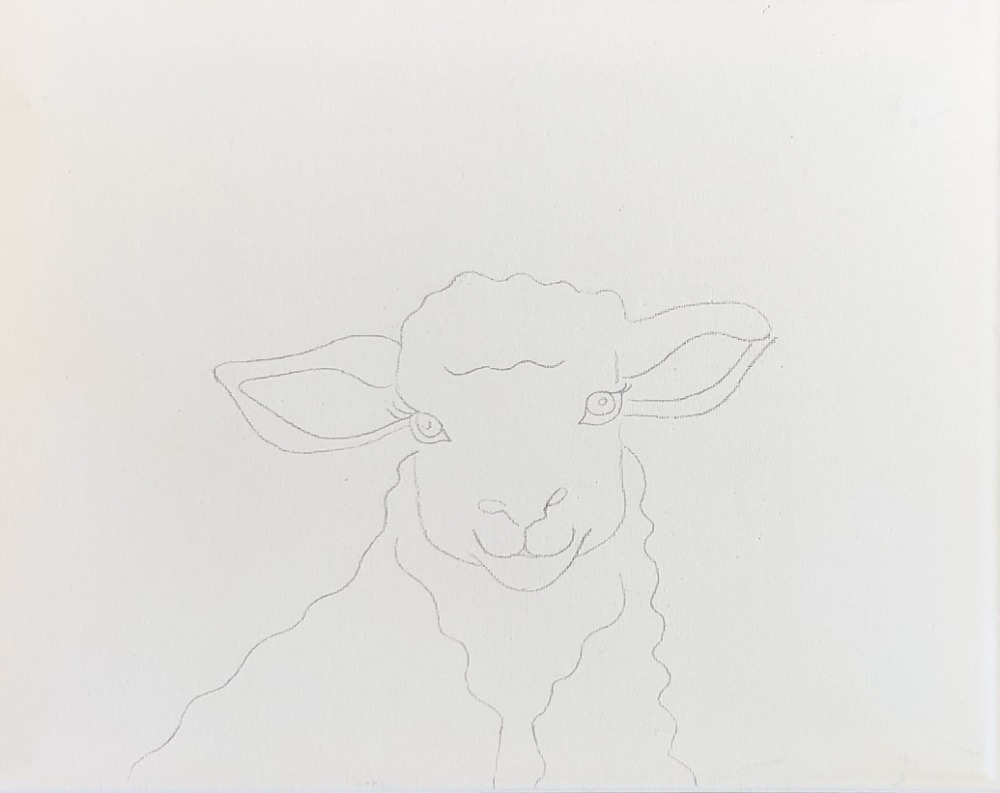
Then trace the lamb onto the canvas firmly with a pencil.
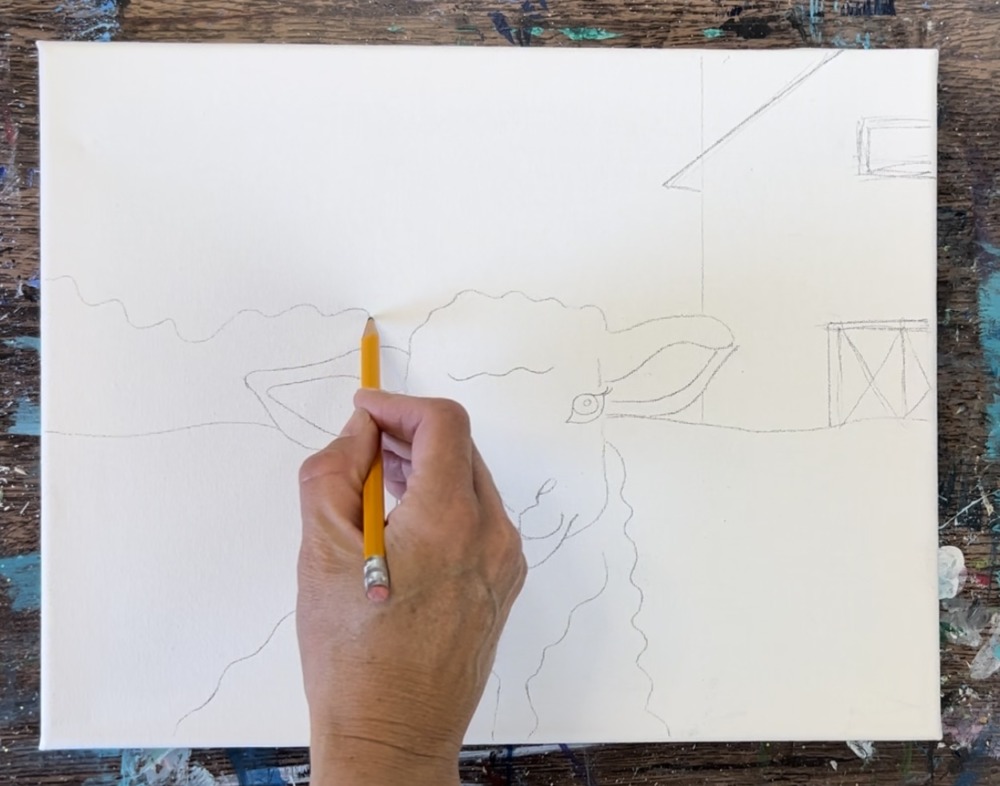
2. Draw land/ barn composition
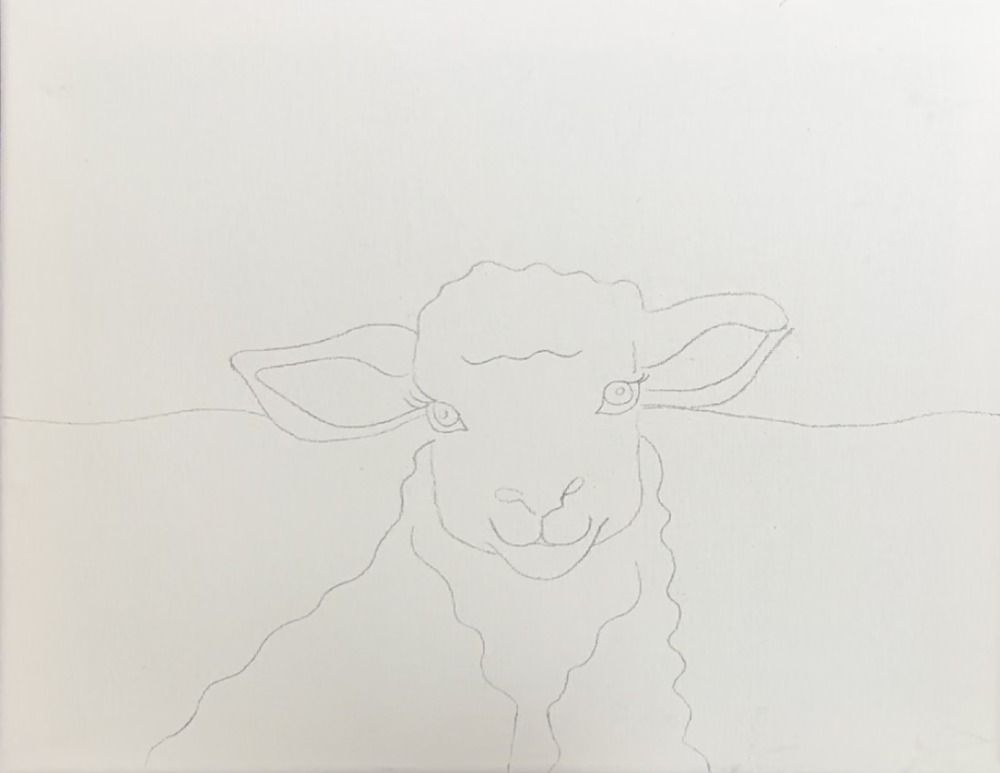
Then draw the horizon line. This is a long, wavy line that starts at about the bottom of the lamb’s left ear.
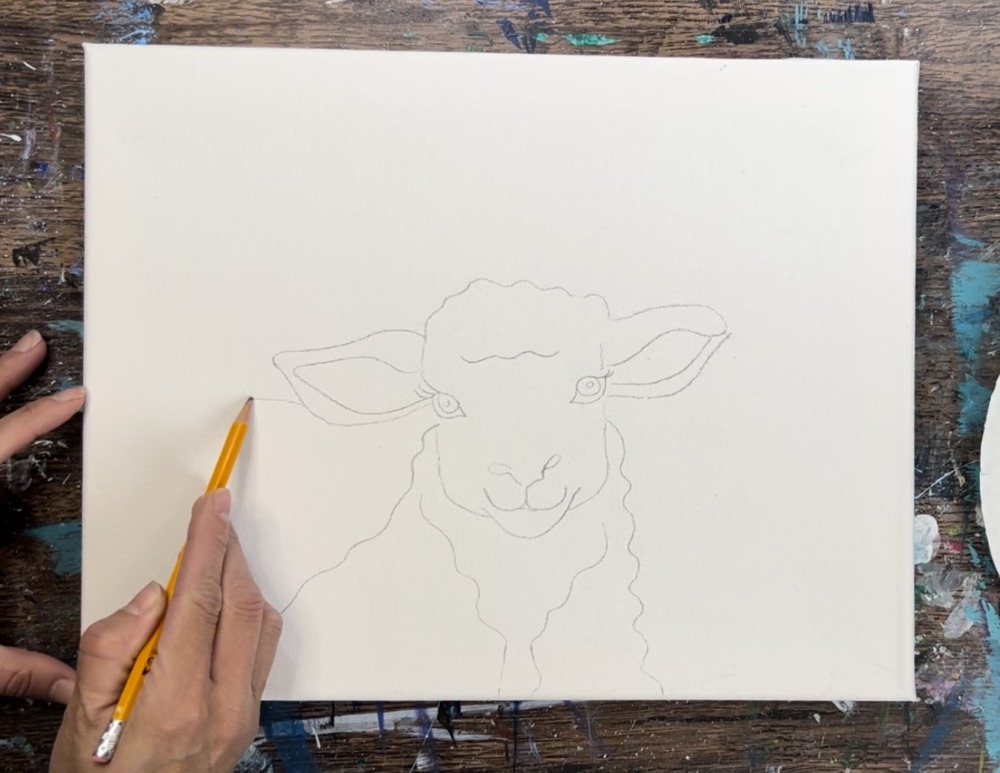
Then it extends across the canvas under the lamb’s right ear.
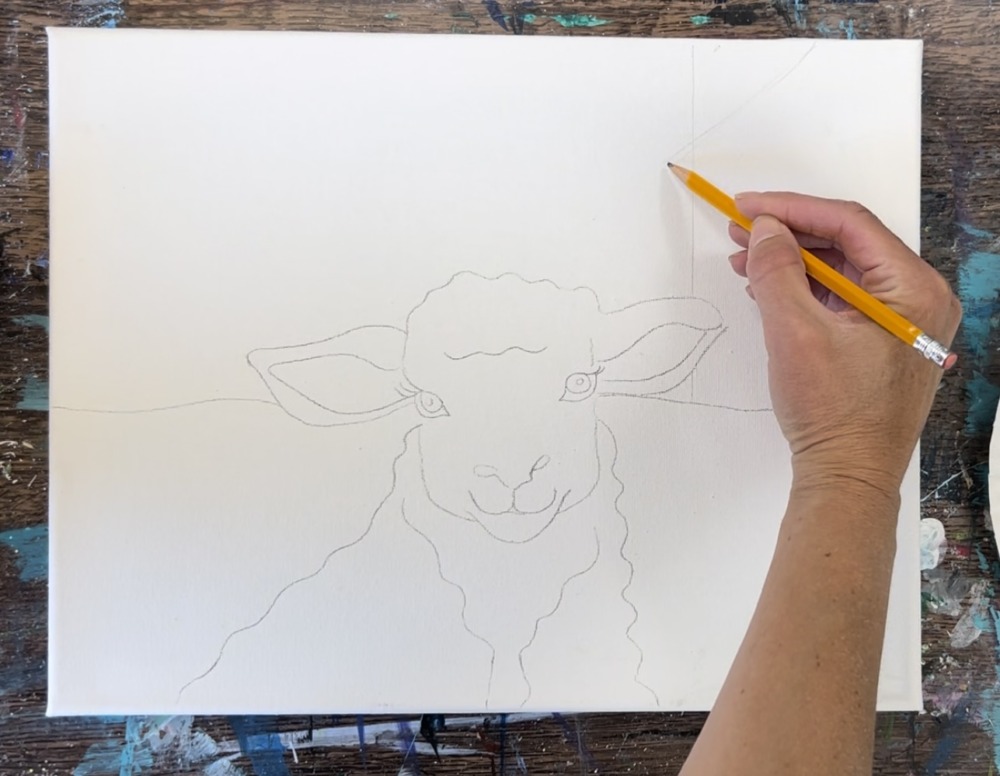
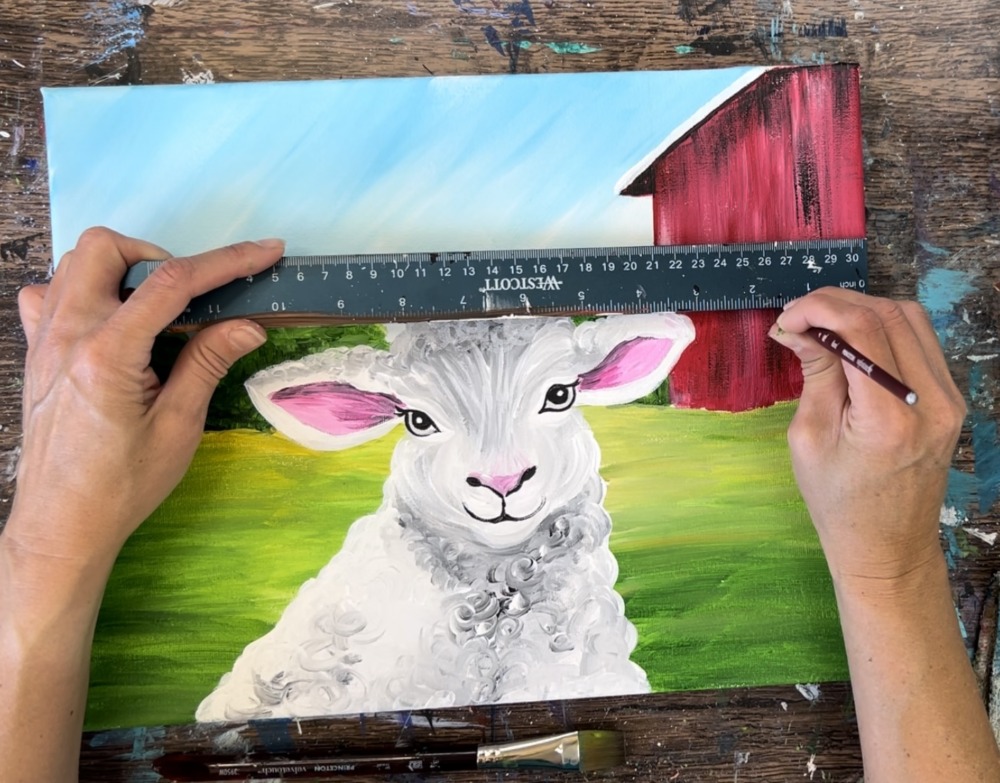
Next, use a ruler or straight edge to draw the barn. Draw a vertical line that extends vertically. It begins at just under the right ear’s edge.
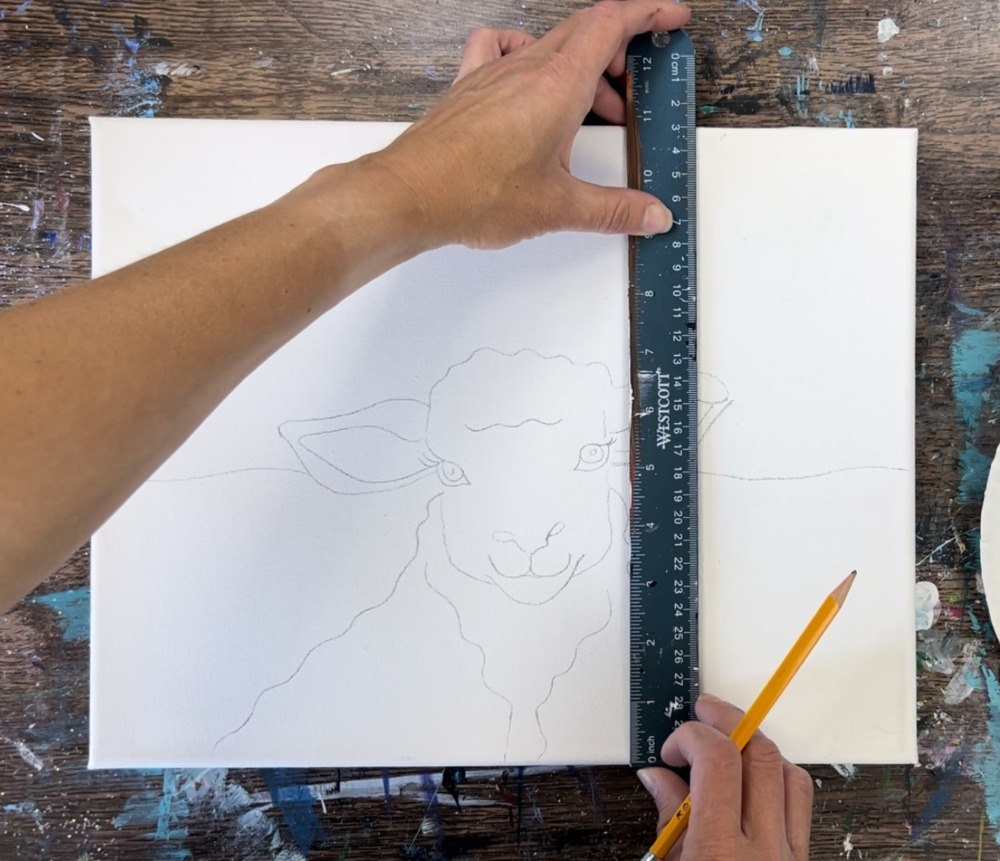
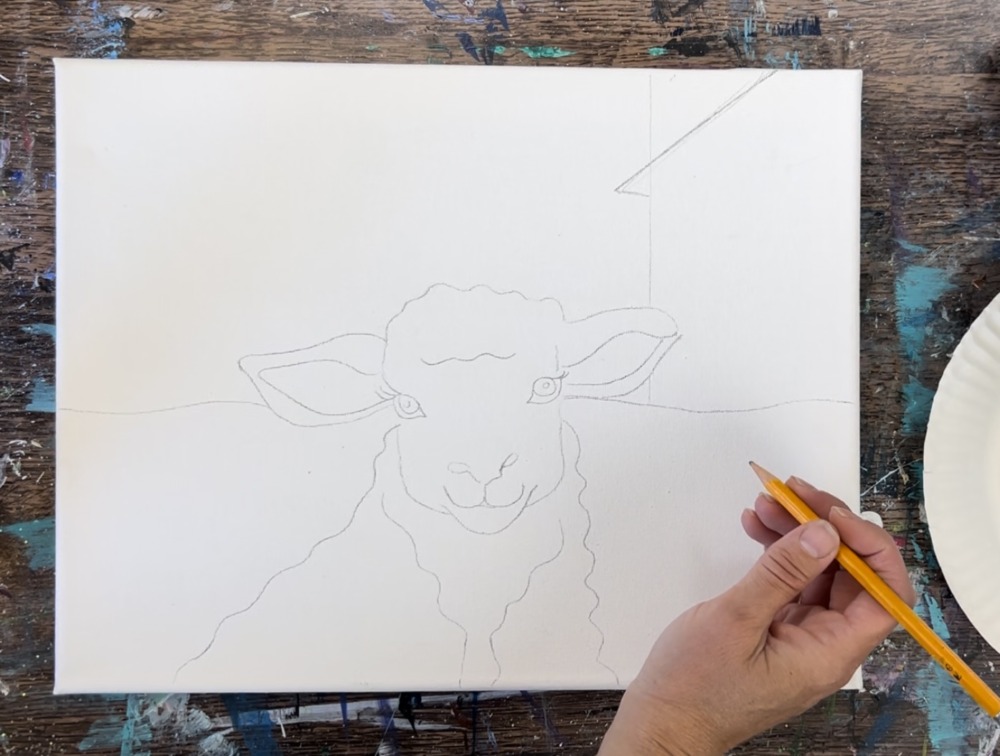
Sketch the diagonal roof line.
Then use the ruler to draw the diagonal line so the line extends just over the vertical line.

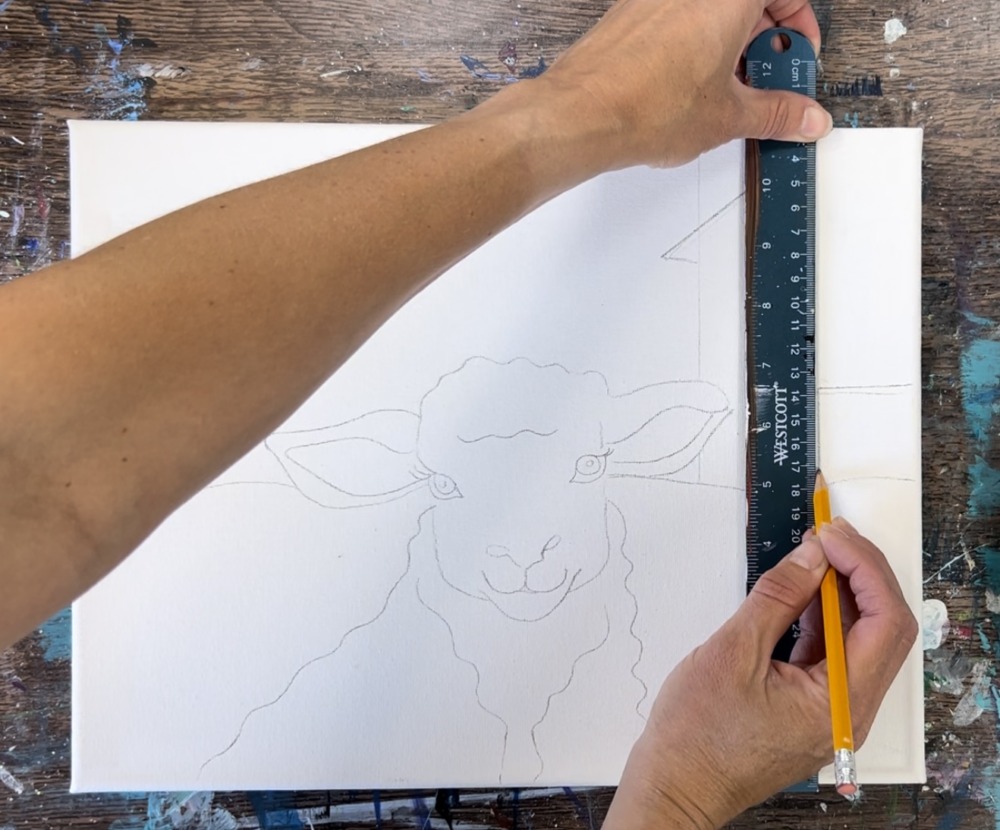
Draw a little horizontal line under the roof that goes horizontally to the vertical line.
Then sketch the door. Since we don’t see the full barn, you will be drawing about 3/4 of the barn door. Draw a rectangular shape using the ruler.
Then draw an “x” inside the left door as well as a vertical line for the line between the center of the door.
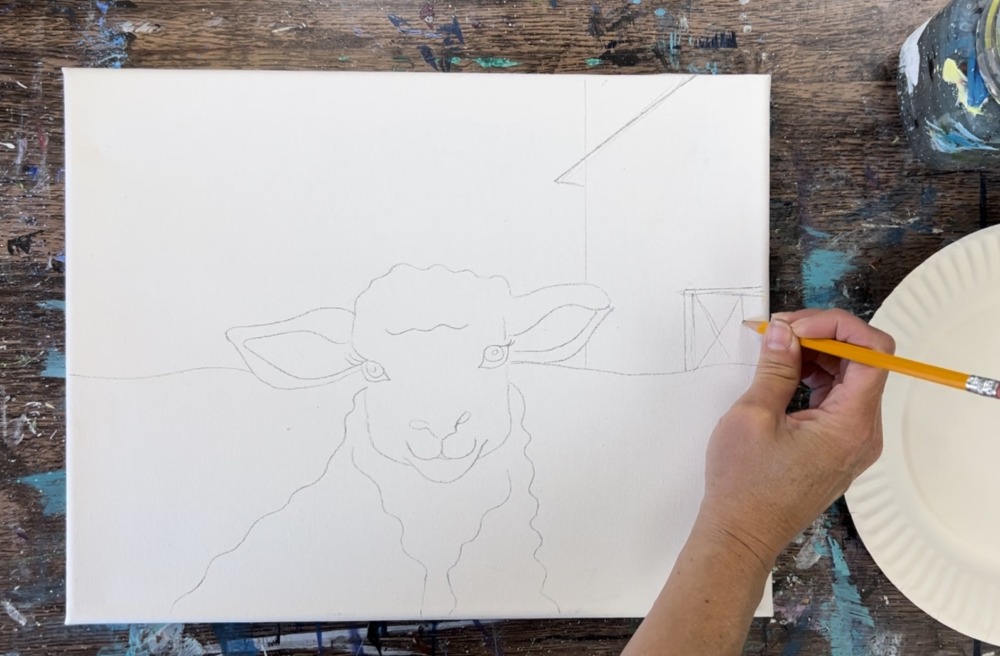
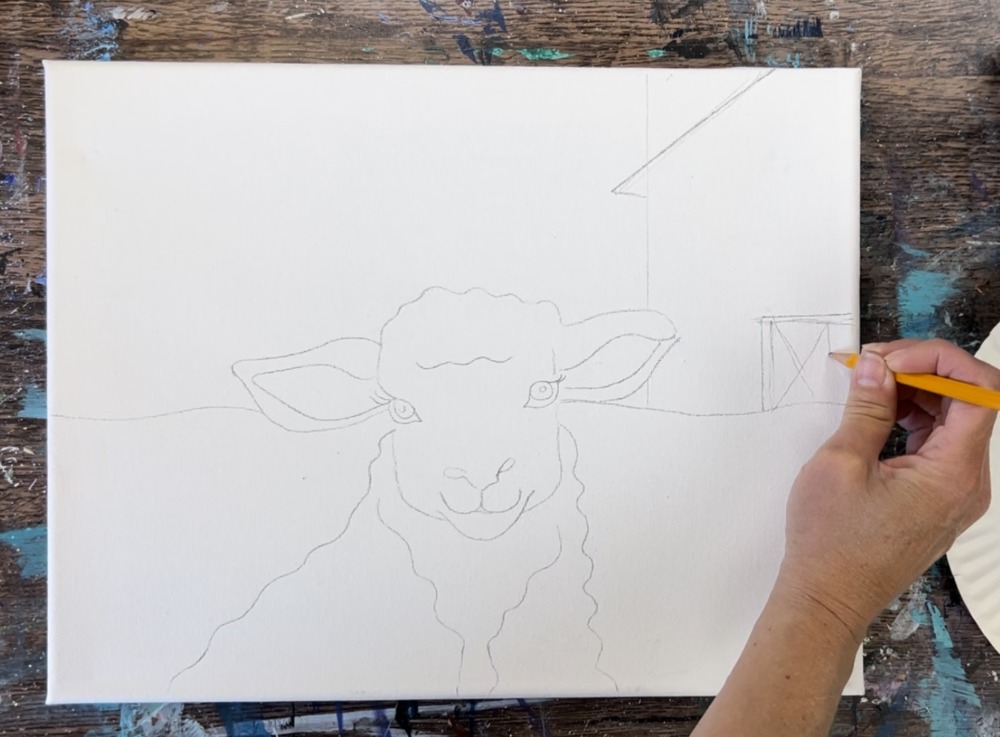
Then draw part of the window on the top.
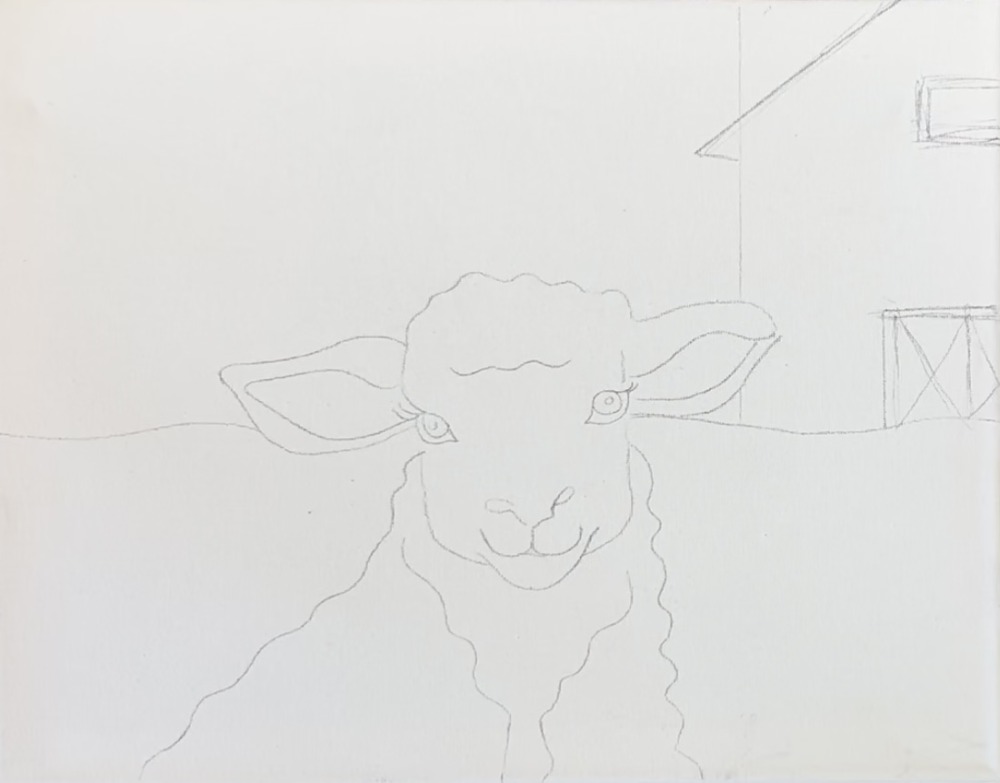

Next, draw a wavy line to represent the bushes above the horizon line. These start on the left side of the canvas about 2.5″ hight. It can dip down a bit and then it meets all the way to the edge of the barn.
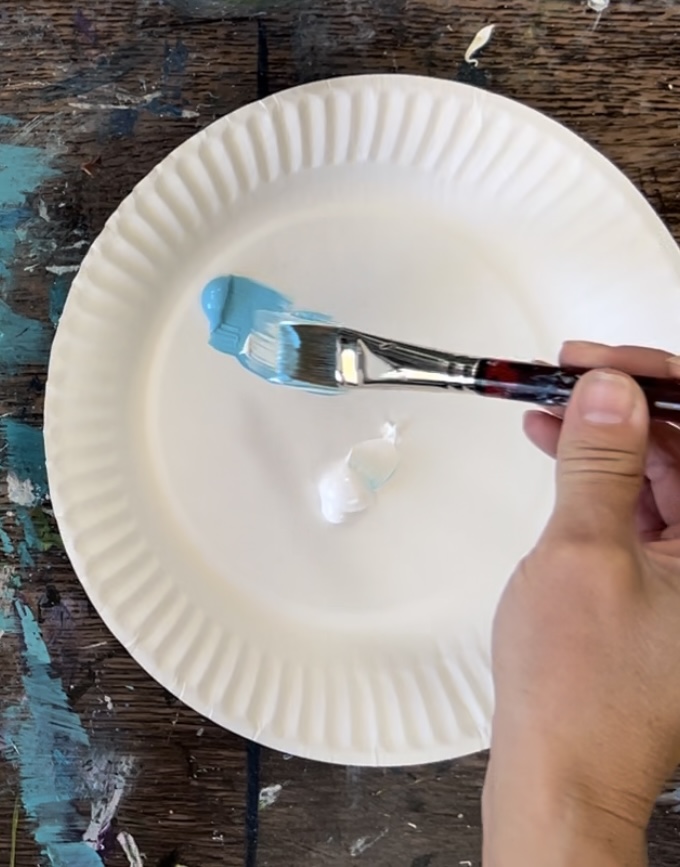
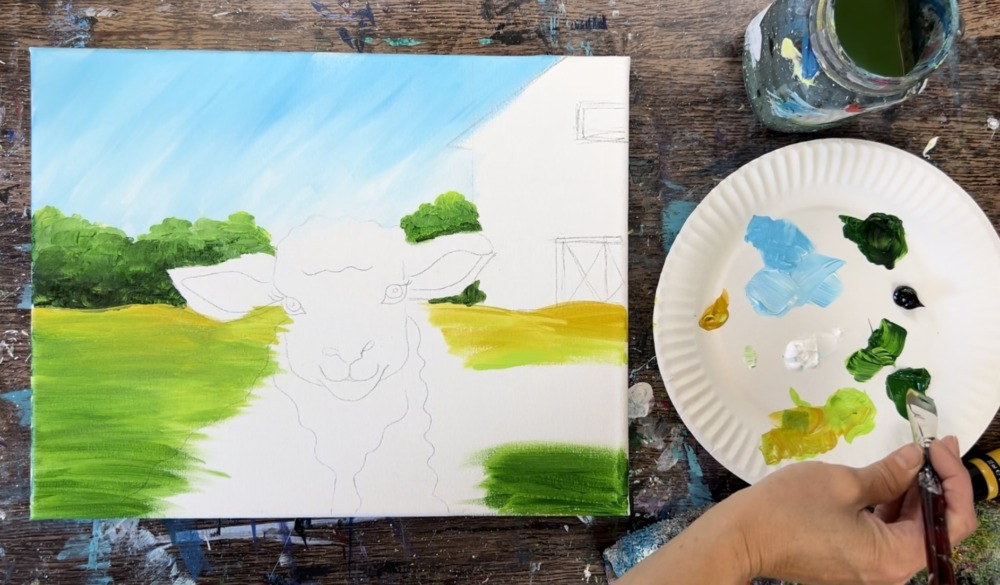
3. Paint Sky
Load your palette with titanium white and light blue permanent. Use a 3/4″ flat wash brush to paint this sky using diagonal strokes. The top of the sky is slightly darker than the bottom of the sky (behind the bushes).
Double load your 3/4″ flat wash brush in both the light blue and titanium white.
Paint diagonal strokes across the top par top the sky. Go around the barn, bushes and sheep drawing.
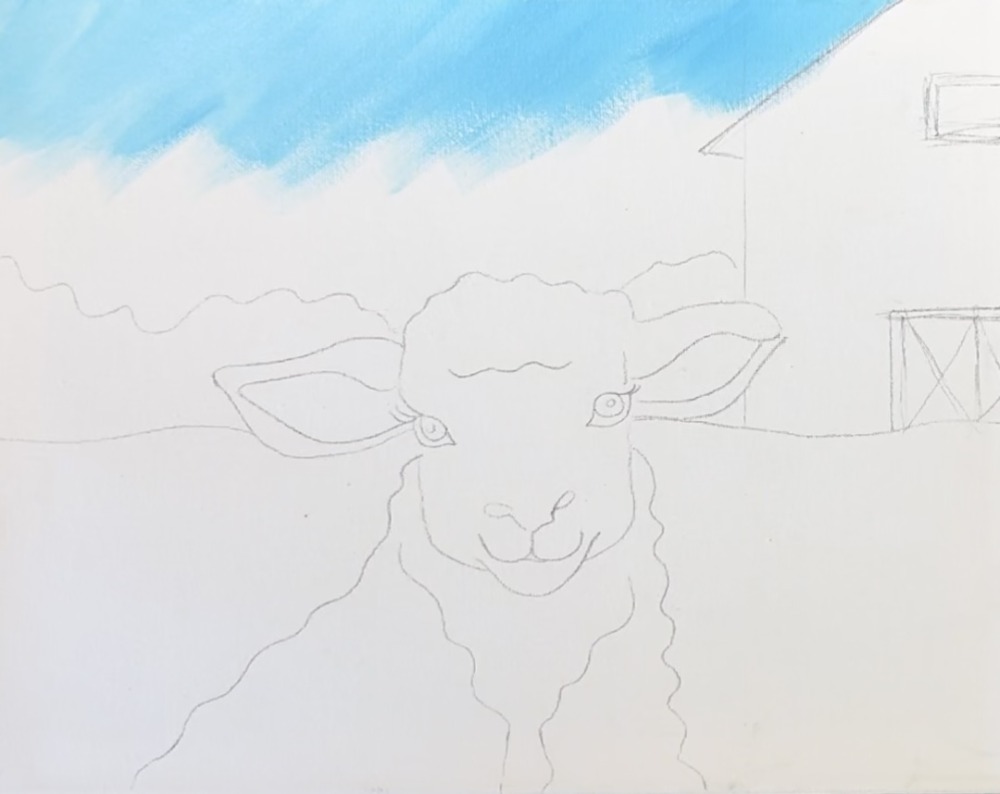
As you work your way down, gradually add more white to the brush and blend the sky so that it gets lighter towards the middle and bottom.
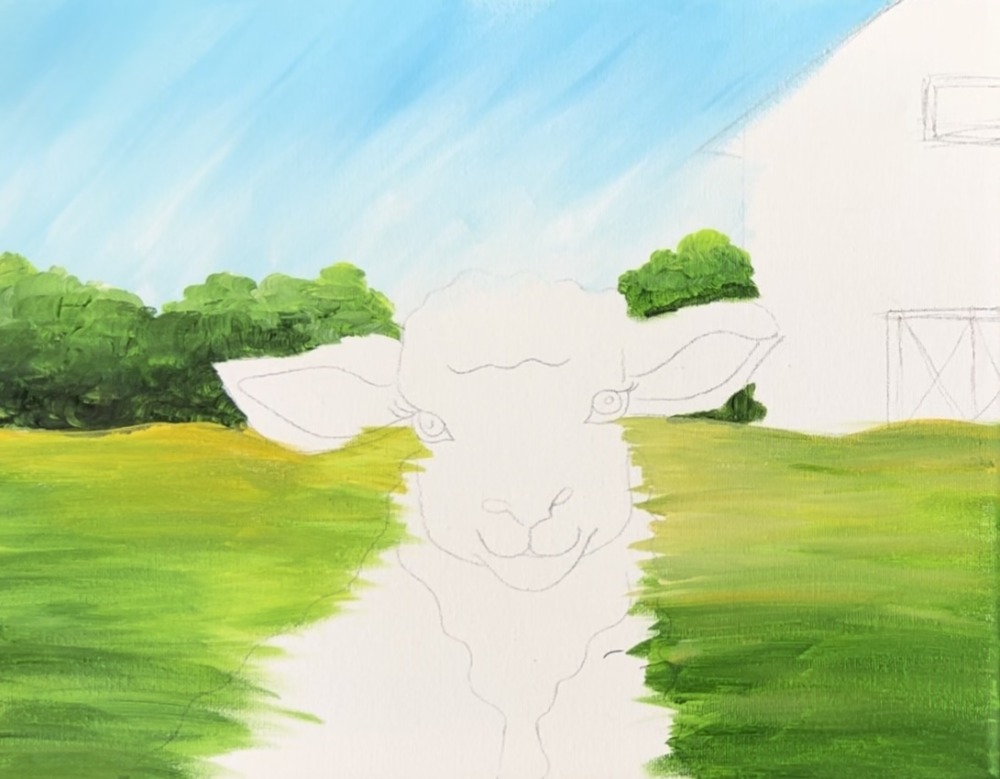
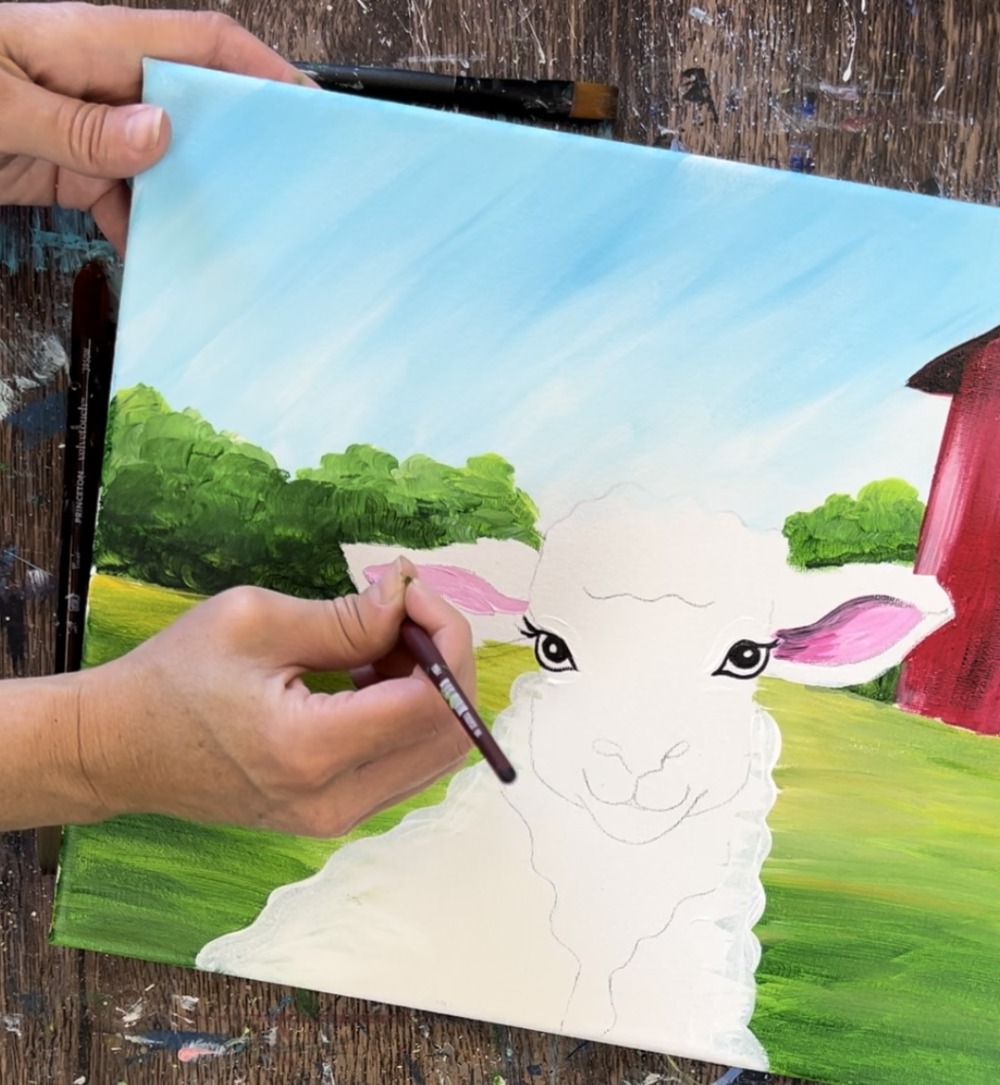
4. Paint Bushes
Use a 12 bright brush. Load your palette with: hooker’s green hue permanent, mars black and brilliant yellow green.
Use the 12 bright brush and just the hooker’s green hue (load the paint just on the tip of the brush). Paint short, circular and choppy strokes to define the top edges of the bushes.
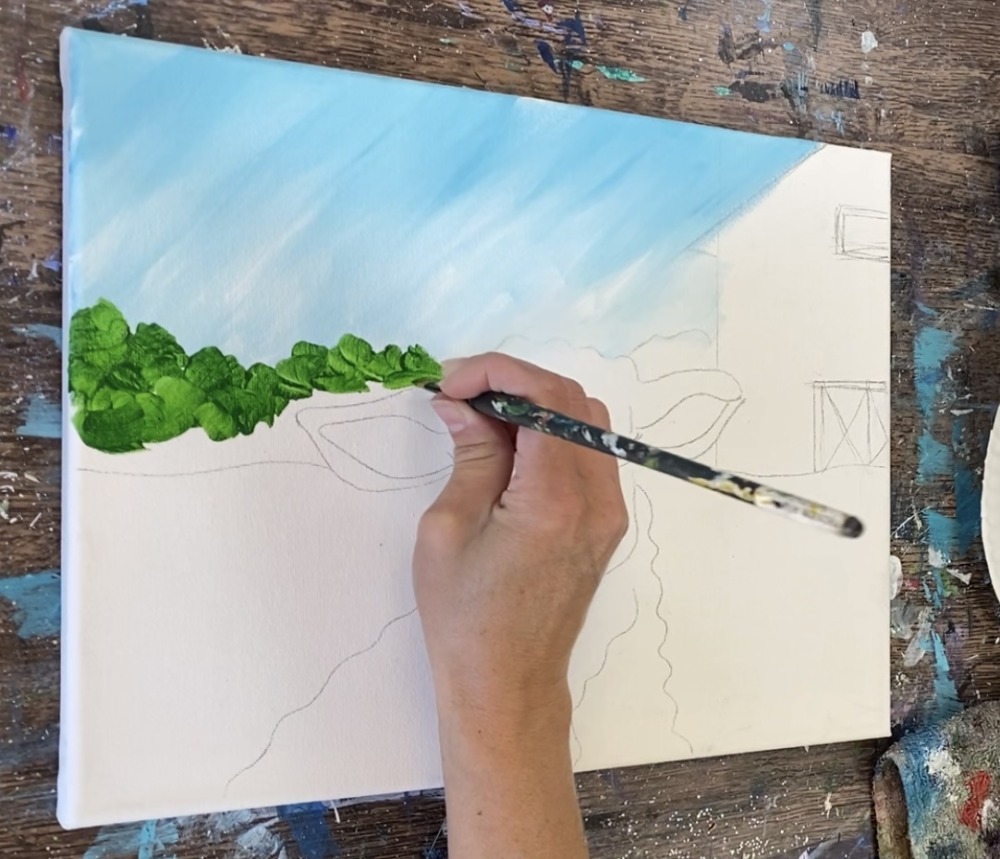
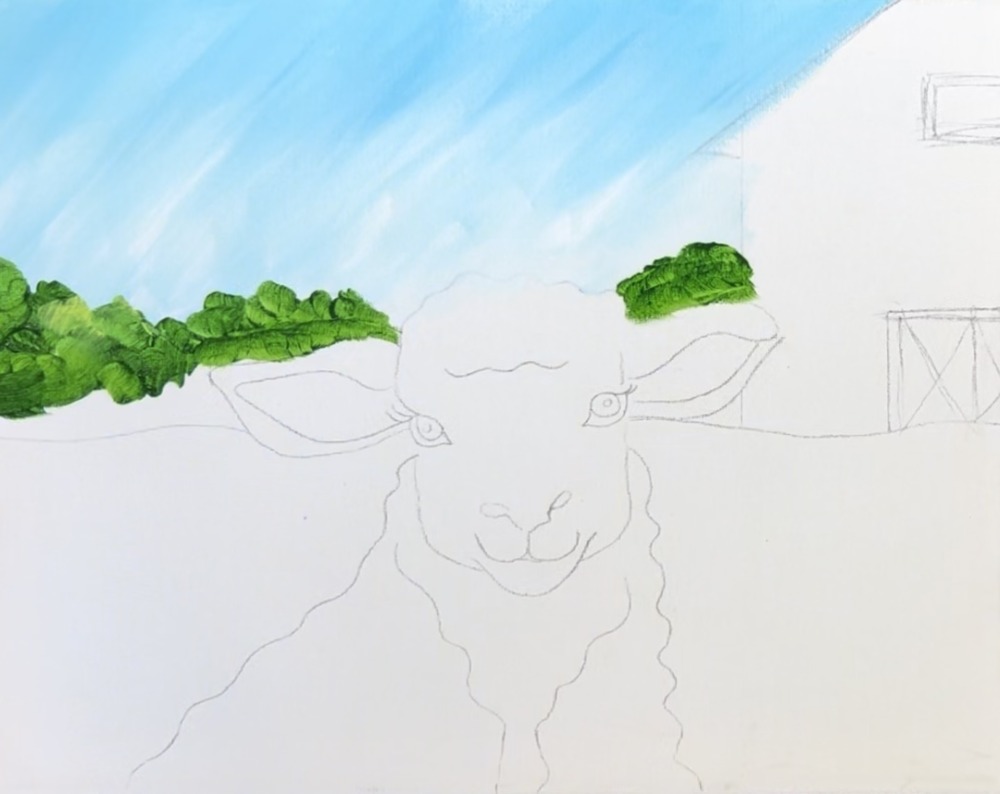
Then add some brilliant yellow green to your brush (without rinsing the other green off).
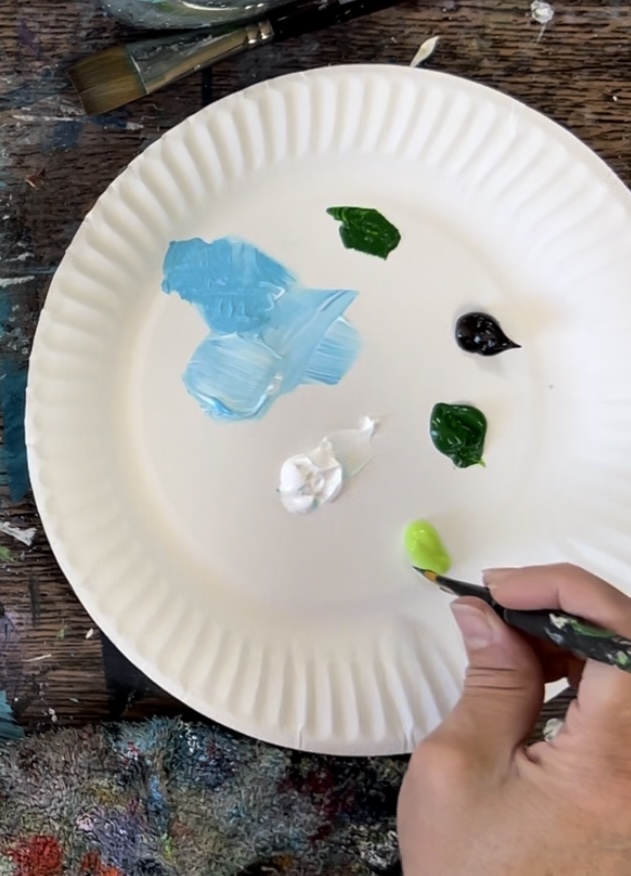
Add that lighter green towards the top edges of the bushes.
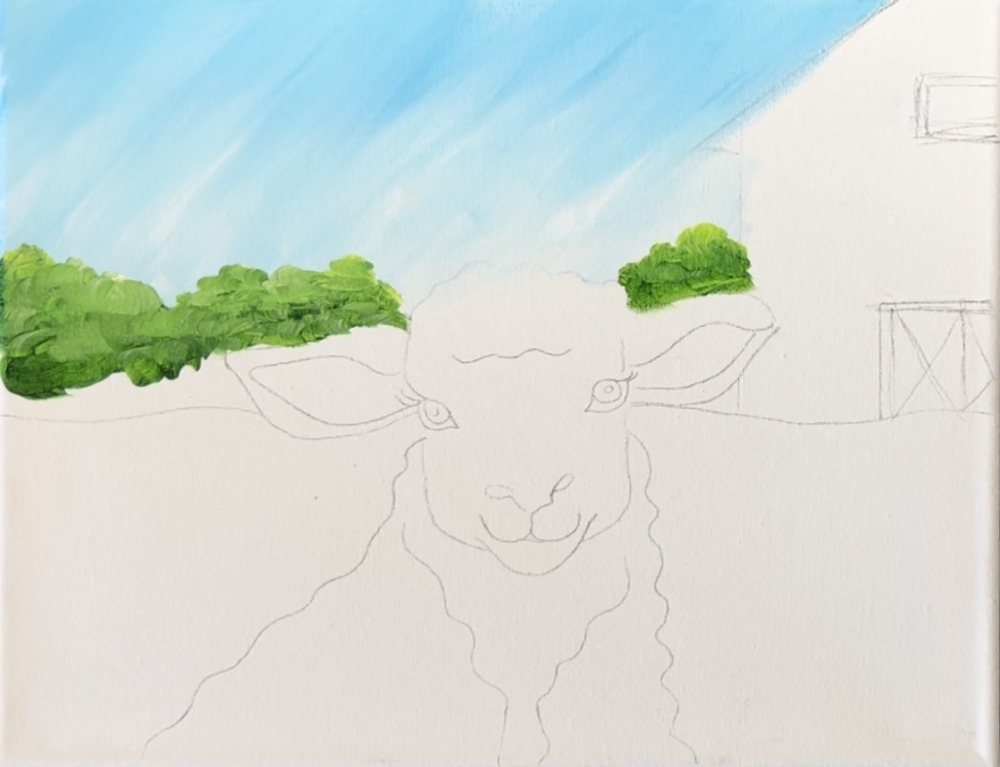
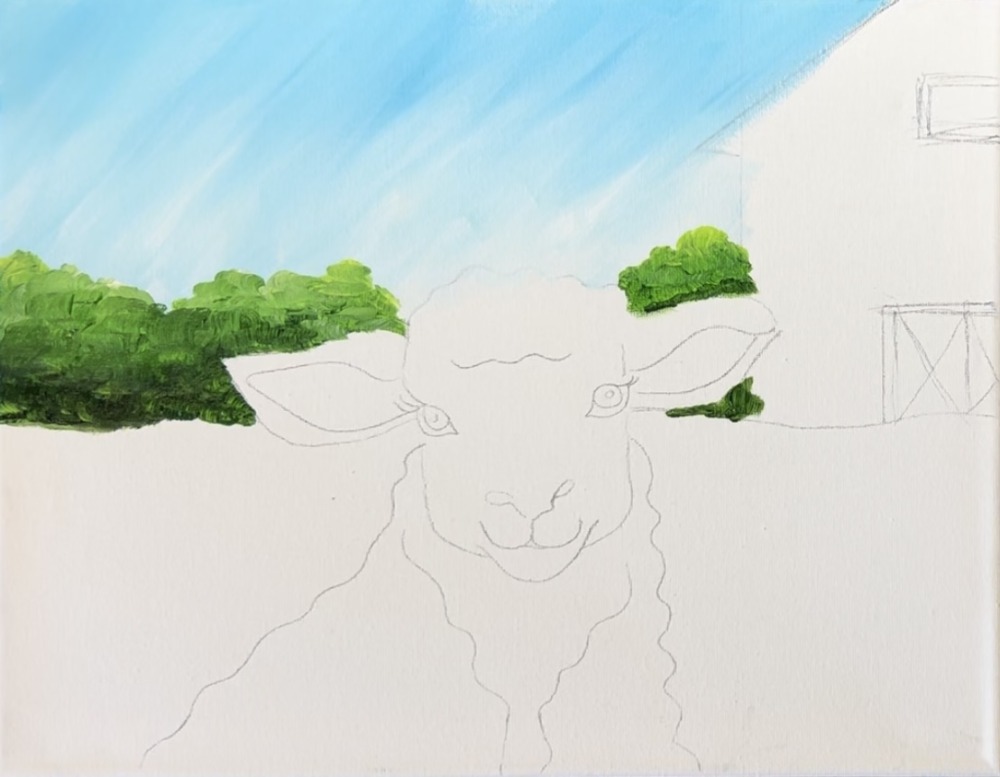
Next, mix a tiny amount of black into hooker’s green hue permanent (you can rinse brush off or still keep the color that’s sill on the brush).
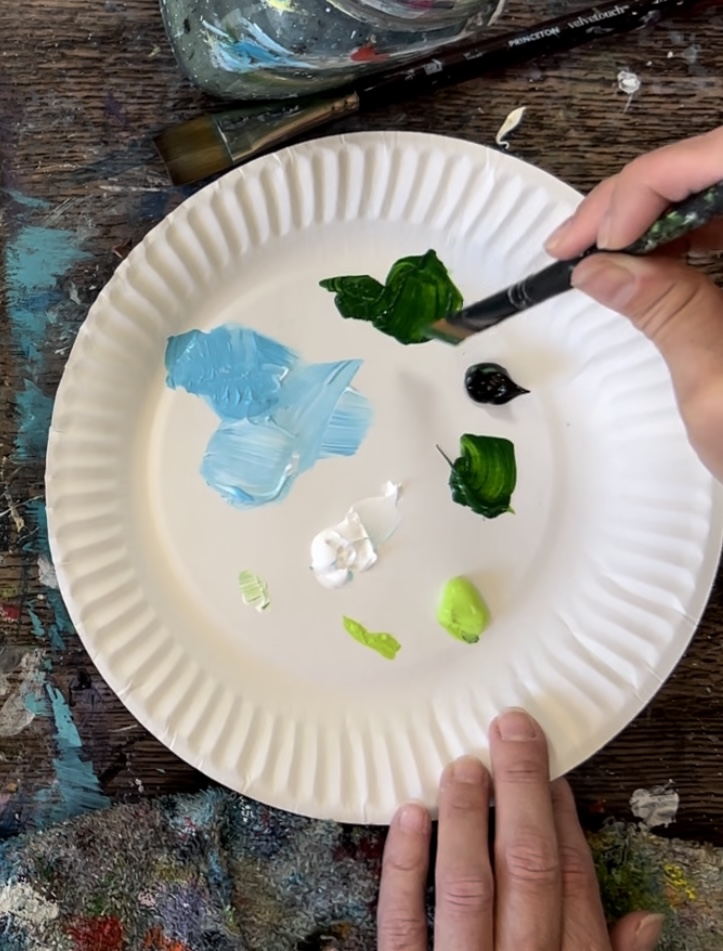
Paint the bottom of the bush with this darker green and blend it up. Essentially the bush will be lightest at the top and blend to a dark and shadowy color on the bottom.
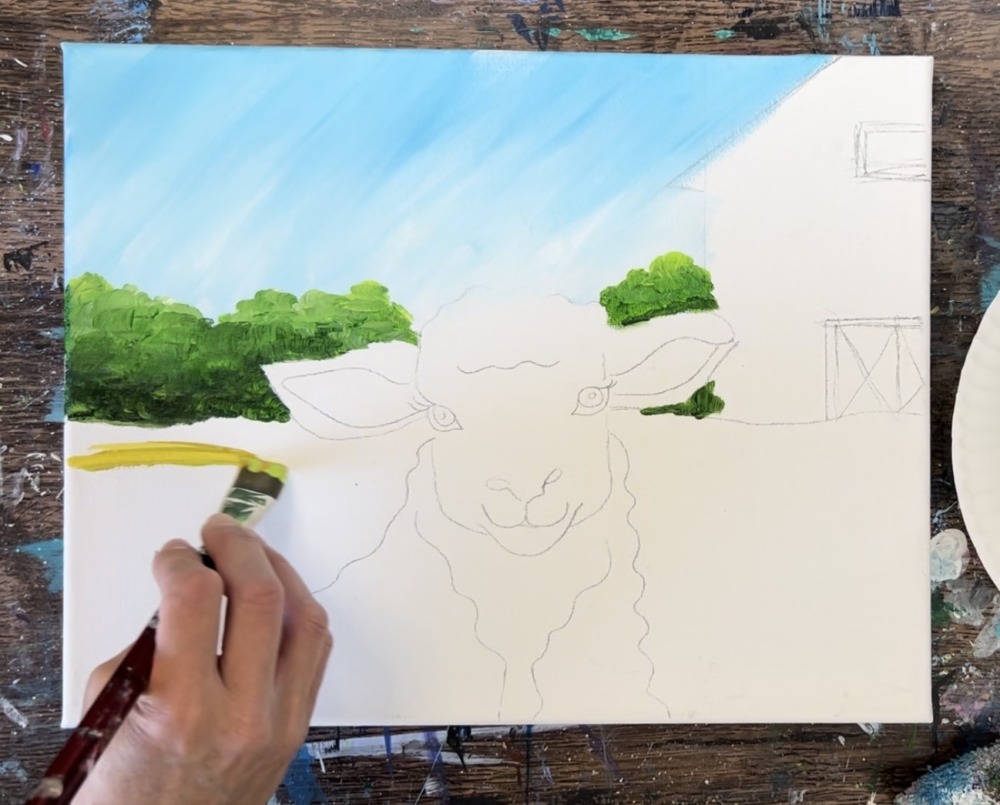
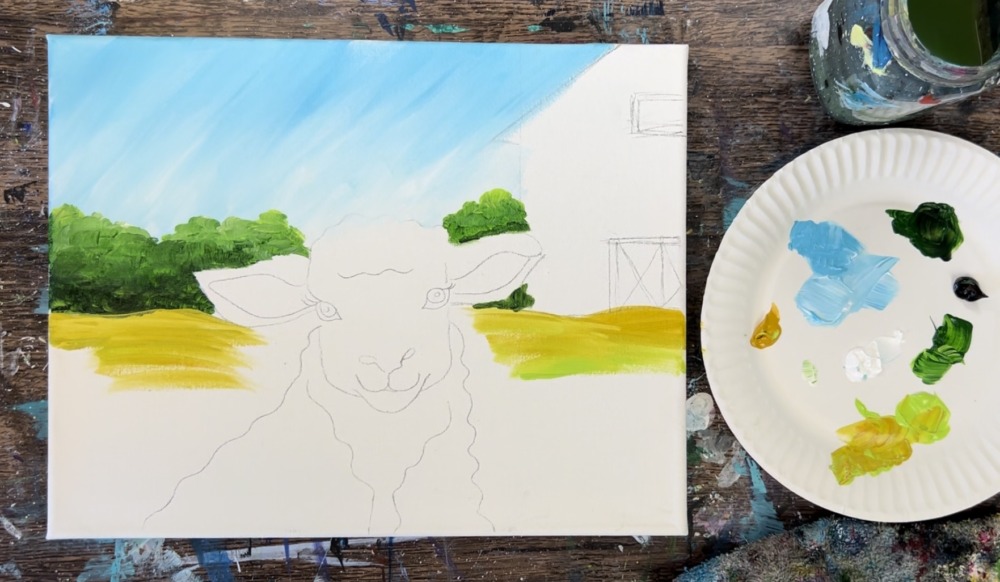
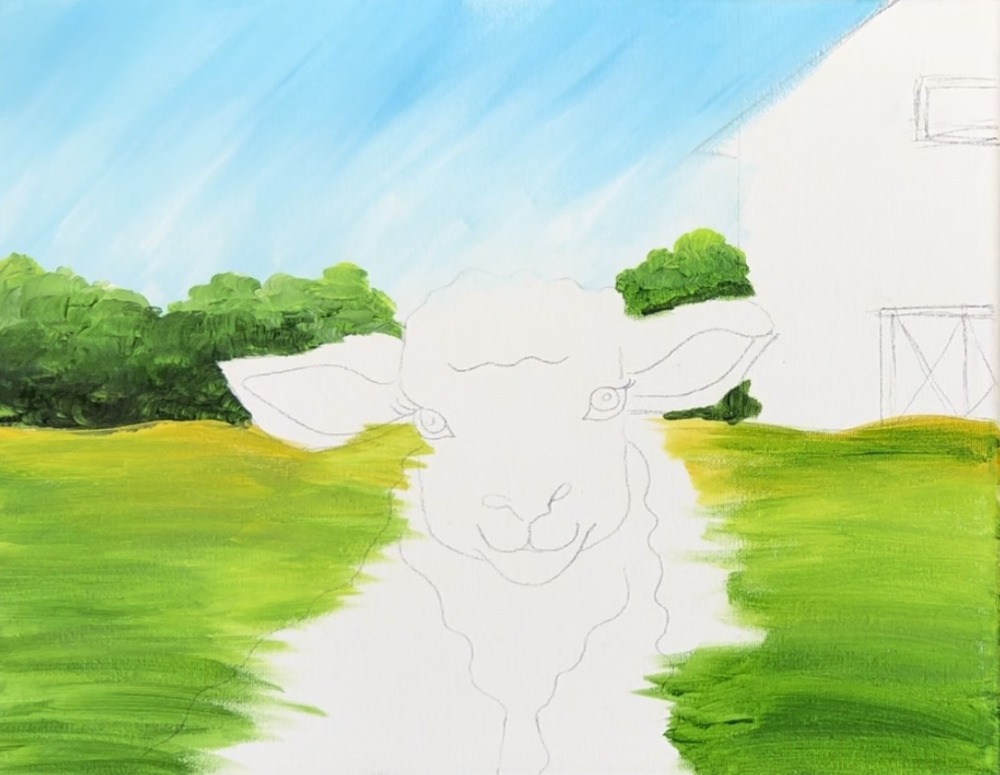
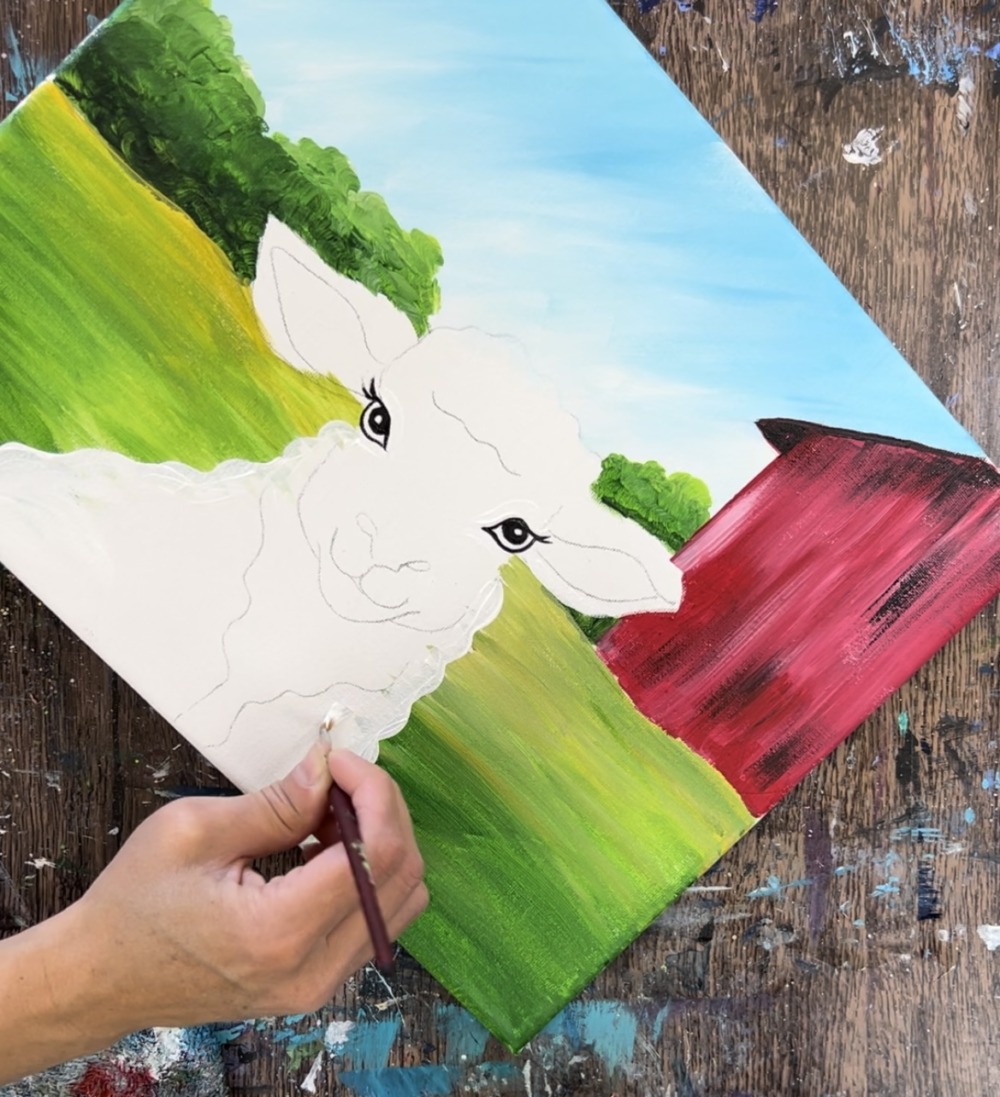
5. Paint Land
Load your palette with yellow oxide. Use your 3/4″ flat wash brush. Mix about equal parts yellow oxide and brilliant yellow green.
Paint long, loose horizontal lines with the 3/4″ flat brush. Paint this around the sheep. Your land will start out as a light golden green color.
Paint this about a quarter of the way down.
Then load more brilliant yellow green to your brush (without the yellow oxide). Blend this into the landscape so the land gradually gets darker towards the bottom. You don’t need to blend this all the way, it’s okay if there are streaks of un-blended color.
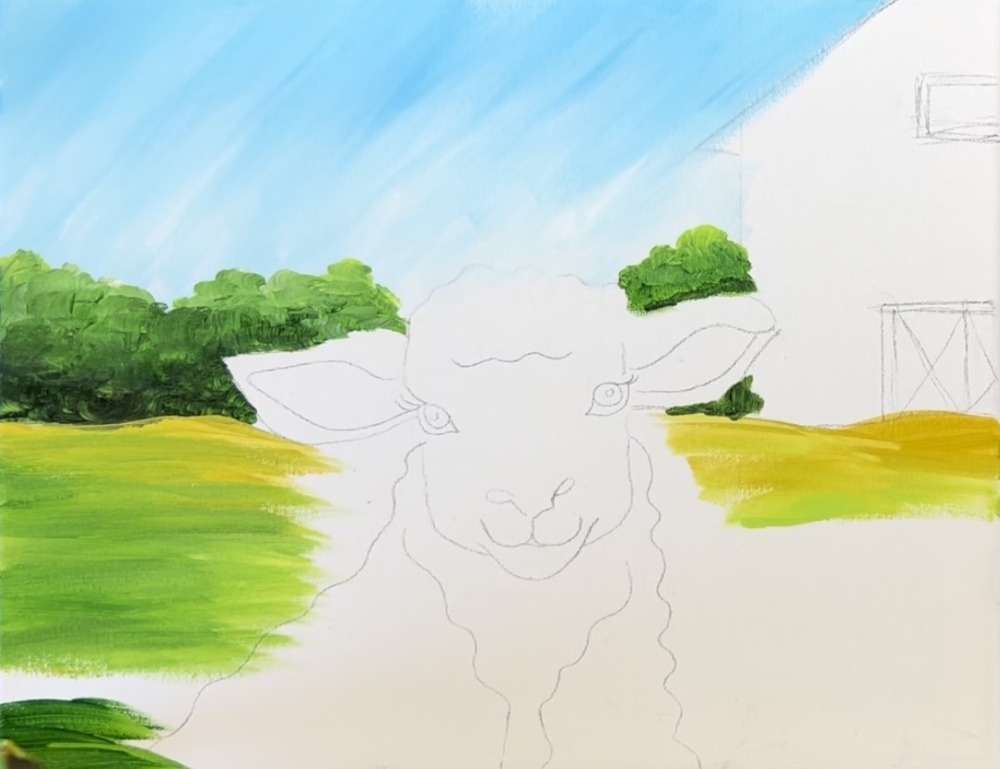
At the very bottom of the land, paint this with the hooker’s green hue permanent color (the darker green). Blend this up into the lighter green areas.
Add more brilliant yellow green or yellow oxide if needed. Also, the land goes above the base of the barn as a small hill. This “horizon line” is not completely horizontal.
Paint as close as possible to the sheep drawing. If you need to paint over parts of the sheep and/or barn, that is okay! We can always paint over this.
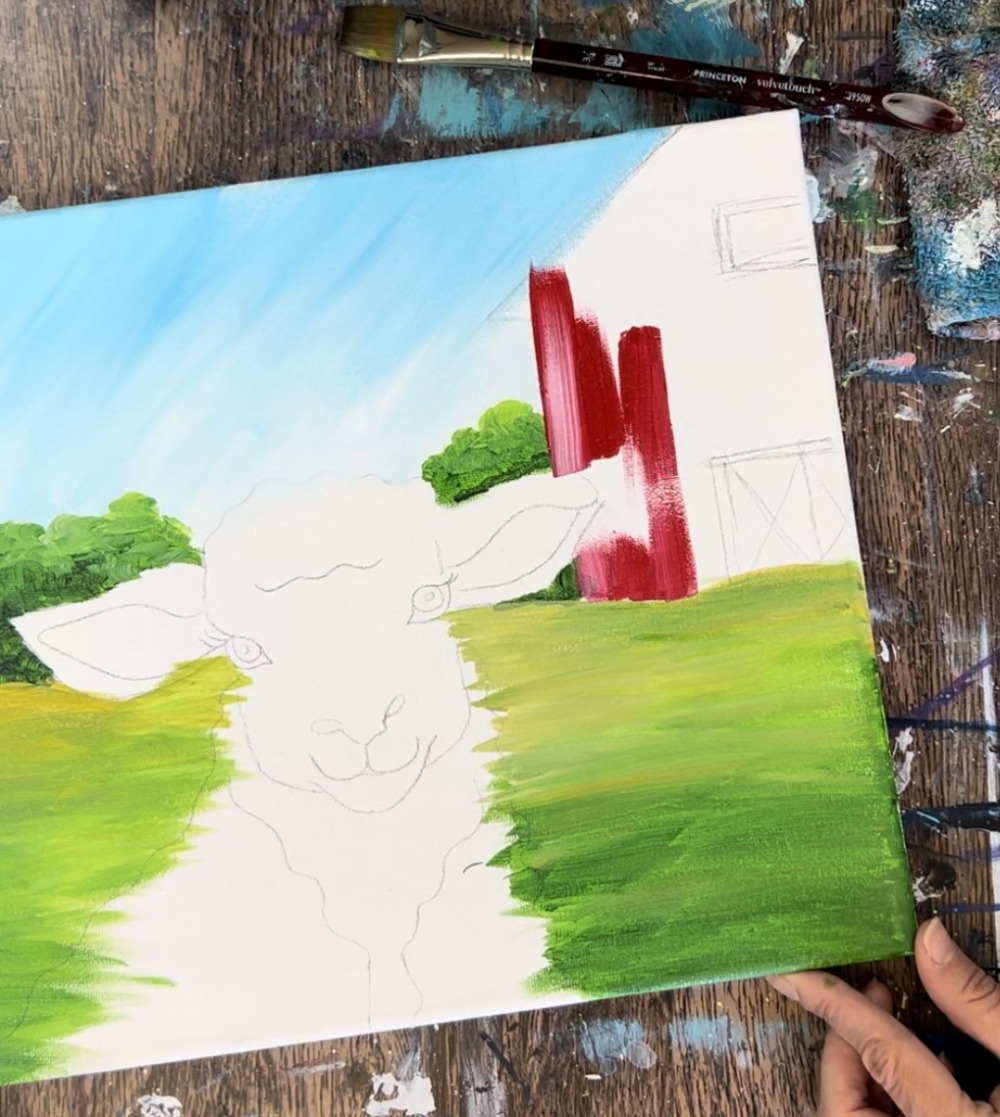
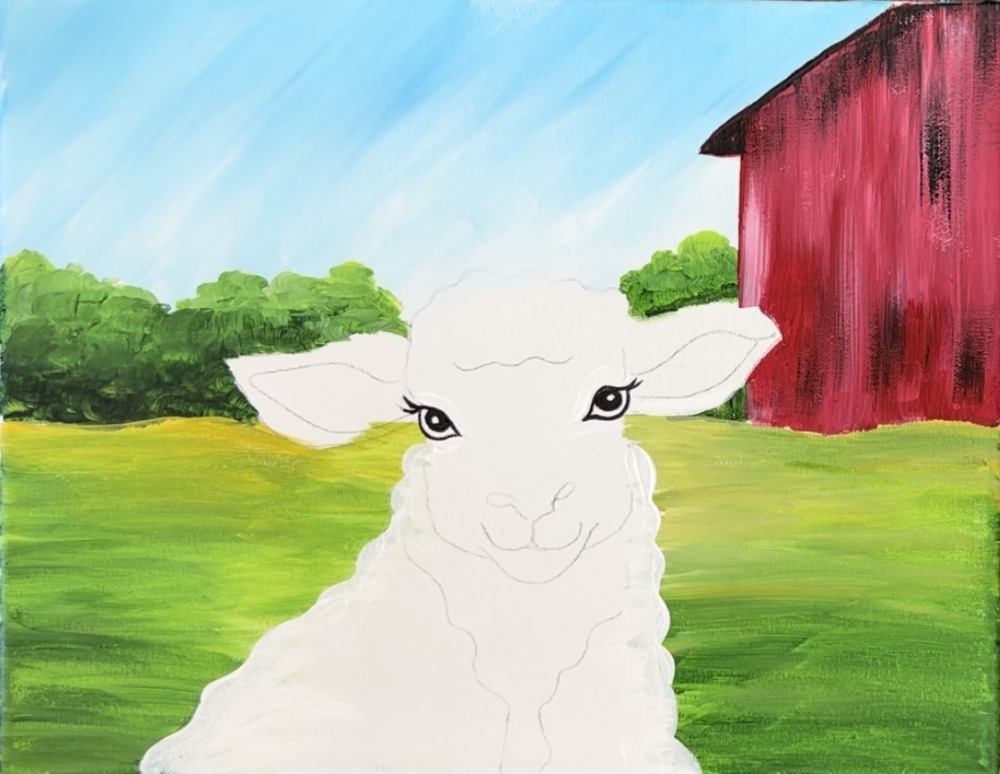
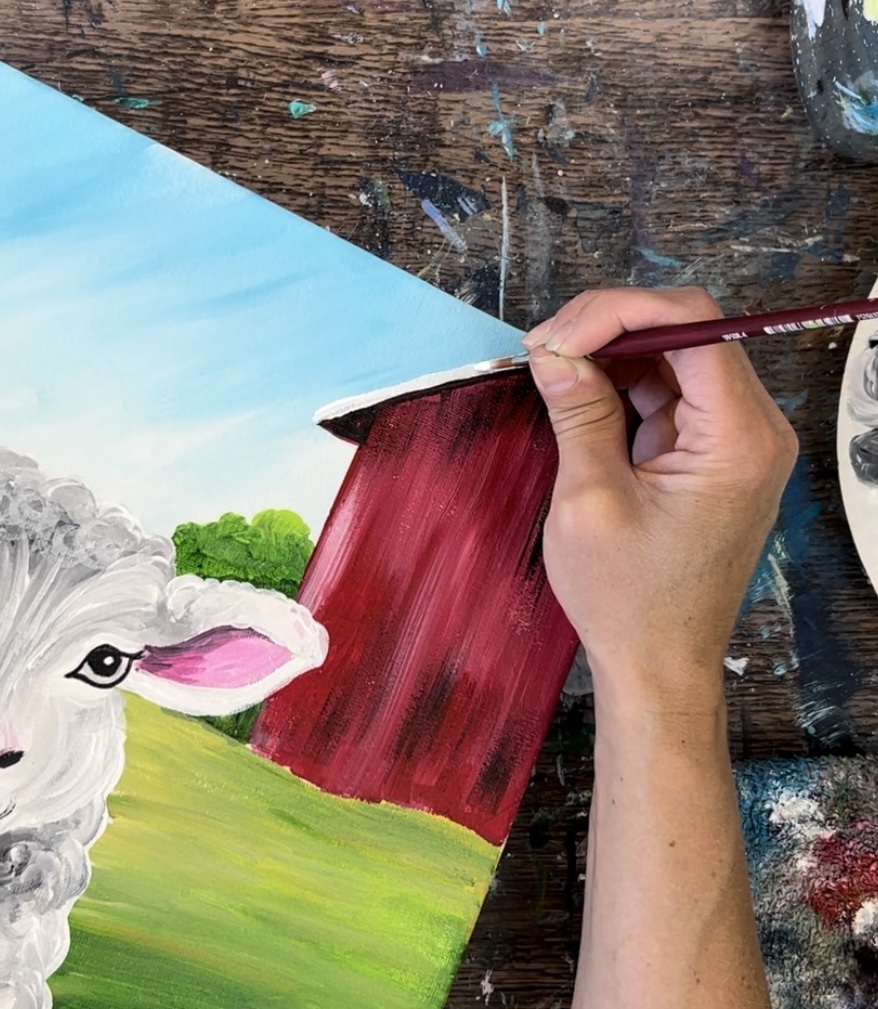
6. Paint Barn
The barn is painted with the colors: cadmium red deep hue, titanium white and mars black. Load your palette with those colors. Use a #12 bright brush. Start with just the red. Paint vertical strokes all throughout this barn shape. You can use the tip of the brush on its side to help define the edges of the barn.
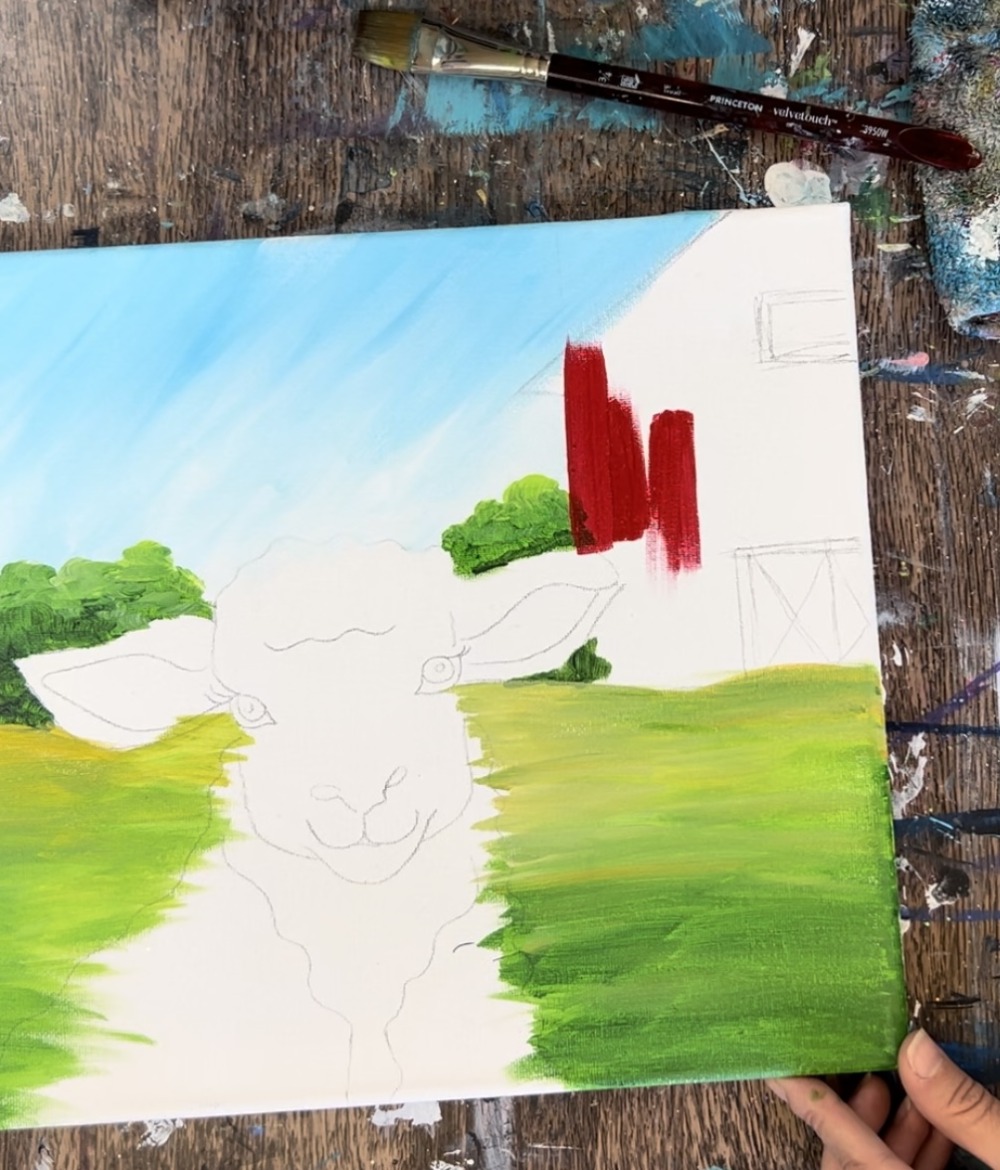
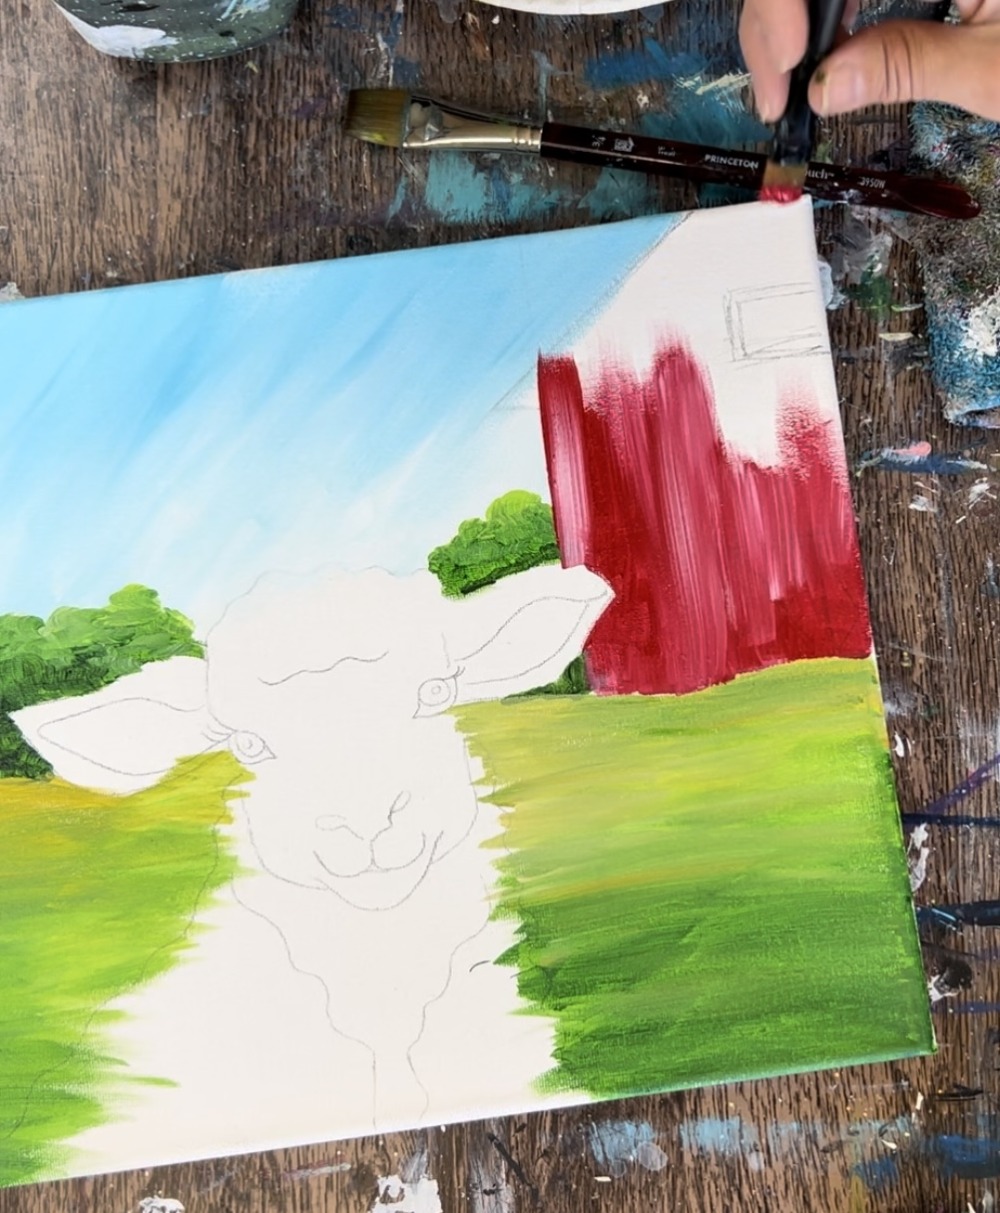
As you are painting this, gradually add tiny amounts of titanium white to the vertical strokes but don’t blend it all the way. This will give it a more rustic look.
Fill the entire barn area with this technique. You’ll need to paint over the window and door drawing but this can be re-drawn and repainted after this first layer dries.
Then use the tip of the 12 bright brush or the #4 round brush and mars black to paint the diagonal line edge of the roof.
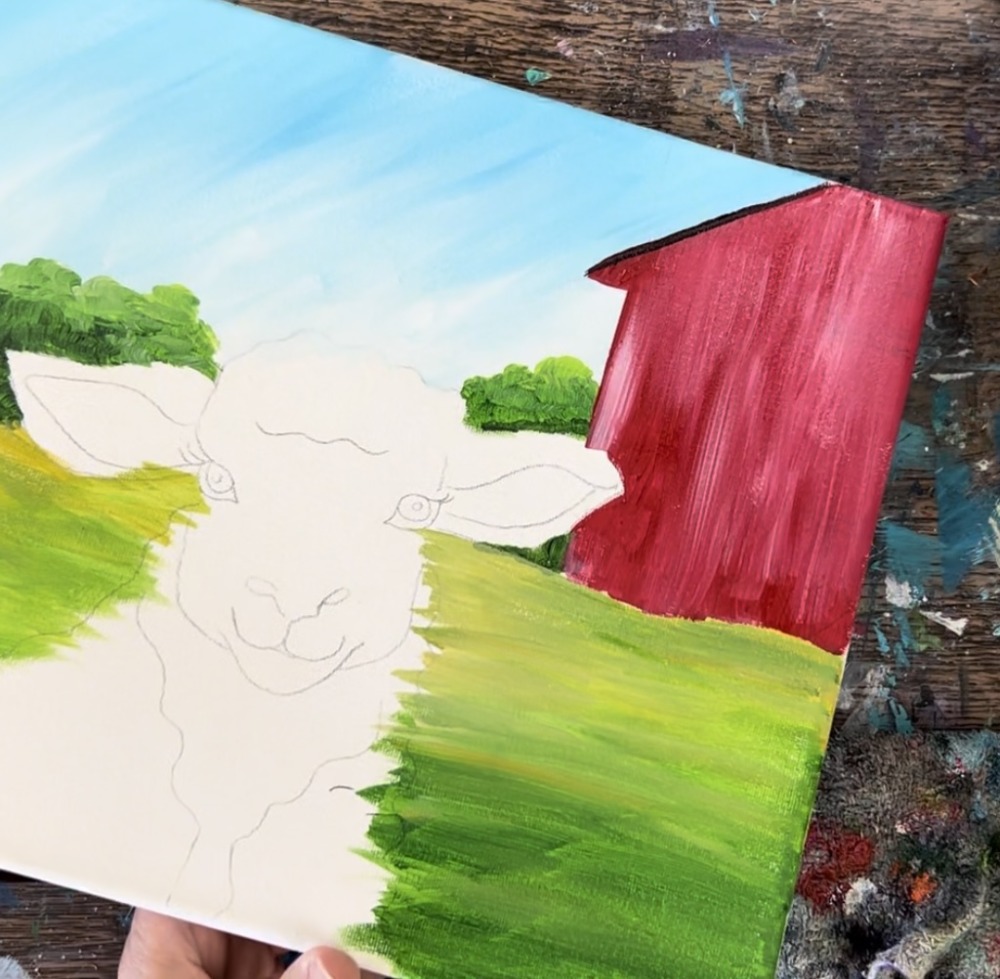
Next, “dry brush” mars black on the top of the barn just under the roof area. This will create a more dark and shadowy area at the top.
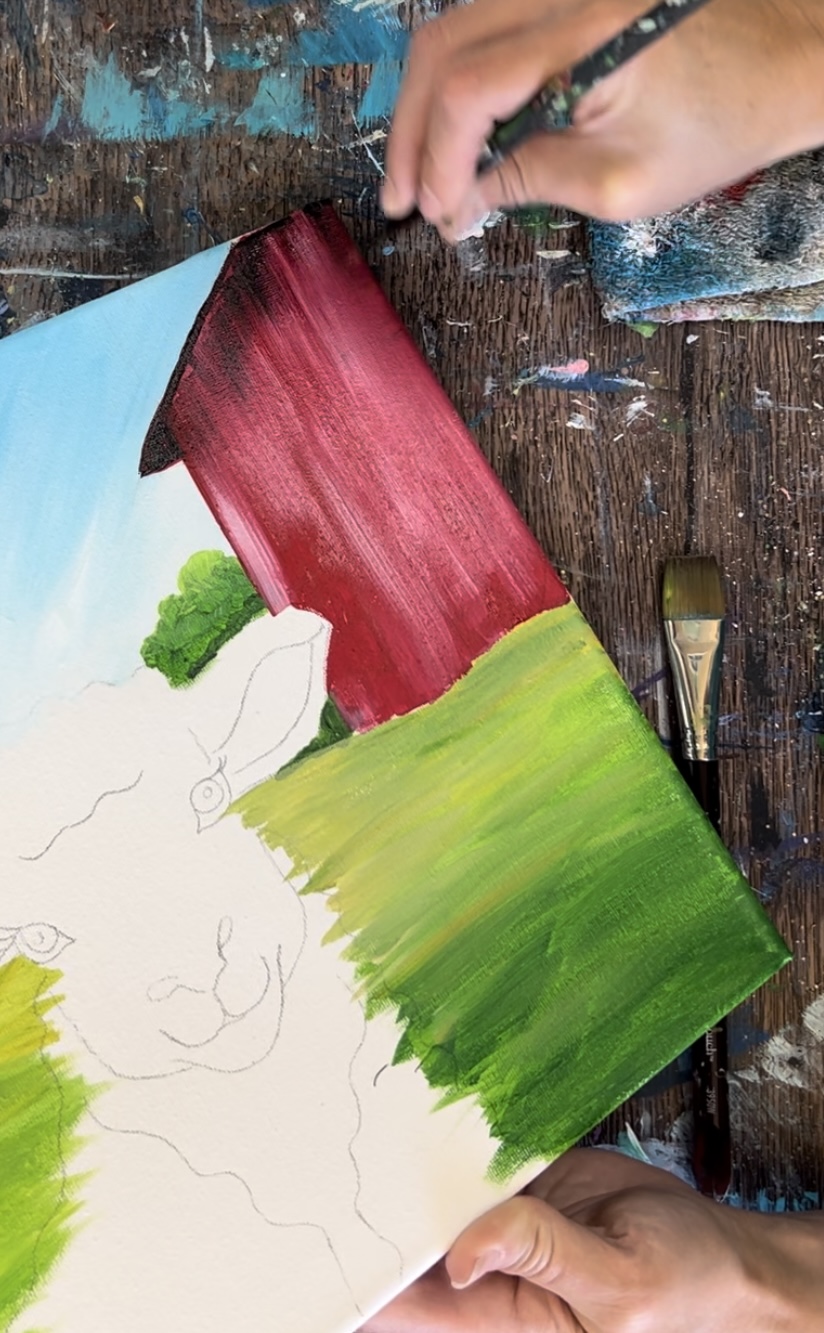
Then add a few vertical black strokes throughout the entire barn. Make sure these are “dry brush”. This means it shows up kind of see-through and there isn’t a lot of paint on your brush. If it seems too “black” you can mix more red into the black to make it more of a darker red.
Let the barn dry before painting the details of the door and upper window.
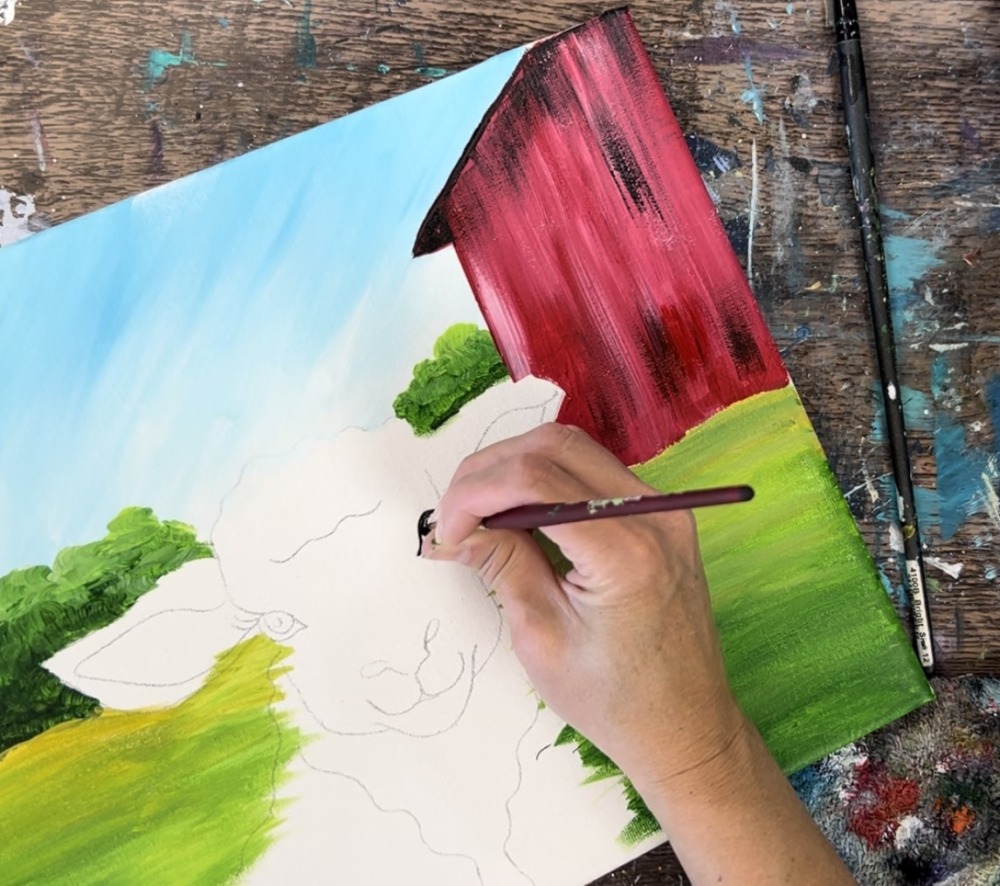
7. Paint Eyes
Use a #4 round brush and mars black (or a paint pen) to paint the eyes. Outline the shape of the eye, the eyelashes and paint the circle in the eye solid black. Leave a white highlight dot blank (or paint that white highlight later).
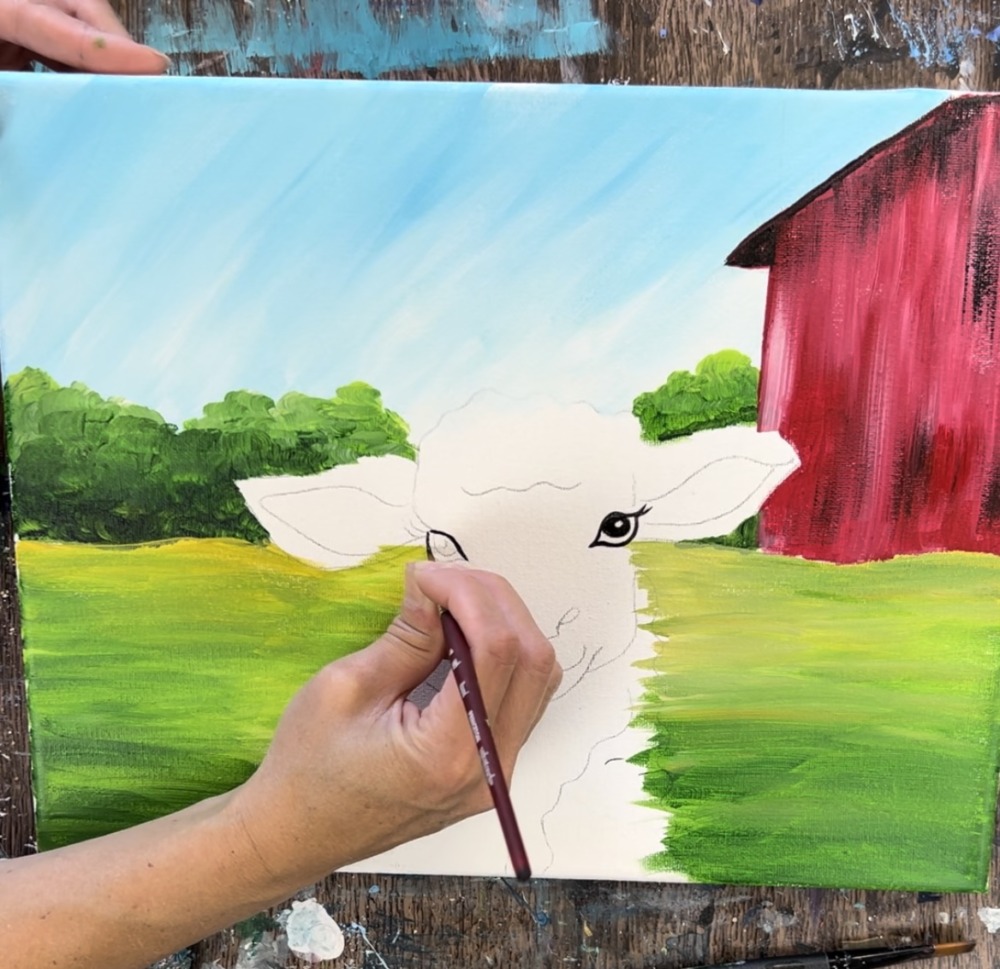
Then rinse off the #4 round brush. Load it into titanium white. Paint under both of the eyes and over the eyes in contouring strokes (basically outlining the outer shape of the eyes).

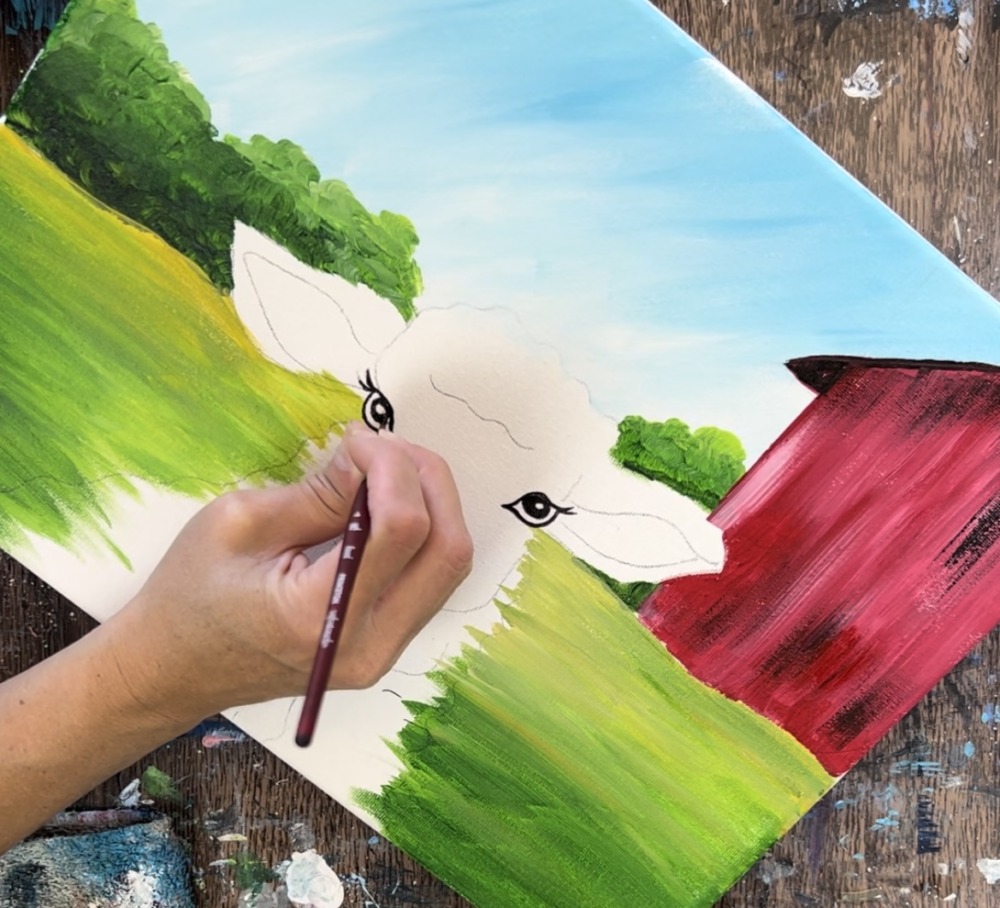
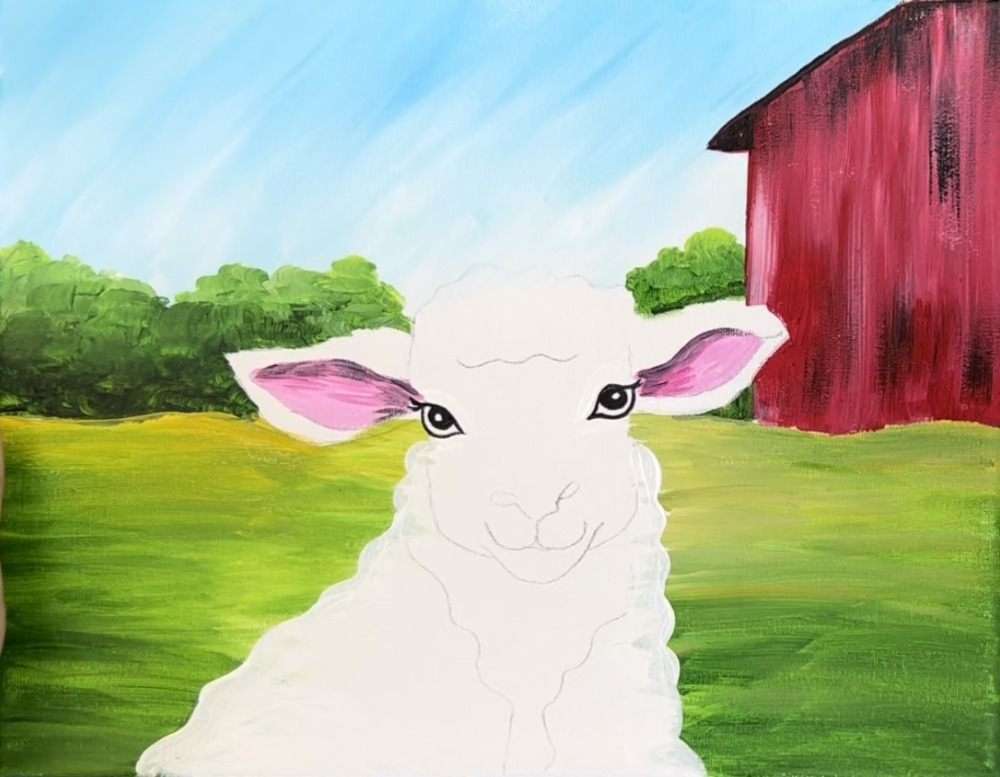
8. Paint edges of lamb
Next, use the #4 round brush and titanium white to paint the edges of the lamb to re-define the shape and drawing where you might have painted green over it.
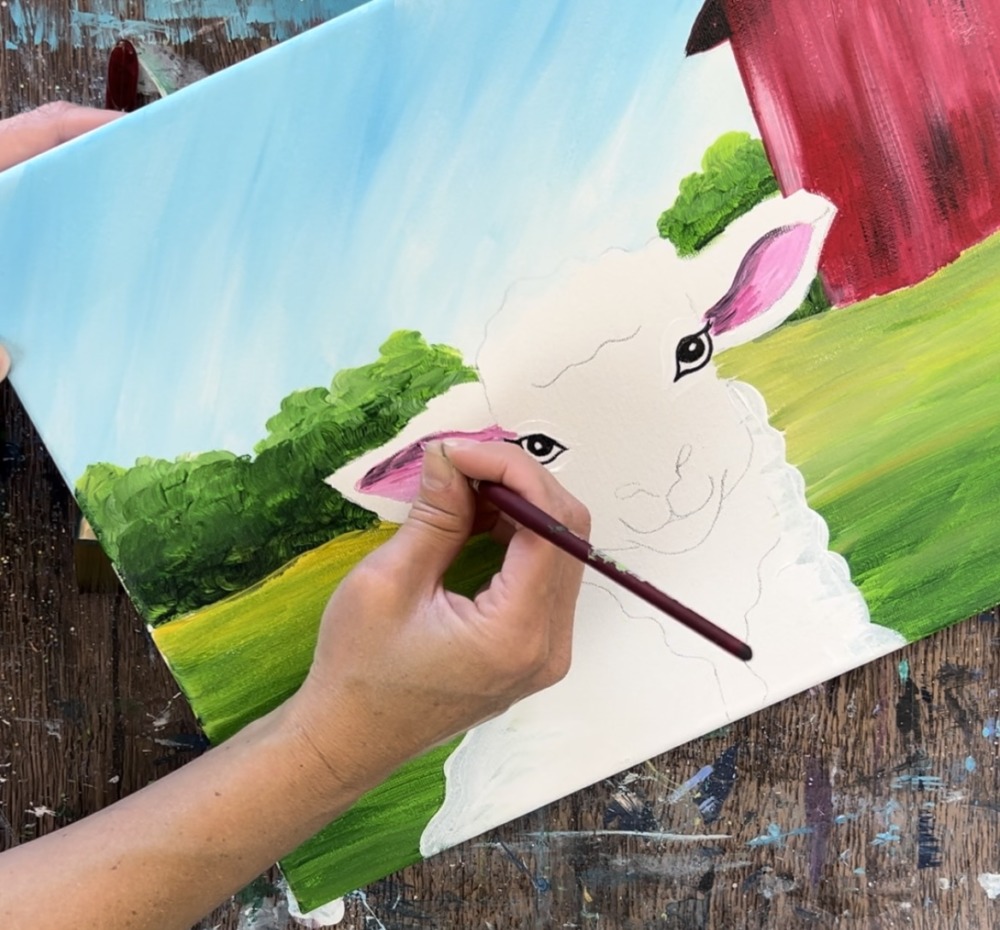
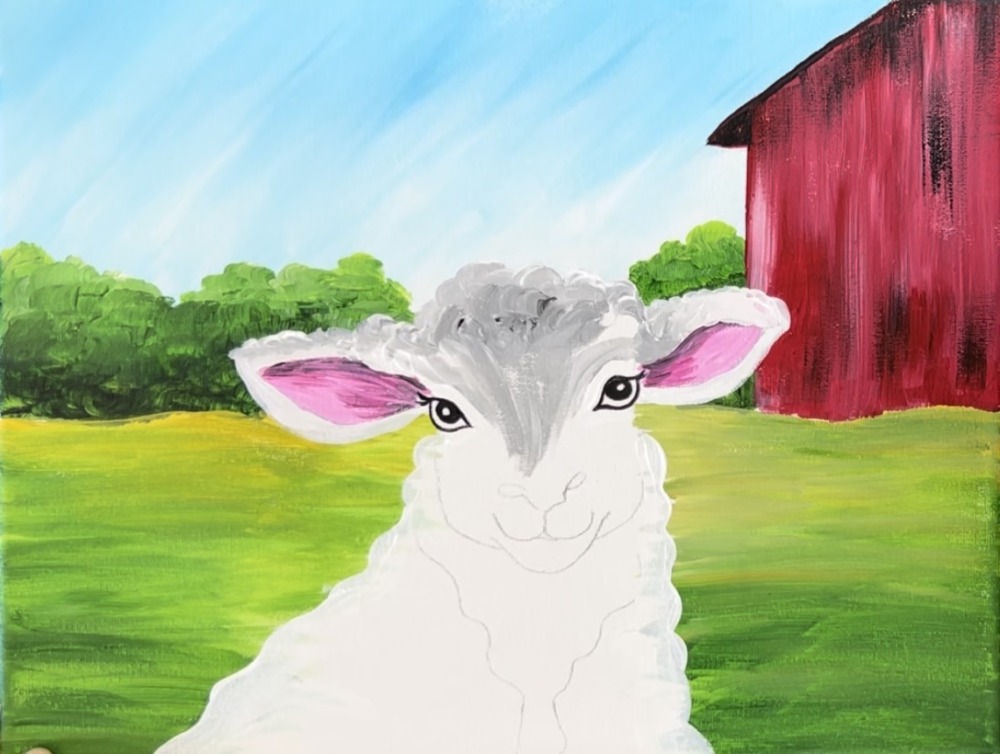
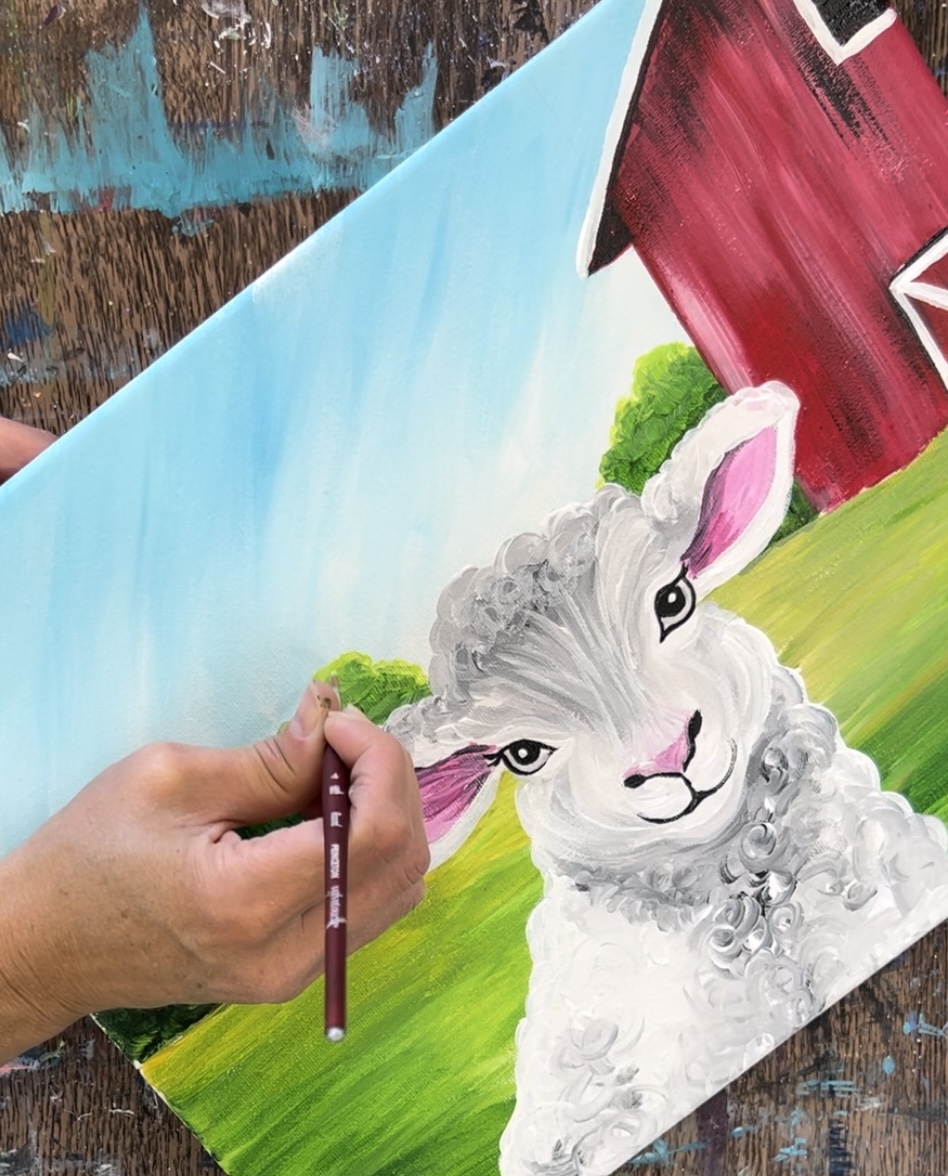
9. Paint Ears
Next, load your palette with light pink. Mix equal parts light pink and titanium white together. This will make the pink much lighter! Then use the #4 round brush to paint the entire inner part of the lamb’s ear with this light pink.
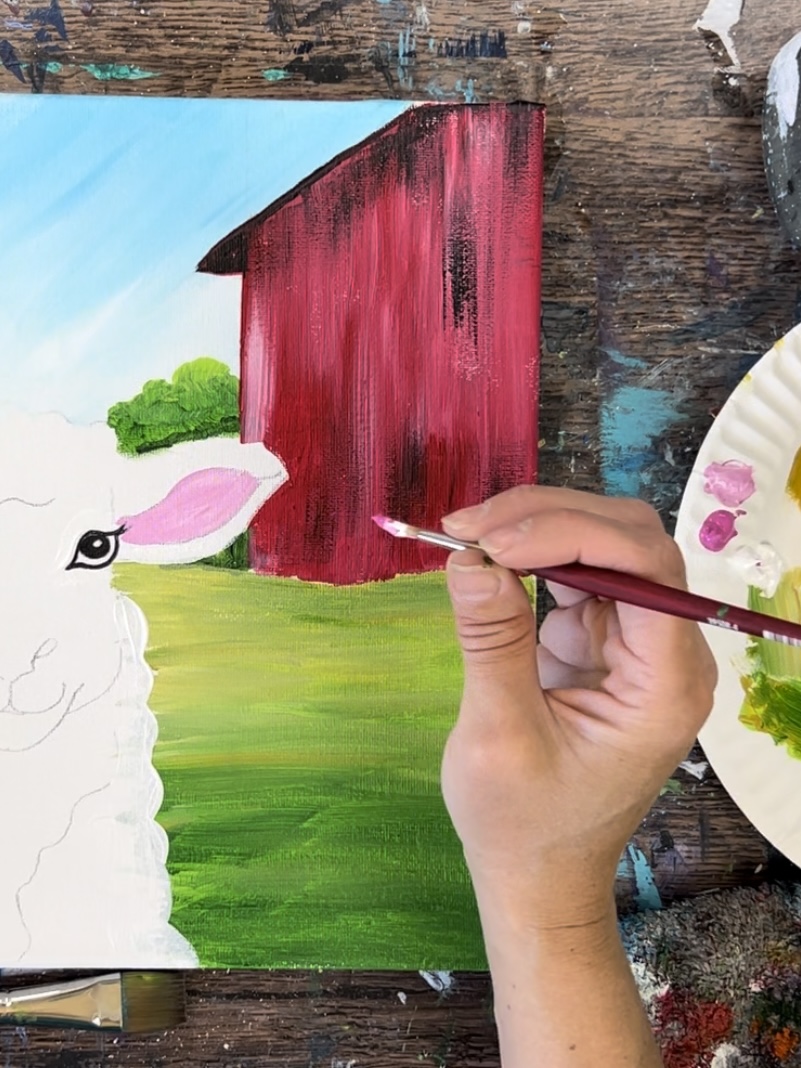
Next, wipe the brush off and load it into just light pink. This will appear darker when painted. Paint the far left part of the inner ear and just the top edge of the curve. Blend it gently with the lighter pink but you don’t need to blend all the way.
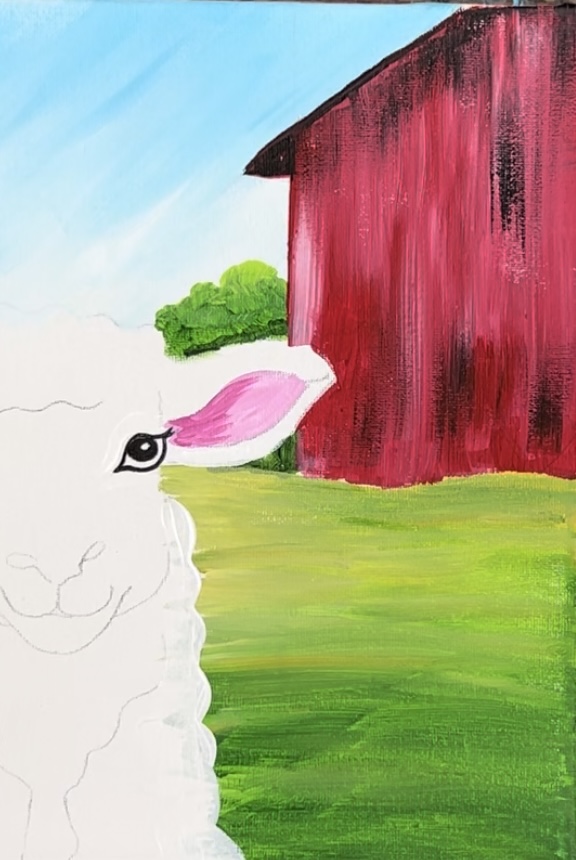
Next, mix a very small amount of black with the light pink on your palette (either the light pink or the white & pink are fine). This will make a darker pink shade. Then paint just the top inner edge of the ear and blend it in just slightly.
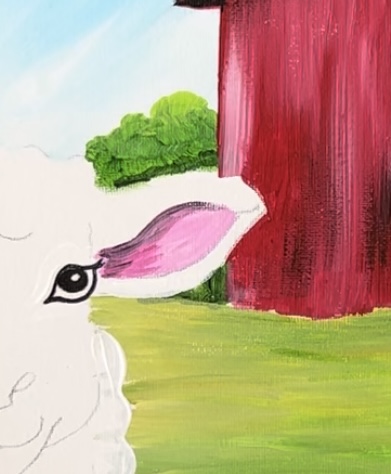
Repeat this process on the left ear starting with the light pink.
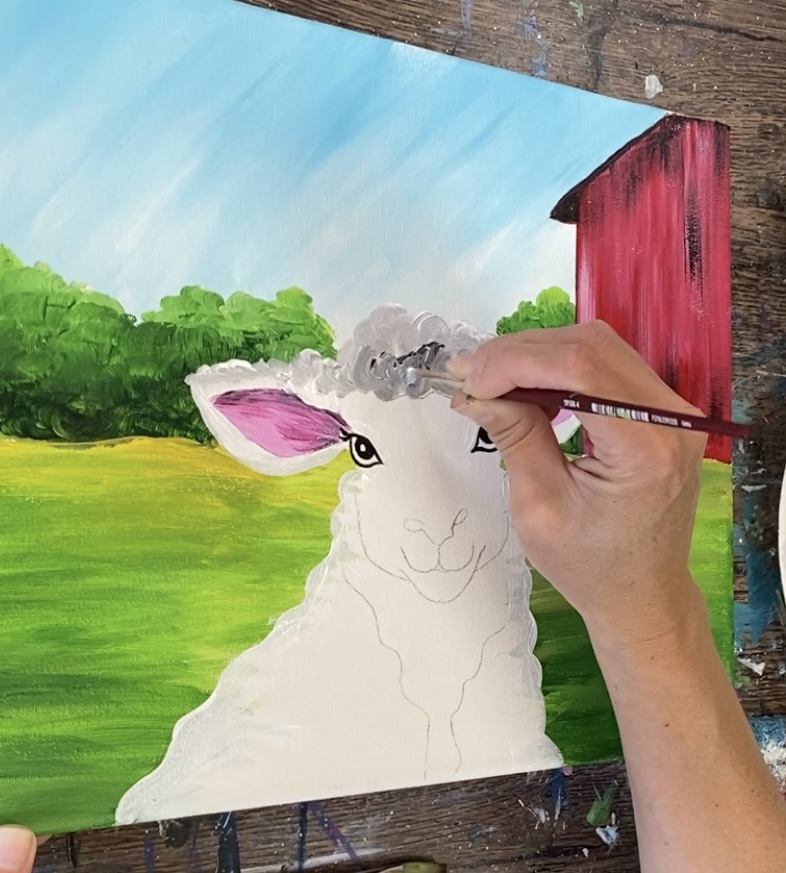
Next, rinse the round brush off. Load it into titanium white and a very small amount of black. This will make a light gray. Start filling in the top of the sheep’s ear with small, round strokes.
As you re-load your brush, grab different amounts of the white and little bits of gray. Paint the entire upper ear with these small rounded strokes.
Paint both top parts of the ear. Paint the bottom parts of the ear with mostly white and do this with smooth strokes rather than circular strokes.
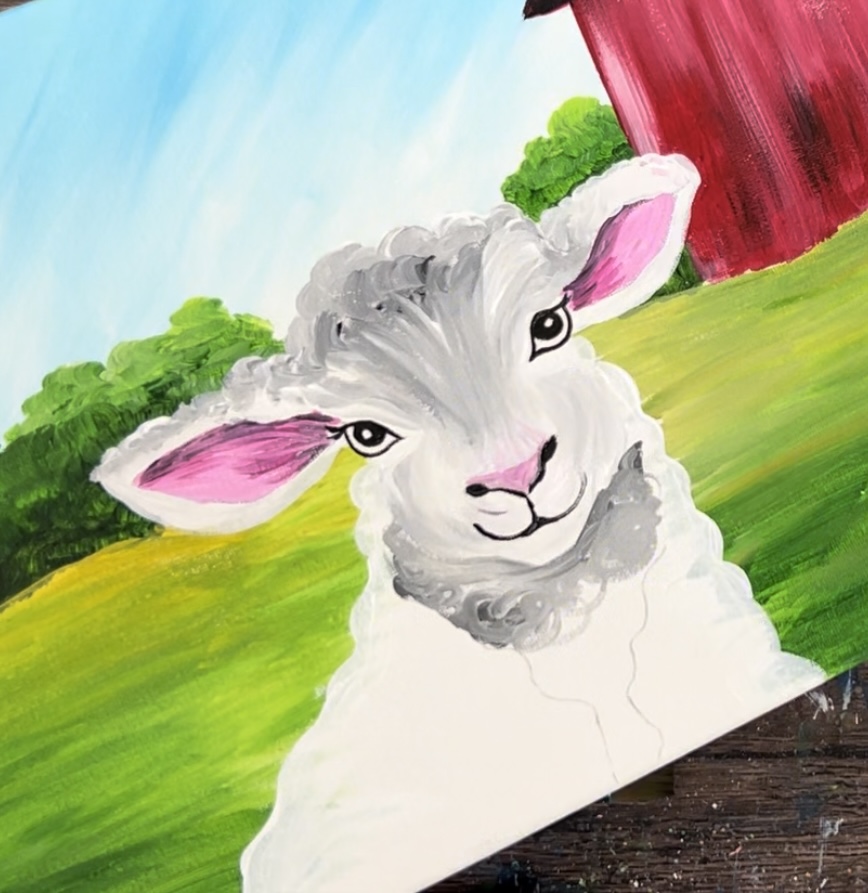
10. Paint Top Of Head & Bridge Of Nose
Next, paint the top of the sheep’s head. Do this with a very light gray and somewhat larger circular strokes.
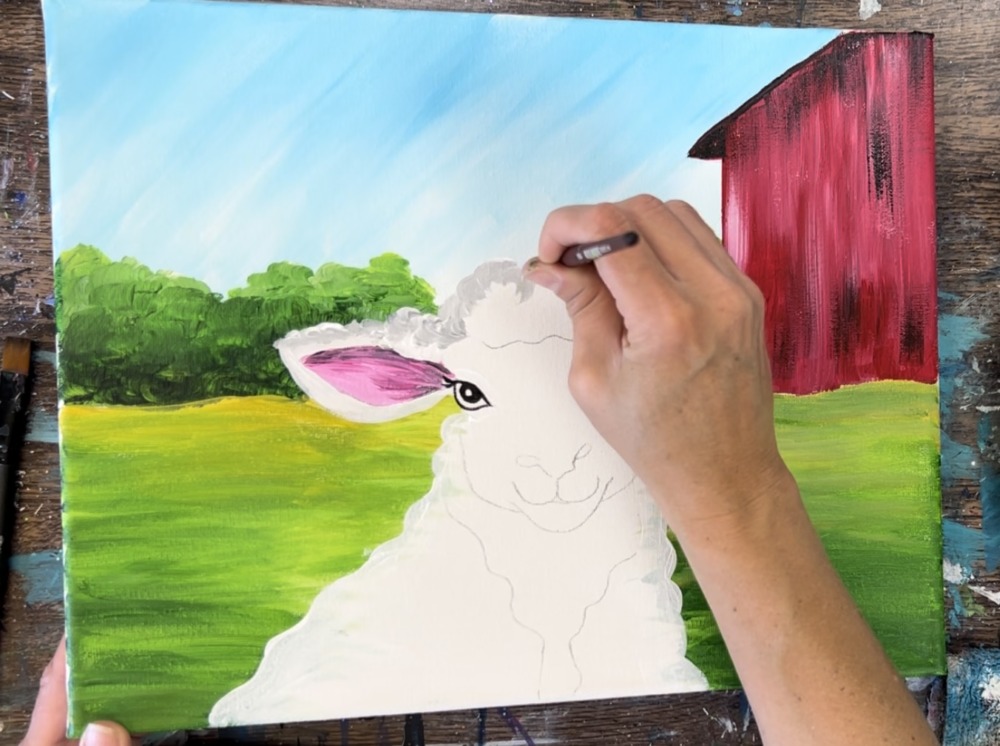
Add different amounts of titanium white and little bits of black. This will blend on the canvas and paint medium sized circular strokes.
There is a wavy line above the eyes. Everything above that line is done with these circular paint strokes.
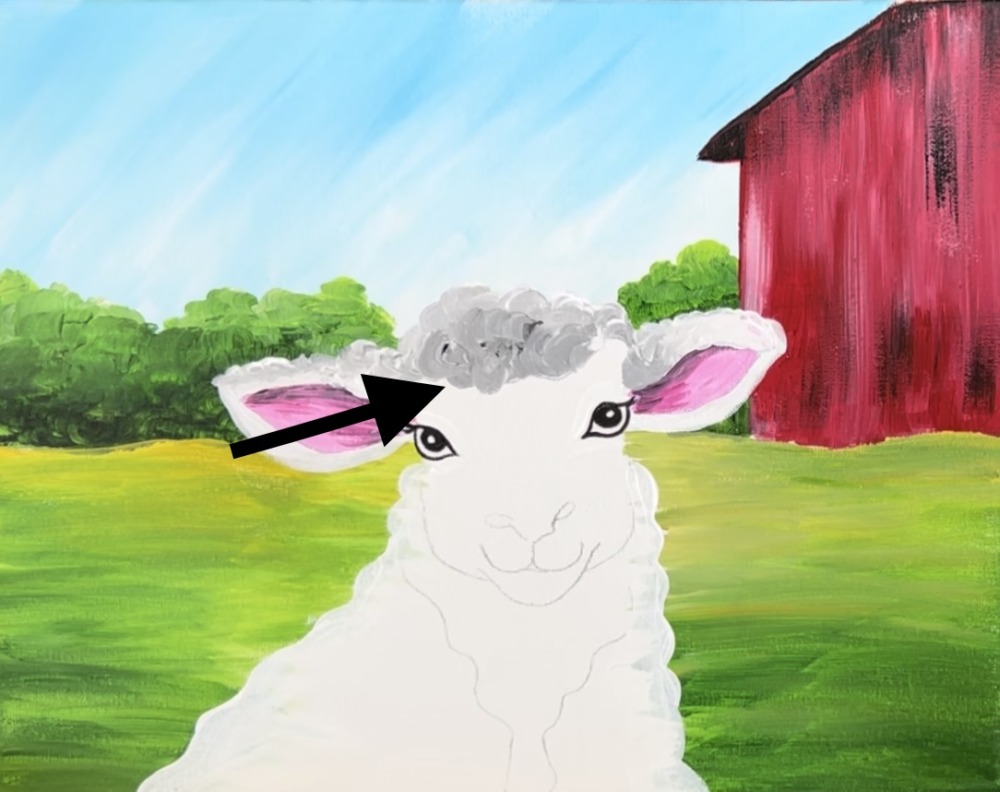
Then everything below that line is done with angled, flat strokes that go in the direction of the bridge of the nose and contour around the eyes.
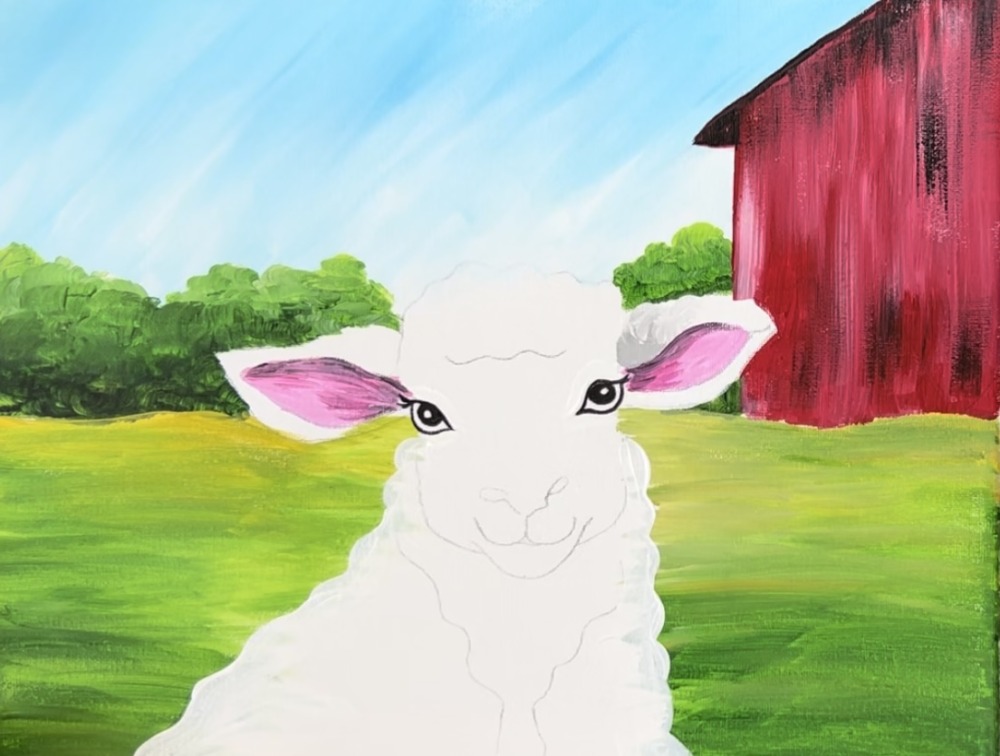
11. Paint Sides Of Face
Then paint the sides of the face/ cheeks and around the nose and mouth. This is also done with contouring strokes using light gray and white that blend gently on the canvas.
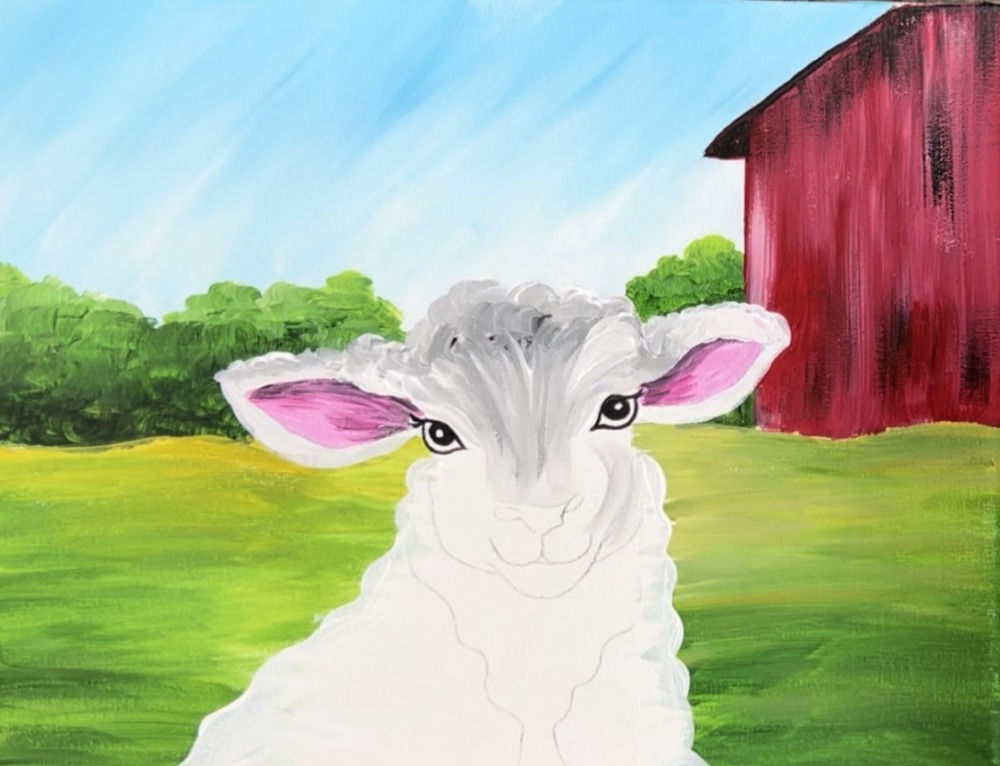
Go lightly around the nose and mouth without loosing the shape and the drawing lines.
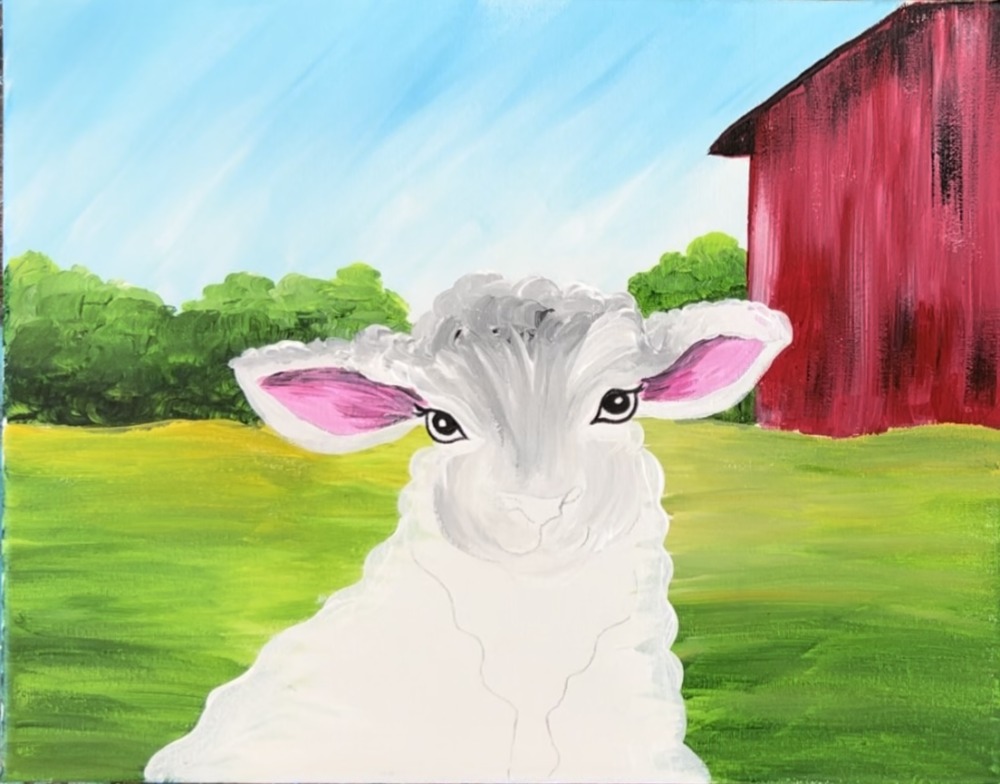
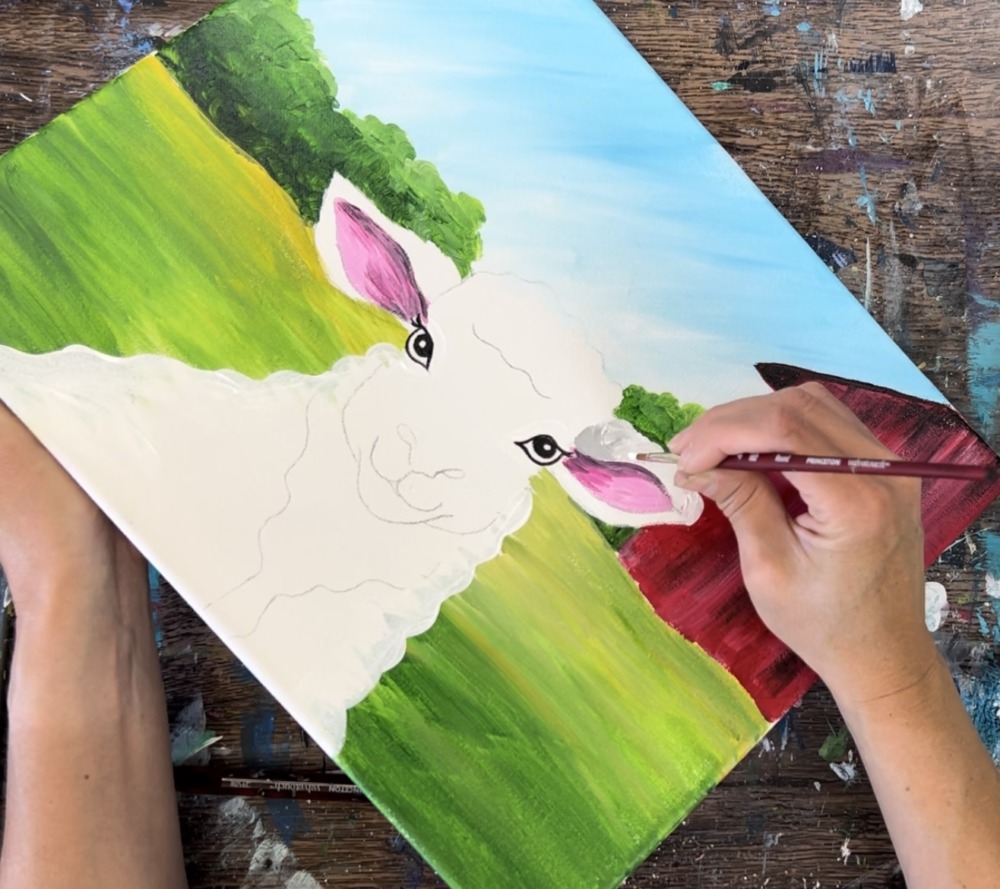
12. Paint Mouth, Nose & Nostrils
Rinse the brush off and load it into just mars black. Use the tip of the brush to outline the mouth.
Paint the nostrils with the black. Outline the rounded part on the sides of the nose and paint a very thin line on the bottom of the nose.
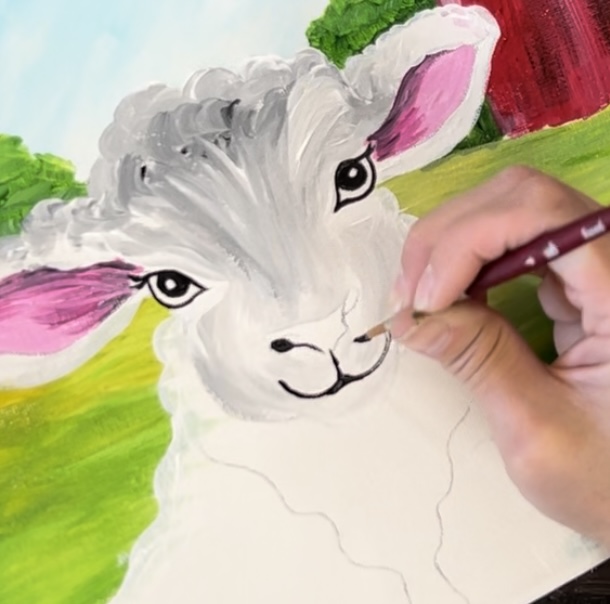
Then rinse the brush off and paint the nose with pink mixed with white.
This pink dips down a little at the top and goes a slither around the black nostrils. Then paint titanium white little sketch lines that go up from the top of the nose.
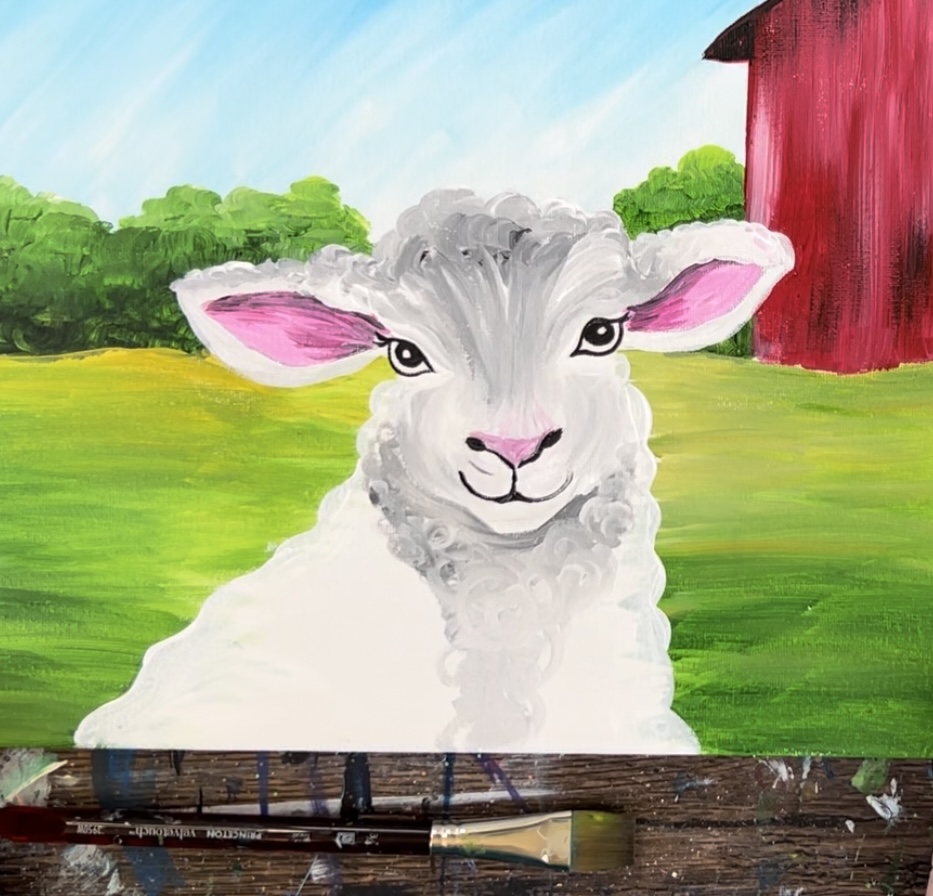
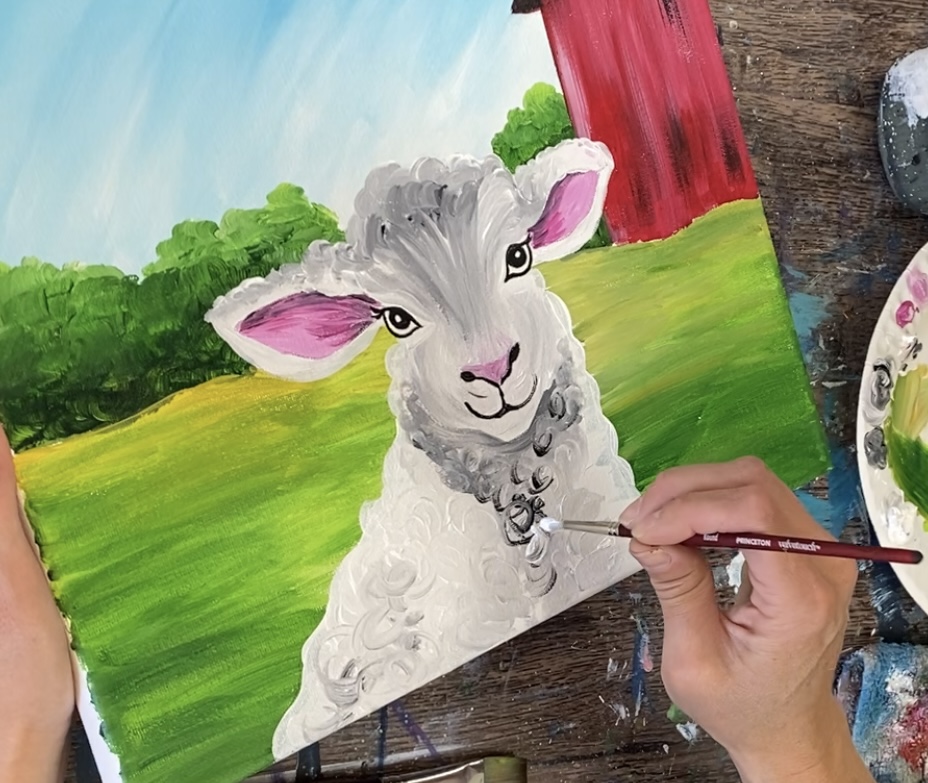
13. Paint Chest Area
This area of the lamb is slightly darker. It gives it more contrast to stand out from notes chin area. Mix a medium gray on your palette (about equal parts black and white although you can add more white if it’s too dark). Use the round brush to paint rounded strokes to create the texture of the wool.
Paint that entire area inside of the lines that were drawn (it makes kind of a funnel shape in that area). Vary the color so some parts are lighter and some darker but make sure it is dark enough under the chin so the chin area can stand out.

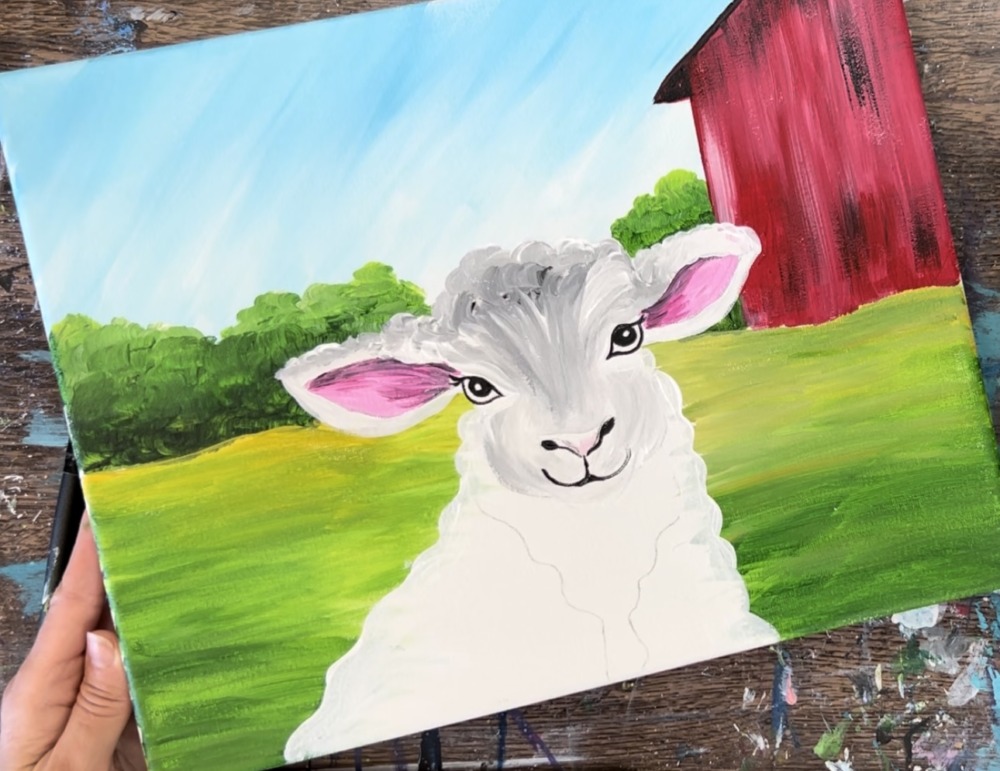
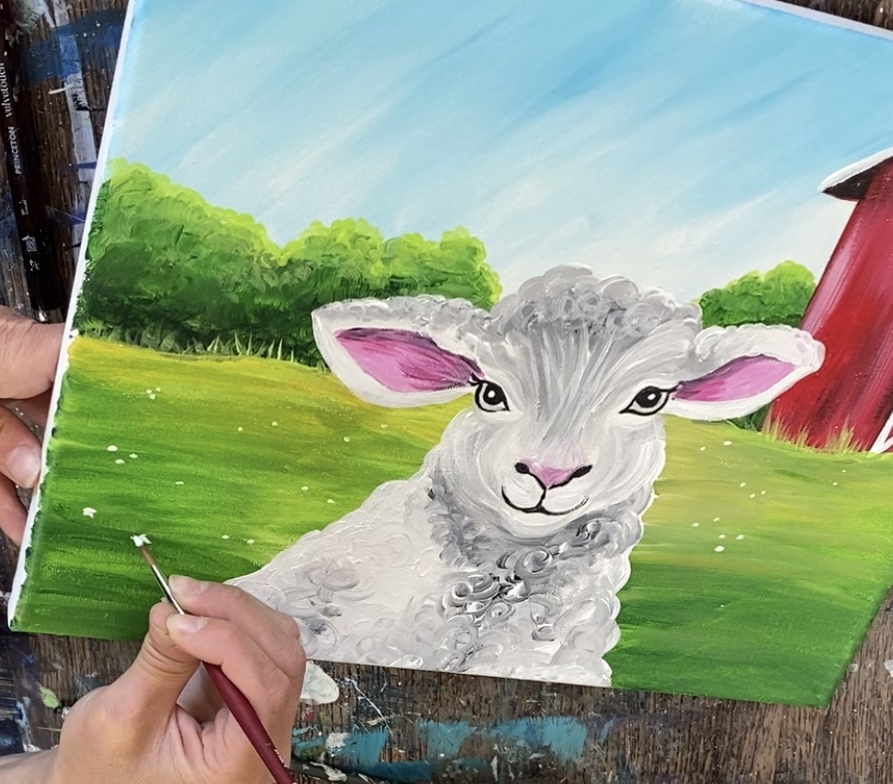
14. Paint Front Area & Back
Paint more rounded strokes on the left and back area. These are larger circles and mostly white. You can add bits of gray in there to help with the texture and color variation but don’t let it get as dark as the chest area.
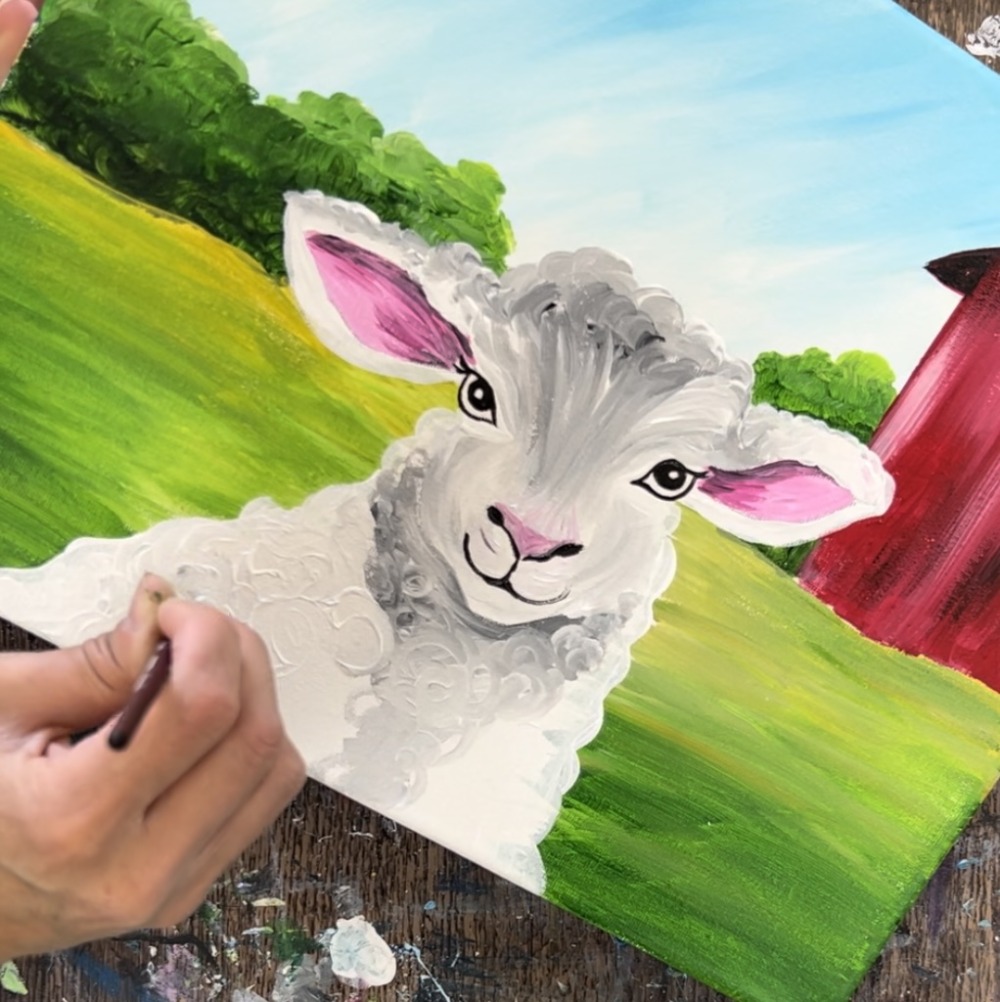
If needed, you can add darker in the chest area and blend more white in.
These swirly strokes create the wool texture and it is done mostly by letting the white and little bit of black blend on the canvas in circular strokes.
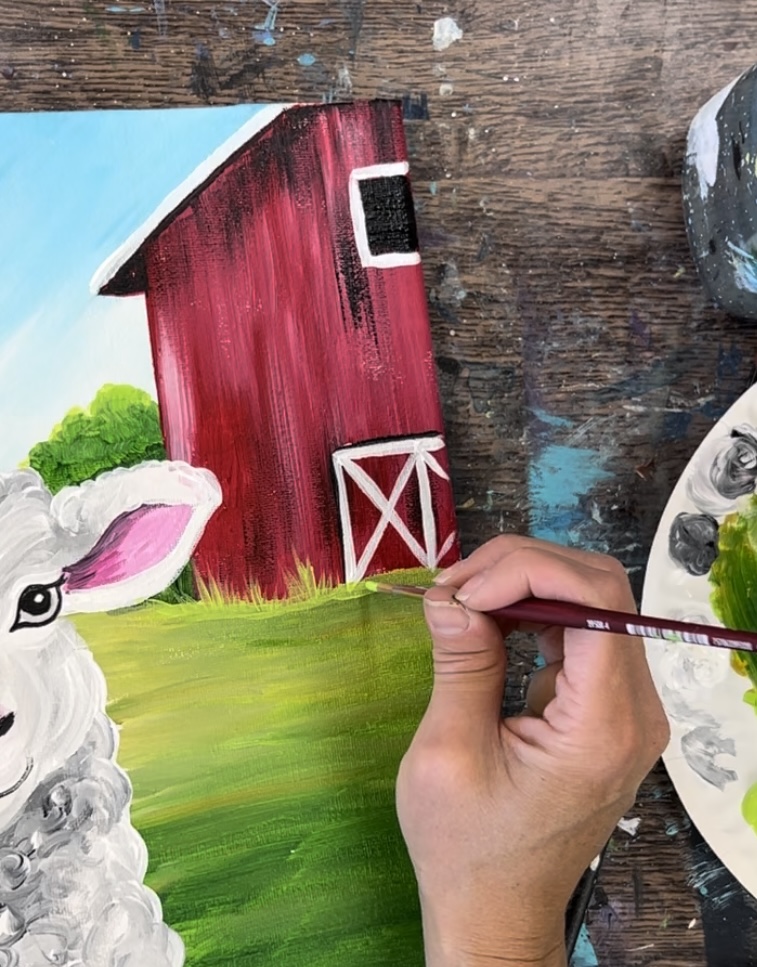
14. Finish Barn Door, Roof & Window
Use titanium white and your #4 round brush to paint the top edge of the roof line. Leave a slither of black still there.
Next, use a ruler to paint barn door and window. The top of the barn door actually lines up with the top edge of the lamb’s right ear. Paint a horizontal line and use the ruler as a guide.
Then paint a vertical line also using the ruler as a guide. Paint a diagonal line to form the first “X”.
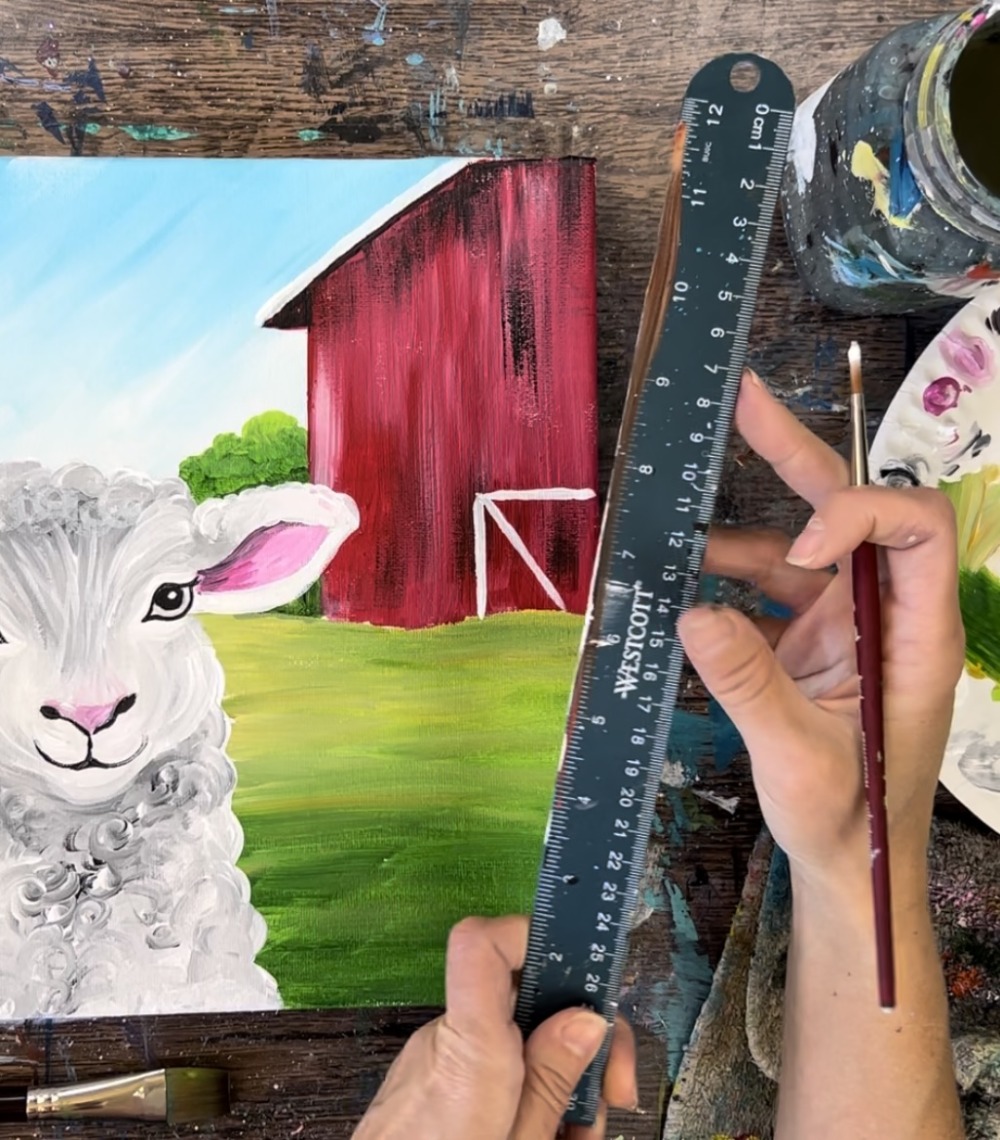
Then paint the center vertical line for the barn door and part of the “X” on the right.
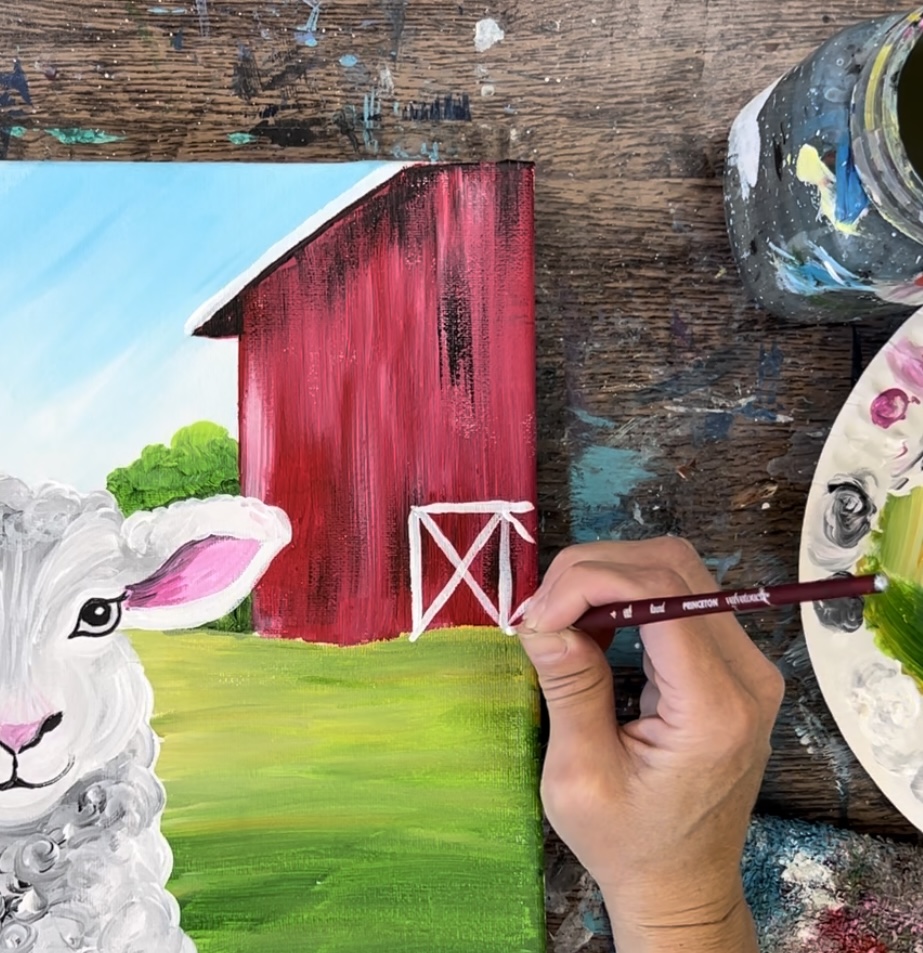
Then use your ruler to paint the window on the top of the barn.
Fill that in solid using the #12 bright brush and mars black.
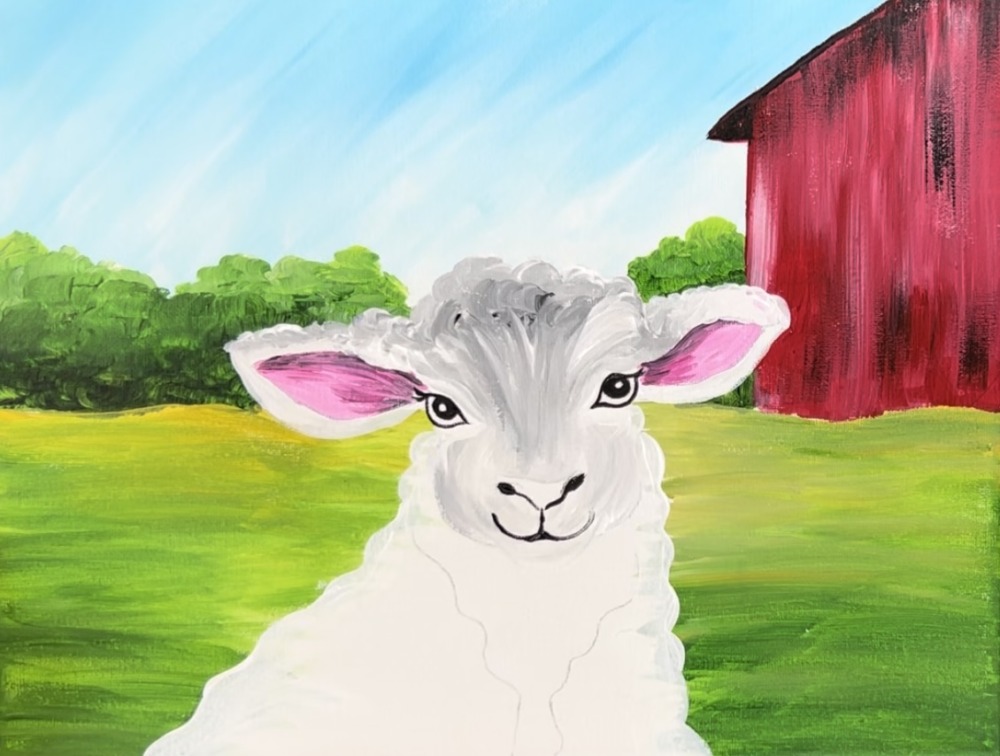
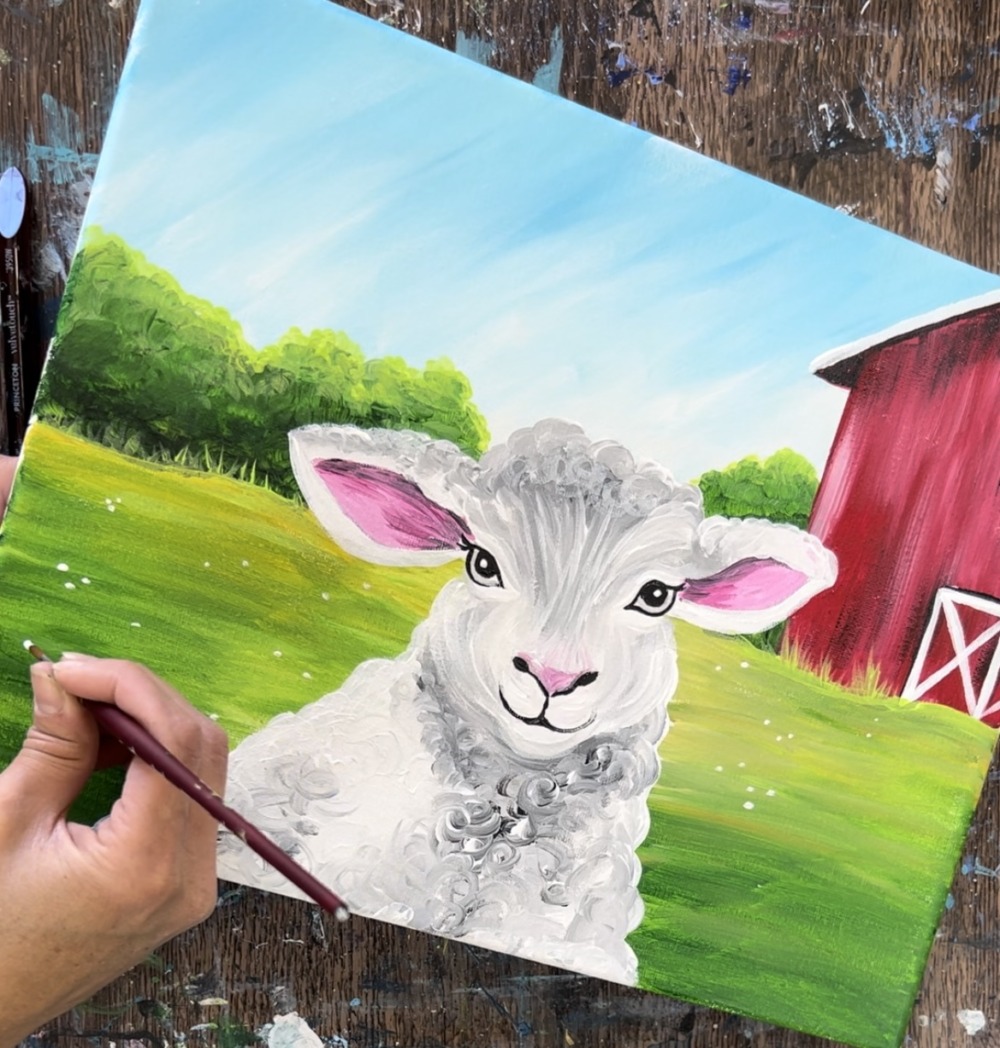
15. Touch Up Bushes & Paint Grass/ Flowers
Use the color brilliant yellow green and the #4 round brush to add a thin layer of bright green just at the top of the bushes. This makes it super bright and highlights the top.
Next, create grass blade strokes that overlap the bottom of the barn. Do this with the #4 round brush and brilliant yellow green. Paint very thin diagonal lines that go in different directions.
Do this along the land line and have some of the grass blade strokes overlap parts of the bushes.
Next, rinse the brush off. Paint little white dots scattered throughout the land area as tiny white flowers.
Some of the flowers that are closer to the bottom of the canvas have four or five petals.
Then paint larger grass blade strokes on the bottom right and left of the canvas. This is done with the dark green. If needed, water it down slightly and add a small amount of black paint so that it stands out.
Then paint some medium length grass blades in the mid area of the land.
Add some lighter green and tall grass blades on the bottom of the canvas area.