
Would you like to save this?
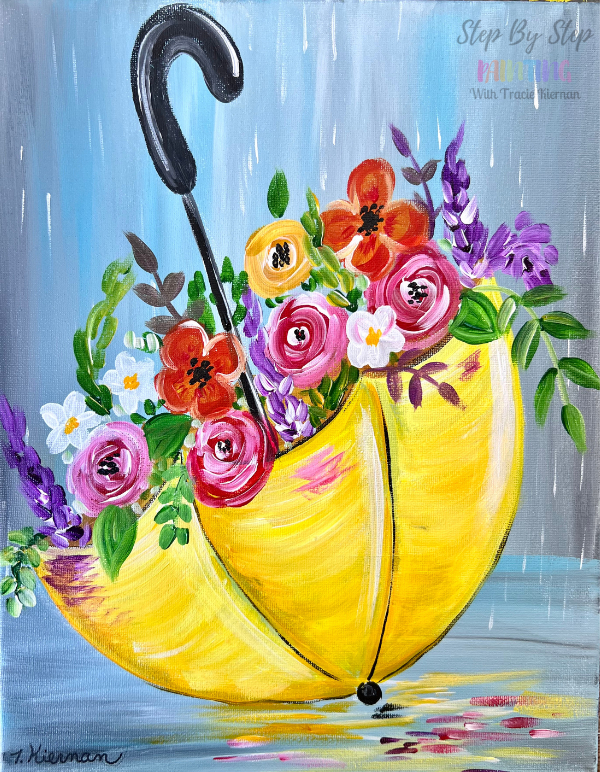
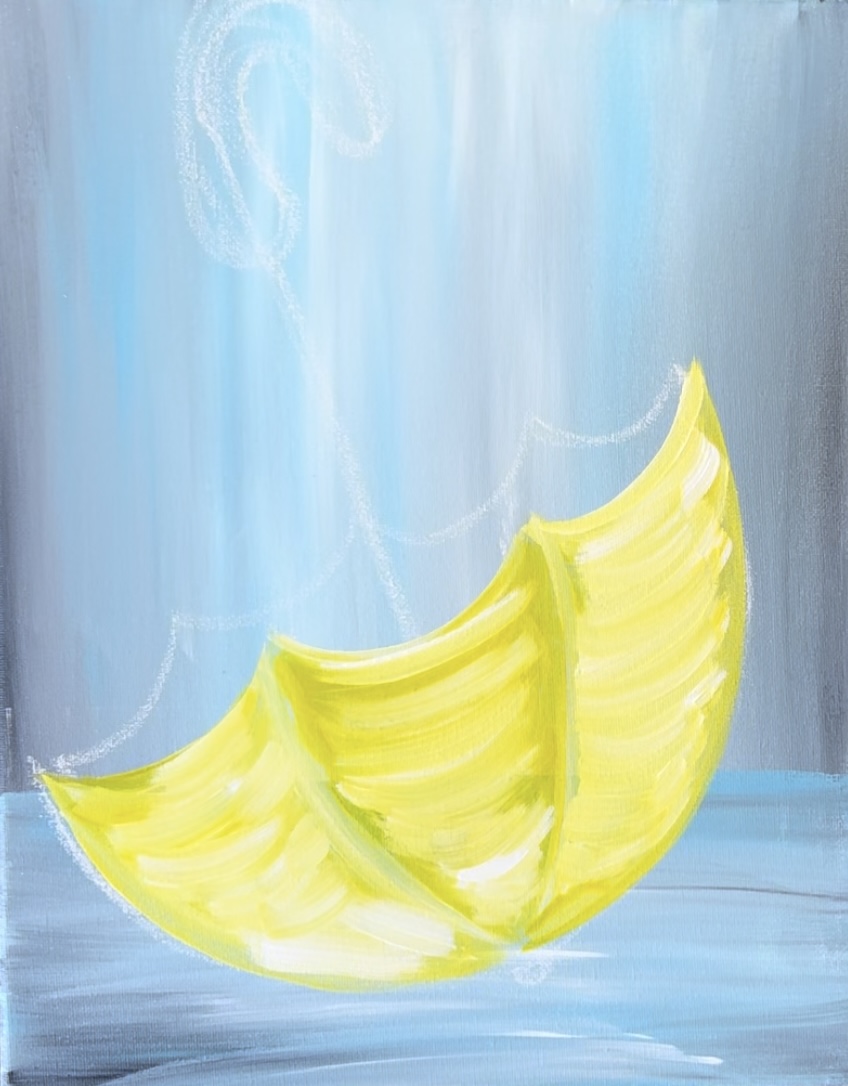
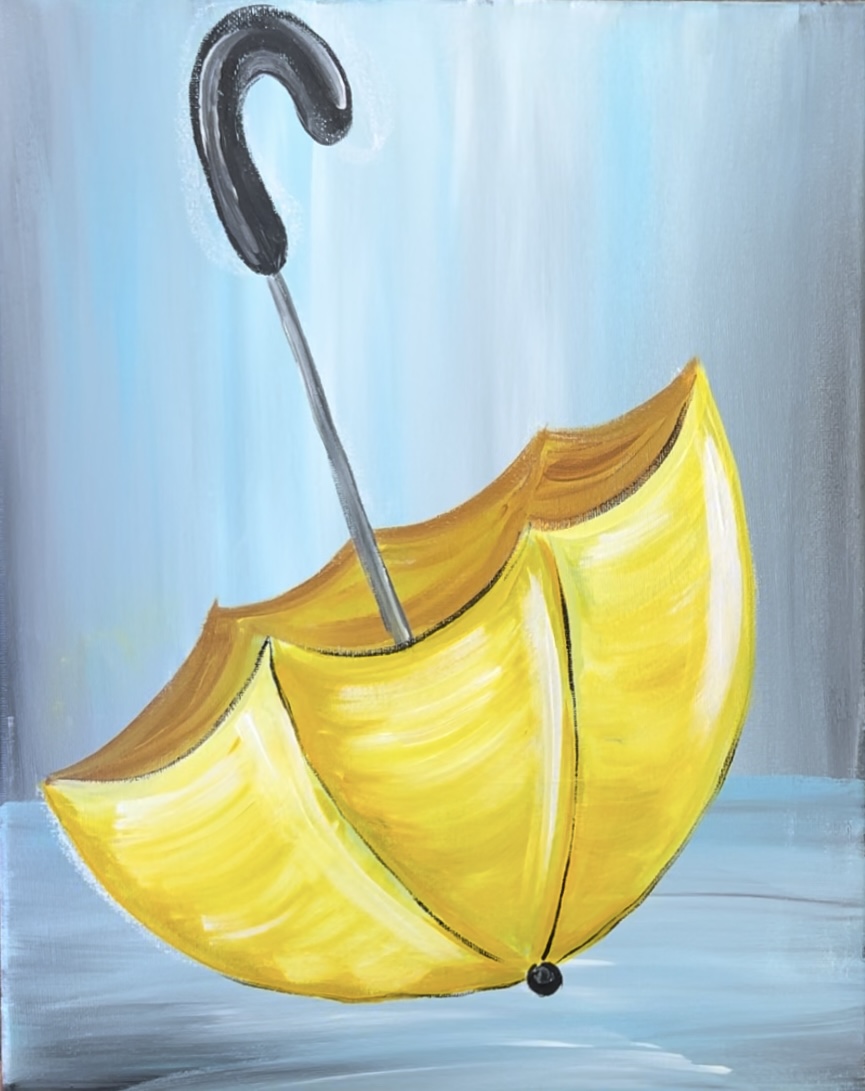
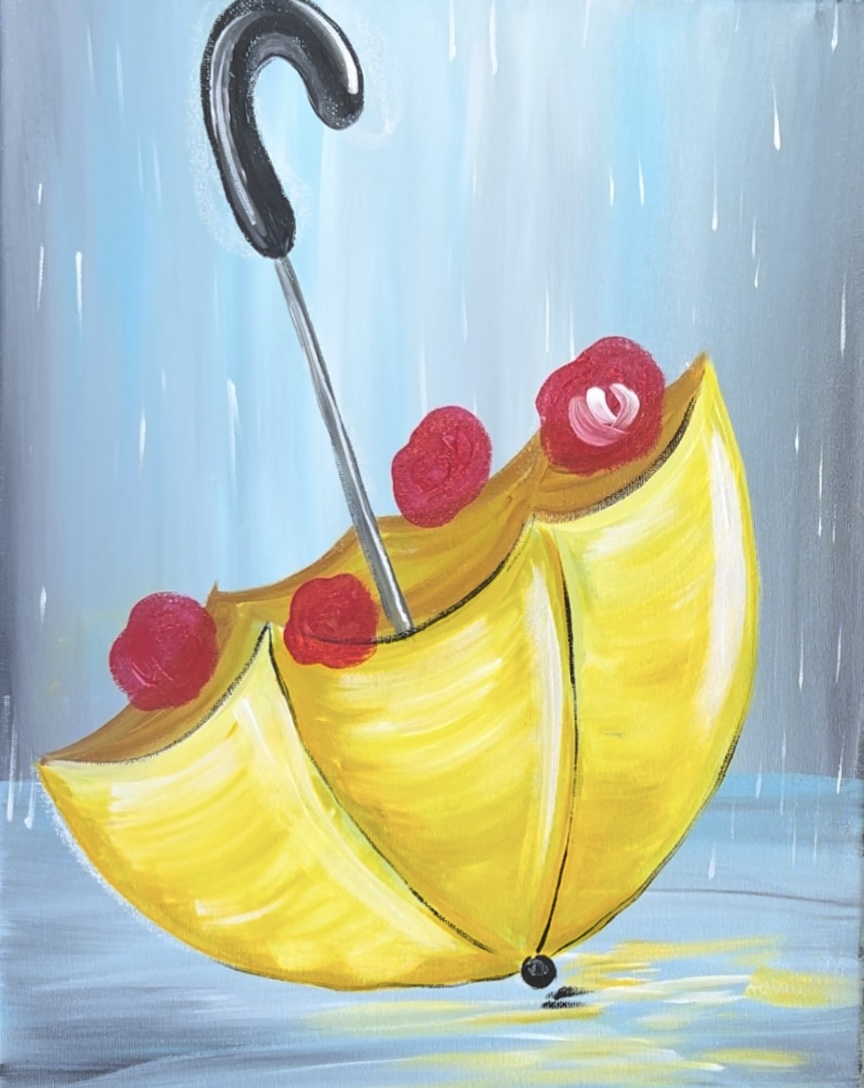
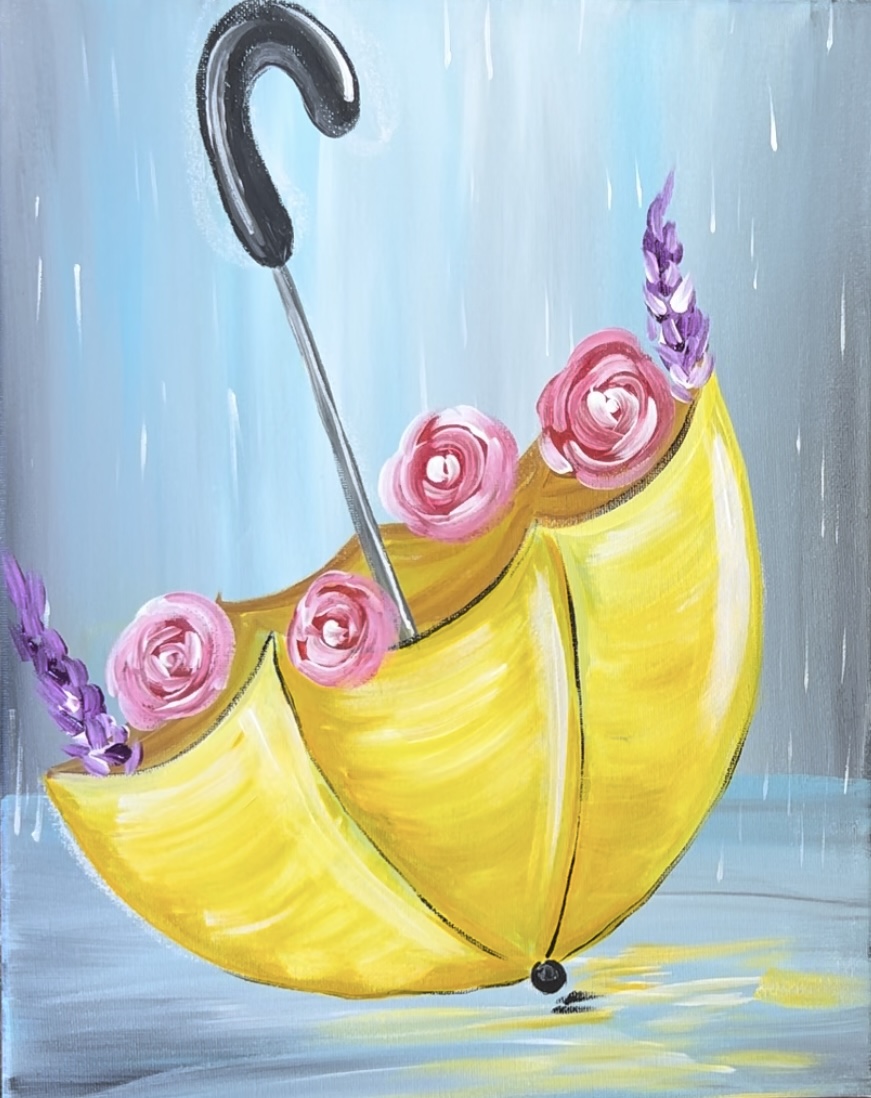
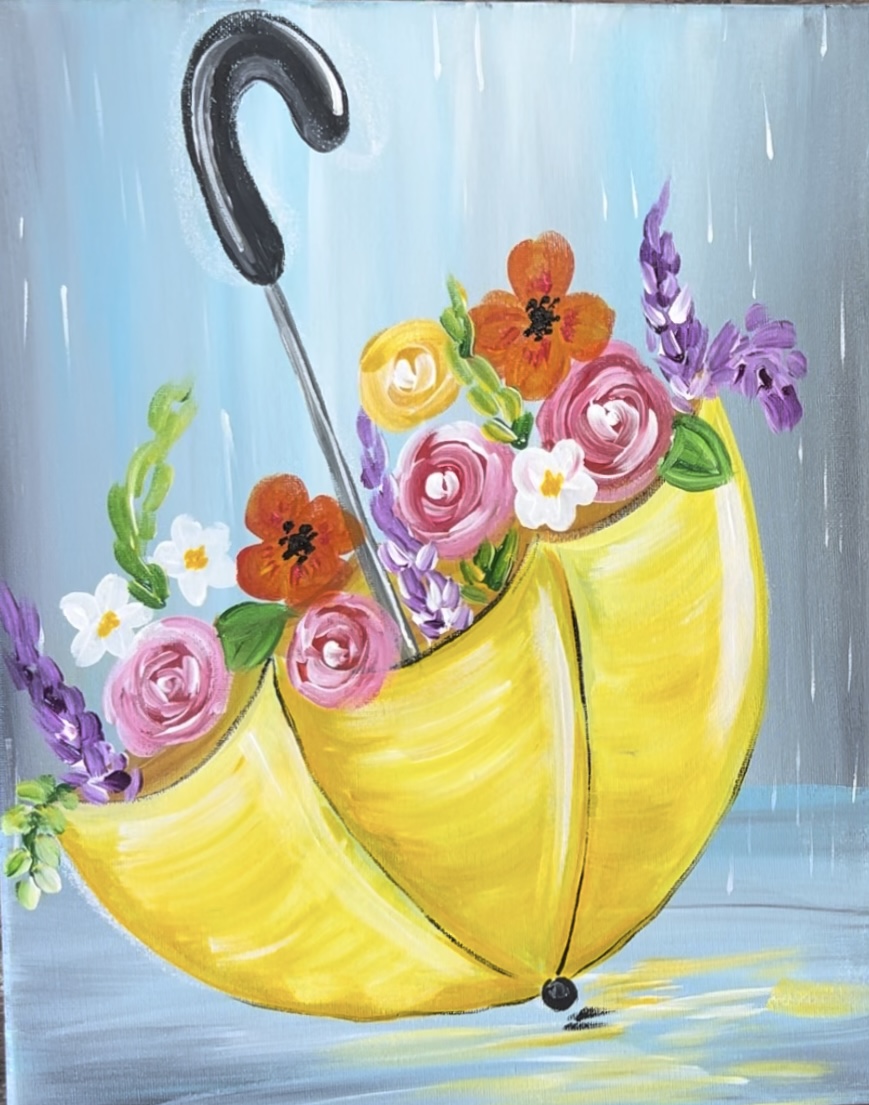
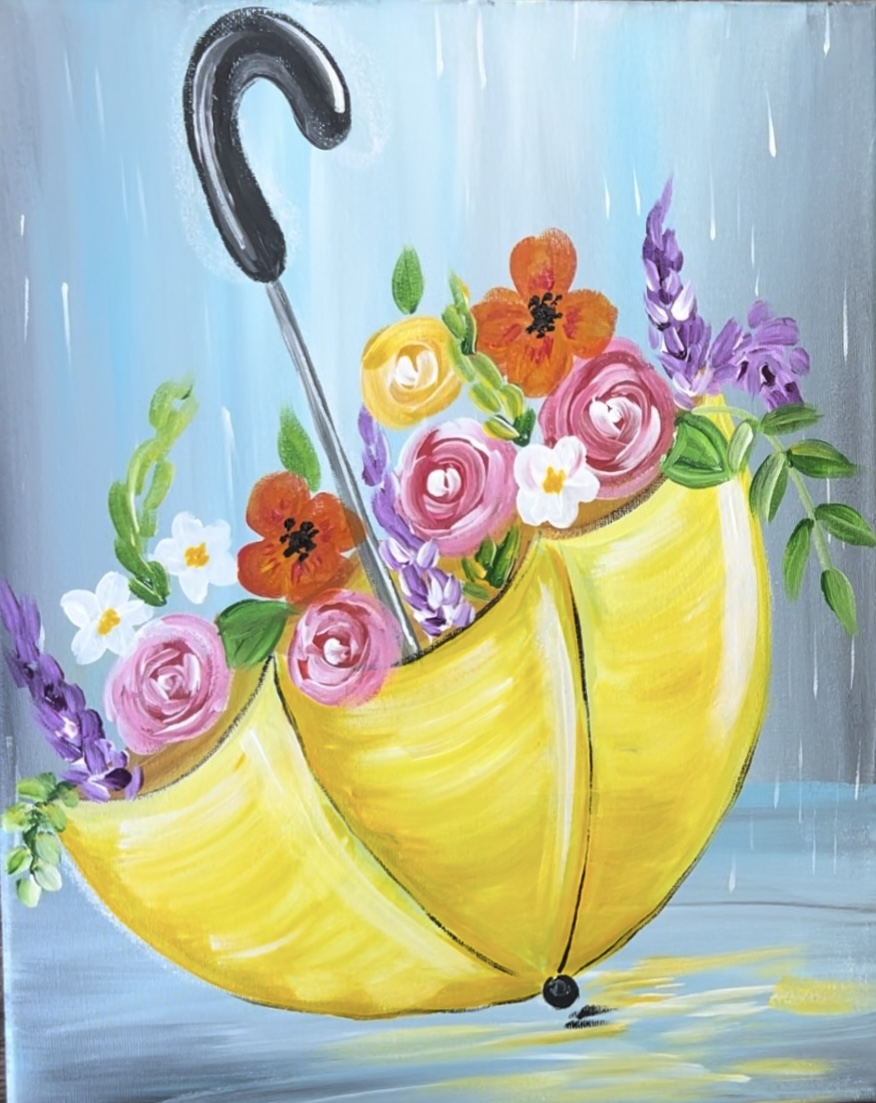
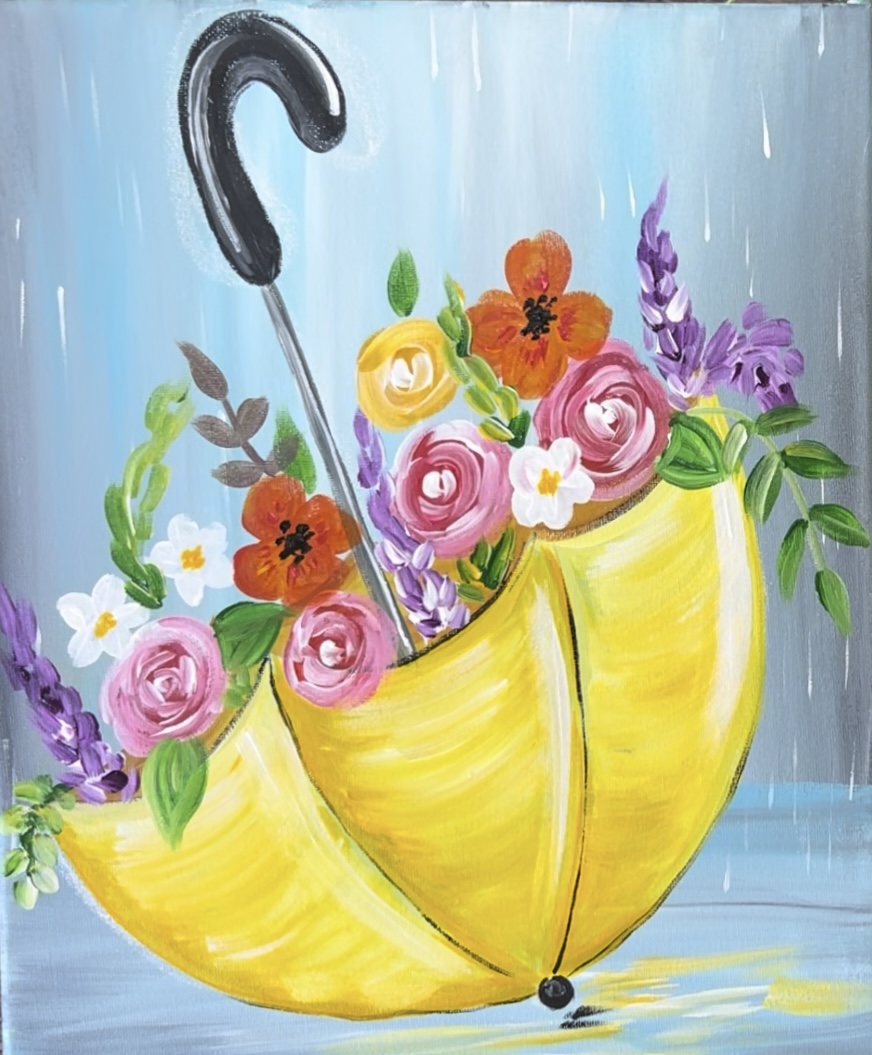
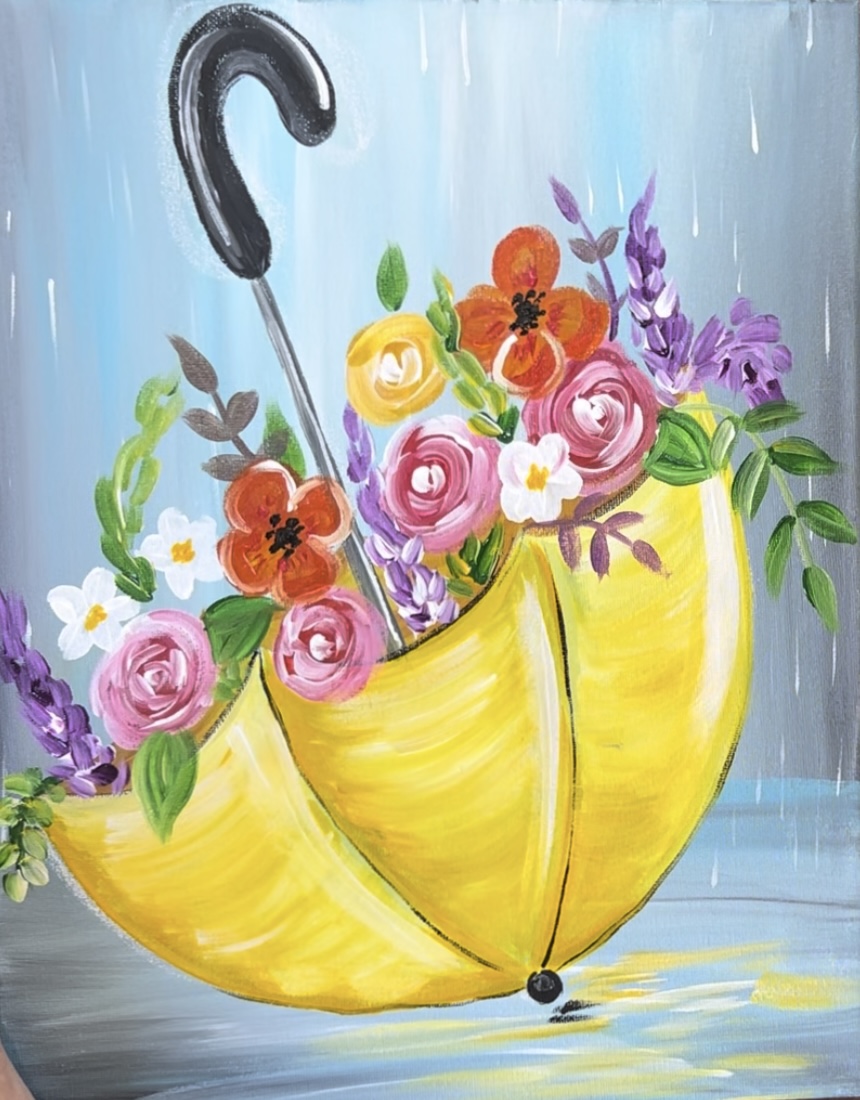
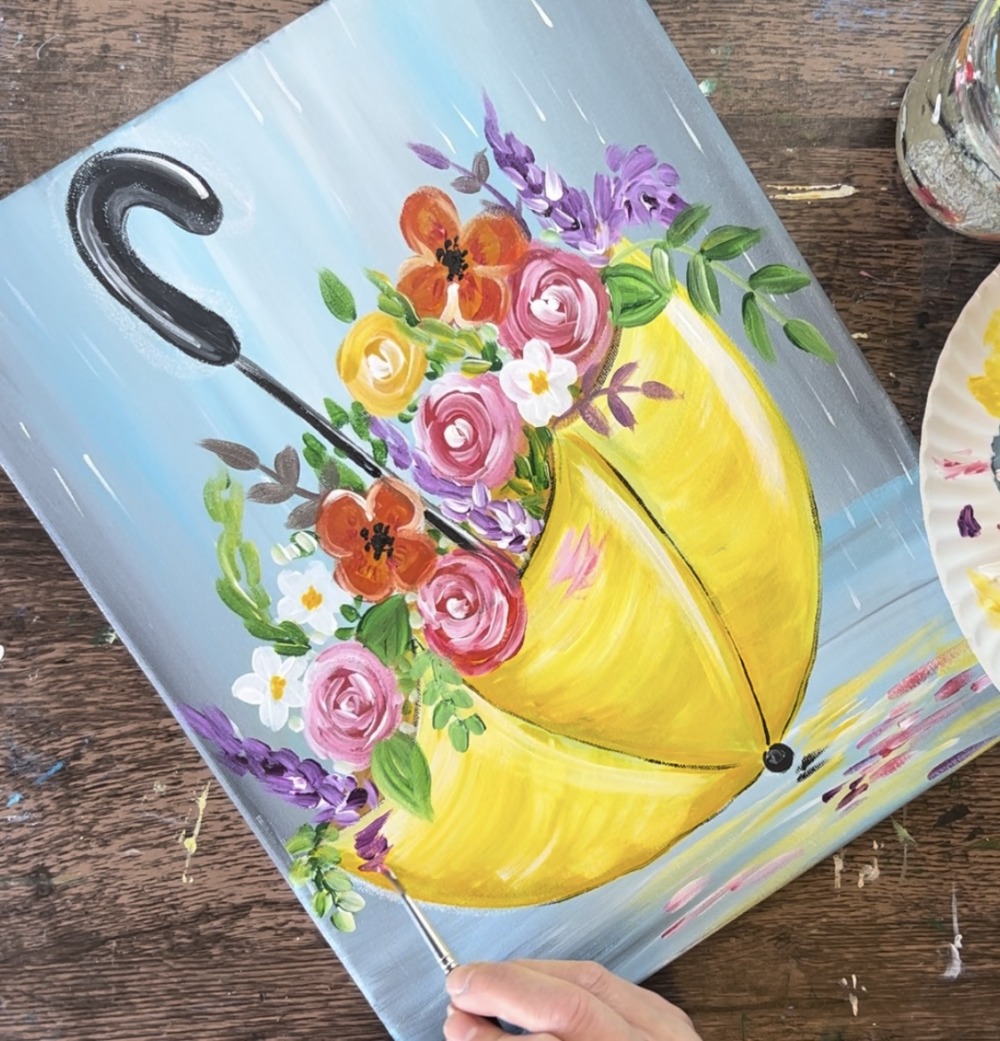
Let’s paint a “Rainy Day Bouquet”! I love the color combination in this painting! The gray-blue background works so nicely with the bright colorful bouquet and brilliant yellow umbrella.
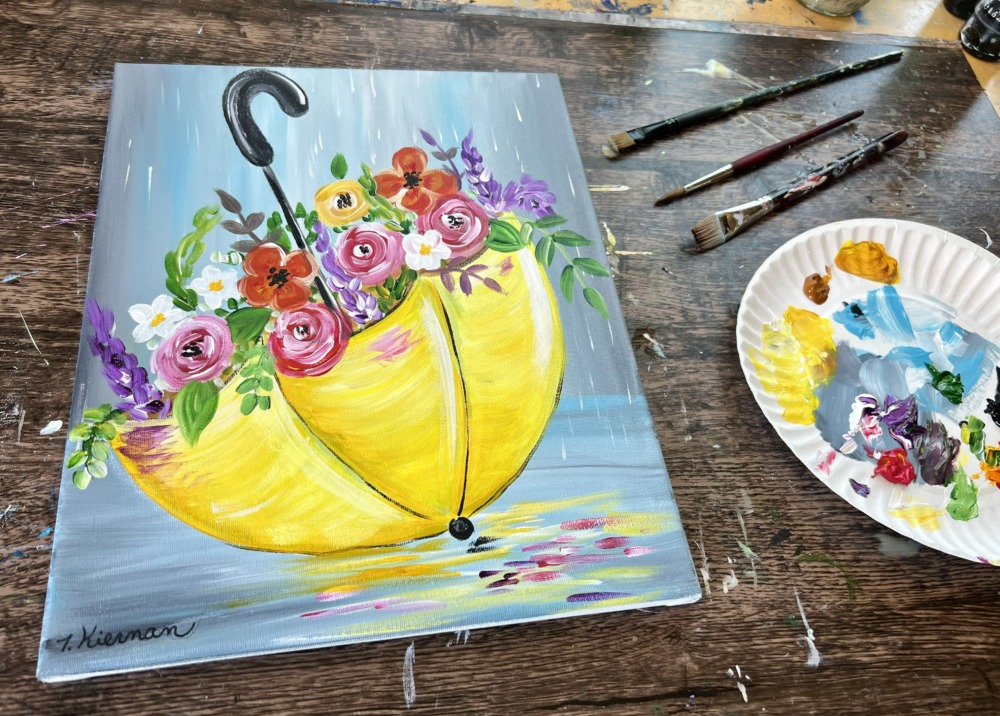
I will be demonstrating this on an 11 x 14 canvas with Liquitex BASICS acrylic paints. Feel free to use whatever size canvas or surface you want to paint on as well as any brand of paint.
Enjoy and happy painting!
Materials Needed
Rainy Day Bouquet
Paint a yellow umbrella with a bouquet of colorful flowers on a rainy day.
Materials
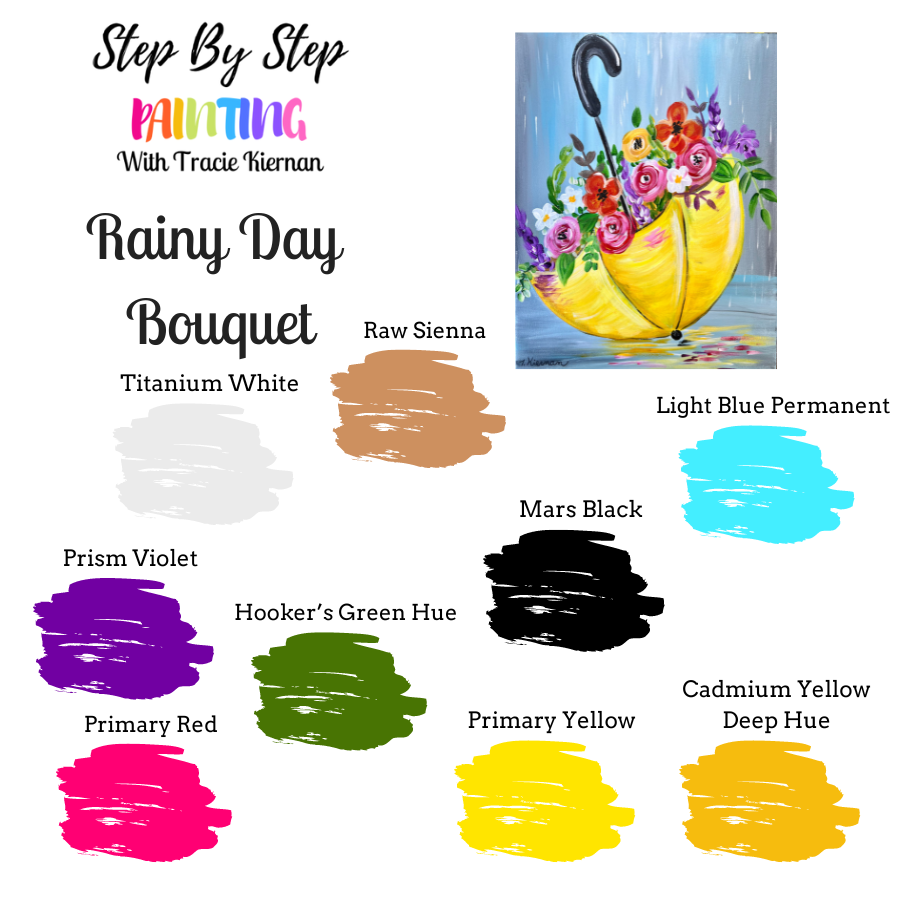
Colors
- Titanium White
- Mars Black
- Primary Red
- Prism Violet
- Hooker's Green Hue
- Primary Yellow
- Cadmium Yellow Deep Hue
- Light Blue Permanent
Brushes
- 3/4" Flat Wash
- #4 Round Brush
- #8 Round Brush
- #12 Bright Brush
Tutorial Download
Color Palette
Directions At A Glance

Video
Step By Step Instructions
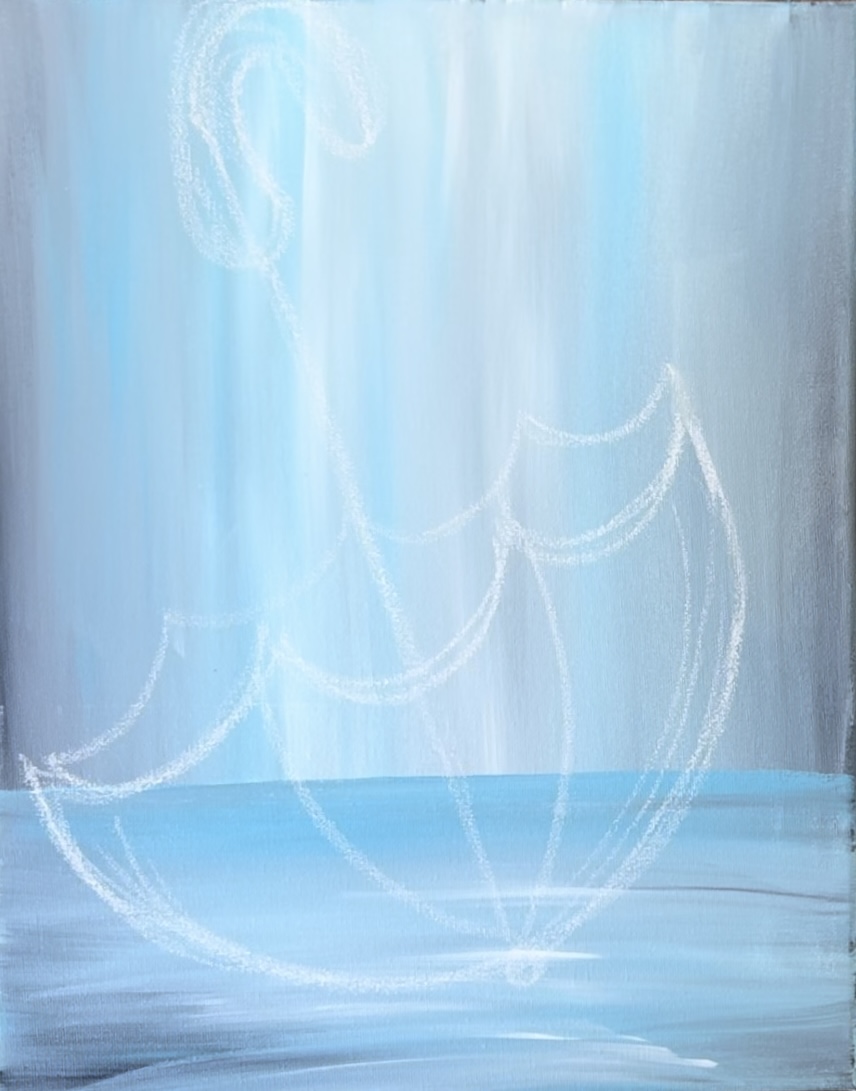
1. Paint the background
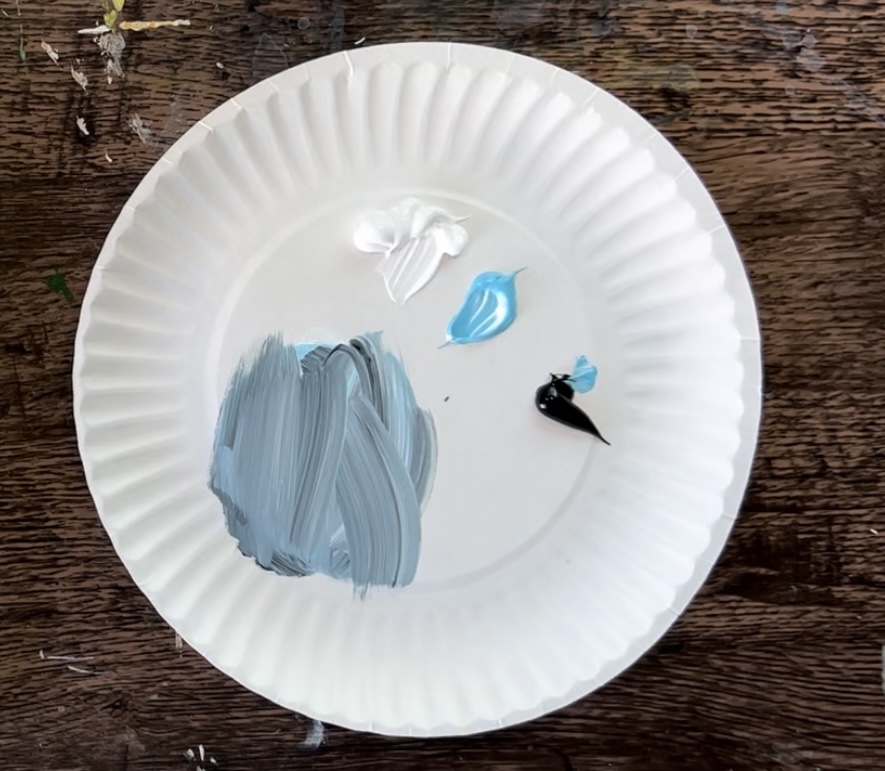
Load your paint palette with the colors: titanium white, light blue permanent and mars black.

Use your 3/4″ flat wash brush. Load it into water and “tap” the excess water from it. On your palette, mix equal parts white and blue and then a very tiny amount of black. When you mix this color on your palette, don’t blend it all the way.
Use the 3/4 wash brush to paint full width paint strokes going in a vertical direction. Leave a small gap on the bottom of the painting (you don’t need to have your paint go all the way down).
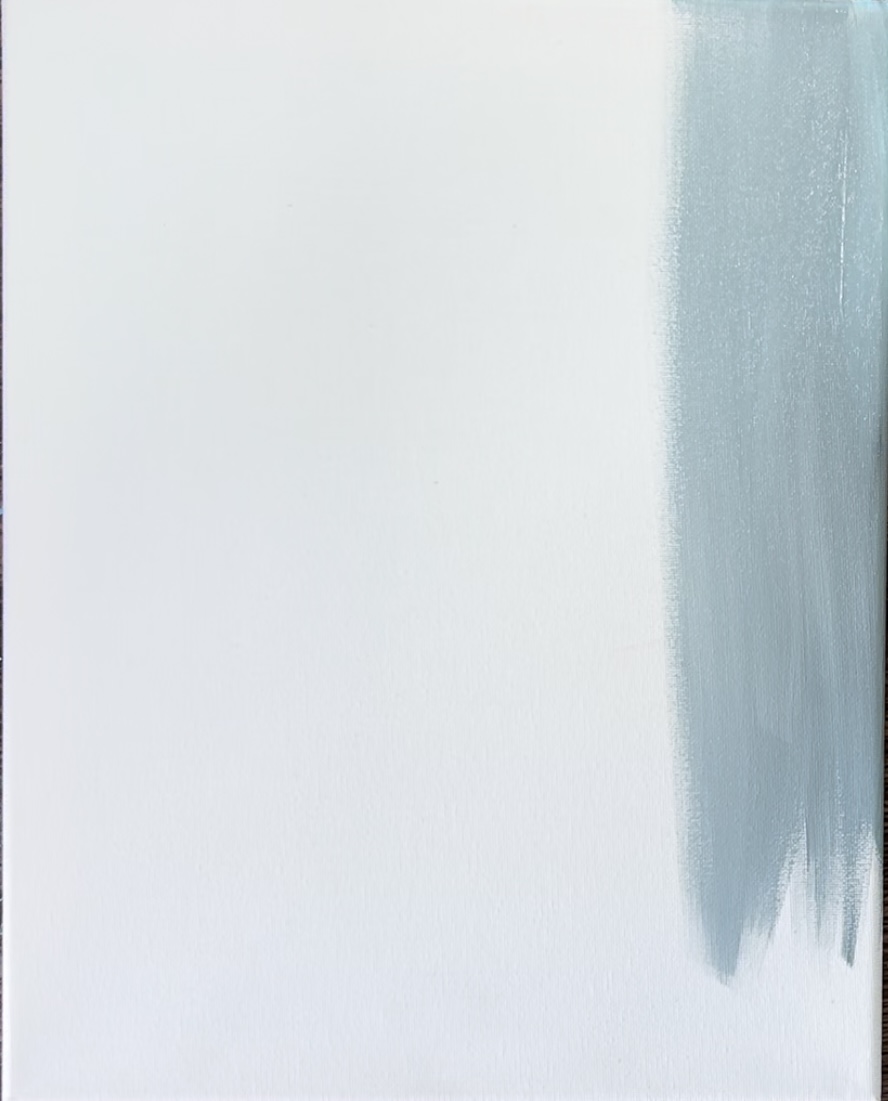
As you approach the middle of the canvas, add a little more white to your brush so the background becomes slightly lighter in the middle. Add little bits of black on the far left and far right of the background so those areas are slightly darker.

Continue to fill the entire canvas. Vary the color slightly so that some areas have more blue and other areas are more gray.
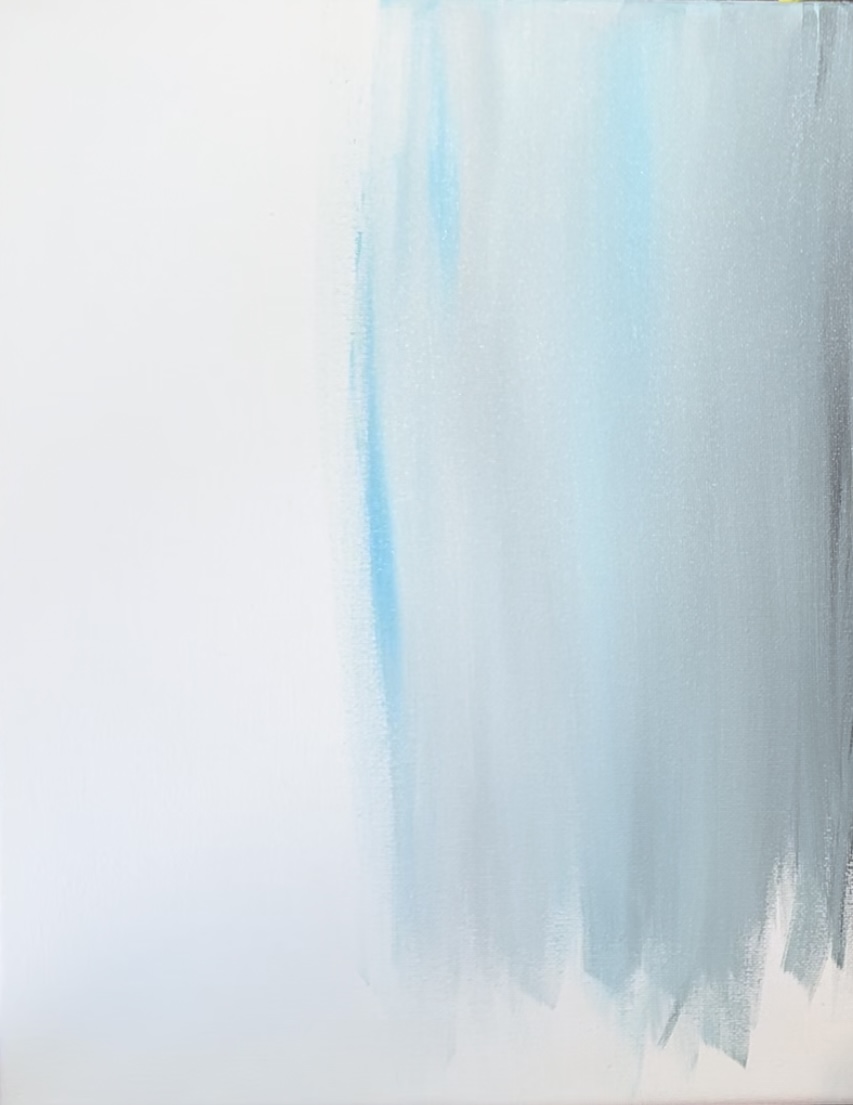
Leave the background “streaky” and not blended all the way. This helps to create the pretty “rain” effect in the background.

2. Paint the ground
Use a ruler to measure 4″ from the bottom of the canvas. Then make a little mark with your paint brush at the 4″ mark.
Use a t-square or straightedge to paint a straight horizontal line across the canvas.
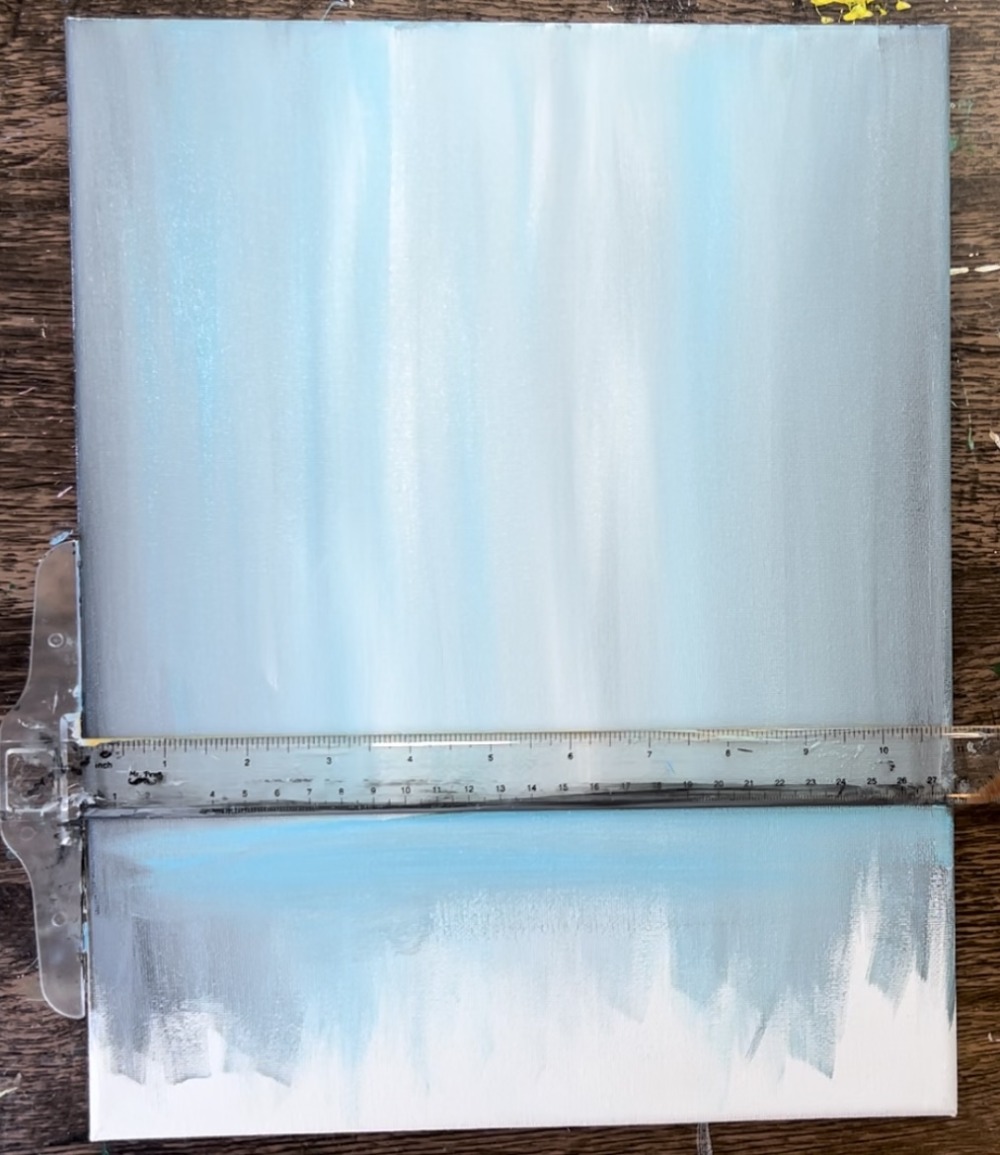
Use the same blue, white and little bits of black. This time you are painting horizontal paint strokes to create the ground area.

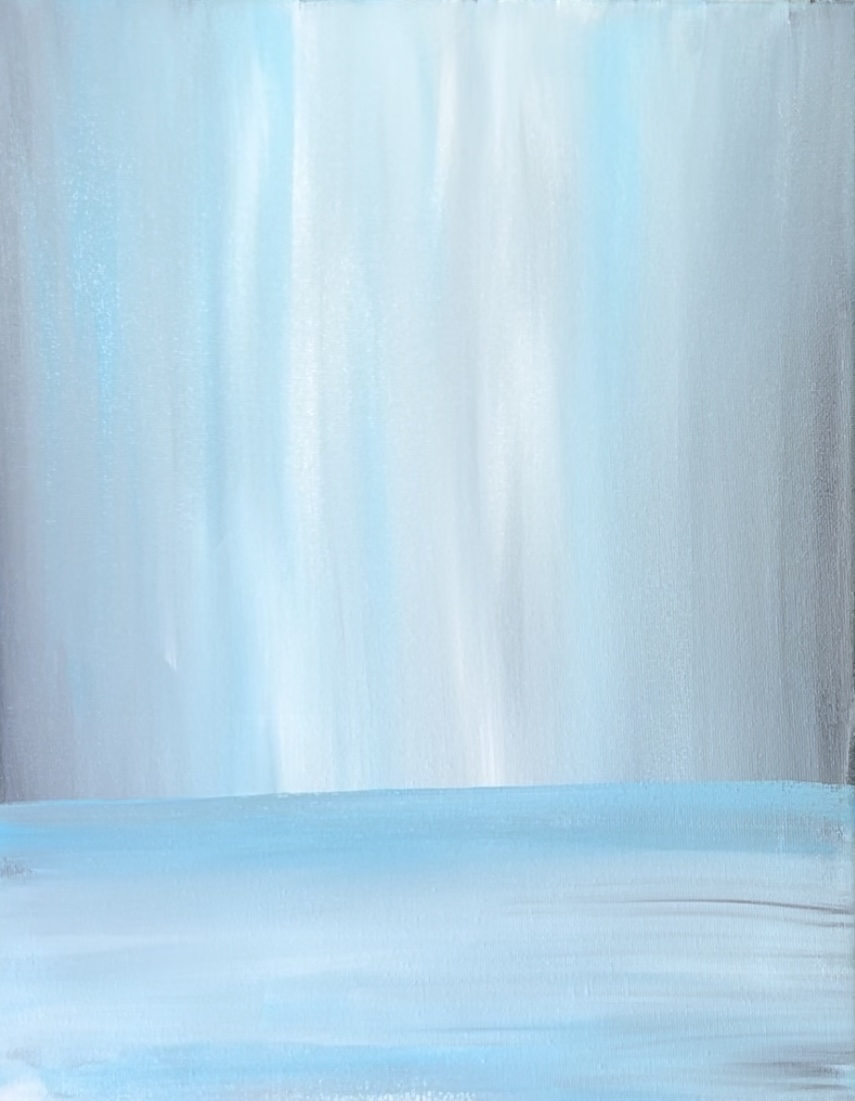
Add a few more streaks of white in the center part of the ground area.

Wait for this to dry before going onto the next step.
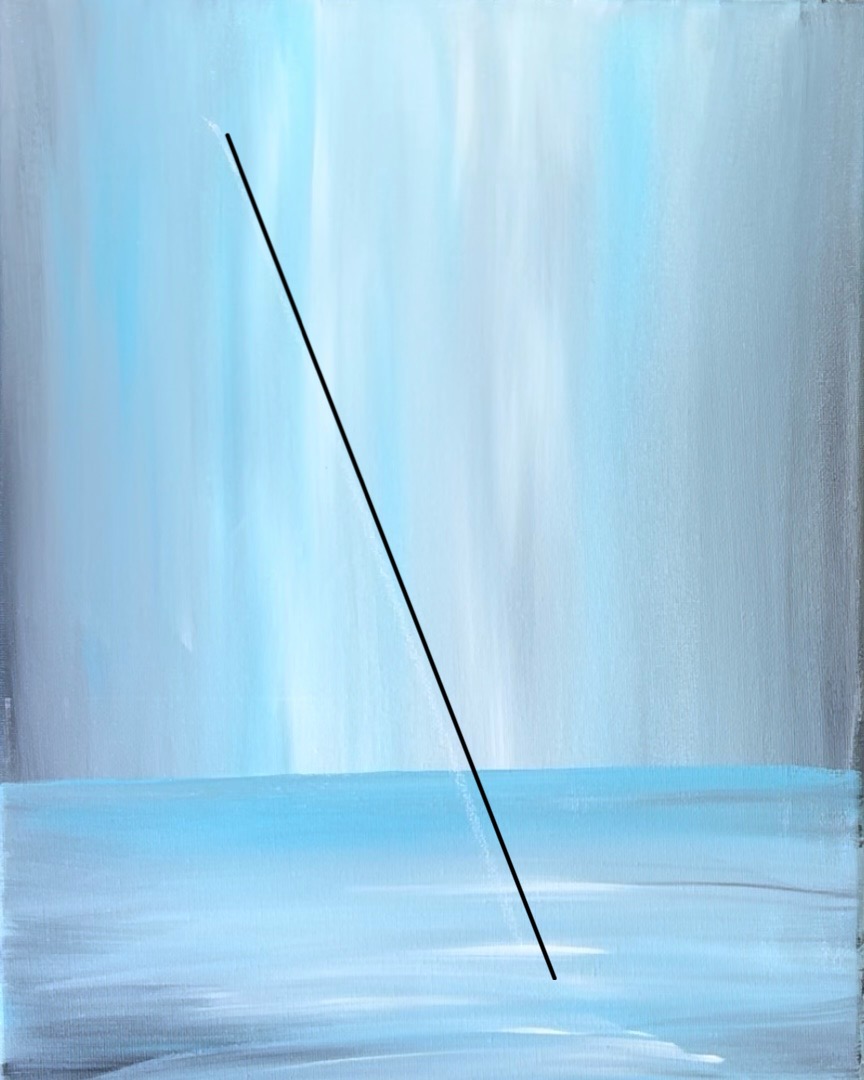
3. Draw the umbrella
Use a piece of white chalk to draw the umbrella. Start by drawing the center line of the umbrella (this is where the pole handle is). Position your ruler at an angle and draw a line about 12″ long.

Then draw a large arc attached to that diagonal line on the bottom. It may be helpful to use a 9″ paper plate to get the arc/ half circle curve sizing.


Then draw the scalloped edges of the umbrella. Start in the center with an upside down arc curved line. This is exactly in the center/ overlapping the diagonal pole line.
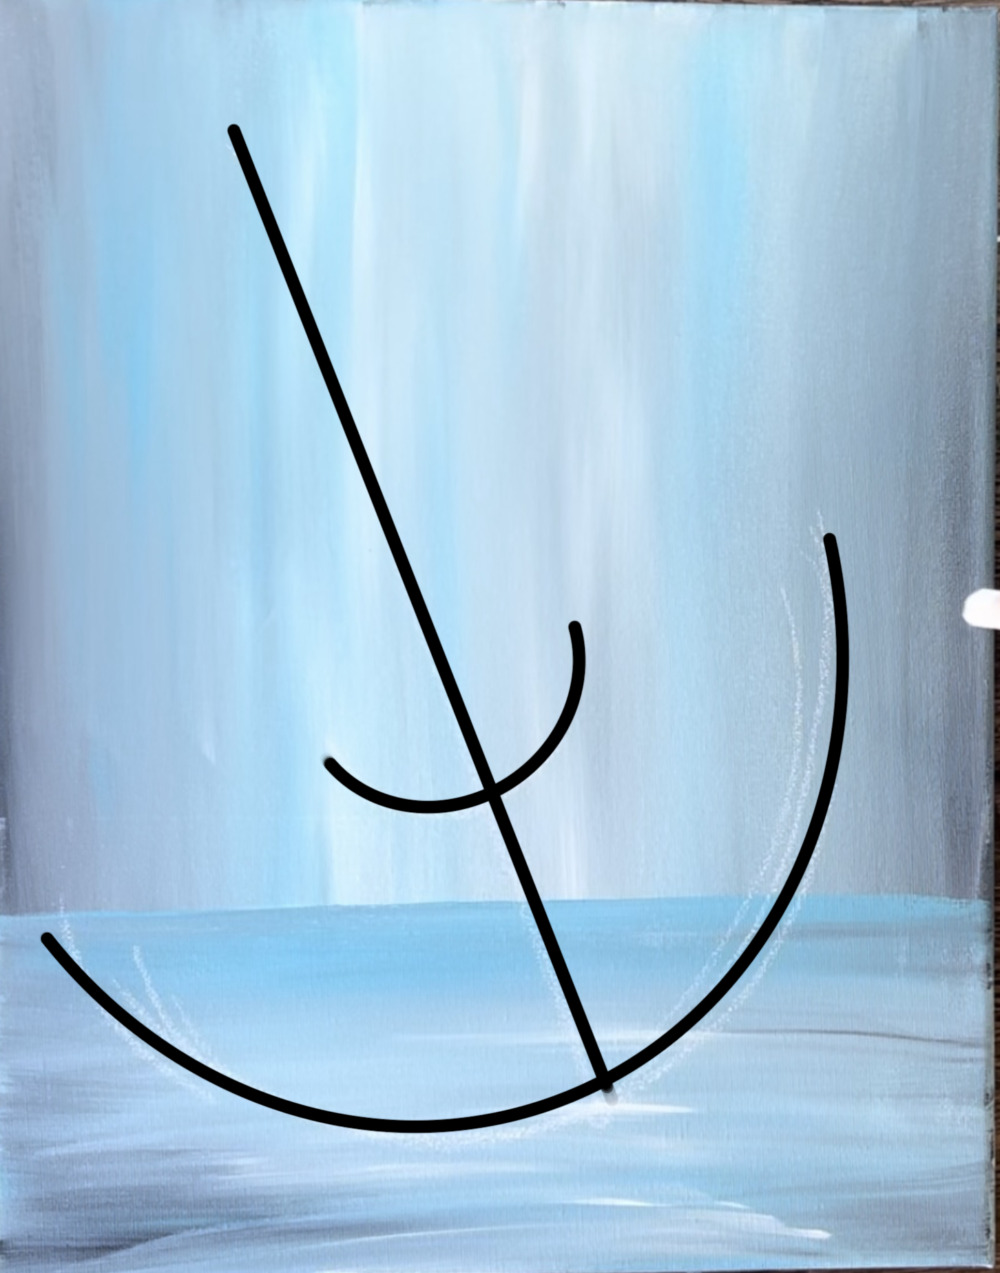
Draw two more curved bump lines on each side for a total of three curved lines and 4 points.

Draw the back side of the umbrella. These lines do not have to be exact because this area will be covered with flowers later. Draw 4 upside down arc lines with a total of 4 points (for the backside of the umbrella).
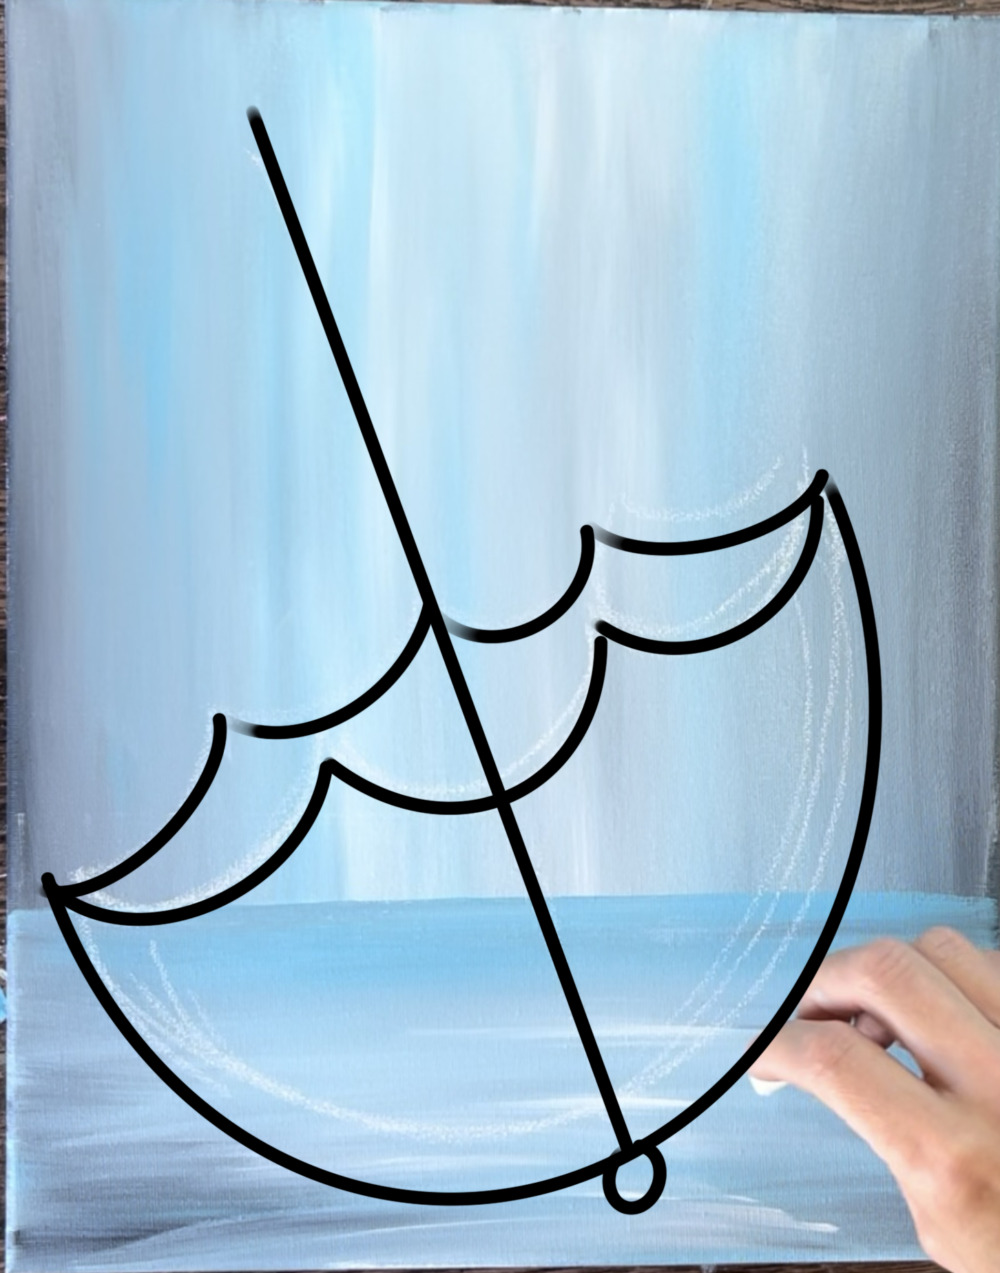
Draw two curved lines going from the top point of the umbrella and curving down to the center point of the umbrella. Also, draw a small circle for the top point of the umbrella.
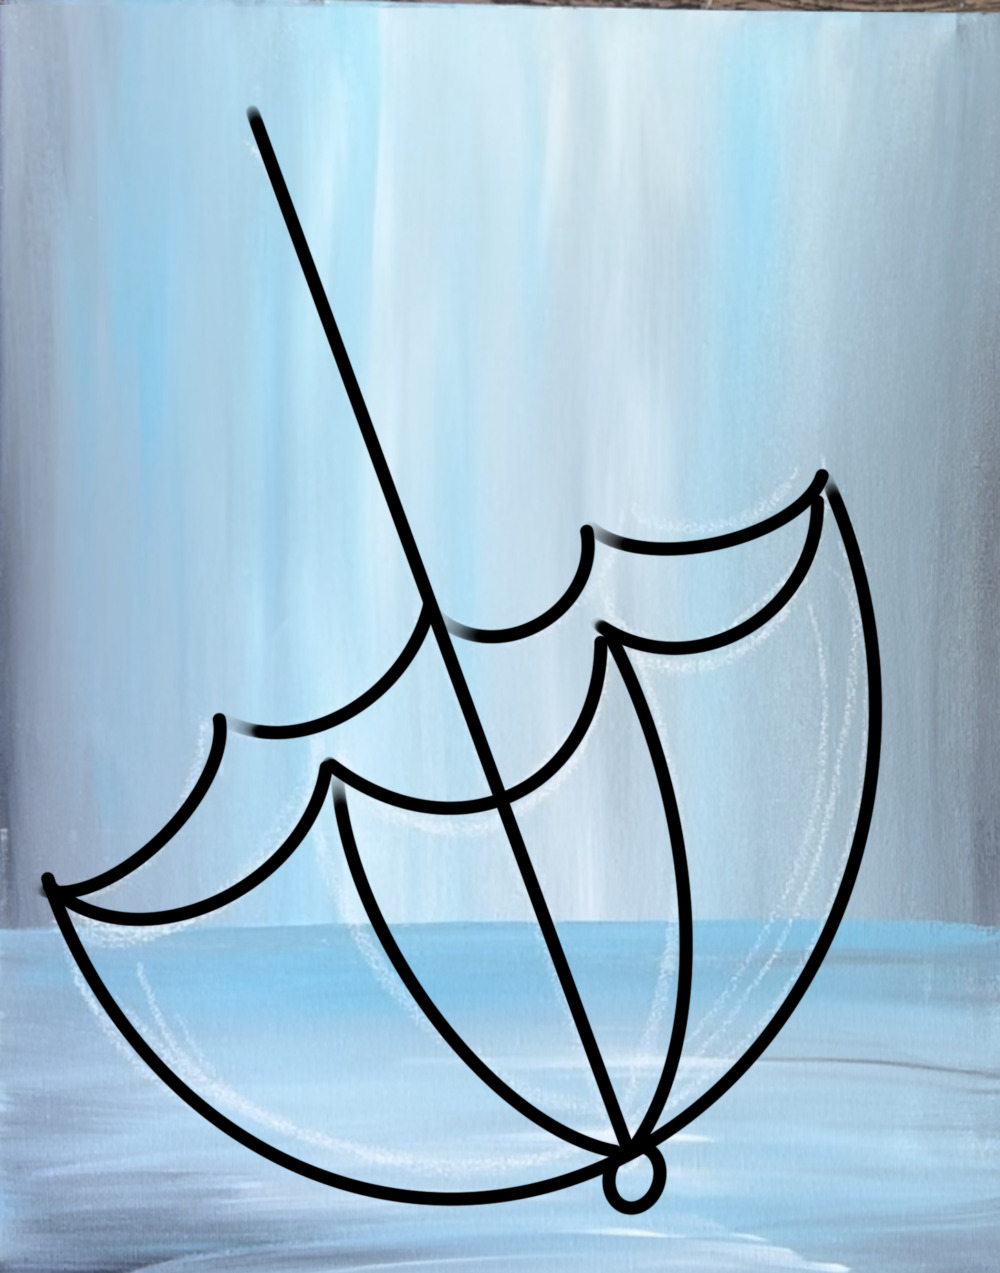
Draw a “candy cane” like shape on the end of your diagonal line for the handle of the umbrella.
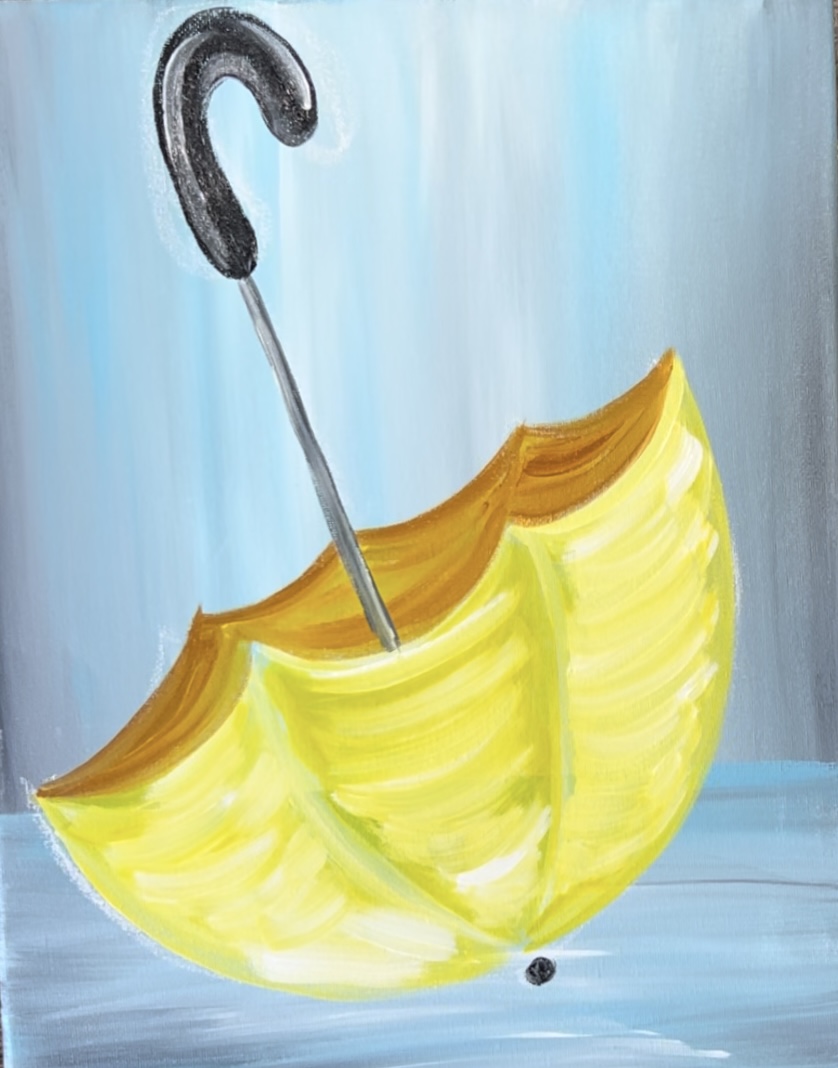
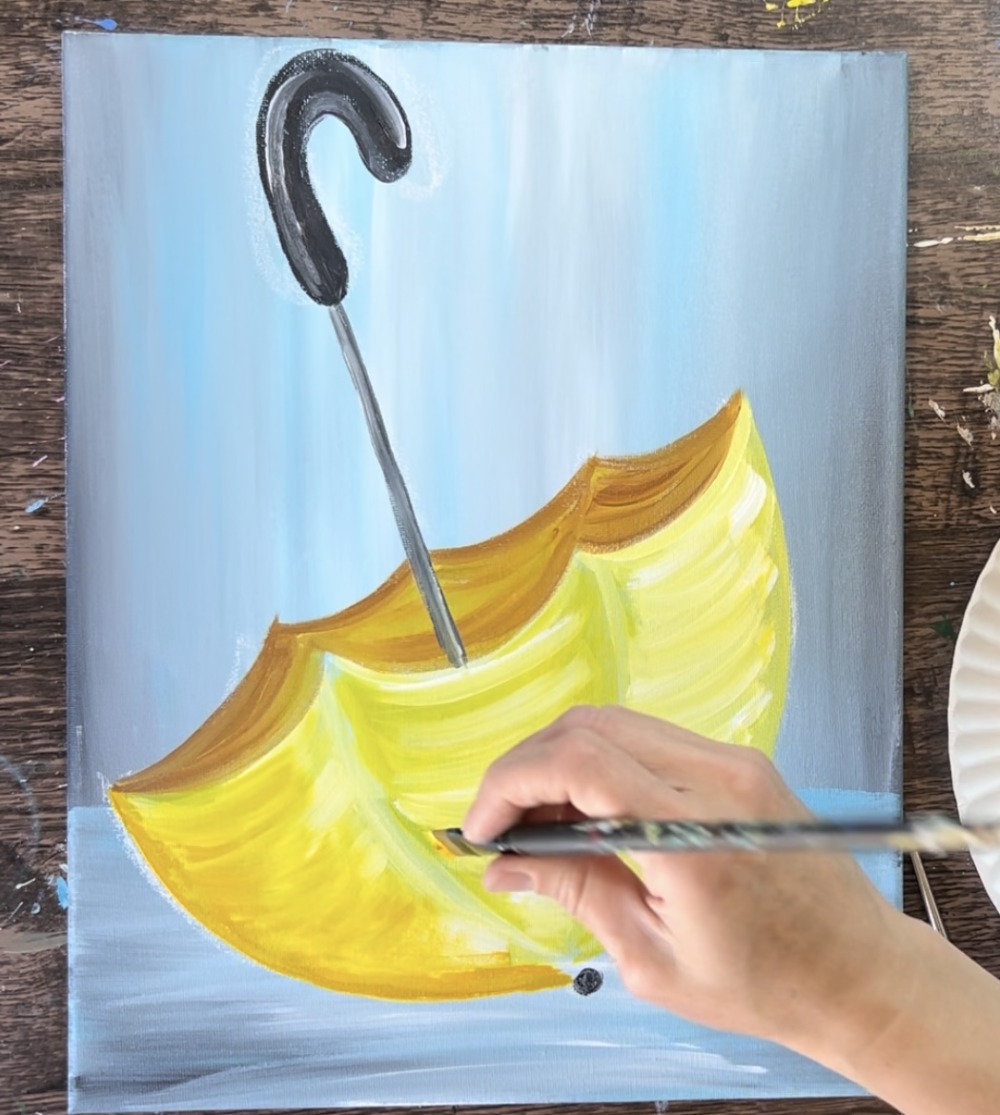
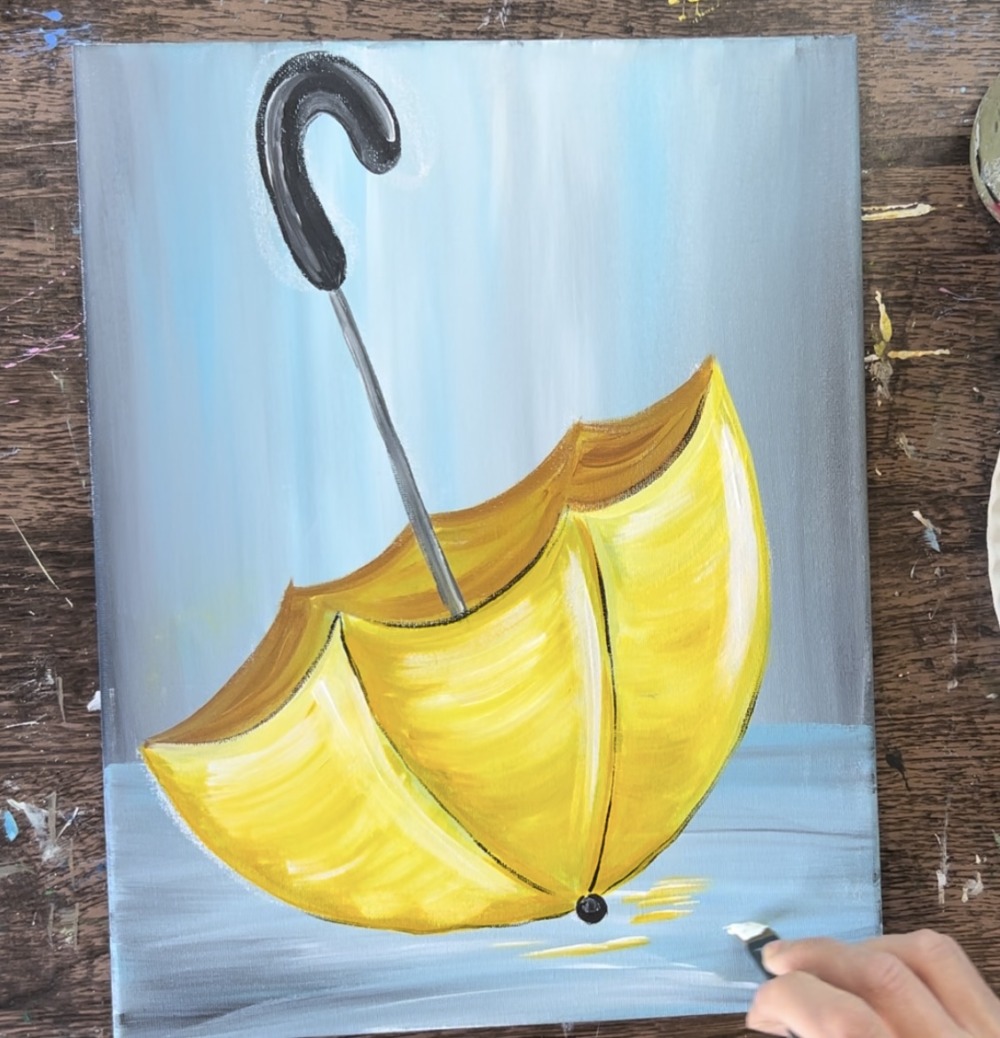
4. Paint umbrella first coat
Load “primary yellow” and “titanium white” on your paint palette. Mix the two colors together equally to make a light yellow. Use the #12 bright brush (1/2″ flat brush) to paint the umbrella.
Paint this “first coat” one section at a time. Start on the far left. Outline the shape of this section of the umbrella using the tip of the paint brush.
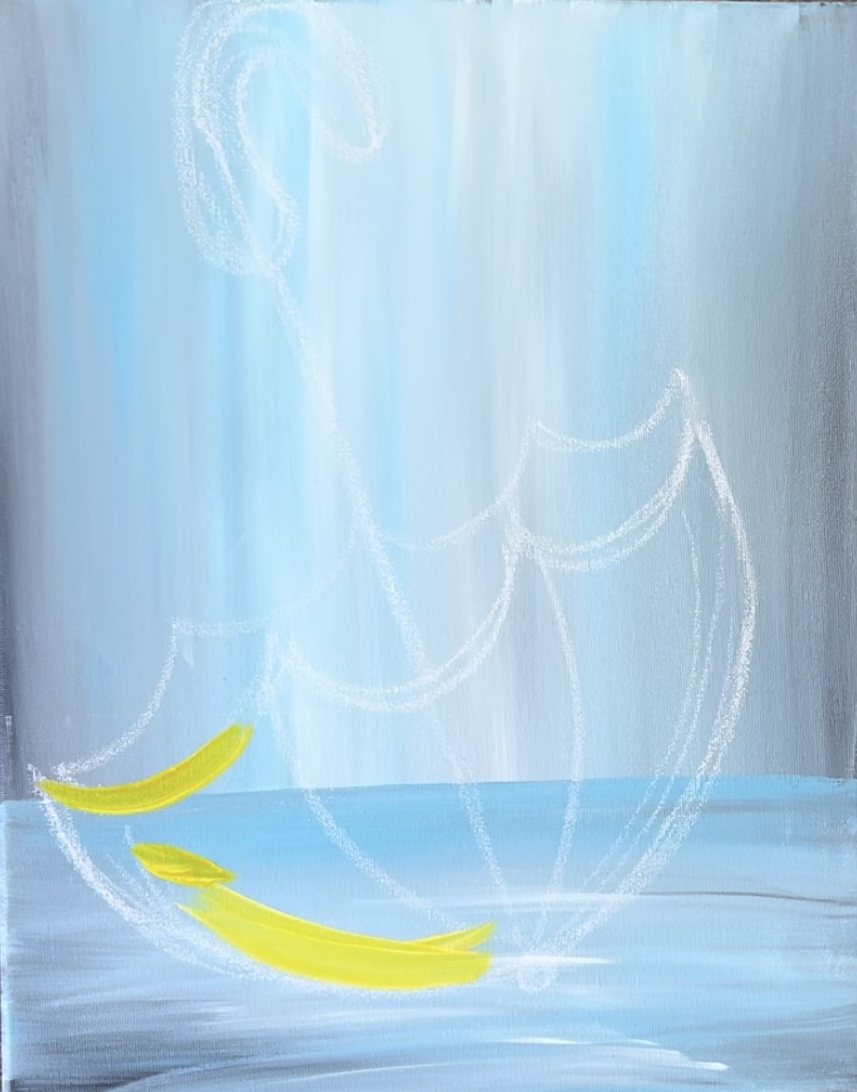
Then fill the shape in with the yellow/white. It’s okay if you still see background color through this as it is the first coat of paint!

Paint the second section the same way. Make your paint strokes in the middle go in a curved direction. Add little bits of white in there to brighten it up and help to cover dark areas from the background. When you paint in a “curved direction”, it helps the umbrella look more three dimensional.
Paint the third section using the same technique. It’s important to note that, as you outline each section, make sure you don’t lose the two curved lines inside the umbrella (the lines that meet to the small circle on the bottom). These lines will be outlined with black later.

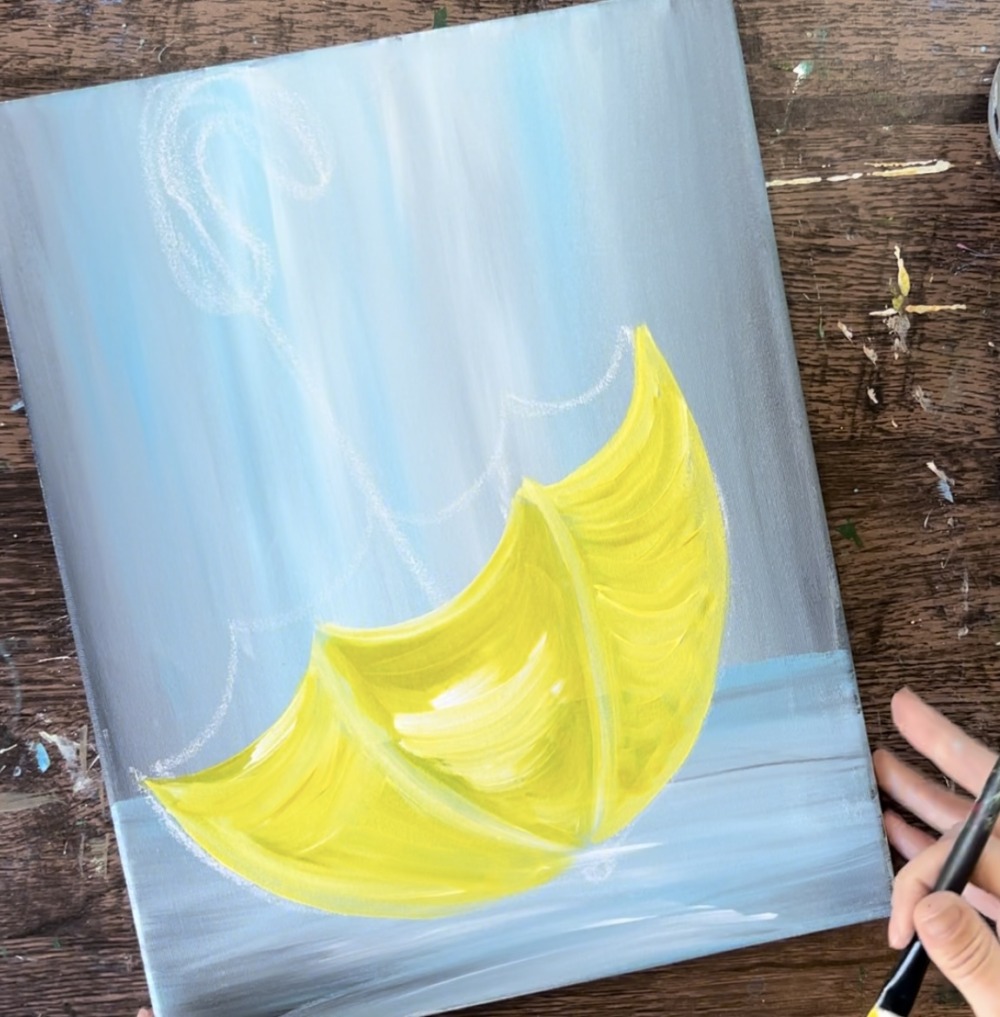
Add a little more white/yellow in the center of each section of the umbrella (using cured strokes). This helps to brighten/ cover the dark background more. After this dries, we will add a darker yellow on this.
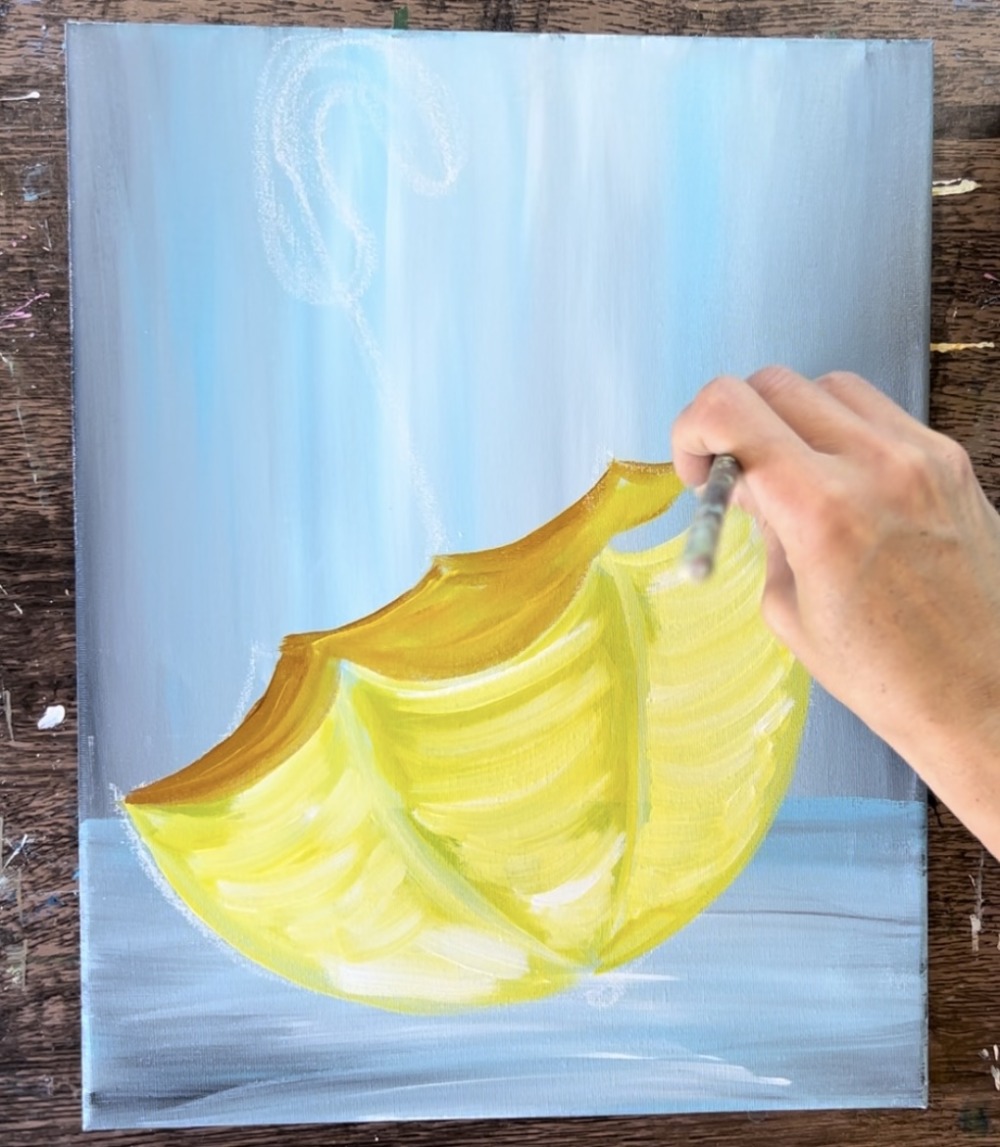
5. Paint inside umbrella
Load “raw sienna” onto your paint palette. Mix equal parts “raw sienna” with “primary yellow”. Use the #12 bright brush to paint the entire back area with this “dark yellow”. Outline the shape first and then fill it in with cursed paint strokes that go in the direction of the shape.
6. Paint handle
Use “mars black” and the #4 round brush to paint the little circle on the top (in this case the bottom) of the umbrella.
Mix equal parts “titanium white” and “mars black” on your paint palette. Use the #4 round brush to paint the pole of the umbrella.

Allow the line to become a little thicker than just a thin line. Then paint the handle of the umbrella with just “mars black”. You don’t need to rinse your brush off to go from gray to black.

After painting the “candy cane” shape black, add a little white to the brush. Paint a curved line on the left and top edges of the handle to give it more of a shiny look.
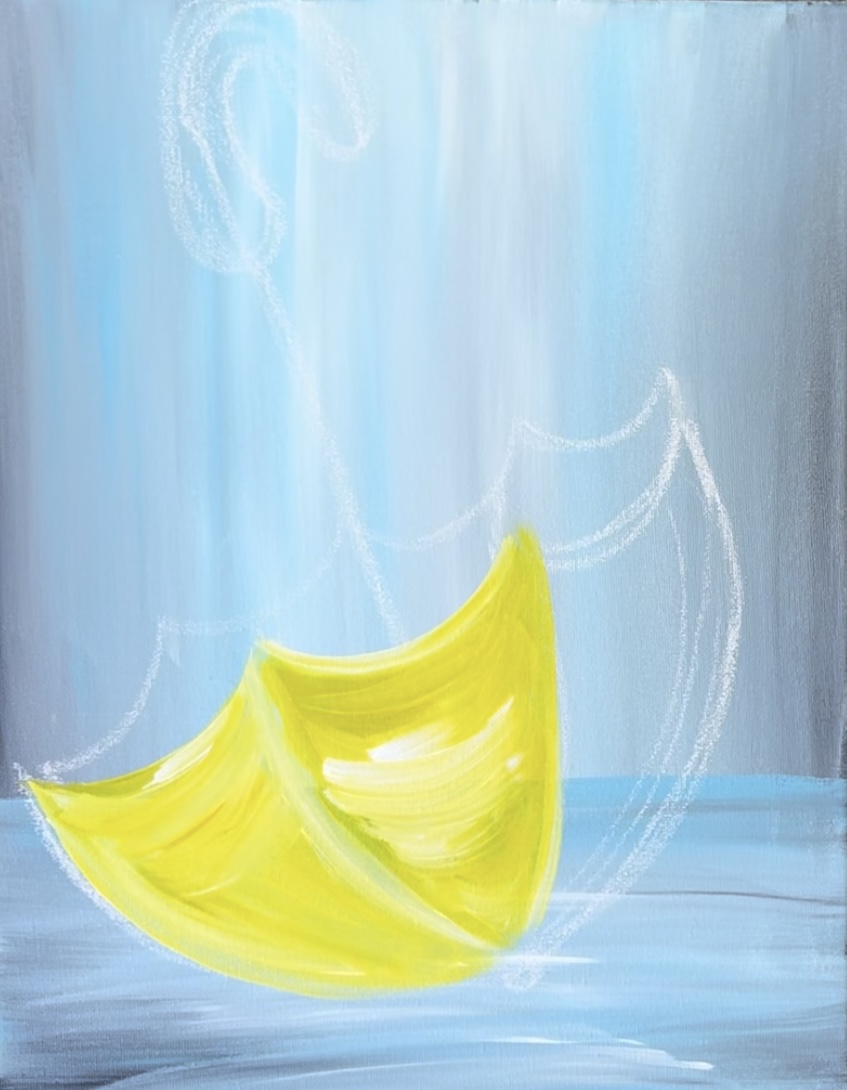
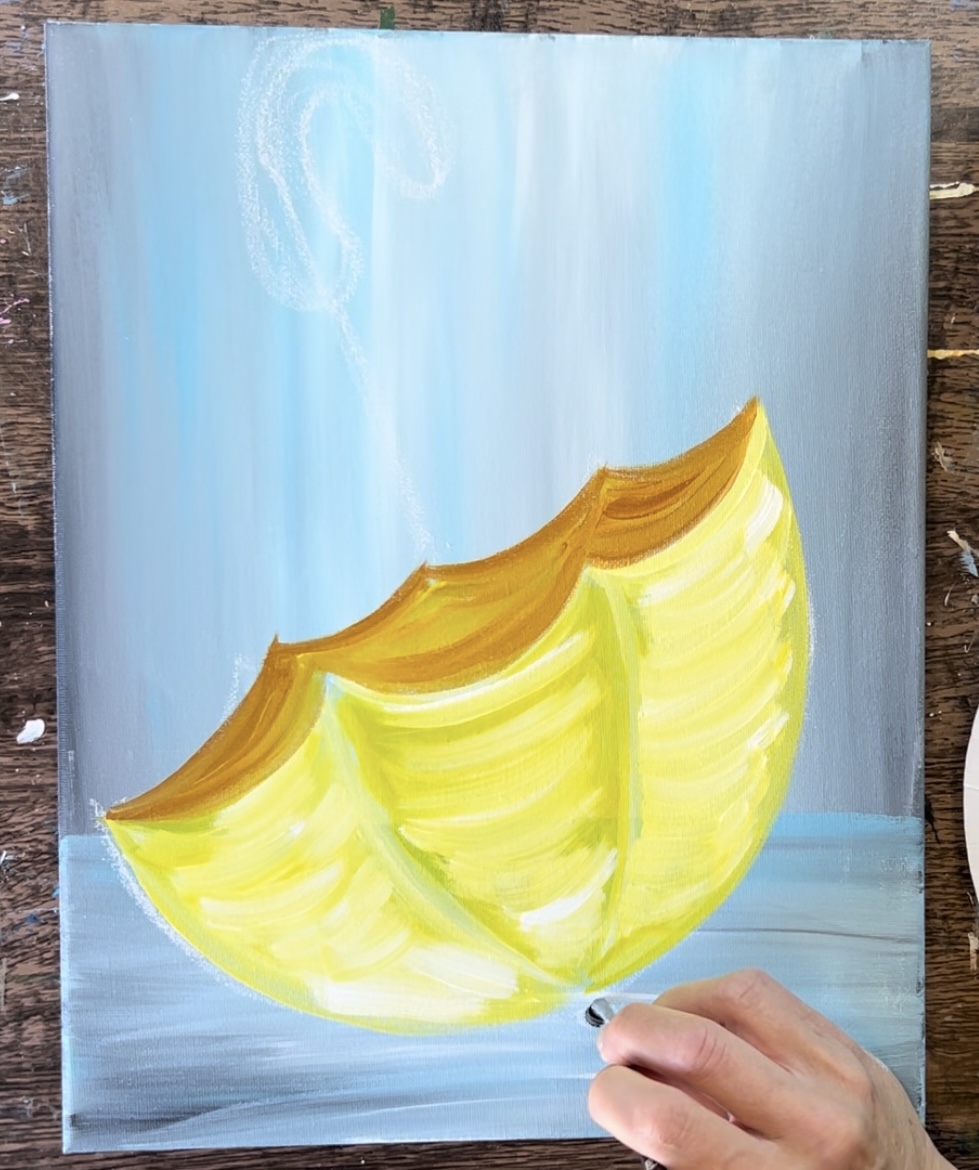
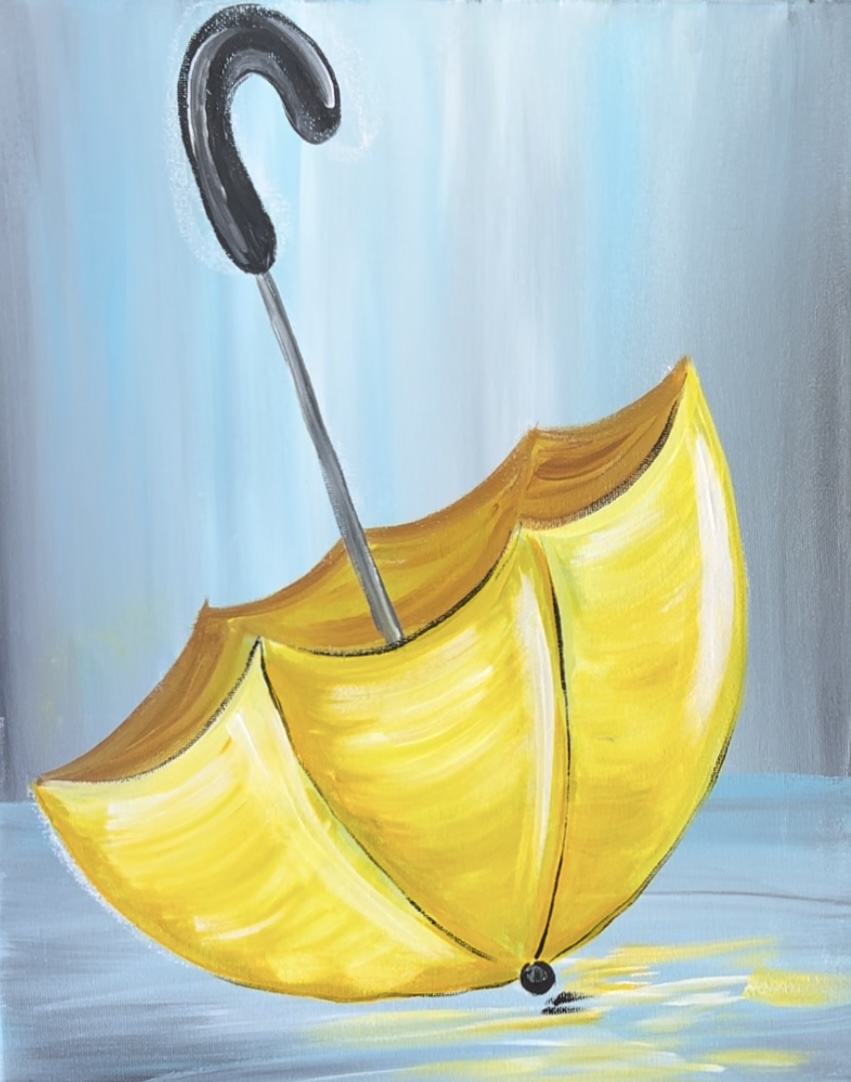
7. Paint second coat on umbrella
Your first layer is likely dry by now. If it’s not, it’s still should be okay to do this step. Your lighter yellow may blend with this darker yellow and that is fine.
Load your paint palette with a darker yellow “cadmium yellow deep”. Use the #12 bright brush. Outline the far left curve of the umbrella and then drag this darker yellow on the left side into your lighter yellow.
Load more “primary yellow” and “titanium white” on your brush and blend that in the center part. Paint in a curved direction still to create that “three dimensional” effect.

Basically, the left side of each section is darker with your darker yellow, the centers and far right of each section are lighter with more of the primary yellow and white. Do this to each of the sections.

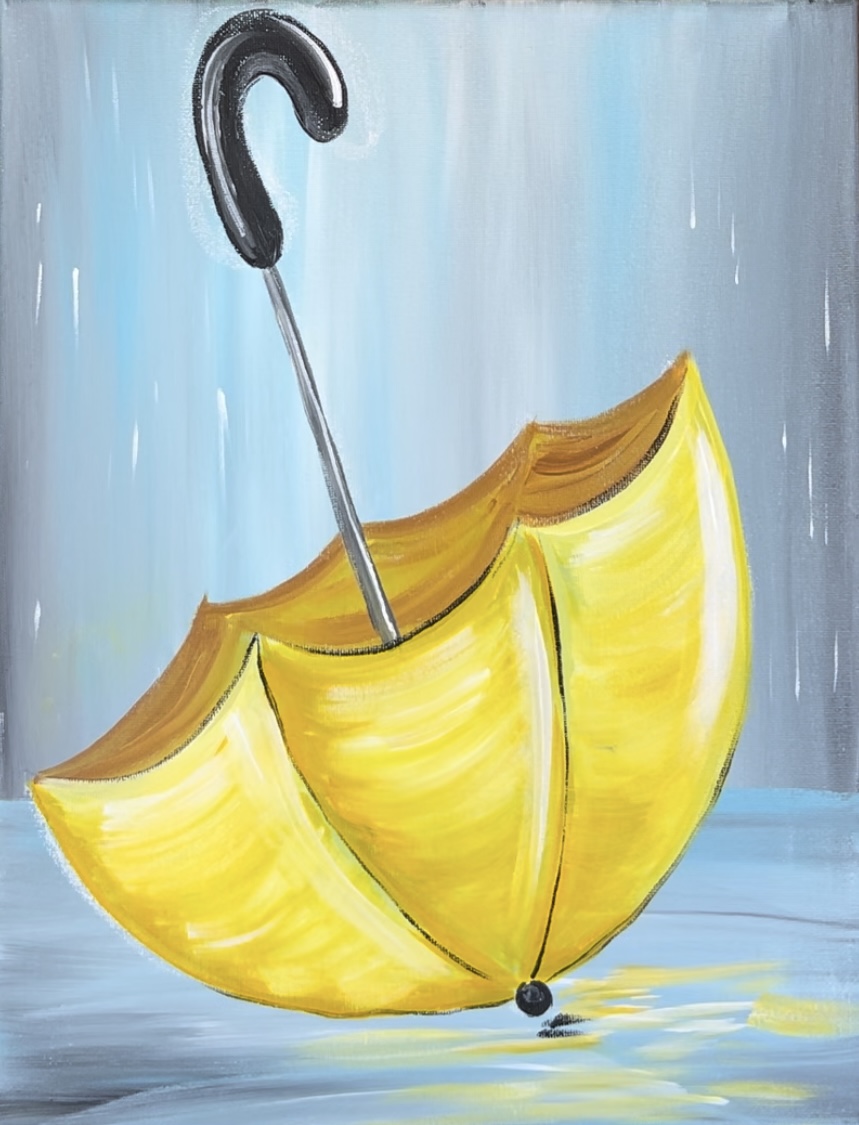
8. Loose outlining & highlighting
Use the #8 round brush (for the fine tip, otherwise use a brush that has a tiny detail tip such as a liner brush). Loosely outline the lines on the umbrella with black. Your lines should be very thin and they don’t have to go all the way across. They can be “broken lines”. Also, outline the bottom curve of the umbrella.

Loosely outline the scalloped edges. These lines also don’t go all the way across with the black/ are broken and inconsistent lines.
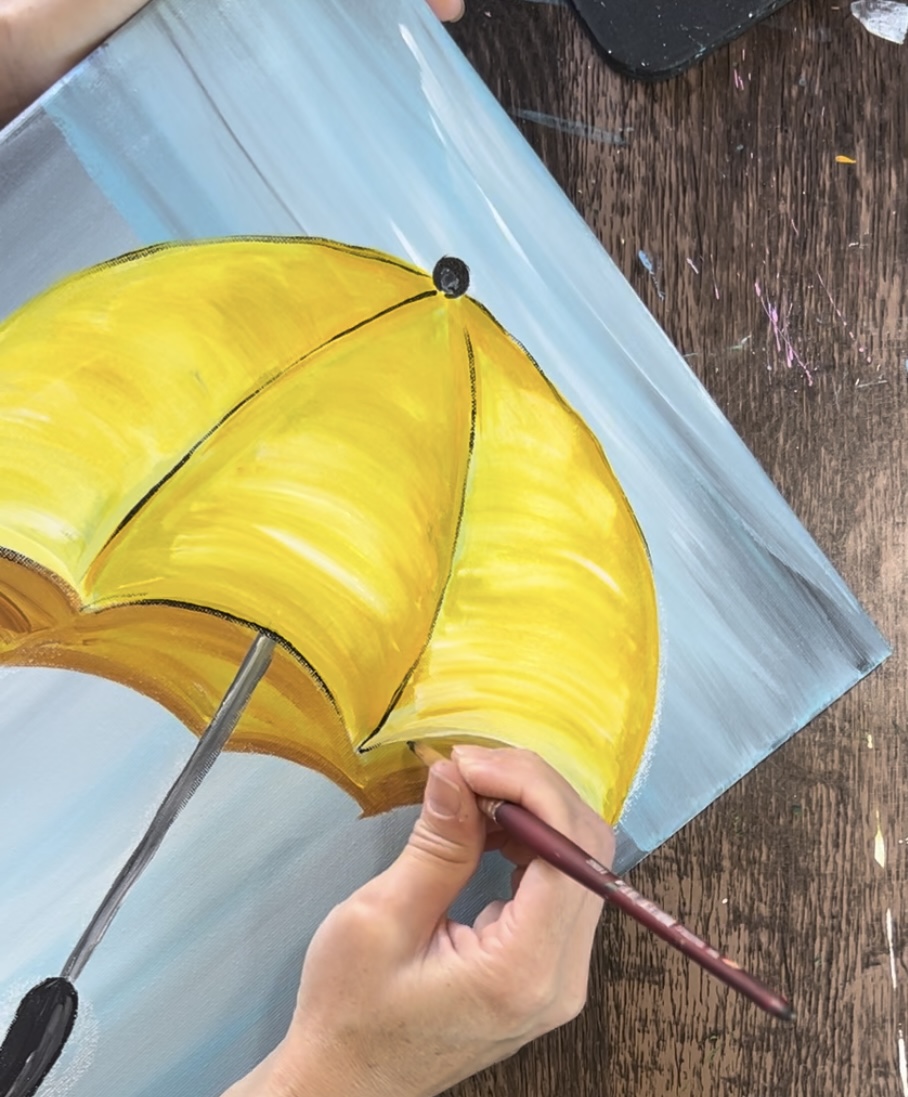
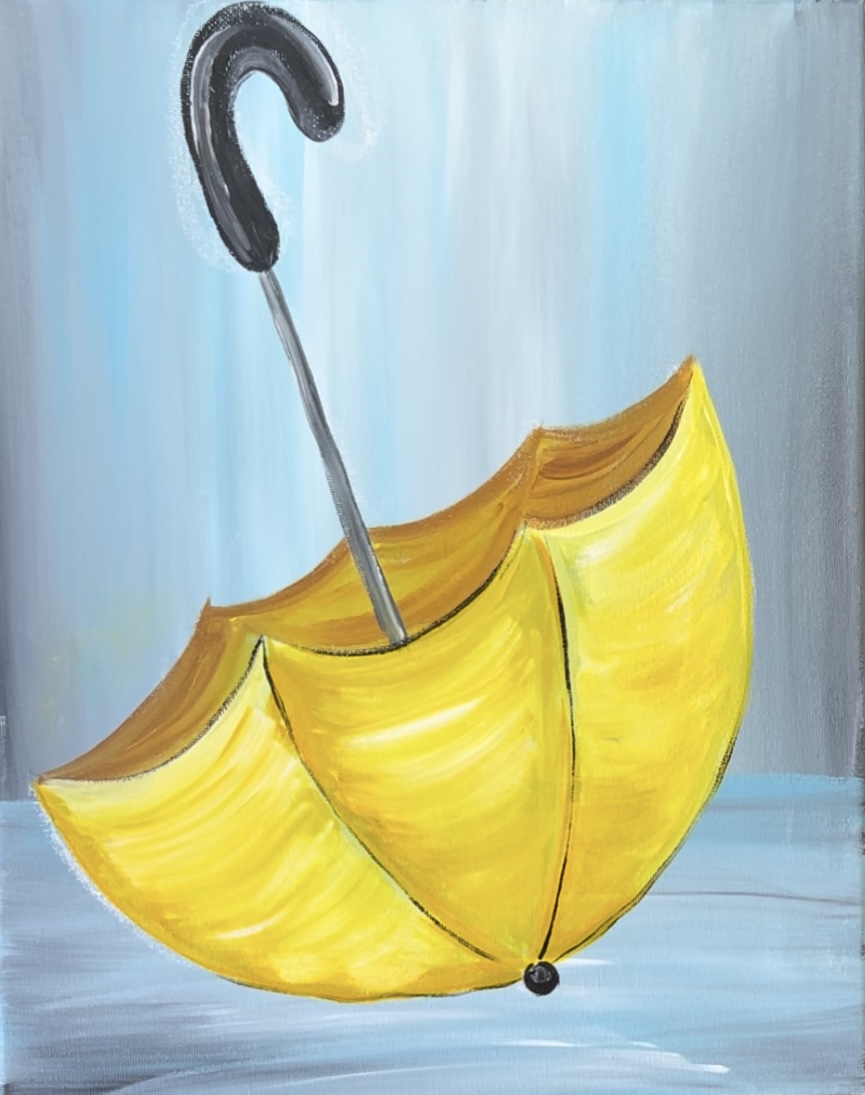
Next, use the #12 bright brush and “titanium white” to highlight parts of the umbrella. I did solid white highlight curved lines on the right sides of each of the umbrella sections.
9. Paint reflection
Use the #12 bright brush and the color “cadmium yellow deep” and “titanium white” to paint reflection on the ground. Paint loose, left and right short paint strokes to create water reflection.
I did this just on the lower right side of the umbrella. Add a small amount of black as well. We can add more colors to the reflection later.
10. Paint rain
Use the #8 round brush (or a tiny liner brush) and titanium white to paint raindrops. Paint very thin vertical lines of various lengths. Paint these lines all throughout the background. You can also overlap part of the ground.
11. Paint roses
Use a #4 round brush to paint the roses. Load your paint palette with primary red. Paint rose shaped circles with uneven edges. Note: for now it’s going to look like the flowers are floating in the umbrella. We will paint leaves and stems later to make it look more “full”.

Use the #4 round brush and double load it into the “primary red” and “titanium white”. Start in the center of each of the roses and paint little “c” strokes. As you work your way outwards from the center, the “c” stroke gets larger. Stagger each of the strokes but also make sure not all of the first primary red layer is still visible.
Repeat this for each of the rose flowers.
12. Paint lavender
Load your paint palette with “prism violet” and “titanium white”. Use a clean #4 round brush. Double load it into both the purple and the white. Paint small brush strokes that stay on the bottom of the flower. Work your way up to form a column of purple paint strokes that slightly overlap each other.

Let your white and purple gently blend tougher but not all the way. You will get a variation of the purple that forms a column shaped flower.
I did four of these types of flowers and one hanging off the edge of the umbrella in a curved direction.
13. Paint small white flowers
Use a #4 round brush to paint little five petal white flowers. In the centers of these flowers, paint little yellow dots.

14. Paint orange flowers
Mix a red-orange color on your palette by mixing equal parts “primary red” and “cadmium yellow deep hue”. Use the #4 round brush to paint four petal flowers.

In the center of each of the orange flowers, paint little black dots using the #4 round brush and “mars black”.
After painting the orange poppies, I did one more rose with the cadmium yellow deep color.
15. Paint greenery
Load your paint palette with “hooker’s green hue”. Mix the green with white and yellows on your palette to make different variations of green. Paint a variety of leaves. You can do simply rounded/ pointed leaves next to the roses. You can also paint leaves in the same style as you painted the lavender flowers (only green).
You can also do leaves with stems and multiple rounded/ pointed leaves attached to the stem. I did a few of these leaves hanging out the edges of the umbrella.
Fill up any open gap between the flowers with leaves. You can even do small paint strokes with the green to fill in gaps (they don’t have to be leaf shapes).
For the purple leaves, I mixed “prism violet” with “hooker’s green hue”. Paint a few more leaves with stems using this purple/ green combination.
16. Add more reflection on ground & on umbrella/ final touch ups
Use the #12 bright brush and paint more reflection lines on the ground under the umbrella. Use the color “primary red”, “prism violet” and “titanium white” mixed with those colors. Paint short left and right paint strokes to create reflection.
You can also add some colored reflection onto the umbrella. I did this with the #4 round brush and purple in upper areas of the umbrella.

Finally, one more touch up includes painting little black dots in the centers of the roses.

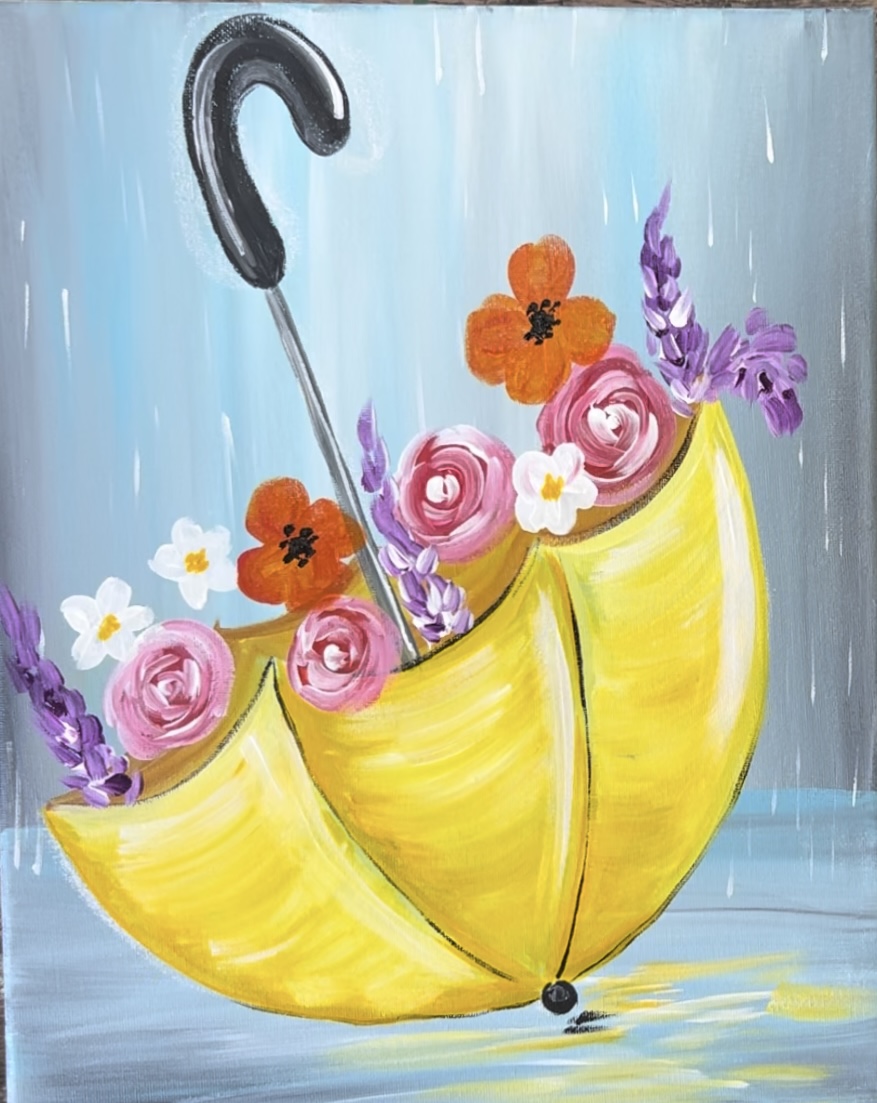
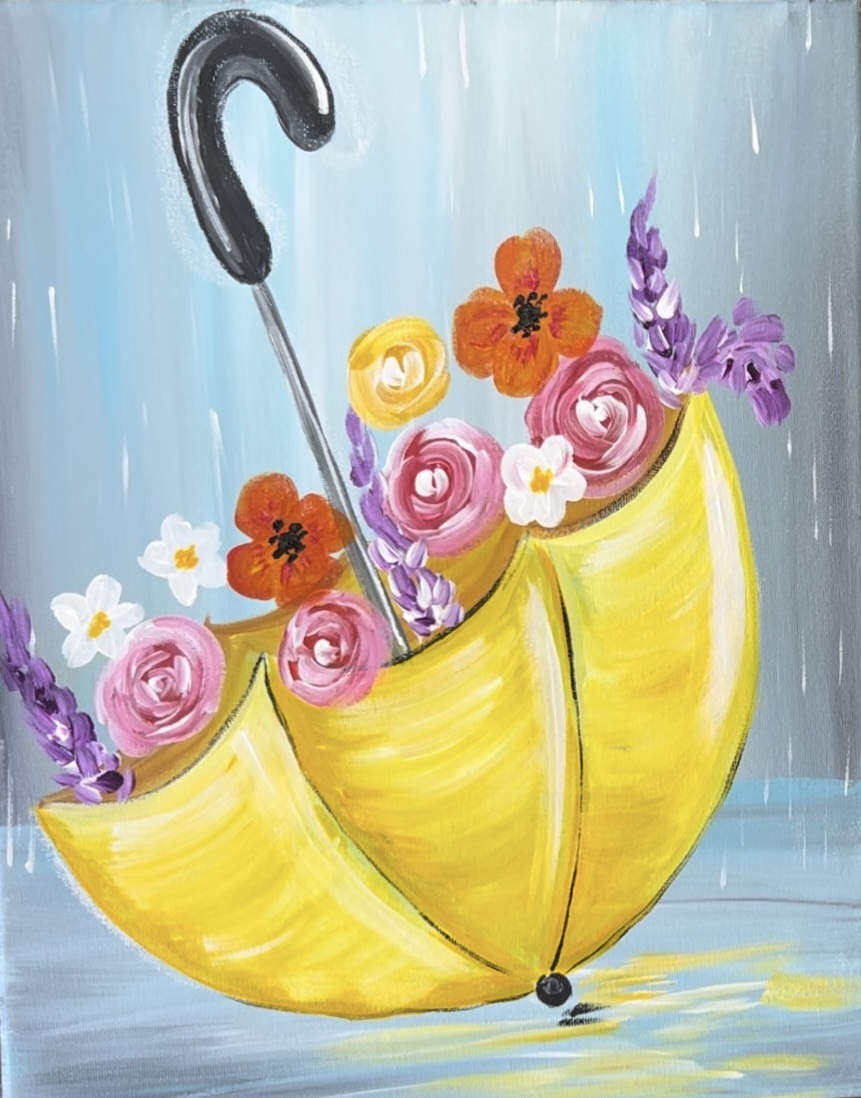
Finished
Sign your name and show it off!
Loved this. Thank you so much. It really helped me with my flowers.