
Would you like to save this?
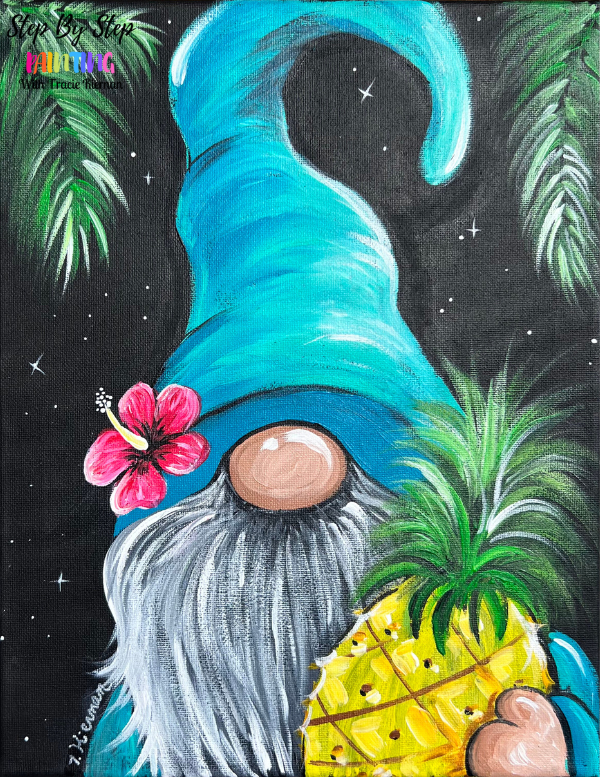
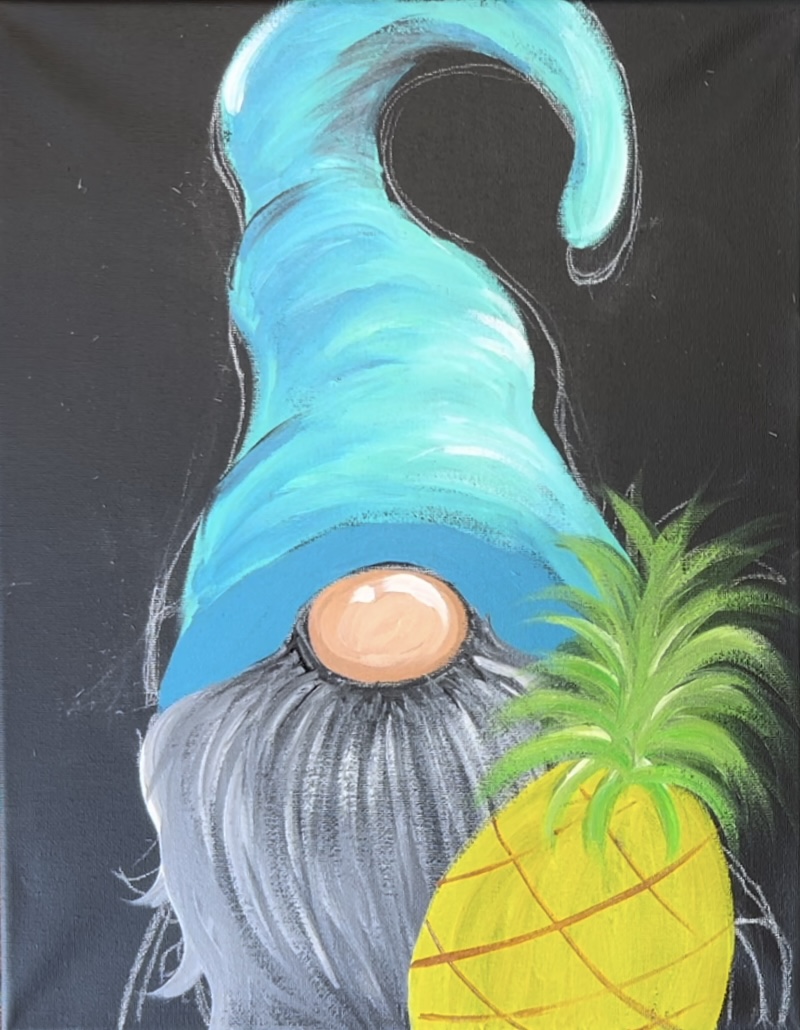
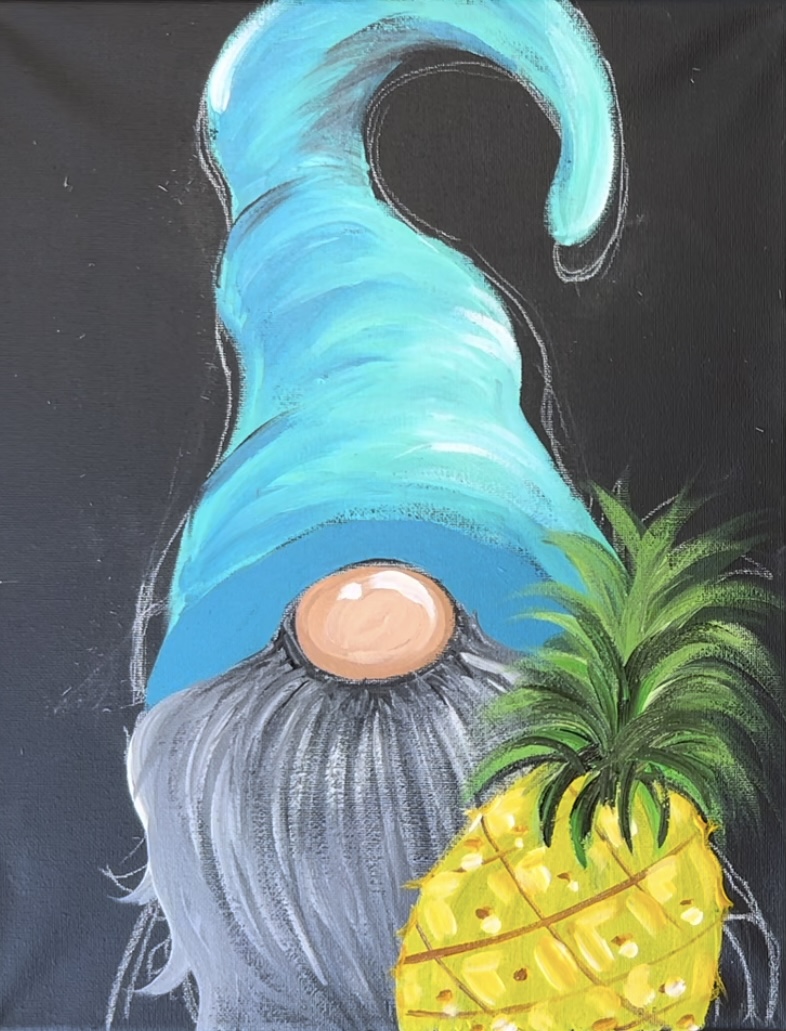
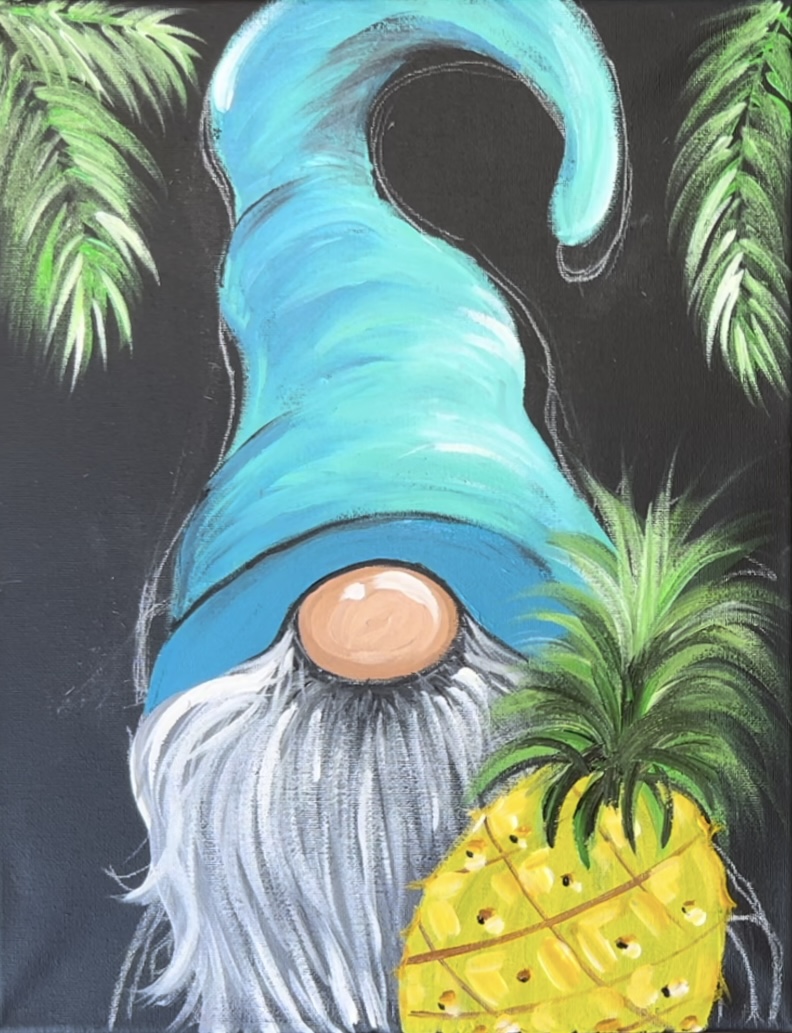
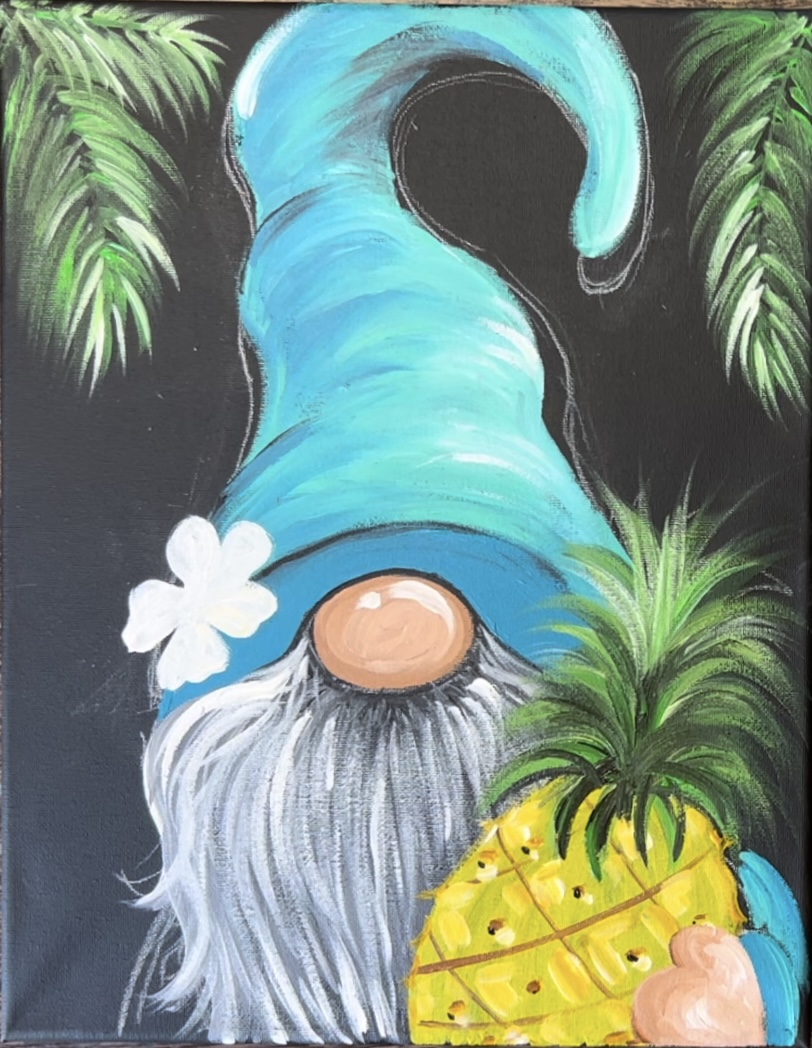
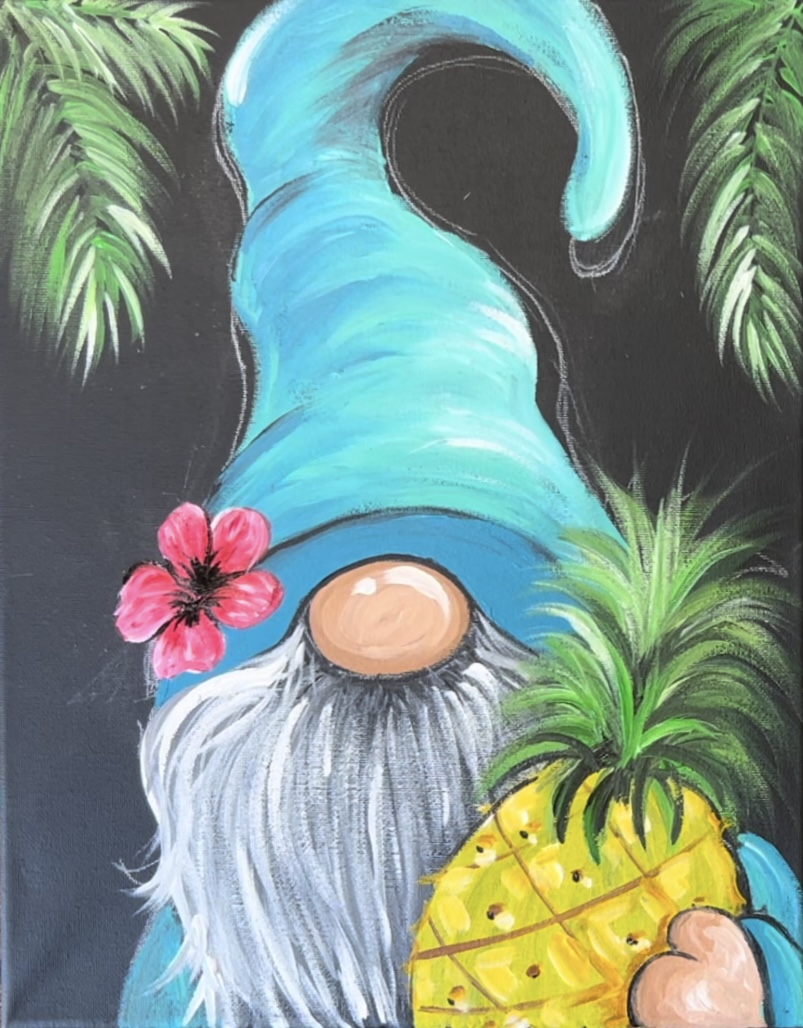
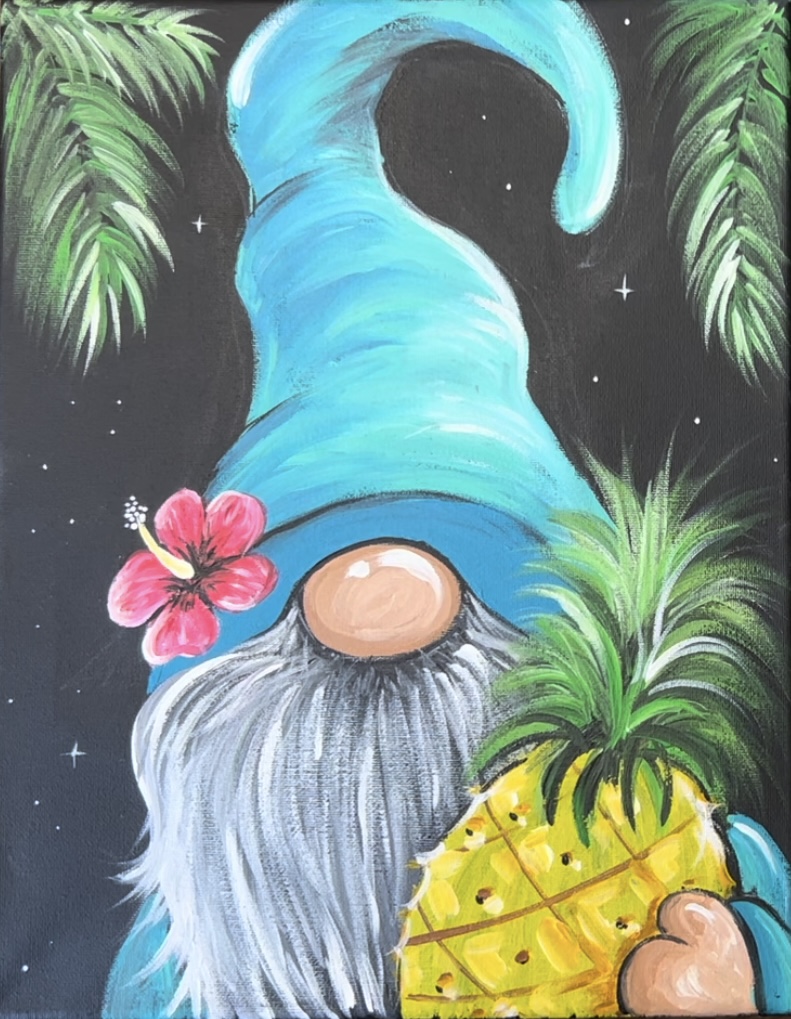
Learn how to paint a tropical summer theme gnome! This acrylic painting tutorial is demonstrated on an 11 x 14 canvas pre-painted black.
Enjoy and happy painting!
Materials Needed:
How To Paint "Aloha Gnome" - Acrylic Painting Tutorial
Materials
- 11 x 14 Canvas (painted black)
- Acrylic Paint
- Brushes
- Chalk Pencil or Regular White Chalk
- Eraser
- Water Cup
- Paint Palette (I use paper plates)
Colors
- Titanium White
- Mars Black
- Primary Red
- Cadmium Yellow Deep
- Primary Yellow
- Light Green Permanent
- Turquoise Blue
- Bright Aqua Green
- Raw Sienna
- Light Pink
Brushes
Note: if you don’t have an “8 round” brush, I recommend using something that has a fine tip to it so that you can do detail work on this gnome.
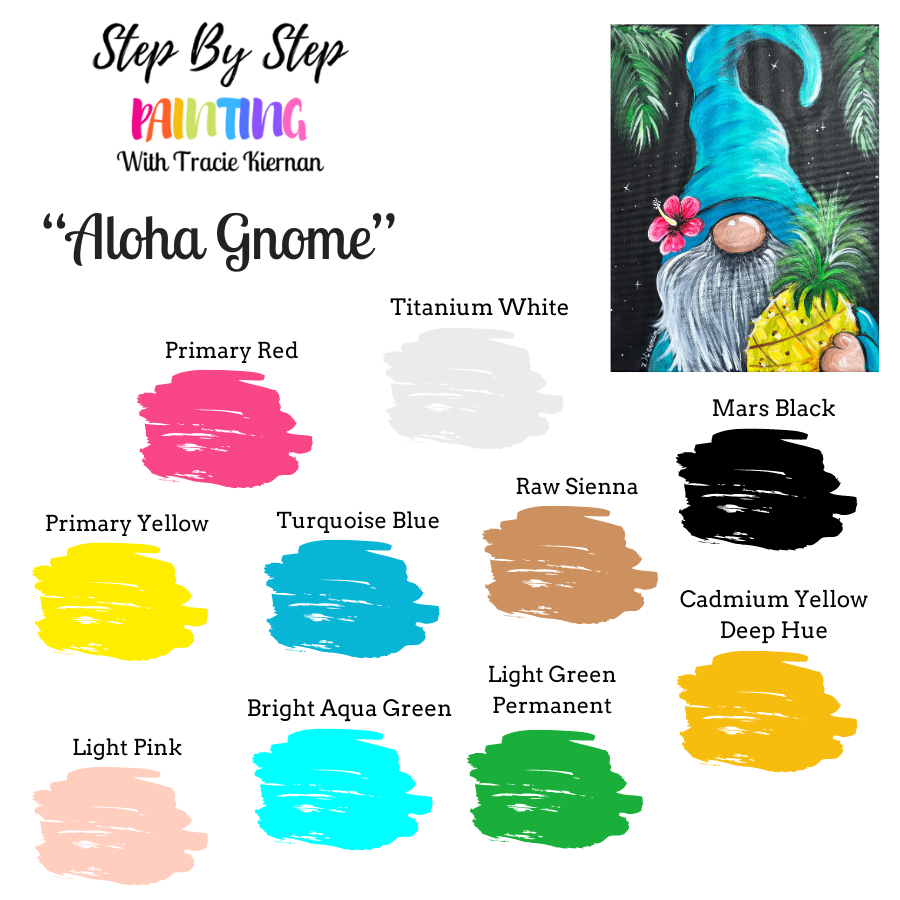
Color Palette:
I used Liquitex BASICS paint! You are welcome to use a different brand if you don’t have the BASICS. Use the color chart below to help you match colors!
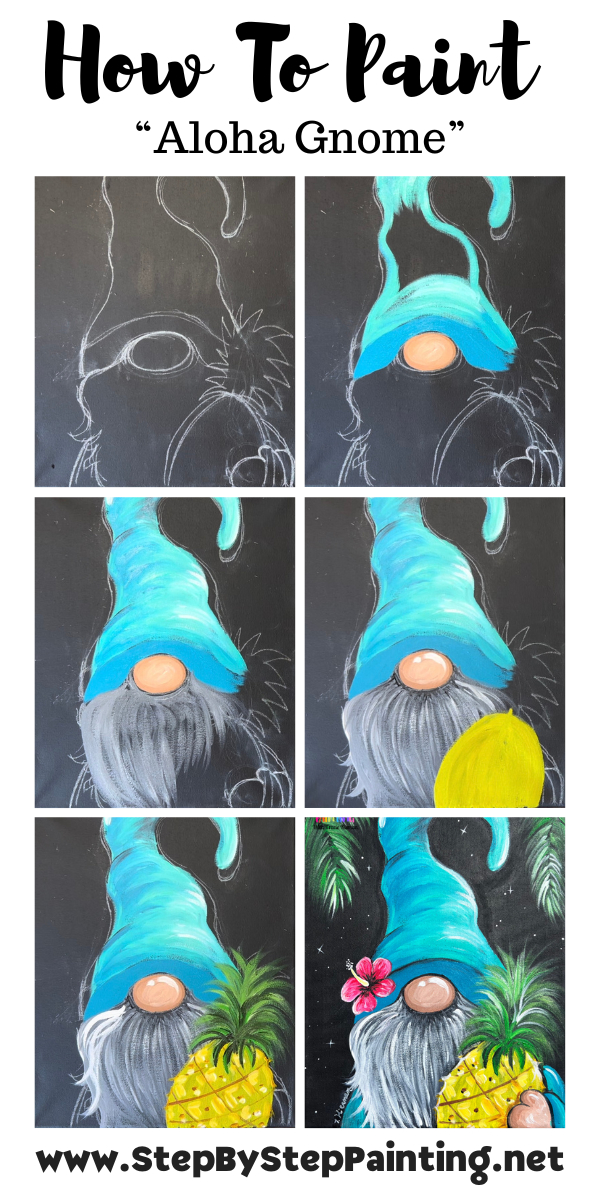
Directions At A Glance:
Traceables
Optional! The traceable is not used in the demonstration of this lesson. If you are tracing this on a black canvas, I recommend using white graphite paper or rubbing white chalk on the back of the printable.

Video
Step By Step Instructions:
1. Paint A Canvas Black
Use either a “mess up” painting or a plain white canvas. Paint one layer of “mars black” paint (or any black you have). For this canvas, I used a 3/4″ flat brush and one layer. You can even slightly water your black down!
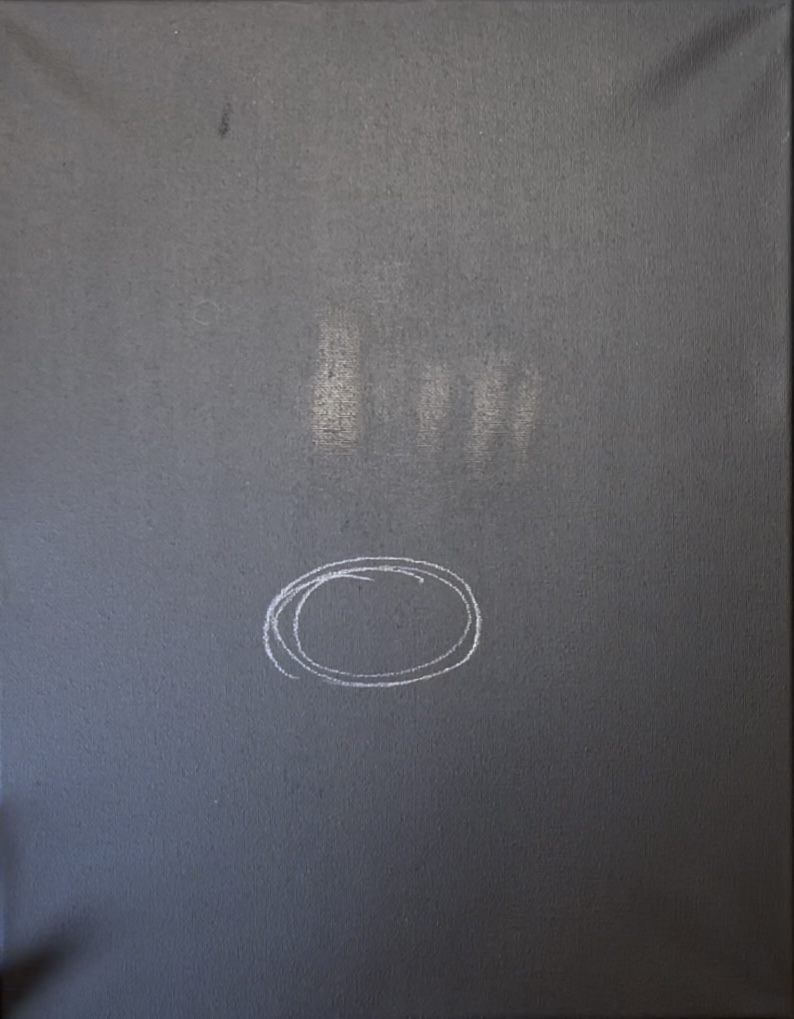
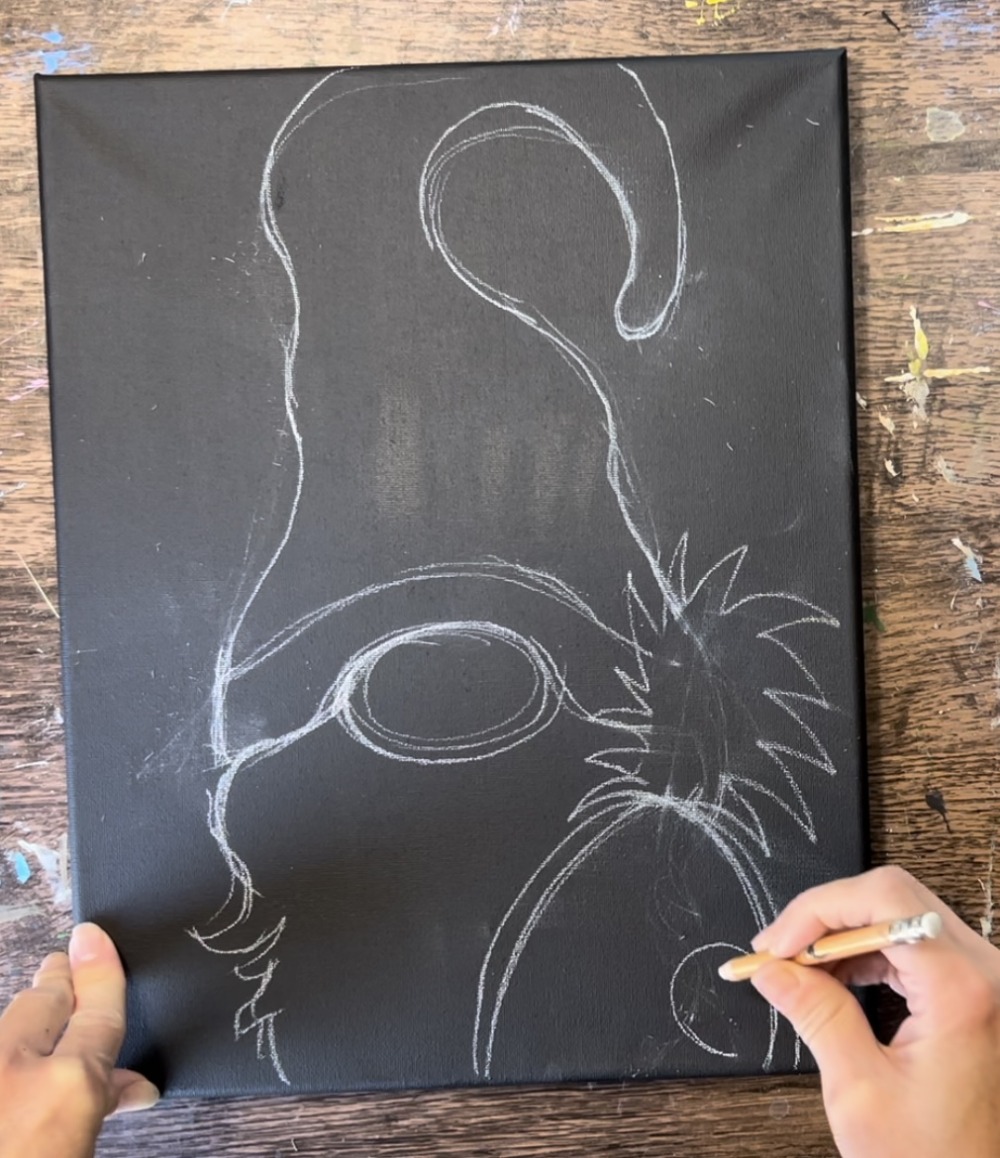
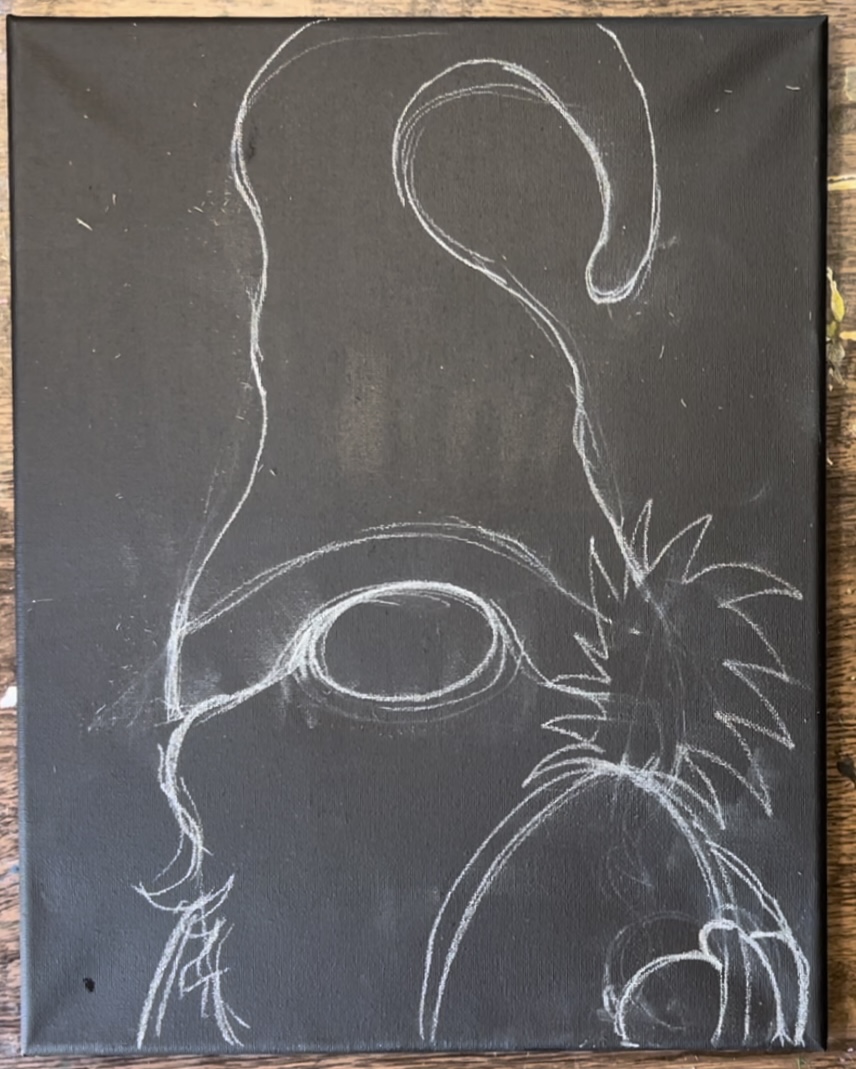
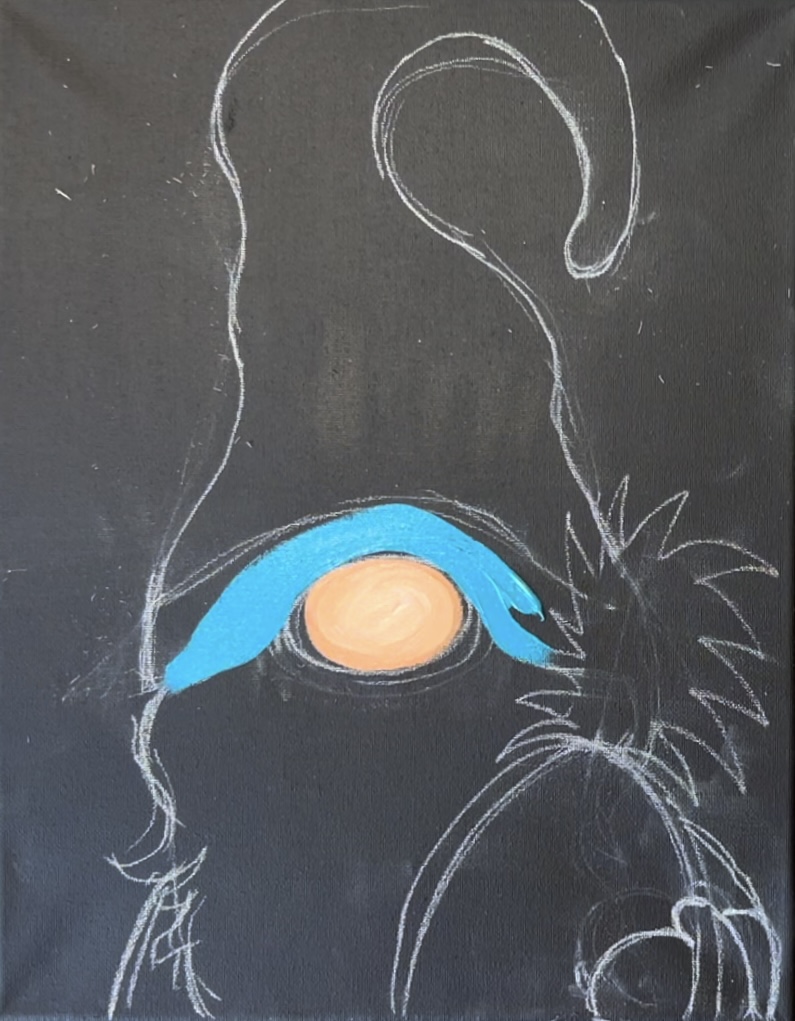
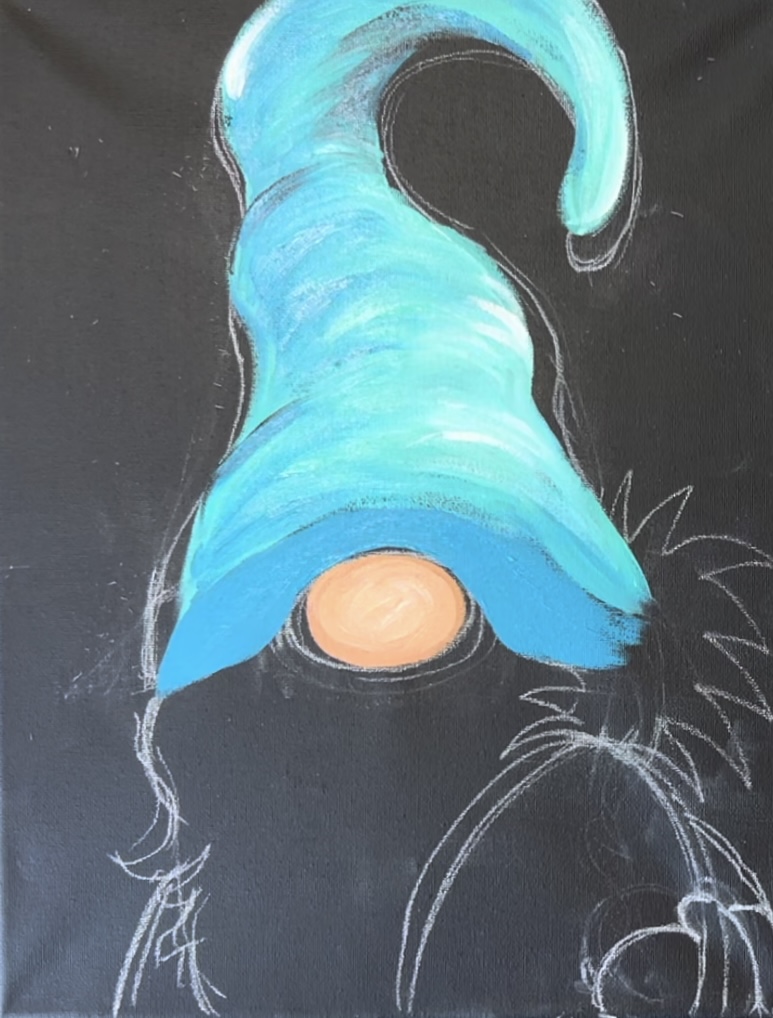
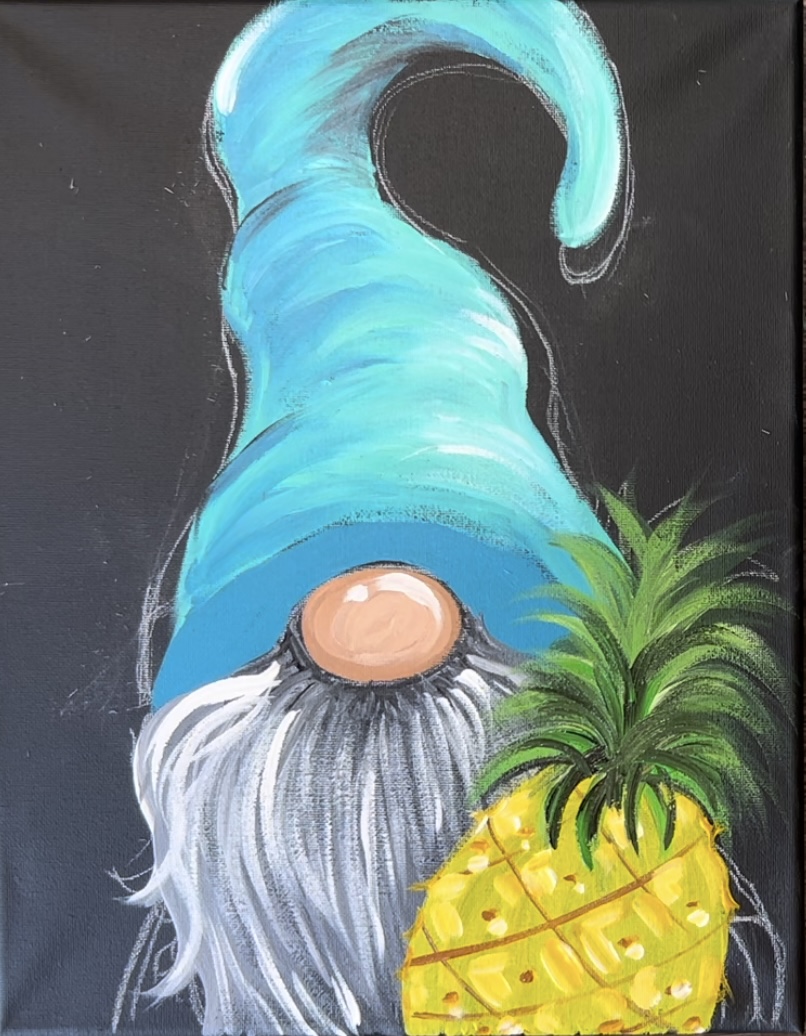
2. Draw Gnome
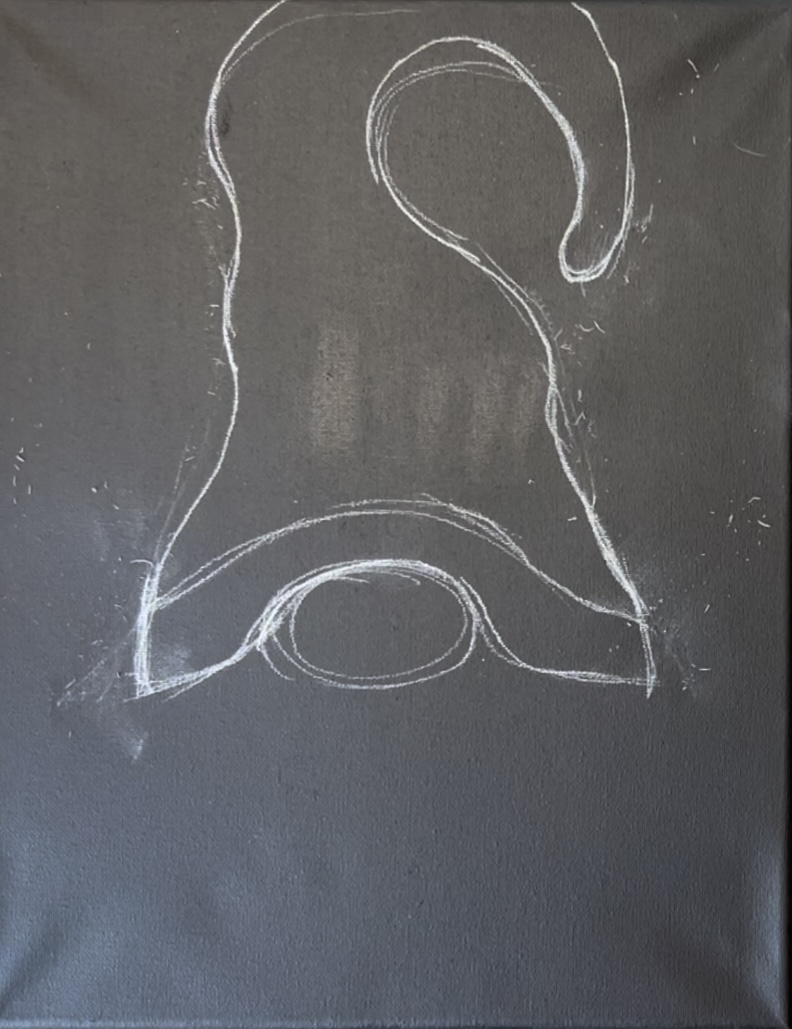
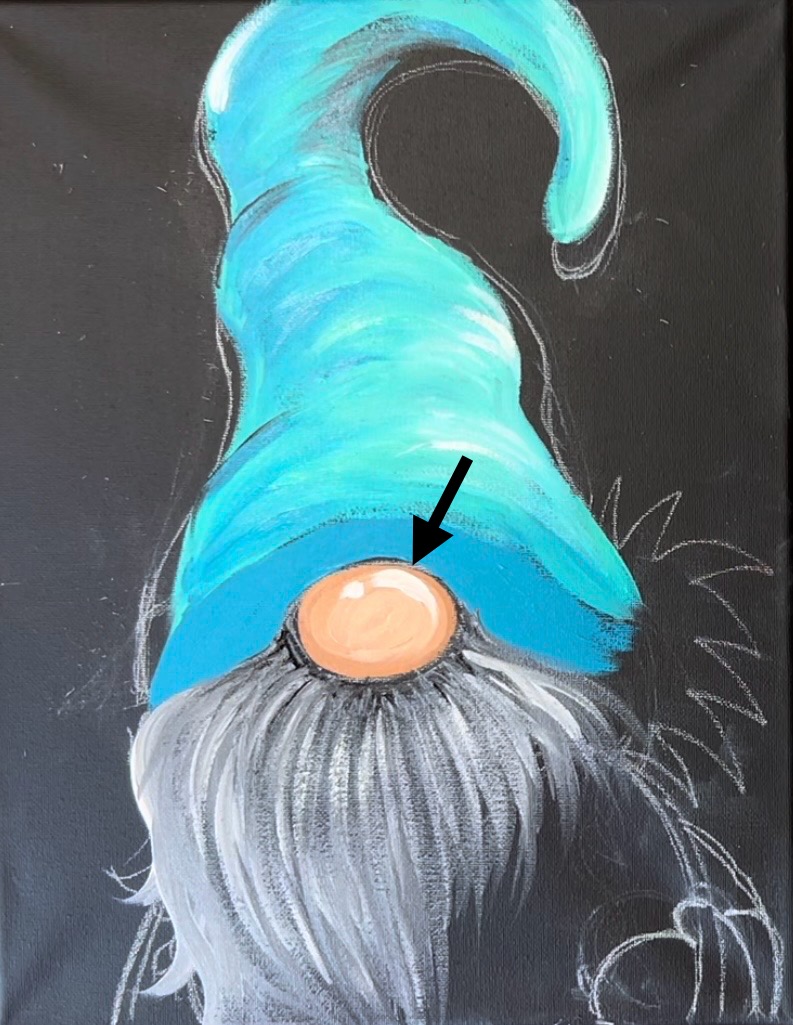
Use a white chalk pencil or a white piece of chalk. Just below the halfway point of the canvas, draw an oval for the gnome’s nose. This oval was drawn 4.75″ from the bottom edge of the canvas. The height of this oval is about 1.5″ and the width is about 2.25″.
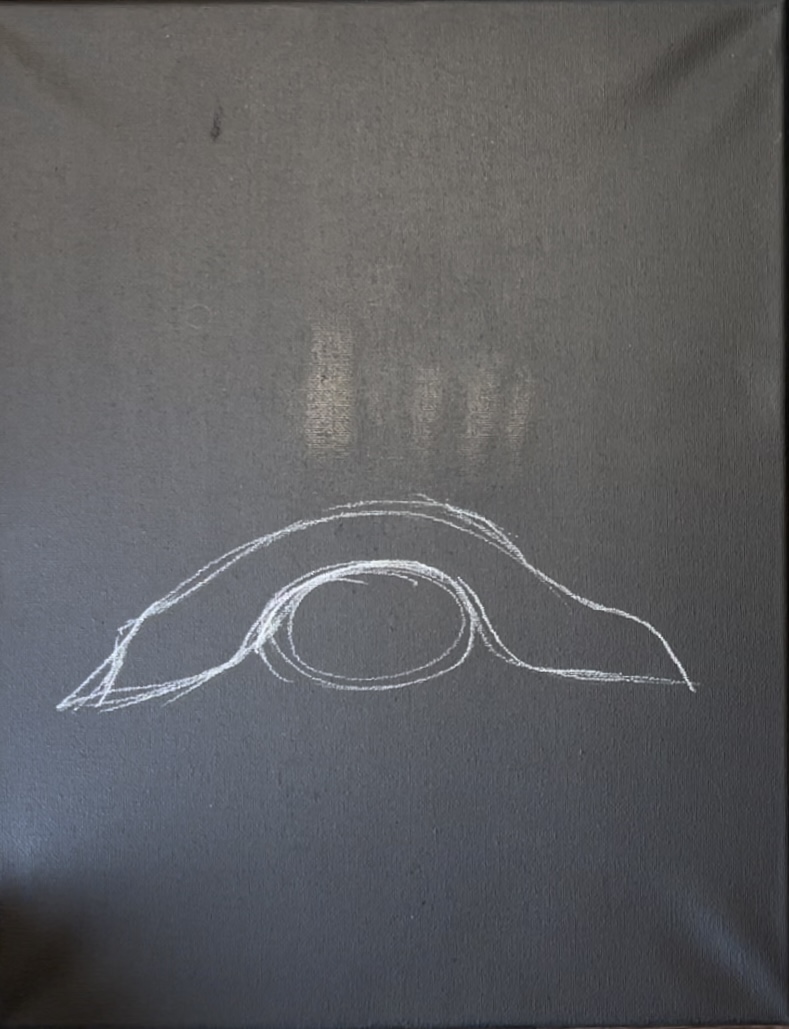
Draw the bottom edge of the hat. This is a curved line that drapes over the top of the gnome’s nose. The width of this hat is about 7″ wide.
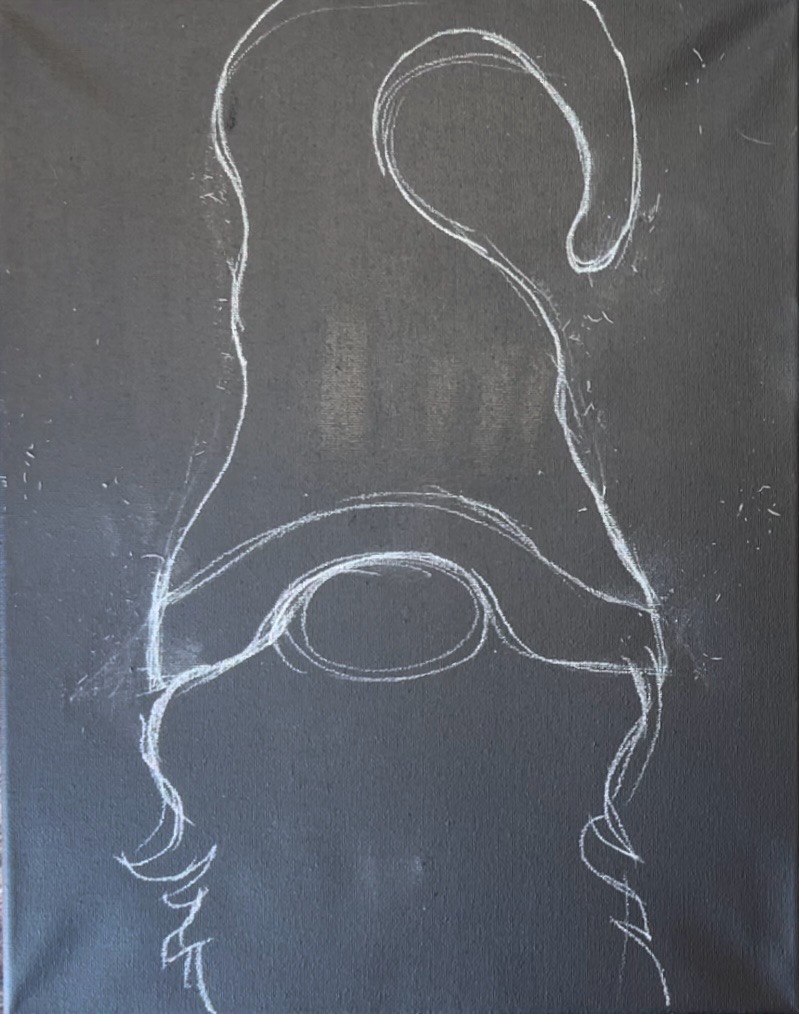
Then draw the hat. Draw two wavy lines on each side that extend to the top edge of the canvas. Then the hat goes narrow to a small curve on the tip of the hat.
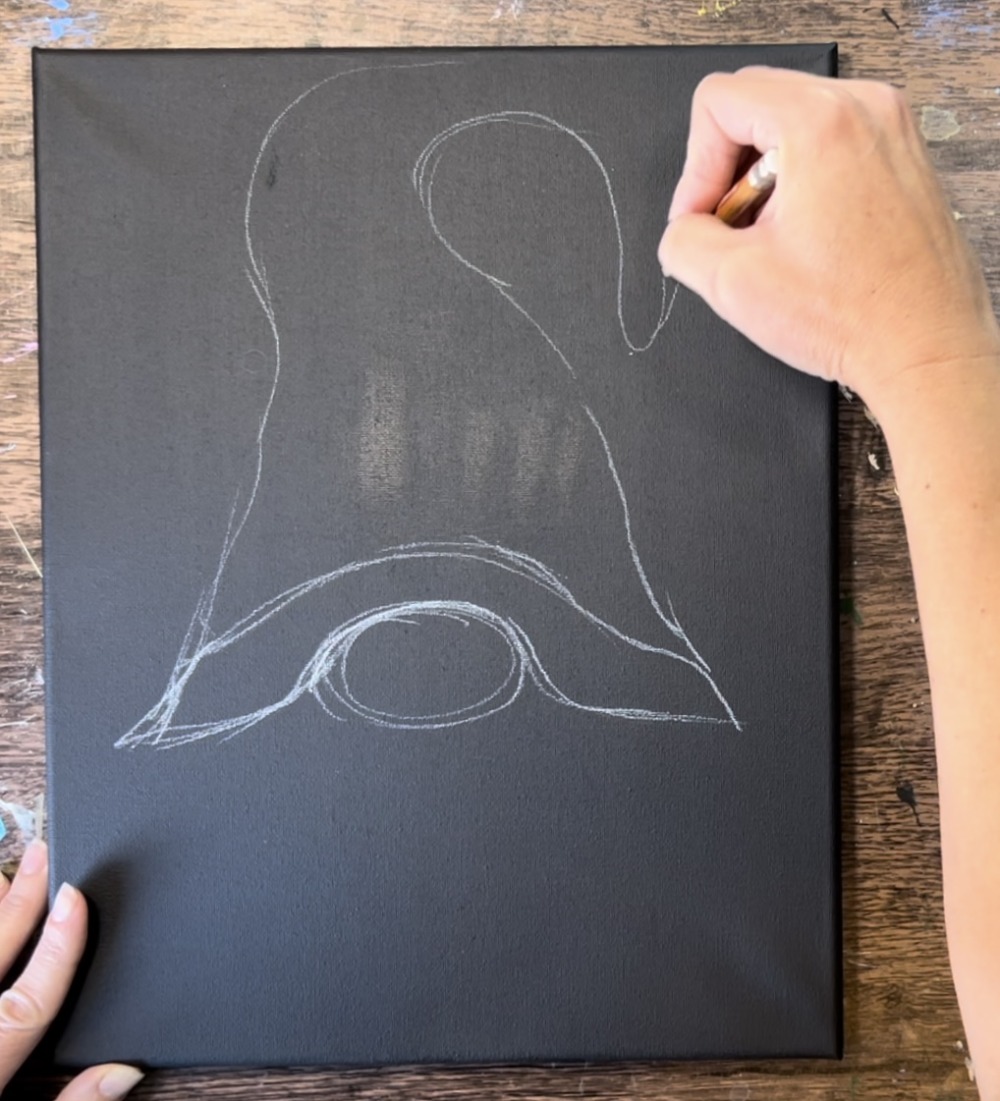
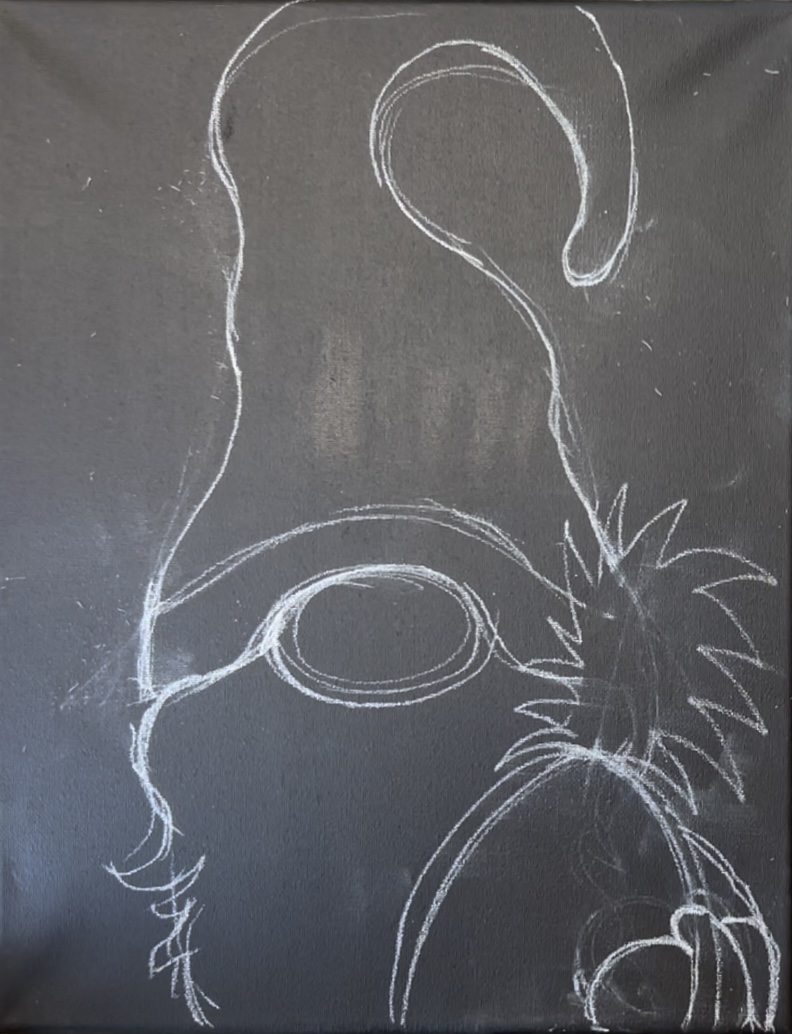
If needed, you can erase your chalk lines. I adjusted my hat to be a bit more “wavy” on each side.
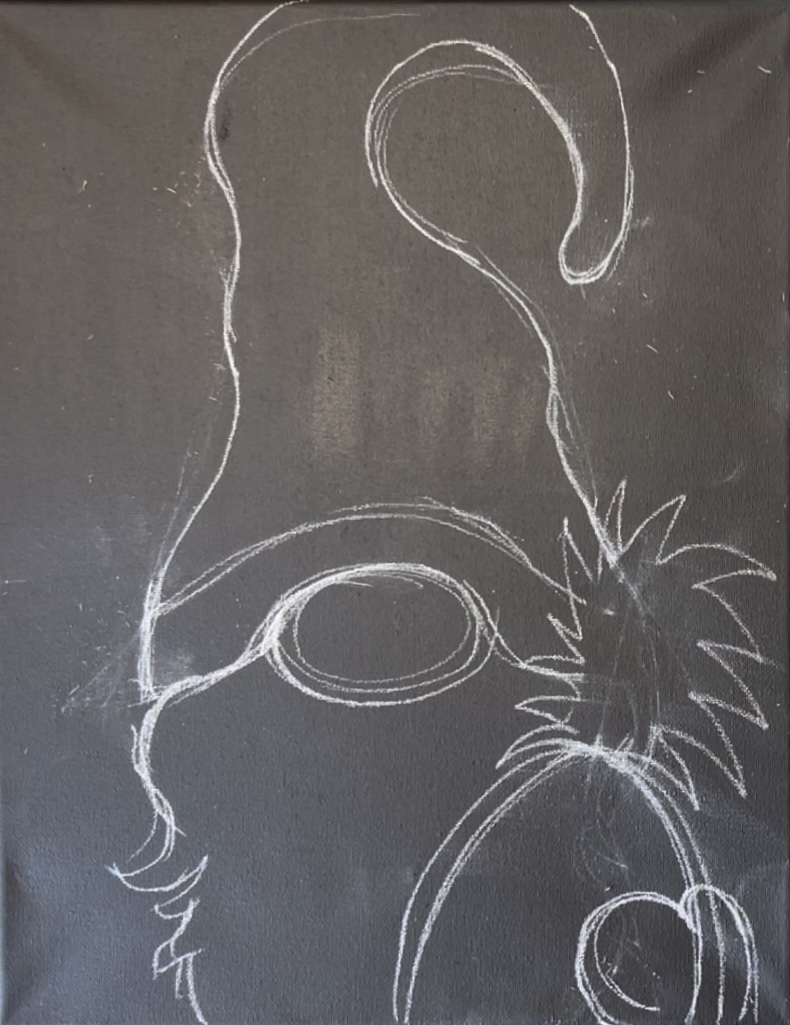
Draw the beard. You can do a simple curved line for each side of the beard. You can also draw some “curls” and “texture” on the side edges of the beard. Keep in mind that the right side of the beard will be covered with a pineapple.
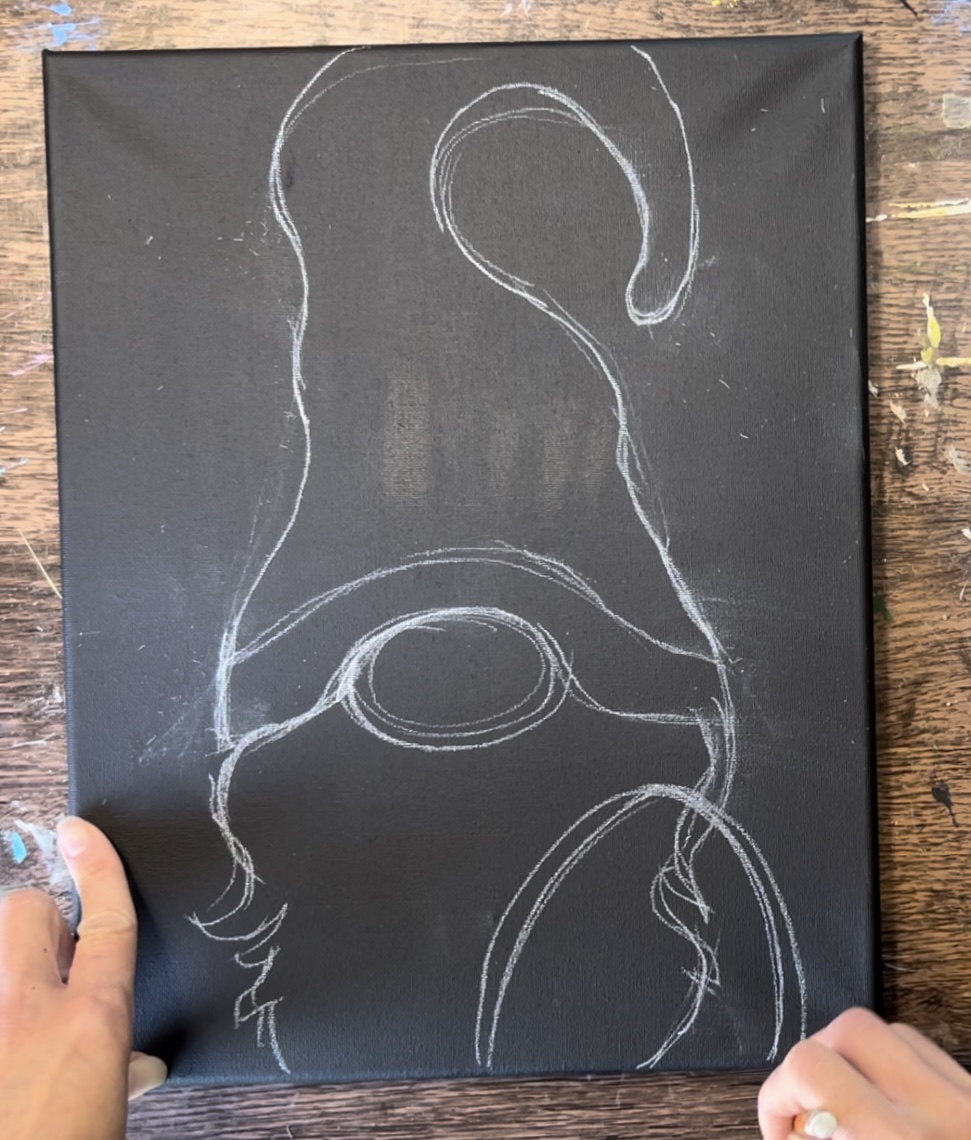
Draw a large oval for the pineapple on the right side of the beard. Draw it so that it is going more at an angle (so the crown can be at an angle and not cover the nose).
Draw the crown of the pineapple as a bundle of pointed leaves that curve downwards on each side.
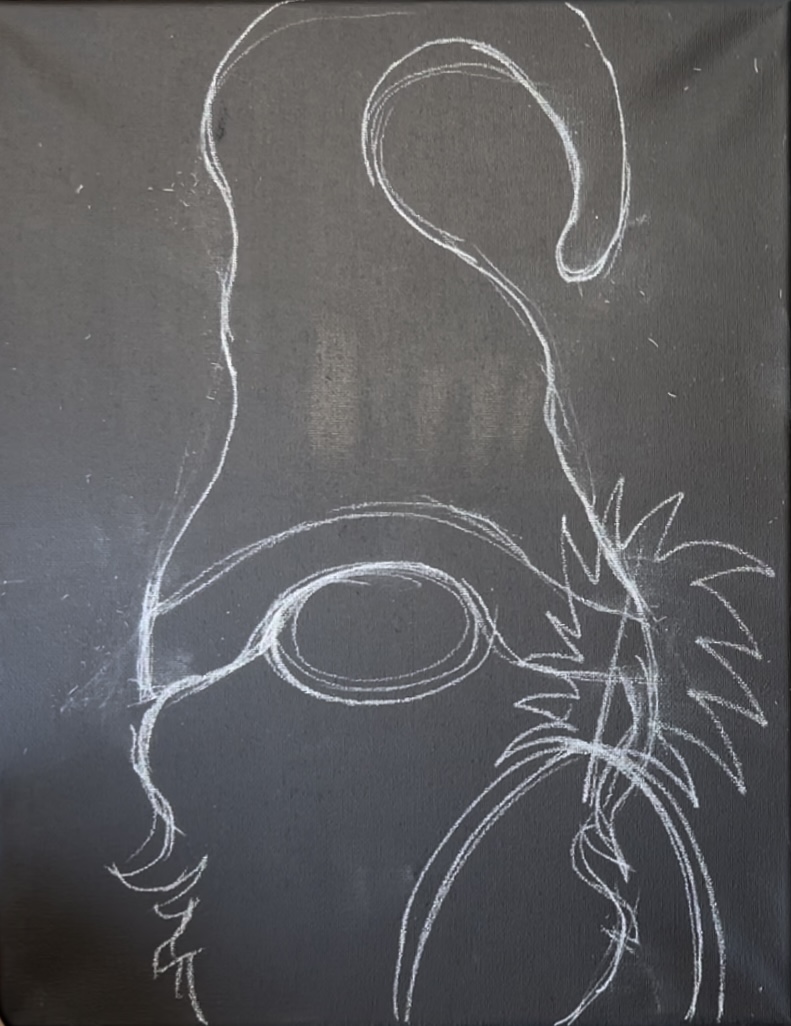
Erase the interior of the pineapple.
Draw the “mitten hand” holding the pineapple. The thumb is pointing upwards. Then draw a “sleeve cuff” and “sleeve” that curves around the right side of the pineapple.
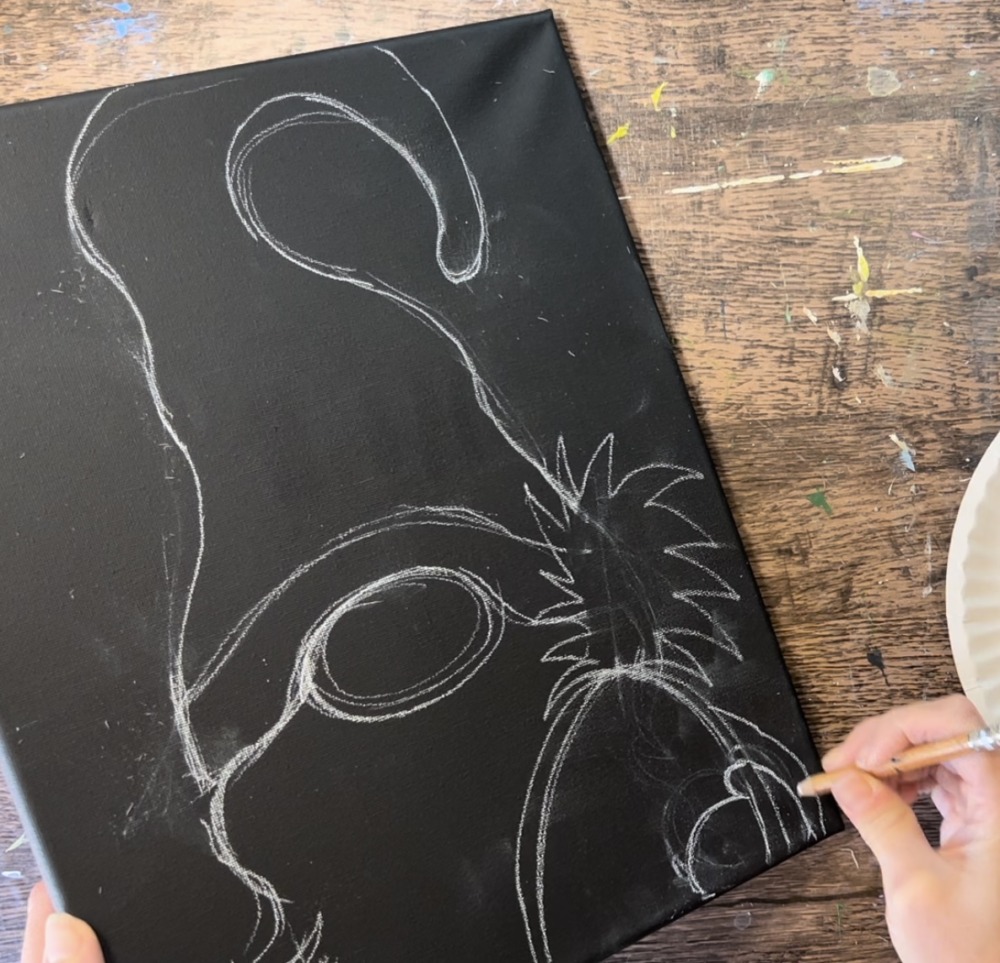
Draw a simple sleeve on the left side of the beard. The nice thing about this gnome painting is that it is just a portrait! We don’t need to draw the rest of the robe and shoes.
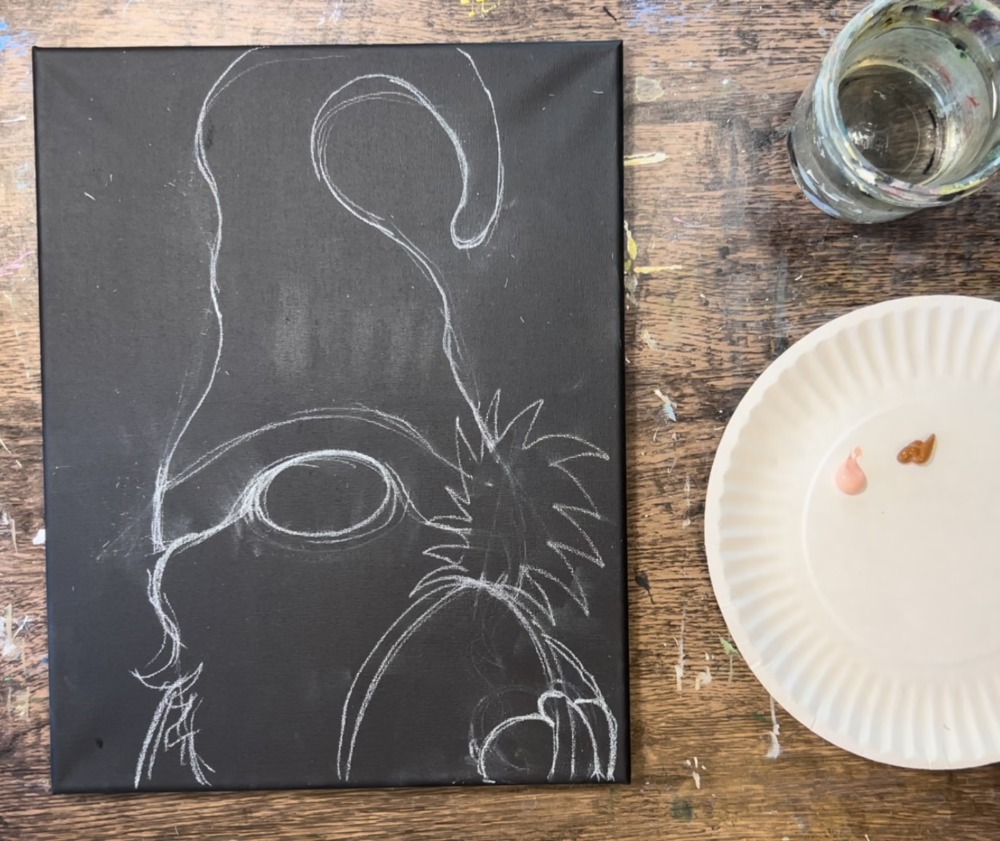
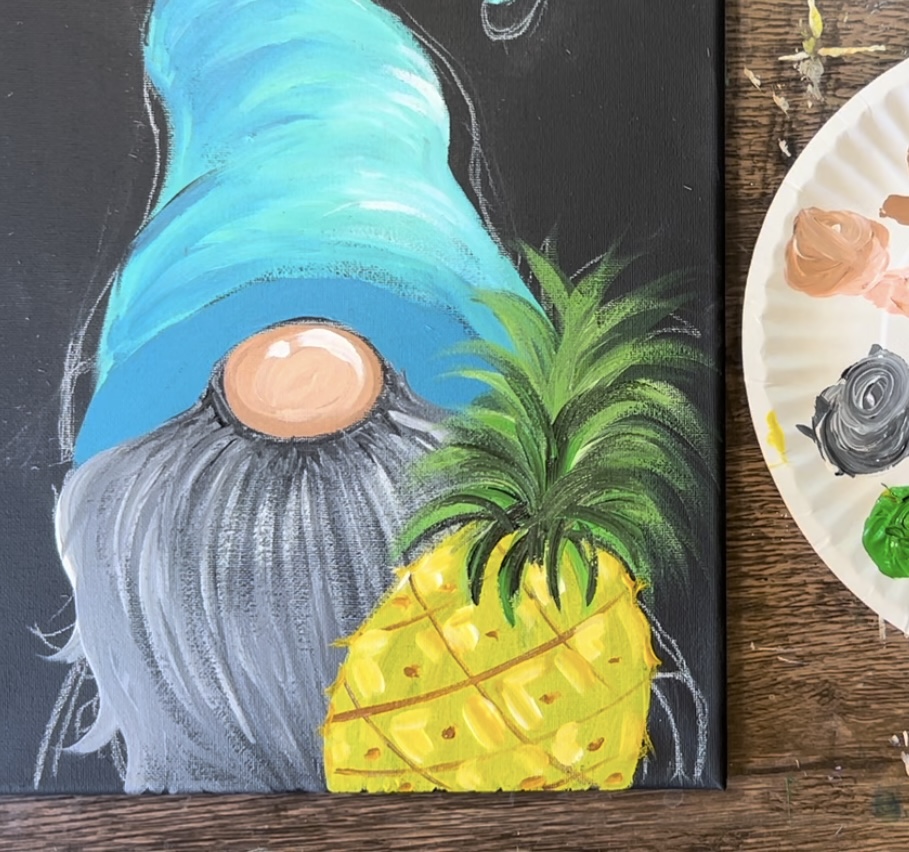
3. Paint Nose
Load your paint palette with the two colors: light pink and raw sienna. Use a #4 round brush and mix both of those colors together (equal amounts).
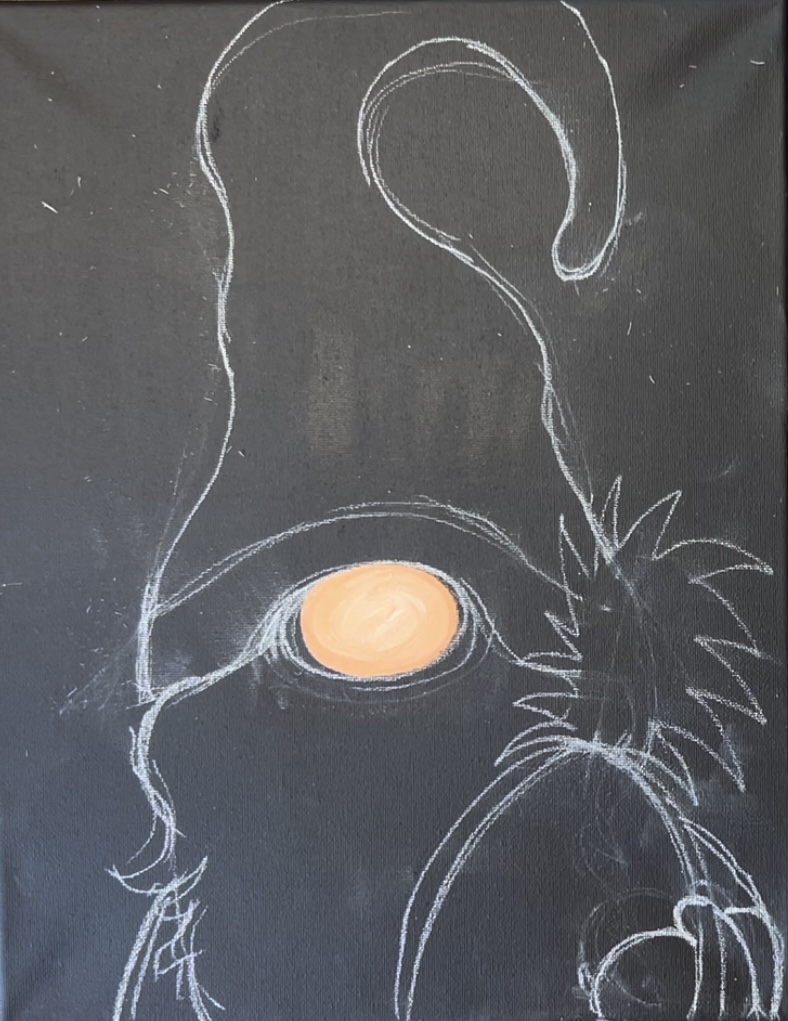
Paint the nose a solid coat of that color.
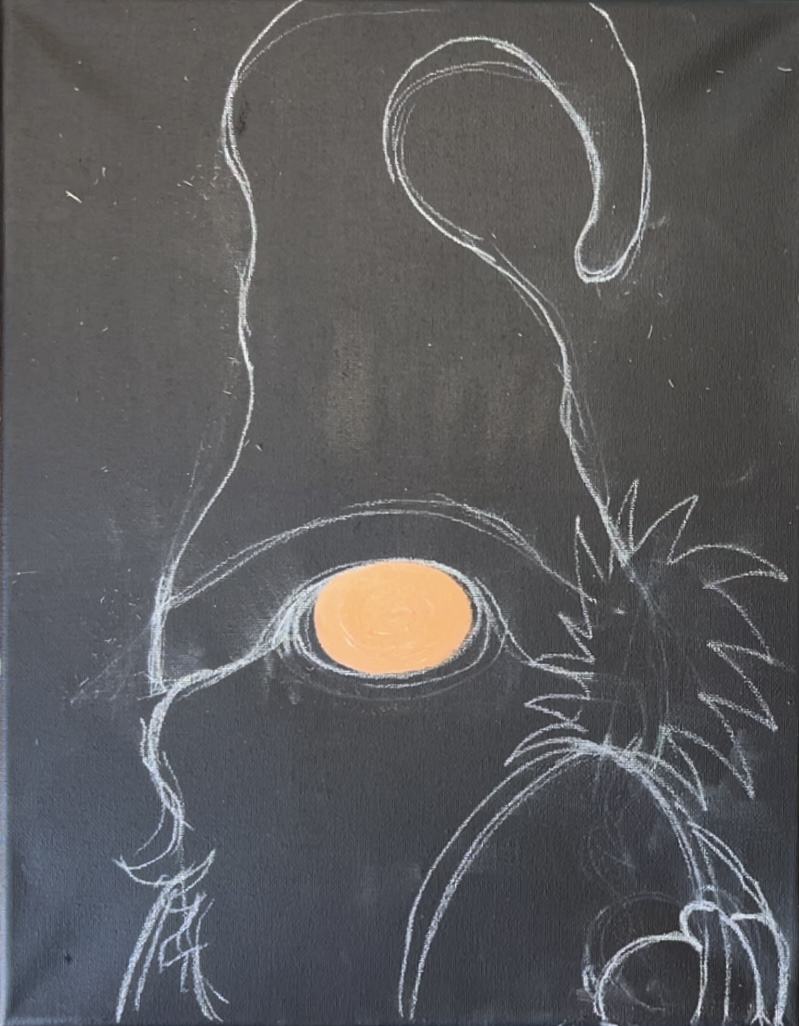
Load your paint palette with “titanium white”. Add a little white to your brush and then paint a lighter color in the center of your oval and blend it. Leave the outer part of the oval darker.
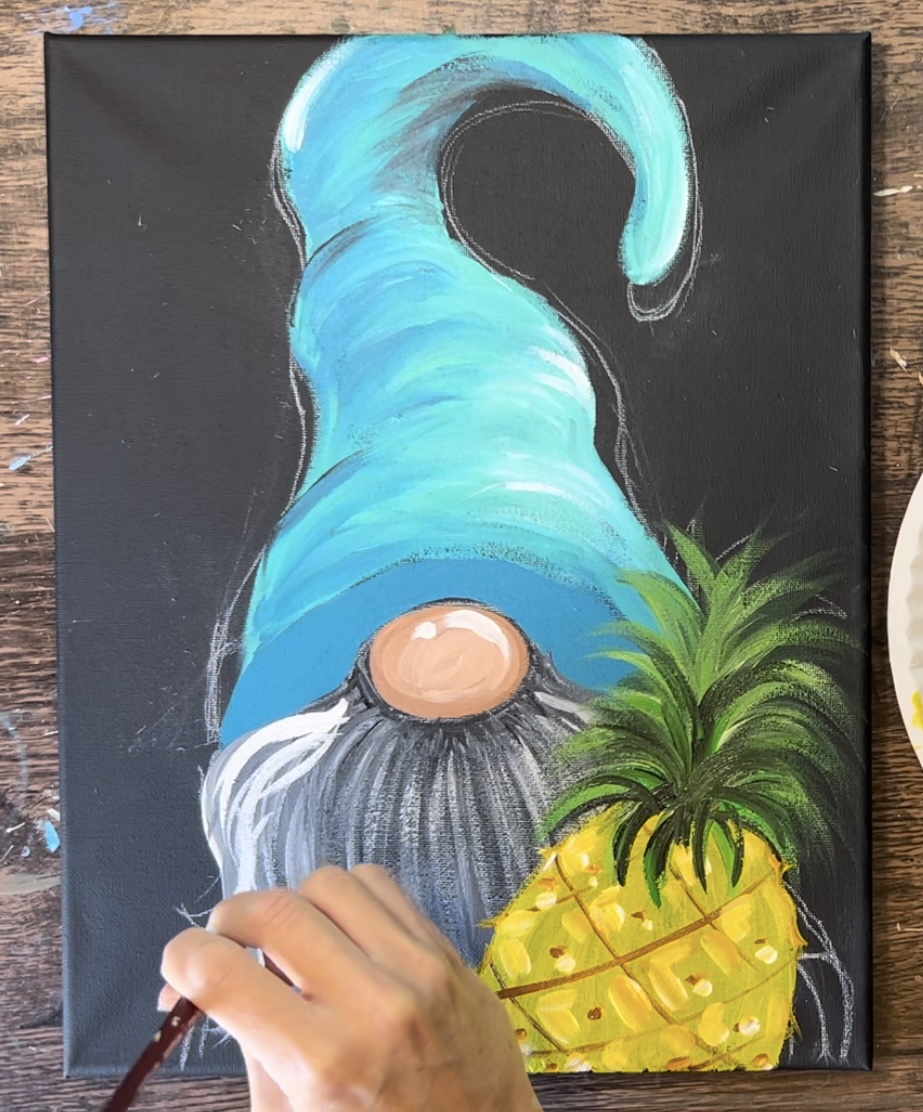
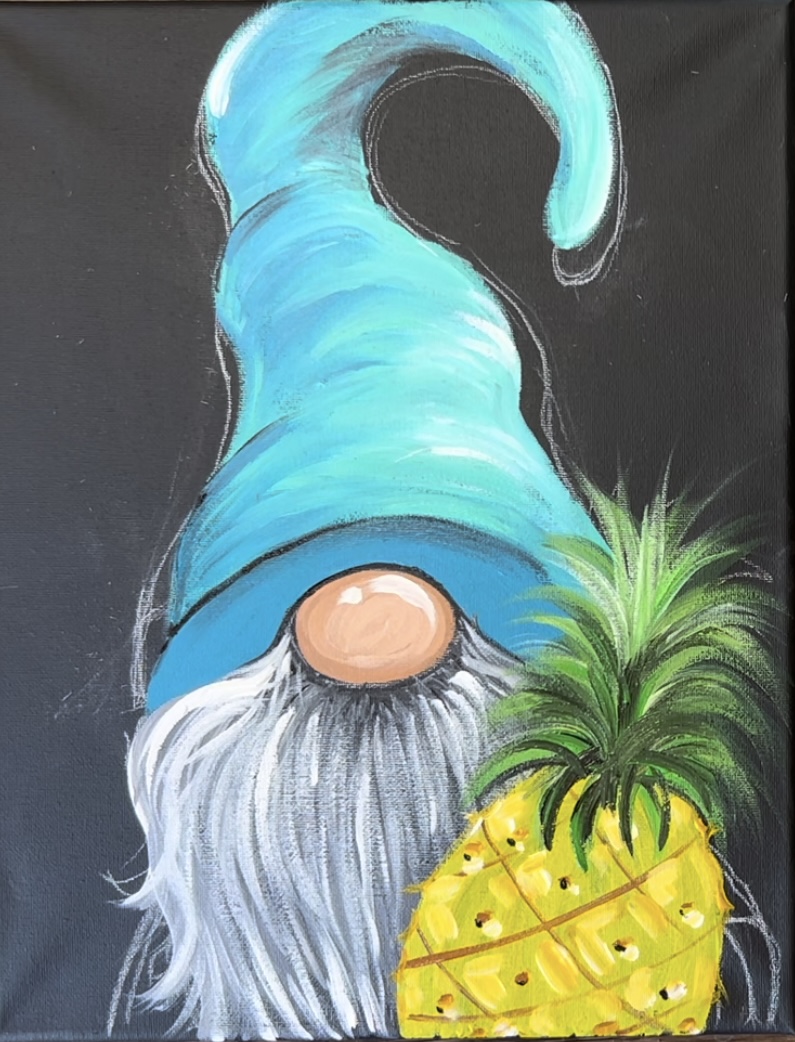
4. Paint Hat
Load your paint palette with “turquoise blue” (dark teal) and “bright aqua green” (light turquoise). Additionally, you’ll need “mars black” and “titanium white” to create highlight/ shadowing.
Use the #4 round brush and “turquoise” to paint the bottom edging of the hat.
Wipe the brush. Load it into the “bright aqua green” (the lighter turquoise color). Paint the hat. Start by outlining the shape of the hat.
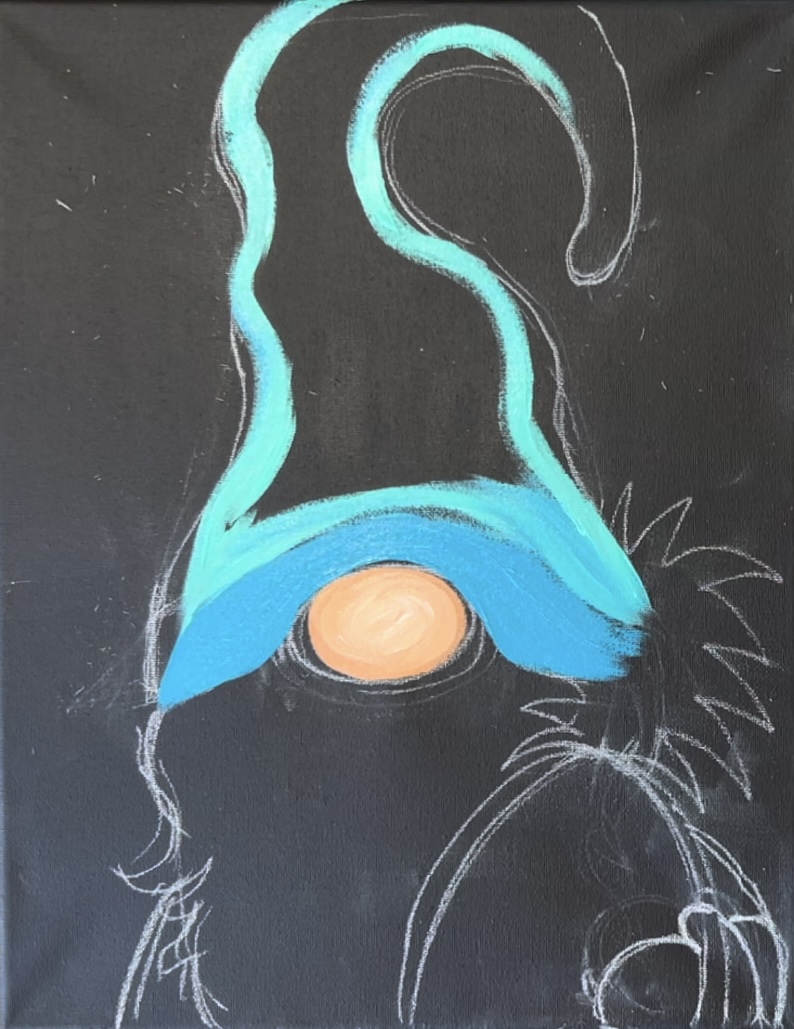
Then fill the hat in with curved paint strokes (going in a horizontal but curved direction). Add little bits of the darker turquoise to your brush and blend it on the left. Then add a little bit of titanium white and blend that on the right side of the hat.
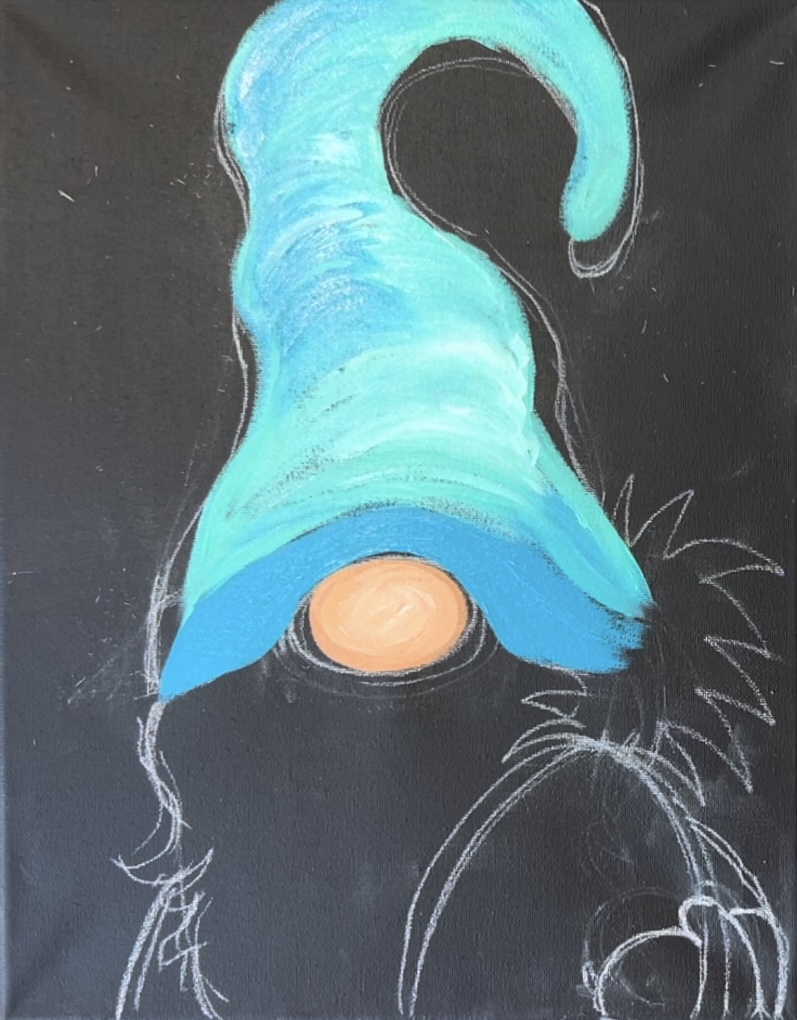
Rinse the brush. Load “mars black” onto your paint palette. Then use the #4 round brush to paint dark wrinkle lines on the hat. Paint black mixed with turquoise (to make a darker shadowy color) on the part of the hat that folds over.
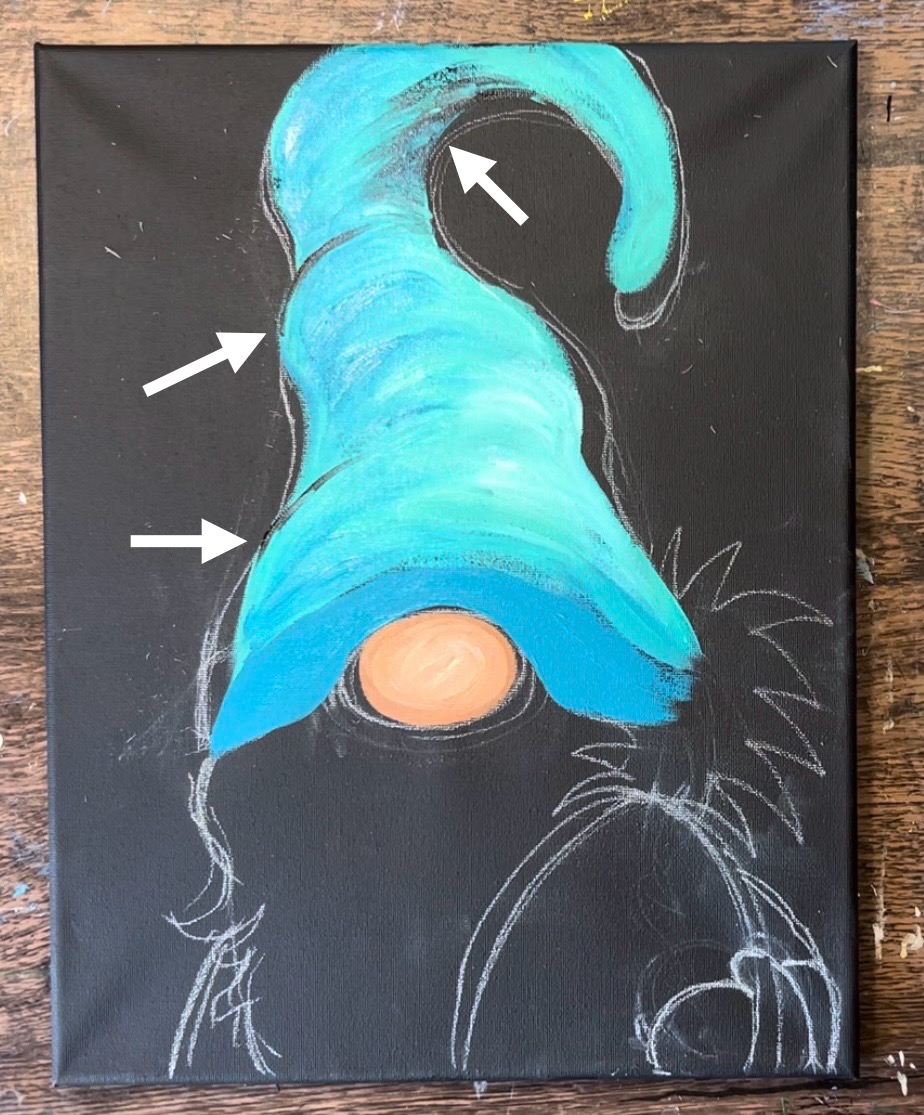
Then blend more of that “dark turquoise” under the black wrinkle lines.
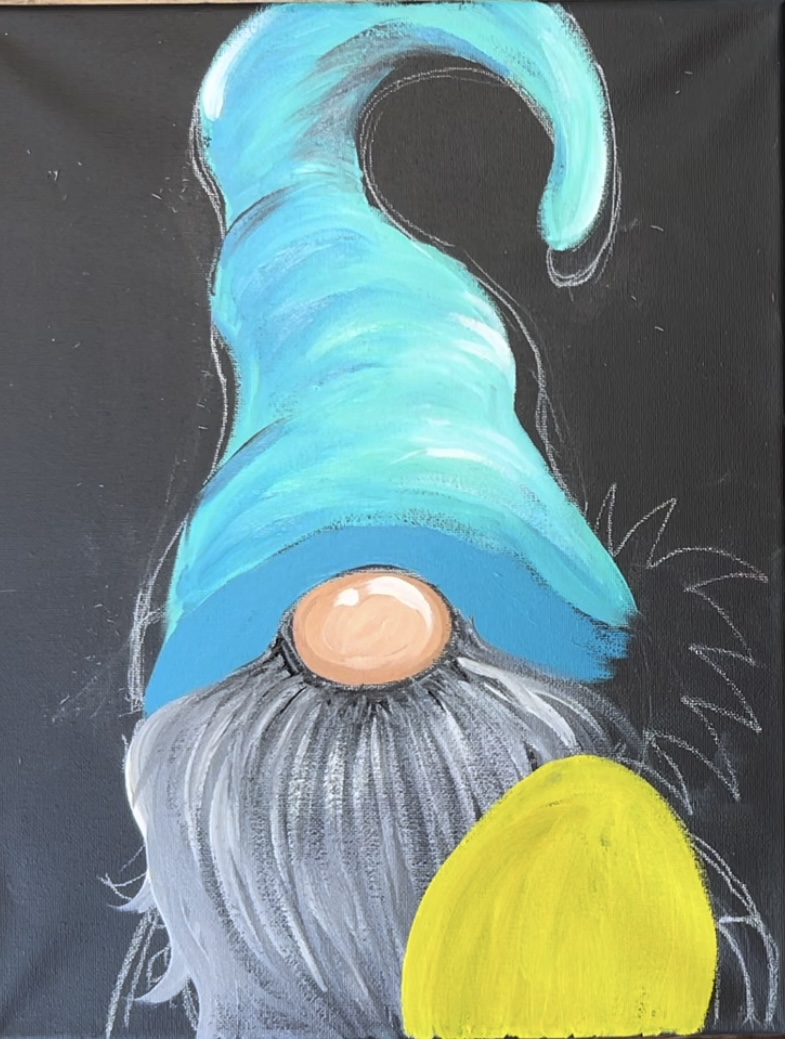
5. Paint Beard
Mix equal amounts of “mars black” and “titanium white” together on your paint palette. Use your #8 round brush to paint the beard. Leave a lot of the black background showing through for the darker strands/ shadowing of the beard. Paint the strokes under the center of the nose more vertical, the strokes on the right will be curved and the strokes on the left will also be curved the opposite direction.
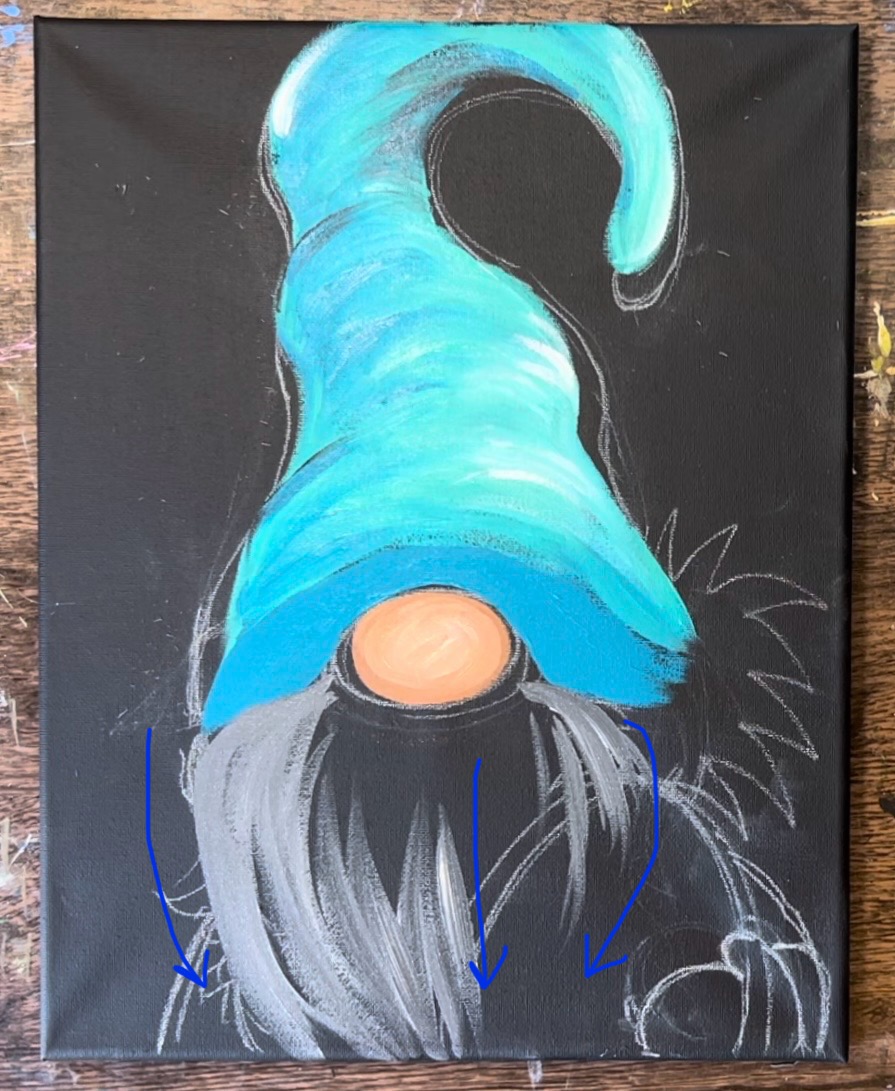
You can paint over the pineapple a little bit don’t loose the shape of the pineapple.
Load your brush in white (but don’t rinse the gray off). Then add another layer of white beard texture over the first layer but don’t cover all of the first layer and leave some of the black from the background still showing through. Make sure you still go in the correct direction with your paint strokes.
6. Paint Highlight On Nose
Use a #4 round brush and titanium white to paint a curved mark on the upper right side of the nose. Then paint a small circular mark to the left of it.
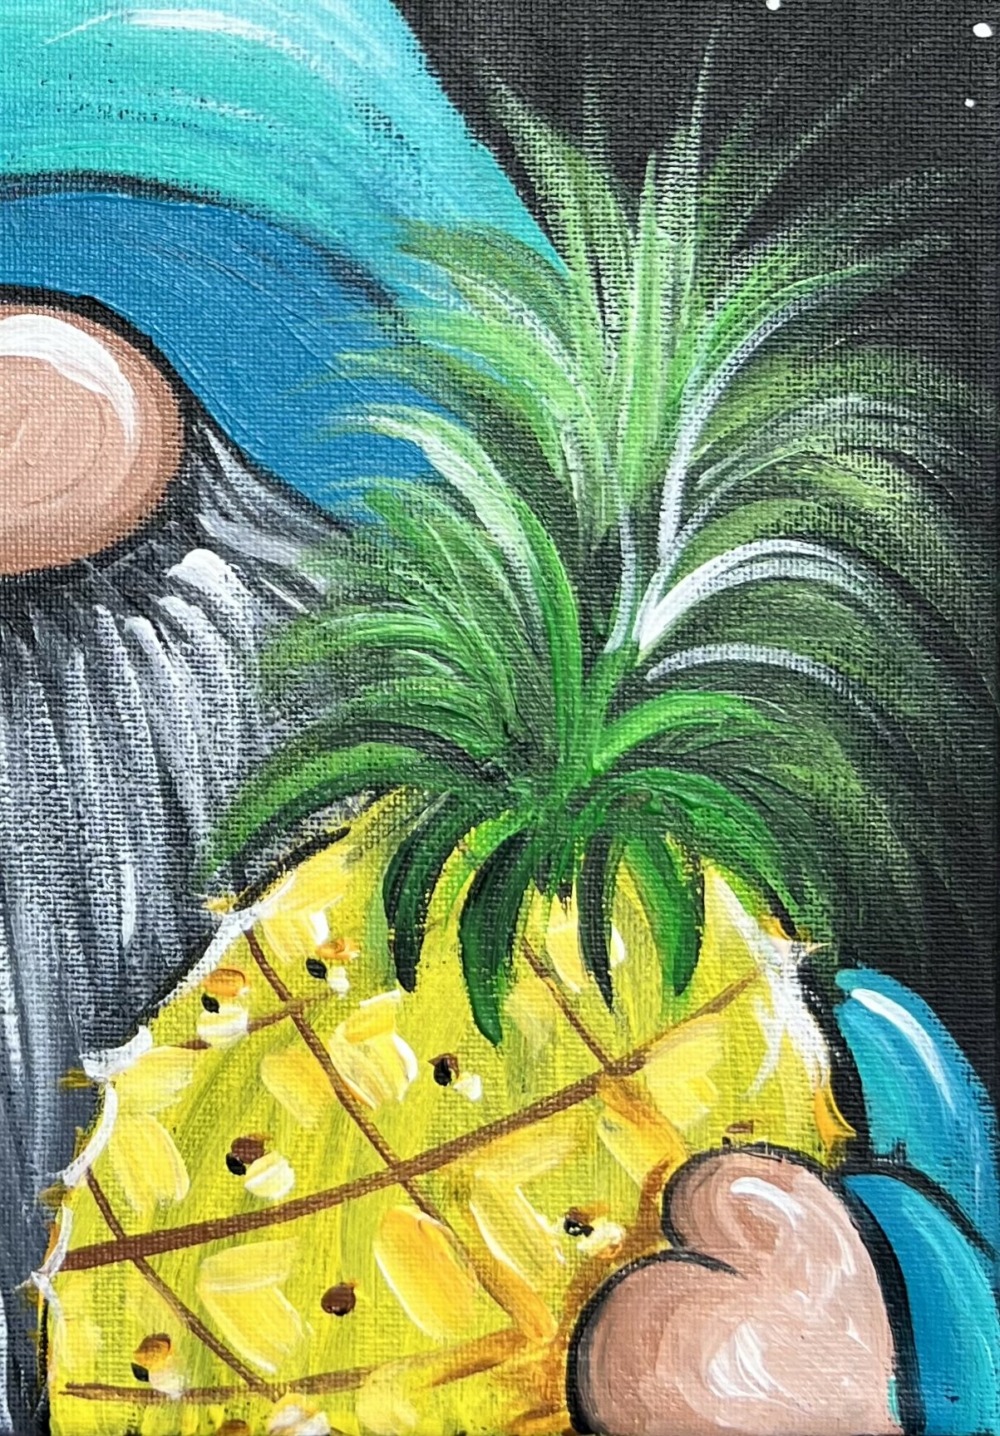
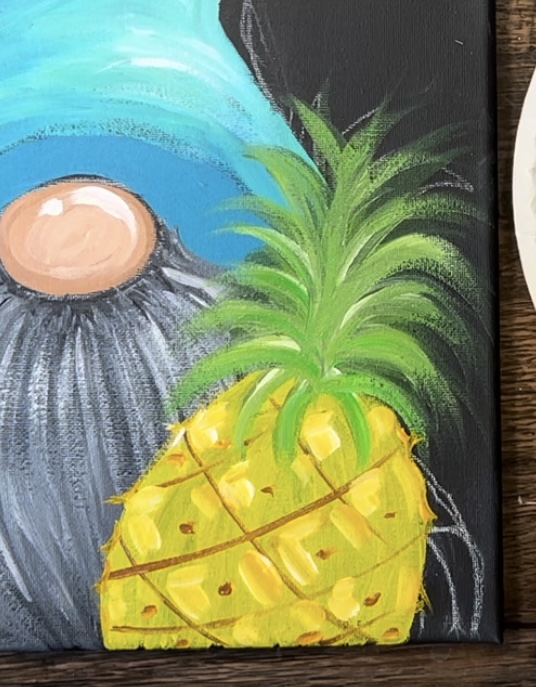
7. Paint Pineapple
Load your paint palette with “primary yellow”. Mix a small amount of “titanium white” into the yellow to lighten the yellow. Then use a #4 round brush to paint the bottom portion of the pineapple a solid coat of that color. If you still have background color showing through, that is okay!
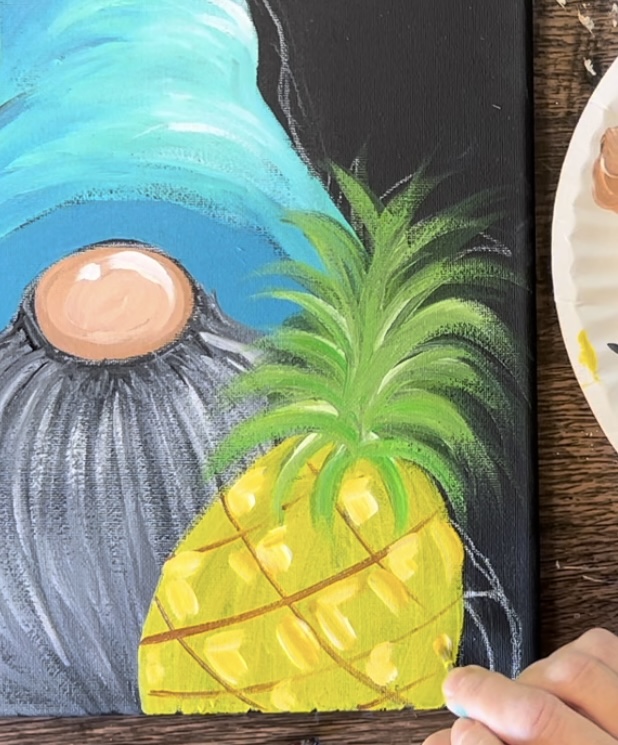
Load your paint palette with “light green permanent”. Then use the #8 round brush to paint the crown of the pineapple. Start on the bottom (top of the yellow). Paint curved strokes that go up and curve/ point downwards. Form the shape of the crown with these curved leaf paint strokes.
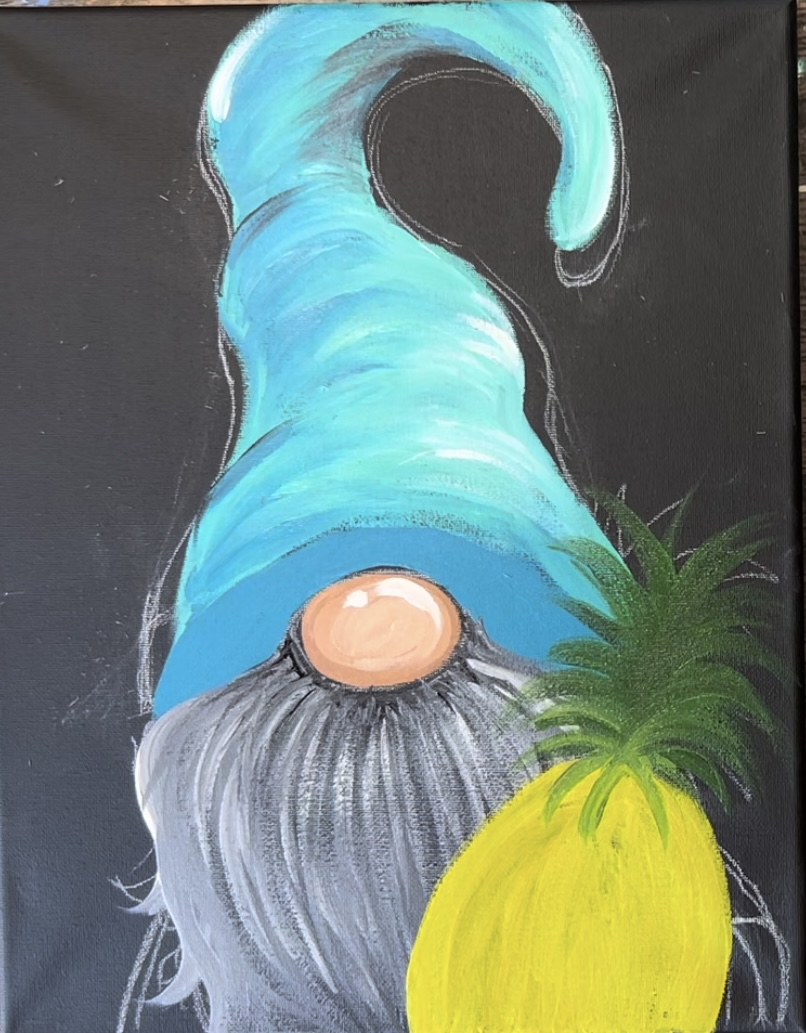
Next, mix yellow and white into the green to make a lighter green. Go over the pineapple crown with another layer of lighter green but don’t cover all of the first dark green layer.
Next, add a small amount of “titanium white” into the green color to make an even lighter green. Add this third layer on top of the crown but don’t cover all of the color from the first two layers.

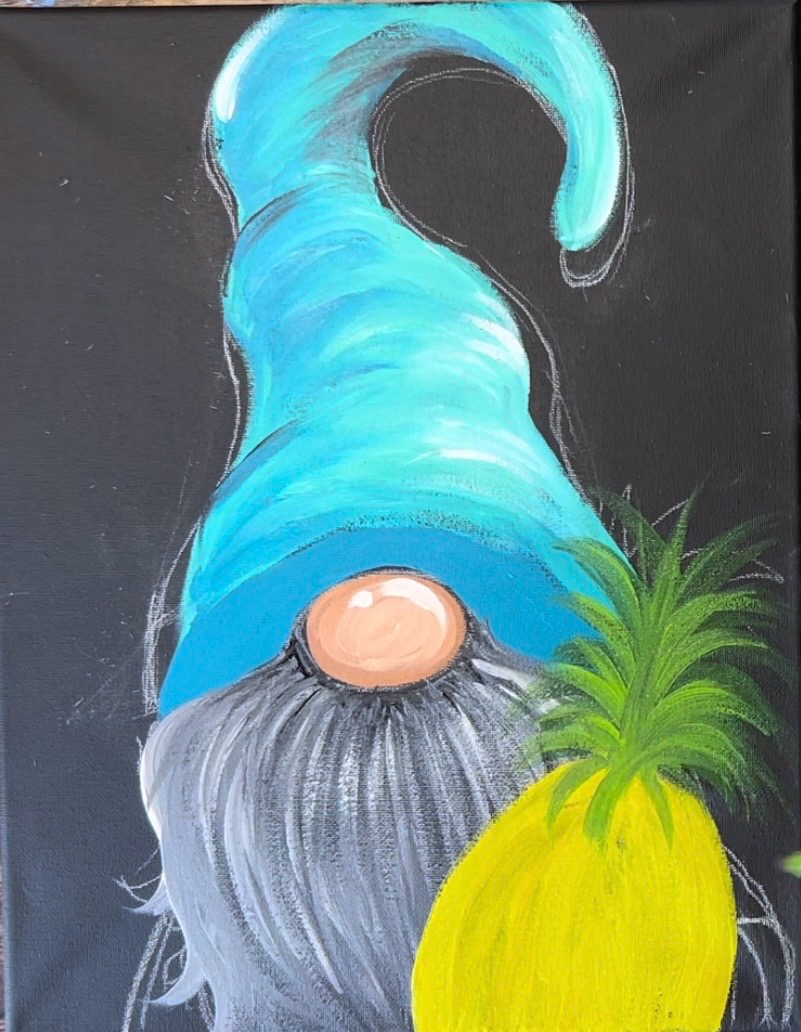
Rinse the #8 round brush. Then load it into “raw sienna”. Use the end of the brush to paint thin lines that curve and cross each other on the pineapple. I did a set of three lines curving one direction and a set of four lines curving the opposite direction.
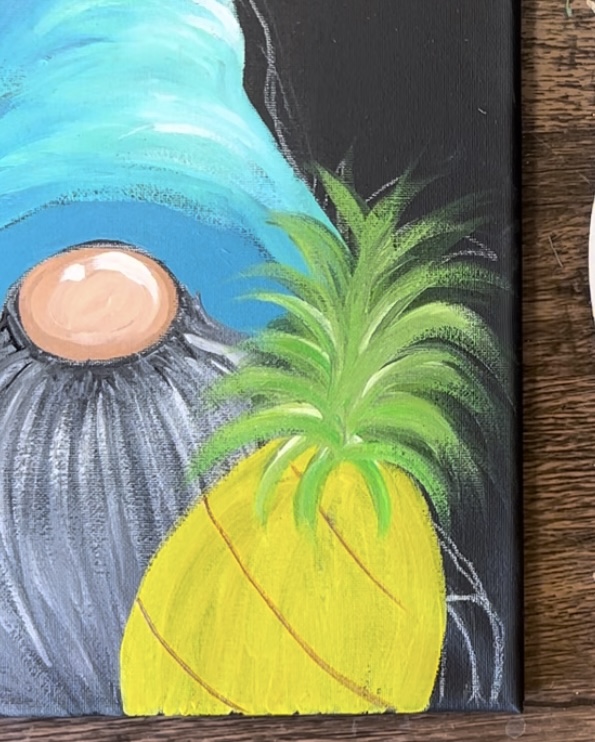
Then paint texture on the pineapple. Load your palette with “cadmium yellow deep hue”. Use the #4 round brush. Load it into “cadmium yellow deep hue” and “titanium white”. Paint a small “corner” paint strokes on the left side of each of the diamond shapes on the pineapple.
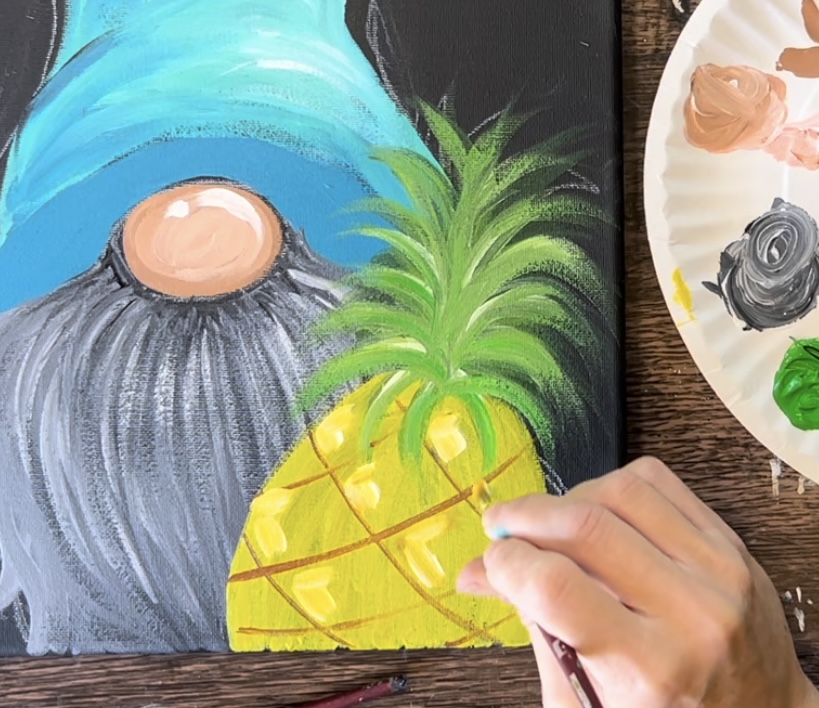
Then paint a single diagonal line on the right side of each of the diamond shapes on the pineapple. These paint strokes are thick and are done very loosely.
Use the #8 round brush (the point of the brush) and paint a small brown dot in the centers of each of the diamonds with “raw sienna”.
Load the #8 round brush into “cadmium yellow deep hue” and paint little pointed texture pieces on the sides of the pineapple.
Then use the #4 round brush and “titanium white” and “cadmium yellow deep hue” to paint a little white dot next to each of the brown dots on the pineapple.
Note: I also went back over the pineapple crown with a darker layer of green by using the #8 round brush and a little bit of black mixed with the light green.
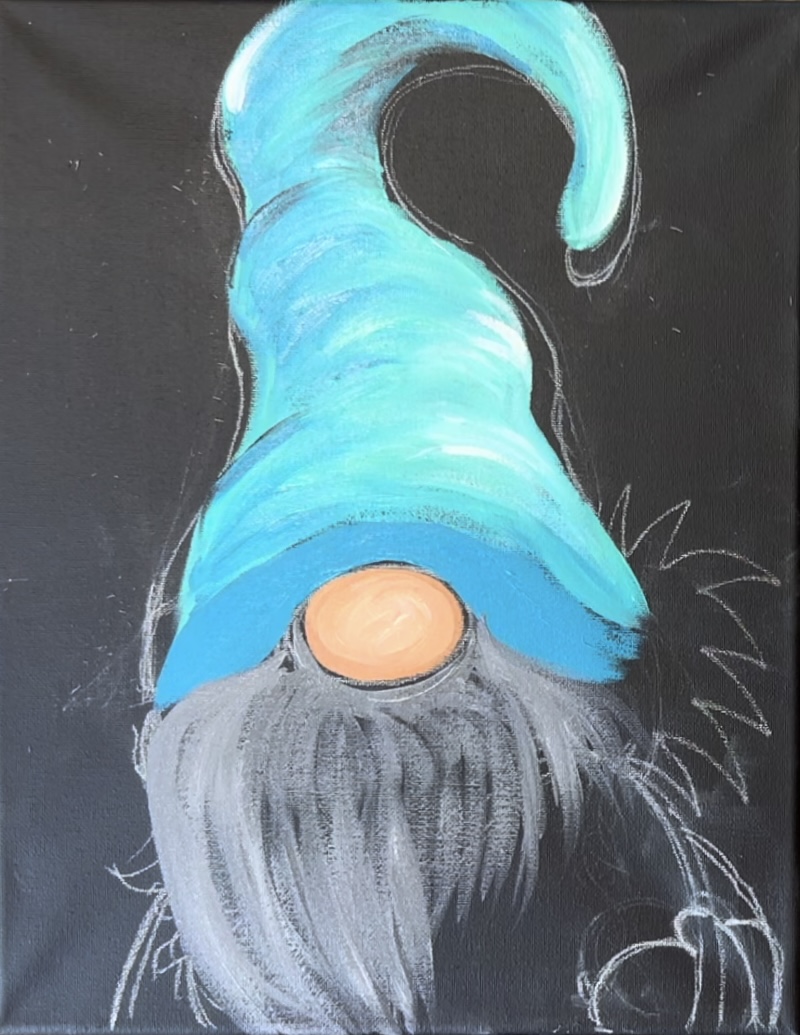
8. Highlight Beard
Use the #8 round brush and titanium white to paint a lighter layer over the beard. Add some “texture” and “curls” on the left side of the beard.
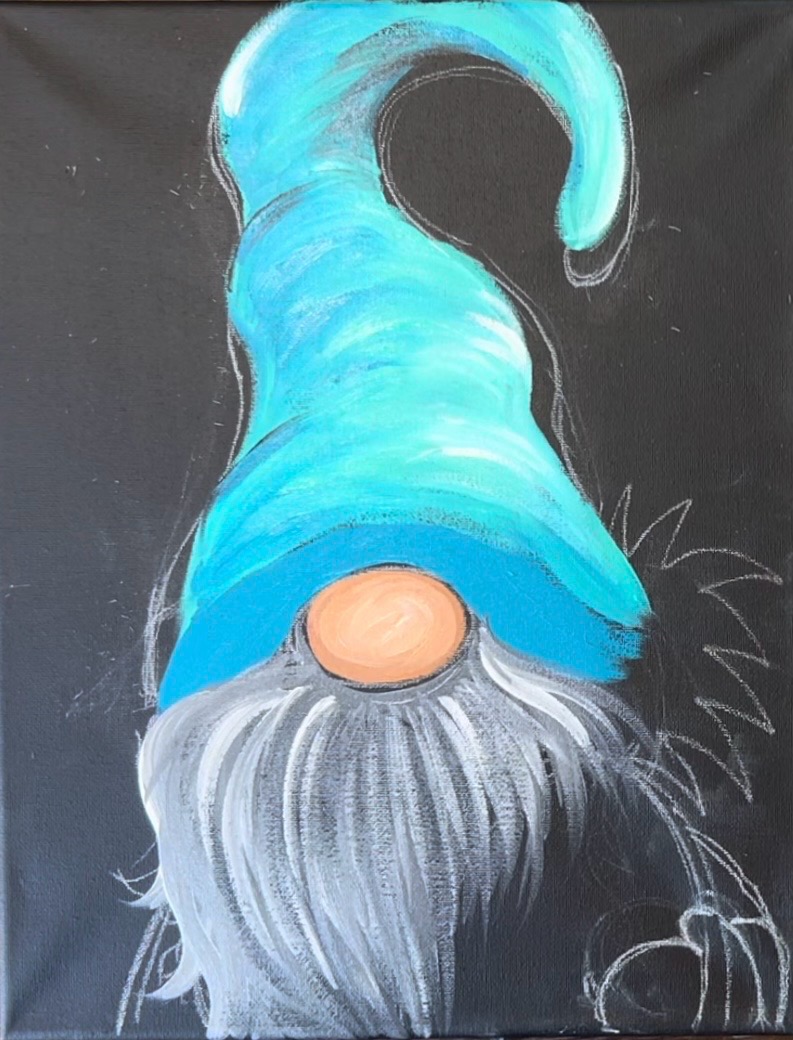
9. Outline Hat and Nose
Use the #8 round brush (the point of the brush) and “mars black” to outline the shape of the nose. Also, outline the bottom edging of the hat.
10. Paint Palm Fronds/ Branches/ Leaves
Use a combination of the “mars black”, “light green permanent”, “titanium white” and “primary yellow” to paint the palm branches.
Start by painting your “middle line” of the branch with “light green permanent” mixed with a small amount of “mars black”. Use the tip of the #8 round brush to create two curved, thin lines.
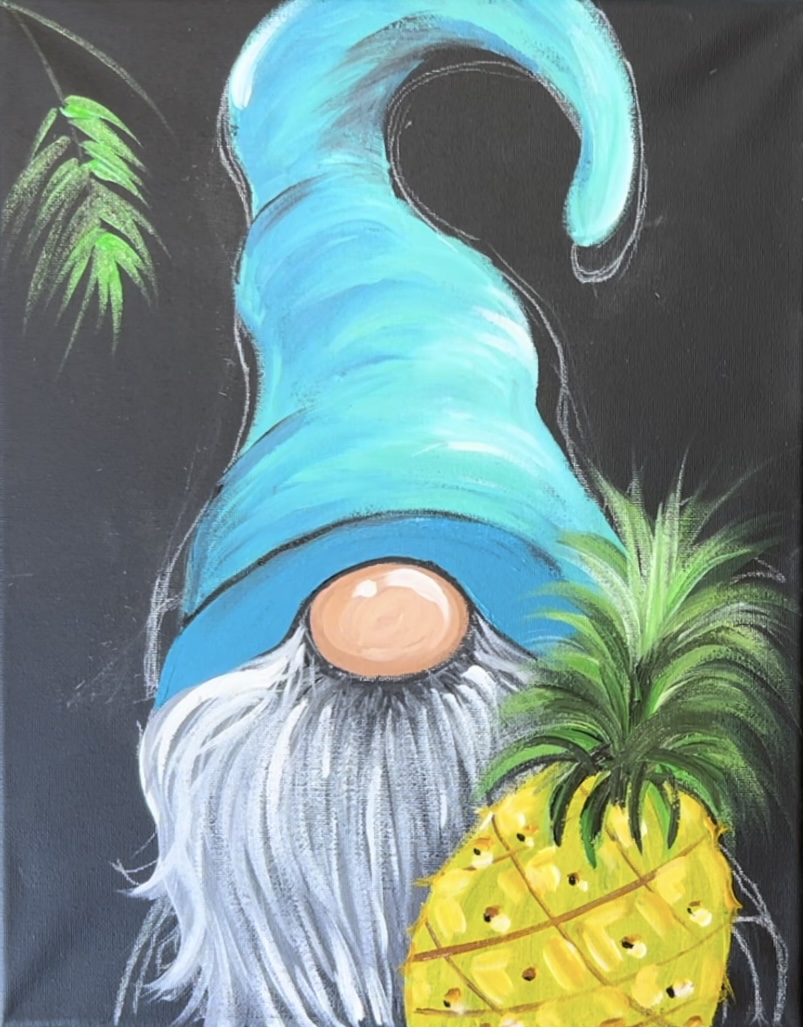
Then paint the individual leaves. Load your #8 round brush in “light green permanent” mixed with a small amount of “titanium white”. Paint each individual leaf by stroking your paint brush from the center line and outwards/ downwards. Release the pressure of the brush to allow the leaf paint strokes to go to a point on the end.
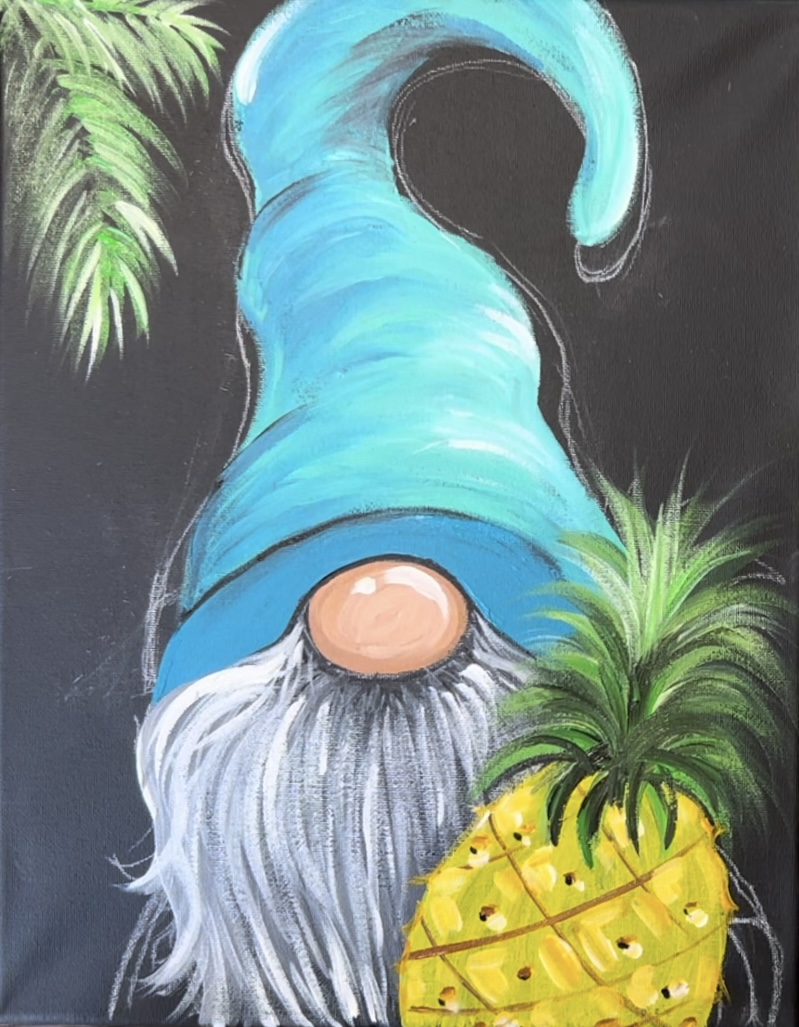
Paint two more sets of palm branches. I did two branches on the left and one on the right.
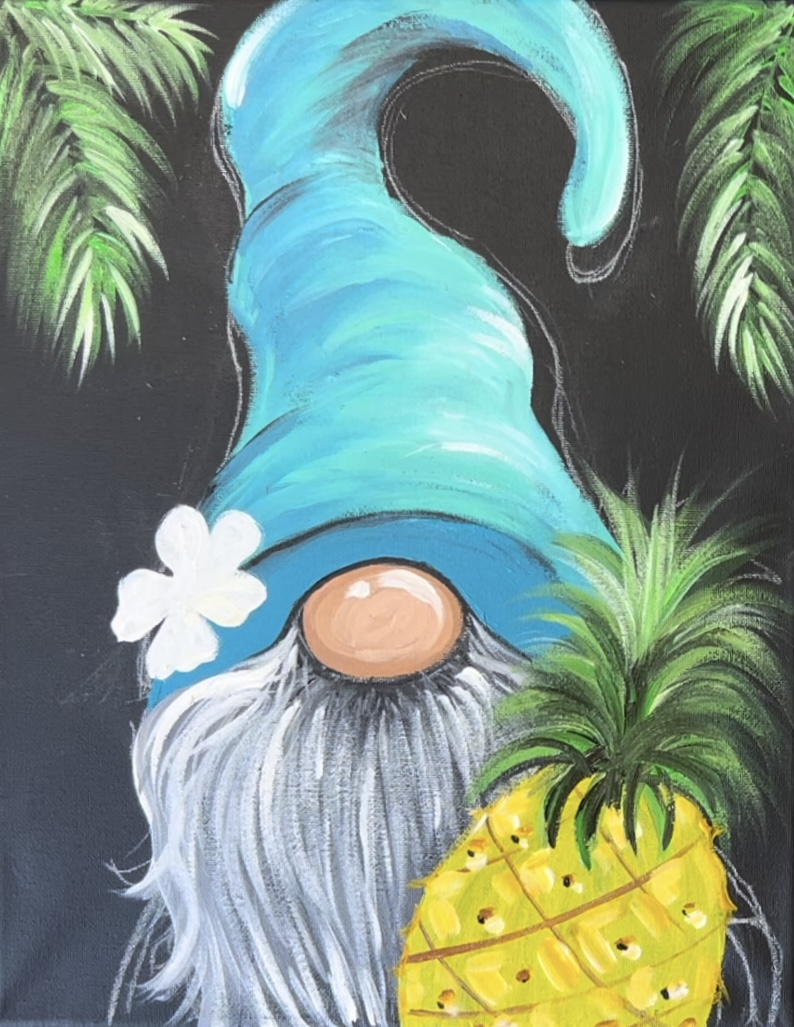
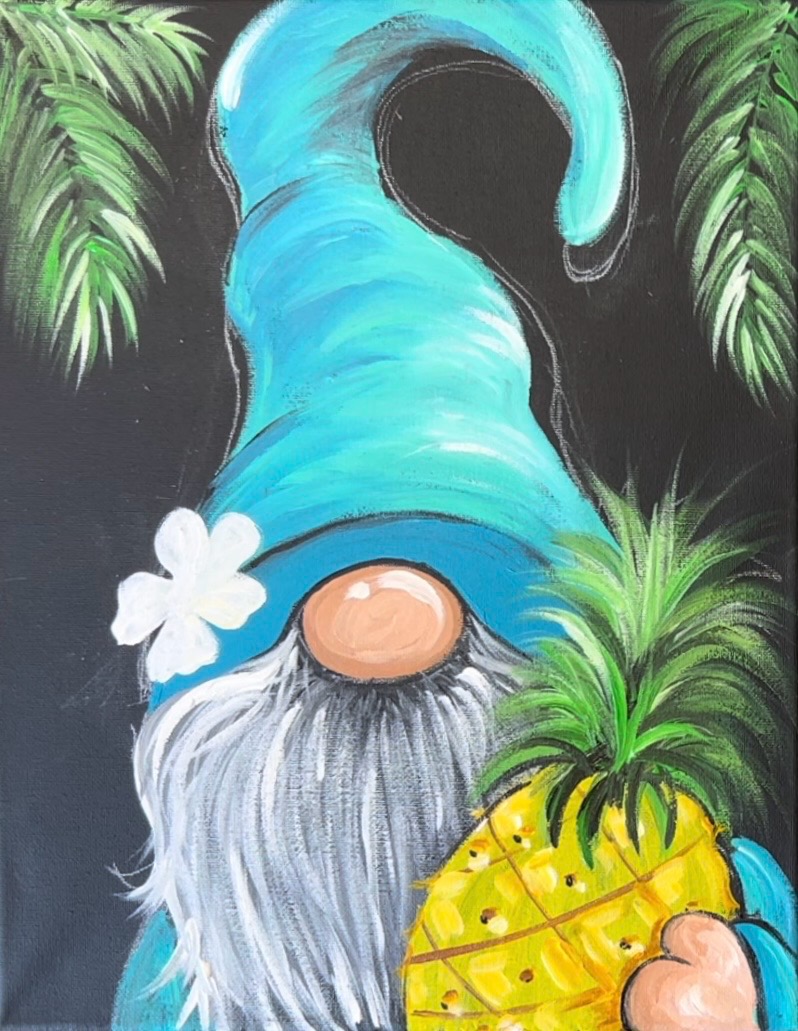
11. Paint Hibiscus 🌺 (first layer)
Use a #4 round brush and titanium white to paint a 5 petal hibiscus shaped flower. You will need to wait for this to dry before adding color to it.
12. Paint Hand & Sleeve
Mix “raw sienna”, “light pink” and a small amount of “titanium white” together. Paint the gnome’s hand that overlaps the lower right of the pineapple.
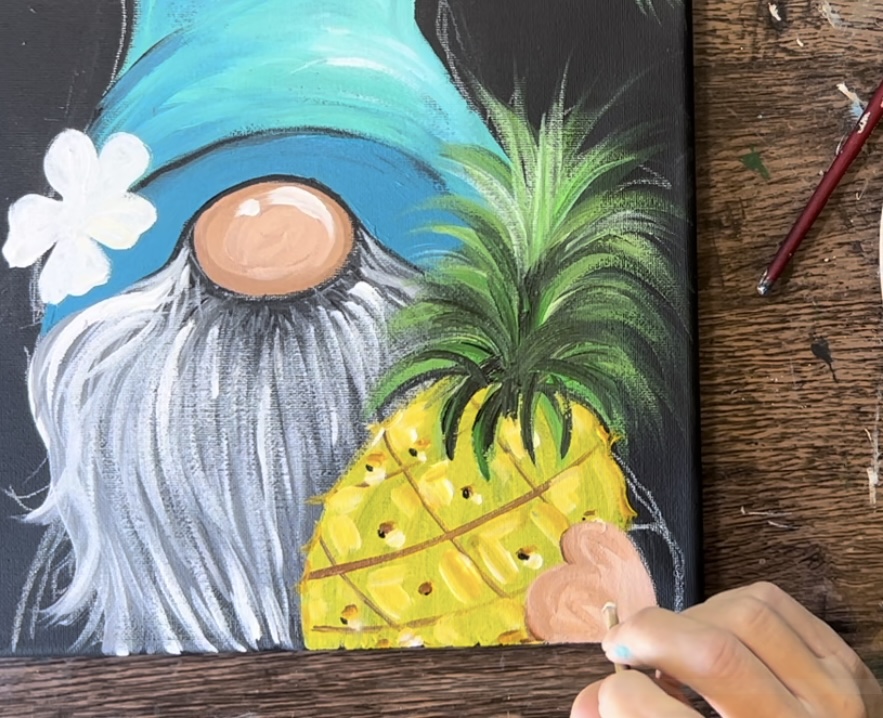
Add a bit of extra “raw sienna” on the edges of the shape of the hand.
Then use the “#4 round brush”, “turquoise blue” and “titanium white” to paint the sleeve that attaches to the hand/ wraps around the pineapple.
Use the #8 round brush (the point of the brush) to outline the hand, the sleeve and sleeve cuff. Additionally, you can outline the right edge of the pineapple.
13. Paint Hibiscus 🌺 (Second Layer) & Detail
Load your paint palette with “primary red”. Use the #4 round brush to paint the hibiscus petals with primary red.
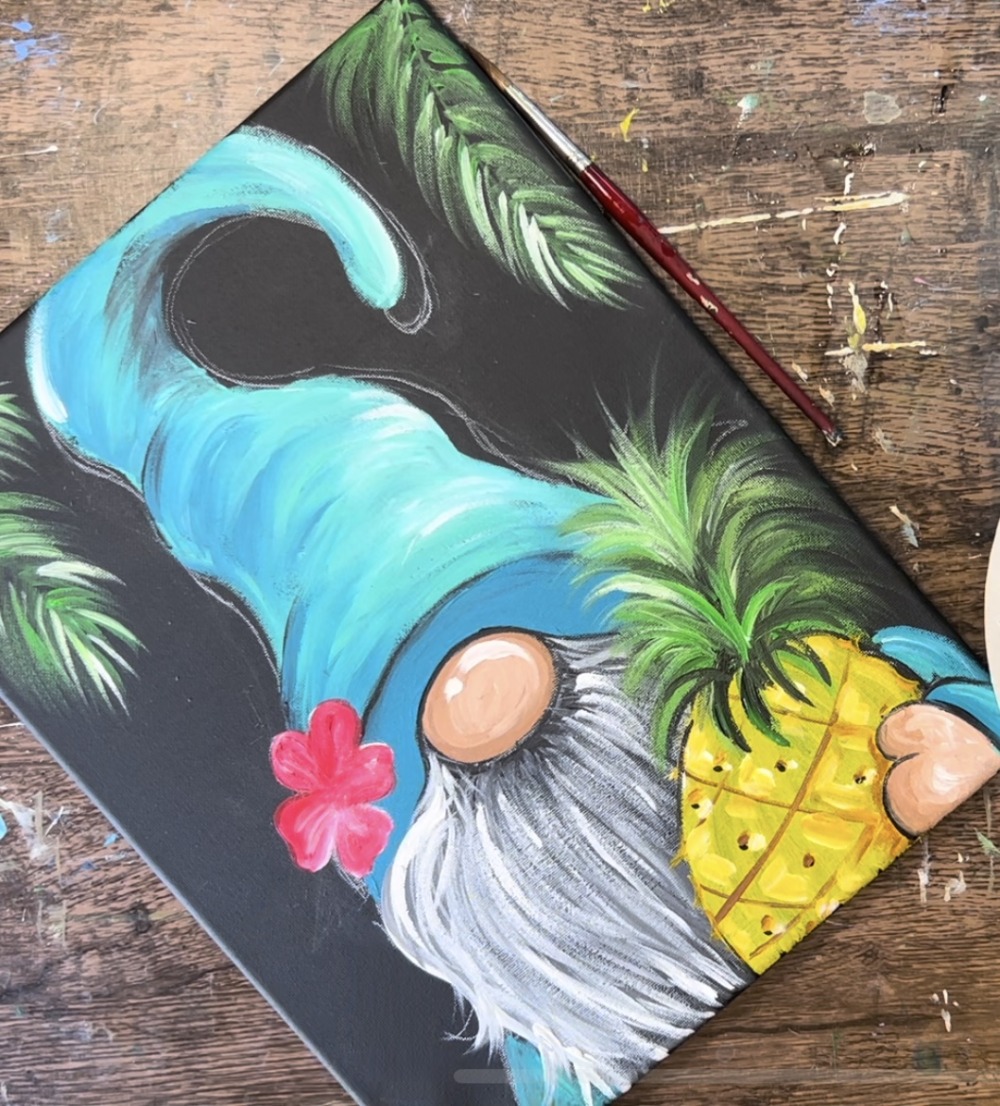
Next, use the point of the #8 round brush to outline the petals and paint the center of the hibiscus with small black lines that extend outwards from the center.
Mix “titanium white” with “primary red” to make a light pink color. Paint the edges of the petals with this light pink and drag your paint strokes down to blend.
Wait for this to dry before painting the center piece/ pistil of the hibiscus.
14. Paint Stars ✨ (optional)
Use the tip of the #8 round brush to paint little “twinkling stars” in the background. Paint little dots and little diamond lines extending from some of the dots.

15. Paint Pistil/ Center Of Hibiscus
Use the #8 round brush and titanium white to paint a small line that extends from the center of the hibiscus flower. This line is a little rounded and wider on the bottom but goes narrow on the end. Then paint little dots on the end.
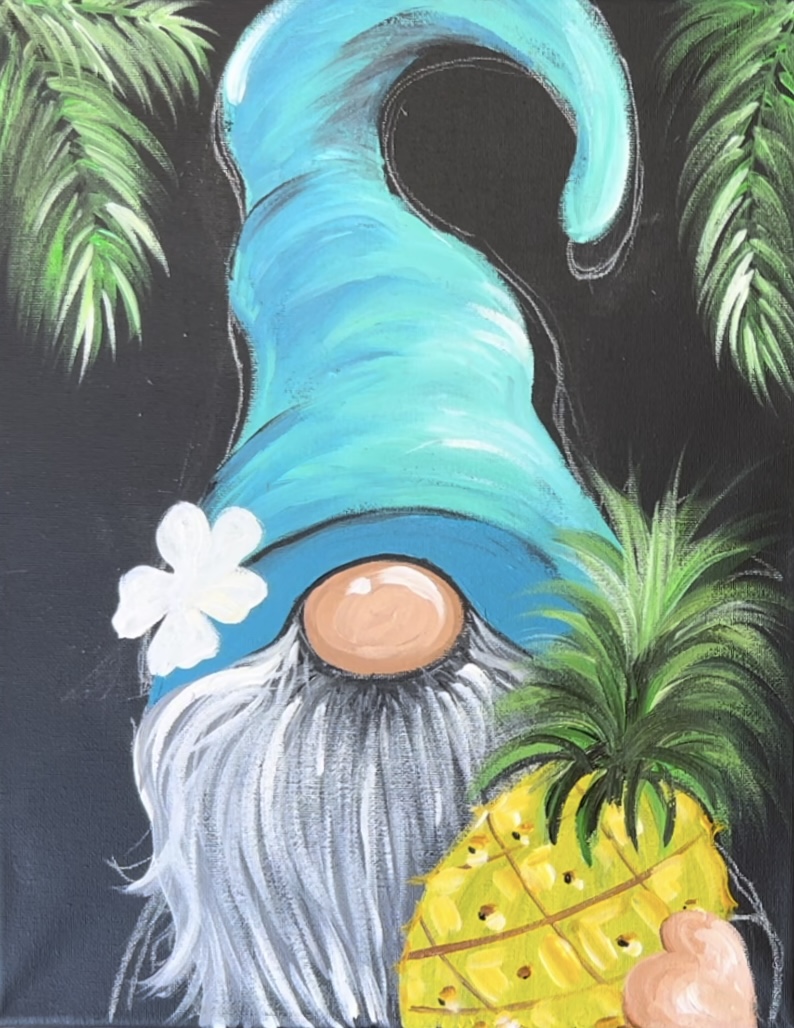
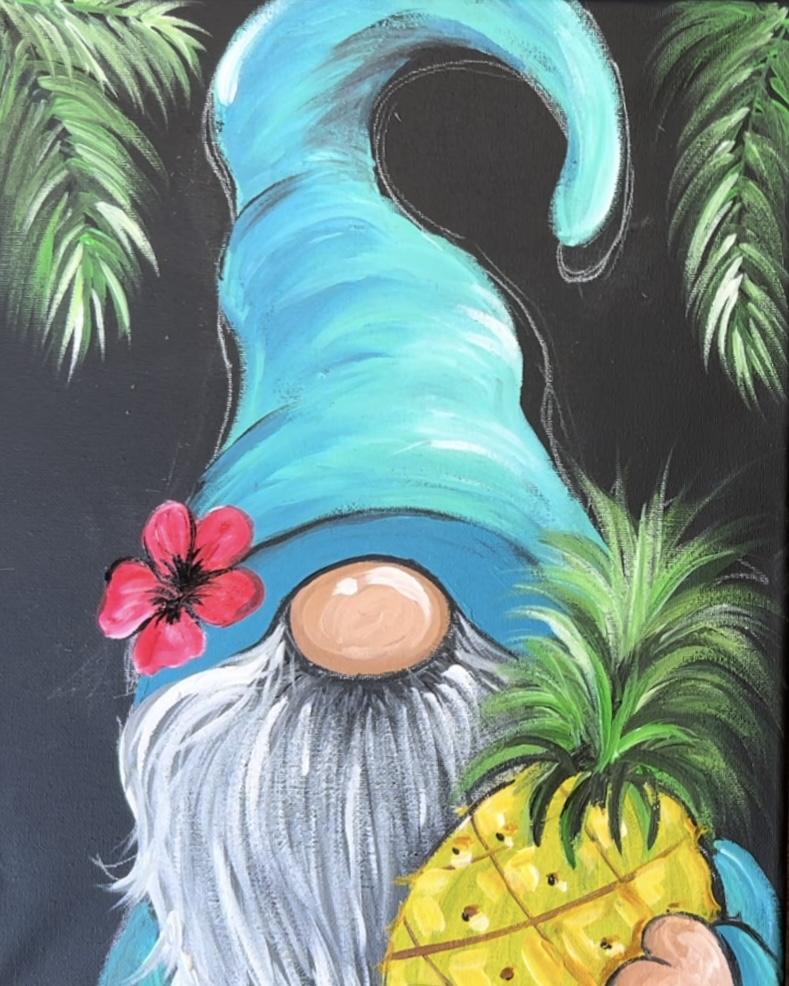
Finished!
Sign your name and show it off!