
Would you like to save this?
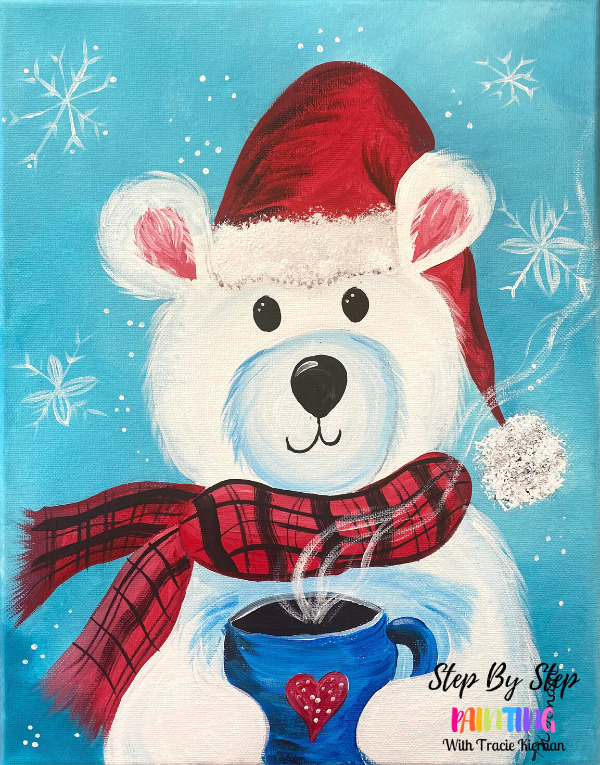
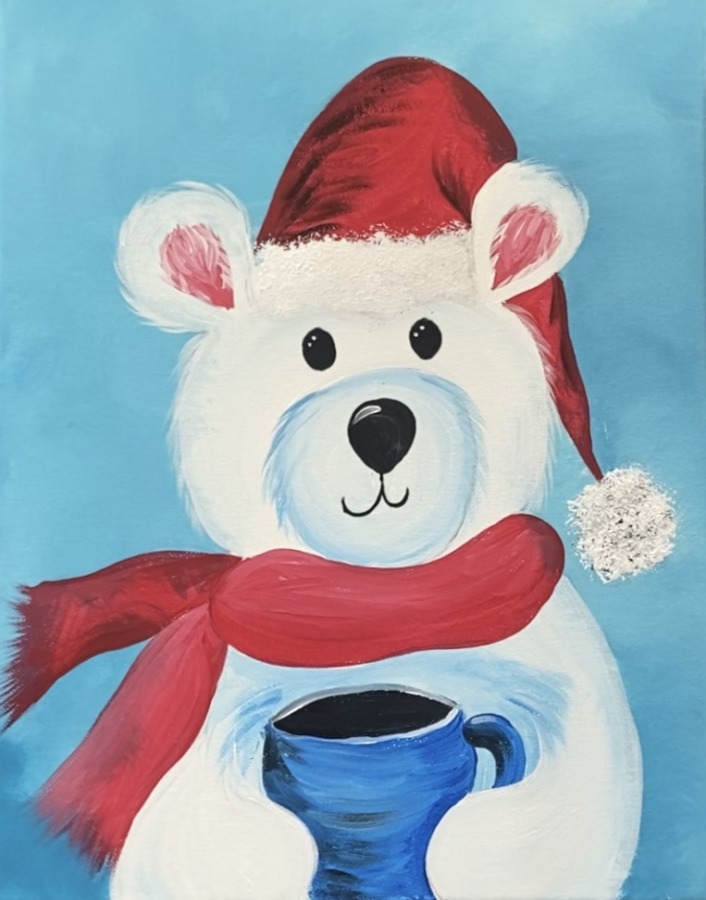
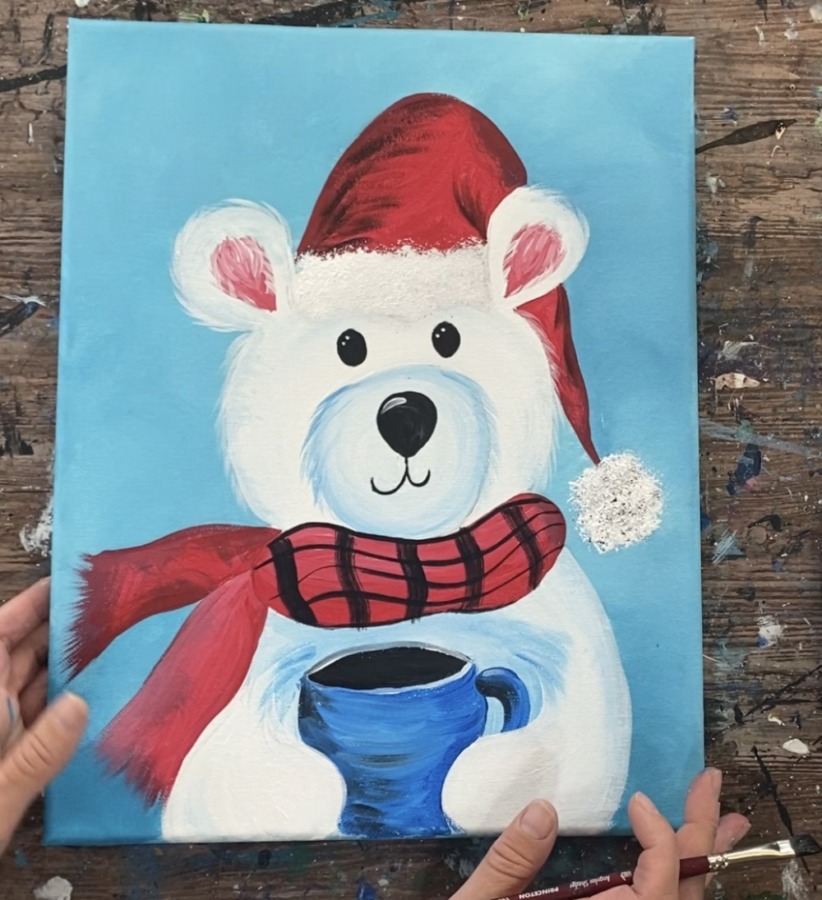
This acrylic painting tutorial will demonstrate how to paint a polar bear wearing a Santa hat and holding a cup of hot cocoa! The tutorial is very easy and a great one you can do with the kids.
Enjoy and happy painting!
Materials Needed
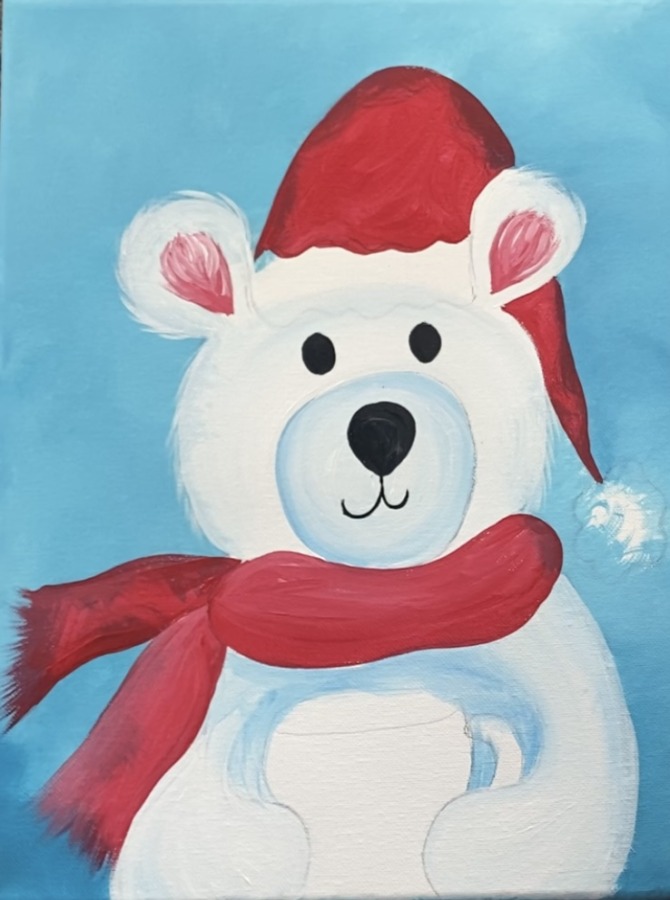
Polar Bear Painting

Learn how to paint a cute Christmas polar bear with acrylics on an 11 x 14 canvas.
Materials
- 11 x 14 Canvas
- Optional Traceable
- Acrylic Paints
- Brushes
- Optional Graphite Paper
- Pencil
- Water Cup
- Palette
- Scruffy Brush (optional)
- Blender Brush (optional)
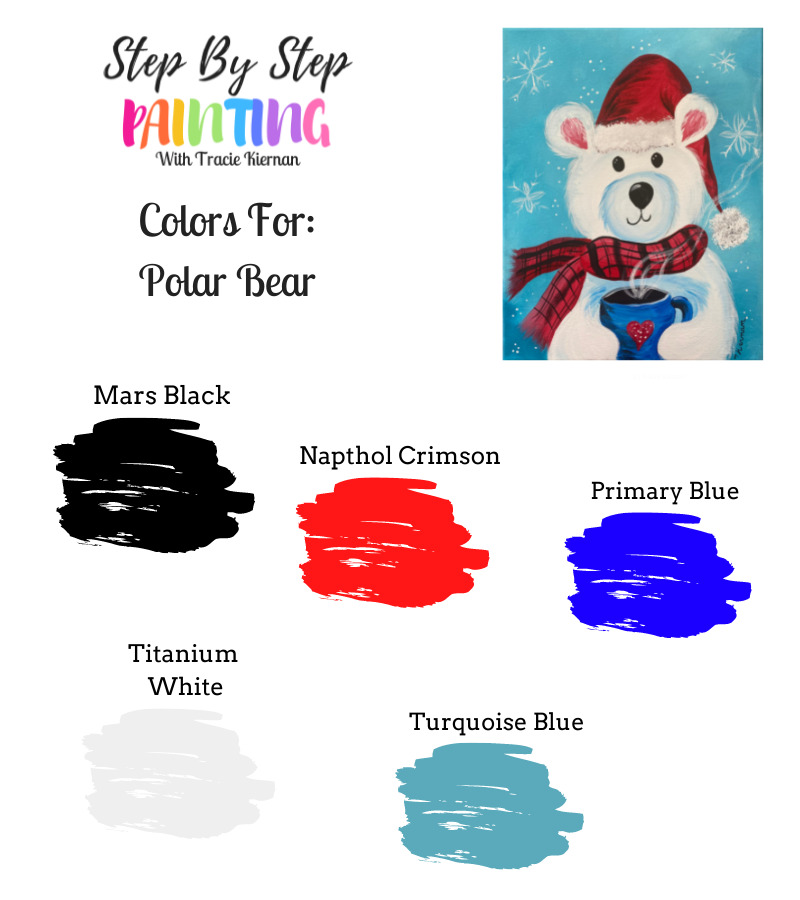
Colors
- Mars Black
- Titanium White
- Turquoise Blue
- Primary Blue
- Naphthol Crimson
Brushes
Instructions
- See tutorial on www.stepbysteppainting.net for tutorial.
Color Palette
Using Craft Paints?
If you are planning on using craft paints such as the Apple Barrel Craft Paints, try substituting with these colors:
- Black
- Flag Red
- Bright Blue
- White
- Bimini Blue
Traceable

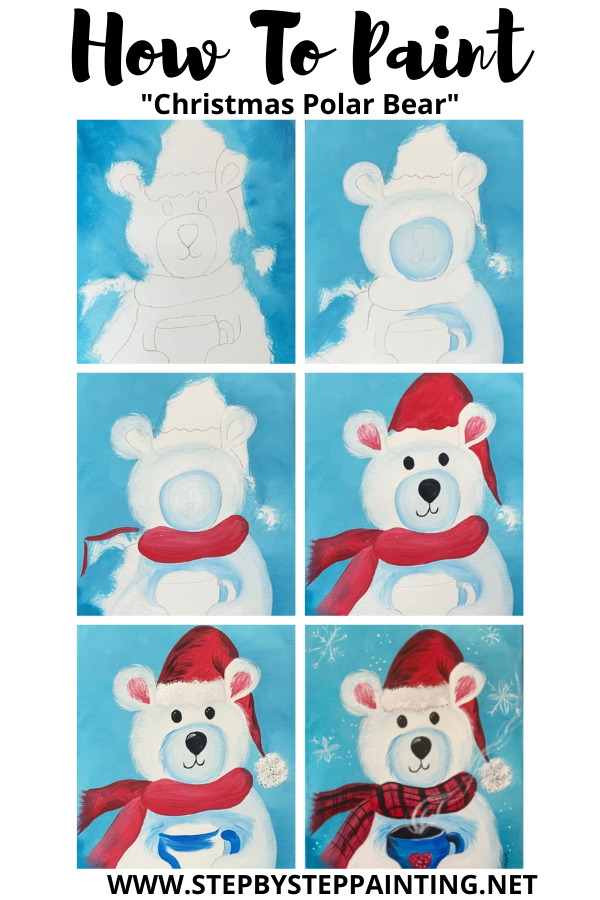
Directions At A Glance
Video
Step By Step Directions
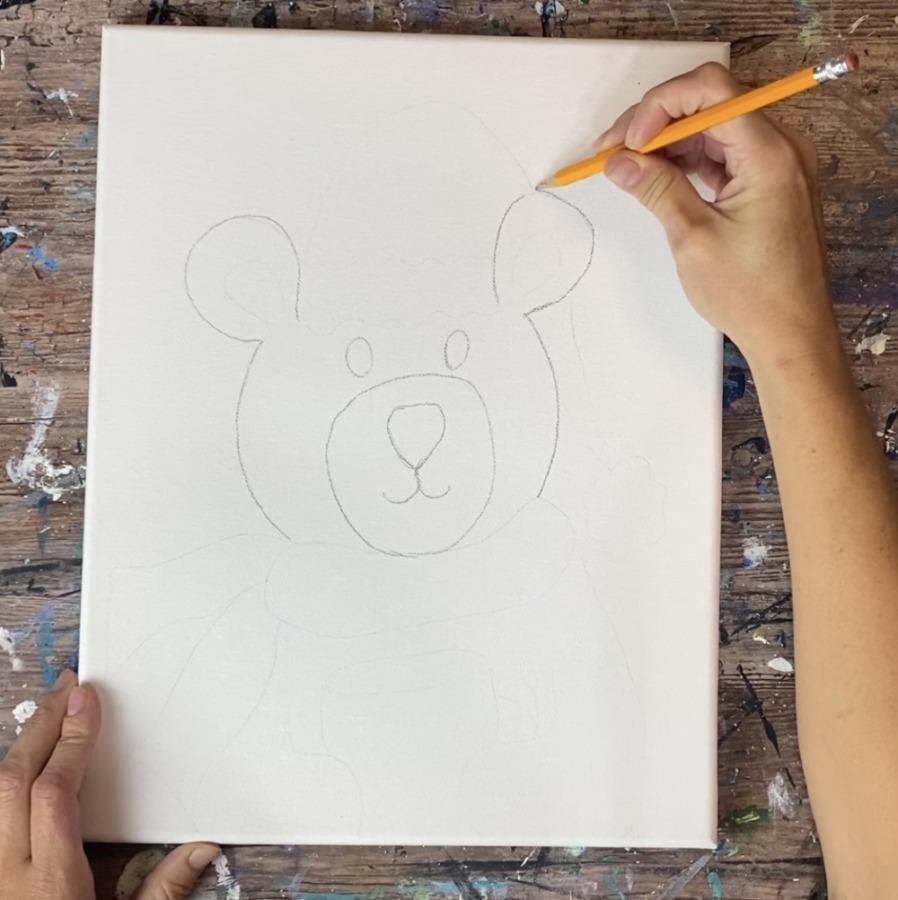
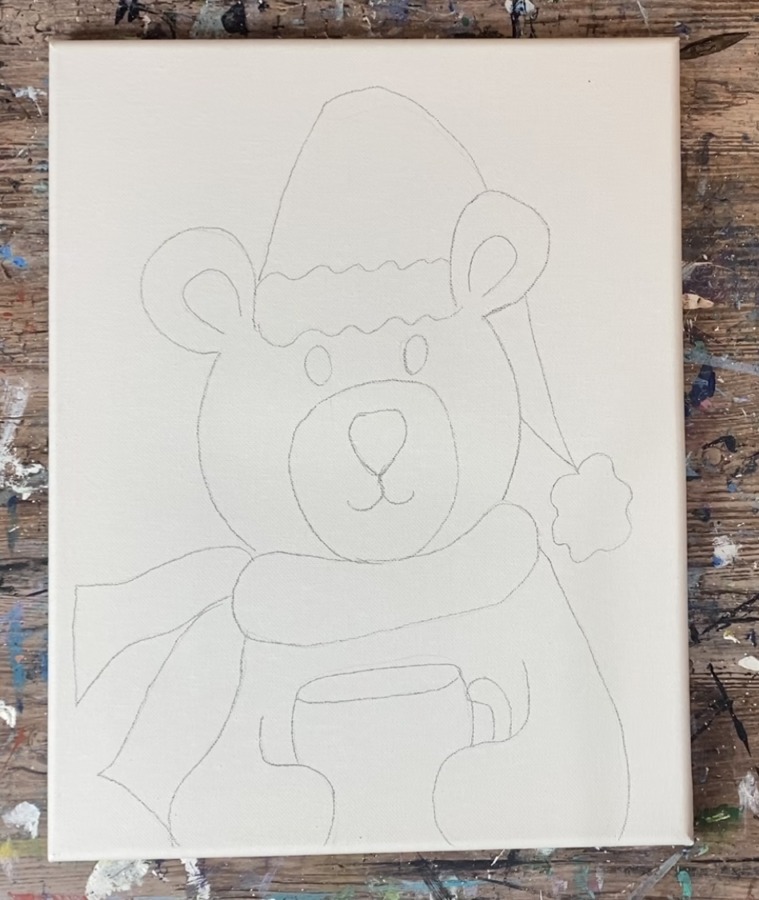
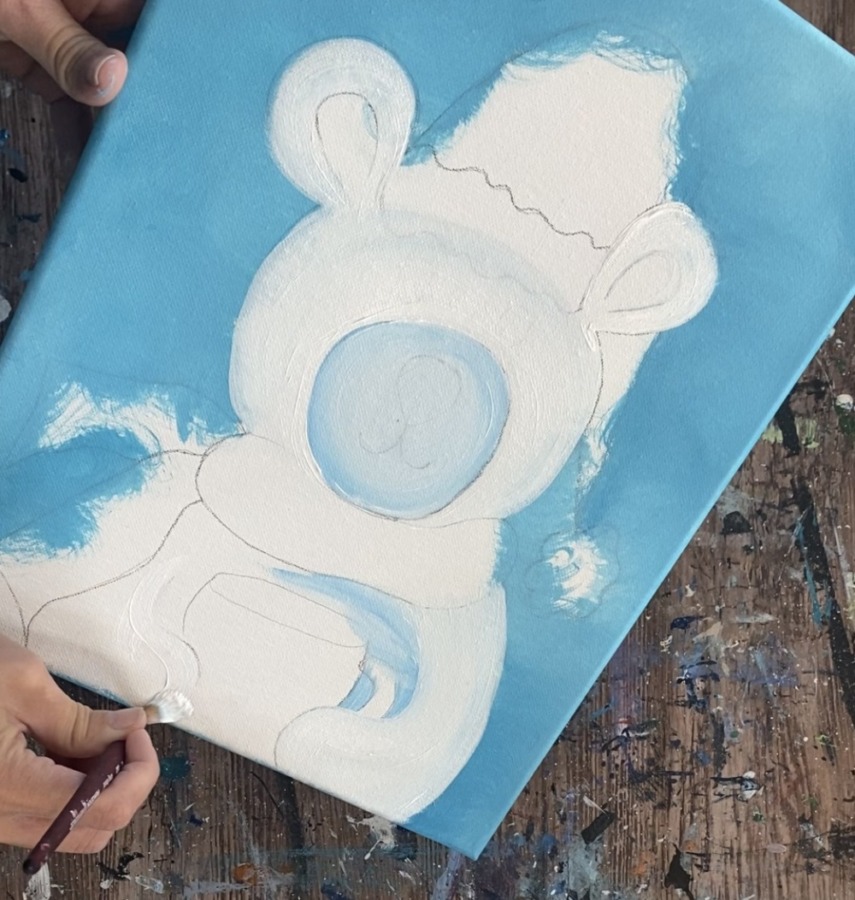
1. Draw Polar Bear or Use Traceable
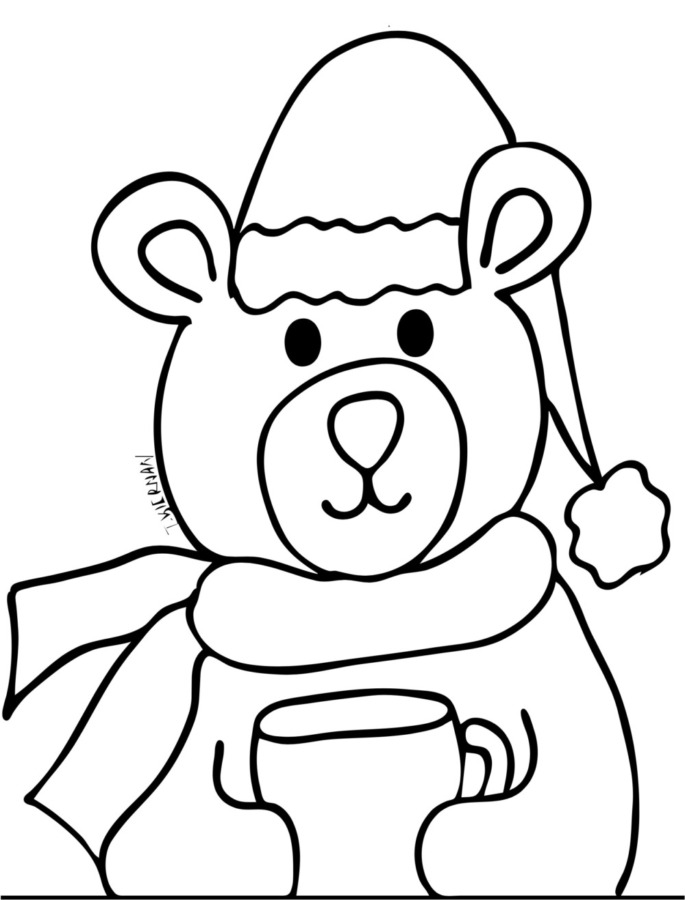
If drawing the polar bear, start in the very center of the canvas and draw an upside down triangle with curved corners.
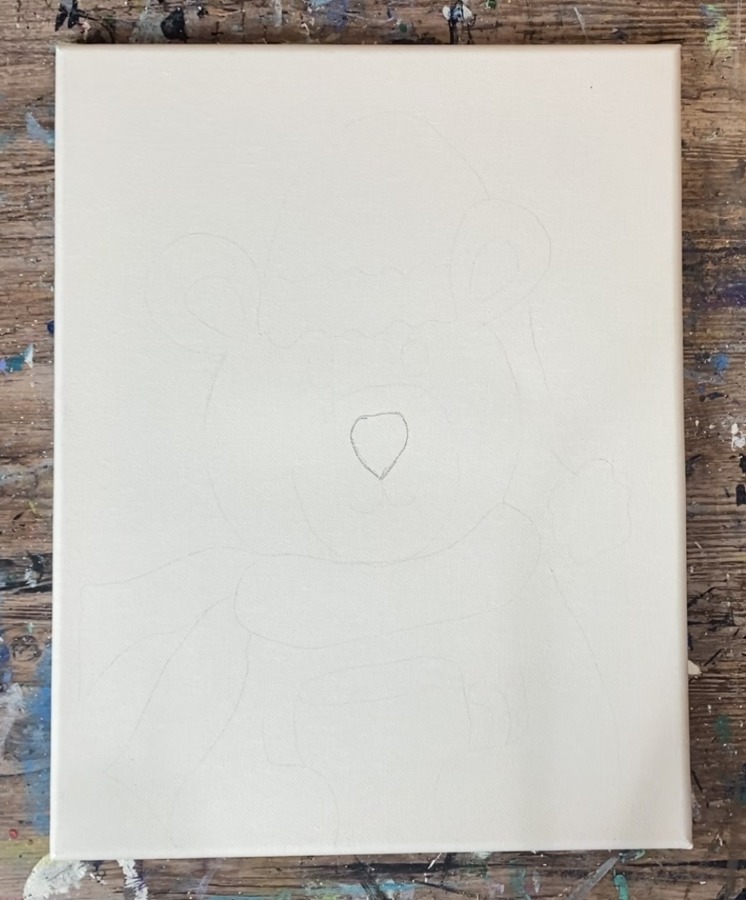
Draw the mouth.
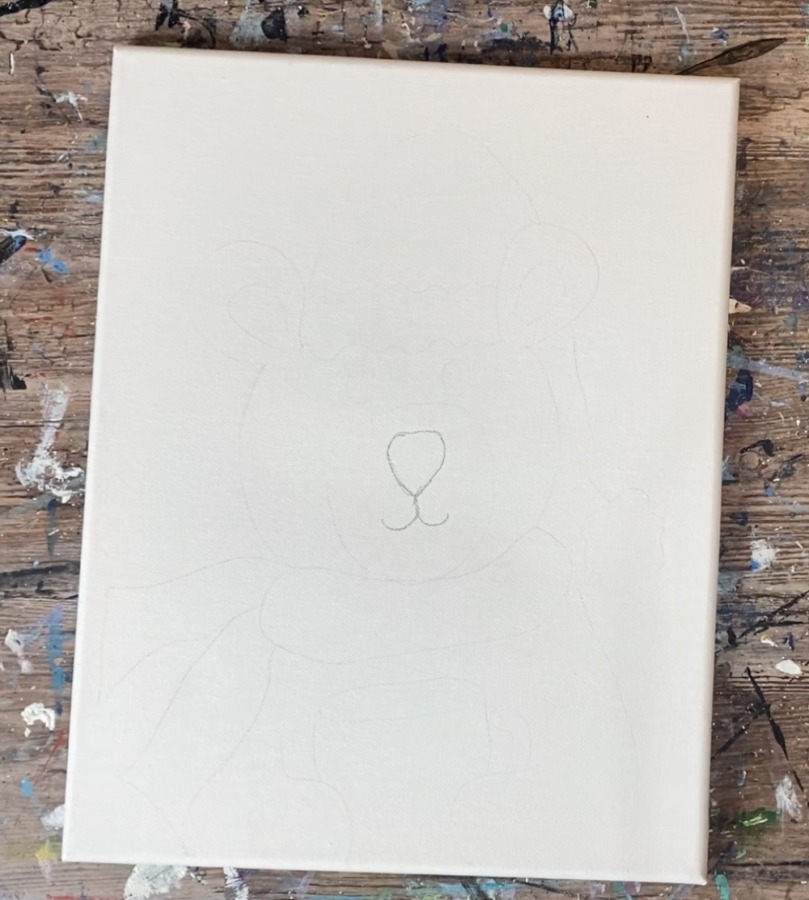
Then draw the muzzle around the nose and mouth. Draw two ovals for the eyes.
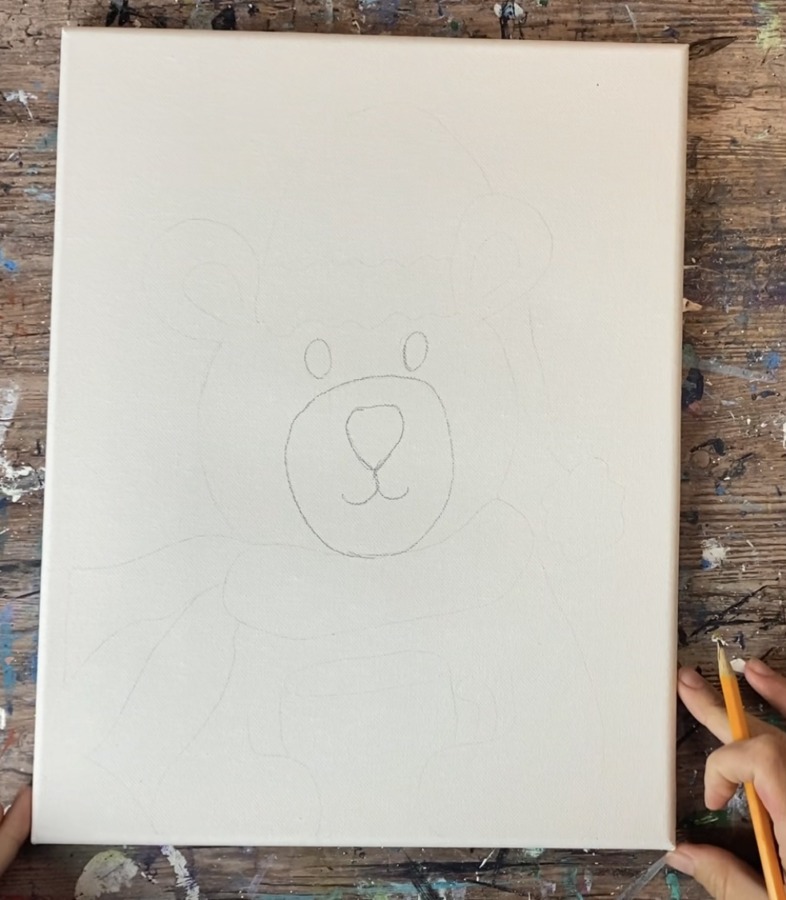
Then draw left and right curves for the sides of the head.
Next draw the ears. These are curved ovals that are flat on the top and more narrow on the bottom.
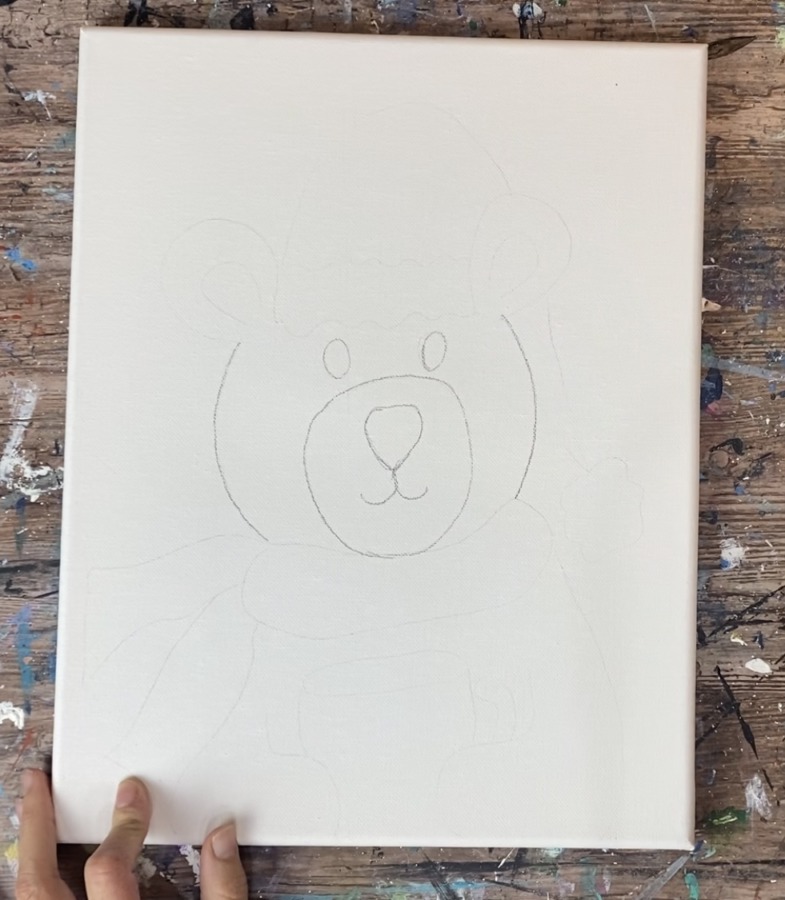
Draw the inner ears and then draw the Santa hat.
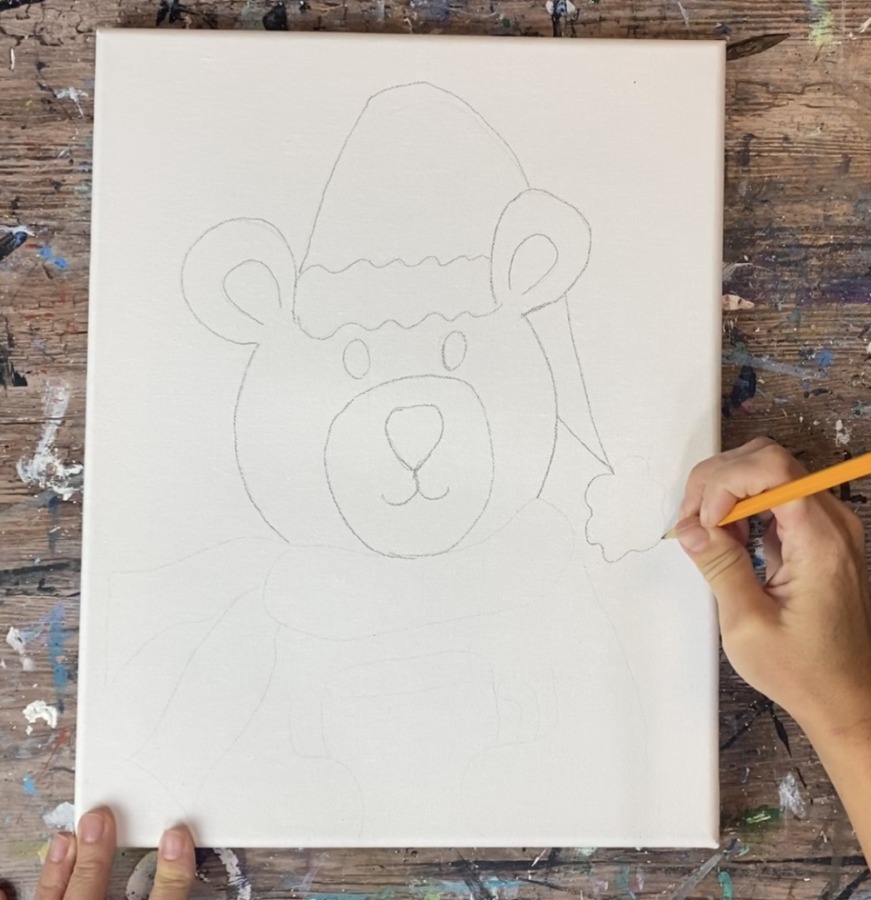
Draw a scarf under the bear’s head.
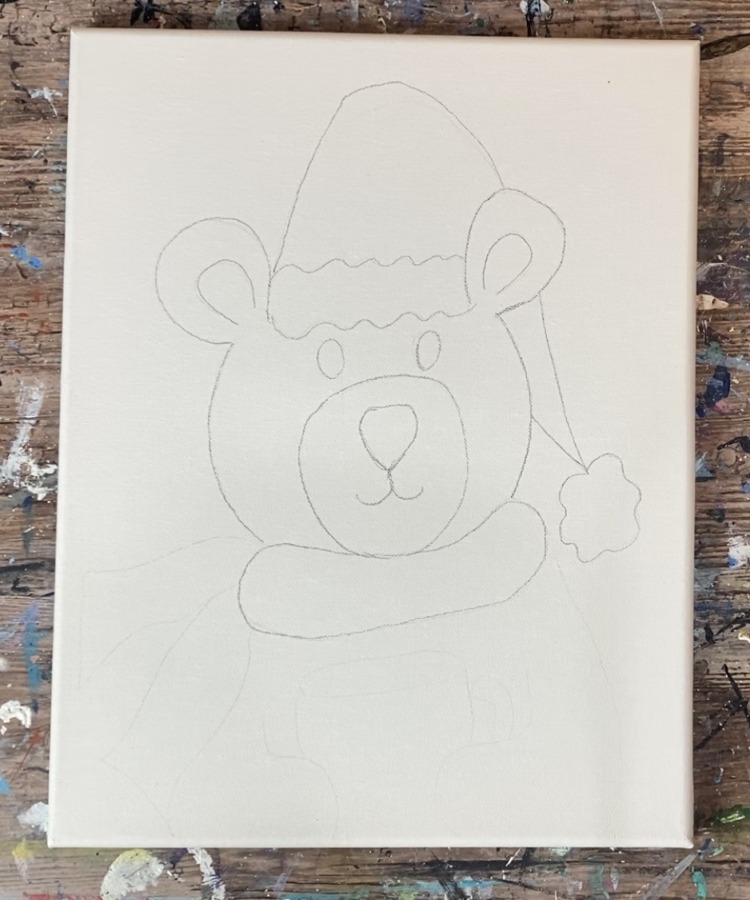
Next draw the coffee cup. Start at the top and draw the oval for the opening of the cup.
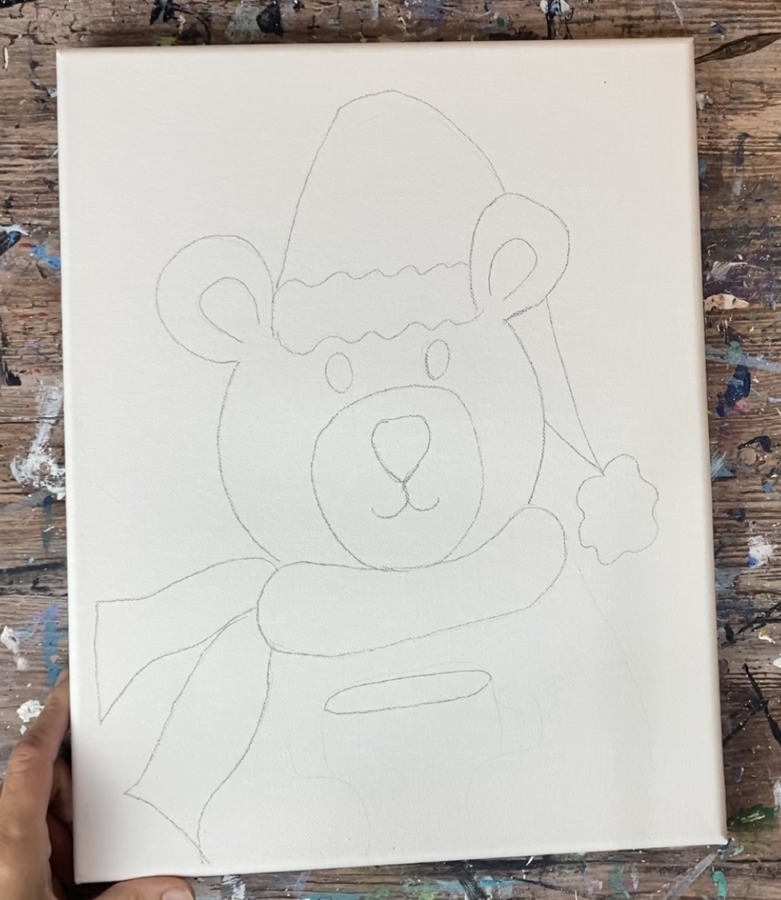
Then draw the sides of the cup and the handle. Draw the arms of the bear so that he is holding the cup.
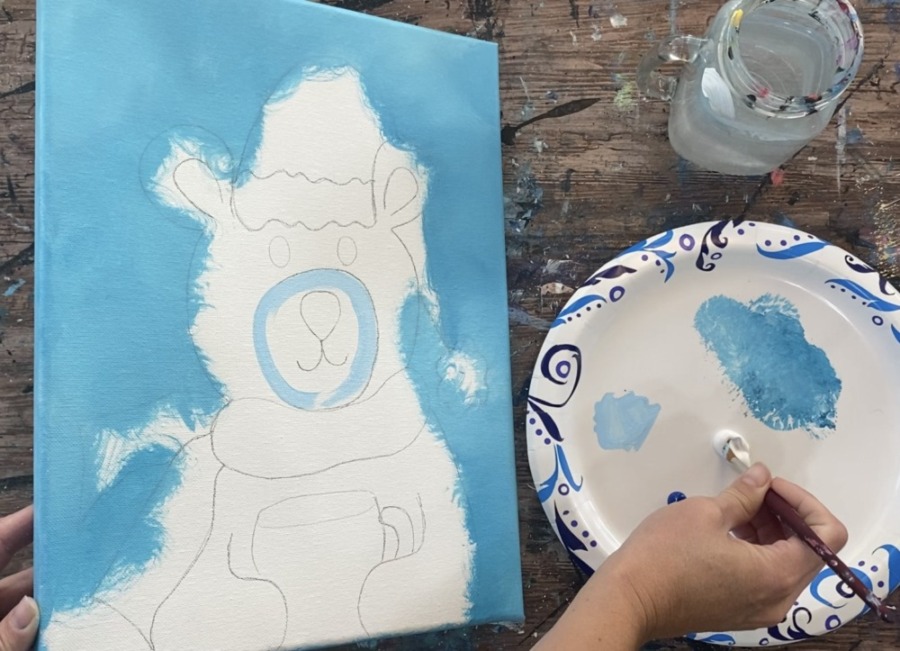
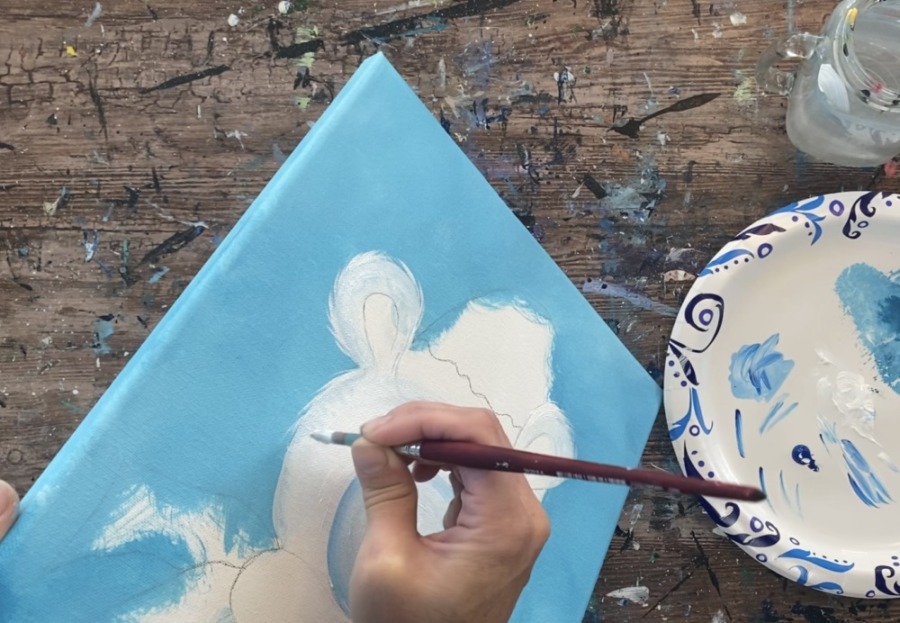
2. Paint Background
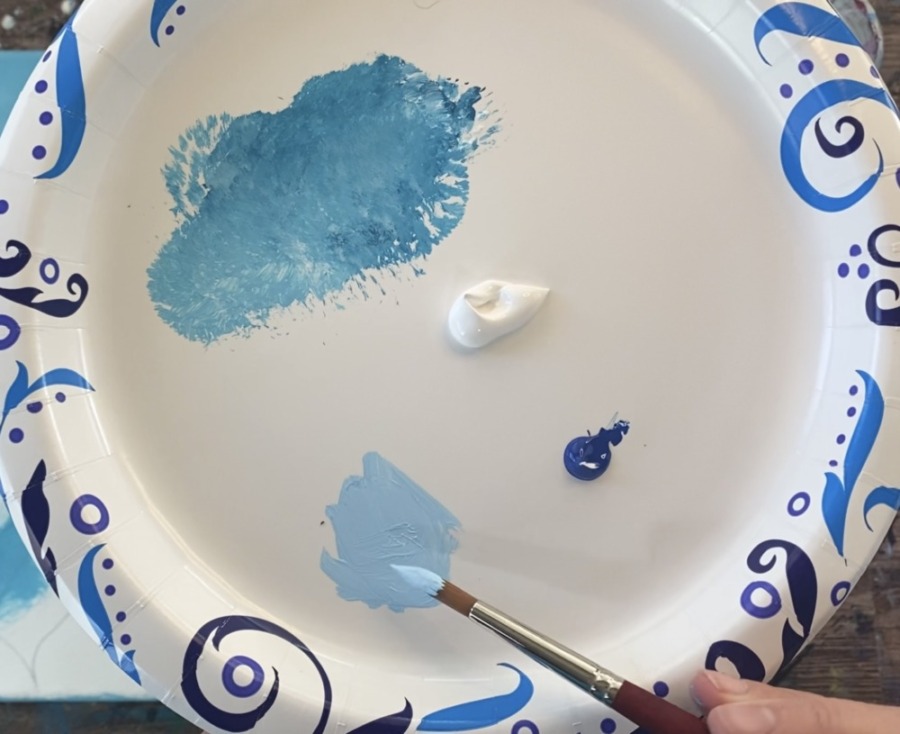
Load your palette with turquoise and titanium white paint.
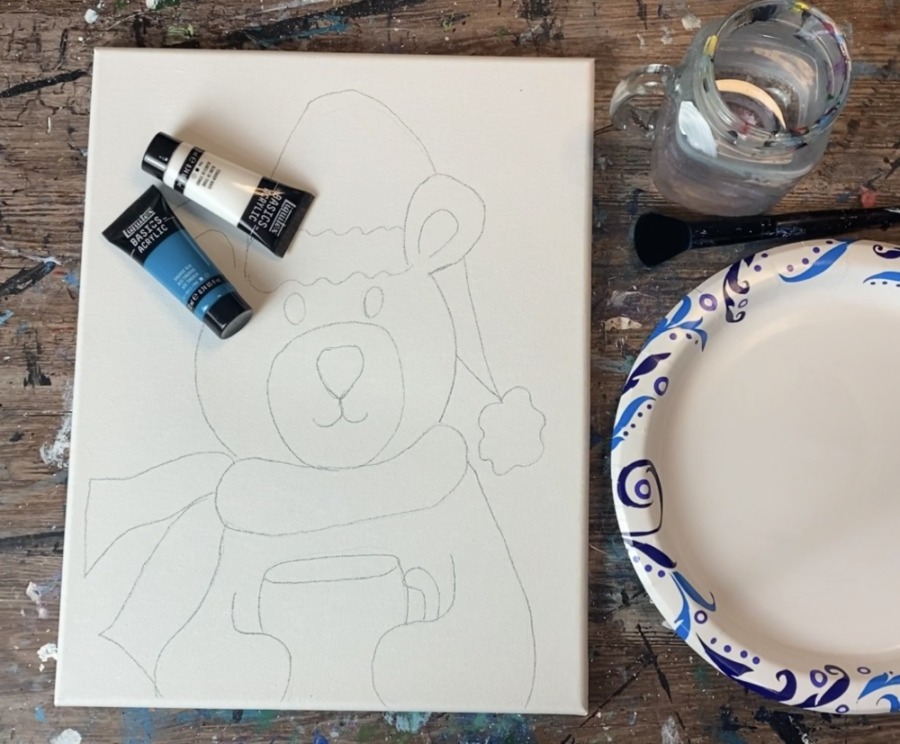
Use a blender brush. Double load the brush in both the turquoise and the white. Paint in small circular strokes to paint a blended background.
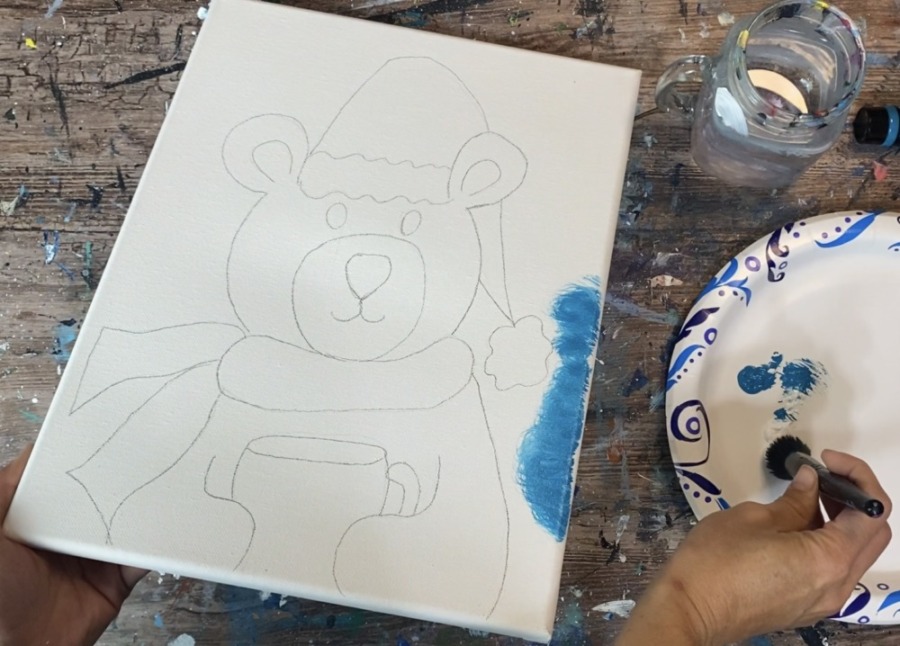
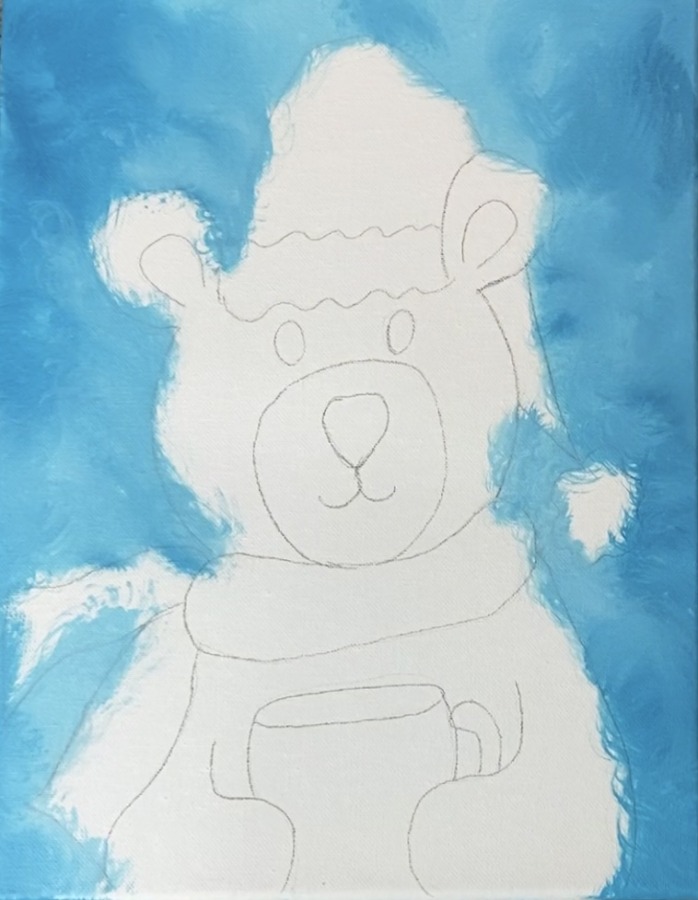
Continue to paint in small circular strokes blending the blue and white together to create different tinted variations around the background. Paint all of the negative space around the bear.

It is okay if you go inside the lines of the drawing a little because that will be painted over.
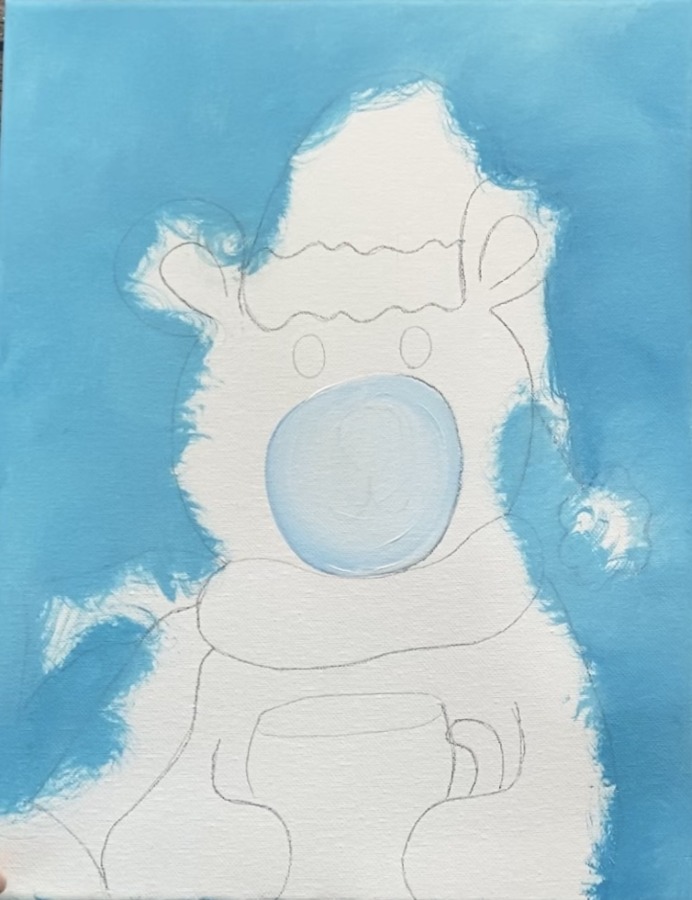
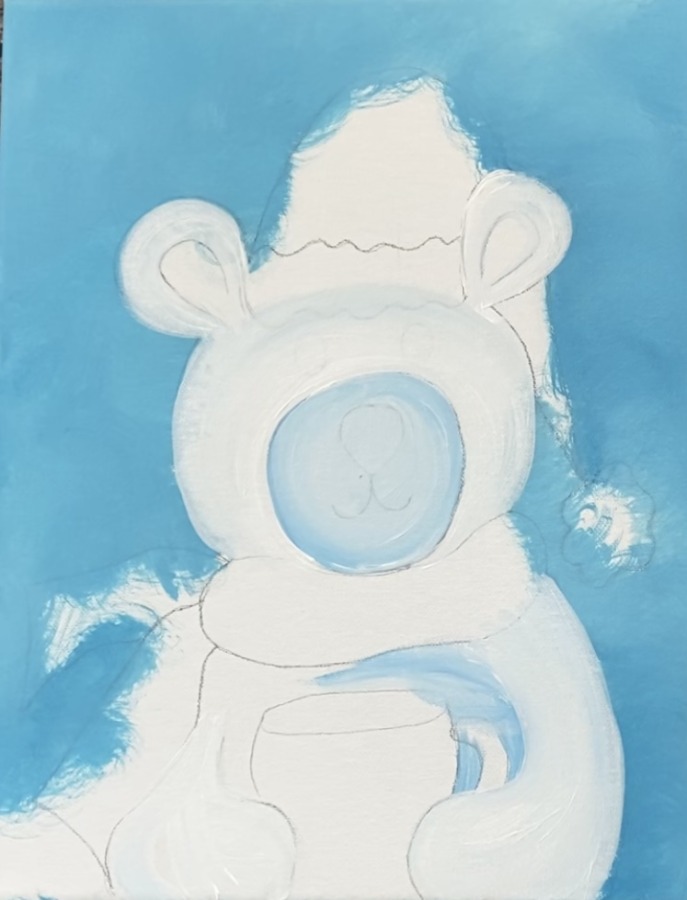
3. Paint Polar Bear Muzzle, Ears and Head
Mix equal parts primary blue and titanium white together to make a light blue. Use the #8 round brush.
Paint the muzzle of the bear. Paint the light blue on the inside of the muzzle shape.
Then gently blend titanium white inside of the muzzle. Allow the white to get lighter in the center of the muzzle.
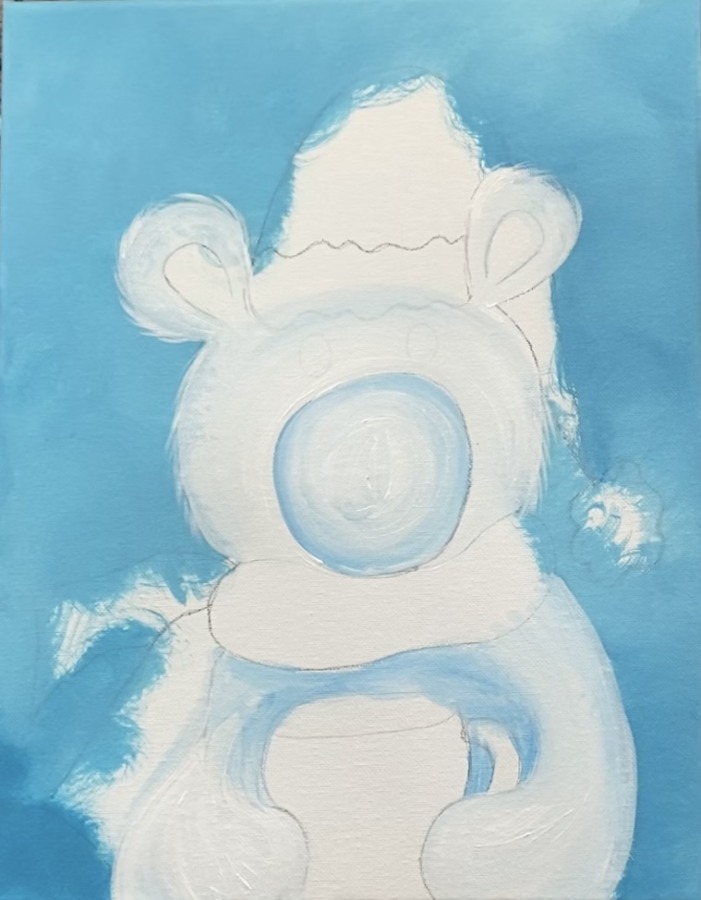
Then load your brush in just titanium white (it’s okay if a little light blue is still on the brush). Paint the bear ears and head. You can add small amounts of primary blue into the white to vary the tint of the white.
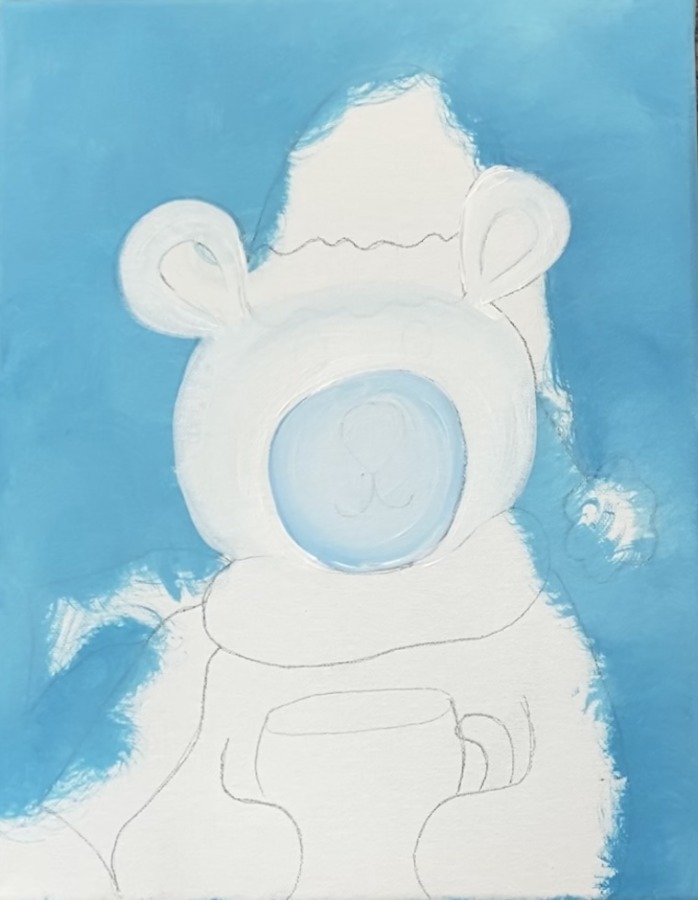
4. Paint Polar Bear Chest Area & Arms
Paint the arms of the bear with just titanium white. Then paint the chest area (behind the coffee cup) with a little bit of primary blue mixed with white so that area is slightly darker.
5. Paint Fur Texture
Load a small amount of paint on the tip of the bristle of your #8 round brush. (You may need to use a smaller brush if this one does not have a small fine tip). Paint small fur pieces that go slightly out from the side of the head and ears.
Do fur texture pieces on both ears and both sides of the head.
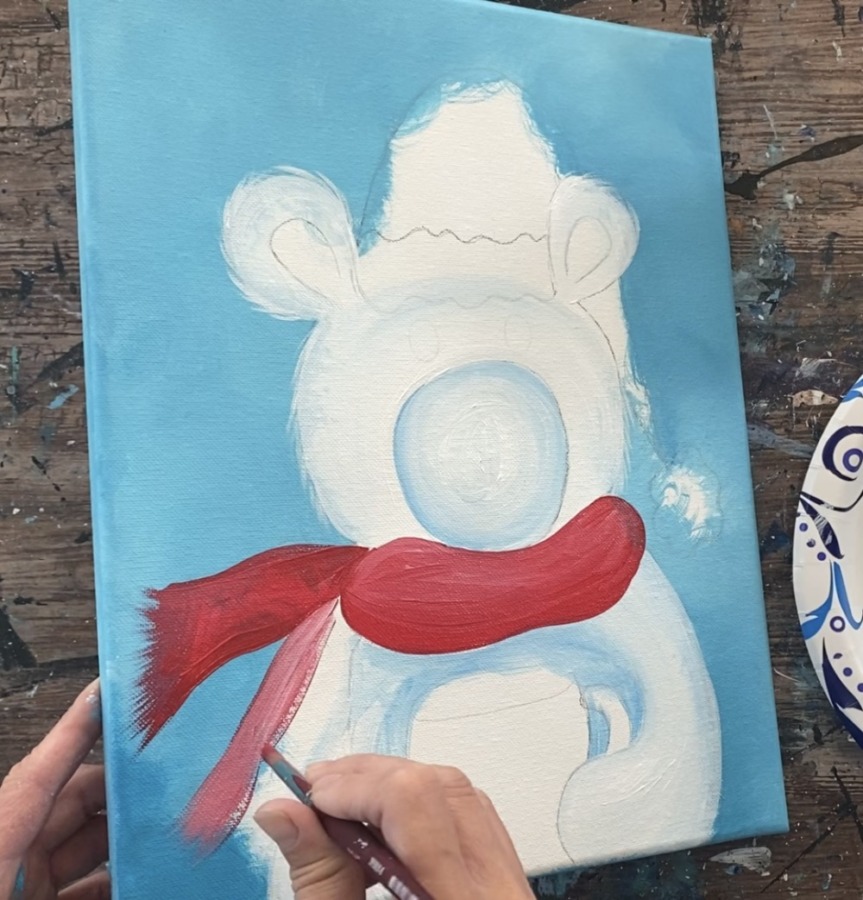
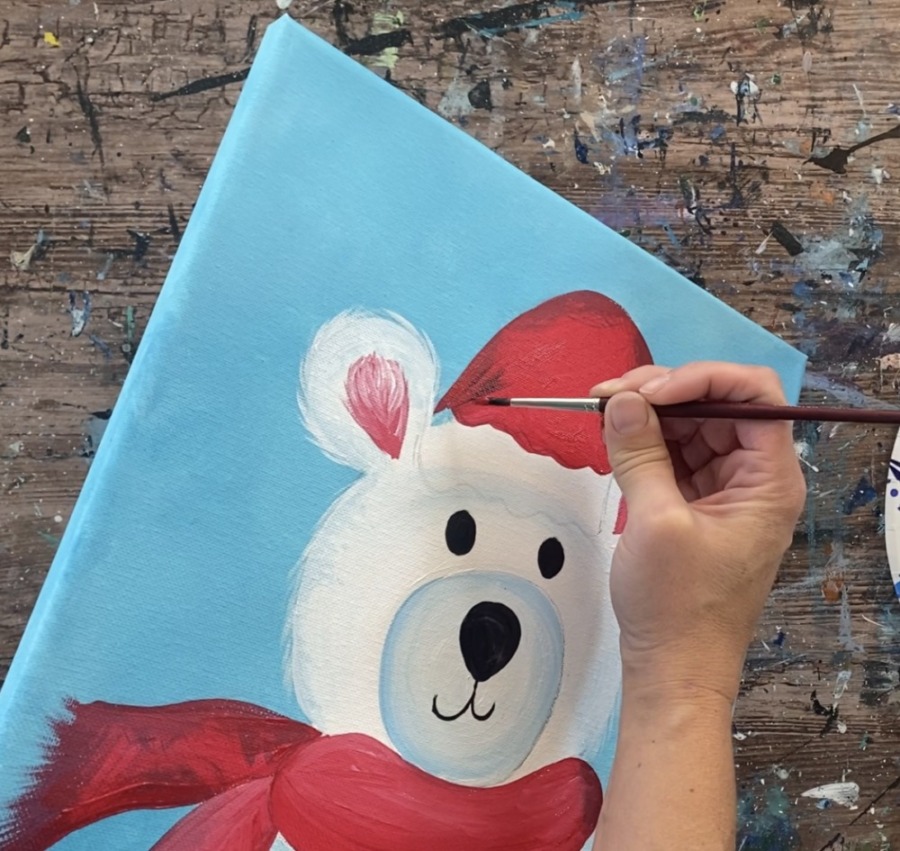
6. Paint Scarf & Hat
Use the #8 round brush and naphthol crimson to paint the scarf.
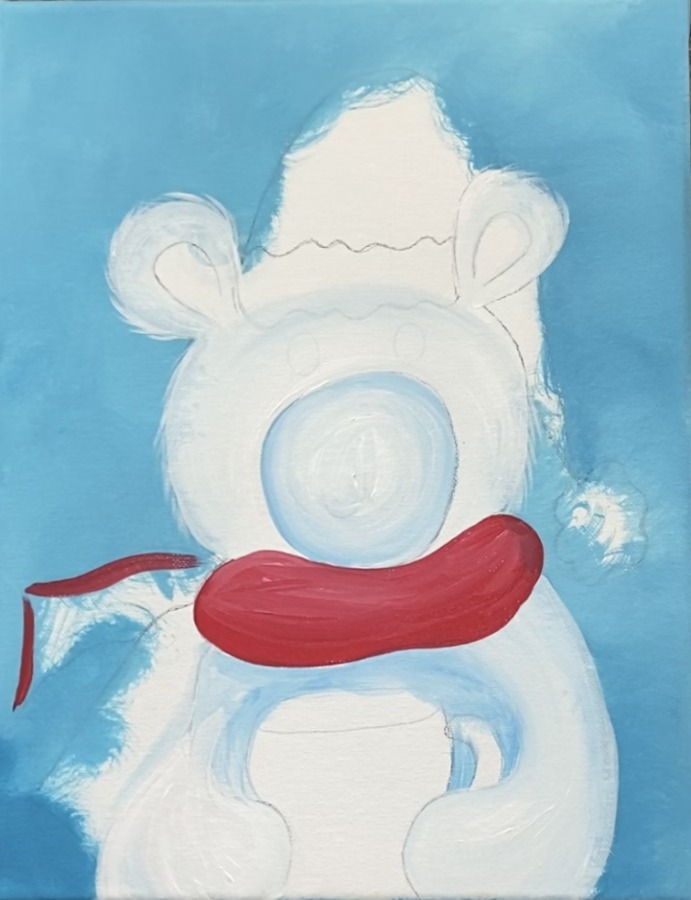
Add a little bit of white to the red to create some color variation and contrast in the scarf in some areas. To do the “frill” dry brush the edges with small amounts of paint on your brush. Make small paint strokes that look feathery and translucent.
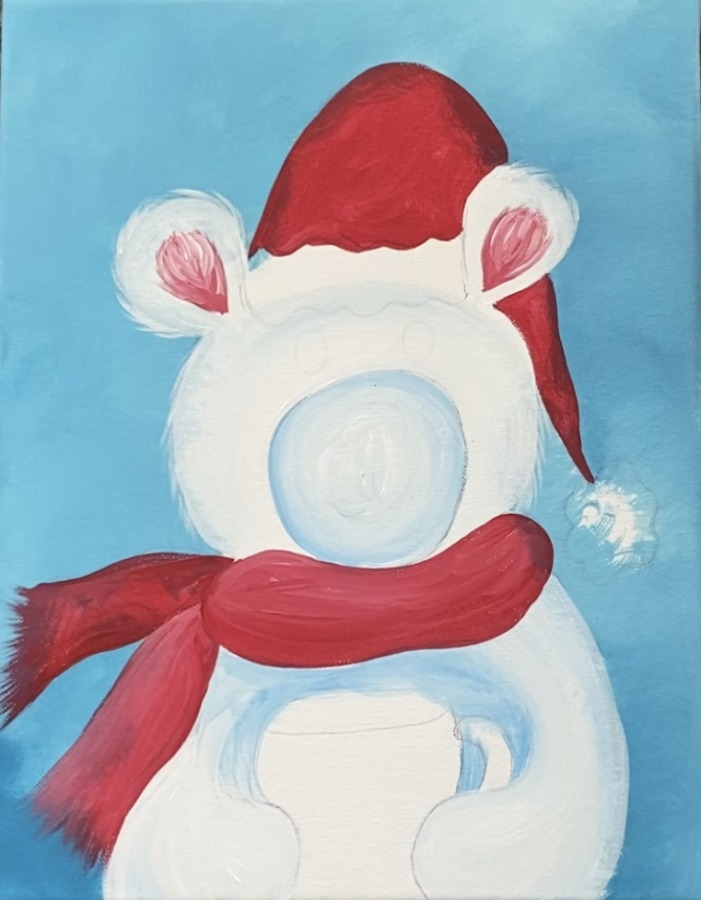
Then use the #8 round brush to paint the Santa hat a solid red color.

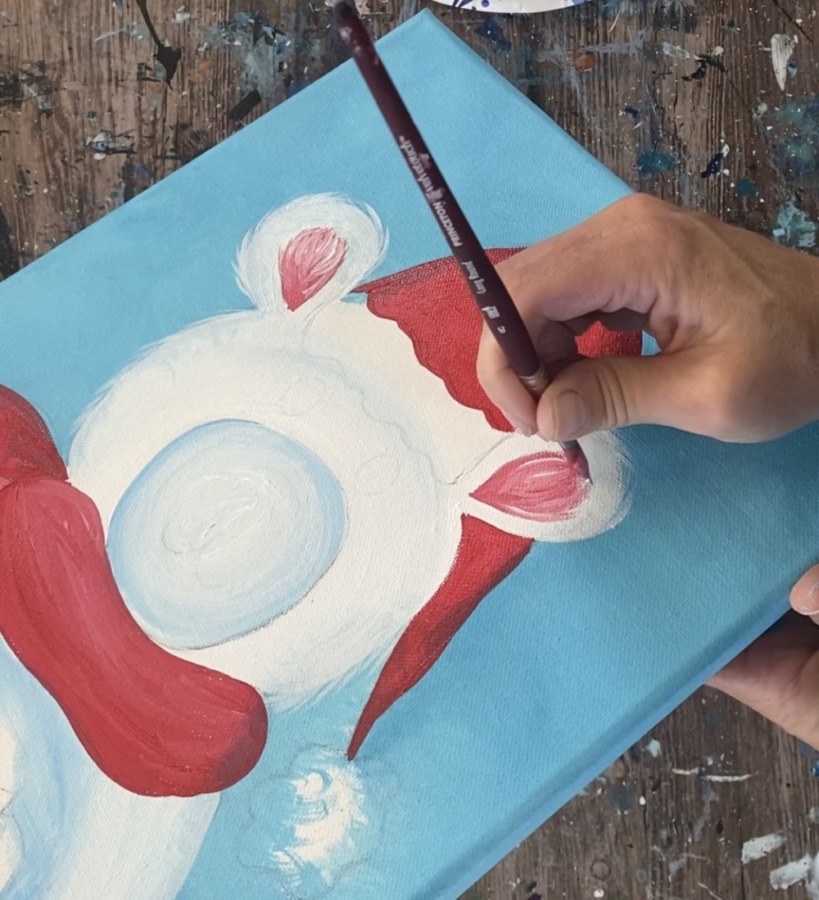
7. Paint Inner Ears
Mix the naphthol crimson with the titanium white to make a light red. Paint the inner part of the bear’s ears. Then paint little fur texture lines with whiteinside the ears.
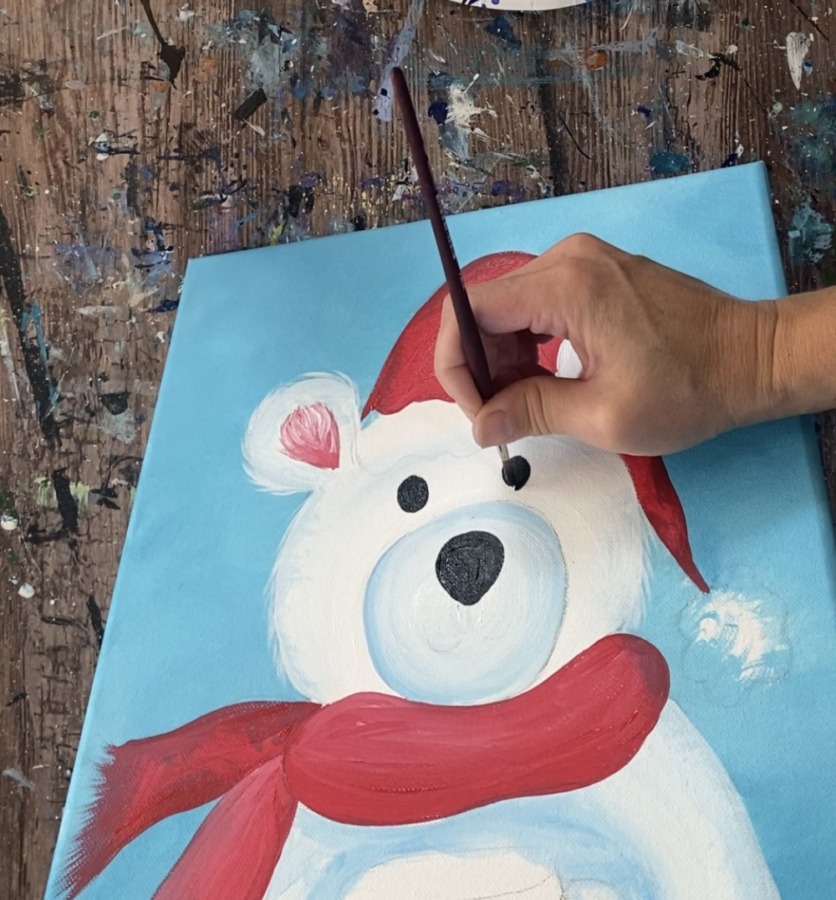
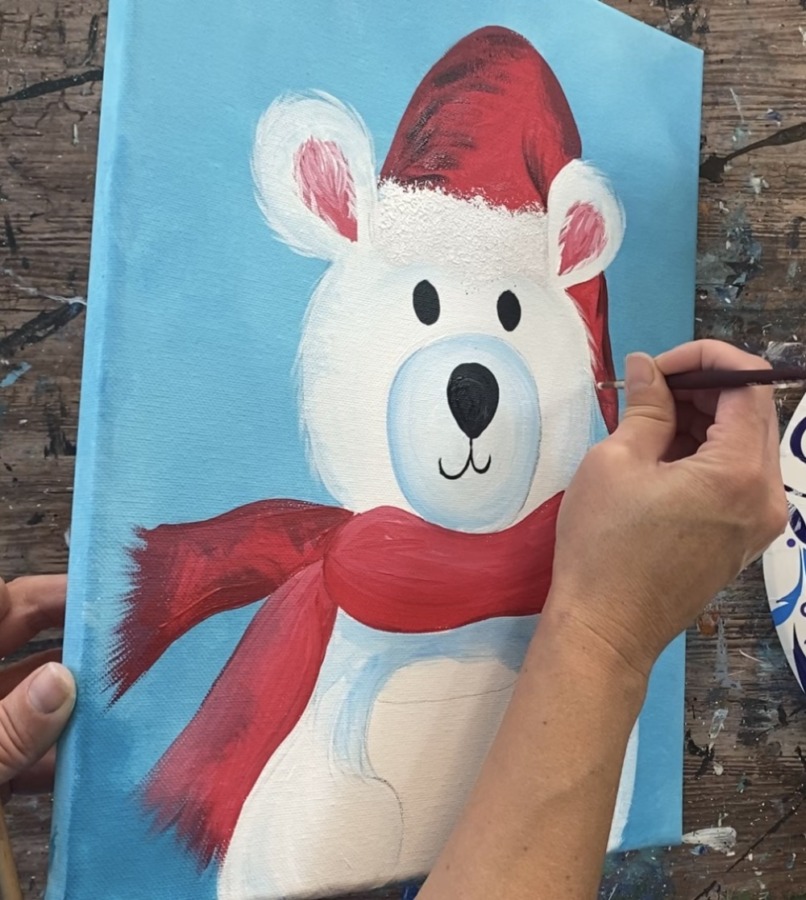
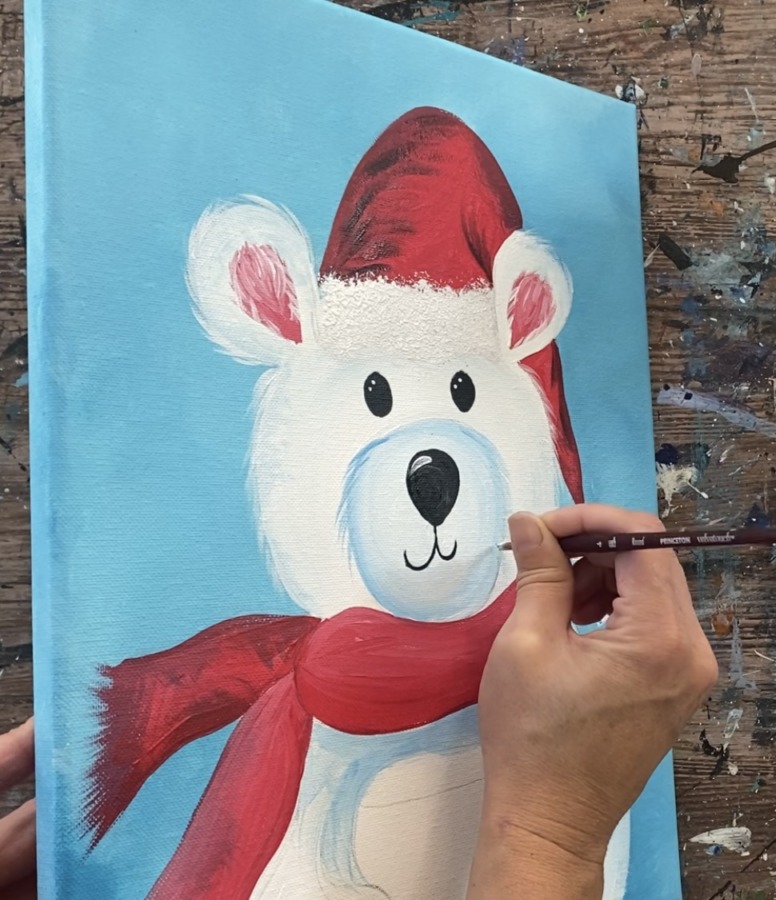
8. Paint Eyes, Nose & Mouth
Use mars black and a #4 round brush to paint the eyes, nose and mouth.
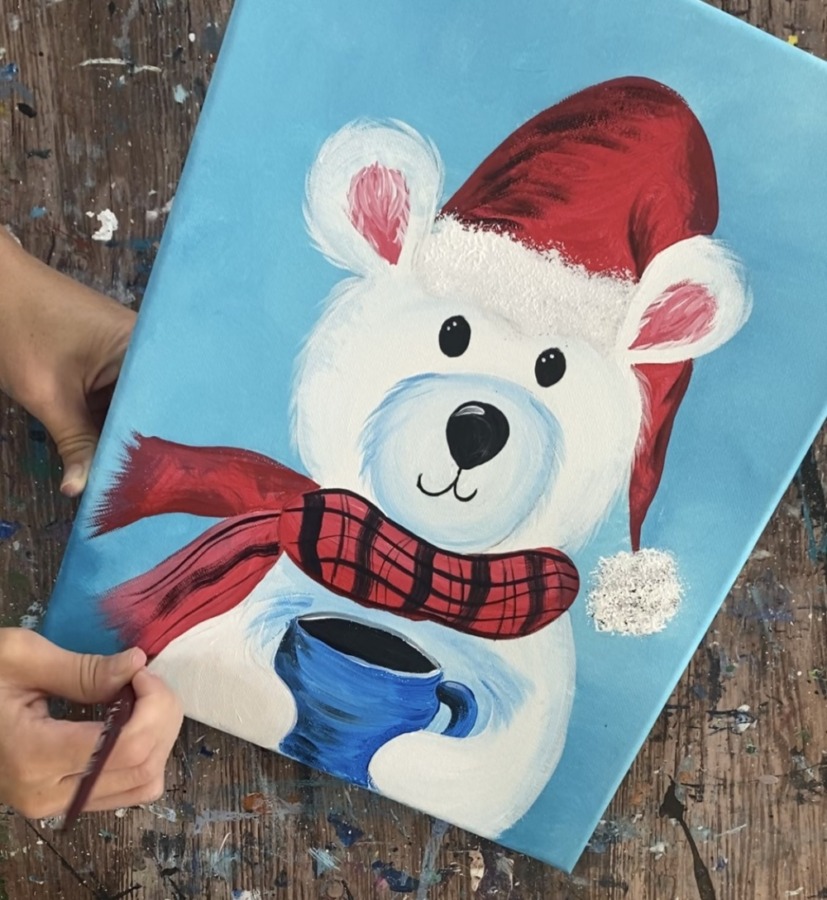
9. Paint Shadowing On Hat (optional) & White Fluffy Texture
Painting shadowing on the hat is optional! To do this, I mixed a small amount of black with the red (to make the red slightly darker). Then I slightly watered it down so the paint would be very thin.

I painted a small mark where the fold of the hat is. Then I did some textured strokes on the left and top of the hat.
You can see below where the shadow marks were made.
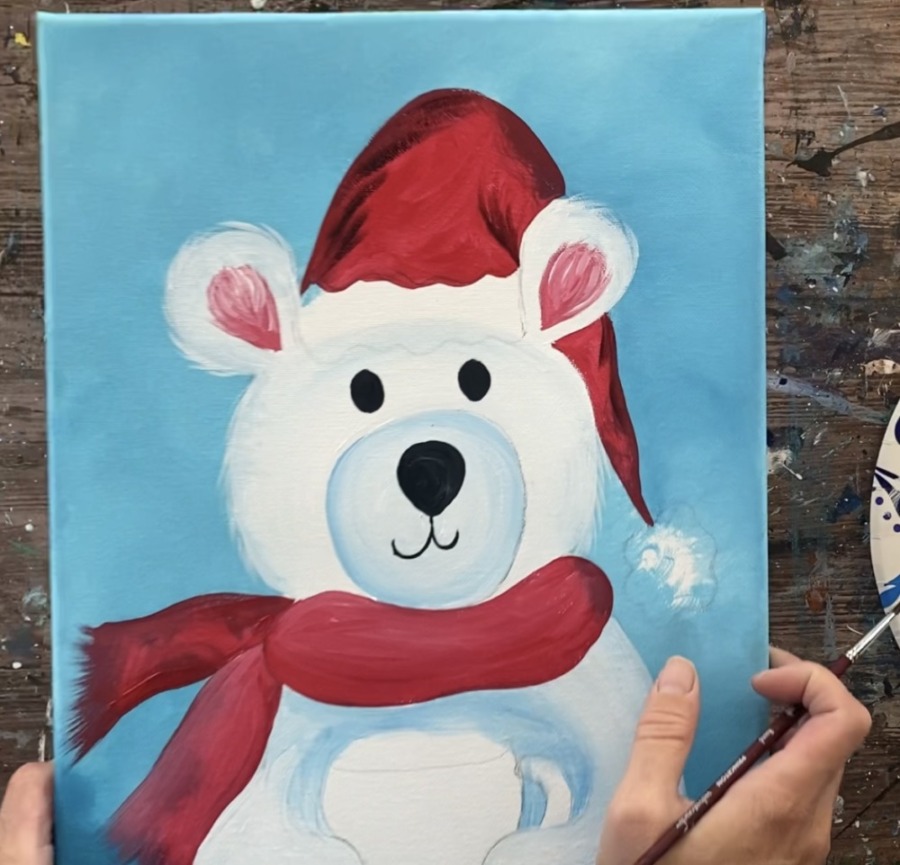
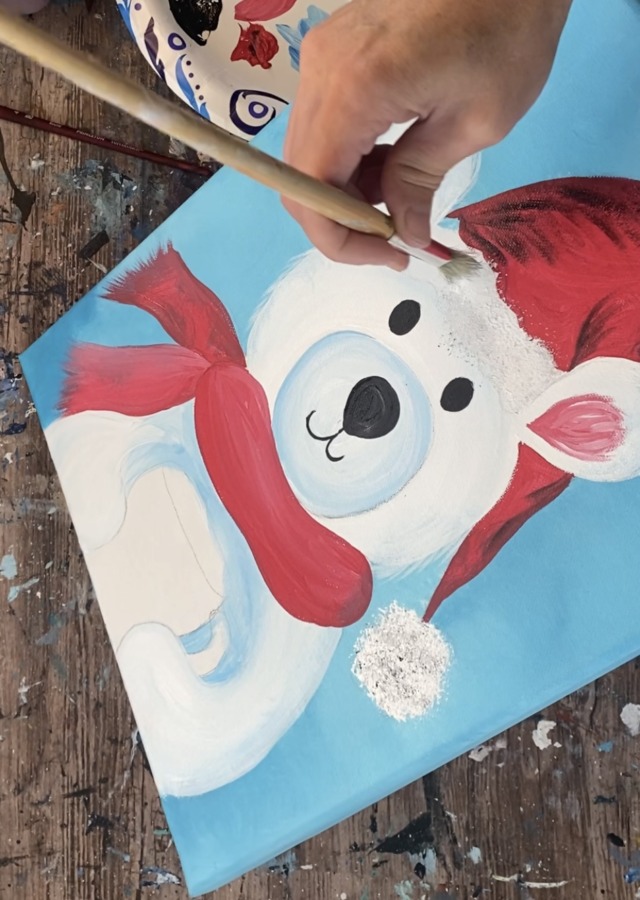
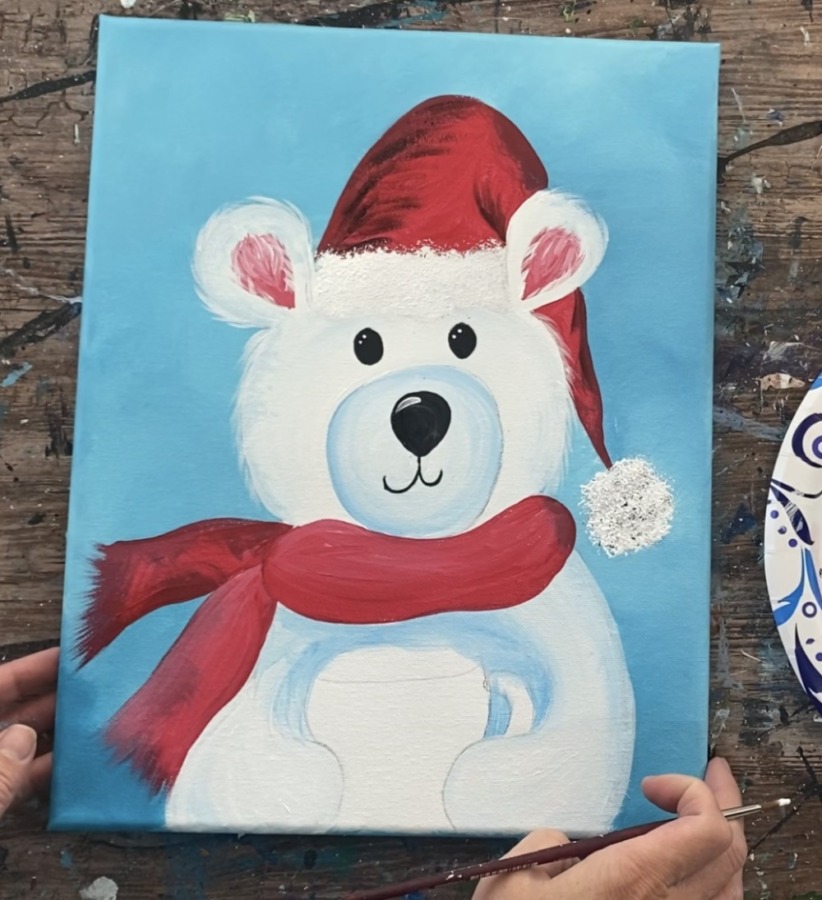
Next, use a round bristle brush to paint texture on the end of the Santa hat and along the base of the Santa hat. A bristle brush has natural hair wiry textured bristles. Load just the end of the brush in white and then “tap” the brush to create the texture.
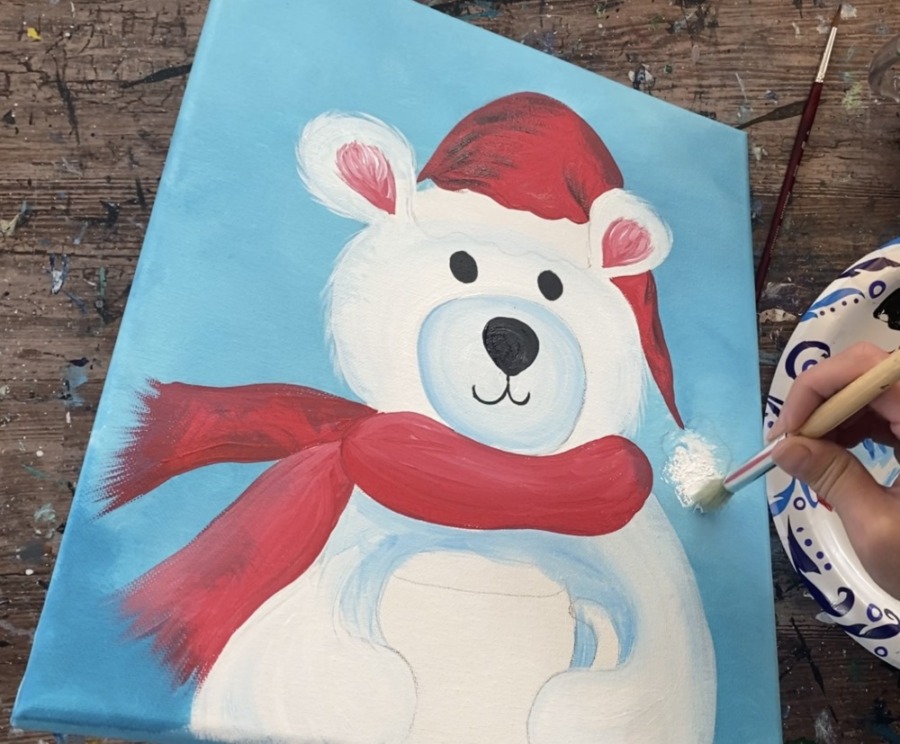
Tap the white on both the tip of the Santa hat and on the base. You can also add a very small amount of black into it to create some dimension.
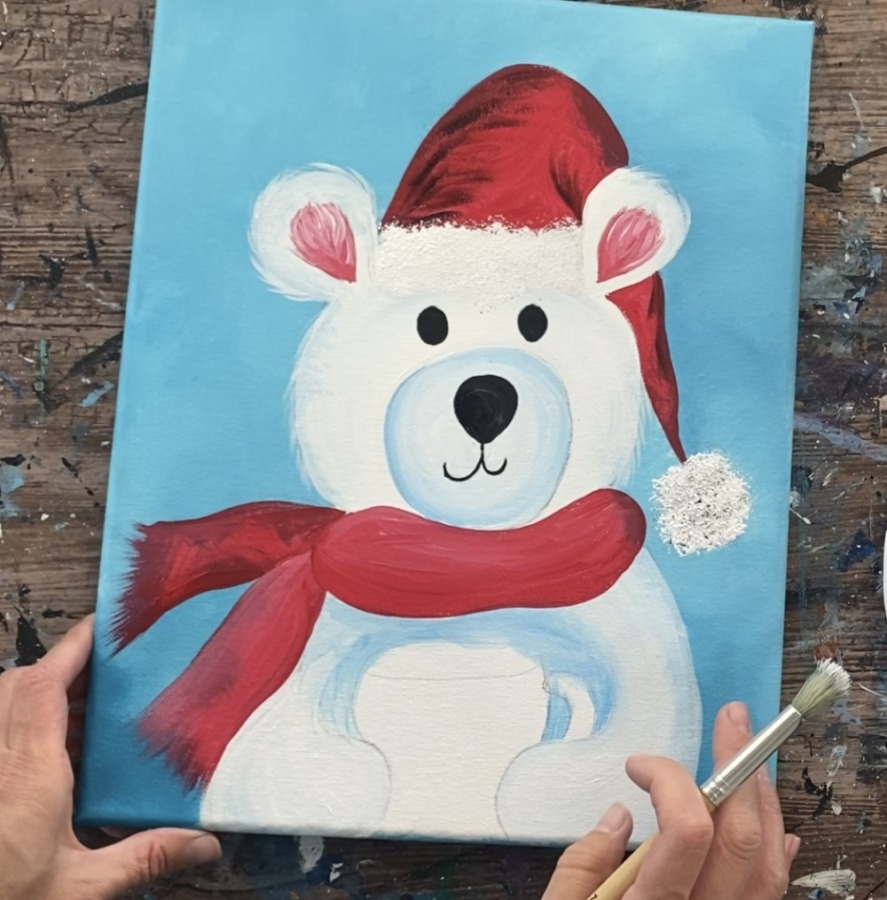
10. Paint More Fur Texture & highlights in eyes & nose
Use the round brush to paint more fur texture that overlaps the Santa hat on the right.
Paint two small dots in the upper left of both of the eyes. Paint a small highlight mark on the top left of the nose.
Then mix a light blue to paint fur texture on the muzzle edges.
Paint some more light blue textured strokes on the chest area behind the coffee cup.

11. Paint Cup
You can paint this cup any color! I did mine with primary blue. Use a #4 round brush. Paint the cup in curved strokes. Add a little white into the blue to give it some dimension and color variation.
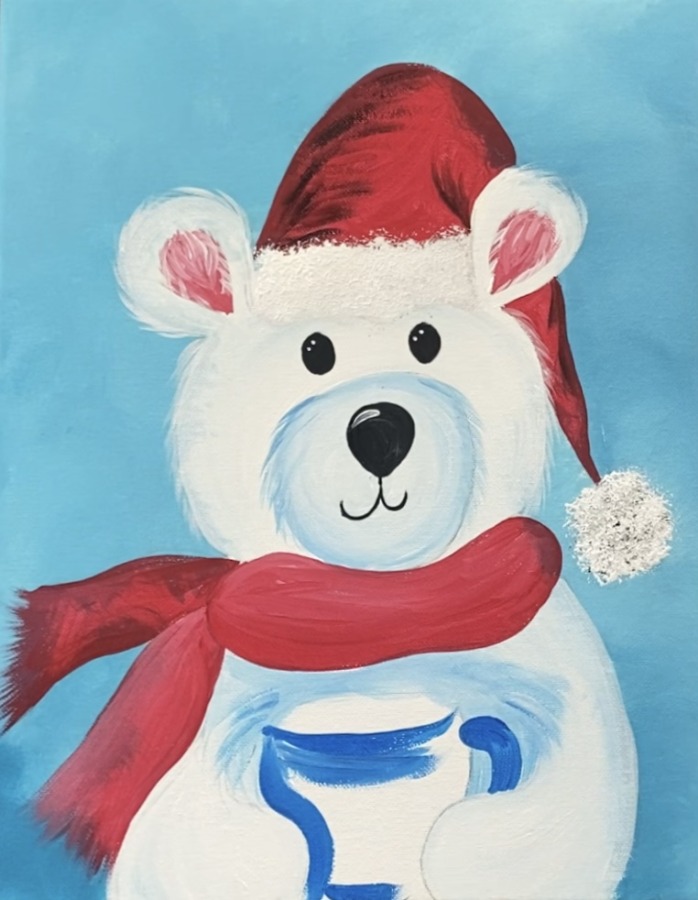
Then paint the inside of the color black. Paint a little bit of black on the left side of the cup to give it shadow.
Then paint white/ outline the top rim of the cup.
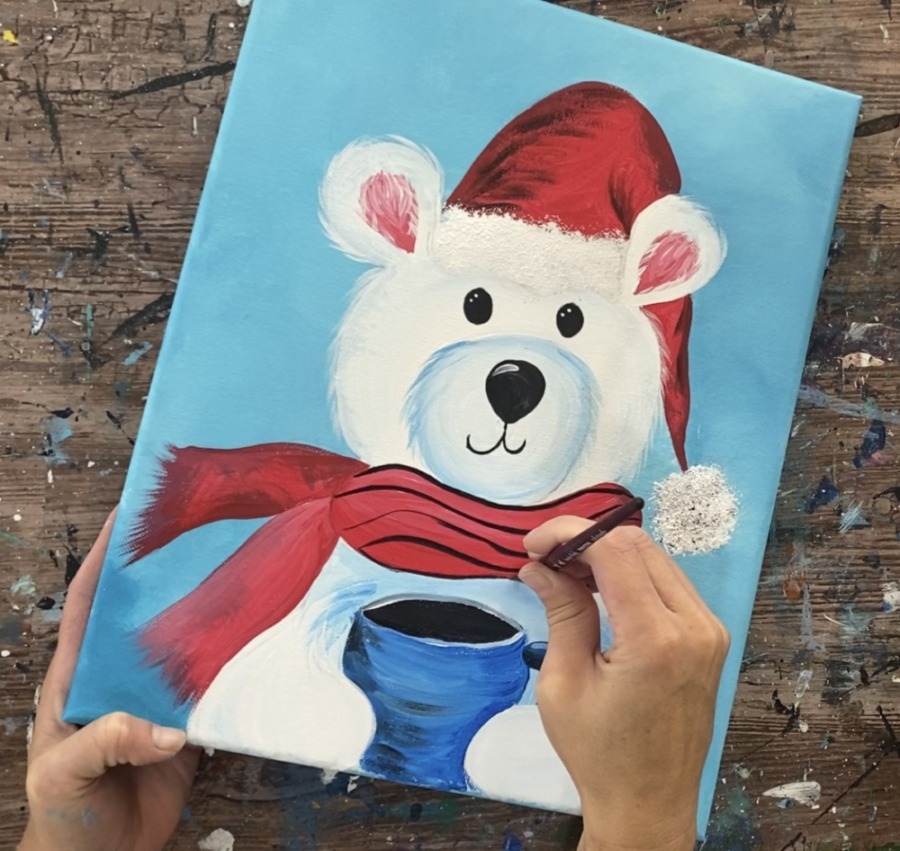
12. Paint Plaid Print On Scarf
Paint the plaid pattern on the scarf. I recommend using the 3/8″ angle brush for this but you can also do this with a small bright brush or a round brush.
Water down your mars black to a water color consistency. It should be thin but not drippy. Paint horizontal/ slightly wavy lines across the scarf.
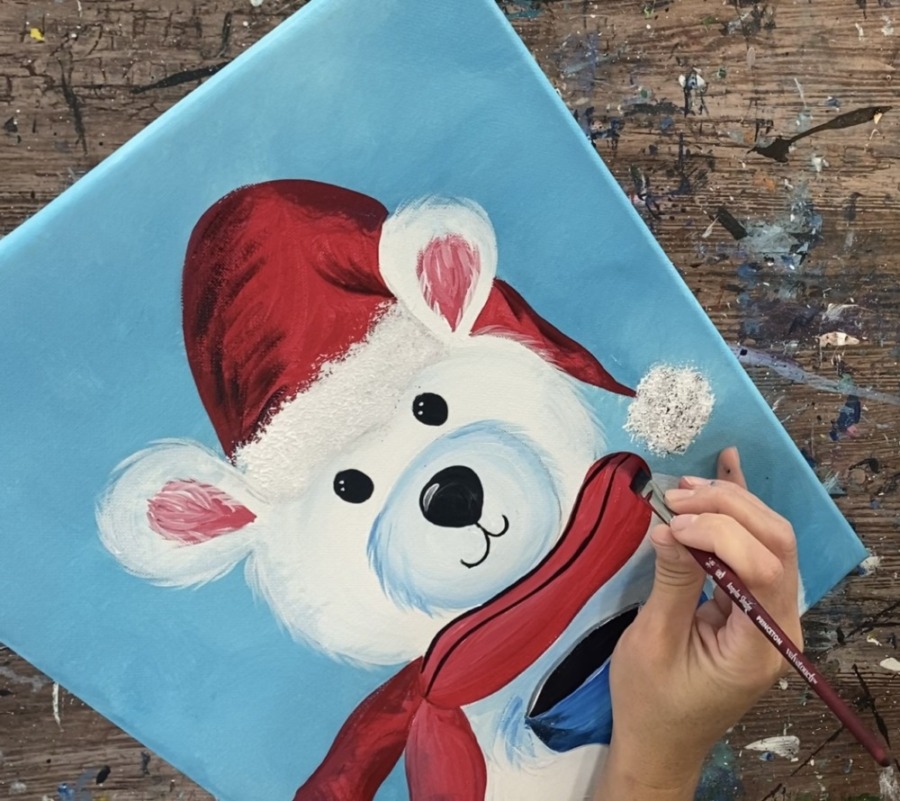
I did five lines across.
Then do vertical lines that are thicker.
Then do two thin lines between the thick lines that are closer together.
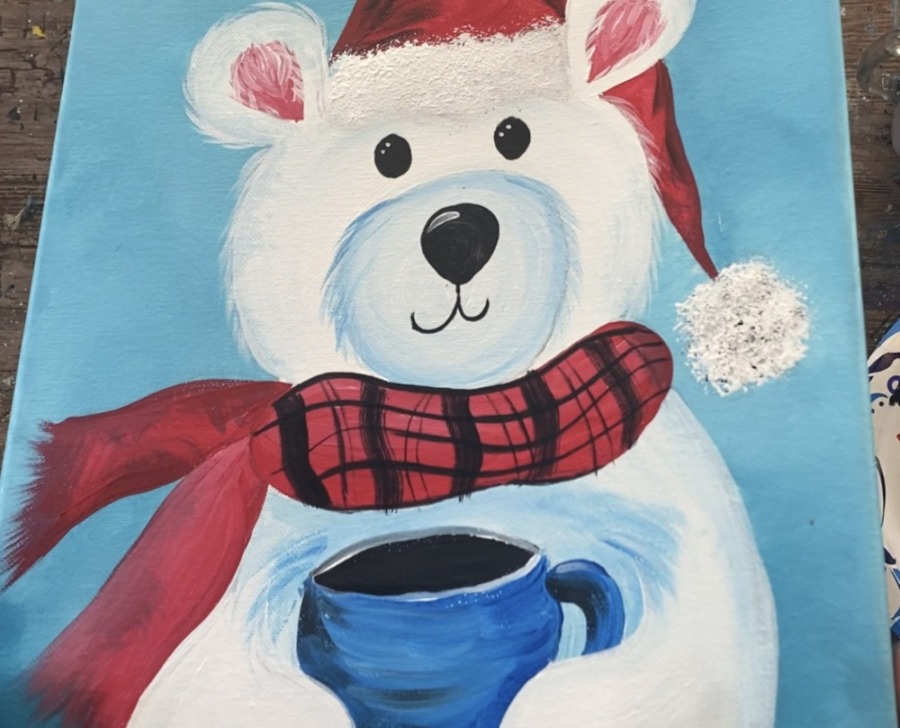
Repeat this pattern for the other parts of the scarf.
13. Paint Design On Cup
Use a round brush to paint any design on the mug. I did a white heart and then painted the heart red after the white dried.
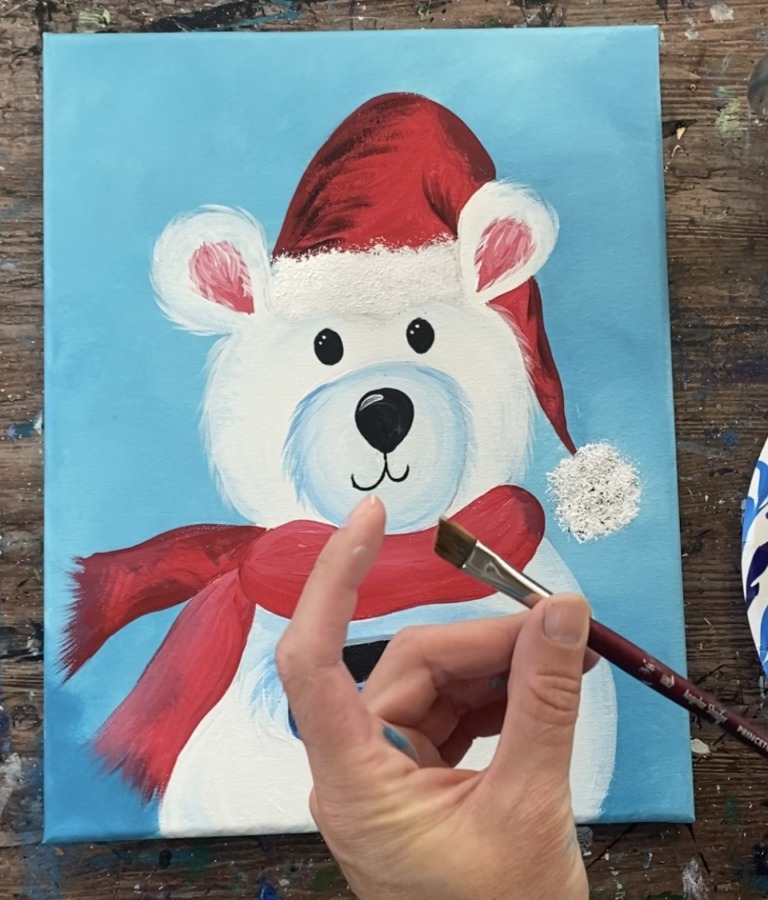
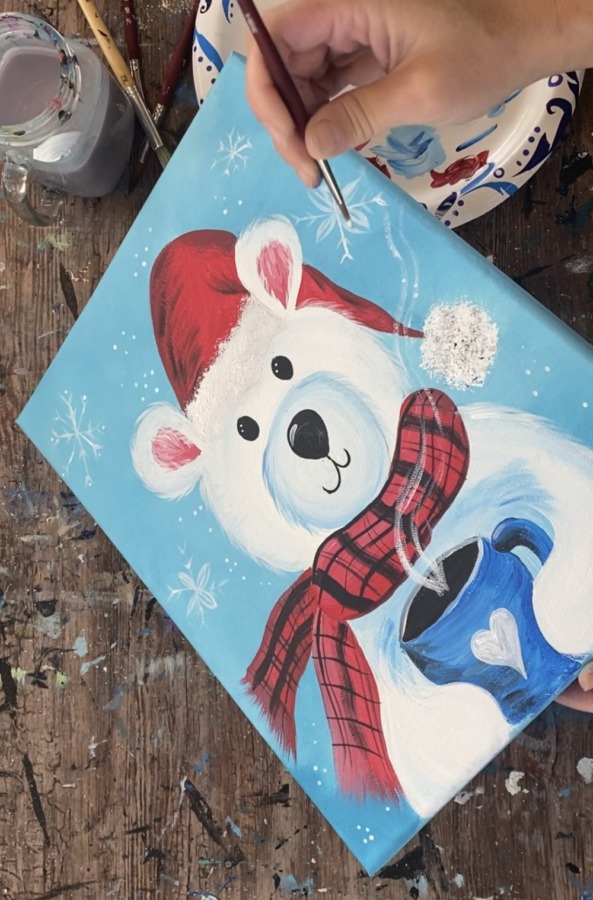
14. Paint Snowflakes & Snow
Use the #4 round brush and titanium white to paint snowflakes in the background.
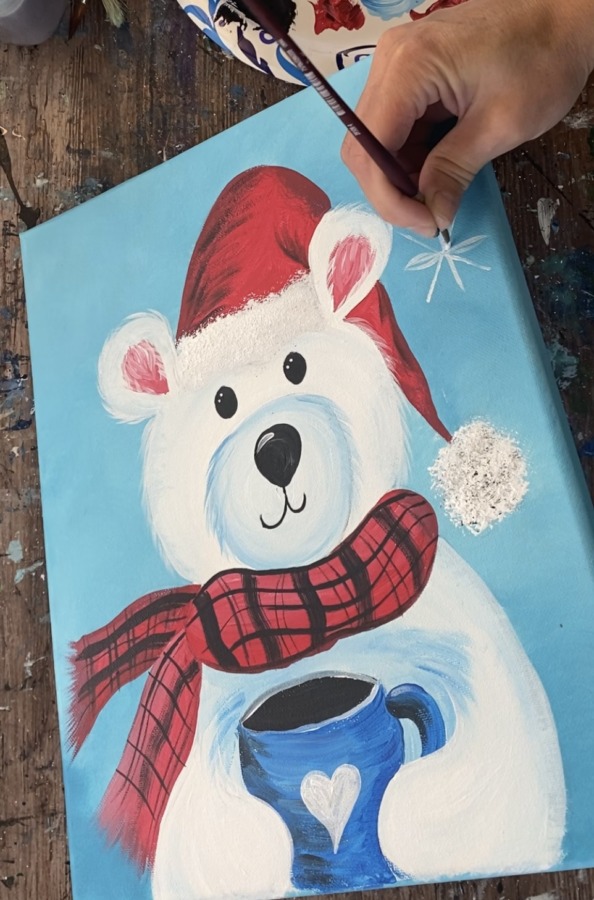
Paint an “X” and then a vertical and horizontal line through the “X”. Paint little angle marks on the ends of the lines. Then paint little curved lines on the “X” lines. These are very similar snowflakes to the ones I did in my Santa Claus painting tutorial!
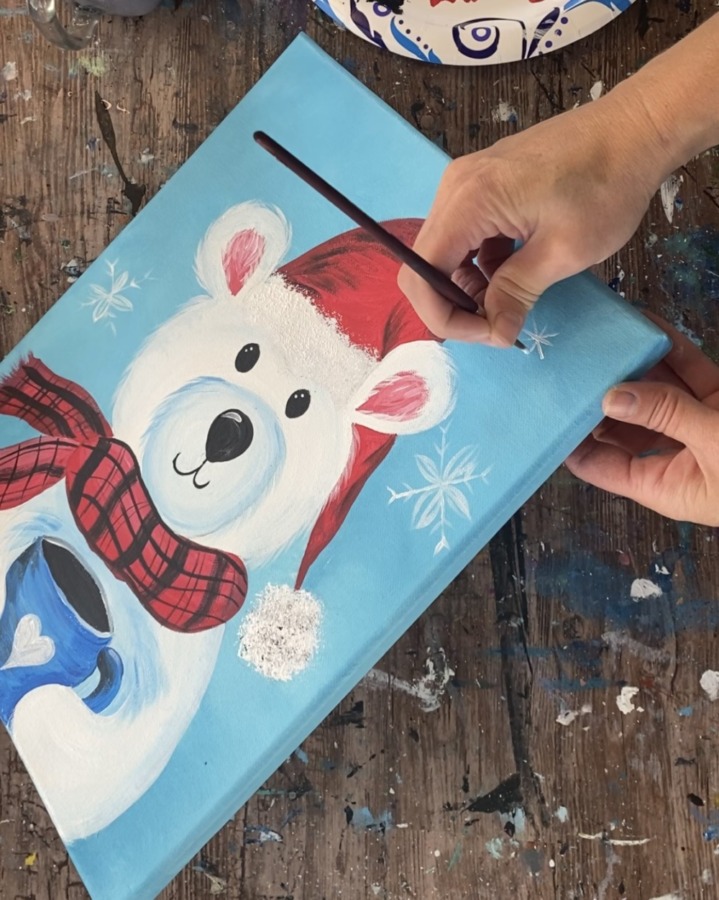
Paint clusters of little dots in the background for snow.
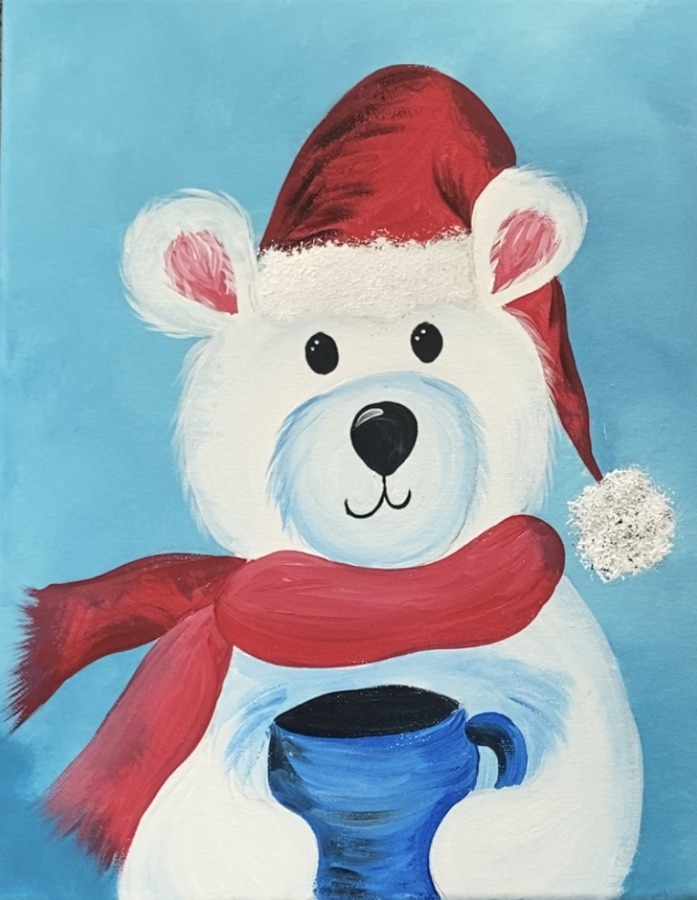
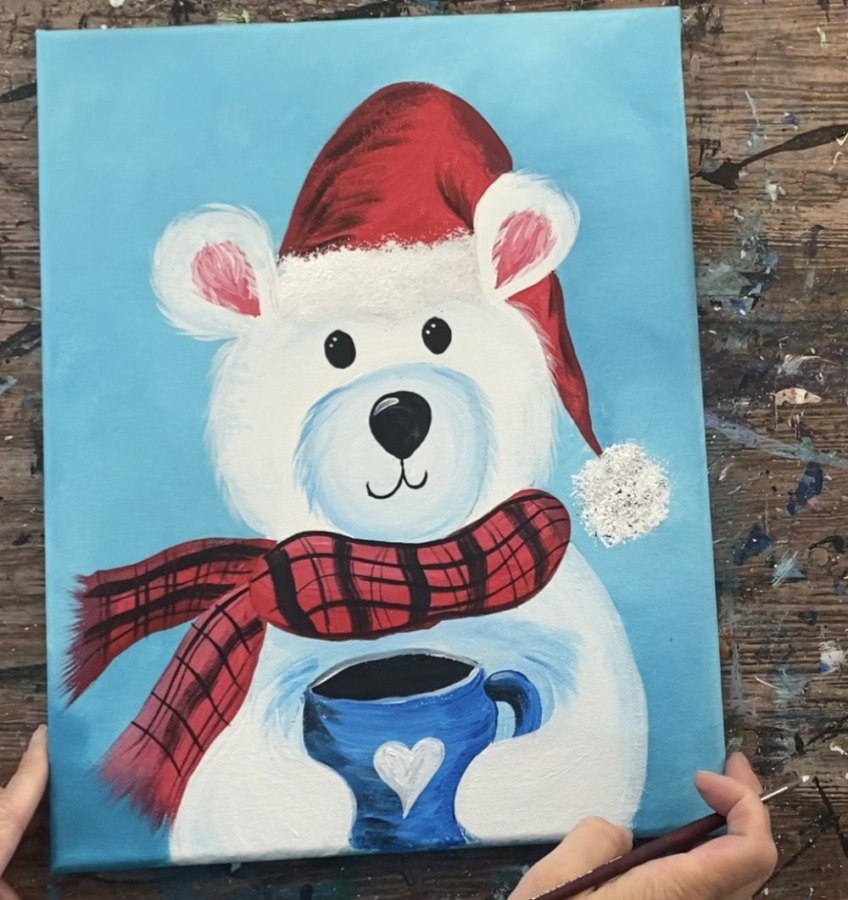
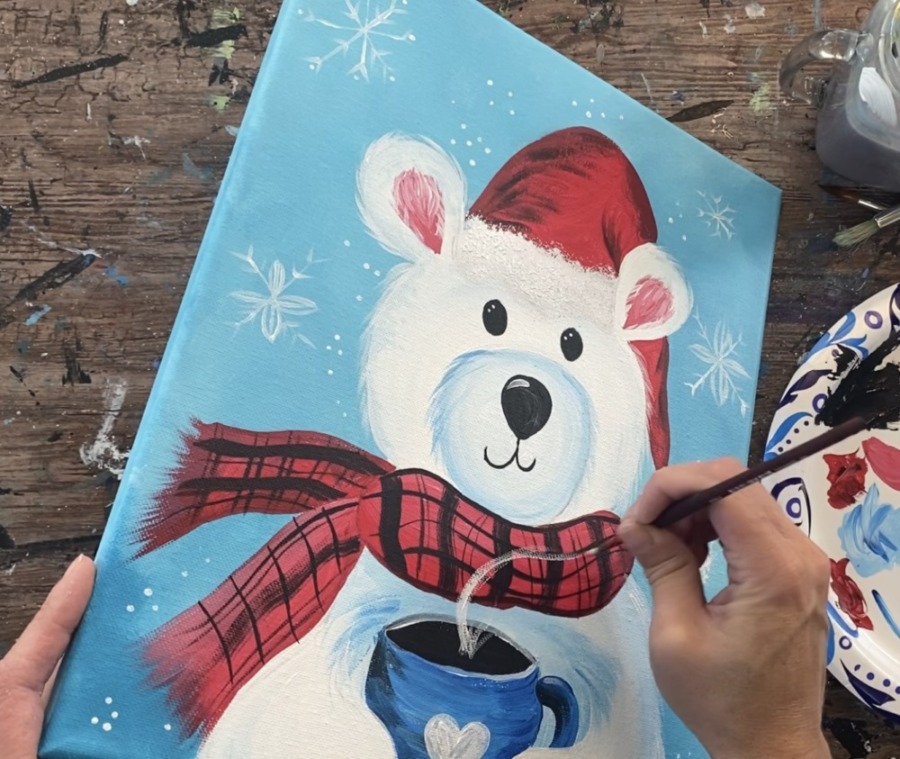
15. Paint Coffee Steam
To do the coffee steam, I recommend that your dry brush it. Load the brush in a small amount of paint and wipe it off. Paint long wavy lines coming out from the opening of the cup. These brush strokes should be dry and translucent. If it is showing up too bright, wipe off more paint off of your brush.
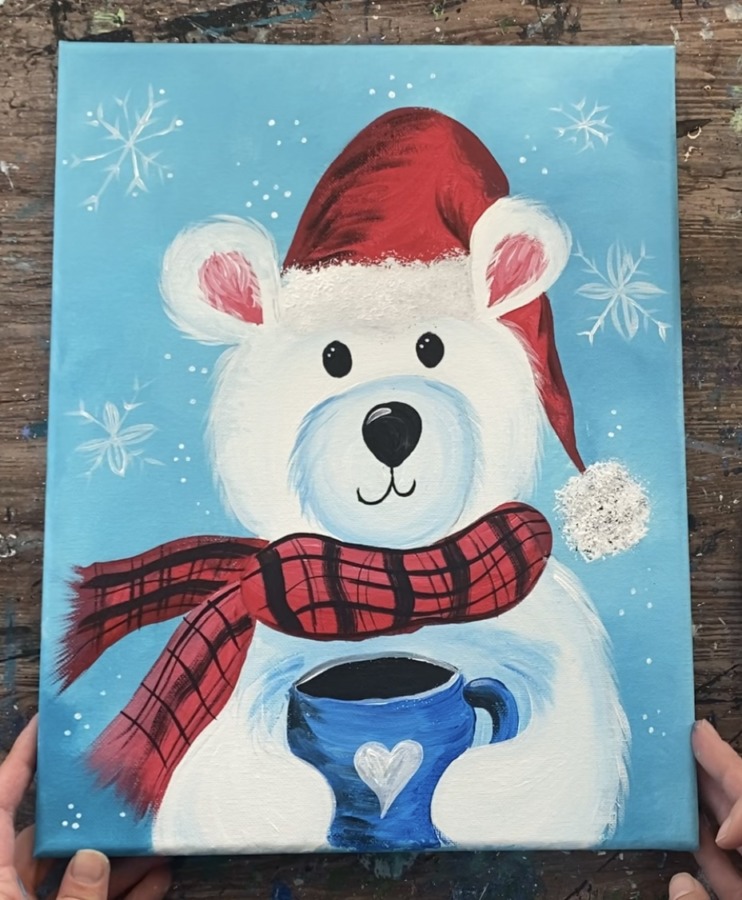
As a final touch, I painted the heart red and painted little white dots on it.
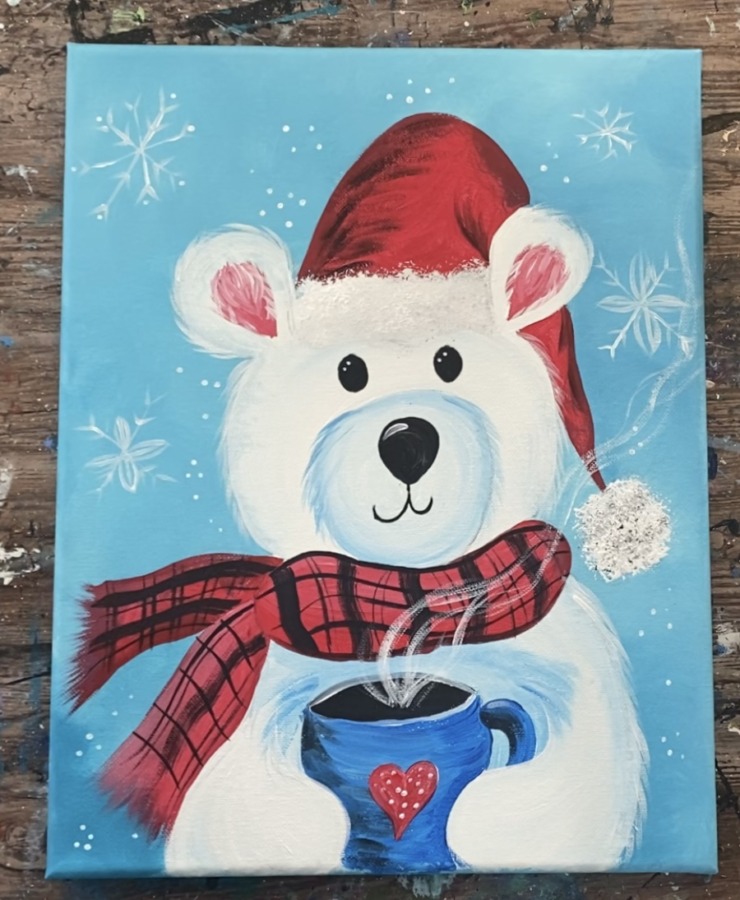
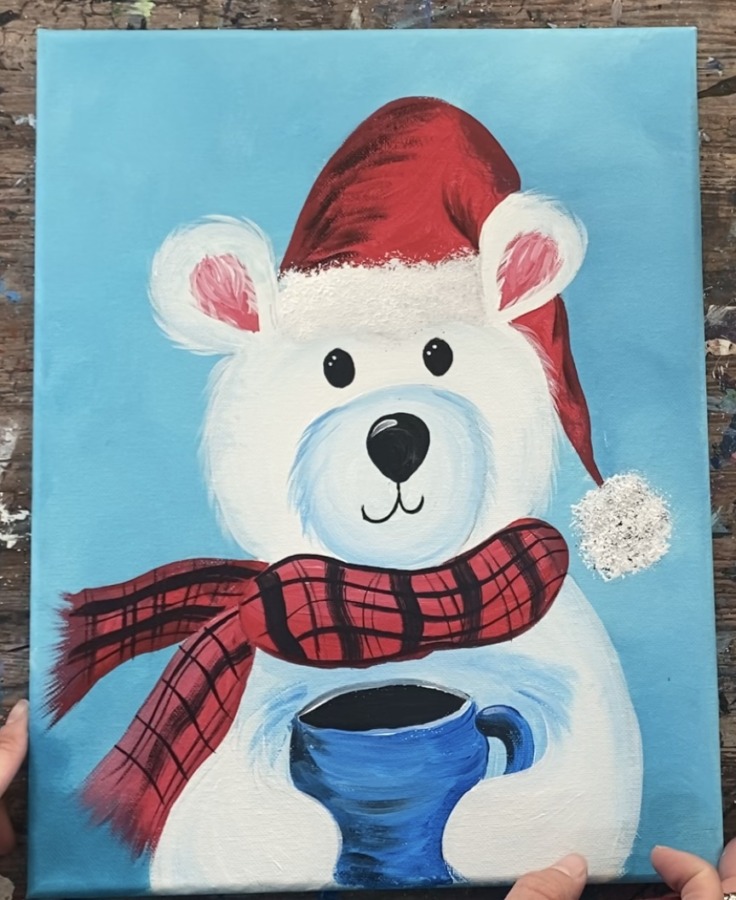
Finished!
Share Your Art Here


Painted this last evening with my family. We’ve done a painting together at Christmas each year for the past three years. Thank you for the time and creativity you share with the world!