
Would you like to save this?
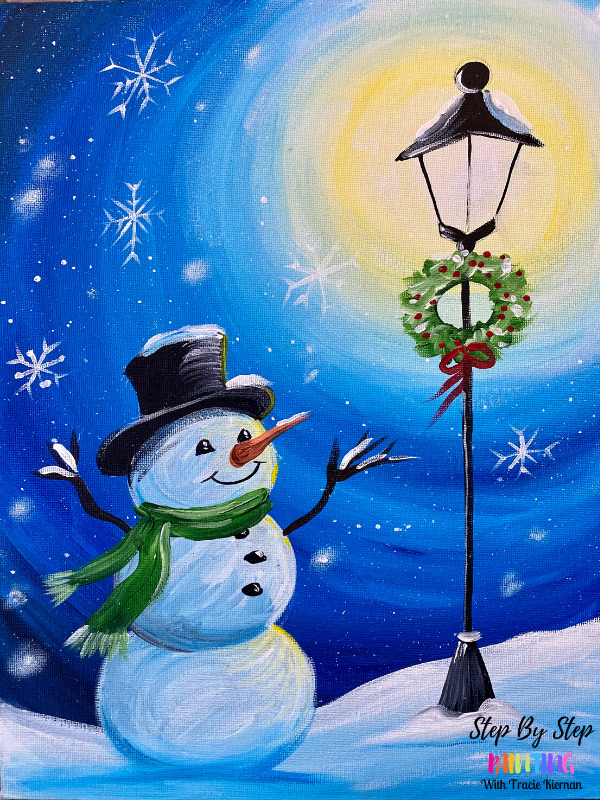
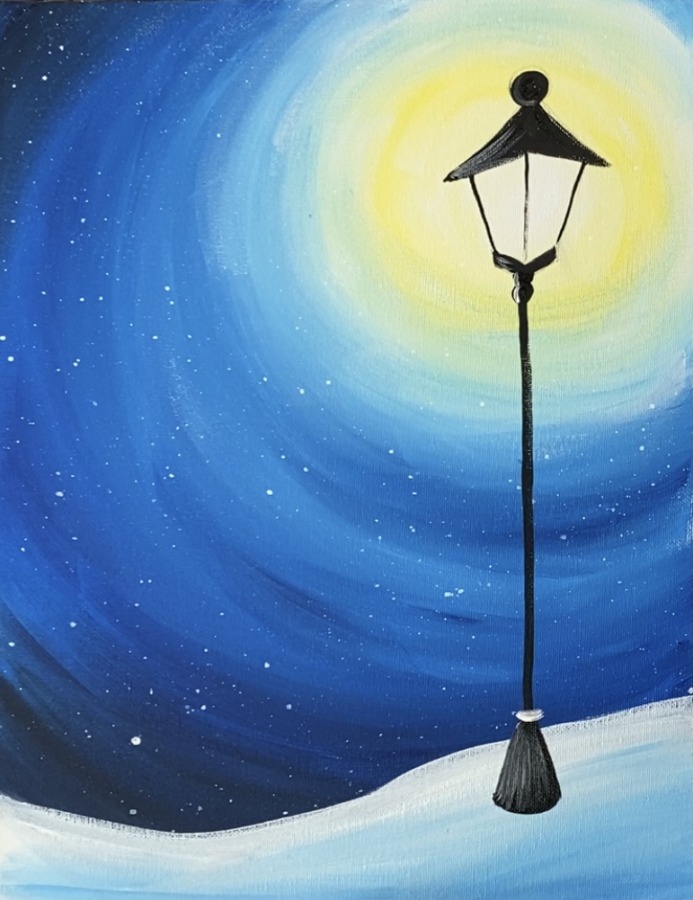
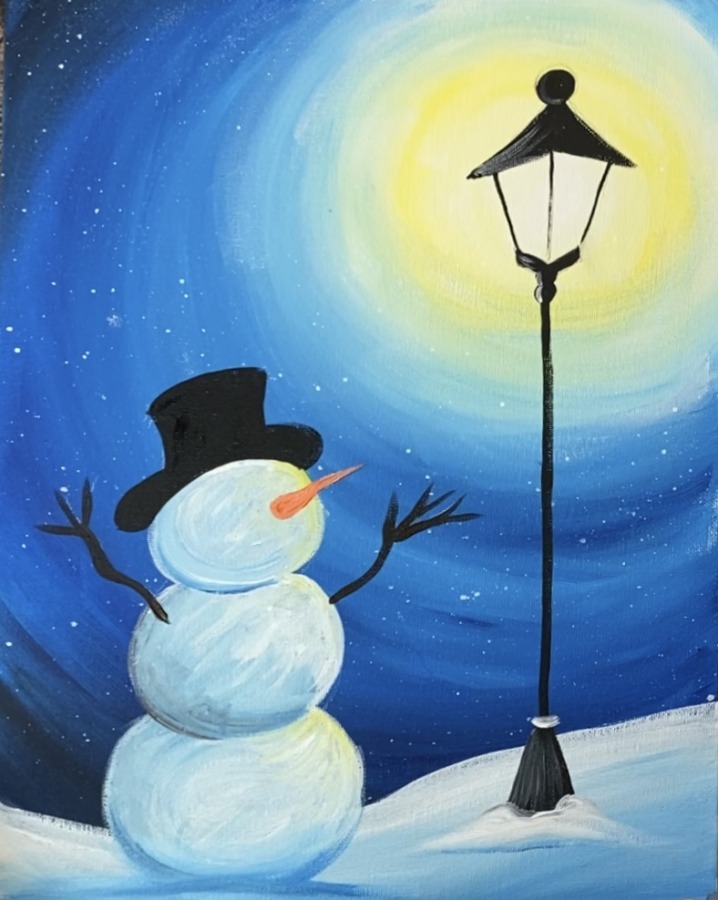
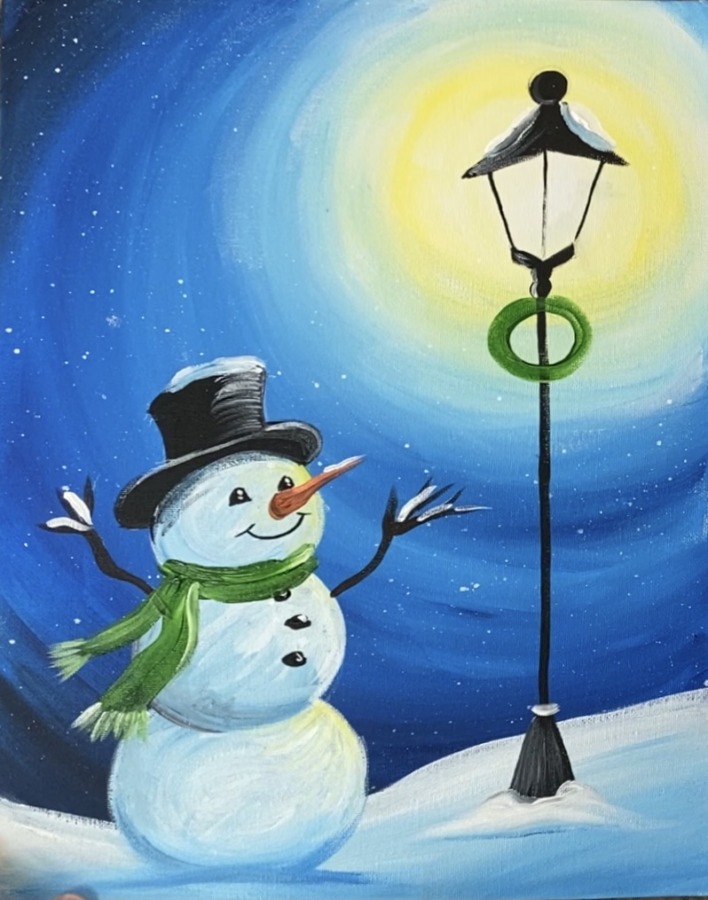
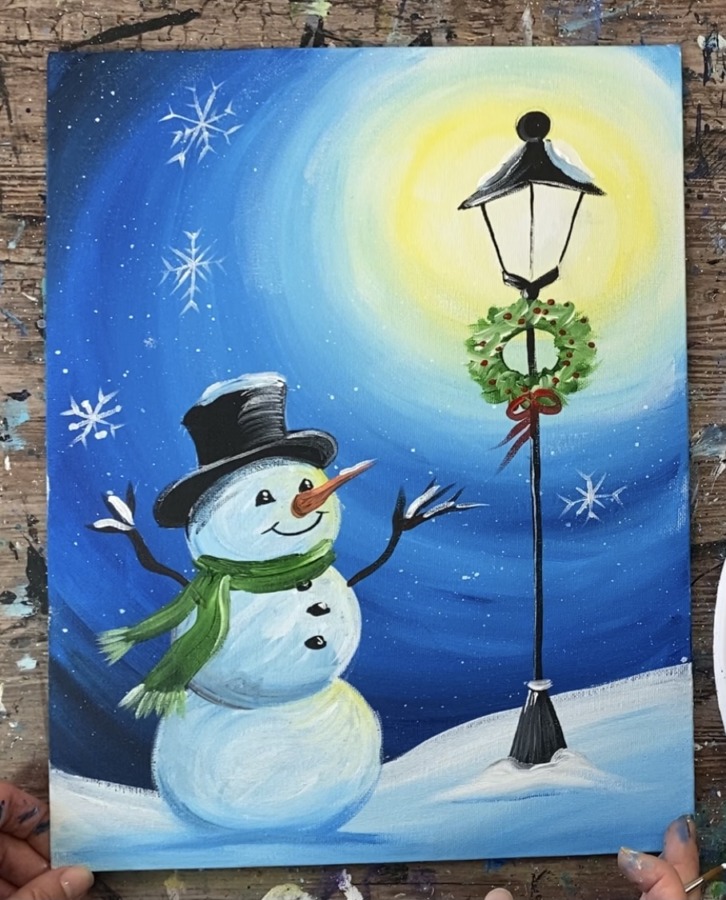
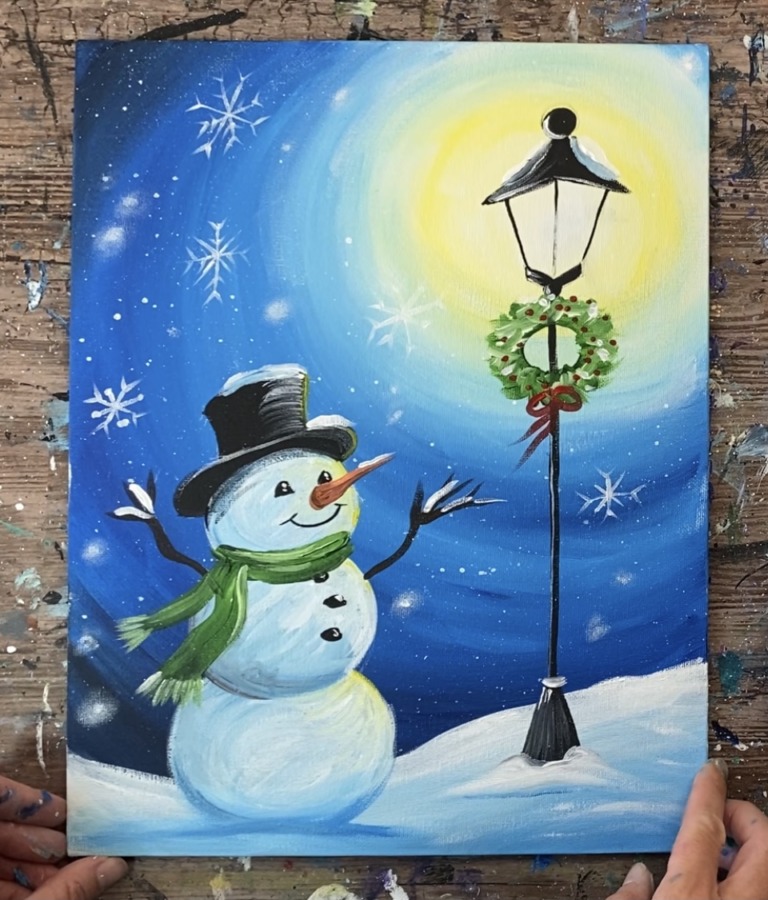
This acrylic painting tutorial will demonstrate how to paint a snowman looking up at a lantern on a snowy night!
Every year I do a snowman painting tutorial (sometimes more than one in a season!). They are so much fun to paint and you can add different personalities and themes to the snowman’s environment.
This one is titled “Hopeful Snowman” because of the expression of the cute little snow person looking up at the light with hopeful ambitions. There is a level of simplicity in this painting as well.
Hope you enjoy! Happy Painting!

Materials
Hopeful Snowman
This tutorial demonstrates how to paint a snowman at night looking up at a lantern.
Materials
- Acrylic Paint
- 11 x 14 Canvas
- Paint Brushes
- Pencil
- Ruler
- Chalk Pencil
Colors
- Naphthol Crimson
- Cadmium Orange Hue
- Primary Yellow
- Hooker's Green Hue Permenent
- Phthalo Blue
- Mars Black
- Burnt Umber (optional)
- Titanium White
Paint Brushes (I used Velvetouch Princeton Brushes)
- 3/4" Flat Wash
- #8 Round Brush
- #4 Round Brush
- Toothbrush For Splatter Snow Effect
Instructions
- See tutorial on www.stepbysteppainting.net for full instructions.
Color Palette

Craft Paint Conversion:
Using craft paints such as the Apple Barrel Craft Paints? You can try substituting with these colors:
- Black
- Too Blue
- Bright Yellow
- Flag Red
- White
- Nutmeg Brown
- Holly Branch
- Jack O Lantern
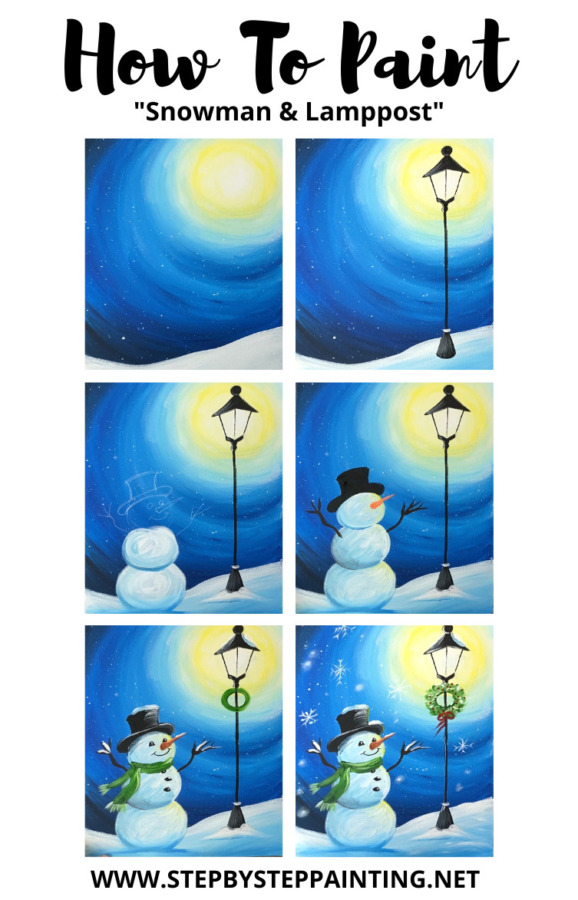
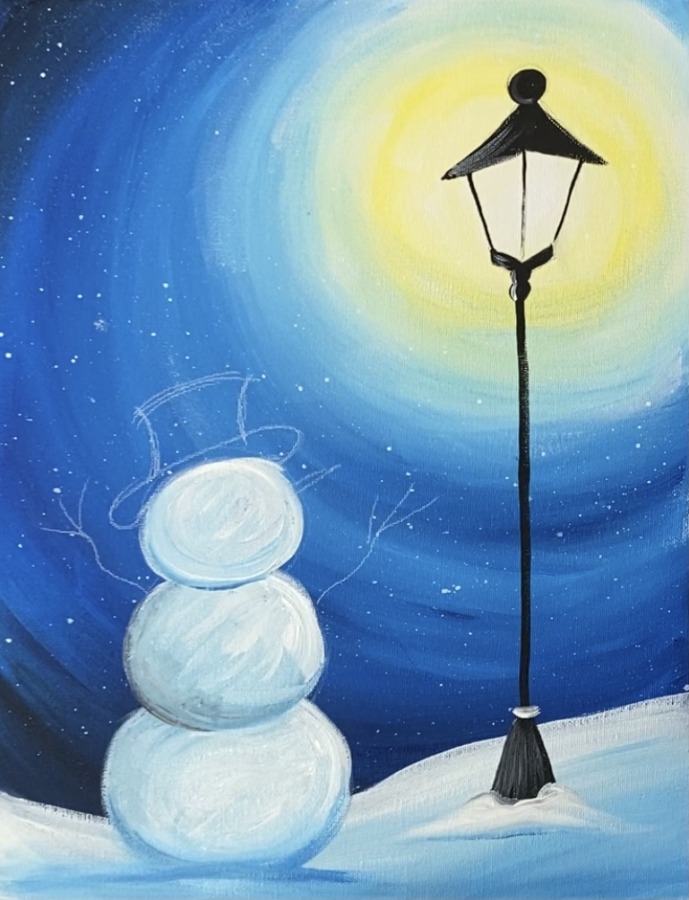
Directions At A Glance:
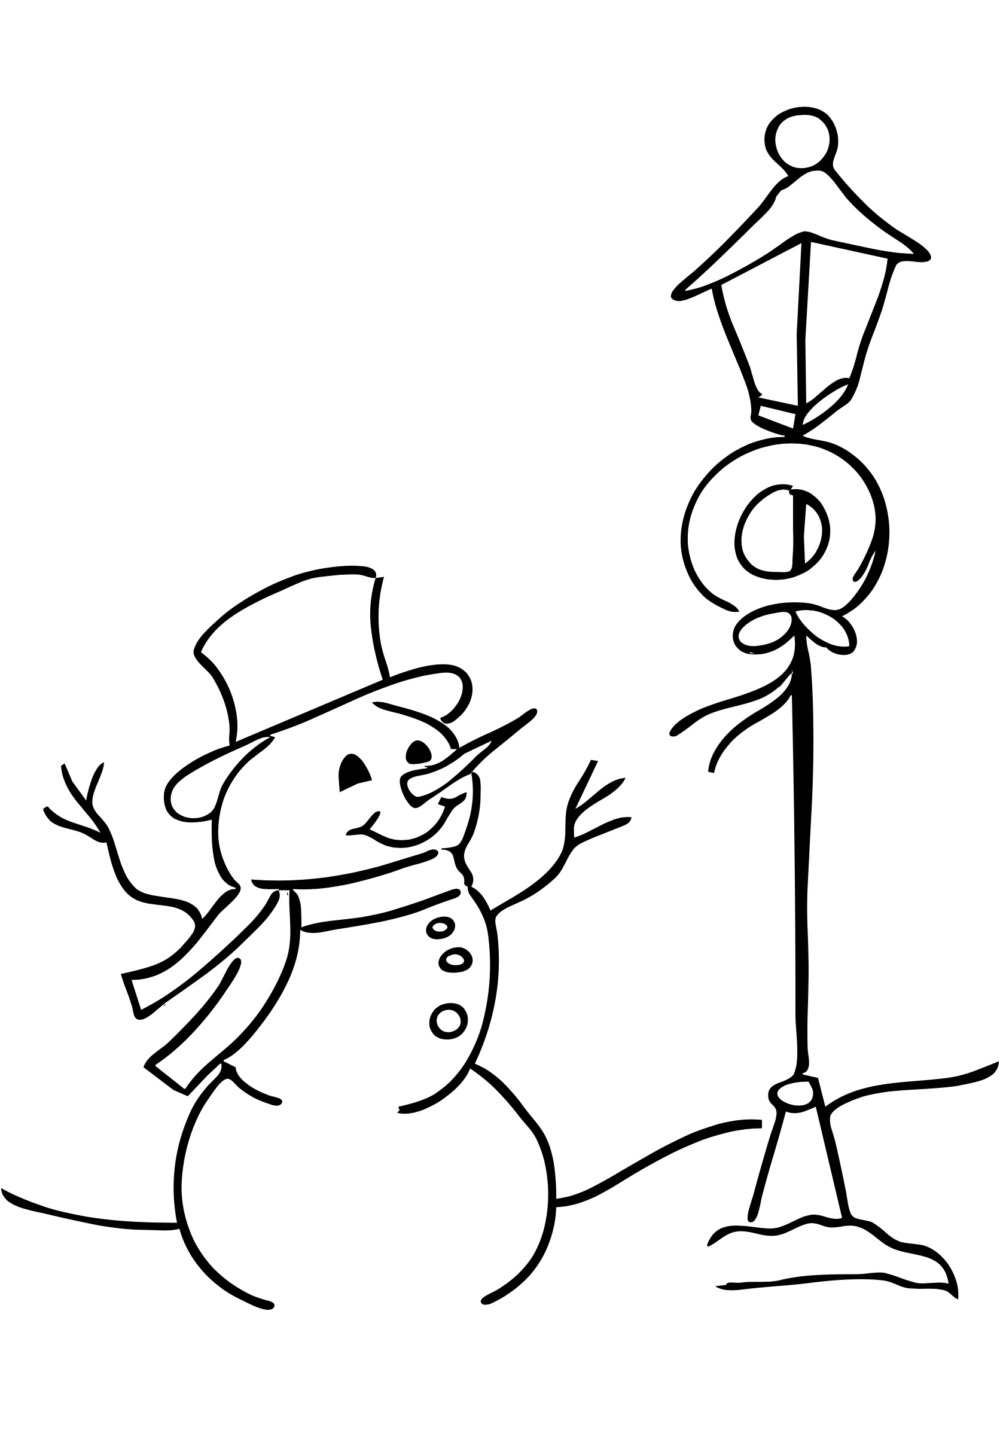
Traceable:
Video:
Step By Step Directions:
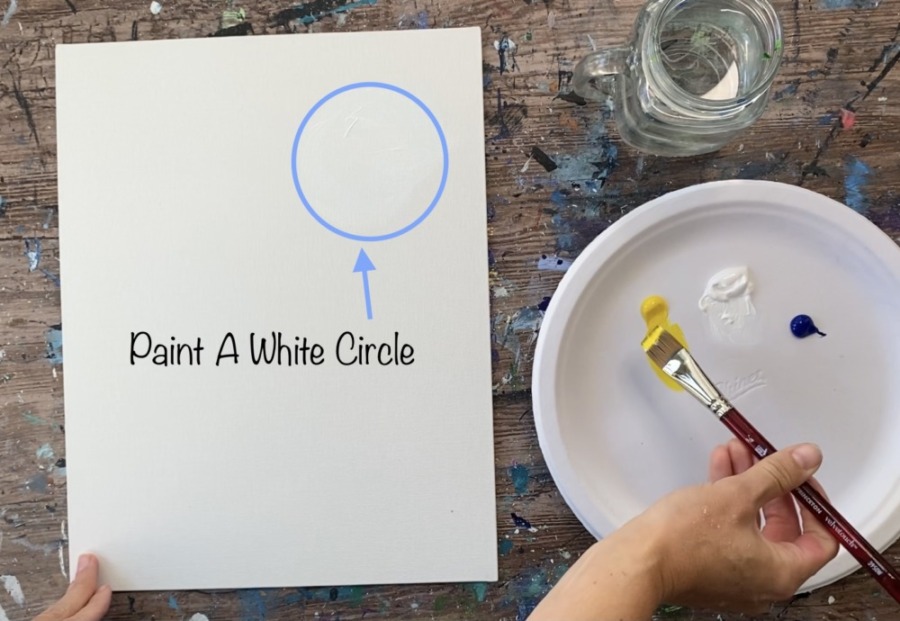
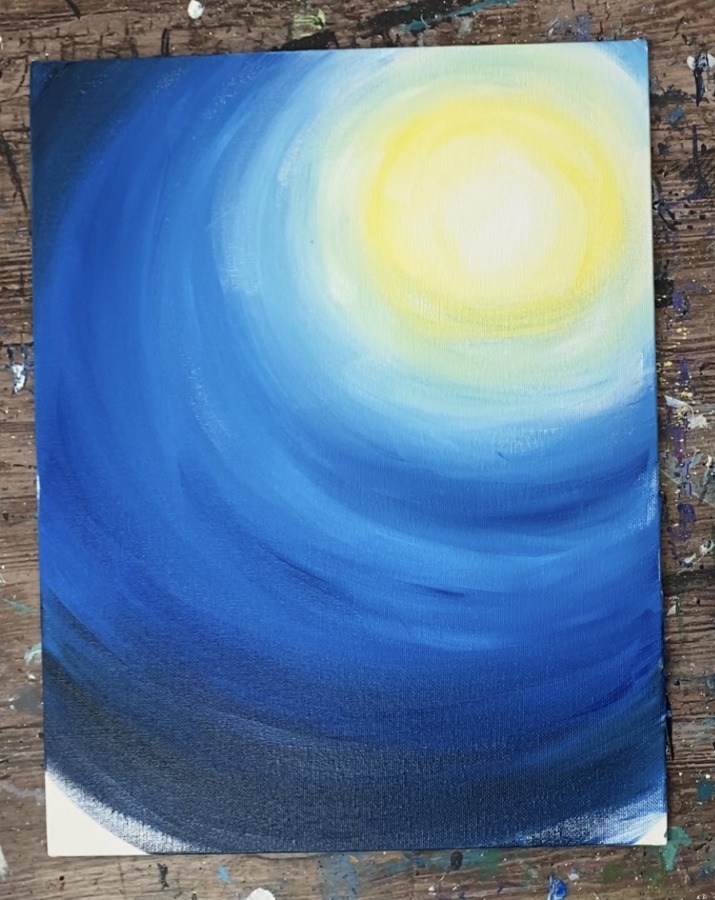
1. Paint Swirly Sky Background
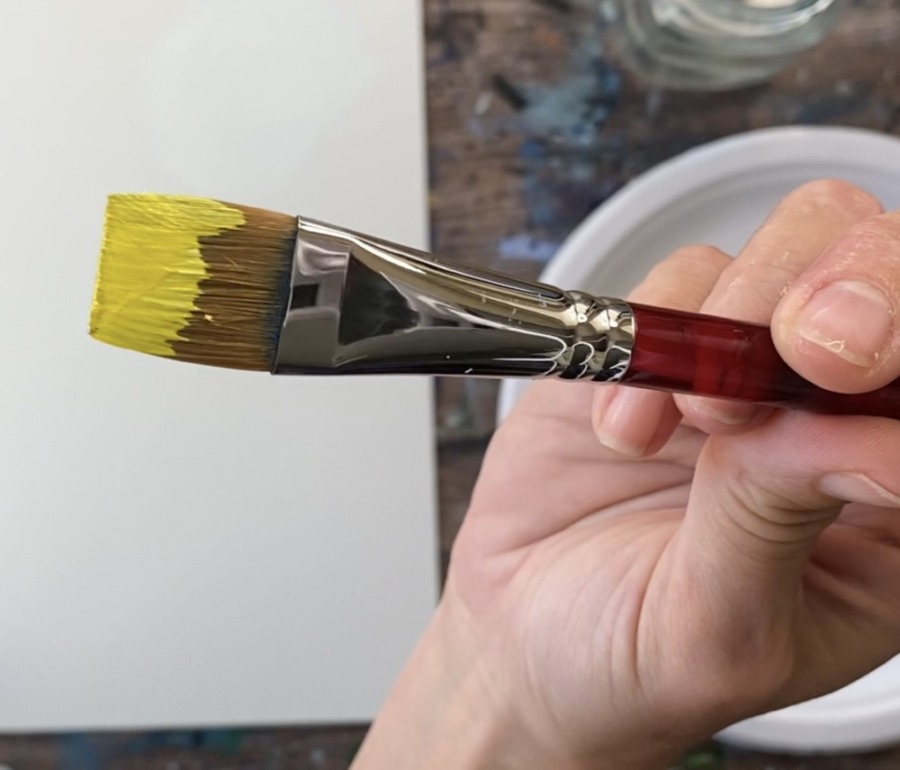
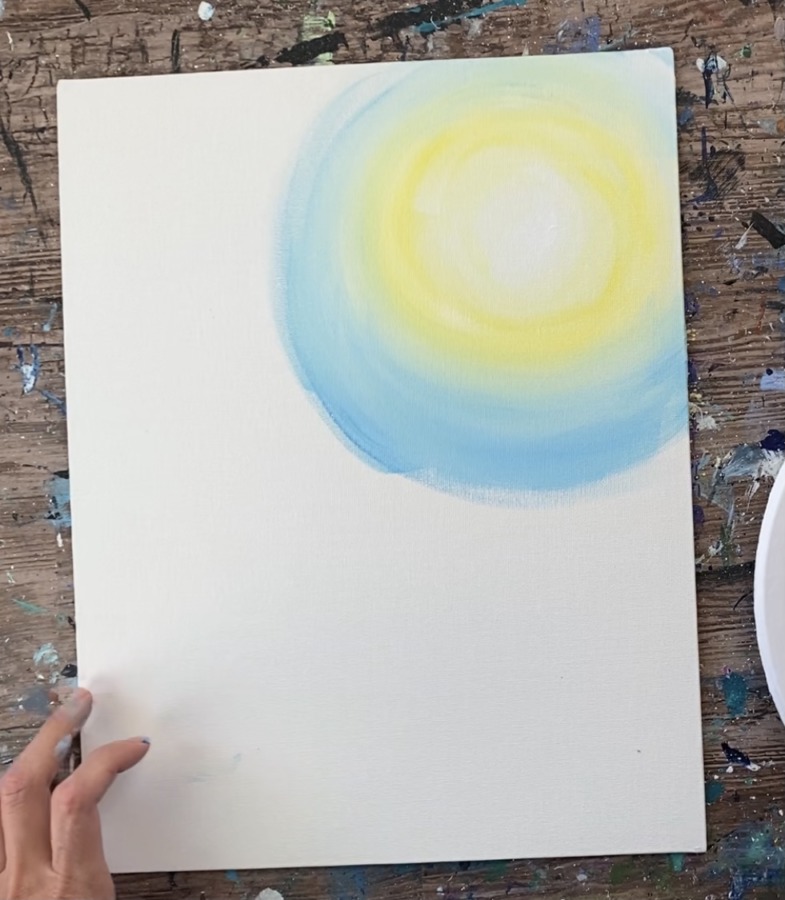
Start with your 11 x 14 canvas in vertical mode. Load your 3/4″ flat wash brush in titanium white. Paint a circle in the upper right corner of the canvas. This circle should be about 4 inches in diameter.
Then wipe off your brush. Load the tip of the brush in a small amount of primary yellow.
Gently blend that yellow around the white circle but keep the center of the circle bright and white. Paint in circular strokes blending that yellow outwards. You can add more white to your brush if needed to make that yellow lighter.
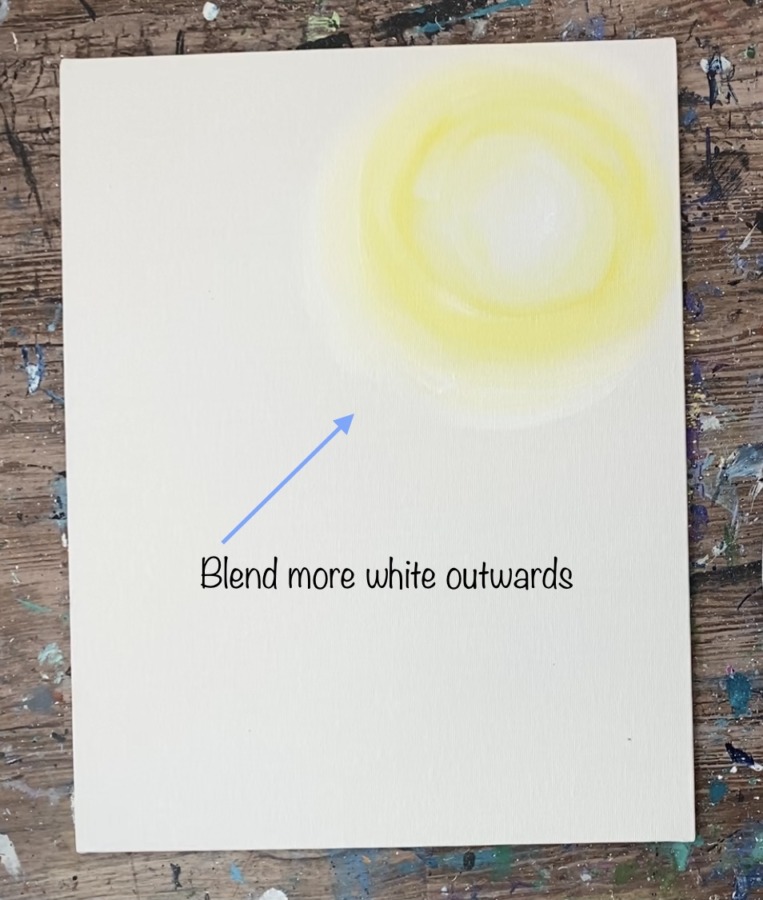
Then wipe your brush off. Add white to the brush and blend outwards so there is just white around the yellow ring. This will be used the blend the light blue in the sky.
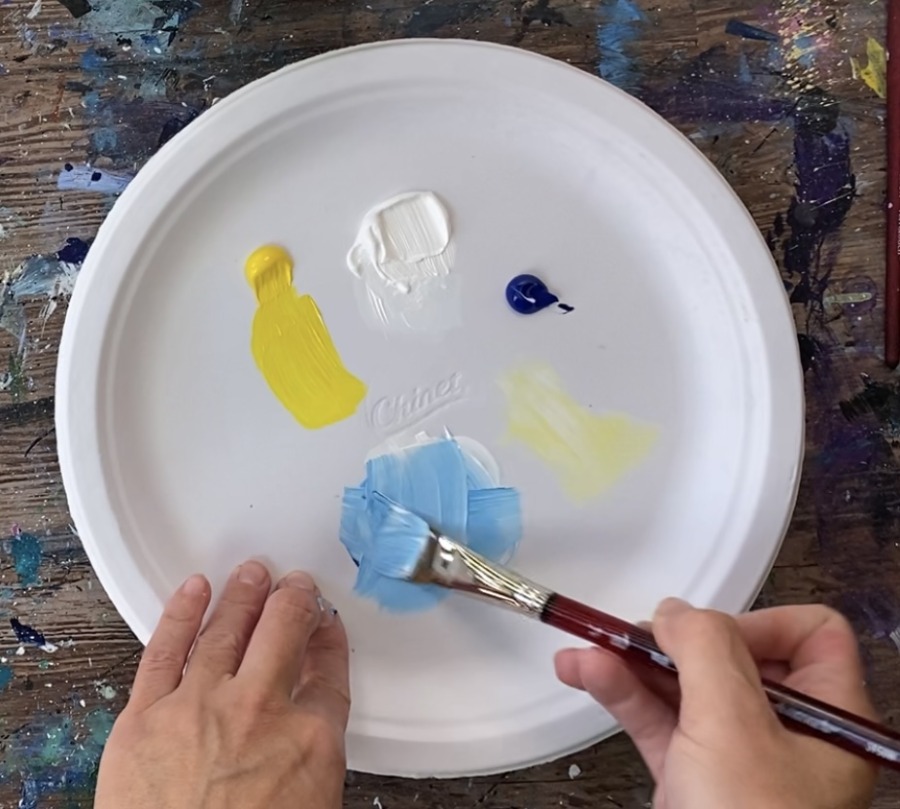
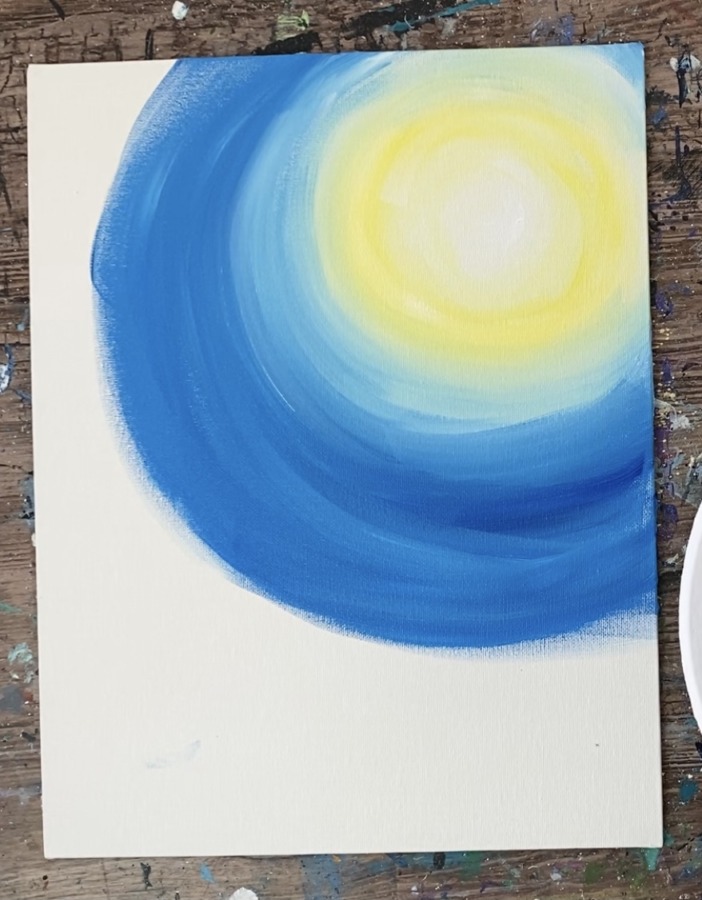
Completely rinse and dry brush. Mix a very light blue on your palette (about 1 part phthalo blue and 5 parts titanium white).
Paint the light blue in circular strokes around the white ring. Blend it into the white but try not to blend the blue with the yellow (it can touch the yellow a little bit but will turn green if you blend too much blue with the yellow).
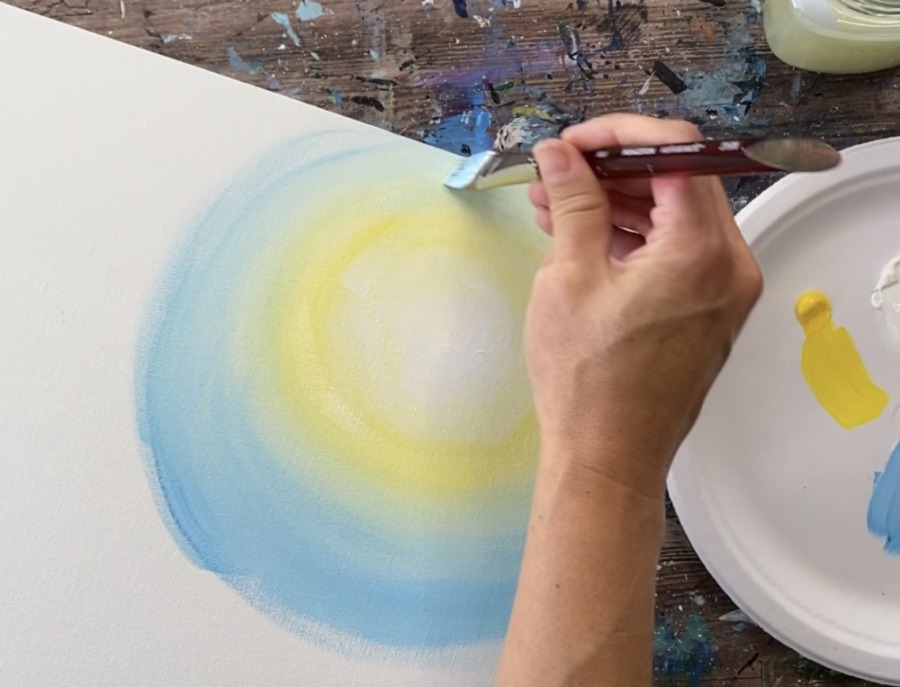
Continue to paint in circular strokes with the light blue blending outwards.
Then add more phthalo blue to your brush. Blend the darker blue with the lighter blue.
Tip: add a small amount of water to your blue to help with the flow and blending. Also, it is very helpful to not add too much paint to your brush. It’s harder to blend colors with your brush has too much paint loaded.
Continue to paint more circular strokes. The sky should get darker and darker.
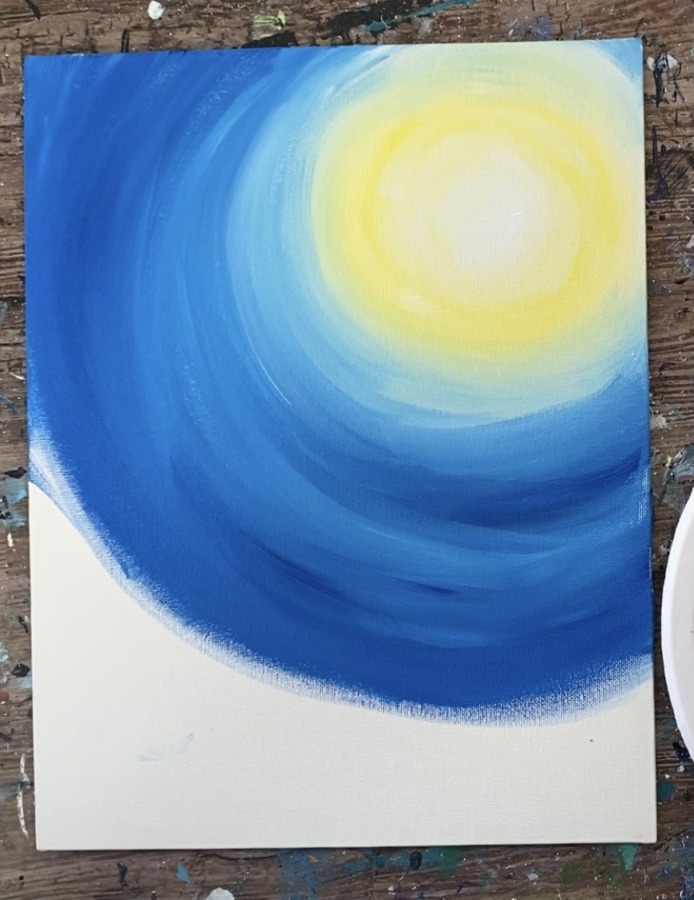
Keep painting more of the blue as you work your way to fill the canvas. Then when you get close to the bottom, add a small amount of black on your brush. (Or mix 1 part mars black with 3 parts phthalo blue on your palette).
Paint the black-blue on the bottom and blend it with the blue. This will allow the sky to be darkest on the bottom and the top left corner.
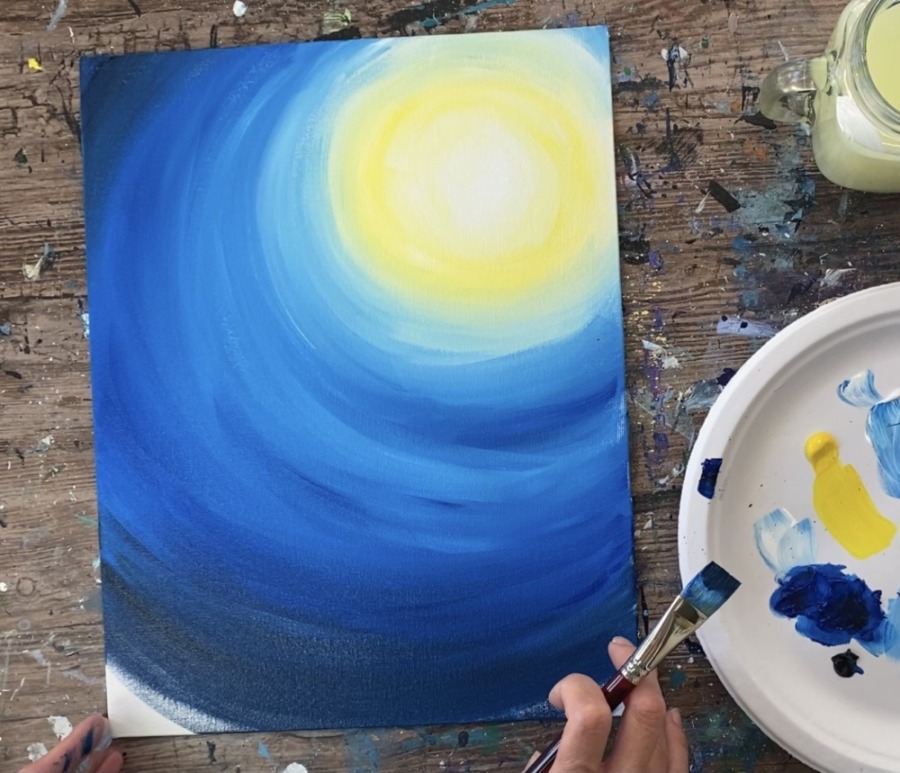
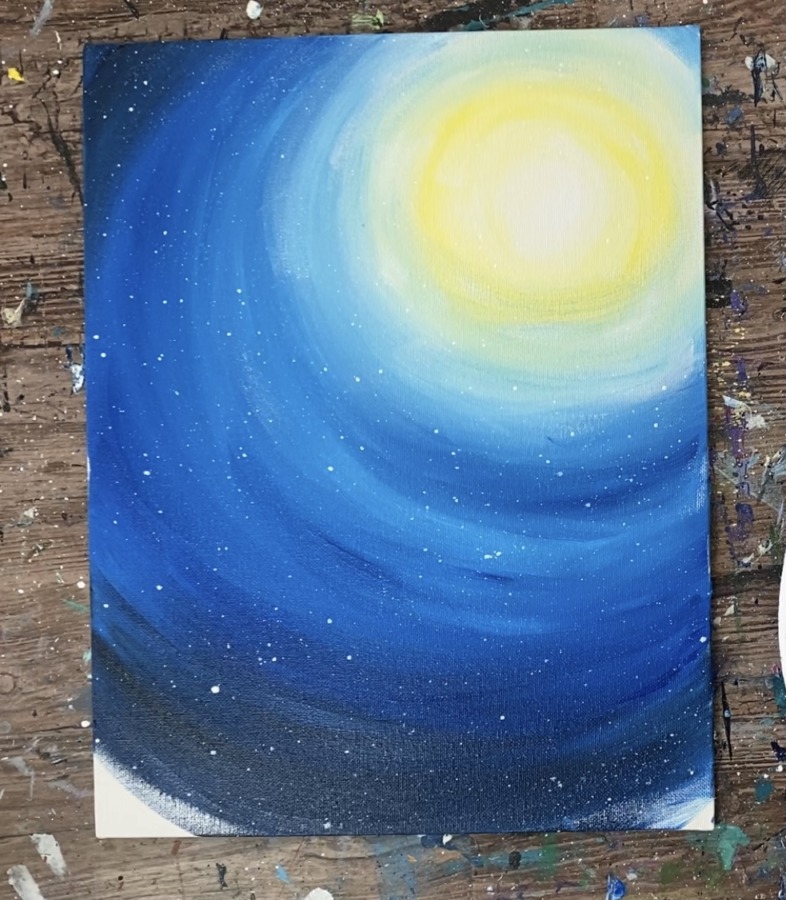
Next, splatter snow dots on your sky. I used a toothbrush but you can also flick a large paint brush to create this effect. Water down the titanium white to thin consistency (but not watery). Test out a different surface first. The splatters should be tiny and not thick but also not dripping.
Then splatter the snow dots all over the sky background.
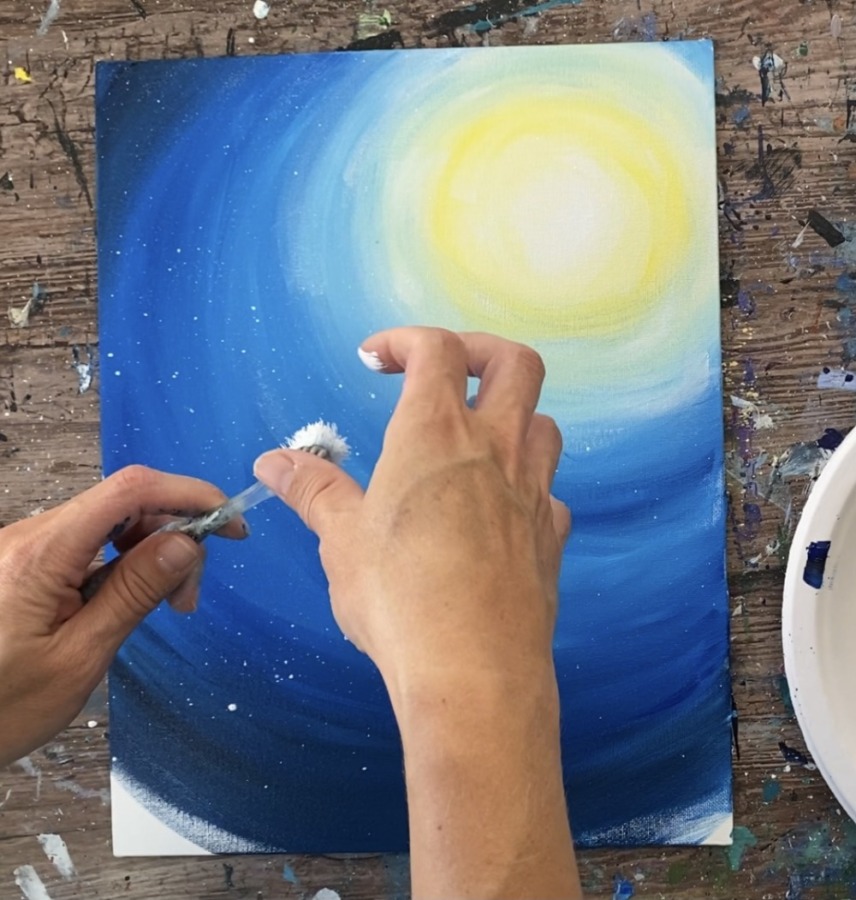
Let this dry before continuing to the next step.
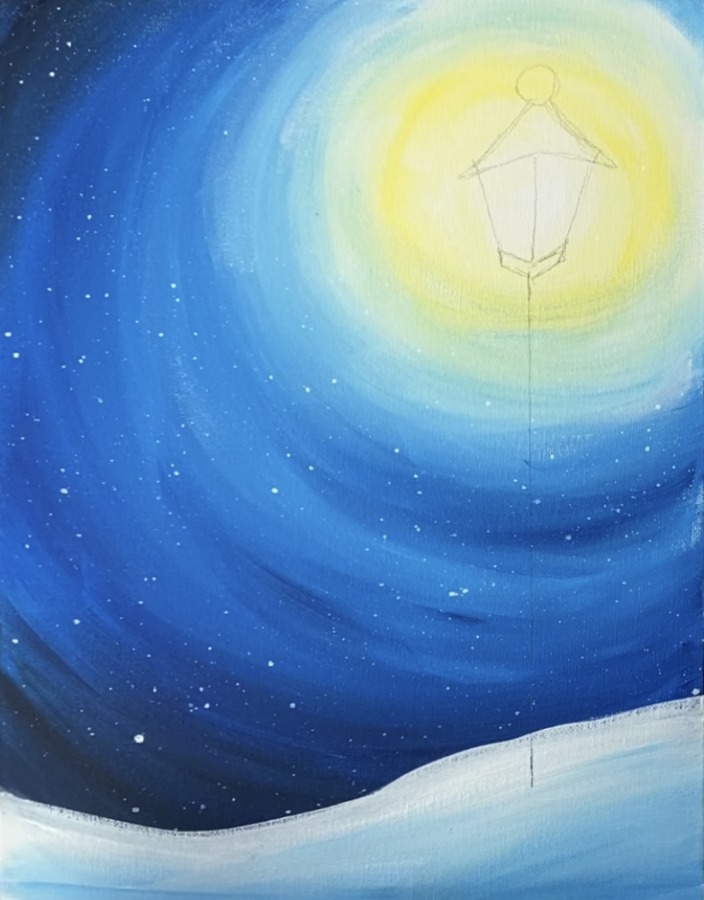
2. Paint Snowy Ground
Use your 3/4″ flat wash brush to paint the ground. Paint a snowy area on the bottom of the canvas. The hill is slightly higher on the right, dips down and then back up on the left.
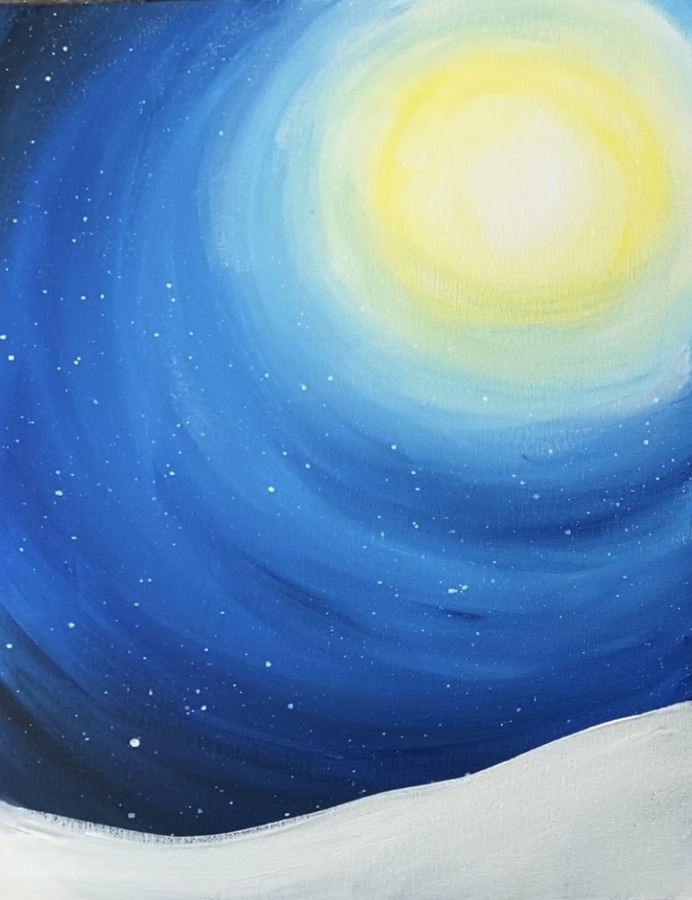
Before this white dries, blend a small amount of phthalo blue on the bottom of the snowy area. Gently blend the blue up into the white so that it is lightest on top and slightly darker on the bottom.

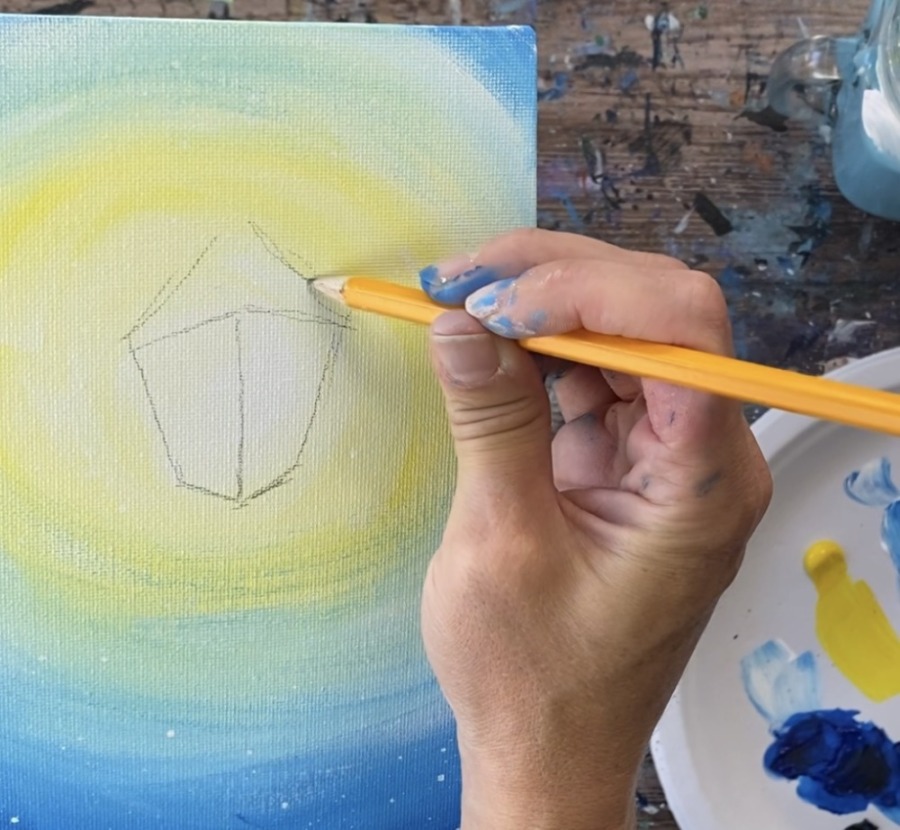
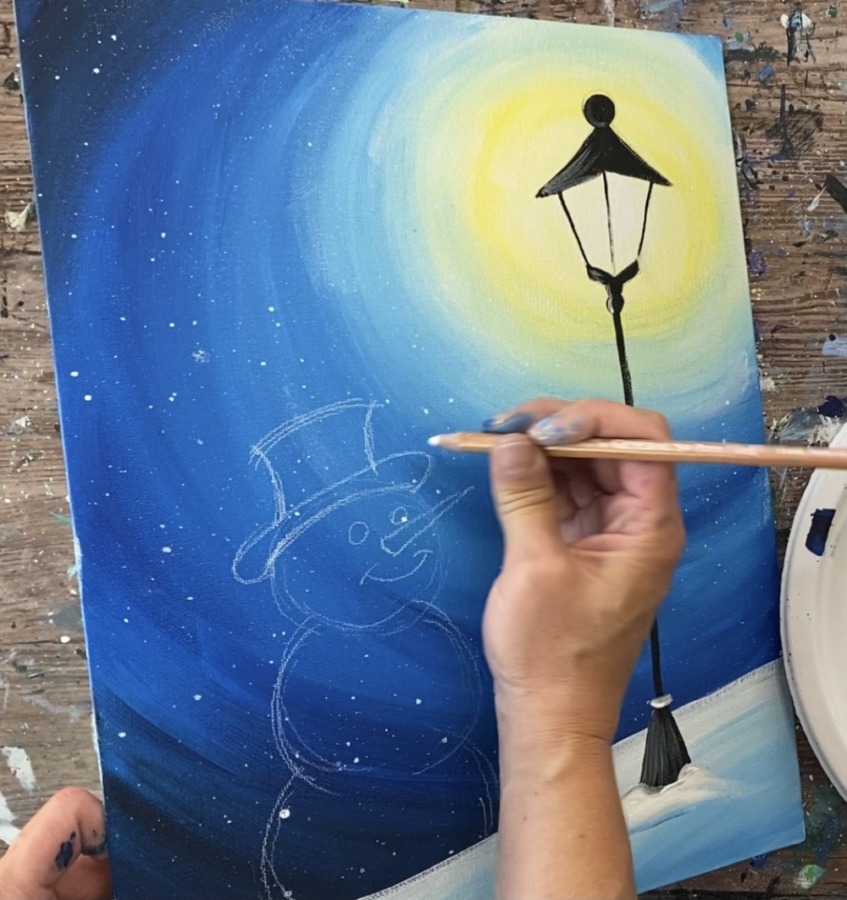
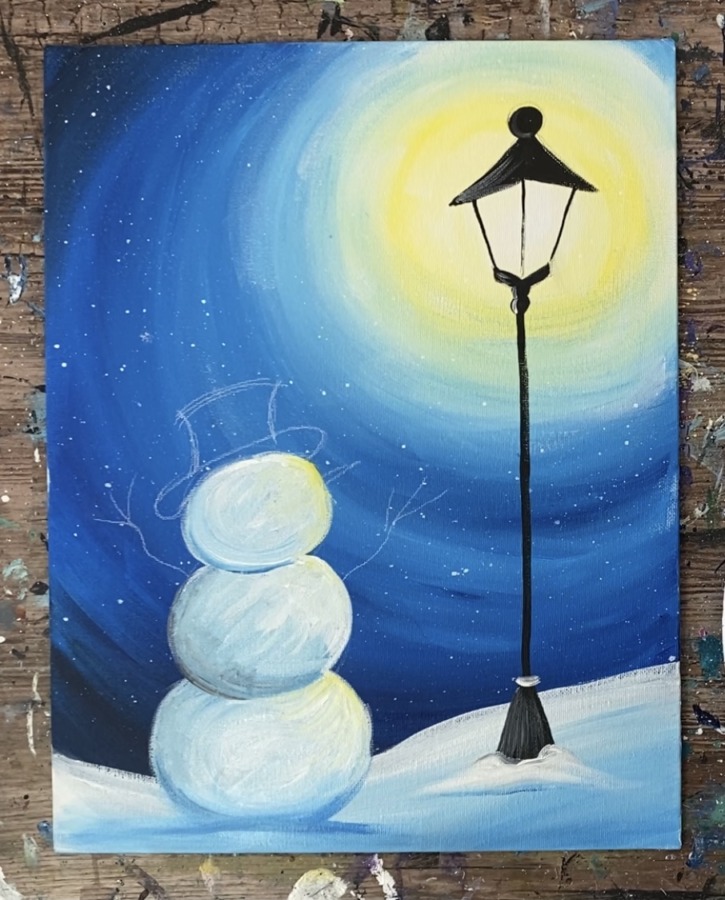
3. Draw Lamppost
Next draw the lamppost. Use a pencil to draw the lamp. This part should be on top of the bright white circle area.
Lightly sketch a rectangular top and three lines for the two glass pieces. See sketch below for example.
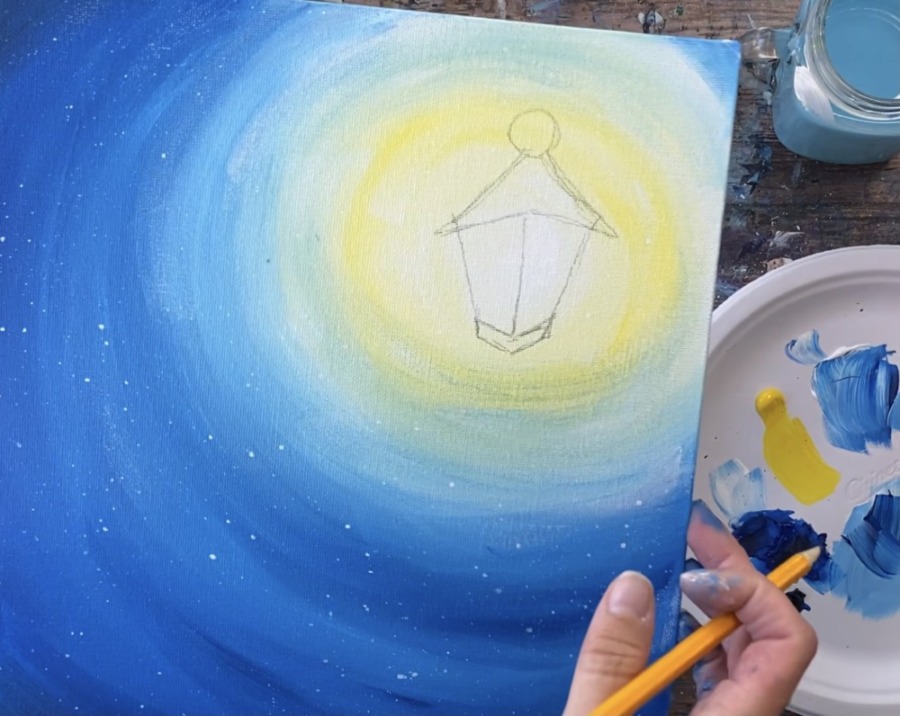
Draw a small circle on top and then two rectangular pieces on the base of the lamp.
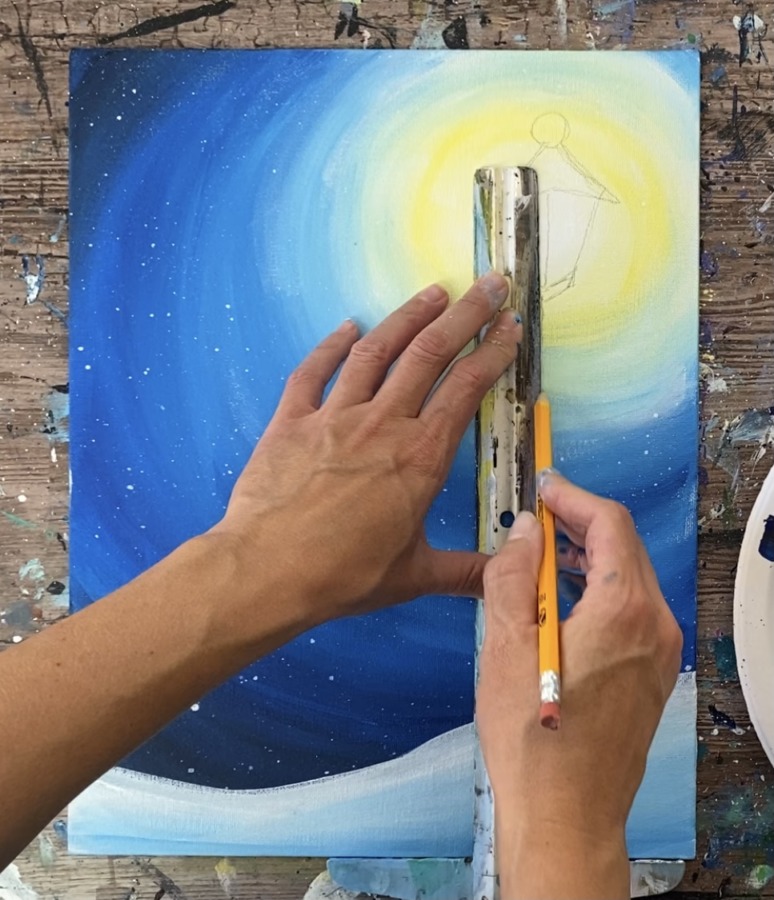
Then use a t-square ruler or straight edge to draw a vertical line down to the ground area.
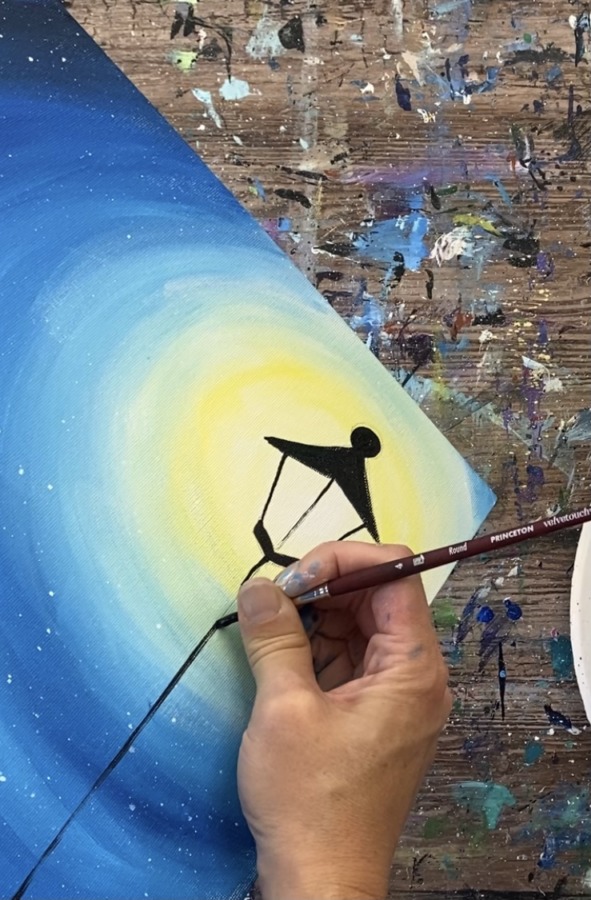
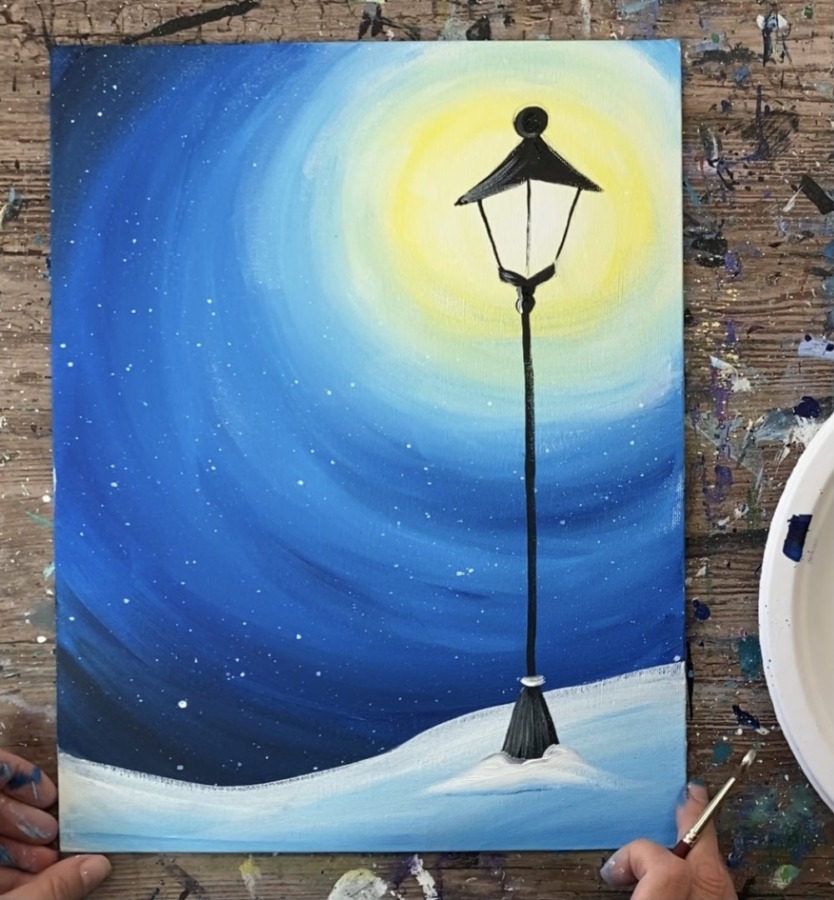
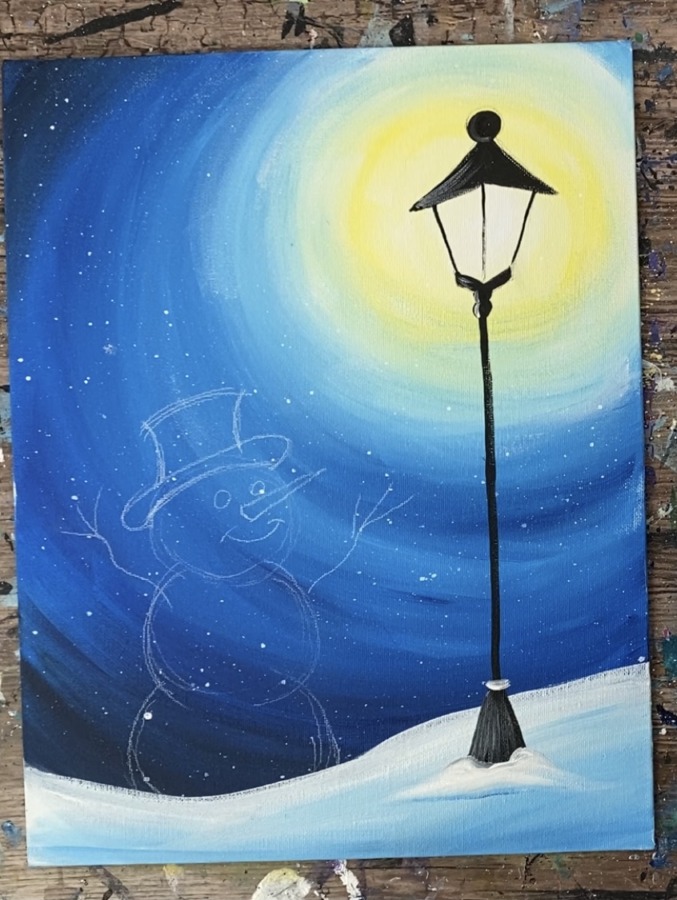
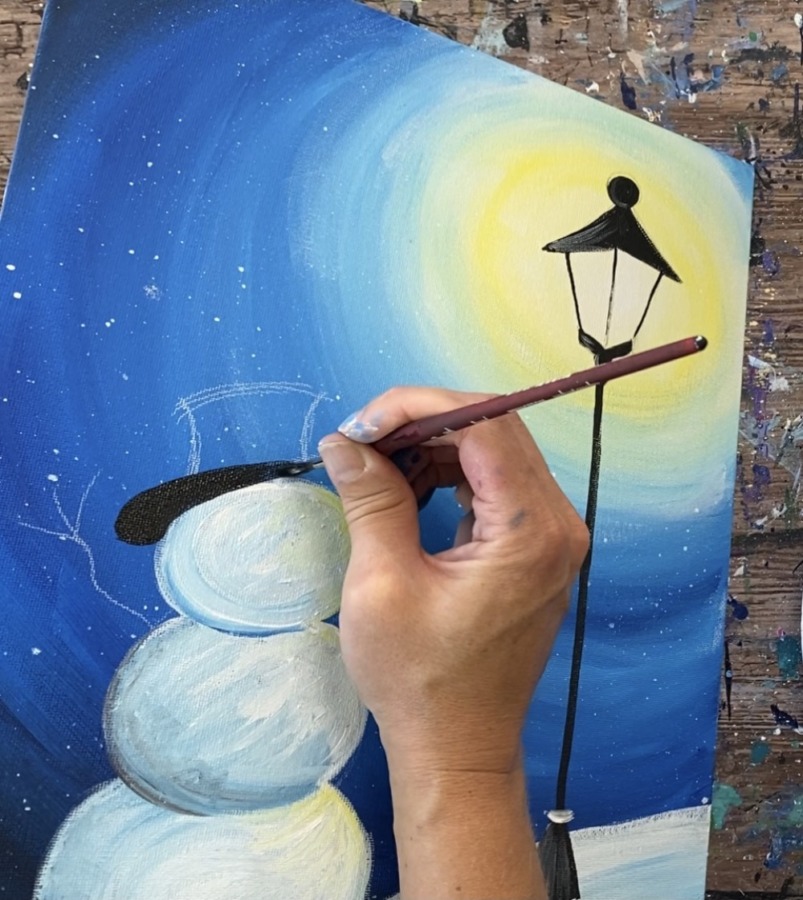
4. Paint Lamppost
Use a #4 round brush and mars black to paint the lamp. Slightly water the black down so it will flow.
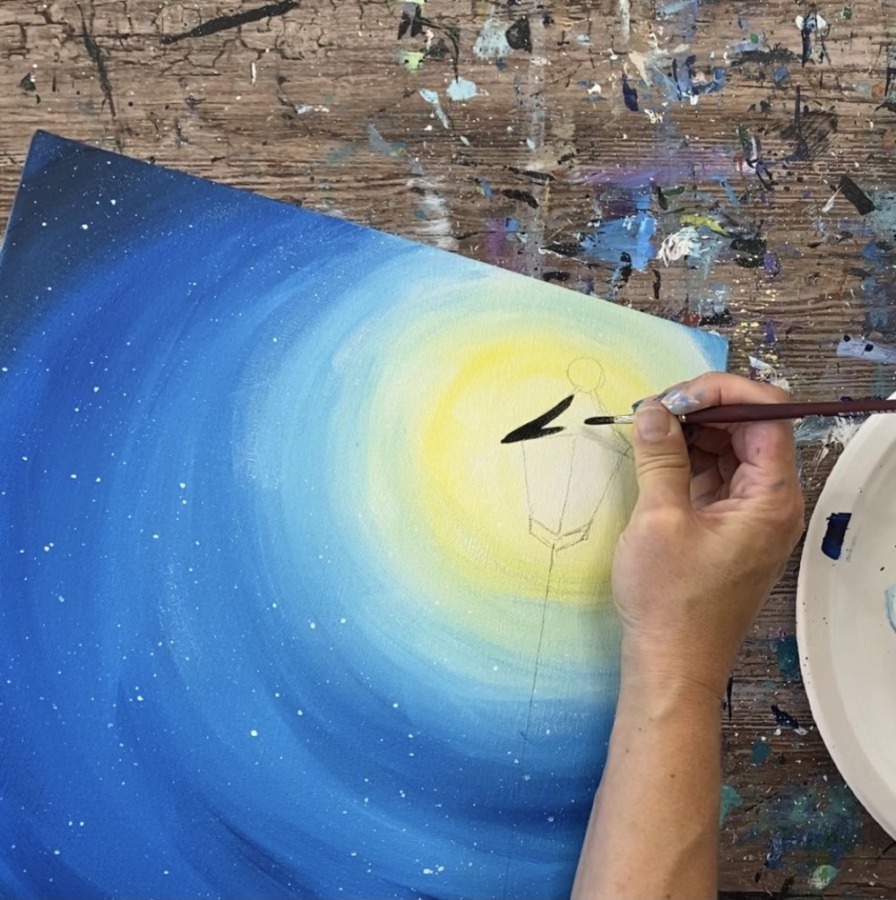
Paint the top part of the lamp and the thin lines.
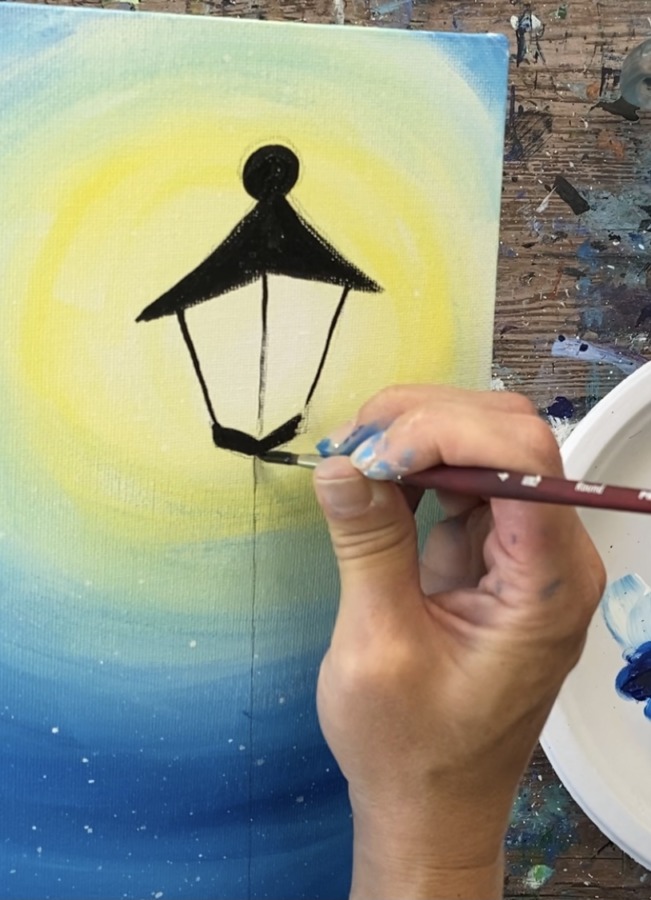
Then paint the vertical pole.
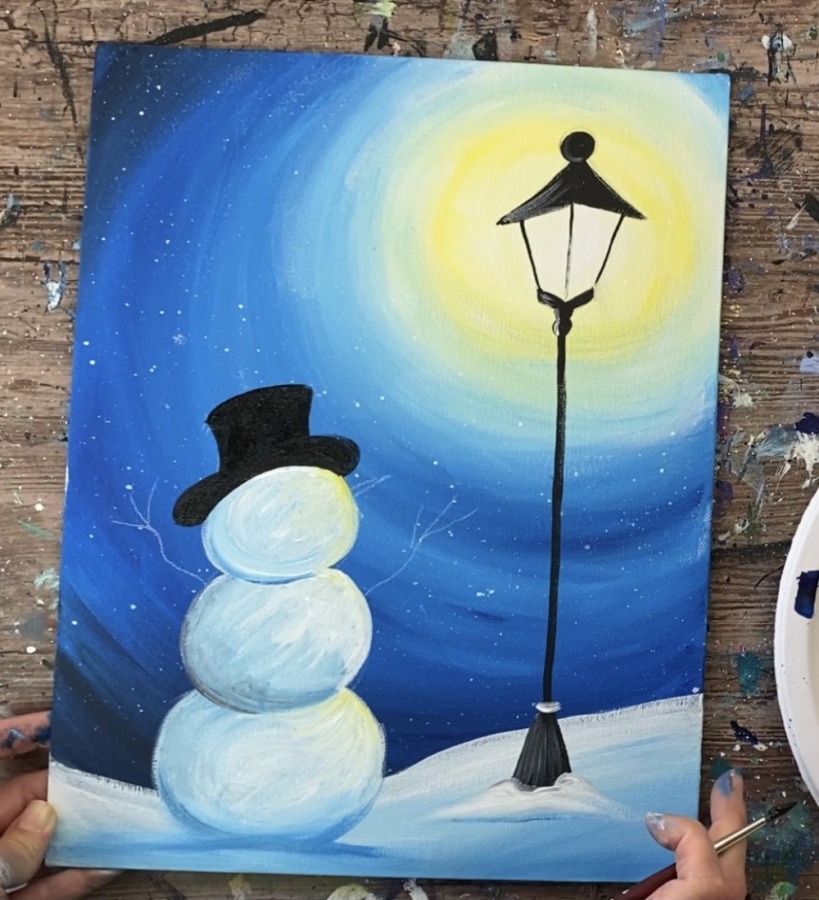
Paint the bottom base of the lamp. Add a small amount of white on the base and paint in diagonal directions blending it slightly with the black.
Paint a small snow pile on the bottom of the base.
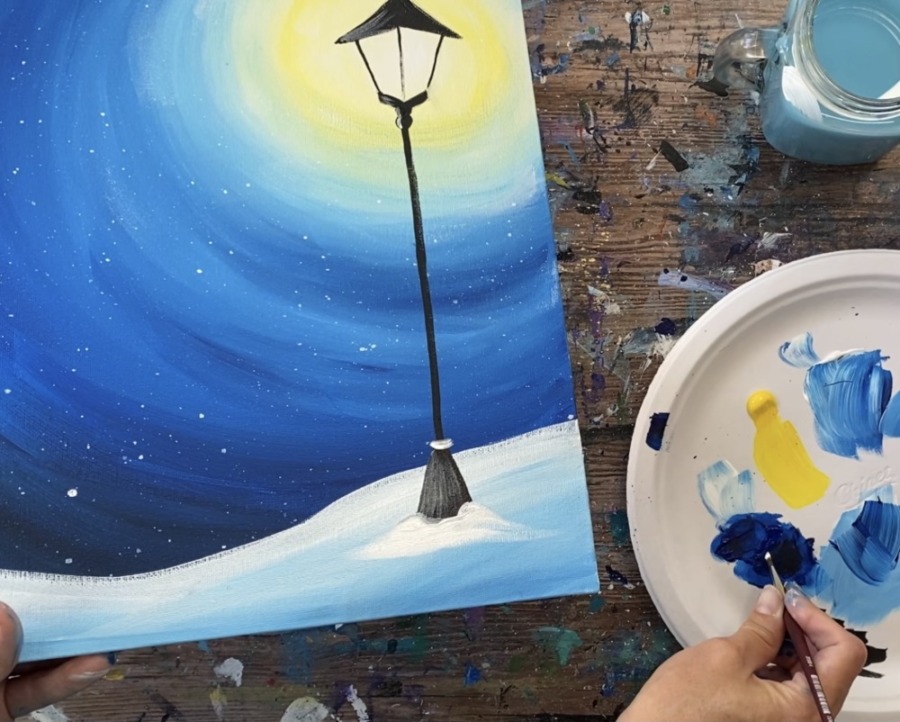
Gently blend some blue on the bottom of the snow pile and blend it up. Only a small amount of blue is needed.
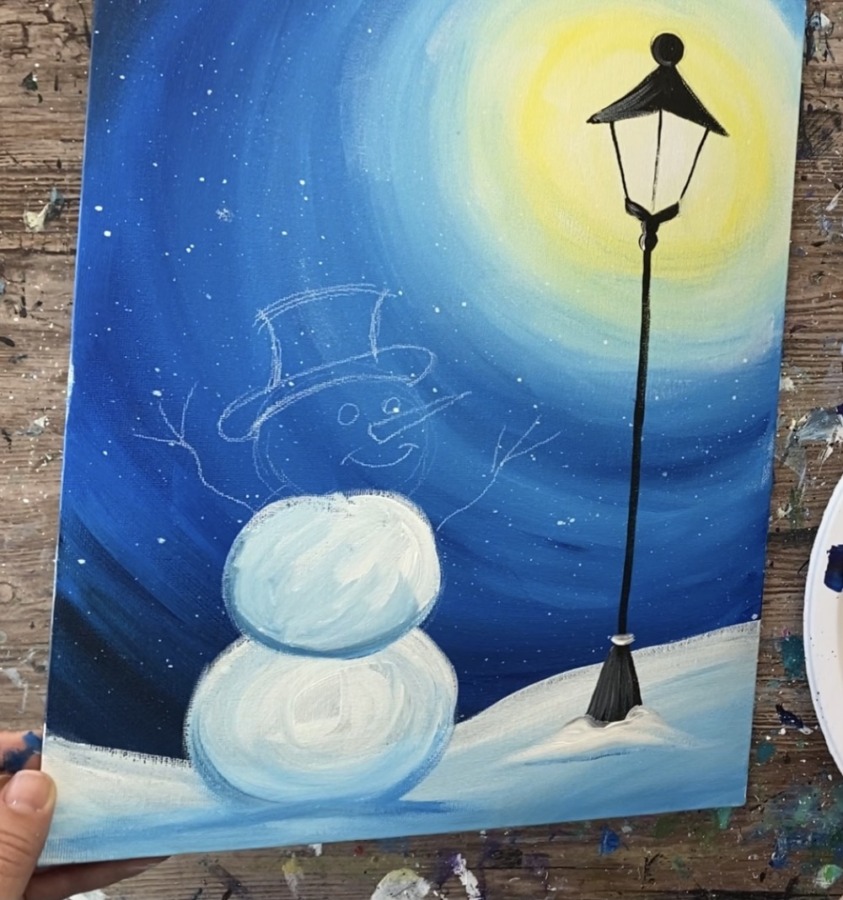
5. Draw Snowman
Use a white chalk pencil or and drawing utensil to draw the snowman. Draw three circles that slightly overlap each other and each circle is slightly smaller than the one below it.
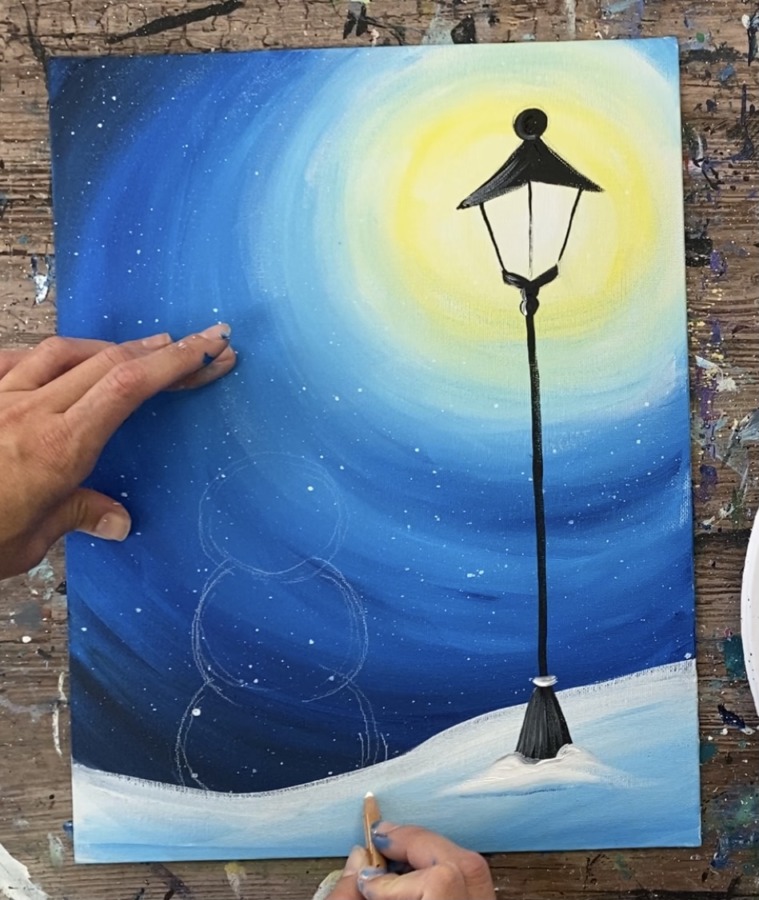
Draw the snowman’s nose so that it is going diagonal upwards towards the light. Draw the smile.
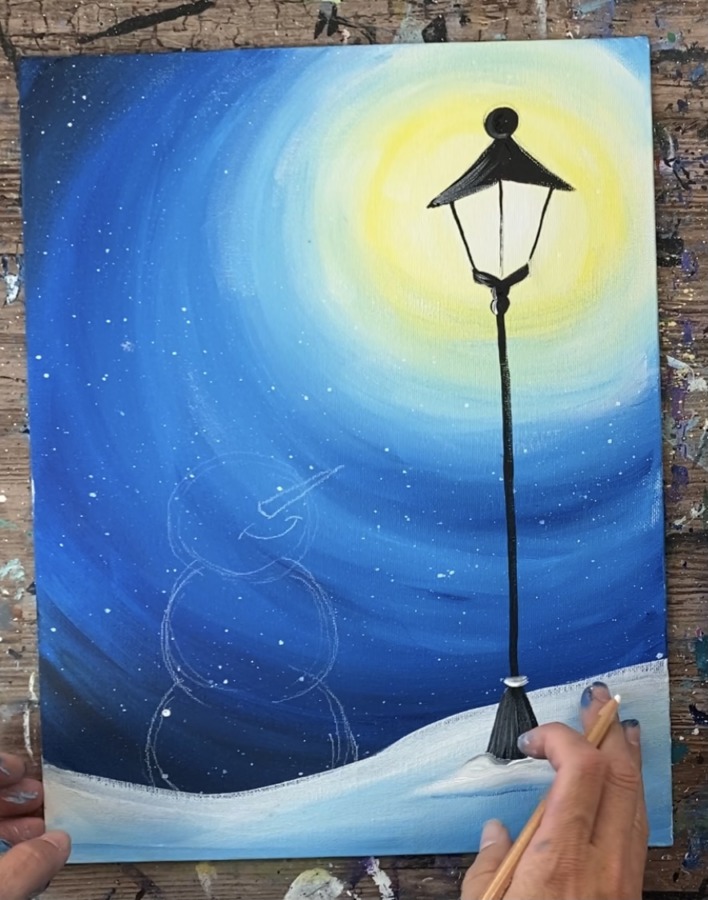
Draw two eyes going in a diagonal direction. Then draw the hat. The hat is slightly overlapping the top circle of the snowman.
Then draw the arms of the snowman.
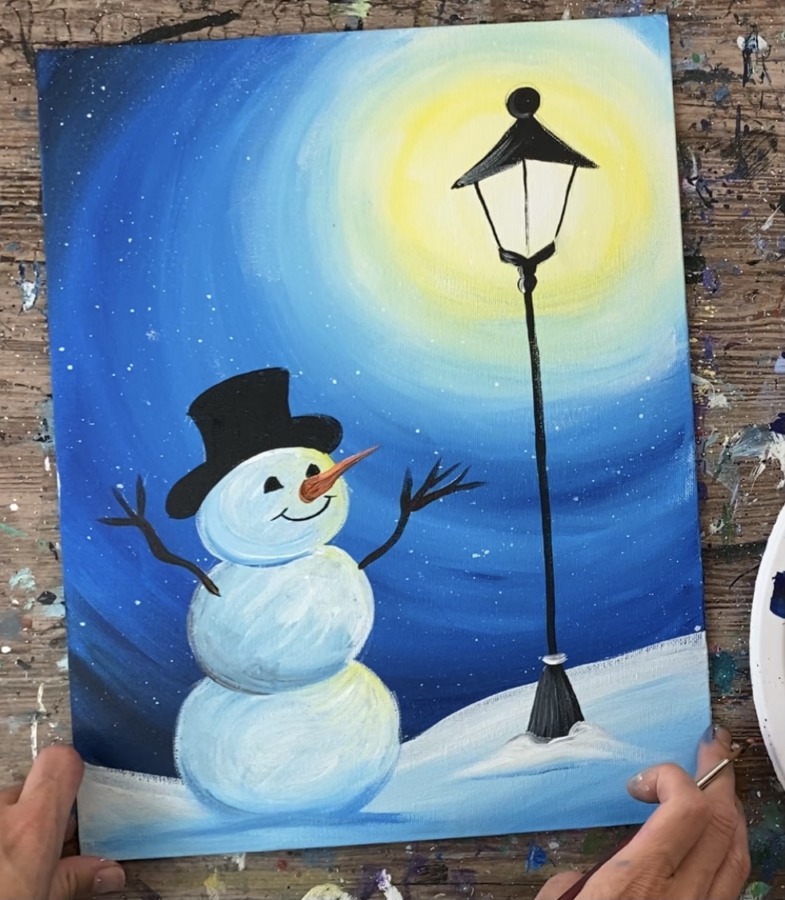
6. Paint Snowman
Use a #8 round brush and titanium white to paint the snowman. I recommend starting on the bottom circle and then working your way up because of the overlapping.
First, paint the circle white.
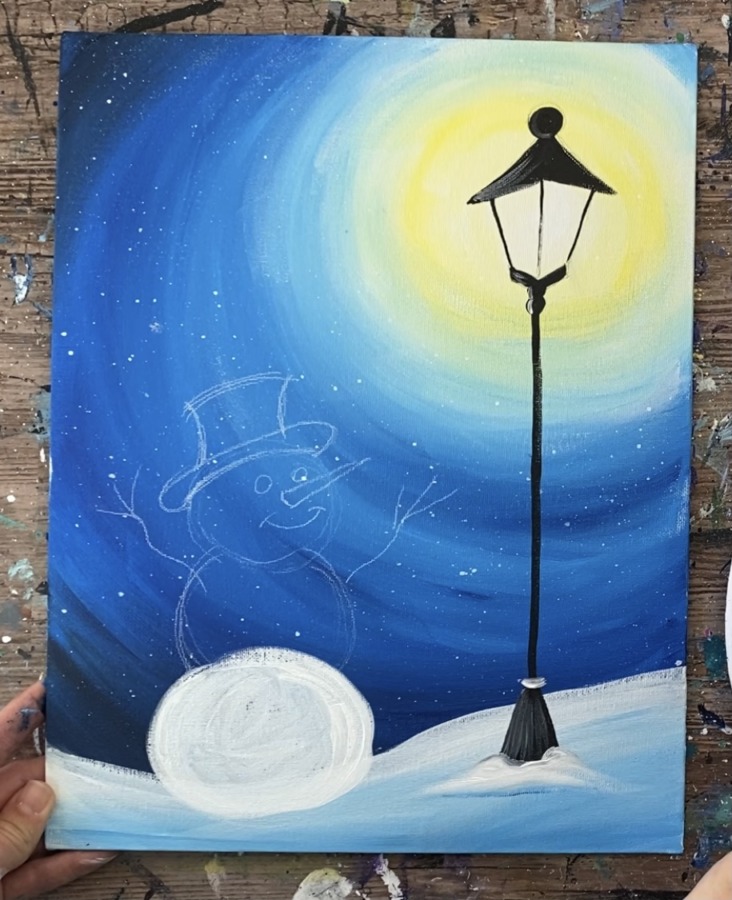
Then load the tip of your brush with a small amount of phhtalo blue (just a tiny bit). Paint left and right strokes on the ground just under the circle to create a slightly shadowy area. Then paint on the bottom of the circle and blend it with the white painting in a circular direction.

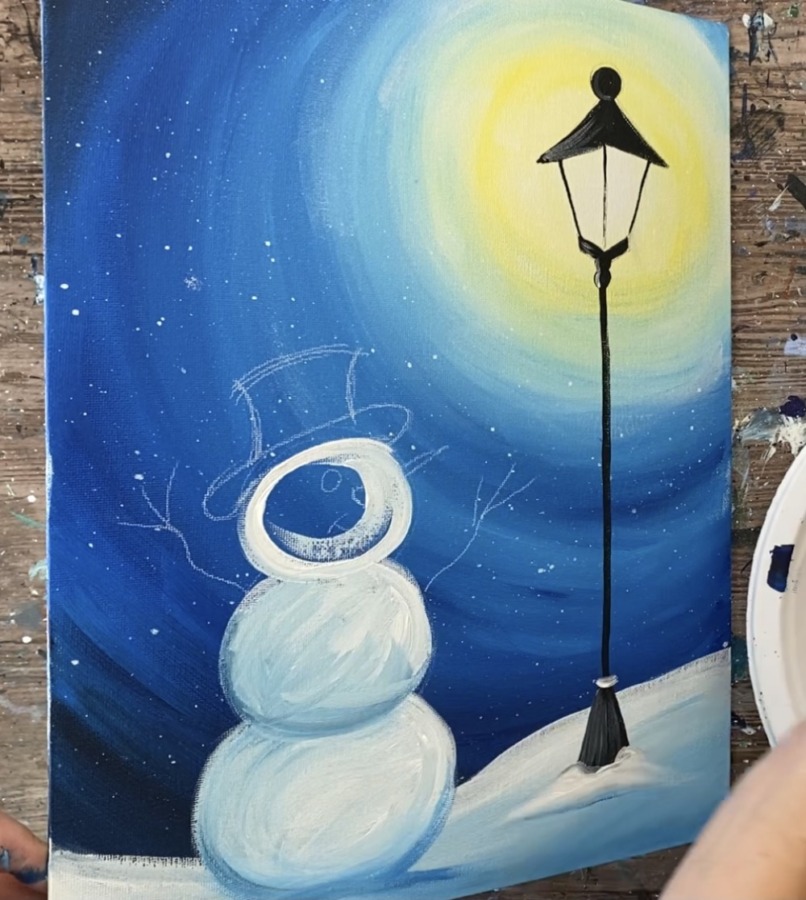
Wipe the brush or rinse it. Then paint the next circle white.
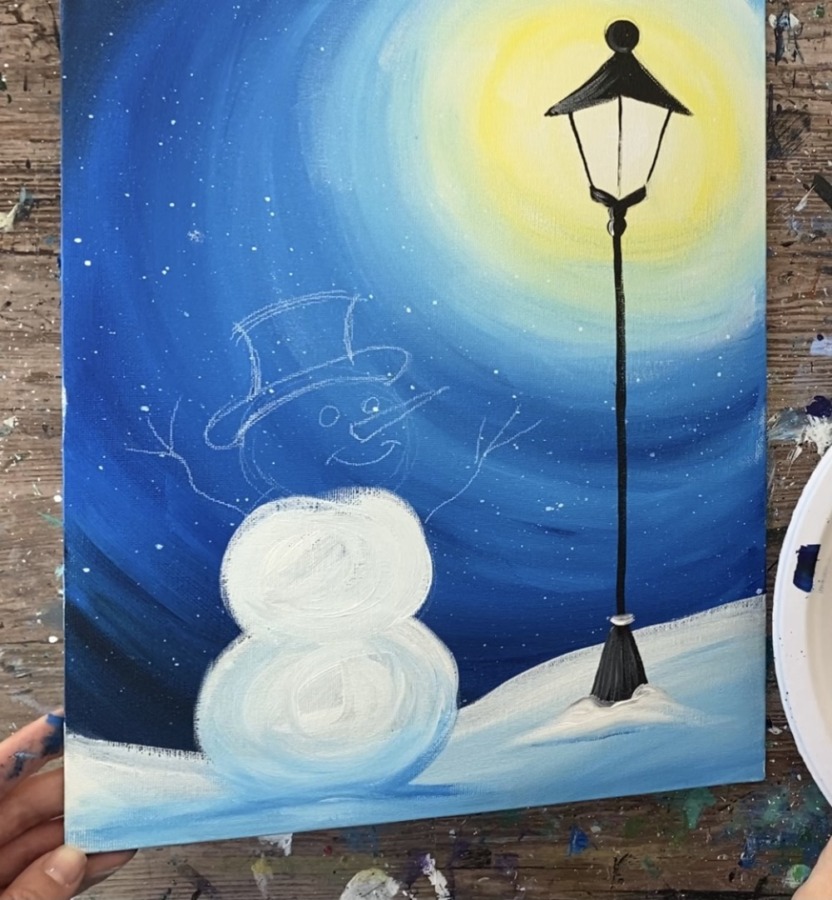
Add a small amount of phthalo blue to the tip of your brush and blend it in the bottom of the circle so the bottom of the circle has a shadow.
Repeat for the top circle. Paint it white. Then blend a small amount of phthalo blue on the bottom of the circle for the shadow.
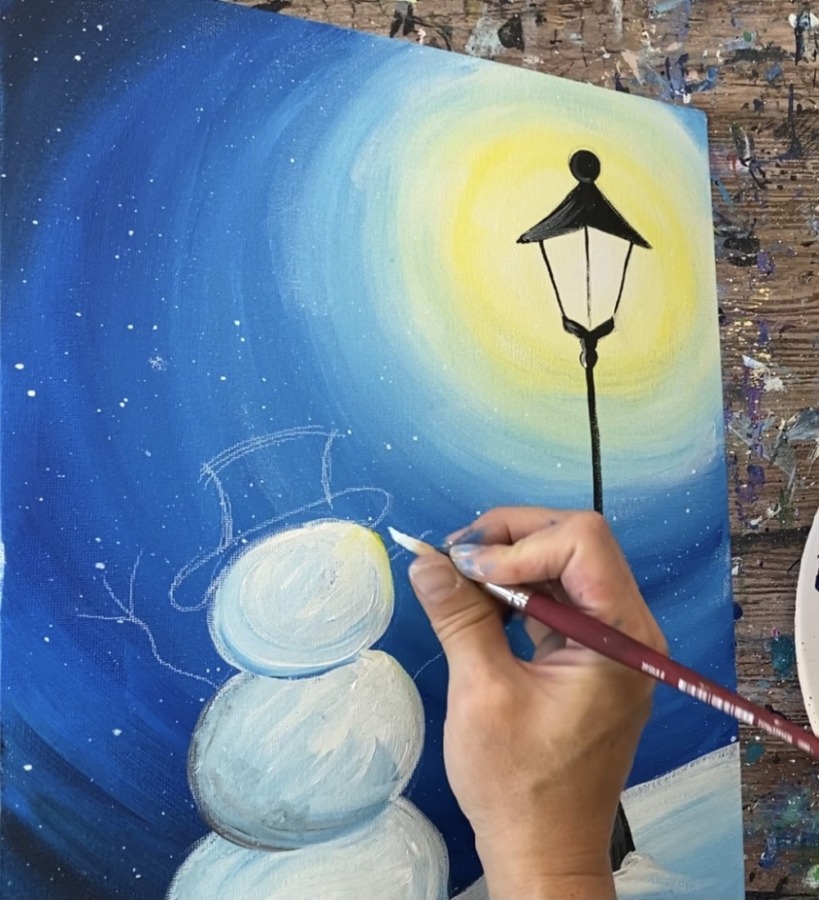
Optional: add a very small amount of yellow to the far right of the circle and blend with the white. This very subtle amount of yellow will make it look like some of the light is reflecting on the snow.
7. Paint Hat
Use a #4 round brush to paint the inside of the snowman hat.
Next, paint the arms of the snowman with a #4 round brush. Use burnt umber (or mars black) to paint the branch-like arms.
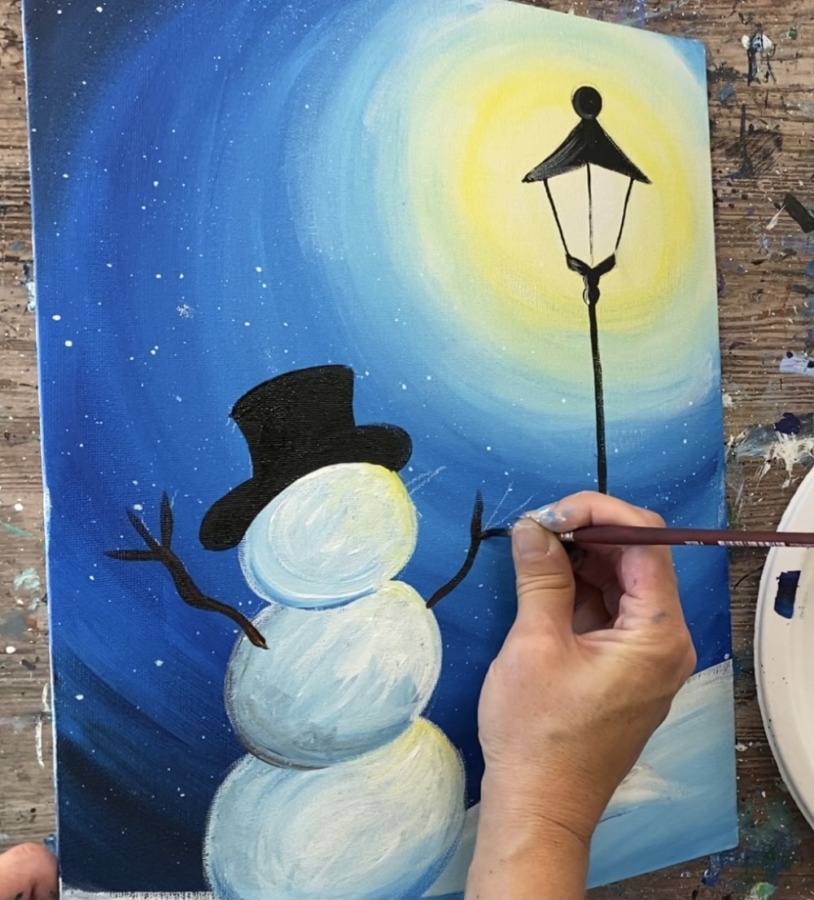
Then paint the nose of the snowman with the #4 round brush and cadmium orange hue. Tip: add some titanium white to the orange to get better coverage.
Then, paint the eyes and the mouth. The eyes are a semi-circle shape.
Add shading to the hat. Use titanium white and the #4 round brush to dry brush some curved strokes on the top right part of the hat. Then outline the top circular base of the hat.
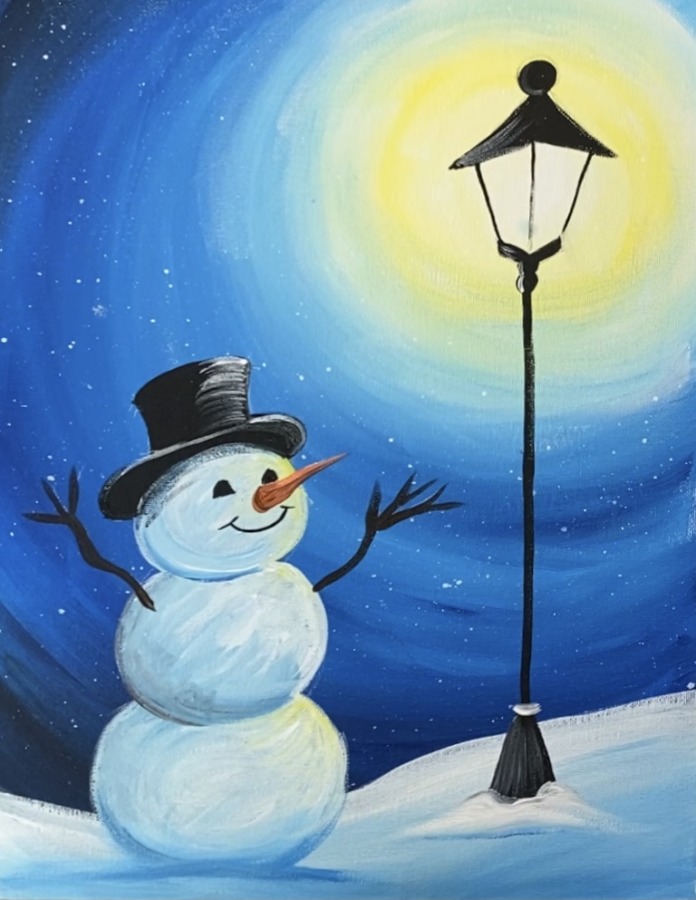
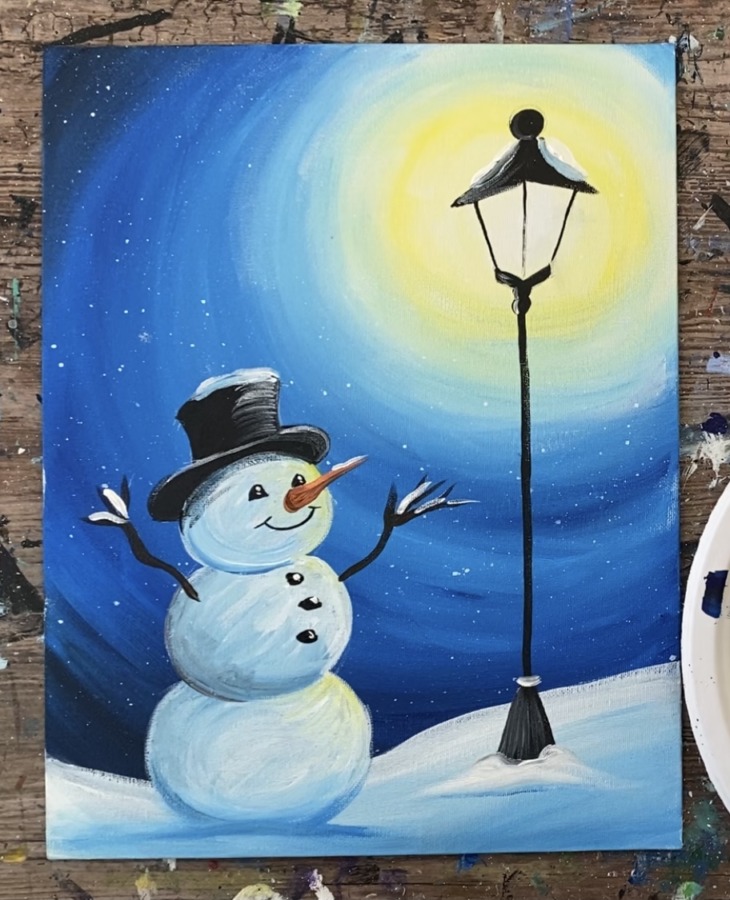
Dry brush some black below the hat on the top of the snowman’s head (to give it some shadow under the hat). Then paint two white dots in the eyes. Paint coal buttons. Paint snow resting on the top of the hat, the carrot nose, the arms and the lamp.
Then, paint the scarf. I used hooker’s green hue permanent mixed with a small amount of titanium white. Paint it so it slightly overlaps the bottom of the top circle and the top of the middle circle. Paint two wavy pieces on the left that look like they are blowing softly in the wind. Paint small white lines on the edges of the scarf.

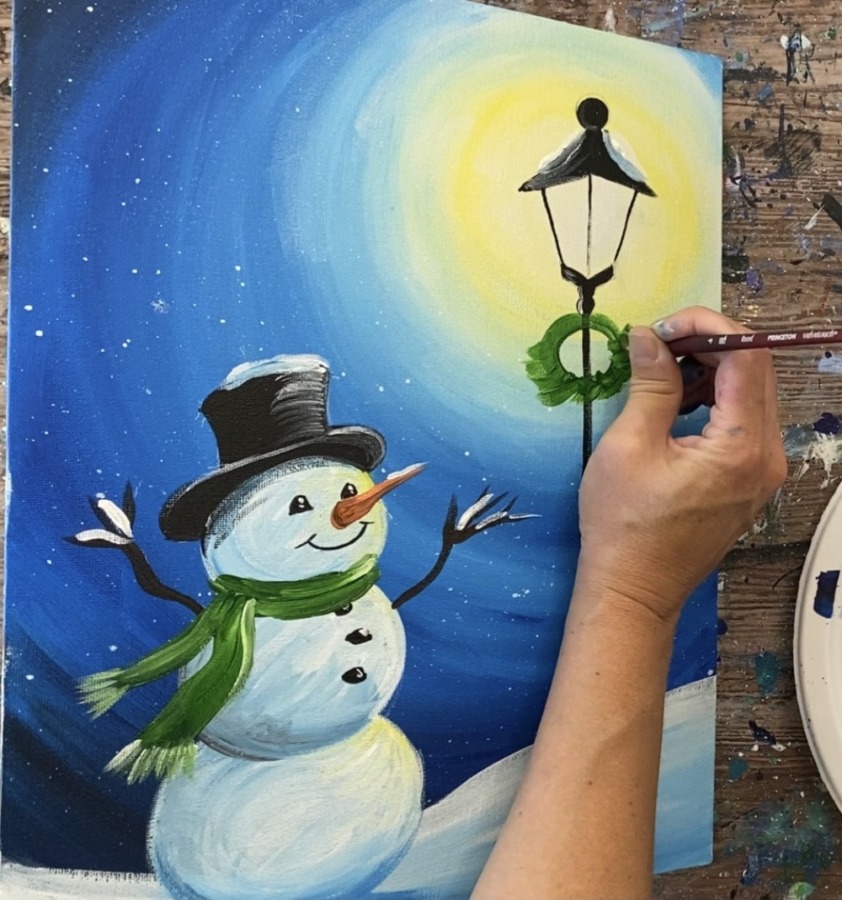
8. Paint Wreath
Paint the wreath. Use a #4 round brush and hookers green hue permanent to paint a small circle under the lamp.
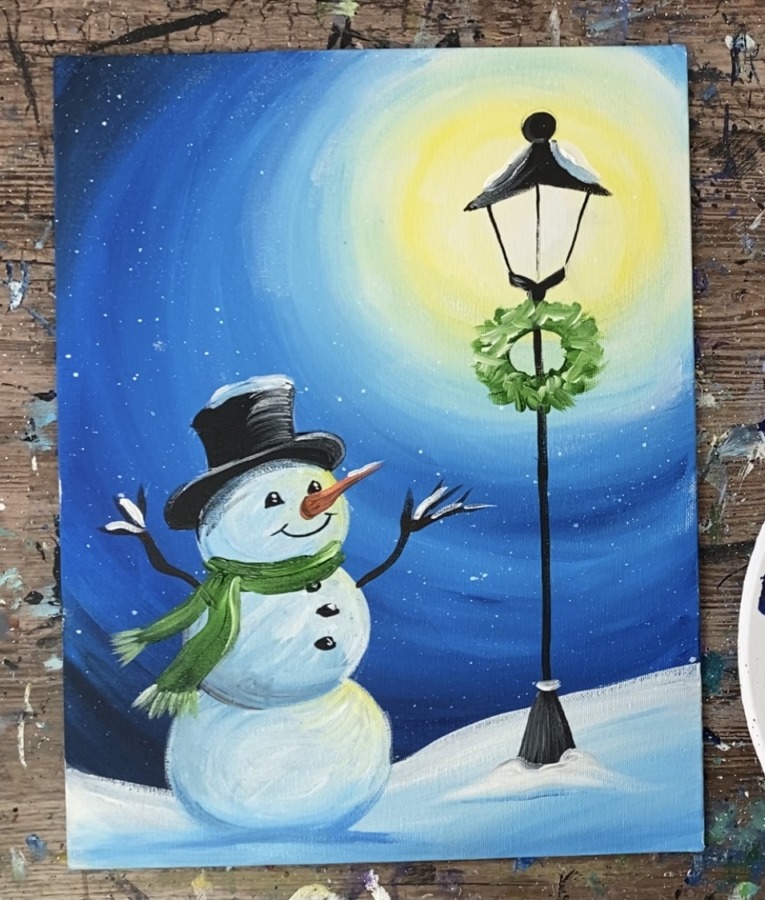
Then go back over the circle with small “x” strokes to create the texture on the wreath.
Add a small amount of titanium white in the wreath with more of those textured strokes. The white will blend slightly with the green.
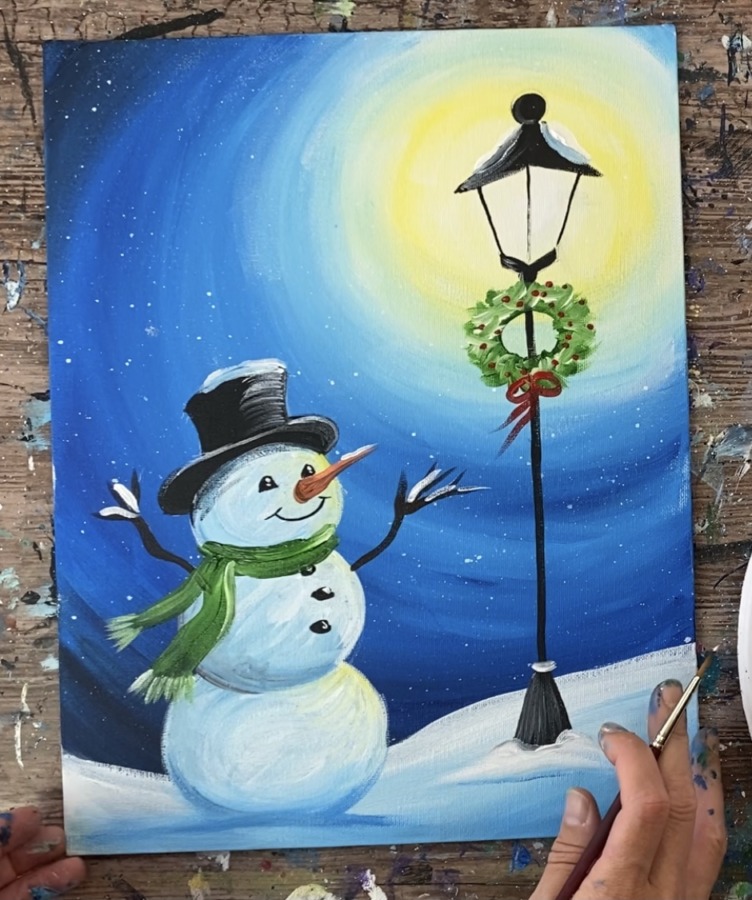
Then paint small red dots (naphthol crimson) on the wreath. Paint a small red bow on the bottom with strands that are also flowing in the same direction as the scarf.
9. Paint Snowflakes
Use the #4 round brush (or a small detail brush if you have one) to paint snowflakes in the background. A white paint pen also works well for this step.

Paint as many snowflakes as you want throughout the sky.
Then paint larger snow dots around the background. You can make the dots look “blurry” by painting them and then smearing them with your finger.
Finished!
That’s it! Sign your name and show it off!
Share your art here:


Thank you! My husband and I did this snowman and the orange fox one with our 10 year old over a soggy weekend. I had bought a pad, brushes and paint set once upon a time and we decided to use them. None of us are artistic, but you gave us confidence and we love the result. It was such a fun family project with each of us braving different parts. I cannot thank you enough!