
Would you like to save this?
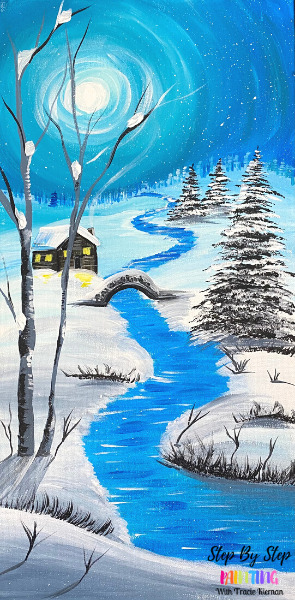
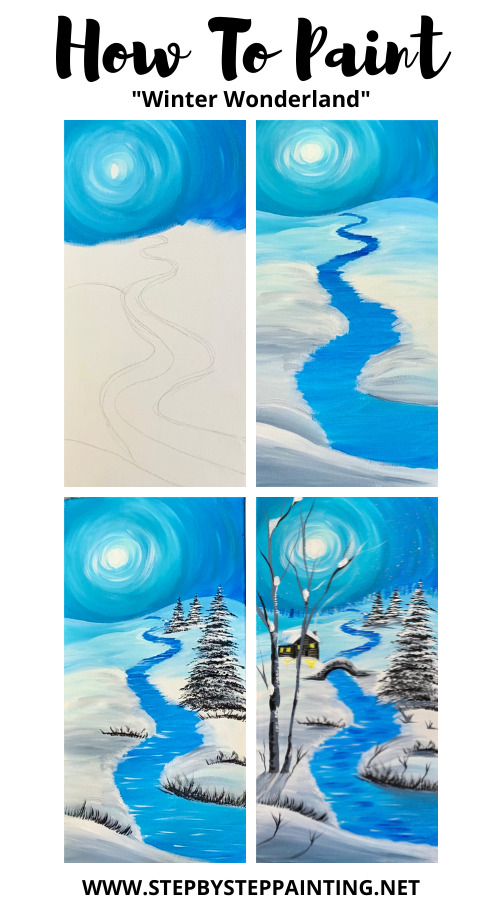
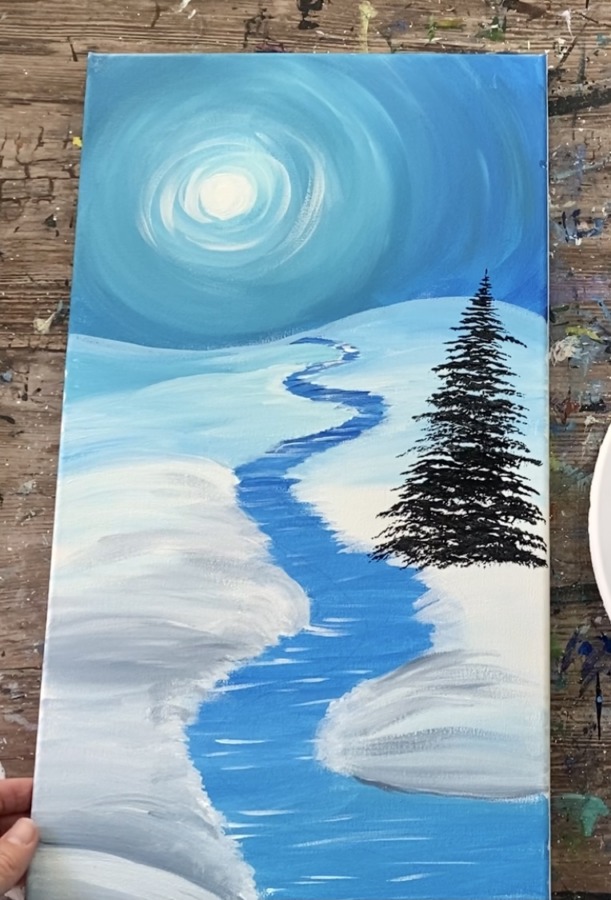
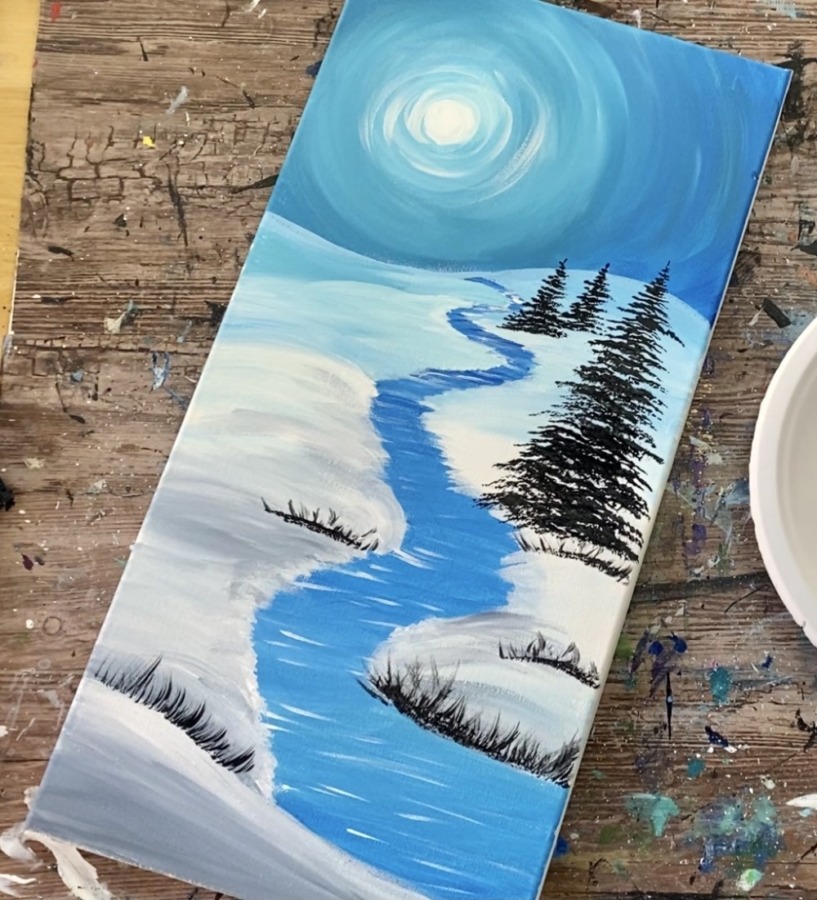
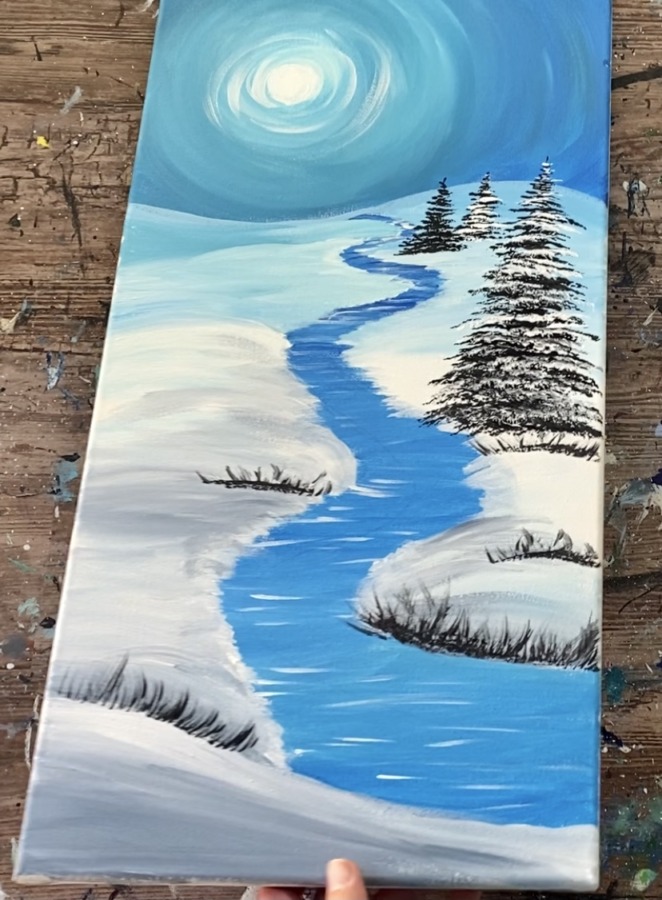
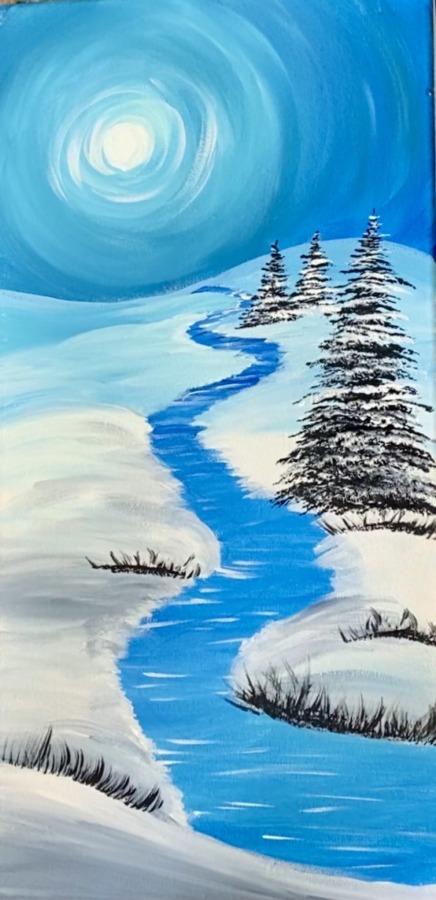
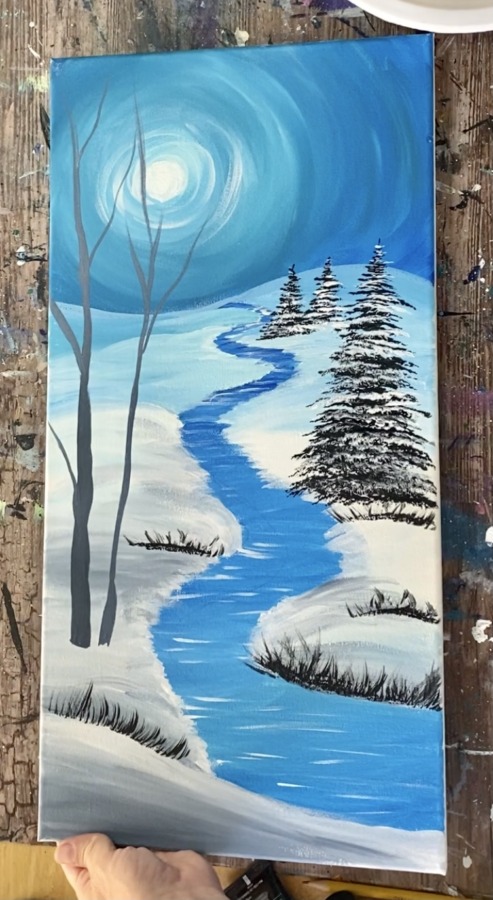
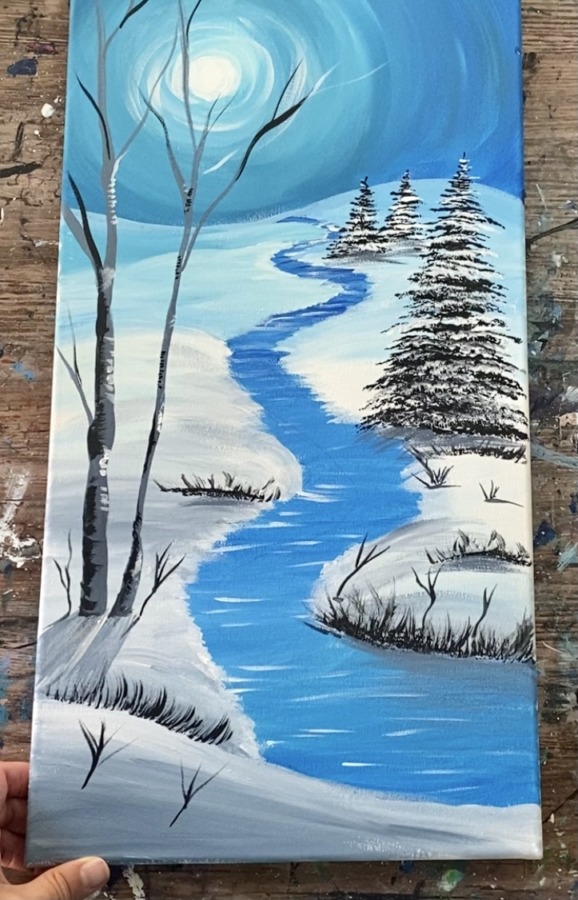
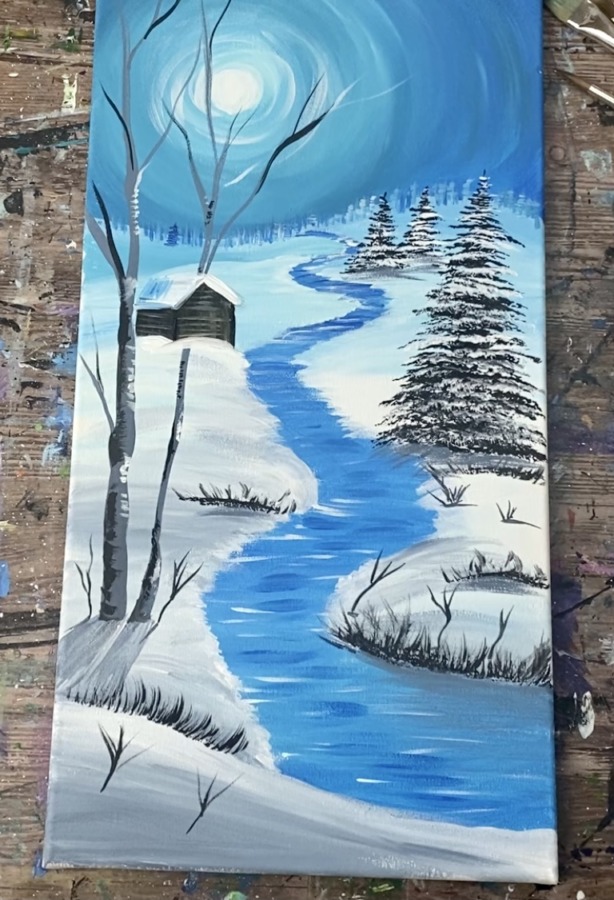
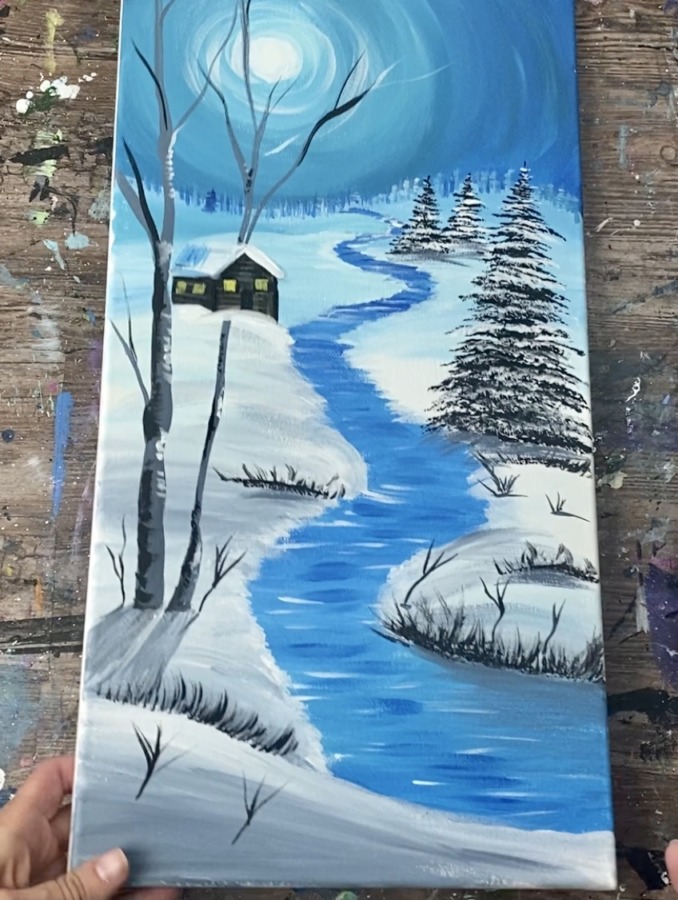
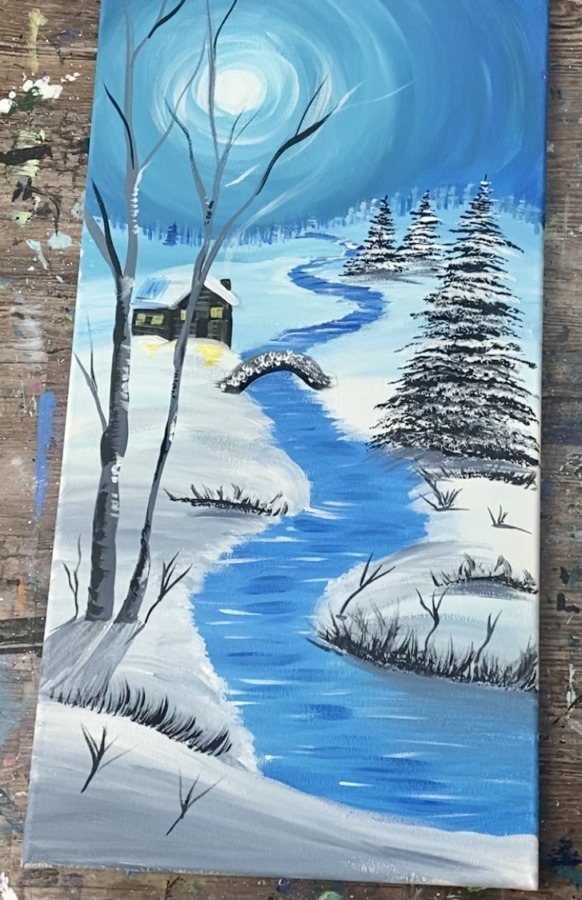
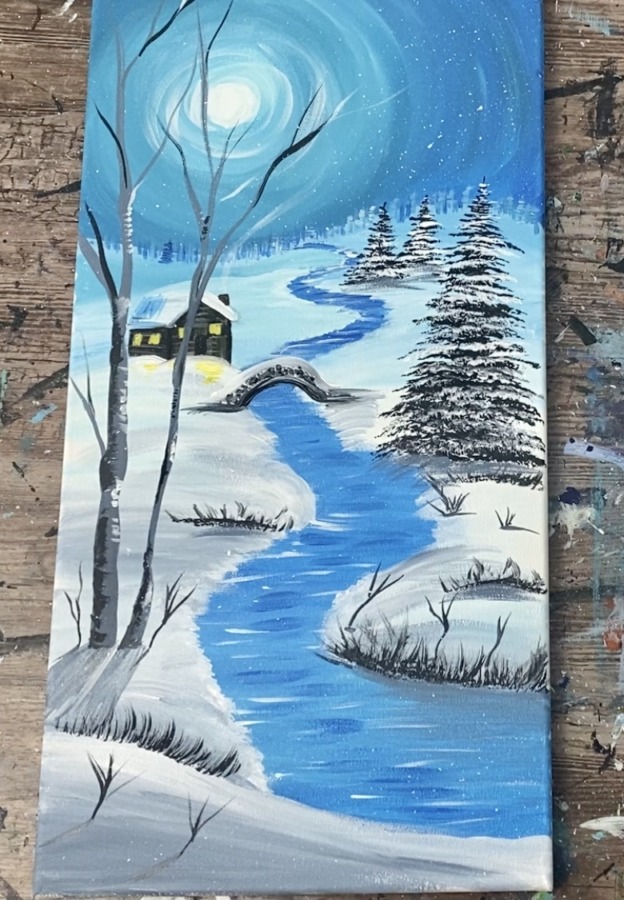
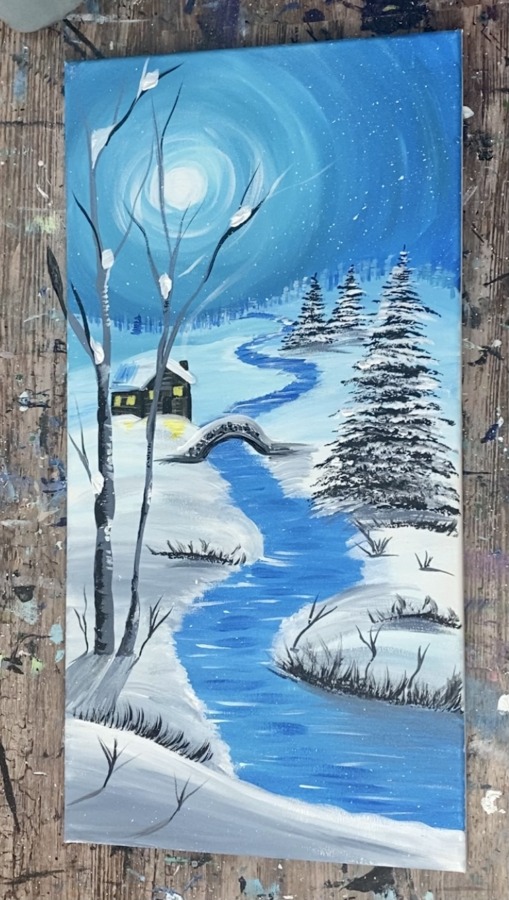
Learn how to paint “Winter Wonderland Cabin”. This is a snowy winter landscape at night with a river, trees and a small cabin in the distance.
This painting tutorial demonstrated on a long 10 x 20 canvas! You can see other tutorials that I have created for this size canvas here!
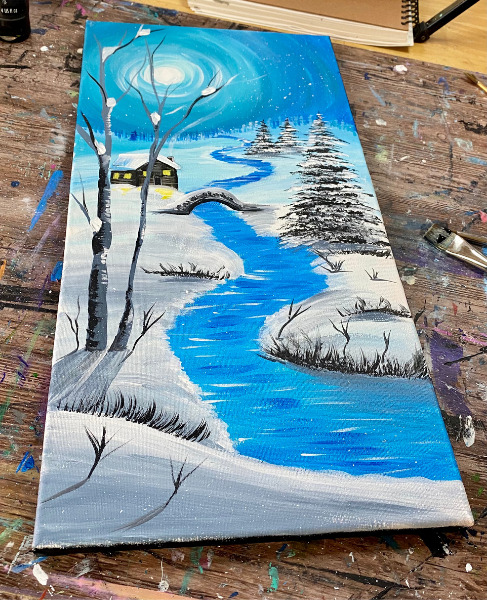
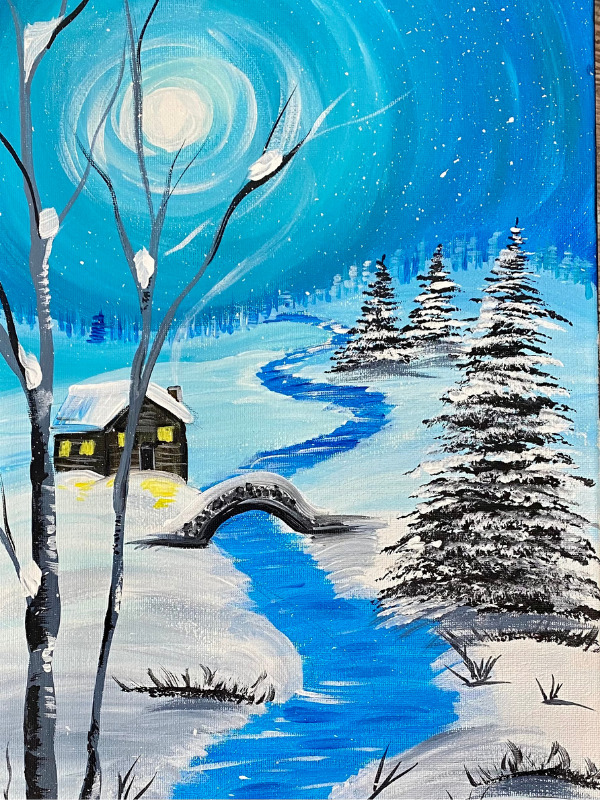
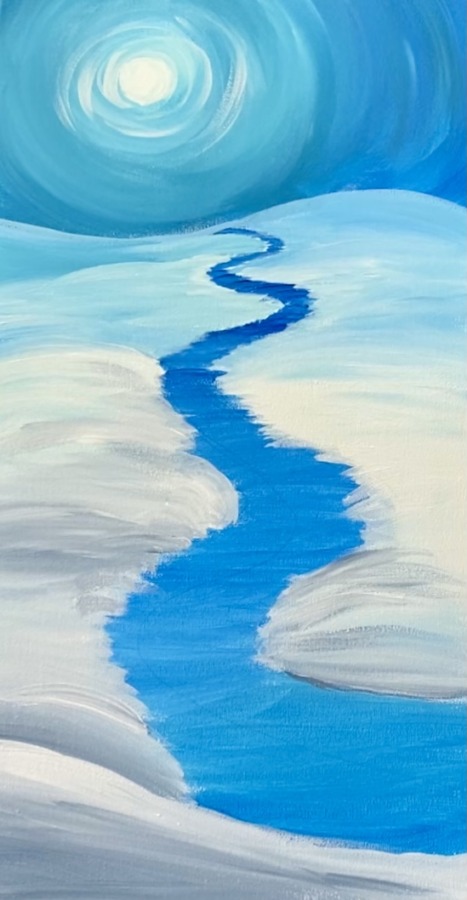
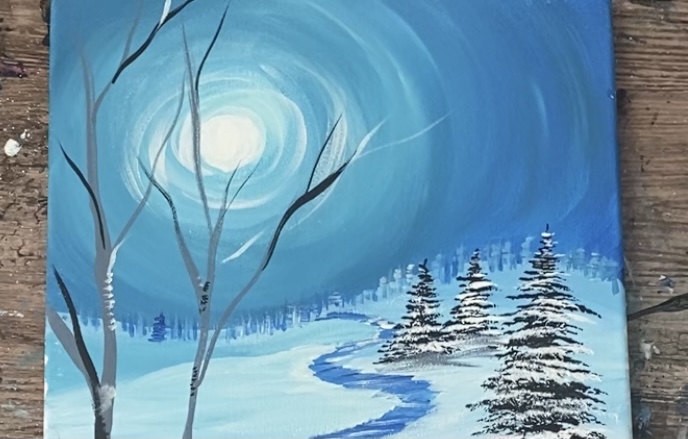
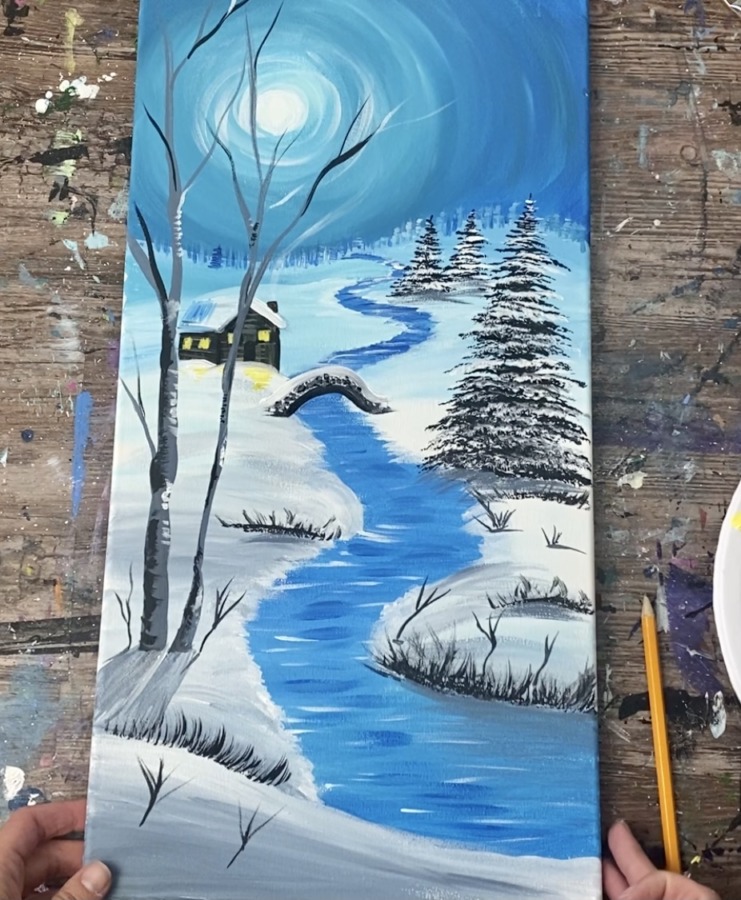
If you want to do this design on a 11 x 14 canvas, you can crop off part of the bottom. A suggestion of what it would look like is pictured below.
Enjoy and happy painting!
Materials
Winter Wonderland Cabin
Learn how to paint a snowy landscape on a long 10 x 20 canvas.
Materials
- 10 x 20 Canvas
- Acrylic Paint
- Optional Traceable
- Pencil
- T-Square Ruler
- Palette & Cup For Water
Paint Colors
- Primary Yellow
- Primary Blue
- Blue Grey
- Titanium White
- Mars Black
- Burnt Umber
- Turquoise Blue
Brushes
Instructions
- See tutorial on www.stepbysteppainting.net for instructions
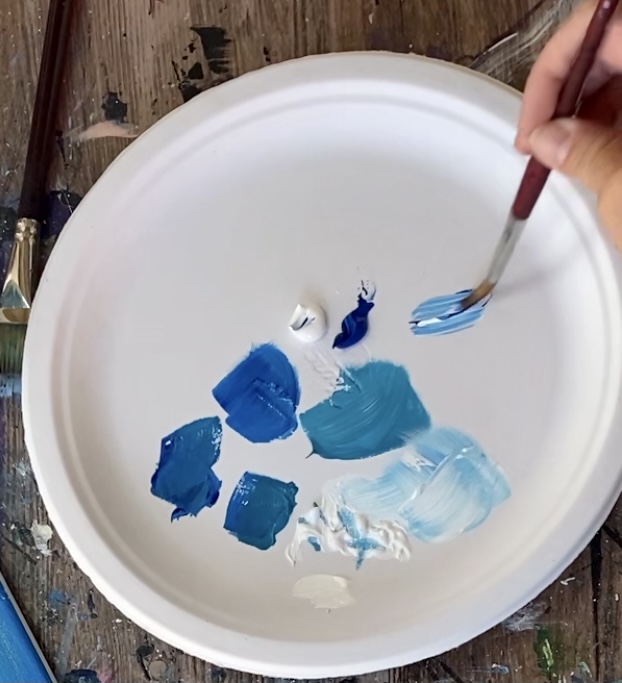
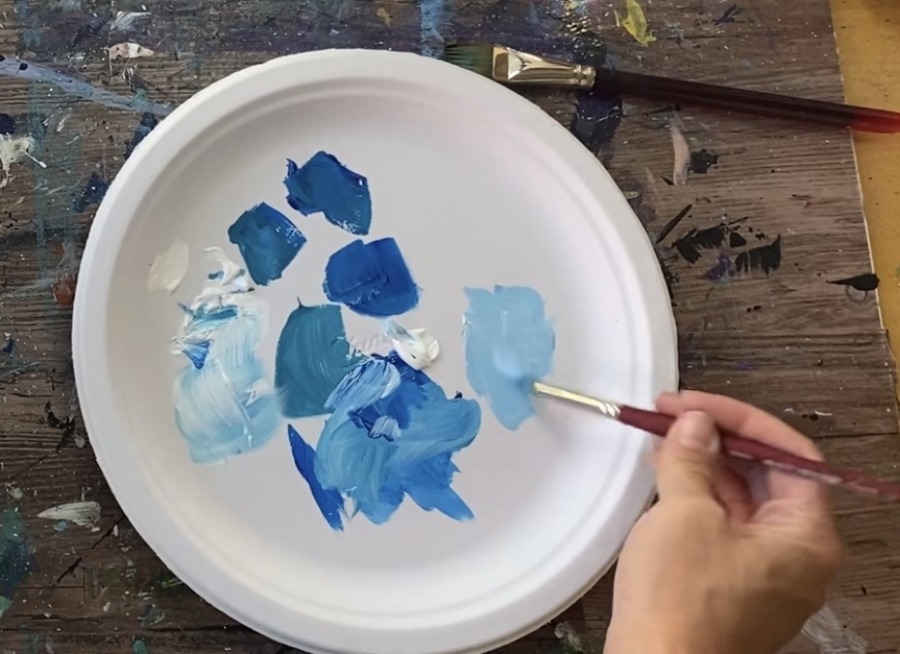
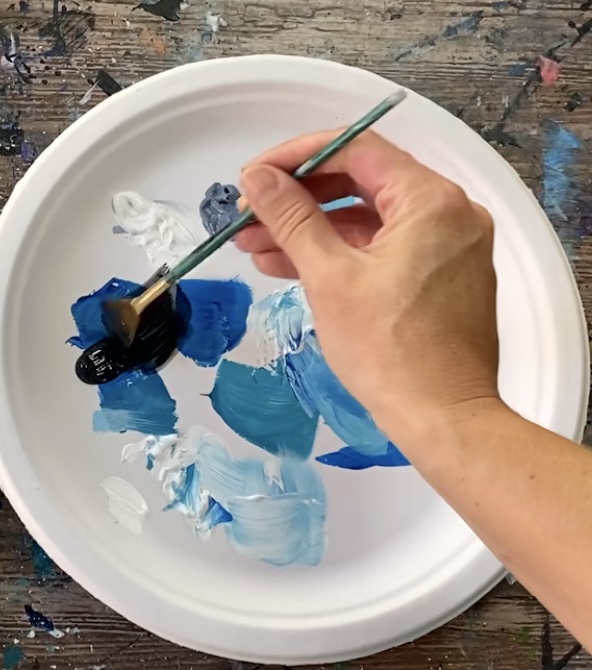
Color Palette
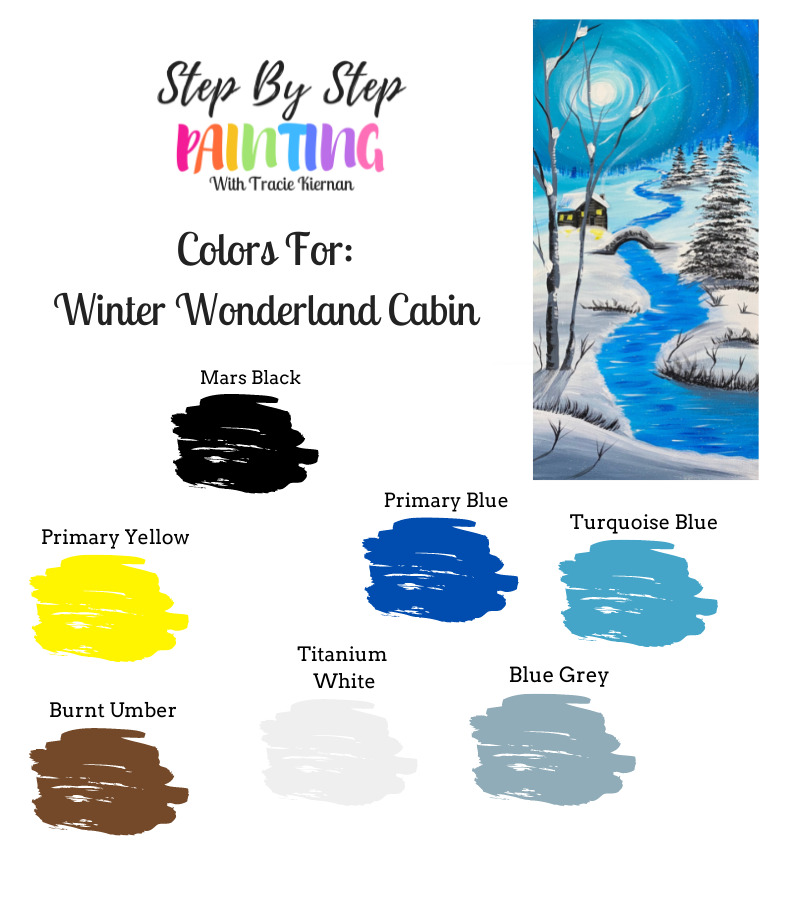
You can make “Blue Grey” by mixing: 5 parts titanium white, 1 part mars black, 1 part primary blue and 1 part ultramarine blue.
Using Craft Paints?
Try substituting with these suggested Apple Barrel Craft Paints:
- Black
- White
- Bright Yellow
- Nutmeg Brown
- Pewter Gray
- Key West or Bimini Blue
- Bright Blue
Directions At A Glance
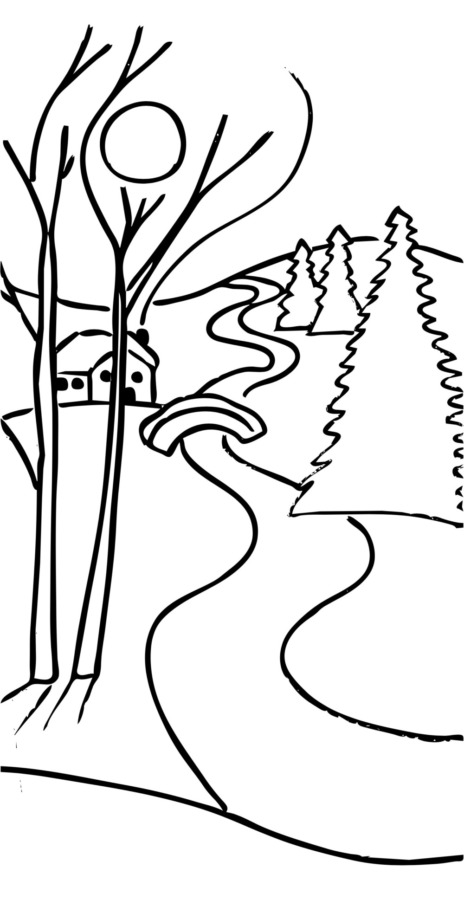
Traceables
This traceable is optional. I demonstrate how to draw the layout of the landscape in the video. However, you are welcome to use the provided traceables!.
I recommend tracing this first and outlining with a thin sharpie so the lines will show through your first layer of paint.
I’m also providing an 11×14 traceable if you want to do this on that size canvas!

Video
Step By Step Directions
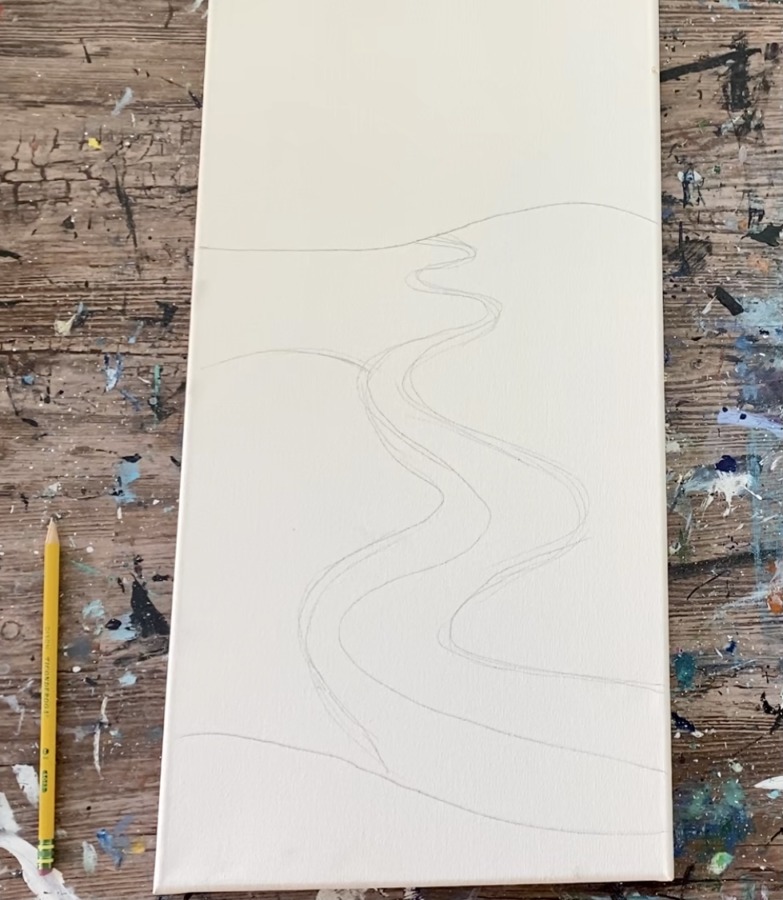
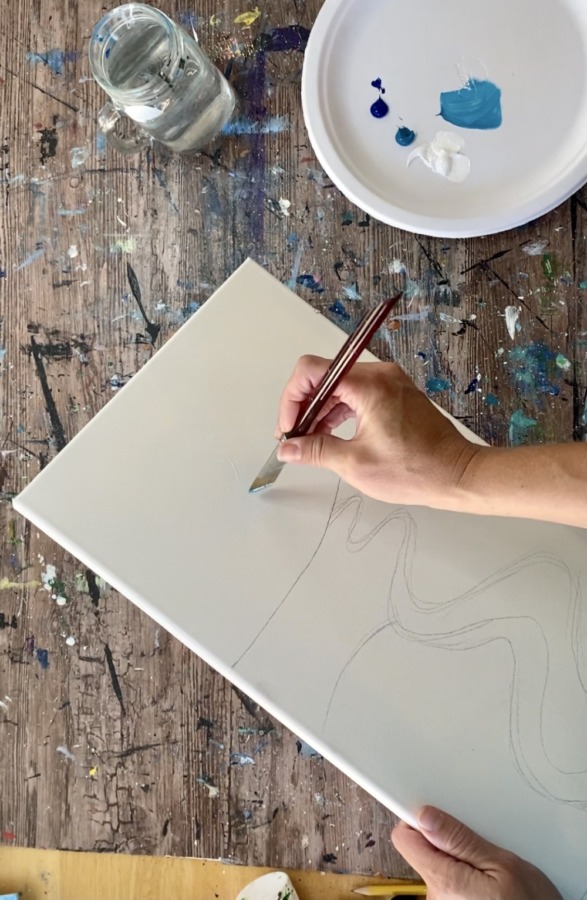
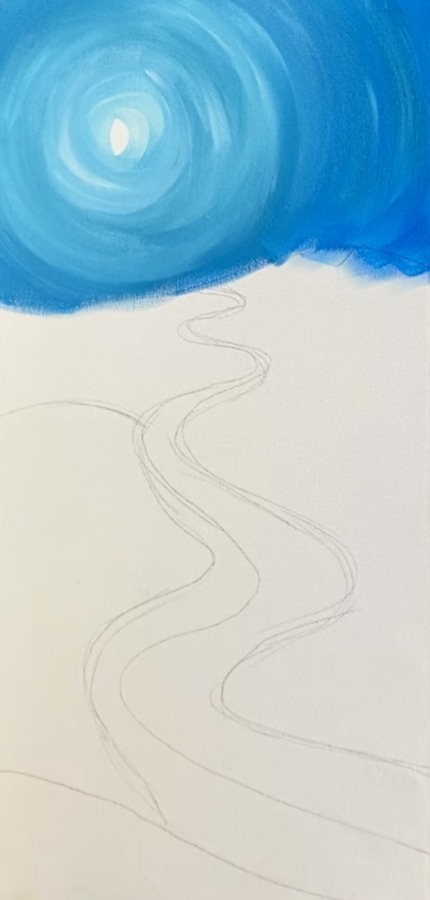
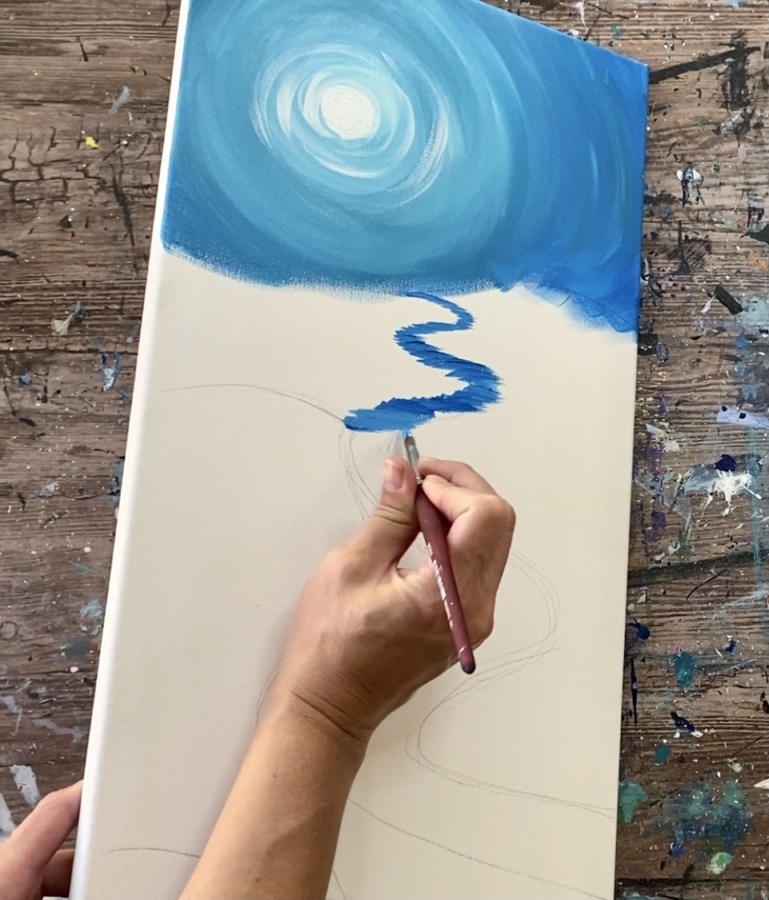
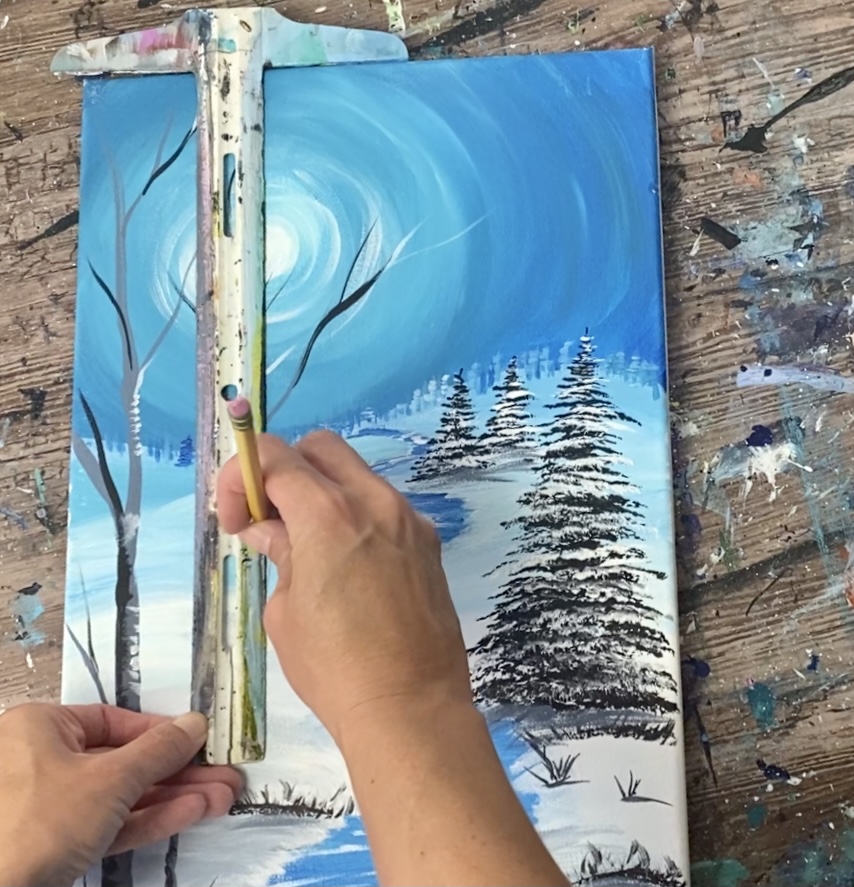
1. Draw The Layout Of The Landscape
If you are using the traceable, you can trace this onto your canvas. You can firmly trace it so it shows up dark or trace it over with a sharpie. The sharpie will show through the first few layers of paint so you will still be able to see the lines you transferred.
If you are not using the traceable…
Lightly draw the composition of the landscape on the canvas. I drew everything pictured in the above traceable EXCEPT for the trees, moon, bridge and cabin. I only drew the mountain, land division lines and stream.
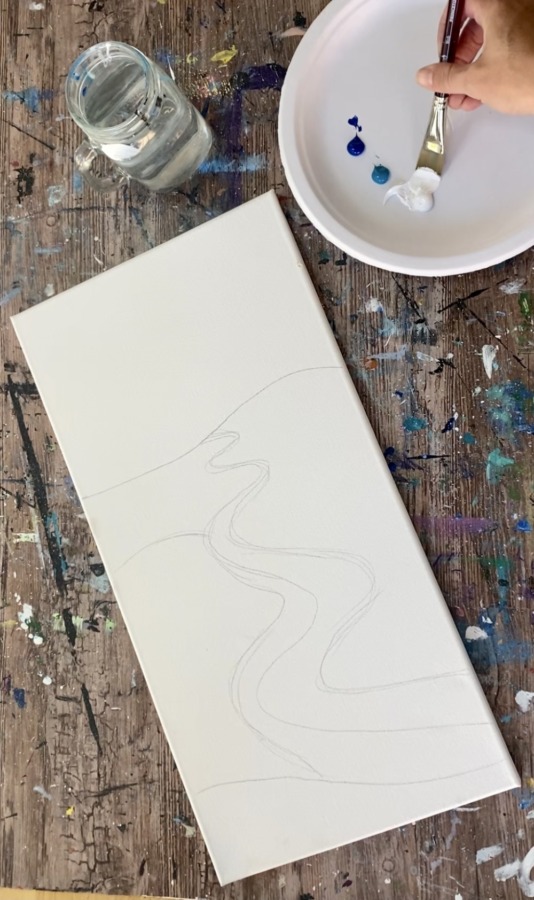
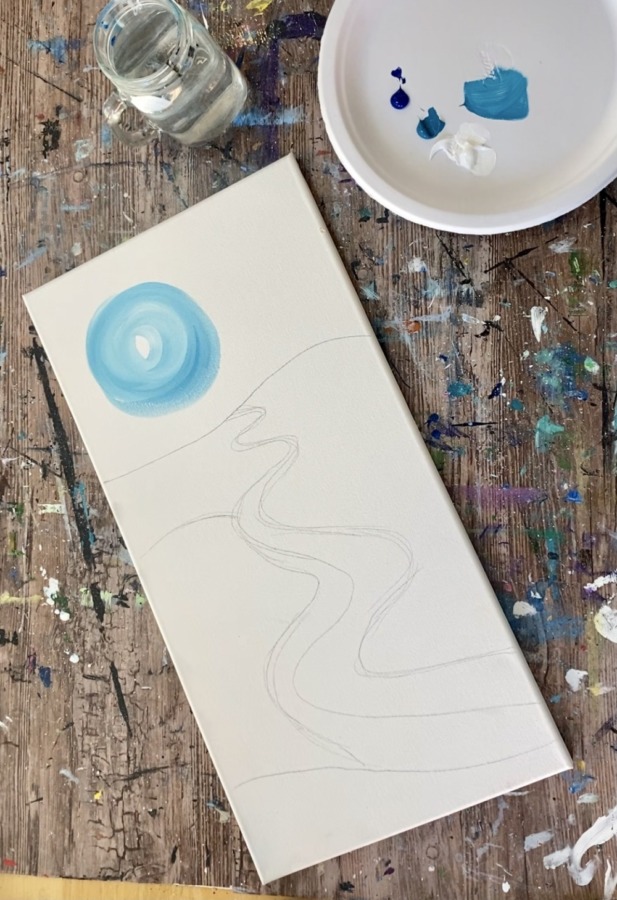
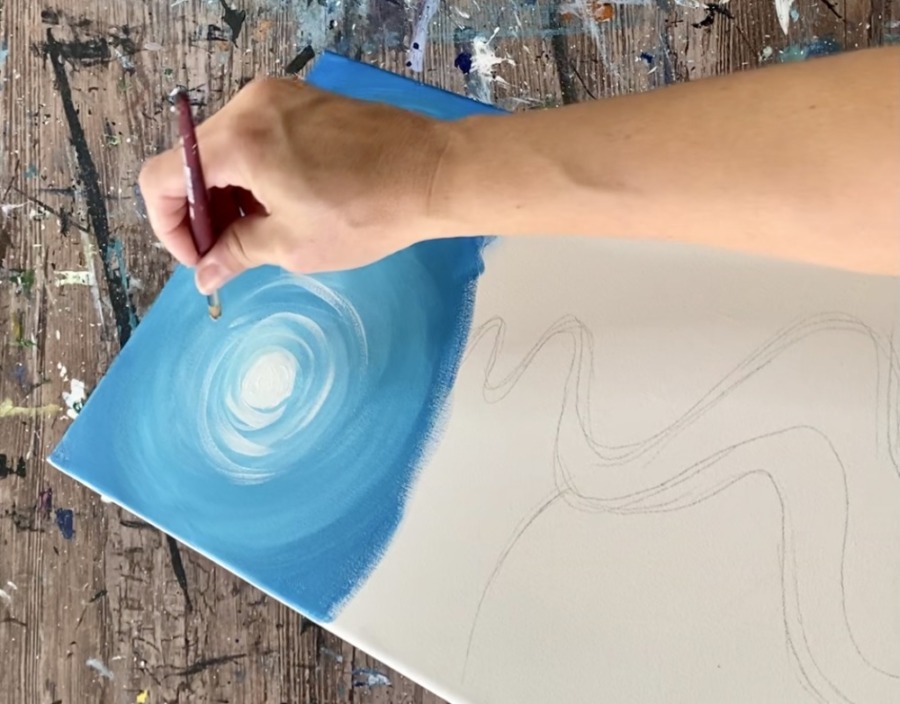
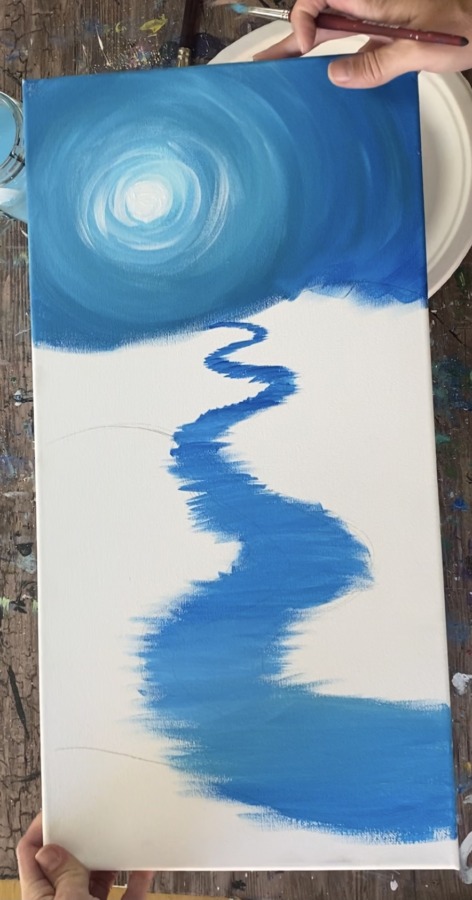
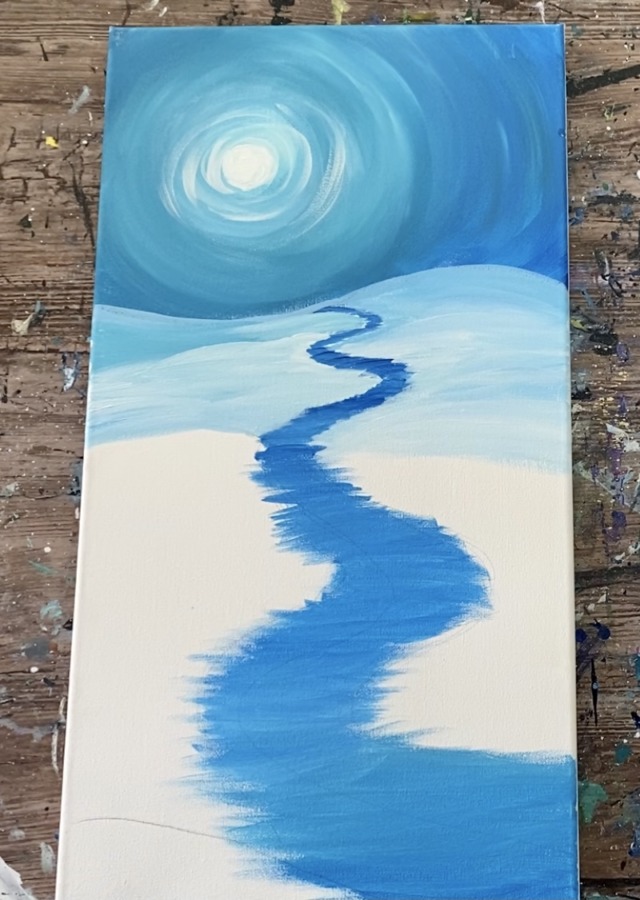
2. Paint The Sky
Next, paint the sky. Load your palette with titanium white, primary blue and turquoise. This sky is a blended background with the strokes going in a circular direction. They do not go below the horizon (hilly line).
Use your 3/4″ flat wash brush. Paint a small white circle in the upper left area of the sky.

Paint a larger white circle (about 3″ wide).
Then wipe off the white paint off of your brush. Load the tip of the brush in a small amount of turquoise. Blend the turquoise around in a circle. Leave the center of the circle blank and white for the moon.
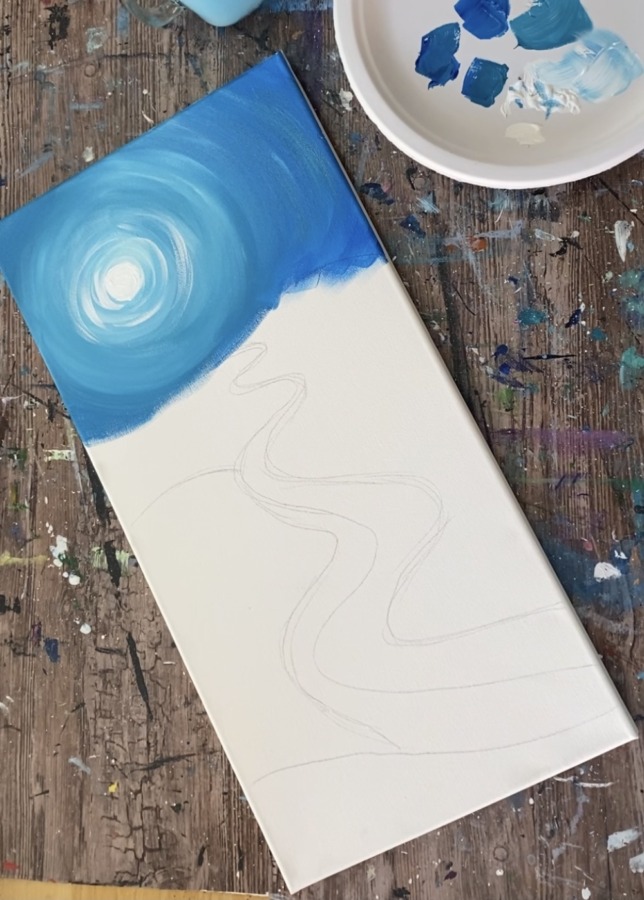
Continue to paint in circular strokes outwards. Add more turquoise to allow the sky to get darker as you work your way outwards. Then transition to primary blue. Blend the primary blue in with the turquoise.
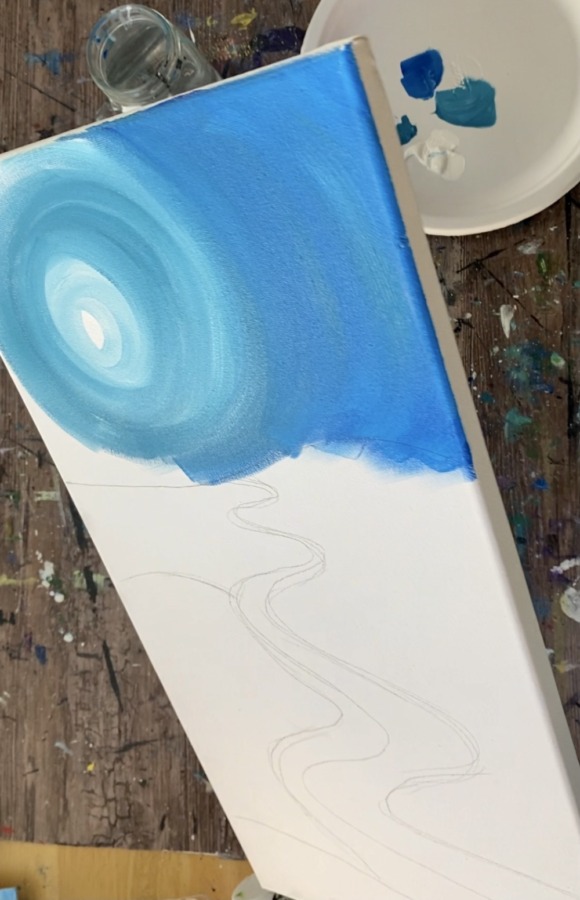
Keep painting in circular strokes and go all the way to the edge of the canvas.
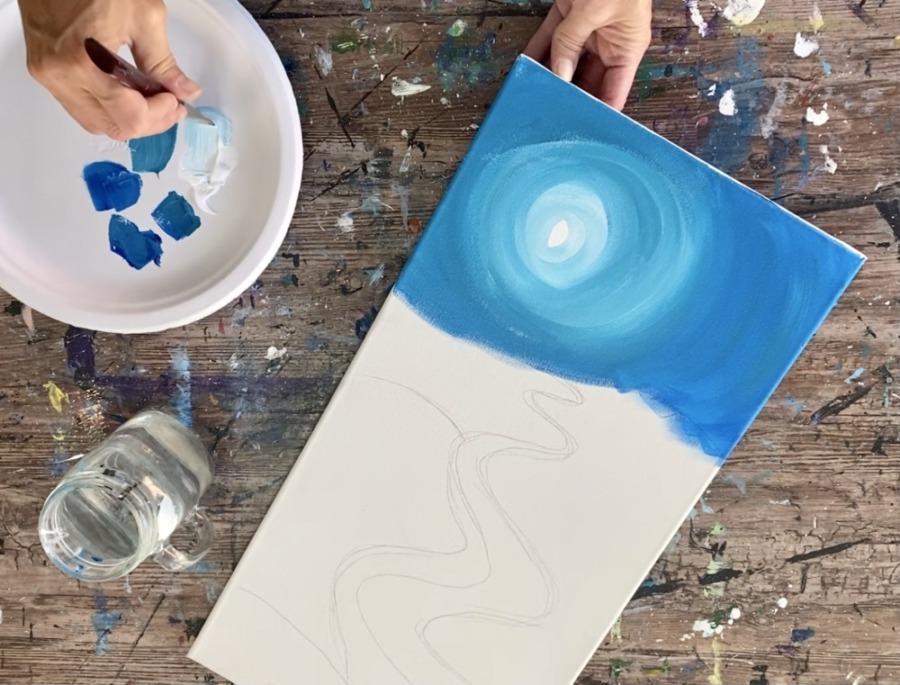
Next, use a #8 round brush to paint a small white circle and define the moon a bit more.
Then add some “dry brush strokes” of white around the moon. Load your brush in a small amount of white then wipe off the brush. Gently paint circular strokes around the moon circle and let the white fade out.
3. Paint The River
Use your #8 round brush to paint the river.
Mix equal parts primary blue and titanium white on your palette. Add a small amount of water to the paint by loading your brush in some water and distributing it into the paint.
Paint left and right strokes starting in the far back of the river and working your way down.
Vary the blue a bit by adding small amounts of white and primary blue to your mixed color. Make sure your strokes stay left and right and also thin. You can thin the paint by adding small amounts of water to it.
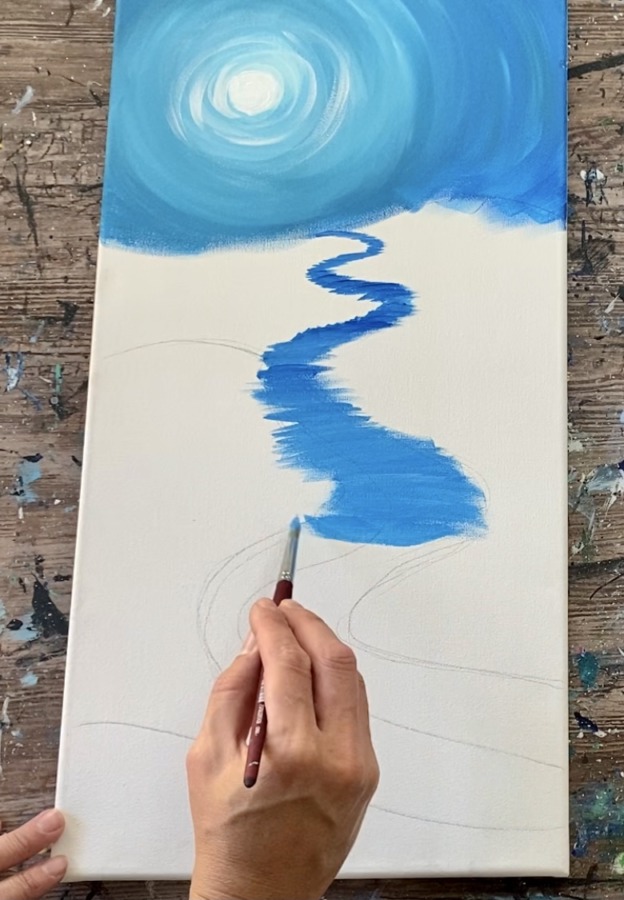
You can go outside your drawn river lines with your blue paint strokes.
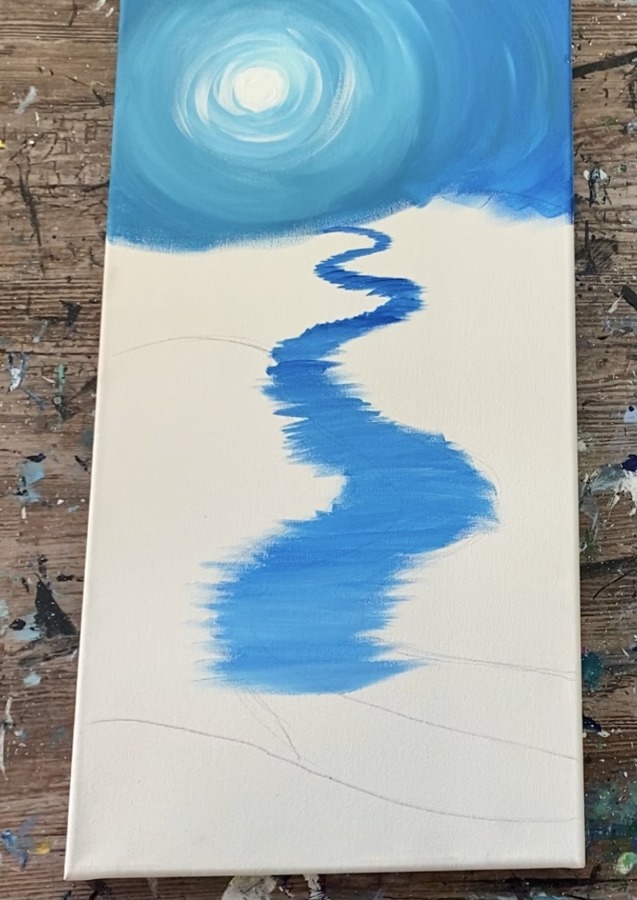
You can also add a little turquoise in your water. Remember to keep this thin and keep your strokes going all horizontal.
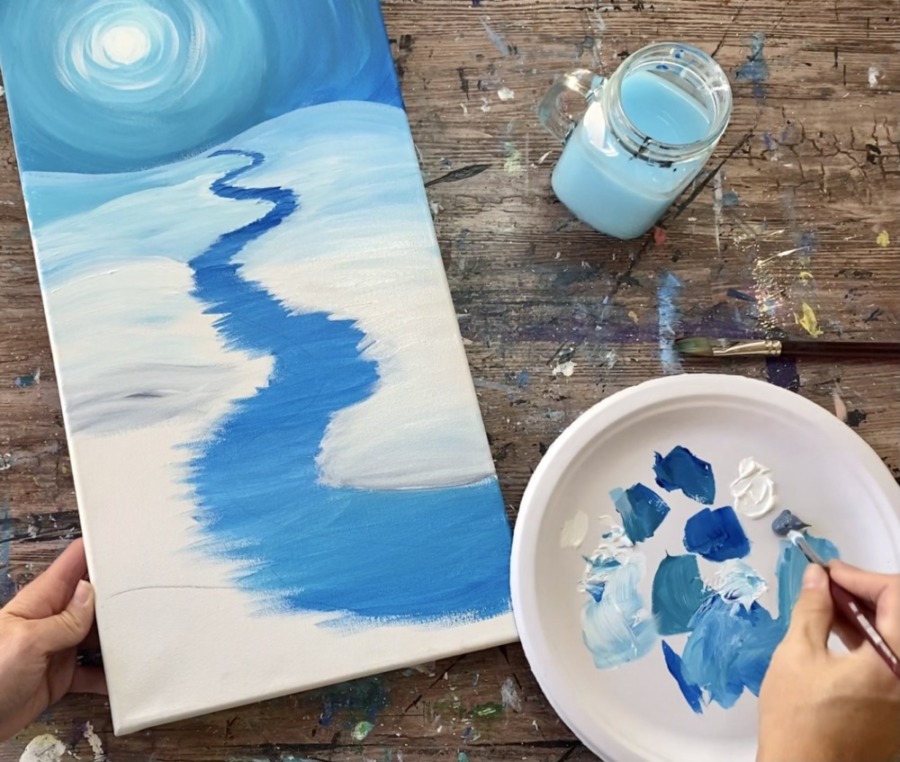
4. Paint Snow On Ground Starting In the Back And Working Your Way Down
The snow in this landscape consists of different tints of light blue with some blue grey blended into the white on the bottom of the landscape. Rather than painting everything solid white, the blue and grey are used to create different shadowy areas in the land and to give the snow some wavy texture.
Paint the snow on the land starting under the horizon line and working your way to the bottom of the canvas. Mix an “icy blue” color on your palette by mixing 5 parts titanium white with 1 part primary blue.
Paint the snowy hill just under the horizon line. Do this with long thick strokes (thicker than the strokes you used for your water). Continue down the canvas and gradually add more white to your brush to make the snow lighter. The land further in the distance is slightly more “shadowy” than the land towards the bottom.
Then add “blue grey” to your palette. If you don’t have blue grey, you can use any other grey. Blend a little of that blue grey into white paint towards the middle area of the canvas. Your snow should have different variations of the white with some shadowy areas on the land.
Paint some more of the blue grey above the bottom hill area.
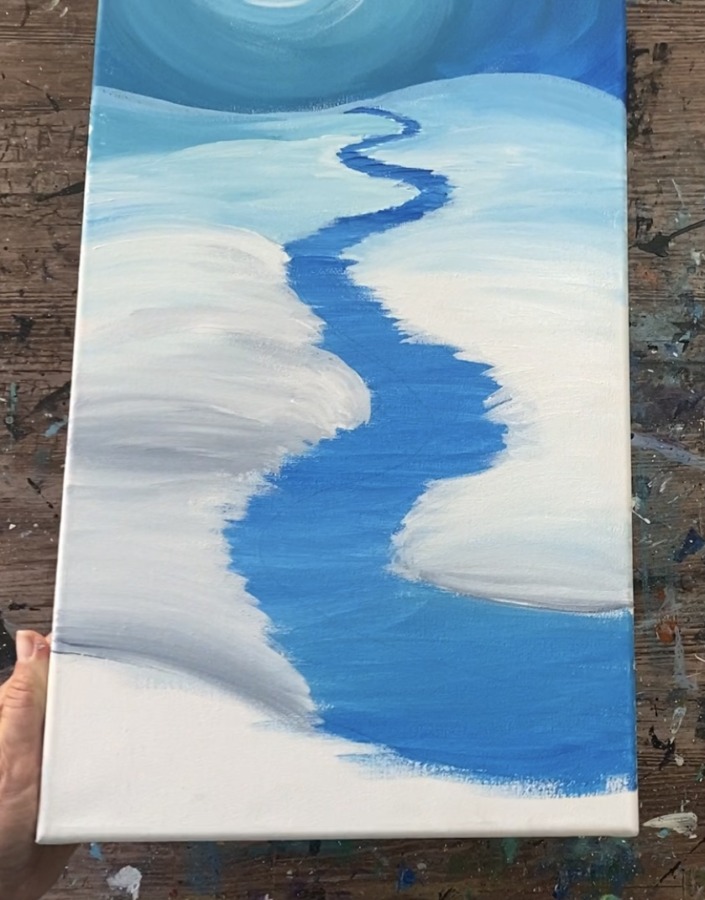
Then paint the hill bright white on the top and have the bottom of the hill blend to the blue grey.
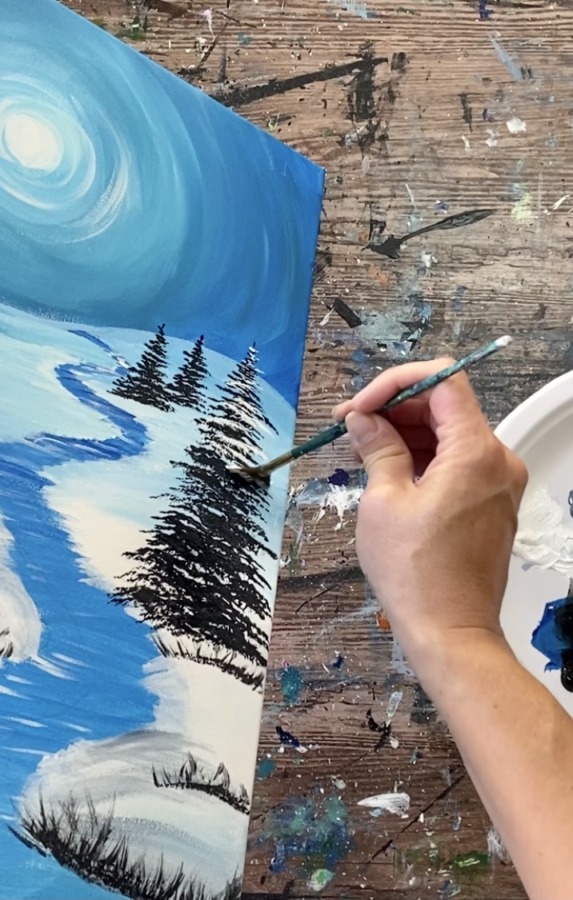
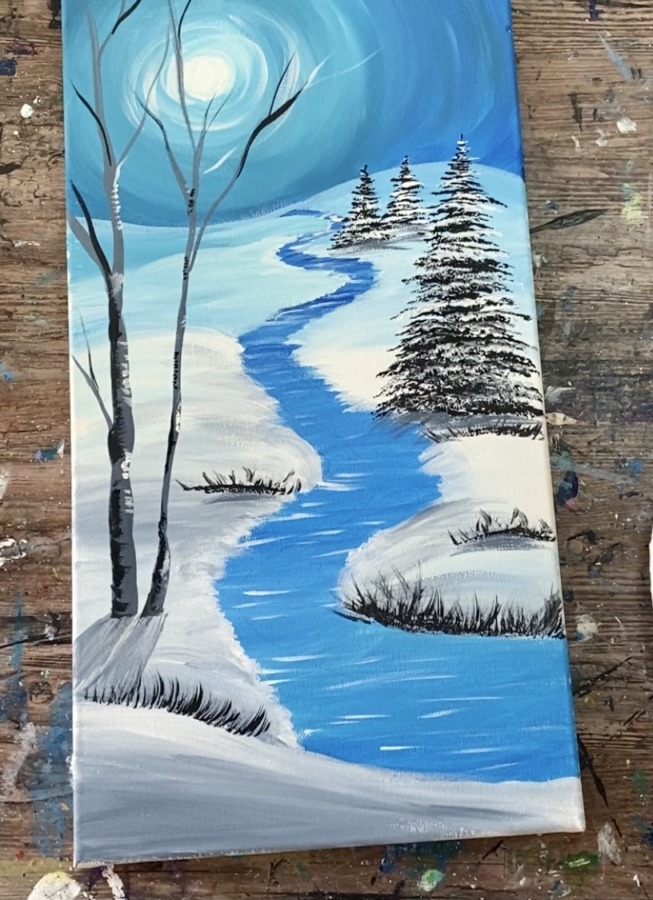
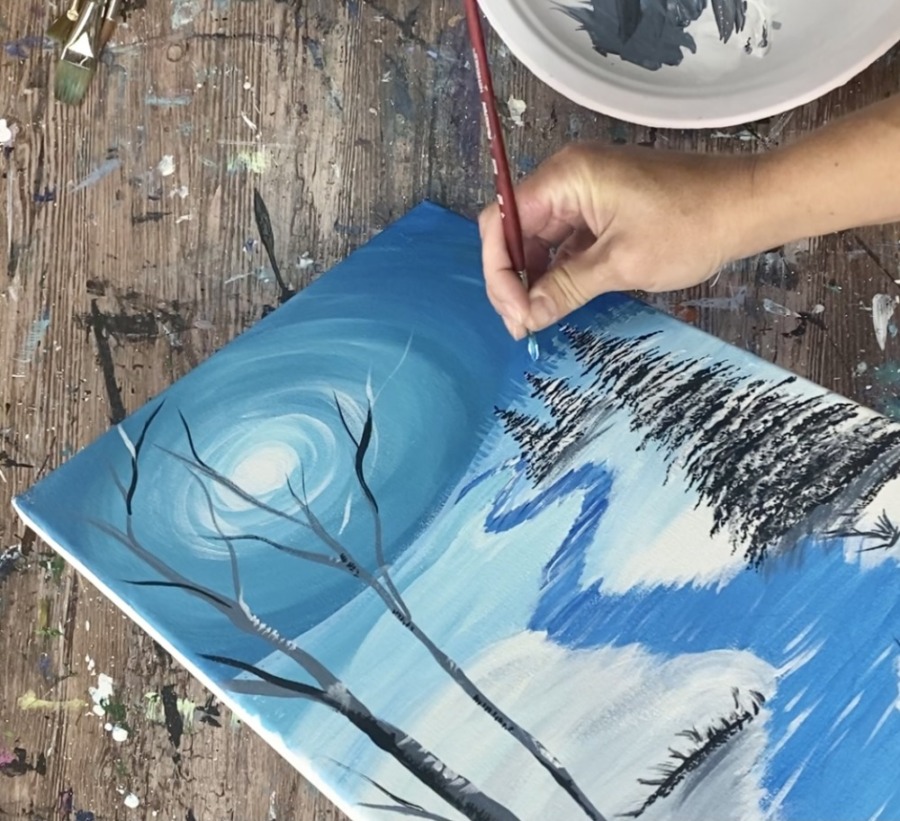
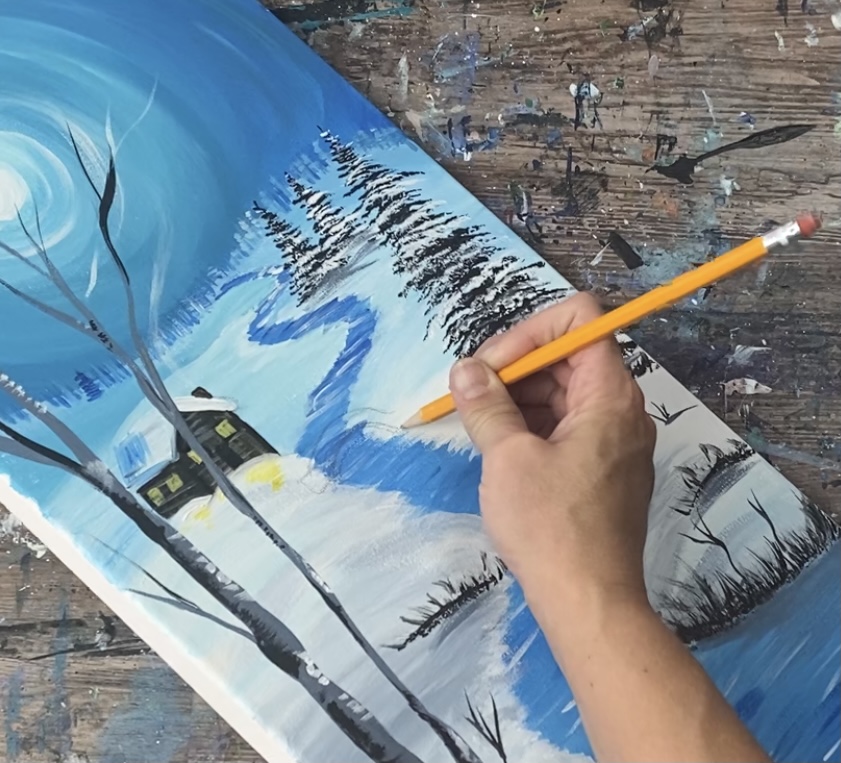
5. Paint Fan Brush Trees & Shrubbery
Need more details on this fan brush painting technique? See also: How to Paint Trees With A Fan Brush and “How To Paint Snowy Pine Trees”
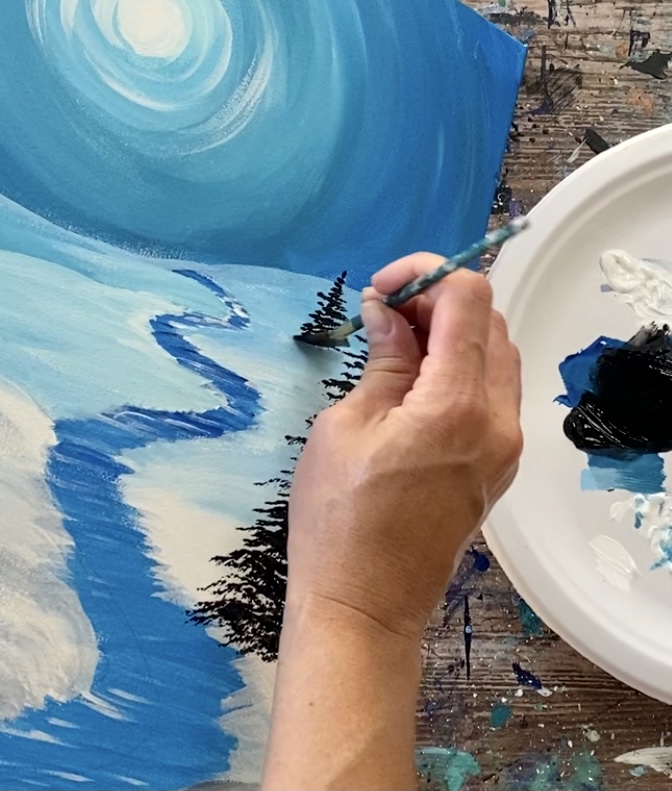
Next paint the fan brush trees. These trees were done using a fan brush. Load your brush in the water then load your brush into mars black paint. Stroke over the paint to distribute the brush into the black. Your bristles should be evenly spread out and not clumped together.
Start by painting the larger tree. Make a small vertical mark for the top of the tree that starts above the horizon line. Use the side of the fan brush at first to make smaller marks. Stamp the brush going in a left and right zig-zag direction.
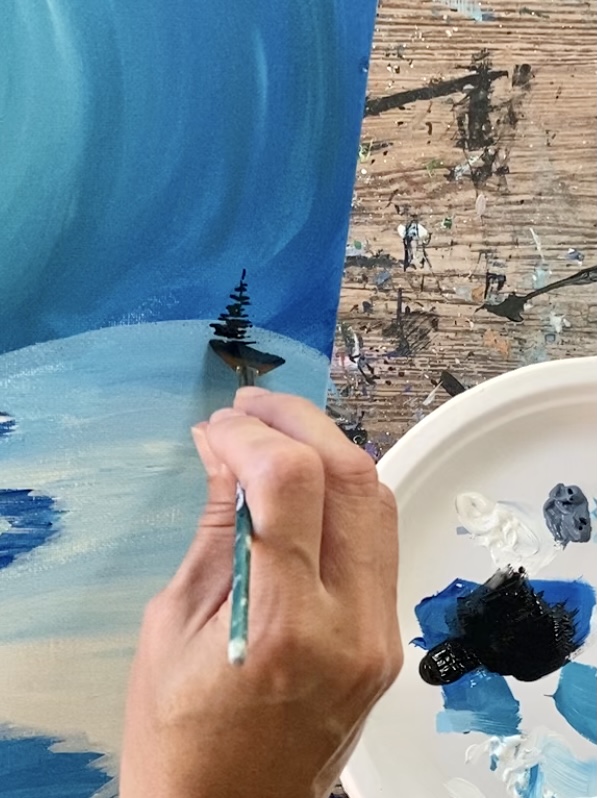
Work your way down forming the conical shape of the tree.
Then repeat the fan brush technique for two more trees further in the distance. Make them about half the size as the larger tree.
You can also use your fan brush to paint some dormant grass on the hill at the bottom and in other areas of the snowy landscape.
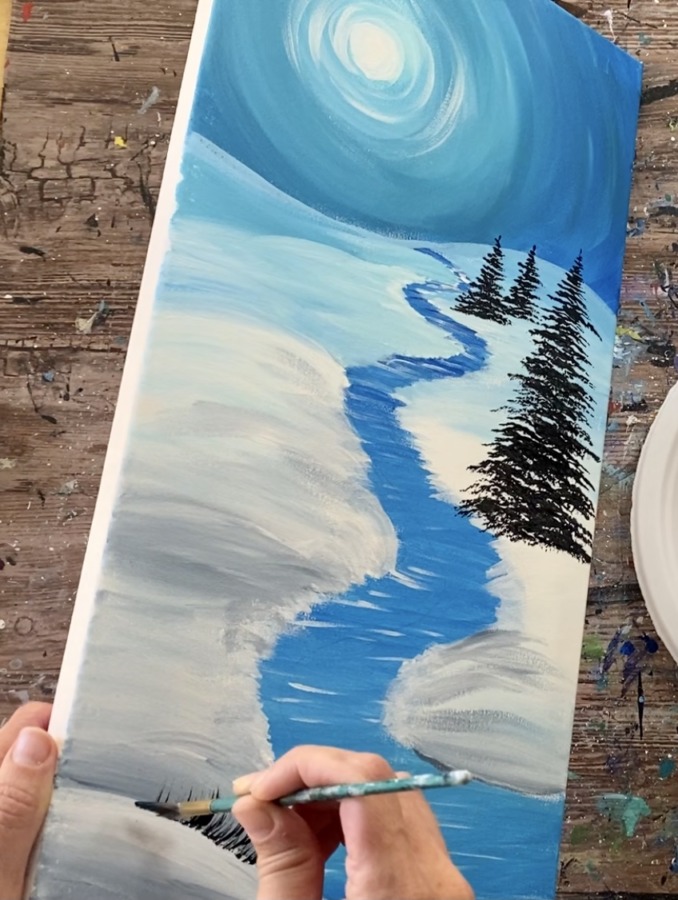
To do this, load only a small amount of black paint on the brush and gently brush it up to create the grass.
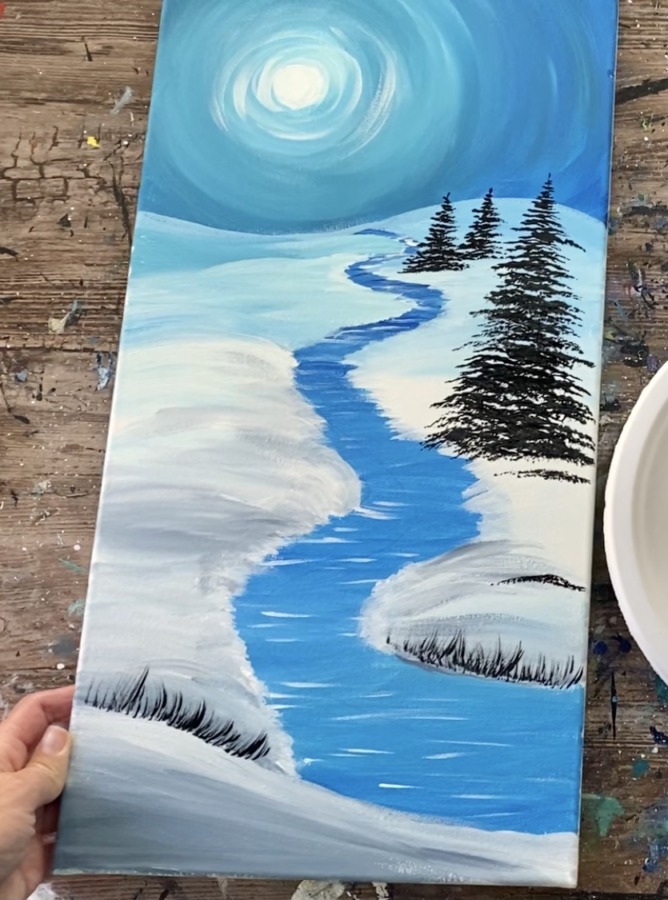
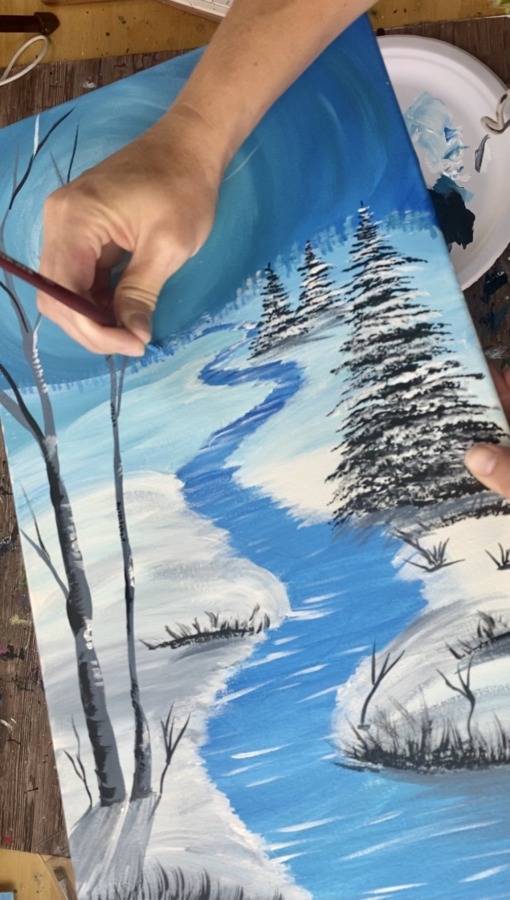
Then paint snow on the pine trees. The black on these trees does not need to be dry all the way. If your white layer turns slightly gray, that is okay.
Paint the snow using the same technique you used to paint the base of the black tree. Load your fan brush in titanium white. Gently tap the brush starting at the top of the tree.
Your strokes should be relatively thick. Work your way down to the bottom of the tree. Do not cover all of the first layer of black paint.
Repeat this for the other two trees.
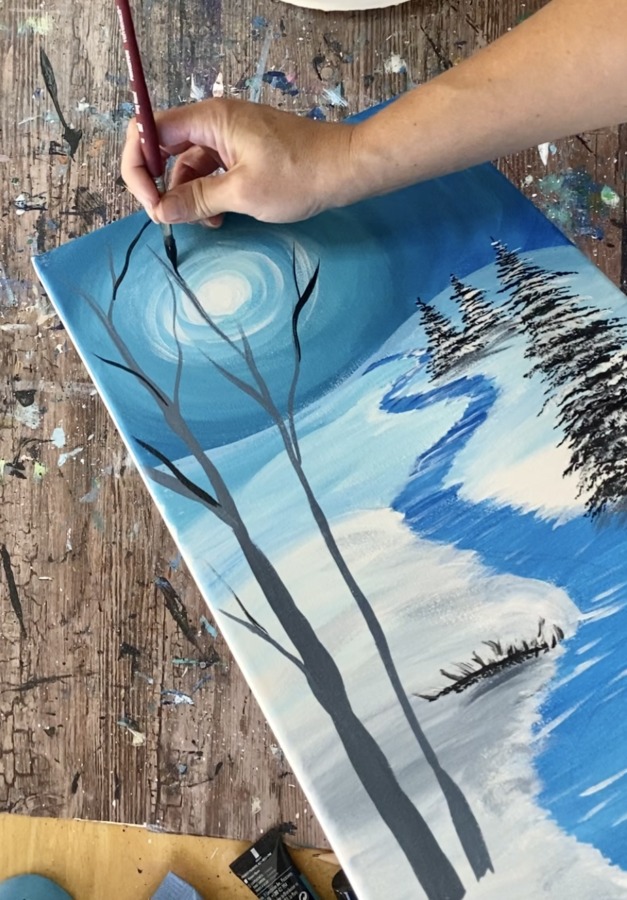
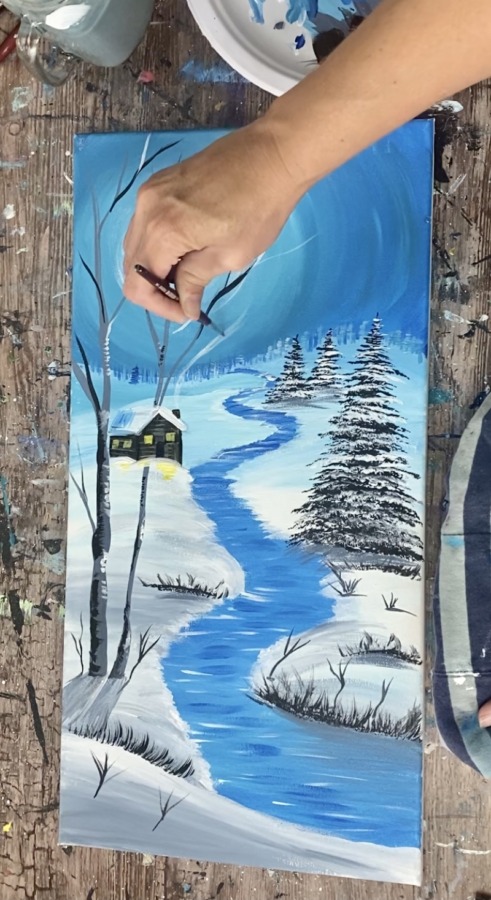
6. Paint Aspen Trees
Use blue grey, titanium white and mars black as well as your #8 round brush to paint the aspen trees. Start by slightly watering down blue grey on your palette. Start at the bottom and paint the trunk slightly thick. Go vertically up the canvas and above the horizon line. Your tree trunk line should be gradually thinner as it goes up into the sky. Let your line get thin and go to a point.
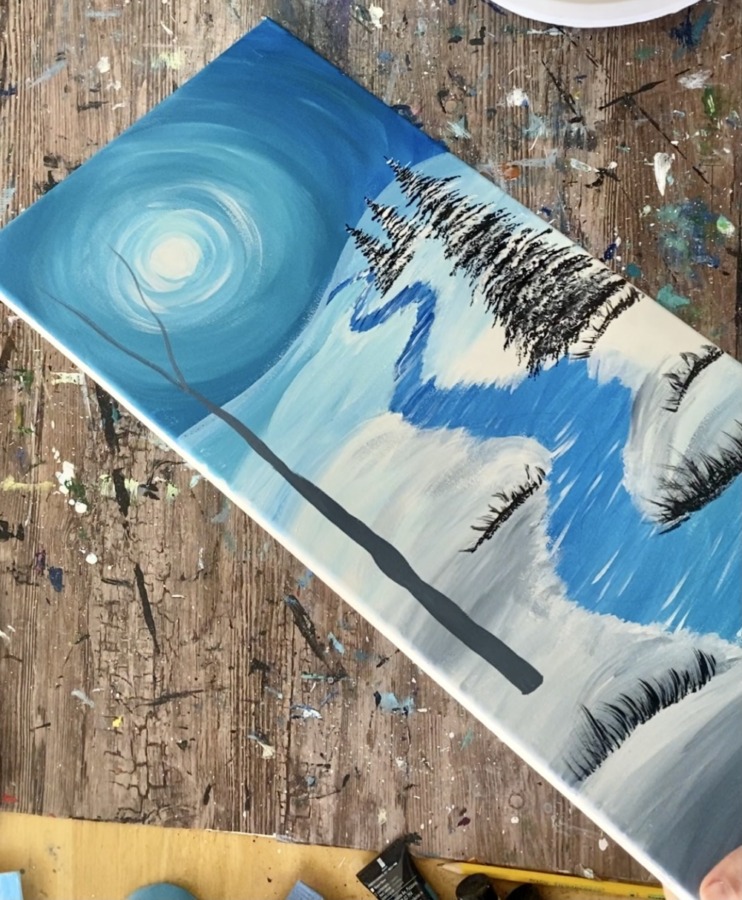
Paint smaller branches on the tree using the very tip of your #8 round brush. You can also switch to a smaller brush, if needed, to paint the smaller branches. Paint a second tree next to the first one. This second tree is slightly thinner and leans slightly to the right.
Use mars black to paint more darker branches on both of the trees. Try not to cover the moon with any of the branches.
Then load the tip of your brush in just titanium white. Paint small little marks on the right side of the tree.
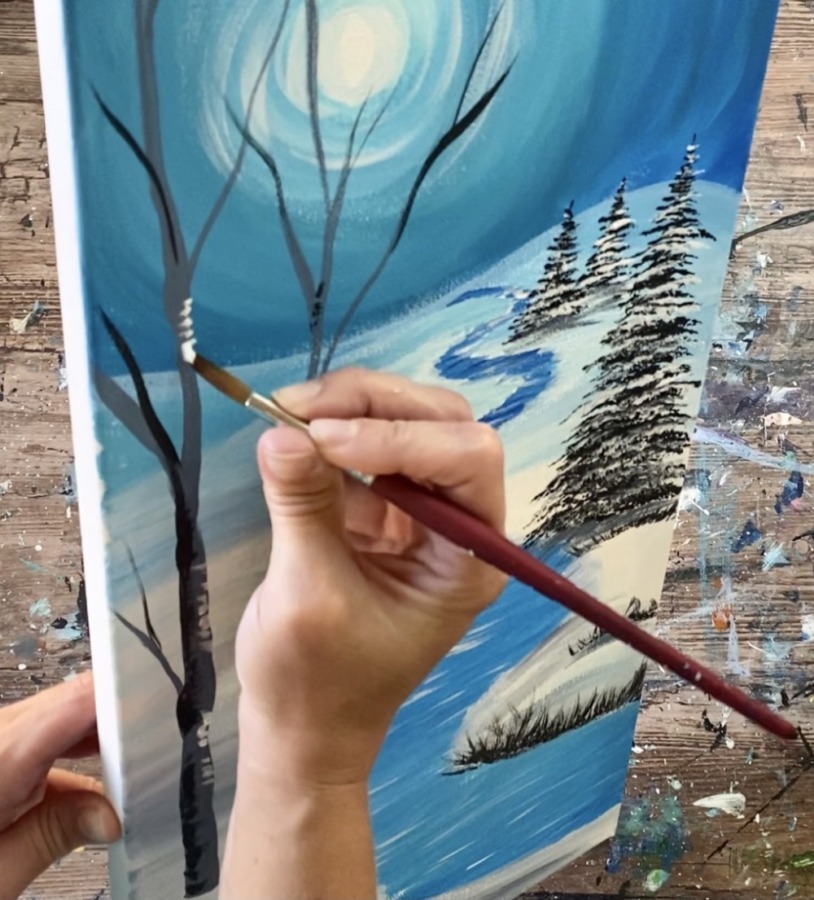
Do this with mars black as well. Paint small little black marks on the left side of the tree.
Then water down blue gray to a water color consistency. Use your round brush to paint a very thin layer of paint under both of the trees for their shadow. The area should go diagonally.
Then paint some small sticks/branches sticking out from the snow. Use mars black (slightly watered down) and the tip of your round brush. Paint multiple branches around the bottom part of the landscape and next to the aspen trees.
7. Paint Small Trees On Horizon Line
Use your #8 round brush and a combination of the colors: turquoise, primary blue and titanium white to paint tiny pine trees along the horizon line. Do this by painting small vertical lines along the hilly area of the horizon line.
Then paint little branches (tiny diagonal strokes) on some of the trees. You don’t have to do this to all of them.
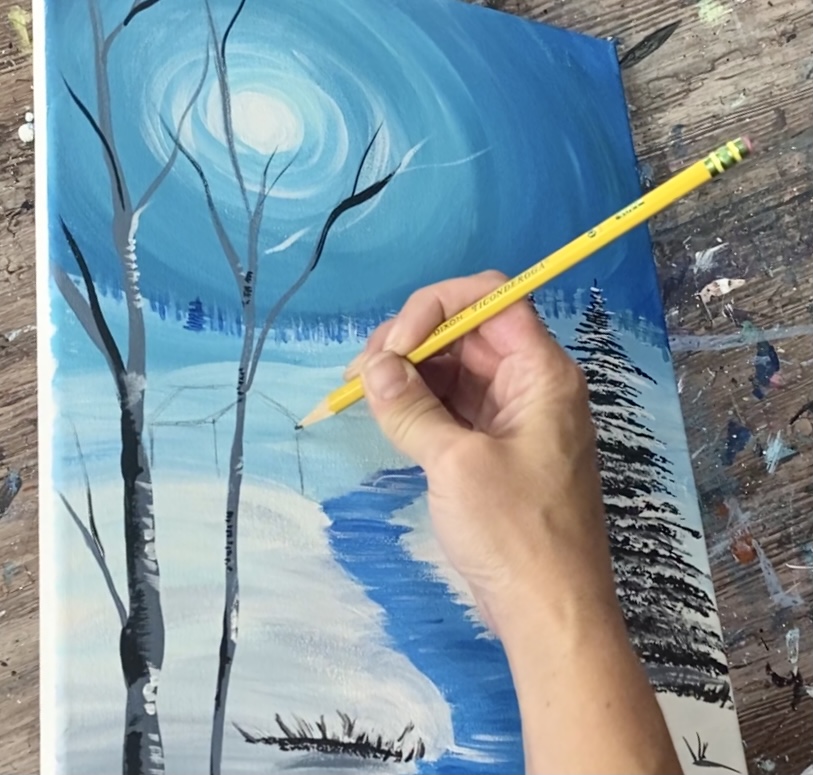
8. Draw & Paint Cabin
Next, use a pencil to lightly draw your cabin. This cabin is placed in the distance and is visible between the two aspen trees. Use a t-square ruler to make your vertical lines parallel to the sides of the canvas.
Draw three vertical lines, a triangular shape for the roof and the side roof.
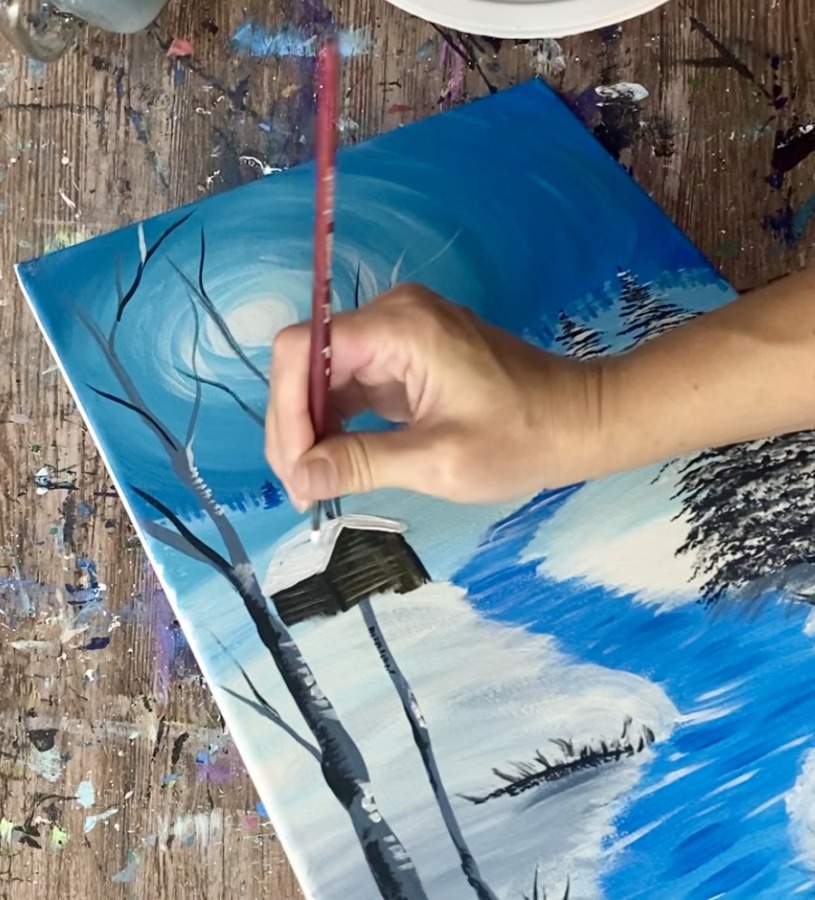
Then paint the cabin in. I used a 3/8″ angle brush but you can use a small flat brush. Load your palette with raw umber. Paint the cabin using full width vertical strokes. Tip: I found it best to just paint over the aspen tree and then go back and paint the tree that overlaps it later.
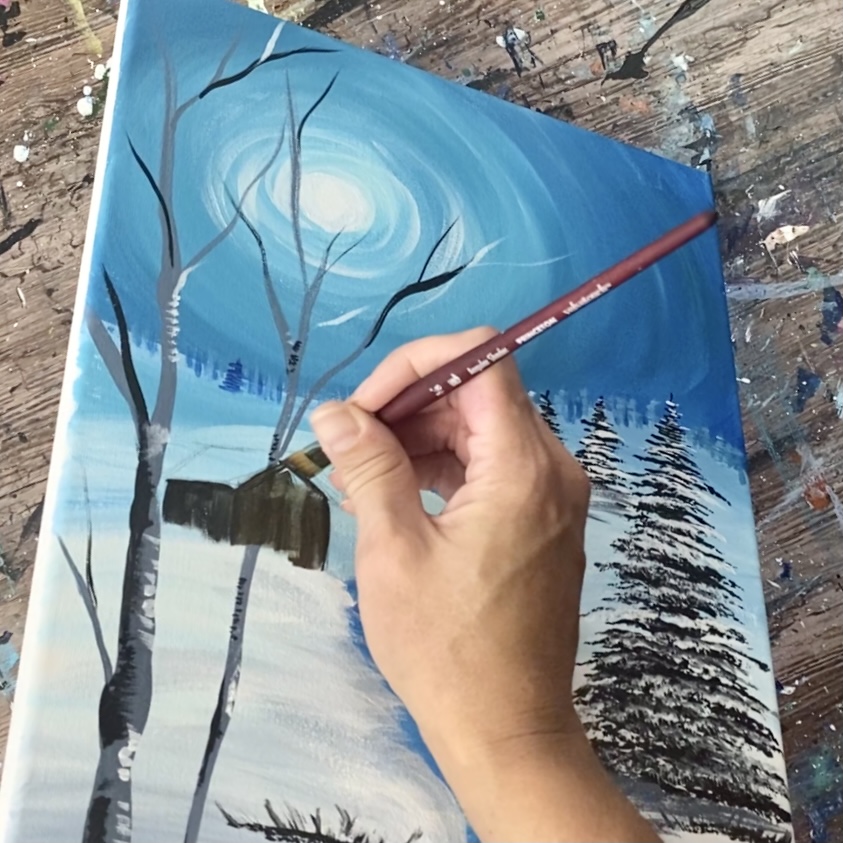
Then wipe your brush off. Load it into some titanium white. Paint very thin horizontal lines on the front and side of the cabin. The white will gently blend with the brown.
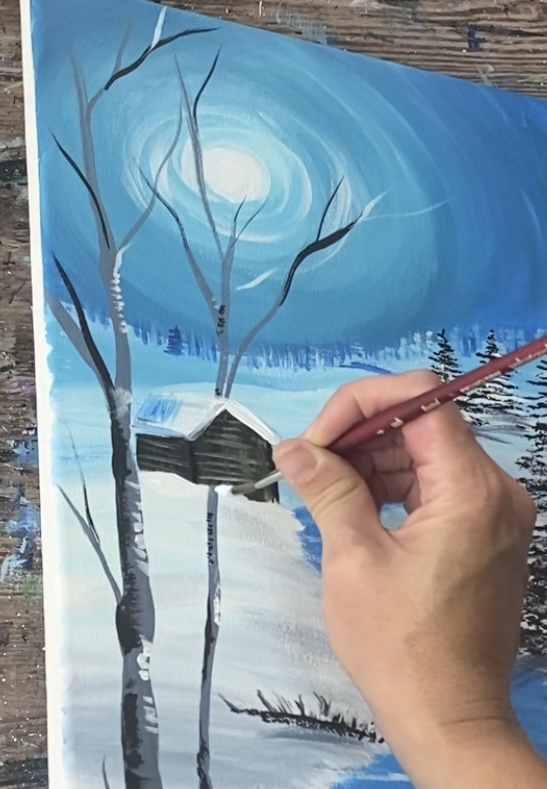
Then paint the roof. Load your #8 round brush in titanium white. Paint the roof with a thick layer of white paint.
Then add a small amount of primary blue in the white on the roof on the left side of the cabin.
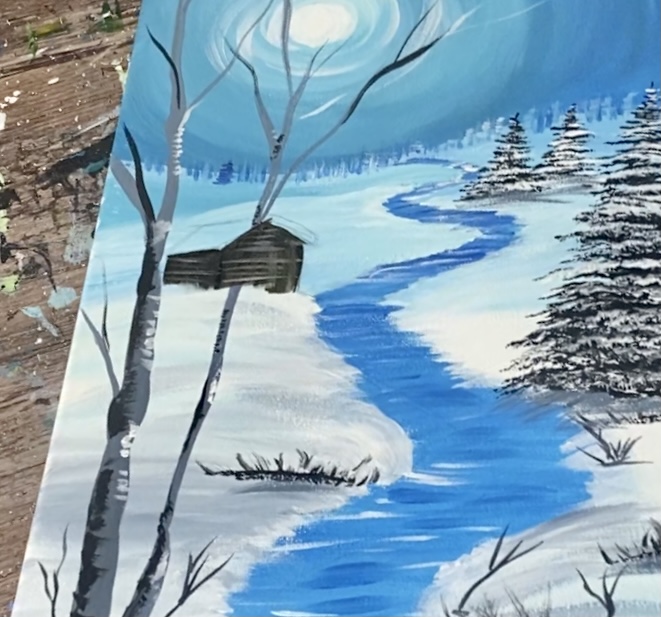
Next, go back and paint snow at the base of the cabin so that it appears that the bottom is slightly concealed by snow.
Next, paint windows and a door. Use primary yellow mixed with titanium white. Paint four windows – two on the front of the cabin and two on the side. Use mars black to paint a small door.
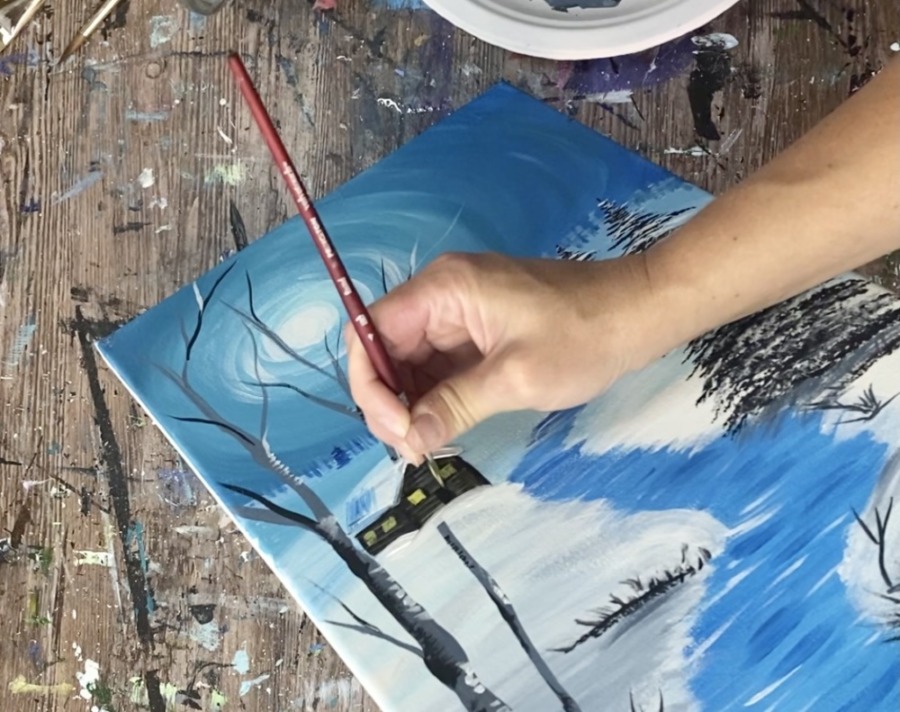
Then use raw umber to paint a little chimney. To paint the smoke, load your brush in a small amount of titanium white. Wipe off part of the brush. Then paint the smoke so that it is going up into the sky and turns towards the moon.

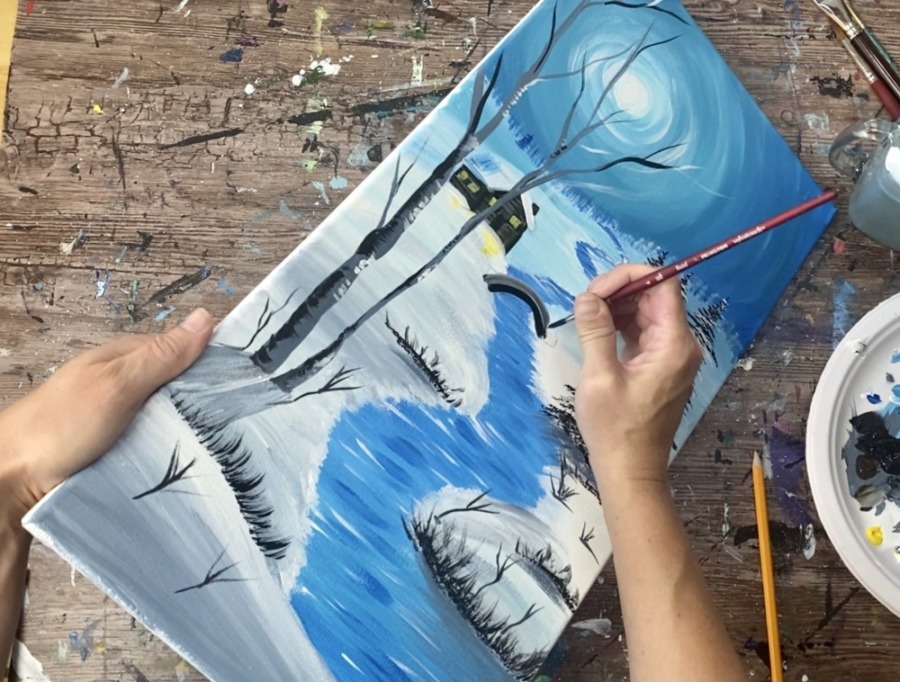
9. Paint Bridge
Draw the bridge with a pencil. Draw a rainbow shape that goes over the river (two curved lines).
Use a #4 round brush to paint a black curved line on the bottom of the bridge. Then paint a thicker line with gray (white and black mixed together).
Then paint little dotted texture on the bridge with white and gray mixed together.
Then paint white snow on top of the bridge.
10. Splatter Snow & Paint Snow On Branches
Use a toothbrush or any flat brush to splatter thin white dots in the sky and all throughout the canvas. The titanium white paint should be somewhat thin for it to splatter.

Use any brush to paint white snow in between some of the branches of the birch trees.
Finished!
Share Your Art Here!


