Would you like to save this?
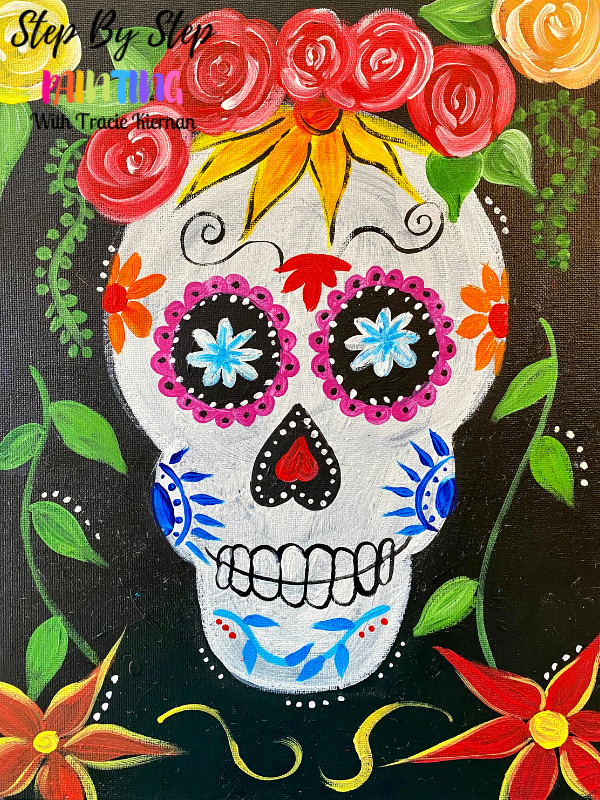
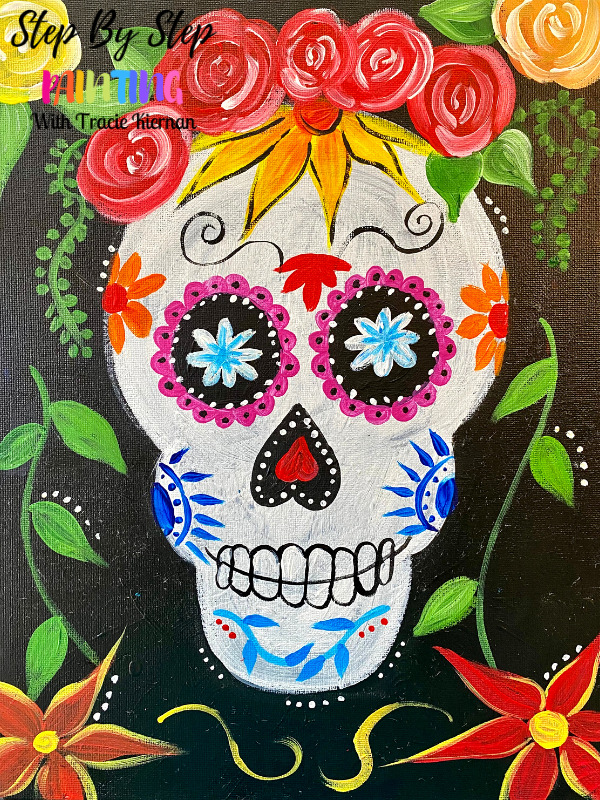
This acrylic painting tutorial will demonstrate how to paint a Calavera de Azúcar (Sugar Skull). The sugar skull is a symbol seen in the Mexican tradition used to celebrate departed loved ones on Dia De Los Muertos. It is a very colorful skull adorned with flowers, various designs & whimsical patterns!
This is a very easy beginner level painting that you can customize with your own colors and patterns. I will show you how I did my painting, however, feel free to change your colors, flowers and add your own unique designs! You can get inspiration for designs by searching for “Sugar Skull” designs online.
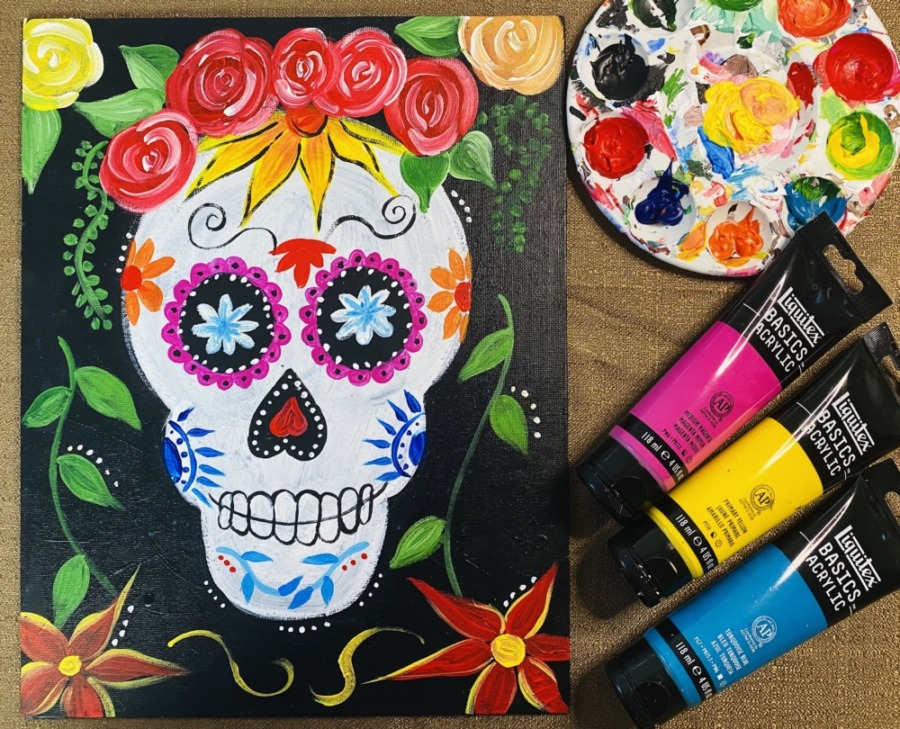
You can also get very crafty with this painting and add glitter, glow in the dark paint and/or other fun accessories!
Enjoy and happy painting!
Materials
Dia De Los Muertos Sugar Skull Painting Tutorial
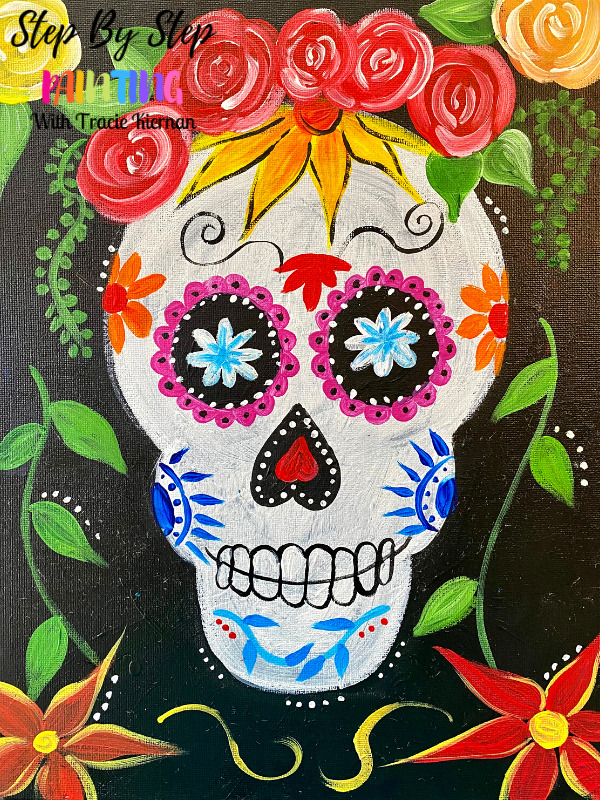
Learn how to paint a sugar skull with acrylics on canvas.
Materials
- 11 x 14 Canvas
- Acrylic Paint
- Brushes
- Chalk
- Optional Traceable
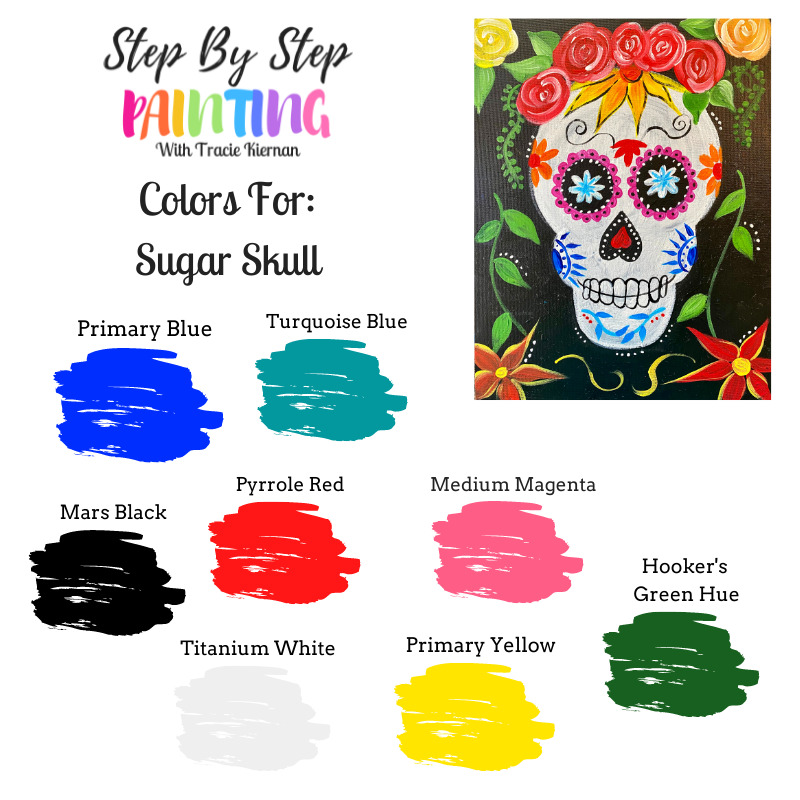
Colors (These can be custom!)
- Mars Black
- Titanium White
- Pyrrole Red
- Primary Yellow
- Primary Blue
- Turquoise Blue
- Medium Magenta
- Hooker's Green Hue Permanent
Brushes
- 3/4" Flat Wash
- #8 Round
- #4 Round
- 5/0 Round
Instructions
- See tutorial on www.stepbysteppainting.net for full instructions!
Color Palette
Traceable
The skull can easily be drawn with chalk! However, if you would like. template for this sugar skull painting, feel free to download the one below!
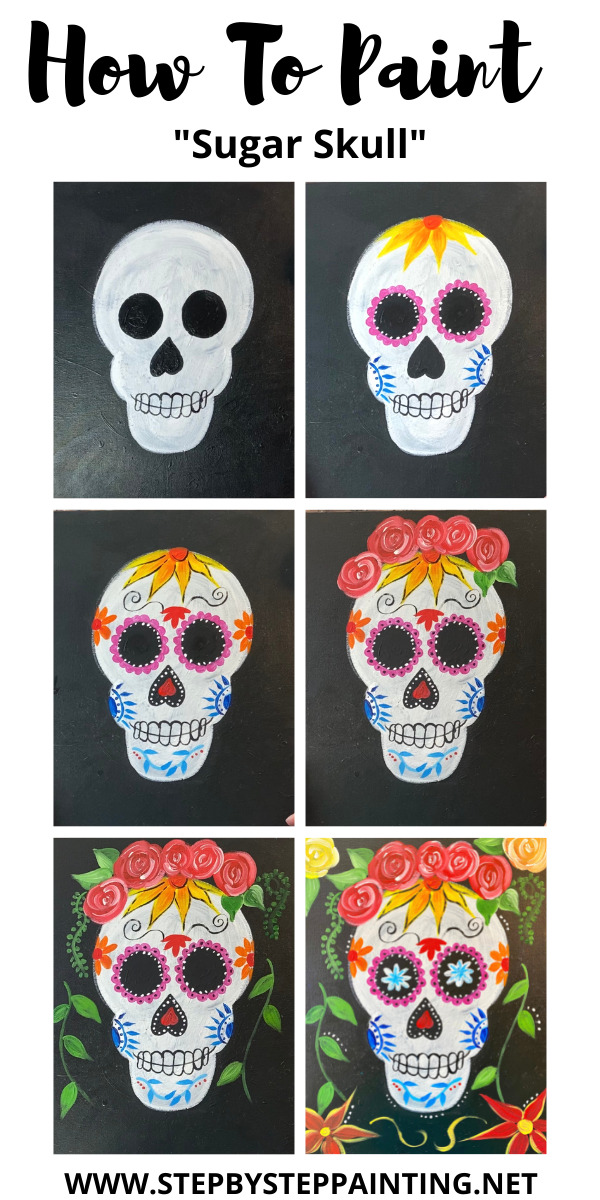
Directions At A Glance
Video
Step By Step Directions
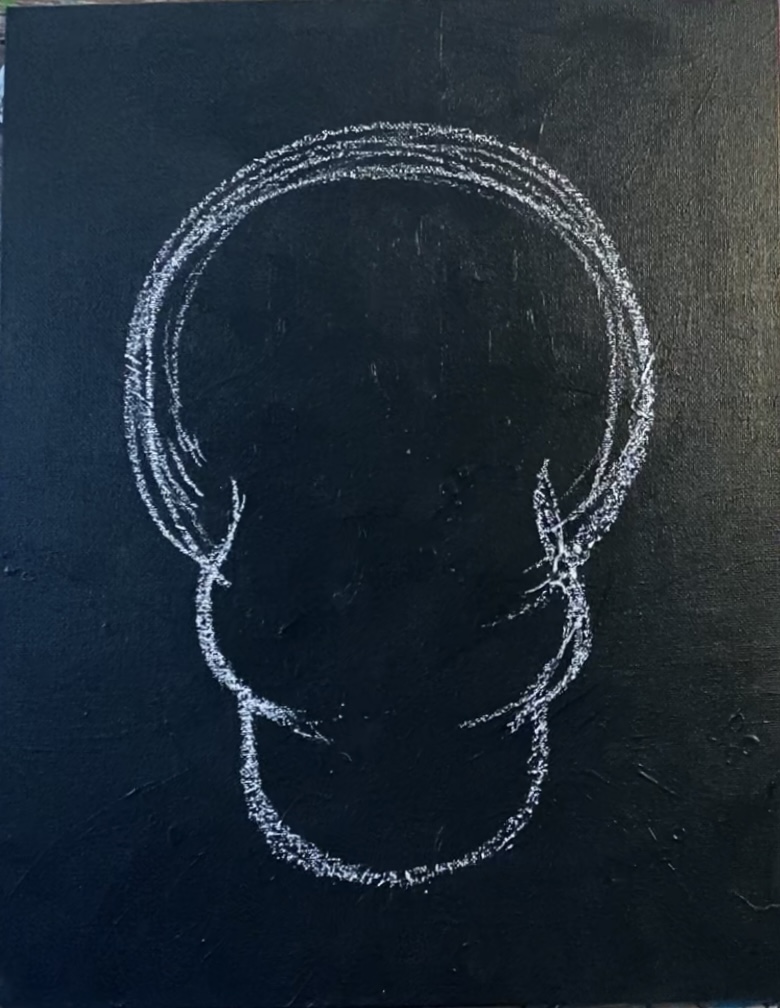
1. Paint a canvas black & draw the skull with chalk
Paint one coat of mars black acrylic paint onto your canvas and let it dry. Then use a piece of chalk to draw the skull.
Start by drawing a large circle with an opening at the bottom. You can also trace a circle for this step.
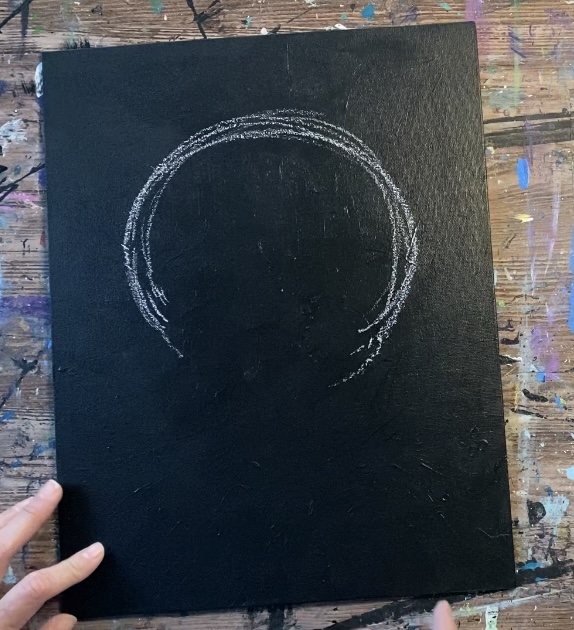
Then draw the cheek bones under the unfinished circle. Draw a curved line going inwards and then outwards. Repeat that line on both sides.
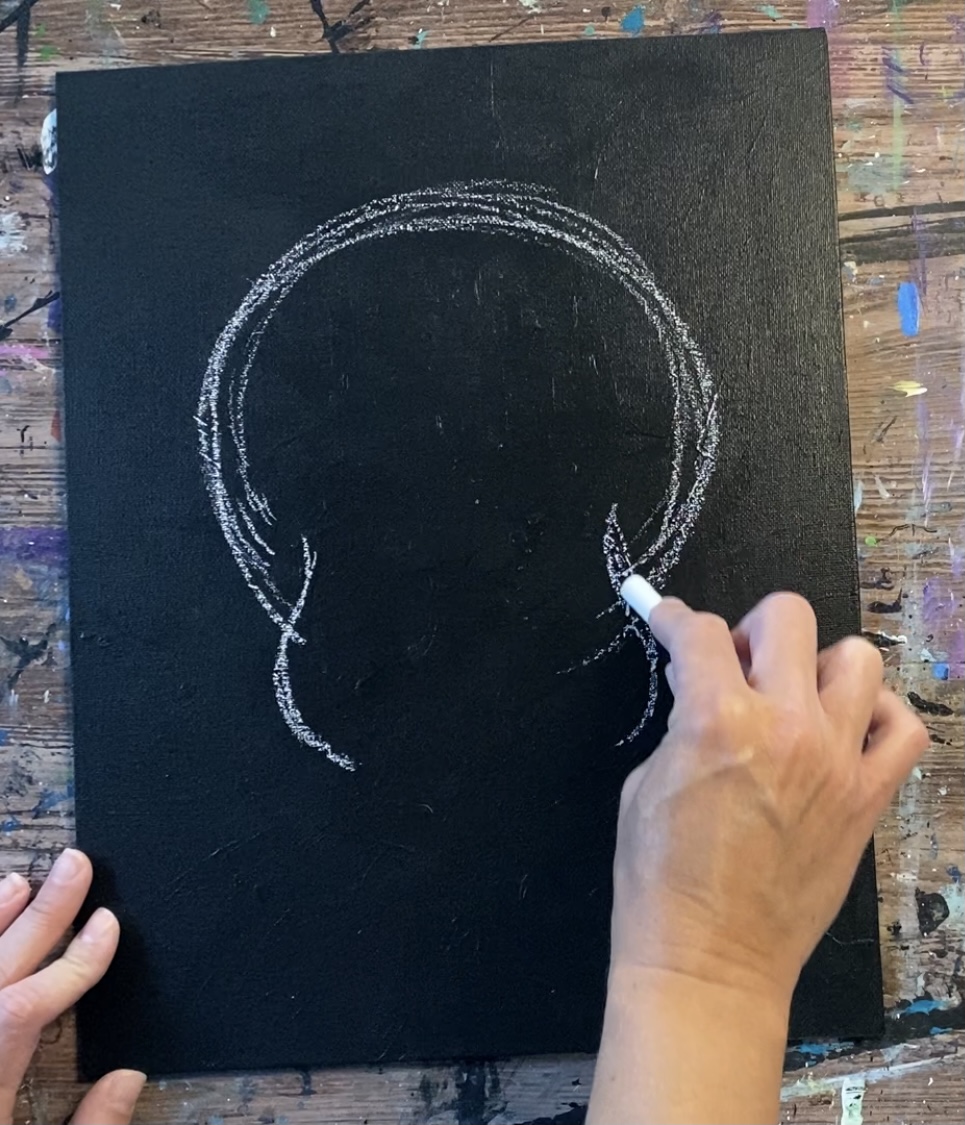
Then draw the jaw. Draw two vertical lines that curve on the bottom not create the chin.
2. Paint the skull white
Use a 3/4″ flat wash brush and titanium white to paint the shape of the skull white.
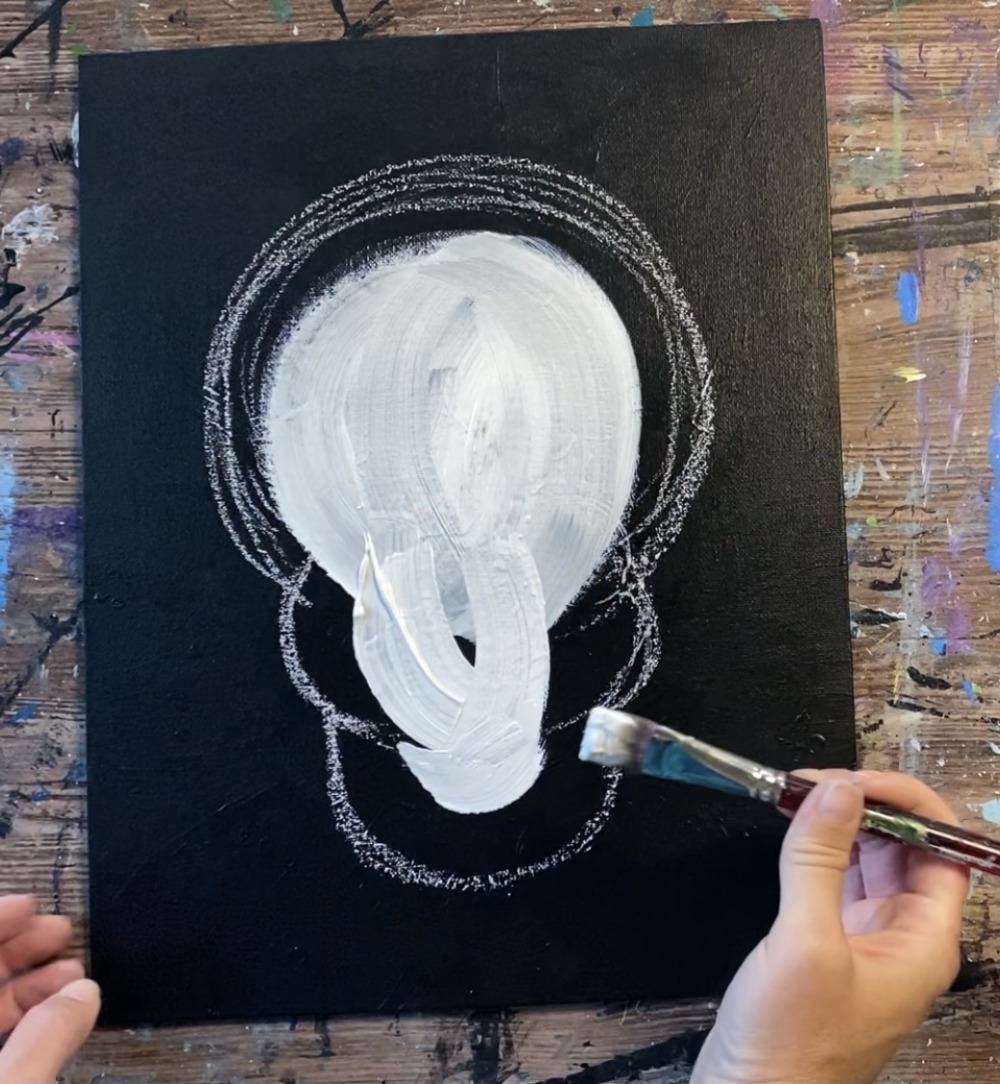
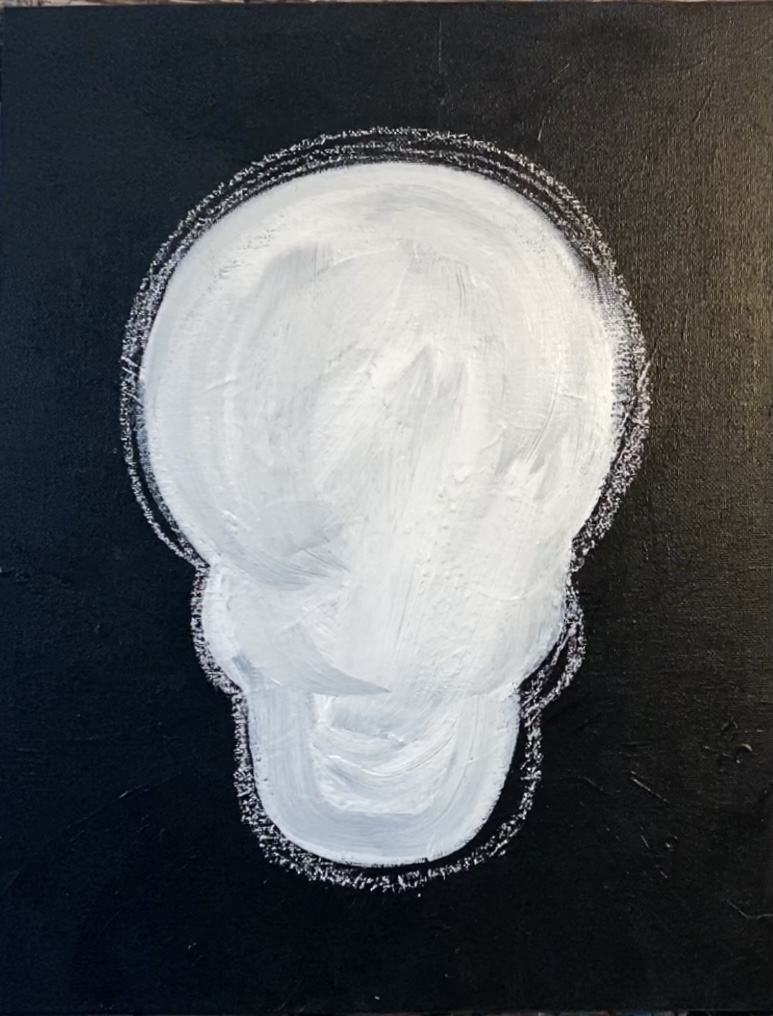
Tip: you can use a round brush to help define the edges of the skull.
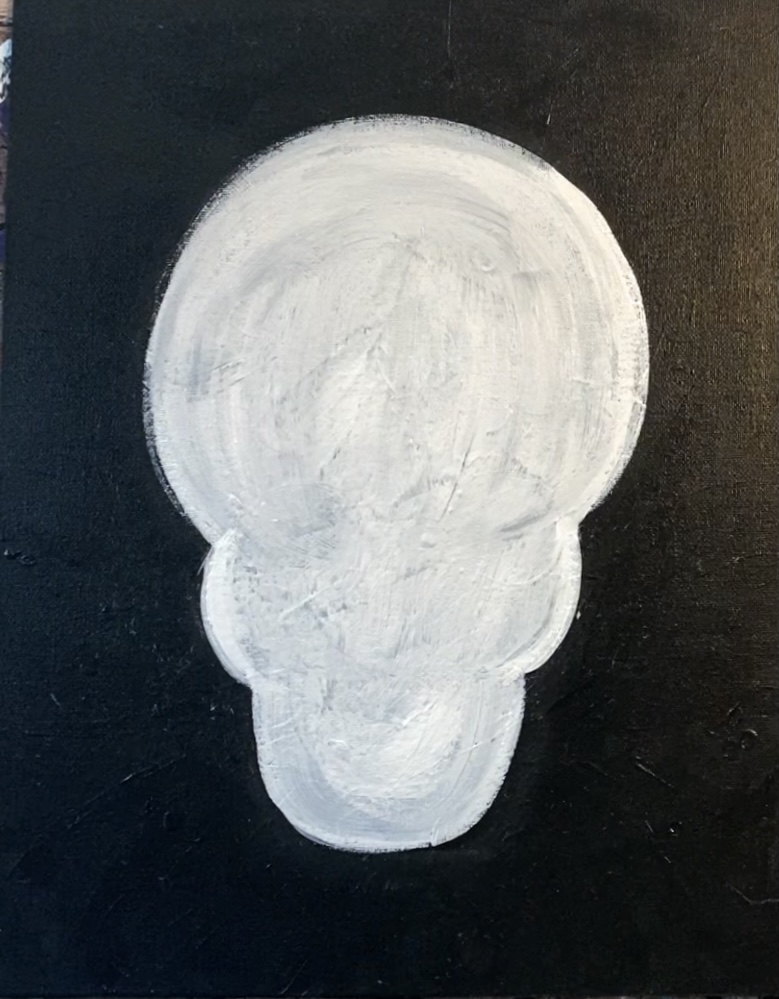
Erase any leftover chalk lines with a soft, damp wipe (I use baby wipes to erase my chalk).
3. Paint the eyes, nose and mouth
Use a round brush to paint two eyes mars black.
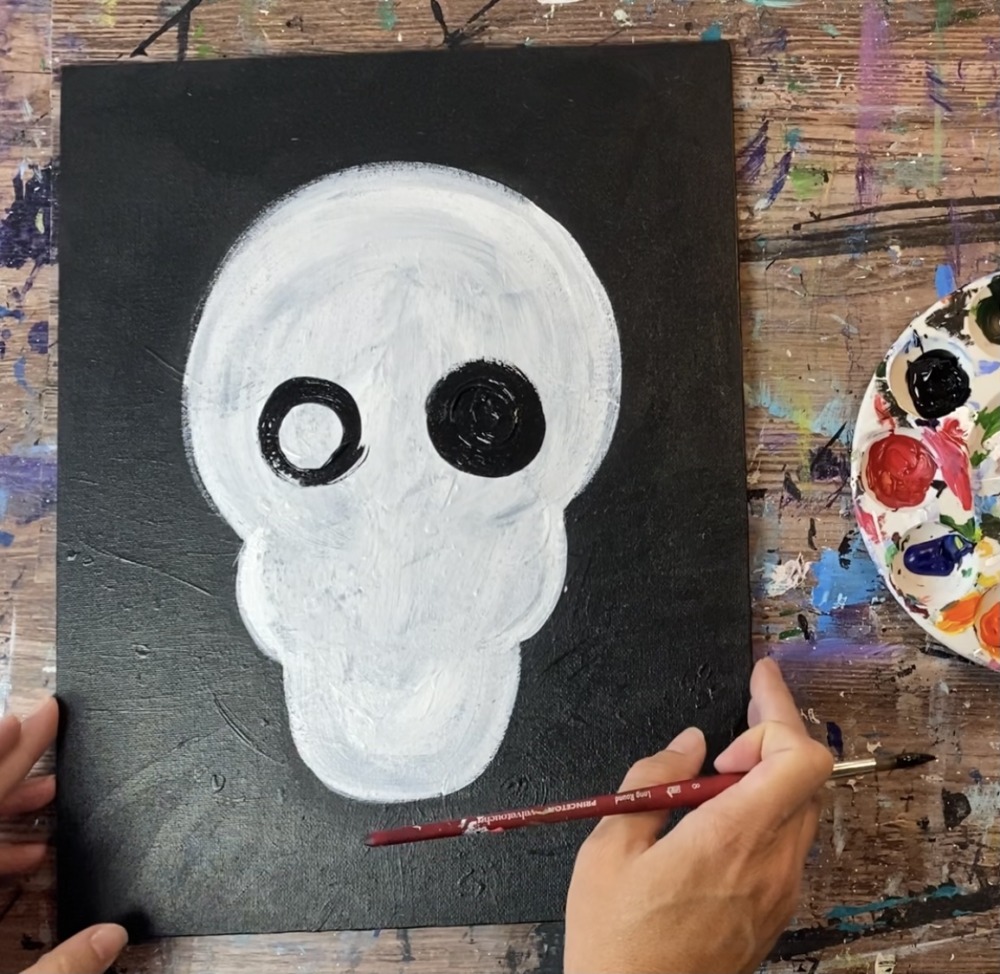
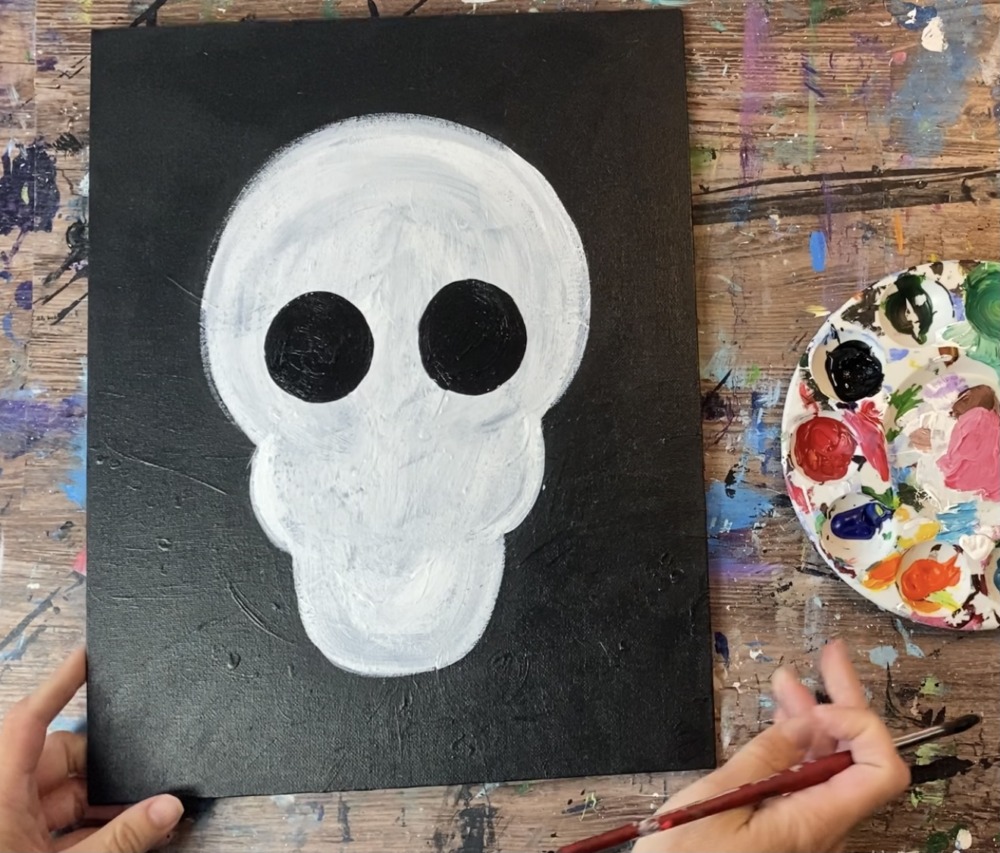
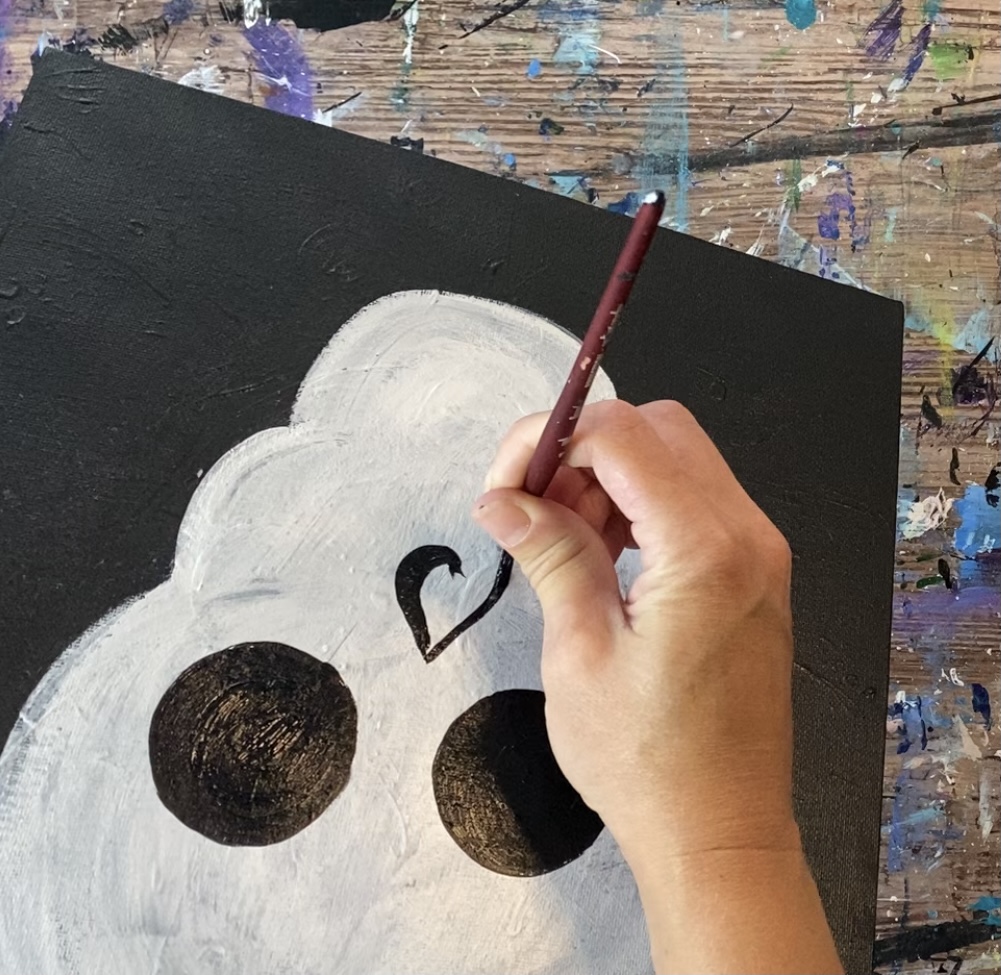
Then paint a heart for the nose.
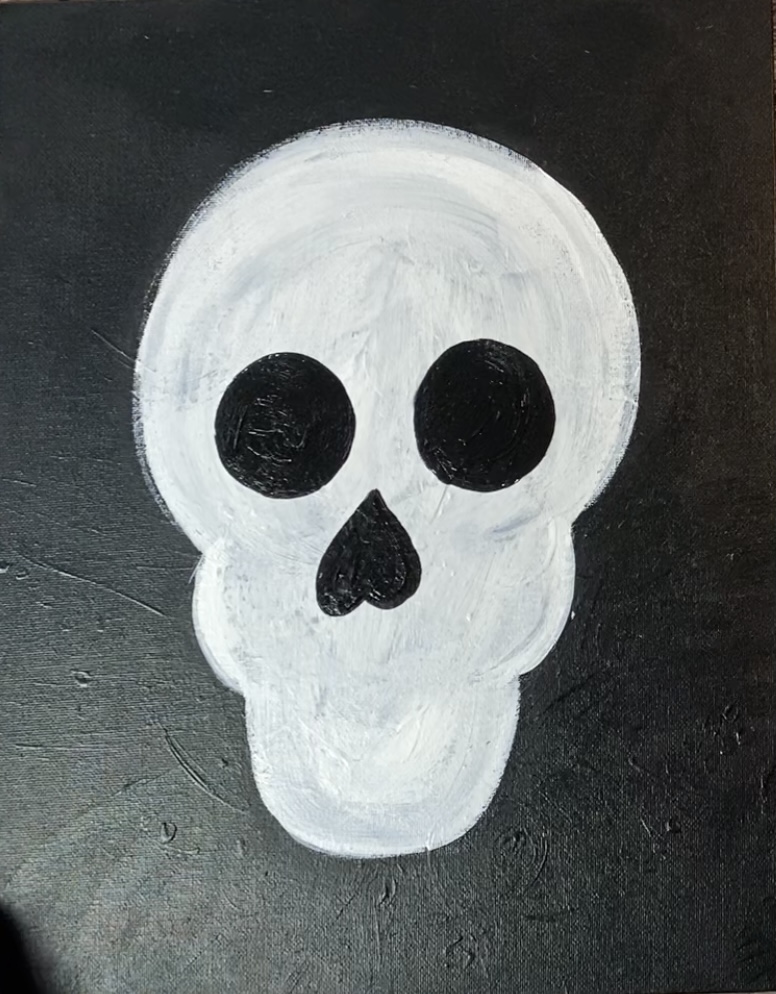
Use a small round brush (5/0 round) to paint the mouth. Paint smile line just under the cheek bones.
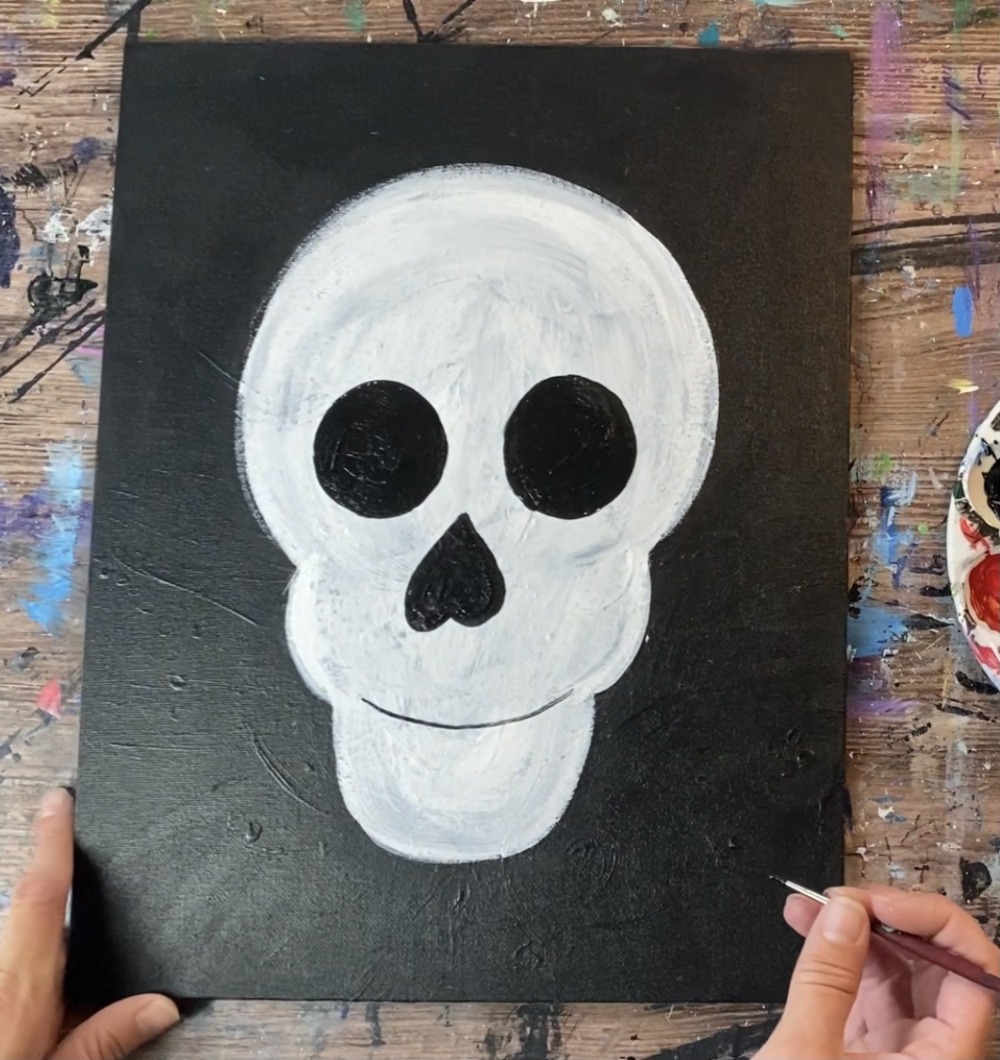
Then paint vertical lines to divide the teeth. Start in the middle with a vertical line. Then paint three more smaller vertical lines on each side of the middle line (for a total of 7 lines).
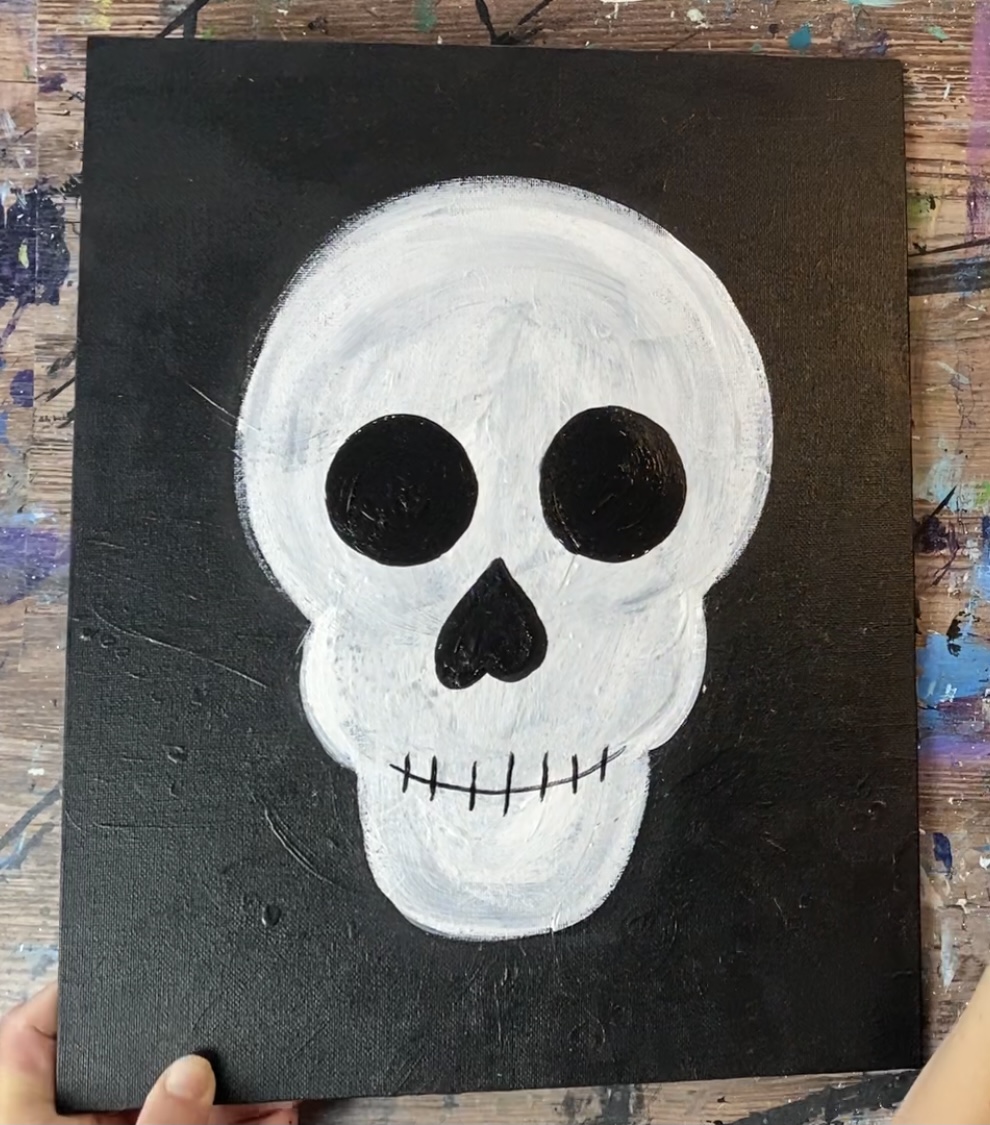
Paint curved lines over and under each of the vertical lines to create the teeth.
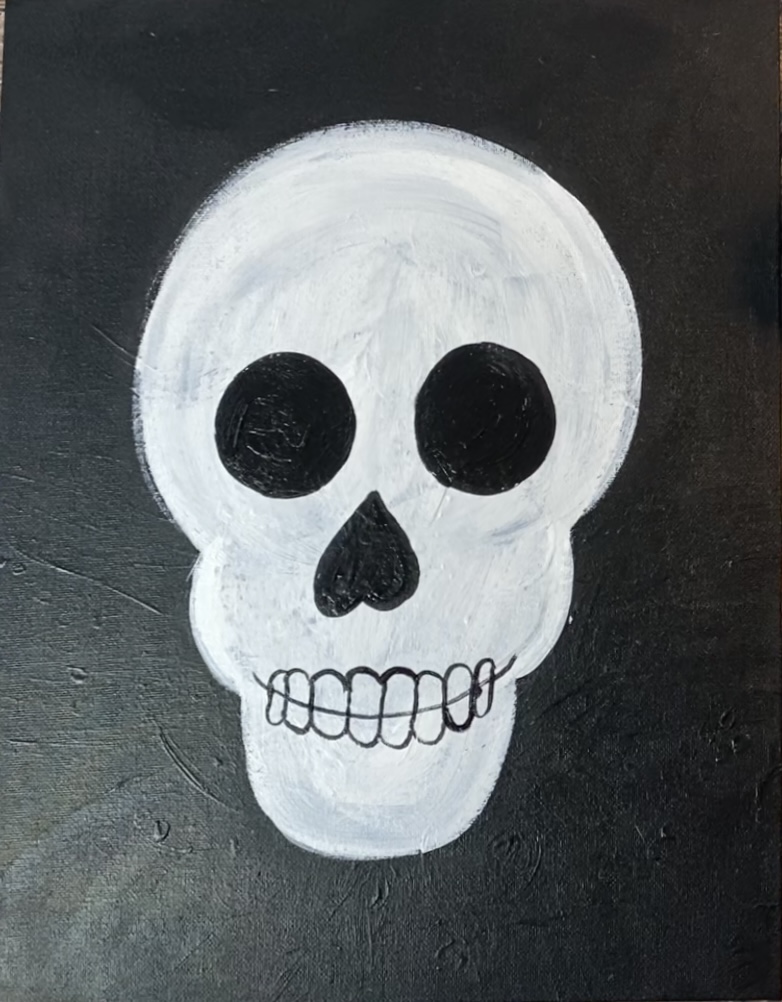
4. Paint flowers, designs, dots and various decorations
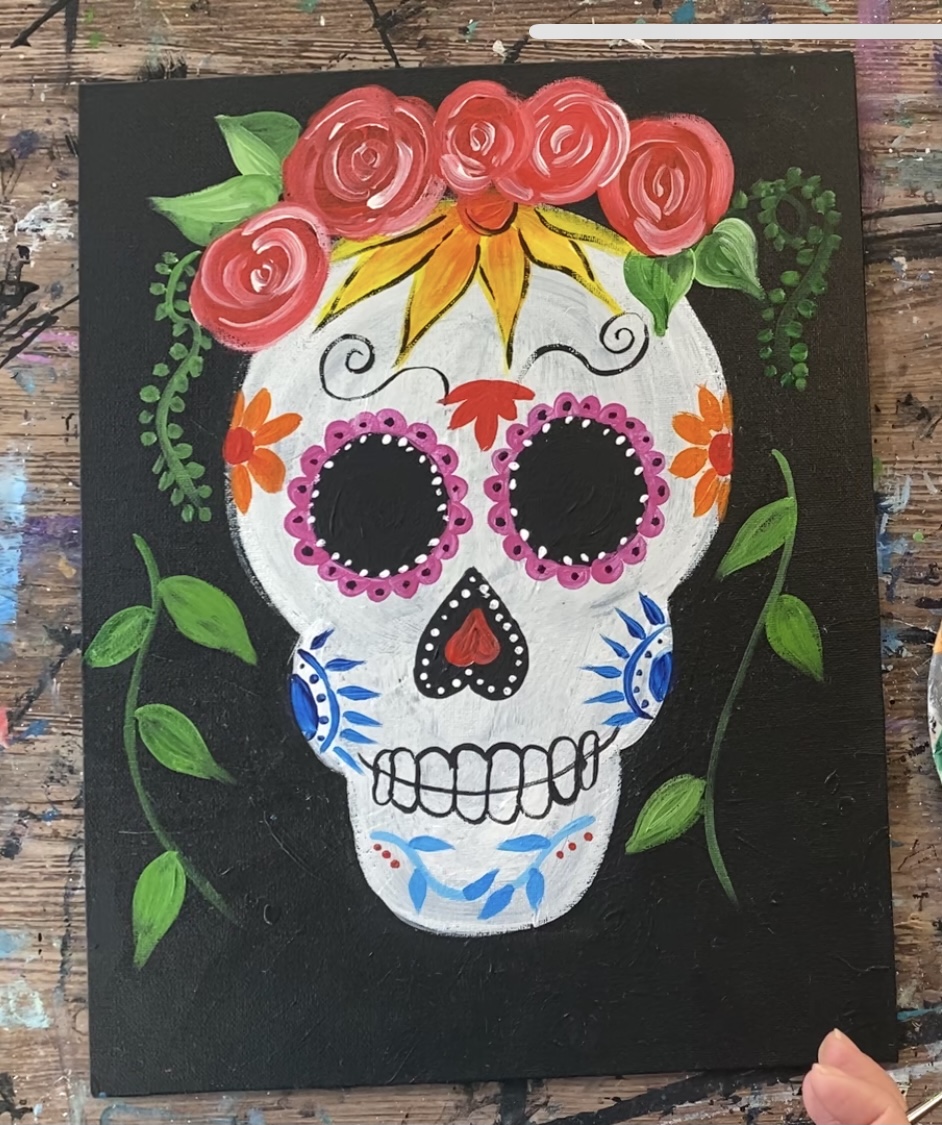
Next load your palette with colors that you would like to decorate your skull with! I chose a wide variety of colors including: medium magenta, primary yellow, turquoise blue, cadmium orange hue, pyrrole red and primary blue. You can use this palette or choose your own colors!
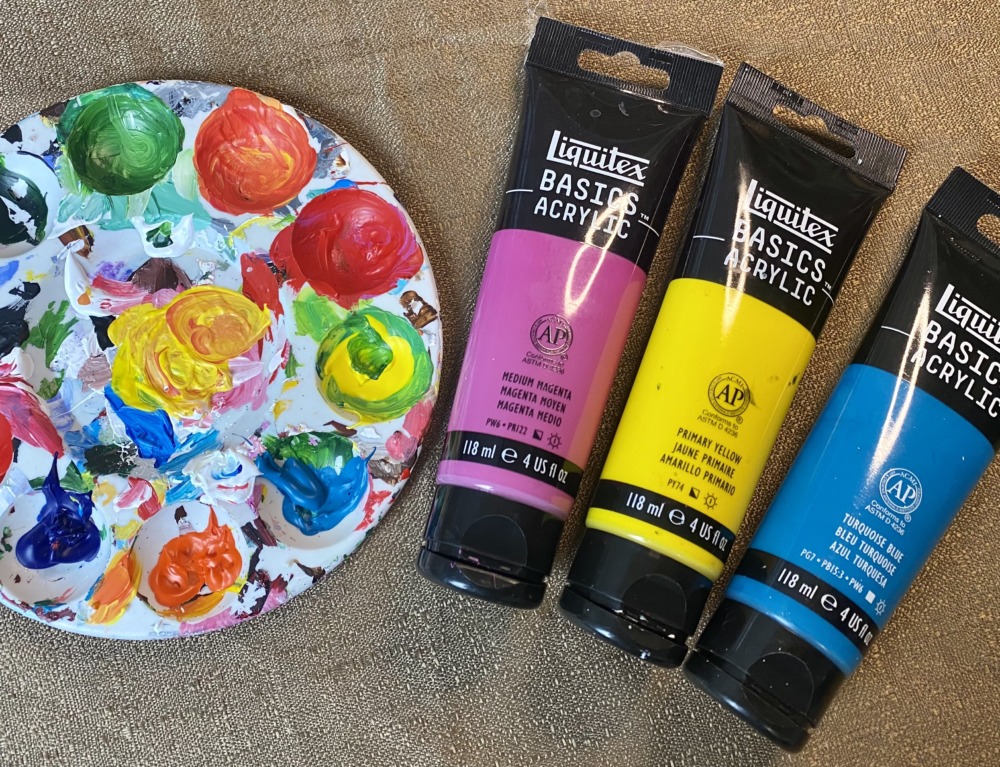
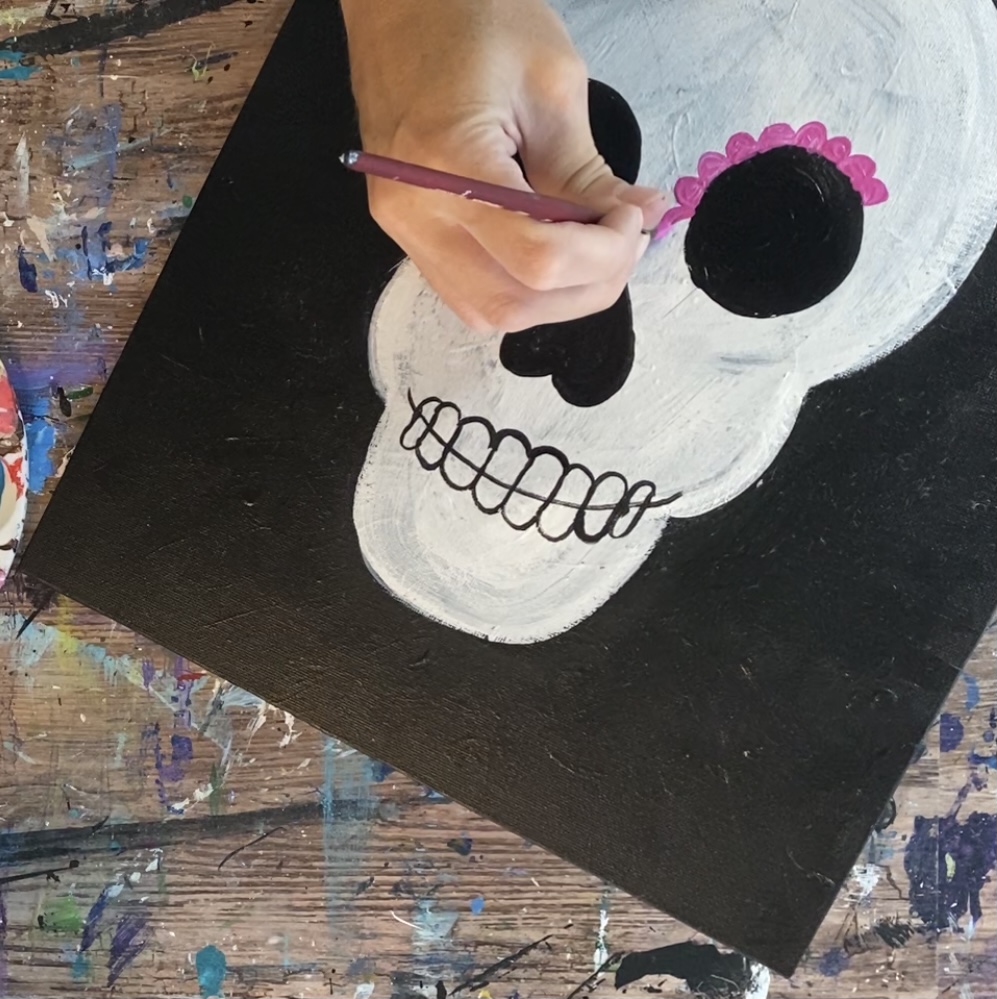
Use your #4 round brush to decorate the skull. I started with medium magenta and painted small half circle shapes adorned around the eyes.
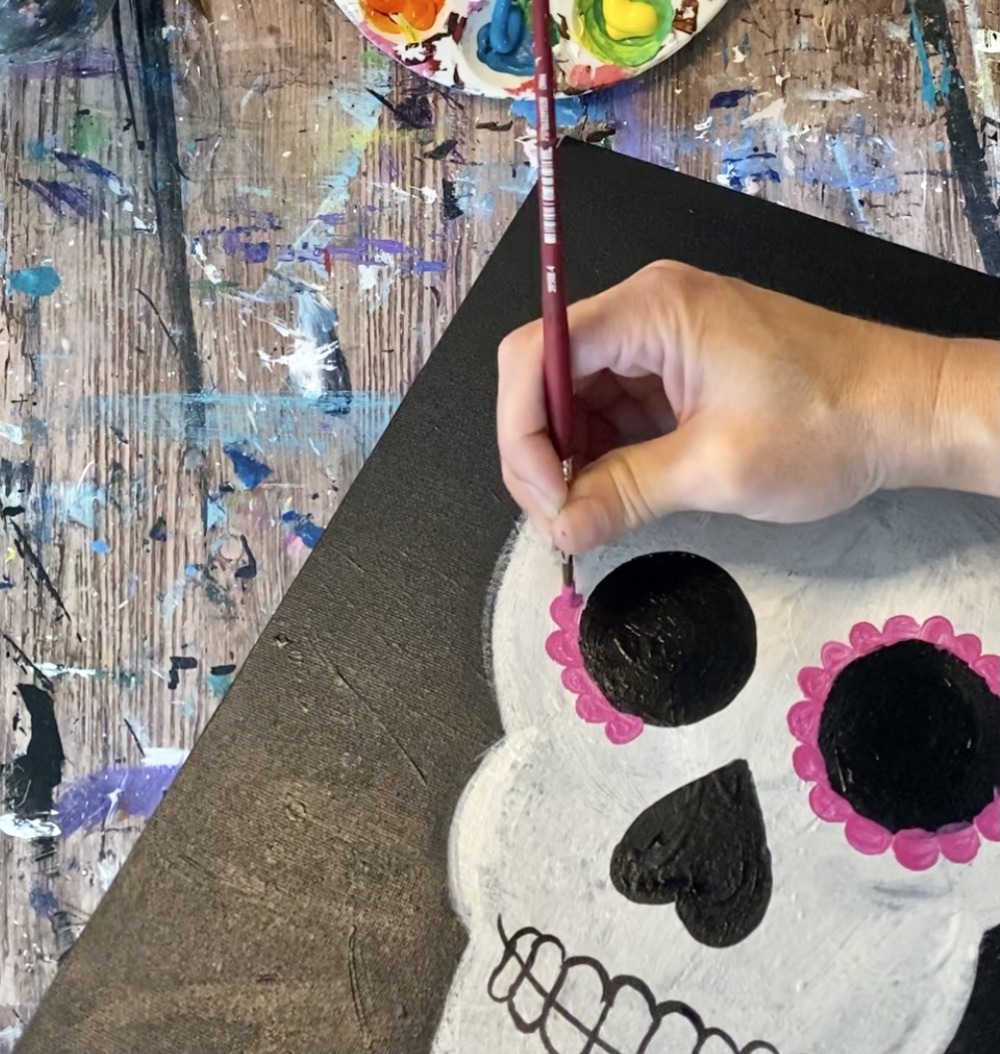
You can paint a flower on the top of the head! To do my flower, I used primary yellow and the #4 round brush to paint the shape of the flower.
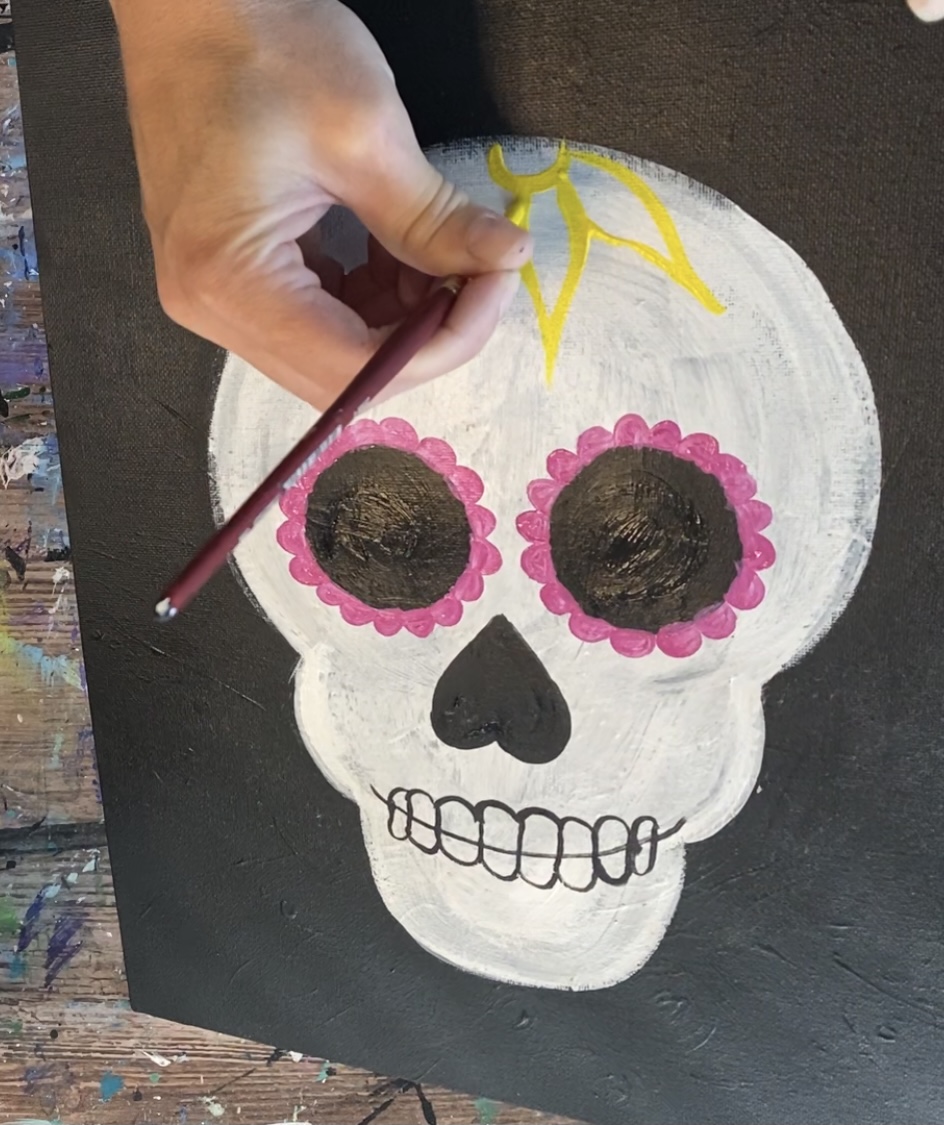
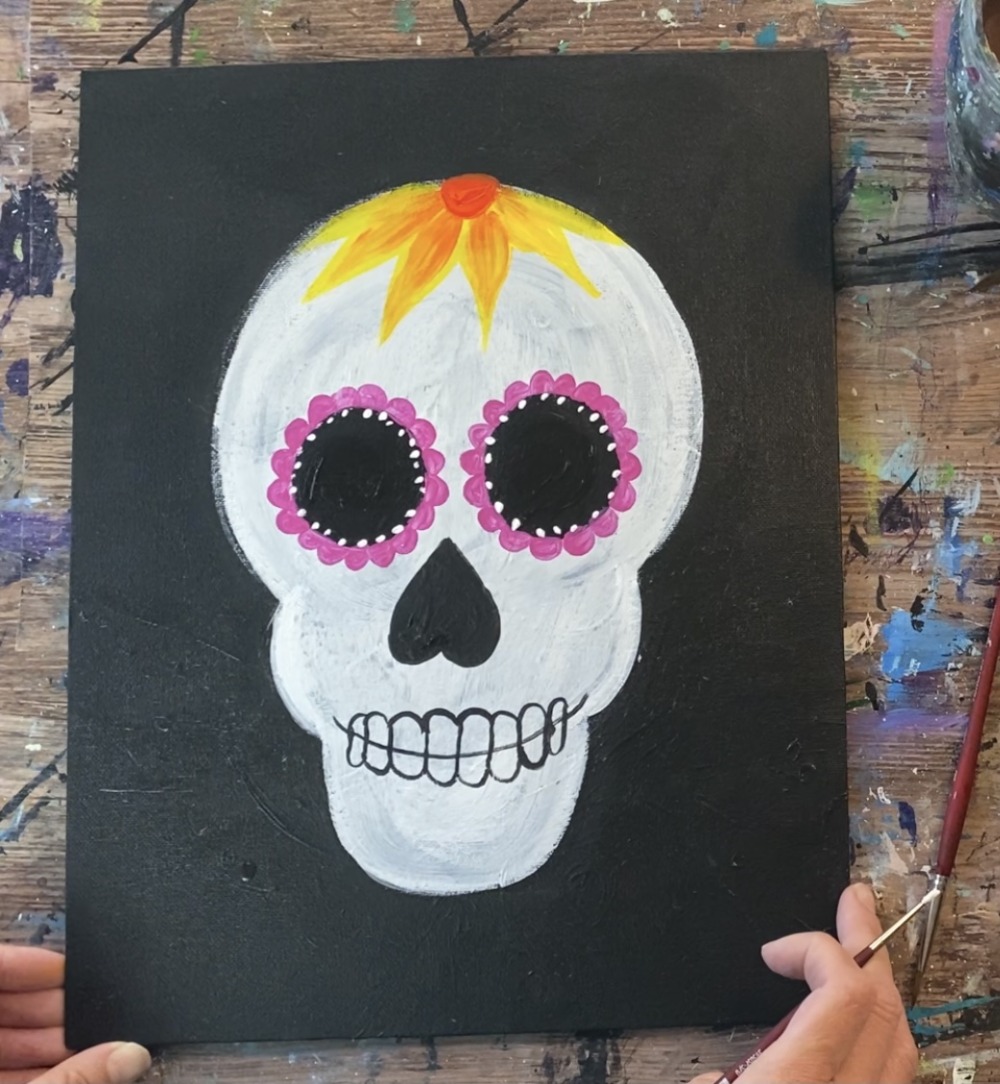
Then paint the flower in. I used cadmium orange hue for the base of the petals and blended it into the yellow. For the center, paint it a darker contrasting color such as pyrrole red or cadmium orange hue.
On the cheek bones you can paint another design! I used primary blue to paint a mandala pattern.
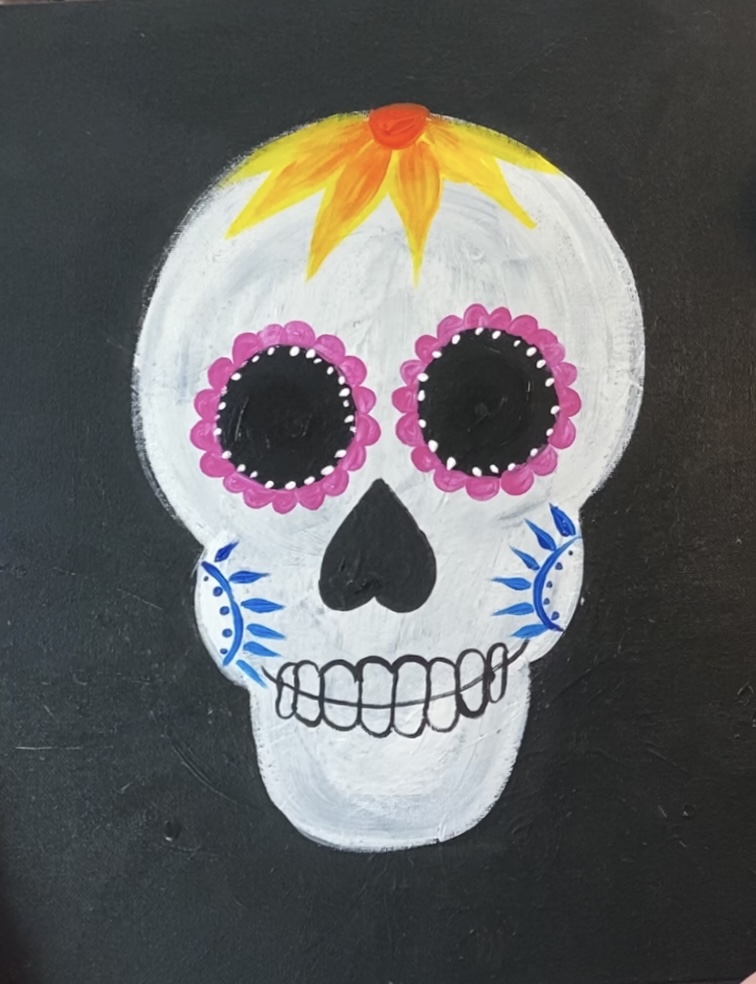
On the chin, I painted a vine and leaf pattern using primary blue mixed with titanium white.
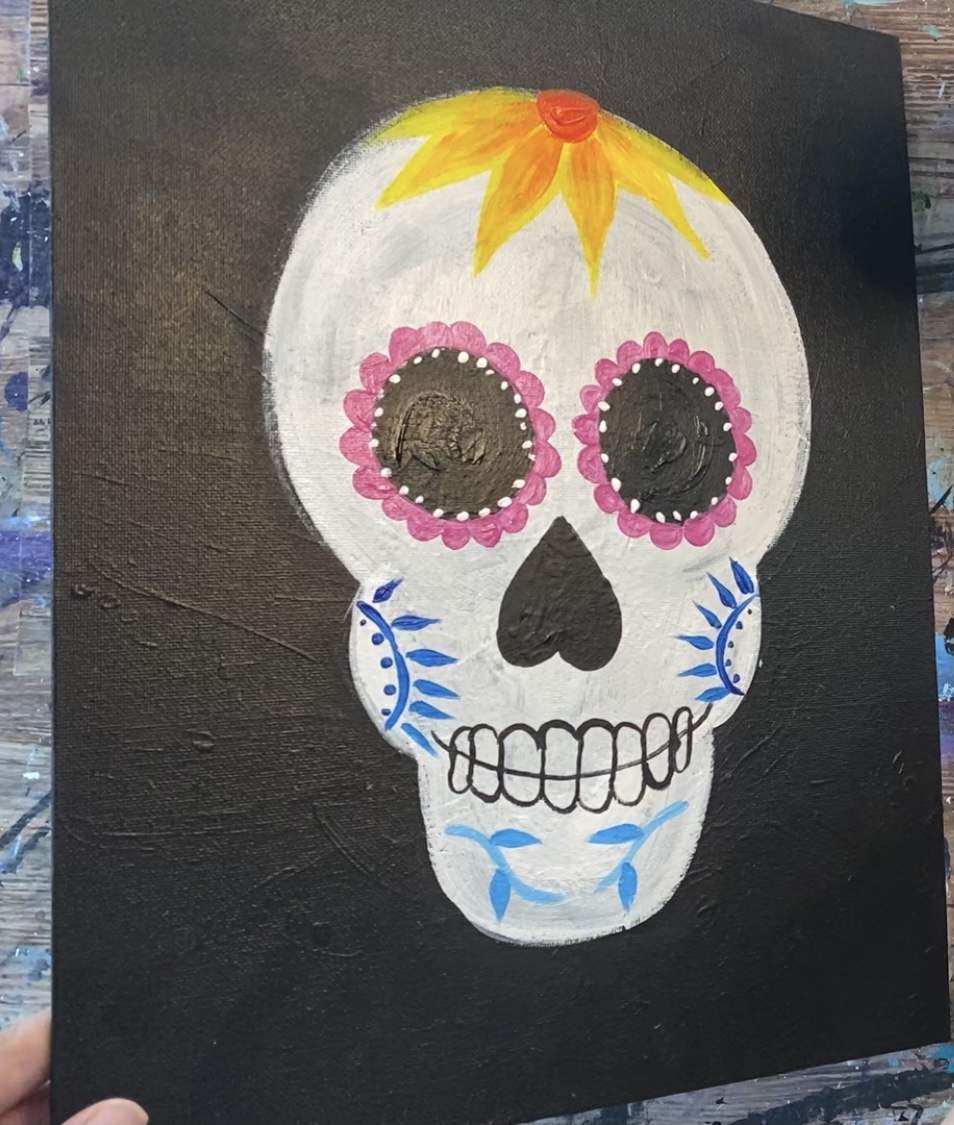
Continue to add more fun, whimsical designs. You can do small dots, spirals and more flowers. You can do a small heart in the nose and outline some of your patterns. For the big flower at the top, I loosely outlined the petals with mars black and the 5/0 round brush.
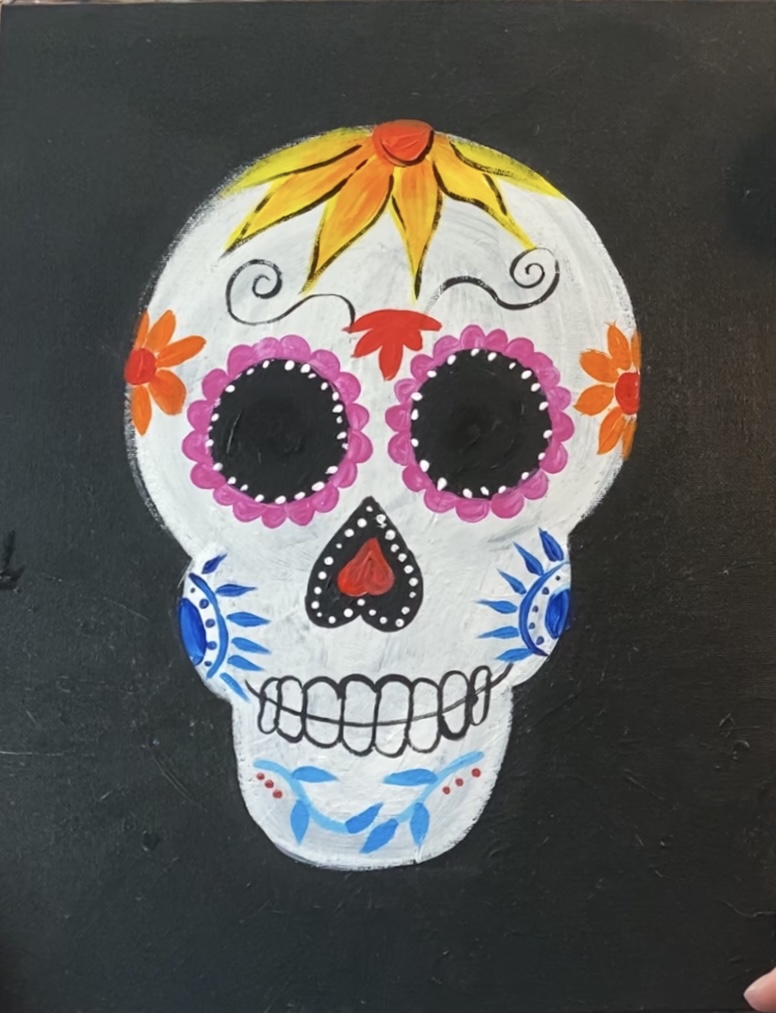
5. Paint roses
I have a tutorial for how to paint these simple roses. You can see that here!
Tip: pyrrole red is an opaque red that will show up on the black background. If you don’t have pyrrole red, you can use another red but it may not give good coverage or be opaque enough. A way to get the color to show up is mixing titanium white in it so it will be bright against the dark background.
To do the roses, use a #8 round brush and pyrrole red to paint the basic shape. This is like an organic shaped circle with a sort of wavy circumference.
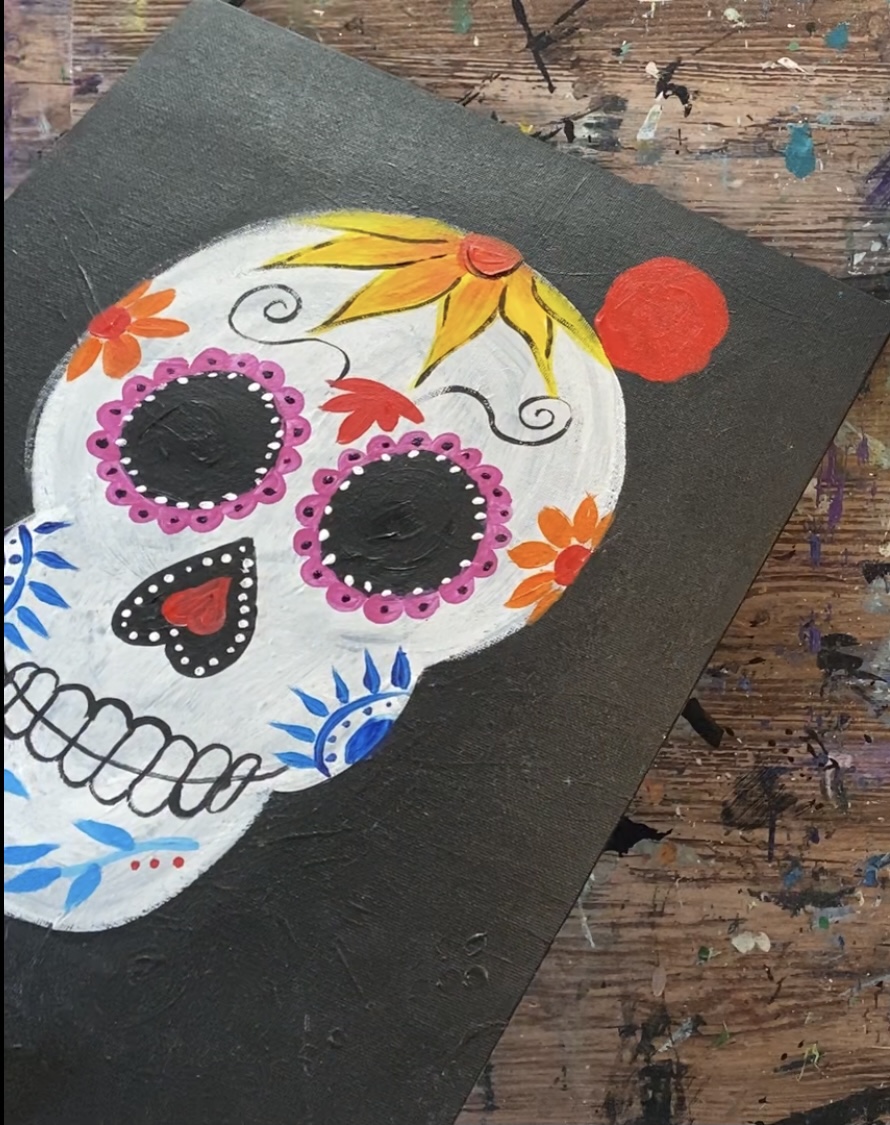
Then load your round brush in white (without rinsing it). Start in the middle of the rose and paint a small curved stroke. Alternate your strokes to form petals that stagger.
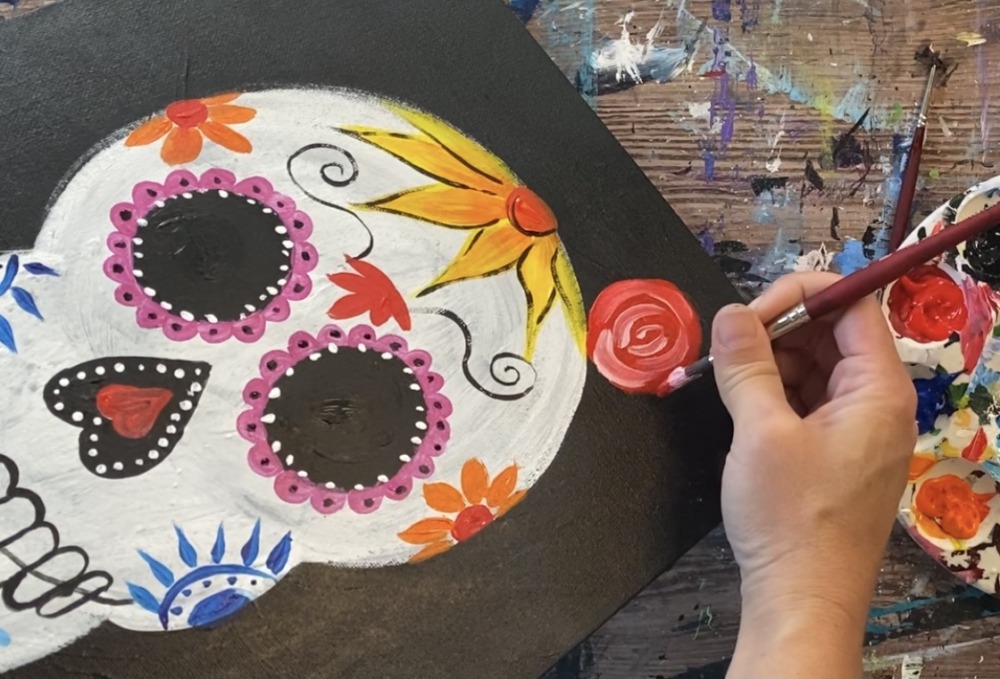
The white will create the petals of the rose as it blends with the red on the canvas. Repeat this technique to create several roses on your sugar skull’s head.
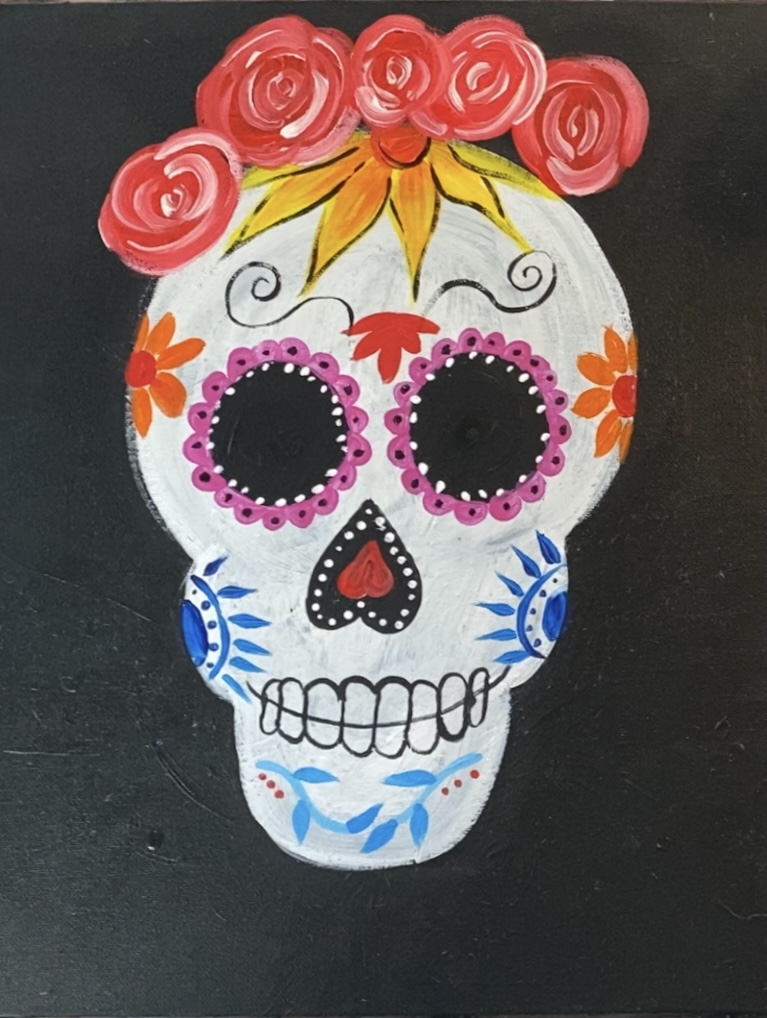
Then use a #4 round brush to paint the leaves. Load your brush in hooker’s green hue permanent and titanium white. Mix the white with the green (so that it will show up against the black background of the canvas).
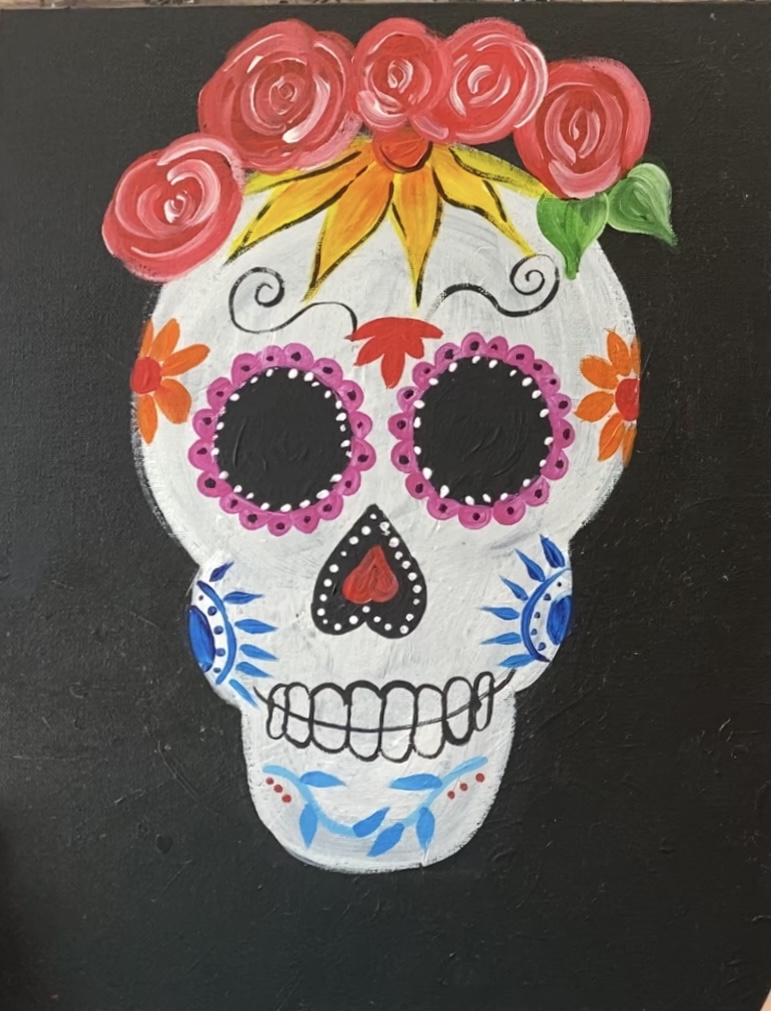
Paint other leaf patterns on your skull. Use the round brush to paint spiral vines and small rounded leaves.
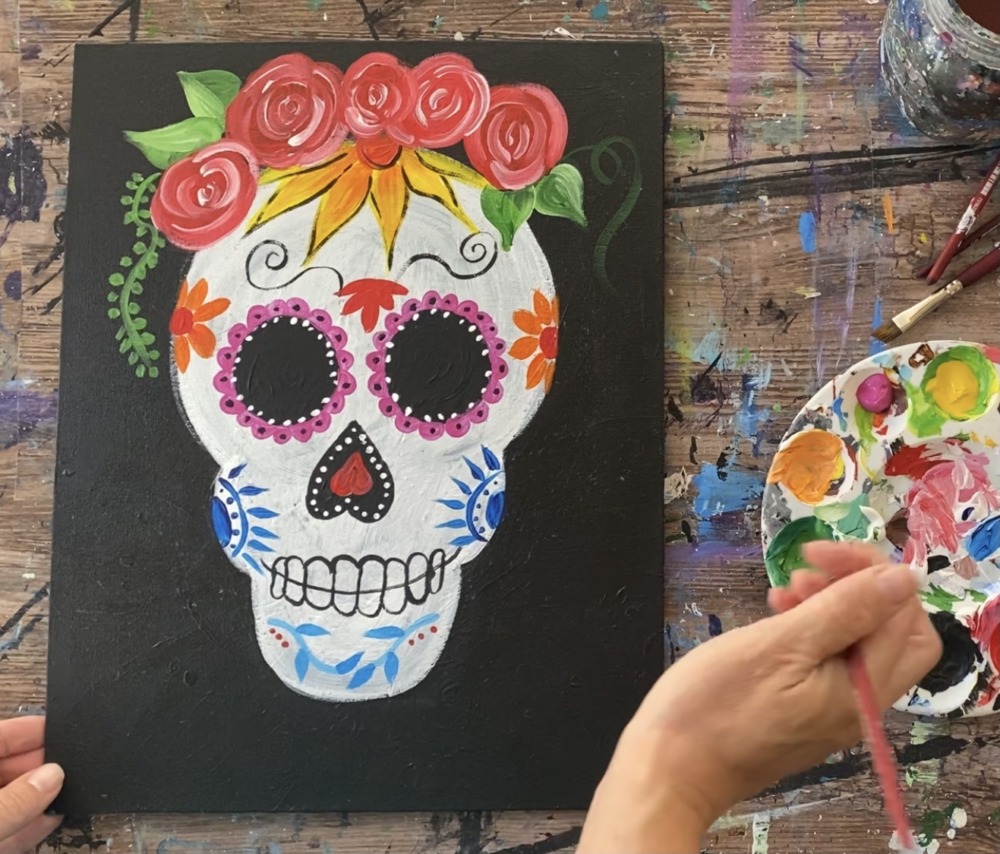
6. Paint other floral decor around the skull
You can get really creative around the sugar skull! I did some more leaf and vine patterns on the left and right.
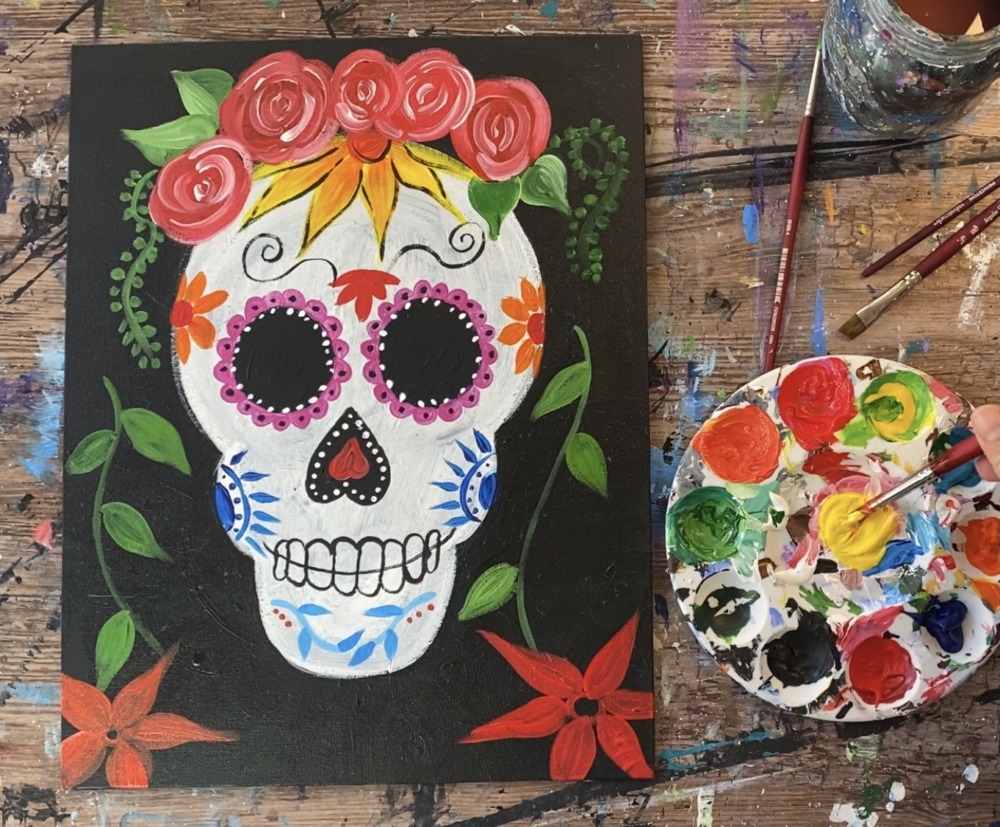
Then I did basic pointed flowers in the lower left and right corners. I used pyrrole red and primary yellow to paint the petals and center circles.
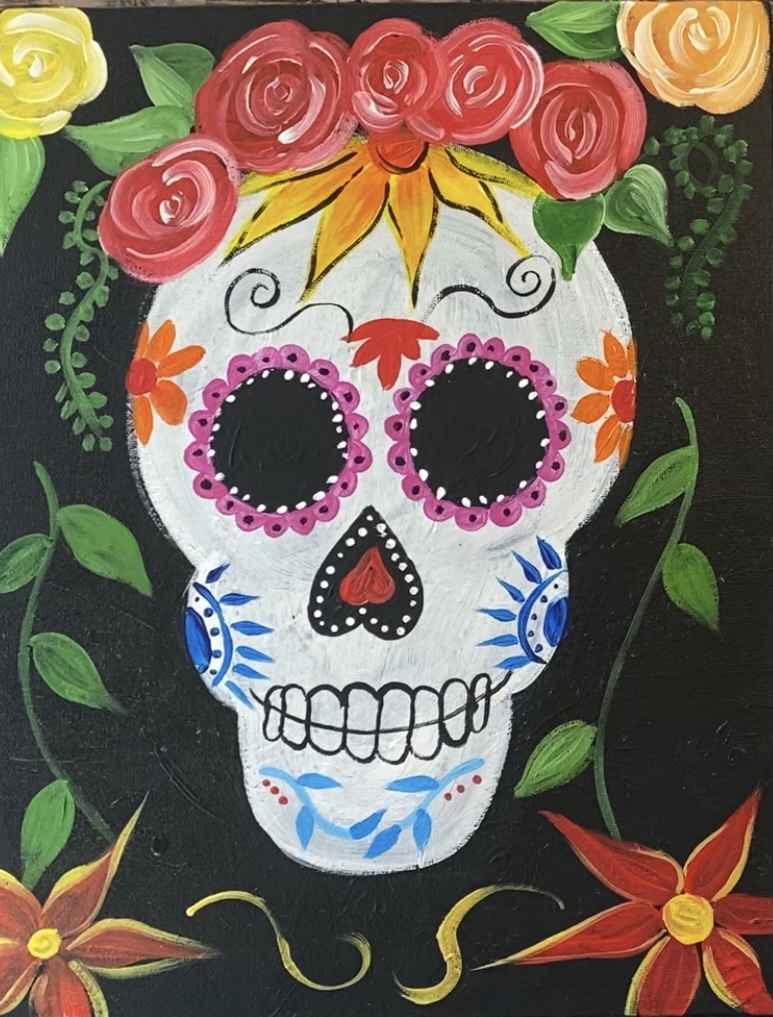
Add more details to your sugar skull painting! I did some yellow roses in the upper left and right corners. I also decided to paint white daisies inside the eyes.
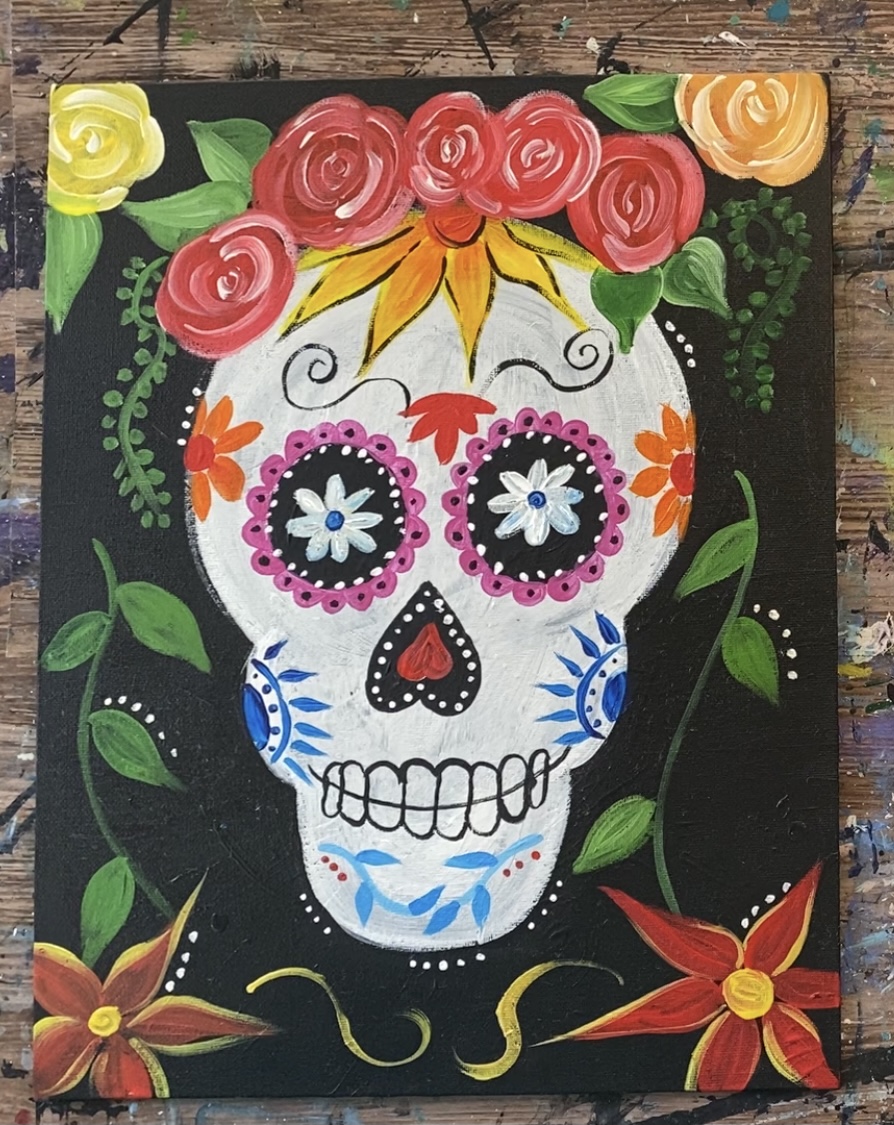
Finished!
That’s it! Such a fun and easy painting with so many customizable options!
