
Learn how to paint a whimsical fall lantern with a candle! This step by step acrylic painting tutorial will guide you through the process with picture directions, text and video!
Materials
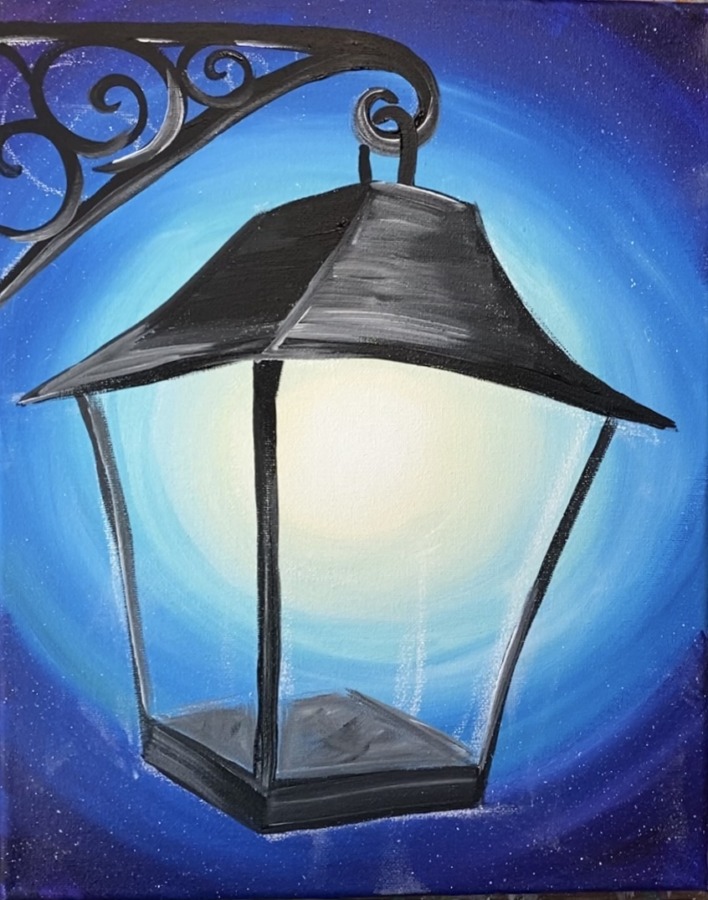
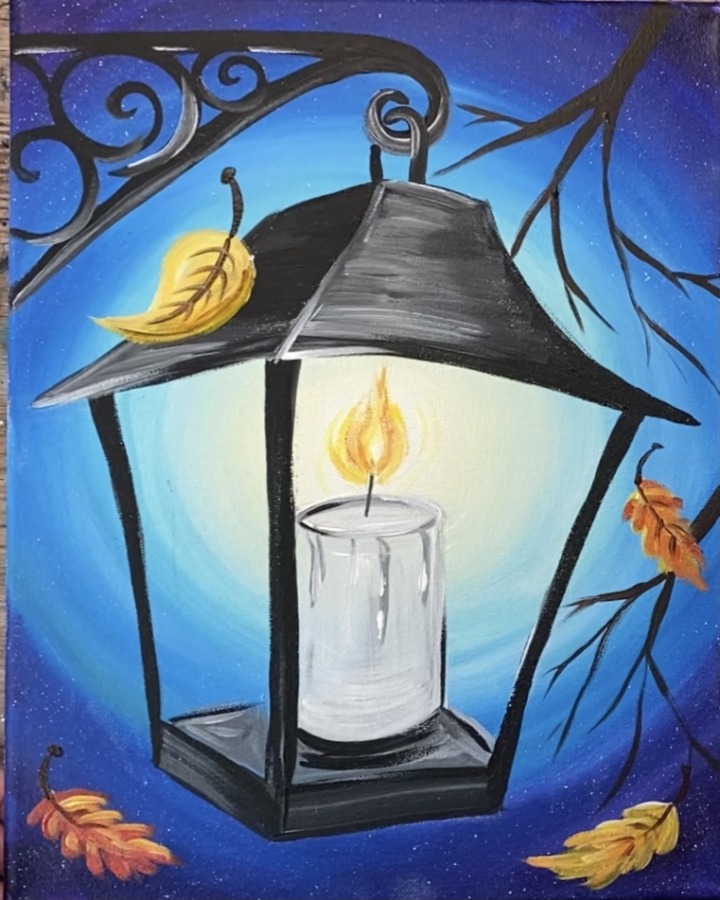
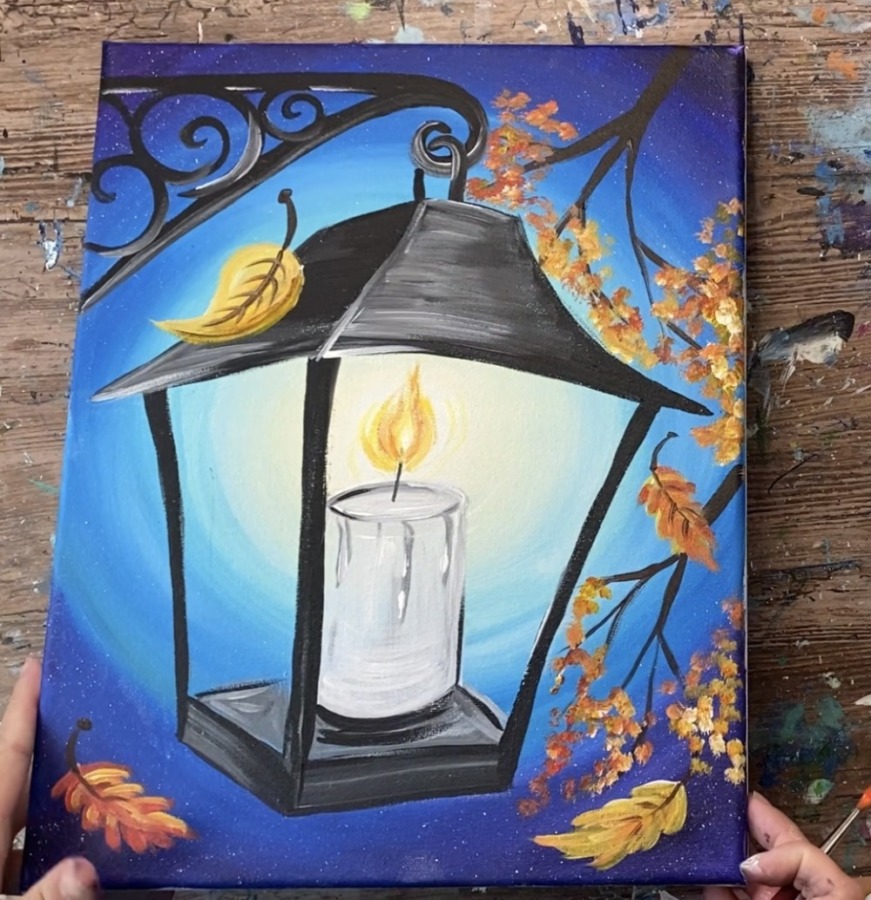
Fall Lantern Acrylic Painting Tutorial
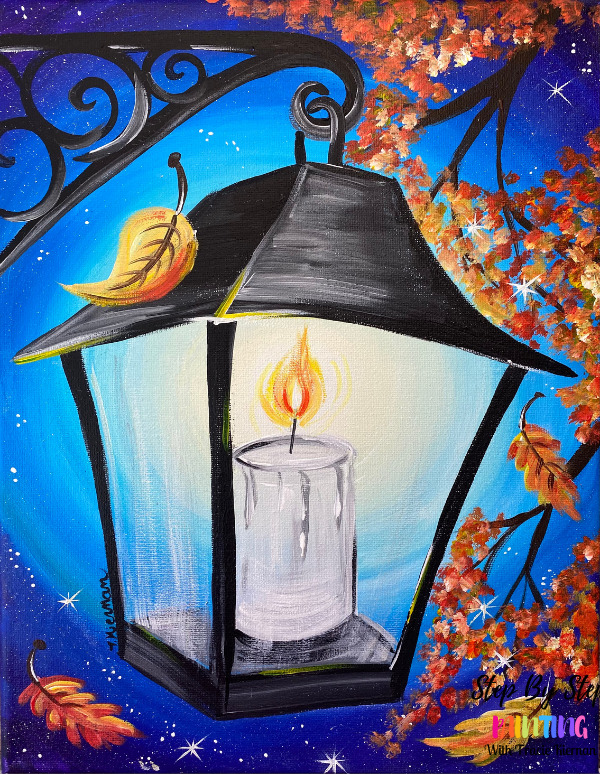
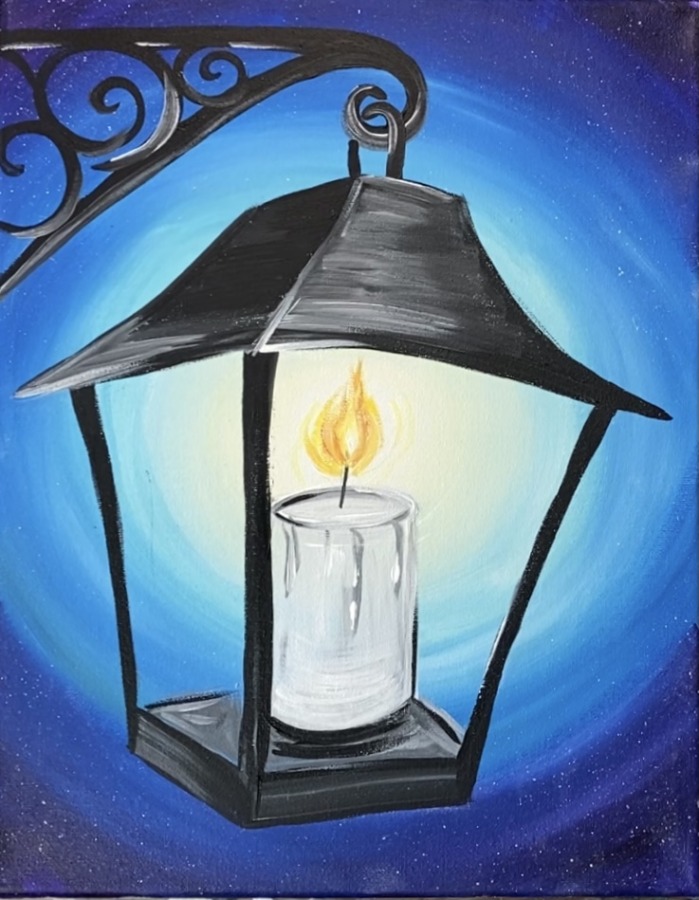
Learn how to paint a whimsical Fall lantern with a swirly sky and falling leaves.
Materials
- 11 x 14 Canvas
- Acrylic Paint
- Brushes
- Chalk
- Optional Traceable
- Optional Transfer Paper
- Optional Sharpie
- Pencil
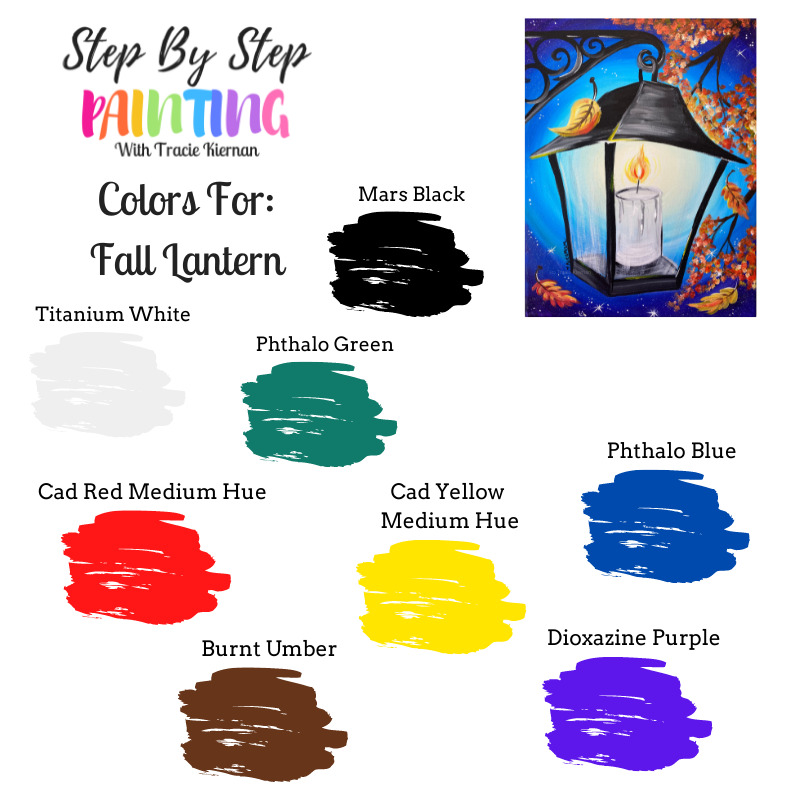
Colors
- Titanium White
- Mars Black
- Burnt Umber
- Cad Red Medium Hue
- Cad Yellow Medium Hue
- Phthalo Blue
- Dioxazine Purple
- Phthalo Green
Brushes
Instructions
- See tutorial on www.stepbysteppainting.net for full instructions!
Color Palette
To simplify this palette, you can omit the “Dioxazine Purple”.
Would you like to save this?
Using Craft Paints?
Try using these Apple Barrel Paint Colors:
- White
- Black
- Yellow Flame
- Flag Red
- Purple Iris
- Bimini Blue
- Too Blue
- Nutmeg Brown
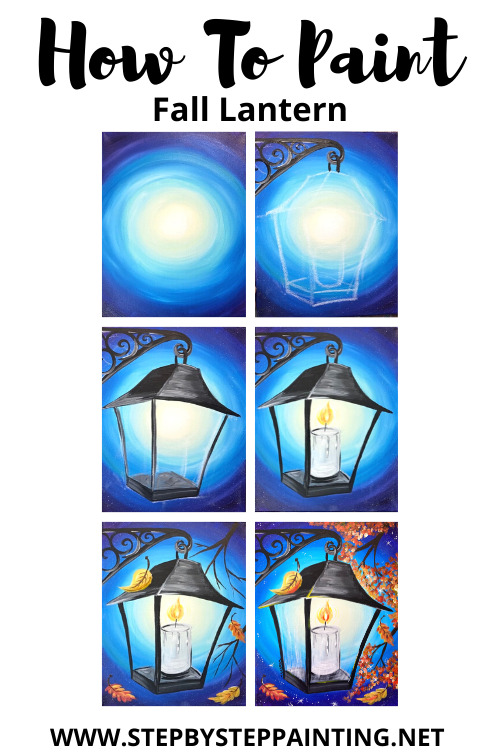
Directions At A Glance
Traceable
Tip with this traceable: I would recommend drawing the design on canvas first & outlining with sharpie. The sharpie drawing will show through your first layers of paint.

Video
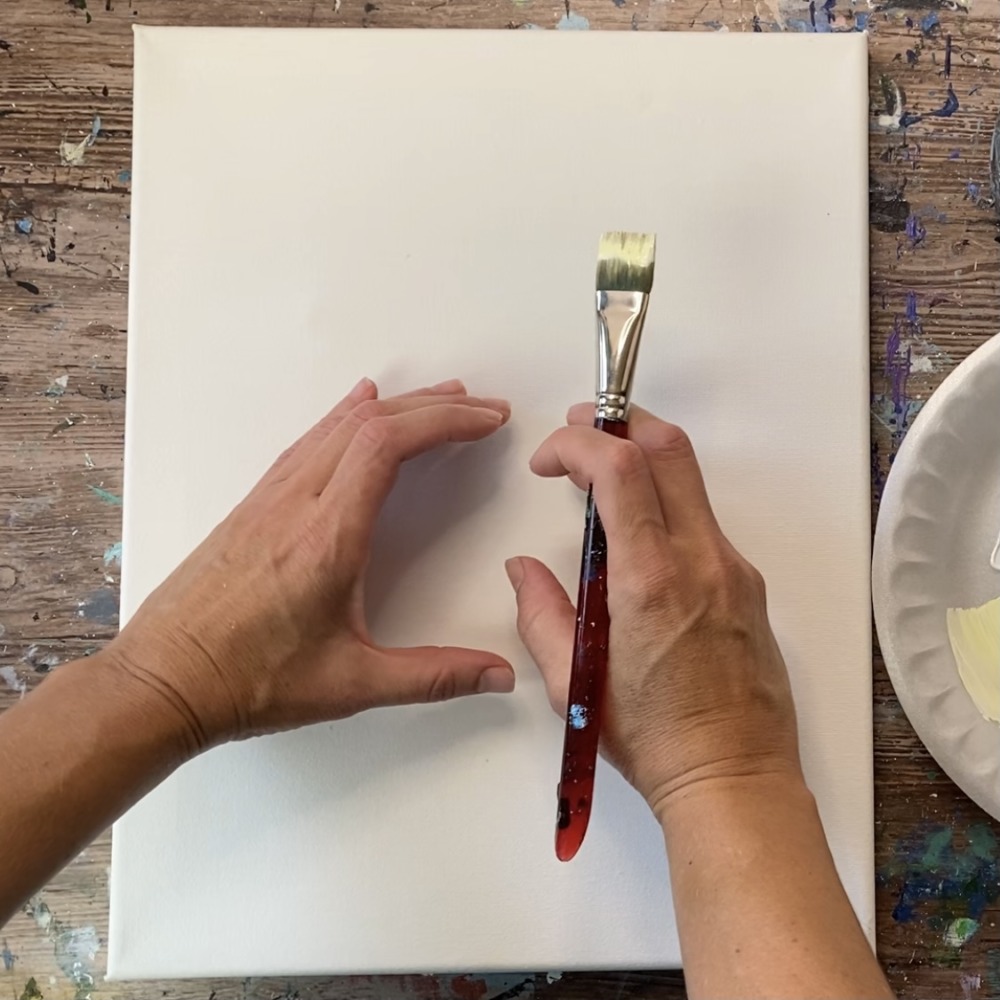
Step By Step Directions
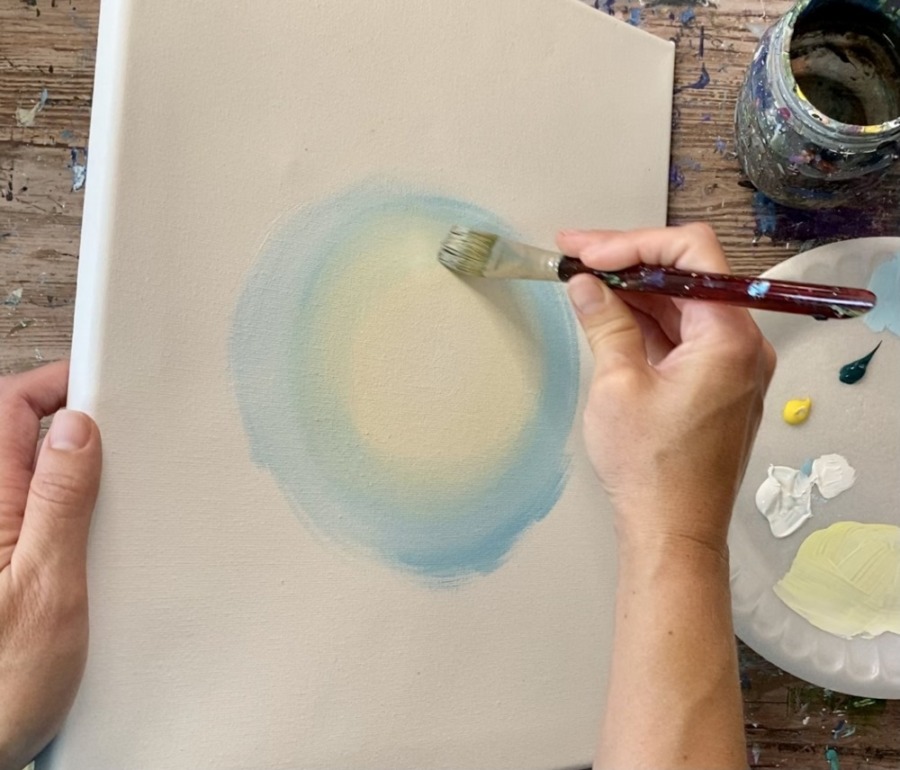
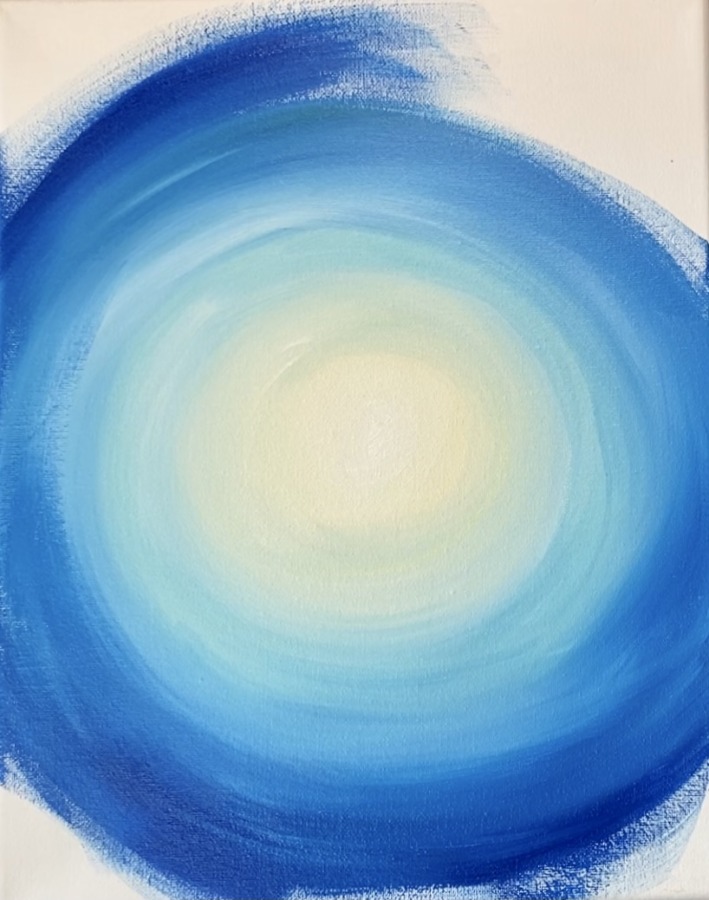
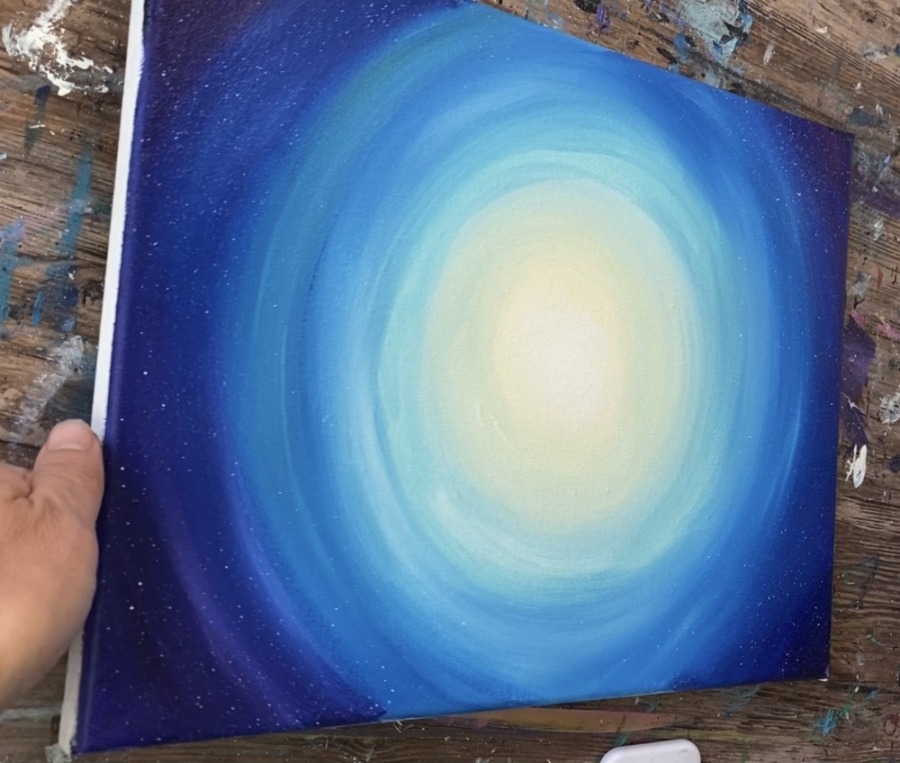
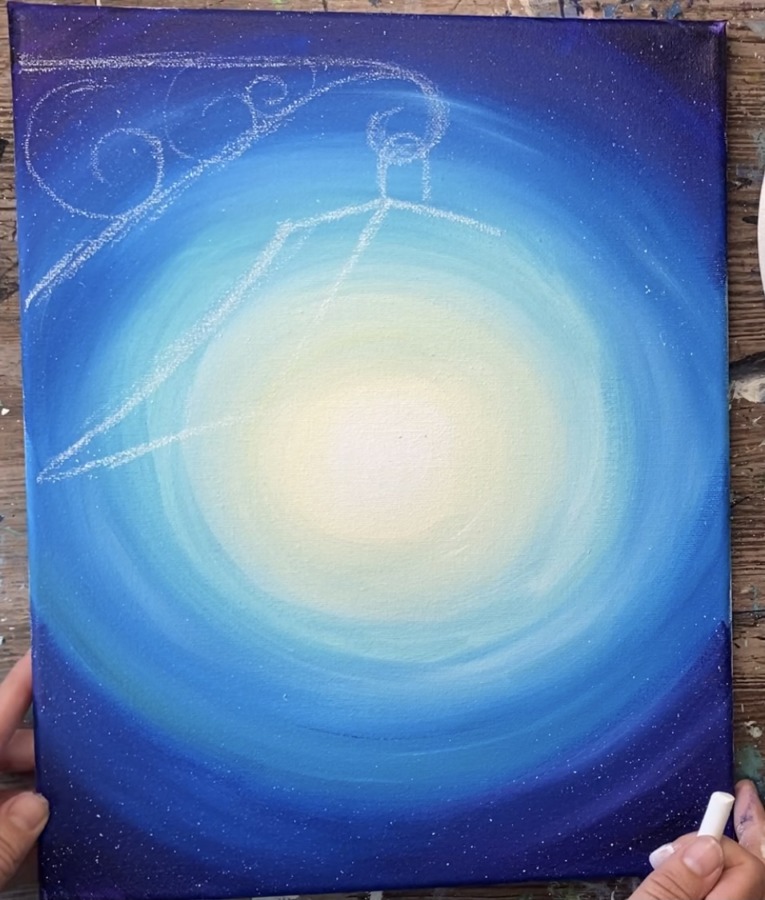
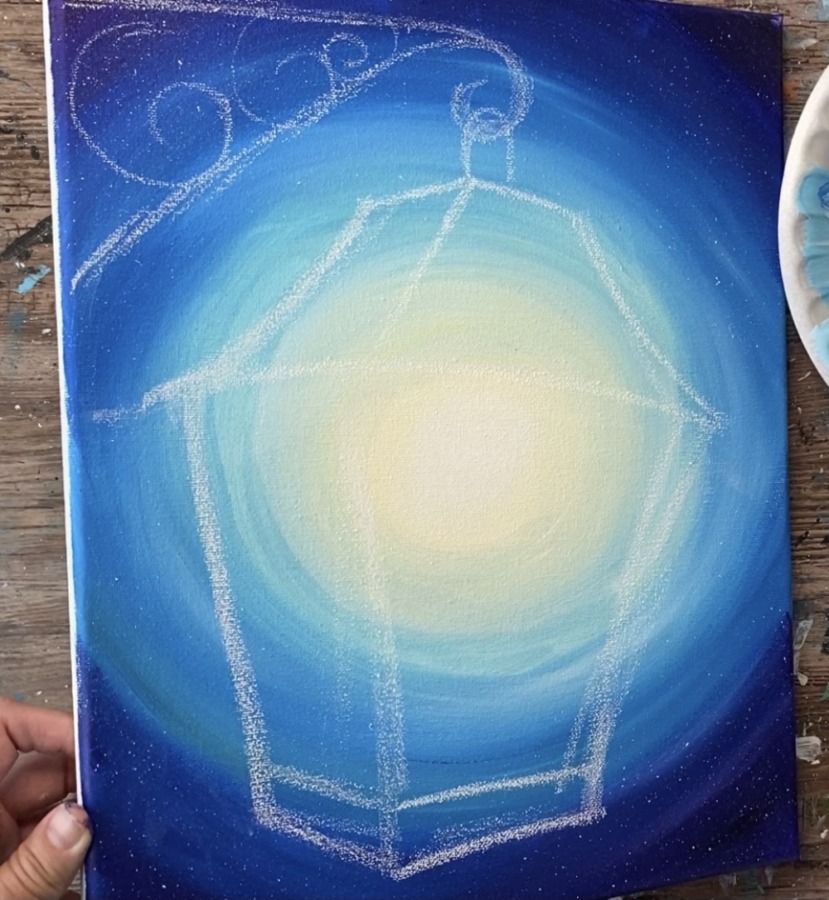
1. Paint the swirly sky background
There are five colors in this background! It is a blend of a bright white/yellow in the middle and it transitions to a light turquoise and then to a blue. The outer part of the sky along the edges is Dioxazine Purple.
This background requires a lot of blending. A tip that I find helpful with blending is to only load a small amount of paint on your brush. It is easier to blend small amounts of paint than it is to blend if a lot of paint is applied to your canvas. To learn more about blending, you can see my post about blending techniques here!
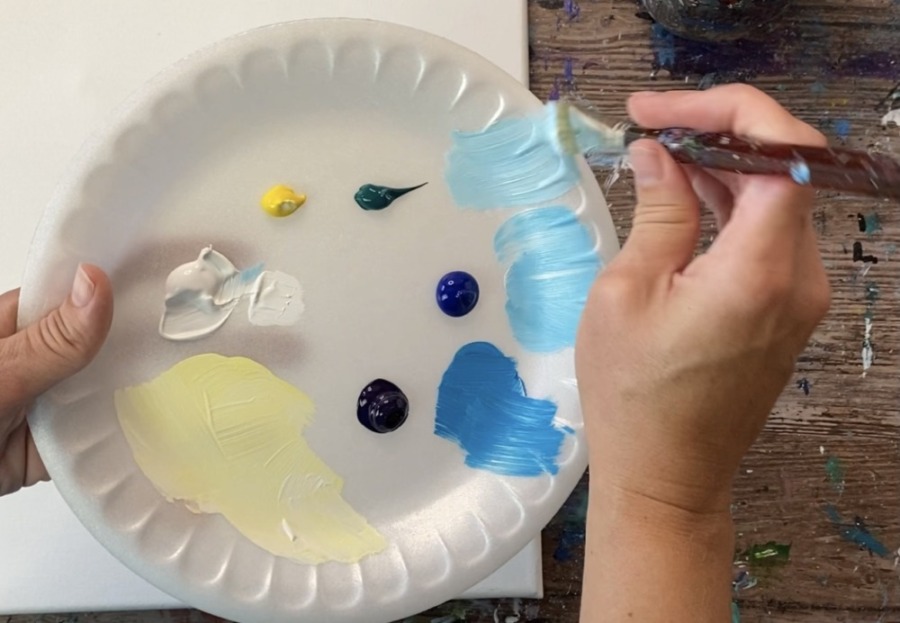
First load your palette with: titanium white, cad yellow medium hue, phthalo green, phthalo blue & Dioxazine Purple.
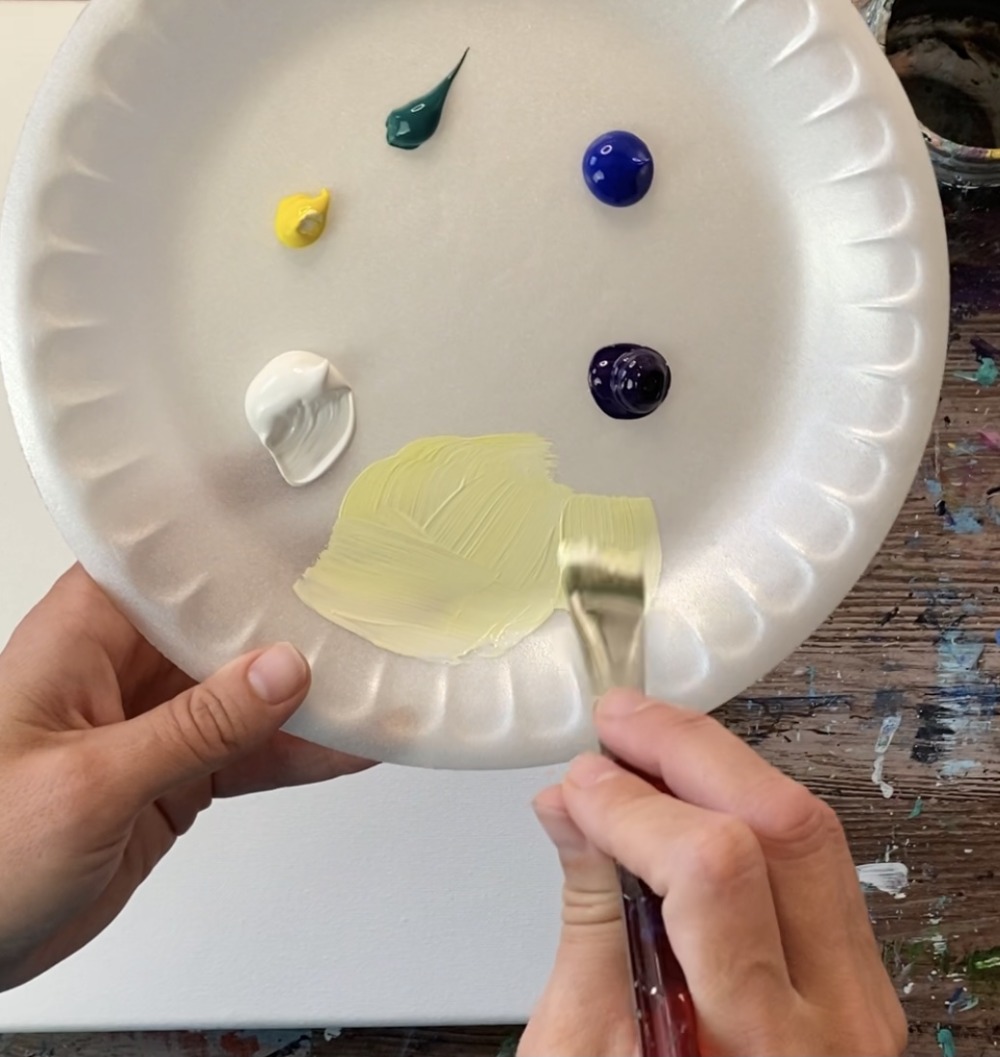
Use your 3/4″ flat wash brush to make a very light yellow. Mix 1 part yellow to 8 parts white.
You will be starting in the center of the canvas and painting a circle with that very light yellow! This circle is actually the bright part of the painting where the flame of the candle will be glowing.

Paint this circle about 5″ in diameter.
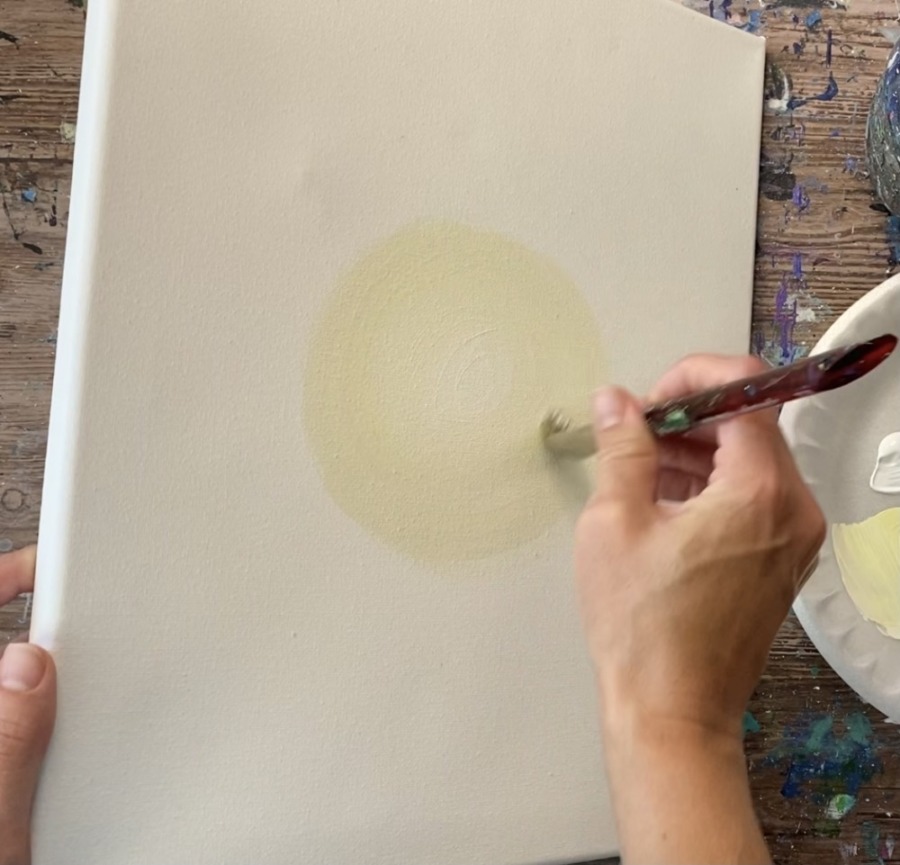
Then wipe off your brush and load just white in it. Gently blend the white in the center of the circle to make the center brighter.
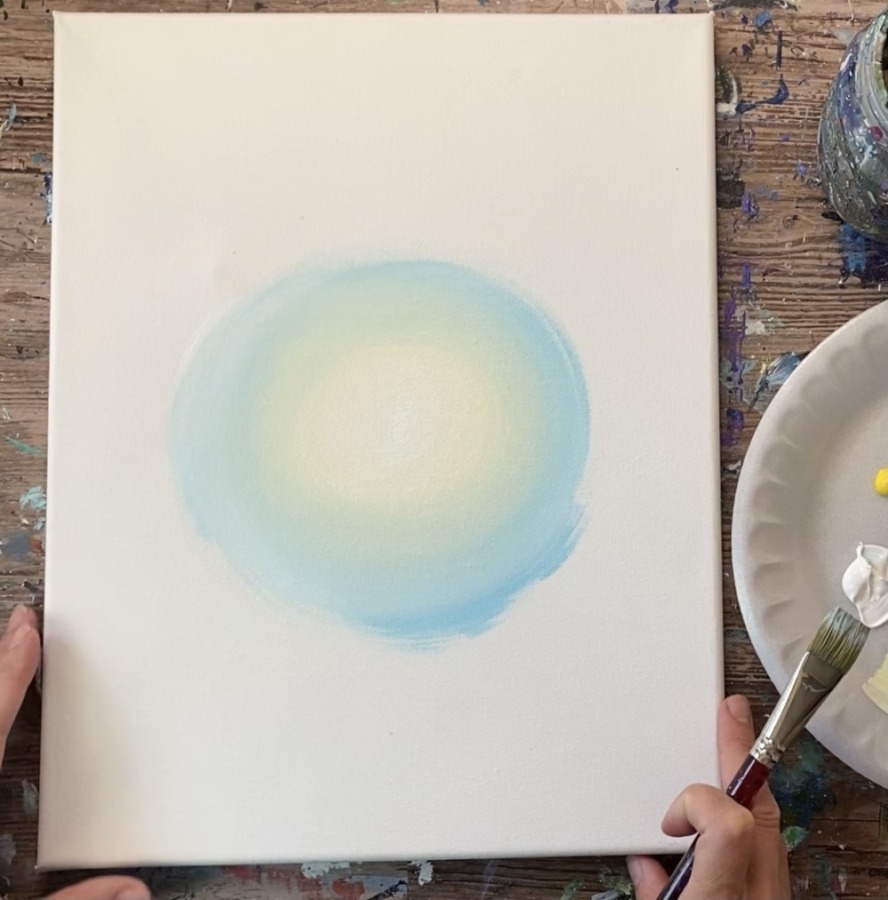
Next you will be making a light blue-green color on your palette. This color will blend with the yellow circle glow and will look a little greenish when it blends. On your palette, mix 5 parts white, 1 part phthalo green and 1 part phthalo blue. Add more white if necessary to make it very light.
Then gently blend the light blue-green color next to the yellow circle. Wipe off the brush if there is too much paint on it. Gentle brush over the “transition zone” where the yellow and blue meet.
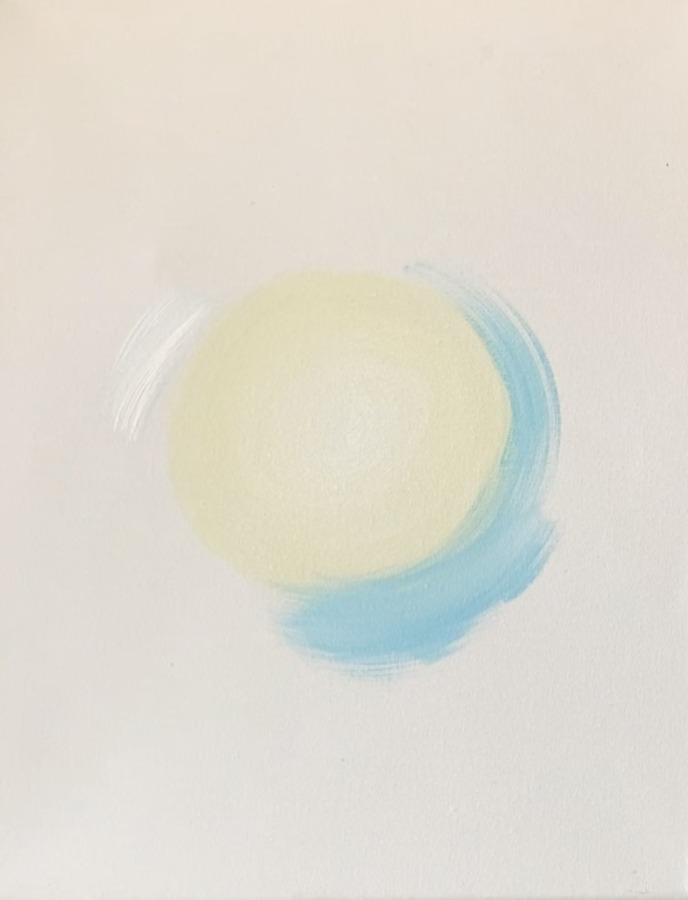
You will get a slight green color. Try not to let the blue go too far in the center because that center should be bright and light.
Then continue to paint your circle outwards blending more of the light blue-green color.
Gradually add more of the blue as you keep painting in circular strokes working your way outward.
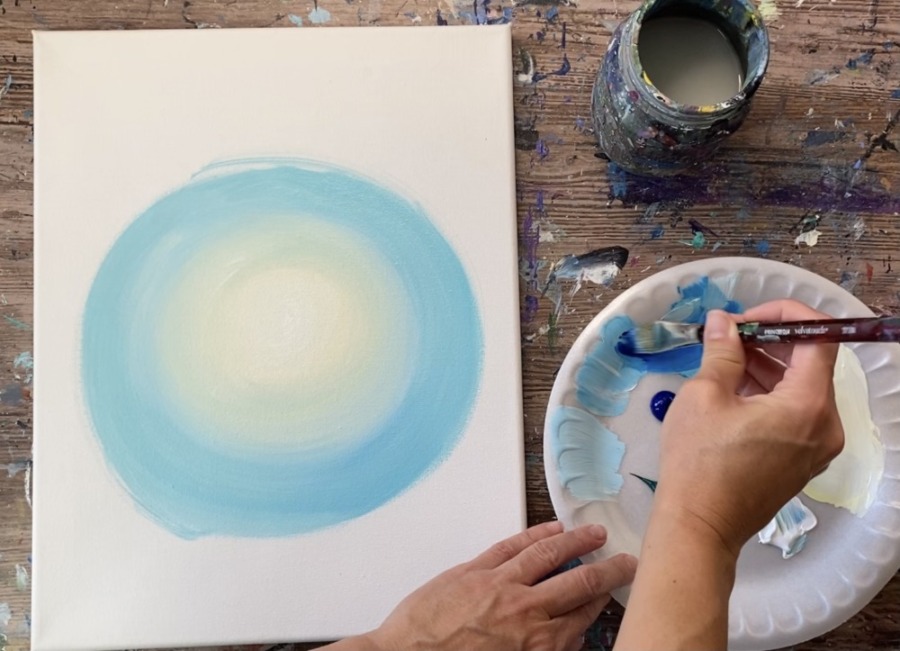
Tip: adding a little titanium white to your brush helps with blending. You also do not have to blend the colors all the way, you can leave it unblended!
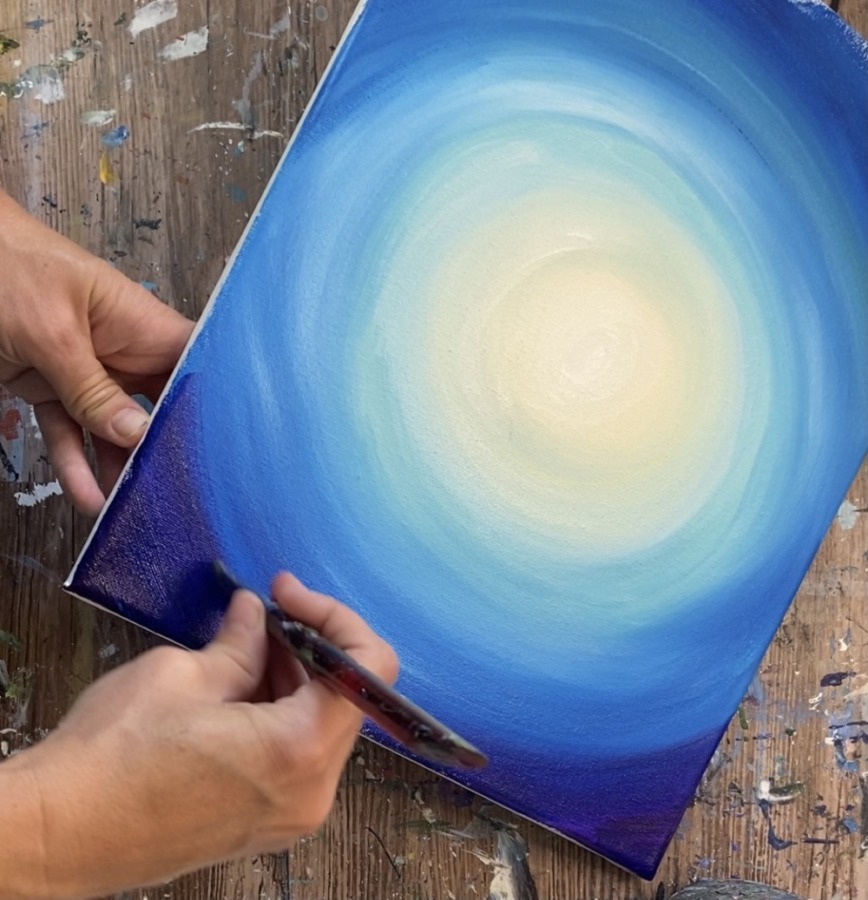
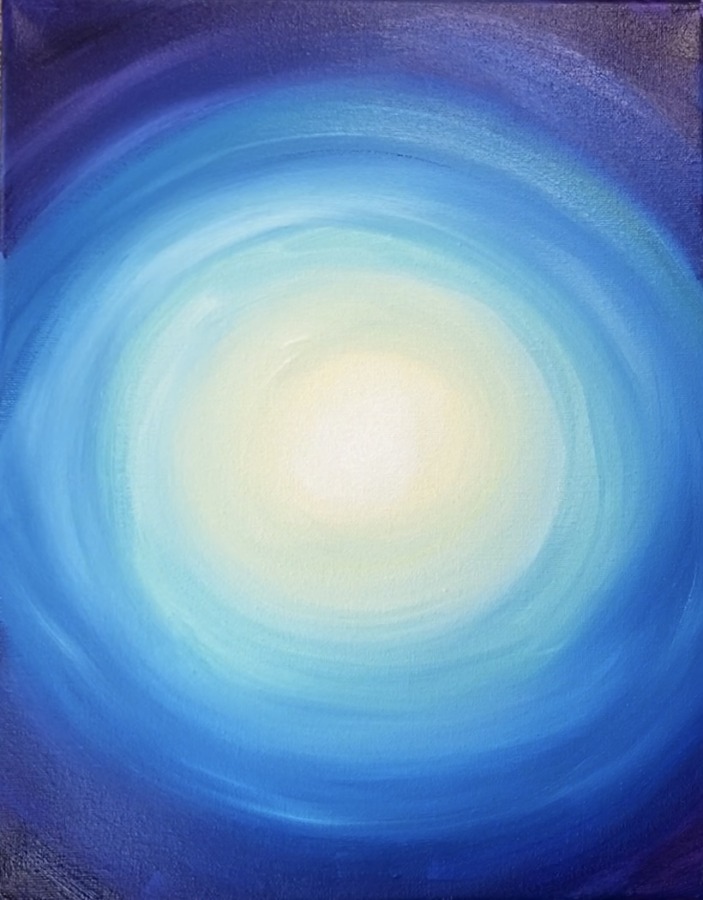
Keep gradually adding more blue as you work your way to the edge of the canvas. The sky color should get darker and darker.
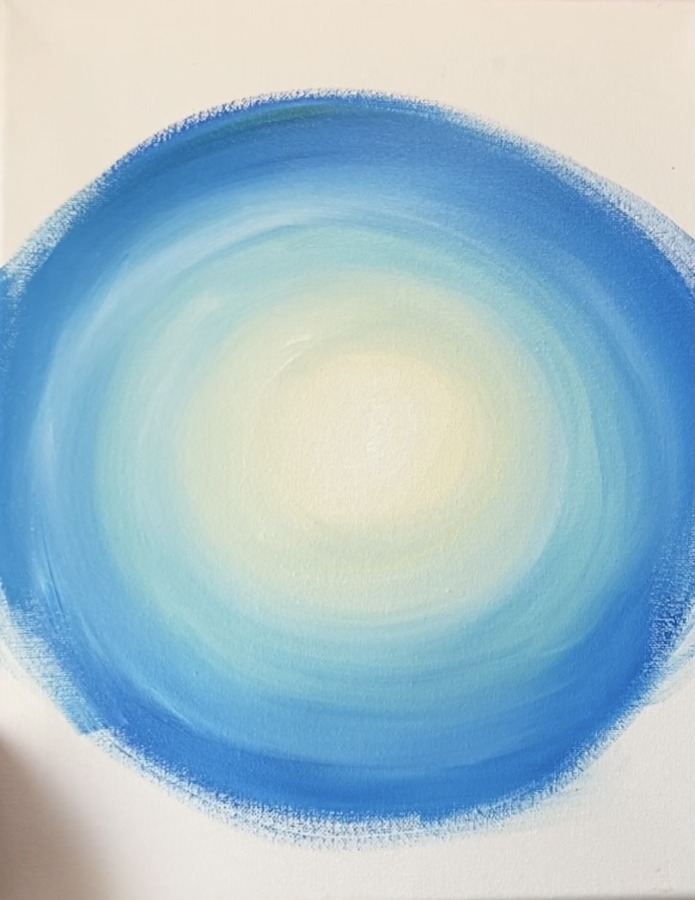
Eventually you will need to add just phthalo blue and not white so the blue shows up dark close to the edges.
Then add Dioxazine Purple and add that color to the corners. Paint in a circular direction blending that purple with the phthalo blue.
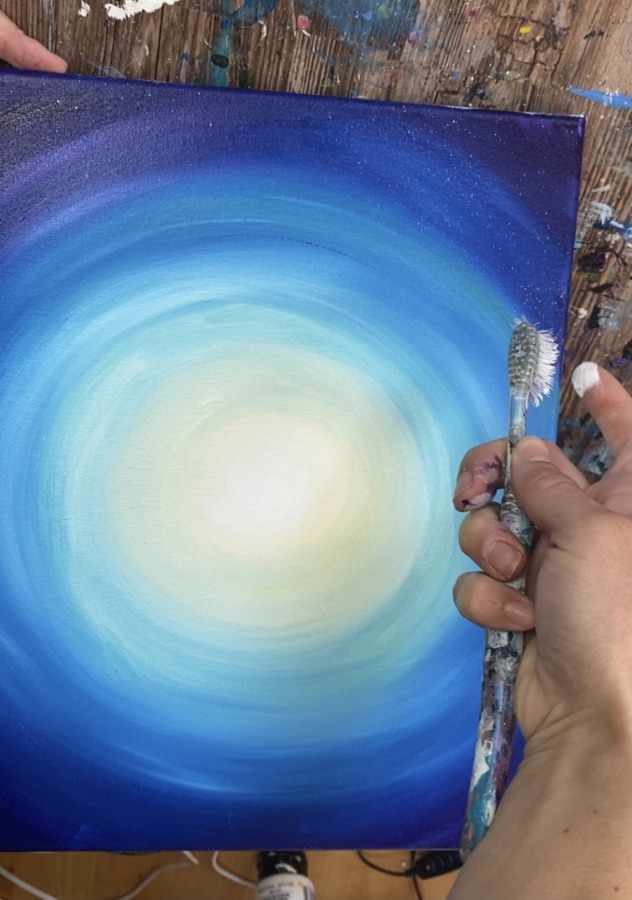
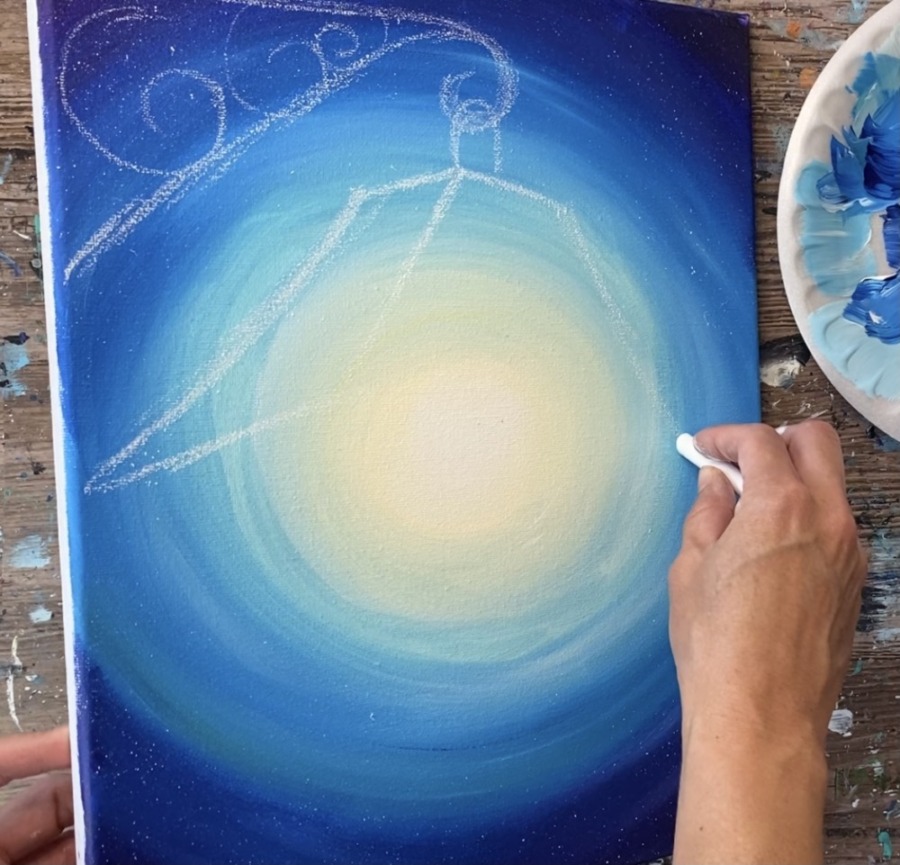
2. Splatter Stars
Use a toothbrush to splatter stars in the sky. Slightly water down your titanium white to an ink consistency then load it only the toothbrush and flick the brush to create little specks of stars.
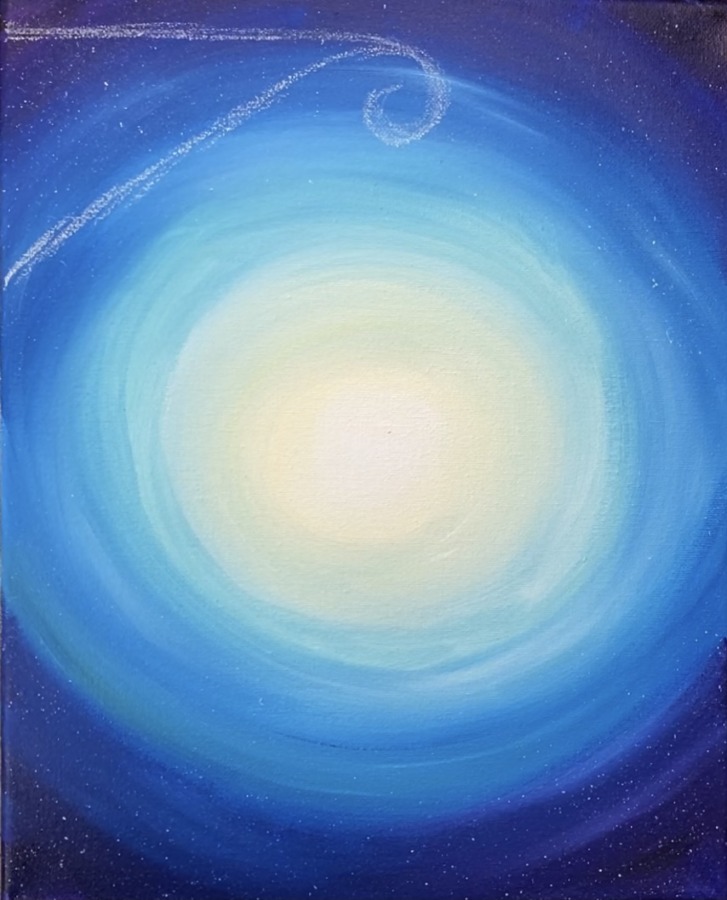
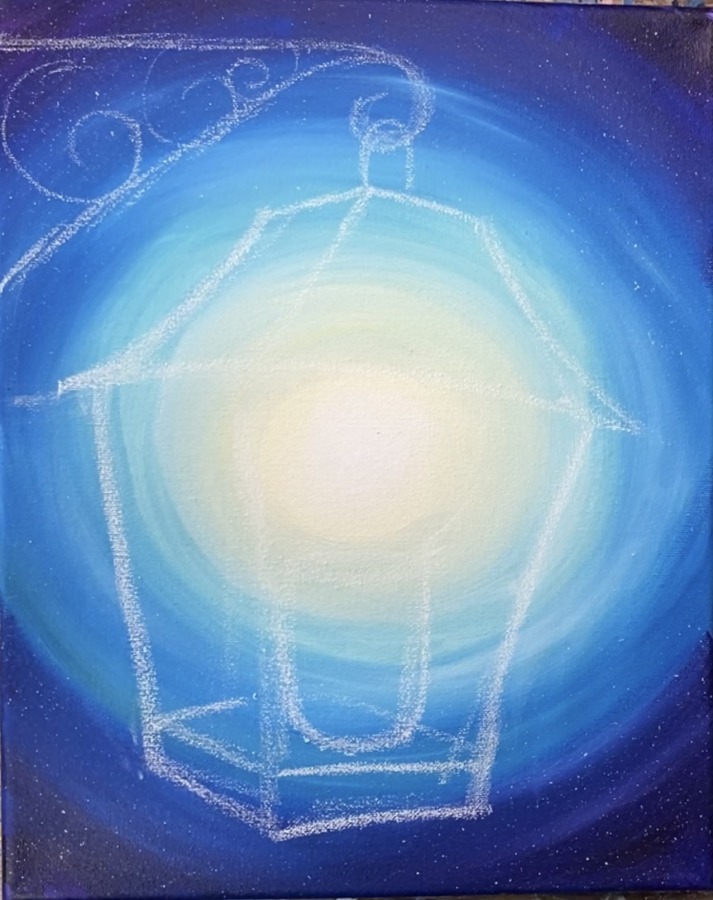
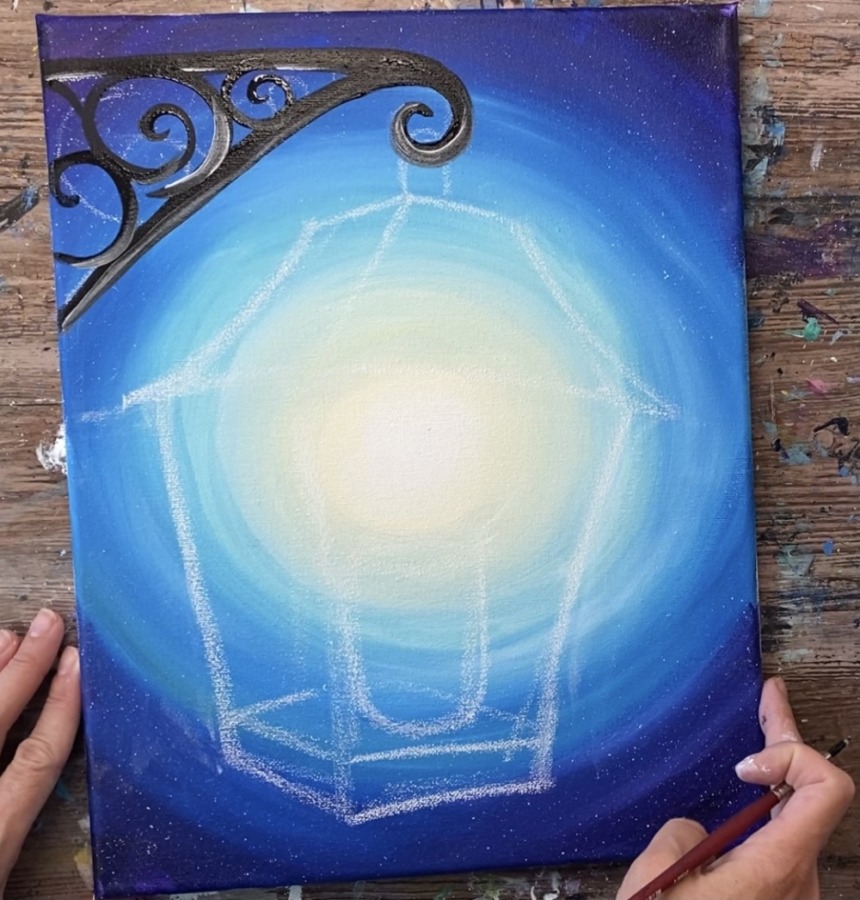
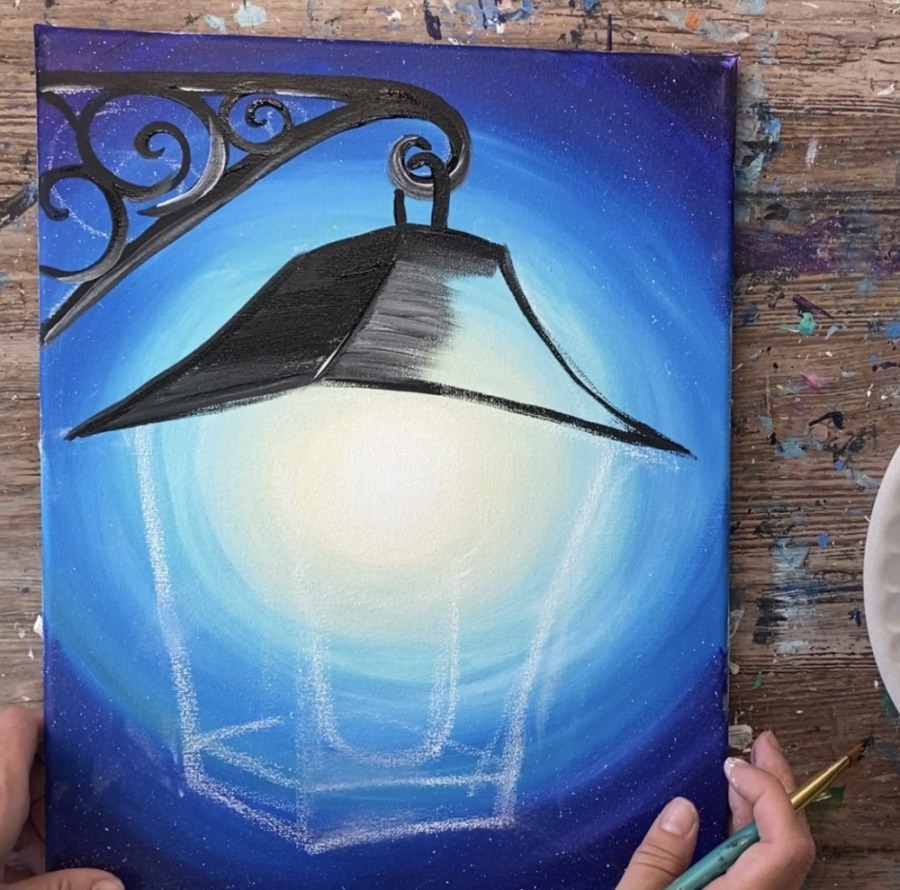
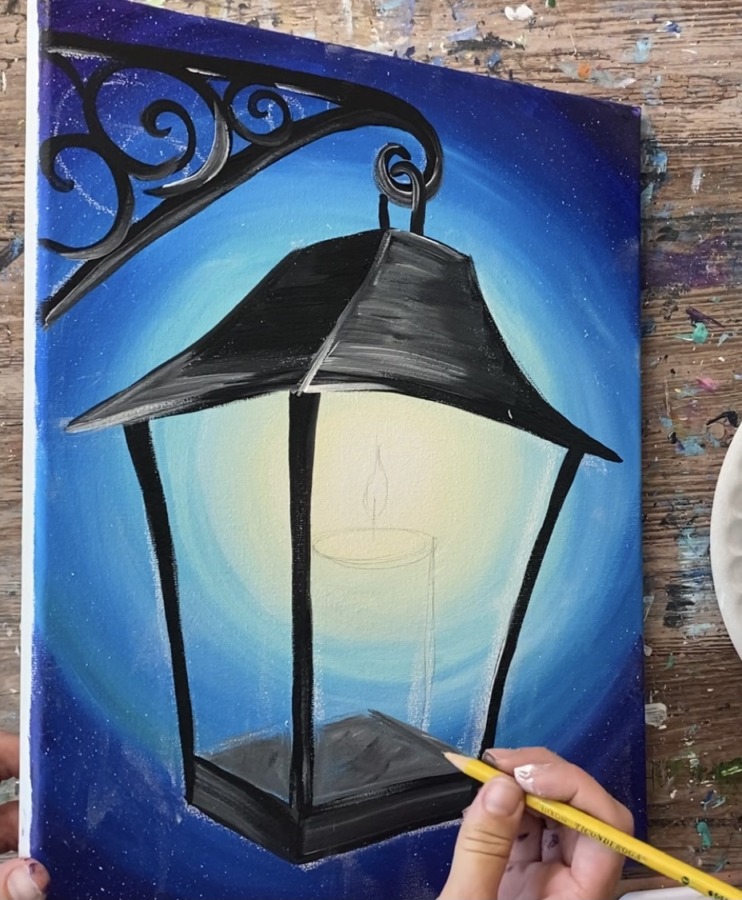
3. Draw The Lamp
Use a piece of chalk to draw the lamp holder. Draw a horizontal line at the top that slightly spirals down. The spiral should be in the very center of the canvas above the yellow glow. Then draw a diagonal line.
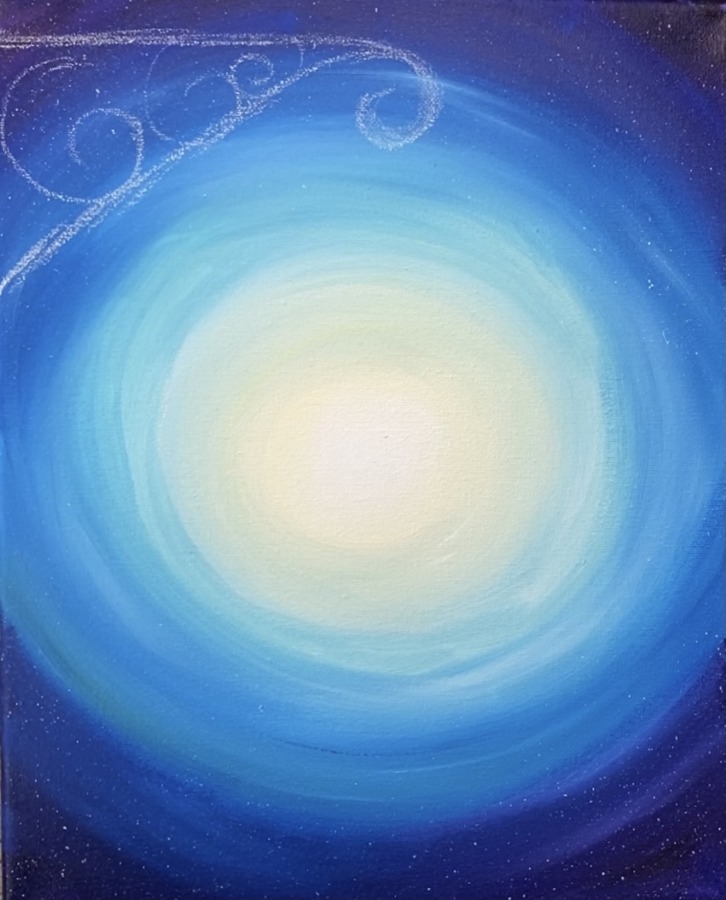
Then draw three spirals inside of the triangular shape.
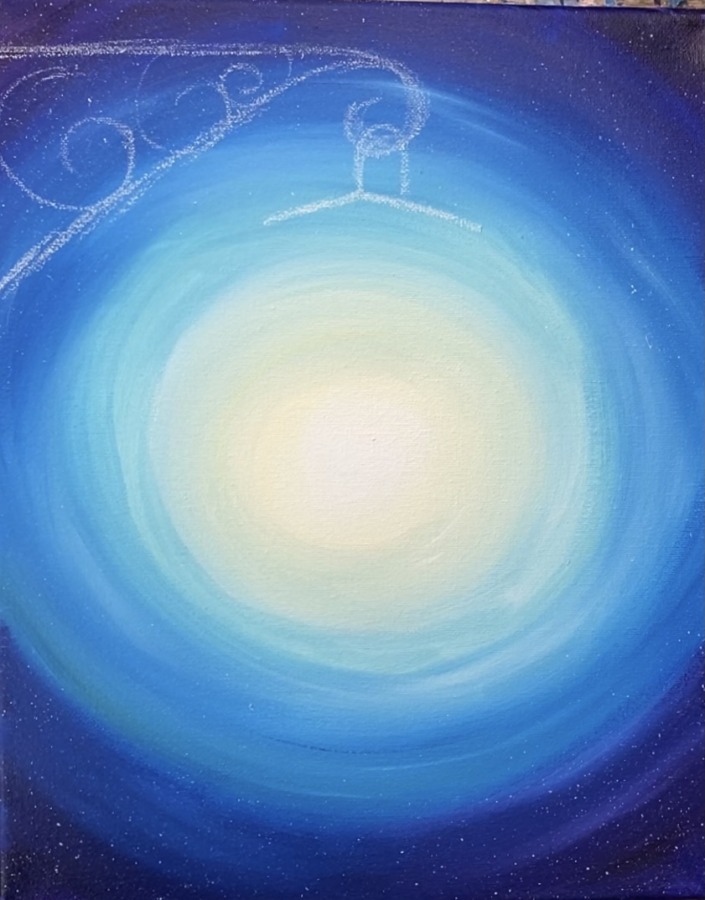
Then draw the curved holder that attaches to the spiral “hook”. Draw two diagonal lines under the holder to represent the top of the lantern.
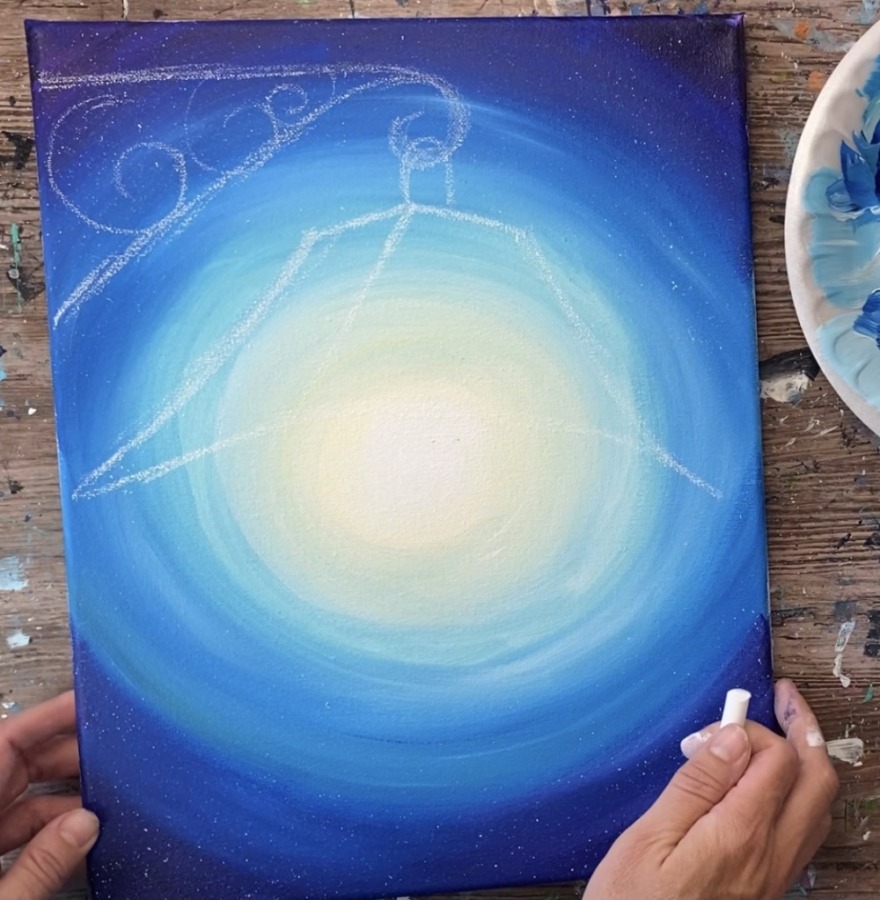
Then draw the left side of the lantern.
Draw a diagonal line down for the right side of the lantern.
Then draw the bottom lines for the lantern top. These lines are diagonal but slightly curved.
Draw diagonal lines on the left and right down to the bottom of the lantern.
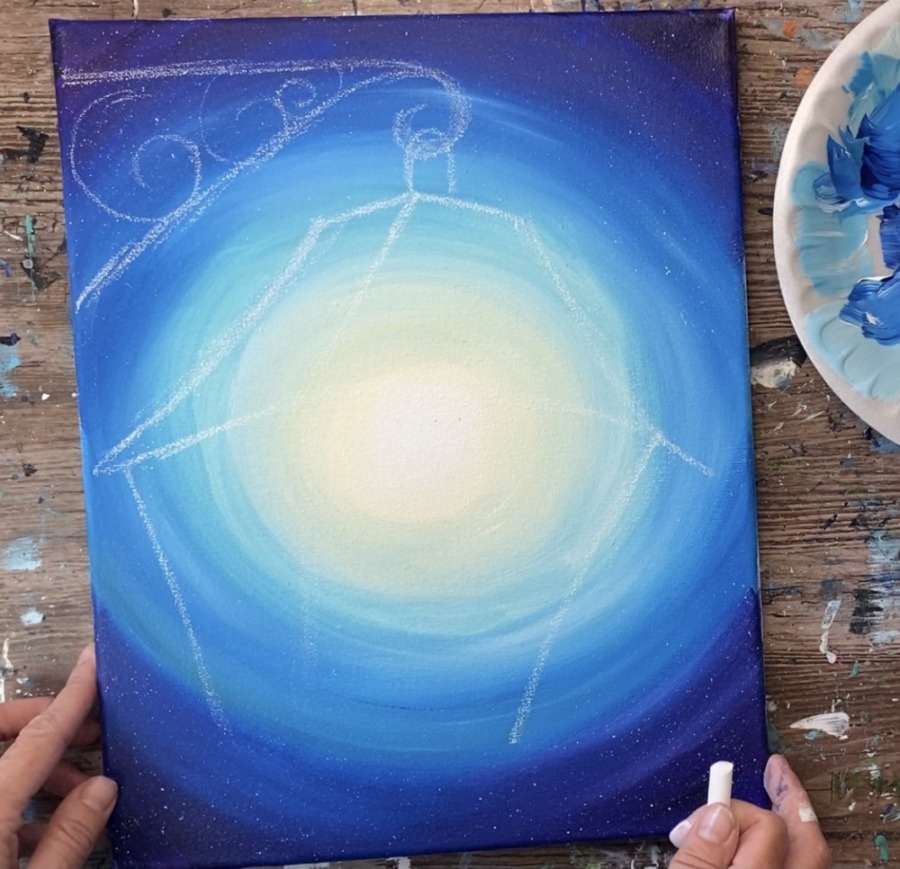
Then draw two more diagonal lines for the base of the lantern.

Offset the lines on the bottom to create the bottom edging of the lantern.
Then draw the inner “floor” of the lantern. Sketch out the candle inside of the lantern but you do not have to go into detail with the candle drawing.
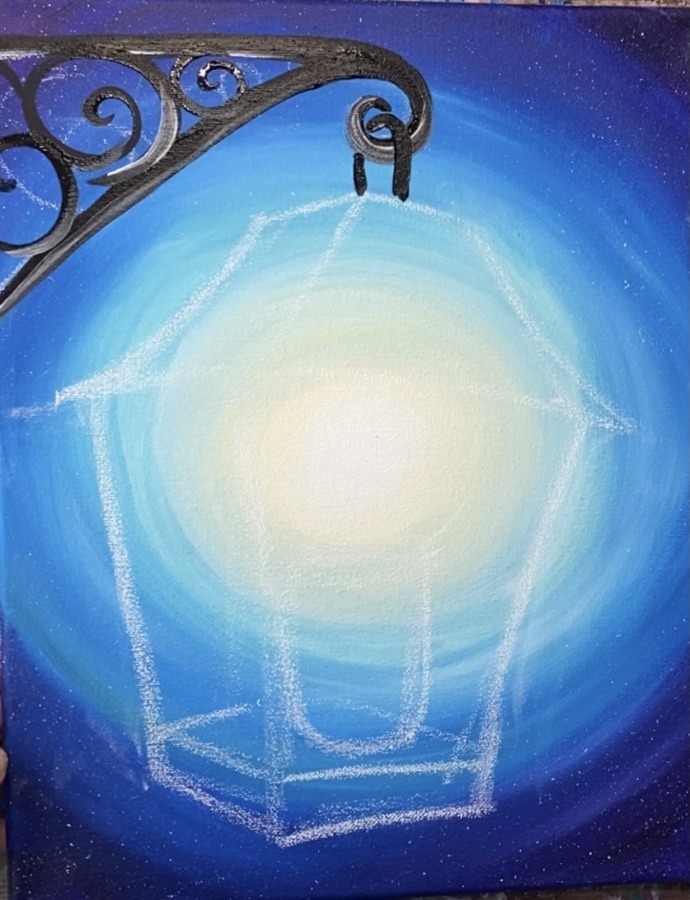
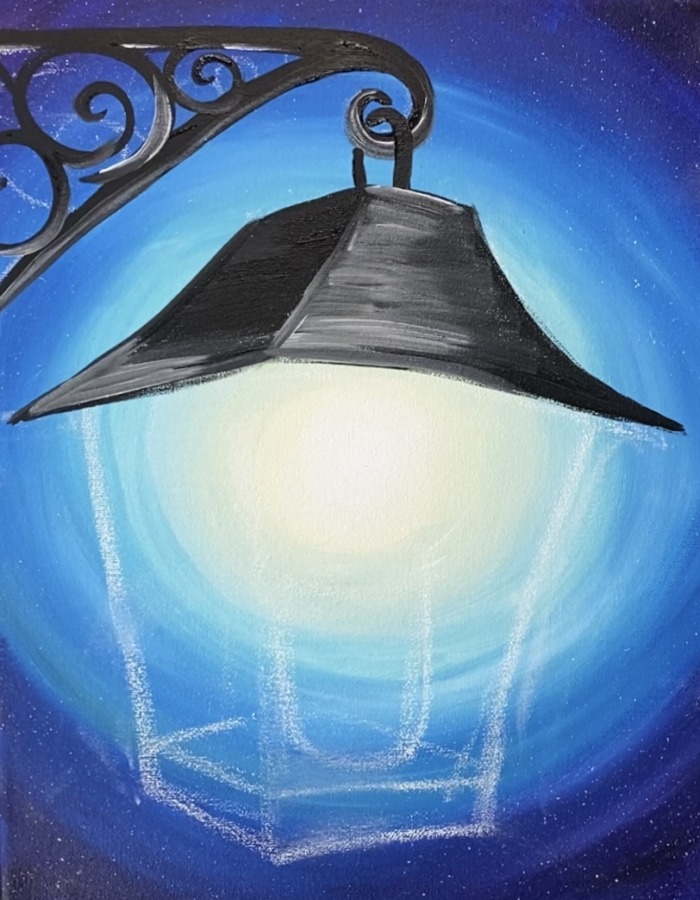
4. Paint Lamp Hanger
Use a #4 round brush and mars black to paint the holder and spirals for the lantern. Slightly water down the black to increase the flow of it.
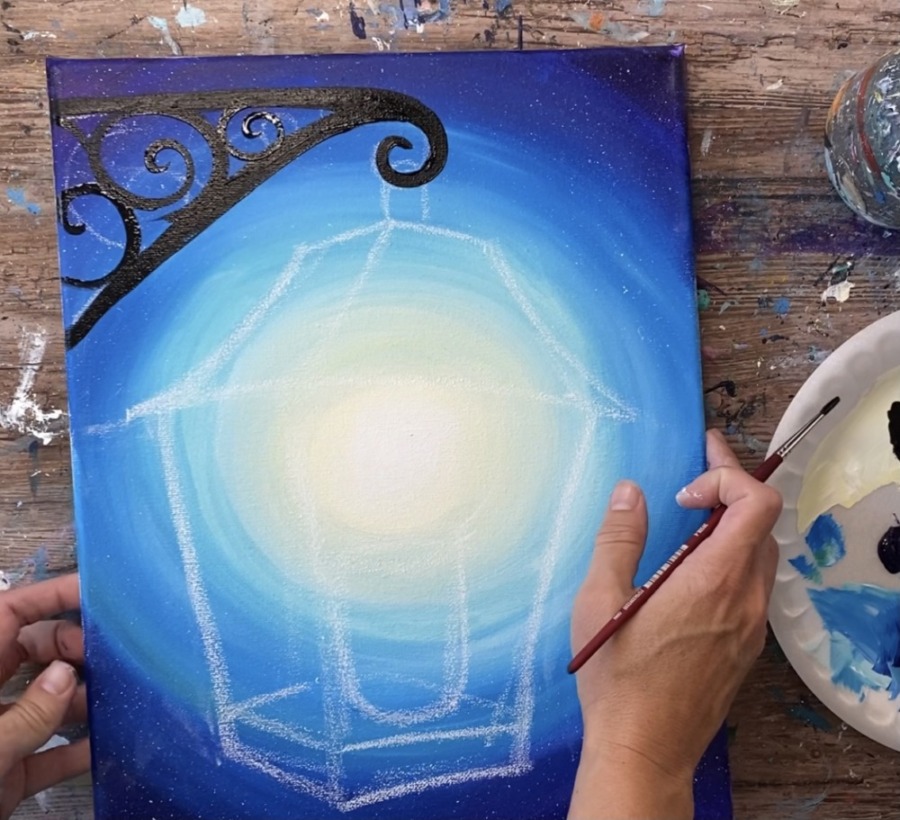
Then add a bit of white to your brush. Paint the bottom edge of the lantern holder. Let the white gently blend into the black to give the holder some highlights.
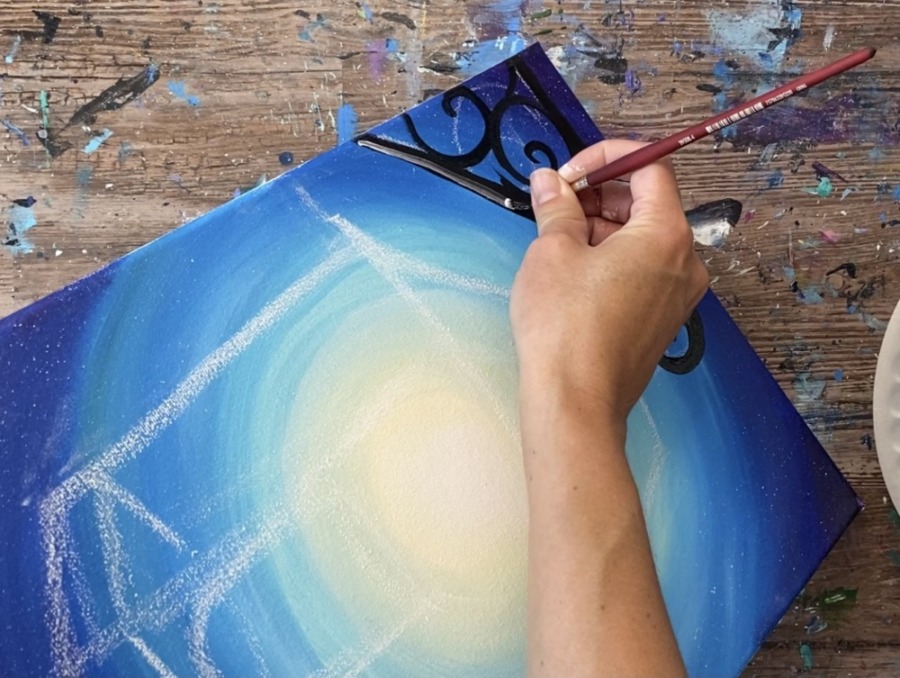
Paint some white on the bottom of the spirals too.
Then paint the top holder piece of the lantern with the black.
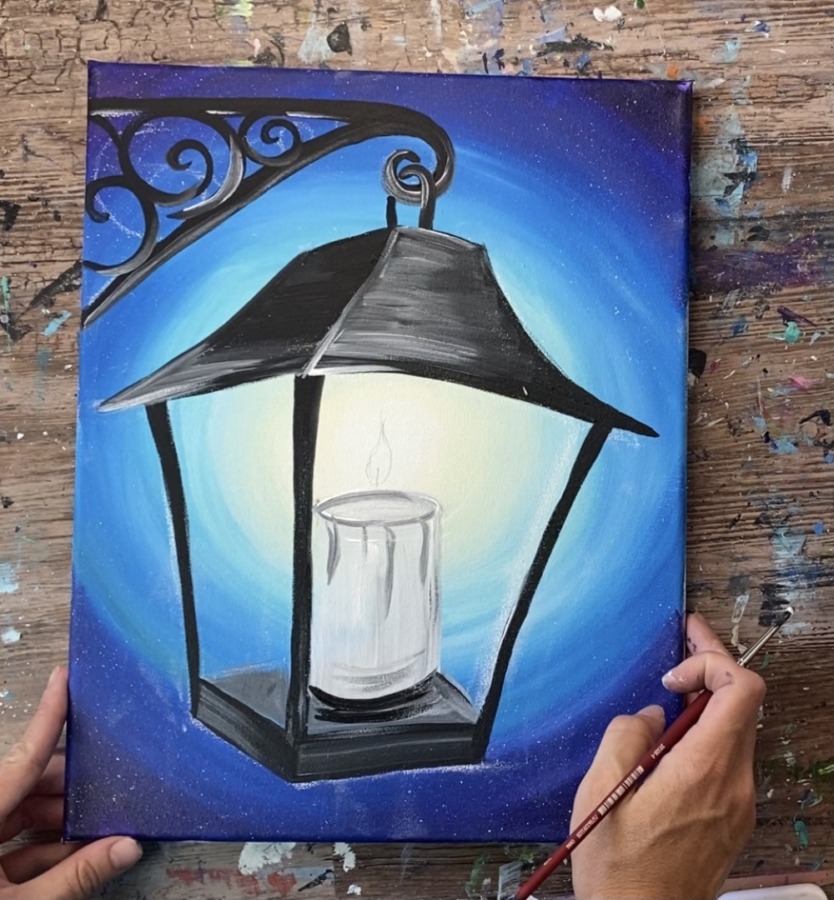
5. Paint Lantern
Use your #4 round brush to outline the top of the lantern.
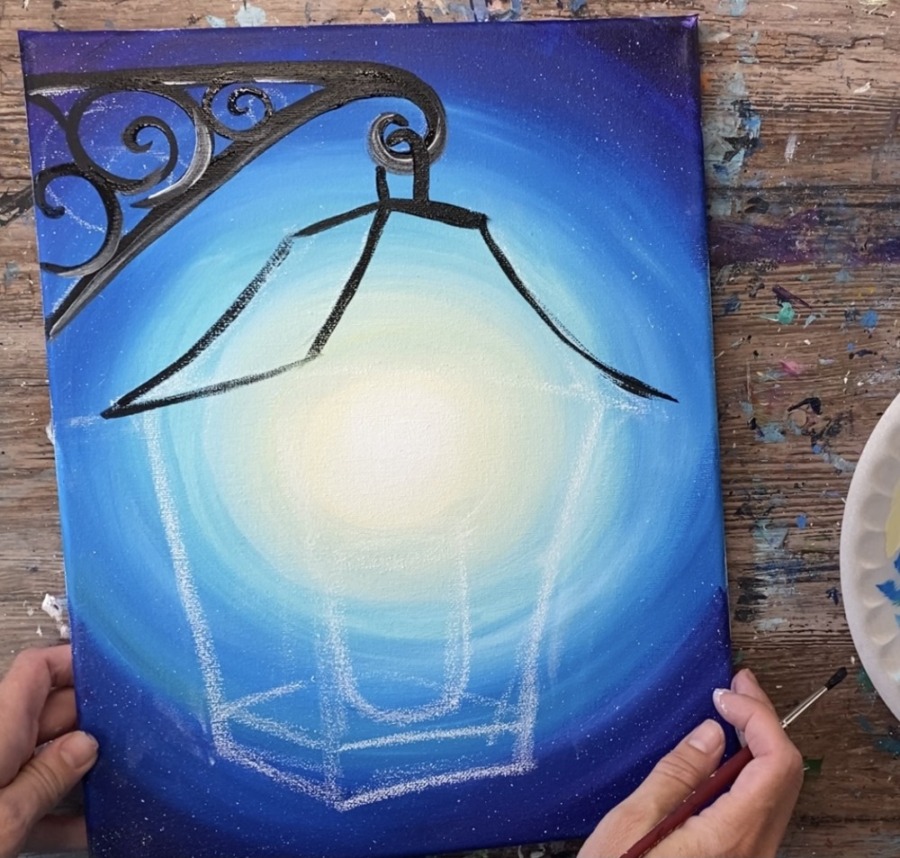
Then switch to your #12 bright brush. Paint the left side of the lantern top with black. Use the full width of the brush to paint in strokes that are parallel to the top and bottom lines of the lantern.
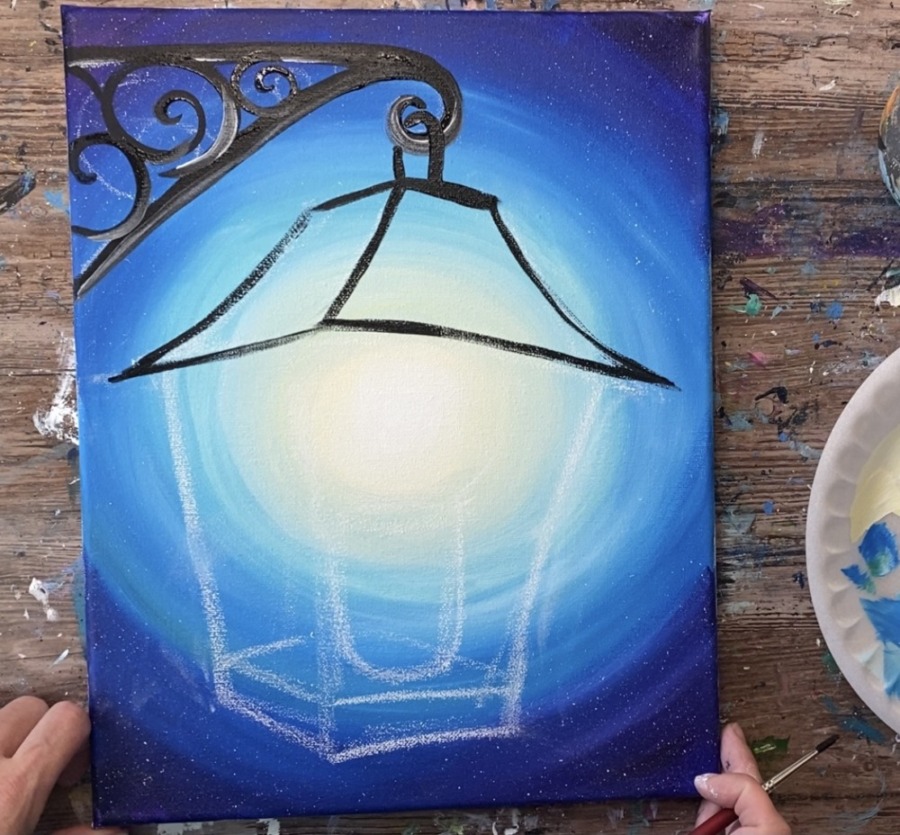
Then paint the right side of the lantern. Double load your brush in titanium white and mars black. Then paint in strokes that go parallel to the top and bottom edges of the lantern. Let that white gently blend with the black.
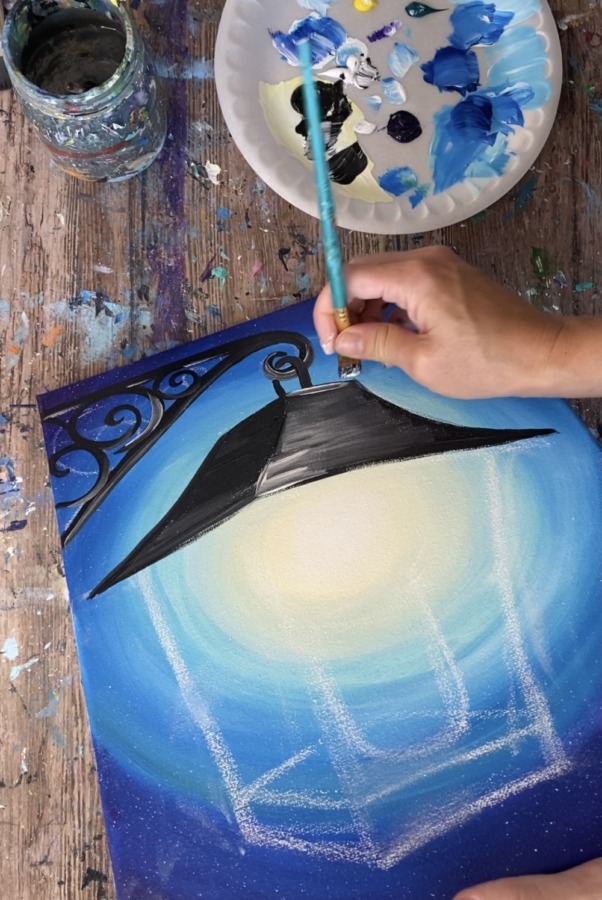
You can use the tip of your brush or a round brush to outline the shape of the lantern top. Also note: there are areas of the top piece that are lighter. This is giving this “highlight” and “depth” so it is not solid black everywhere.
Then use either the tip of your #12 flat brush or a round brush to outline the lines of the lantern.
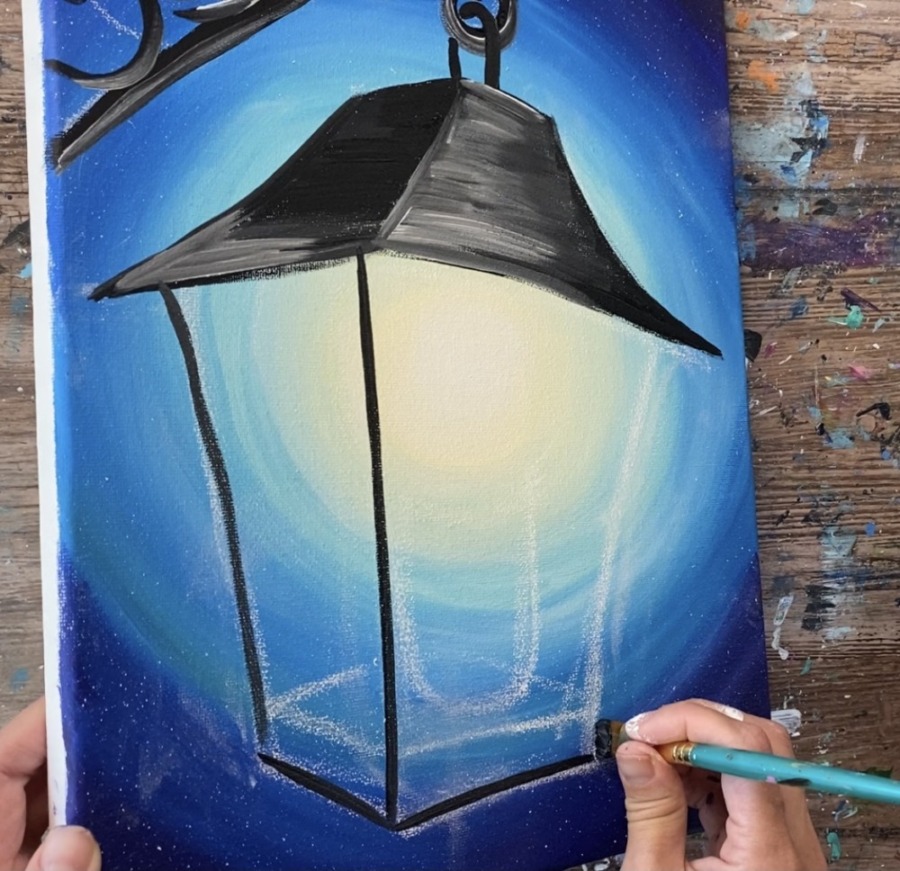
Paint the bottom base solid black.

Then mix a medium gray on your palette (1 part black to 4 parts white). Paint the floor of the lantern solid gray.
Then you can add some subtle highlights on the lines of the lantern with a bit of white.
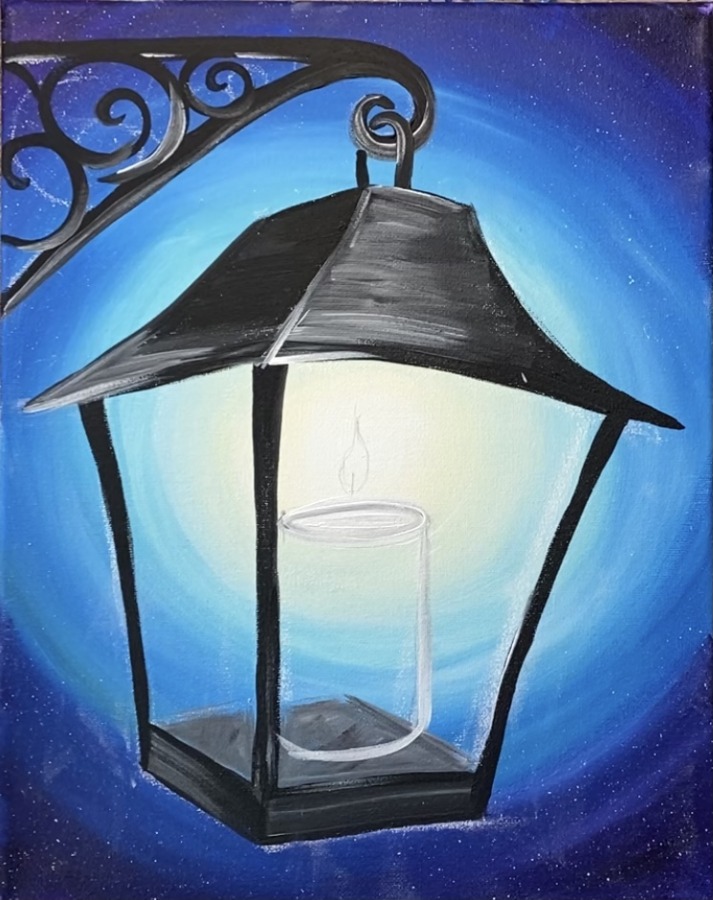
6. Draw and Paint The Candle
Use a pencil to lightly sketch out the candle.
Then use a #4 round brush to outline the shape of the candle. Mix a light gray on your palette (about 5 parts white to 1 part black).
Then use your #12 bright brush to paint the candle in. For the face of the candle, I double loaded my brush in gray and a little bit of white. I did up and down strokes and made the color of the candle look a little “streaky” and “unblended”.
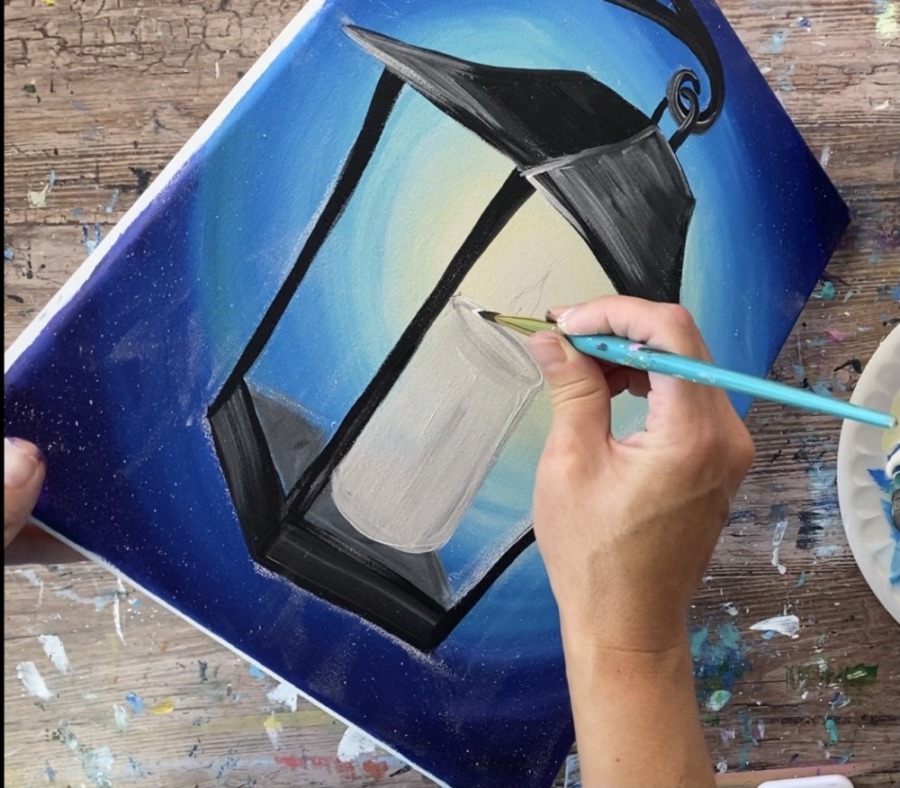
Paint the top part of the candle with the light gray. Then use a round brush to outline to top part of the candle with a medium gray (about 3 parts white to 1 part black).
Then use your round brush to paint small wax lines dripping down. Do this with the medium gray.
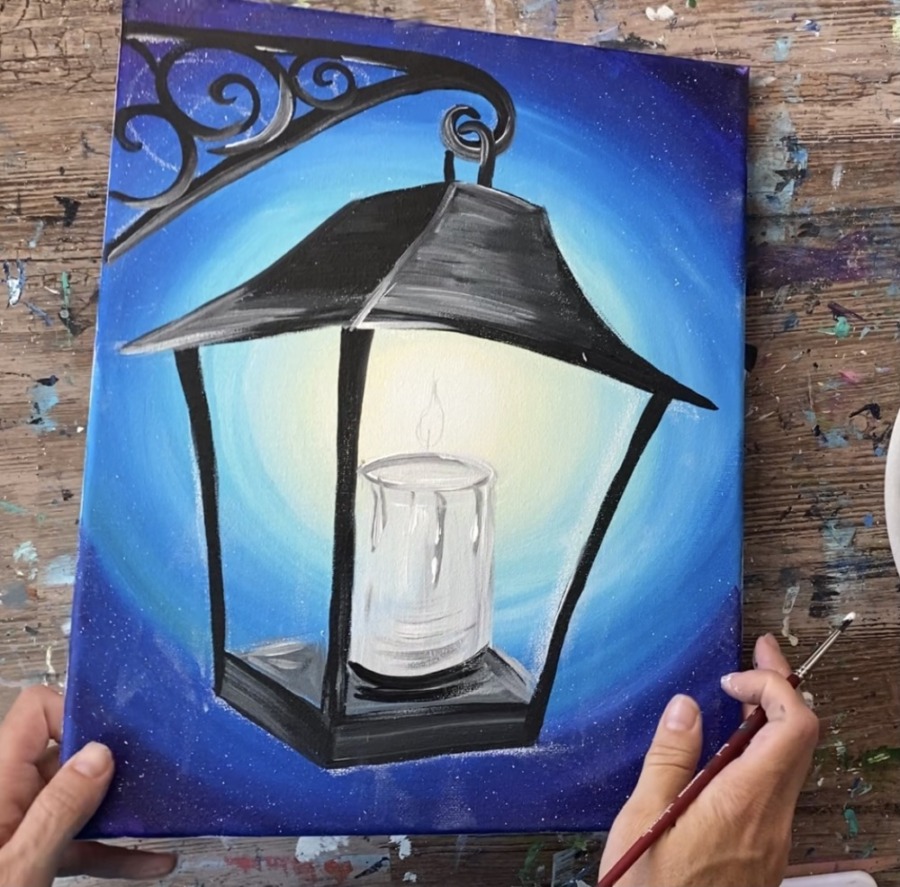
Then add small white marks on the wax to give it highlight.
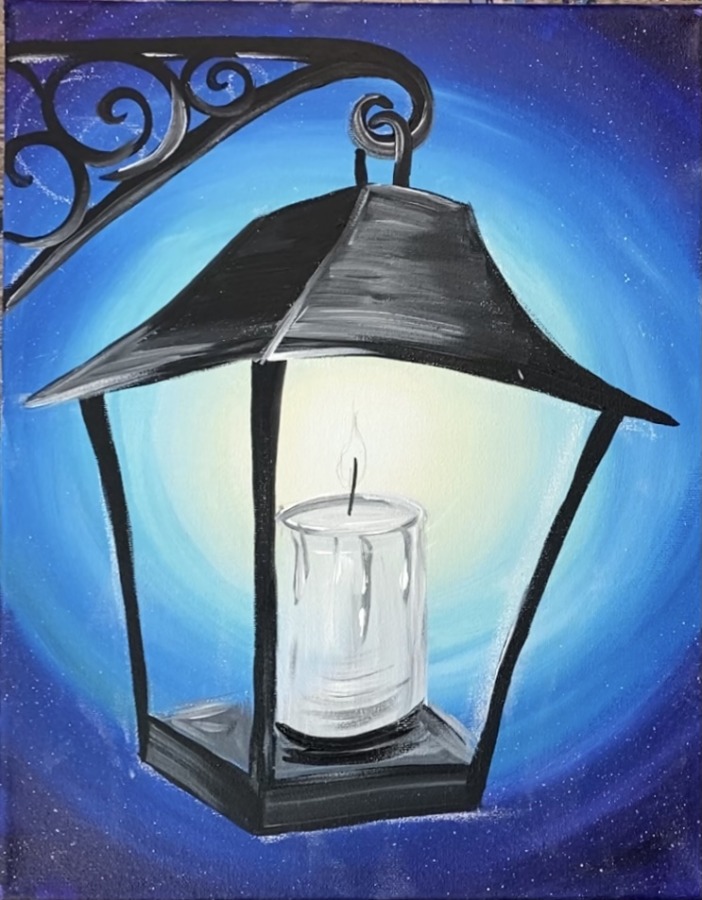
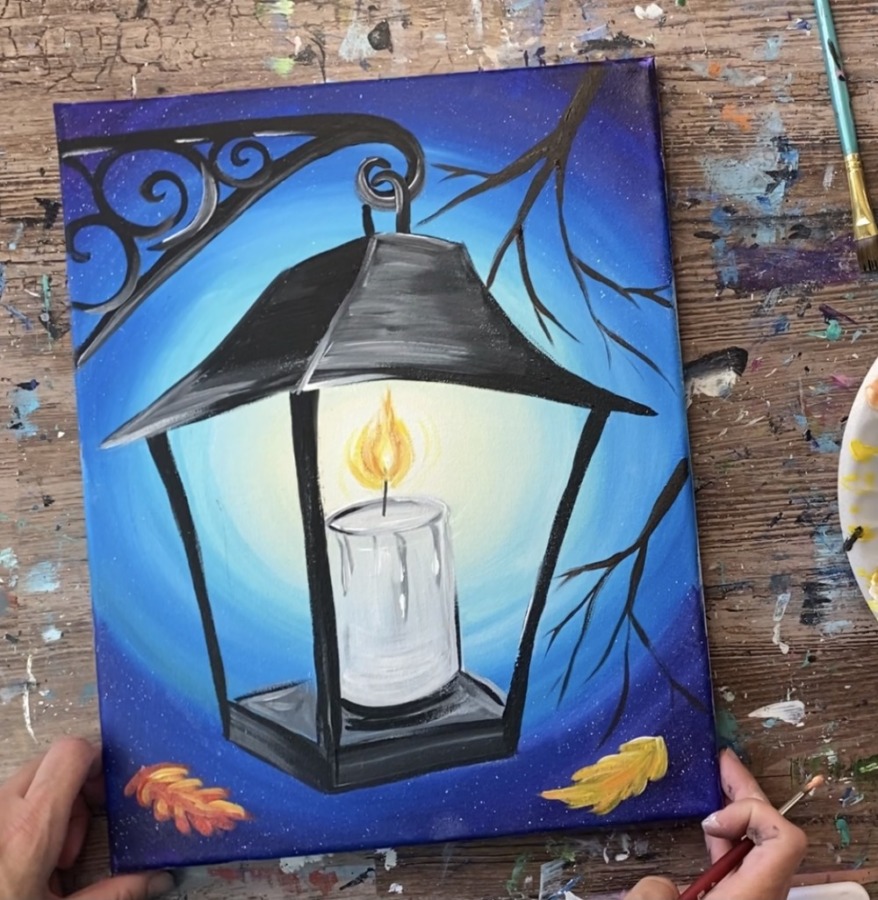
Use mars black to paint the wick of the candle. Then paint a shadowy area with the black below the candle.

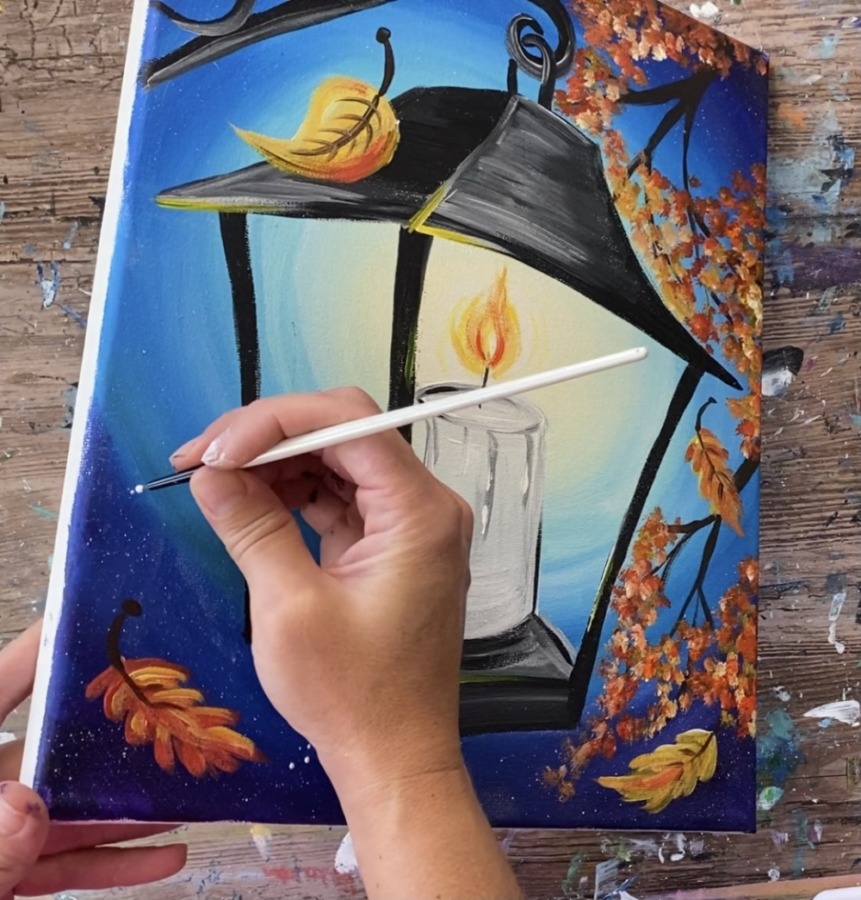
Then paint the flame of the candle. Start with an orange (mix yellow with a little red to make orange). Paint the outer flame shape.
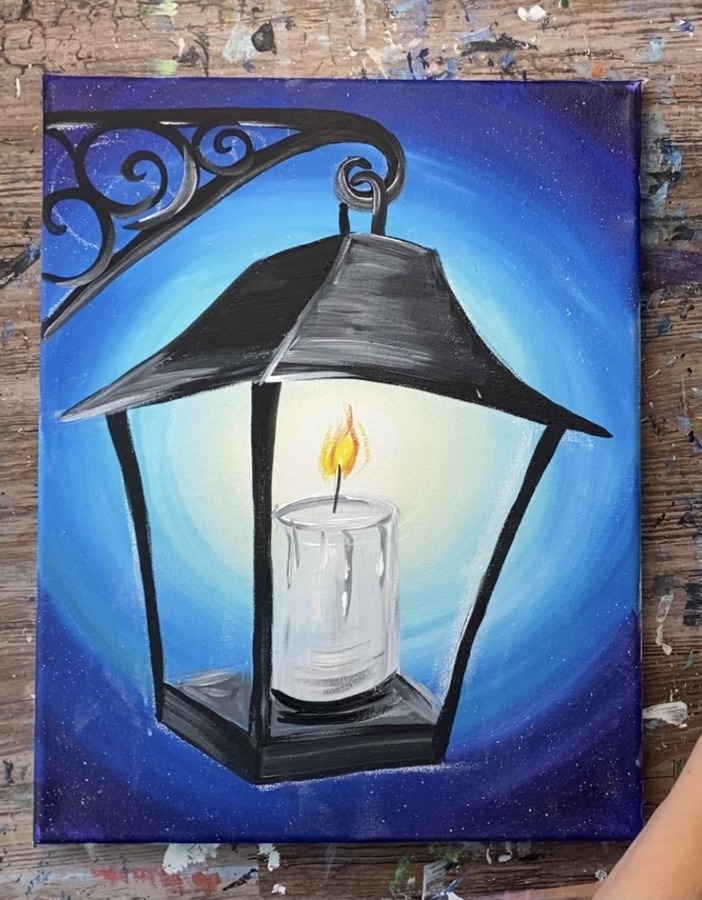
Then add yellow in the center of the flame. Dry brush some yellow on the outer part of the flame (wipe off paint off your brush to do dry brush technique).
Then add white and a little yellow in the center of the flame so that it is bright in the middle.
Slightly outline the top of the candle and the right side of the candle with mars black.
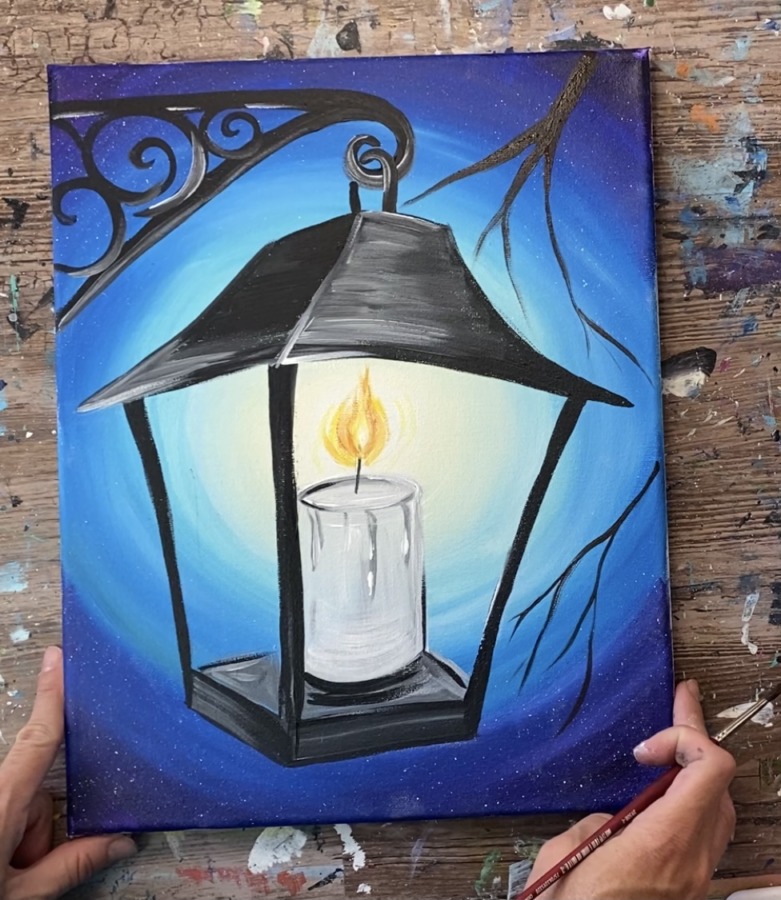
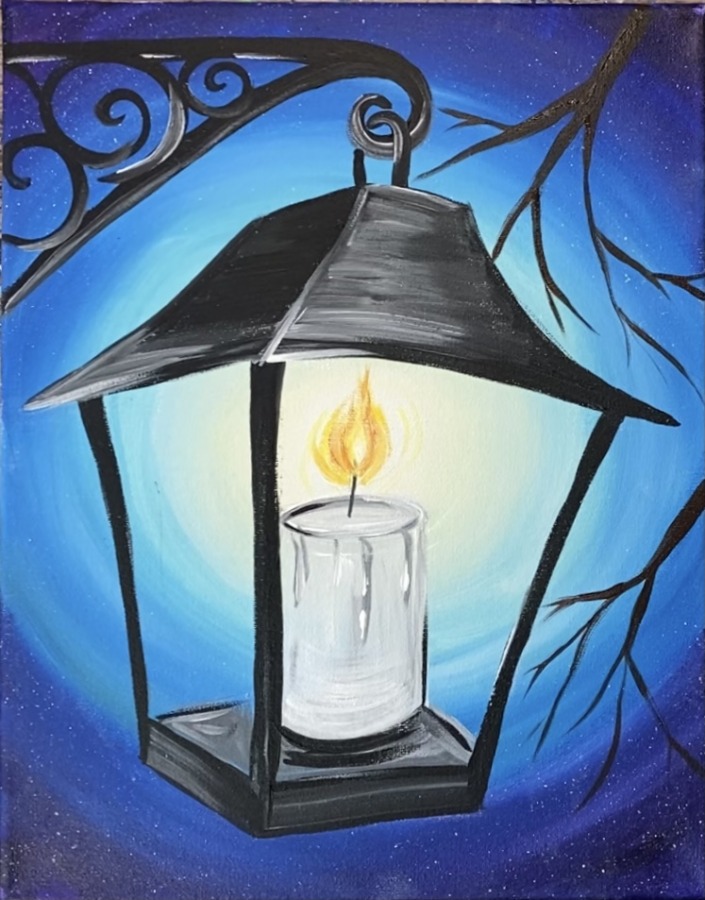
7. Paint Tree Branches
Load your palette with burnt umber. Mix a small amount of black into it to make it slightly darker. Then slightly water it down so that it will flow easily. Use your #4 round brush to paint two sets of branches on the right side of the canvas.
Paint smaller branch pieces.
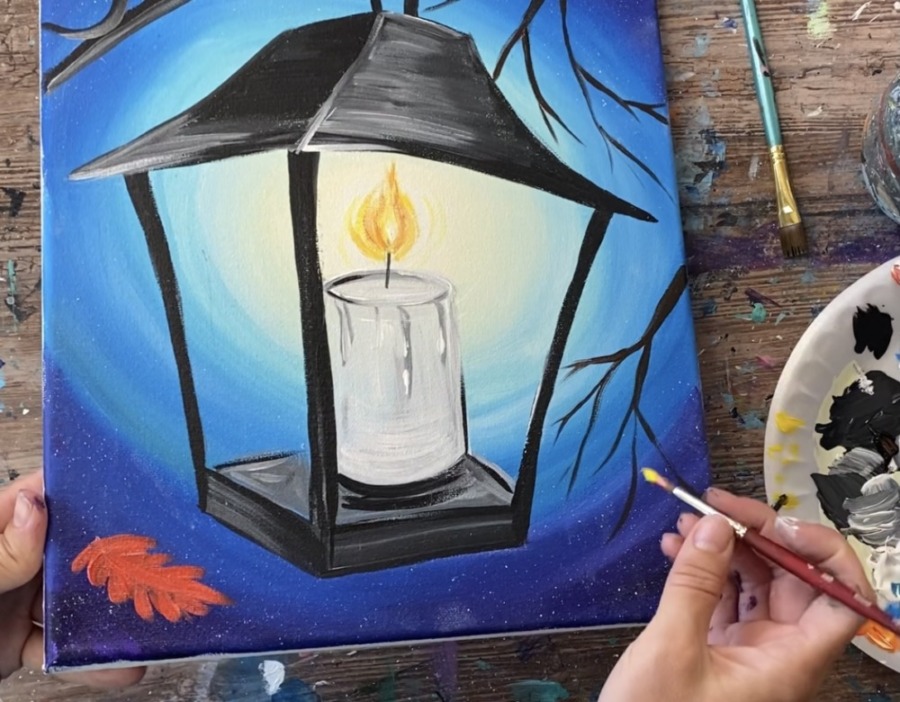
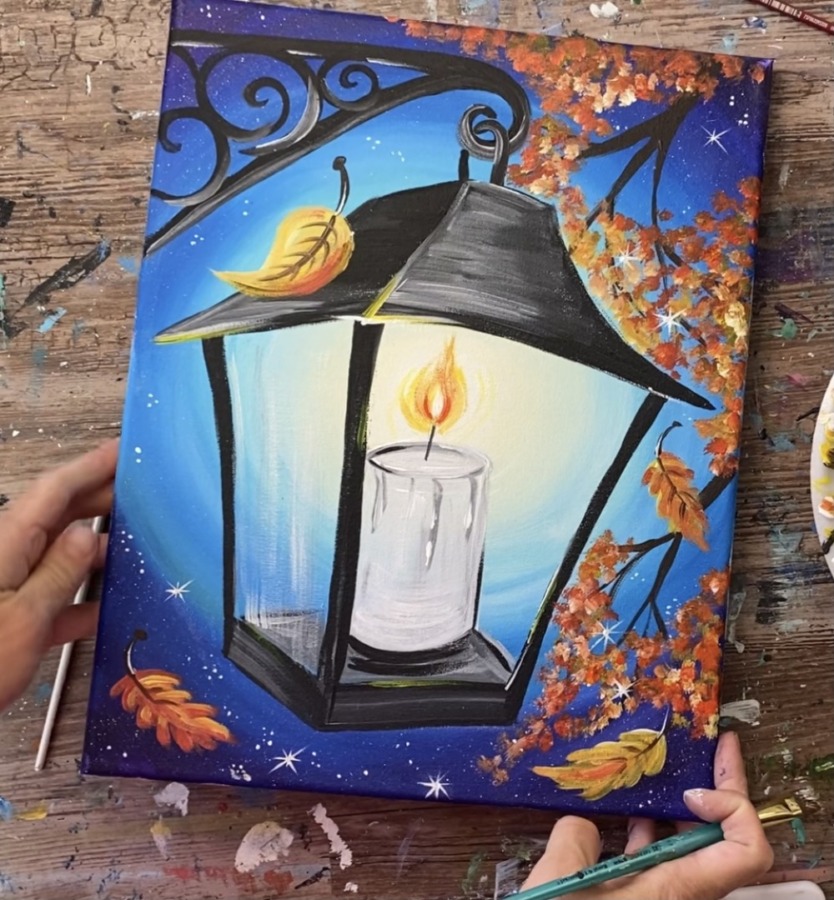
8. Paint Leaves
Load your palette with cad red medium hue and cad yellow medium hue. Mix the two to make a dark orange. Then paint a fall leaf on the bottom left (or wherever you would like your leaves to be).
Then paint another leaf on the bottom right with yellow or a different shade of orange. These leaves can be abstract and do not have to look realistic.
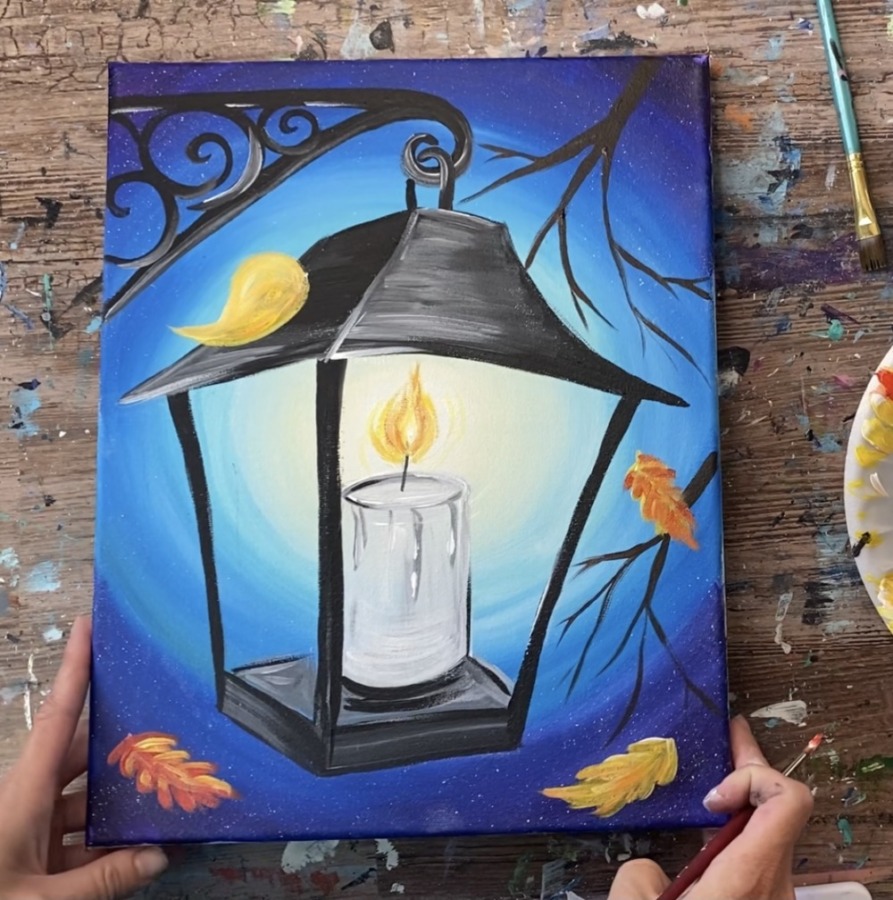
Then do another leaf in the middle on the right. Paint a leaf resting on the top piece of the lantern.
Then use your #4 round brush to paint the stems of the leaves with burnt umber. Paint loose lines for the veins as well.
Then use your #4 round brush to “stipple” dots on the tips of the branches.
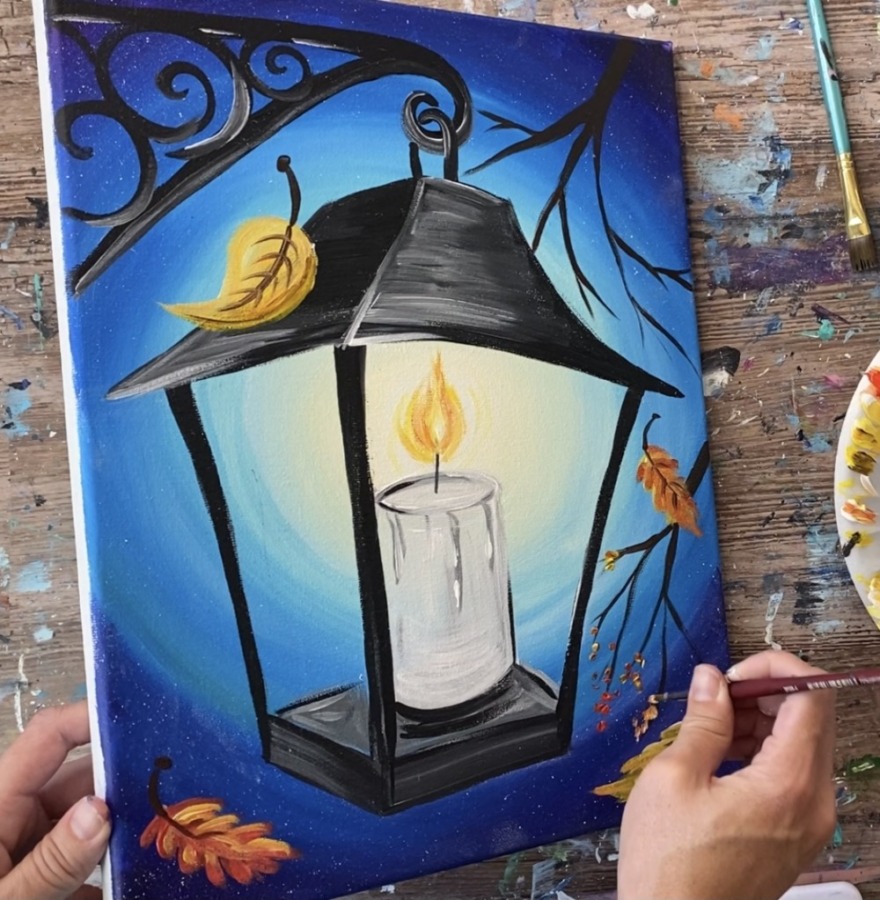
Use a combination of yellow, orange, red and titanium white. Paint as many dots on the branches to create the effect of fall leaves.
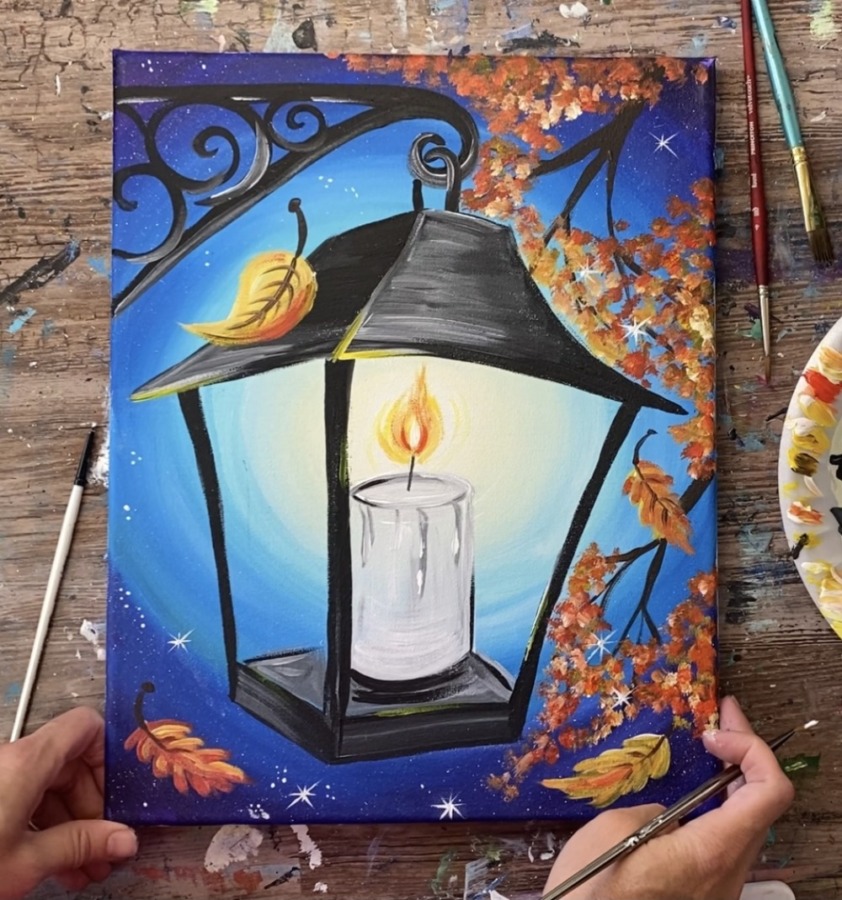
Optional: I added some “yellow highlight” to some of the edges of the lantern to make it look like the lantern is glowing along the edges.
9. Paint More Stars
Use a 10/0 round brush to paint more stars in the sky with titanium white. Paint small clusters of dots everywhere.
You can do “sparkle stars” by painting small diagonal and vertical lines. I did this between some of the fall leaves on the tree.
10. Dry Brush Glass On Lantern
To do this dry brush effect, load a very small amount of white on the tip of your #12 bright brush. Wipe off some of the paint. Then gently paint translucent strokes over the glass.
Do this on the left side of the glass as well as on the right.
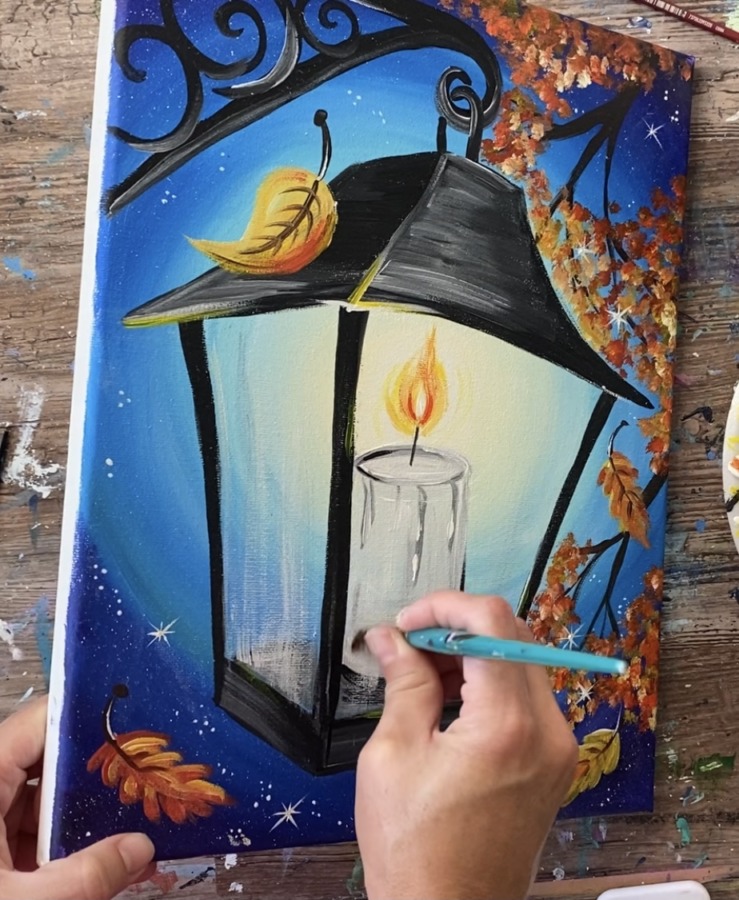
Note: I did not do too many dry brush strokes over the candle.
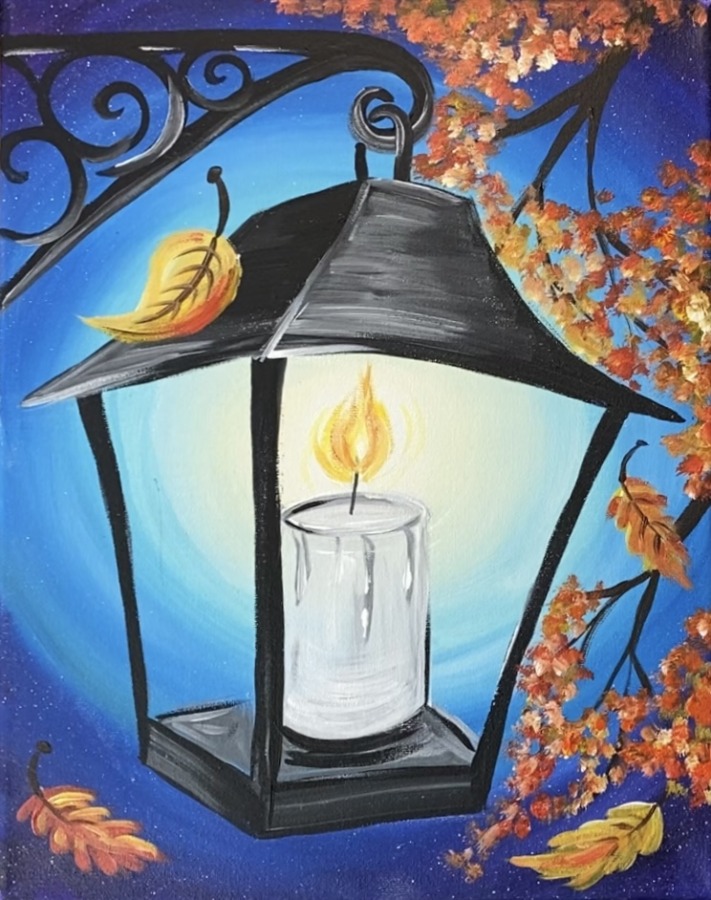
Finished!
Share Your Art Here!


