Would you like to save this?
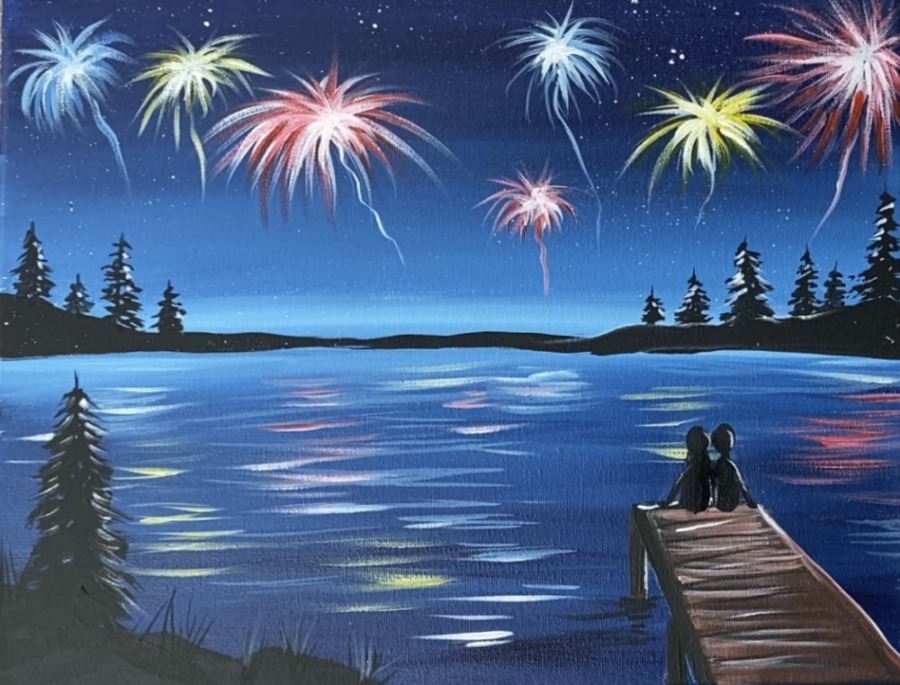
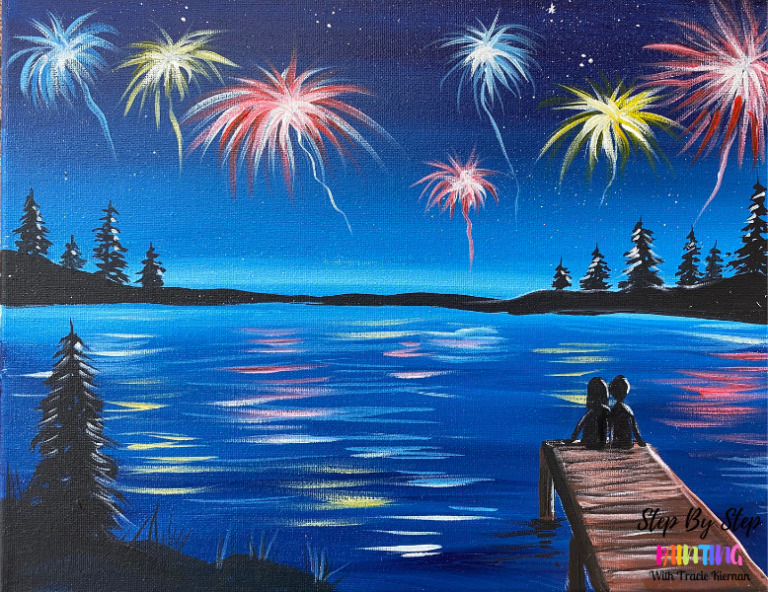
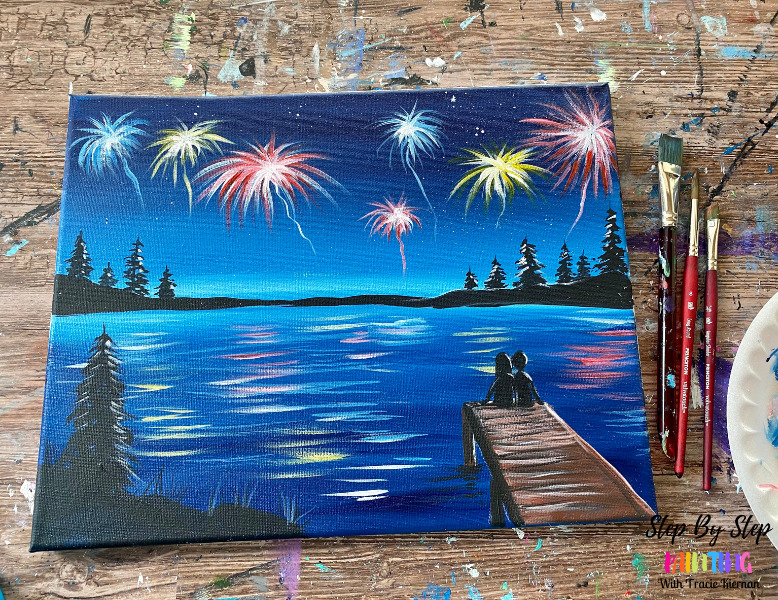
Just in time for the 4th of July! This is an absolutely fun painting you can do that incorporates glowing fireworks over a lake.
There is an adorable couple sitting on the pier, pine tree silhouettes and twinkling stars.
I will demonstrate how to do this step by step below with picture and text directions!
Enjoy and happy painting!
Materials
"Spectacular Lake" Painting Tutorial
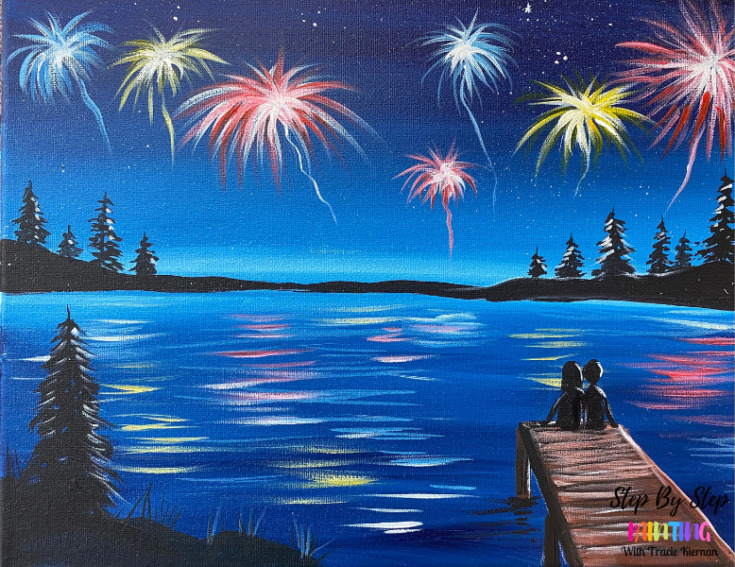
Learn how to paint a spectacular firework display over a lake. Easy beginner painting tutorial.
Materials
- 11 x 14 Canvas
- Acrylic Paint
- Brushes
- T-Square Ruler (optional but helpful)
- White Chalk Pencil (optional by helpful)
- Toothbrush for splatter effect
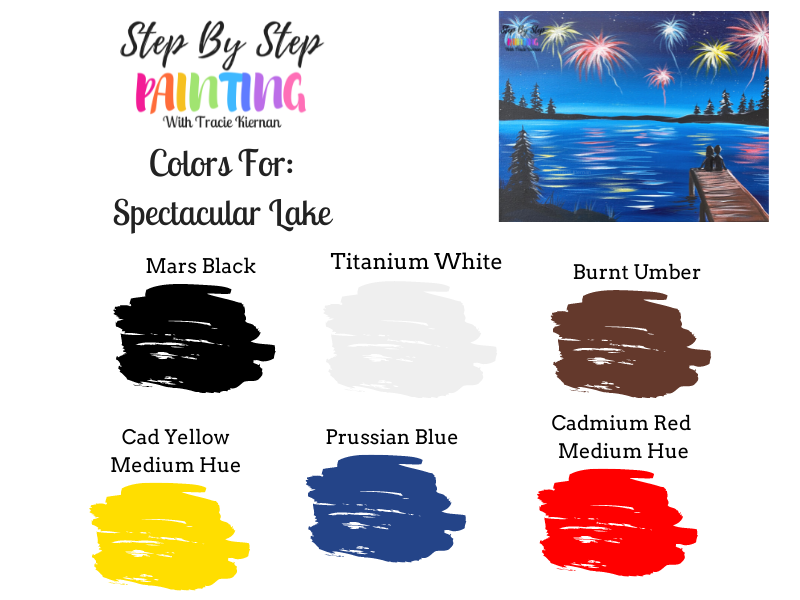
Colors
- Cadmium Red Medium Hue
- Cadmium Yellow Medium Hue
- Prussian Blue
- Mars Black
- Titanium White
- Burnt Umber
Brushes
Instructions
- See full tutorial on www.stepbysteppainting.net for instructions!
Color Palette
This painting was done using Liquitex BASICS acrylic paints!
Using Craft Paints?
If you are using craft paint such as the Apple Barrels, try substituting with these colors:
- Too Blue
- Black
- White
- Nutmeg Brown
- Bright Yellow
- Flag Red
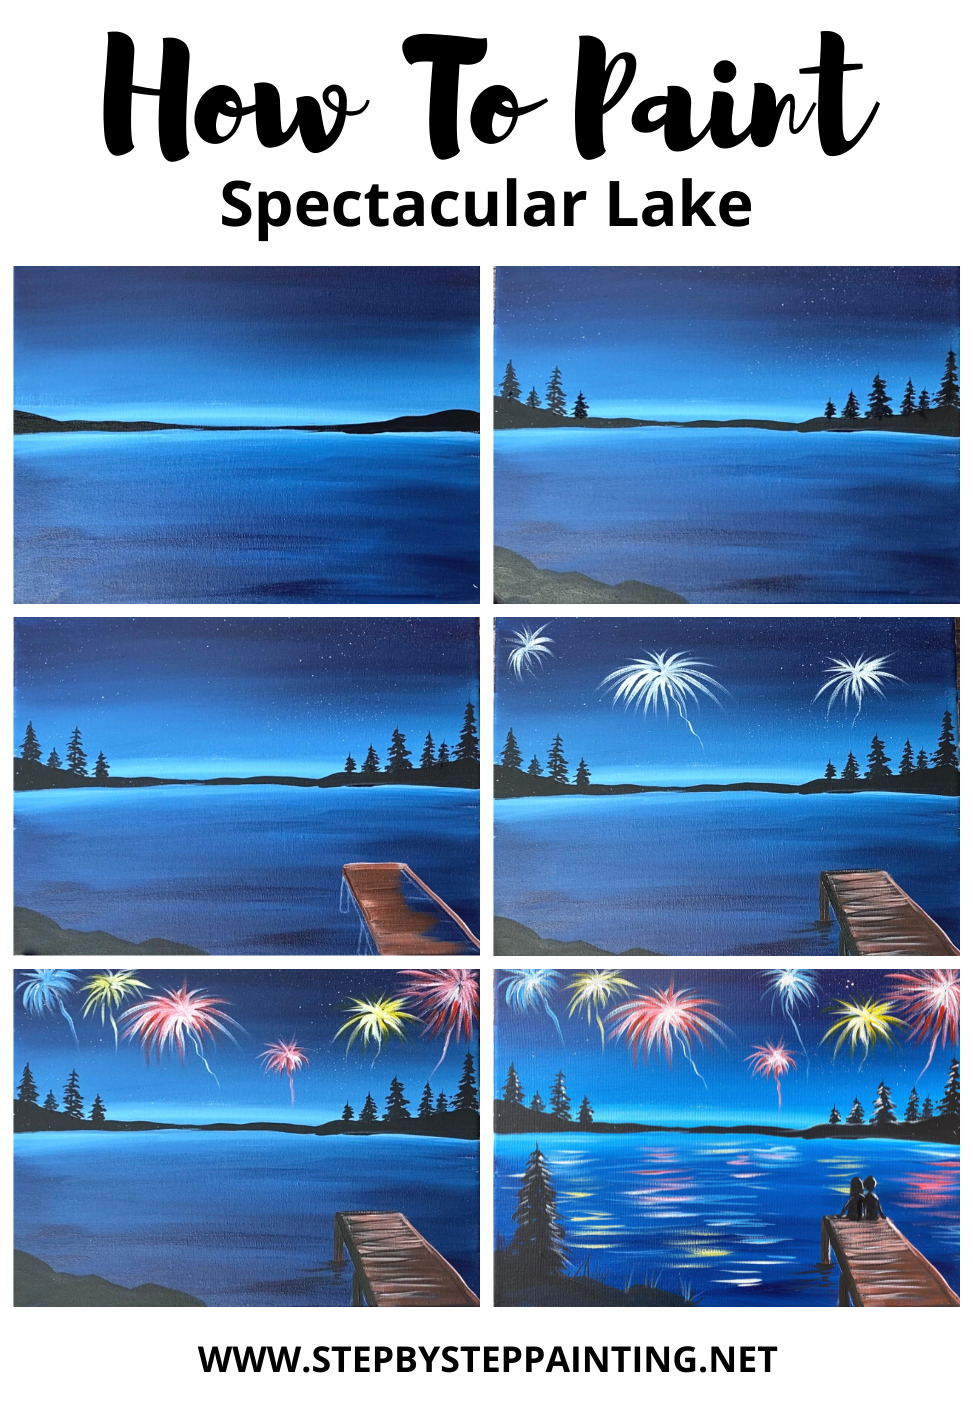
Directions At A Glance
Video
Step By Step Directions
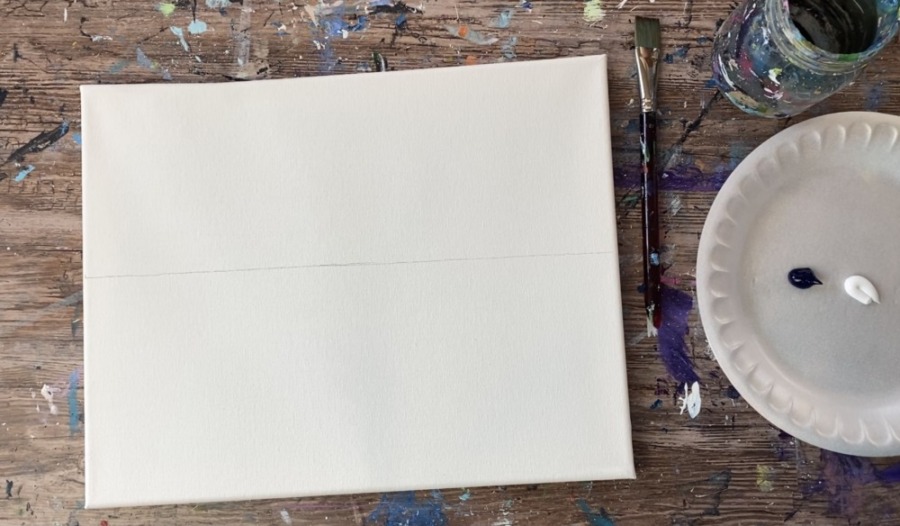
1. Draw horizon line in center of canvas
Using a ruler or straight edge, determine the middle of the canvas and draw a horizontal line. This line will divide the land and the sky.
2. Paint the sky
Load your palette with Prussian Blue and Titanium White. Use a 3/4″ flat wash brush and dip it in the water. Then load it into Prussian Blue. Let the water from the brush slightly water the paint down so it will be thin and flow across the canvas.
Start at the top of the canvas and paint left and right strokes going all the way across the canvas.
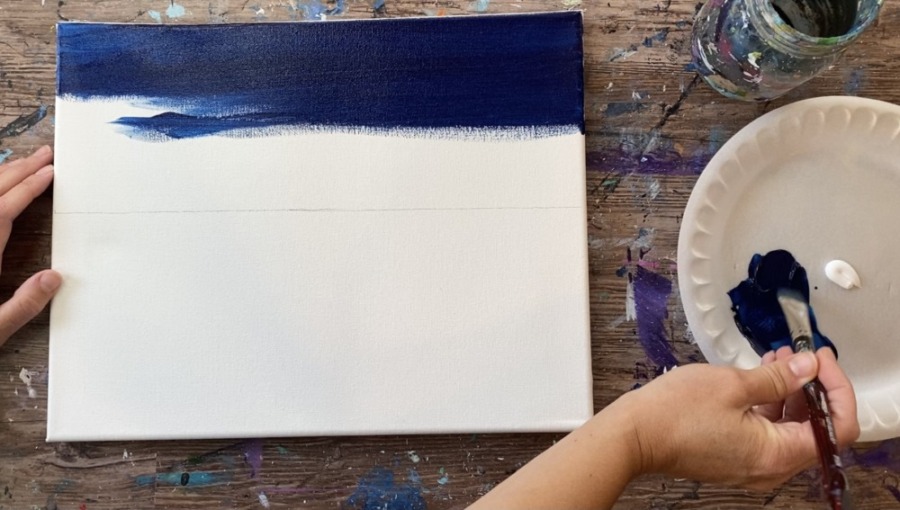
Then load the brush in Titanium White. Blend that into the Prussian Blue and paint up into the blue so that it blends into the sky.
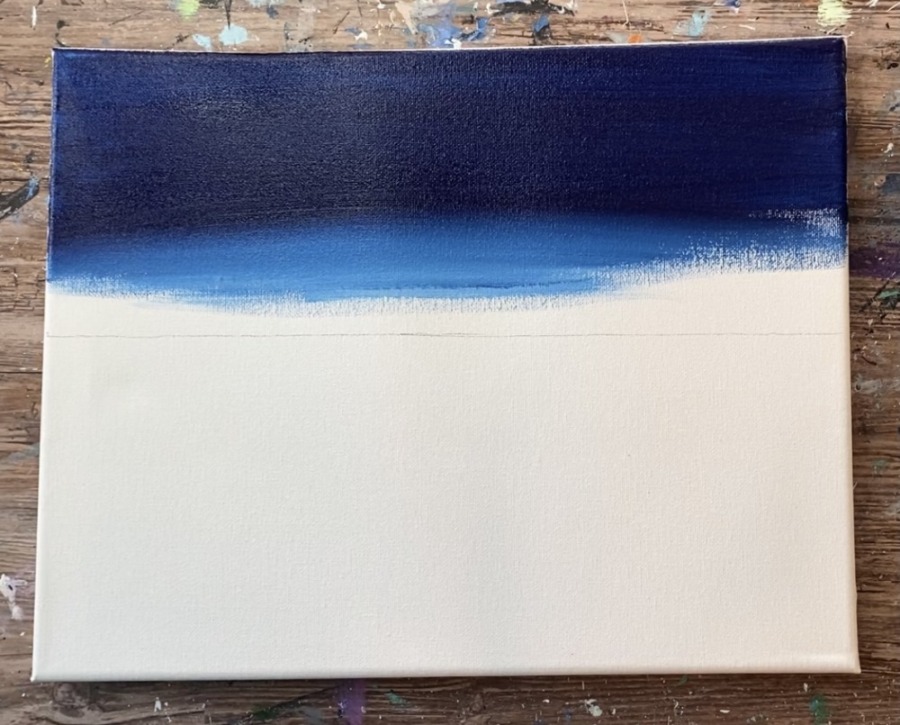
Allow that Prussian Blue to blend to a lighter blue as you approach the horizon line.
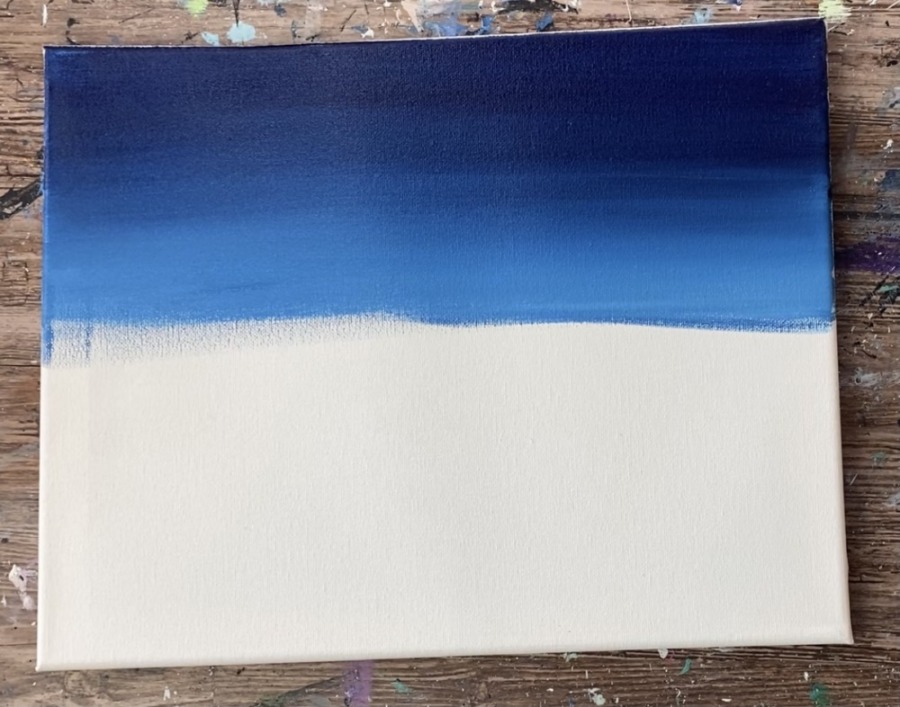
3. Paint The Water
The water is painted with the same two colors: Prussian Blue and Titanium White. Continue down below the horizon line painting left and right strokes. This time, allow the water to be lighter at the top and get gradually darker as you work your way down.
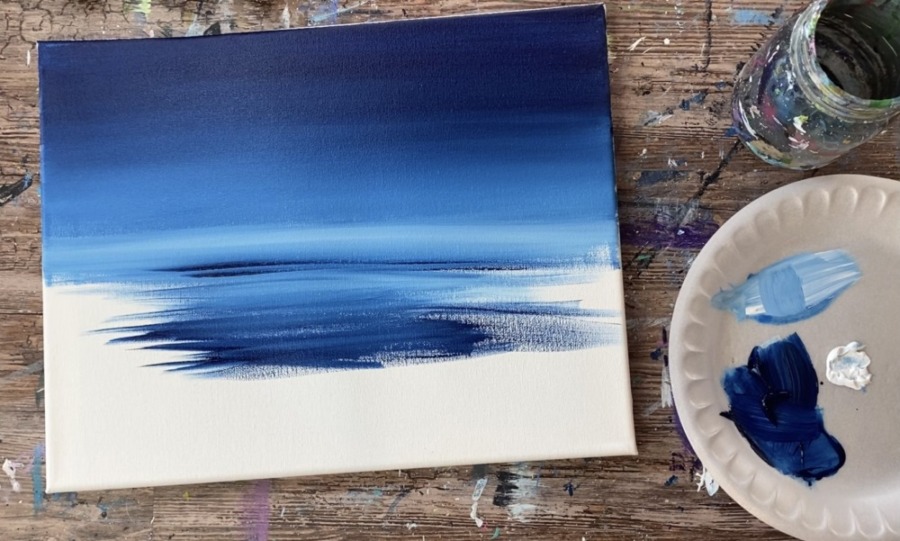
The strokes in the water can have a little more texture and not as smooth of a gradient as the sky.
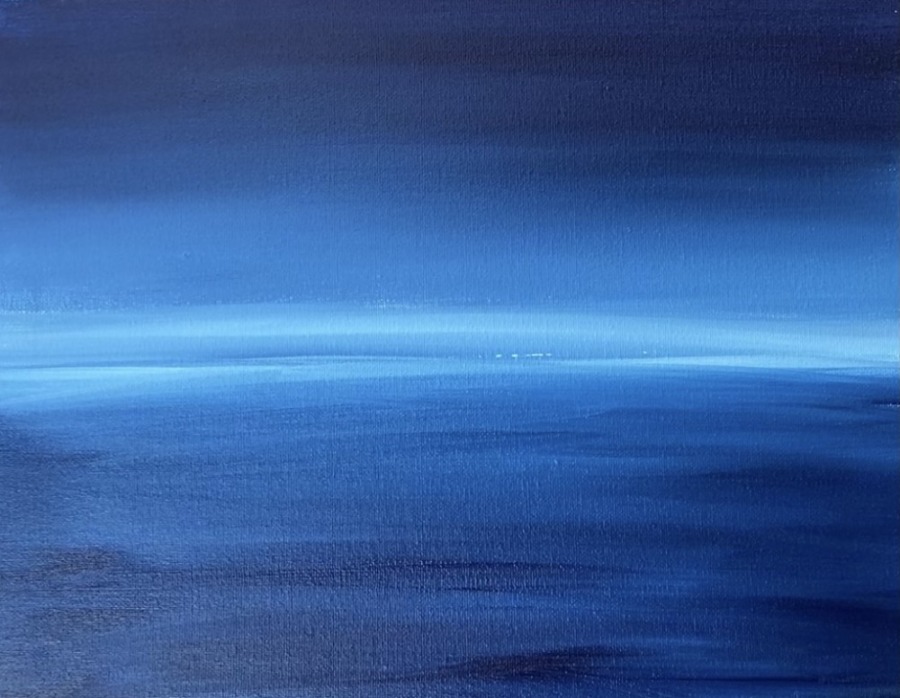
Note: it is likely you will loose your original horizon line that you drew! You can always reapply or redefine that in the next step.
4. Paint the land along the horizon line
Use your t-square ruler or straight edge to define the land along the horizon line. Use a #8 round brush and mars black to paint a horizontal line across the canvas.
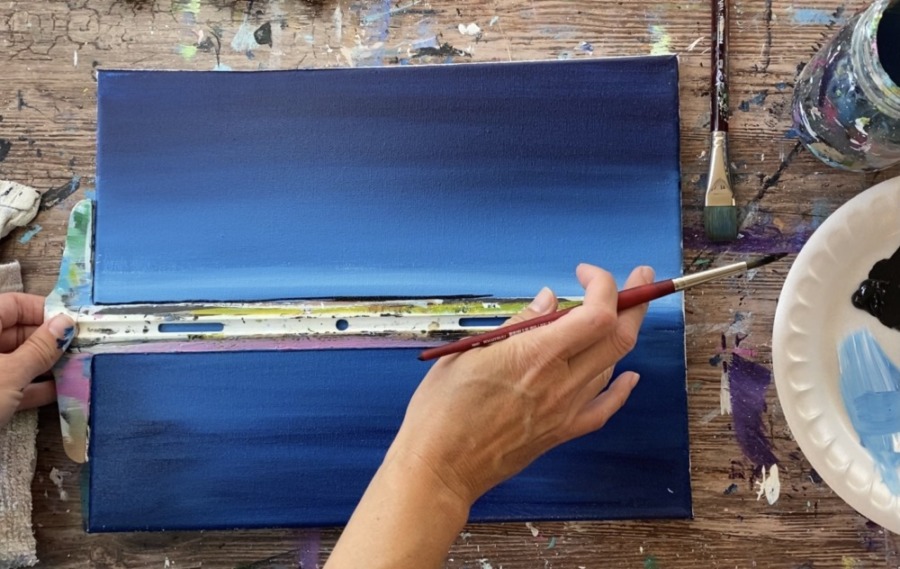
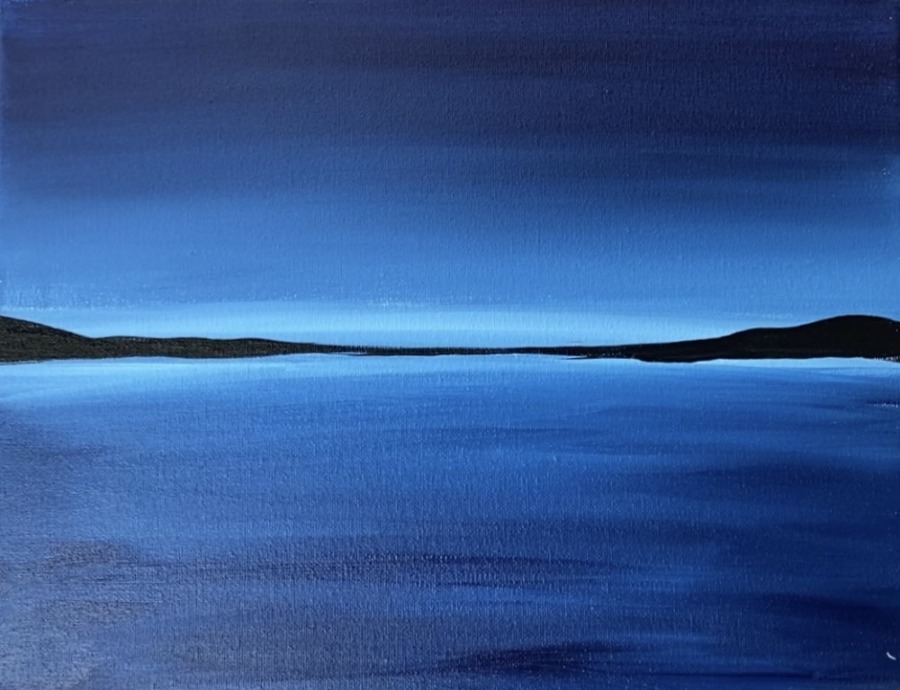
Then paint an uneven area of land that goes above the horizon line. I did two hills that get higher on the left and right and then get thin in the middle.
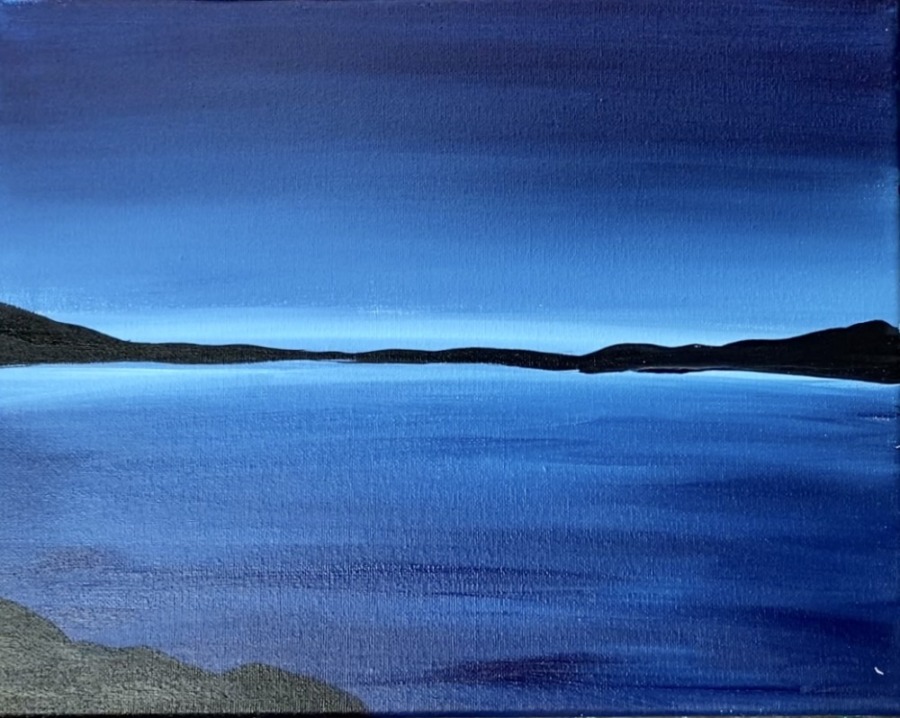
Next paint a silhouette land area on the lower left of the canvas.
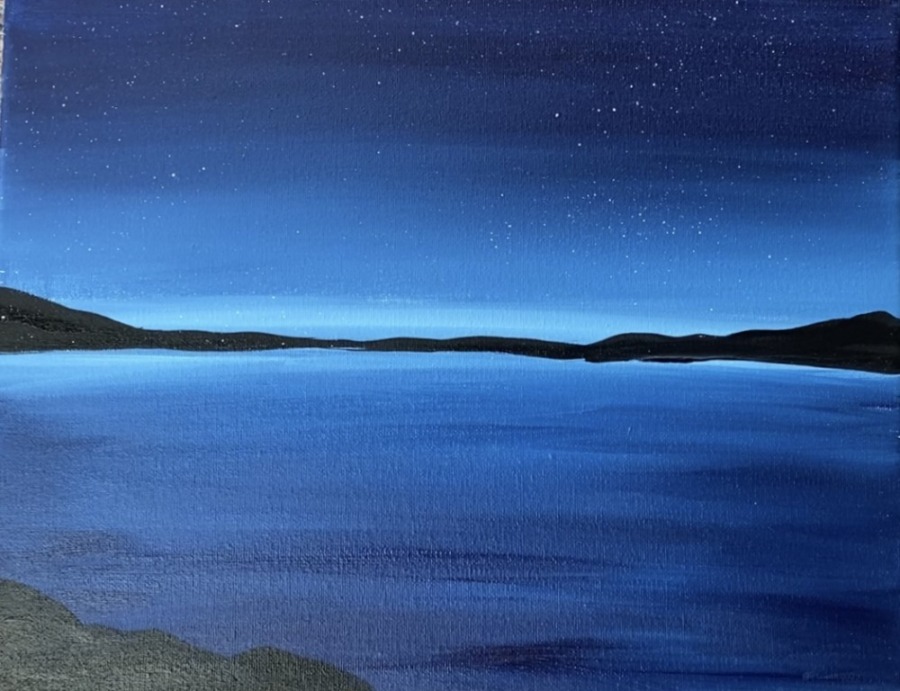
5. Paint Stars
Use a toothbrush or a regular paint brush to flick white specks in the sky. Slightly water the white down to a thin consistency and test it out on a separate surface first before applying it to the sky.
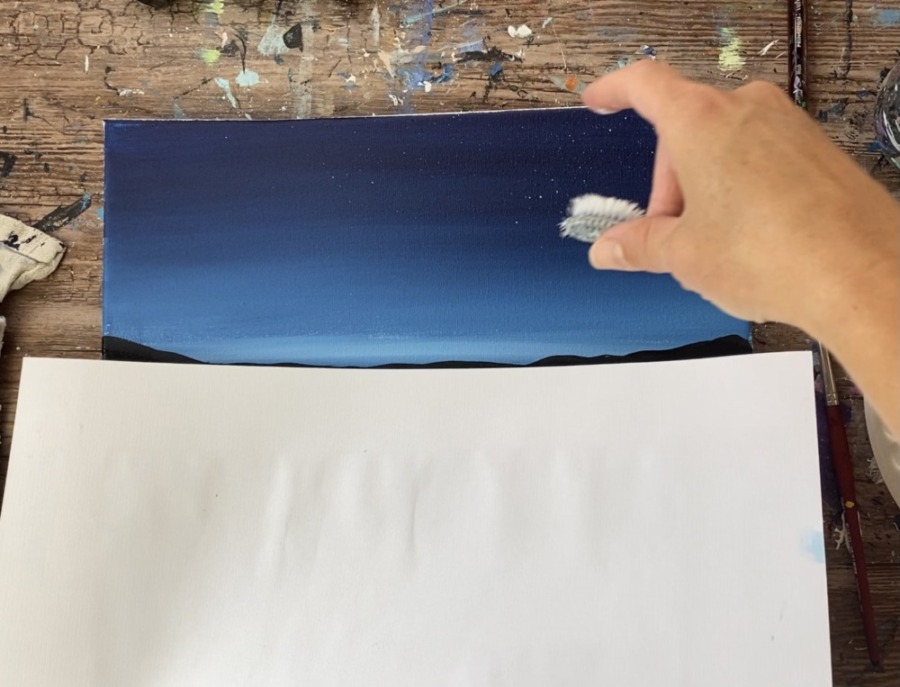
It is helpful to place a paper over the bottom half of the painting so the splatters do not go in the water or on the land.
6. Paint Trees
Use a #8 round brush and mars black to paint trees. Start by painting a thin vertical line for the trunk. Then paint the branches by stroking down and outwards to form the conical shape of the tree.
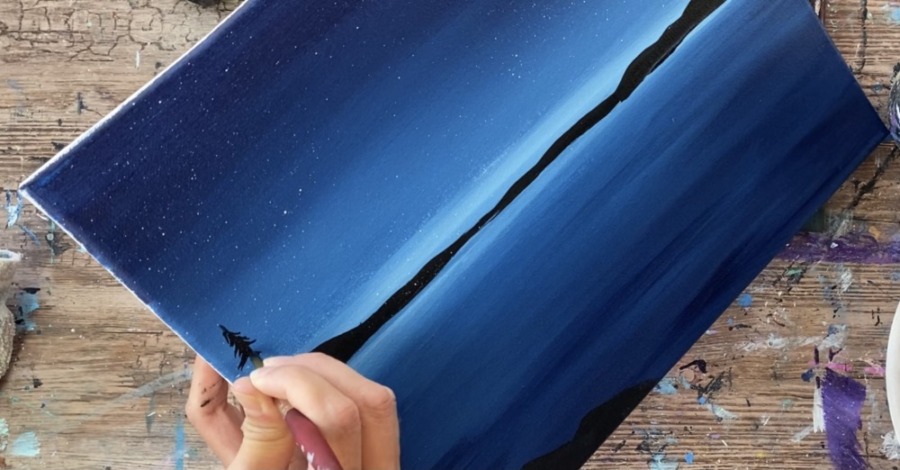
Paint as many trees as you want along the land line. Try to vary the sizes (some small some larger).
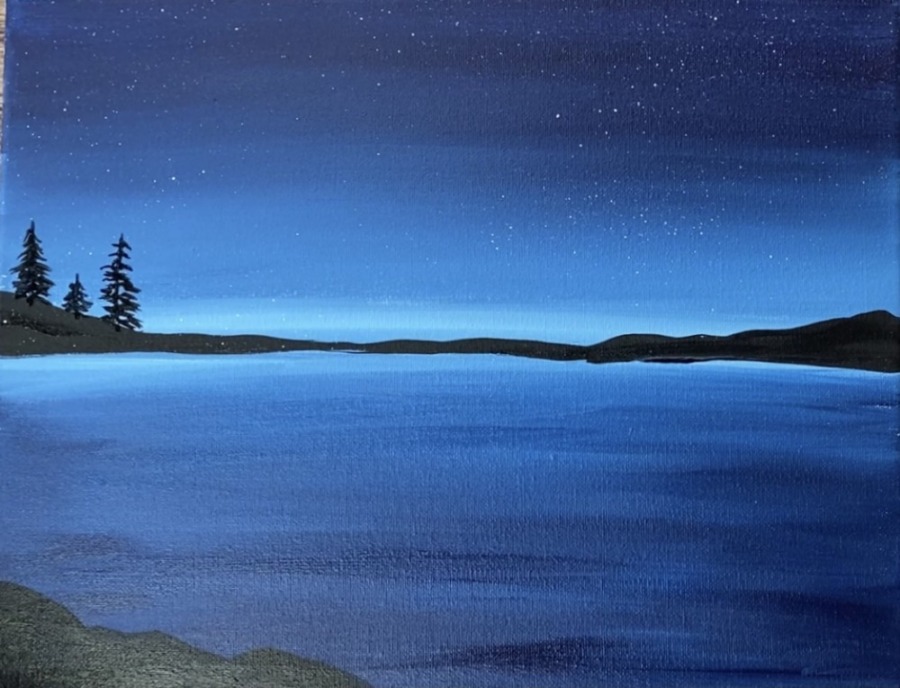
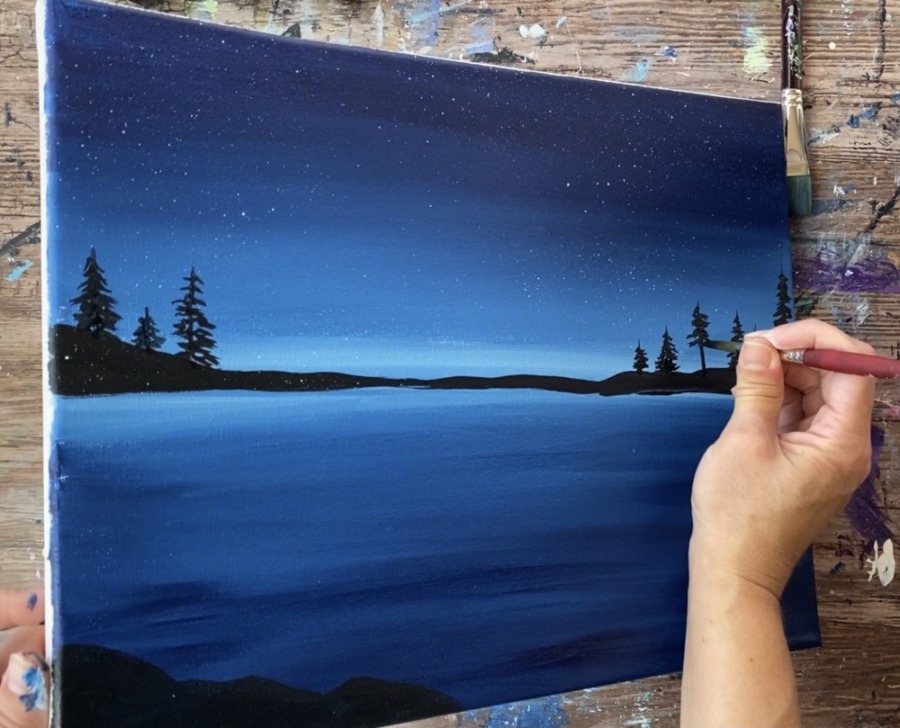
I left a gap in the middle with no trees.
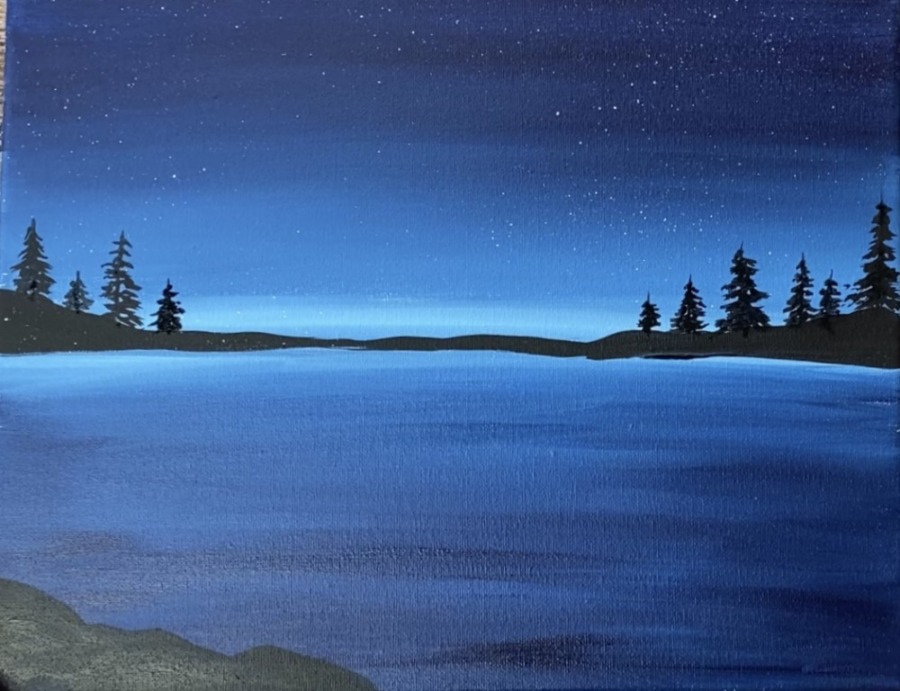
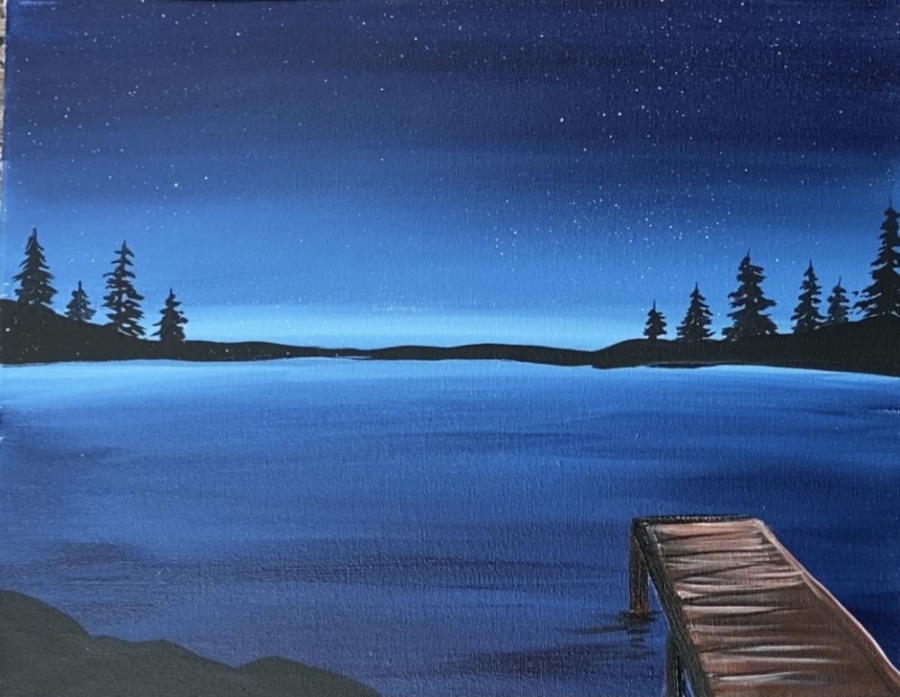
7. Draw The Pier
Next use a white chalk pencil, chalk, white color pencil or a regular drawing pencil to lightly sketch the pier.
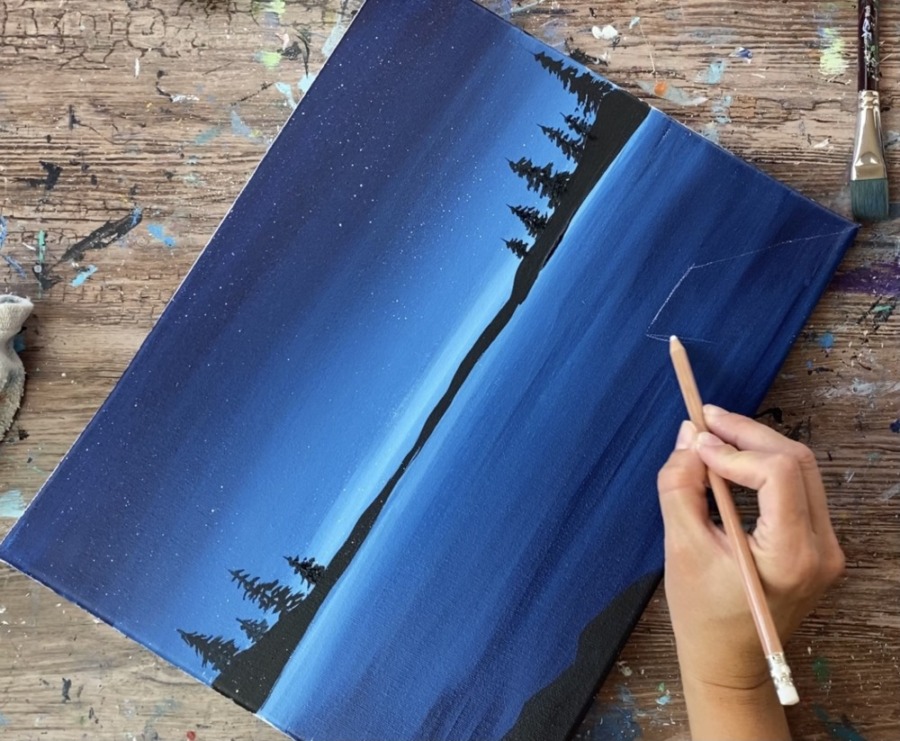
Draw the pier so that it is wider at the bottom and goes out to the lake at an angle. Draw the posts of the pier so they are going vertically down perpendicular to the bottom of the canvas.
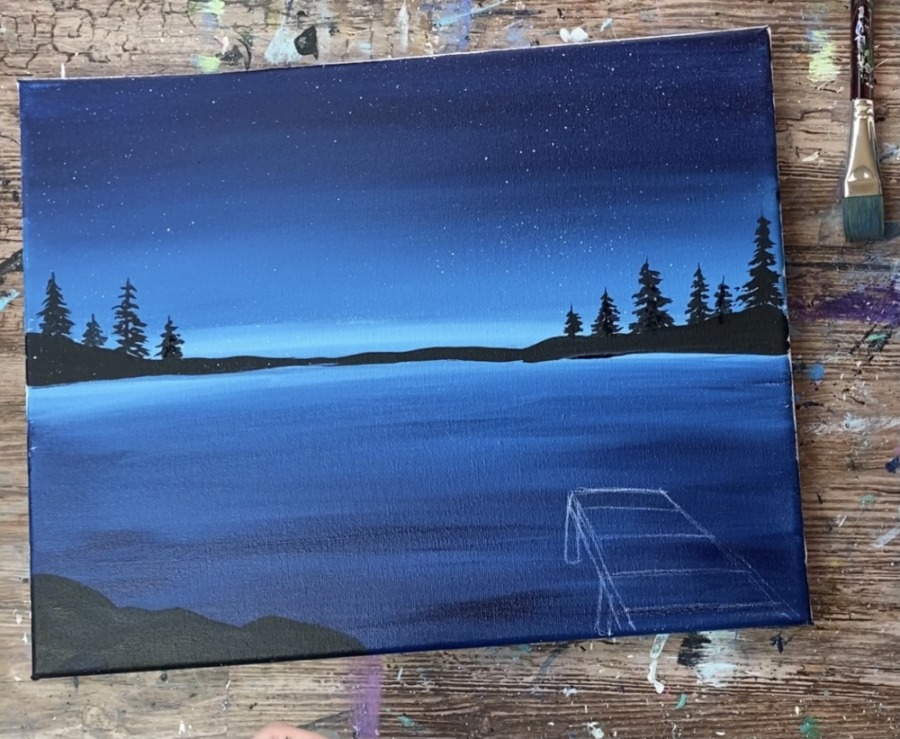
8. Paint The Pier
Use a 3/8″ angle brush to paint the pier. Double load your brush in the colors: burnt umber and titanium white. Paint left and right strokes on the shape of the pier. Let the brown and white blend gently together.
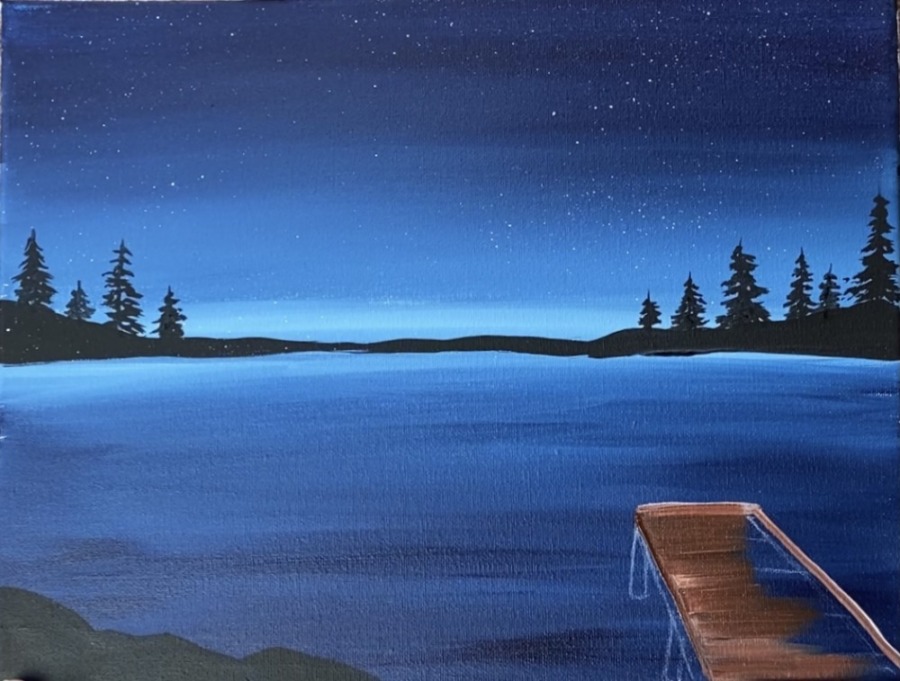
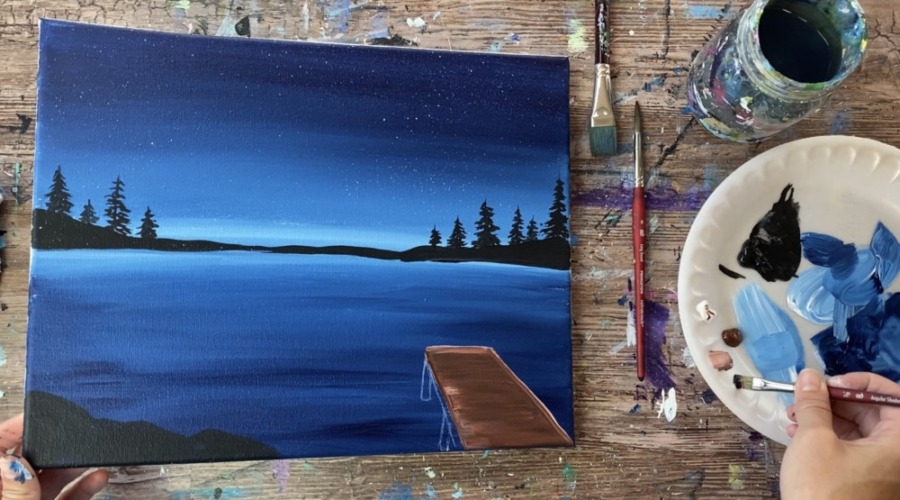
Then load your brush in a little bit of mars black to paint the left edge of the pier.
Use a #8 round brush (or another small paint brush) to paint the posts. It is helpful to use a t-square ruler to make sure the posts are going perpendicular. Paint the posts a dark brown (mix a little black into the brown).
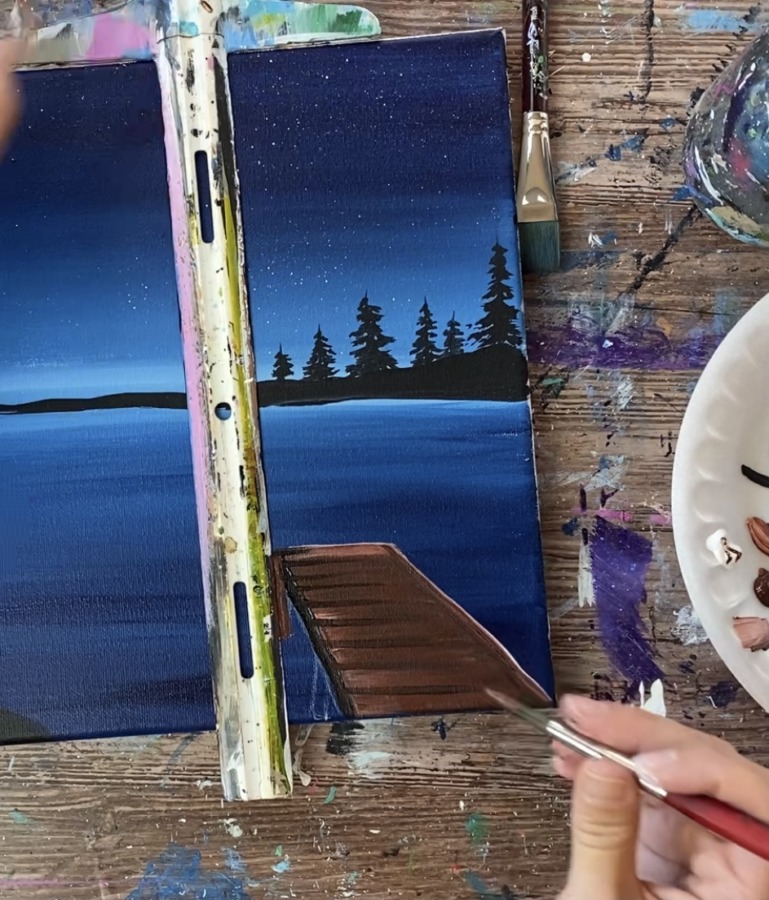
Then wipe off your 3/8″ angle brush and load it into a little bit of white. Paint some horizontal strokes on the pier to give it some “highlight”.
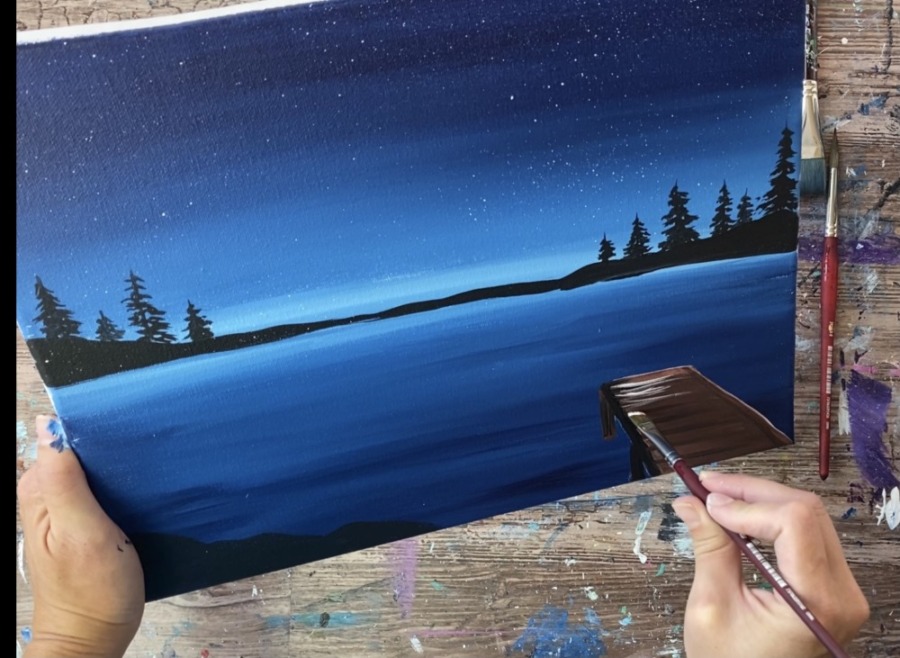
Then use your #8 round brush to paint horizontal black strokes in the water for the reflection of the posts.
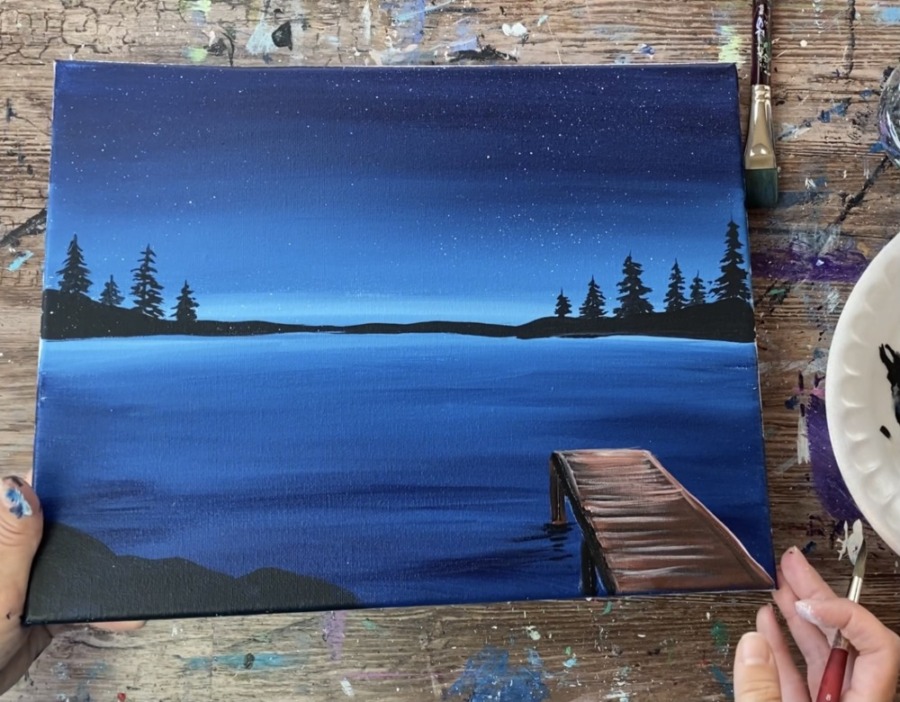
Paint a few very thin black horizontal lines on the pier for the slats of wood. You can do this with the round brush or the angle brush.
9. Paint The Fireworks
Painting the fireworks white first is helpful to insure the color of the firework will show up nice and bright against the dark sky.
Use a #8 round brush and Titanium White. Load only a small amount of paint on the tip of the brush. Start in the center of the firework and drag the stroke outwards. Create a “starburst” by dragging each stroke outwards in a radial direction.
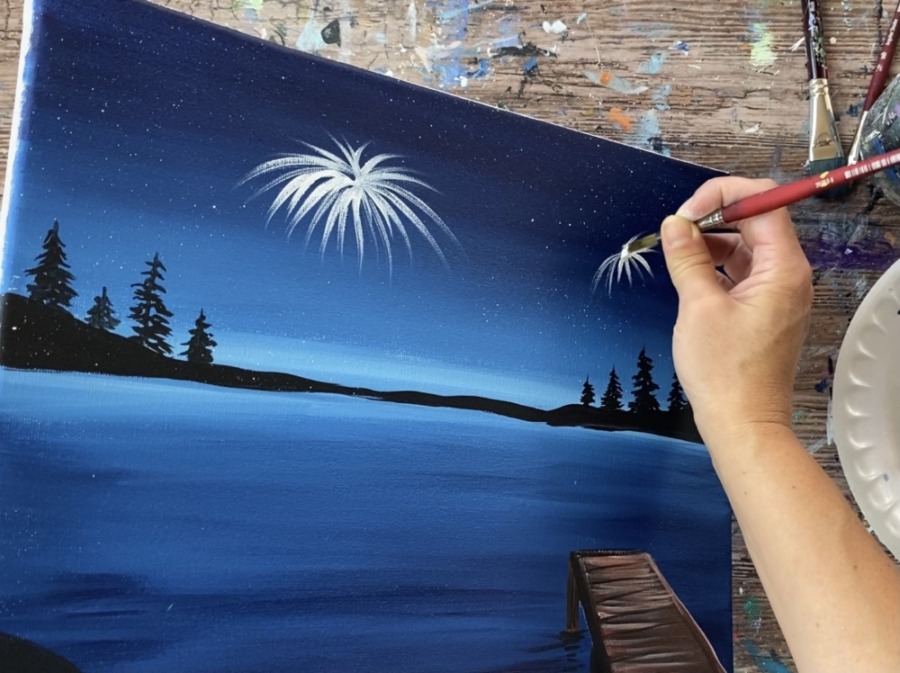
Tip: try to release the pressure on the end of each firework strand so it fades out and goes to a point. Also, it is helpful that only a small amount of paint is on the brush
Create different size fireworks in the sky – some larger, some smaller, some going in different angles.
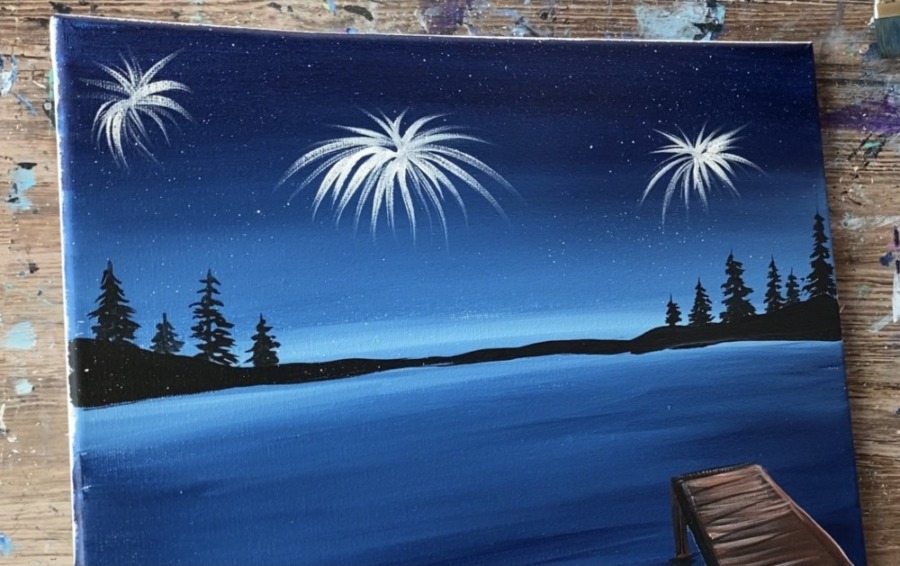
Then add color to the fireworks. Load your brush in red, yellow or blue. Do the same kind of strokes, starting in the middle and dragging outwards. It is not necessary to cover all the white.
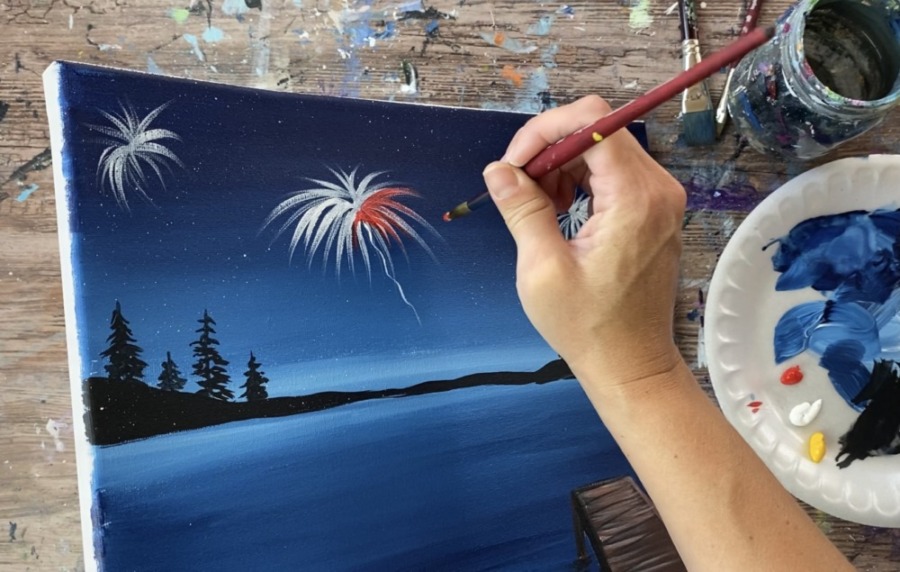
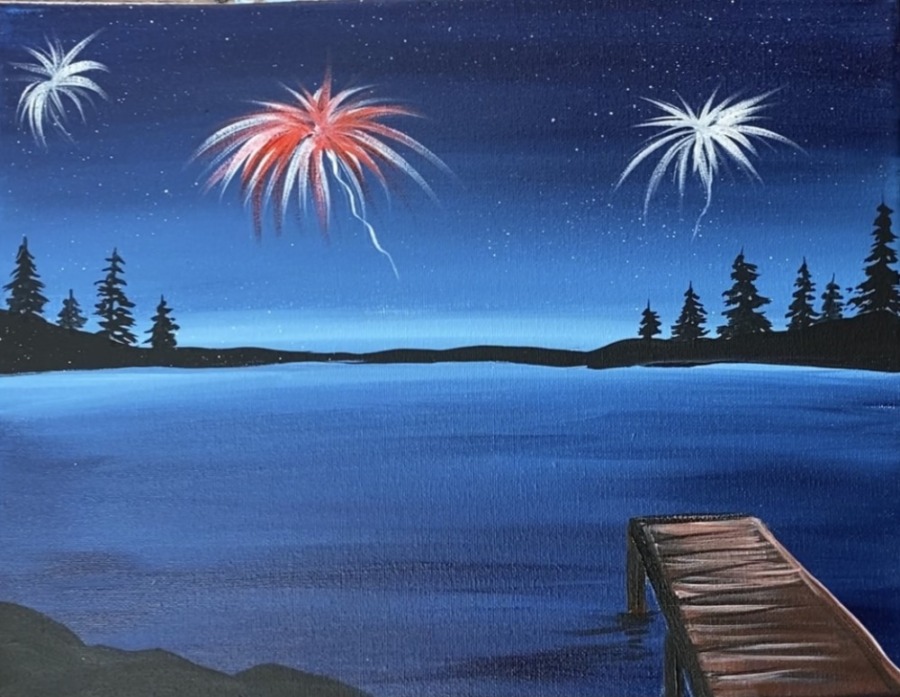
Repeat this for the other fireworks. I used the Prussian Blue mixed with Titanium white to make the light blue firework and cadmium yellow medium hue to create the yellow firework.
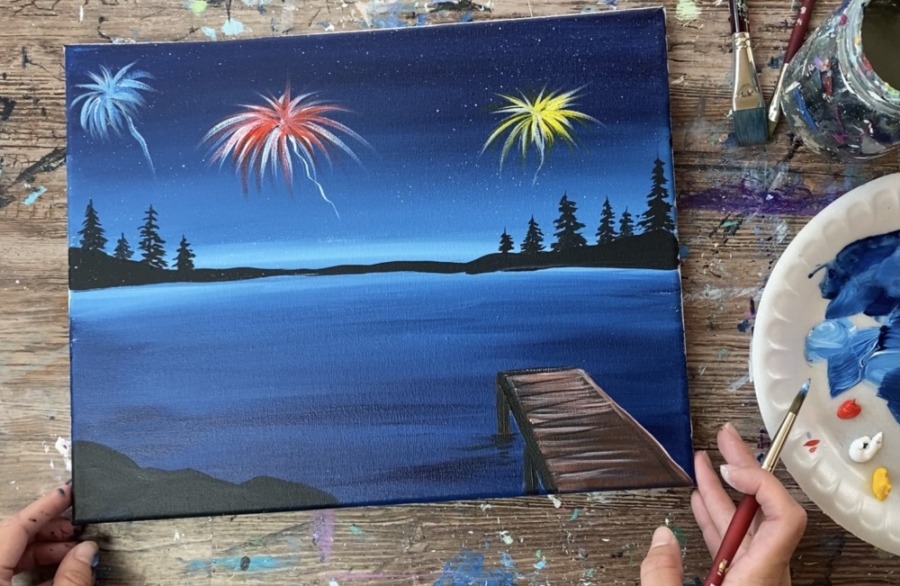
Repeat this technique for the other fireworks in the sky.
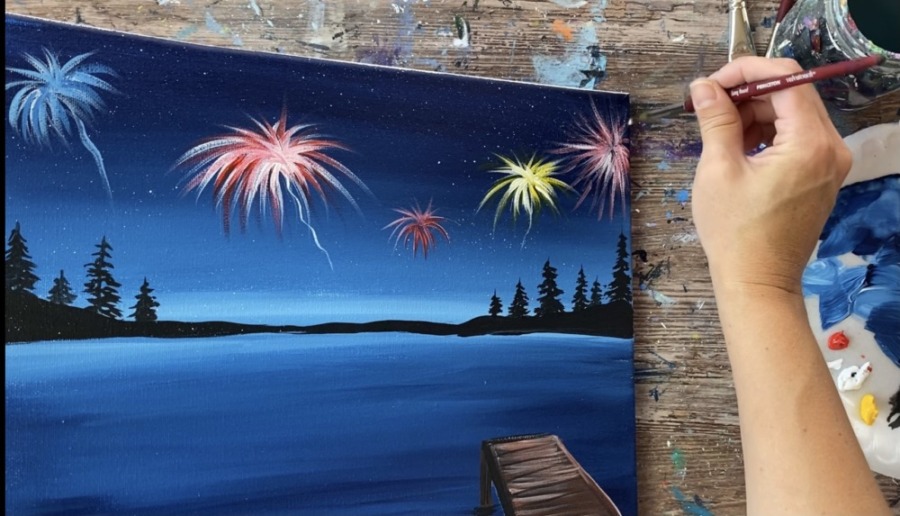
Paint as many fireworks as you want!
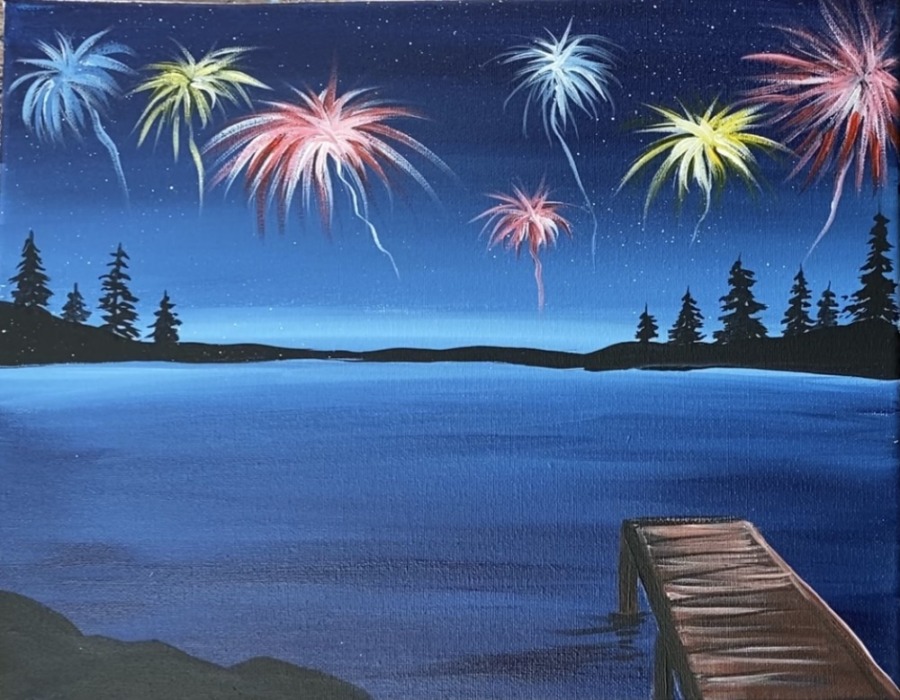
10. Paint The Reflection In The Water
Use a round brush or angle brush to paint the reflections in the water. Double load the brush in white plus the color of the reflection. Paint horizontal lines in an area underneath each of the fireworks.
Do this with very loose strokes. Try not to do too many reflections, just enough to provide bright contrast in certain areas in the water.
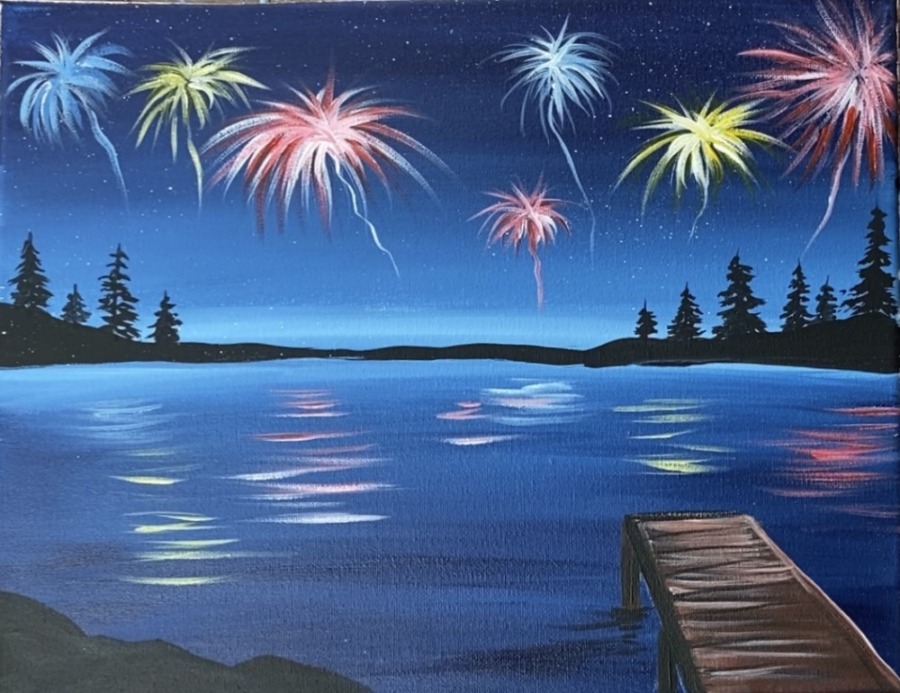
11. Paint Another Tree (optional)
Use a round brush to paint another tree in the lower left. Then paint some small grass lines sticking up.
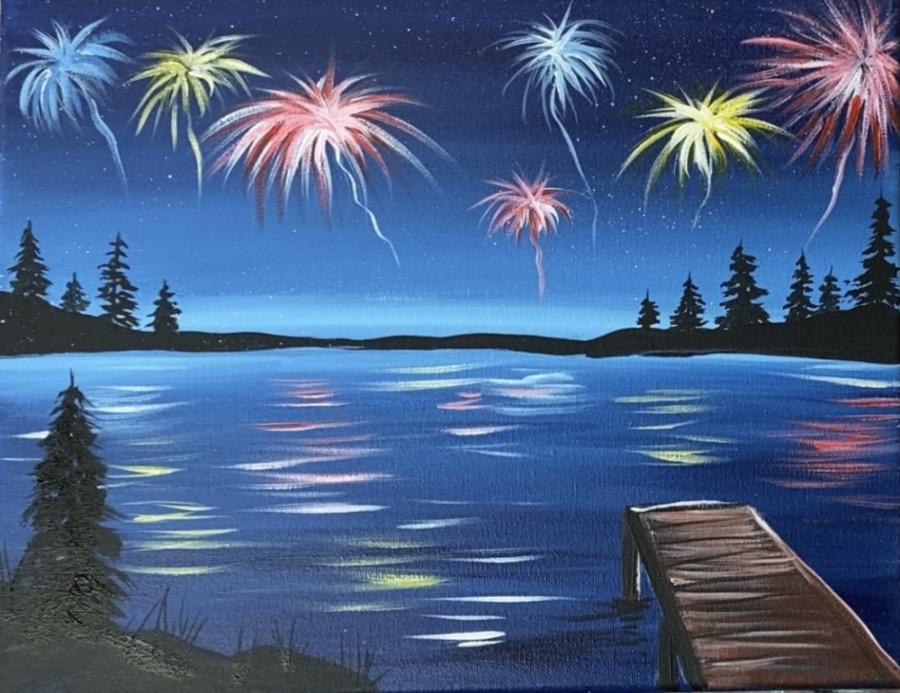
12. Paint Highlights On Trees
The fireworks would be highlighting some of the trees.
Next rinse the brush and load the tip of it with a small amount of titanium white. Paint small white highlight marks on the right side of the tree and a little on the left.
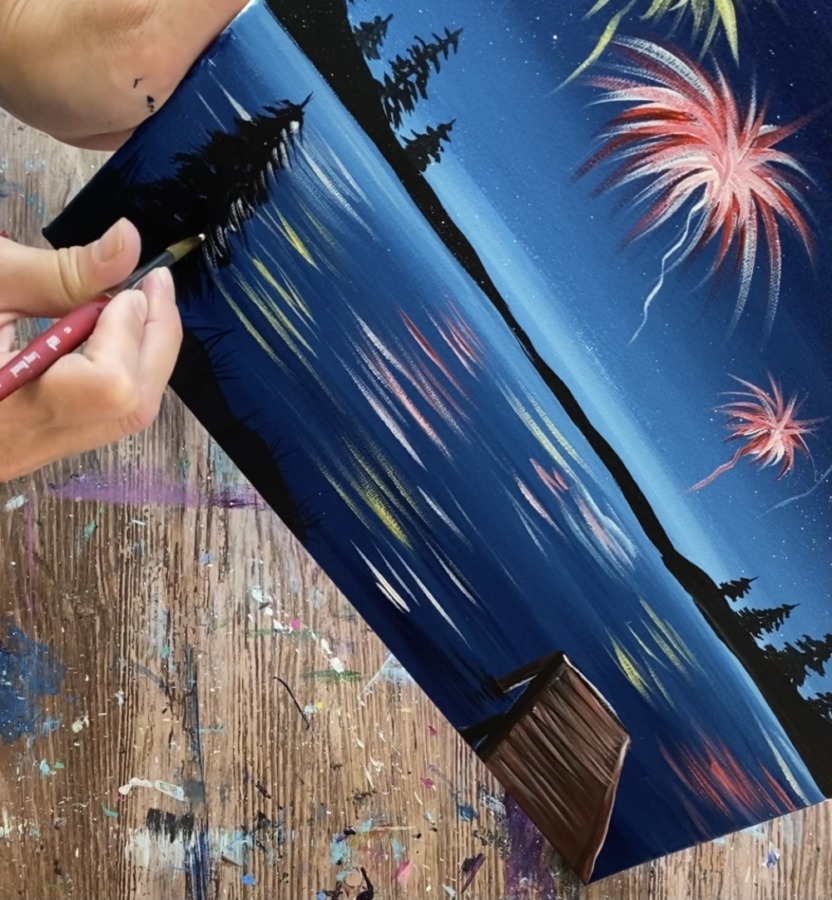
Add some highlights to the trees in the distance.
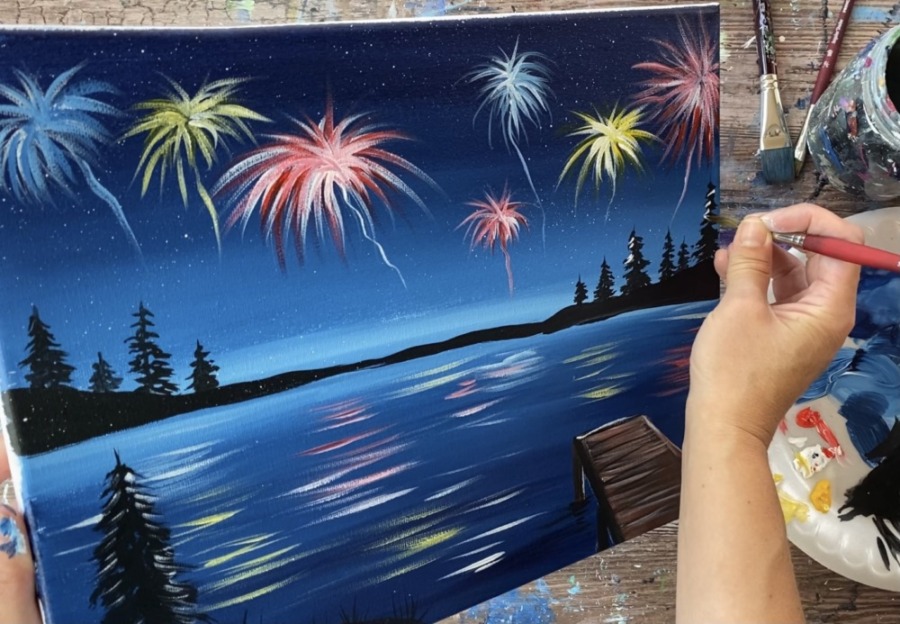
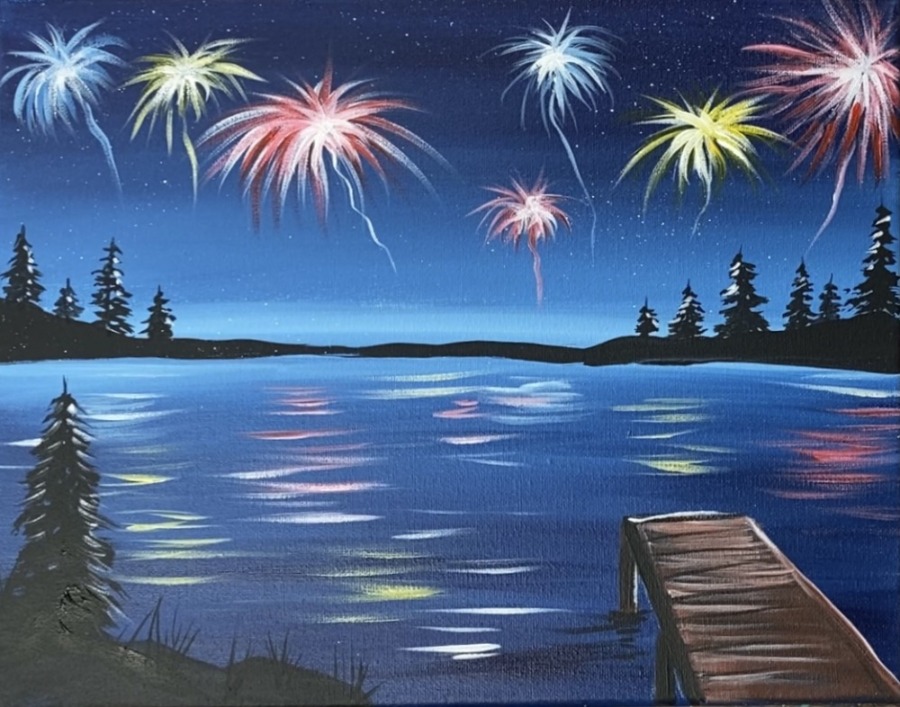
13. Draw The People
Use a white chalk pencil (or other drawing utensil) to draw the people. You can be very abstract about this because they are going to be a simple silhouette. Draw two circles for the heads and then two oval shapes for the bodies. Then draw the arms that are seen on the left and right.
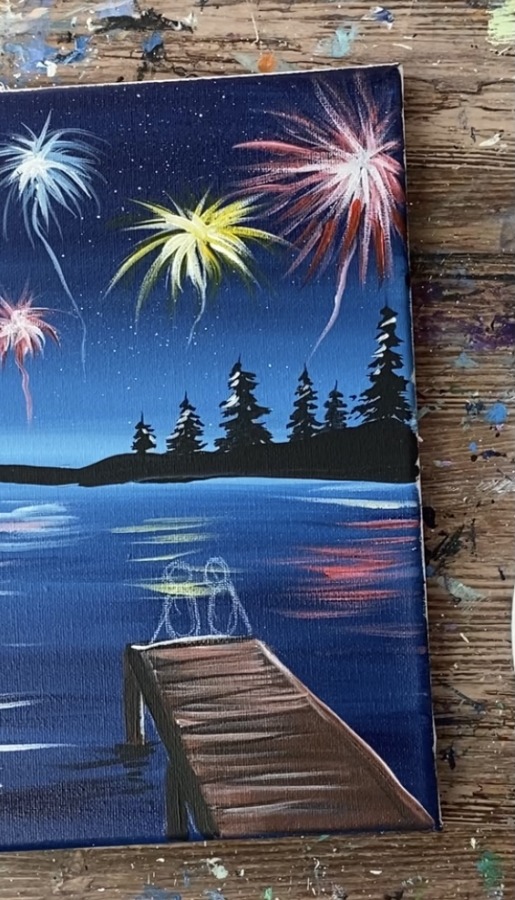
Paint the figures with mars black. Use the #8 round brush (or small round brush) to do this.
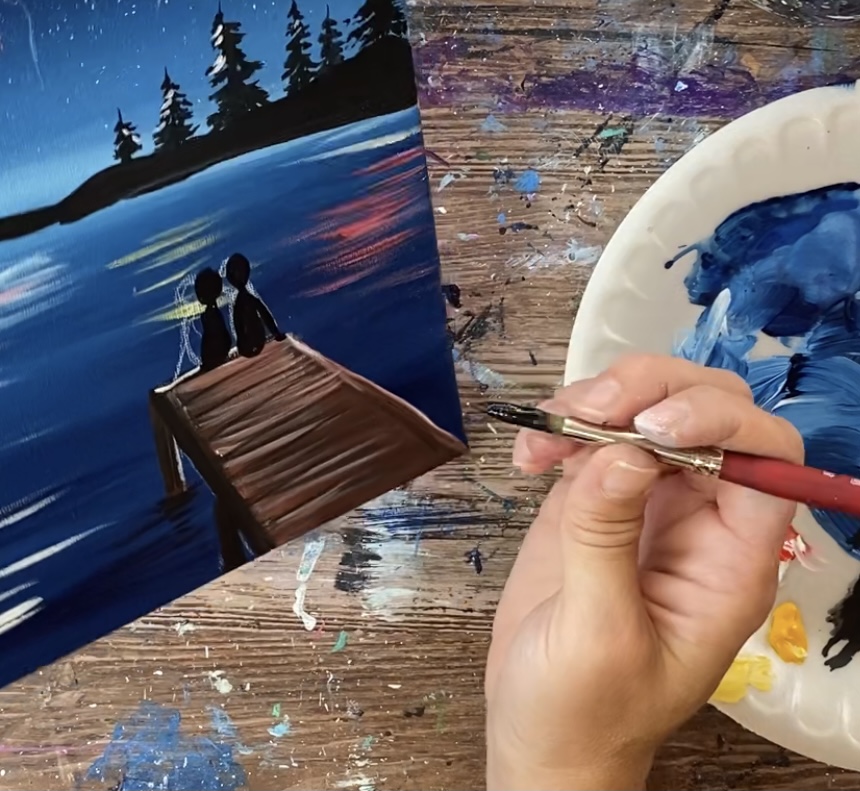
As you paint the figures in, form the shape. I had the figure on the left have hair. Also, since they are sitting on the edge of the pier, paint their bottoms so there is a small curve that overlaps the edge of the pier.
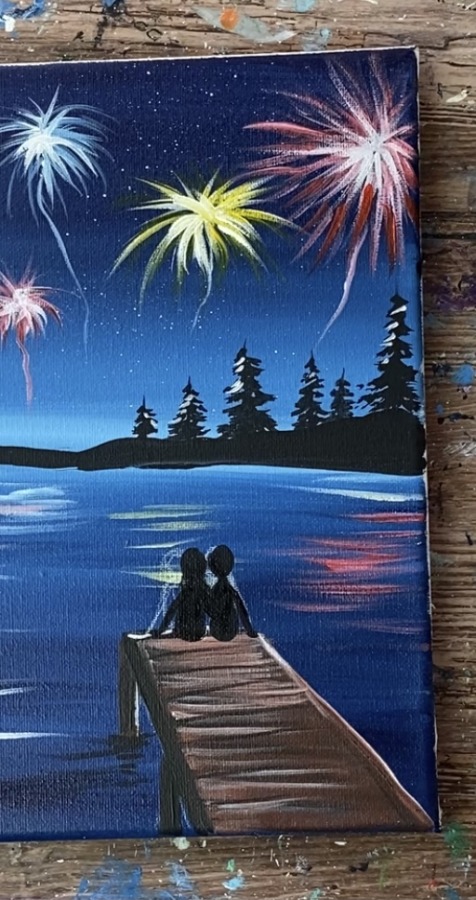
Then lightly add white highlight on the right side of each of the silhouette figures.
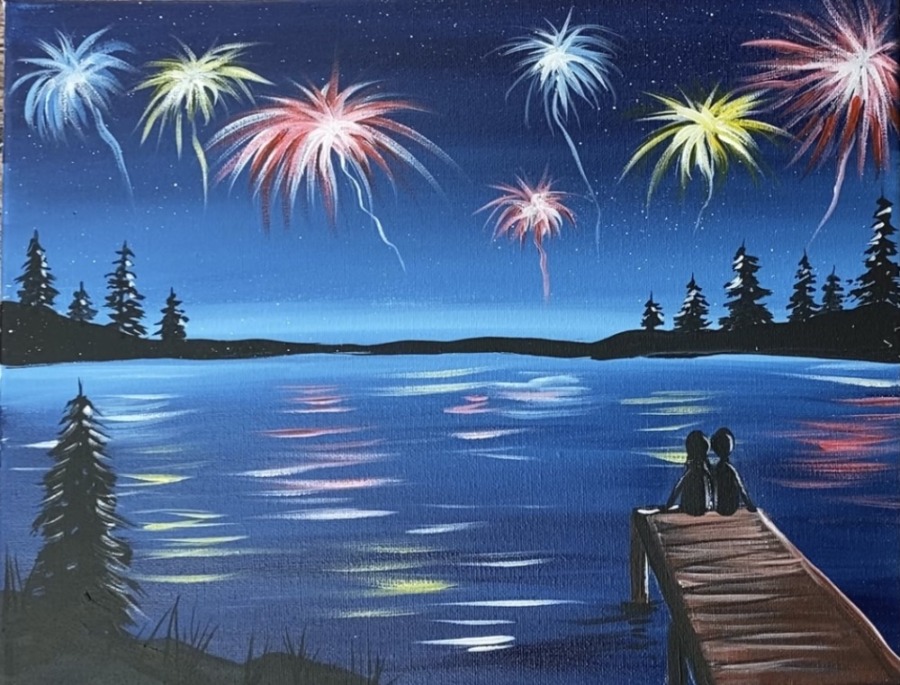
For some final touch ups, I painted a few brighter stars in the sky!
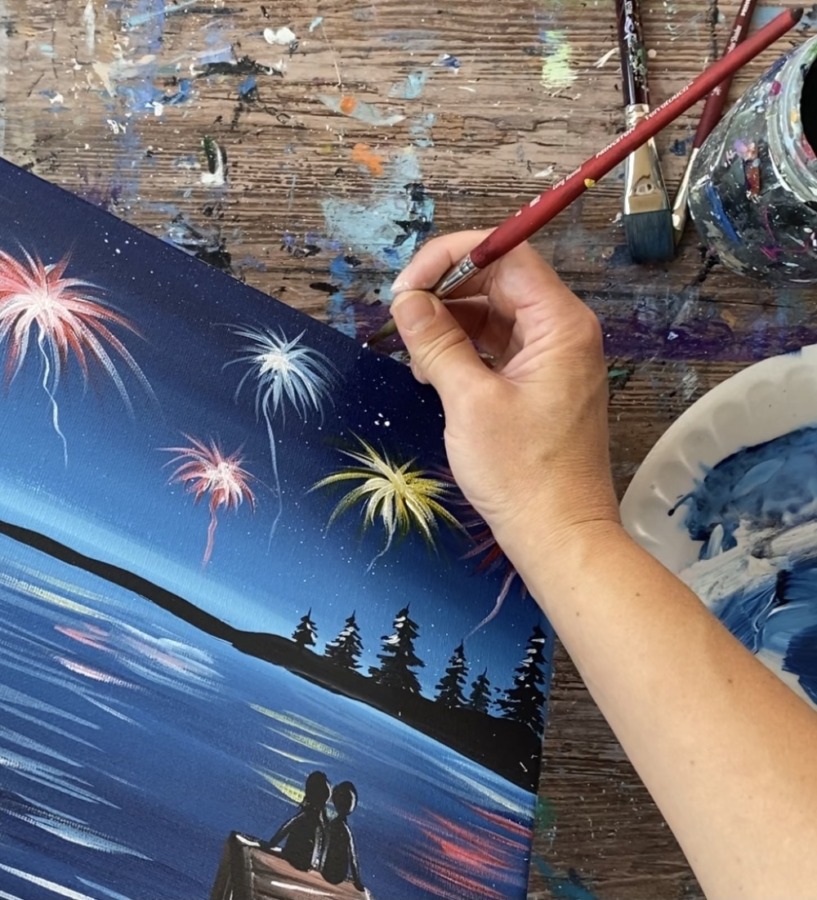
That’s it!
