
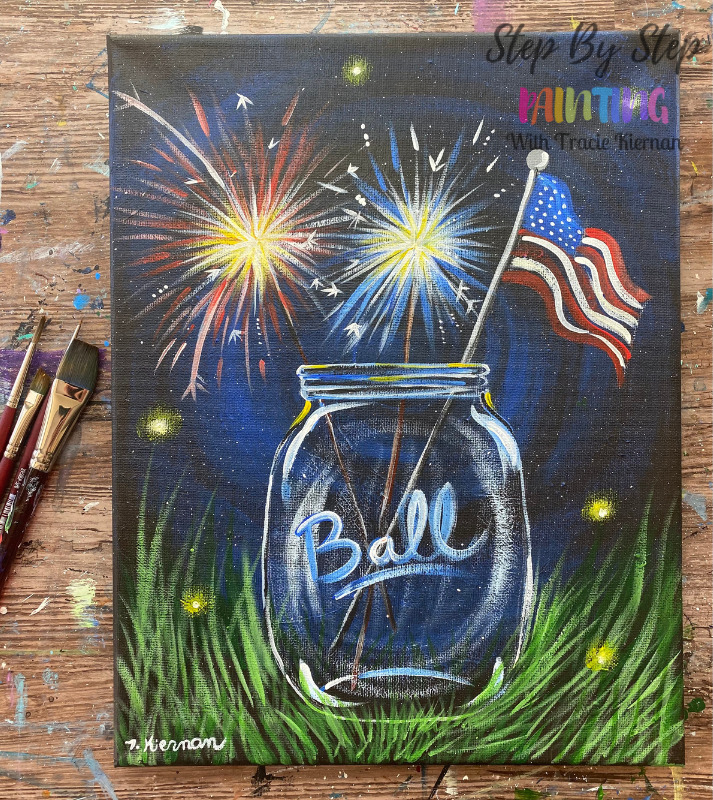
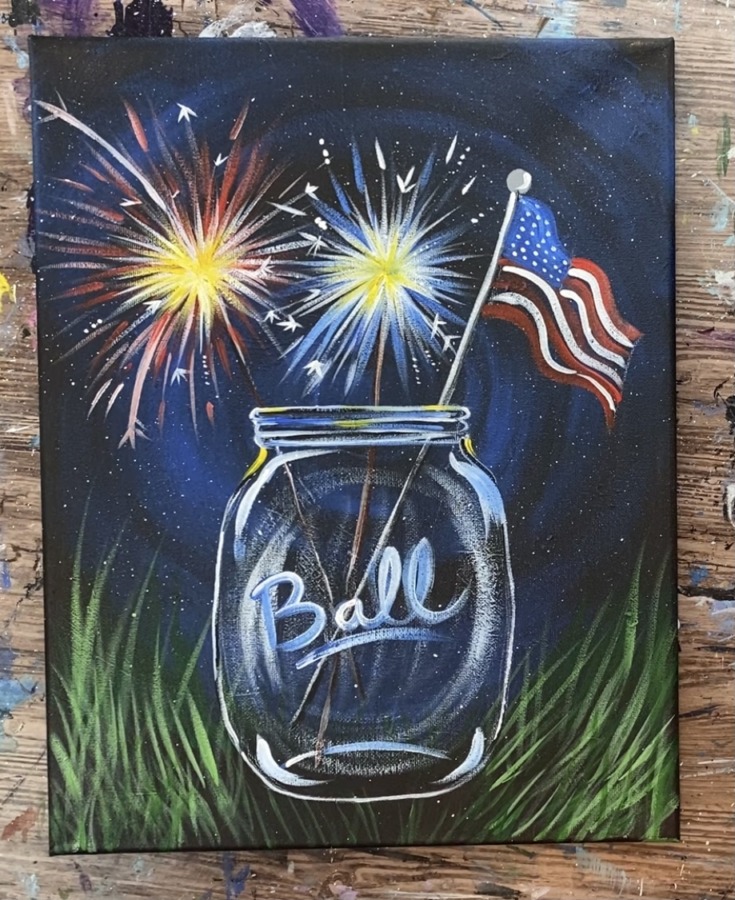
Here is a fun patriotic painting that you can do for Memorial Day, Independence Day or any of the celebratory patriotic holidays!
This is an easy tutorial and a rendition of another similar mason jar painting I did several years ago. This time there are sparklers and a USA flag inside the jar!
You will need a black canvas for this design. However, I typically paint a “mess up painting” with a layer of black paint when I am doing a painting that requires a black background! You can do this too.
Would you like to save this?
Materials
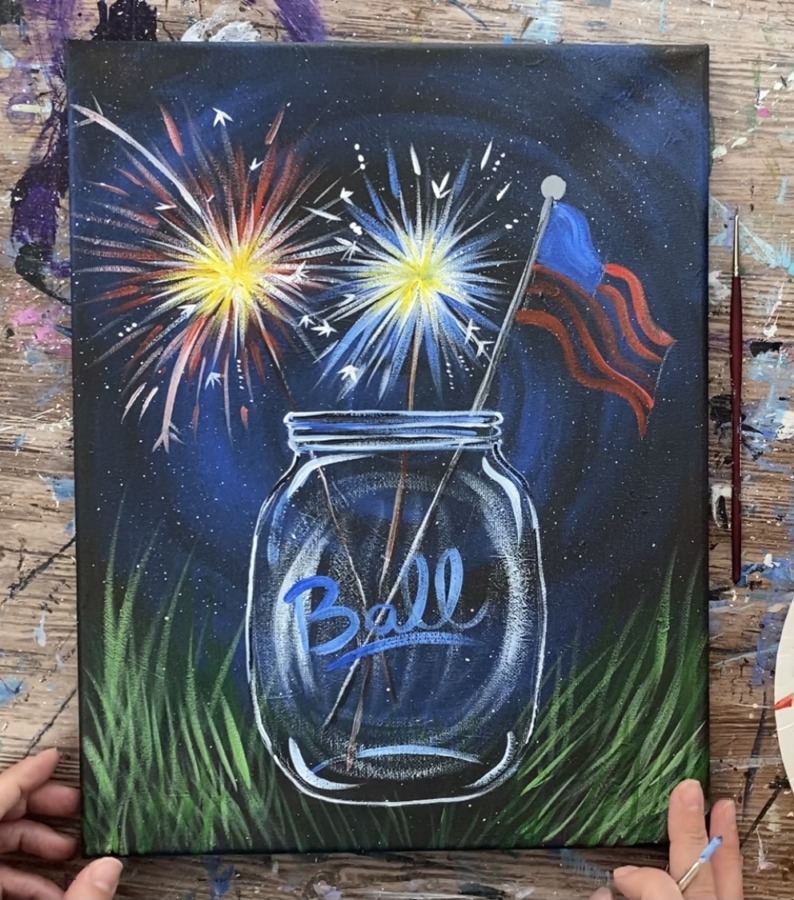
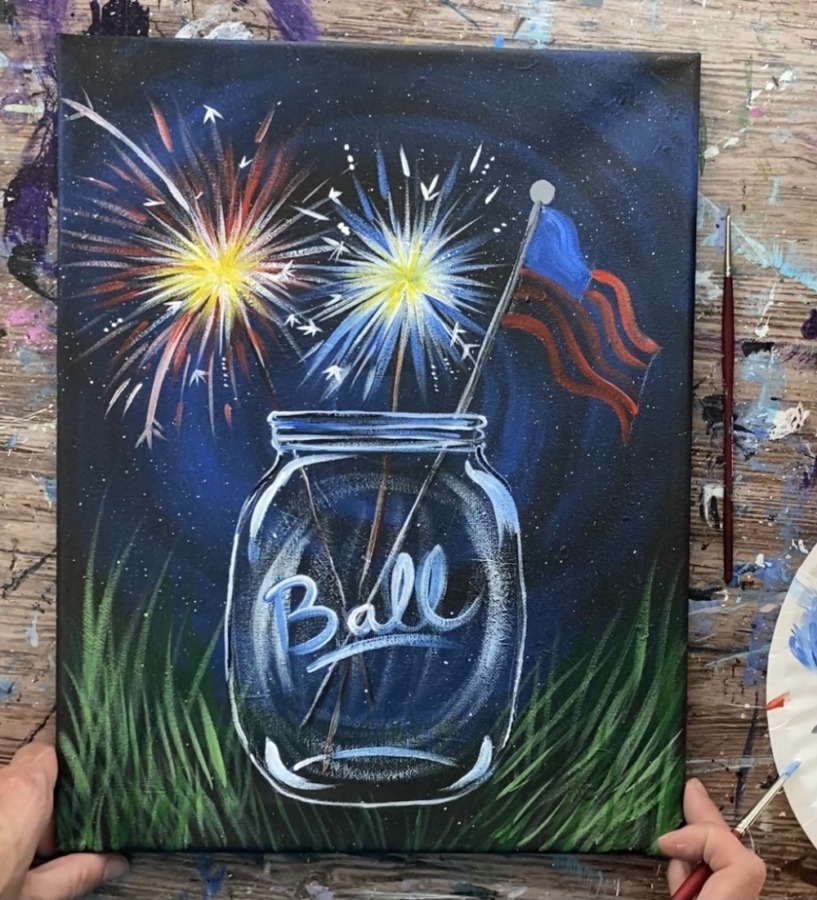
Sparklers In Mason Jar Painting Tutorial
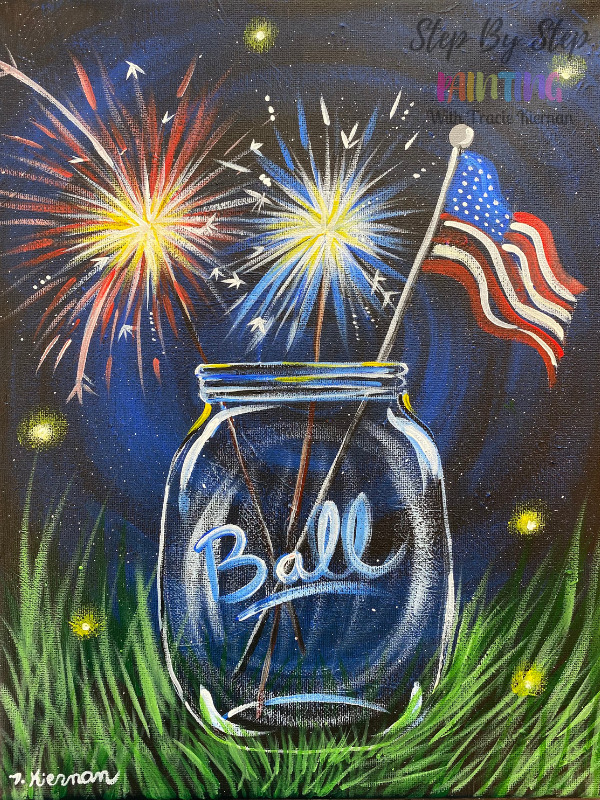
Learn how to paint a mason jar at night with a USA Patriotic theme!
Materials
- 11 x 14 Canvas
- Brushes
- Optional Traceable
- White Chalk Pencil
- Acrylic Paint
Brushes
- 3/4" Flat Wash Brush
- #4 Round Brush
- 3/8" Angle Brush
- Toothbrush
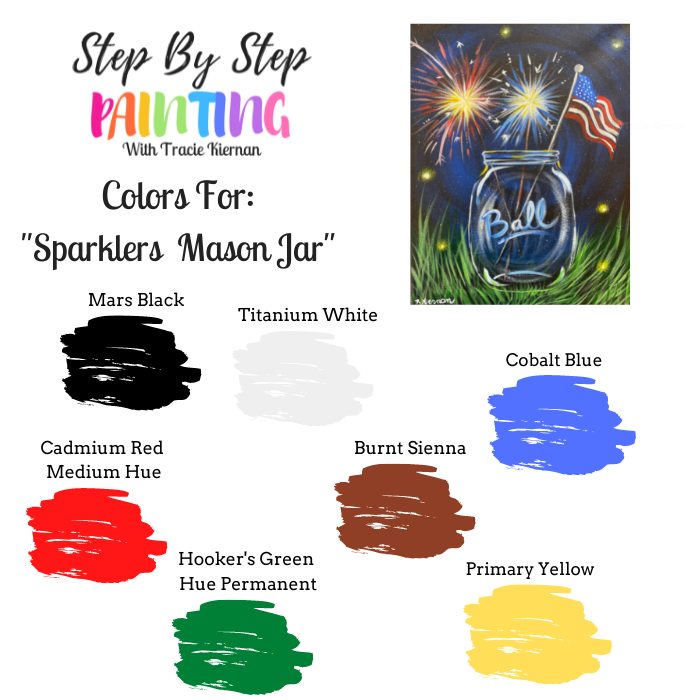
Colors
Instructions
- See instructions on www.stepbysteppainting.net for full tutorial!
Color Palette
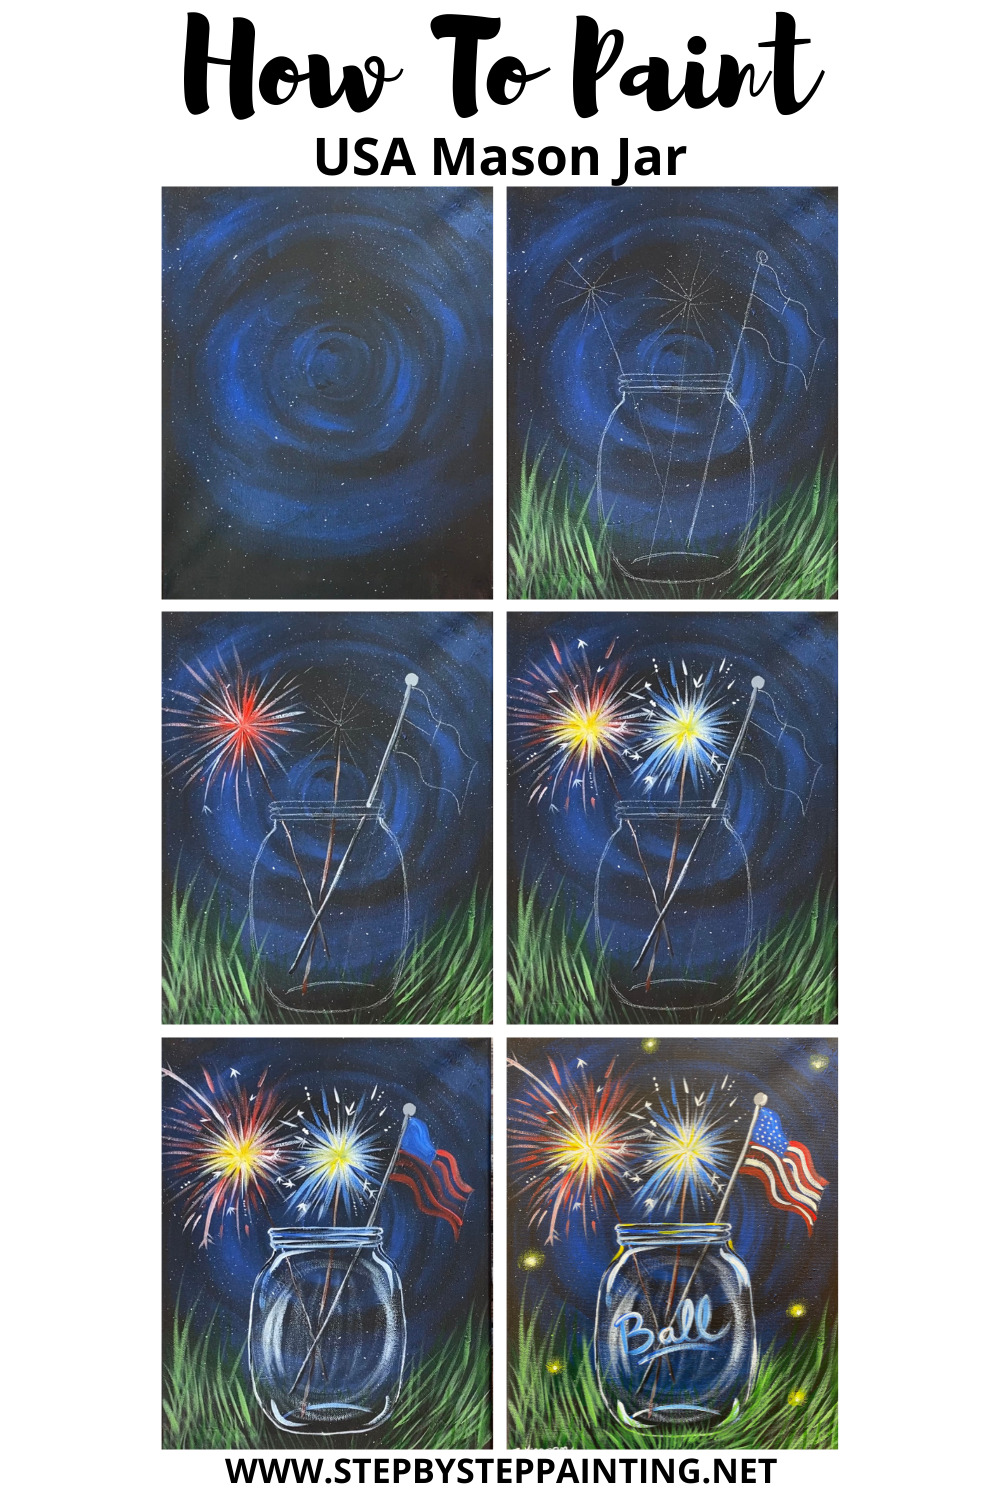
Directions At A Glance
Traceable
Video
Step By Step Directions
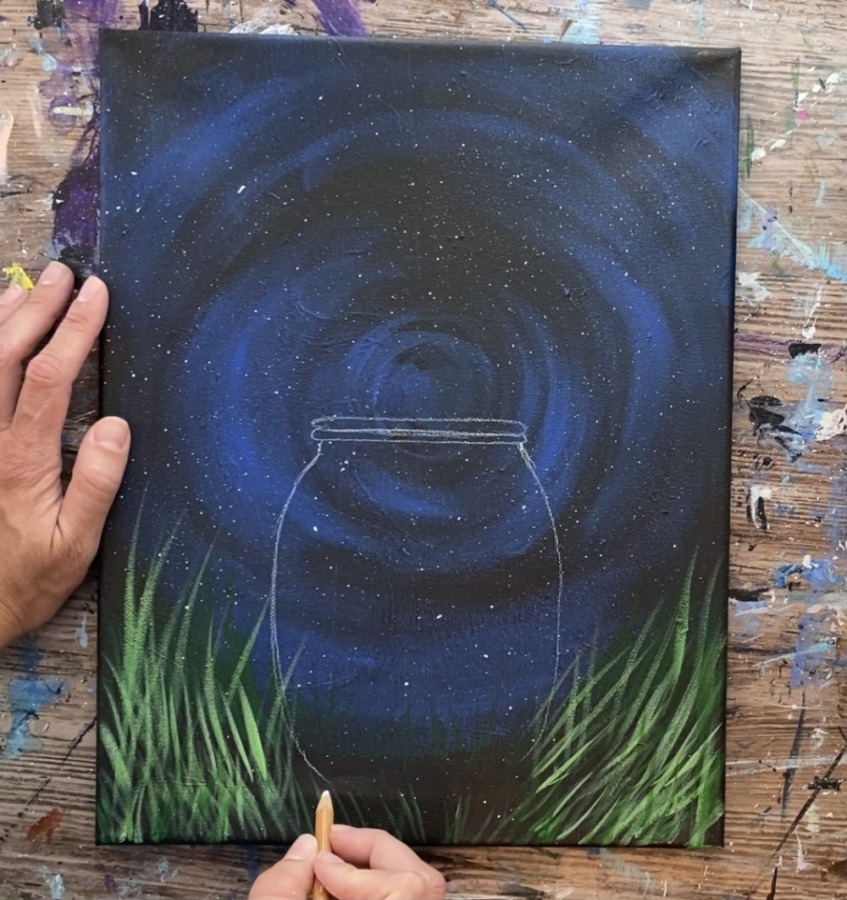
1. Paint The Background
Start with a pre-painted black canvas. You can purchase canvases that are painted black all the way or your can easily paint a coat of black over any canvas. This is a great way to reuse a “mess up painting”!
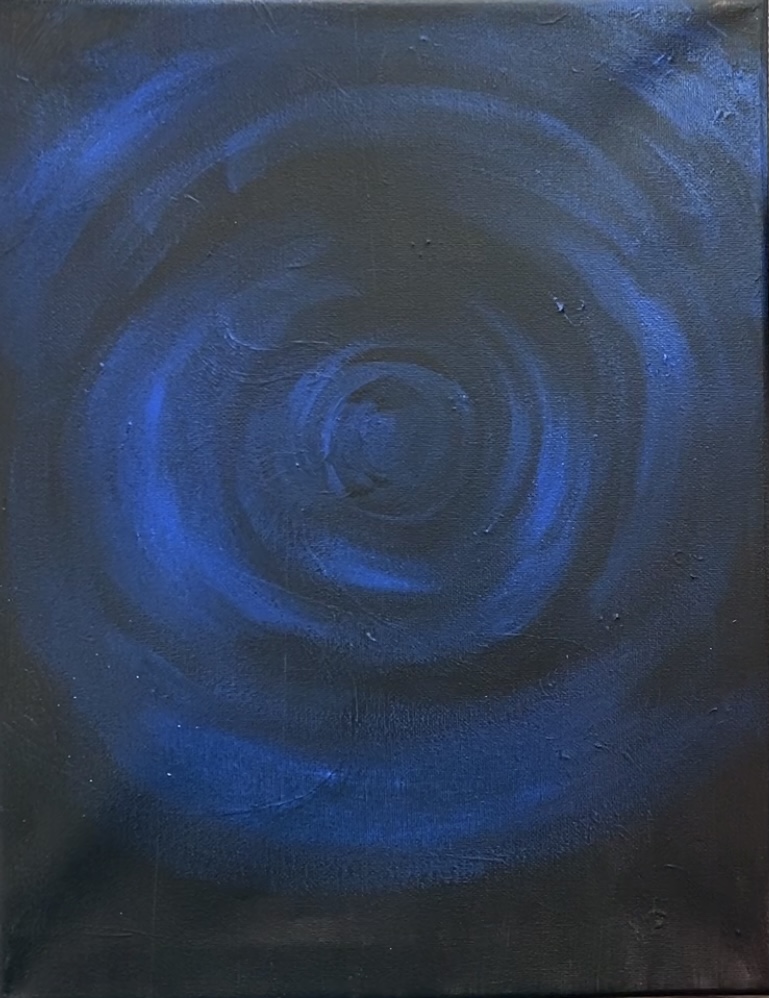
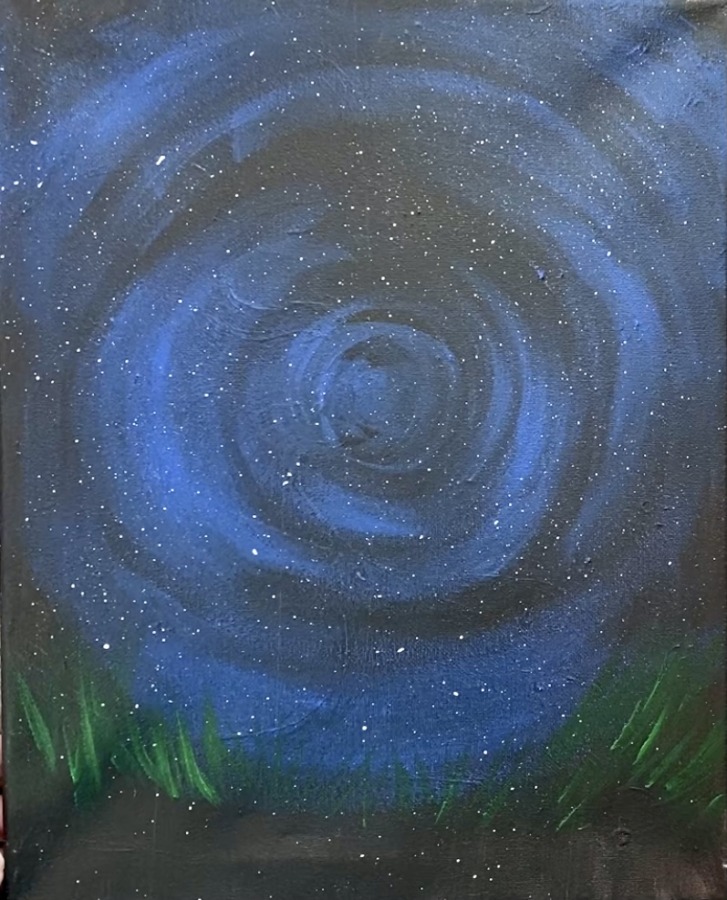
Load your 3/4″ flat wash brush with cobalt blue. Start in the middle of your canvas. Paint circular strokes using the full width of the brush. Paint these circles radiating from the center to the outer edges of the canvas.
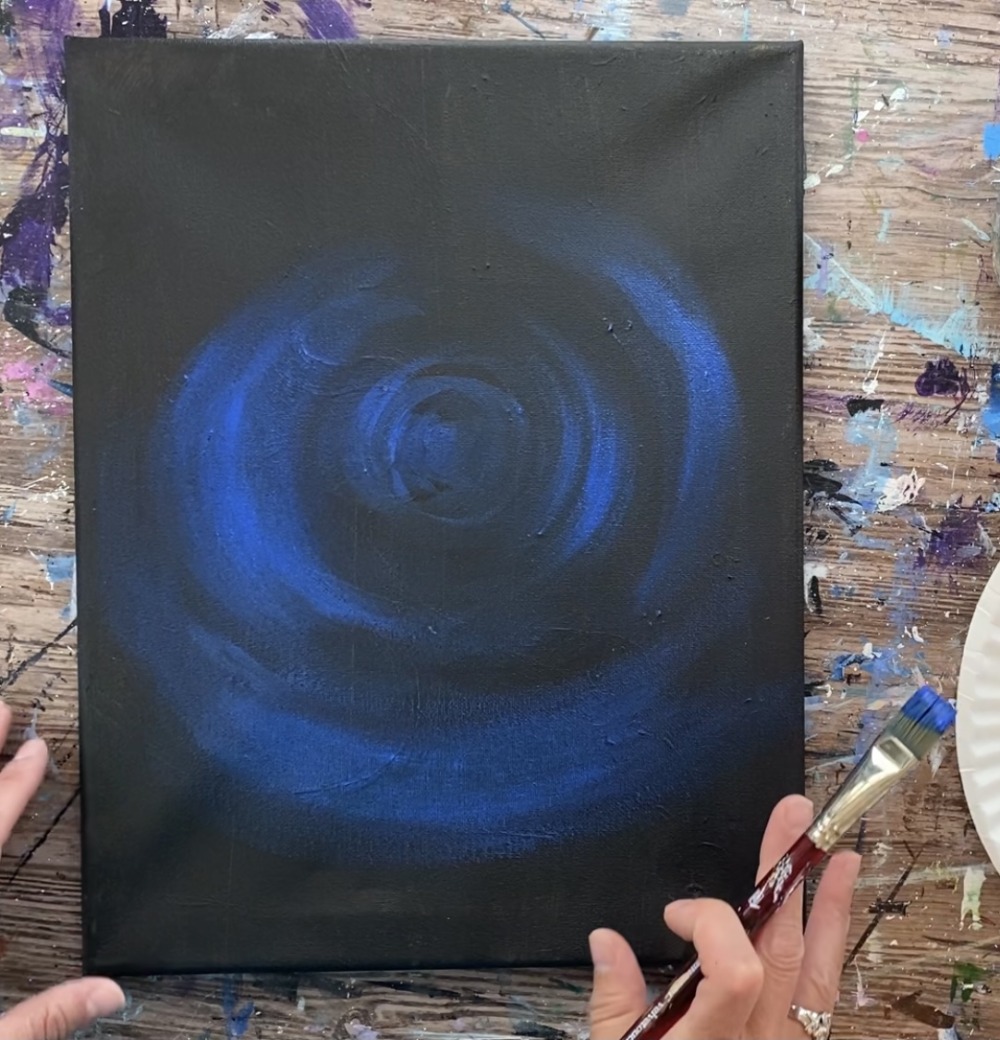
It is important not to cover all the black and to leave a lot of it showing through. The cobalt blue is applied very loosely and thin.
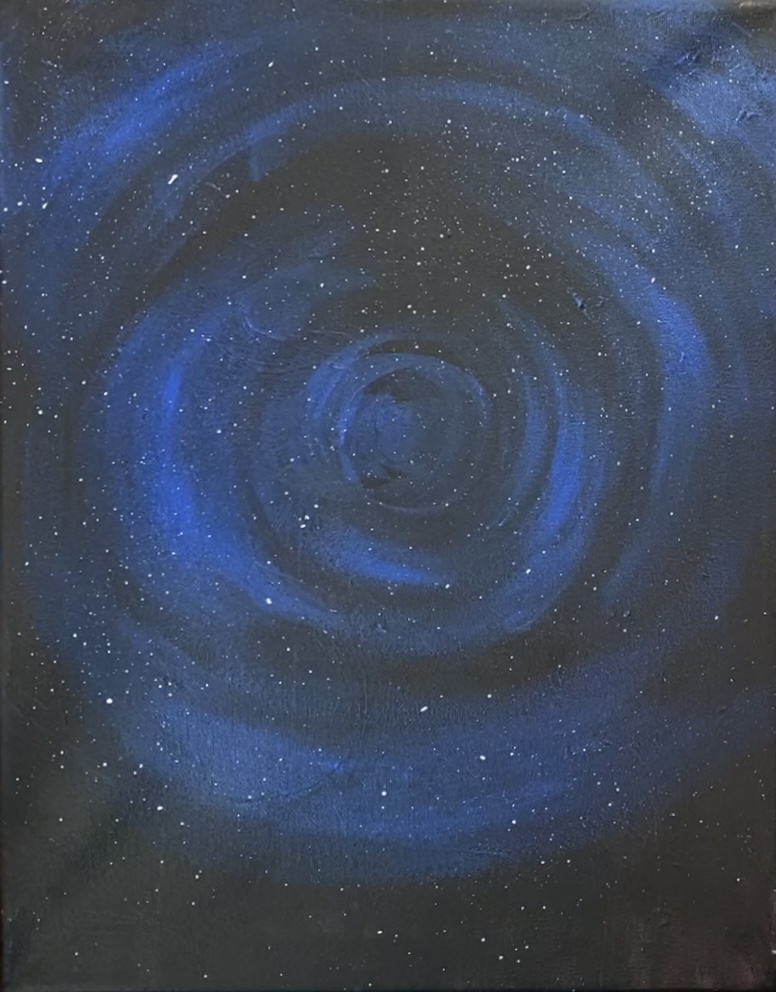
Next use a toothbrush or any paint brush to splatter small white dots all throughout the background. This gives is a “sparkly star” effect.
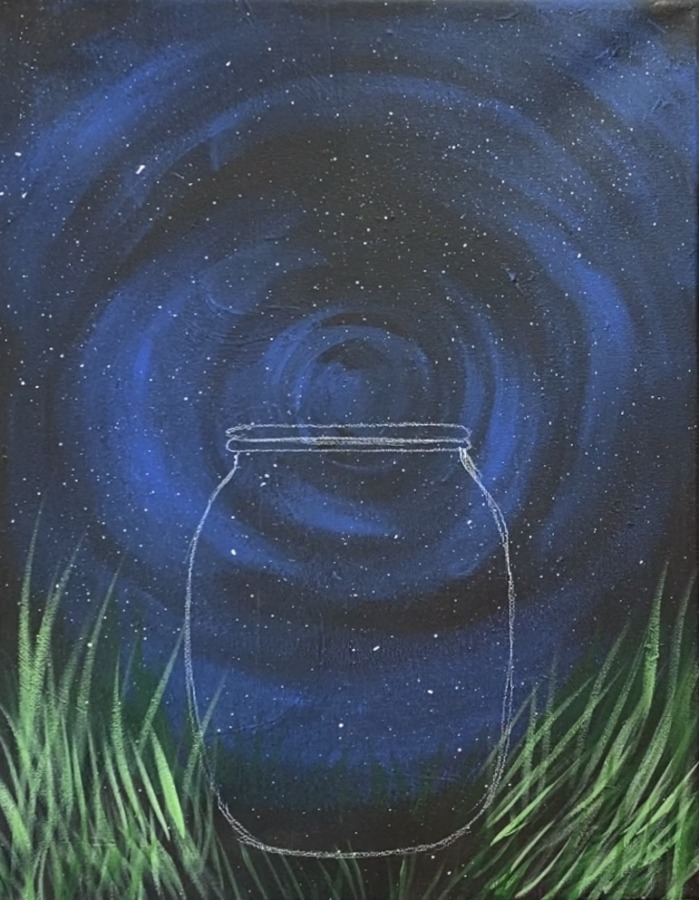
2. Paint The Grass
Use a 3/8″ angle brush (or round brush) to paint the grass blades. Start with the color hooker’s green hue permanent. Paint the blades along the bottom of the canvas (about an inch from the bottom). Paint them so they are going diagonal away from where the mason jar will be in the center.
Tip: Hold your angle brush so the highest part of the angle is opposite of the direction you are going in. This will create the thin line. Release pressure on the brush as you stroke up and this will create the points on the grass.
Next mix a little titanium white into the hooker’s green hue permanent color on your palette so that it becomes a lighter green. Then paint another layer of grass blades that start a little below the first layer you painted.

Vary the strokes of your grass blades. Some are longer and some shorter. The ones closest to the left and right of the canvas are longer.
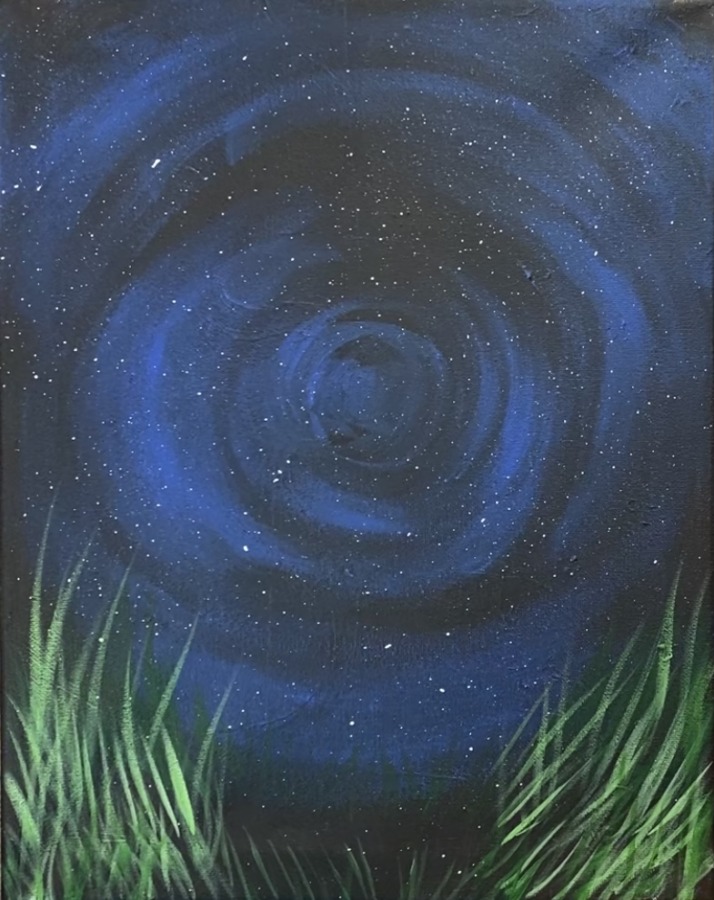
Paint a layer of grass blades along the bottom edge of the canvas but make sure these are shorter. Basically you want to leave the middle part open because that is where the mason jar will be situated.
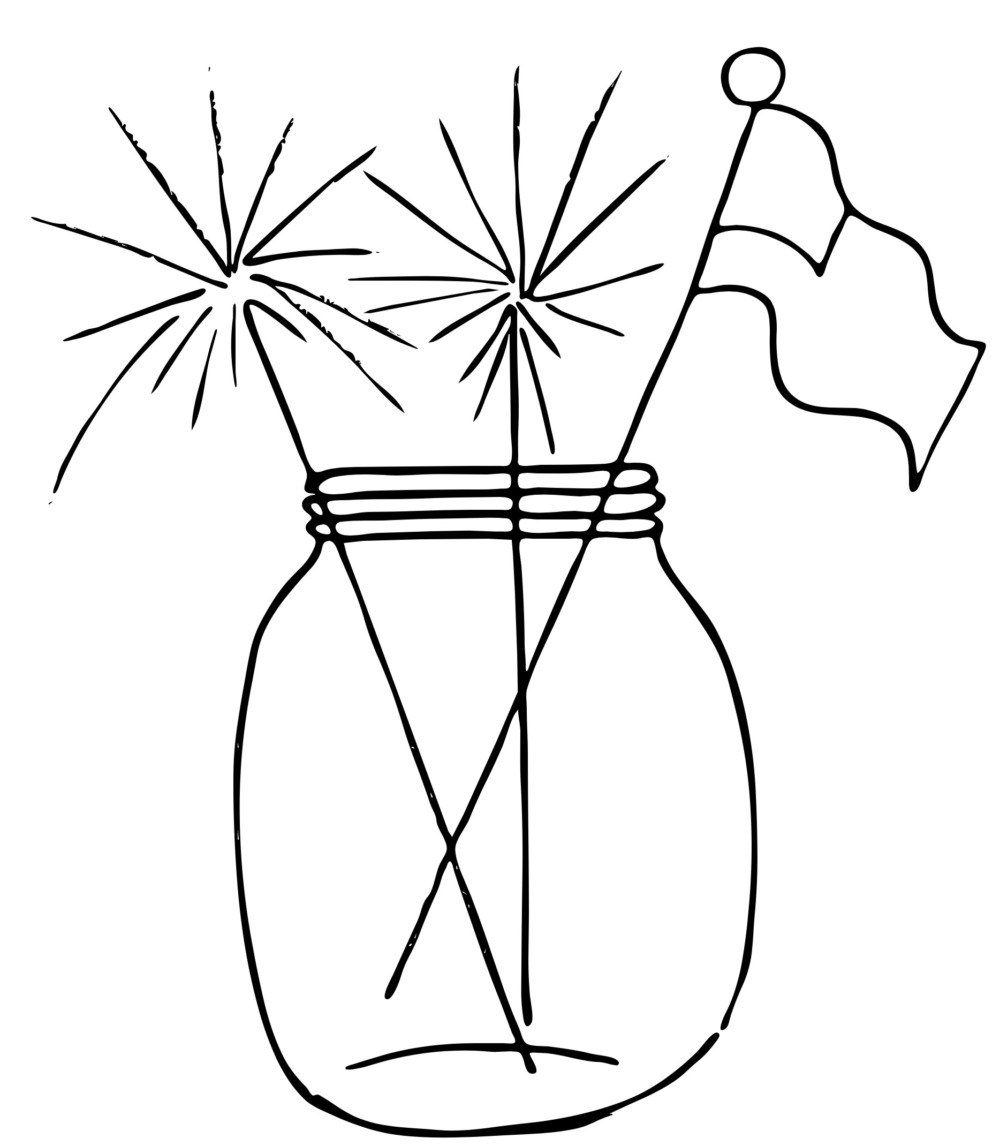
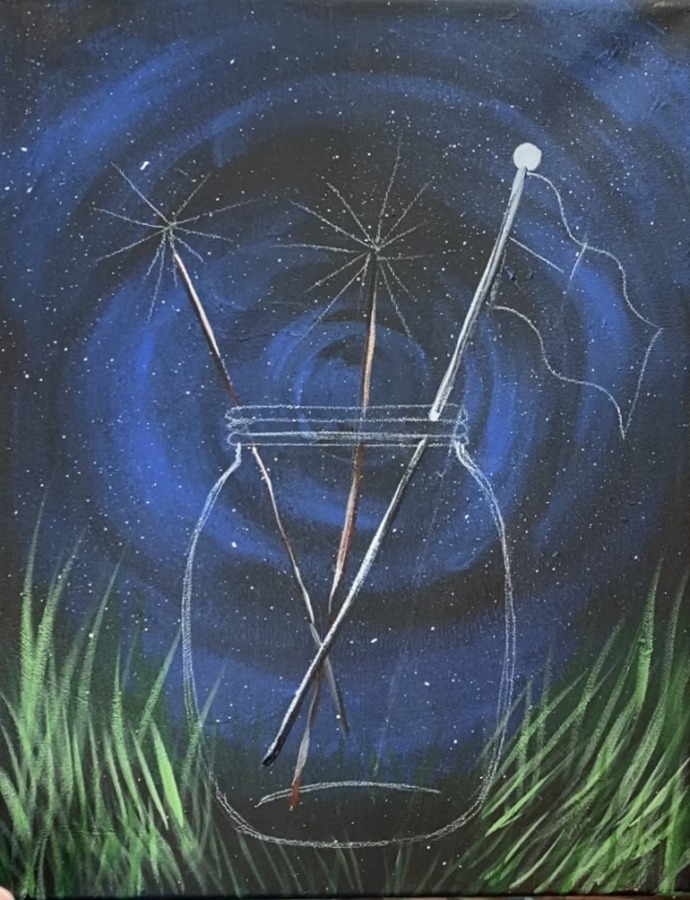
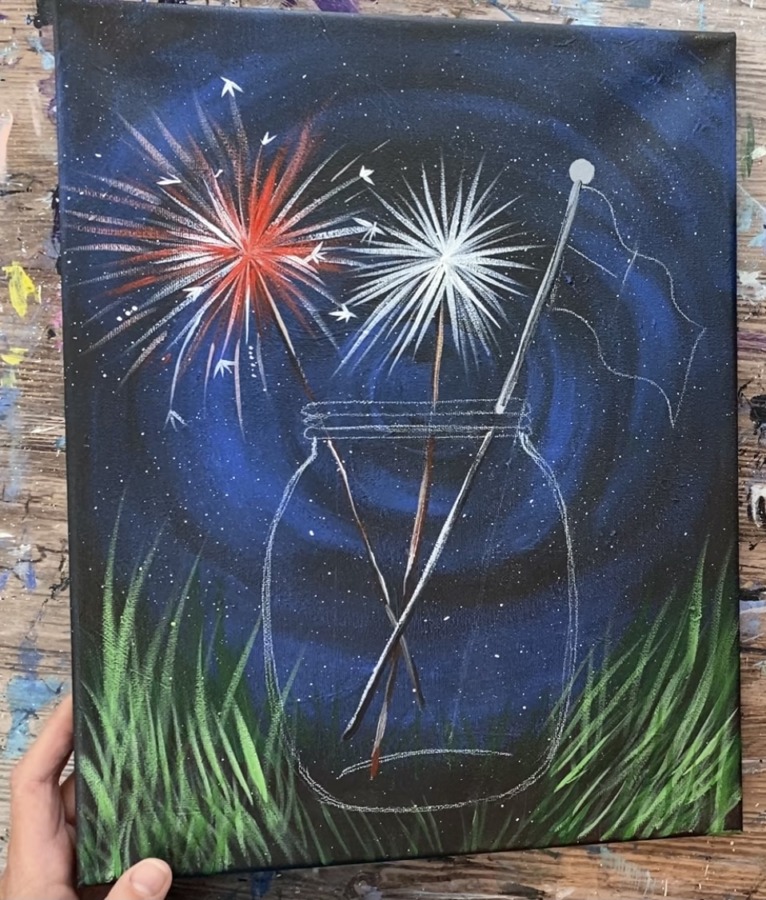
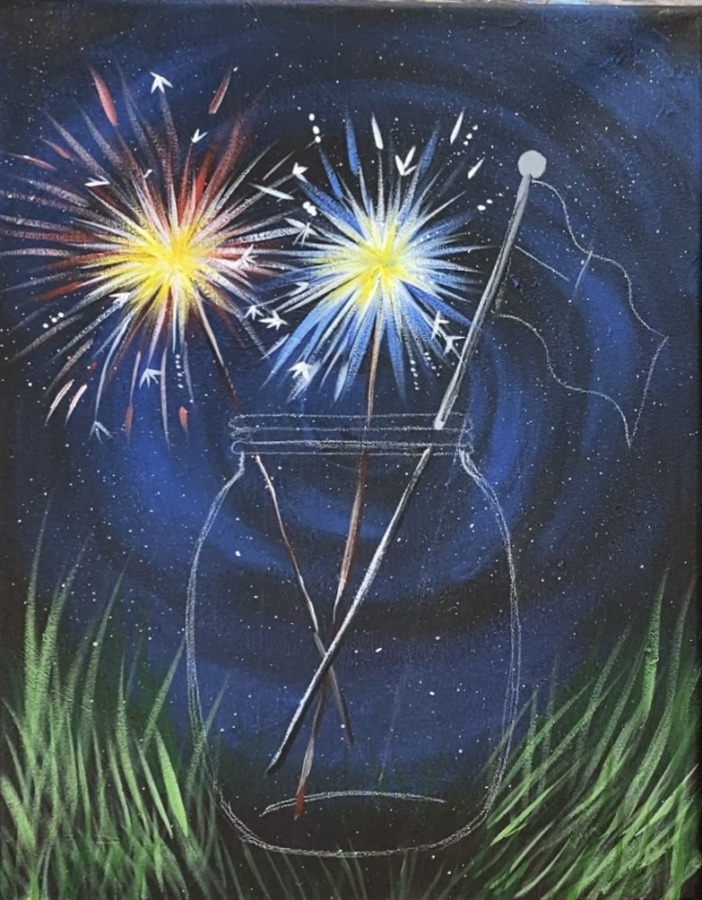
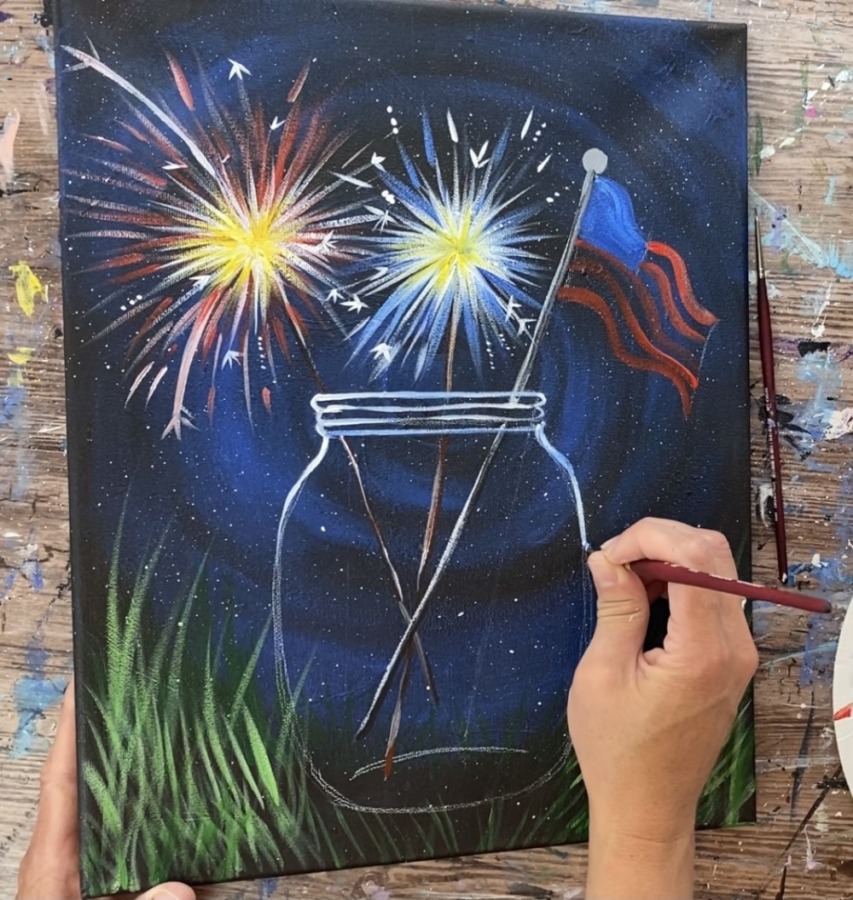
3. Draw The Mason Jar & Sparklers/ Flag (or use template)
Use a chalk pencil or piece of chalk to draw the mason jar. Alternatively you can also use my traceable if you do not want to do the drawing. If you are using the traceable, you will want to use white transfer paper below it so it shows up on the dark background.
The top rim of this drawing is in the very center of the canvas and the width is about 4 inches wide.
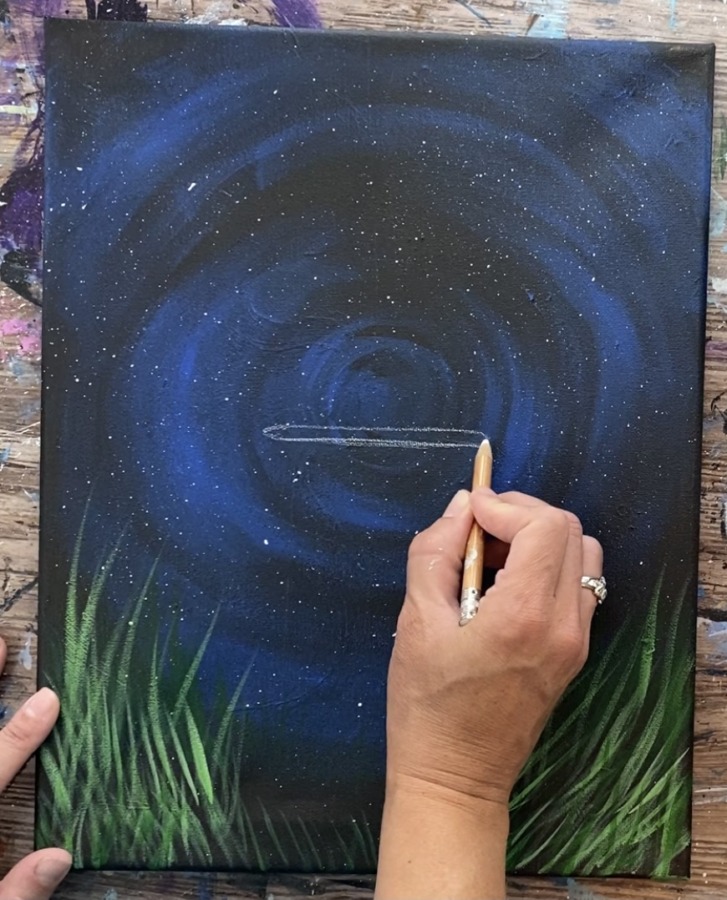
Draw two very thin horizontal oval shapes for the rim.
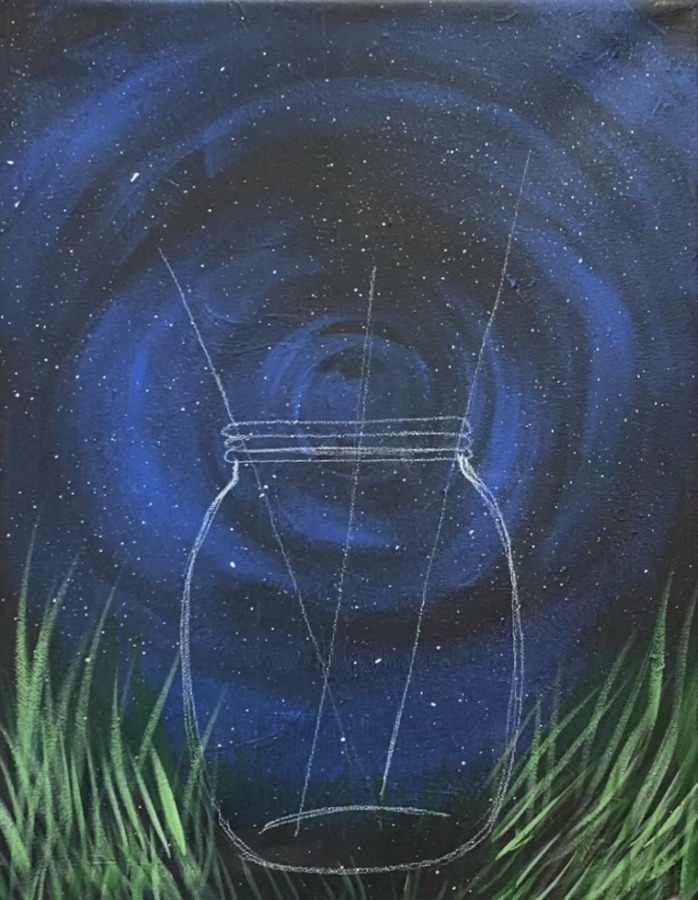
Draw a very small vertical line under the rim and then draw the side so it curves outwards a bit.
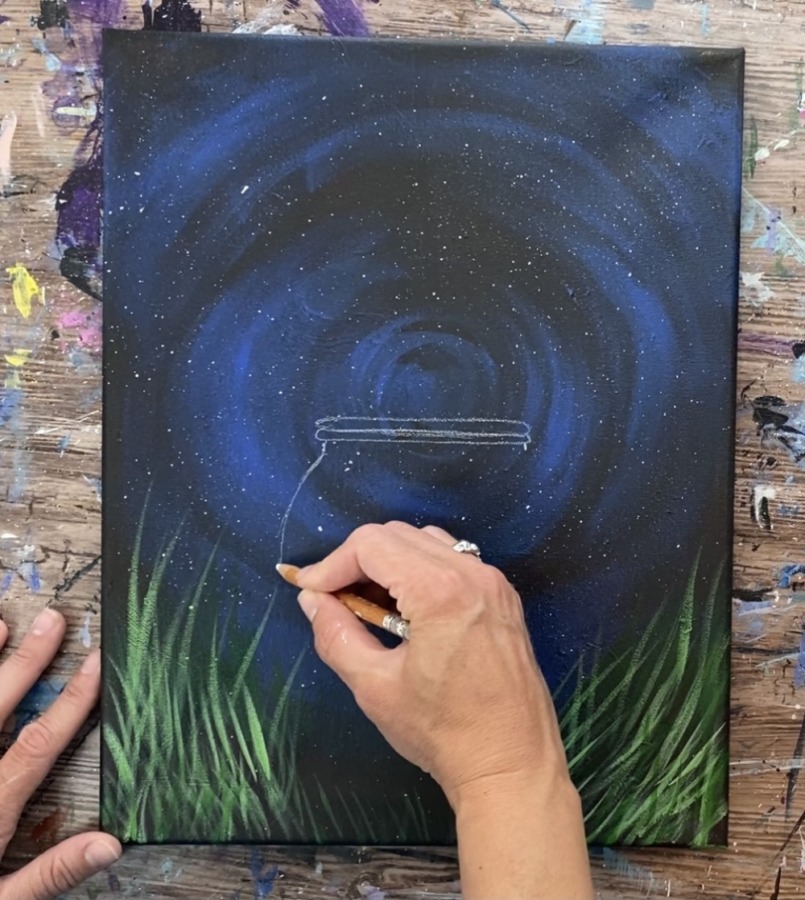
Try your best to make each side of the mason jar symmetrical. Then curve the bottom part of the jar and have the bottom piece go flat.
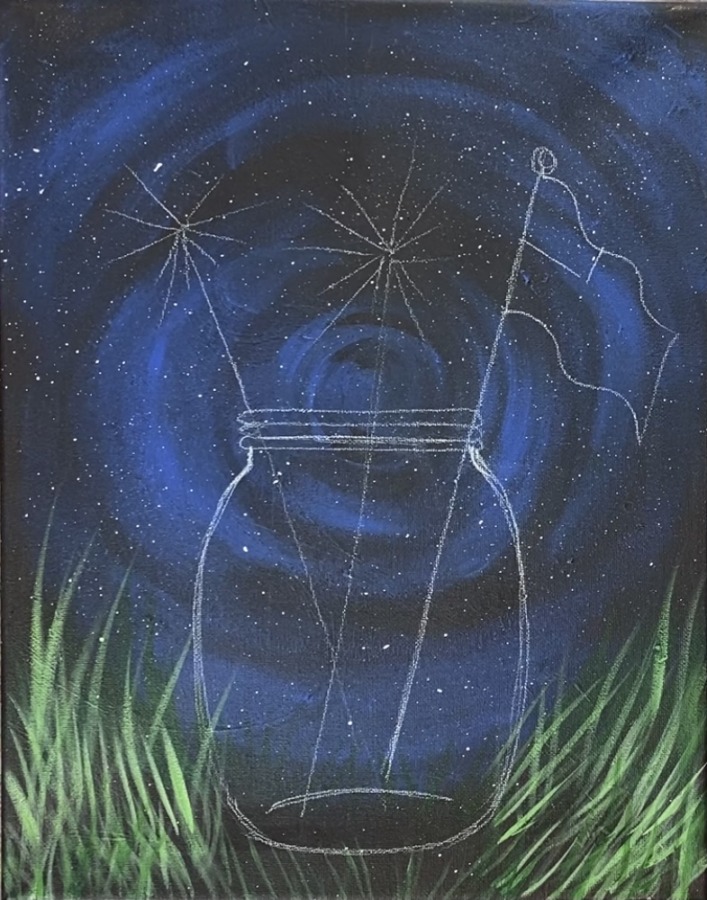
Then draw an upside down curved line on the inside bottom of the jar. Draw three diagonal lines on the inside of the jar for the sparkler sticks and the flag pole.
Then draw a few diagonal lines going in a radial direction on the top of each of the sparkler sticks. Draw the wavy flag and the rectangle shape inside the upper left.
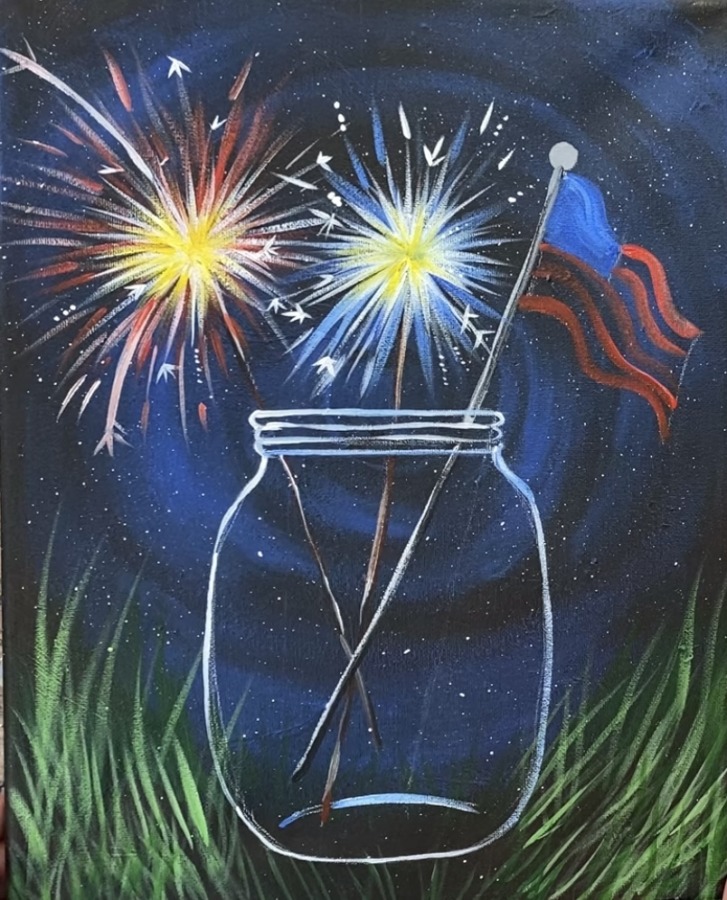
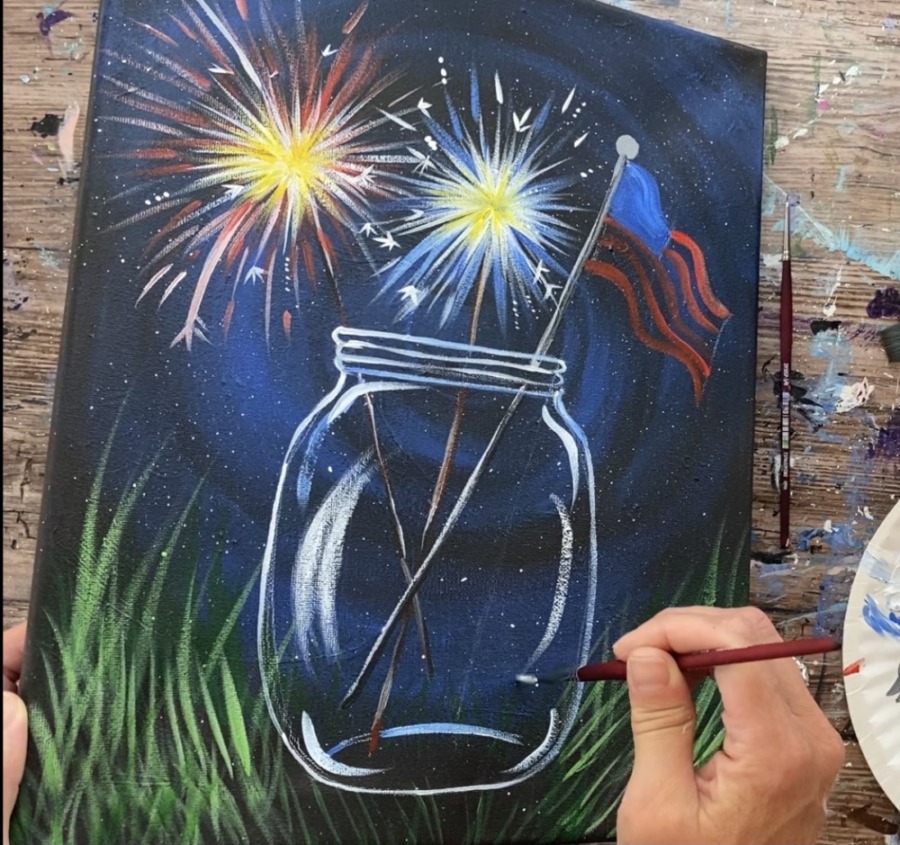
4. Paint The Sticks
Load your palette with burnt Sienna, mars black and titanium white. Use a #4 round brush to paint each of the sticks. Vary the line when you paint the sticks so that there are some lighter and some darker areas. Paint the flag pole stick with black and white mixed together to make a light gray.
Tip: you can simplify this without the highlights and shadows! Simply paint the sticks a solid color of brown or gray. Also, if the #4 round brush seems too thick for those thin lines, you can switch to a 5/0 round brush or similar size.
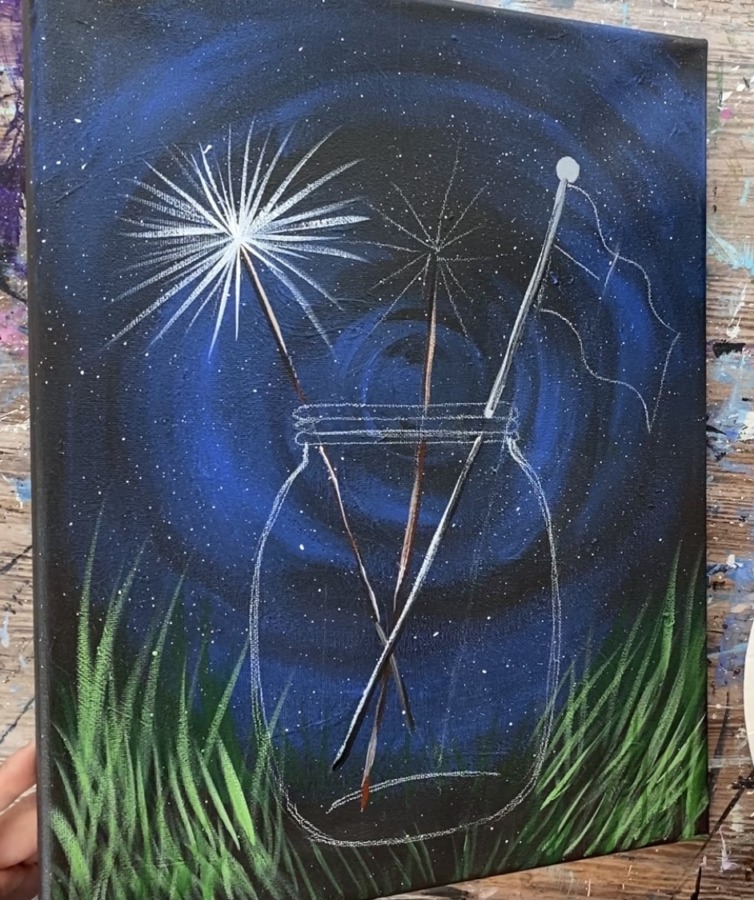
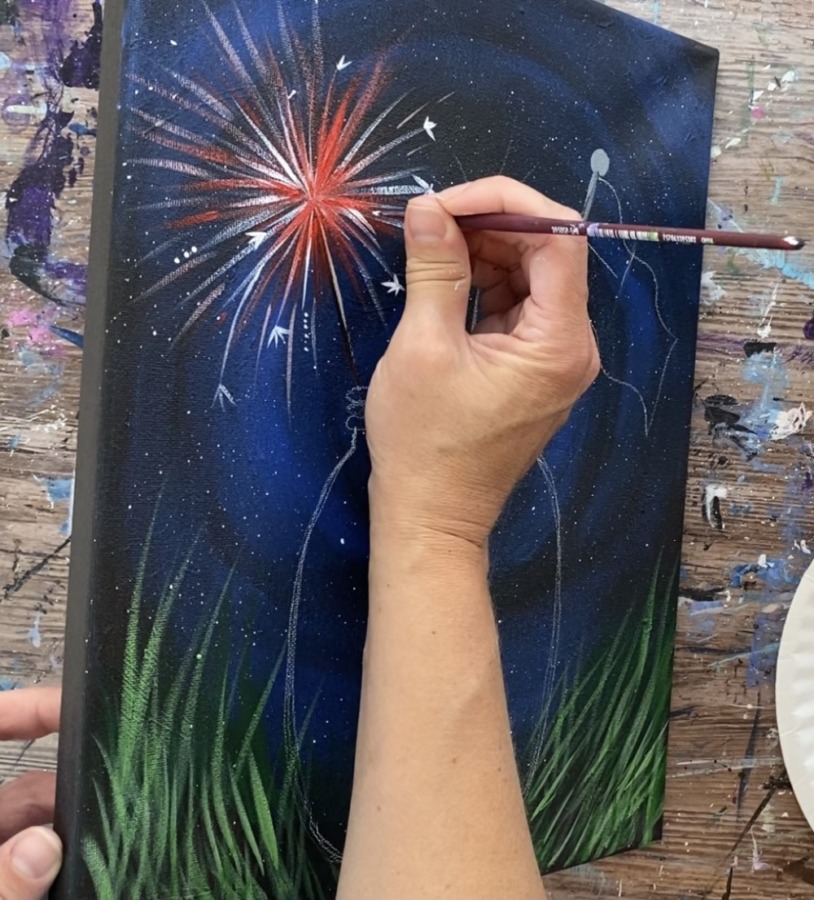
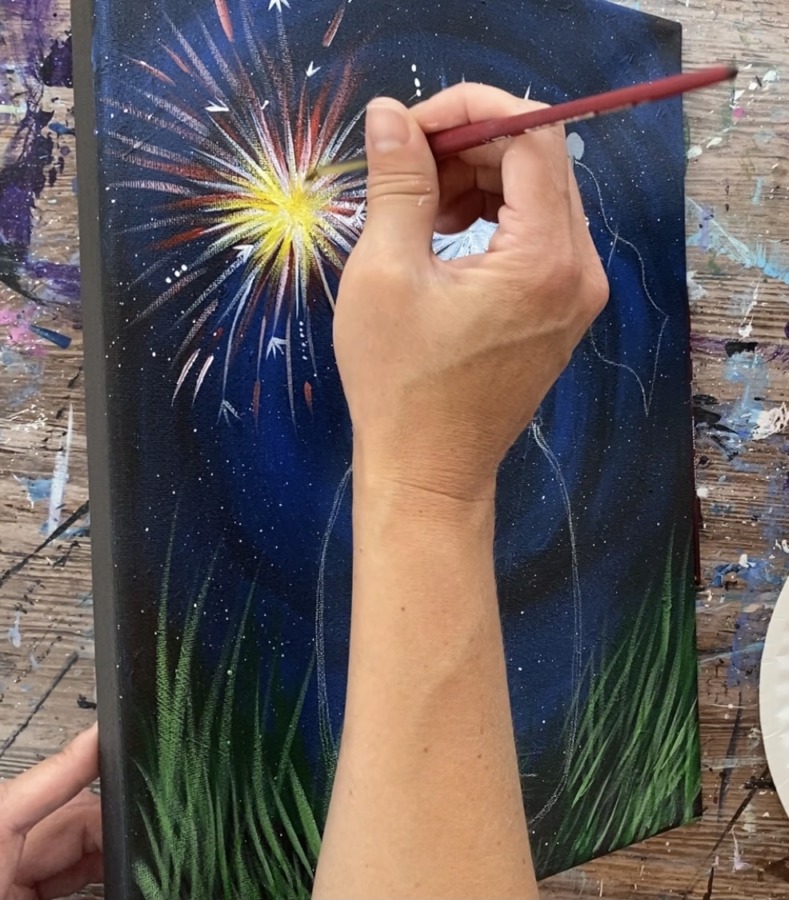
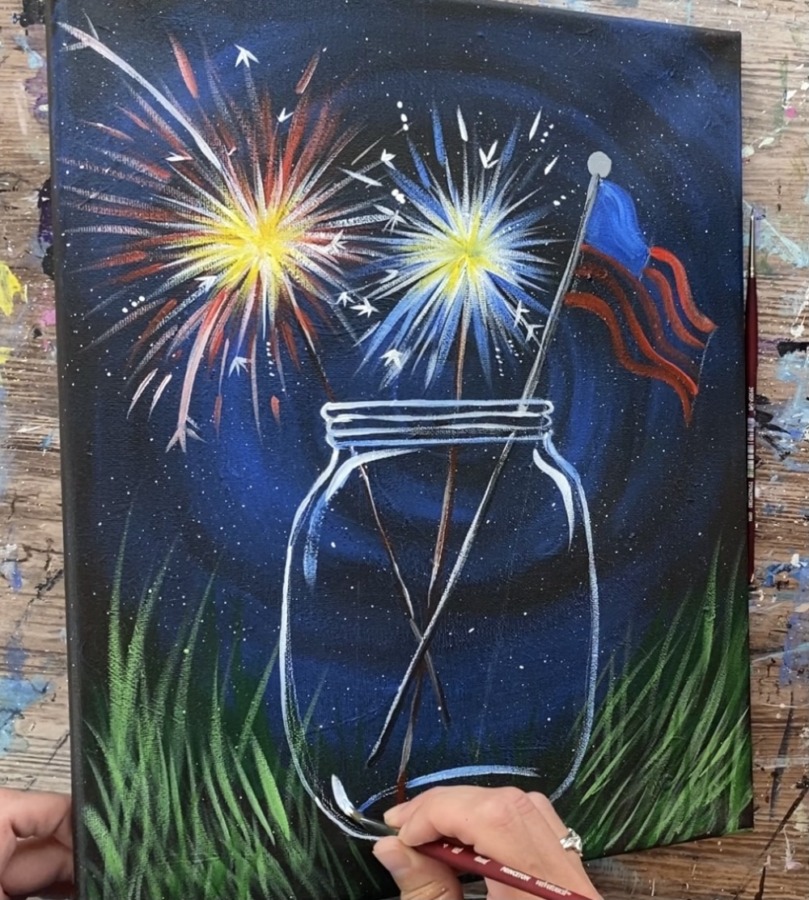
5. Paint Sparklers
Use your #4 round brush and titanium white to paint radiating lines on the edge of the sparkler.
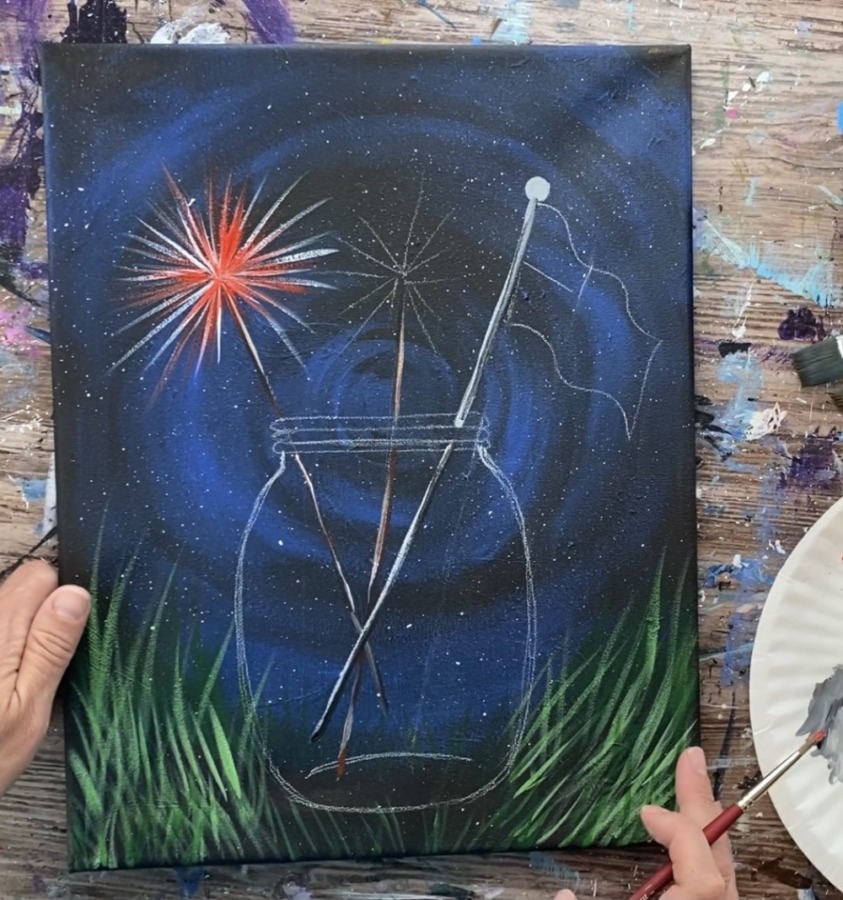
Then load your palette with some cadmium red medium hue and paint red radiating lines over the white lines (but don’t cover all the white lines).
Tip: make sure you load the paint right on the tip of the brush to get the thin lines.
Then use a 5/0 round brush and titanium white to paint the “sparks” on the sparkler. Paint little diagonal lines on the edges of some of the lines. Paint little white dots as well.
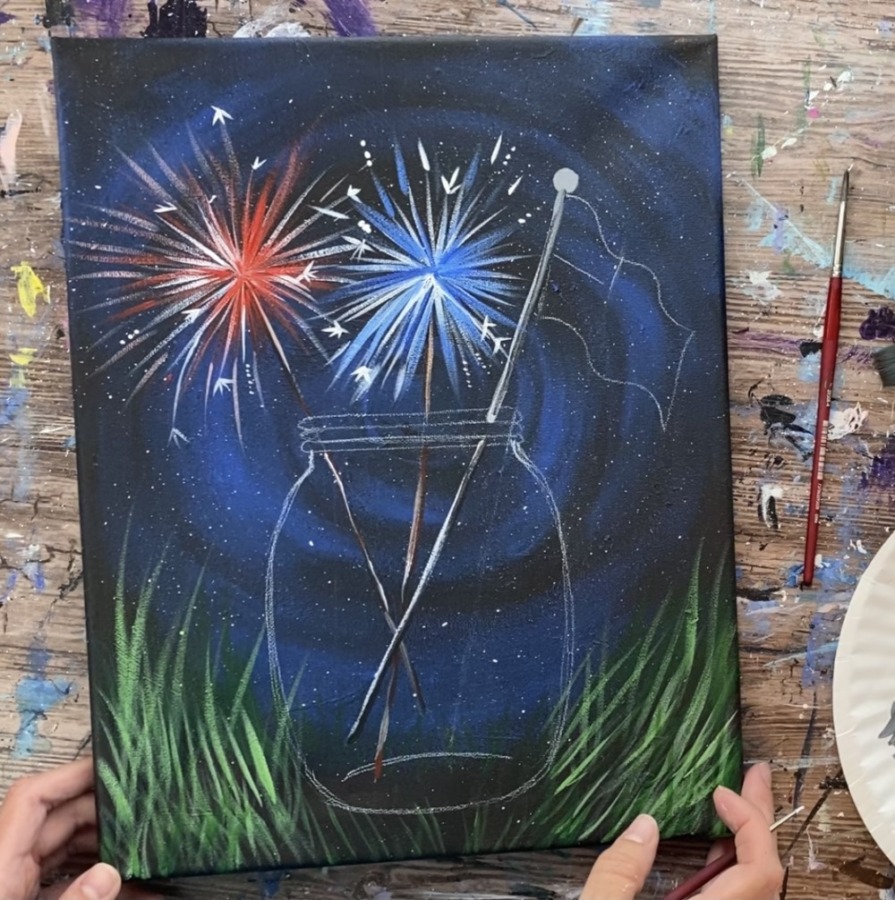
Then paint the white radiating lines on the blue sparkler.
Load your brush with cobalt blue and paint blue radiating lines over the white layer. If needed, mix white with cobalt blue on your palette to make the blue brighter. Then go back with your 5/0 round brush to paint the sparks and little dots.
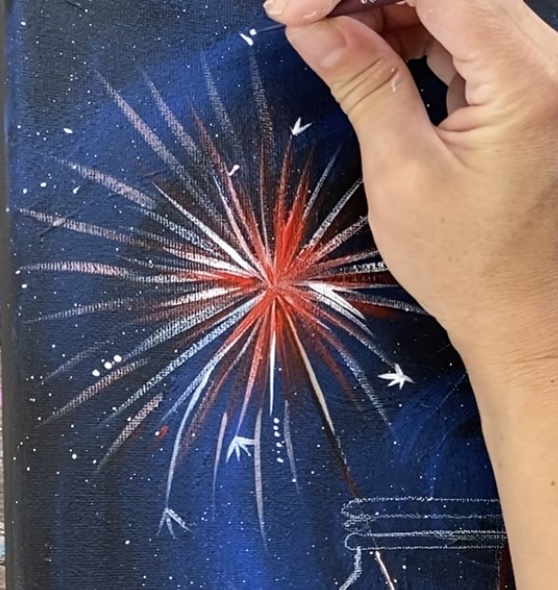
Wait for the center of the red and blue sparkler to dry. Then add a layer of white just in the center of each of the sparklers. Paint in radiating strokes just in the center to make it very bright.
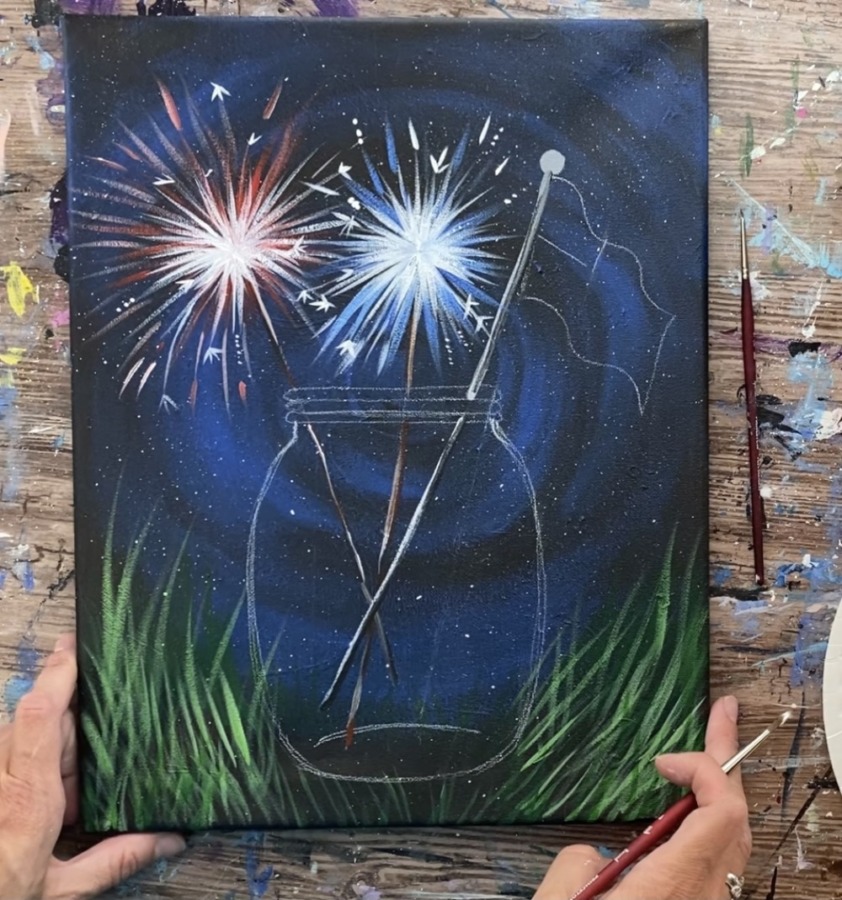
Next load your brush with primary yellow. Add yellow just in the center over that white layer that you painted.
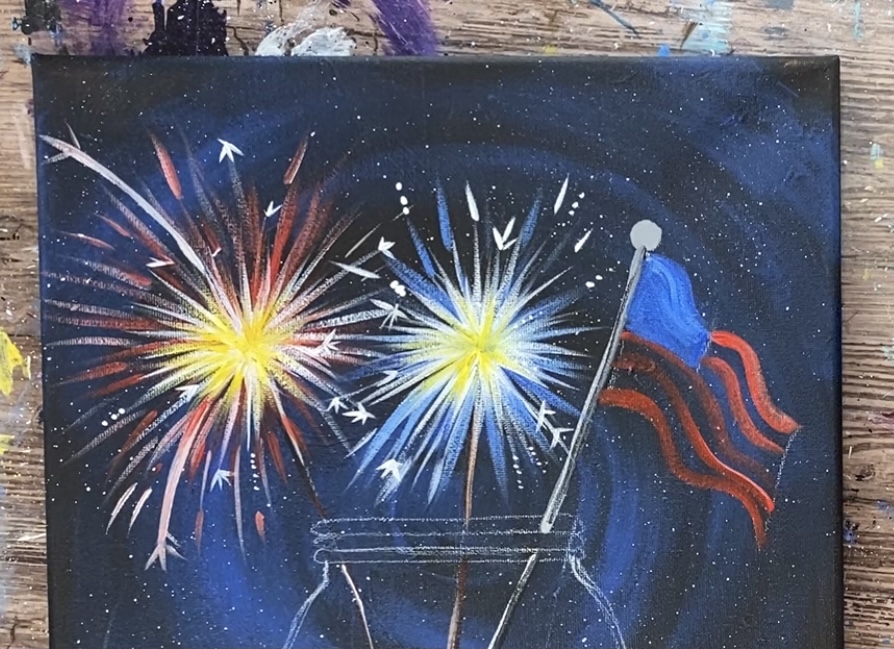
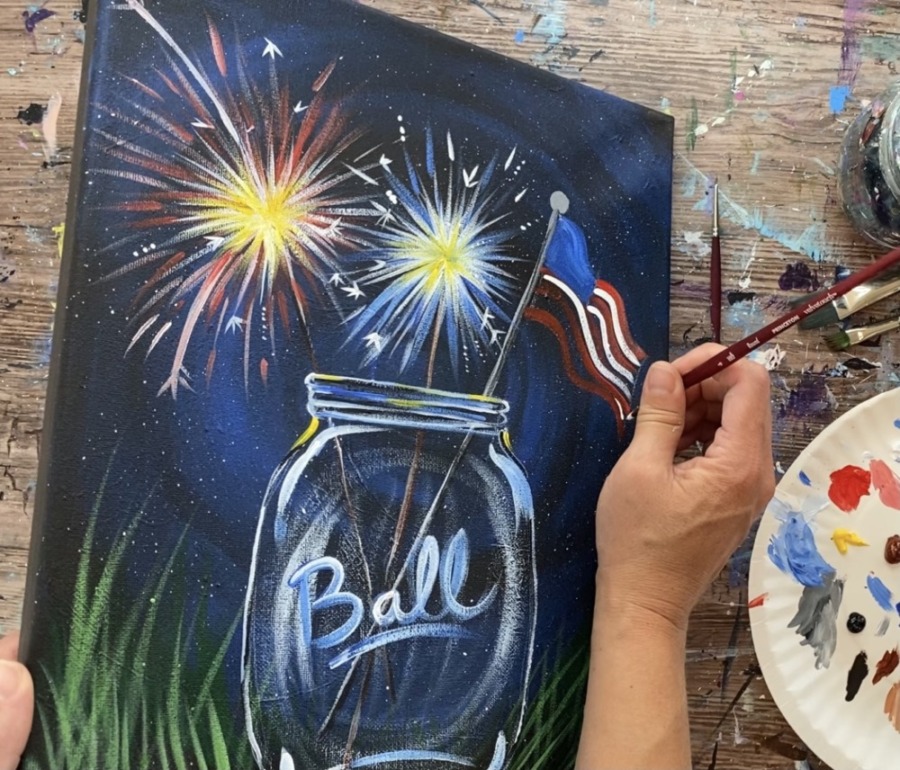
6. Paint Flag
Use your #4 round brush and cadmium red medium hue to paint wavy red lines for the flag. Try to make them going adjacent to the top and bottom wavy lines of the flag drawing.
Tip: if your red is showing up too dark, you can add a bit of titanium white into it to brighten it up.

Then paint the blue square area of the flag with cobalt blue mixed with a little white.
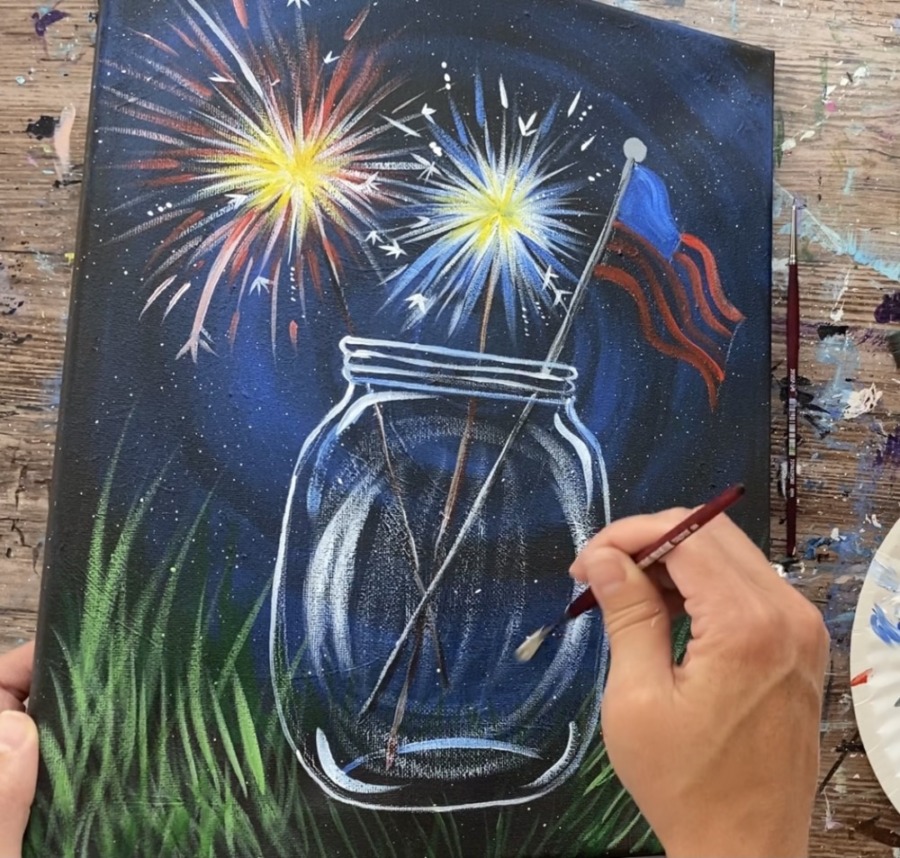
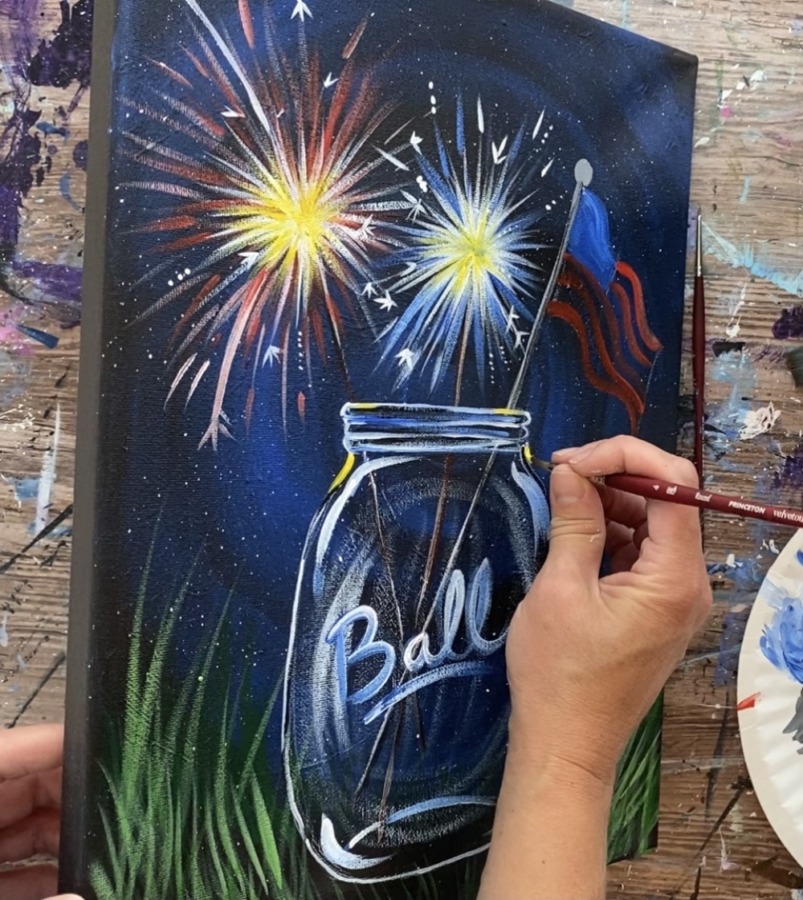
7. Paint Jar
Next paint the jar. You will be painting over all of the chalk lines you drew. Double load your #4 round brush in cobalt blue and titanium white. Start at the rim and loosely paint the shape of the rim.
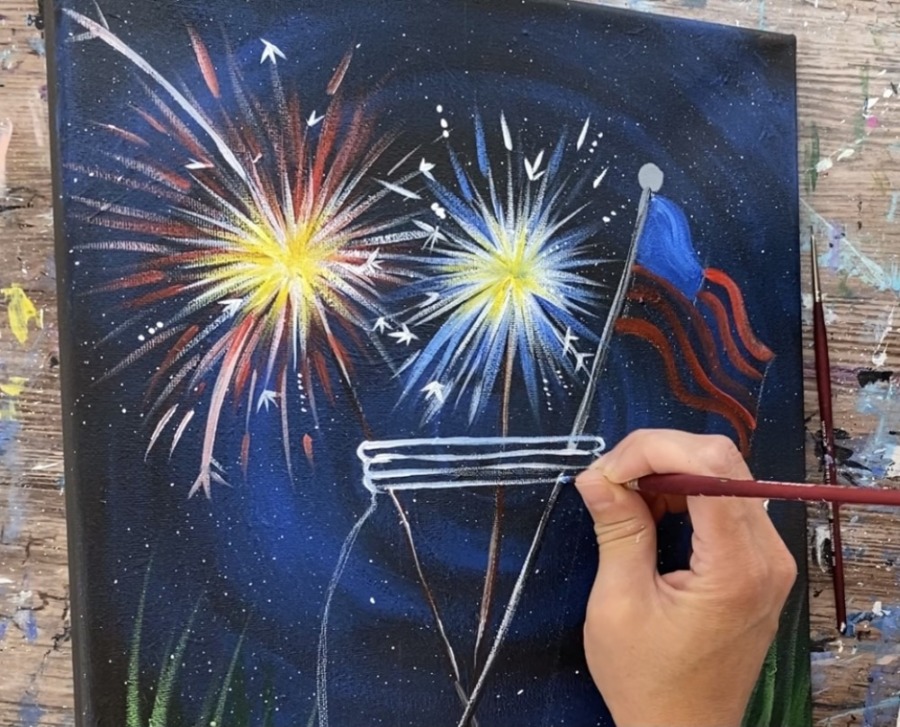
Then paint the sides of the jar.
Tip: you will need a very light hand for this! Try to keep the paint right on the tip of the brush and paint the lines loosely. The line doesn’t have to stay consistent. Also because you double loaded the brush in both blue and white, your color will vary as you paint the line.
Paint the curved line on the inside bottom of the jar. Remember this line is behind the sticks so make sure you paint it so the sticks are in front of that line.
Then paint the highlights on the jar on the outer edges. Do this with a little more titanium white than the cobalt blue so it is brighter. Paint thick strokes contouring the four corners (top left, top right, bottom left and bottom right).
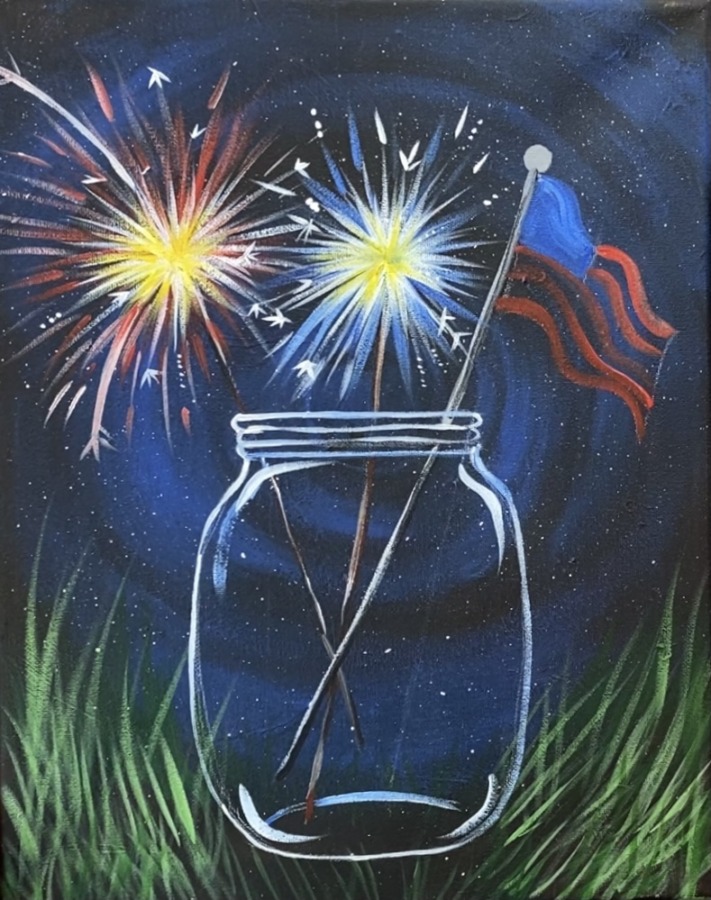
Then do a dry brush effect on the mason jar to create the glass glare. To do this, load your #4 round brush in titanium white and then wipe it off.
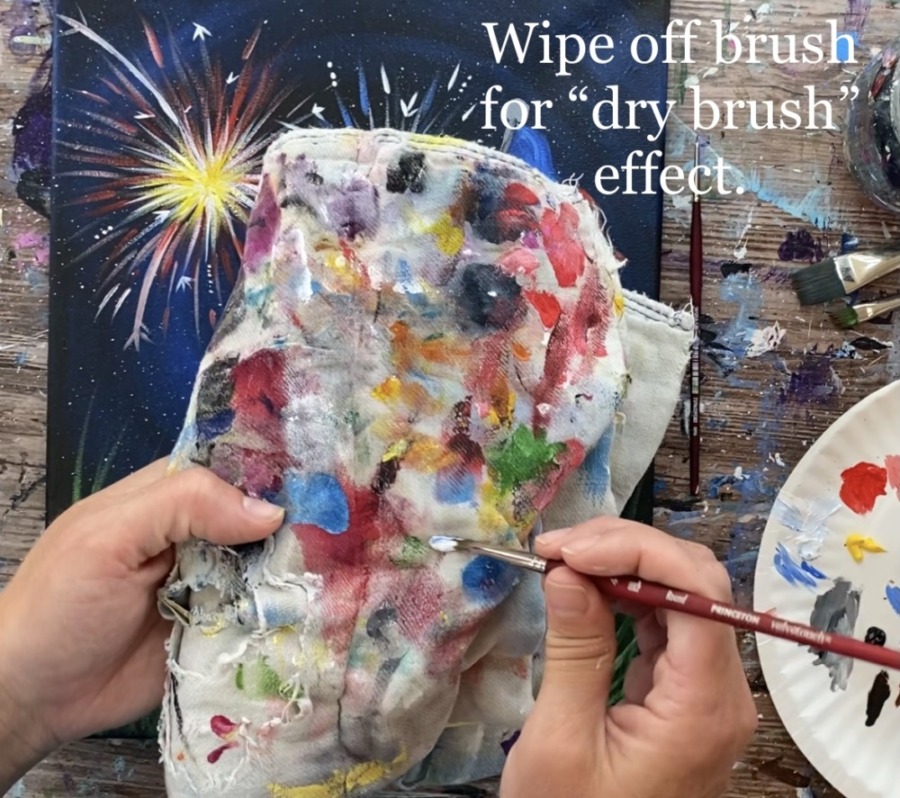
Paint curved strokes on the front middle part of the jar. This should be very “loose”, “thin” and “see through”. Too much paint will loose the glass effect.
Tip: if the round brush seems too small to do this technique, you can try a larger round or a flat brush.
Paint in curved strokes to give the jar more of a rounded form. I made sure the dry brush strokes right in the center of the jar were very thin so that a lot of that dark background is still showing through.
Try not to add too many dry brush strokes. You want to keep most of the glass transparent with a lot of that dark background showing through.
Optional: then loosely paint black lines on the edges of the jar to give the edges some dark contrast. Do not cover the white outline, just loosely add it on some of the edges of the jar.
Next paint the “Ball” letters on the jar using cobalt blue mixed with a little titanium white. Use the #4 round brush to paint the cursive letters. It may also help to daw the letters with chalk first and then painting over them.
Then go over the letters with a layer of titanium white to give the letters some highlight.
Next use your #4 round brush and some primary yellow highlights on the jar. Loosely paint some of the edges of the jar towards the top. Just a few yellow lines for the reflection of the sparklers!
9. Paint White Stripes
Next paint the white stripes on the flag.
Then paint white dots on the blue square of the flag to represent the stars.
10. Paint Firefly Lights
Fireflies can be painted easily using just your index finger! Load a little bit of primary yellow on the tip of your finger but wipe some of it off so there is only a small amount. Press and form the circle shape so it looks like a blurry light.
Then use any brush to paint a white dot in the center of the circles so that it appears brighter.
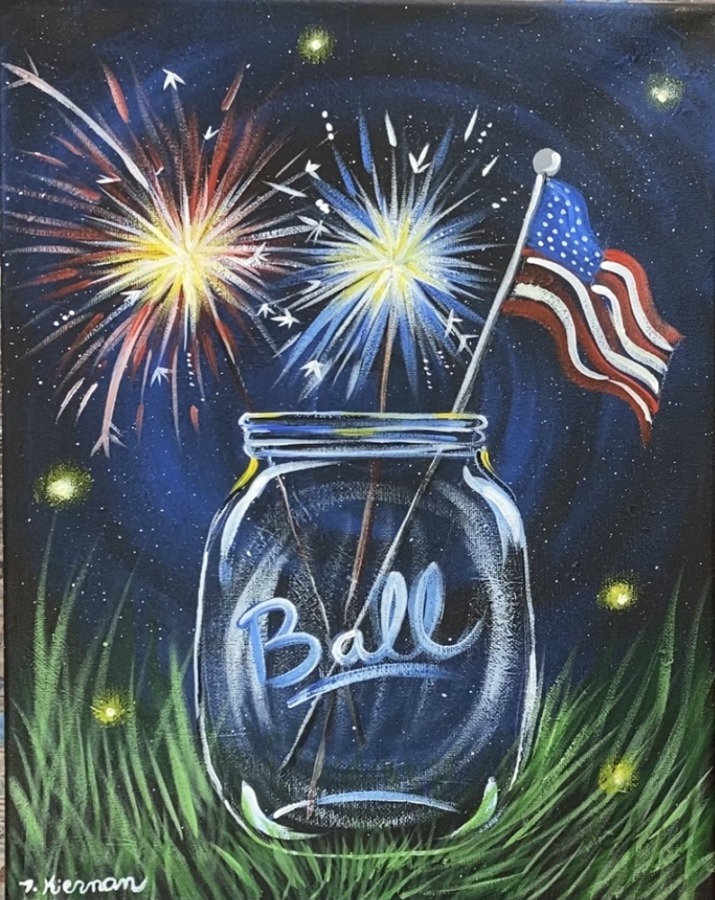
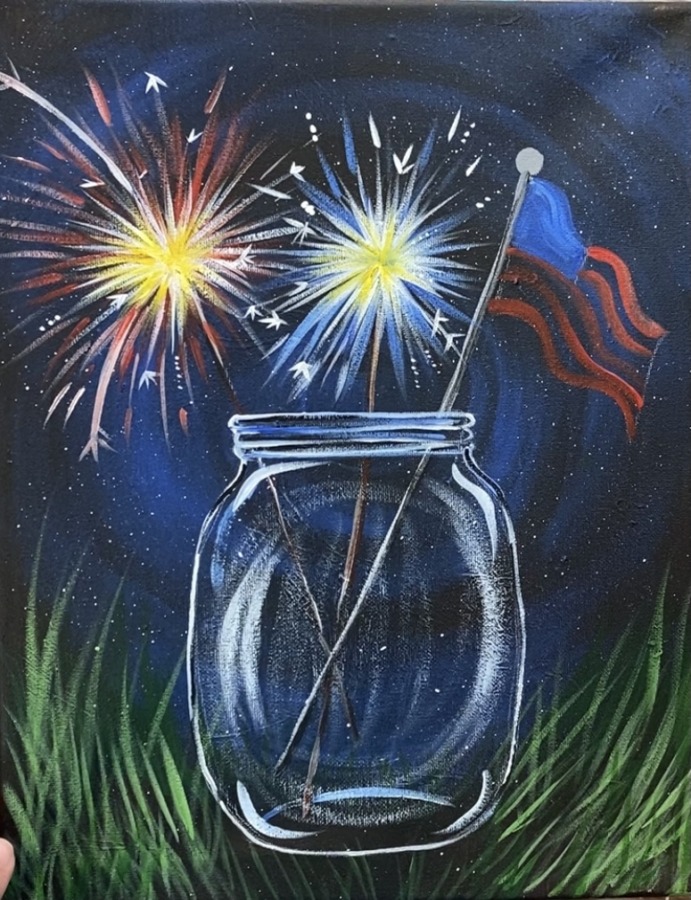
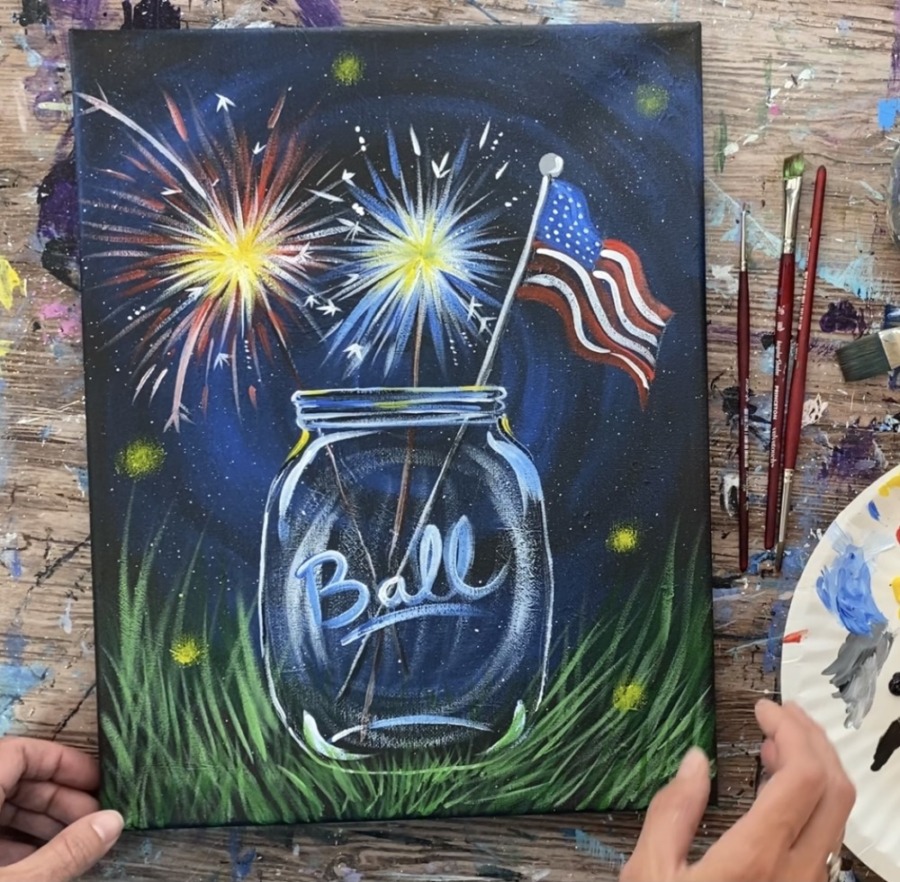
Finished!
Sign your name and show it off!
Share Your Art Here!


Oh my goodness, another fun afternoon painting with Tracie! As always your easy to follow, specific instructions brings out the artist in each of us!
Thanks so much Betty!!!
Had fun painting this as well. I do enjoy using the black canvas every so often, brings a different flare. I post my creations on pinterest and I tag your website. Thanks for the fun tutorial. I believe I will paint the patriotic beach flip flops next!
You’re welcome Raina!