

Would you like to save this?
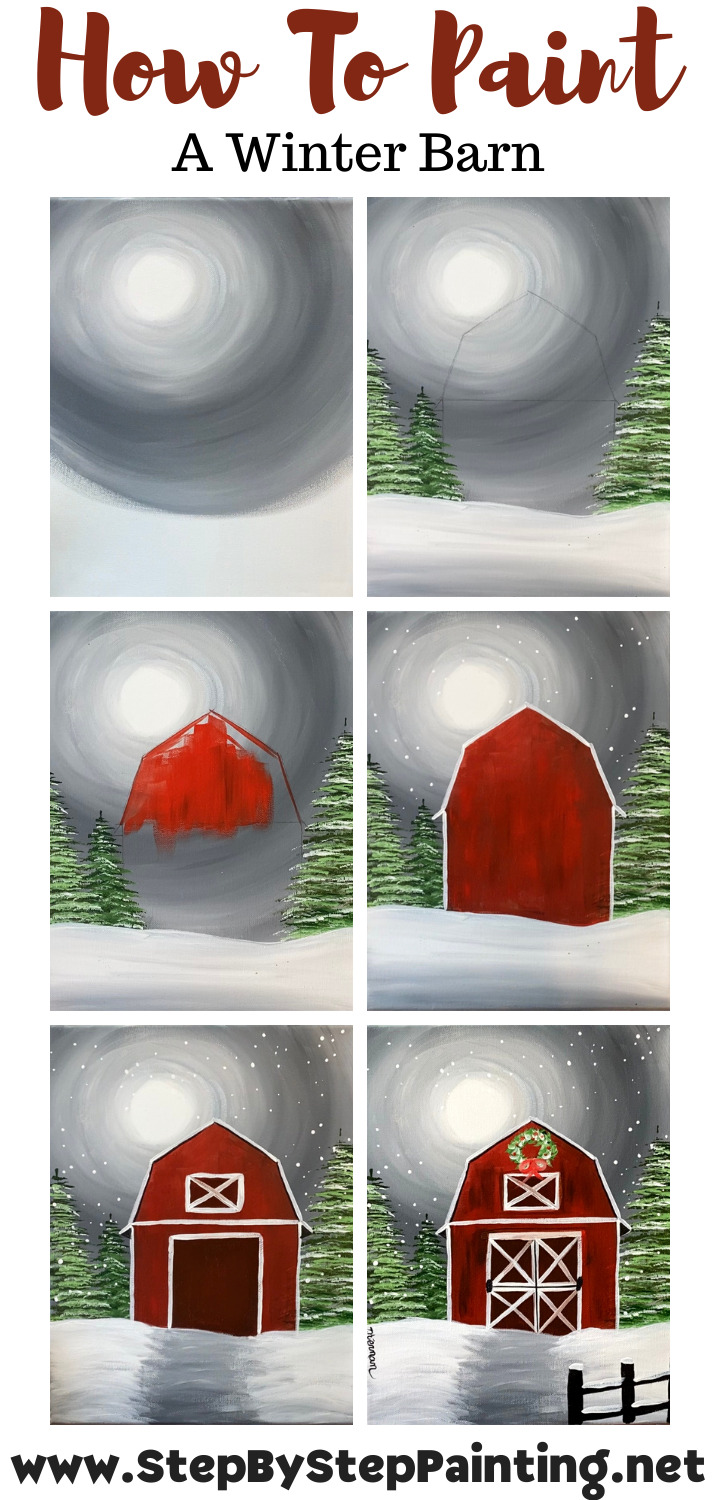
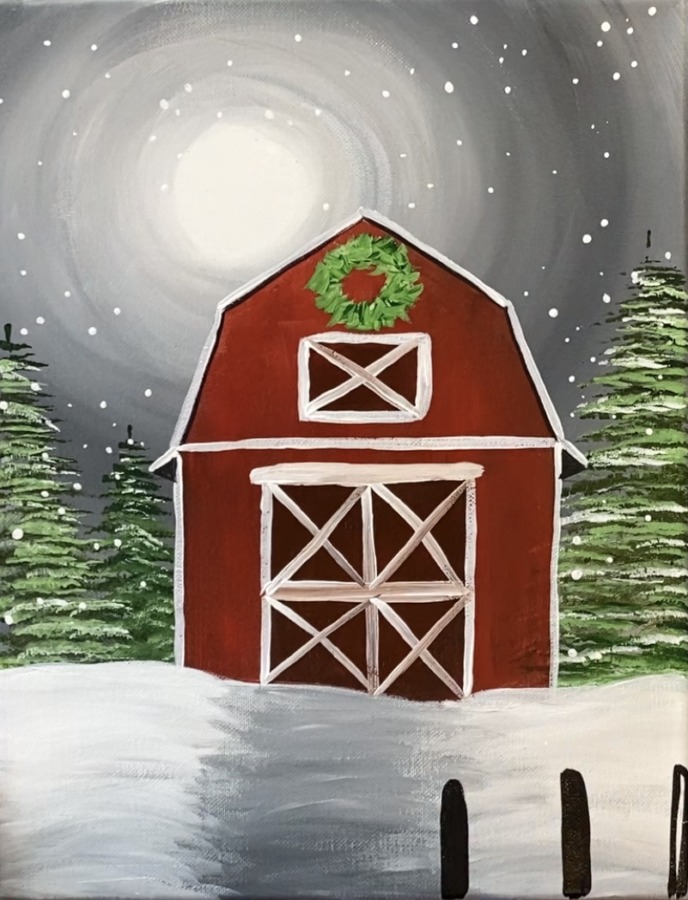
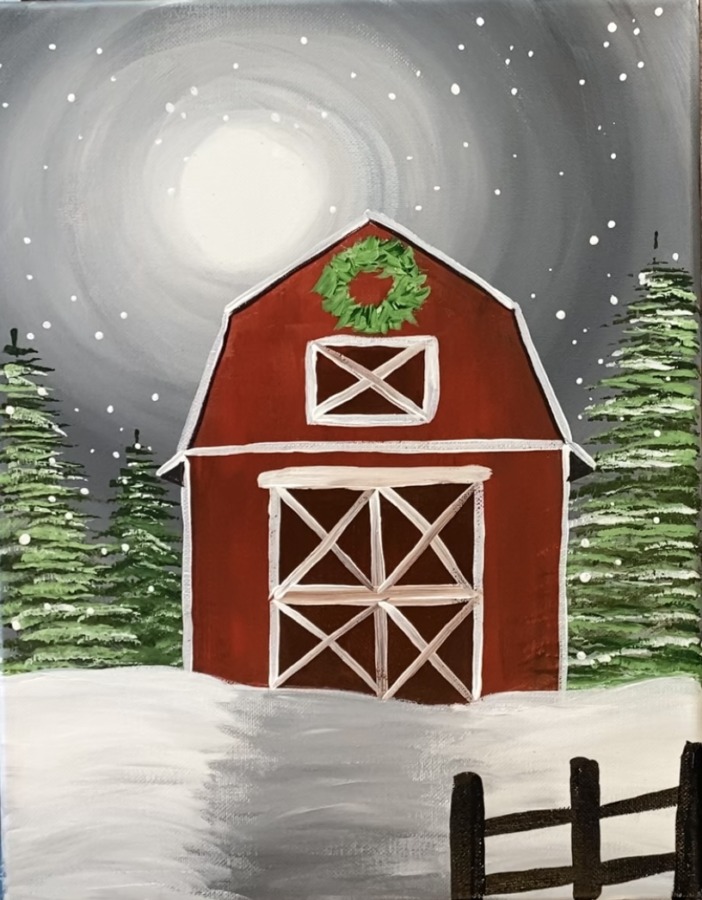
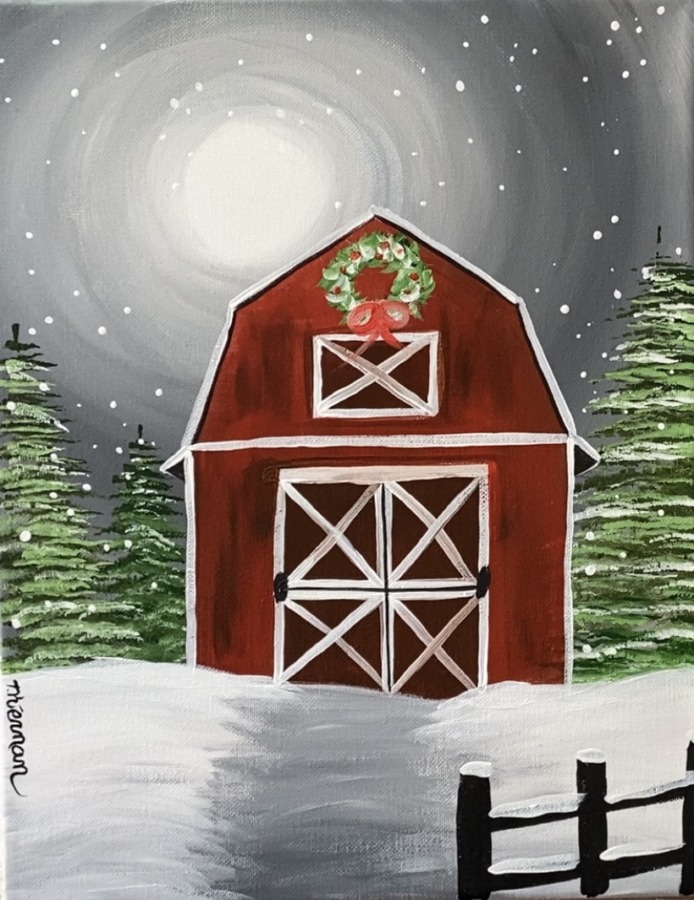
Learn how to paint an easy winter barn scene with acrylics on canvas. This is a beginner painting tutorial that utilizes only four acrylic paint colors!
I demonstrate this on an 11″ x 14″ canvas, however, the design can work on any size.
Enjoy and happy painting!
Enjoy and happy painting!
This post contains affiliate links.
Materials
How To Paint A Winter Barn
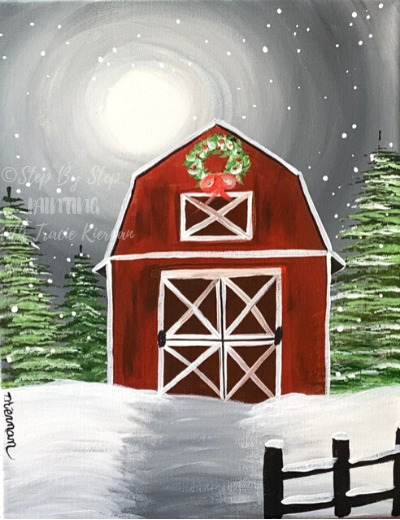
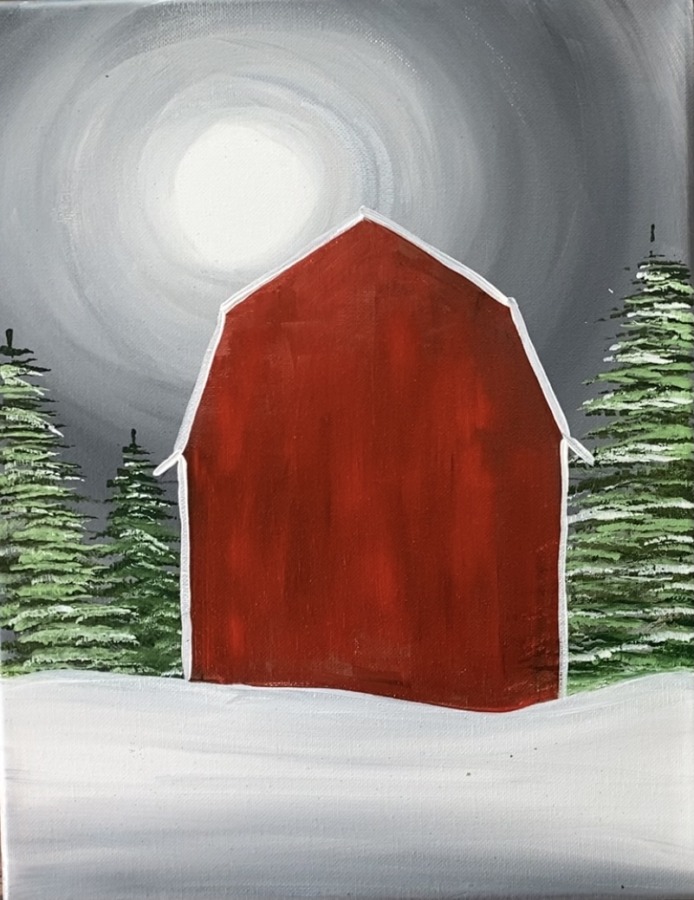
Learn to paint a beautiful red barn in a snowy, winter scene! This painting tutorial is demonstrated on an 11 x 14 canvas with only 4 paint colors.
Instructions
See tutorial for full step by step instructions!
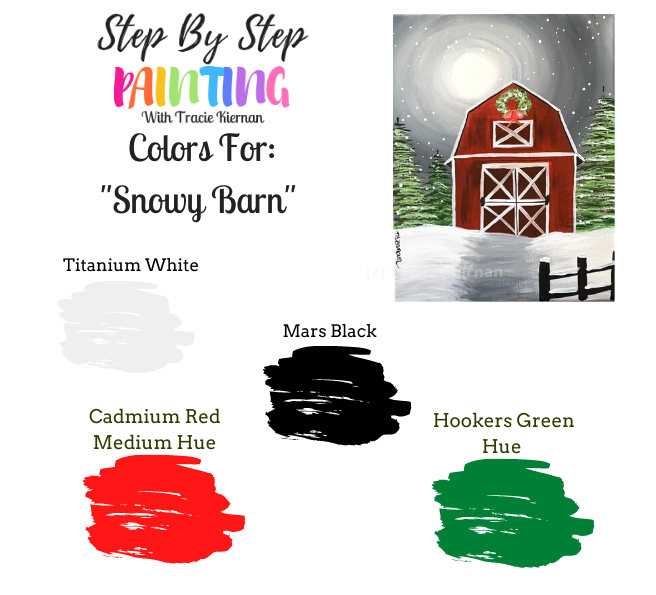
Color Palette
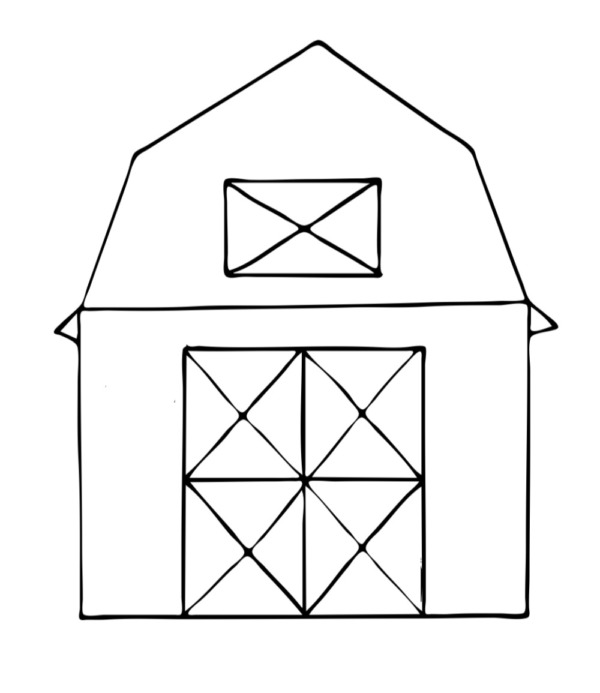
Traceable
This is optional! The barn is a fairly simply design to draw utilizing a ruler and a pencil. I will show you in the tutorial how to draw it. If you want to use the traceable, you are still welcome too!
Directions At A Glance
Video
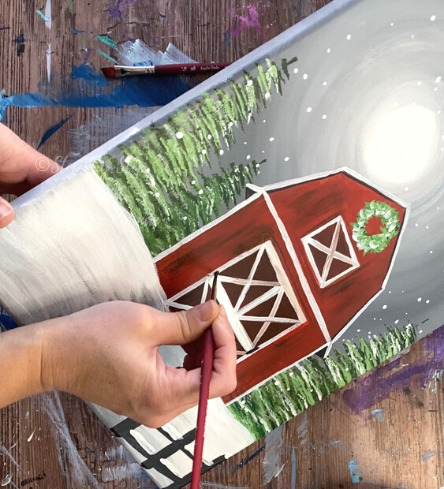
Step By Step Directions
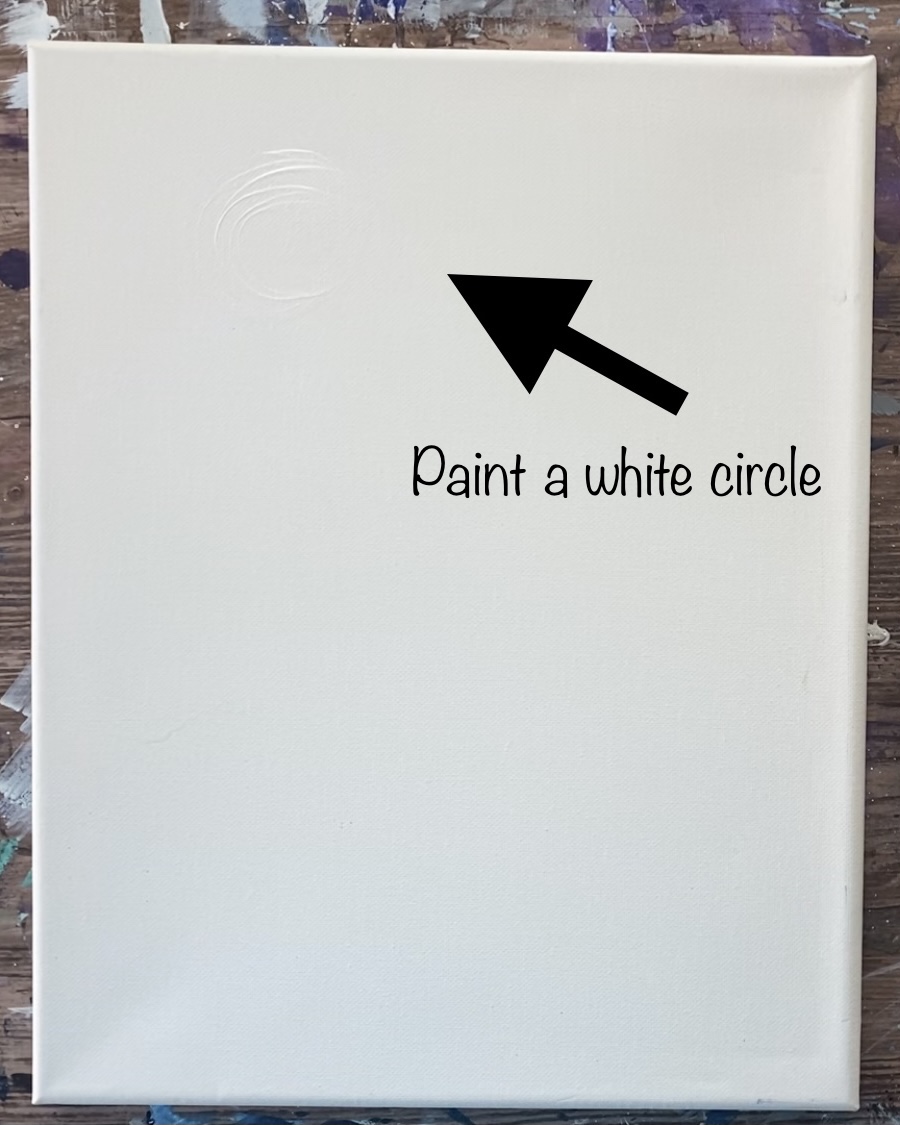
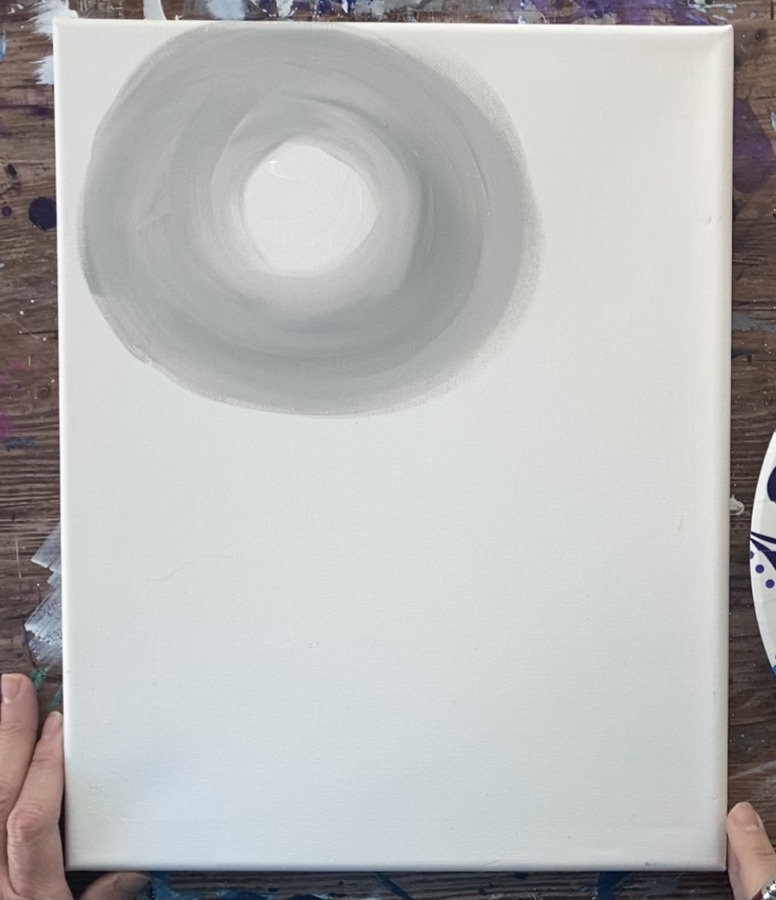
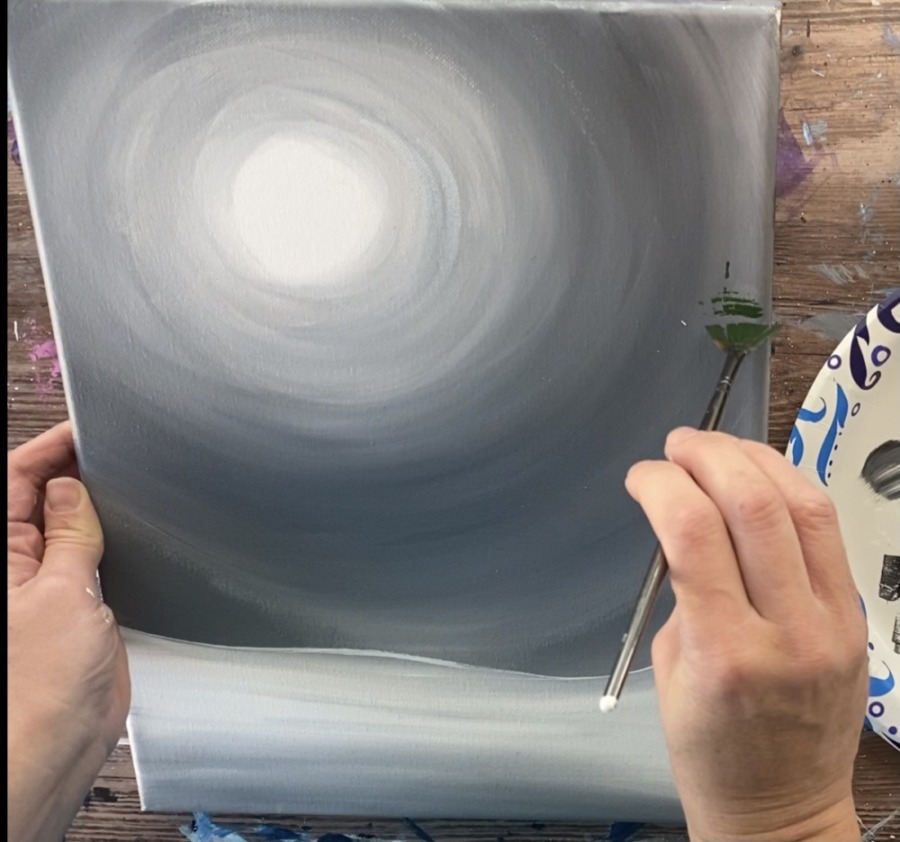
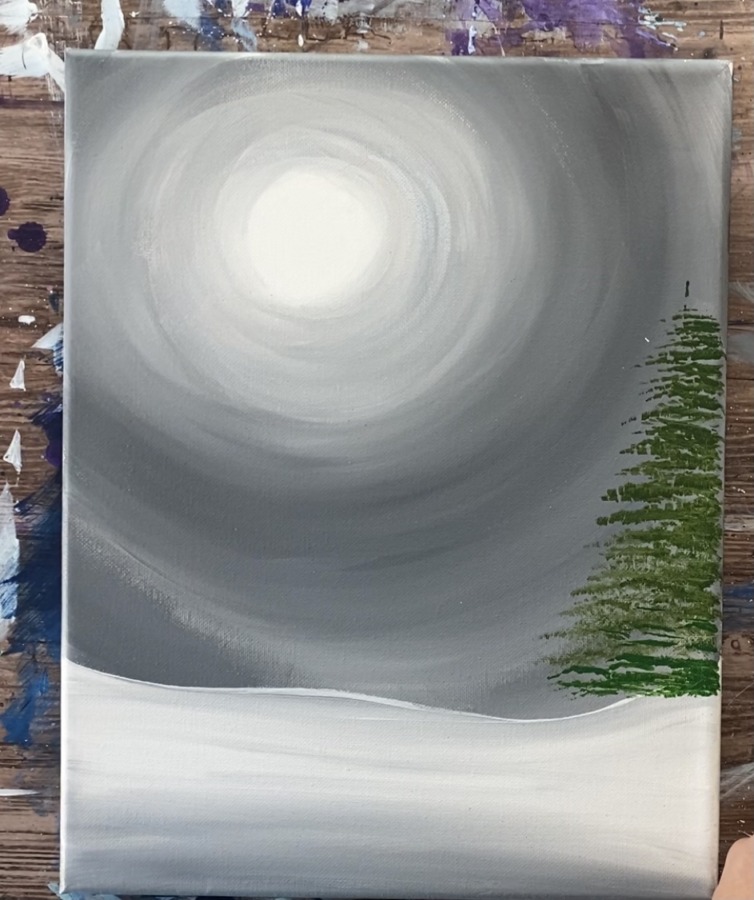
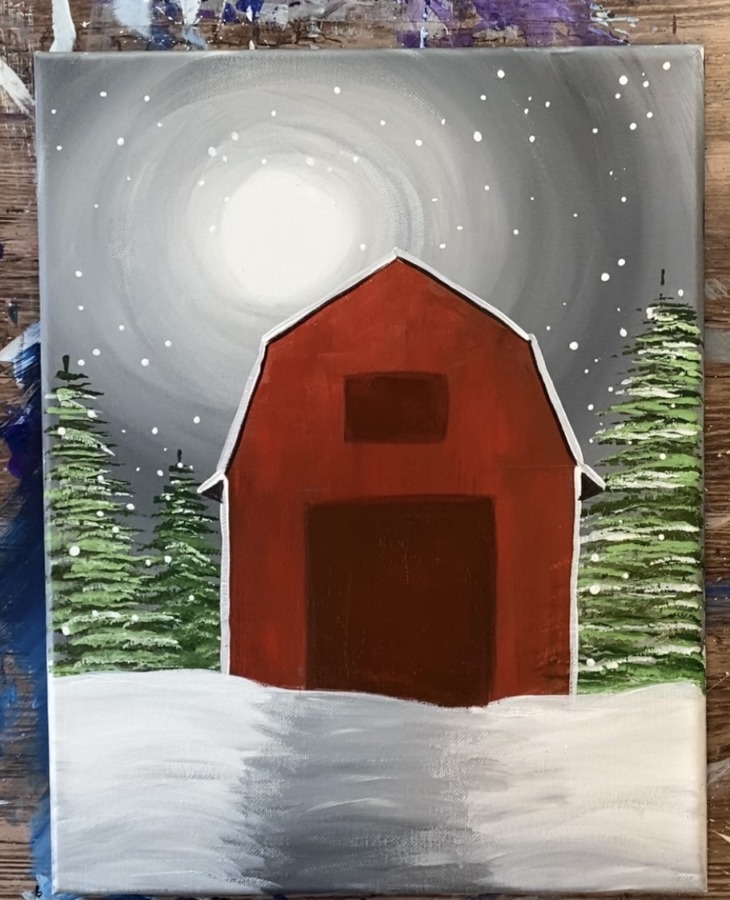
1. Paint the sky
Using titanium white and a 3/4″ Wash Brush, paint a white circle in the upper left corner of the canvas. Have it be offset to the right and down a little bit.
Then, before the white dries, load your (not rinsed) brush in a small amount of mars black. Mix it on your palette until it turns into a light gray colors.
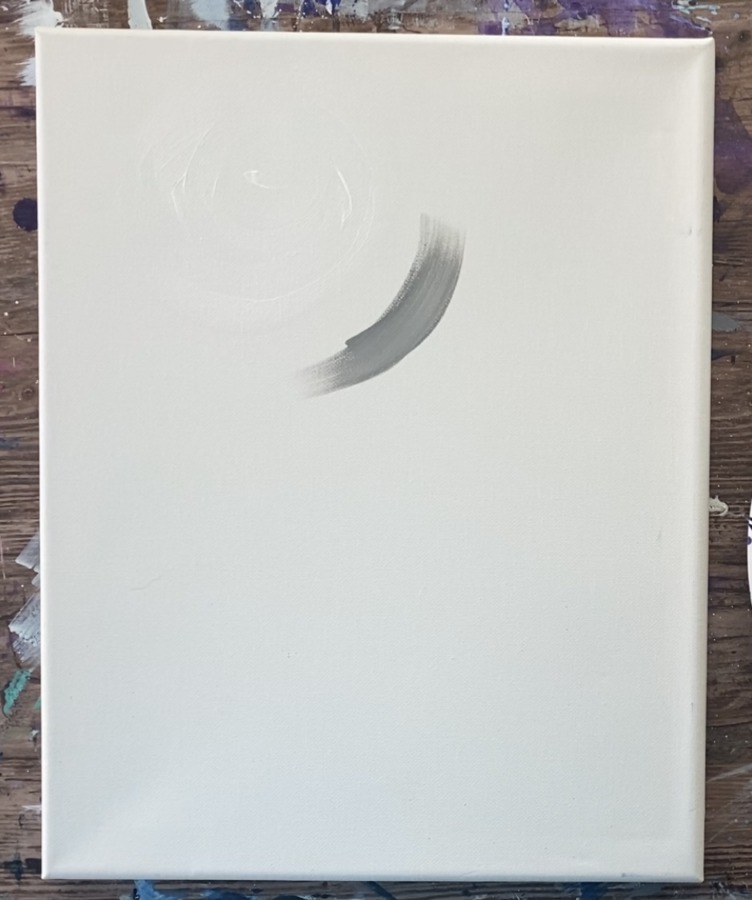
*Hint: if you have the color “neutral gray value 5”, it is the same shade of that gray.
Paint in circular strokes around the white circle. Start slightly away from the white circle and gently blend it in.
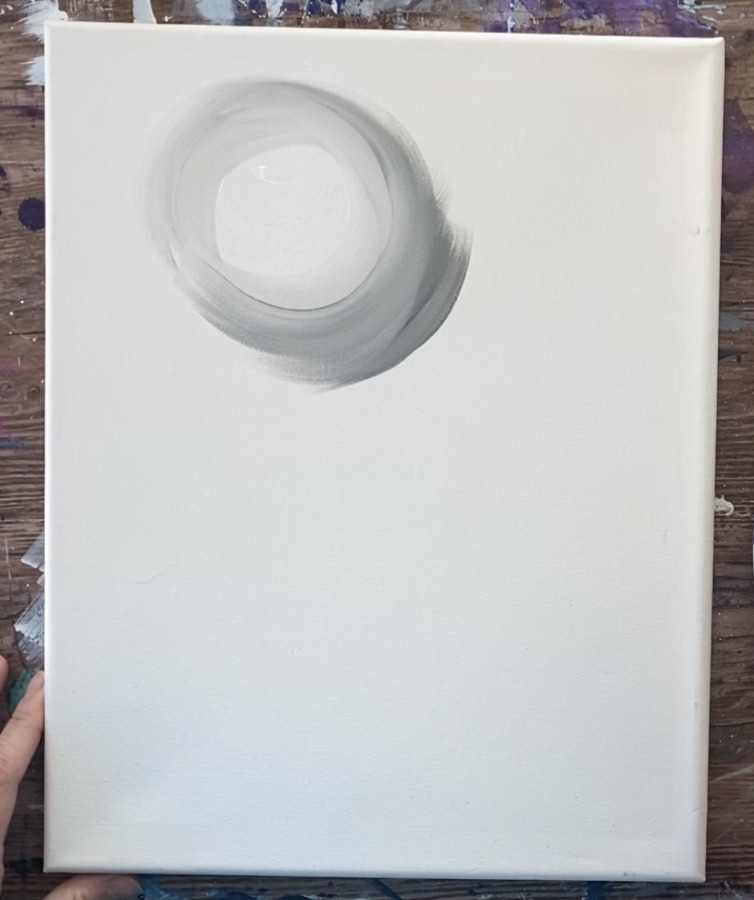
Load your brush in more light gray and continue to paint in circular strokes.

As you work your way outwards, gradually darken the gray by adding tiny amounts of black to it. (It may be best to mix it on your palette first if you are not comfortable with “on canvas” blending.
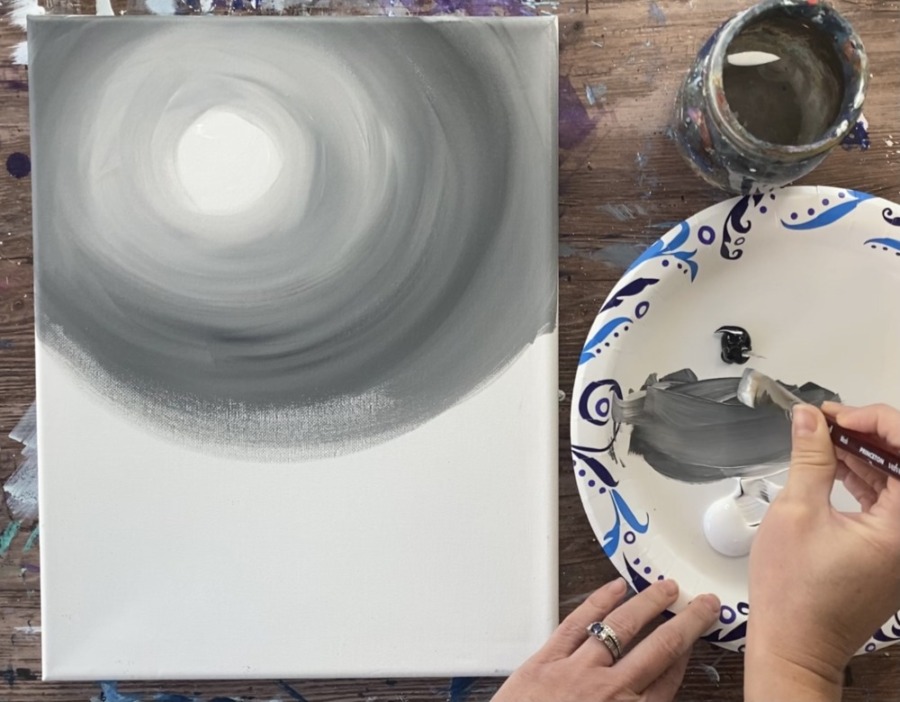
Continue to paint gray around the circle. Go all the way to the edge of the canvas. Try to get the gray to be darker (but not completely black) as you work your way to the edges of the canvas.
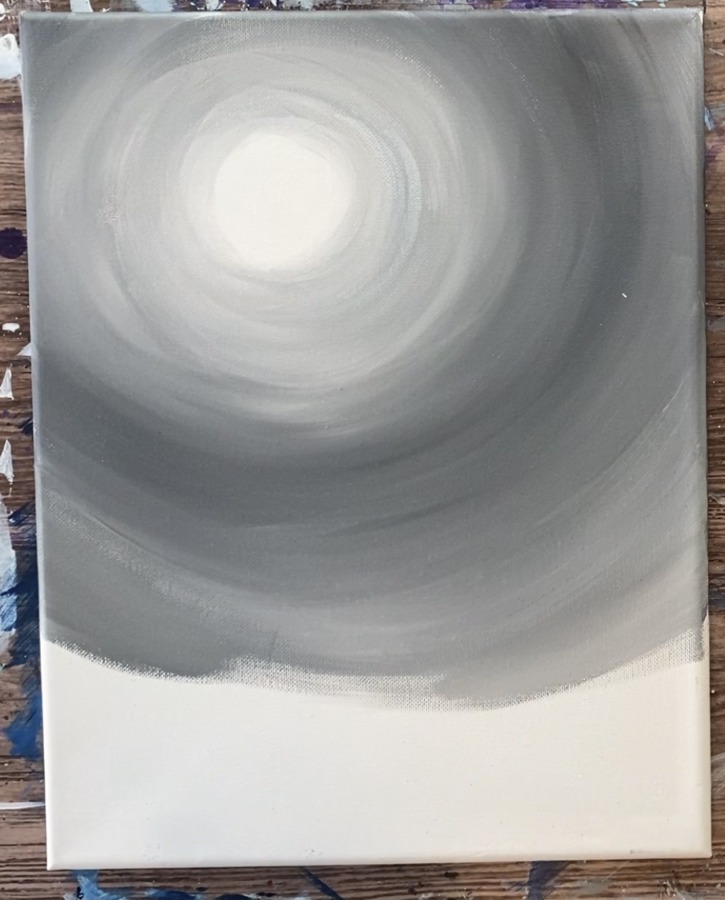
Leave an area on the bottom blank (about 1/3 of the canvas on the bottom).
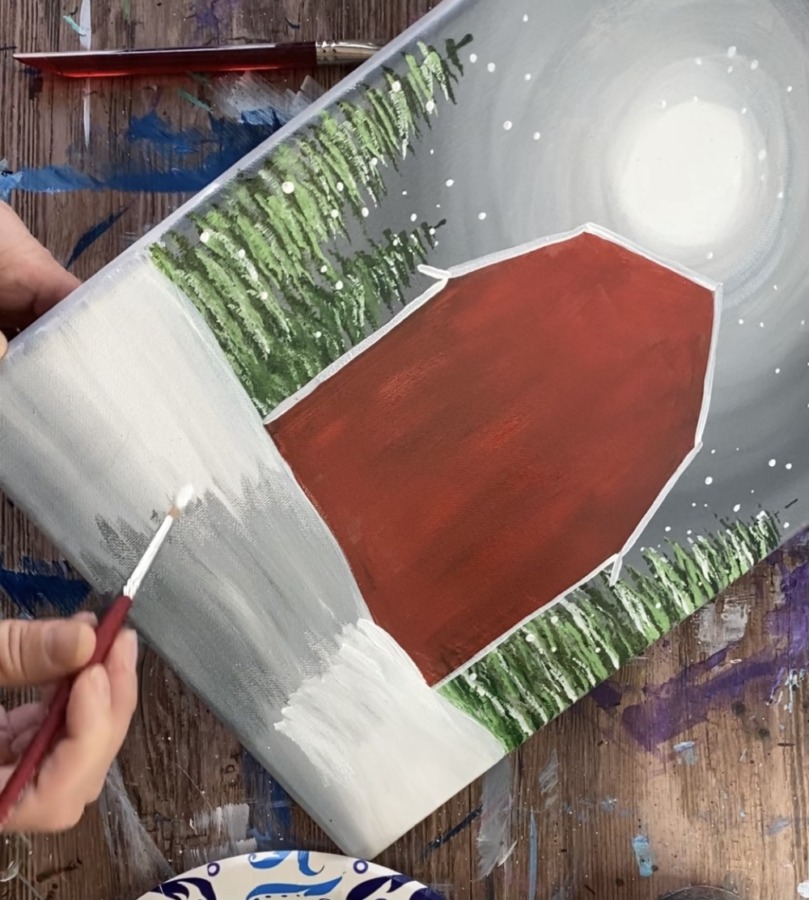
2. Paint the snow on the ground
Completely rinse and dry your 3/4″ wash brush.
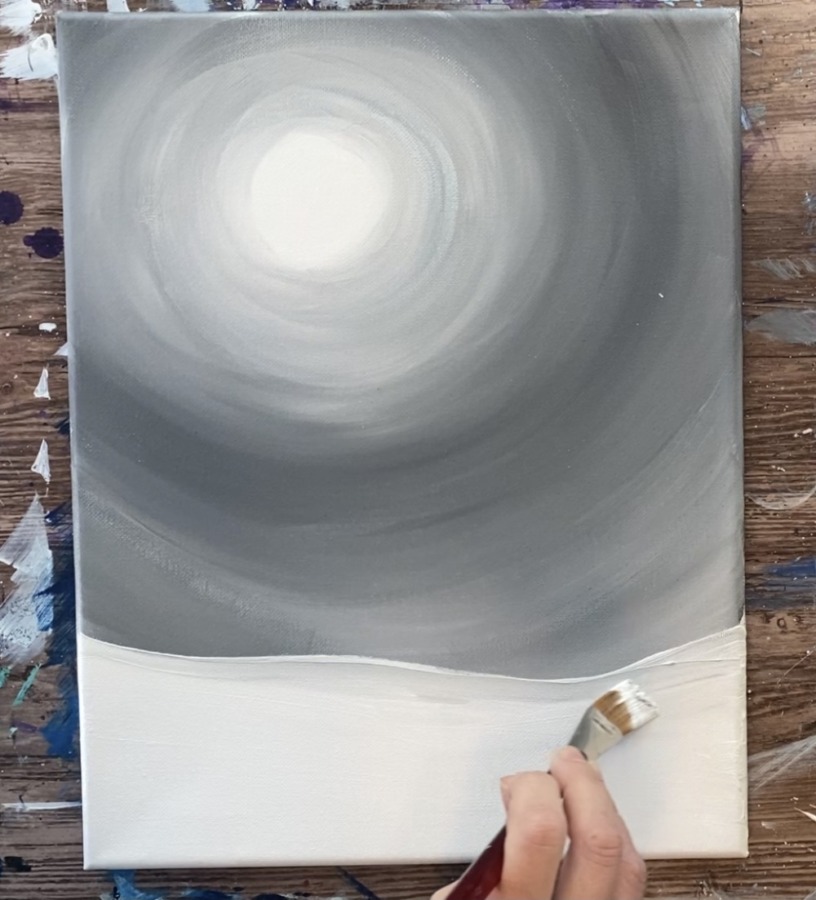
On the bottom of your canvas, paint a snow area. Overlap some of the gray so the horizon line area is not flat but is wavy.

Then before your white dries, add a little bit of light gray on your brush and add it to the bottom of the canvas.
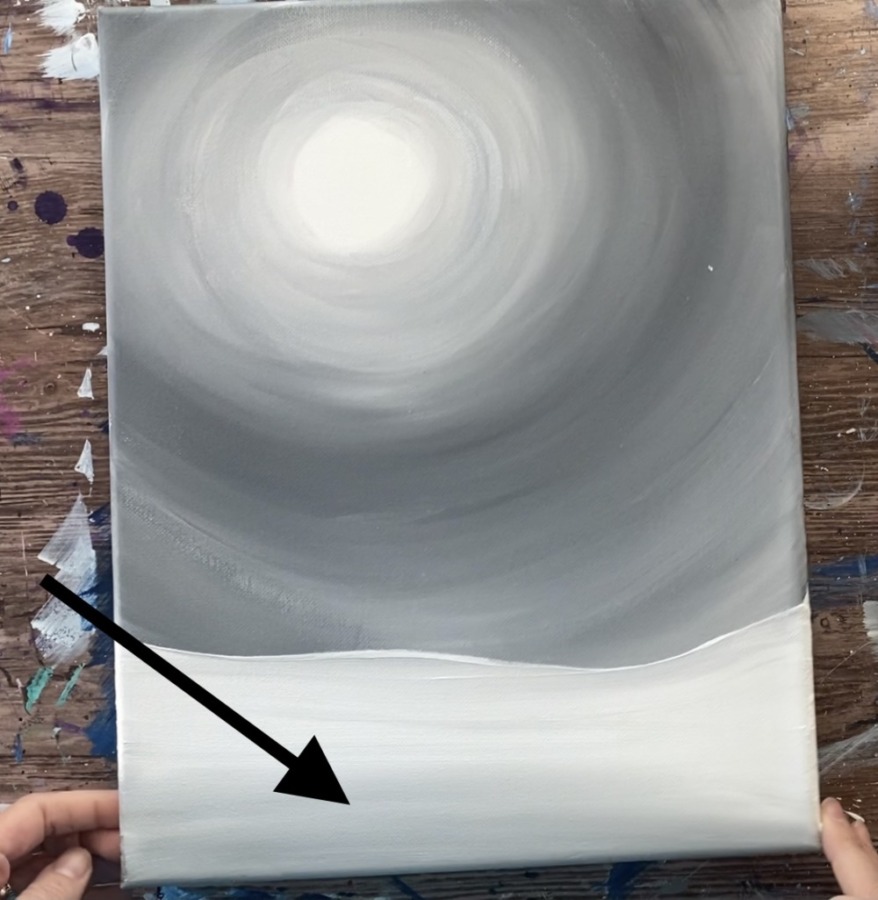
Blend the light gray up into the snow. This creates some “depth” in your painting.
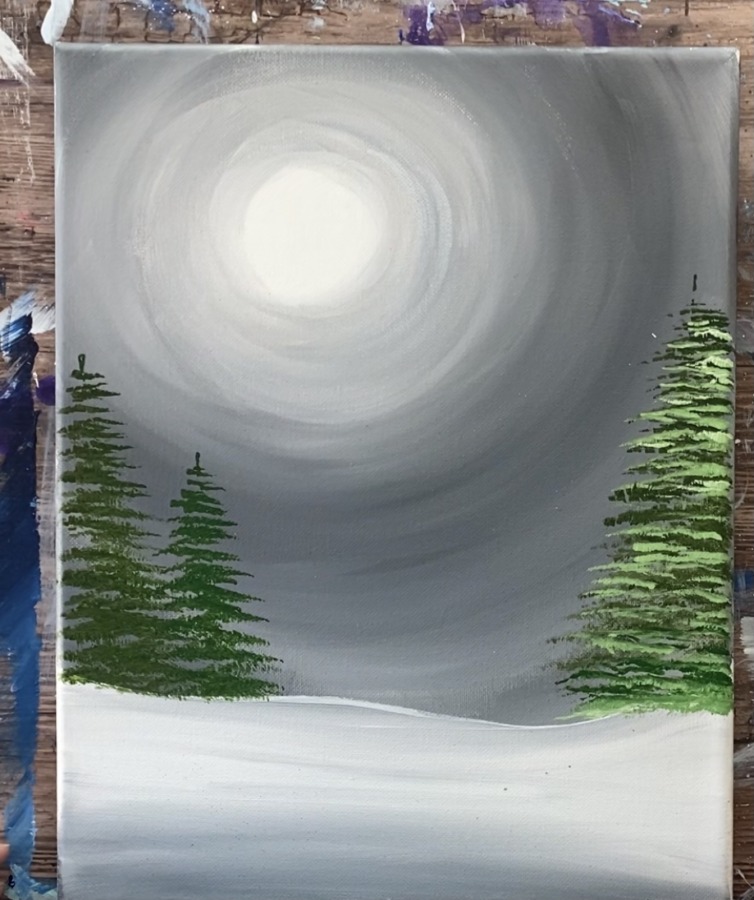
3. Paint the trees using a fan brush.
If you need to work on your fan brush trees, check out my “How To Paint A Tree With A Fan Brush” or “How To Paint Snow Trees” tutorials!
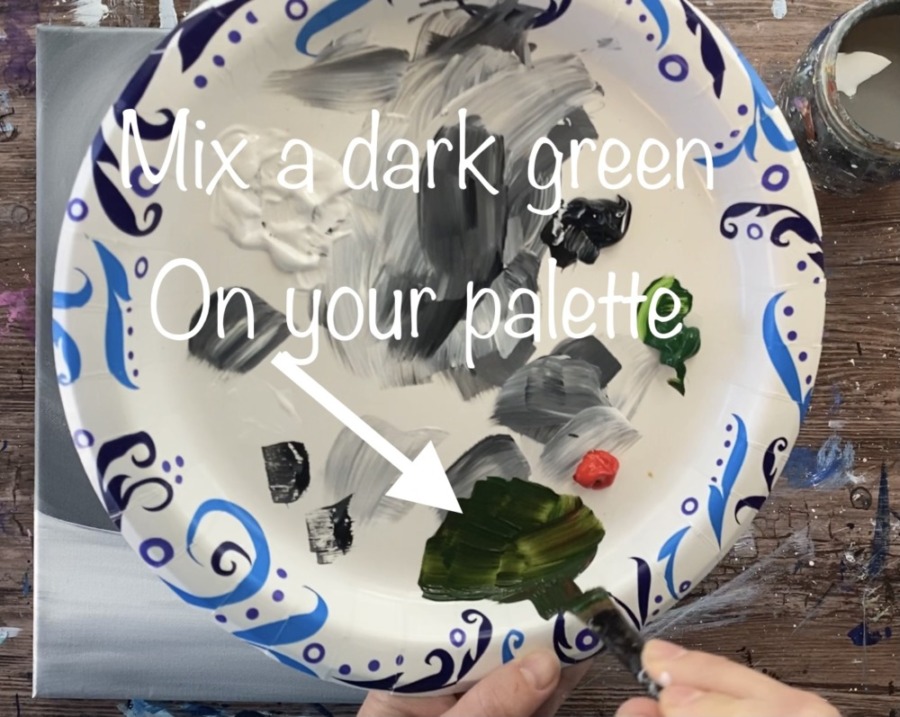
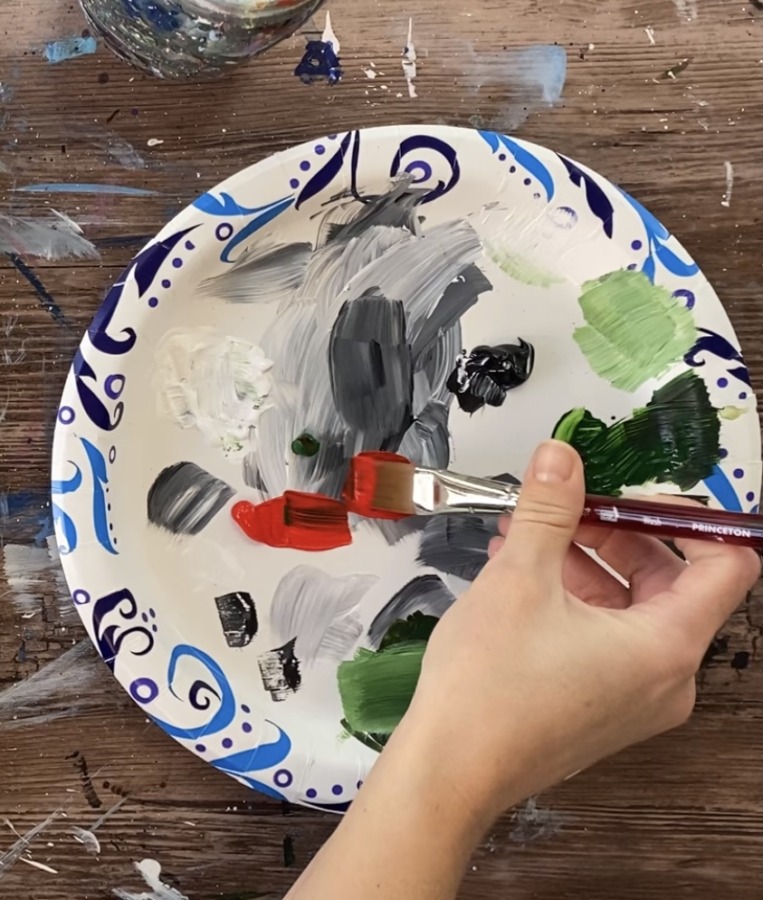
First mix a dark green on your palette by mixing 3 parts hookers green and 1 part cadmium red. The red and green mix together will make a dark green.
Note: if your color turned brown, you added too much red. Add more green to it.
Start on the right side of your canvas at the top. Make a little vertical mark to represent the top of the tree.
Then use the tip of your brush to stamp the tree working in zig-zag motions down to the bottom.
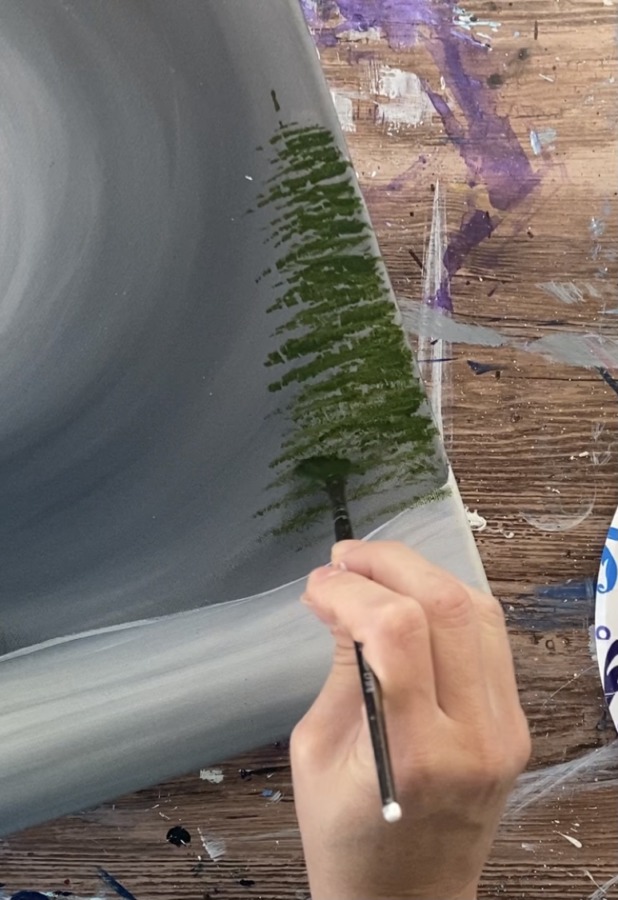
Form the shape of the tree until it turns triangular shape. Go all the way to the snow hill, overlapping it a bit. (Later on I painted the snow hill over the trees to make it look like they are behind it.)
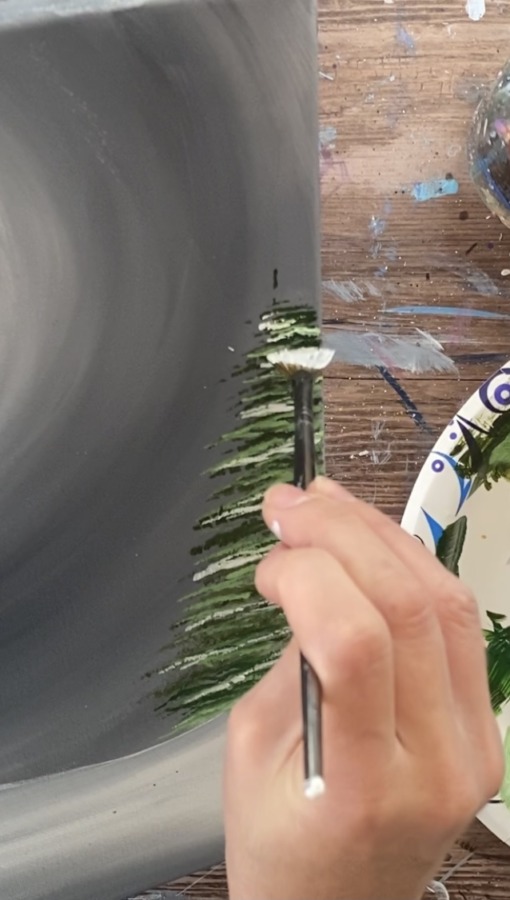
When you are done forming the shape of the tree, mix a lighter green on your palette by mixing some white into the dark green color.
Use your fan brush to “stamp” over a second layer on the tree. This time it will appear lighter.

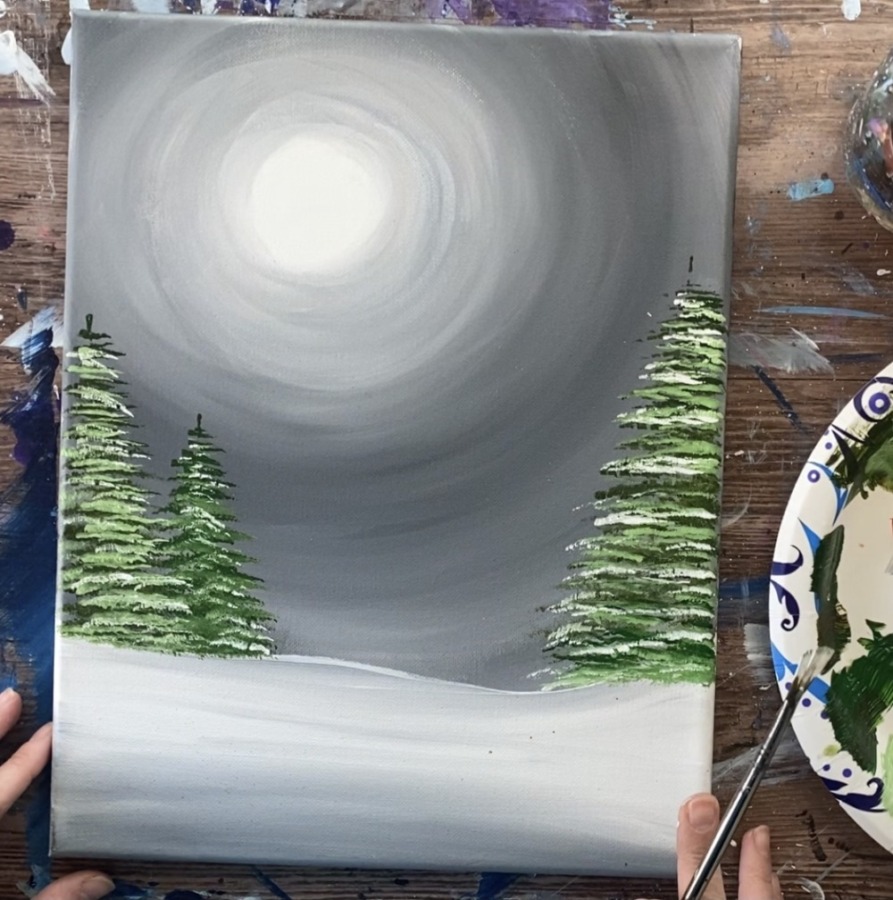
Paint 3 trees (or more). Remember that the center will be your barn so it won’t be necessary to paint trees in the middle.
If you want, you can also do another layer with just white. Rinse your brush completely and add just the white to it. This will make the final layer look like there is pure white snow on the trees.
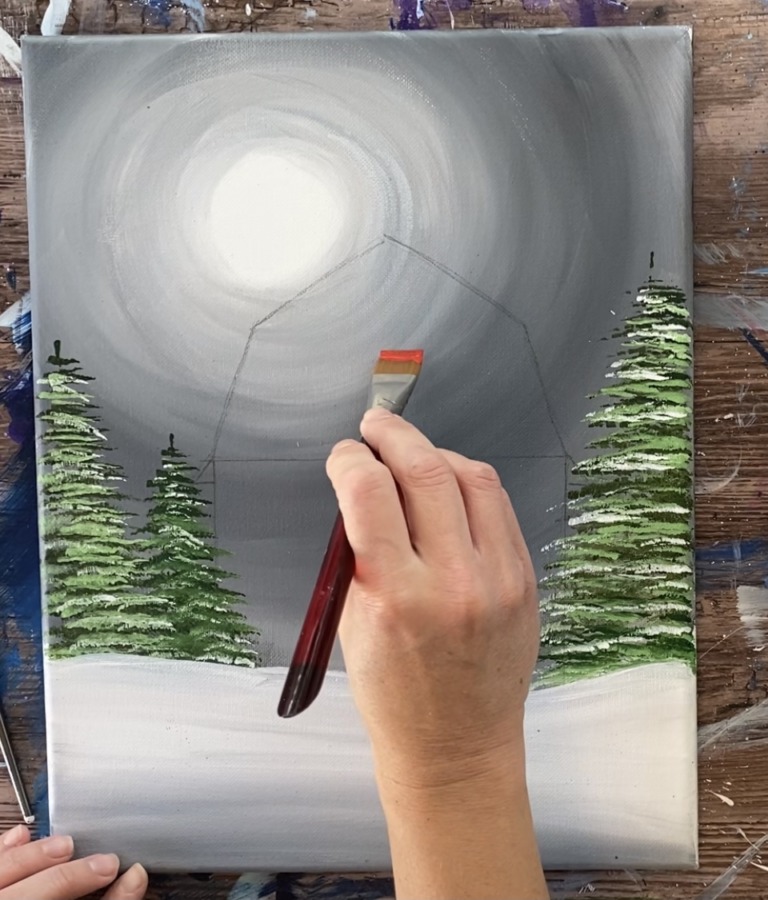
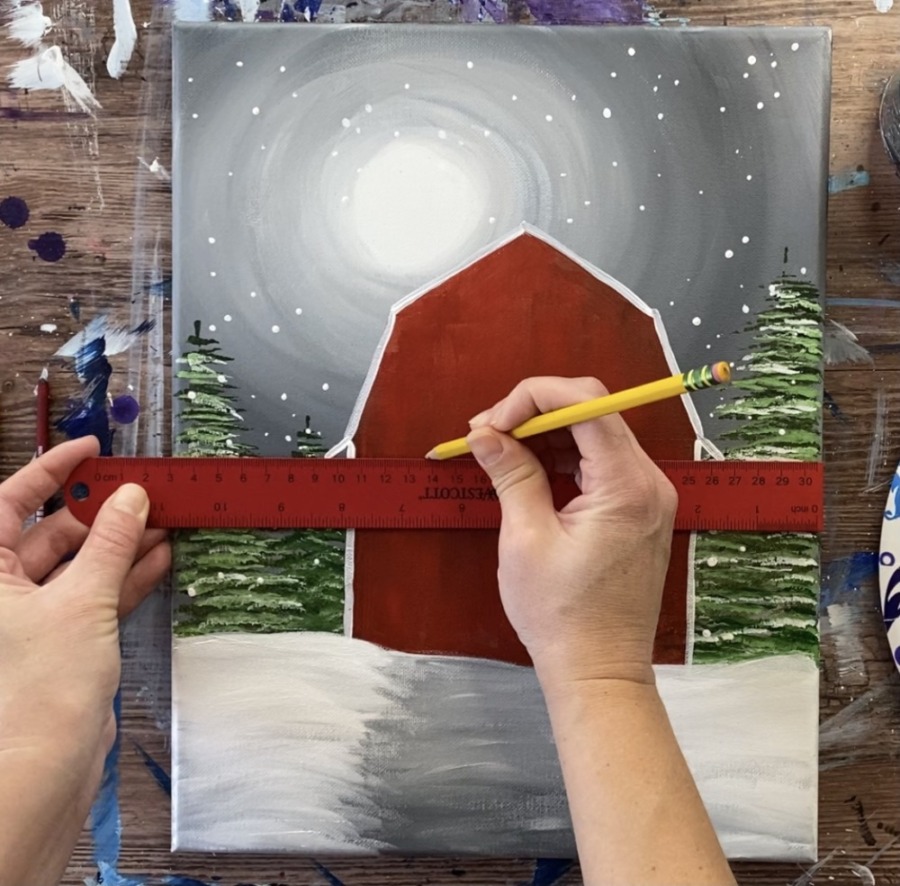
4. Draw the barn
Make sure your painting at this point is dry (use a blow dryer or wait an hour for it to dry).
Then use a pencil and ruler to draw the barn.
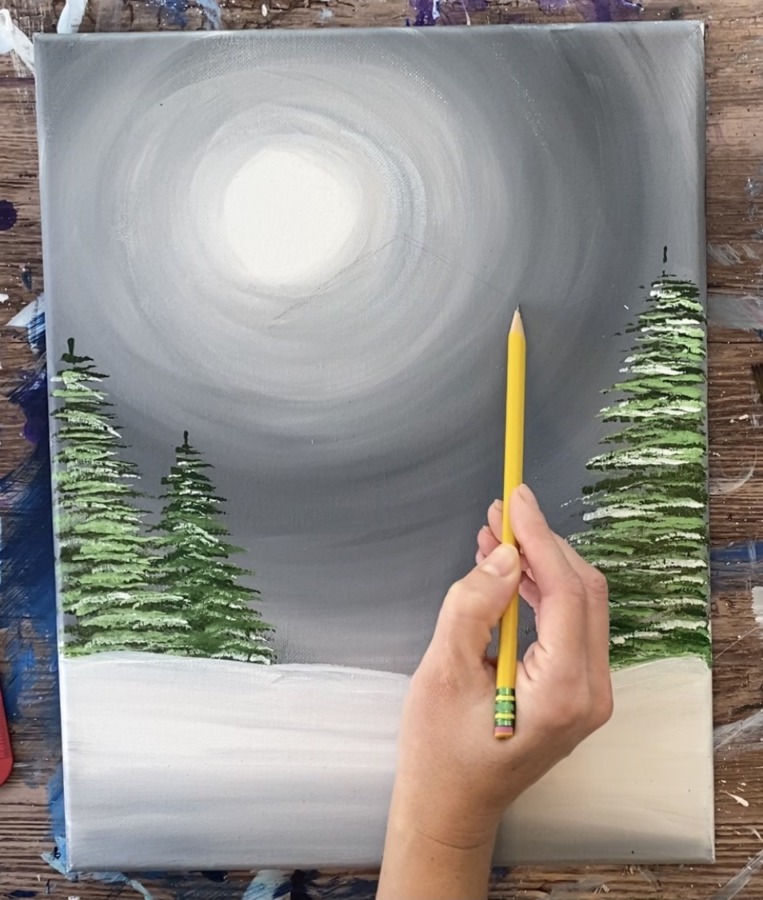
Start at the top, just under your moon (or sun). Draw the triangular roof shape. This is not a 90 degree angle, it is opened at an obtuse angle.
Then draw two more lines that go diagonally down. These are not vertical lines.
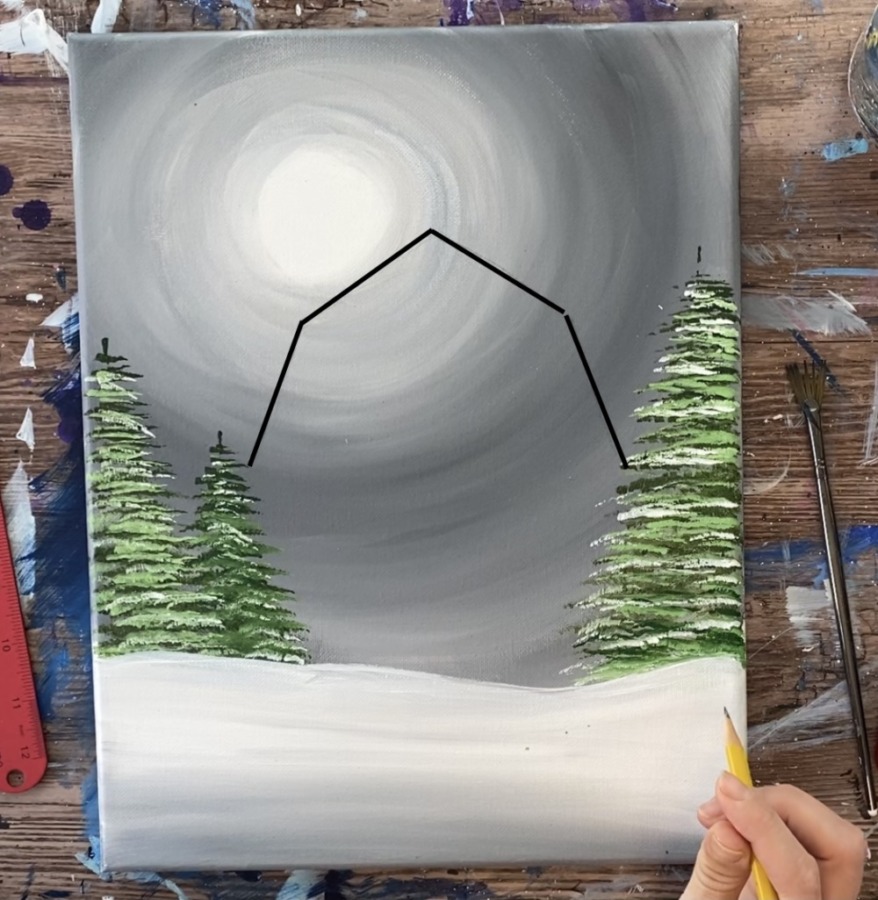
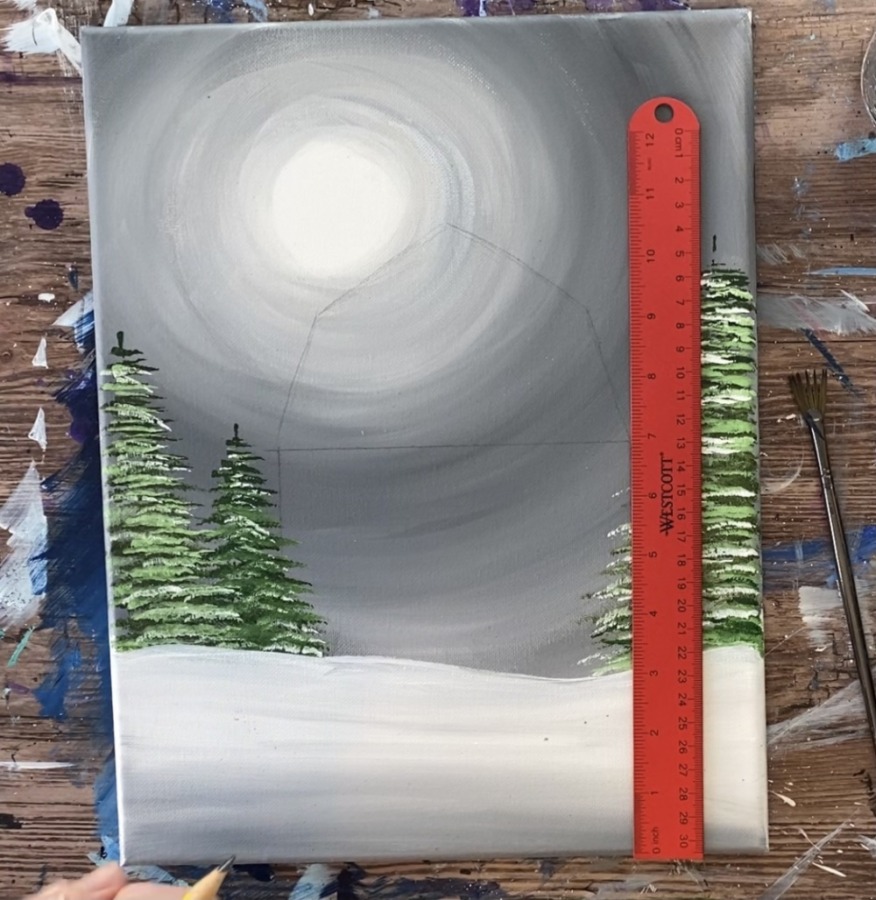
Use a ruler to make sure the lines are even. Draw a horizontal line across.

Then draw two vertical lines that go all the way to the snow.
Draw the eaves of the roof. These two small diagonal lines flare out a bit.
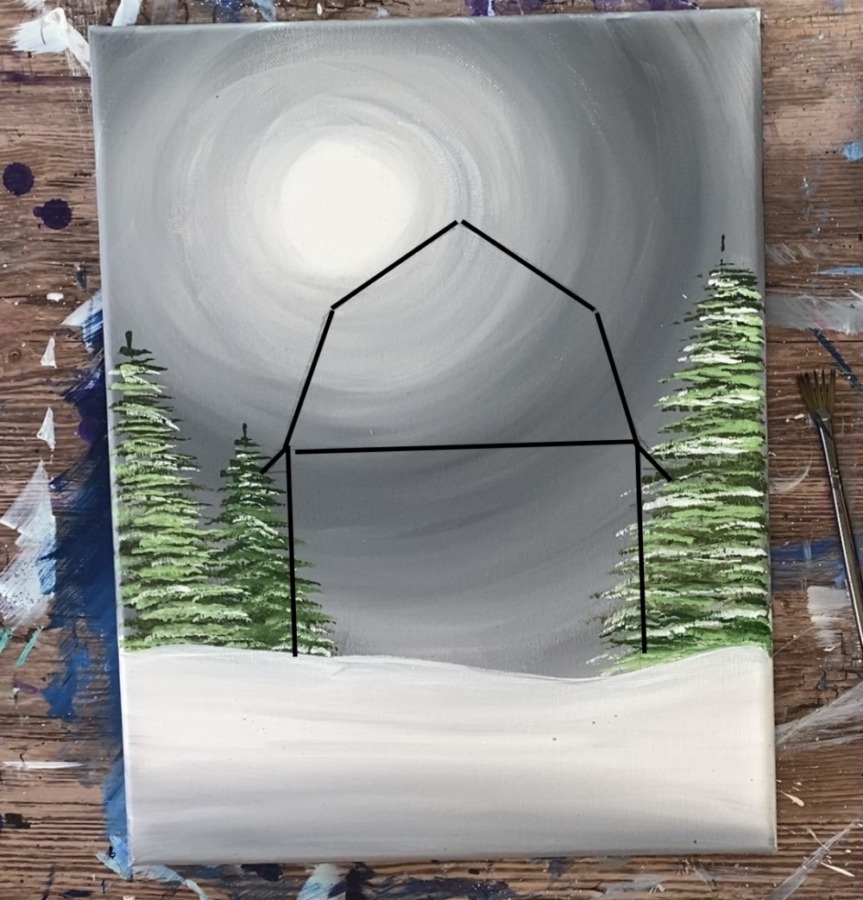
That’s it for the drawing portion!
5. Paint the barn red
I used the colors cadmium red medium and a little hookers green to make the red darker/ more rustic looking.
Mix on your palette about 4 parts red, 1 part green.
Use your 3/4″ flat wash brush to paint the entire barn shape. Try to make all your strokes go up and down (although you can outline the inner edges).
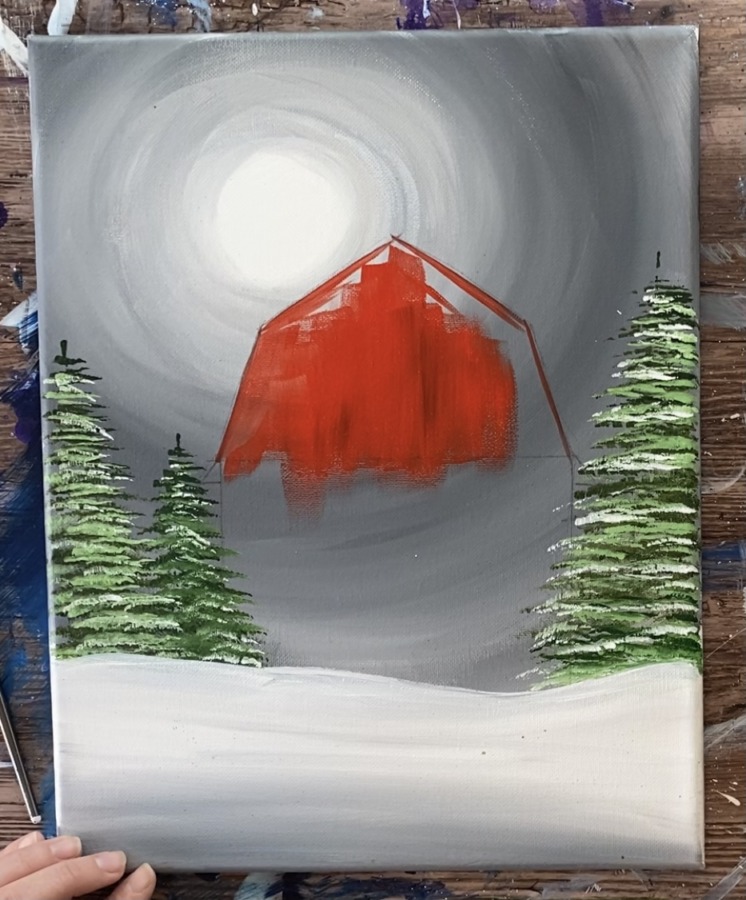
To give it more of a rustic look, add a few streaks of darker red into the barn. Simply add a tiny bit more green into the red to get this effect.
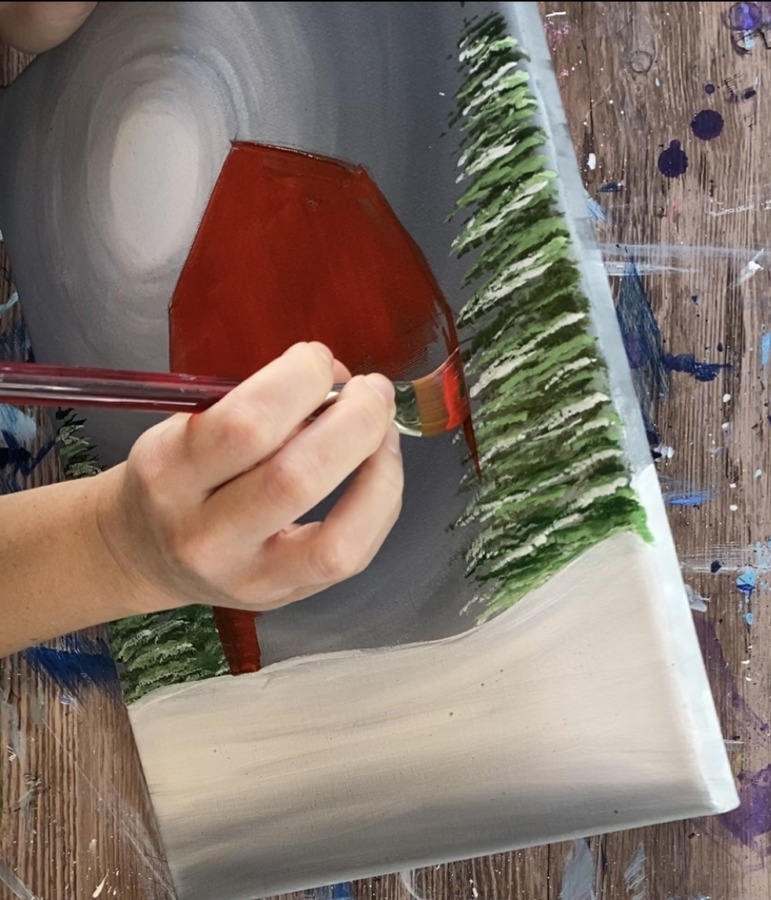
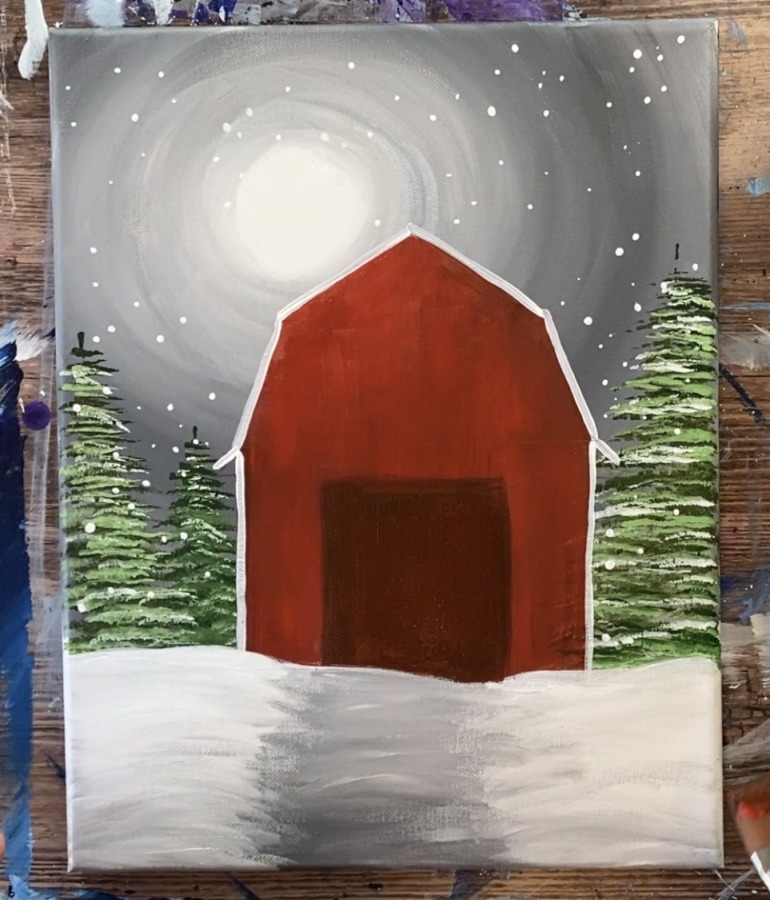
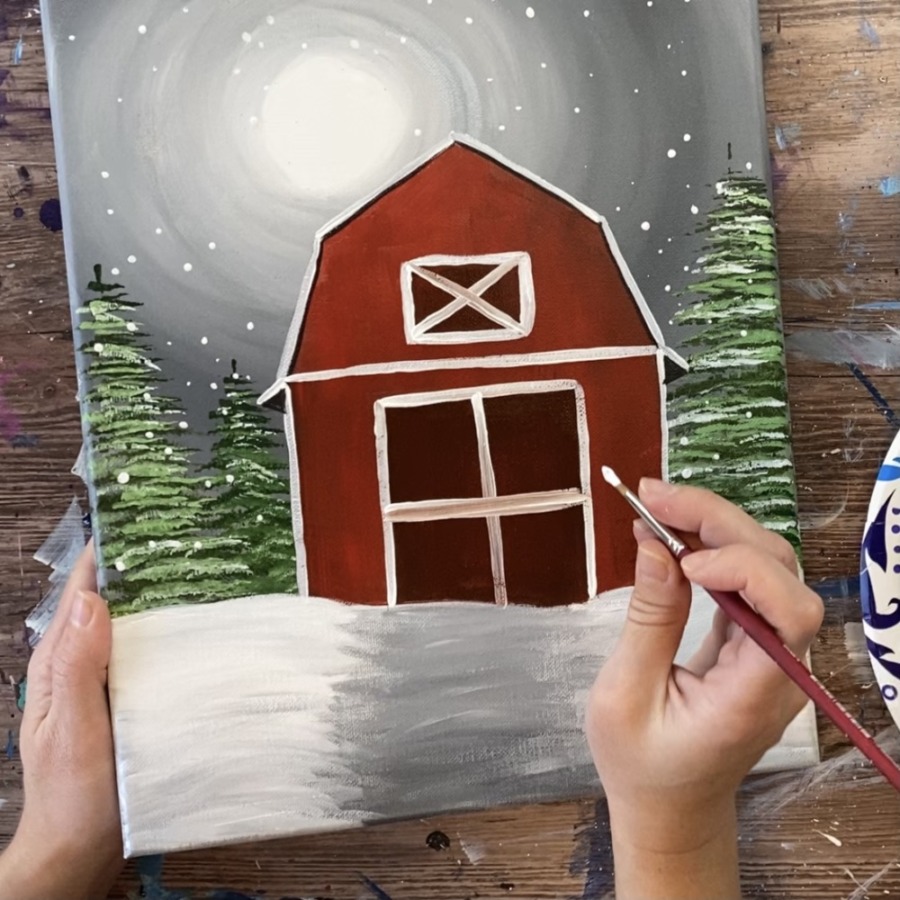
6. Outline the barn
Use your 4 round brush and titanium white. Outline the roof and the vertical sides of the barn.
Also make the bottom left and right edges of the roof flair out a bit at an angle.
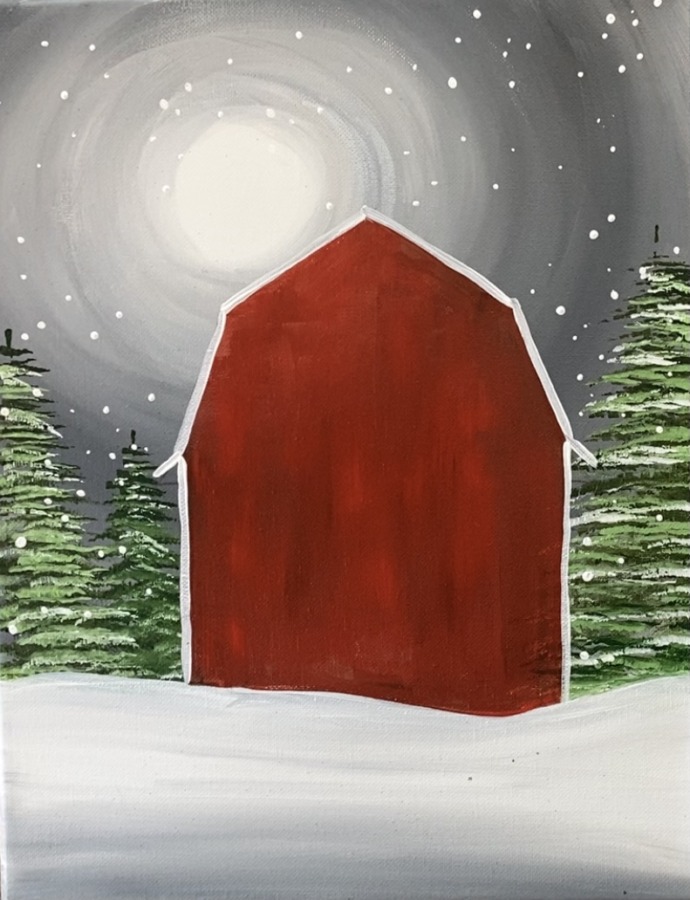
7. Paint snow
Use your round brush and titanium white to paint snow. Paint little white dots all over the sky. You can also use the back of your paint brush to paint dots.
Paint all different sizes of the snow. Some dots are larger, some smaller. Some are in clusters together and some are more spread out.
You can even have some snow dots overlap some of the trees.
8. Paint a path
To do this path, mix a light gray on your palette (3 parts white, 1 part black).
Slightly water this gray down.
Use your 4 round brush to paint left and right strokes going to the bottom of the canvas.
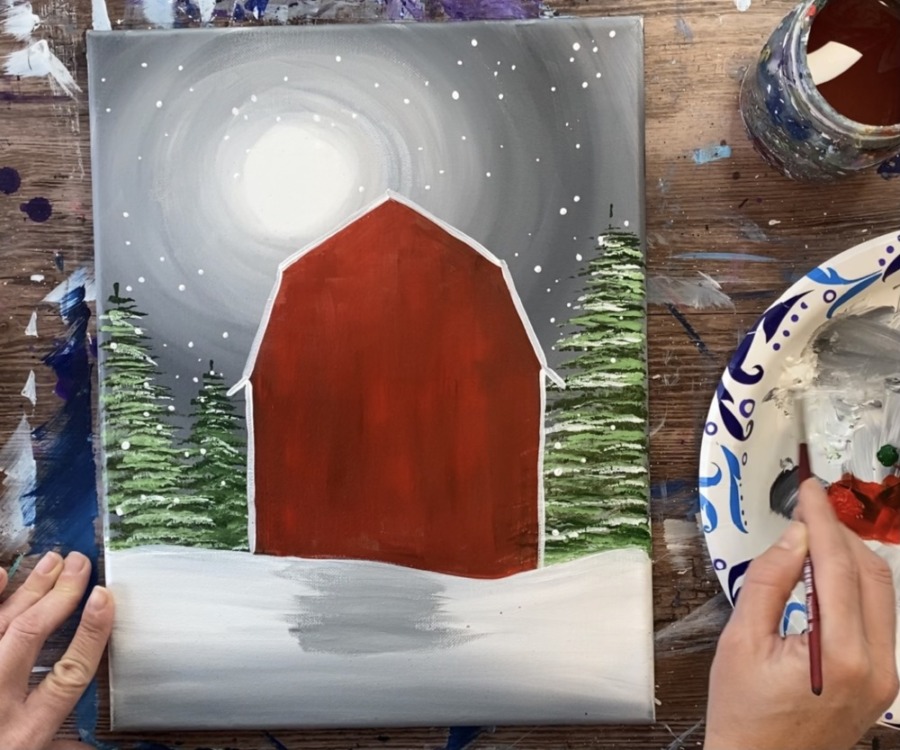
Then grab more white on your brush and have some of the snow on the left and right of this path over lap it a bit. Paint in slightly curved strokes to make the snow look “lumpy”.
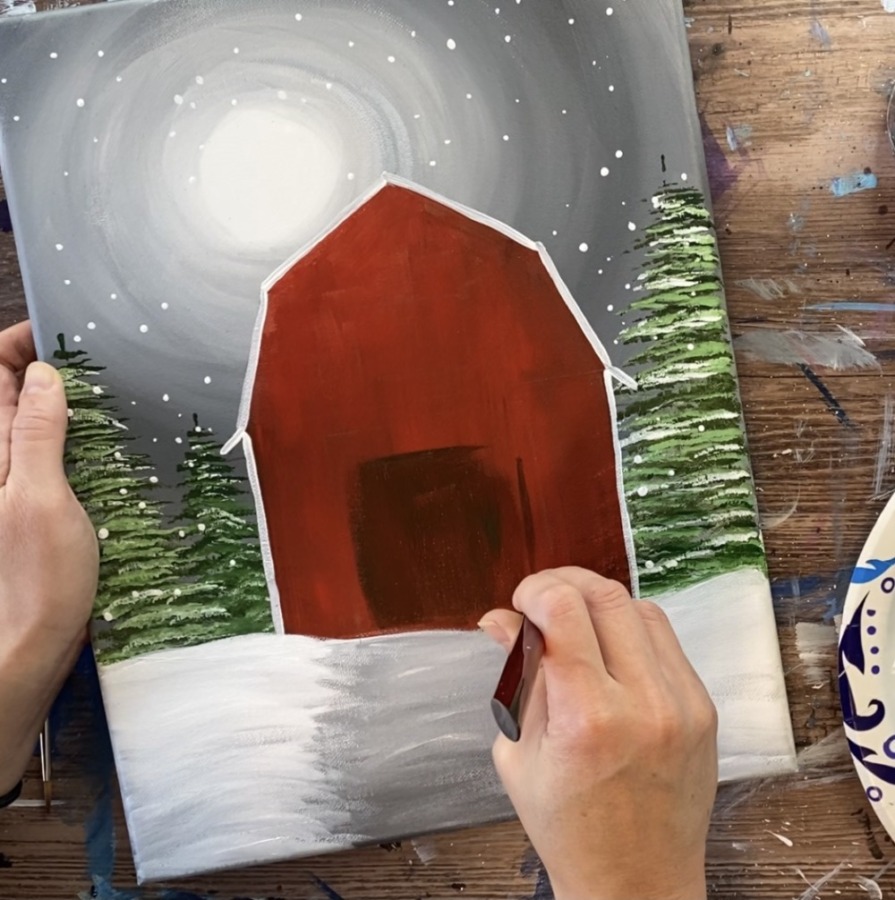
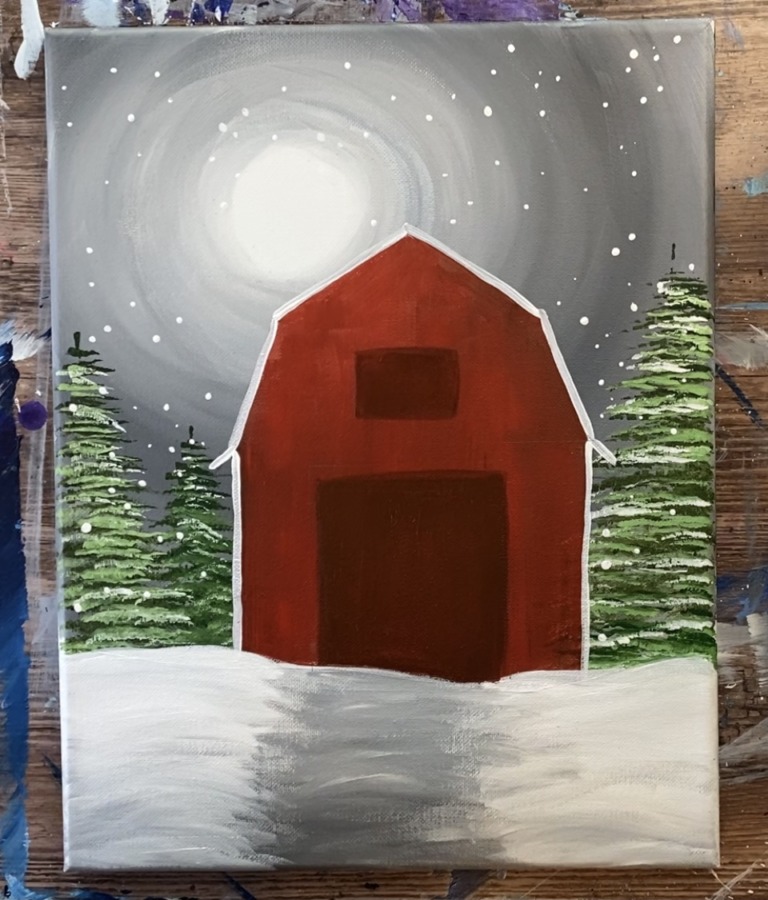
9. Paint the barn door & window base color
Use your ruler and pencil to draw the barn door and the window. The barn door top is just below the bottom horizontal edge of the roof.
The window is a rectangular shape with the width smaller than the width of the door.
Mix on your palette a really dark, almost brown shade. Mix about equal parts green and read to achieve this color. It should be darker than the barn color.
Use your 3/4″ wash brush to paint the barn door and window with this dark red/ brown color.
Tip: to get the lines on the side, you may find using the 3/8″ angle brush to help you “cut in” and get that vertical/ horizontal edging.
10. Paint the eaves of the roof & outline inner part of trim with black
Use a 4 round brush and mars black. Paint the area that hangs off the sides. These lines also go downwards at a slight angle.
Also paint a thin black line under the white trim.
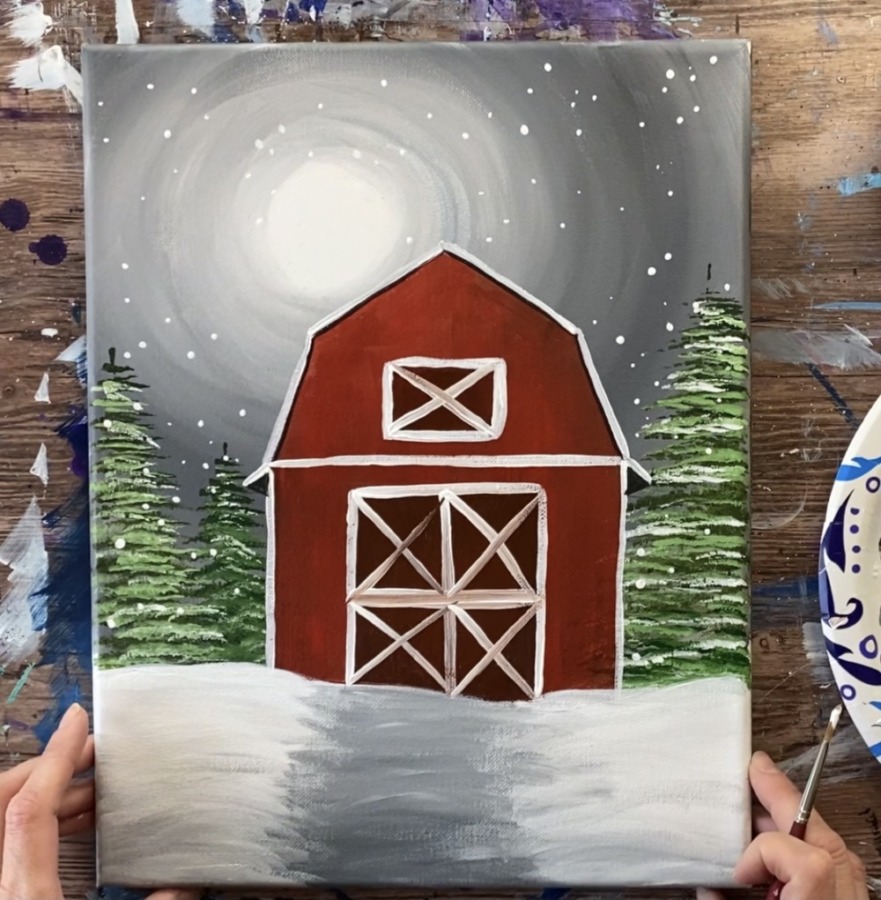
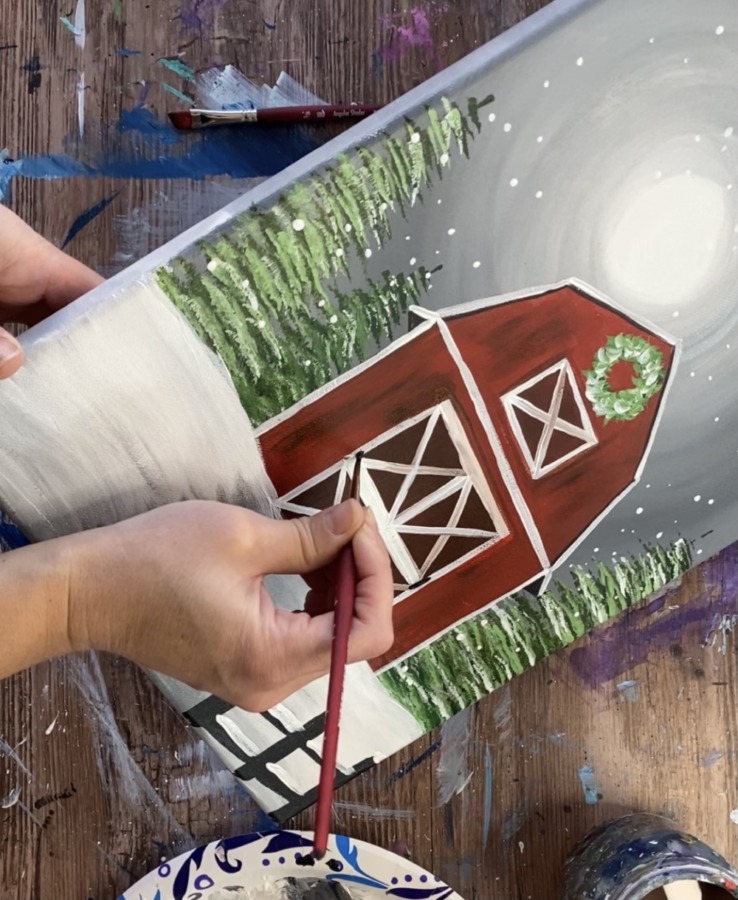
11. Paint the trim of the barn/ windows and door.
Use your #4 round brush and titanium white to outline the top horizontal edging of the barn over the barn door.
Then outline the window and paint an “x” on it.

Outline the barn door then divide it vertically and horizontally. Paint an “x” in each of the squares.
My white kind of mixed with the brown in the door a bit but I kind of liked the effect!
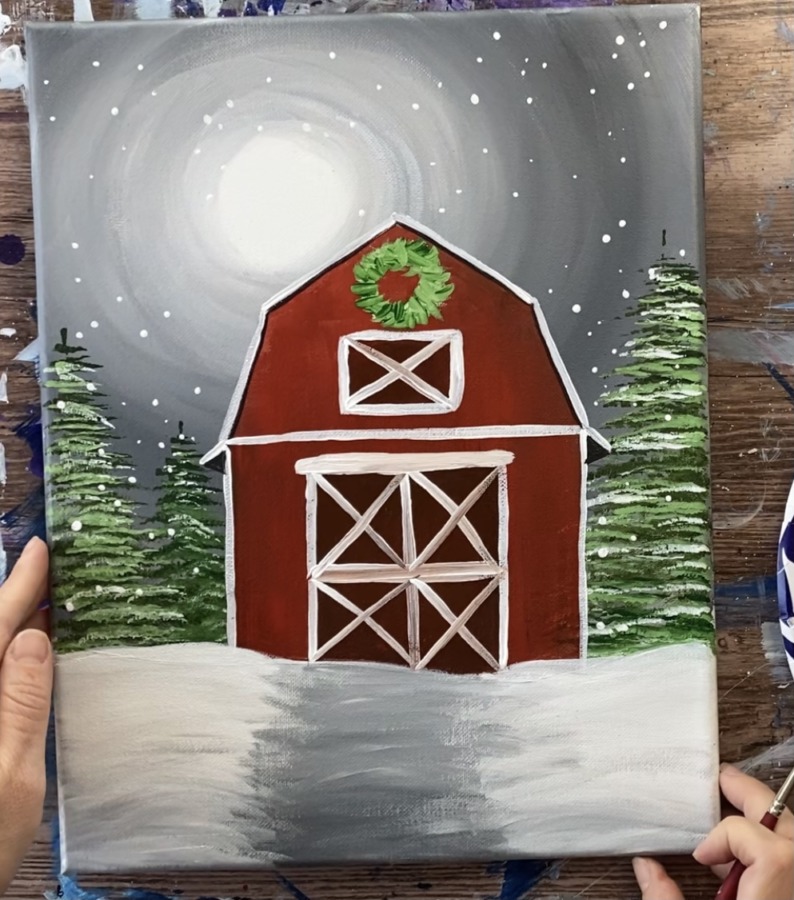
12. Paint the wreath
Use your round brush to paint a white circle.

Then load your brush (wipe the brush off or rinse) in green. Paint small texture/ angular strokes all around the wreath.
13. Paint the fence
Use a round brush and mars black to paint the fence.
Paint three vertical posts.
Then paint two horizontal posts (although these go slightly diagonal).
14. Paint touch ups on the barn and snow on the fence
Dry your painting.
Optional: Then use a 3/8″ angle brush to touch up the barn. I did this around the edges of the door and window to make my edging lines straighter. I used my 3/8″ angle brush and that dark red color to do this.

Then I also painted some snow on the wreath (with just white).
Paint snow on the fence with just white and your #4 round brush.
Add door handles on your barn door. Then paint a thin black crossing line in the middle of the barn door.
Finally paint a bow on the wreath! I did this by mixing red with some white to lighten the red a bit. Also I painted a few dots on the wreath.
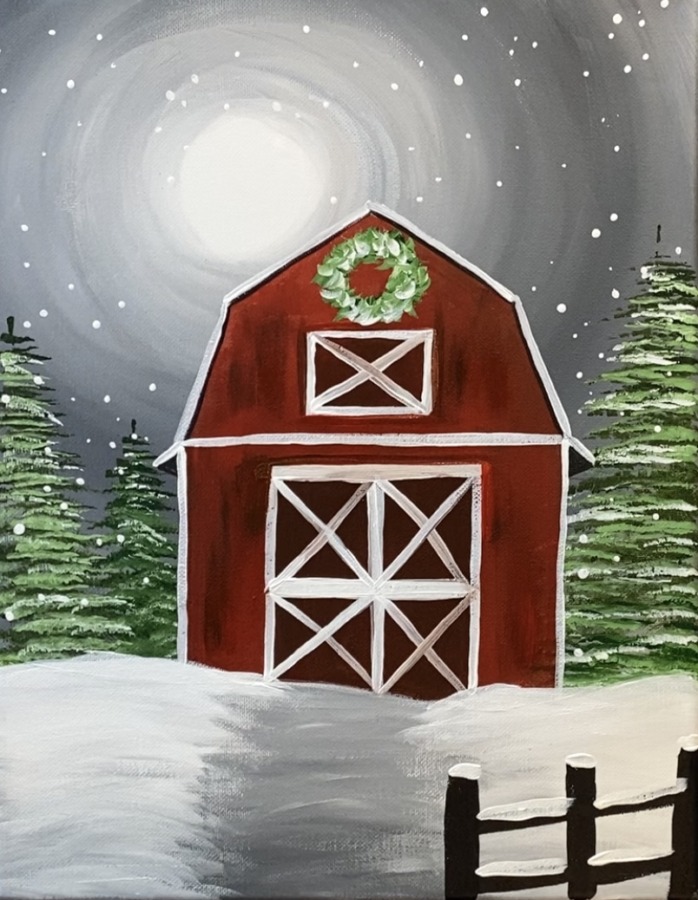
Finished!
That’s it! Sign your name and show it off!
i really enjoy your tutorials!! they are so easy to paint and easy to follow instructions