
16 Tips For Beginning With Acrylic Painting
This post will give you some motivational pep-talk tips and advice for beginning with acrylic painting.
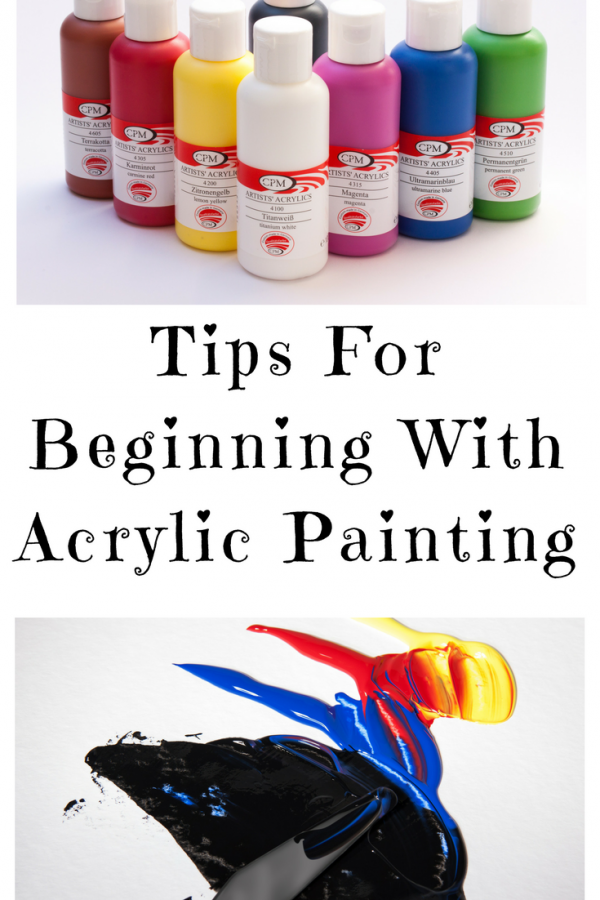
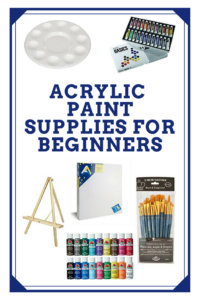
You bought your brushes, your bulk pack of canvases from Michael’s, your entry level beginner acrylic paint set. Everything is so shiny and new!
As you slice open the plastic wrapping of the framed canvas, you get a gentle whiff of the sweet musty smell of cut wood.
Your brushes are stiff and perfectly pointed!
Your paint tubes are so full they are bursting at the seems waiting for you to squeeze the first dollops on your palette.
Looking for more tips? See Also:
The painting begins! You dip that crisp brush in the first color. As the brush touches the canvas for the first time you feel instant relaxation!
“This is easy!” “I got this!” “I love how this paint just goes on so smooth!”
Thirty minutes into the painting and you’re ready for some details. You need to paint grass in this one area. But how? “What brush should I use?” “How do I make it look like grass?”
Frustration starts to set in. You decided to improvise. “Whew!”
One hour into the painting and you take a break. “This painting looks good!” “It needs something but what?” You’re proud of yourself!
But wonder, how in the world did that artist do it? “Hers looks like real grass!” “How did she move her hand and flick her wrist and make it so easy?”
“What can I do to improve my technique?”
Well, for starts, the best thing you can do to improve your painting skills is to keep PRACTICING!
That artist you are watching, he or she has been painting for quite some time and has gone through the same struggle you did when you started.
If you are just getting started with acrylic paints, I hope I can help encourage you with these pointers!
Tip # 1 There Is A Learning Curve
Just like with anything we learn how to do: playing the piano, training for a marathon, learning a new job skill, etc. there is a learning curve!
Based on my own experience painting, I know that I am a better painter now than I was ten years ago, one year ago, a month ago!
You will get better with each painting you do!
Tip #2 Paint And Create Often
I try to paint once a week. If I find myself skipping a week, the rust starts to set in a little and I notice that I’m not in my “game”.
Understandably, painting once a week can be challenging because of our busy schedules!
I have three very young kids, I don’t know how I even find time to paint once a month! If I am not able to paint, I at least get my sketchbook out and design an idea for a future painting.
When you get into the habit of creating often, you are training your brain to think creatively all the time!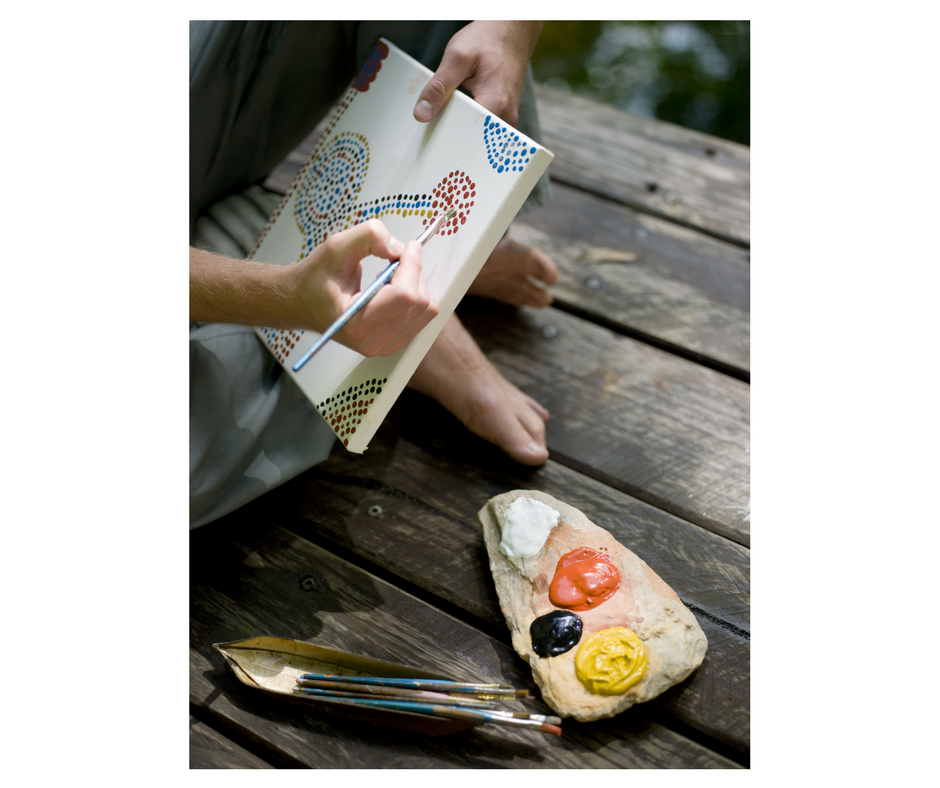
Tip #3 You don’t have to invest in really expensive paints at first
You don’t HAVE to buy the expensive paints if you are just starting out. I do recommend that you “eventually” get higher quality than craft paints especially when you feel more confident in painting and it’s turned into a full blown hobby.
You’ll notice a nice difference like not having to paint multiple coats!
But, really, cheap craft paints pack a nice punch on the canvas too! You will be practicing A LOT and going through a lot of paint so it’s fine starting with cheap paints. 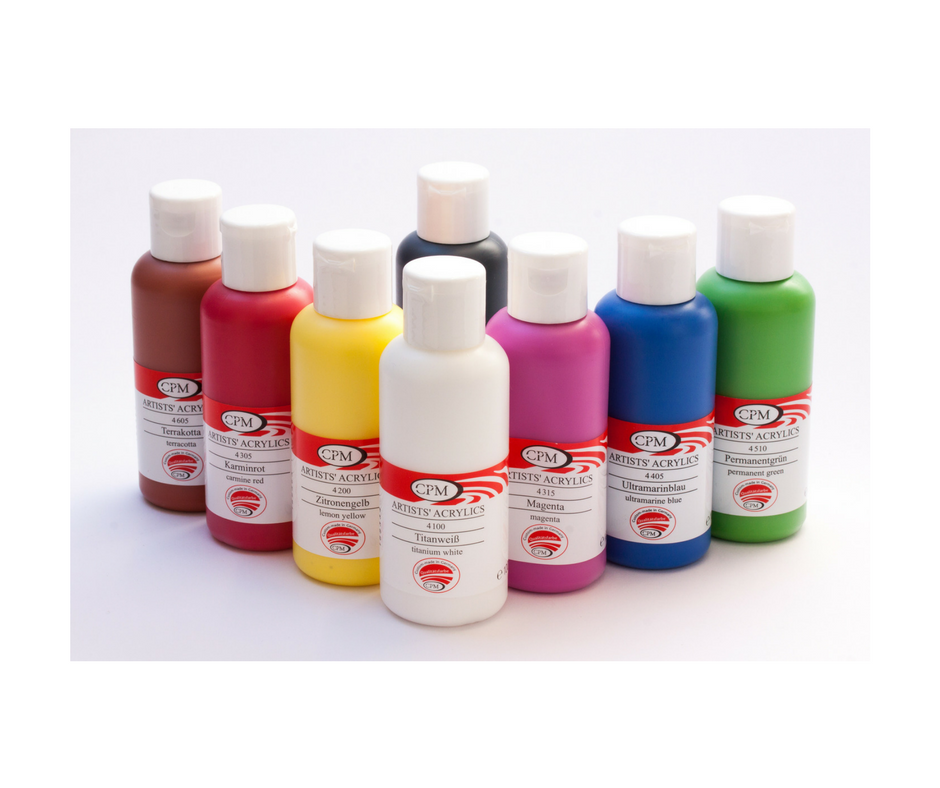
Tip #4: Be careful of using too much water!
There are these little things called “binders” in acrylic paint and adding too much water to the paint itself could affect how the painting dries.
Supposedly, the paint can “flake off” the canvas if you add too much water! Quite honestly, this has never happened to me before but it’s just something to keep in mind.
Sometimes I like adding water to thin the paint out a bit (especially with black) in some areas or even use it to cover a very large area. Or I do a “wash of acrylic paint” to fill a blank white canvas.
In my opinion, that is okay if that is the style you are going for! Just make sure you give yourself some extra drying time so the next layer you apply will not run into the water.
One more tip – when rinsing your brush make sure there is no water dripping down the handle. When you go to dry it off, wipe the entire “ferrule” because if water drips down into the bristles, you can end up with a watery stroke that you did not want.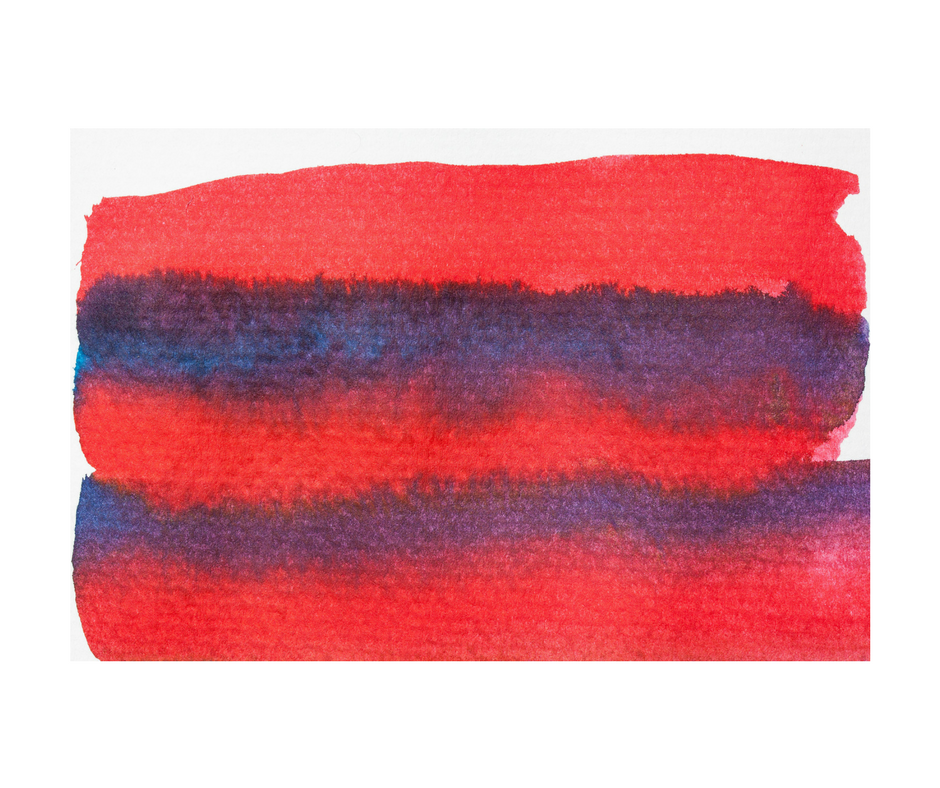
Tip #5 Use a large container for water!
I like using a nice large glass mason jar! For some reason the glass makes it easy to rinse the brushes in between colors.
Find a container that can hold a lot of water so the color of the water won’t affect the paint. Glass works best, in my opinion. You can even use a rinsed out spaghetti jar. 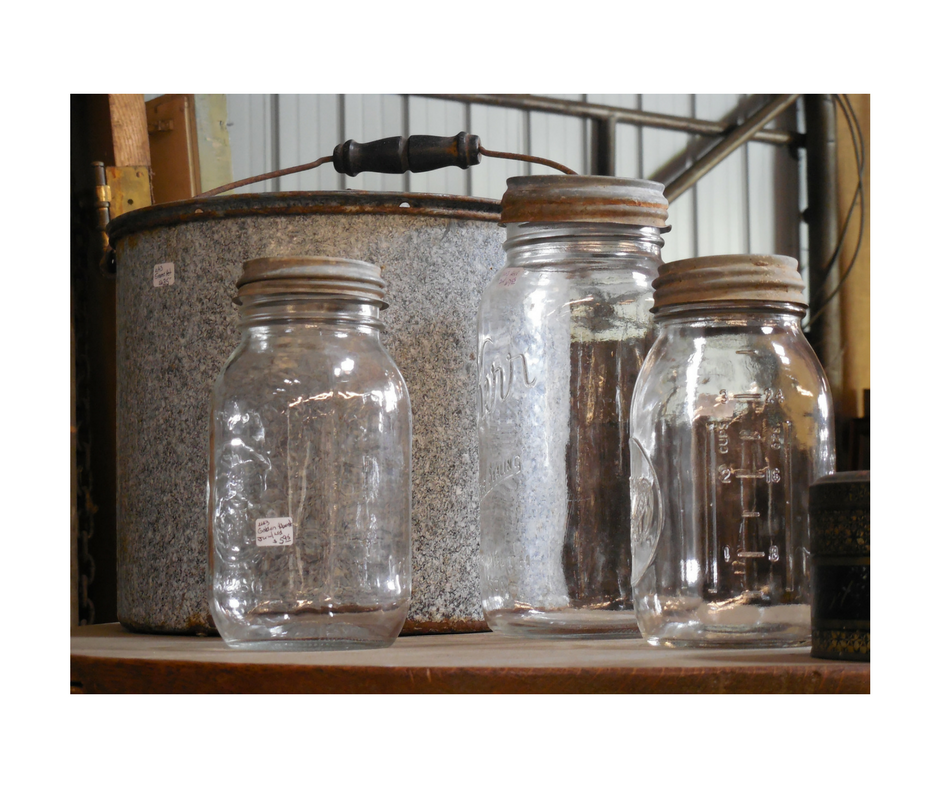
Tip #6 Be leery of your dirty brushes if you’re painting for a long session
You can leave your brushes in the dirty water but not for long! If you find that your painting session is taking a long time, take a break to rinse out those brushes and pat them dry.
You can clean them thoroughly later. You don’t want them sitting in the dirty water that long because it can ruin the brush (I’m guilty of letting them sit overnight sometimes…gasp!).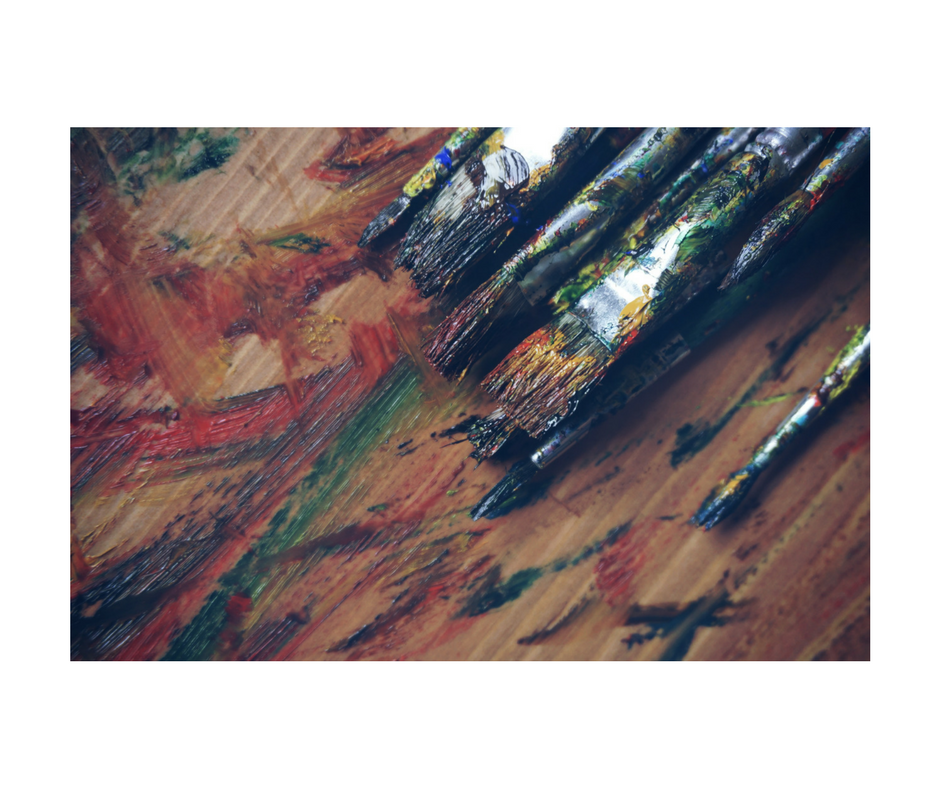
Tip #7 Always store your brushes with the bristles facing up!
You will keep your brushes in great shape and the bristles won’t get bent if you store them with the bristles facing up!
Make sure your bristles are dry before storing them so the water doesn’t seep down and warp the handles.
Technically you’re supposed to dry the brushes at a downward angle, yet this might not always be practical.
I usually dry them horizontally over my sink and then keep them stored in my glass jar with the bristles up. 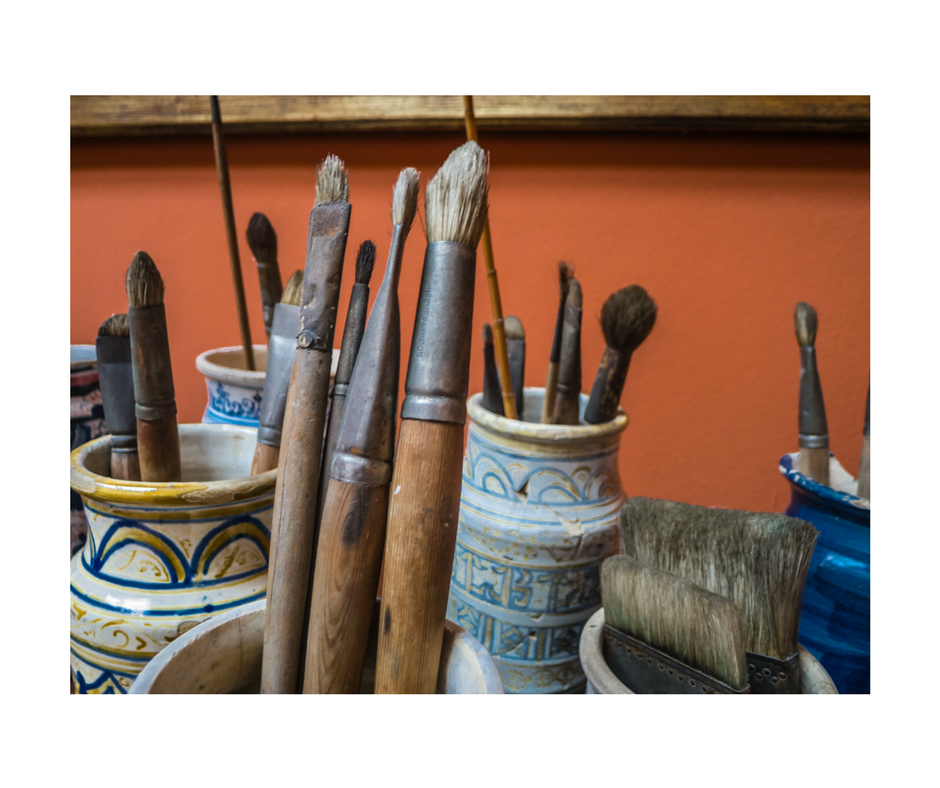
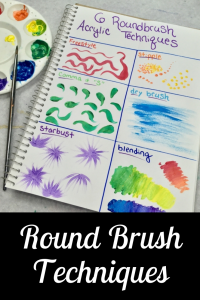
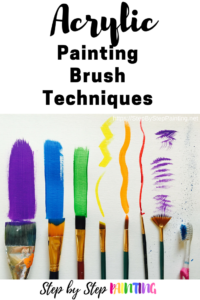
Tip #8 Choosing the right brush shape & size is critical!
Use a large flat brush for large areas and a small brush for small areas. Switch to a small round liner when you need to outline something. Use a small flat when you need to “cut” in on a smaller object. This list goes on…
Knowing what brush to use makes all the difference in the world to how your painting “strokes” will look! I talk more about this in my Acrylic Brush Techniques post!
But…in all honesty, this kind of knowledge just comes by doing! You will eventually get a feel for what different shapes and sizes of brushes do and this will all become “second nature”.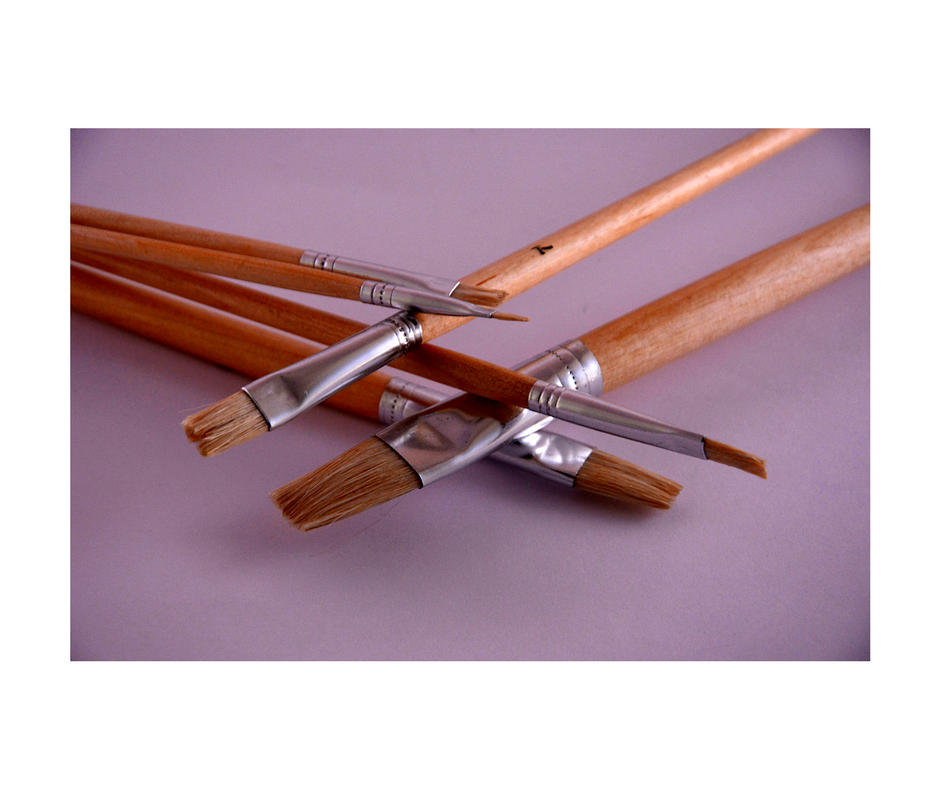
Tip #9 Acrylic painting is about layers!
Acrylic paint is so versatile because it can be painted over as soon as it dries.
When you look at progression pictures of acrylic paintings, you may notice a common theme. They all start with the bottom “under painting” and the artist works their way up to the top layers.
I like to think of it like a three dimensional flat sculpture. Knowing what layers and colors to apply first comes with practice and feeling more comfortable with the medium as you grow!
Painting is like a three dimensional flat sculpture.
Tip #10 Beware of the “ugly stage”.
Oh yes. If you haven’t heard, there is this thing called the “ugly stage”. This is the necessary stage in the painting where it looks flat or undefined.
Don’t let it fool you! Keep on persevering!
Think of your painting like a construction zone. It’s necessary to paint foundation layers before you get to the fine details and top layers. The “ugly stage” can be frustrating if you are a beginner.
Just know that if you keep building your painting up, like a construction site, you will get past this stage like a pro!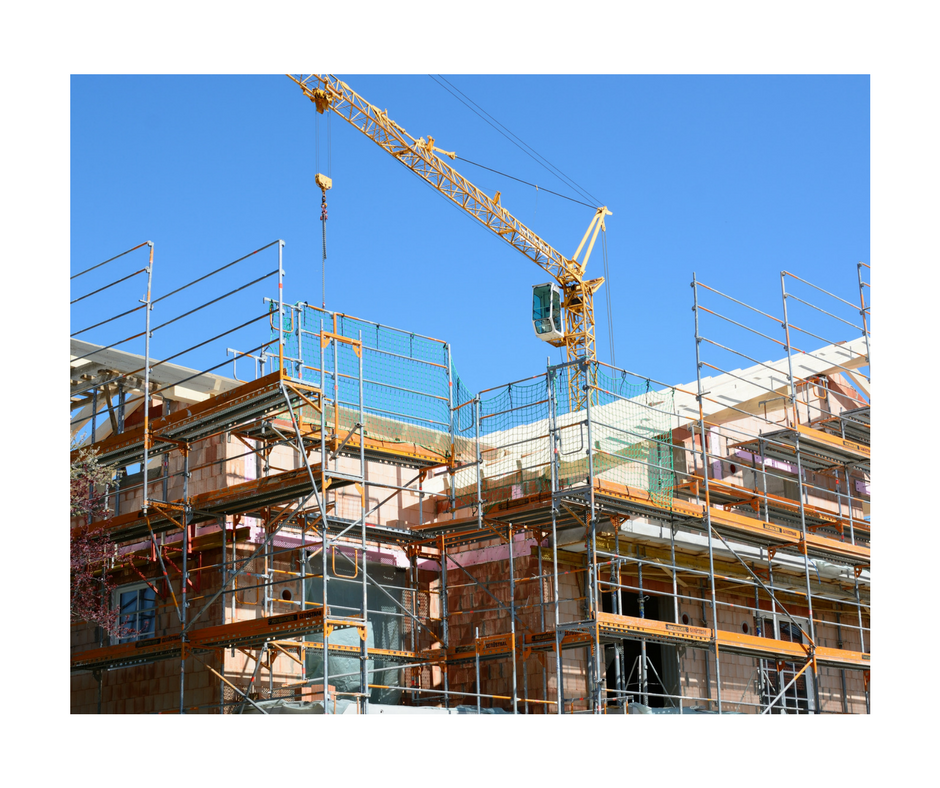
Tip #11 Let your “in between layers” dry.
I get frustrated when this happens. The painting feels dry. Then I go in to paint the next layer and the paint gets all “gooped” up because the bottom layer wasn’t fully dry yet!
Sometimes it takes extra long to get that bottom layer to dry completely because it was applied thicker or there was water mixed with the paint. Move on to another area of the painting or take a break if this happens.
If you’re feeling really impatient with it, use a hair dryer or turn the fan on to dry your painting!
Ahh yess, your hair dryer can be your best friend for drying the in between layers of your acrylic paintings!
Tip #12 The “elements” affect acrylic paint!
In my experience, acrylic paint consistencies differ depending on how hot, cold, humid or dry it is! I live in Arizona. We have a “dry heat” here. Except in July & August, our humidity is always very low.
So…my paintings dry FAST in these conditions. I have become accustomed to painting fast but if you’re not a fast painter, you may want to try having a fine mist spray bottle on hand to lightly dampen your palette or use one of those stay wet palettes.
Temperature can affect acrylic paint too! When it’s colder, I notice my paints are slightly thicker than the warm summer months.
When each season changes, I have to literally calibrate my techniques to account for the change in humidity and temperature!
So if you’re feeling frustrated all of a sudden with painting, it might be because of a seasonal change. 
Tip #13 Blending is a learned skill and will come with practice!
Blending is like the magic holy grail technique that every beginner painter wants to learn right away! I don’t blame you – it makes the painting look pretty!
The truth is, it’s tricky at first and it’s a learned skill. I demonstrate several ways to blend throughout my tutorials. If you’re following other teaching artists online, you’ll find we all have varying techniques.
My favorite blending style is meshing the colors together right on the canvas instead of doing it on the palette! Find a blending technique that works for you and stick with it.
In my opinion, the best way to become great at blending is by practicing that technique! Don’t give up if it doesn’t happen the first or third or tenth time! You will eventually find your own blending groove!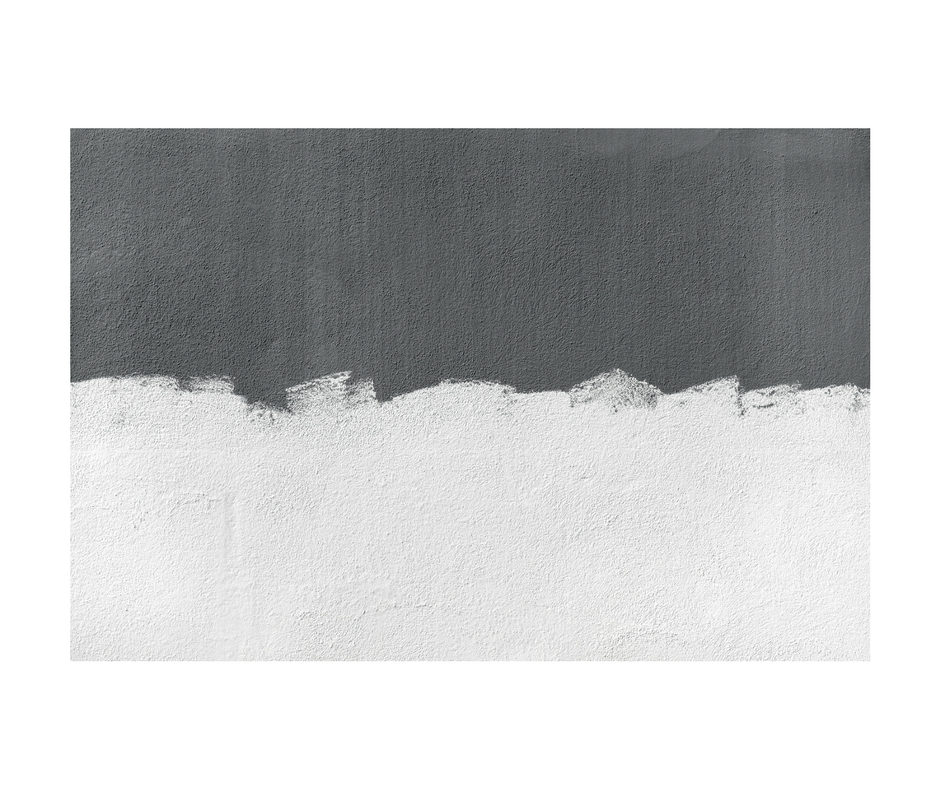
Tip #14 You Will Get Artist’s Block
It happens to all artists, writers, poets and anyone that creates art. You can’t think of a new creative idea. You lack of motivation. You’ve lost interest.
It’s normal!
The best advice I can give to this is acknowledge it, embrace it and understand that you will not be stuck there permanently.
And take a break if you need to! Pack up your paint supplies and put them somewhere until you’re ready to come back.
Most of the time when I’m stuck in a block, it has to do with other things going on in my life. Stress is the biggest killer of creativity but sometimes I get artists block because I just need a break.
Go for a walk, exercise, be out in nature, do something that inspires you! Eventually you will find yourself back in the creative groove again.
Tip #15 Don’t think too hard!
Sometimes you have to let your heart and emotions lead the way! Don’t think too heard about how your strokes are supposed to look. Don’t get caught up in all those tiny little details.
I think painting is 50% skill and 50% emotion! That leaves 0% for deep thinking.
One way around this (because I’m guilty of being an over thinker) is to play music. Music helps me to relax and express emotion in my painting!
Sometimes I even diffuse some essential oils like lavender to help calm my thoughts down even more. Try it if you tend to get all wrapped up over the details.
16. Take one step ten steps back!
Often times we get tunnel visions with our paintings. That tiny detail of the grass we’ve been working on for an hour. Does it really make a difference in the overall aesthetics of the painting?
Look at your painting from far away and you will notice a HUGE difference!
Maybe there’s not enough contrast. Maybe that circle that is supposed to be a moon looks like an oval! Or, maybe that painting that you hate and you’re about to gesso completely over actually looks pretty good from far away.
DON’T paint over it! Some other ways to look at your painting from a different perspective are: taking a picture of the painting with your phone, looking at in in a mirror, squinting your eyes or turning your painting upside down!
I recommend that you set your painting aside for a day or two and come back to it with a new perspective. It it’s still a “mess up painting” then get your gesso out and start again. 
In Summary..
If there is one thing you take from all my tips, it’s that painting is a learned skill (and 50% emotion)!
It comes with practice and you will only improve the more you paint!
So go out and get those brushes, get those canvases and whatever paints you can afford!
Paint your favorite things.
Don’t get frustrated! Enjoy the process, enjoy the journey! Welcome to this wonderful hobby!
I read once you said that your course had templates. Is this correct and what are they? I am 90 and just starting out and I will enroll in your class, as soon as my credit card arrives. I had a friend order supplies from Walmart.
I do have templates! I have free ones and paid ones depending what you are looking for 🙂 You can always email me at: tracieannekiernan@gmail.com with specific questions about the paid courses! Thanks!!
Hi Tracie,
Please provide a link to the page(s) where we can access your free templates. Thanks!