How to Paint an Owl Silhouette & Moon
Description:
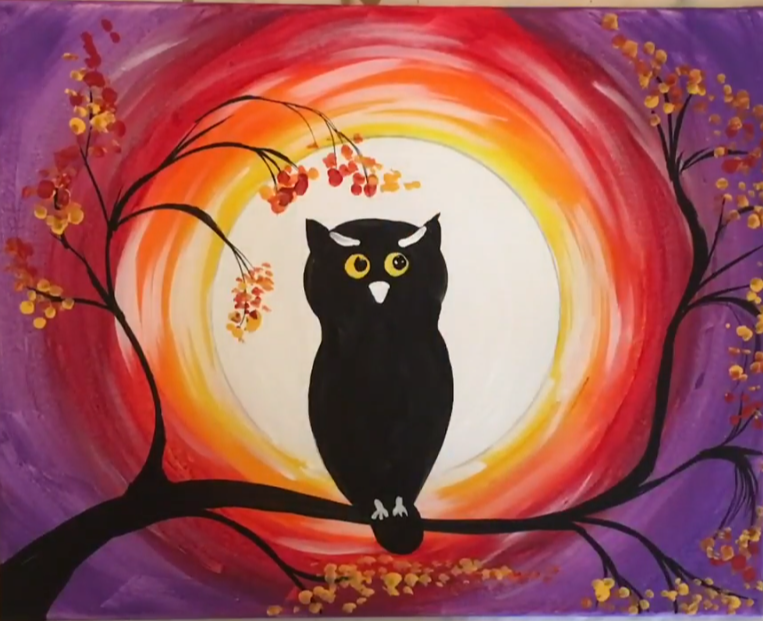
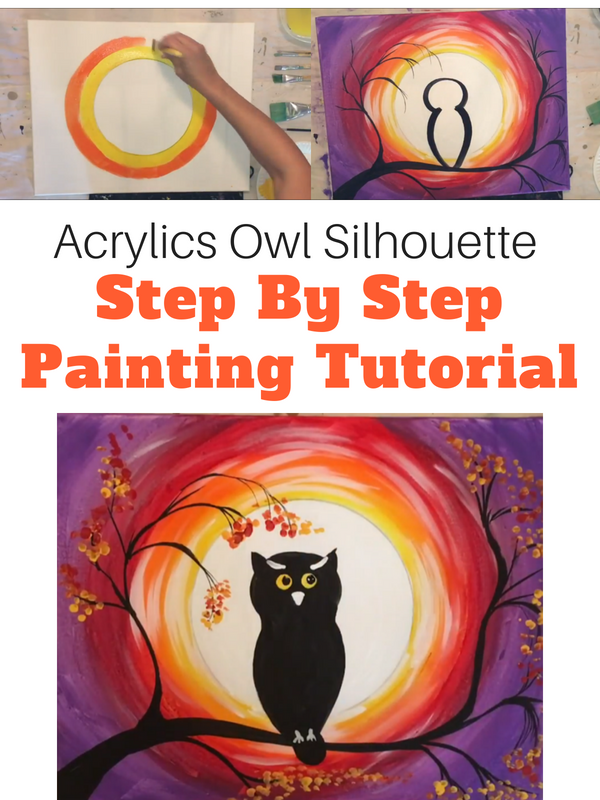
Learn how to paint and easy moon lit sky with a tree branch and owl silhouette in the foreground.
This painting is one of several paintings that I have that require you to trace a paper plate for the first step! The circle is painted completely white for the moon. Easy!
You can leave the owl as a silhouette or add some cute details on the face.
Enjoy and Happy Painting Artists!
Materials
- Acrylic Paint (Liquitex BASICS or Apple Barrel Craft Paints)
- Paint Colors:
- Cadmium Red Medium (Flag Red)
- Cadmium Orange Hue (Jack O Lantern)
- Cadmium Yellow Medium Hue (Bright Yellow)
- Deep Violet (Purple Iris)
- Mars Black (Black)
- Titanium White (White)
- 16″ x 20″ Canvas (You can use any size you want!)
- Paint Brushes
- 9″ Paper plate for tracing the moon (or smaller or larger depending on canvas size)
Directions At A Glance:
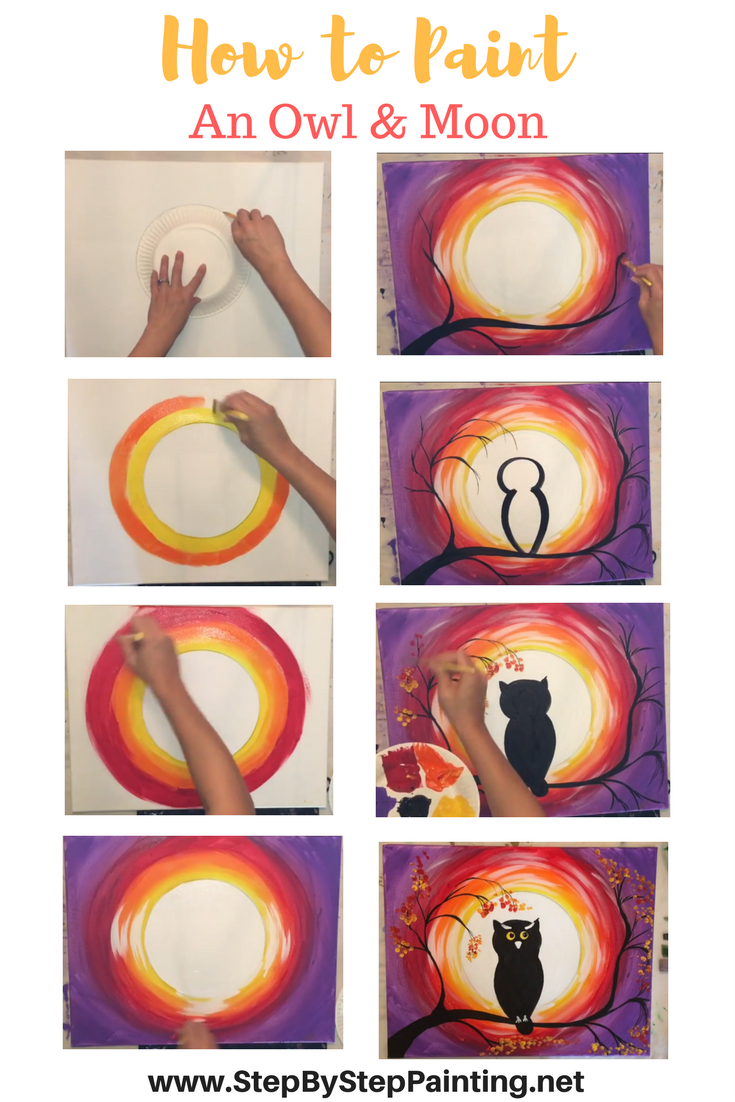
Download Free PDF For this!
Download: How to Paint an Owl Silhouette & Moon
Video Directions:
Step By Step Pictures:
1. Trace A Circle For The Moon & Yellow Ring
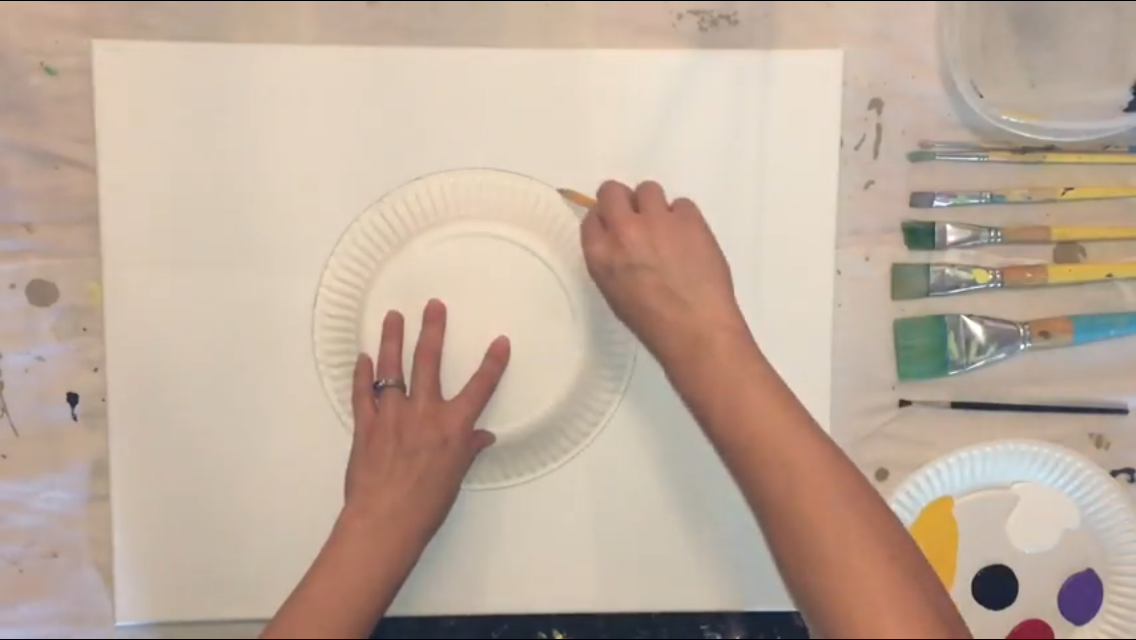 Trace an 9″ paper plate with a pencil for the moon.
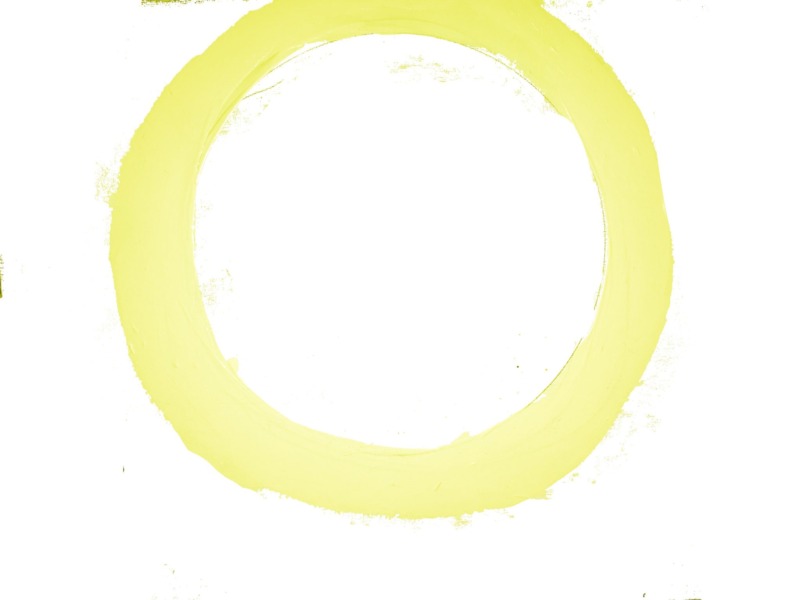 Paint a yellow ring around the moon using a flat brush. This is about 1″ thick. Use a 3/4″ flat wash brush for this.
2. Paint The Second Ring & Blend
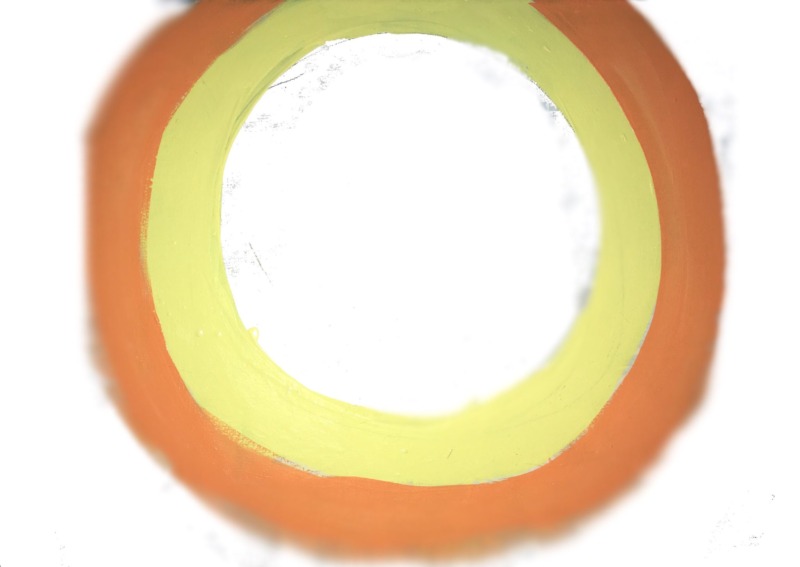 Then paint an orange ring around the yellow ring. The orange should be about the same thickness.
3. Blend the Colors
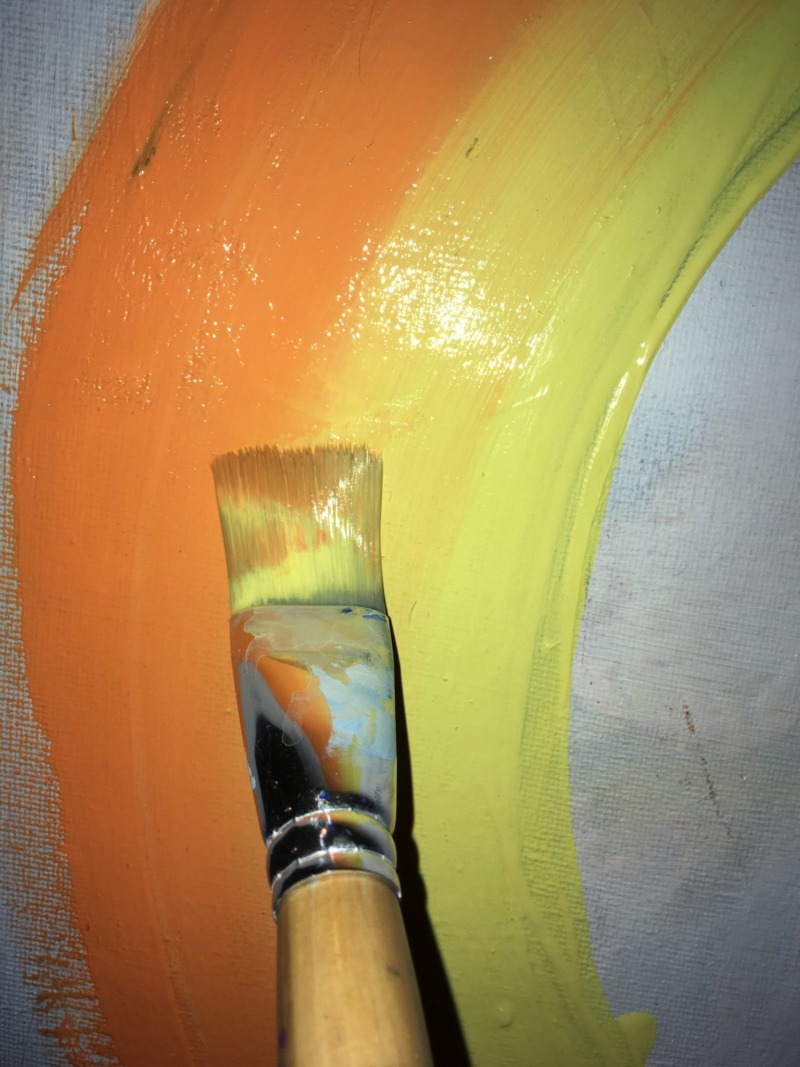 Blend the two colors together. You can use a wet brush if your paint is still wet and do the “wet on wet” technique to blend the two colors together. If your paint is too dry, try “double loading” your brush with yellow and orange and blend the two colors that way. You can also use a soft dry brush to go over and blend the colors. Or…you can mix orange and yellow on the palette and then apply that color in between the rings!
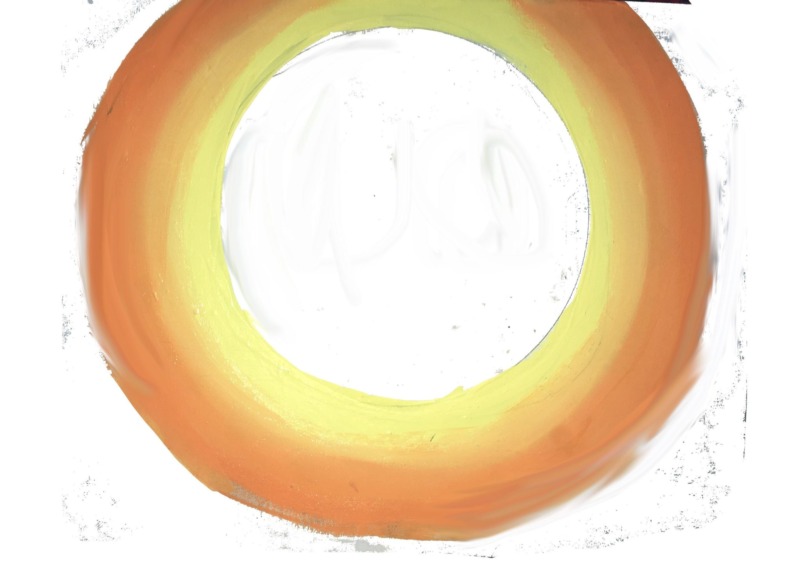 The two colors are blended together.
4. Paint Red Ring and Blend
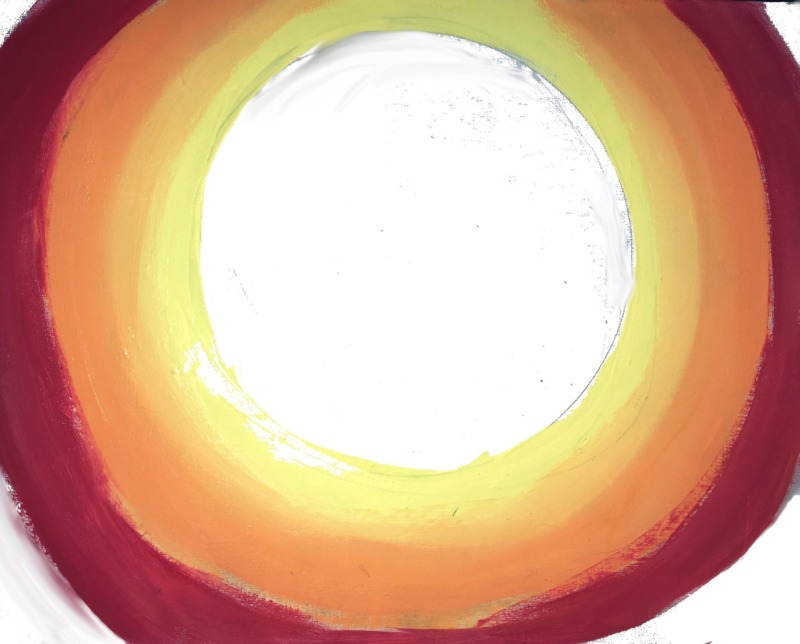 Next, paint a red ring around the orange ring. Then blend the red with the orange in the same way you blended the yellow with the orange.
5. Paint The Purple Sky & Blend
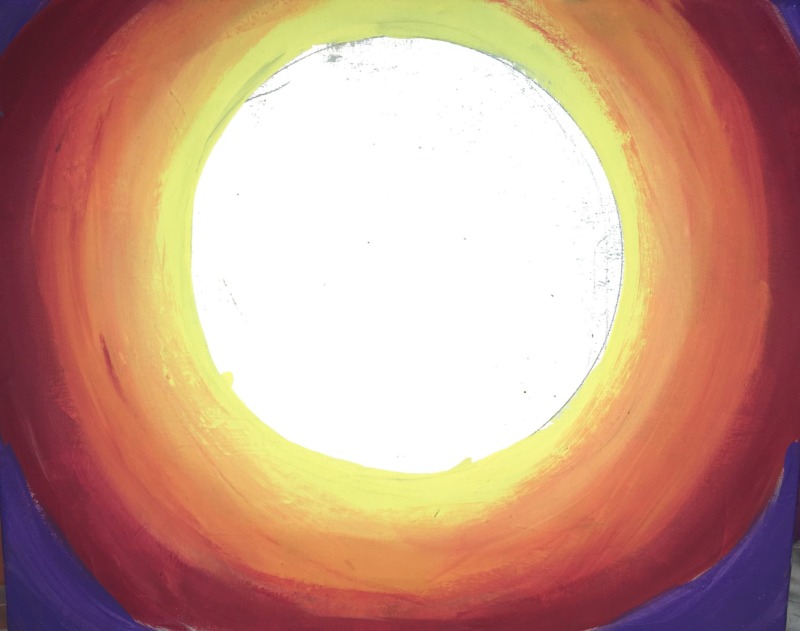 Paint the rest of the canvas (except the moon) purple. Blend the purple with the red.
6. Paint The Moon White
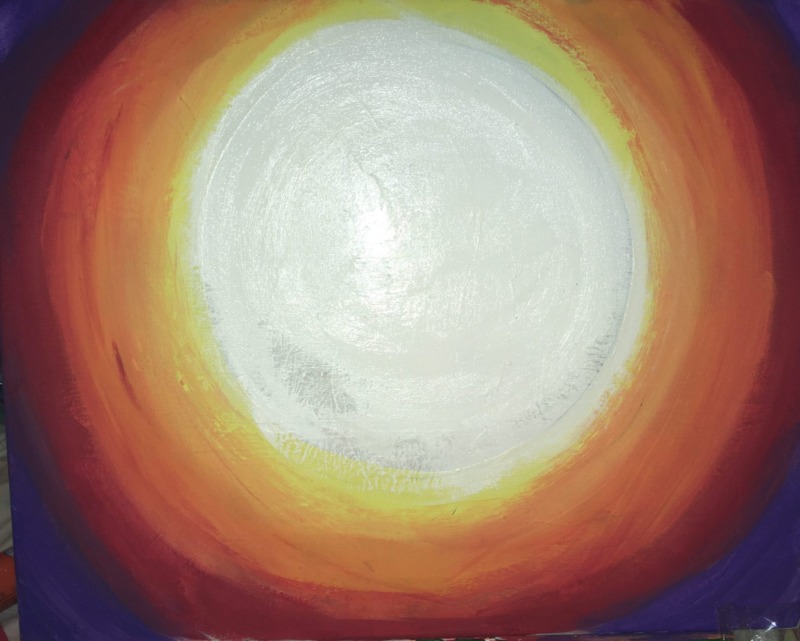 Paint the moon in a solid coat of white. Try to keep your strokes circular. Use a 3/4″ flat wash brush for this.
7. Paint Moonbeams
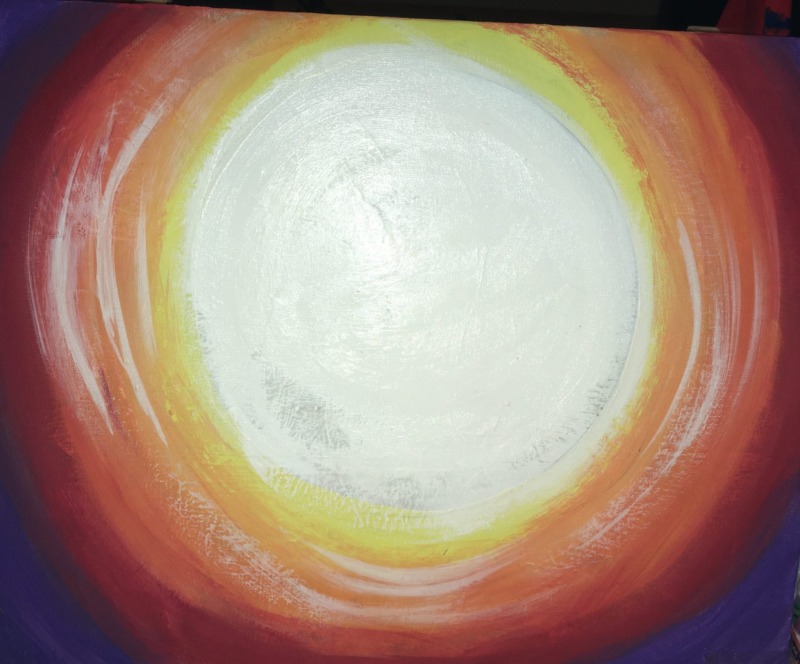 Add some white “C” lines of white around the moon for added interest. You can do this dry brush or wet brush.
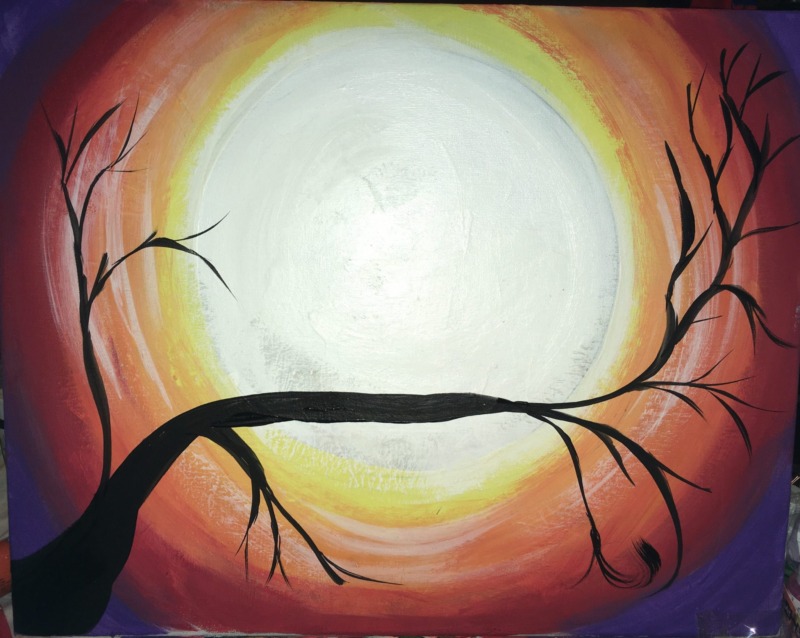
8. Paint The Tree Branch
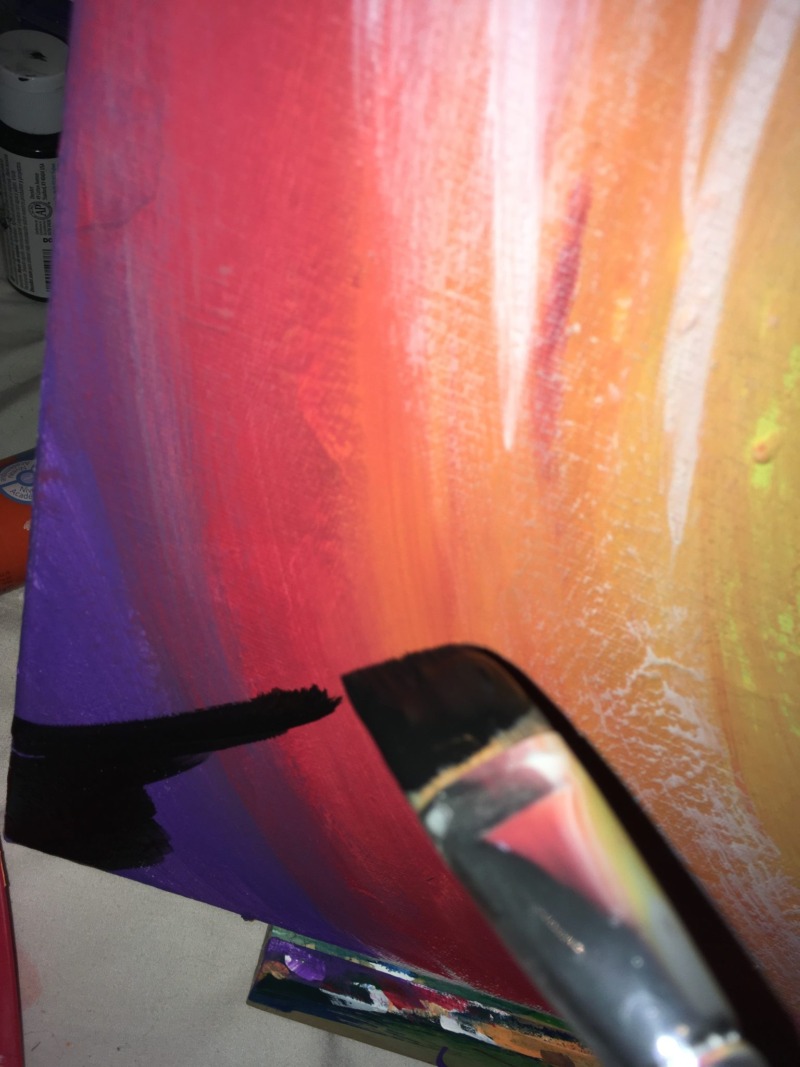 Get your angled brush and load it with black paint. Hold the brush to where the longer bristles are on the left. In the LOWER LEFT CORNER start painting a large branch.
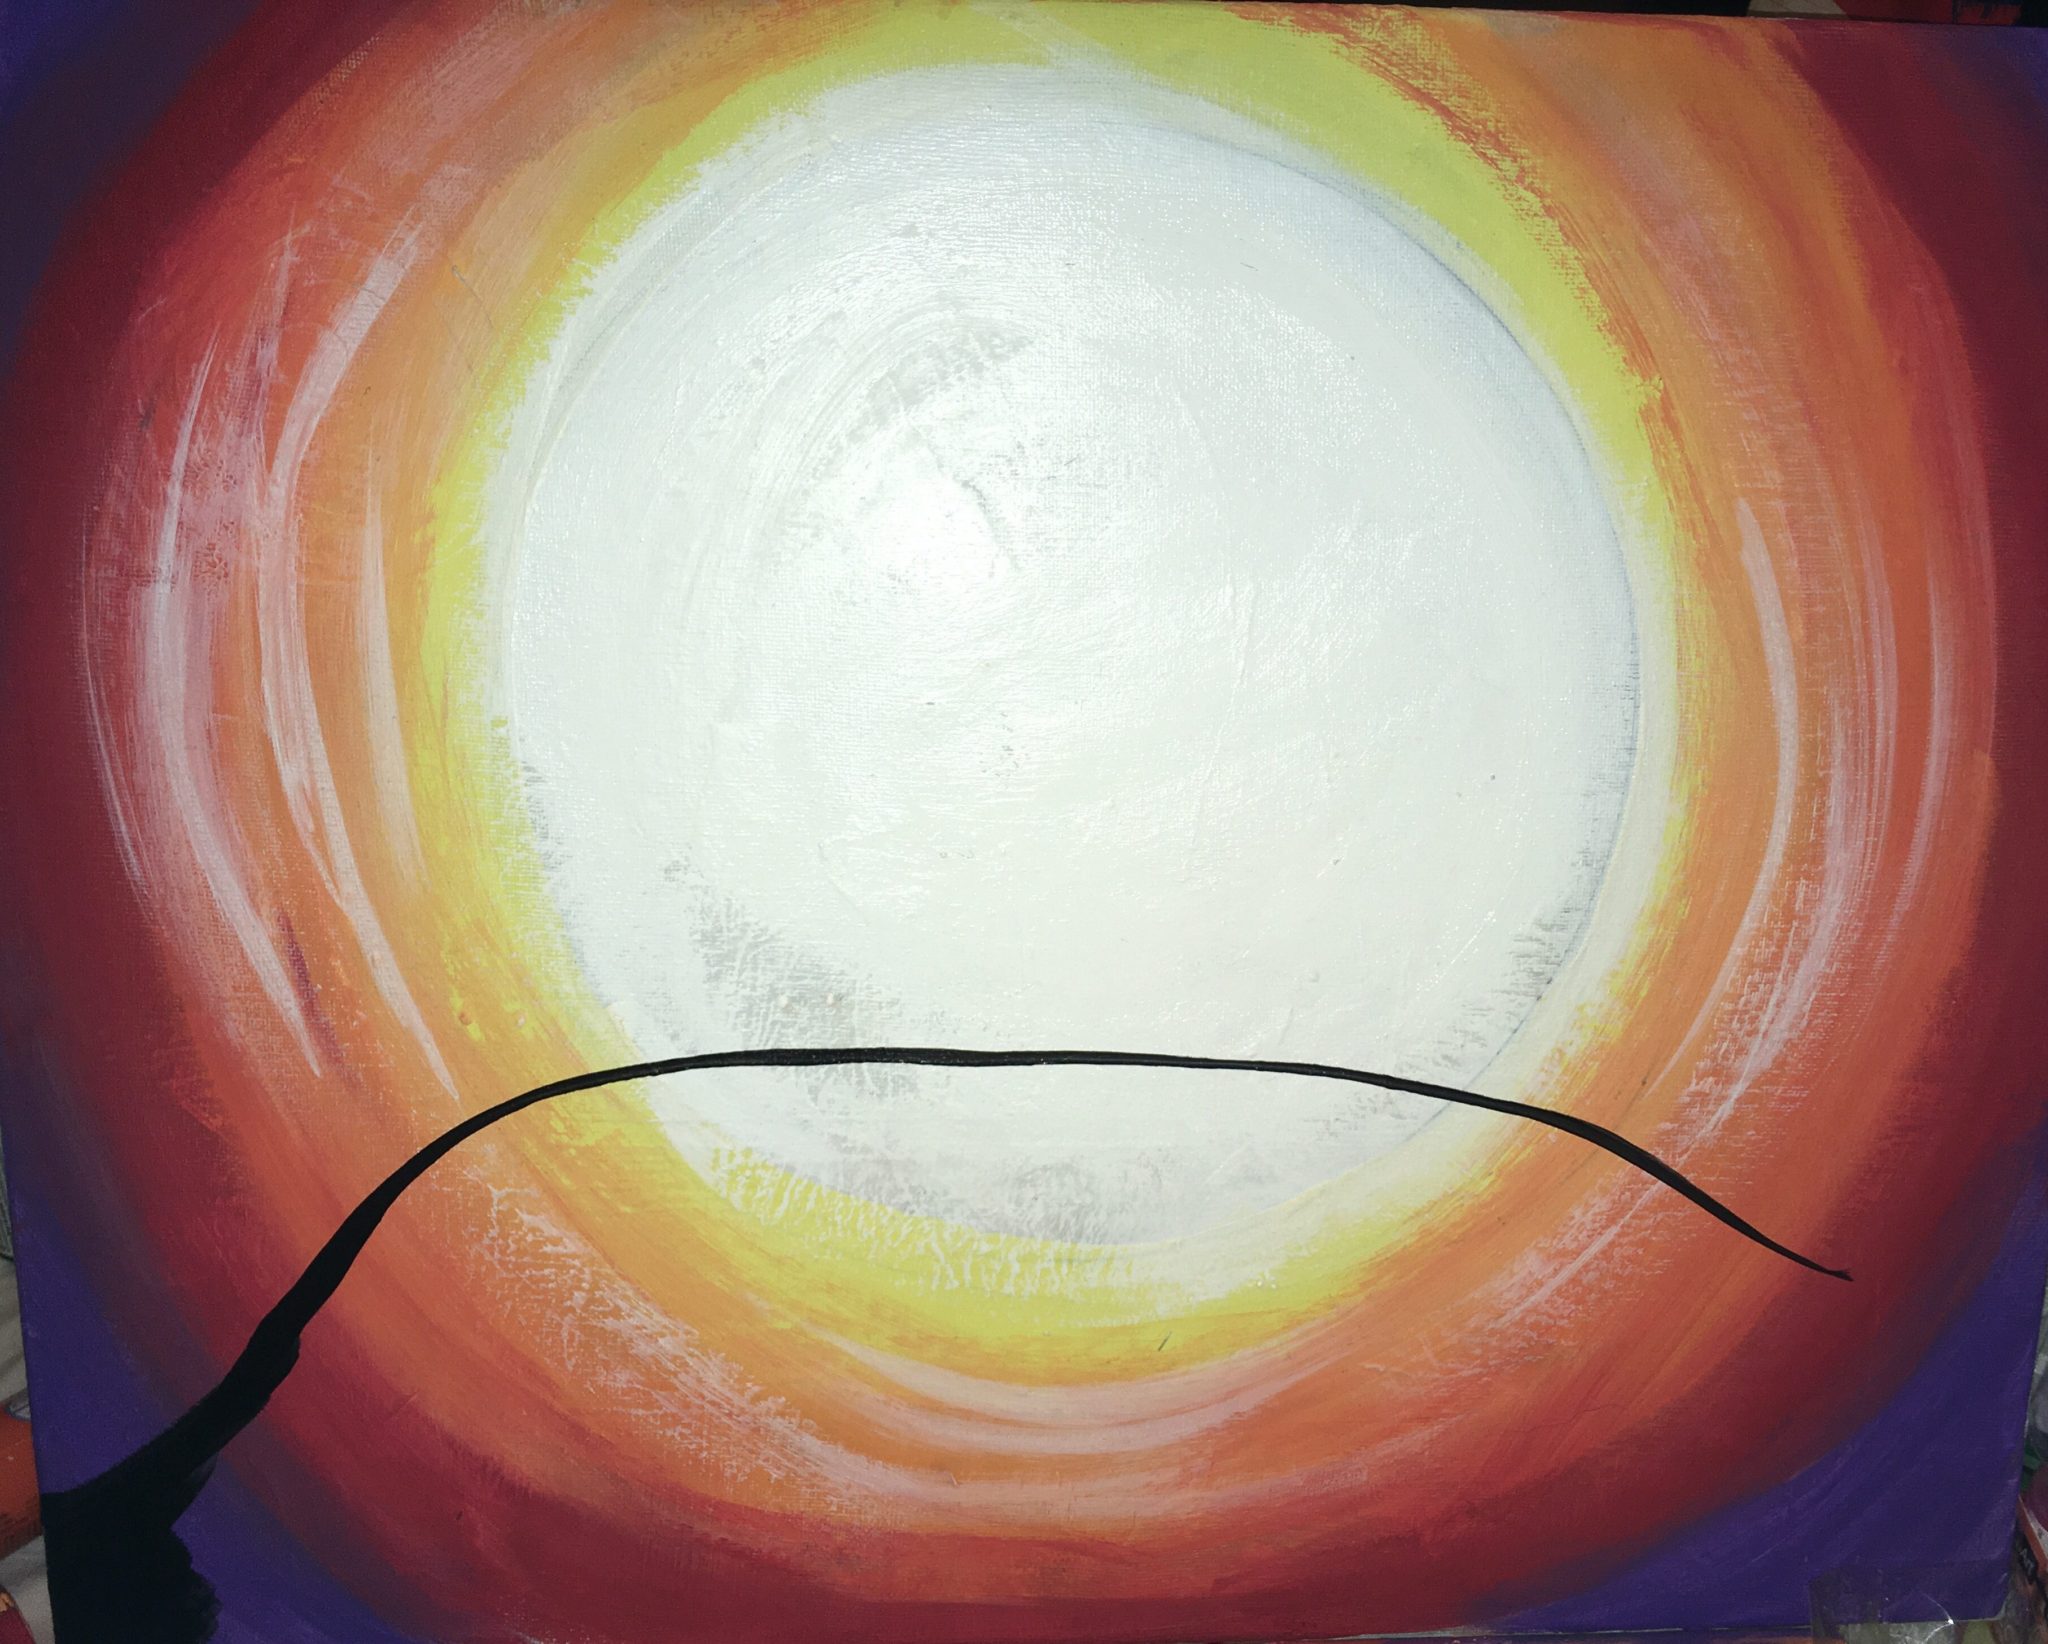
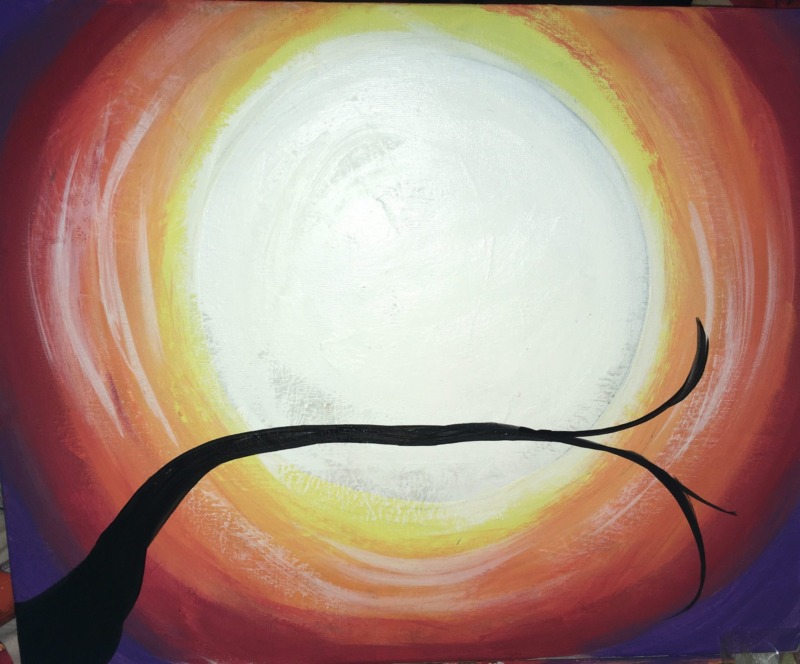
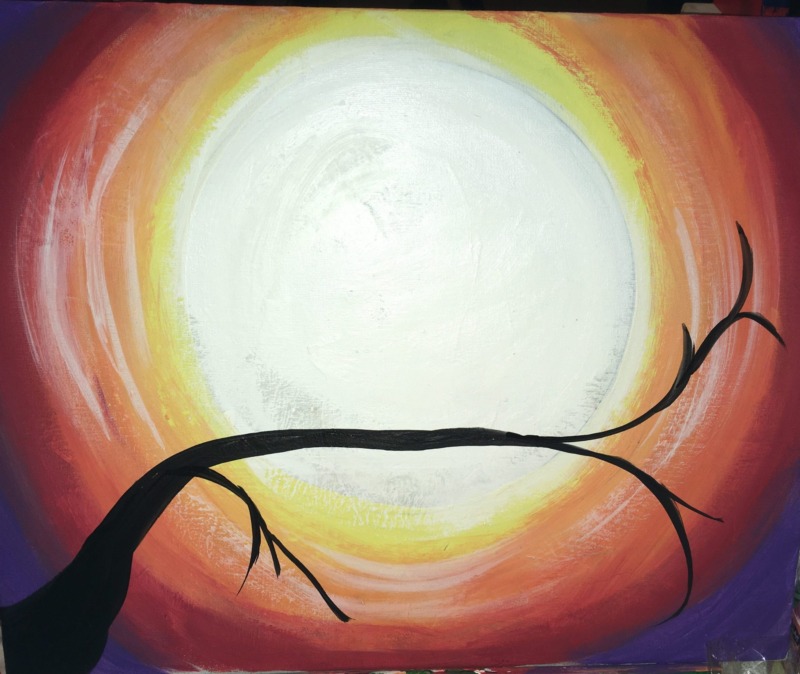
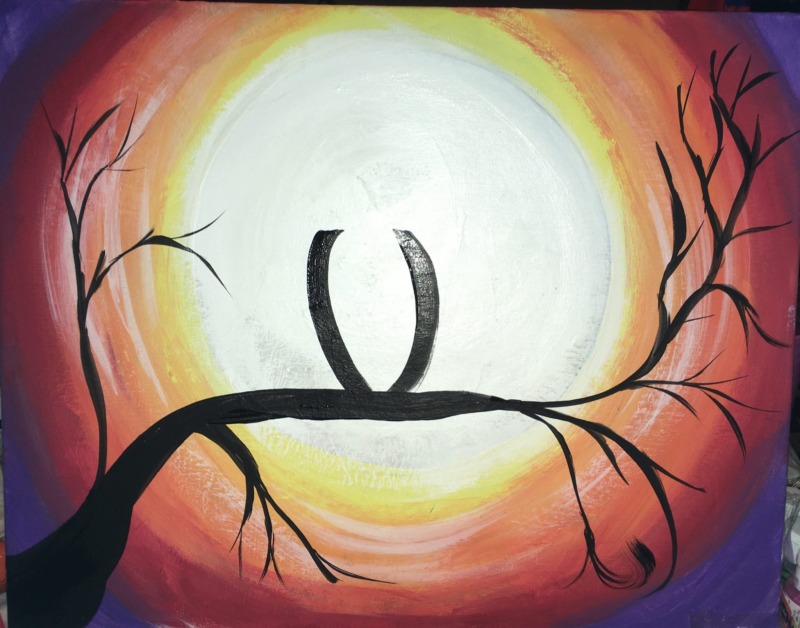
9. Paint The Owl
Use either the angle brush or the round brush to paint the body of the owl. Paint two curved lines.
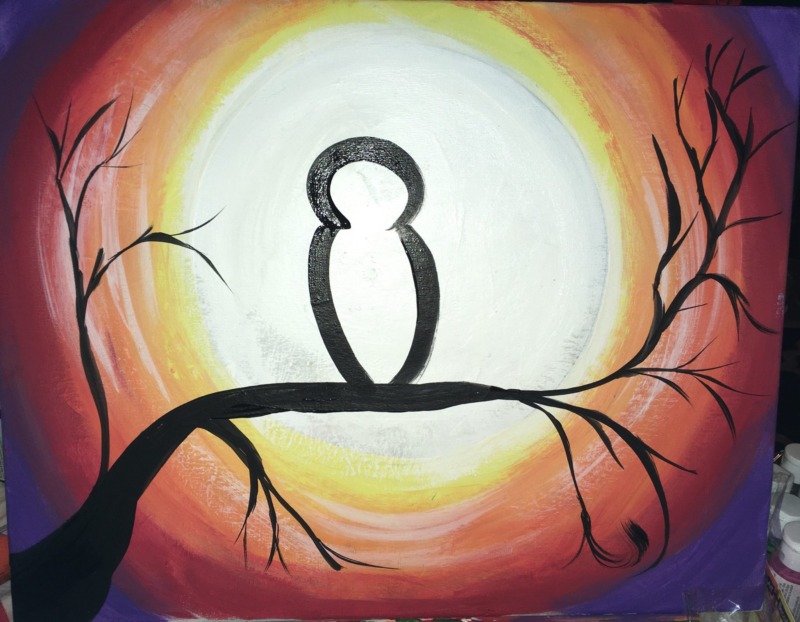
Then paint a circle for the head.
Paint two ears.
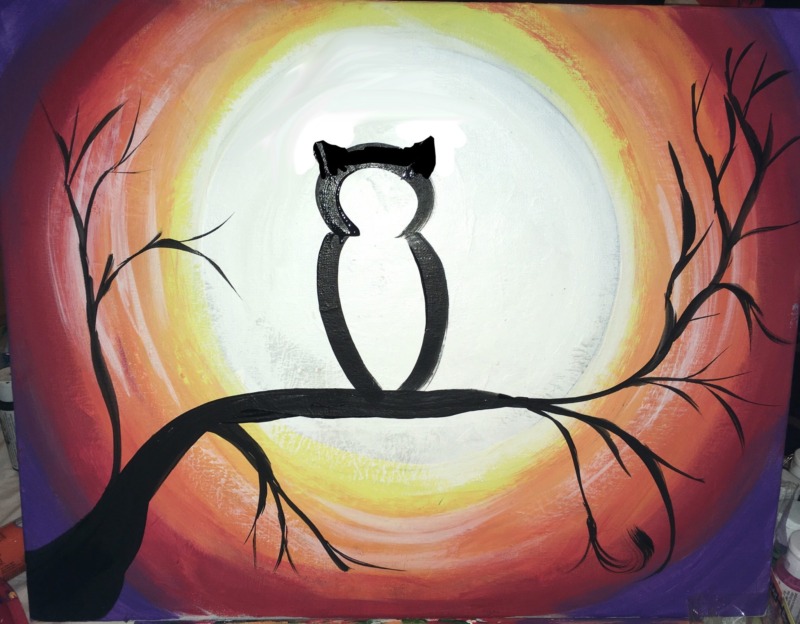
Then paint the owl solid black.

Paint a small tail under the branch.
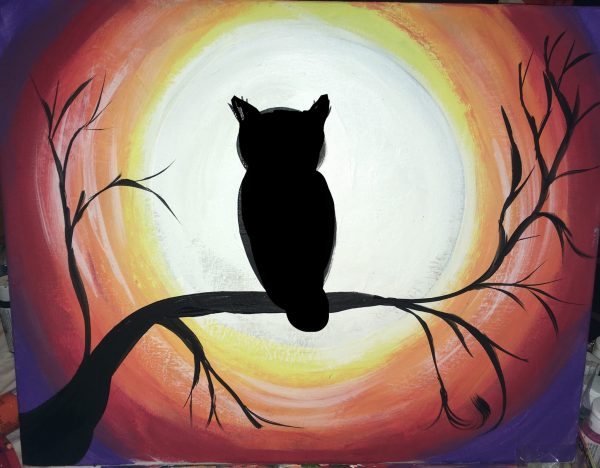
10. Optional: paint some details on the silhouette

You can add details on the owl such as facial features and talons. This is just an added design element I did on the recorded version of the painting.
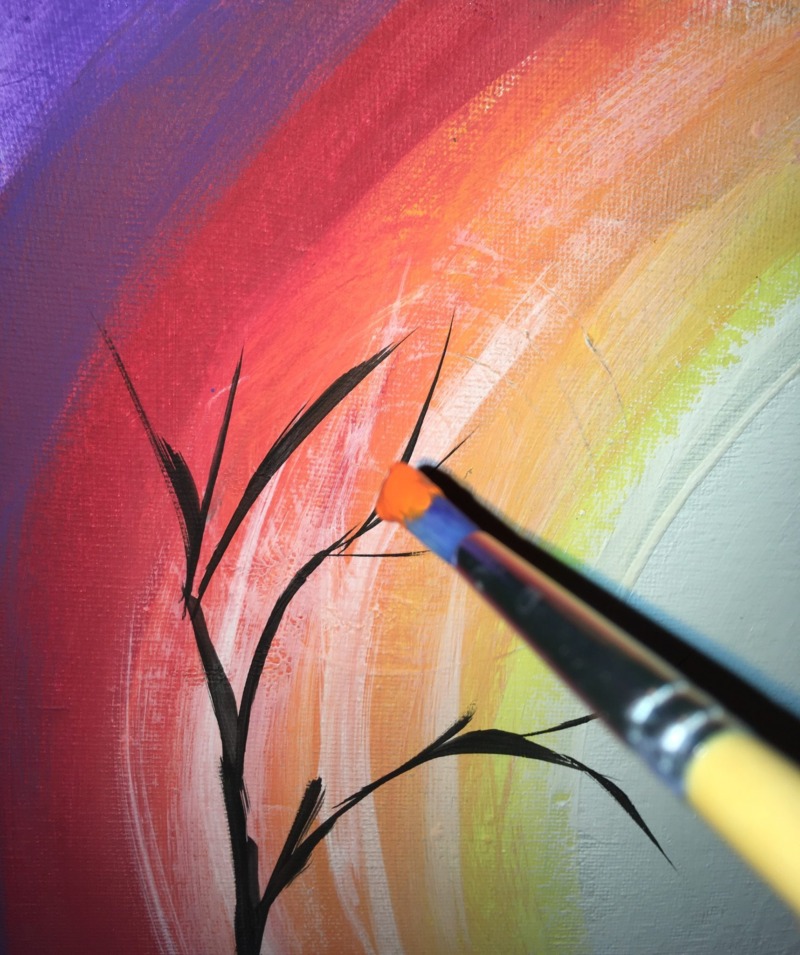
11. Paint Leaves
Use the #4 round brush to paint little dots of color on the brushes. Use a combination of the yellow, red and orange.

12. Finished!

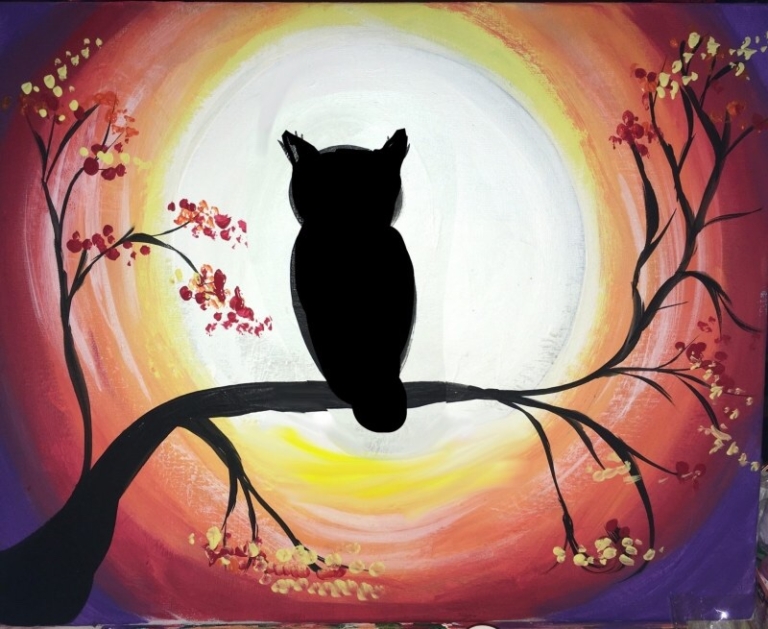
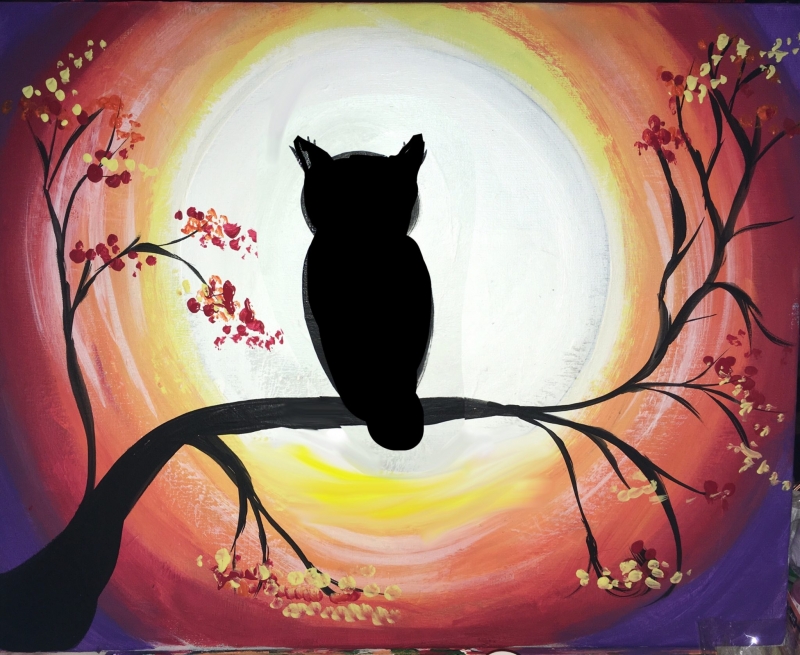
The owl was a fun a project. I’ve been in a creative painting rut and this was just what I needed.
I look forward to trying out some of the other painting in the future.
Thanks Jenee! Glad you liked the owl! I definitely know what that creative rut feels like!!
Just did this with my 4 boys. It was fun.
I’m having so much fun with these tutorials. Thank you!
You’re welcome! Glad you’re having fun!
I love your paintings, I am an Activities Director at a care facility. I avoided painting class because I believed that I had no talent, my assistant that was a great paint teacher left so I had to learn. I use your paintings to show the patients that it is not as hard as you think it is, just have fun!
Can you please recommend which brushes to use for this project? Thanks for your help!
Sure! It’s been awhile since I created this painting tutorial but if I were to paint this again today I would use:
-3/4” Wash Brush for the Background
-Either an Angel brush or a Large #10 Round Brush with a point for the Tree and Owl Silhouette
-A #4 Round brush for the details in the owl’s face as well as the leaves.