
Would you like to save this?
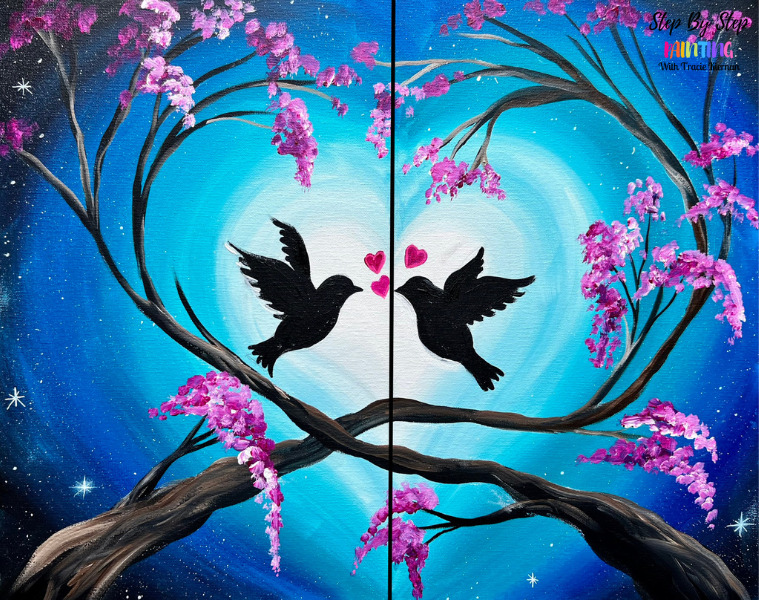
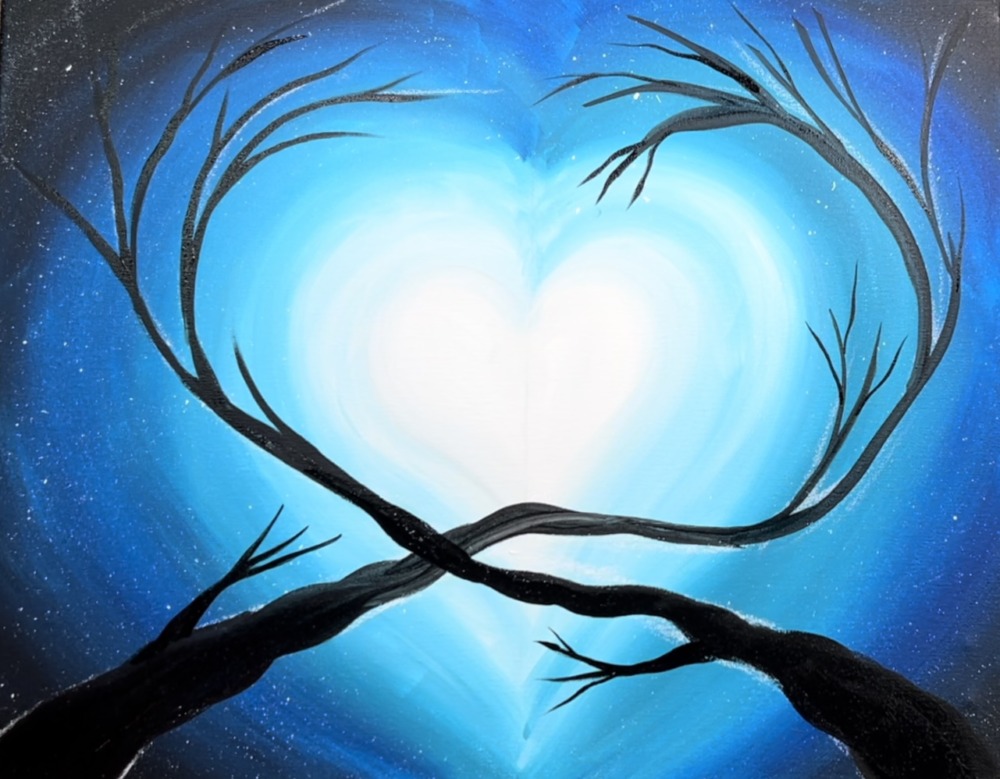
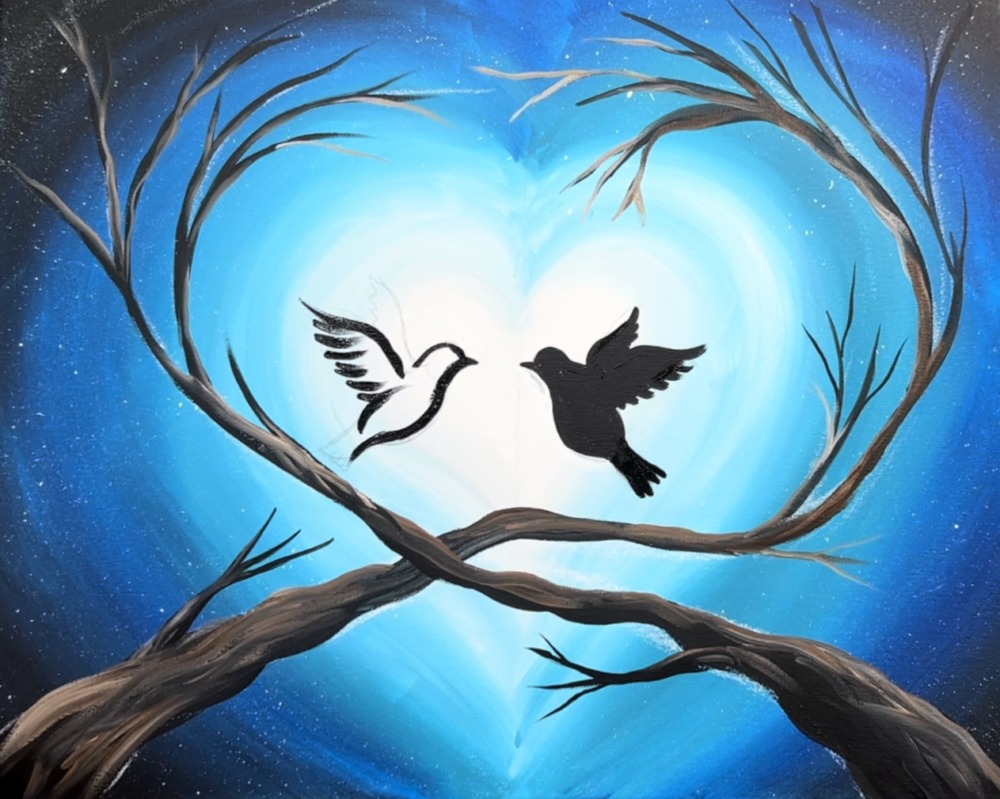
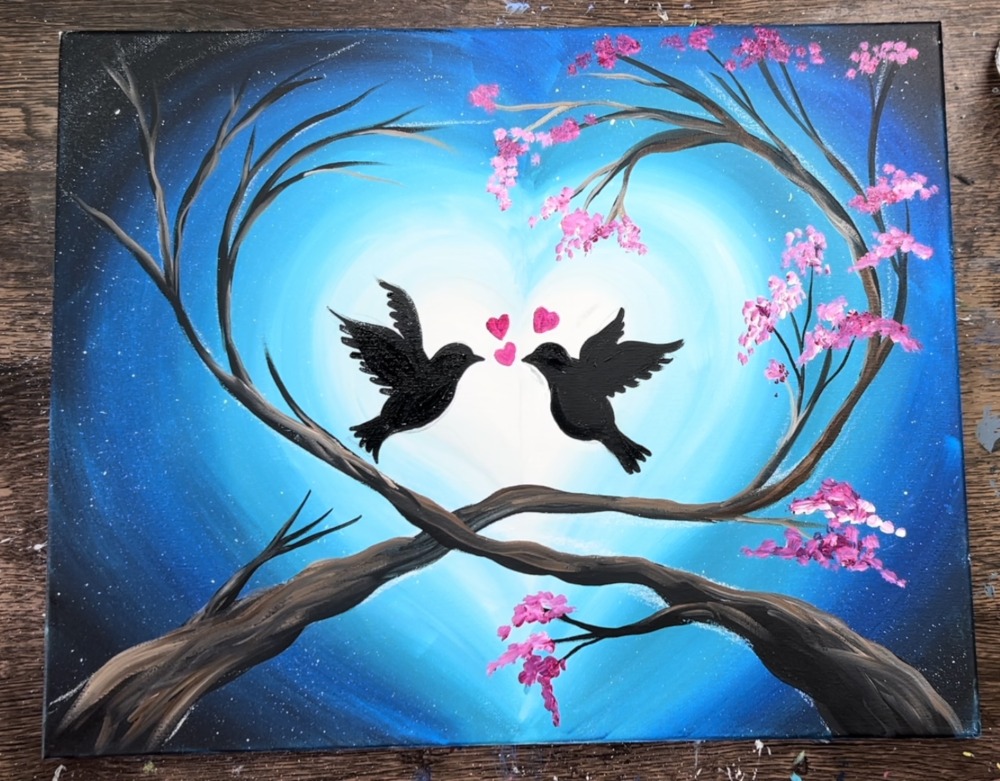
Learn how to paint this easy design of a heart blended background, twisting trees, cherry blossoms and silhouettes of doves. This is a fun design you can do for Valentine’s Day or as a year round date night activity.
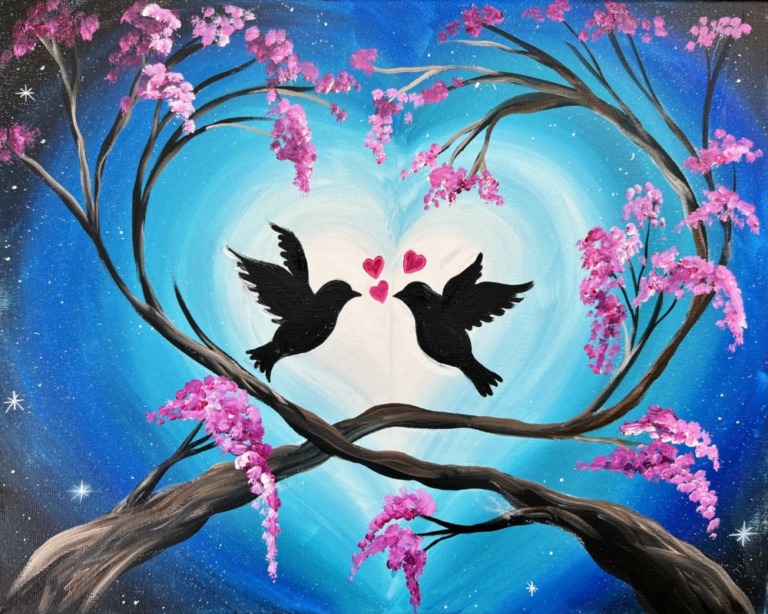
This painting can be used as a single design on any size canvas! I demonstrate this on a 16 x 20 canvas.
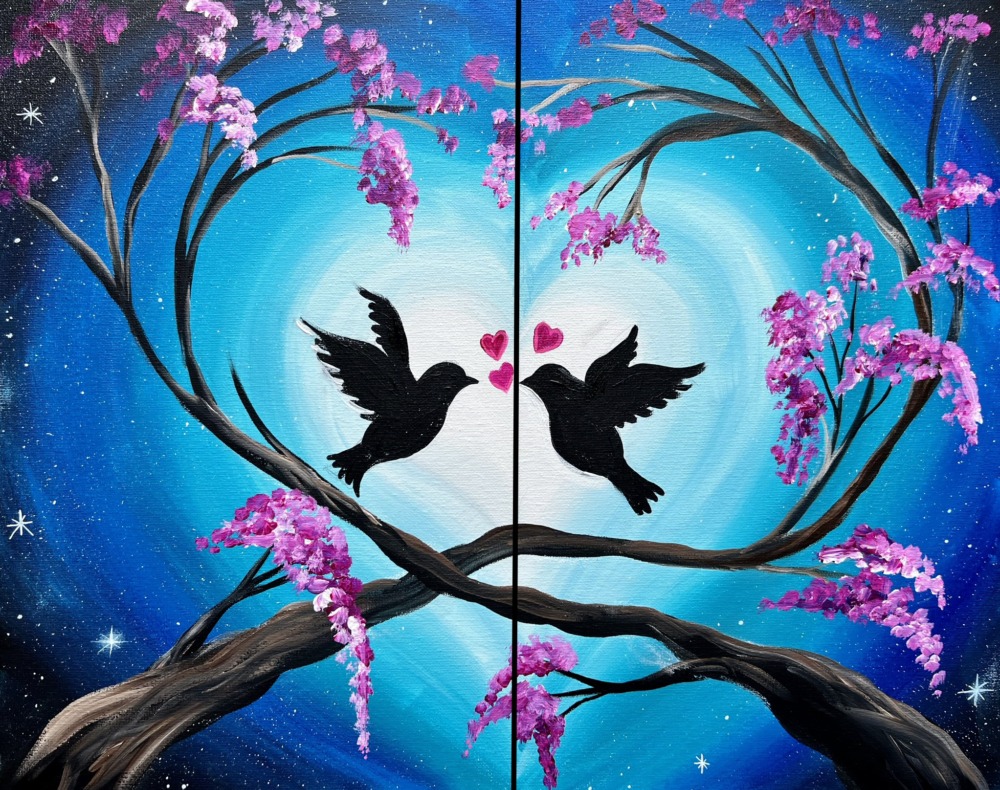
You can also do this as a couple painting! You and a partner can paint on two 11 x 14 canvases (or any size canvas) and each paint one side of the painting that matches in the middle.
There is an optional traceable template for this tutorial for the doves so that you don’t have to do the drawing. You also have the option of drawing the doves with me.
Enjoy and happy painting!
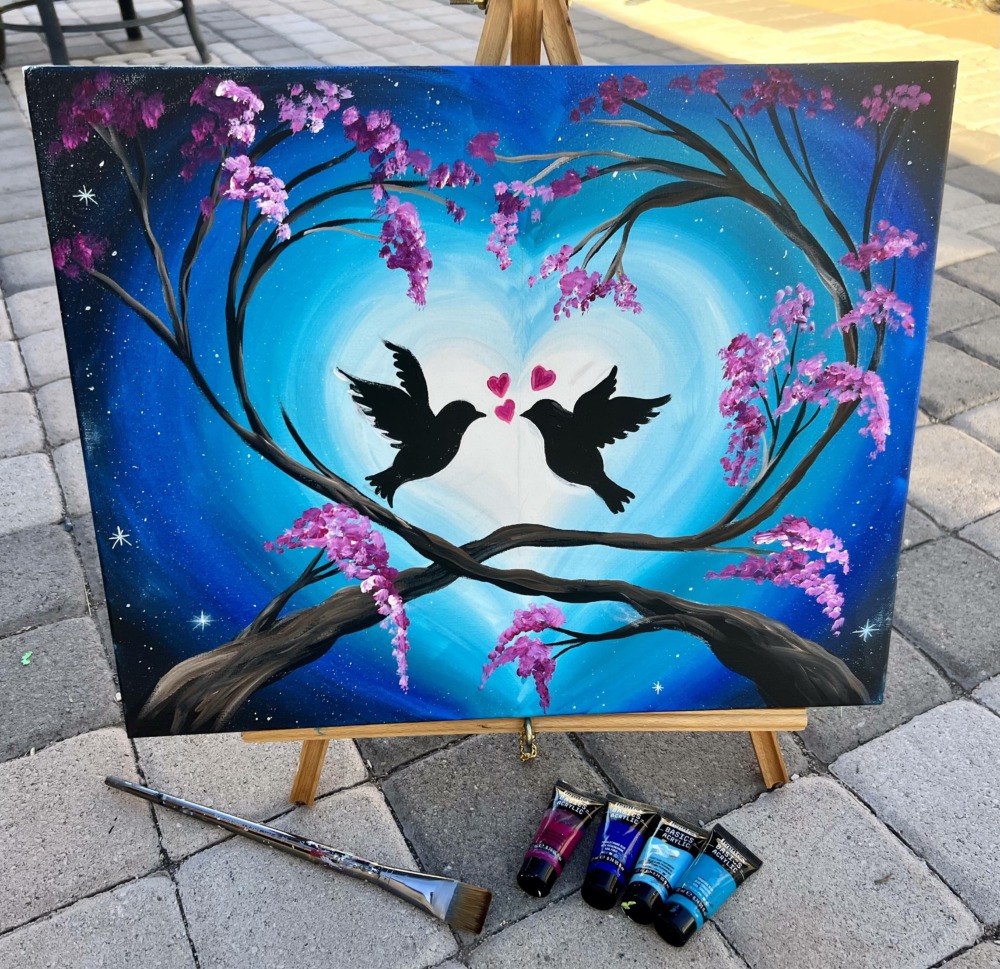
Materials Needed:
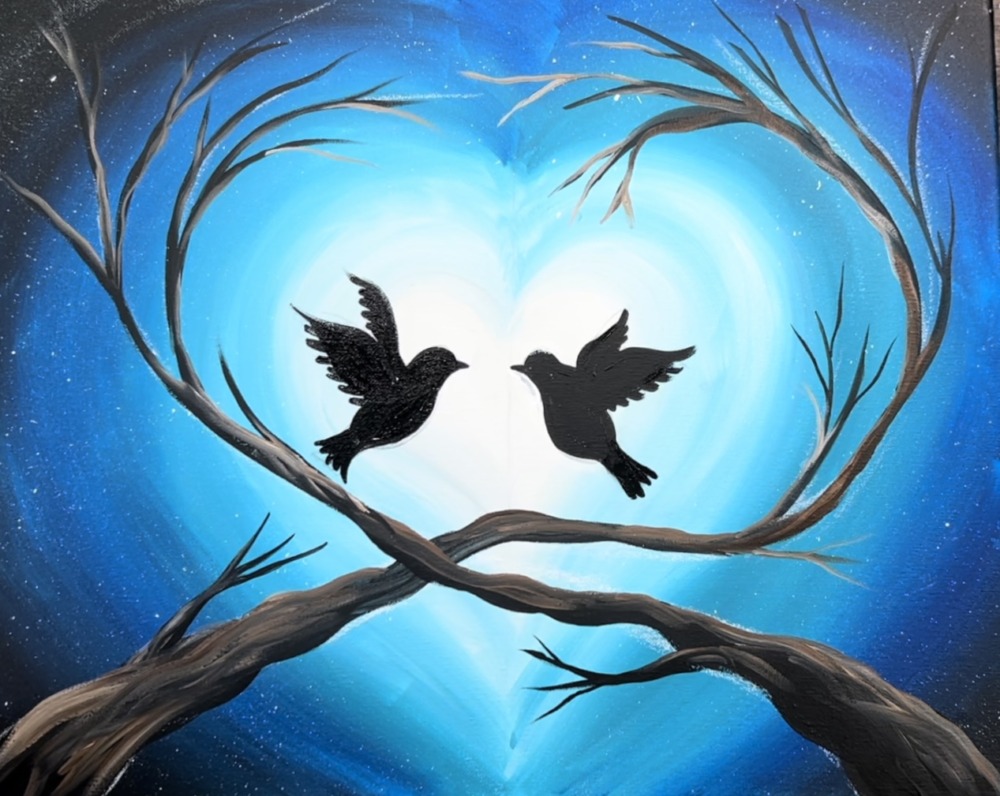
Love Doves - Couples or Single Design
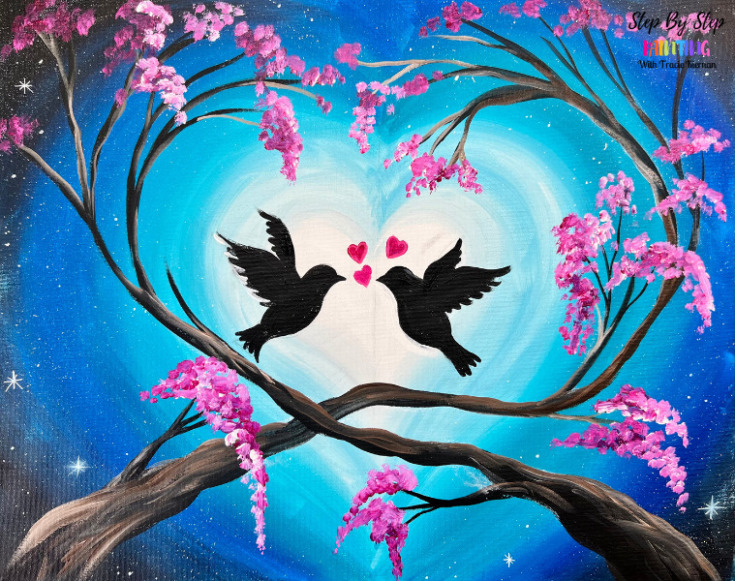
Learn how to paint love doves wiht a blended heart sky background, twisting trees, sparkling stars and cherry blossoms. This design works as a single or a couples painting.
Materials
- Two 11 x 14 Canvases or One 16 x 20
- Acrylic Paint
- Brushes
- Toothbrush For Splatter Painting (optional)
- White Chalk
- Optional Template For Doves
- Pencil
- Optional White Paint Pen
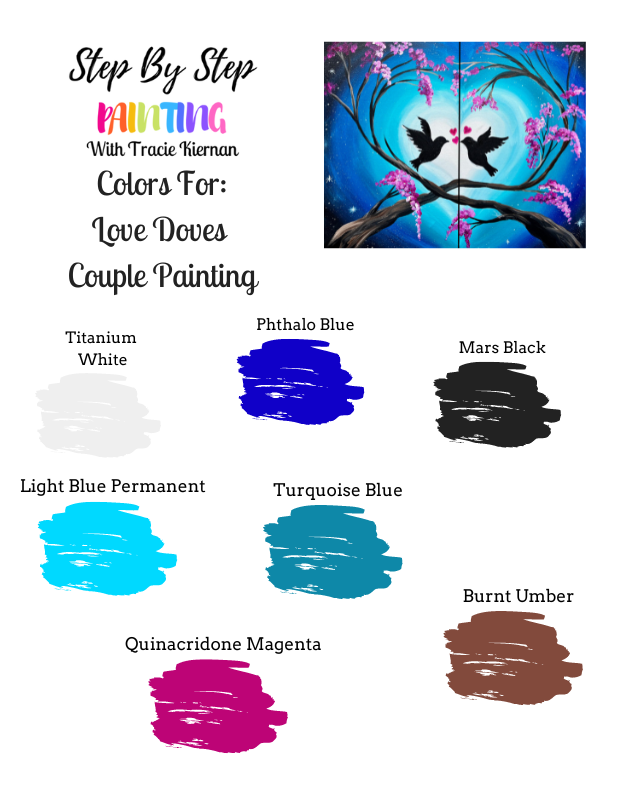
Colors
- Titanium White
- Mars Black
- Phthalo Blue
- Light Blue Permanent
- Turquoise Blue
- Burnt Umber
- Quinacridone Magenta
Brushes
- 3/4 Flat Brush
- 4 Round Brush
Color Palette
Using Craft Paints?
If you are using craft paints, such as Apple Barrel, I would recommend subbing to:
- White
- Black
- Too Blue
- Parrot Blue
- Bimini Blue
- Bright Magenta
- Nutmeg Brown
Traceable Template For The Doves:
This is optional! You are welcome to use these or draw them with me in the tutorial!

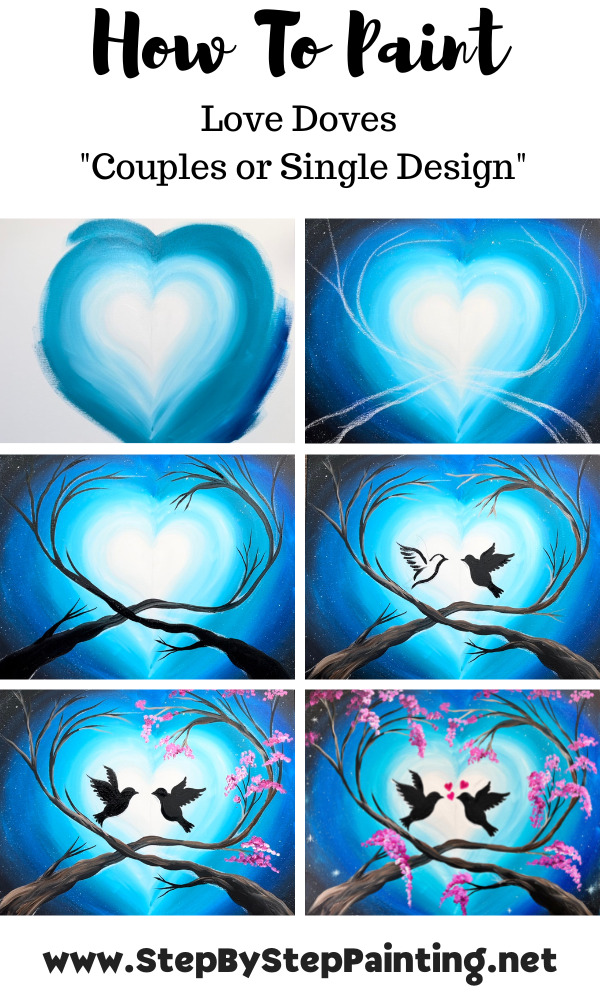
Directions At A Glance:
Video:
Step By Step Directions:
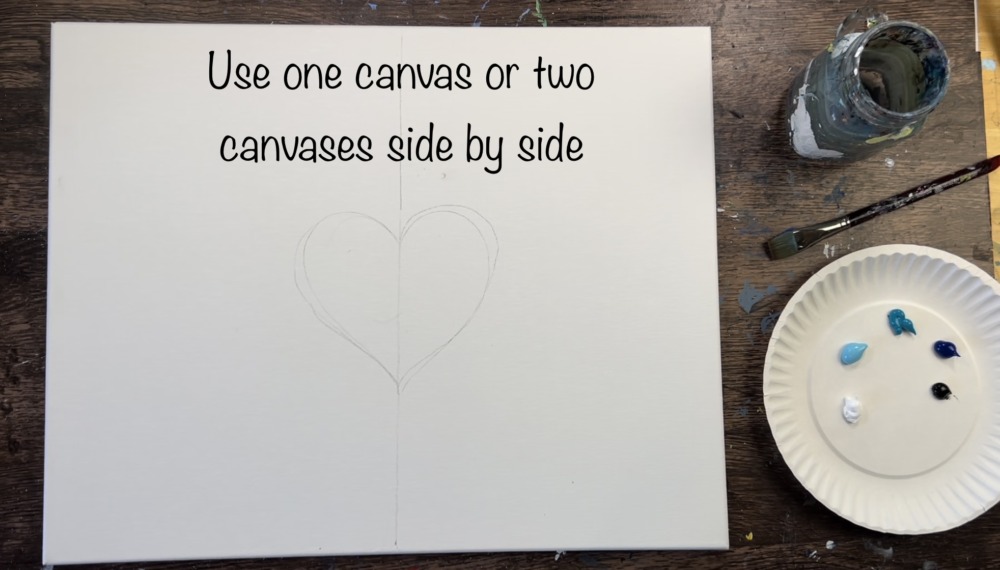
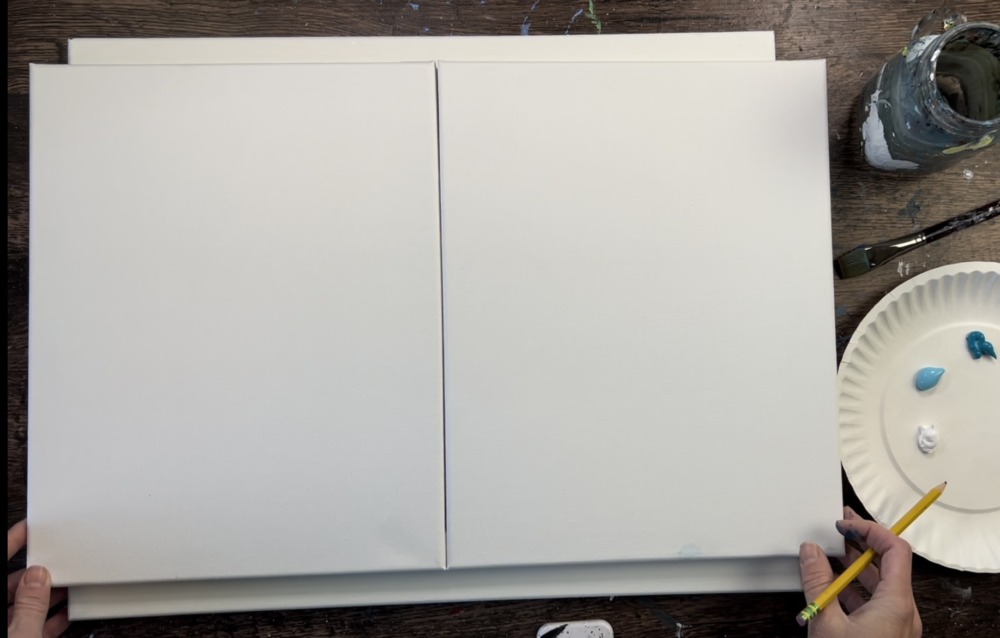
1. Decide if you are working on one canvas or two. Then draw a heart in the center.
The instructions demonstrate this painting on a 16 x 20, however, the painting can be done on any size!
You can choose to do this with a partner or as a solo painting.
If you are doing this with a partner, you can select any size canvas! I recommend two 11 x 14 sizes.
The instructions for this painting are the same regardless if you are doing this on one or two canvases.
The first thing you need to do is draw a heart in the center of your painting. If you are doing this on one canvas, locate the counterpoint of the canvas and draw a vertical line using a ruler. Then draw a heart in the center.
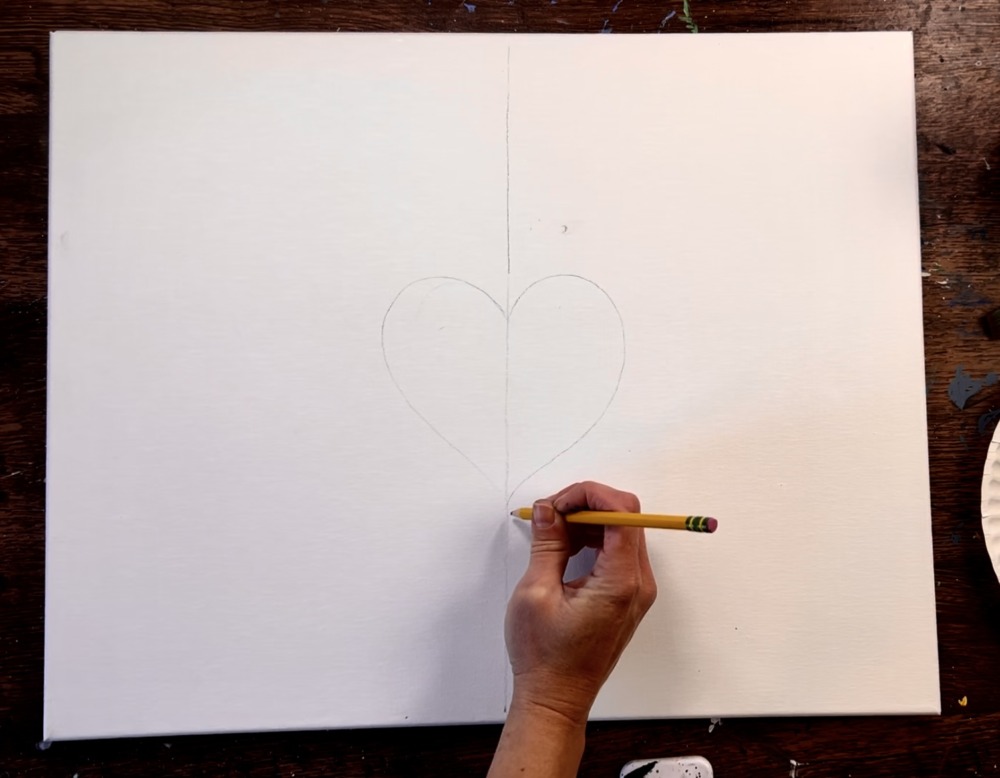
If you are doing this on two canvases, place your canvases side by side and draw a heart that connects in the middle on the edges of your canvases.
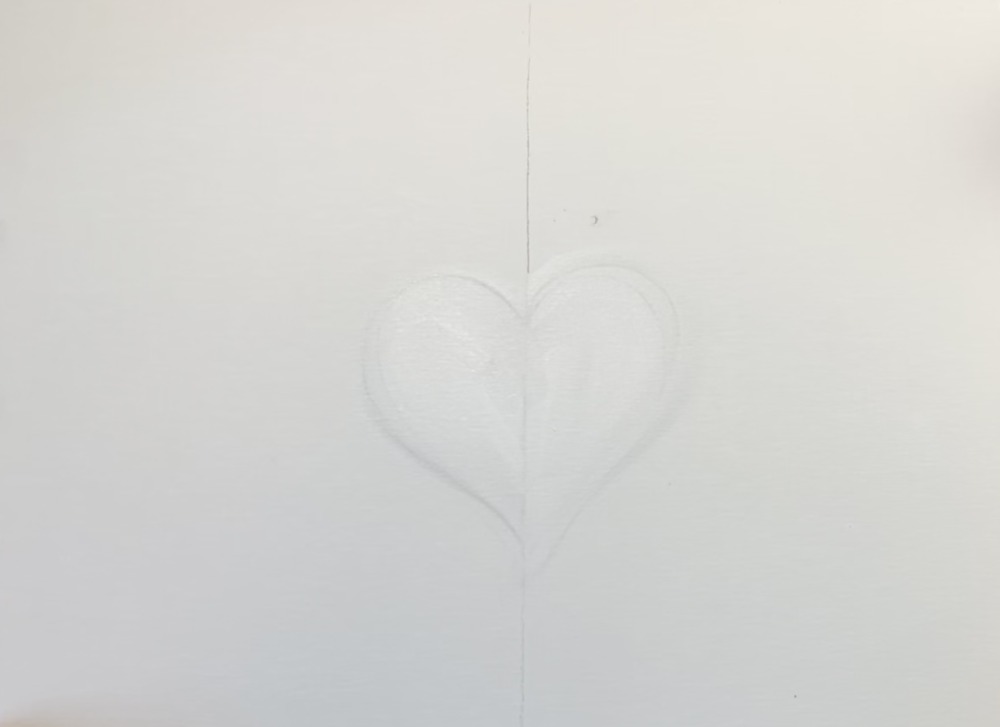
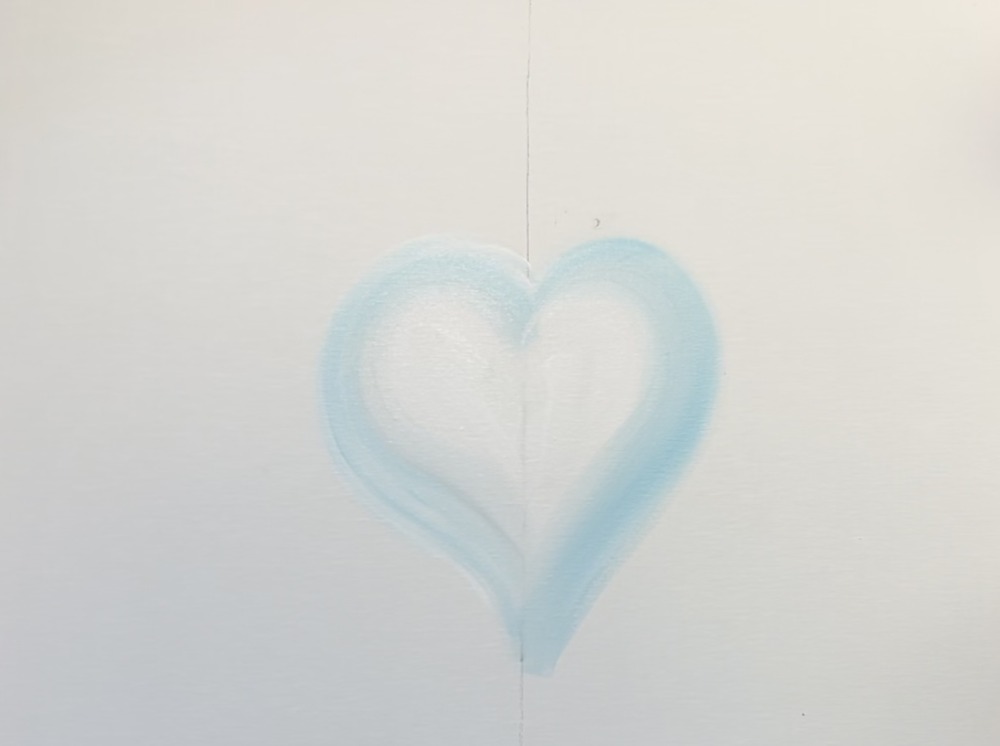
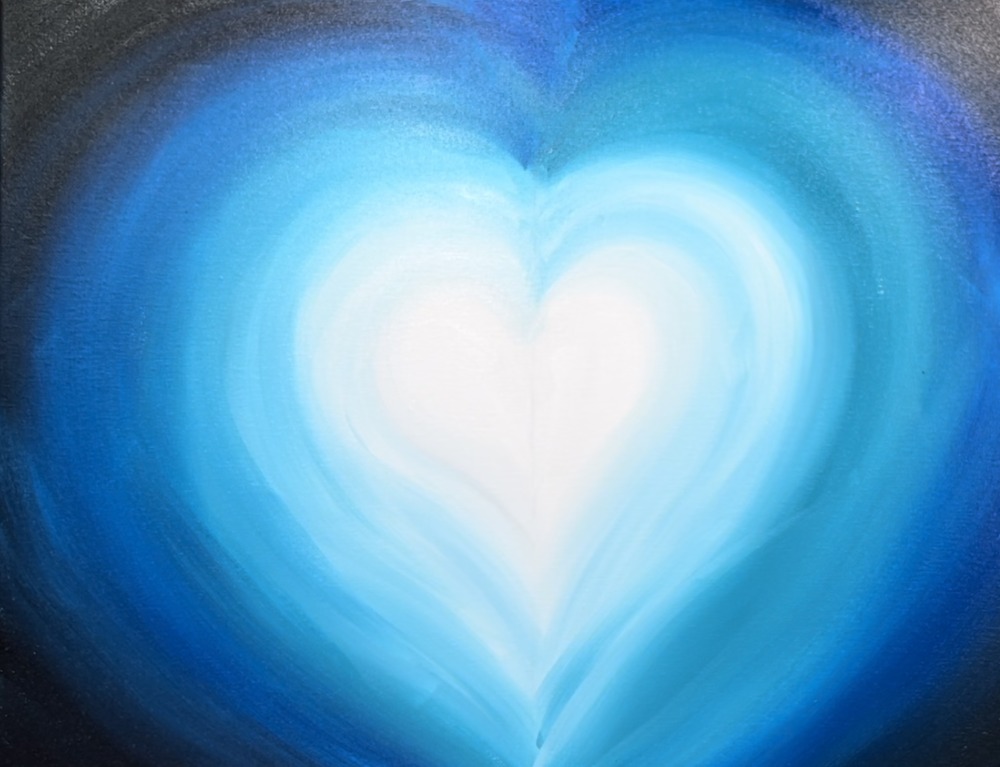
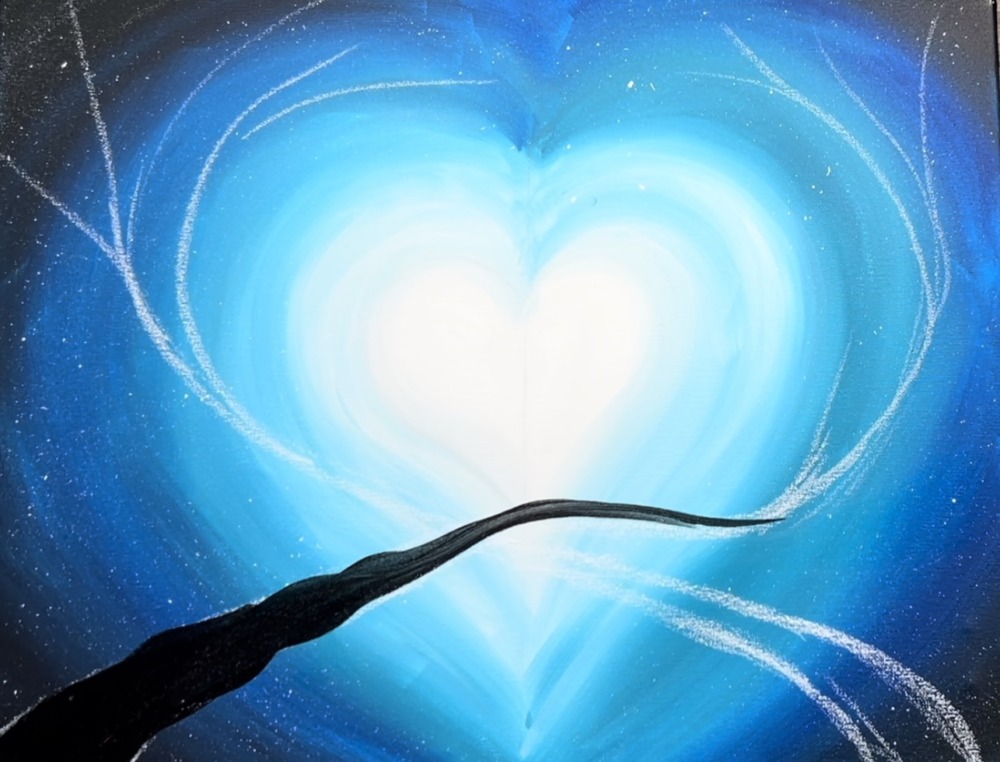
2. Paint the heart white
Next, you will need to load your palette with: titanium white, light blue permanent, turquoise, phthalo blue and mars black.
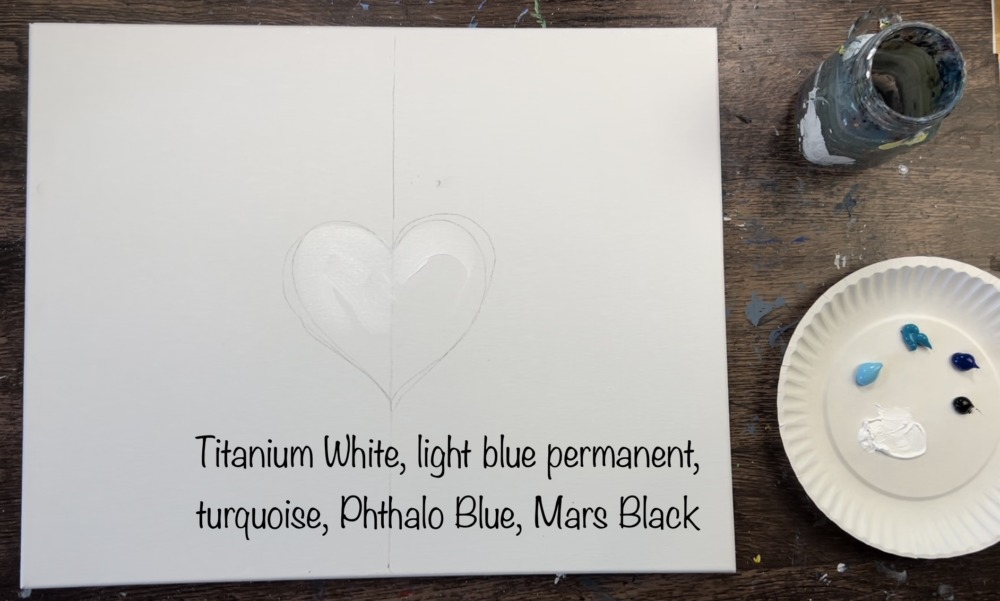
Using a 3/4 flat brush, paint the shape of the heart with white paint. Apply a relatively thick layer because this white will be used to help blend the light blue layer that radiates around this heart.
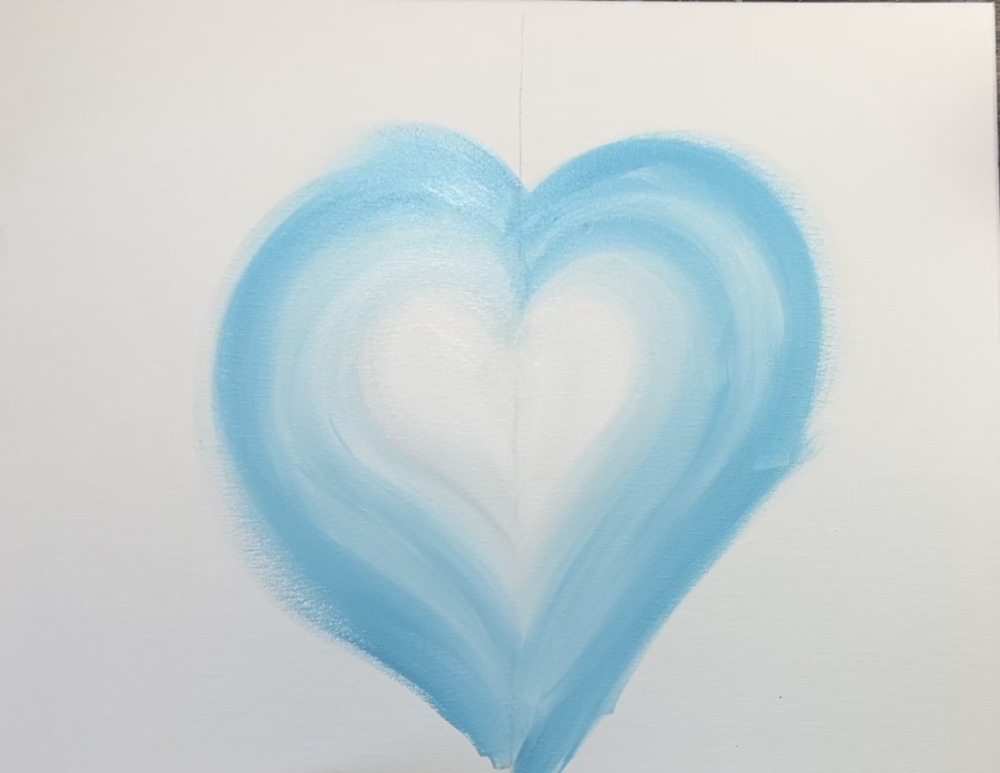
3. Start blending blues on the outside of the heart
Next, load a very small amount of light blue permanent onto your 3/4 wash brush without rinsing the white off your brush. Gently apply the light blue layer on the outer part of the heart and blend it into the white without blending it all the way. The center heart should still be bright and white.
Work your way outwards in a “heart shape” direction. Your stroke should be contouring around your original shape. Allow the light blue to blend outwards about 3-4 inches.
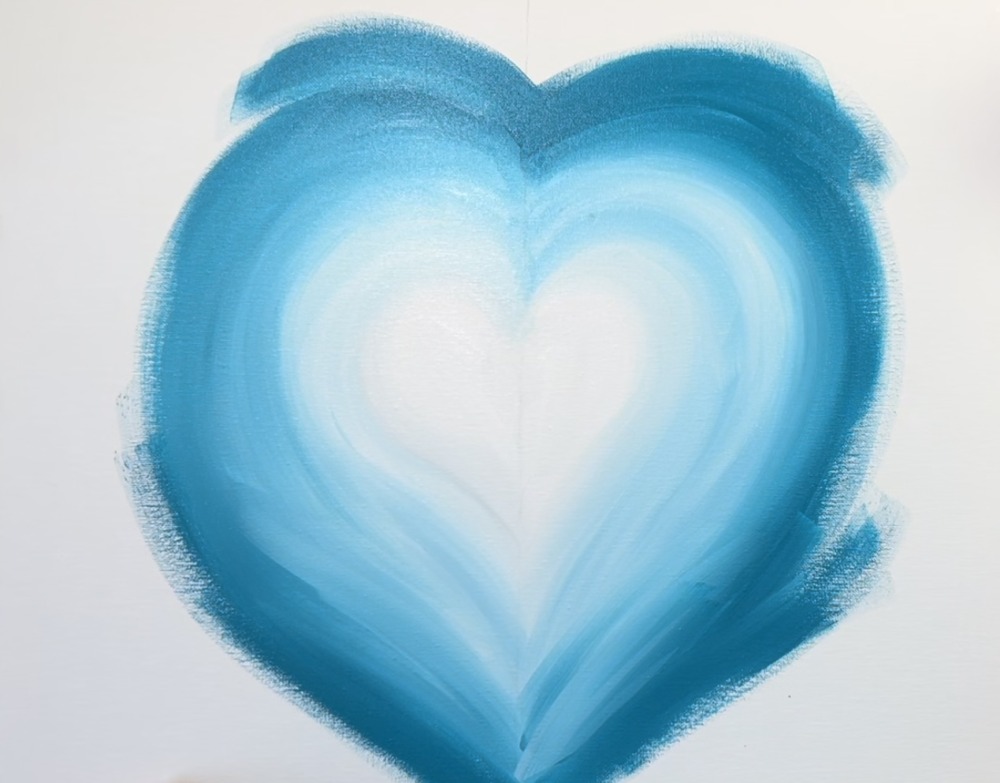
Then wipe off your brush but don’t rinse it. Load a very small amount of turquoise onto your brush and gently blend it into the light blue. Continue working in a contouring direction around the heart shape.
Then gently add phthalo blue when you get closer to the edge of the canvas. Blend it with your turquoise.
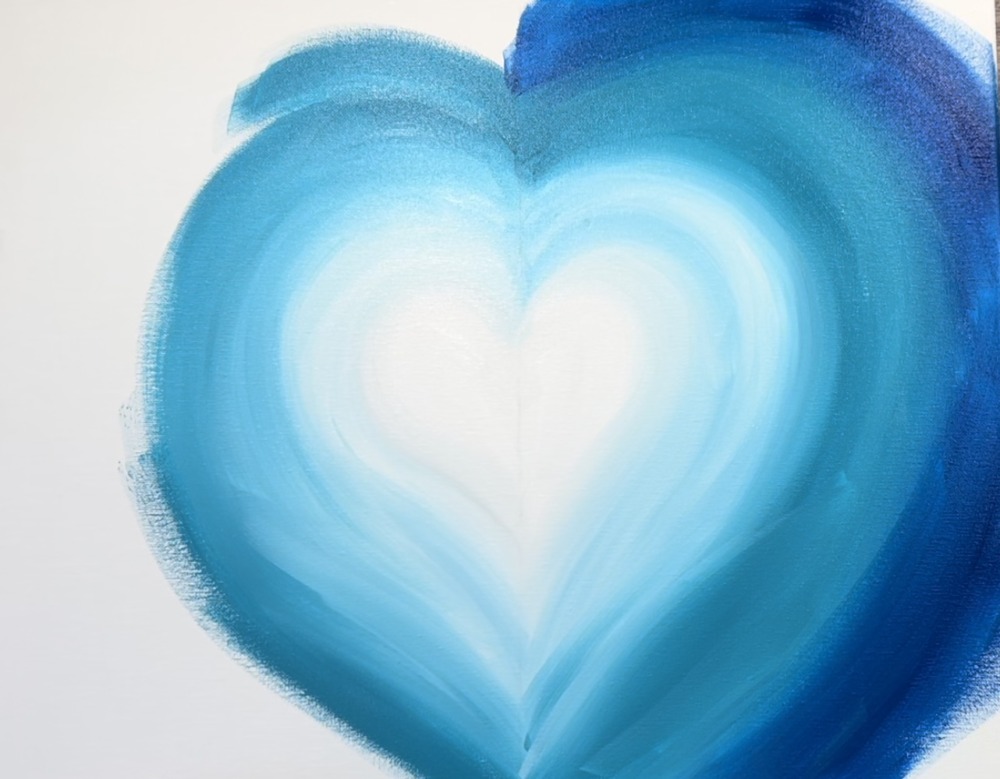
4. Blend black on the corners
Paint the far corner edges of the canvas with mars black. Blend it gently into the phthalo blue. Be careful not to load too much black on your brush, only a tiny amount is needed.
5. Splatter paint little white dots
Next, you can use either a toothbrush or your big flat brush to flick little white specks all over your canvas. Load a small amount of titanium white onto the brush and loosen it slightly with water. Test out another area first to make sure it’s not too drippy.
Then flick little white specks all over.
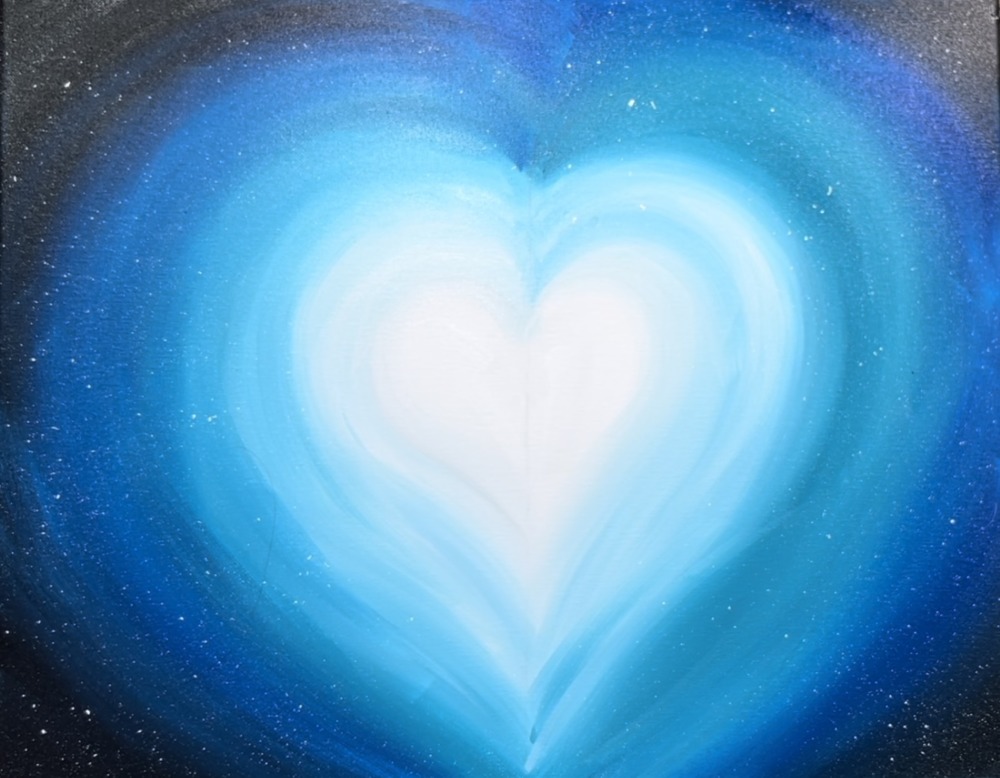
Let this painting dry before going onto the next step!
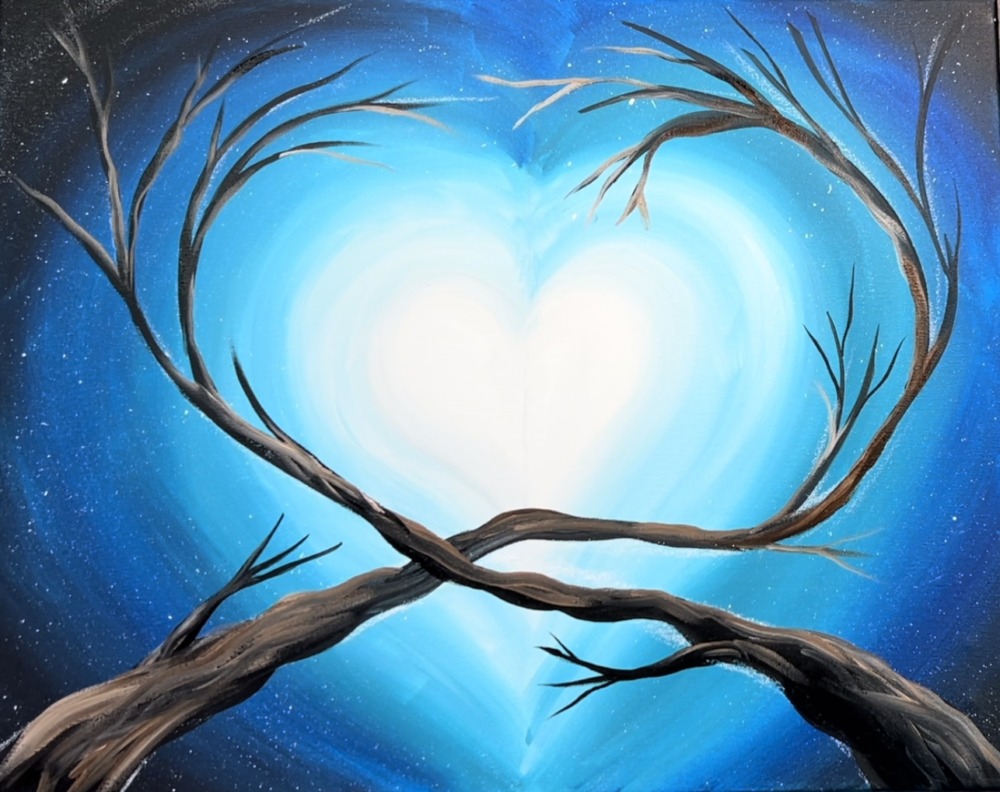
6. Draw the tree branches with a piece of chalk
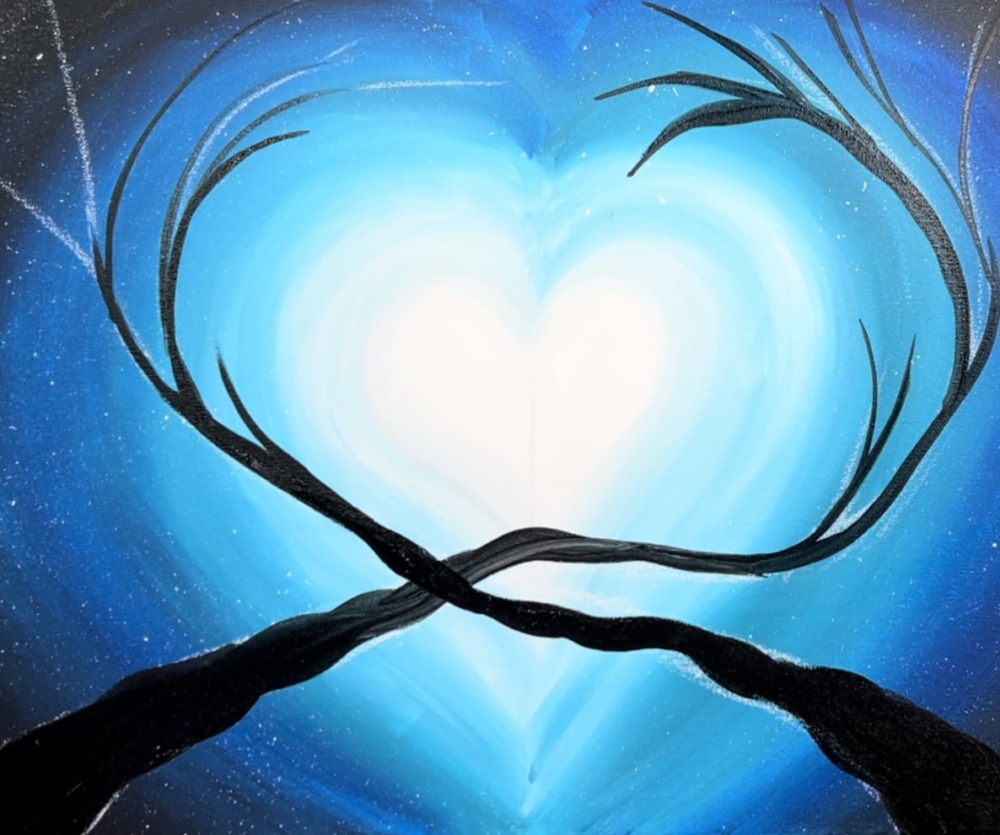
Use a piece of chalk to draw two tree branches that cross in the middle of the painting. If you are doing this on two canvases, place your canvases together and connect your tree drawings.

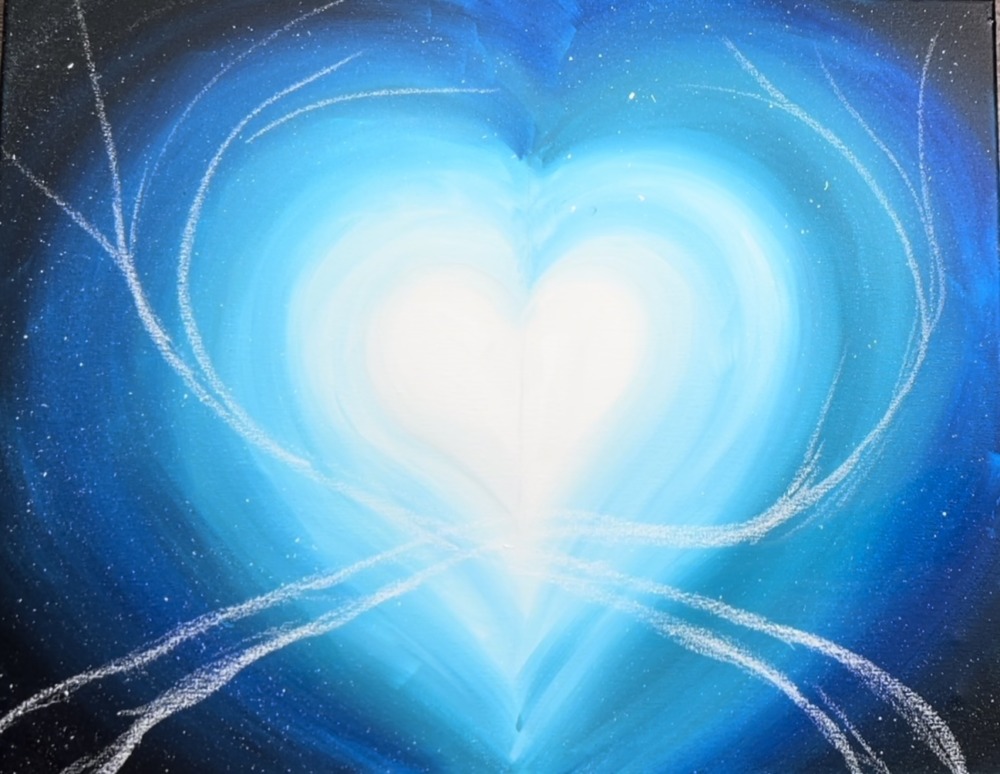
The first branch starts out wide in the lower left corner and goes up slightly. It goes a little horizontally under the heart and then quickly curves up and around the heart.
The smaller branches almost hug the top of the heart. Make sure you leave a lot of space open in the center.
Then draw the second branch so that it almost mirrors the first branch. Draw it so it twists upwards around the heart.
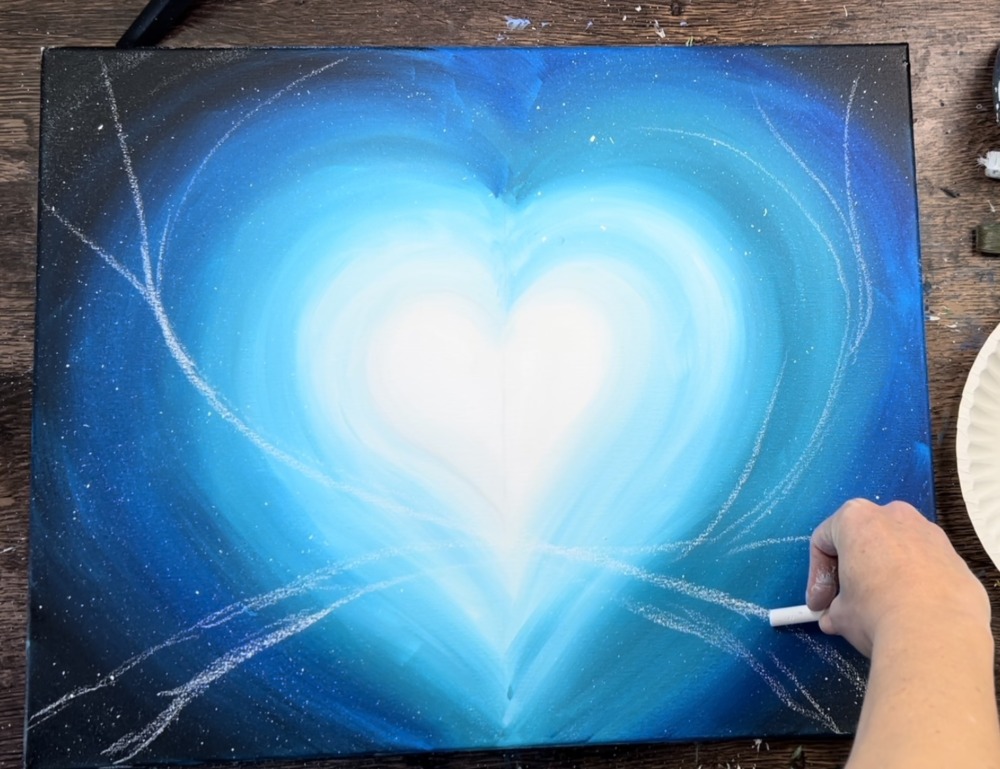
Chalk can easily be erased with a baby wipe/wet wipe or a clean wet paint brush.
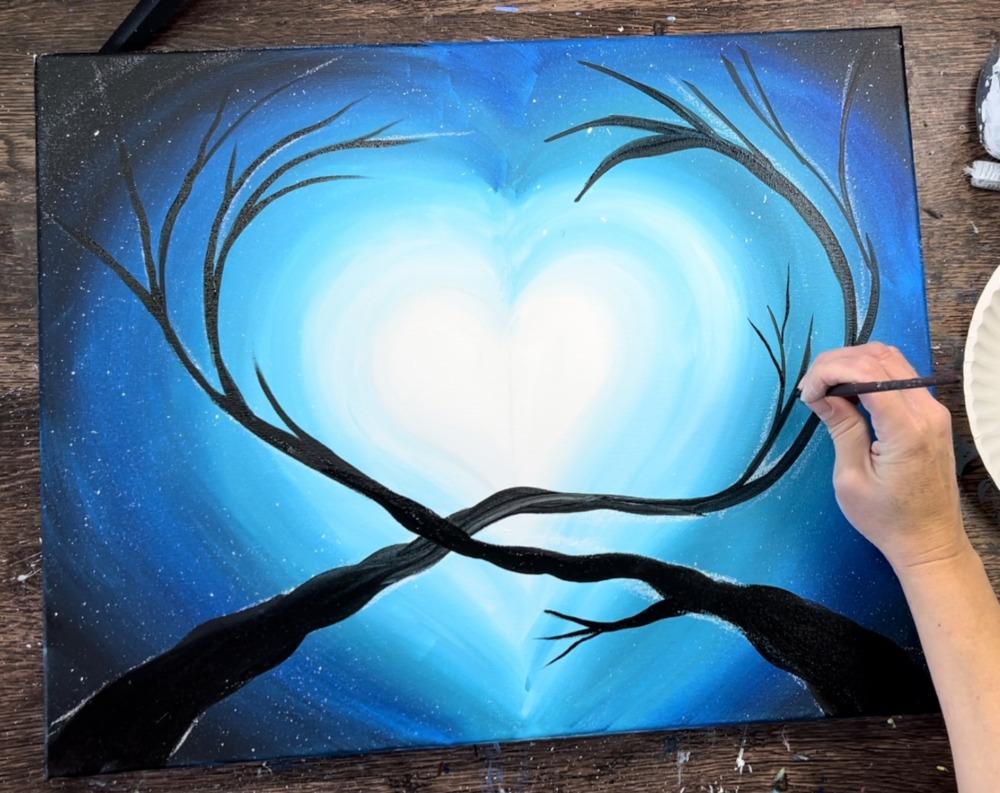
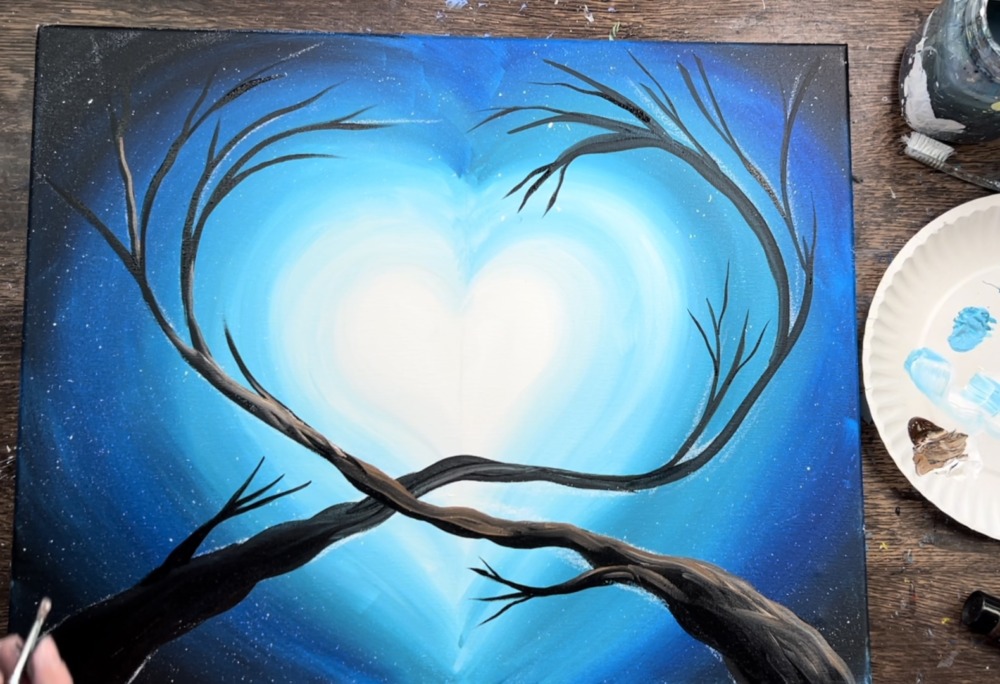
7. Paint the branches with mars black
Use the 3/4 wash brush and mars black. Paint each of the branches with the black.
Use the full width of the brush for the larger areas of the branch and then use the tip of the brush for the smaller branches.
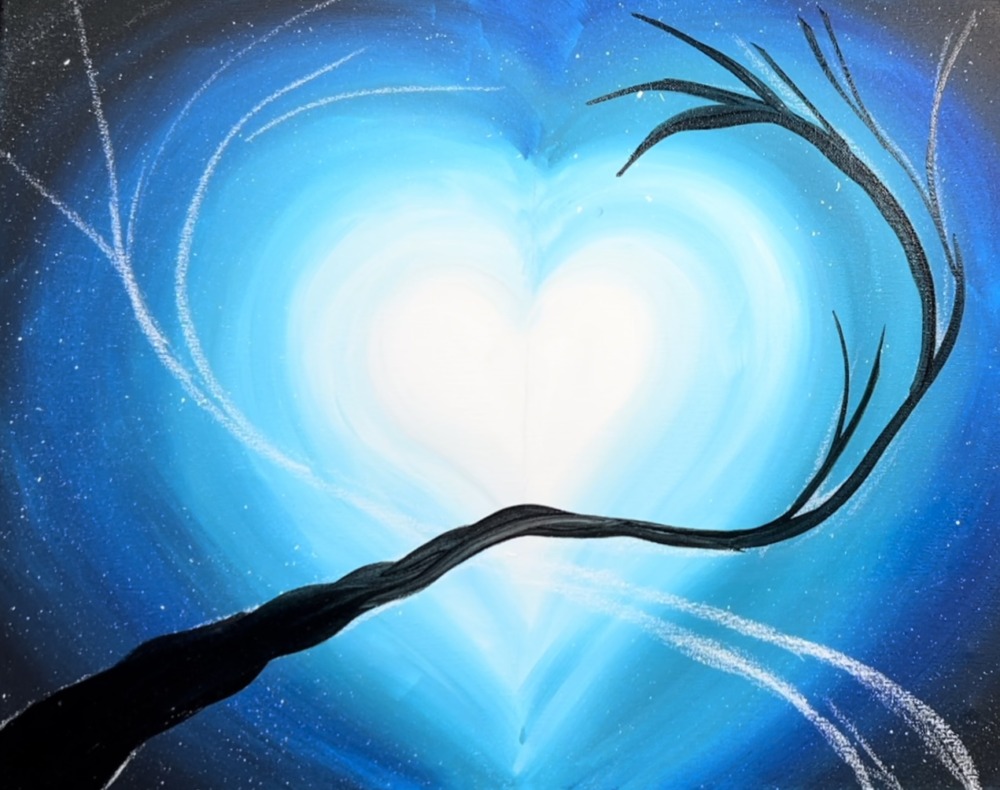
Use your #4 round brush to paint some of the smaller branches.
8. Add color/shading/highlighting to the branches (optional)
This is an optional step! If you want to add shading/highlighting on the branches, load your palette with burnt umber and titanium white.
Use the #4 round brush to mix about equal parts of the brown and white to make a lighter brown.
Then use the round brush to paint loose, wavy strokes on the edges of the branches.
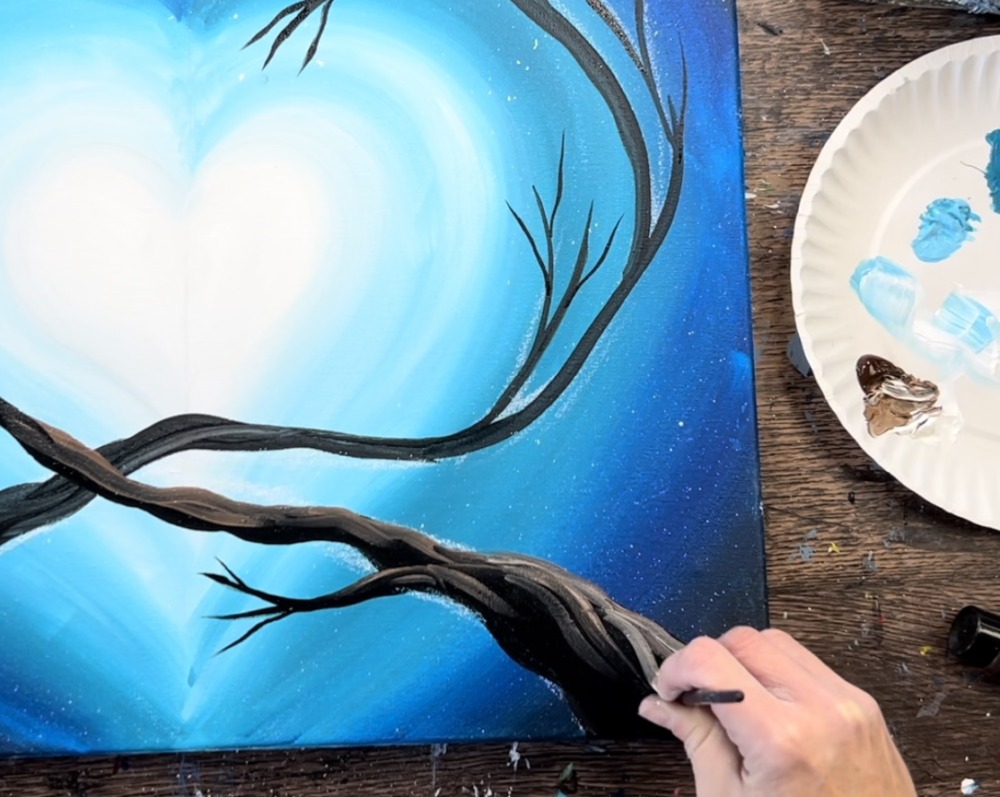
Paint just the top parts of the branches and leave the bottom parts black for the shadowing.
To create color variation, load your brush in different amounts of the brown and white to create lighter and darker tones in the wood. To create texture, use loose and wavy strokes.
Do this on both branches. You don’t need to highlight the smaller ones. Additionally, you can paint some separate small branches using the lighter browns.
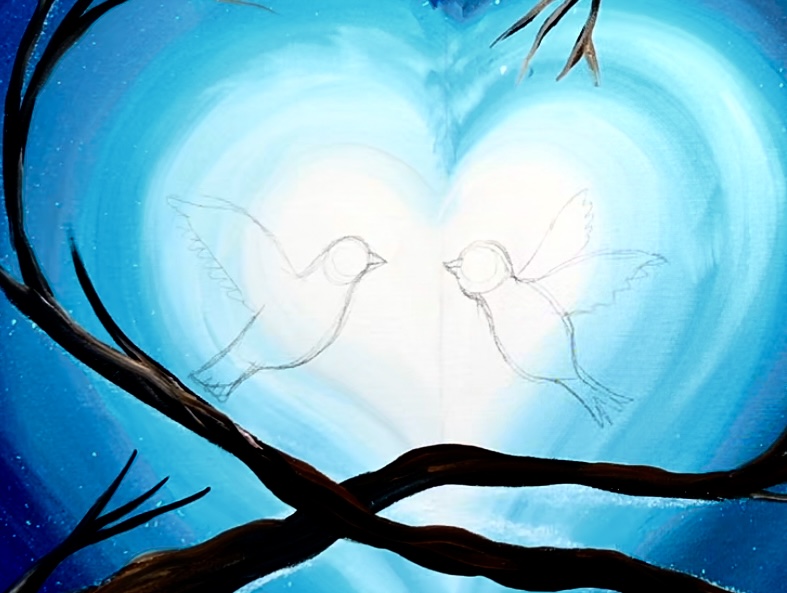
9. Draw or transfer the doves
If you are using the template, print it out and place a sheet of graphite paper below the doves. If you don’t have graphite paper, you can rub pencil on the back of the printable and then trace on the front. The design will transfer to the canvas.
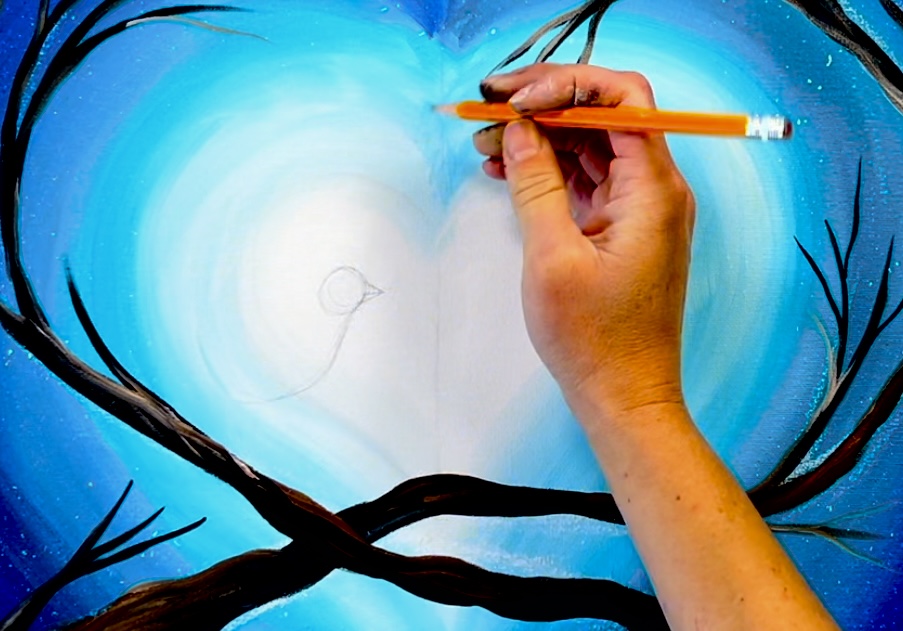
Alternatively, you can draw the doves! Break the dove drawing down shape by shape. Start with the head as a small circle and a small triangle for the beak.

Draw a curve down from the beak to form the chest/belly region.
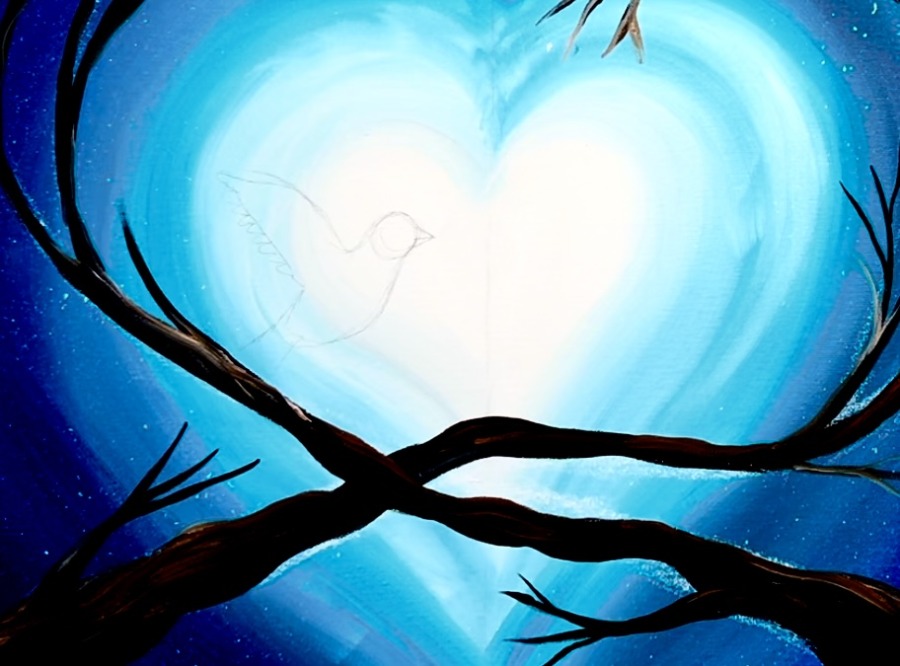
Then draw the wings as a semi-circle angling upwards.

Draw the feather curves on the ends of the wings and sketch the tail shape.
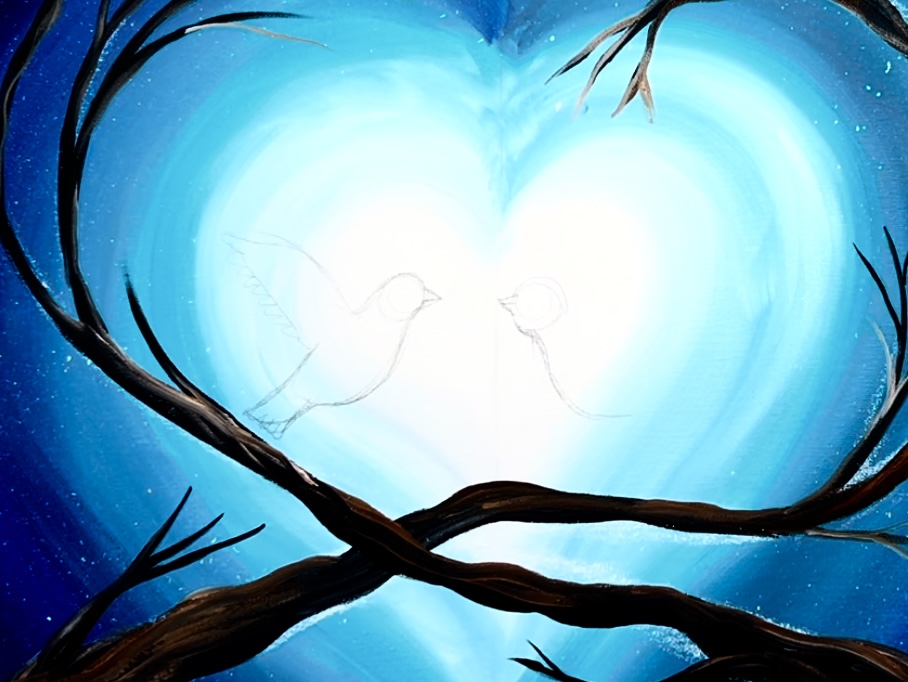
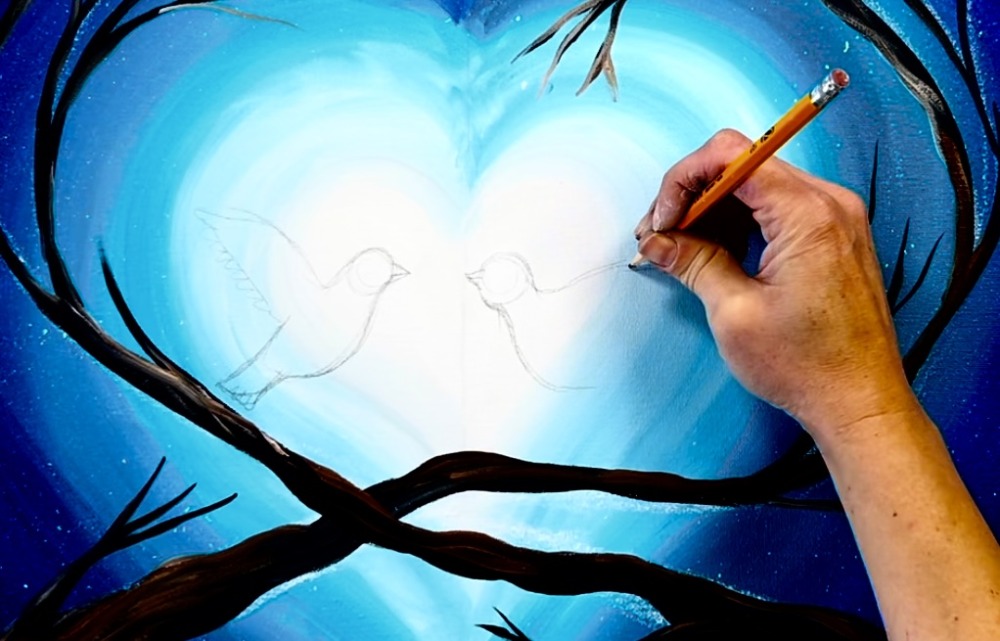
Repeat this for the other side. Draw a mirror image of the dove (although it doesn’t have to be the exact same, it can go at a different angle or be bigger or smaller).
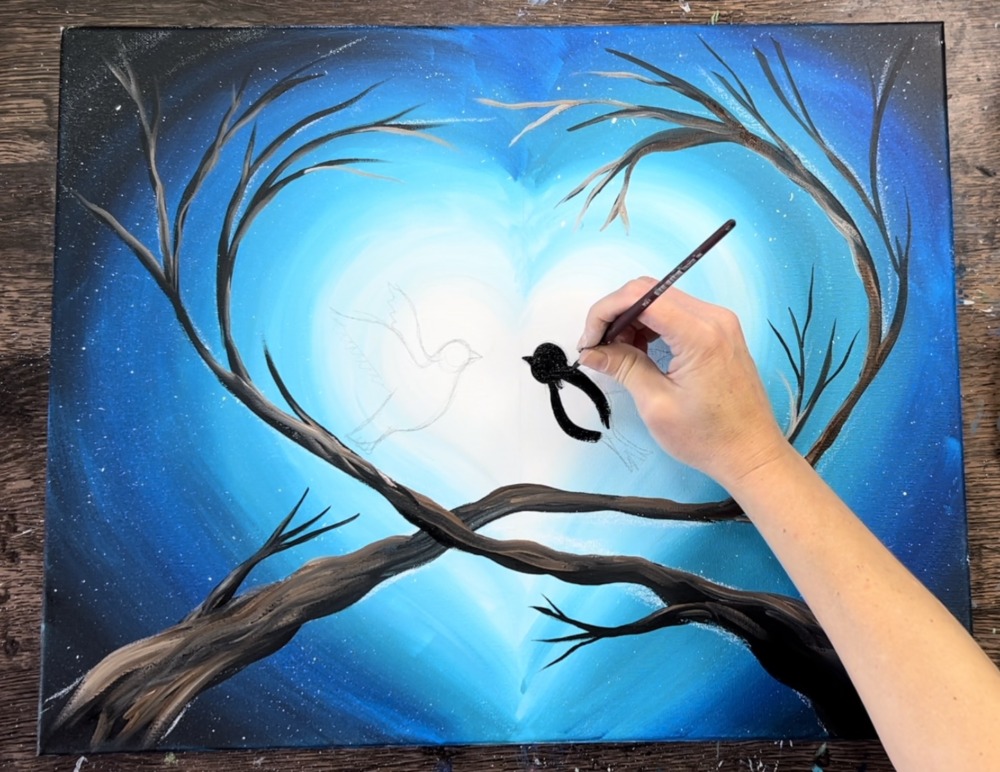
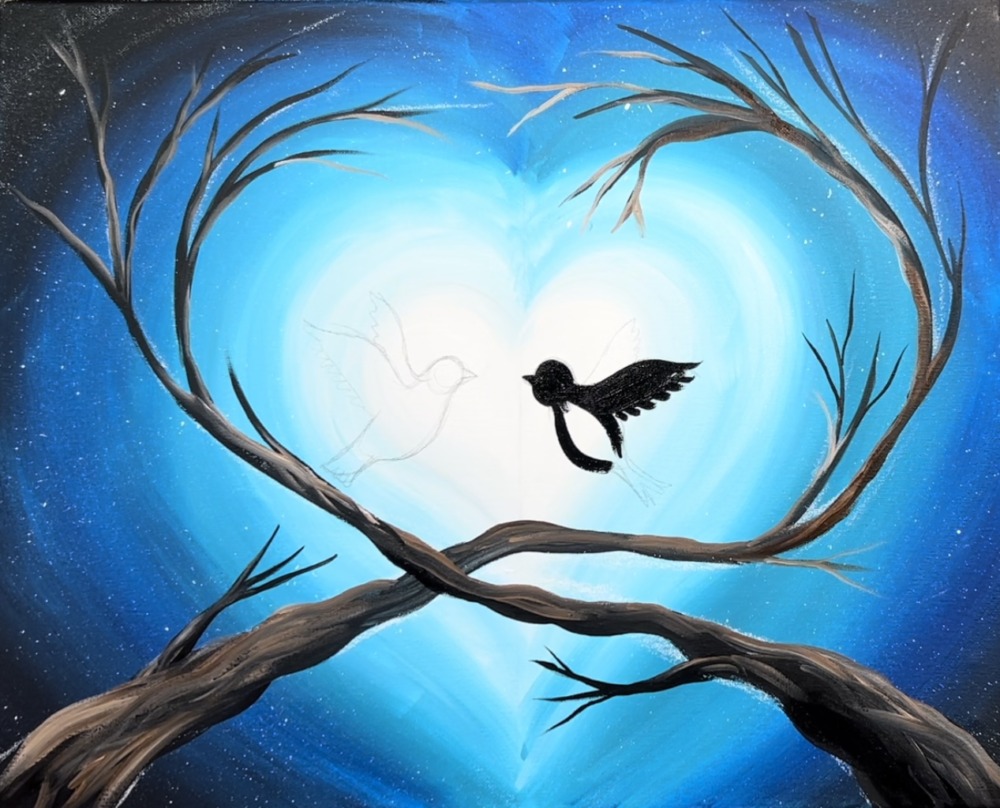
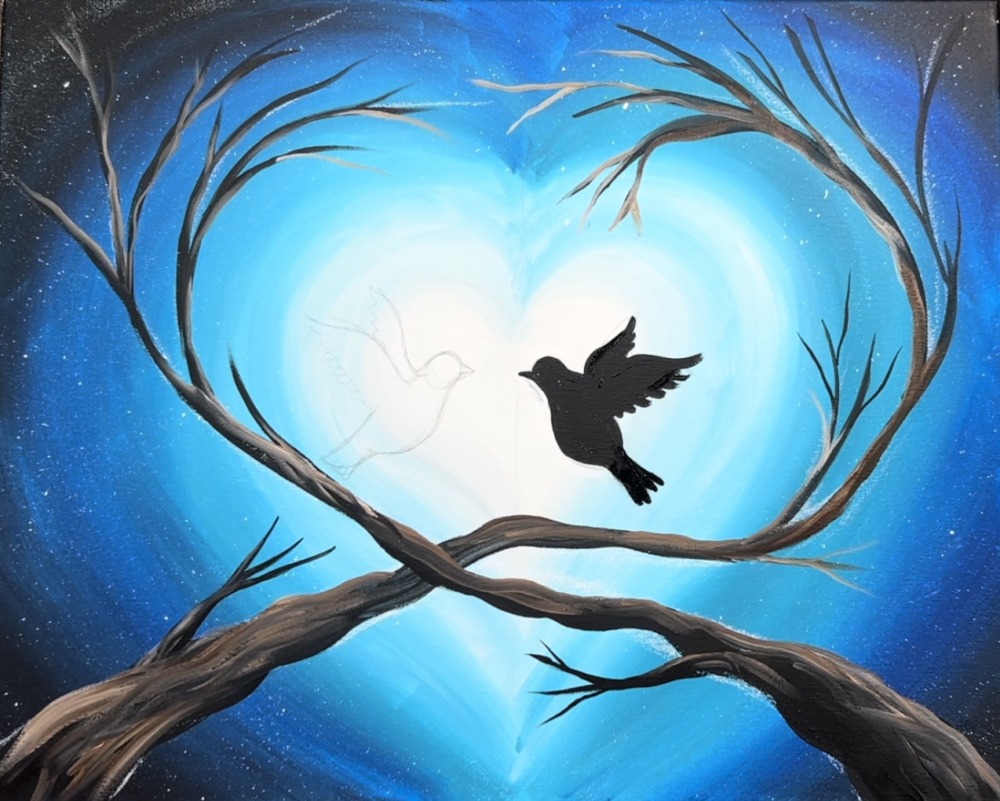
10. Paint the dove silhouettes
Next, use the #4 round brush and mars black to paint the silhouettes in. Basically, outline the shape and then fill them in solid with black.
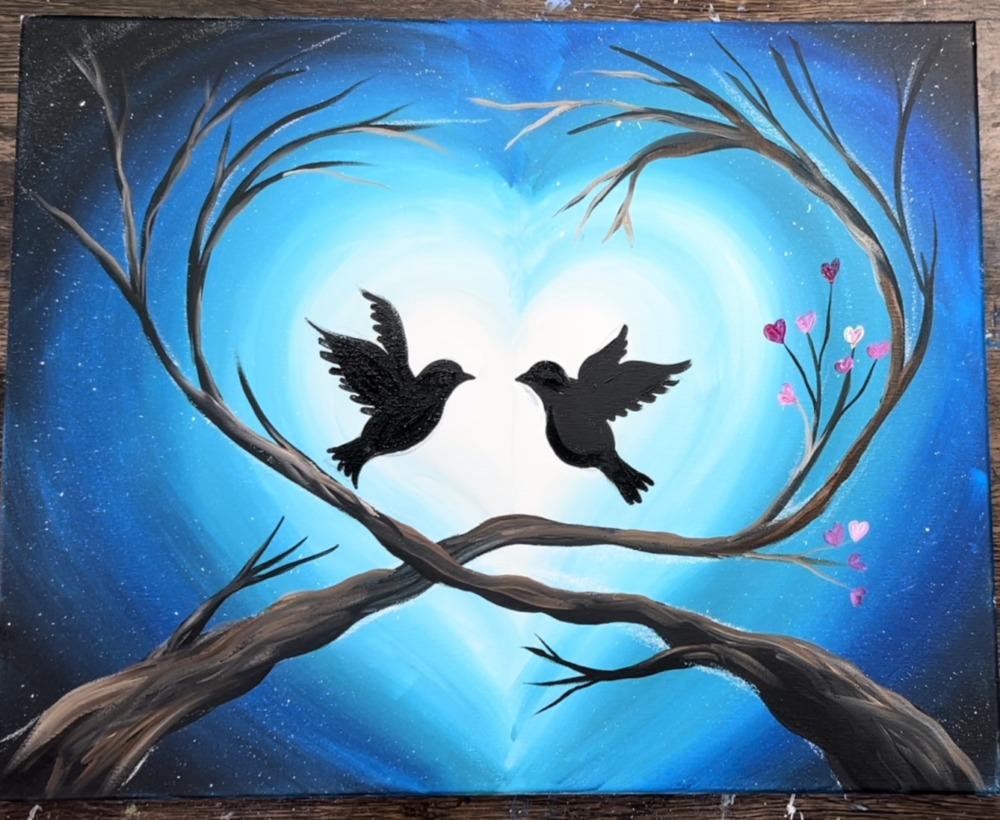
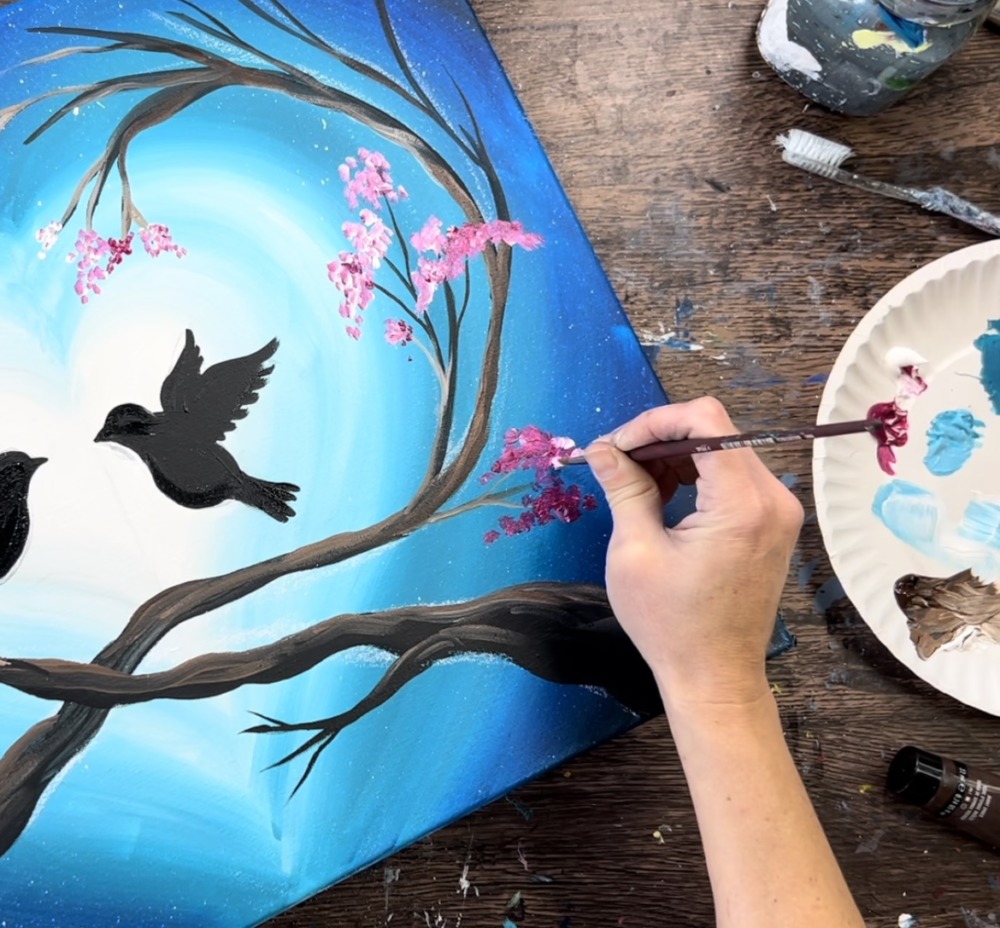
11. Paint little hearts or little dots of cherry blossoms
Decide if you either want to paint little hearts for the blossoms on the ends of the branches or if you want to paint little clusters of dots for the blossoms.
Load your palette with quinacridone magenta and titanium white. Use your #4 round brush. Double load it into both of the colors to form a pink. Additionally, you can use just the magenta for a dark magenta color and white for a lighter color.
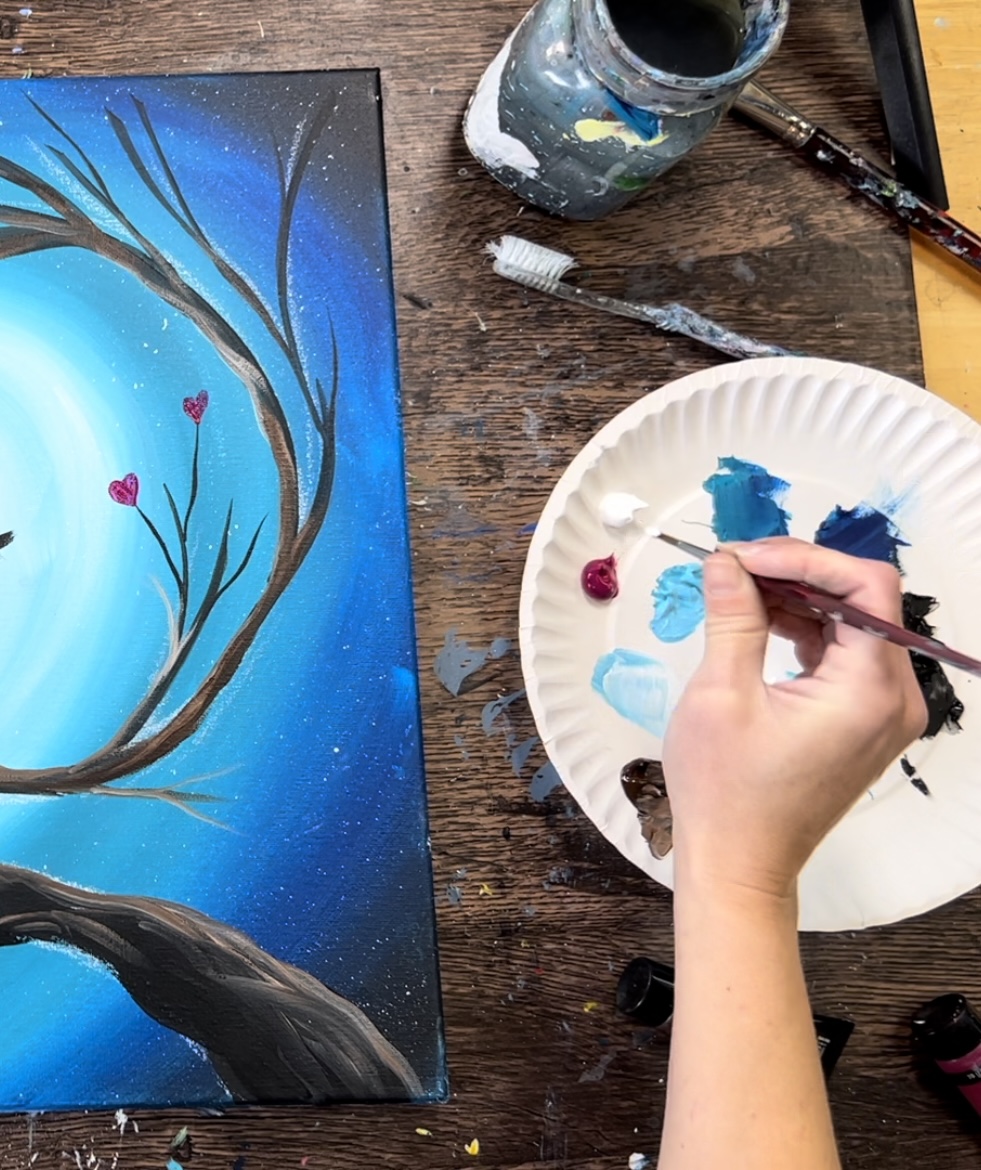
Use the #4 round brush to paint little hearts on the ends of all the branches.
Alternatively, you can use your round brush to paint little clusters of dots on the ends of all the branches. Load the tip of your round brush in different amounts of the magenta and white and paint clusters of flowers everywhere.
Optional: paint pink hearts/blossoms by the doves.
Continue to paint the cherry blossom clusters all throughout the tree area.
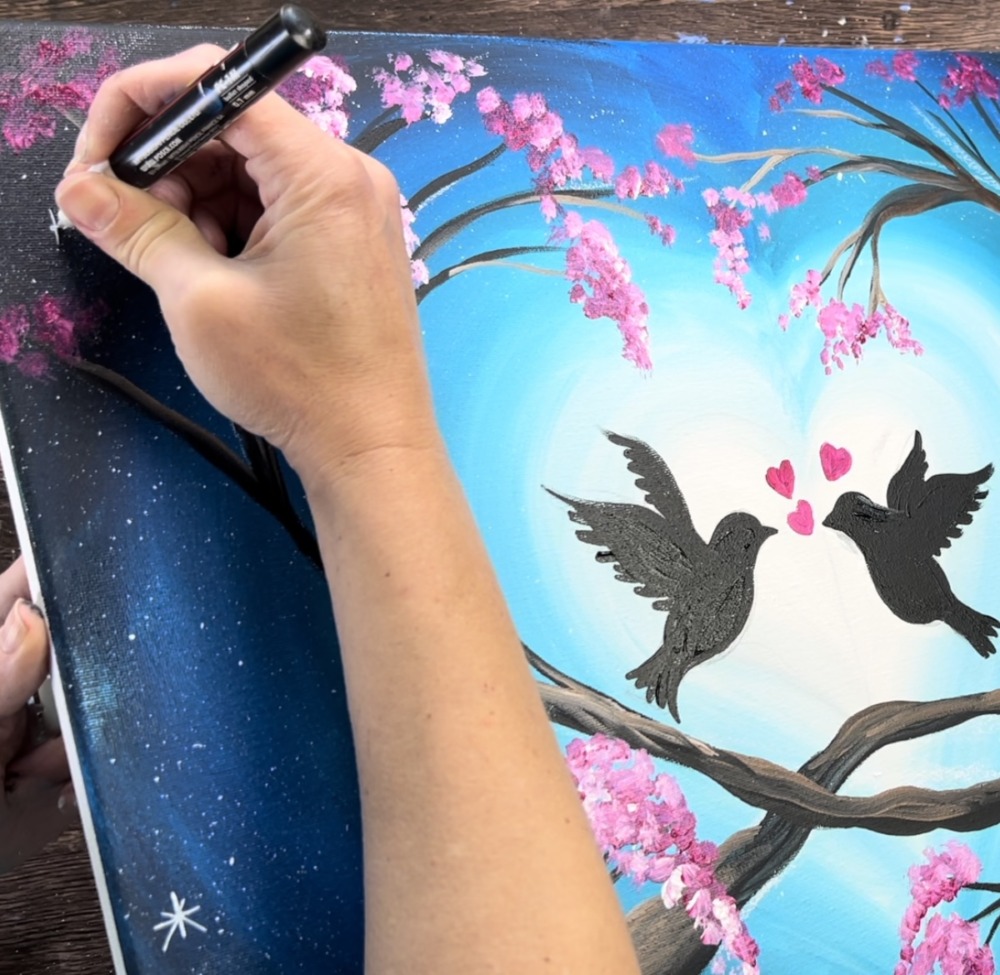
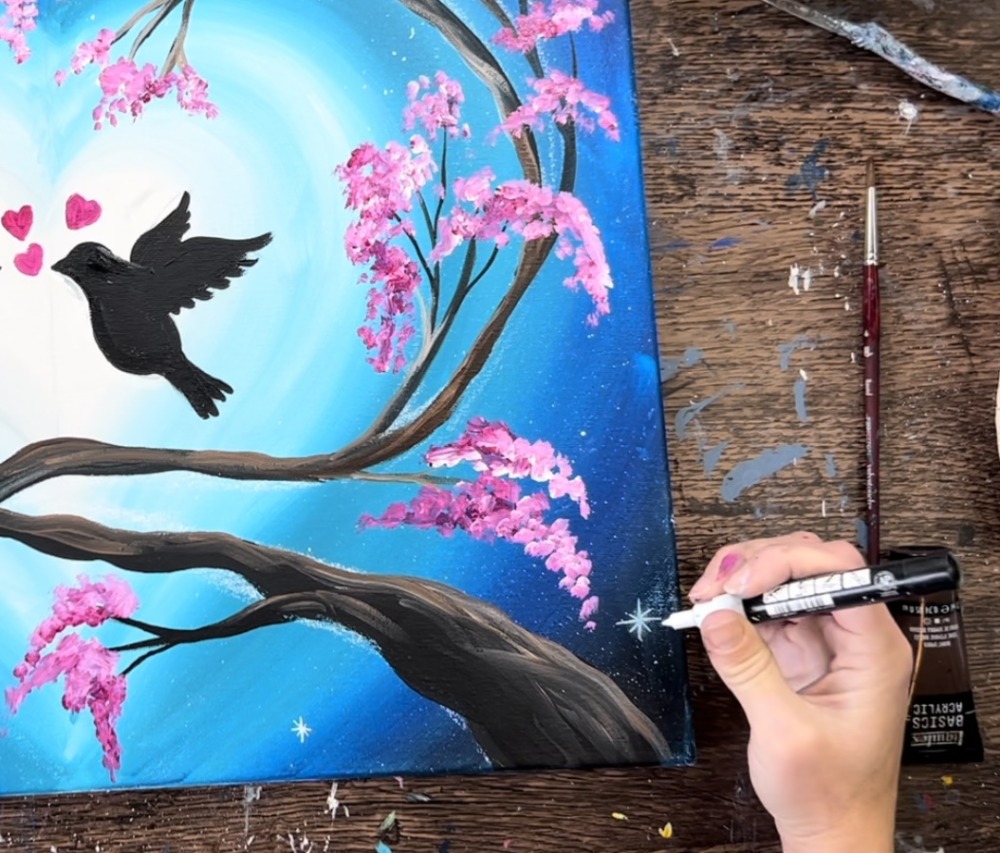
12. Draw stars with white paint pen
Use a POSCA white paint pen to paint sparkling stars throughout the sky area.
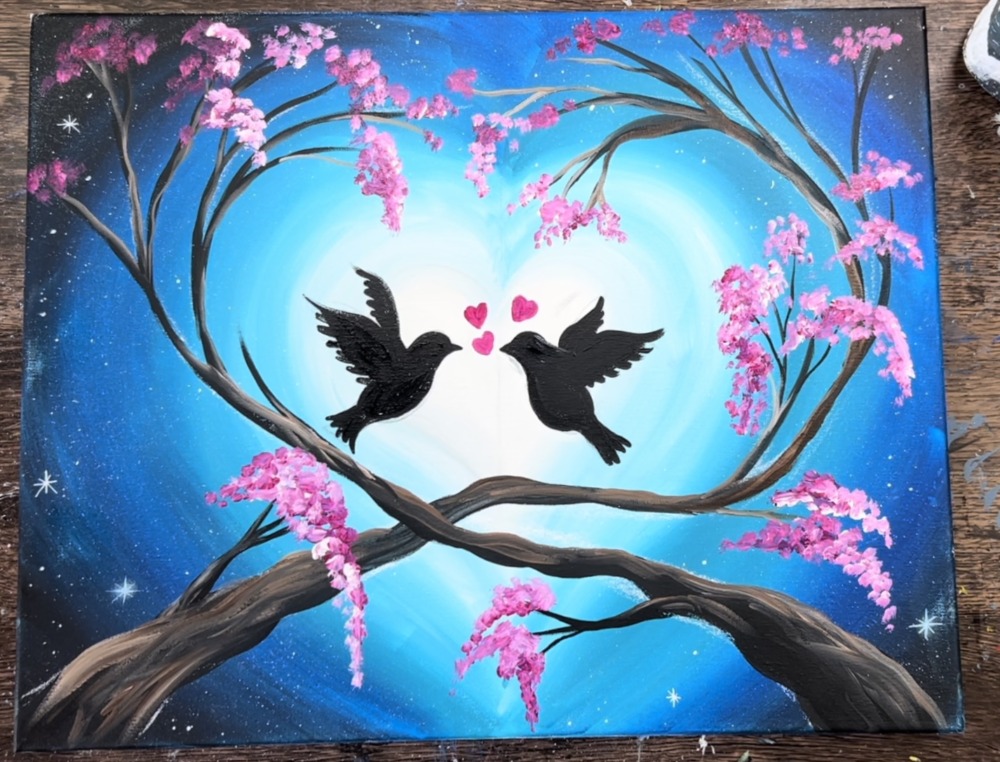
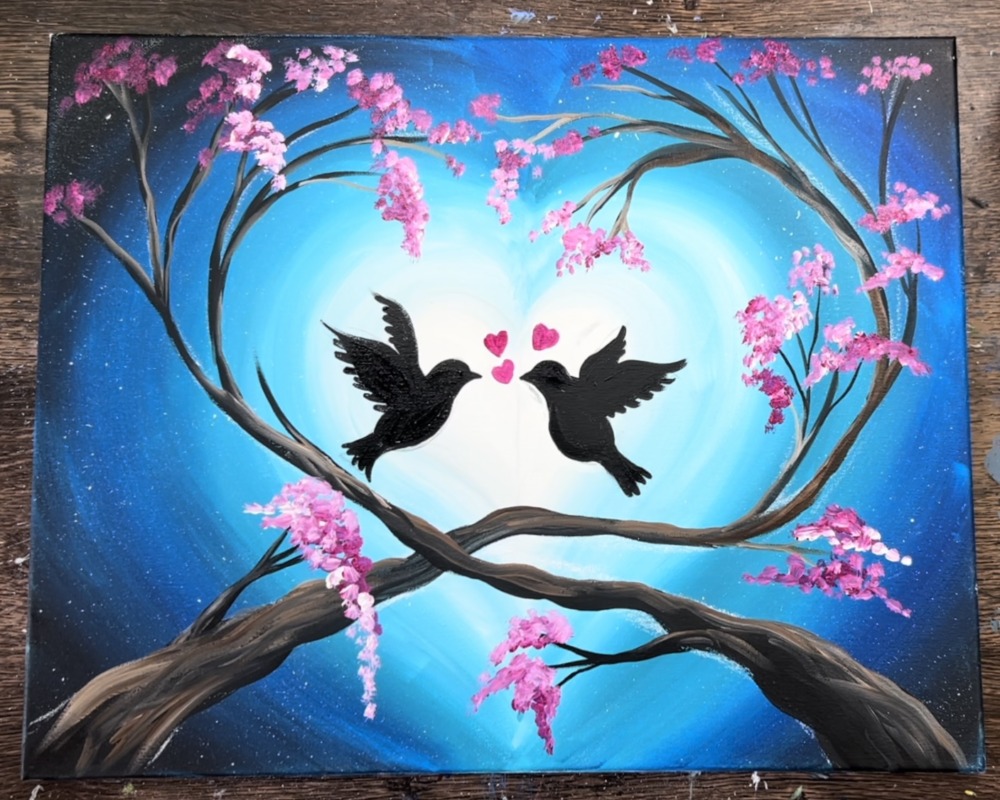
Finished!