Would you like to save this?
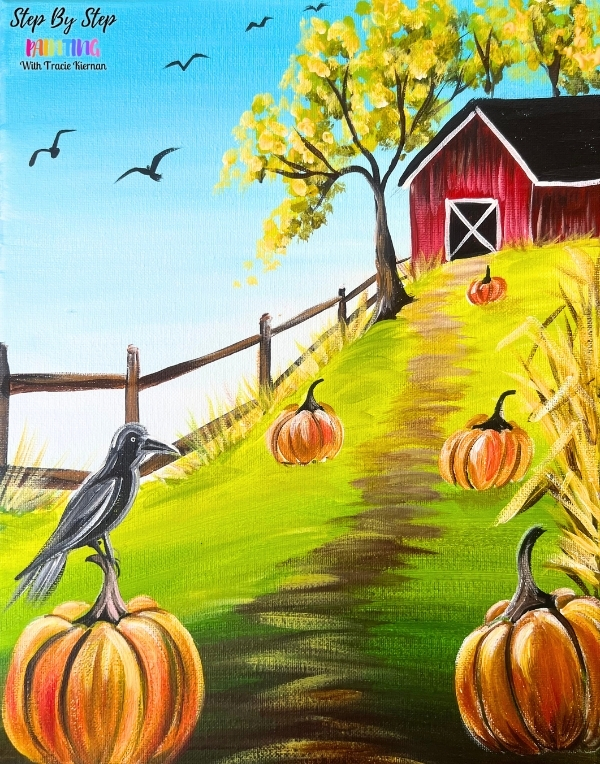
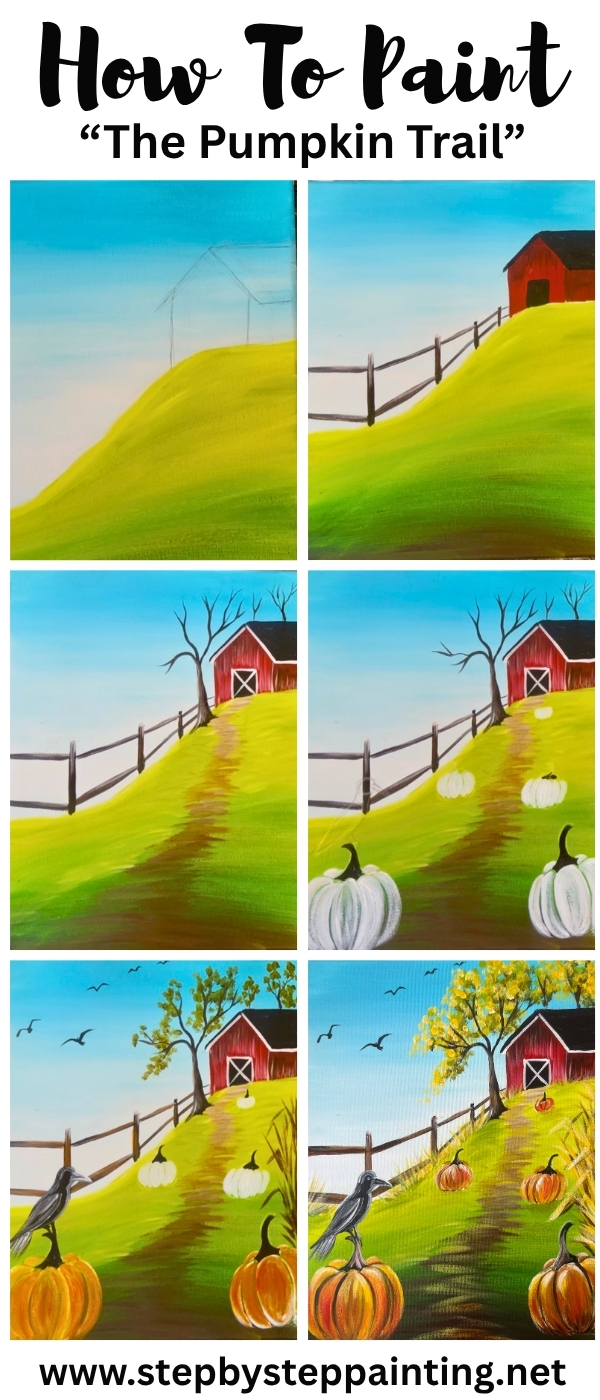
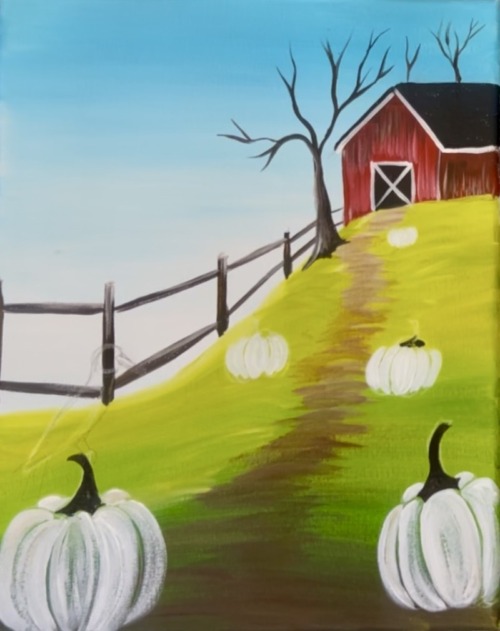
This acrylic painting tutorial will guide you through how to paint a farm style landscape featuring a rustic barn atop a hill in front of a little trail of pumpkins. Add a crow in the front on top a large pumpkin and crows flying in the sky! Go into as many details as you would like with this design or keep it simple.
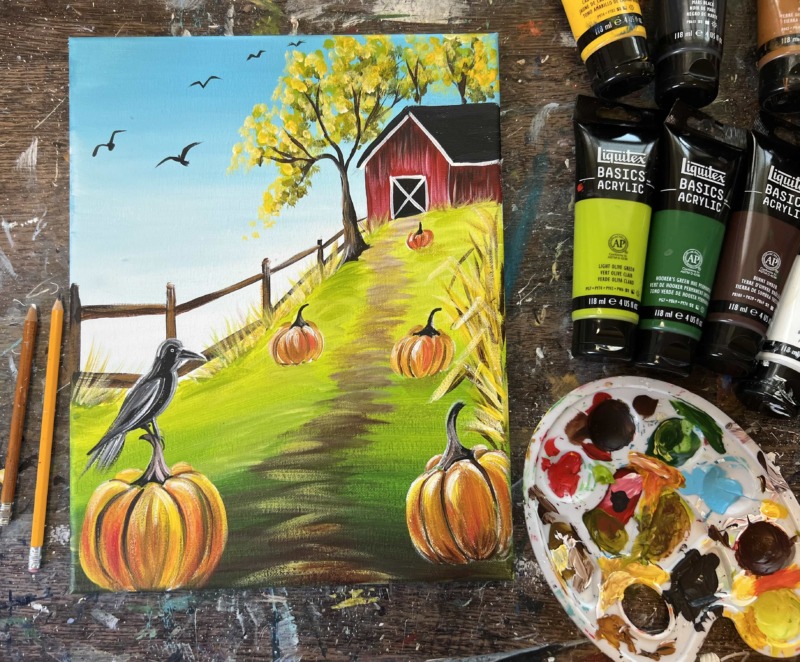
Enjoy and happy painting!
Materials Needed:
The Pumpkin Trail - Acrylic Tutorial
Materials
- 11x14 Canvas (or any size!)
- Acrylic Paint (see colors below)
- Brushes (see sizes below)
- White Chalk Pencil and/or drawing Pencil
- Ruler (optional)
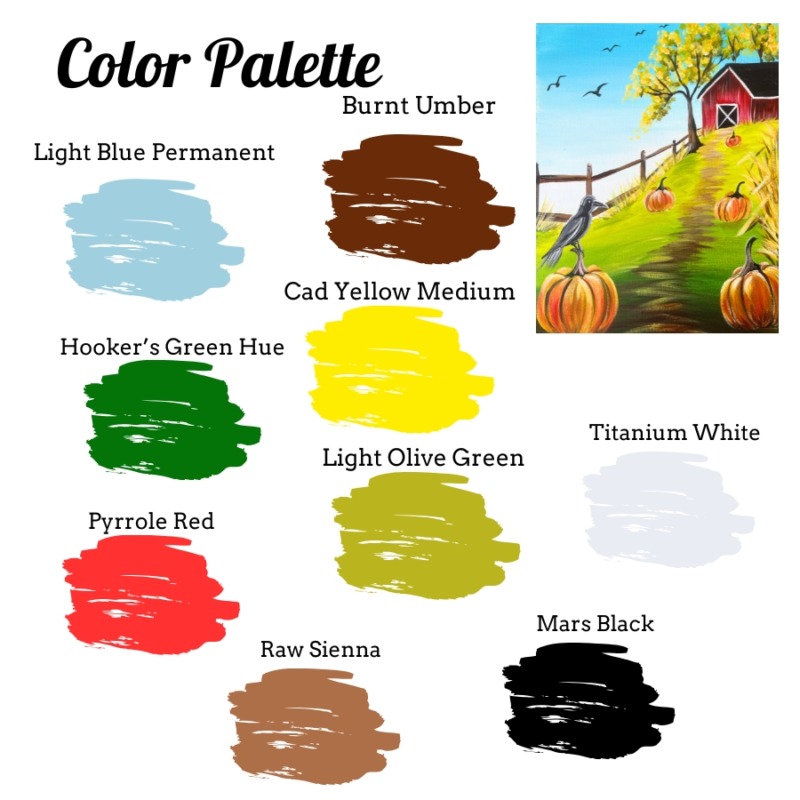
Colors (Liquitex BASICS)
- Pyrrole Red (or cad red medium)
- Cad Yellow Medium Hue
- Light Olive Green
- Hooker's Green Hue
- Light Blue Permanent
- Burnt Umber
- Raw Sienna
- Mars Black
- Titanium White
Brushes
- 3/4" Flat Wash
- #12 Bright Brush
- #4 Round Brush
Color Palette:

Directions At A Glance:
Traceable
Traceable for this one can be purchased in my PDF shop along with the full tutorial download. Find out more here!
Video:
Step By Step Instructions:
1. Paint Background
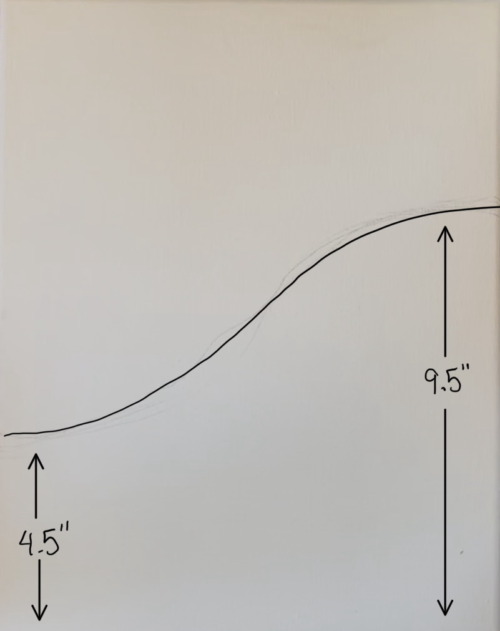
Draw a “hill line” to divide the canvas up. These measurements are for an 11×14 canvas and do not have to be exact. You want the hill to be higher on the right side and lower on the left. The left side starts at about 4.5″ from the left bottom edge of the canvas and 9.5″ on the right bottom edge.
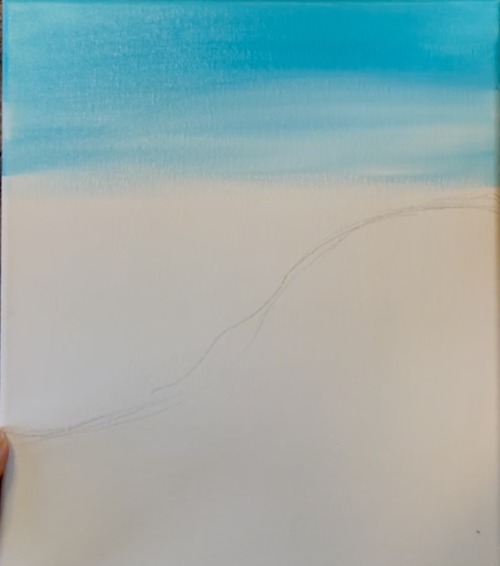
Next, paint the sky. Use a 3/4″ flat brush and “light blue permanent” (light blue). Start at the top of the sky and paint a thin layer with the light blue using left and right brush strokes. Go down about halfway in the sky area. Then, without rinsing the brush, load it into the “titanium white” (white). Blend the white with the blue so that the sky gets lighter towards the bottom of the sky., Keep blending white into the sky until you paint the entire portion of the sky above your “hill line”.
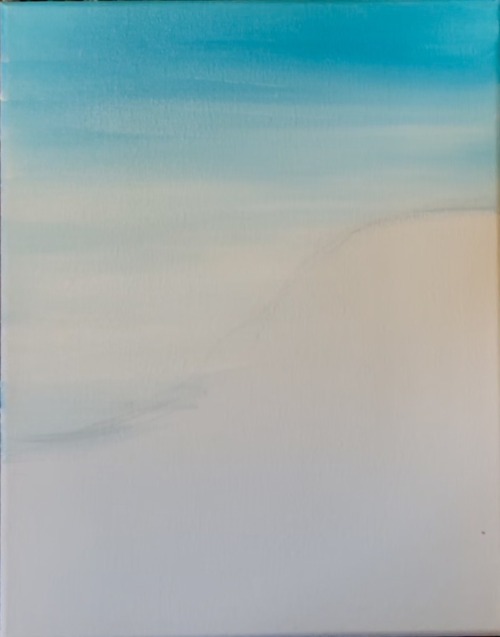
The sky should look very light closest to your hill line.
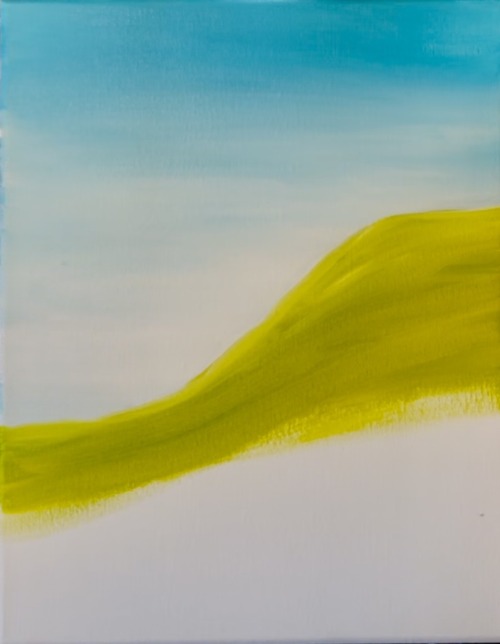
Rinse the brush. Then load it into “light olive green” (light green). Paint the top of the hill with this light green color. Paint the top half of the hill before blending dark green into it.
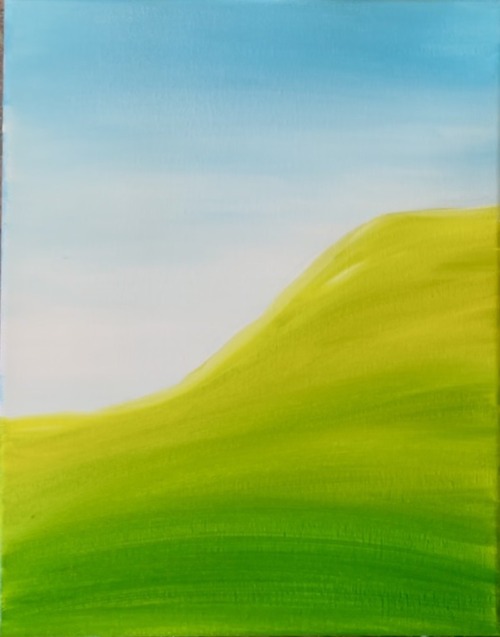
Wipe the brush off but do not rinse. Load it into “hooker’s green hue” (dark green) and blend up into the light green so that the bottom portion of the hill is darker and top portion is lighter.
Wipe the brush but do not rinse. Blend a little “burnt umber” (dark brown) on the very bottom of the canvas up into the dark green.
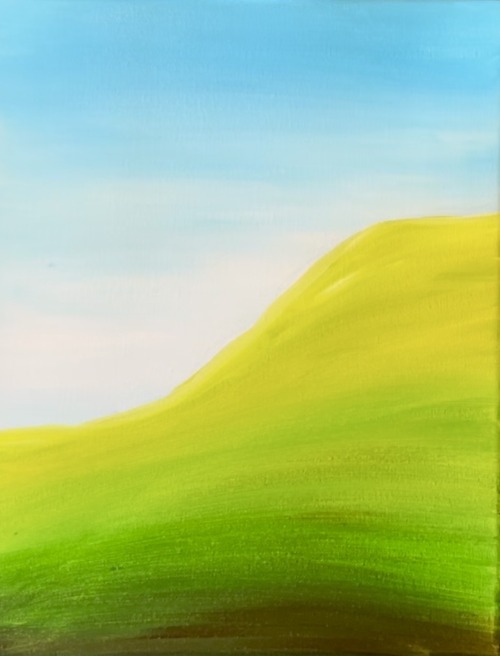
Let this dry before going onto the next step.
2. Draw And Paint Barn
Use a pencil and optional ruler to draw the barn/ house on the top of the hill. Draw two vertical lines for the front of the barn, two angled lines for the roof and continue the roof to the right edge of the canvas.
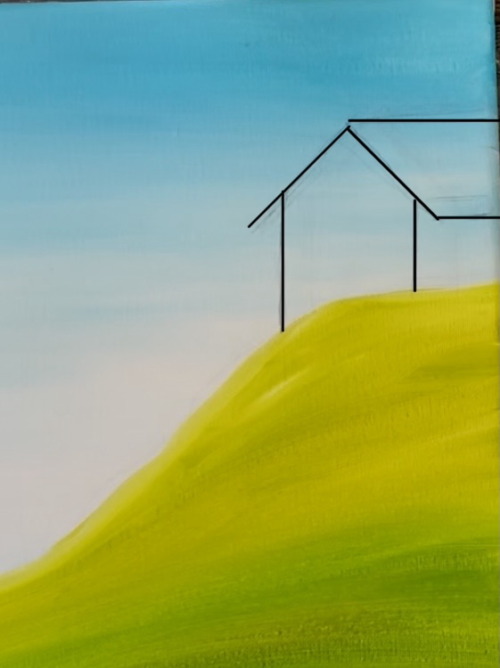
Double load the #12 bright into both “pyrrole red” (red) and dark brown. Paint the front of the barn and side of the barn using full width, vertical brush strokes. Make the right side of the barn slightly darker by adding more brown to the brush. Add darker colors on the top peak part under the roof as well.
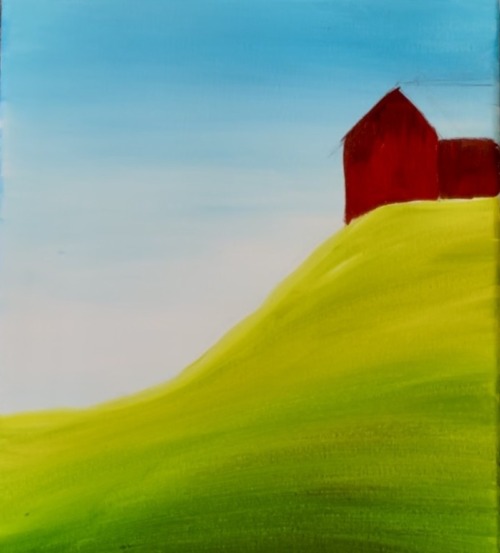
Use the #4 round brush and “mars black” (black) to paint the roof and door.
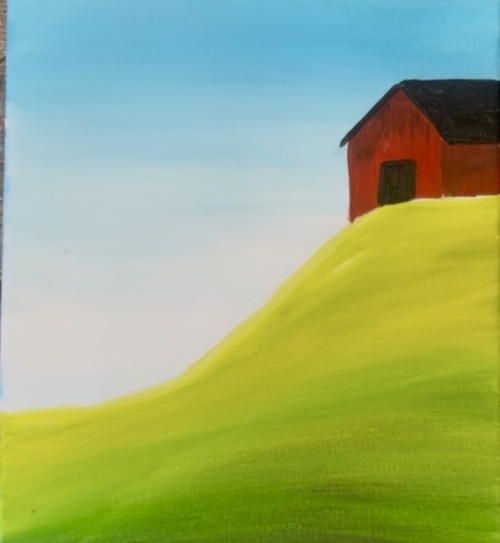
3. Paint Fence
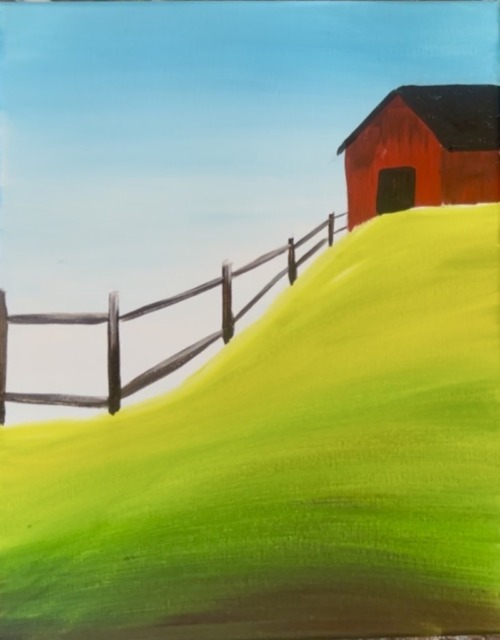
Double load the #4 round brush into brown and black. Paint the fence starting with the smallest post just to the left of the barn door. The posts must start out short/small because they are further away. As you paint each post, make it slightly taller and further spaced apart. Paint the “beams” so they are going diagonal/parallel to your hill line.
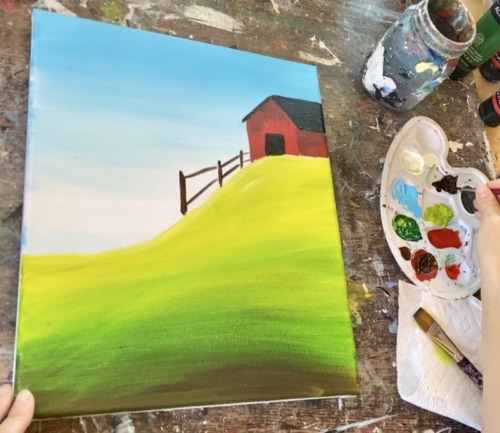
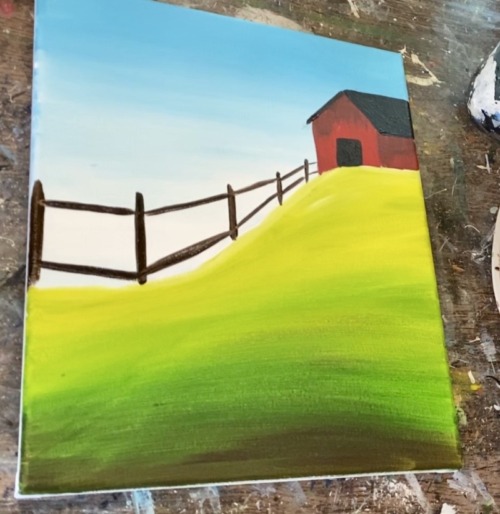
After painting the initial layer of this fence you can highlight the beams/posts by mixing white with brown and painting just the top parts of the fence. Then add extra shadowing by adding black just on the bottom parts of the fence.
4. Paint Path
Use the #12 bright brush to paint the path. Start by mixing equal parts dark brown and light green together. Start at the bottom of the canvas and paint loose, left and right brush strokes to create a very wide portion of the path. Then slowly paint left and right brush strokes working your way up to the barn door. Make the path become narrower as it approaches the barn door. Stop about half way to add white to the color you are using.
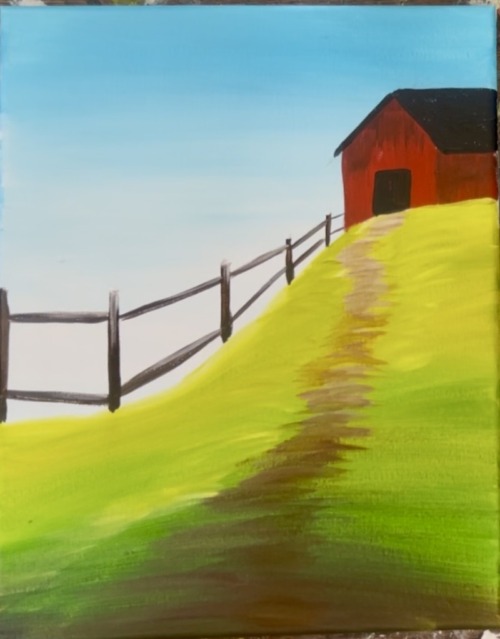
Mix white into your brown/green mixture and paint the path narrow as it approaches the barn door. The reason is that we want the path to look lighter in the distance to create depth. Go back and make your path uneven/ slightly curve to make it look more natural.
5. Details On Barn
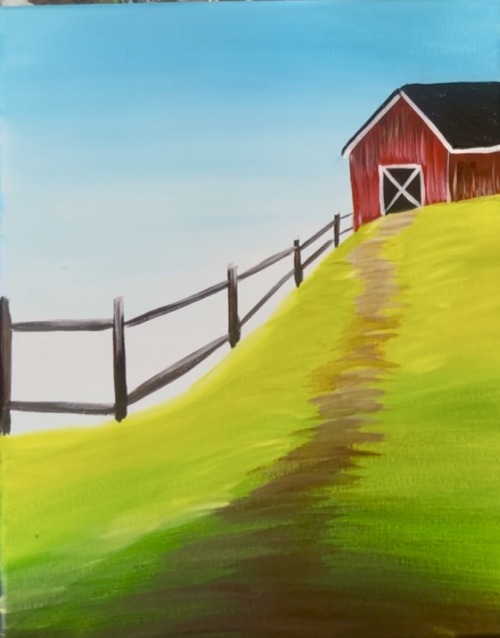
Use a #4 round brush and white to outline the outer edge of the door and paint an “X” on the front. Then outline the bottom of the roofline. Add siding texture to the barn by double loading the brush in white and red and wiping the brush off (so that you can “dry brush” this). Then dry brush vertical marks on the front and side of the barn. This will give it a rustic siding look. If needed, paint brown and red vertical marks towards the top of the barn and side of the barn to create more shadowing.
6. Trees
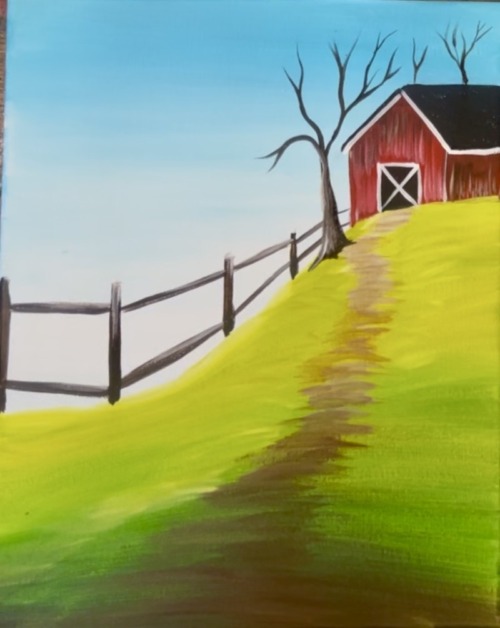
Use the #4 round brush and dark brown mixed with black to paint trees. Paint a tree just to the left of the barn. The trunk trumpets outwards and then goes narrow towards the top before it splits into several branches. Slightly water the color of the paint down to get thin, loose brush strokes for these branches. Then paint a few branches sticking up behind the barn (above the roof).
7. Draw & Paint Pumpkins
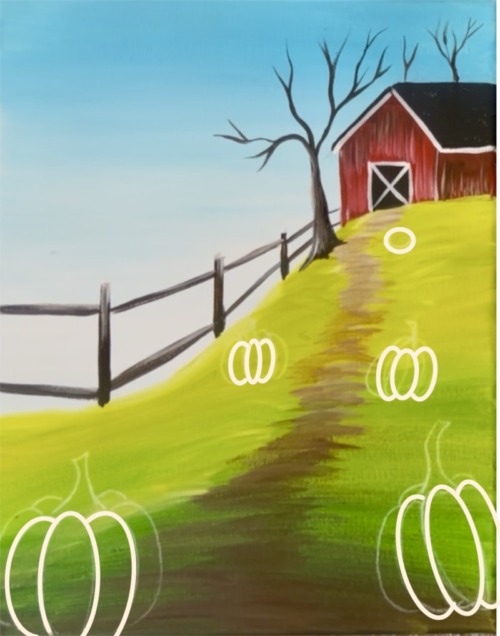
Use a white chalk pencil to draw the pumpkins. Draw two large pumpkins on the lower right and left corner on each side of the path. Then draw a set of smaller pumpkins further up the path. Draw one more tiny pumpkin just in front of the barn. The idea is to create perspective by changing the size of the pumpkins the further you draw them up the path.
When you draw these, start with the center “oval shape” . Then draw a set of curved lines on each side of the oval.
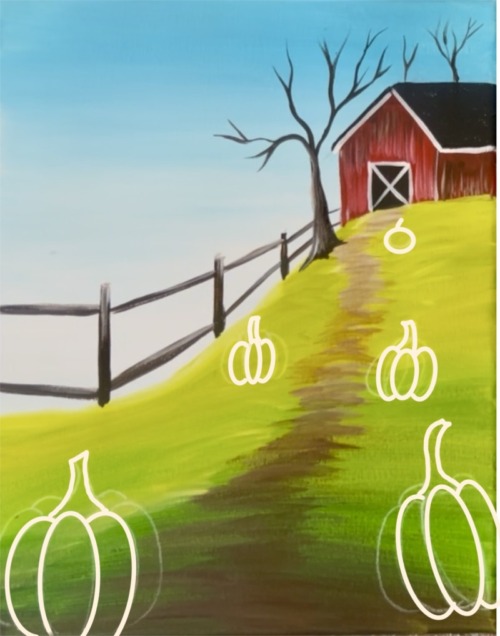
Then draw the stems on the top just above the center oval of the pumpkin.
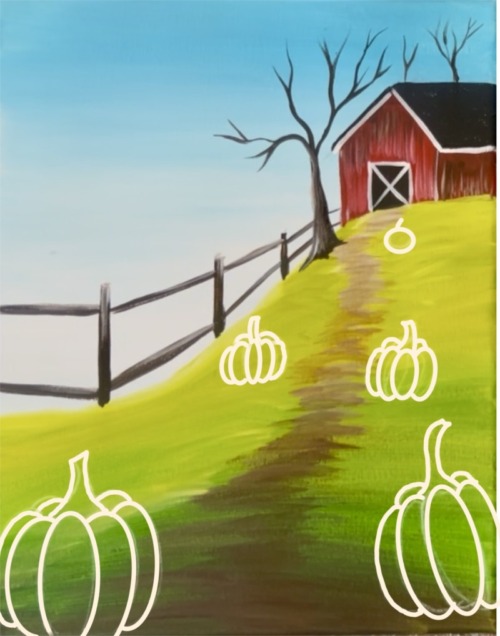
Then paint another set of curved lines for the outer edges of all of the pumpkins. Then paint a set of small “bumps” behind the stems.
Use a #4 round brush and titanium white to paint the pumpkins white. Paint each “pumpkin rib” separately by outlining the shape of the oval or curve and filling it in. Do this “dry brush style” where you don’t cover all of the layer. Leave some of the dark background showing through. Between each rib, leave a small dark line unpainted. This creates lines on the pumpkins. Also, make sure the direction of your brush strokes go in a curved direction.
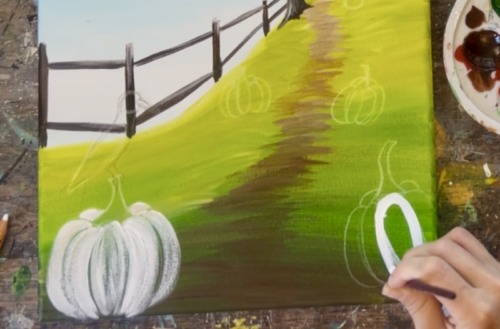
When you paint the smaller pumpkins in the back, you don’t need to be as detailed with them. After painting each of the pumpkins white, use black to paint the stems.
8. Paint Birds
Use a #4 round brush and black. Slowly paint the shape of the large black bird that is perched on the pumpkin stem. Paint a circle for the head and the almond/ teardrop shape for the body.
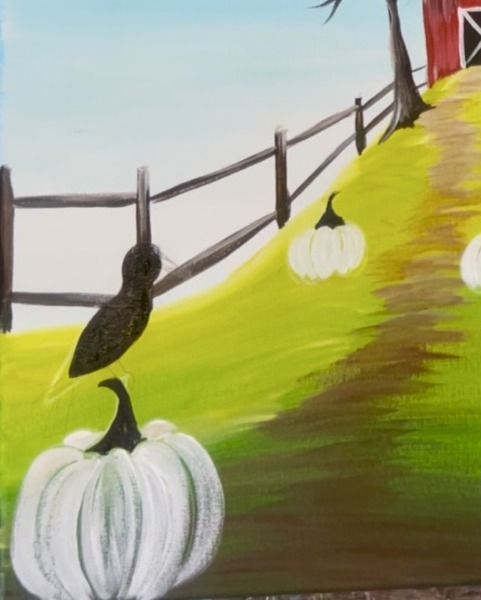
Then drag your brush strokes outwards/ downwards for the tail of the bird. Release the brush stroke so the feathers slightly fade outwards.
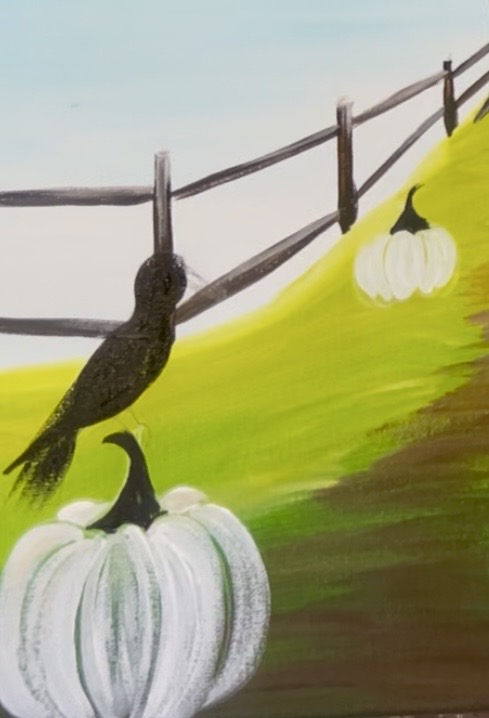
Mix black and white together and paint the beak medium to dark gray. Then lightly outline main parts of the bird with this gray.
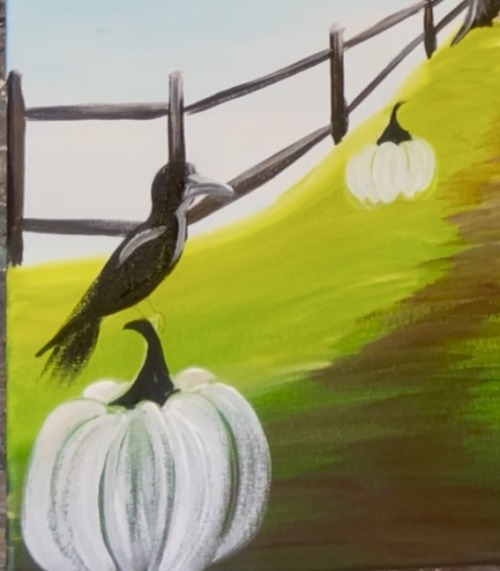
Note: if you need to create more contrast against the fence post, lightly outlining the bird with white will help it to stand out better. Outline the side wing feathers slightly with the light gray as well to make it stand out.
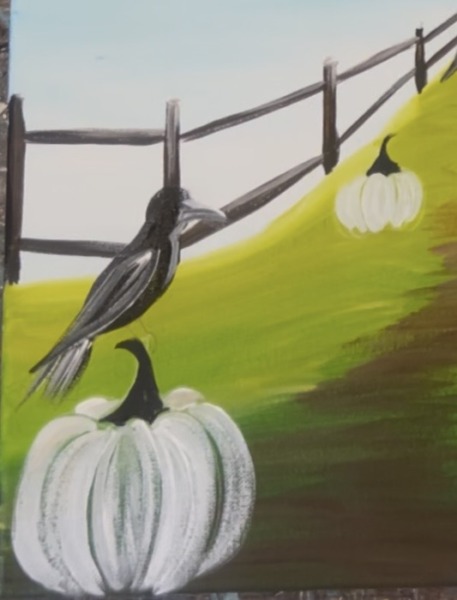
Paint the legs of the bird to attach to the top of the pumpkin stem. Then paint birds in the sky. Larger ones can have a little oval/ triangular shape for the body. Smaller ones can be tiny little “M” lines way up higher in the sky/ in the distance.
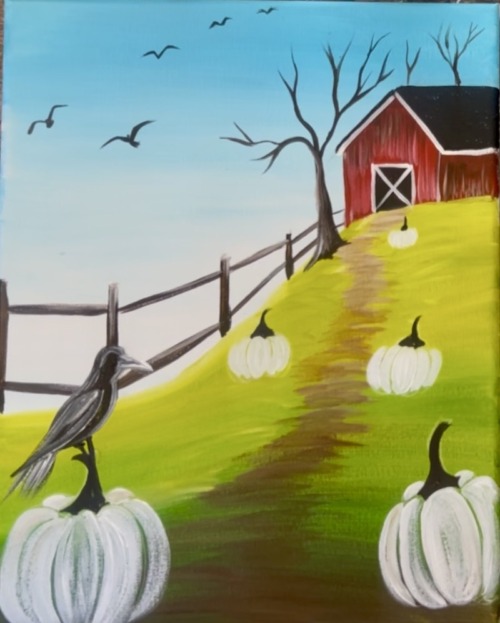
9. Foliage On Trees
Start with the darker color for the fall foliage. Mix “cadmium yellow medium hue” (yellow) with dark brown to make a dark yellow color. Then use the #4 round brush to paint little dotted marks all over the trees.
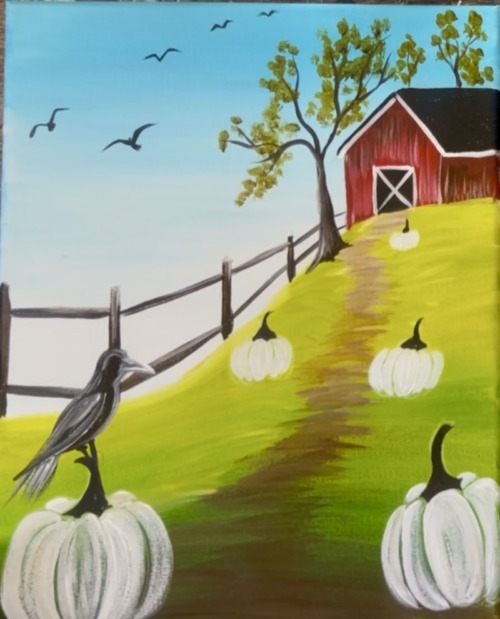
10. Cornstalk On Right Edge Of Canvas
Use the #4 round brush and dark brown to paint tall cornstalk lines on the far right edge of the canvas. Make some of the grass blades bend downwards at an angle. Let this dry before adding your bright yellow layering over it.
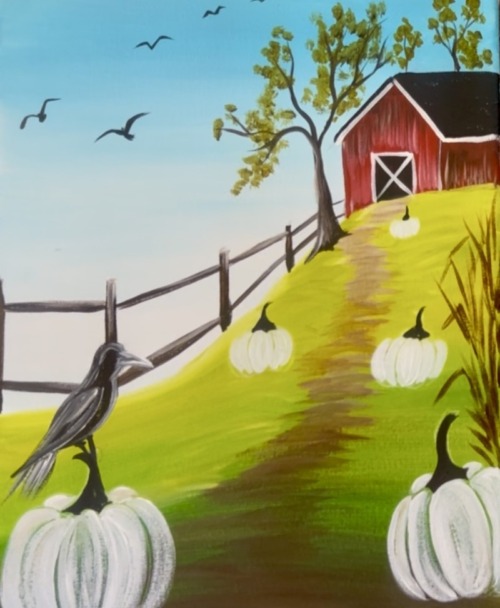
11. Paint Color On Pumpkins
The pumpkins can be painted with a combination of “raw sienna” (light brown), yellow and yellow mixed with red to make orange. When mixing orange together, use only a very tiny amount of red with a larger proportion of yellow. For the pumpkin on the far right, I started with just the raw sienna color.
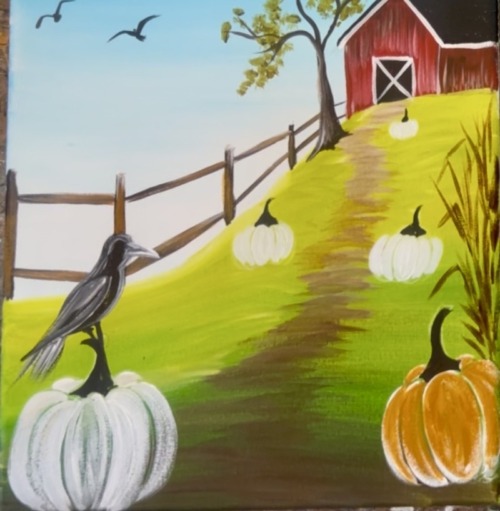
After adding a layer of that light brown, brush yellow and orange over it. Repeat this for each of the pumpkins. Leave a small gap between each of the pumpkin rib lines (where we left a gap/line earlier). Vary the colors on the pumpkins. You can make some slightly darker and some lighter.
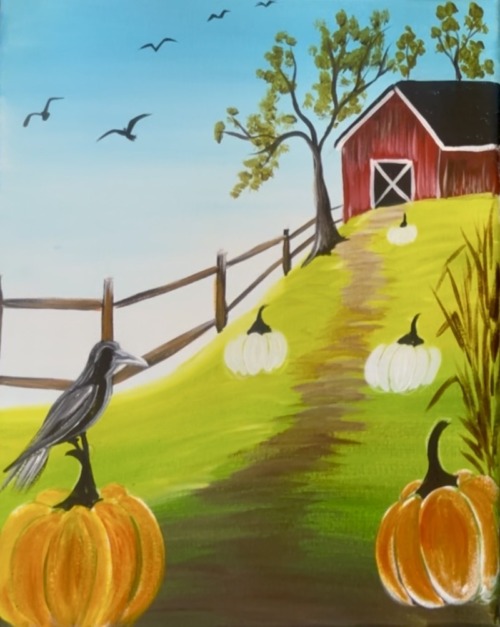
Then highlight the pumpkins. Double load your brush into the color orange and “titanium white”. Brush light colored lines in a curved direction on the top portion of the larger pumpkins. Brush downwards and stop about half way. This highlights the pumpkins and makes them look more three dimensional.
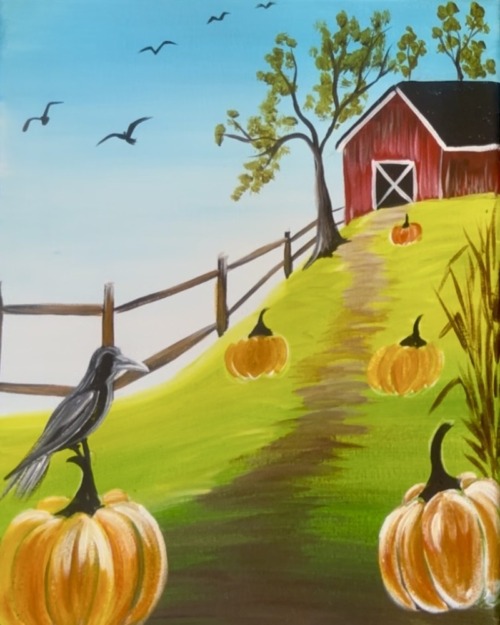
Then use brown mixed with black and paint the lines on the pumpkins (between the pumpkin “ribs”). This will darken those areas and make the pumpkins have more definition. Then highlight the stems by mixing brown and white together. Paint lines on the stems going in the same direction as the shape of the stem but don’t cover all of the dark layer.
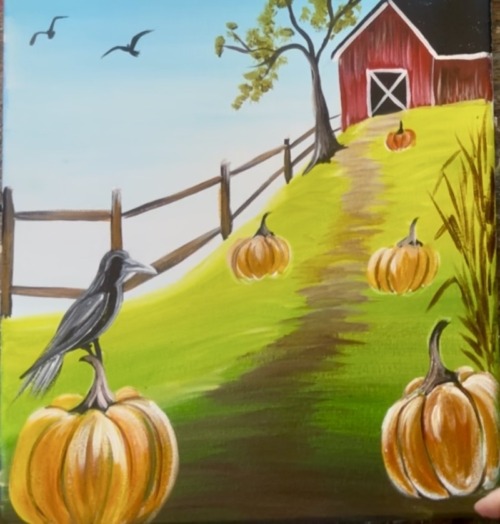
12. Detail On Cornstalk/ More Leaf Foliage
Go back over your brown lines for the corn leaves. Use yellow mixed with a little white. When you paint over that area, leave a lot of your dark first layer still showing through. Then paint another layer of leaves.This time with just yellow and don’t cover all of the first dark layer. This starts to brighten up the trees! After this dries, you will layer on white mixed with yellow for an even brighter display. Note: if you want different colors in the trees such as orange or red, you can add more colors!
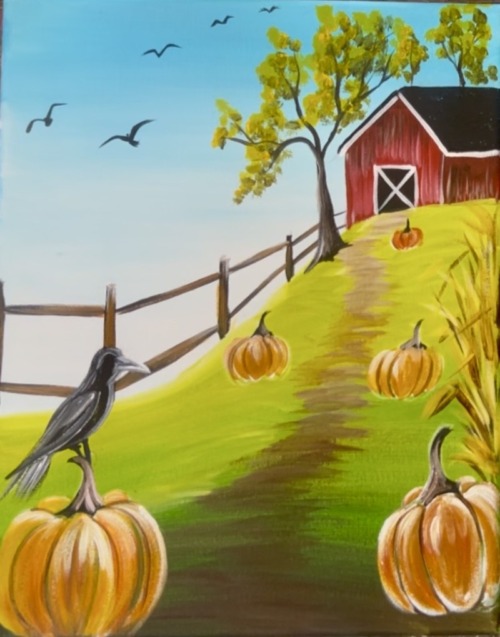
13. More Foliage On Trees & Final Details
Mix yellow and white for the final layer on the fall leaves. Paint more dotted brush marks and don’t cover all of the dark layers. I did this mostly on the very top edges of the leaf foliage but left bottom parts more shadowy.
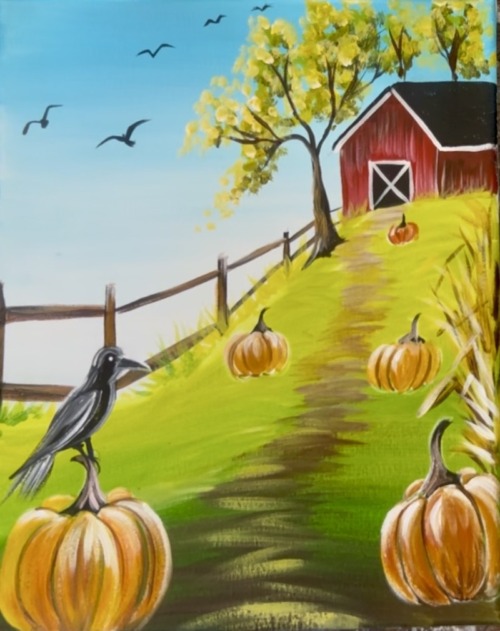
Other final details you can do include adding a brighter layer to the corn stalk plant using yellow mixed with white. Then lightly dry brush brown mixed with yellow and white over the path. This is a light layer just in the middle of the path to slightly highlight/ accent it. You don’t want to cover all of the first dark layer so ensure it is very light and translucent.
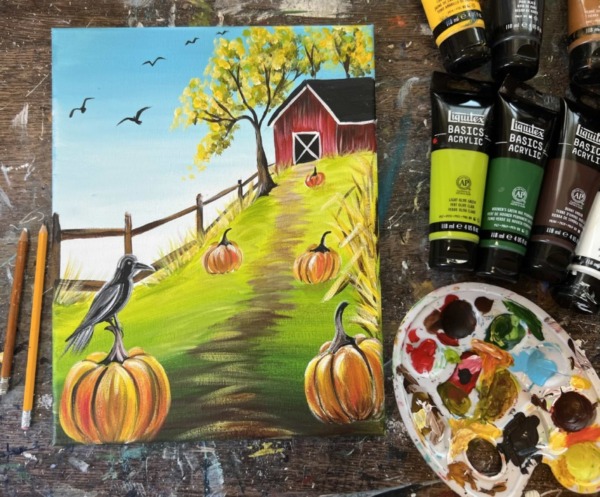
You can also add little grass texture along the bottom of the country fence. Use a combination of yellow, brown and little bits of green to paint little grass blades that overlap the bottom of the fence beams. You can also slightly overlap some blades of grass over the bottom of the barn.
More details for this painting could be adding more pumpkins, painting a scarecrow, more birds, etc. Or leave it simple. Here are some up close pictures of some of the details:
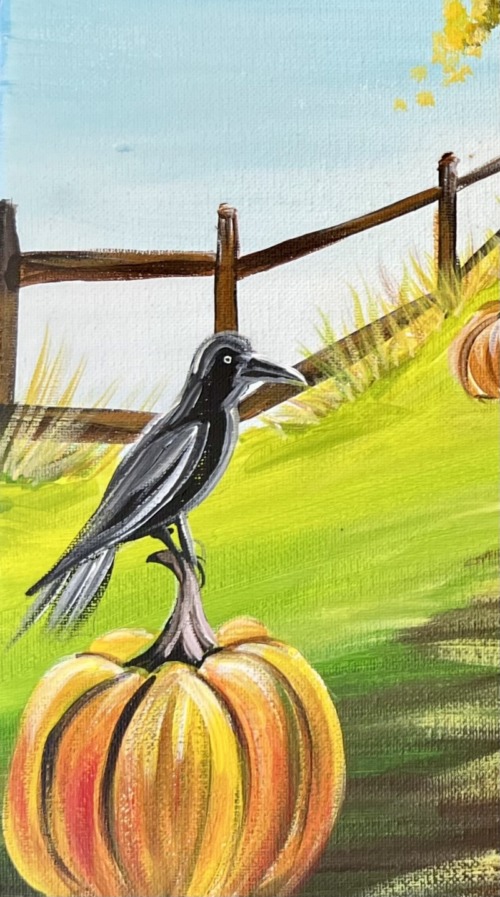
Layering on different amounts of yellows, reds and oranges paired with white highlights on the tops of the pumpkins make for really pretty “color variation”.
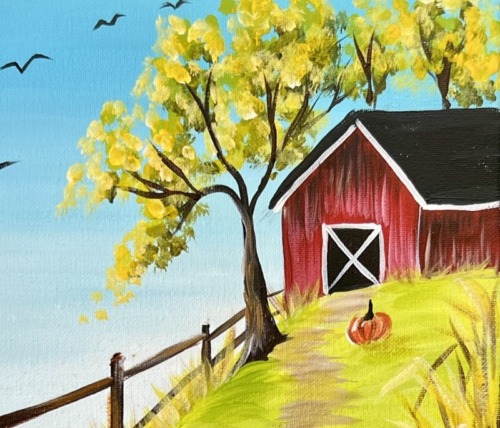
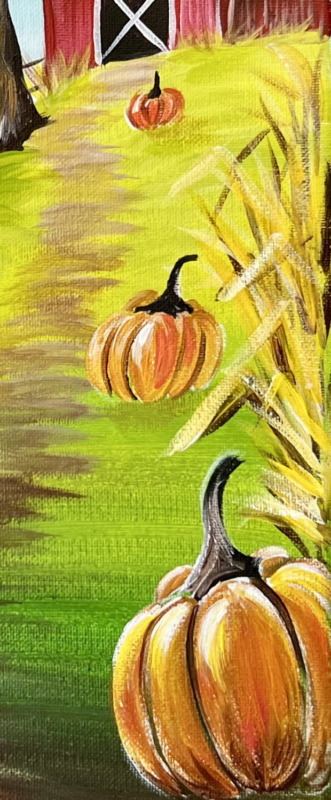
That’s it! Sign your name and show it off!