
Would you like to save this?
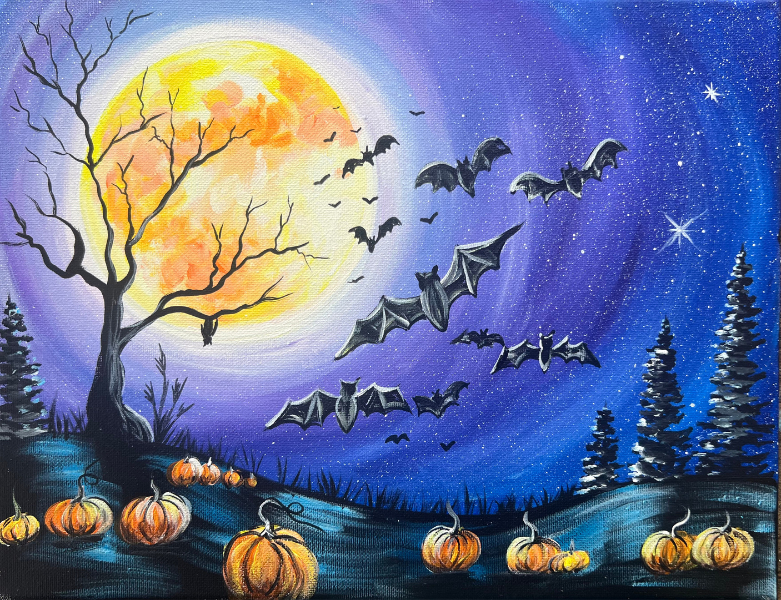
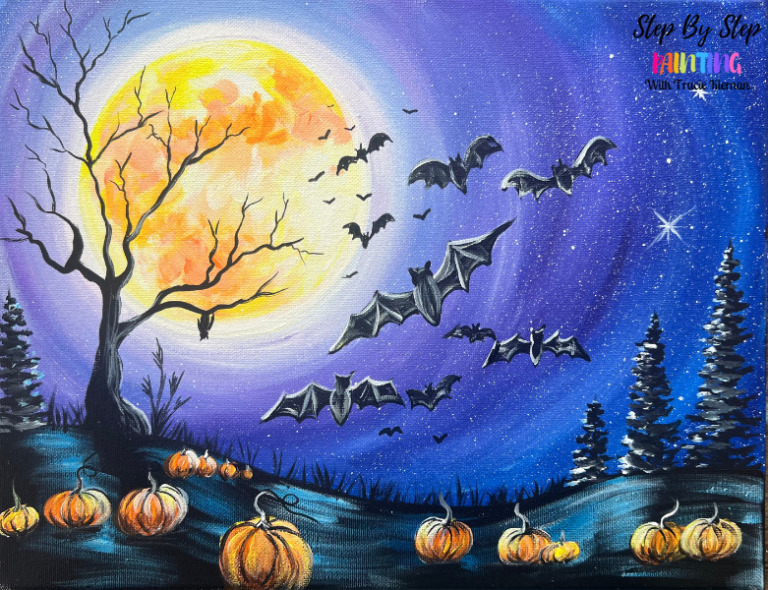
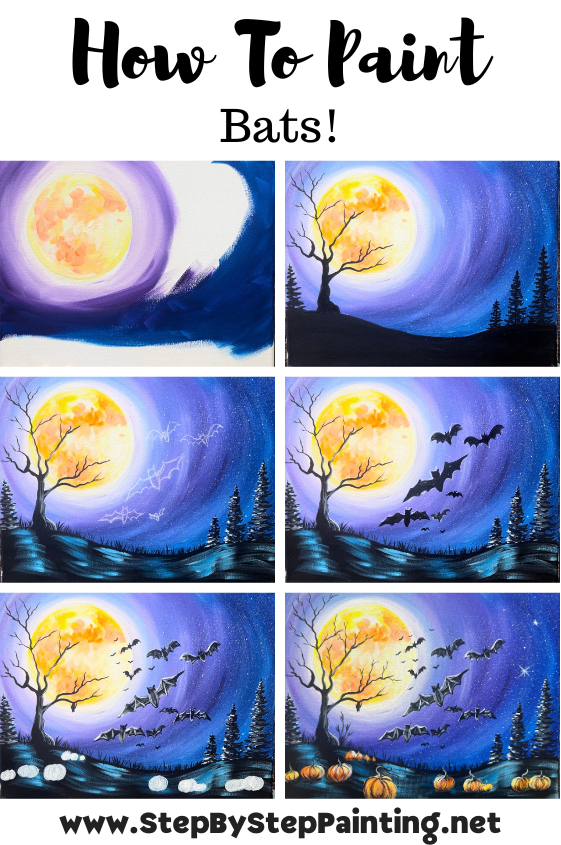
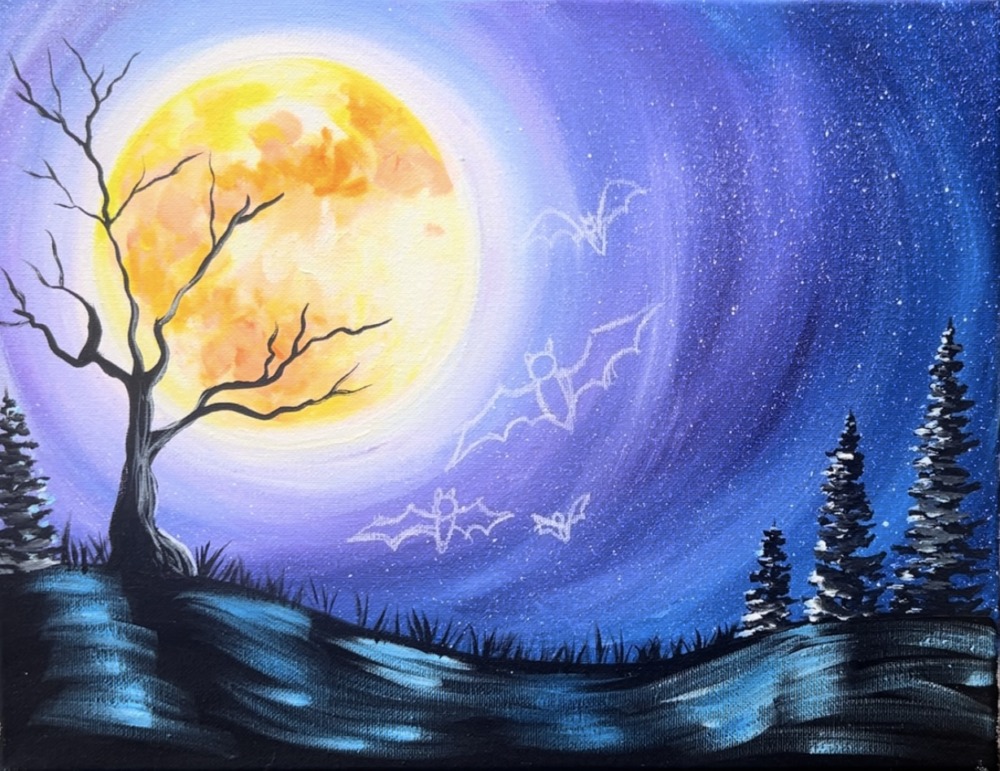
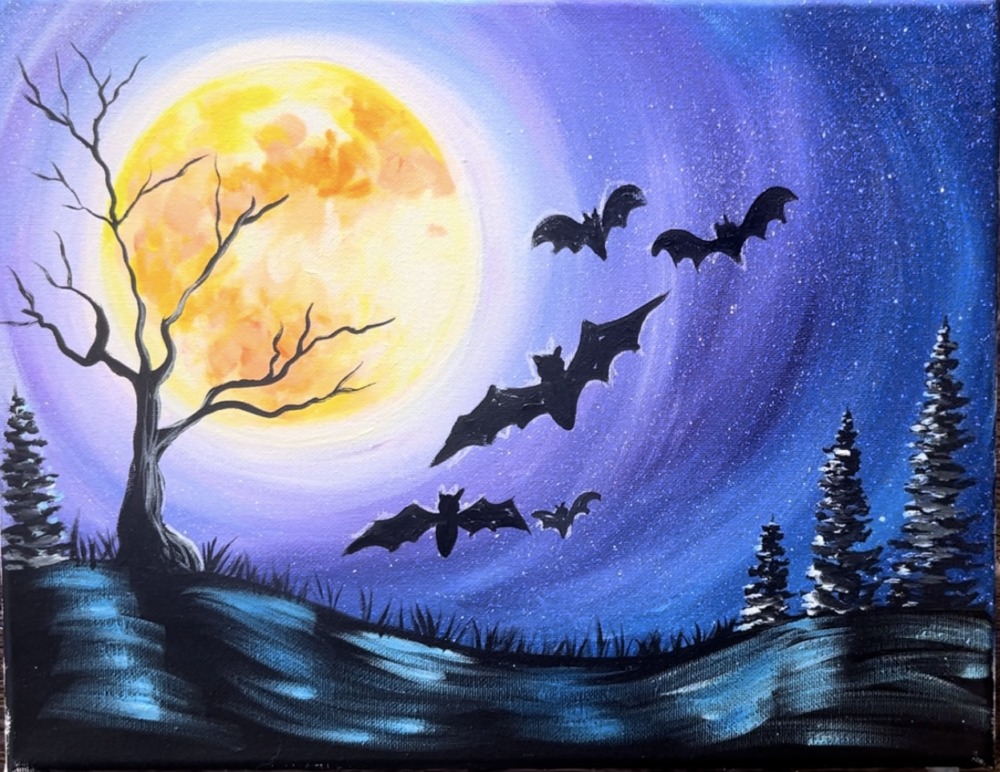
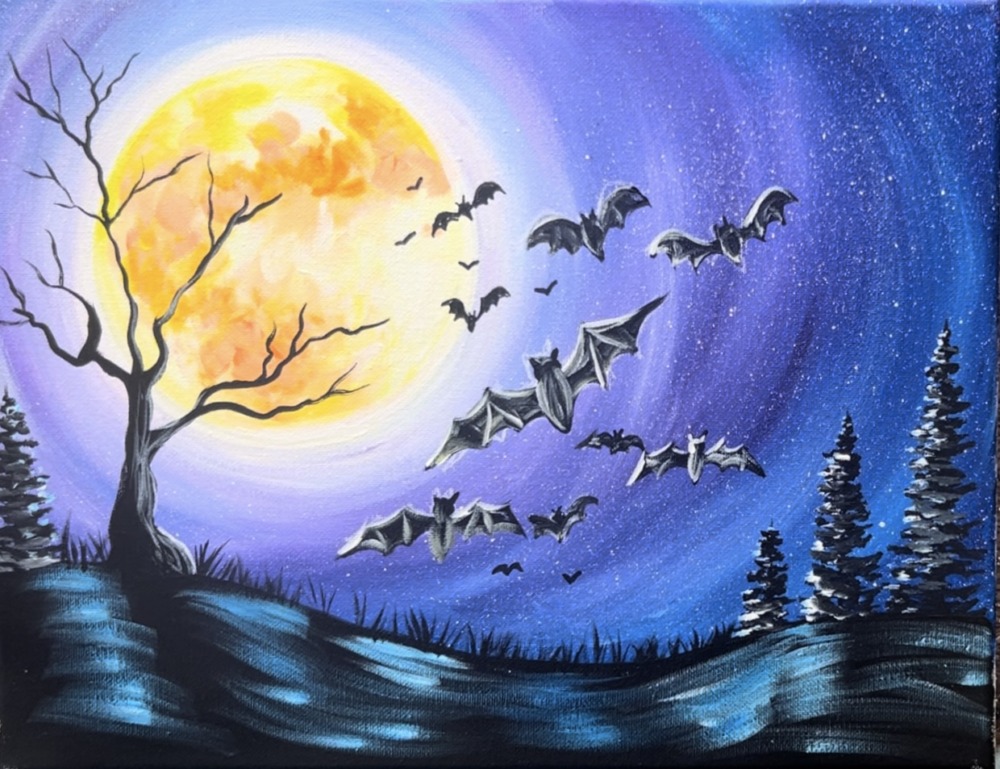
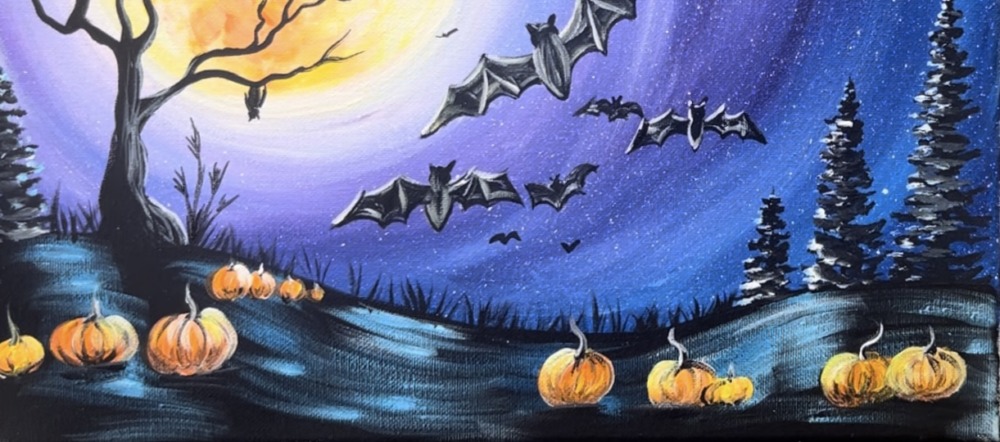
Whimsical bats dance under the moonlight, creating a magical night over a patch of glowing pumpkins!
In this tutorial we will be painting a spooky landscape full of detailed bats, pumpkins and a harvest fall moon.

Enjoy and happy painting!
Materials
Bats - Acrylic Painting Tutorial

As the full moon radiates above, playful bats flit about, bringing life to a pumpkin-filled wonderland!
This tutorial will show you how to paint a harvest moon and detailed bats flying over a spooky pumpkin patch.
Materials
- 11 x 14 Canvas
- Acrylic Paint
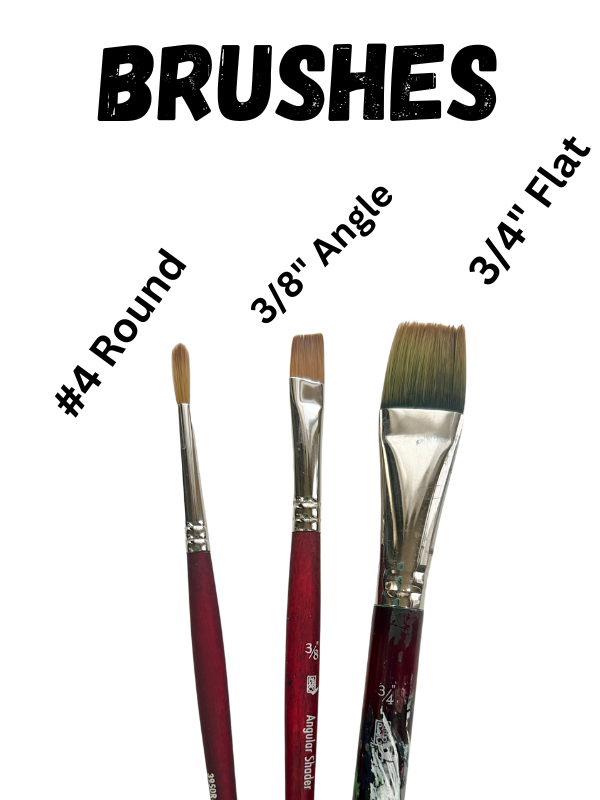
- Brushes
- White Chalk Pencil
- 5" Circle To Trace (for 11 x 14 canvas)
- Toothbrush
- Black POSCA Paint Pen (optional)
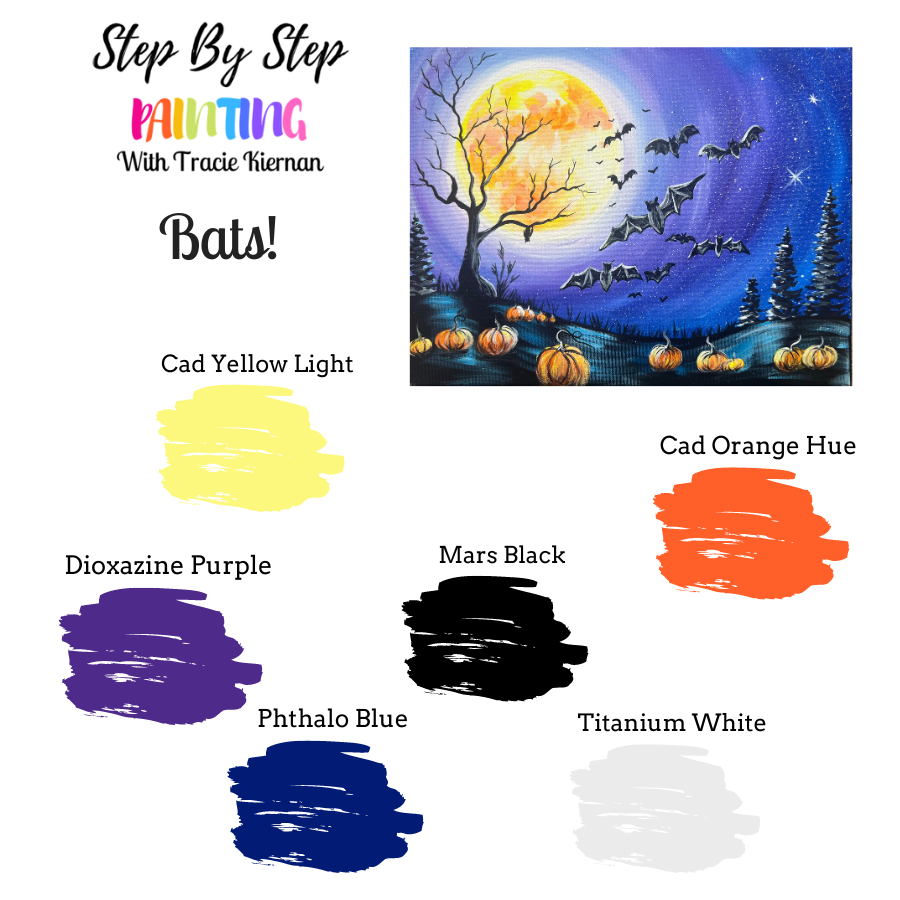
Colors
- Mars Black
- Titanium White
- Cadmium Orange Hue
- Dioxazine Purple
- Phthalo Blue
- Cadmium Yellow Light Hue
Brushes
Color Palette
Directions At A Glance
Video
Step By Step Instructions
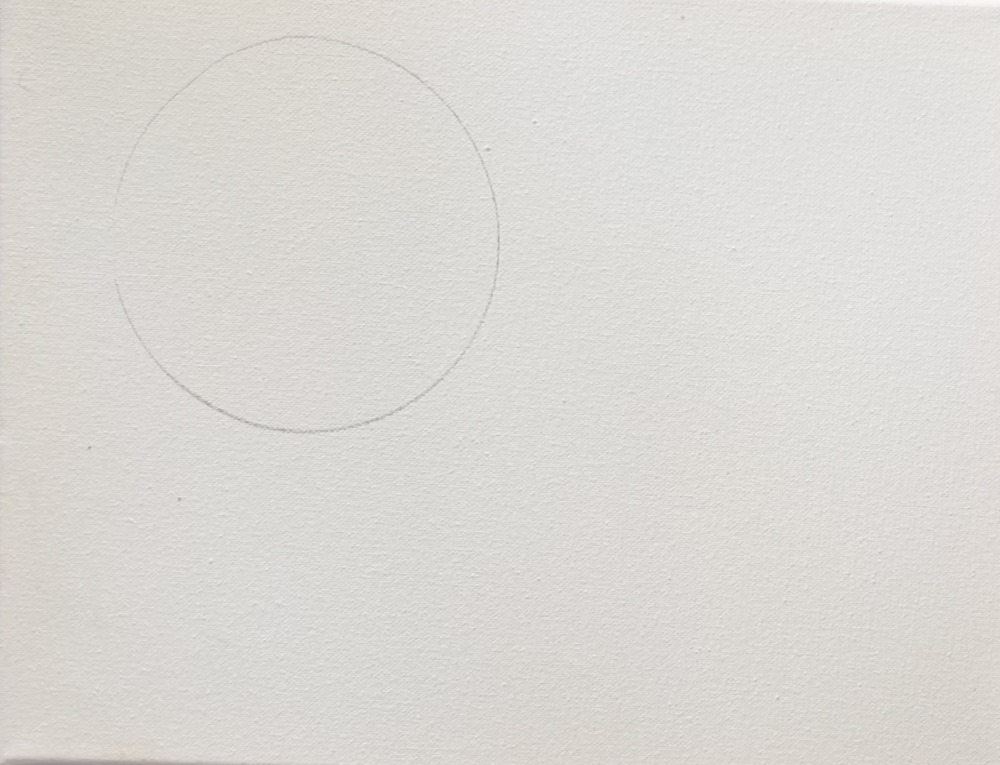
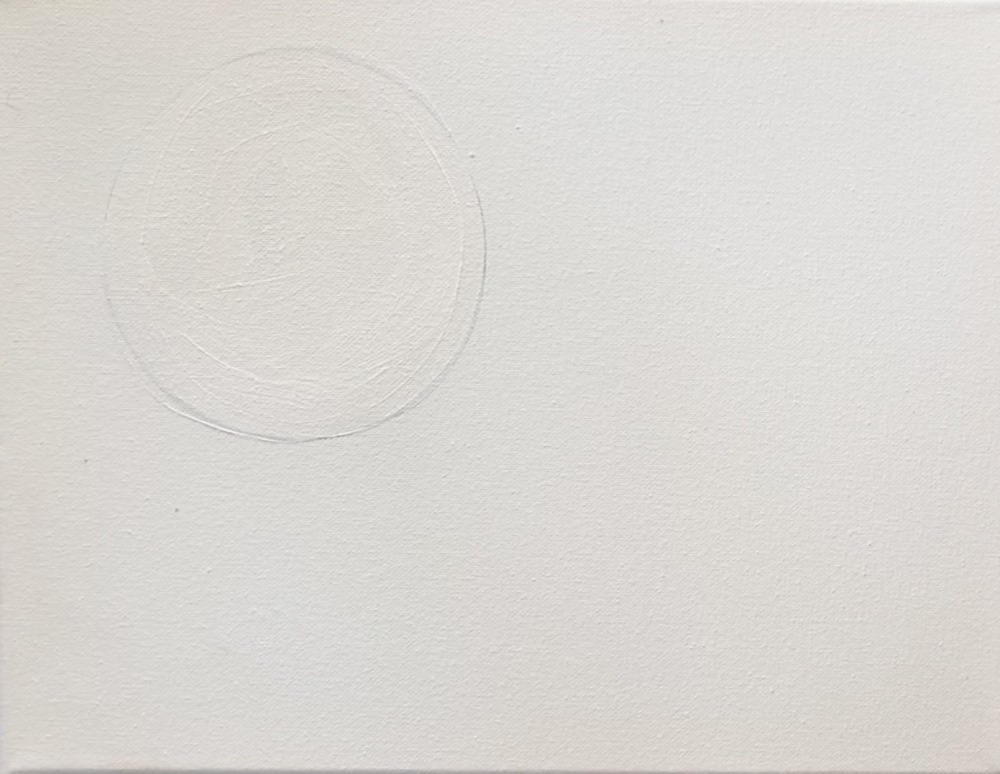
1. Draw Circle For Moon
Trace a 5″ circle in the upper left area of the canvas. This circle size does not have to be exact. It can be 4″, it can be 6″, etc.
It just needs to be about have the size of the height of the canvas (in this case 11″ high). If you are working on a different size canvas (such as 16 x 20), take the smaller number and divide it by two. That is about the size of the circle you will need!
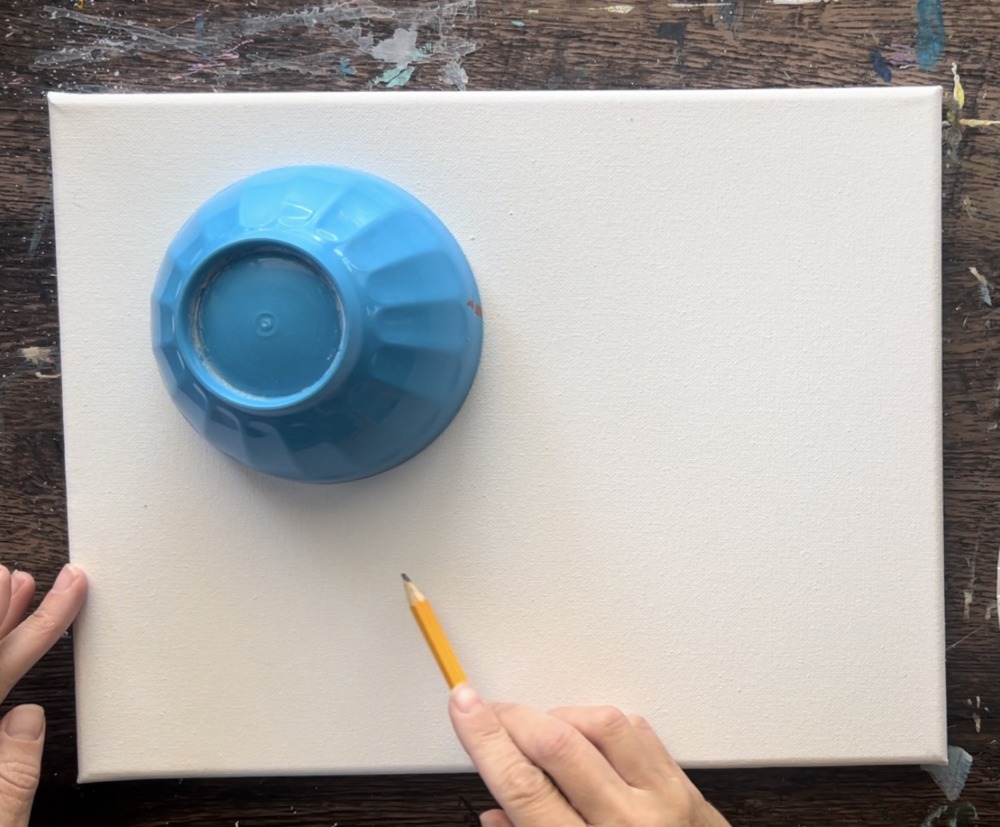
Trace this lightly with a pencil.
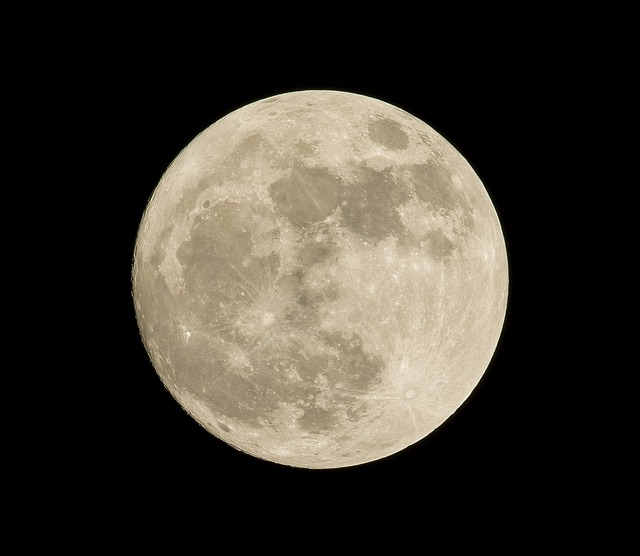
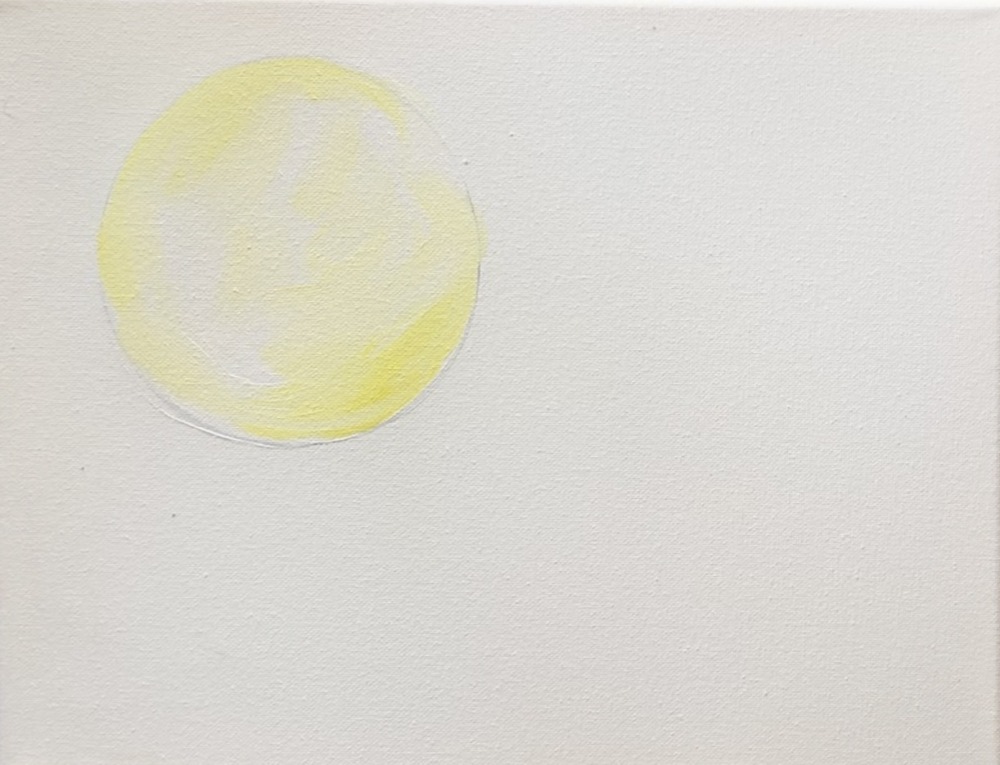
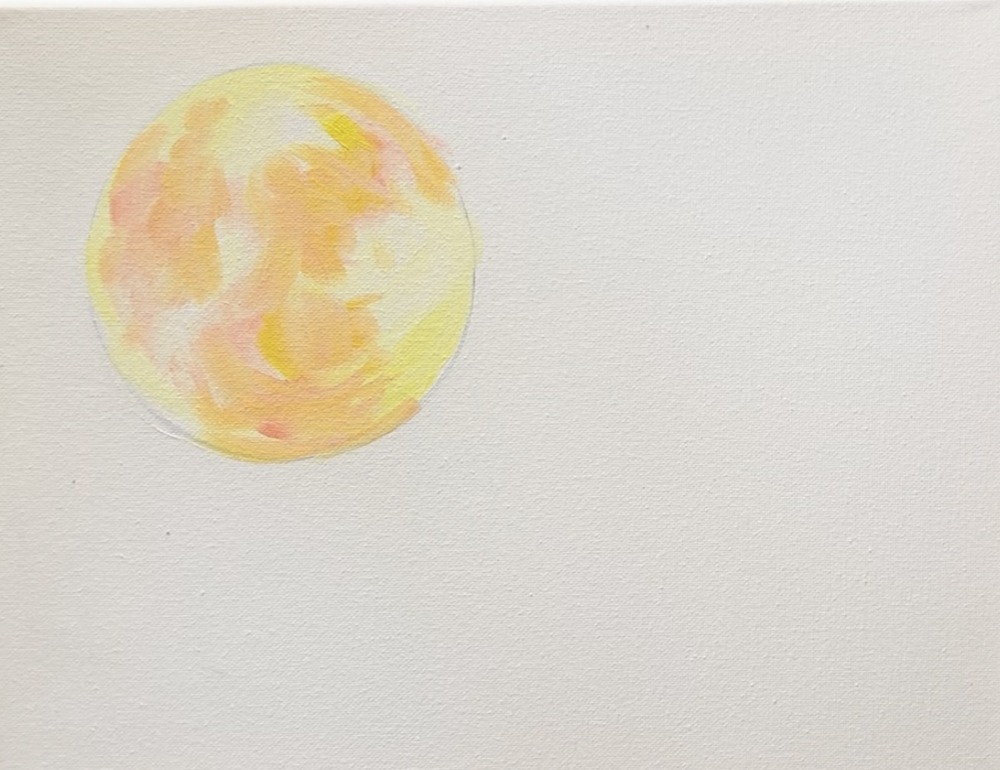
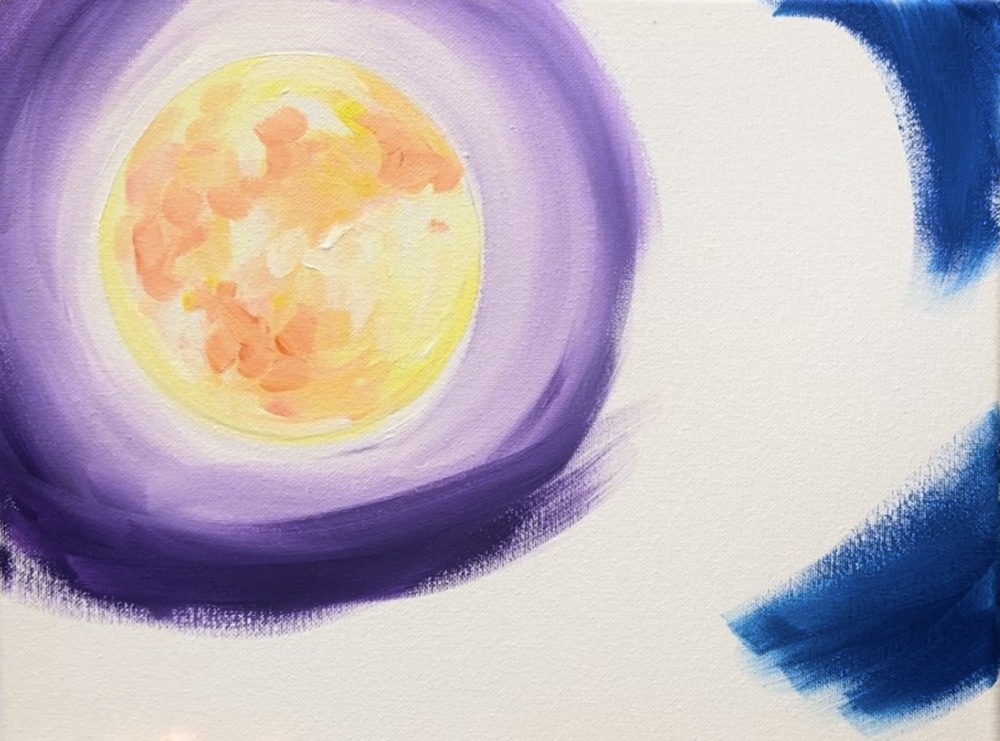
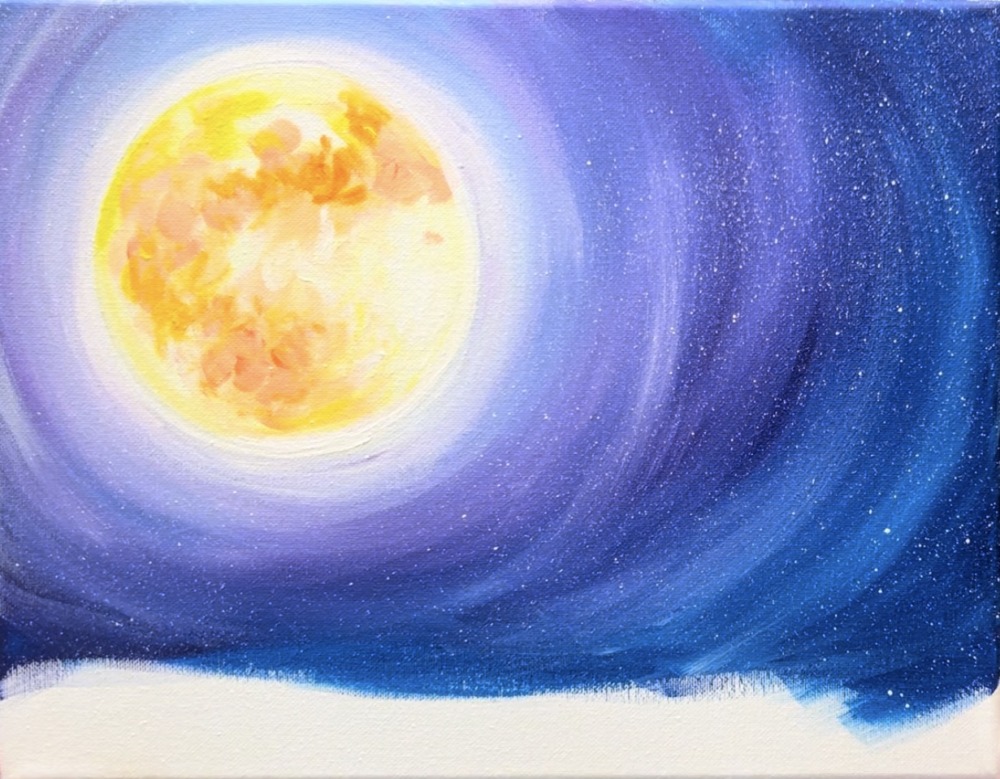
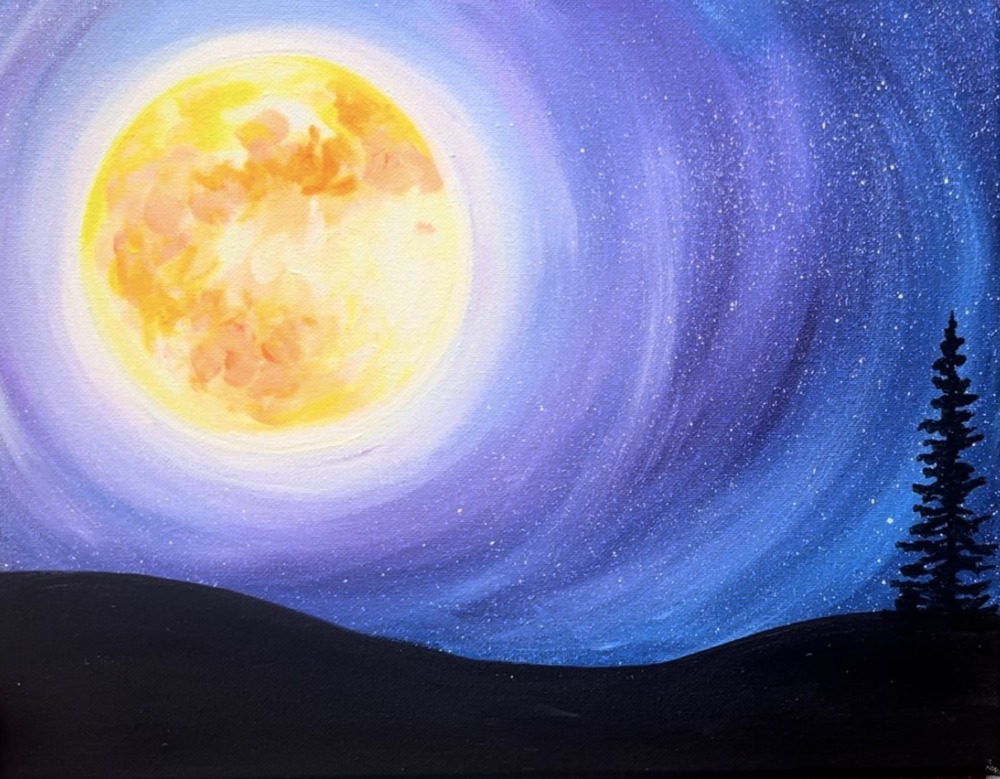
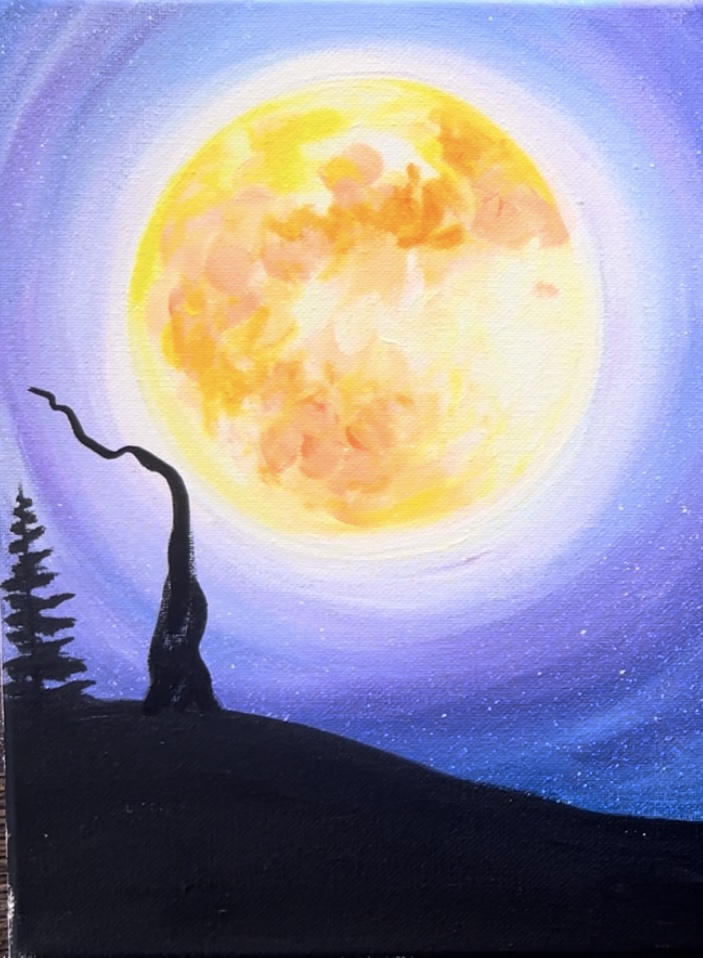
2. Paint Moon
I recommend looking at a realistic picture of the moon to try to mimic the darks and lights/ splotches through the moon. We don’t have to make our moon look realistic. However, we can still try to mimic the darks and lights.
Notice how the moon is lighter in the lower right quadrant of the circle. The darker areas of our moon will be created with more “orange paint” and the lighter areas will be yellow and white. When we paint this moon, it will be very abstract and loose. We will also be working from light colors to dark colors to create our moon.
Use a 3/4″ wash brush to paint the circle a solid coat of white paint. Do not let this dry yet! We will be using this white first layer of paint to help blend our colors for the moon.
Next, without rinsing your 3/4 wash brush, load a very small amount of “cadmium yellow light hue” on your brush.
“Dab” your brush in the middle of the circle but leave a lot of white still showing. Remember, we are working from light to dark so the moon so far should be very light with very light yellow “splotches”.
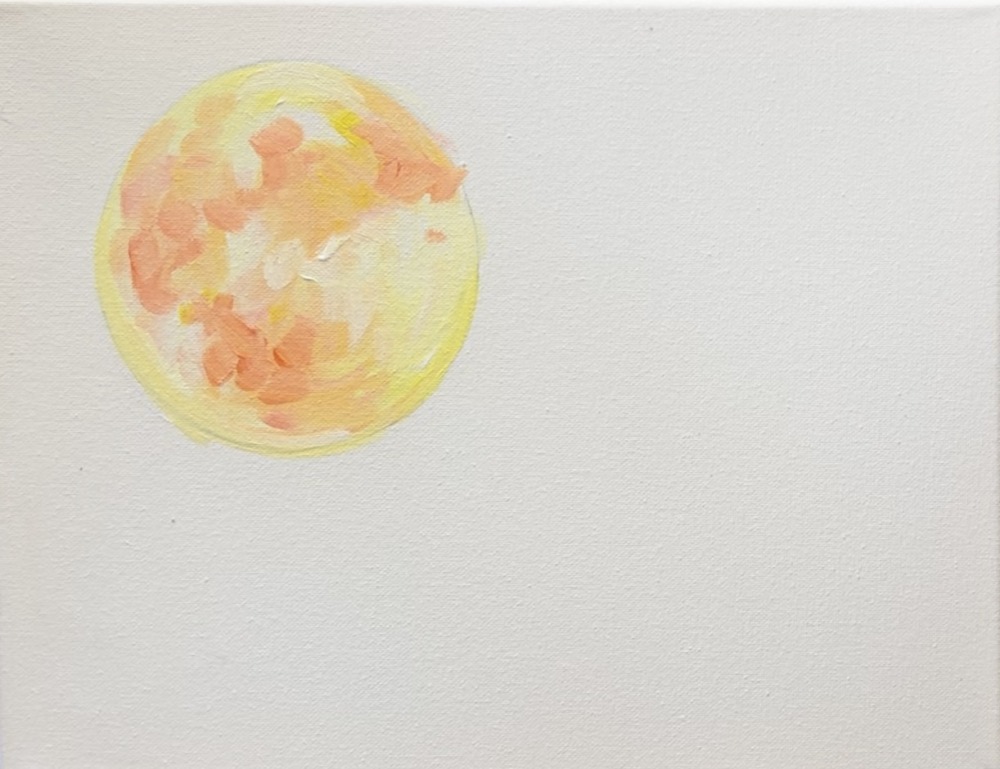
Next, without rinsing the brush load a very small amount of orange onto your brush. This should show up very light. If it is too dark, add a little more white to your brush as well.
In the lower left area, I did little angled splotches with the orange that blend gently with the white and some of the yellow that was still there.
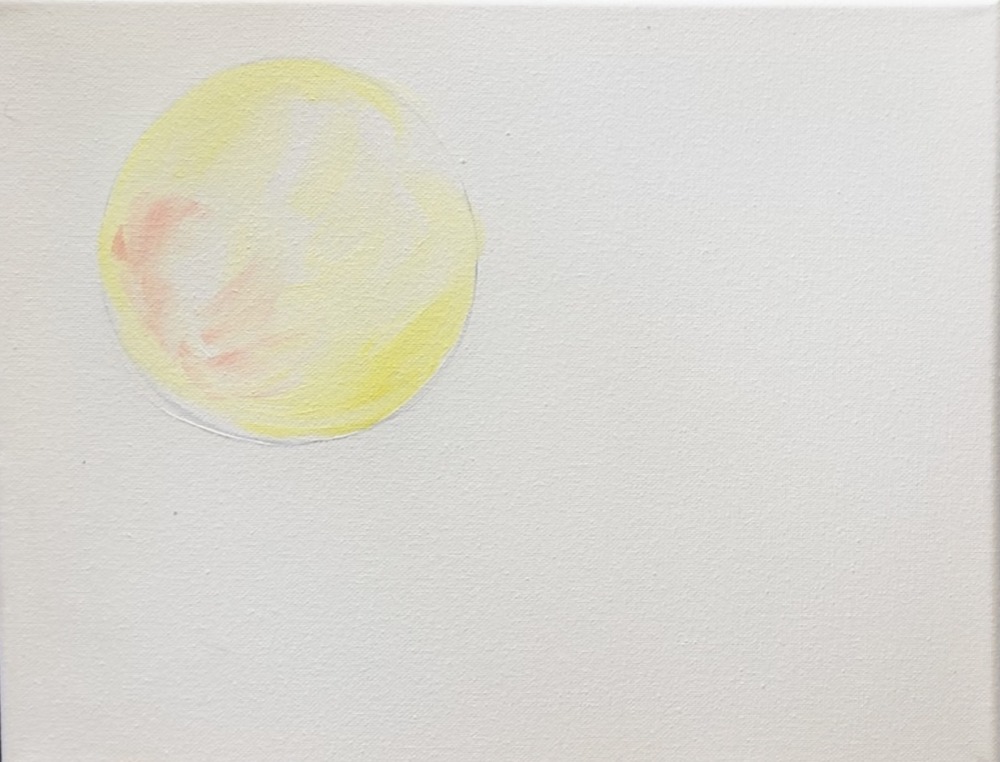
Tip: when making the little “splotches” on the moon, keep your marks “curved” towards the edges of the circle. In the center, the marks can be more angled and choppy.
Continue to add more orange marks on the moon. I did not have any orange on the lower right of the circle.
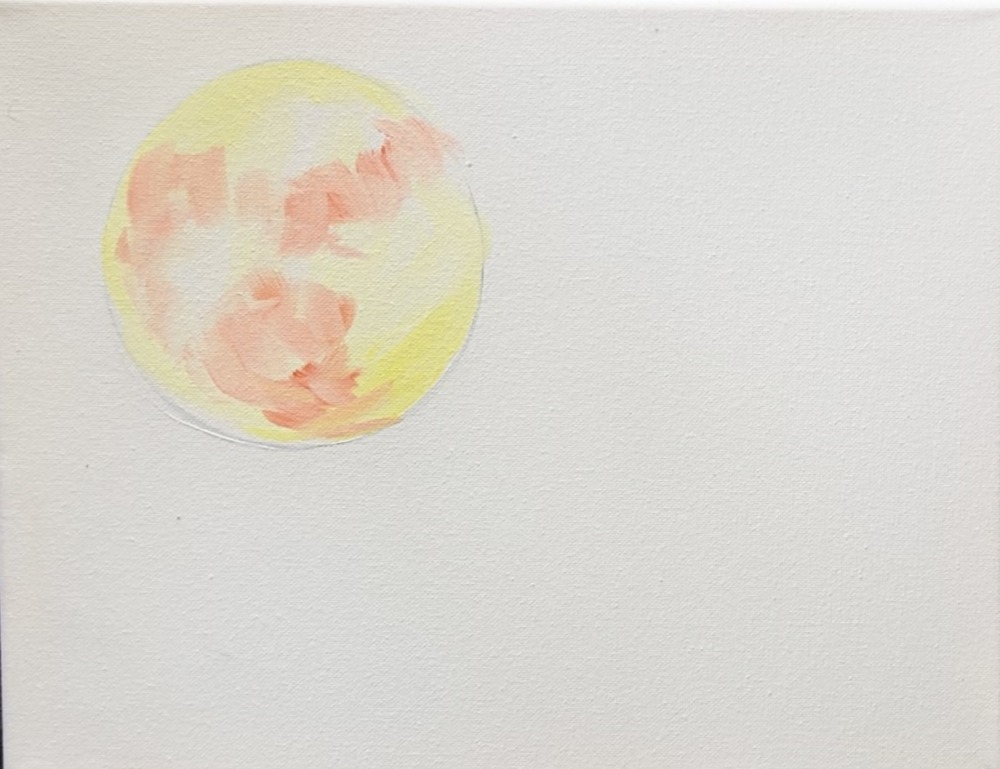
Go back over your dark areas with more yellow and blend that with the orange.
Then go back with orange and make smaller marks but they show up darker. Note: my moon is brighter on the lower right and slightly brighter on the top.
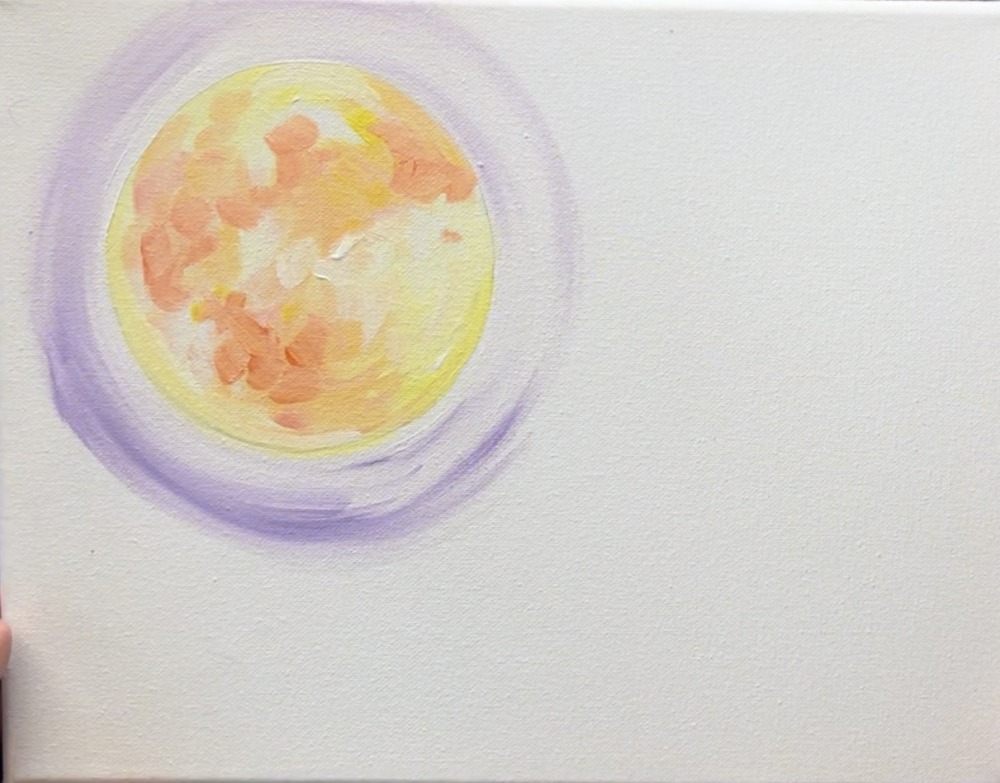
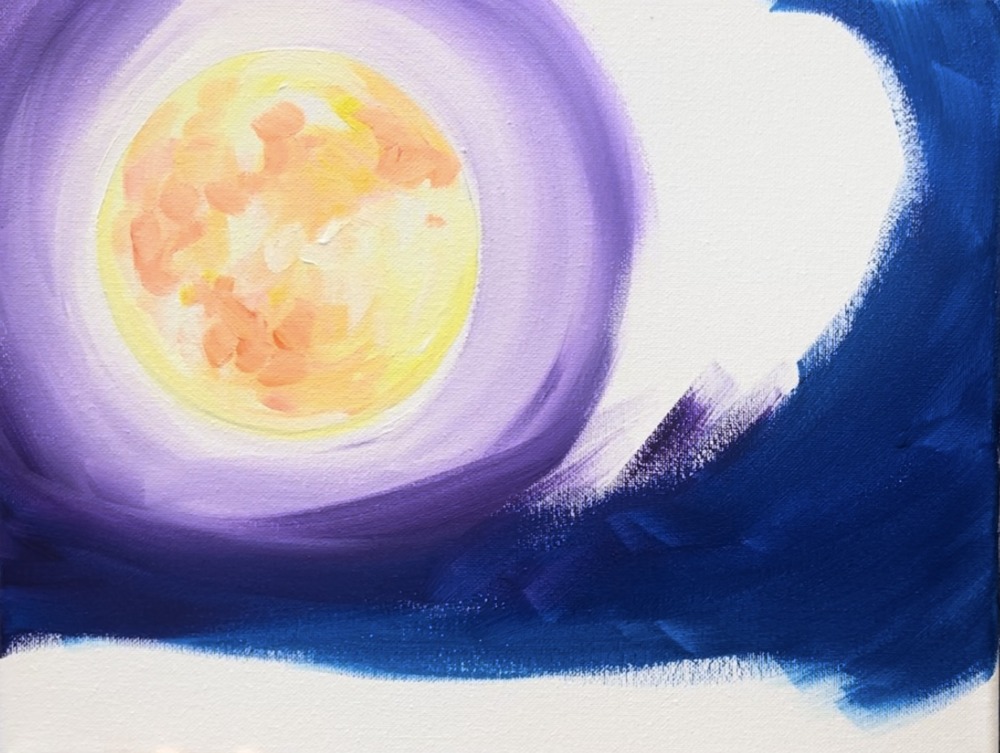
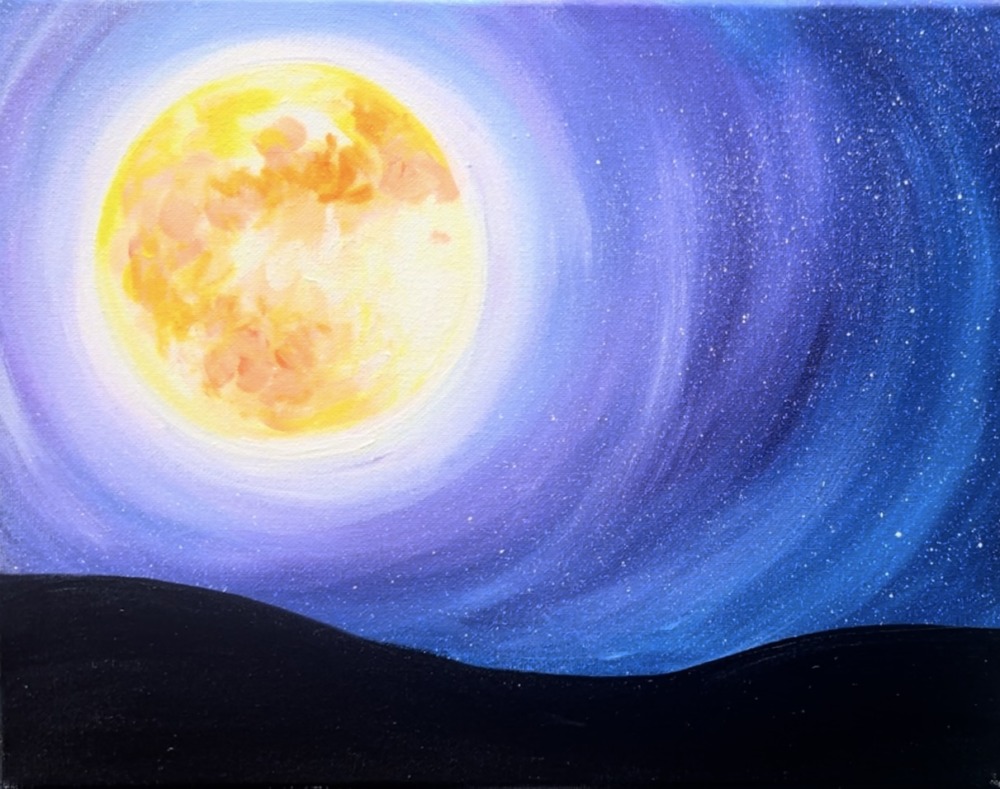
3. Paint Sky
We will be painting this sky in a circular direction that goes around the moon. The brightest part of the sky needs to be just around the moon circle and it needs to blend to a much darker color on the far right edge of the canvas.
Completely rinse and dry the 3/4 wash brush. Then load the brush into 4 parts white and 1 part purple. Lightly paint around the circle of the moon and get as close as possible. If needed, use the edge of the brush to outline the outer edge.

Then use the full width of the brush to blend this light purple around the moon. It is okay to have streaks of unblended paint. In fact, we want that to create the “spooky” effect in the sky and to make it look like the moon is glowing!
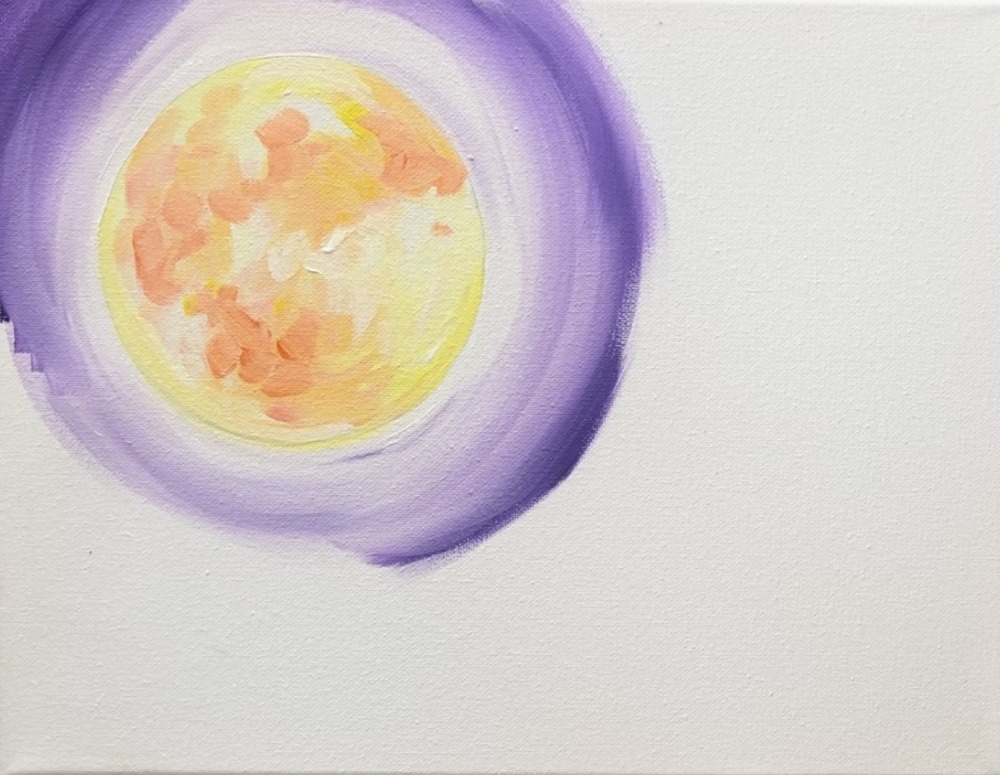
As you work your way outwards, gradually blend more purple into your sky so that it gets darker.
Tip: “dioxazine purple” is a very dark and strong color. You only need small amounts of it at a time. If needed, blend more white into your sky so that it doesn’t get too dark.
I went out a few inches and then stopped. We want to start introducing our “phthalo blue” into the sky. This dark blue will be on the far right edge of the sky and on the bottom along the “horizon line”.
Note: we didn’t define the “horizon line” yet. Basically, you need to leave about 1-2 inches of blank canvas on the bottom edge.
Apply the dark blue and still go in that curved direction. When you approach the bottom of the canvas (where the land will be), make your blue go into more of a horizontal direction.
Blend the blue in with the purple. Then add a little white into this and let the white gently blend with the blue-purple in the sky. Continue to paint in a curved direction and blend your sky but do not over blend the color.
Adding the white into the sky will allow it to have light streaks in the sky. It’s important not to make the sky too dark because we will be painting silhouettes that still need to show up.
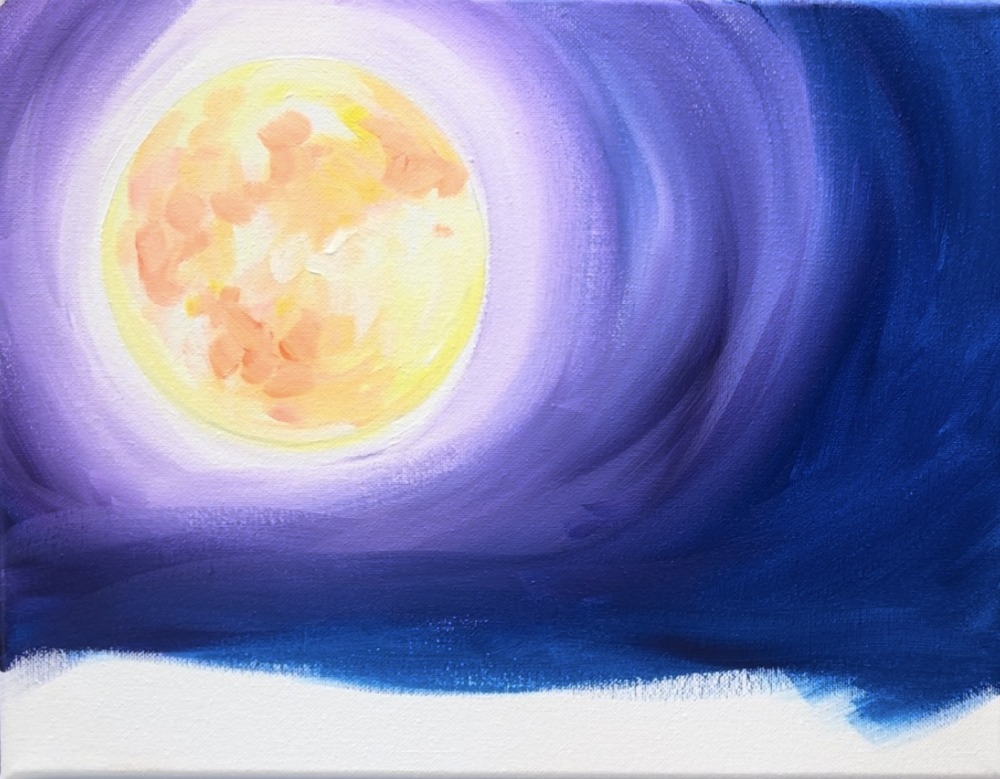
I took the white and blended it all the way to the right side of the sky. Leave streaks of unblended color in the sky.
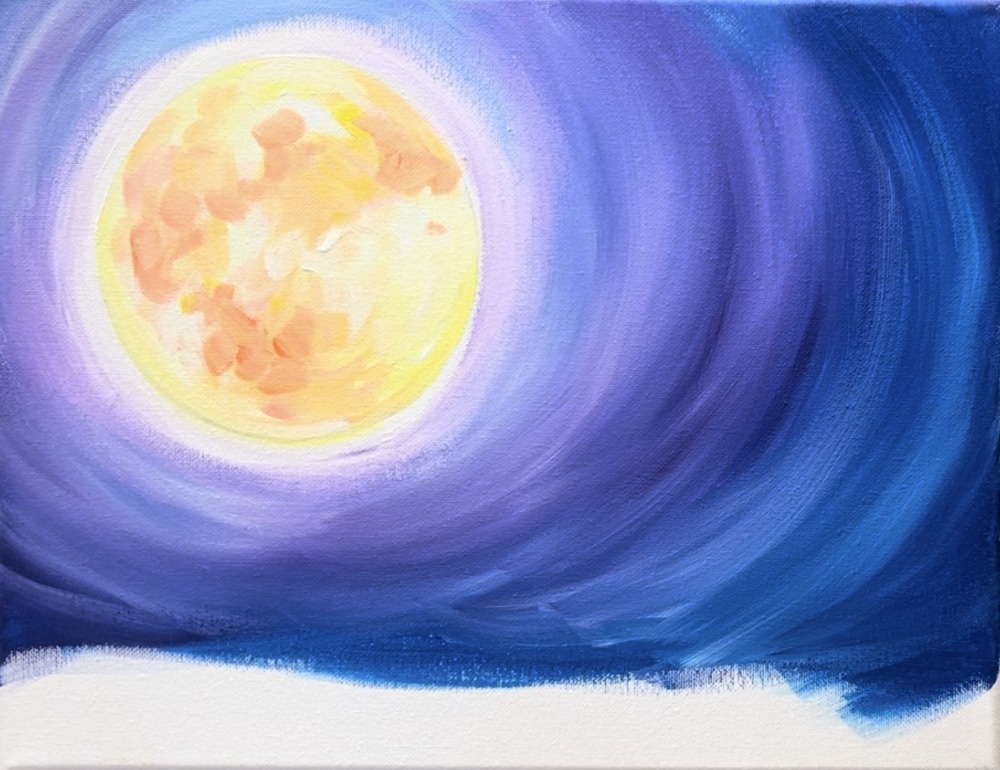
4. Paint Stars
Use a toothbrush to splatter white specks of stars on the canvas. Slightly water down your white paint. Then test a separate area first to make sure the splatters are not too wet but not too dry.
The paint shouldn’t be dripping or “pooling” on the canvas. It also shouldn’t be thick and “glopping” on the canvas.
Splatter the star specks all over the painting.
5. Paint Ground
Use a 3/4″ wash brush to define the “horizon line”. This is where the ground in our painting will be. Use the edge of the brush to paint a black wavy line across the bottom. This line starts out higher on the left, it dips down and then goes up a little bit higher on the right but not as high as the peak of the hill on the left.
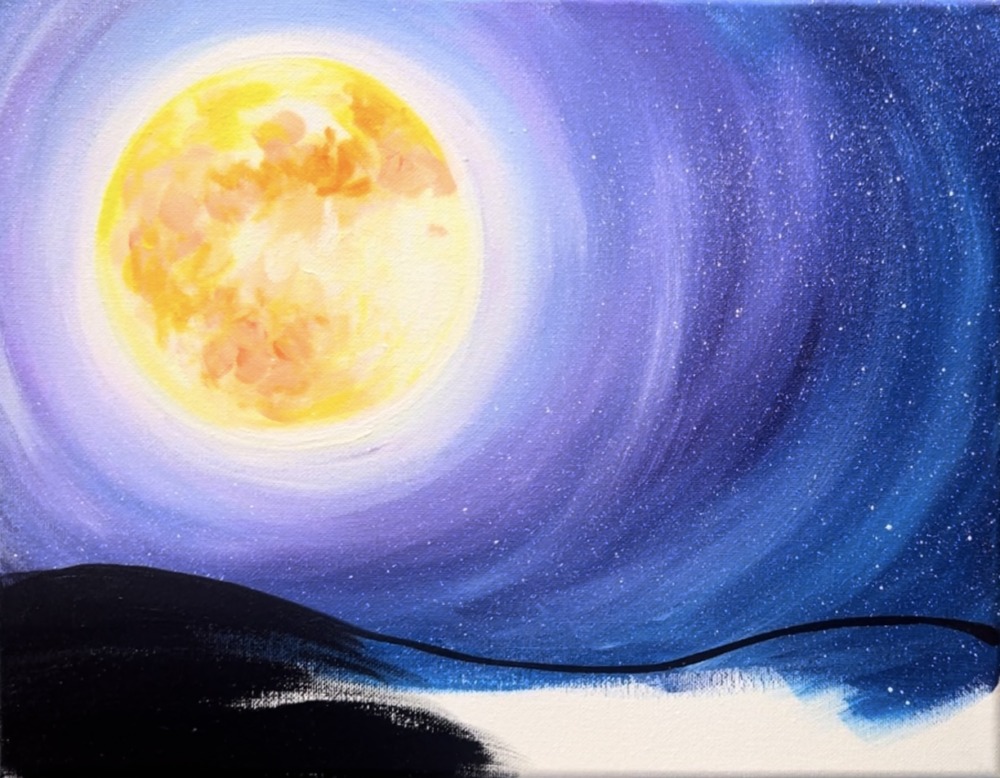
Fill the area in solid black.
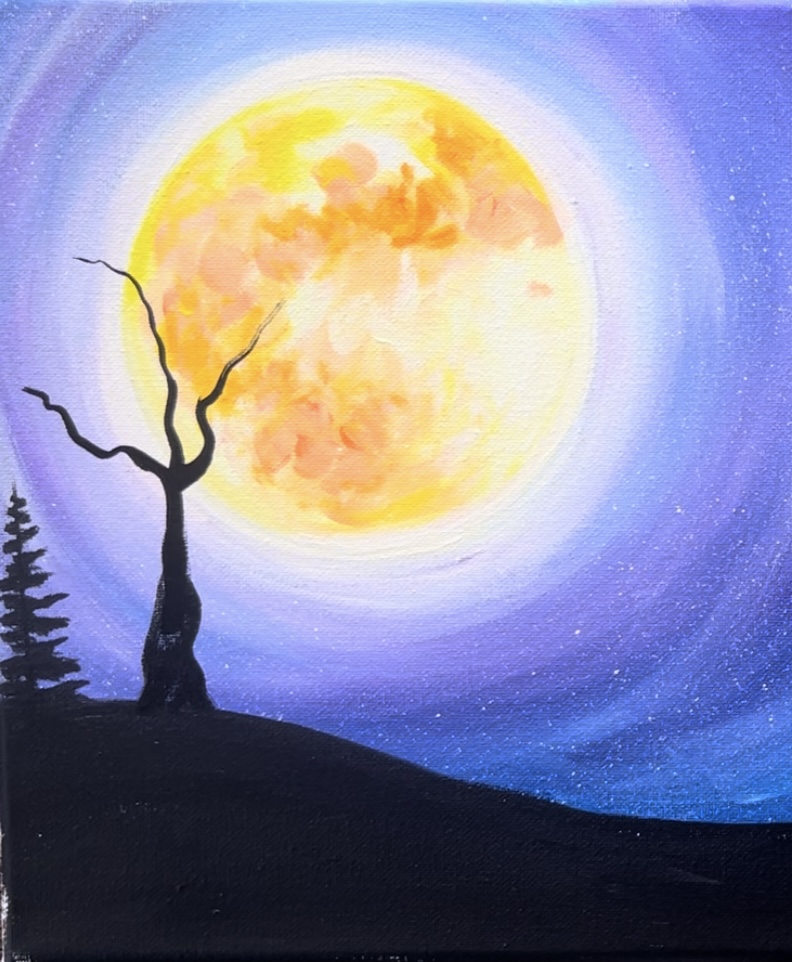
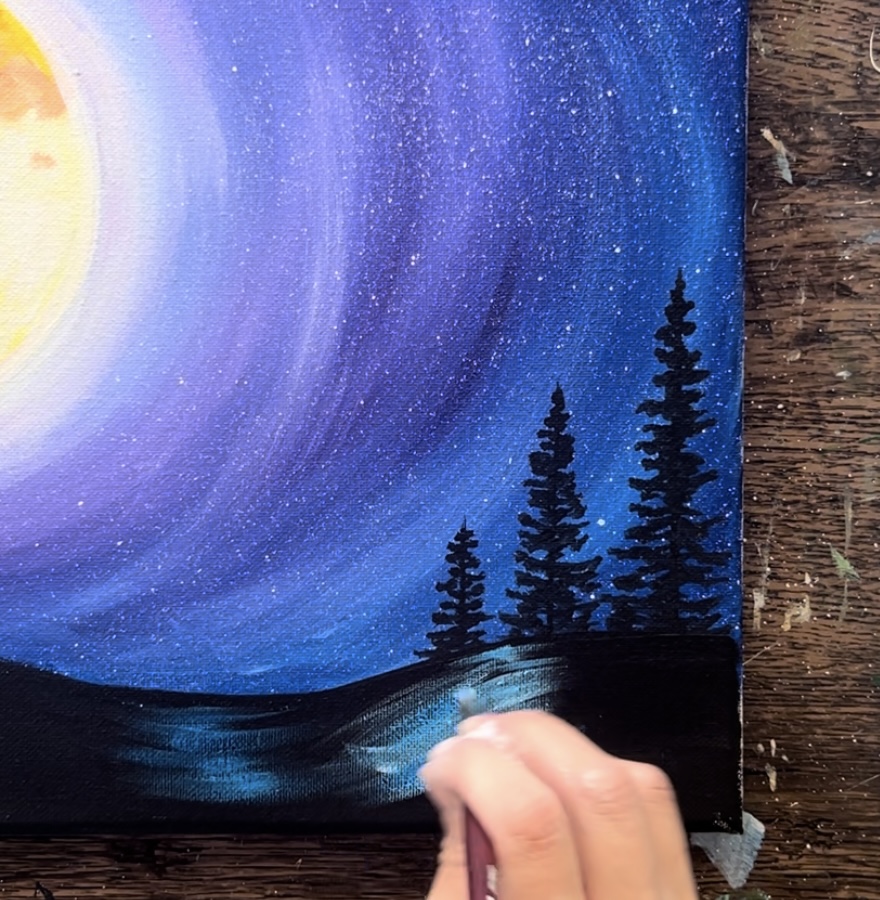
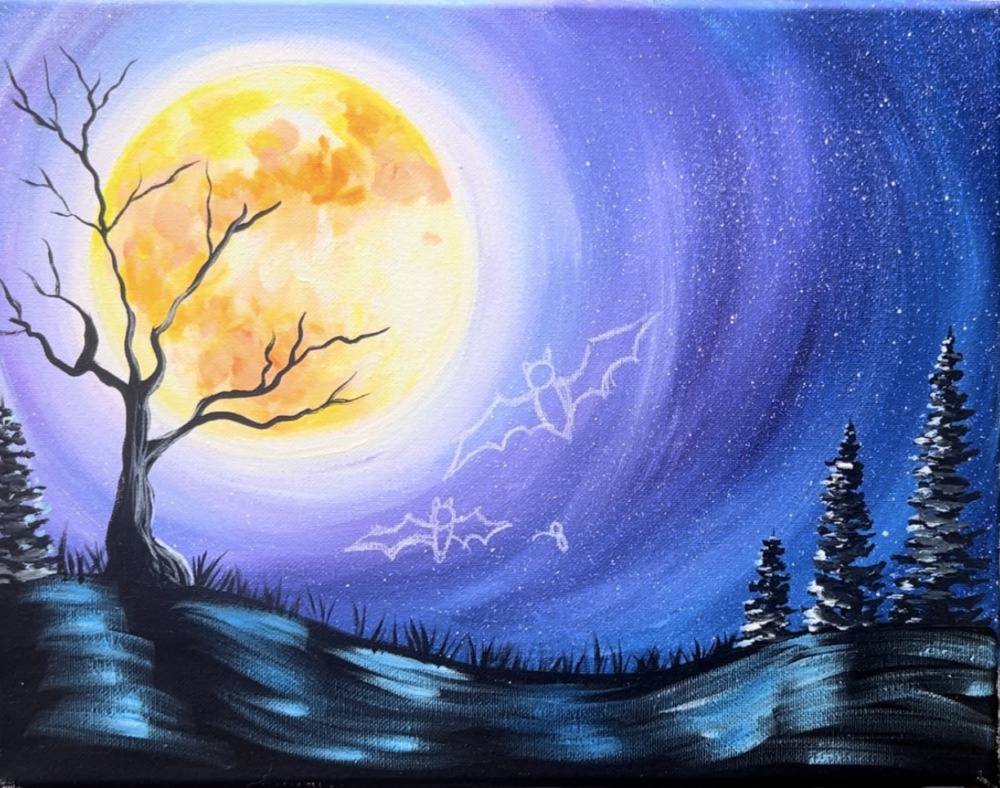
6. Paint Trees
Use a 3/8″ angle brush to paint silhouette pine trees. Load the tip of the brush in black. Tip: it helps to slightly water the black down to make it flow easier. Then paint a tall vertical line on the far right.
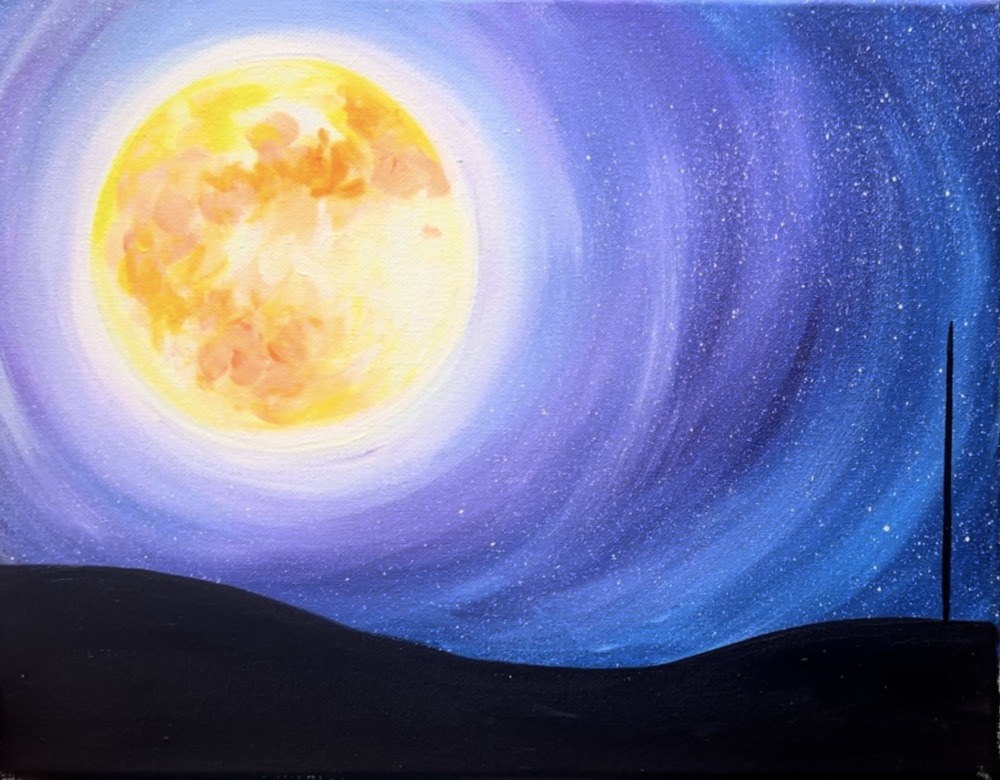
After doing your initial line, load more paint just on the end of the bristles of the angle brush. Use just the tip of the angle brush at first. Start on the top of the line and stamp little branch strokes. You need to start out very small and narrow at first. Stamp the little branches from left to right going in a zig-zag/ back and forth direction.
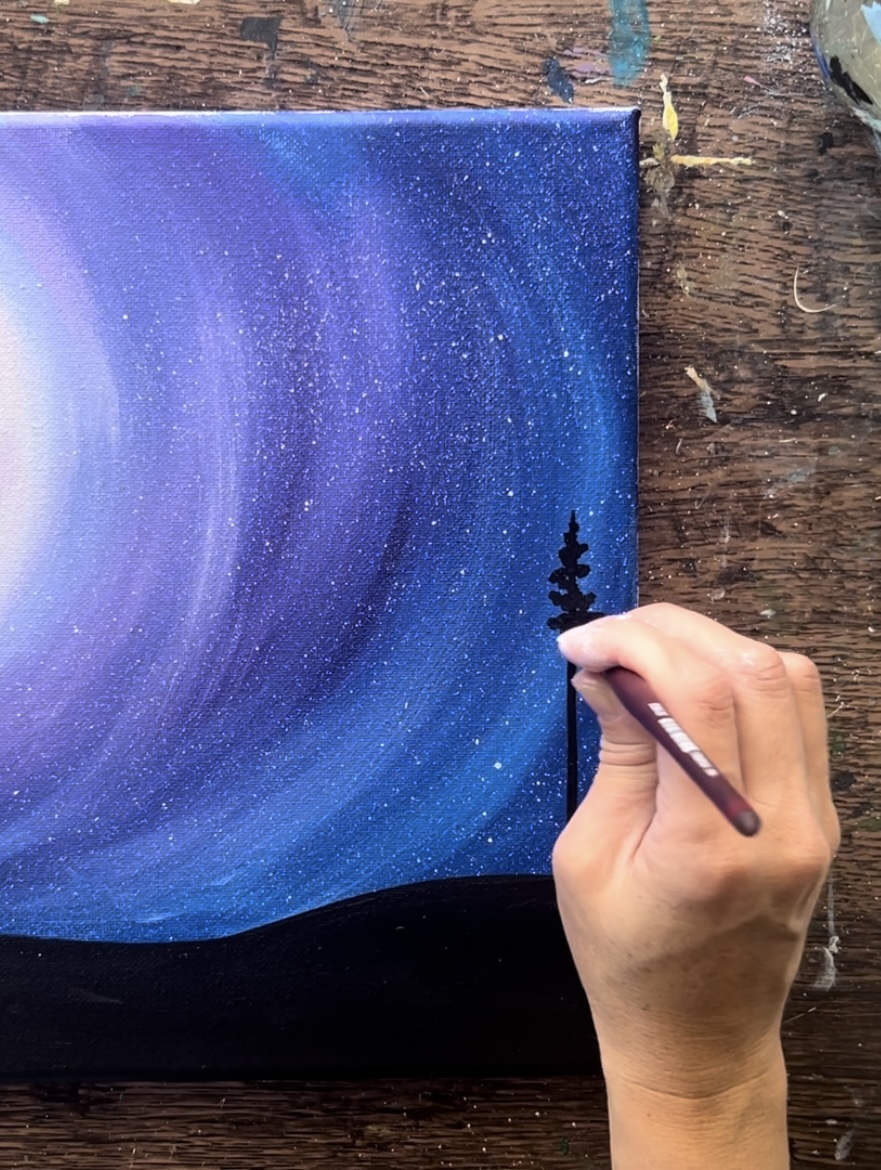
Go all the way down your vertical line and allow the branches to get wider as you approach the bottom of the tree.
Repeat this step but make a shorter tree.
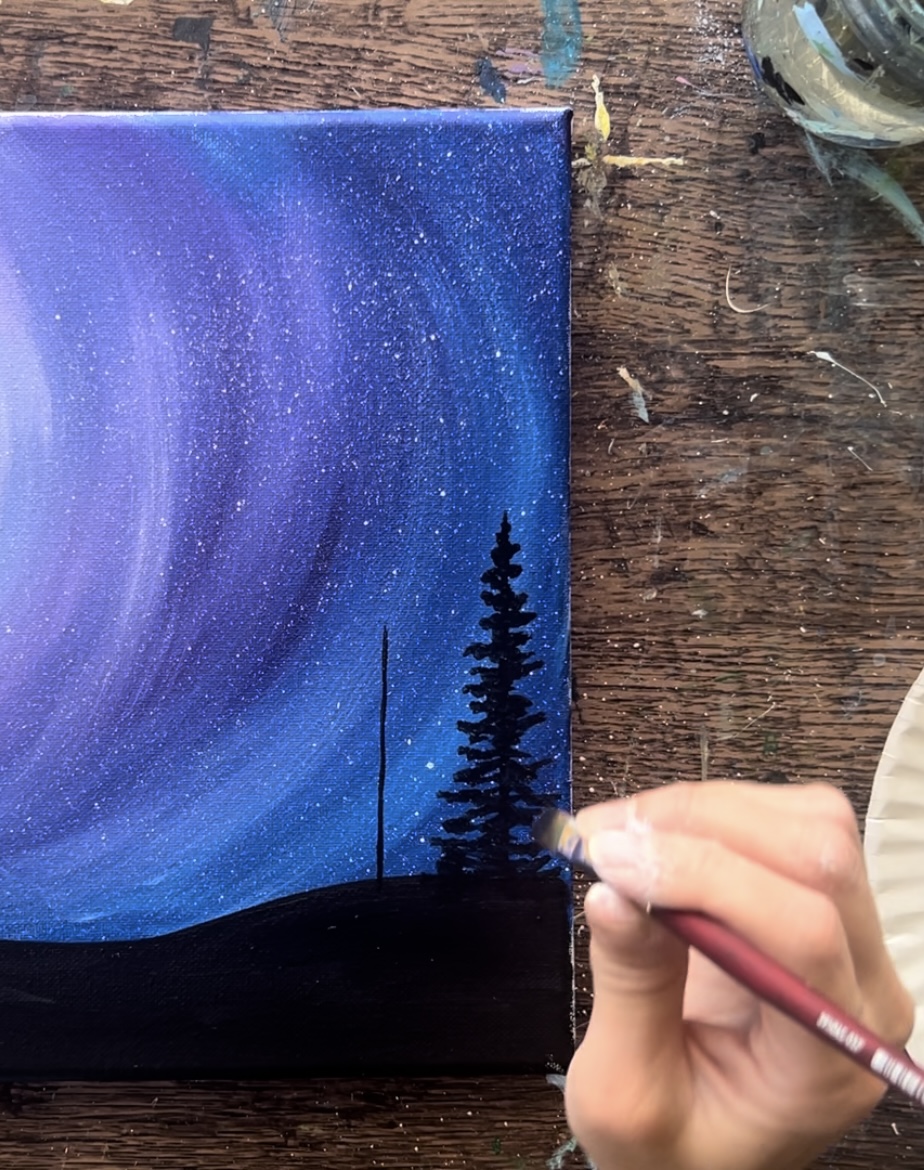

Make one more short tree and then another medium size pine tree on the far left.
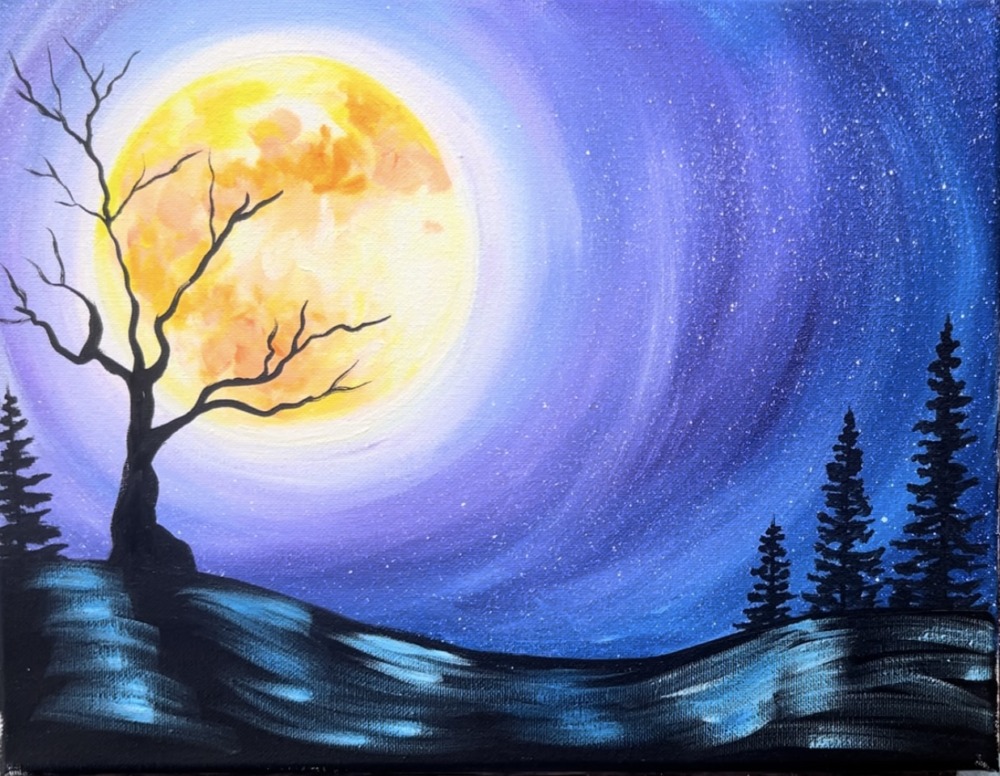
Next, we will be using a #4 round brush to paint the tree on the left. To make this tree look “spooky”, we will be adding extra curves to the trunk and branches. Start by making a triangular shaped trunk with wavy edges and the wide part on the bottom.
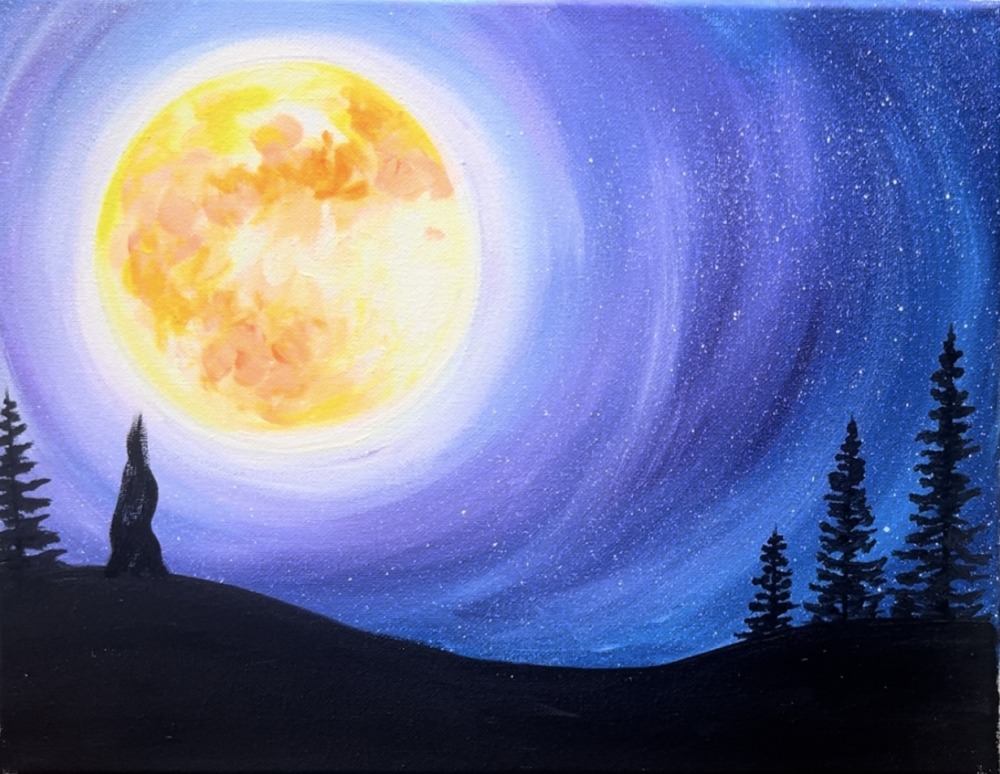
As you form the tree, make your branches smaller but also make them wavy. Use the #4 round brush but apply very light pressure to the brush to get your branches to go thinner.
I allowed my tree to branch out to three main branches. All three are wavy and then go very thin at the tips. Also, branches are going to start overlapping the moon! This is going to create some really great contrast!
I formed another lower branch that goes a little more horizontal.
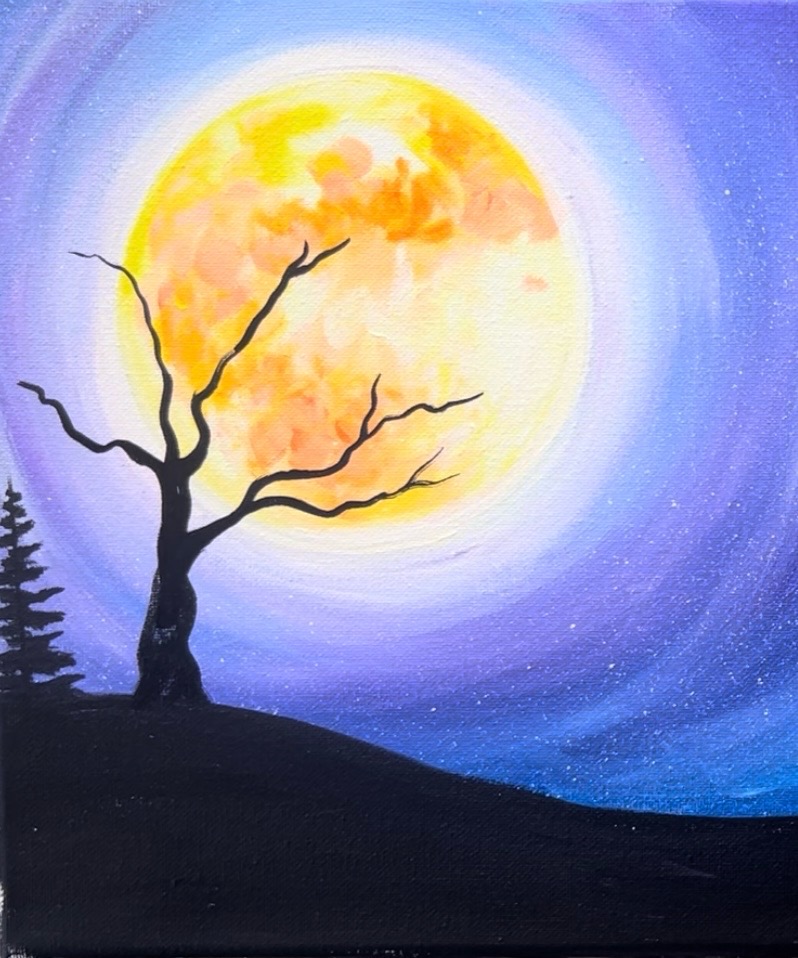
Continue to add very thin and wavy branches that overlap the moon and also form to the left edge and top left corner of the canvas.
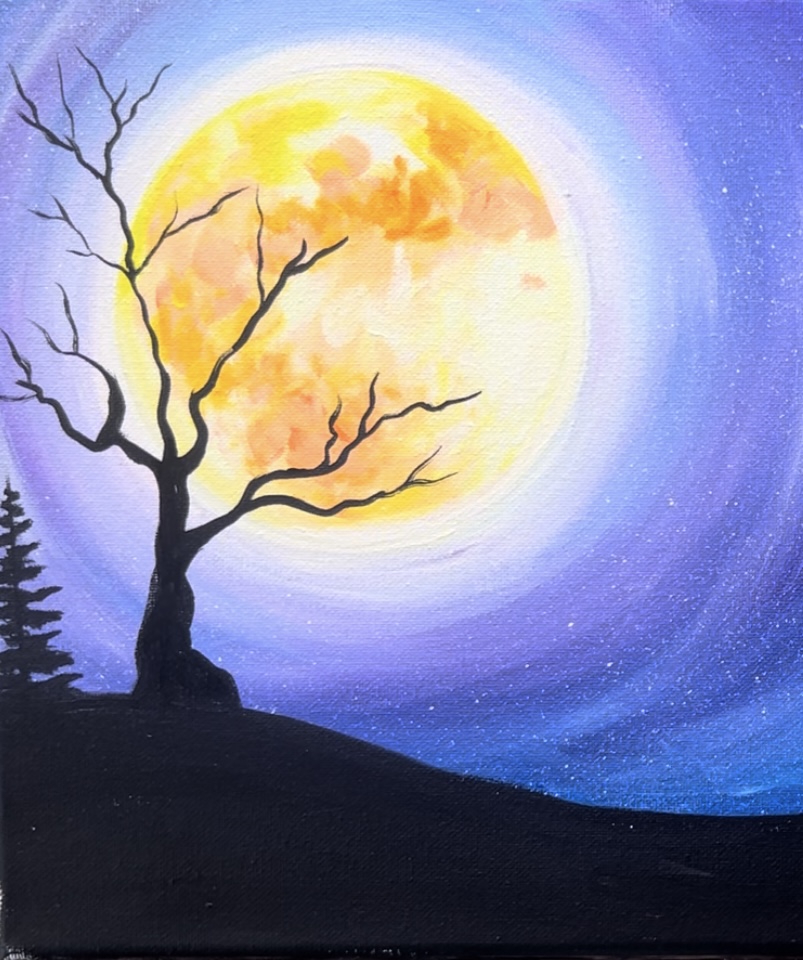
7. Highlight Ground
Highlighting the ground gives the dark silhouette of the ground some more interested and dimension! We will be using phthalo blue mixed with titanium white and “dry brushing” this blue against the black. It makes such a pretty color!
Use the 3/8″ angle brush and both blue and white mixed together (about equal amounts). Then “dry brush” the color along the land area. Go in the direction of the curves of the hills and do not cover all of the black.
In fact, leave the areas under the trees black with no blue color. This will make it look like the trees are casting shadows on the ground. When you “dry brush” this color, you are only adding small amounts of paint to the brush and applying it very thinly with a lot of the black from the first layer still showing through.
8. Highlight Trees
Use the 3/8″ angle brush to add highlights to the trees. You are basically repeating the same technique that you did earlier when you first painted the trees but this time you are adding white to the far left side of the tree. For the tree on the left, you are adding white to the far right side of the tree. To make it look less like “snow”, add a little blue or a little black to the white to dim the color down a bit.

If needed, go back over your trees with a dark to medium gray color. This will give them more “depth”. I did this more in the middle of the trees and left the far right side of the trees dark and shadowy.
Also, use a #4 round brush to add some highlight to the far right edge of the tree trunk. Do this very lightly/ dry brush style. Sort of sketch lines that go in the direction of the tree trunk. You can add a few highlights on the branches that overlap the moon but you still want to keep those branches dark for the contrast.
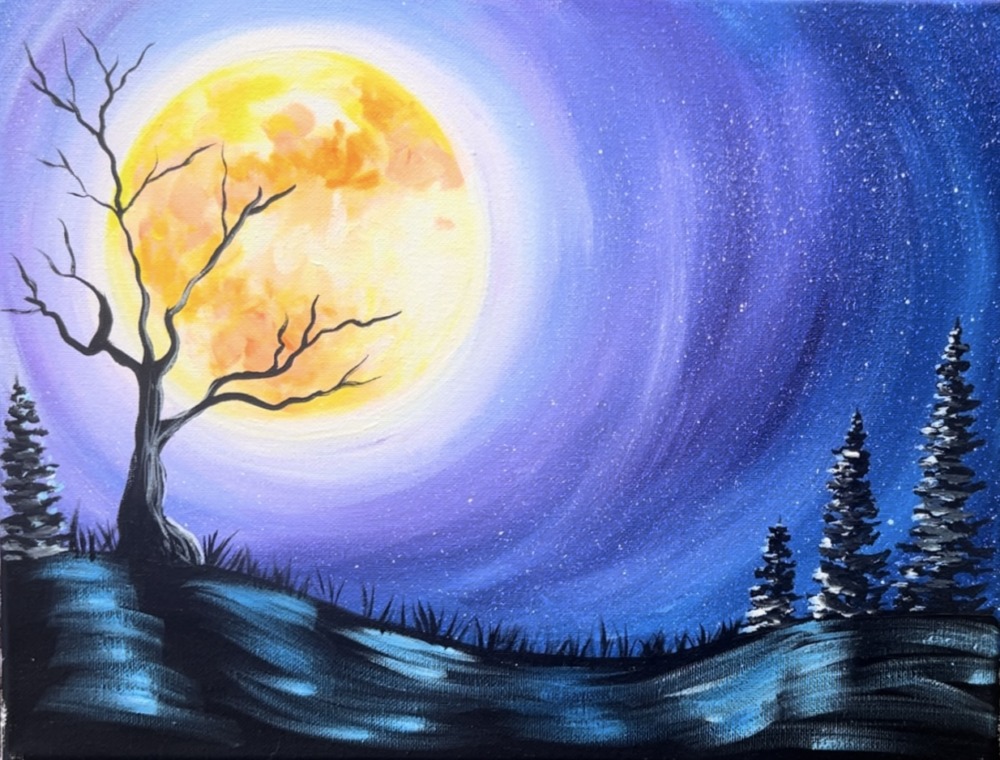
Use the round brush and black to paint little grass lines all along the land area. This will add texture to our landscape.
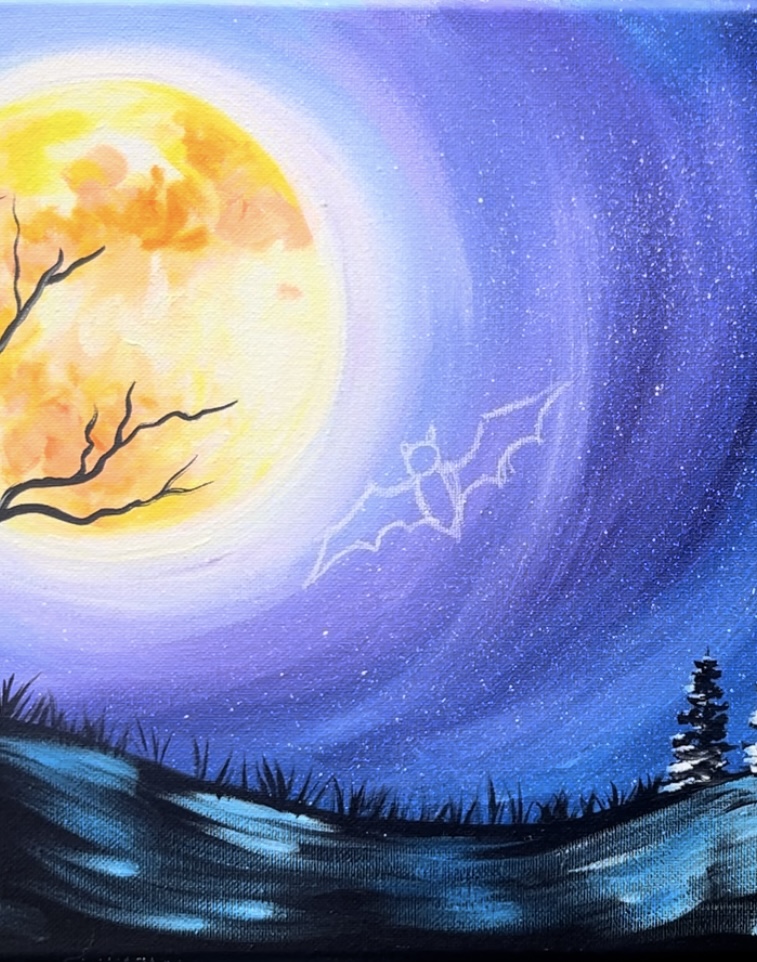
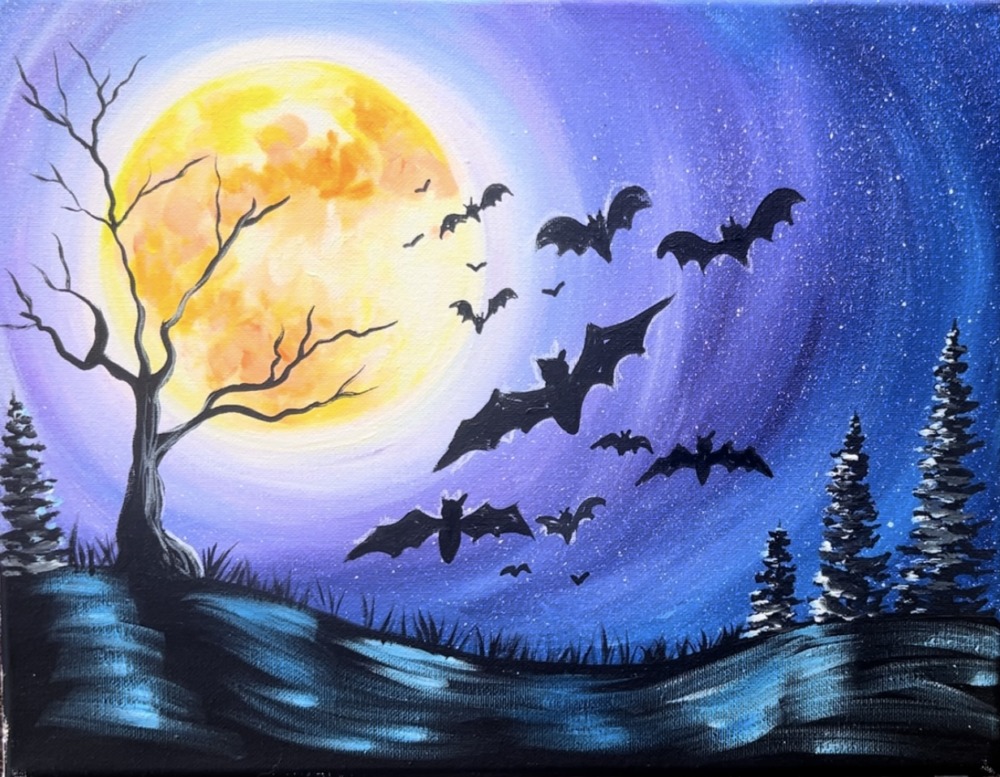
9. Draw Bats
Use a white chalk pencil to draw the bats! Start by drawing a small circle for the head, draw little pointed ears and then draw an elongated oval shape for the body.
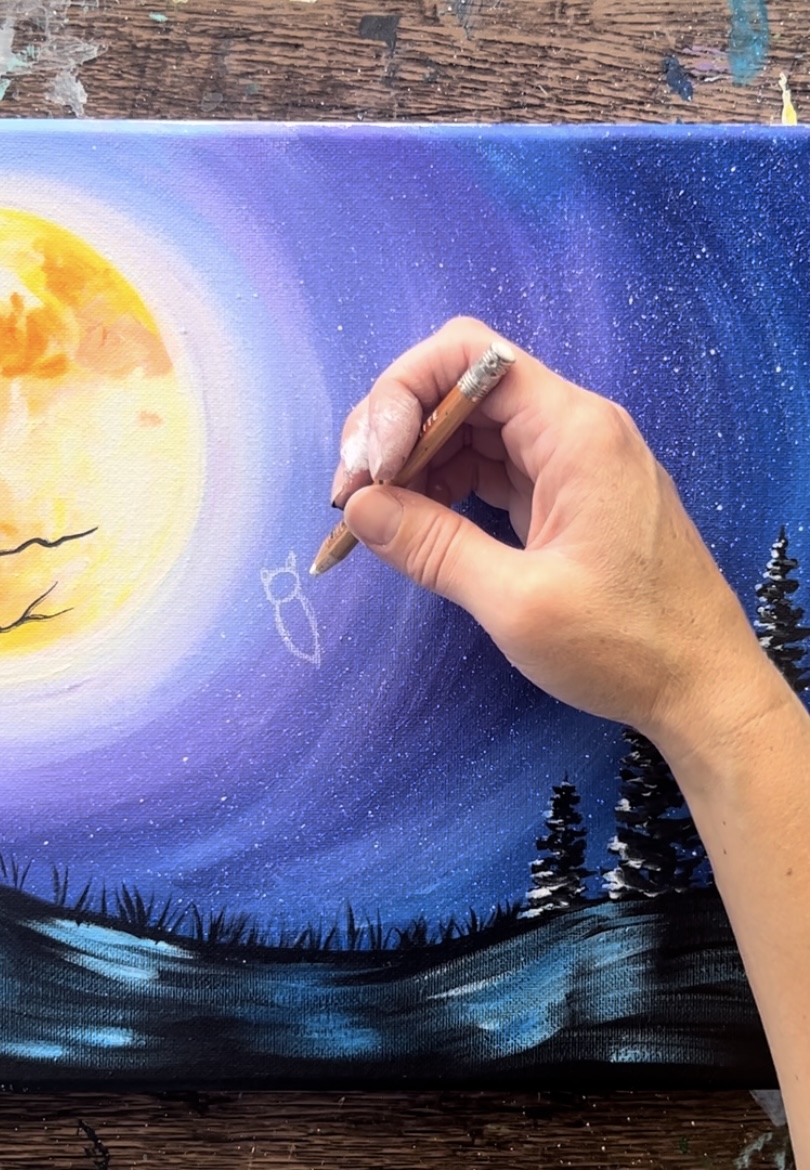
Draw the wings. These wings have scalloped edges on the top and bottom. The edges of the wings go to a point.
As you draw these bats, make a variety of large, medium and small bats. Draw the wings going at different angles.
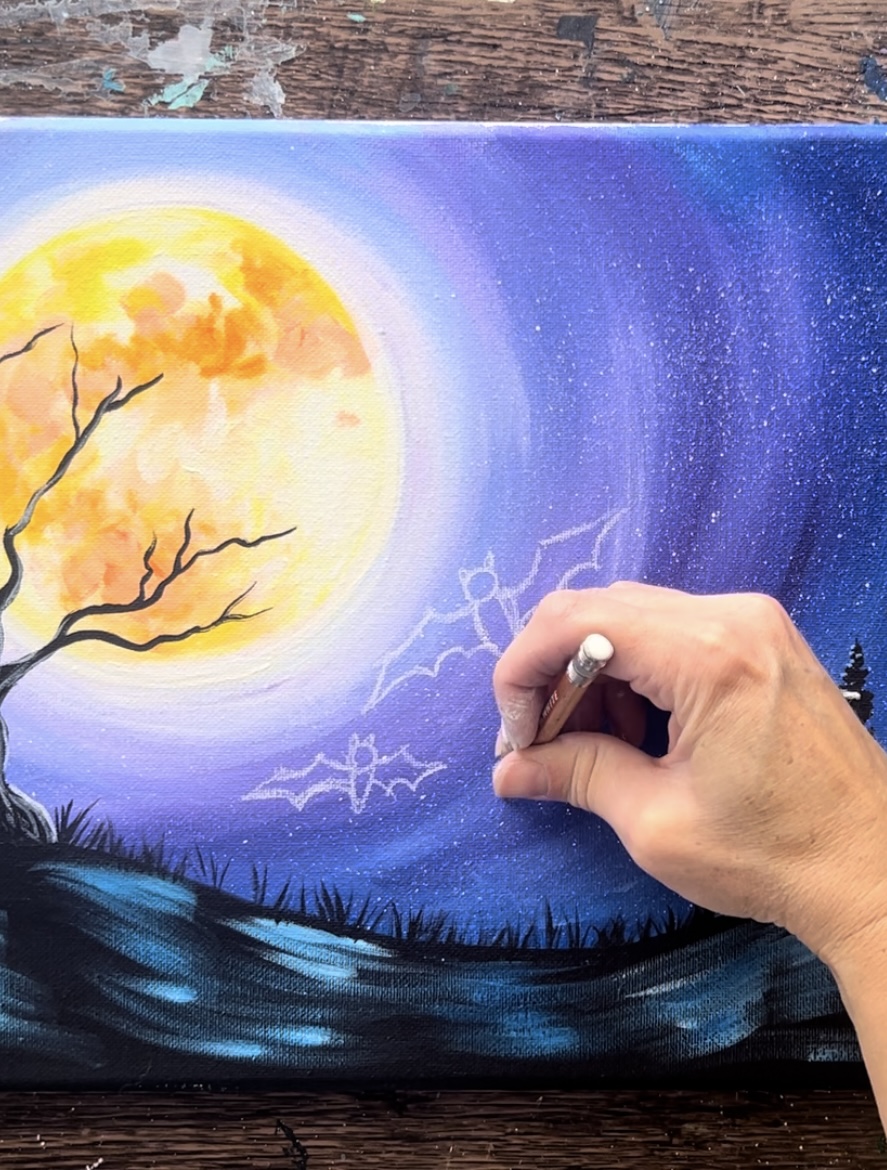
Draw wings that go arched higher.
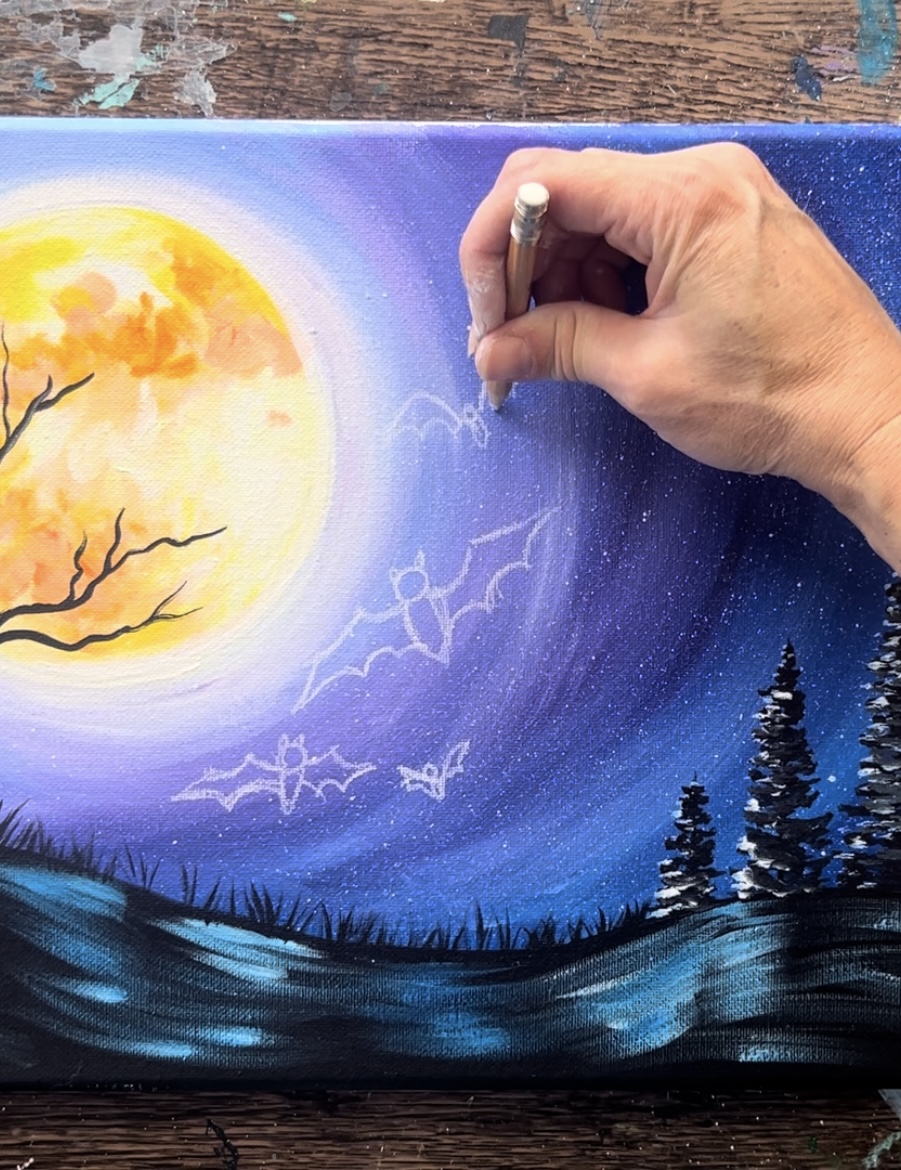
I did not draw any of the tiny bats because those can be painted in without needing to draw them. However, if you want to figure out the placement of all of your bats, you can draw the tiny ones!
I drew five bats in the sky. Each are sort of in the middle of the sky area. I didn’t draw any overlapping the moon yet and there aren’t any bats on the far left of the canvas. You can, however, position your bats differently in the sky.

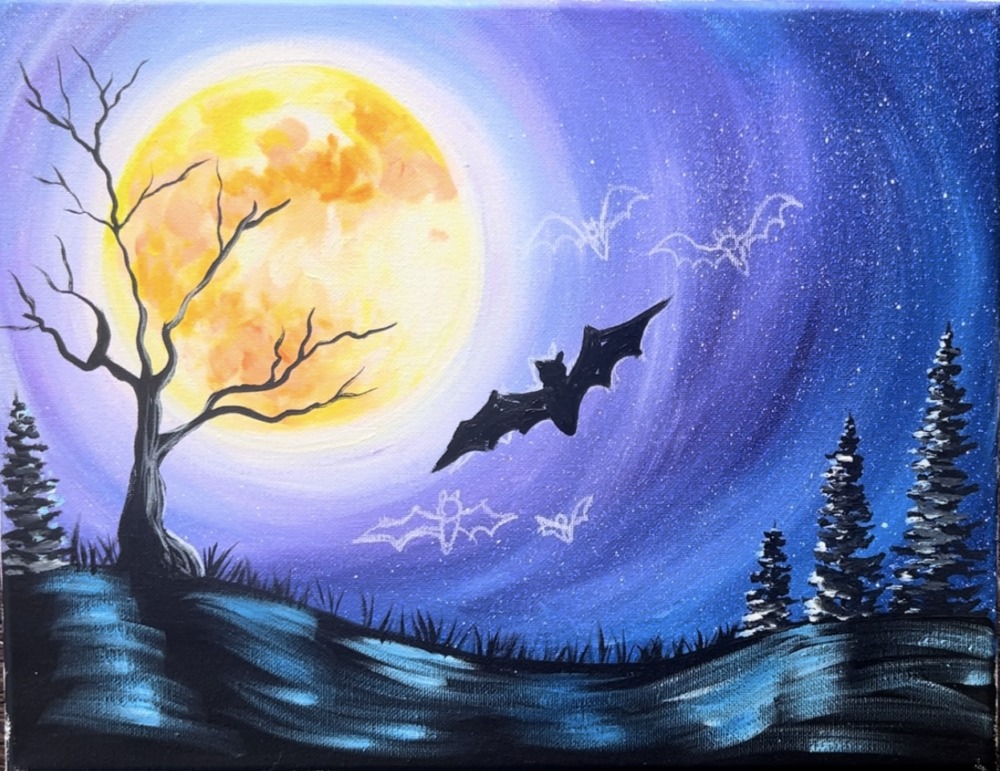
10. Paint Bats
Use a #4 round brush to paint the bats in. Right now, they are solid black silhouettes.
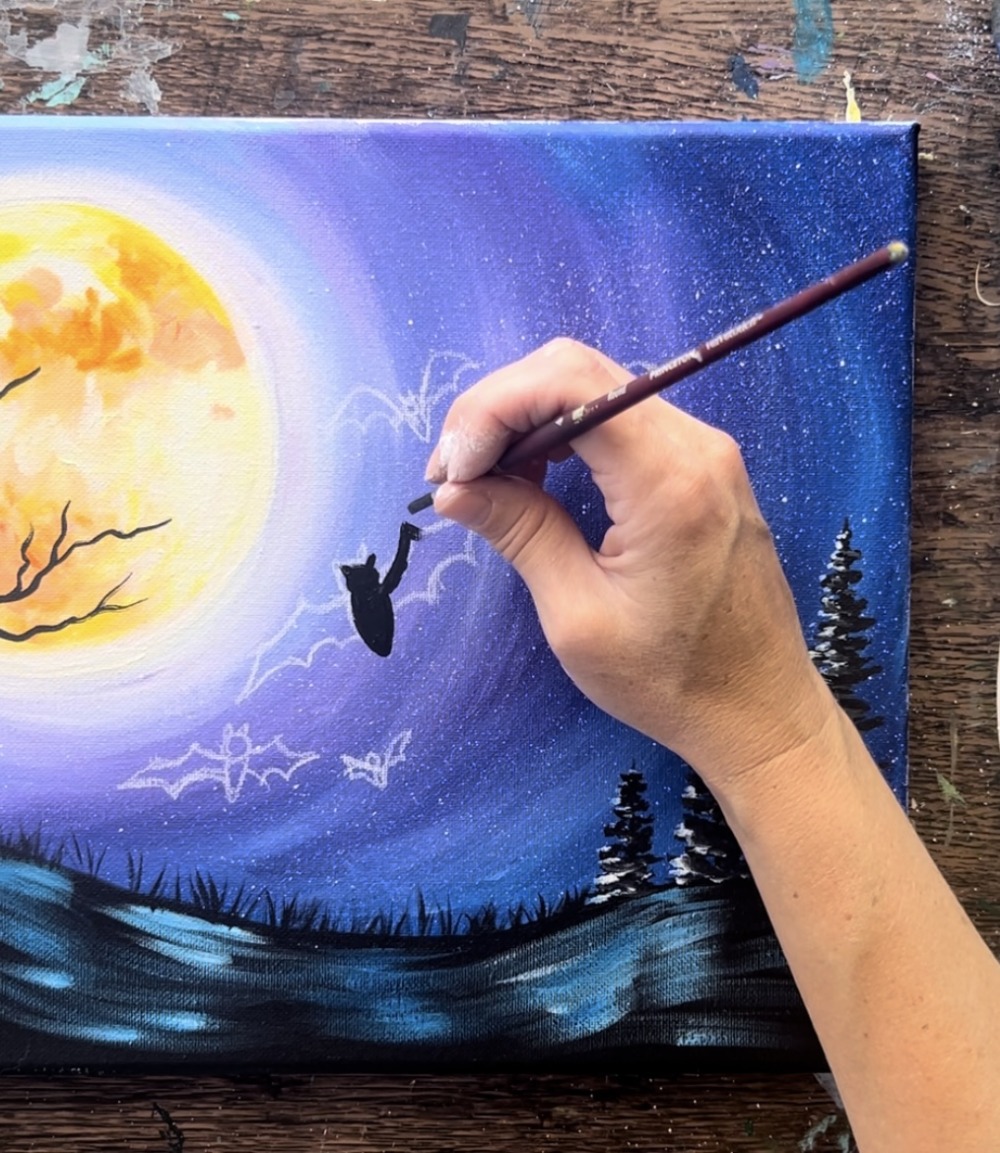
If needed, use a paint pen to draw/ paint the smaller bats. You can also use this pen to help you paint some of the smaller details on your larger bats.
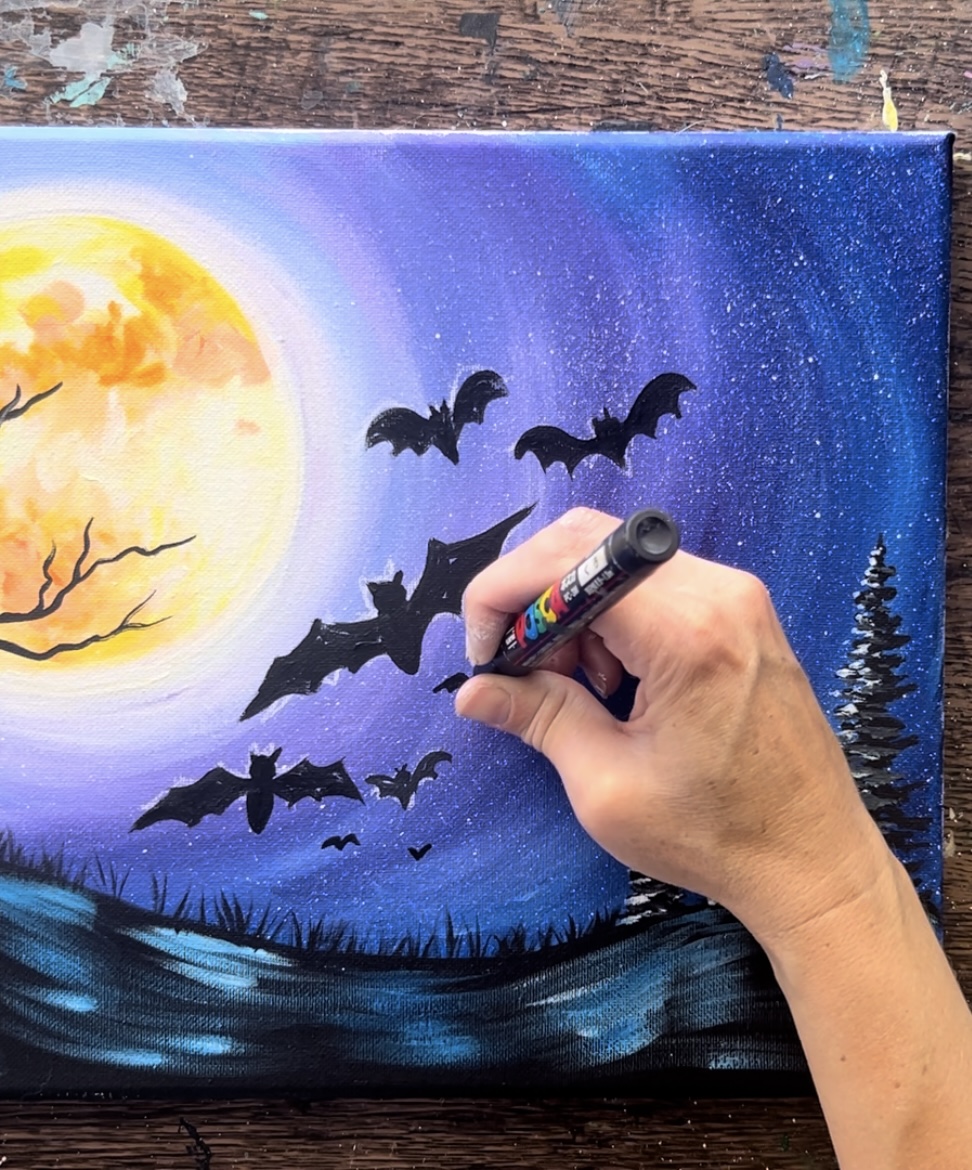
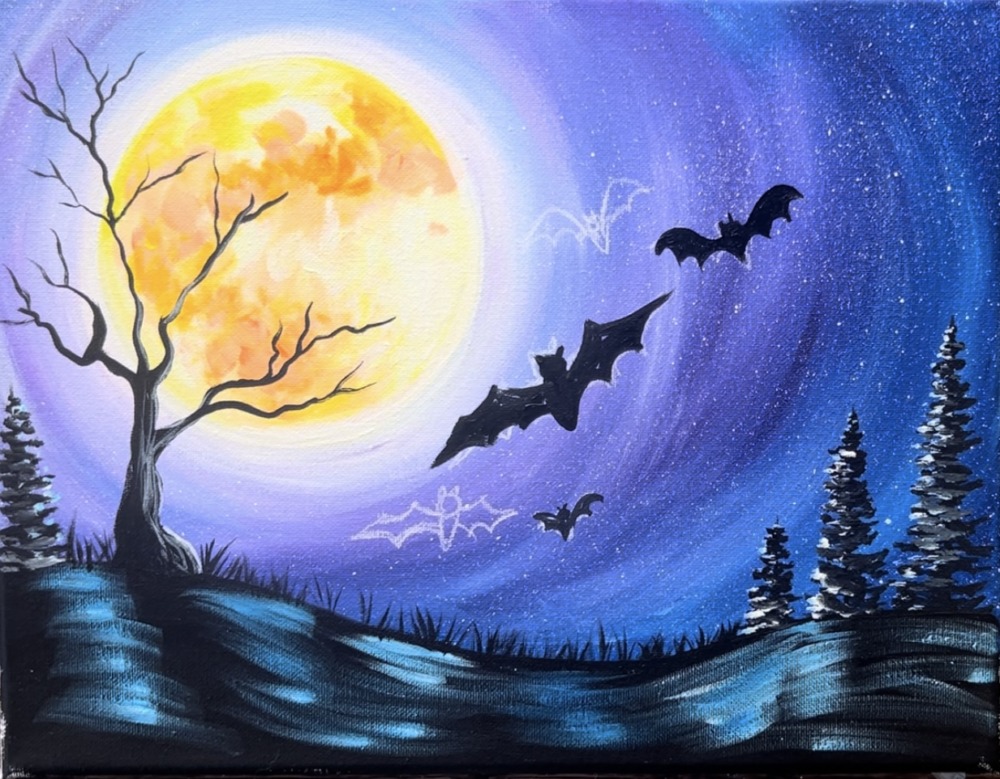
Overlap some of the smaller bats over the moon! When you create a variety of close and far bats, it creates depth and distance in your painting!
11. Highlight Bats (optional)
I’m leaving this step optional! Sometimes adding highlights to silhouettes gives it more of a 3D look rather than a flat shadow look. So it’s up to you how advanced you want to paint these bats!
To highlight the shadows of the bats, I used a #4 round brush and titanium white. Add a little yellow and/or black into the white so it isn’t too bright of a white. Then loosely outline the inner lines of your bats.
It’s easier to start with the larger bats. I outlined the body and edges of the wings.

Then paint “lines” in the middle of the bat wings. Additionally, I dry brushed the large parts with very very light white! You still want to keep the dark concept of the bat so make sure you go very light with these highlights.
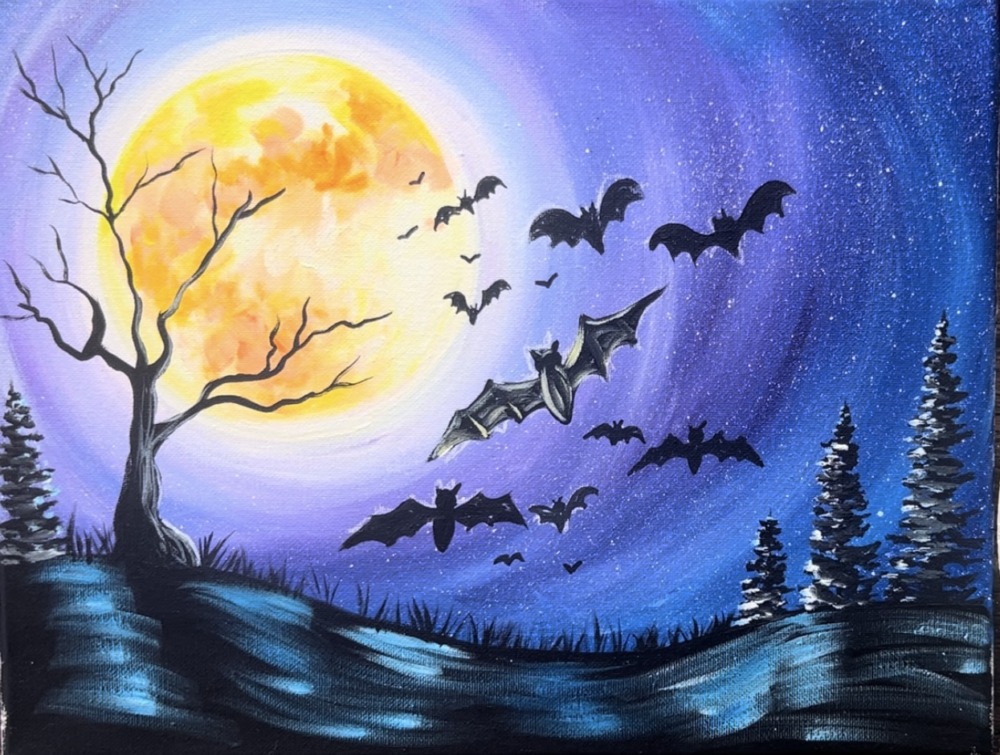
Do this to each of the bats! You don’t have to add highlights to the smaller bats. Or, if you have a white paint pen, you can try adding highlights that way!
The smaller bats may be little “V” lines in the sky. You can also add a bat hanging upside down on a branch of the tree! I drew that bat with the black paint pen.
Here is a closeup of the details of the bats.

12. Paint Pumpkins (optional)
These pumpkins are optional! You can leave your painting as is without the pumpkins. I actually love the contrast of orange with these pumpkins and feel it pulls the whole landscape painting together! It’s also fun to create more depth illusion in our landscape by painting closer pumpkins and far away pumpkins!
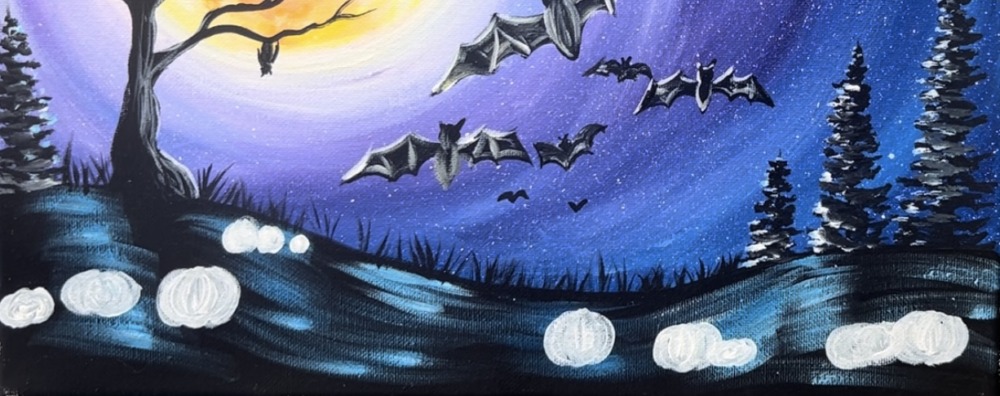
First, use the #4 round brush and titanium white to paint the shapes of each of the pumpkins. They are spread throughout the landscape. Some are larger, some are smaller. Some are overlapping each other.
After painting the shapes of the pumpkins, let the white dry. Then use orange and yellow to paint the color of the pumpkin. I basically used a mix of the yellow and the white to create different variations in the color. As you paint these pumpkins, stroke your brush from top to bottom in a curved direction. This will help create the bumpy texture of the pumpkins.
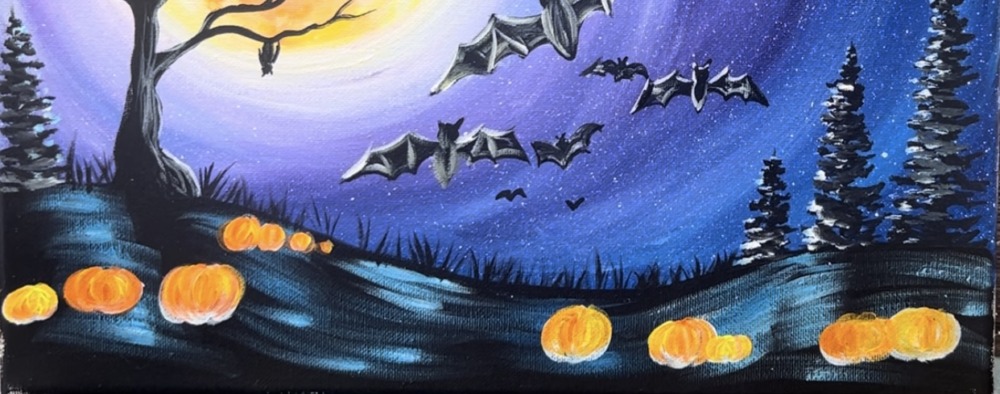
Then go back and add shadows on the bottom of the pumpkins. To do this, mix a tiny bit of black into orange to make a dark shade of orange. Then paint the bottom of the pumpkins and stroke upwards.

Tip: because these pumpkins are small and not the main focus on the painting, you don’t need to make them look realistic!
Paint the stems using gray. Then eadd white on one side of the stem to for highlights.
I also added a “wheat plant” silhouette with black and the #4 round brush to the right of the spooky tree.
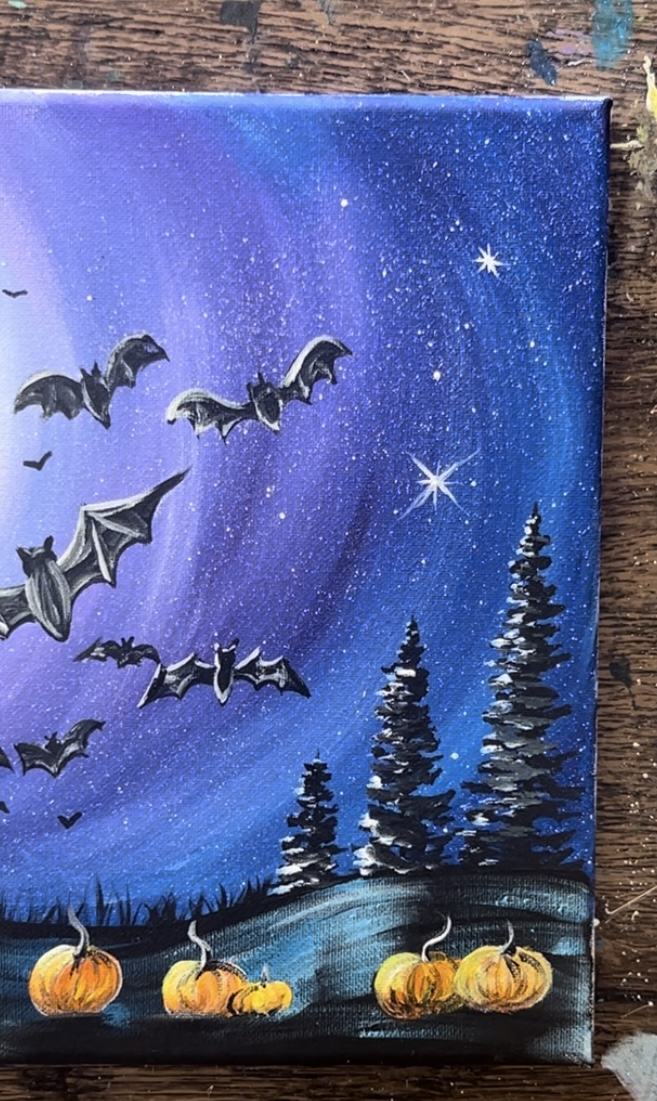
13. Paint Twinkle Stars & final touch ups!
Use the #4 round brush to paint a few “twinkle stars” in the sky. I did these in the upper right part of the canvas. Use the very end tip of the paint brush to paint very thin lines for the points of the stars. Paint a dot in the center of the stars.
Some final touch ups could be adding more bats in the sky, adding more branches. Also, I painted one more pumpkin on the bottom of the canvas. This was a larger, closer pumpkin!