Would you like to save this?
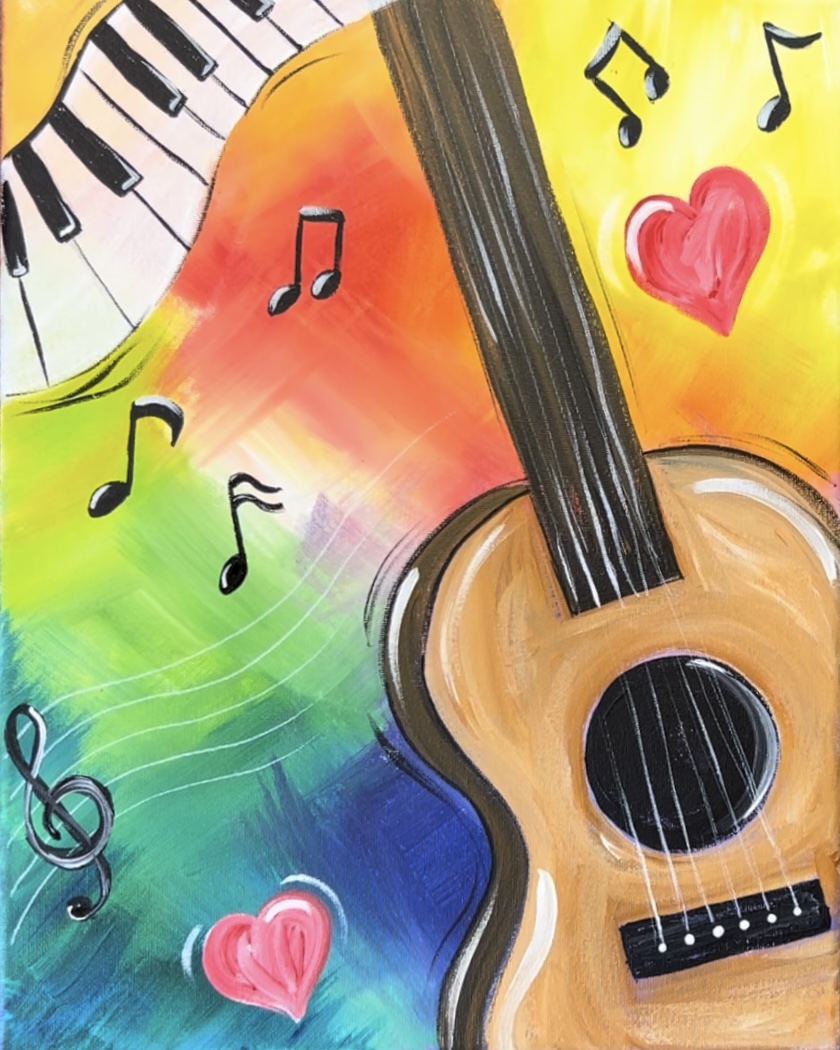
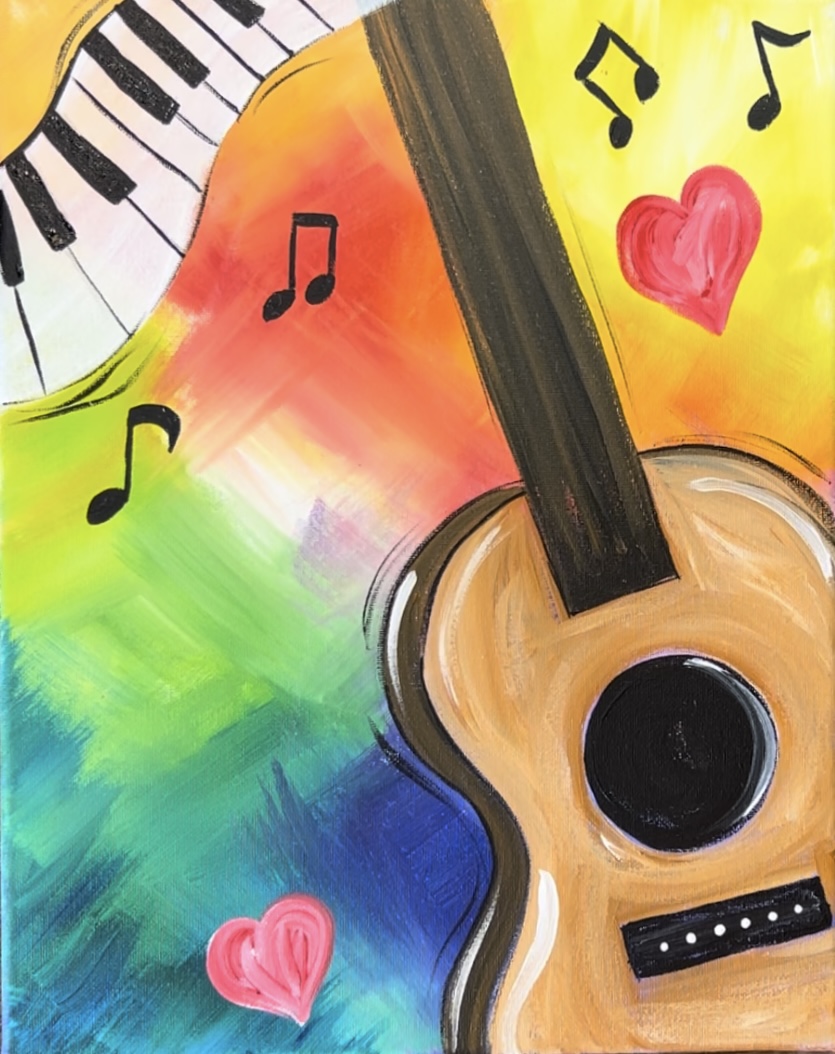
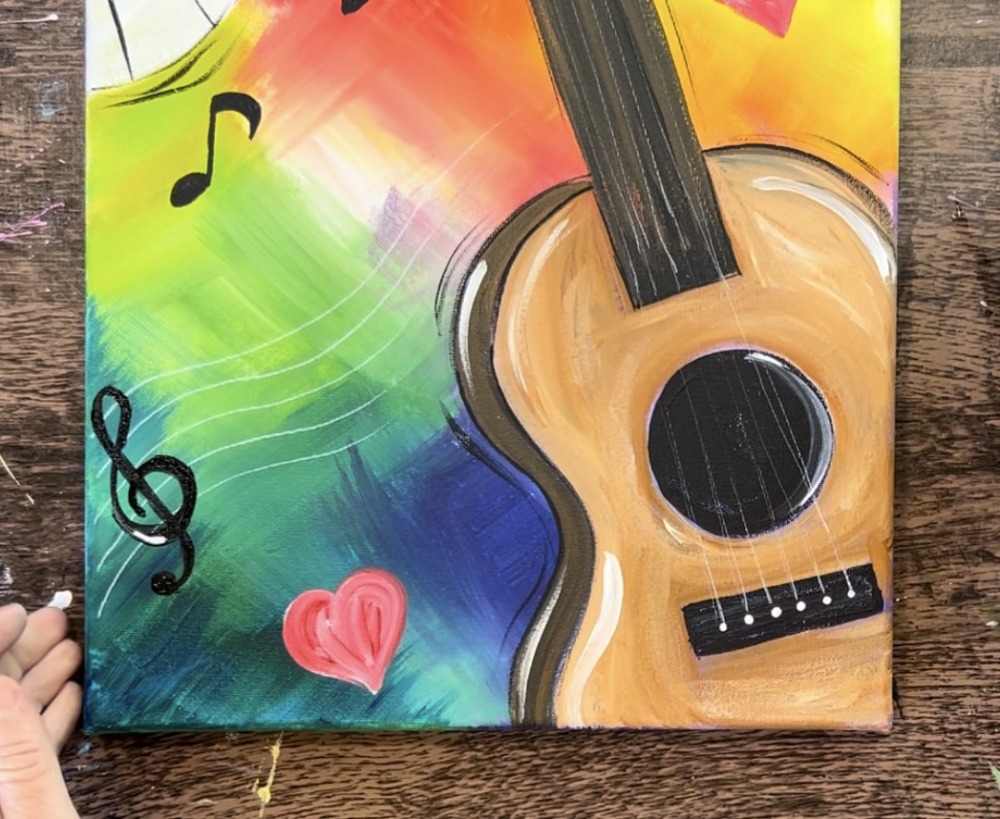
I just love the colorful rainbow background in this music theme painting!
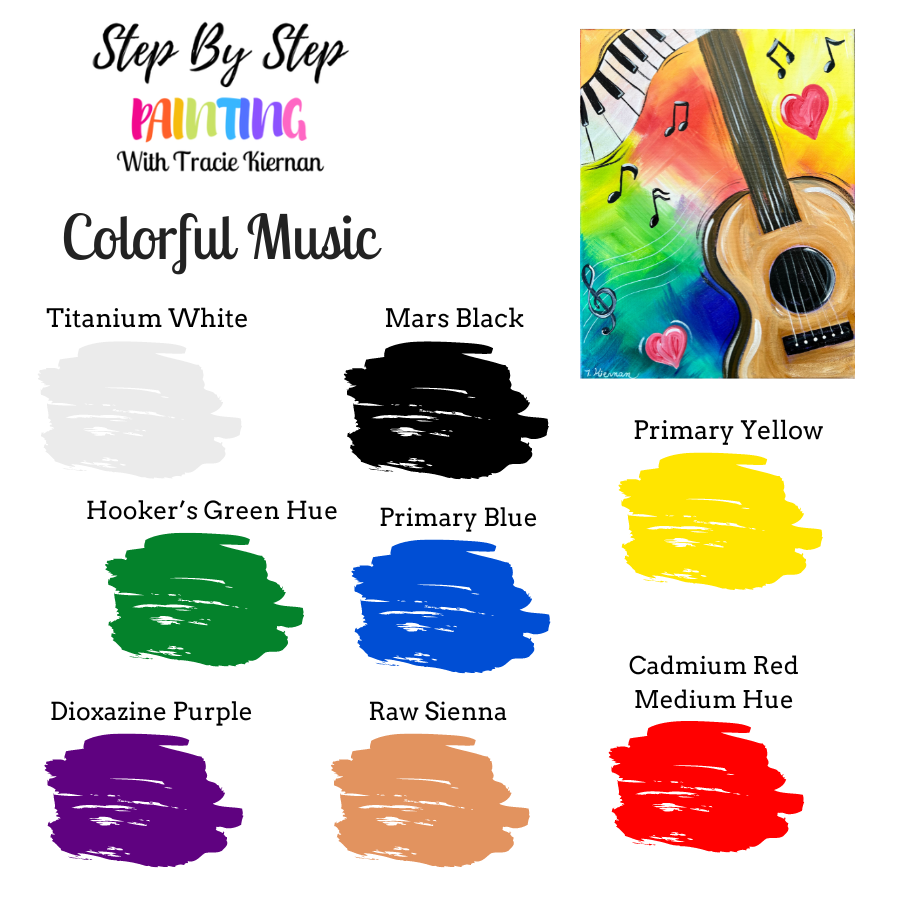
In this tutorial, we will be painting a guitar, piano, music notes and hearts that all work together in a colorful painting composition! Music is the theme of this painting so I encourage you to listen to your favorite music while painting this!
Enjoy and happy painting!
Materials Needed
Colorful Music - Acrylic Painting Tutorial
Paint a background bursting with colors and an abstract guitar and piano.
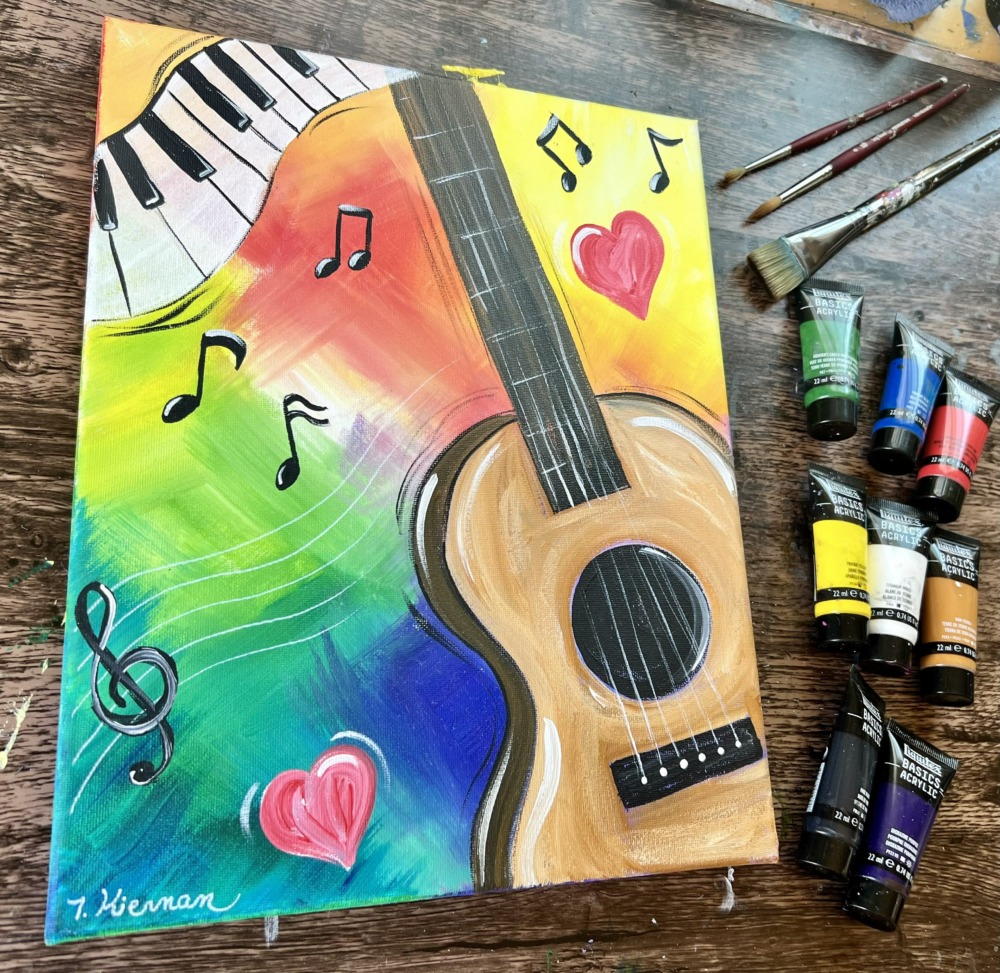
Materials
- 11 x 14 Canvas
- Acrylic Paints
- Brushes
- Traceable
- Graphite Paper
- Pencil
- White Paint Pen (optional but helps with the guitar strings)
Brushes
Colors
- Titanium White
- Mars Black
- Cadmium Red Medium Hue
- Primary Yellow
- Hooker's Green Hue
- Primary Blue
- Dioxazine Purple
- Raw Sienna
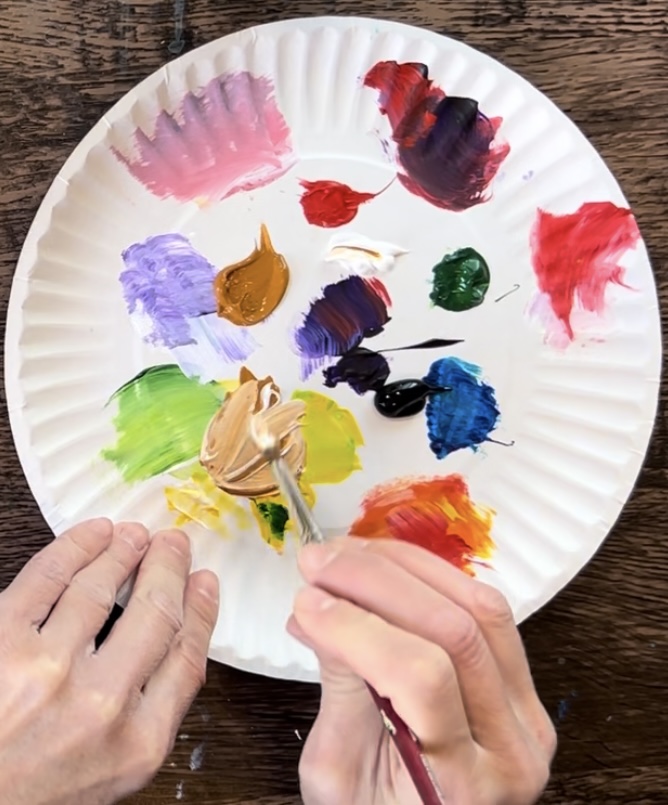
Color Palette
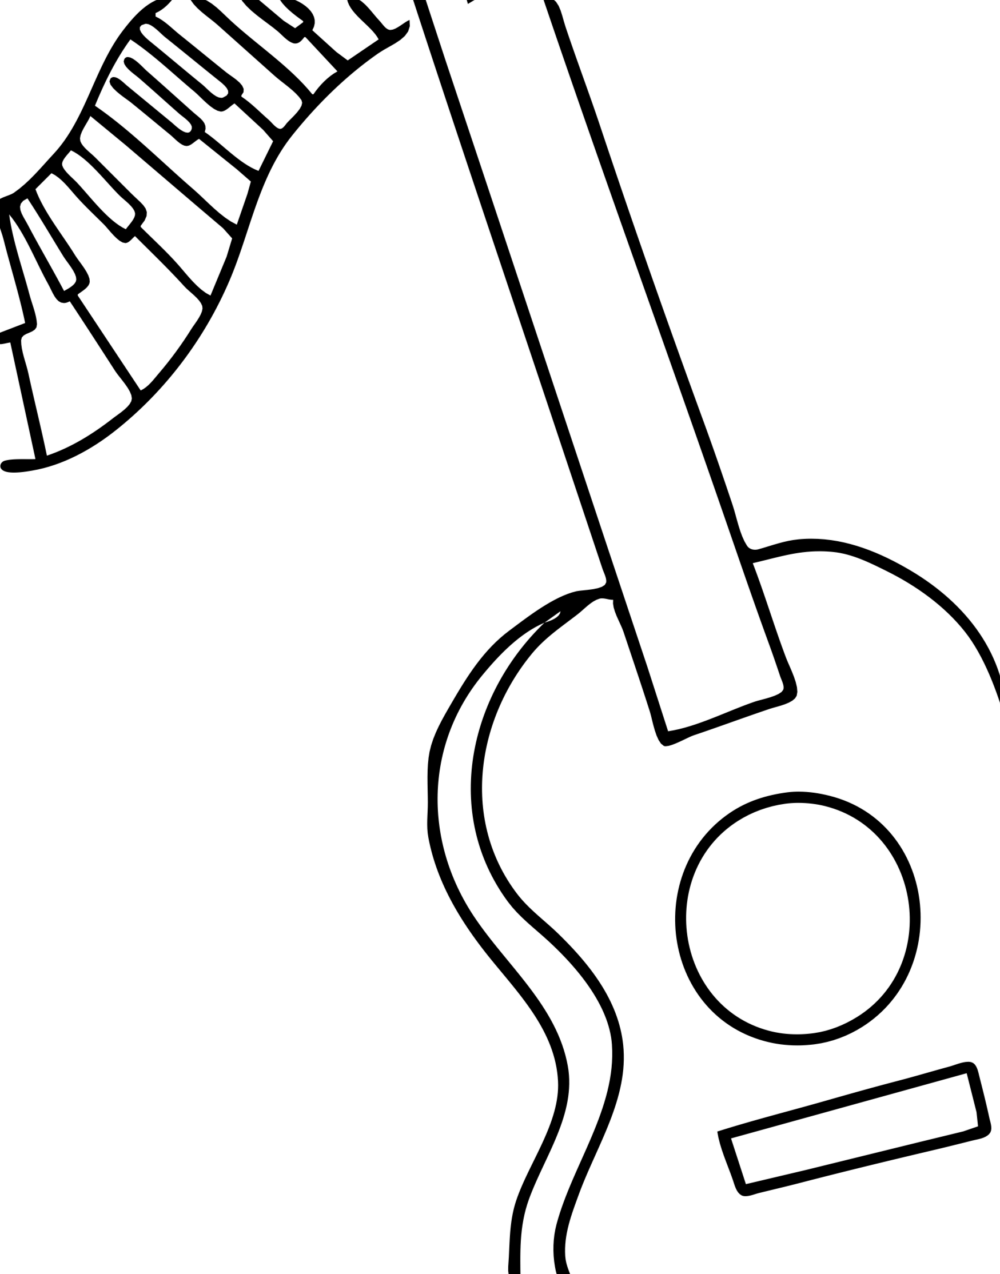
Traceable
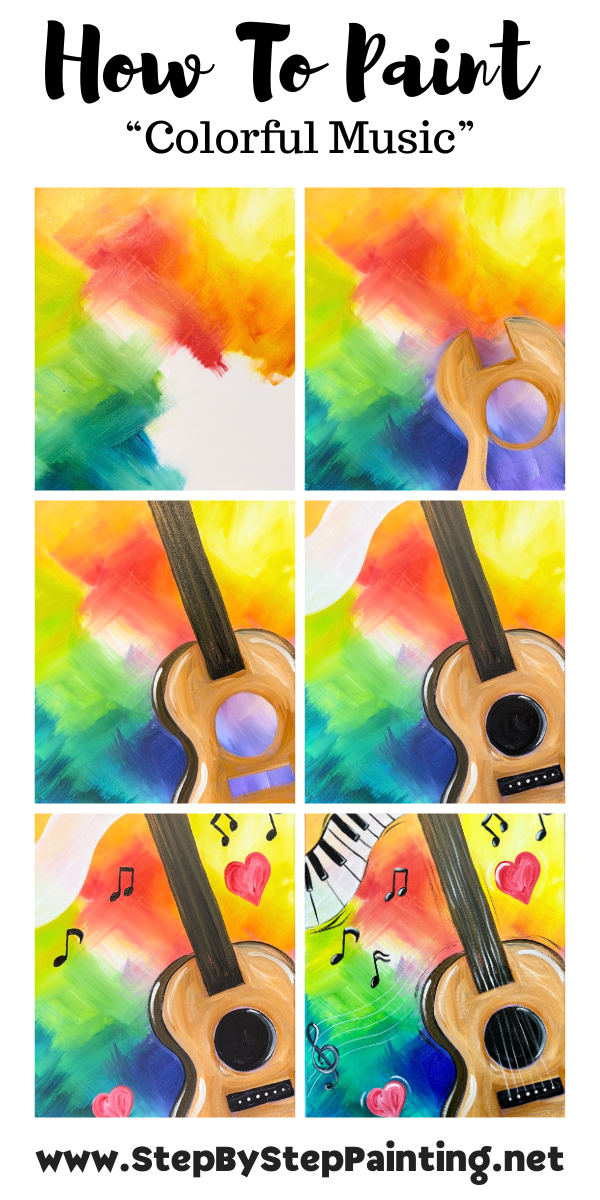
Directions At A Glance
Video
Step By Step Instructions
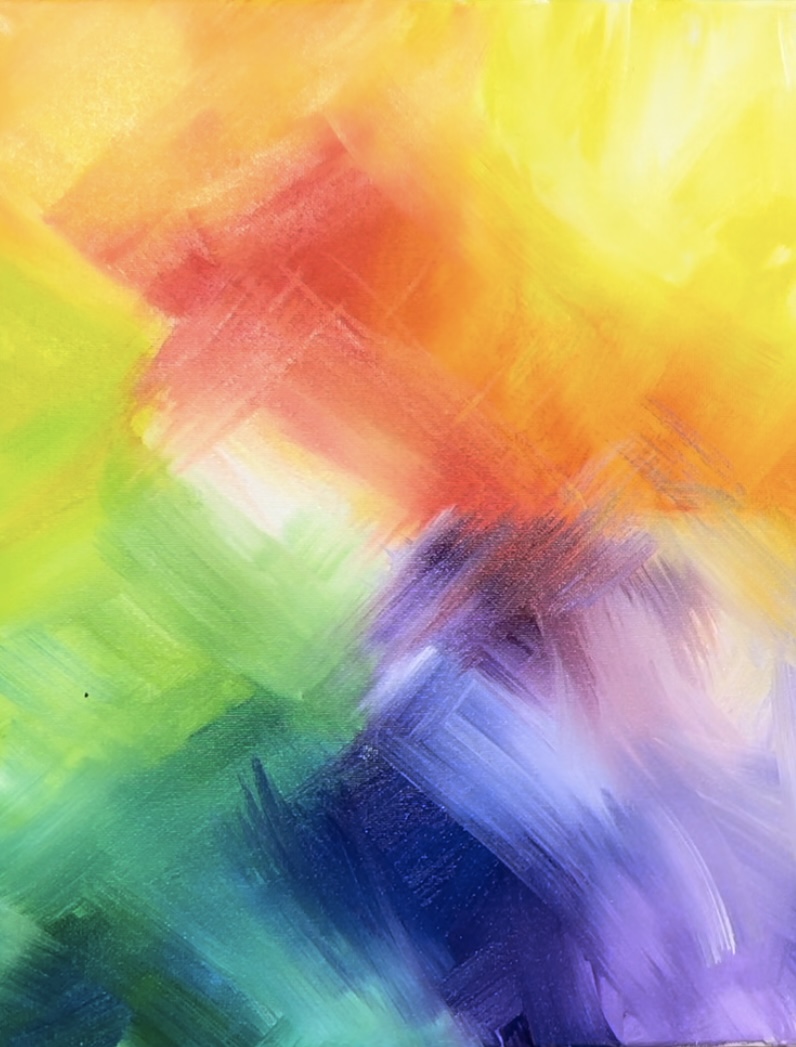
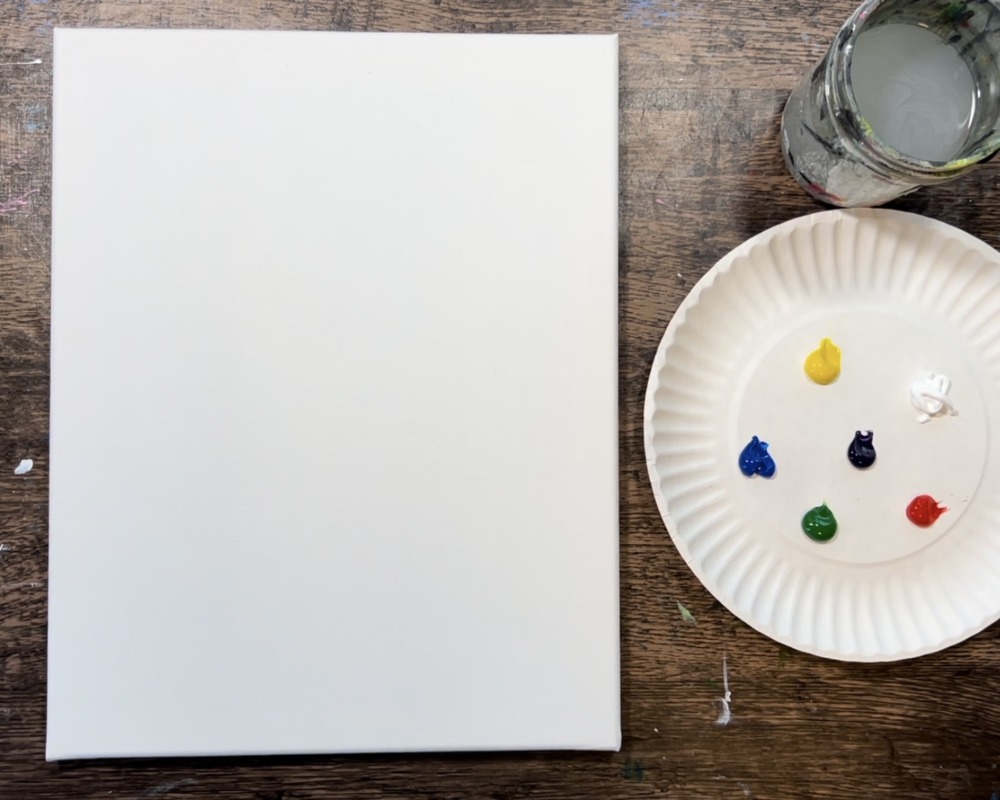
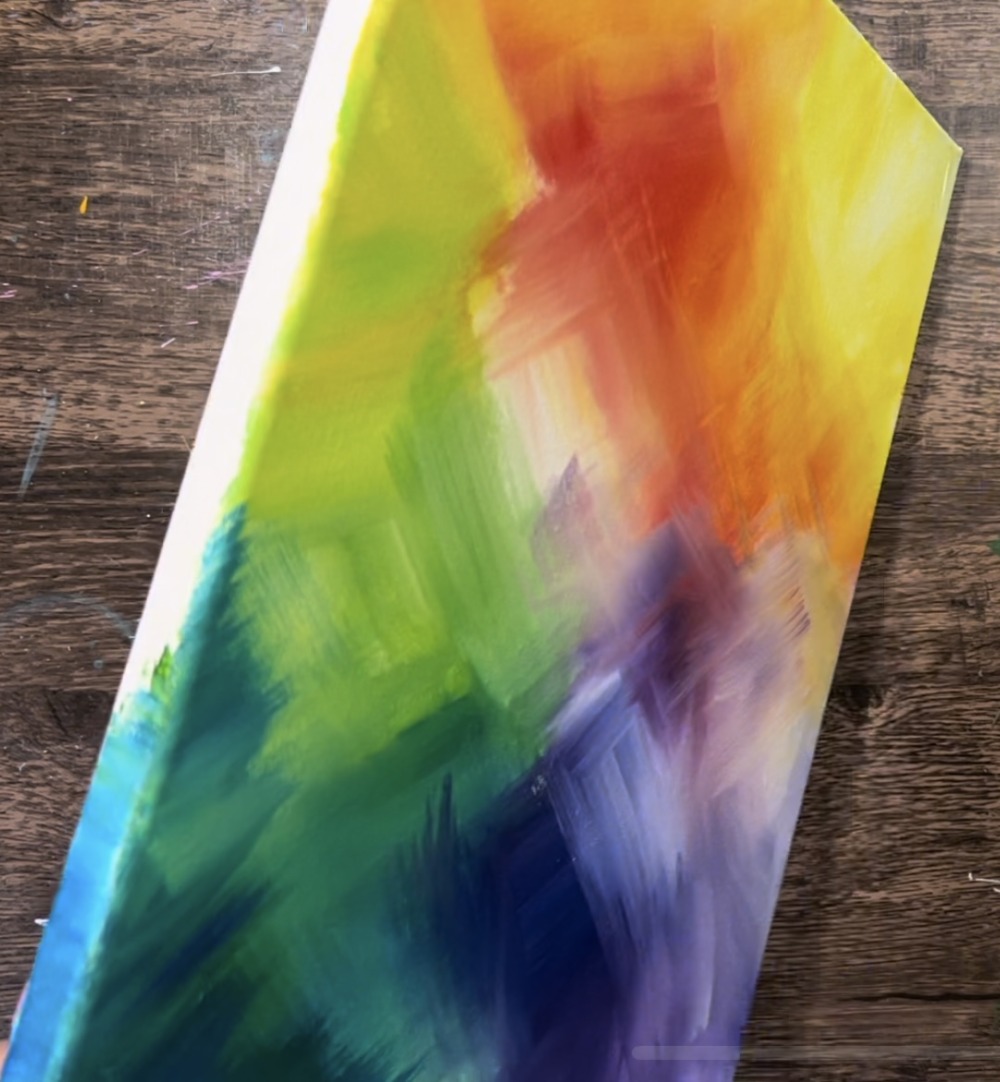
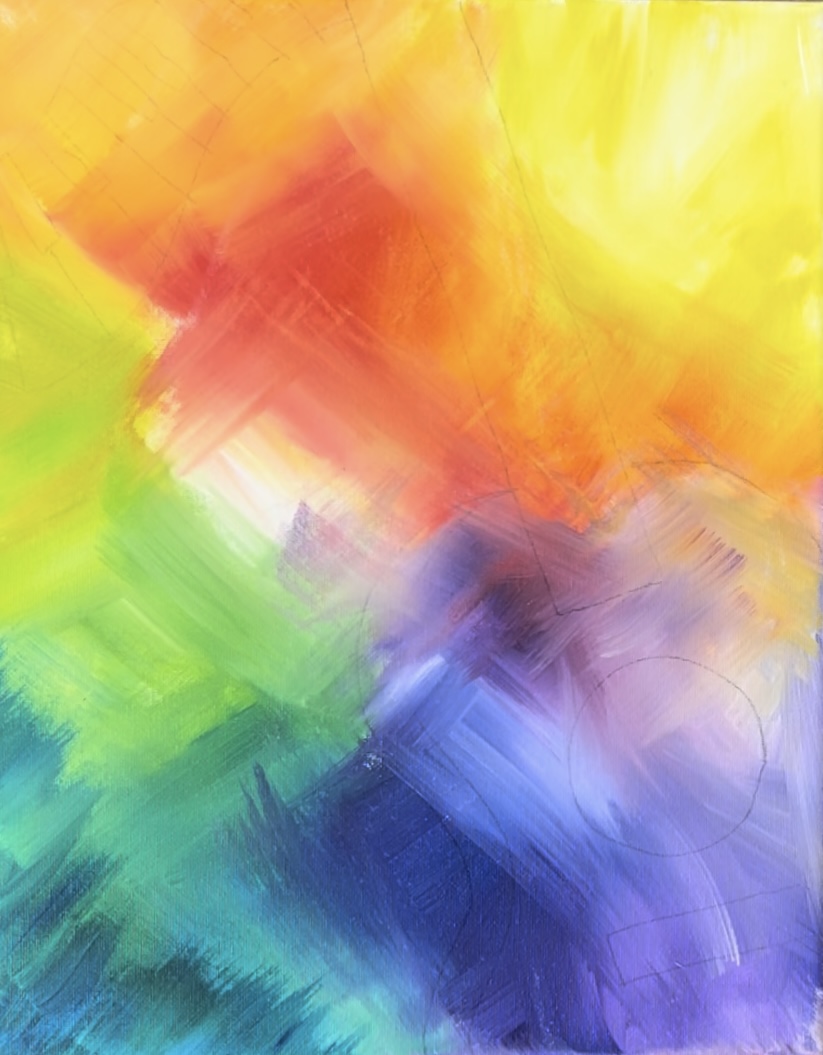
1. Paint the background
The trick with this background is to not “over blend” the colors.
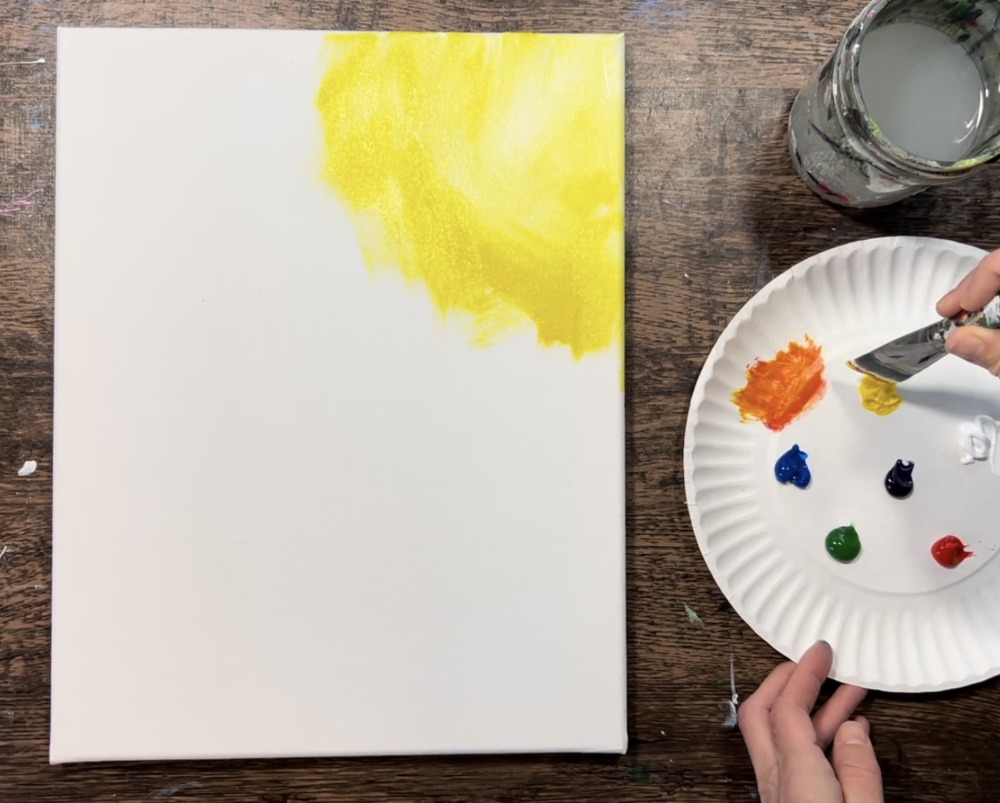
Load your paint palette with the colors: titanium white, primary yellow, primary blue, hooker’s green hue, cadmium red medium hue and dioxazine purple.
Use a 1″ flat brush (or 3/4″ flat brush). Double load it into primary yellow and titanium white (about equal amounts).
Paint the upper right corner of the canvas with expressive paint strokes that go in different angles. Let the yellow and white blend on the canvas. You will get different variations of yellow and white. Try not to blend the colors all the way together.
Then without rinsing the brush, load it into a small amount of “cadmium red medium hue”. Gently blend this on the canvas to the lower left of your yellow area. Allow some of it to blend with the yellow to make an orange color.
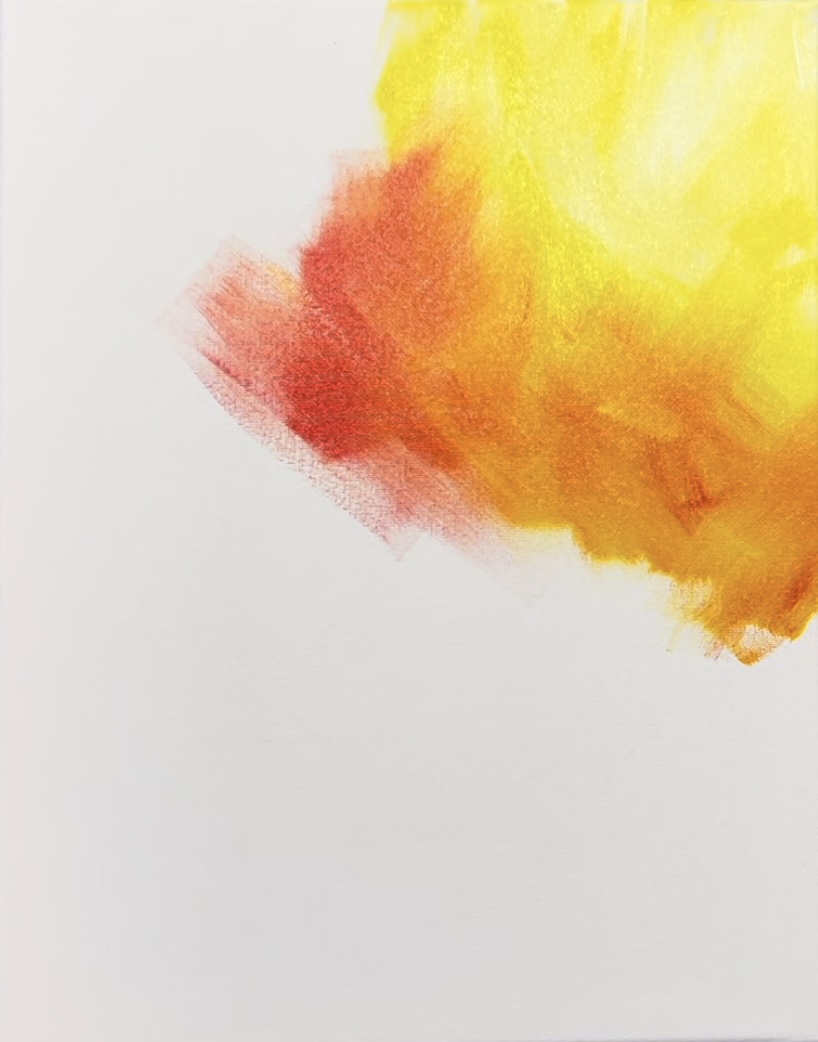
Create different variations of the orange and some areas of bright red all the way to the upper left of the corner of the canvas. Use some “titanium white” if needed to help blend colors!
Rinse the brush! The next color we will blend is green and we don’t want red on our brush when we do the green. Load your clean brush into both “hooker’s green hue” and “primary yellow” as well as a little bit of “titanium white”. Blend this green area on the left middle edge of the canvas. You can have some of the green gently blend with some of the orange but try not to over blend this because the green mixing with the red/orange will look “muddy”.
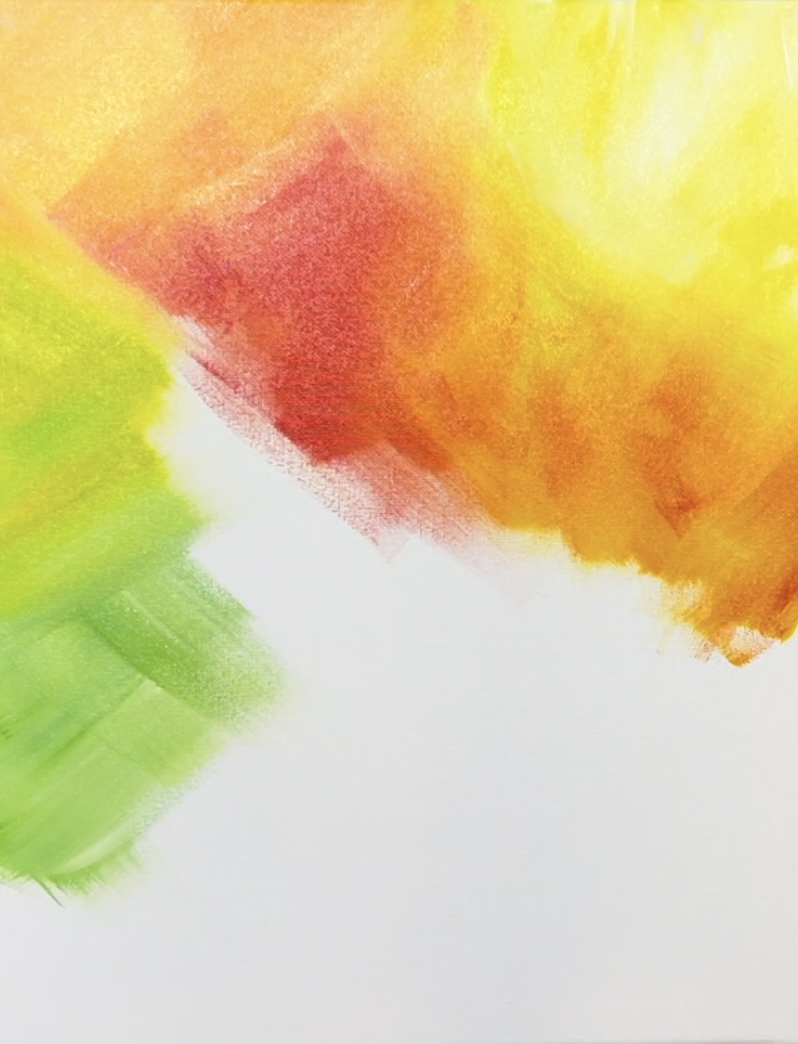
Then, load a small amount of “primary blue” to your brush without rinsing the green off. Blend some of the blue with the green on the bottom left corner of the canvas. You can add a little bit of “titanium white” to the brush and it will make that teal color on the bottom.

Rinse the brush to transition to purple! Double load your brush in dioxazine purple and titanium white. Paint more “X” style paint strokes with the purple and white blending on the canvas. You can blend blue and red into your purple but try not to blend it into the green.
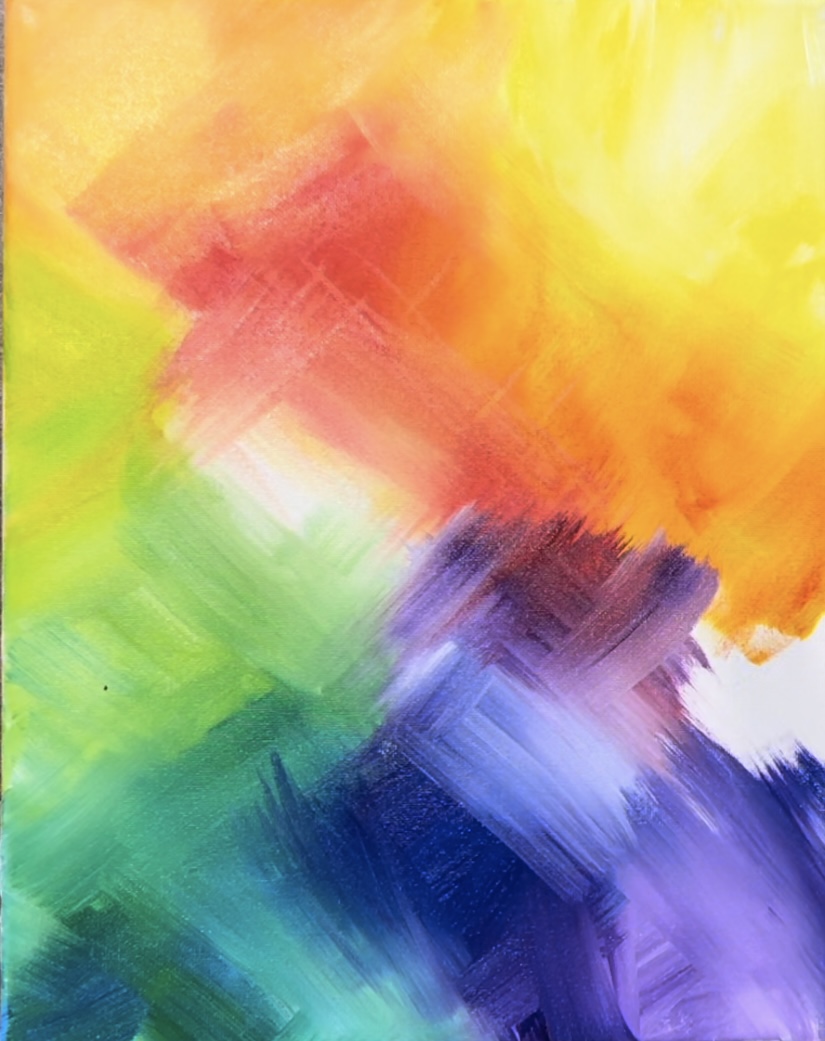
Fill the rest of the canvas. Use titanium white, if needed, to help transition/ blend your purple up into the yellow area but try not to blend too much purple into the yellow or it may become brown.
If you are painting on a stretched canvas, paint the sides of the canvas as well! I did matching rainbow colors that extended on the sides.
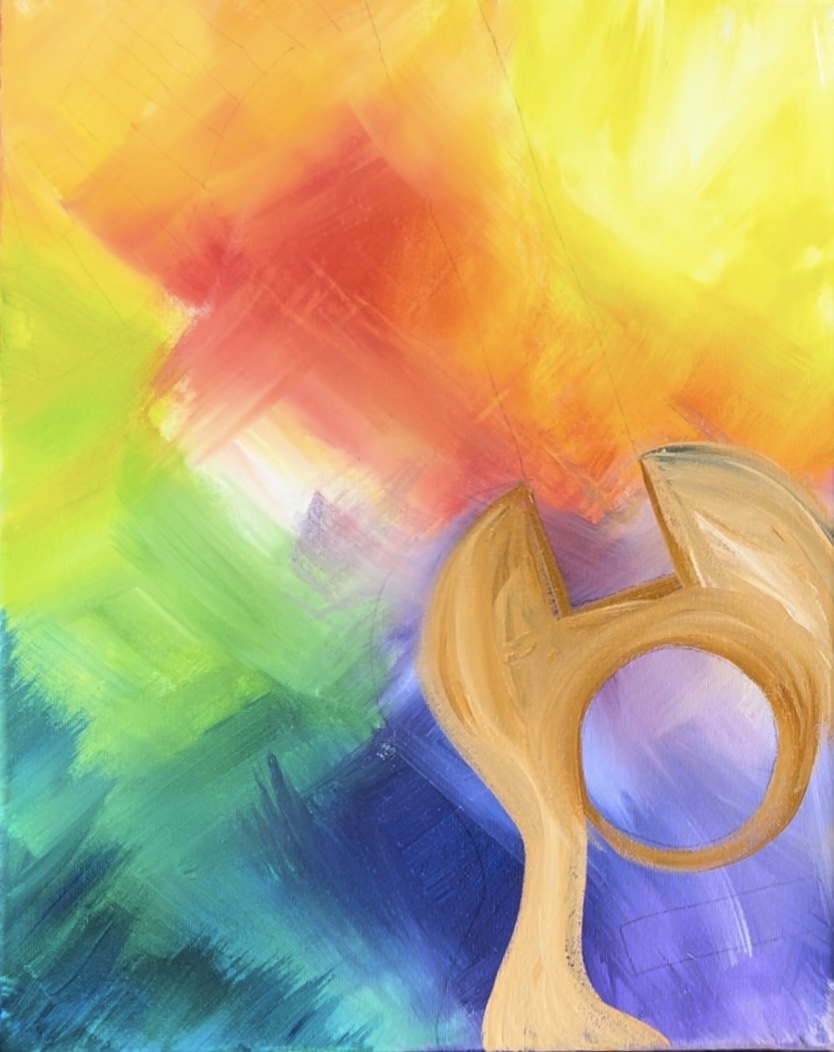
2. Draw or trace the guitar/piano composition on canvas
You can draw the guitar and piano keys with a piece of chalk or trace the design onto the canvas using the traceable. If you are drawing this, use a straight edge ruler to draw the neck of the guitar. This is a long rectangle (about 1.5″ wide) extending down from the middle top edge of the painting.
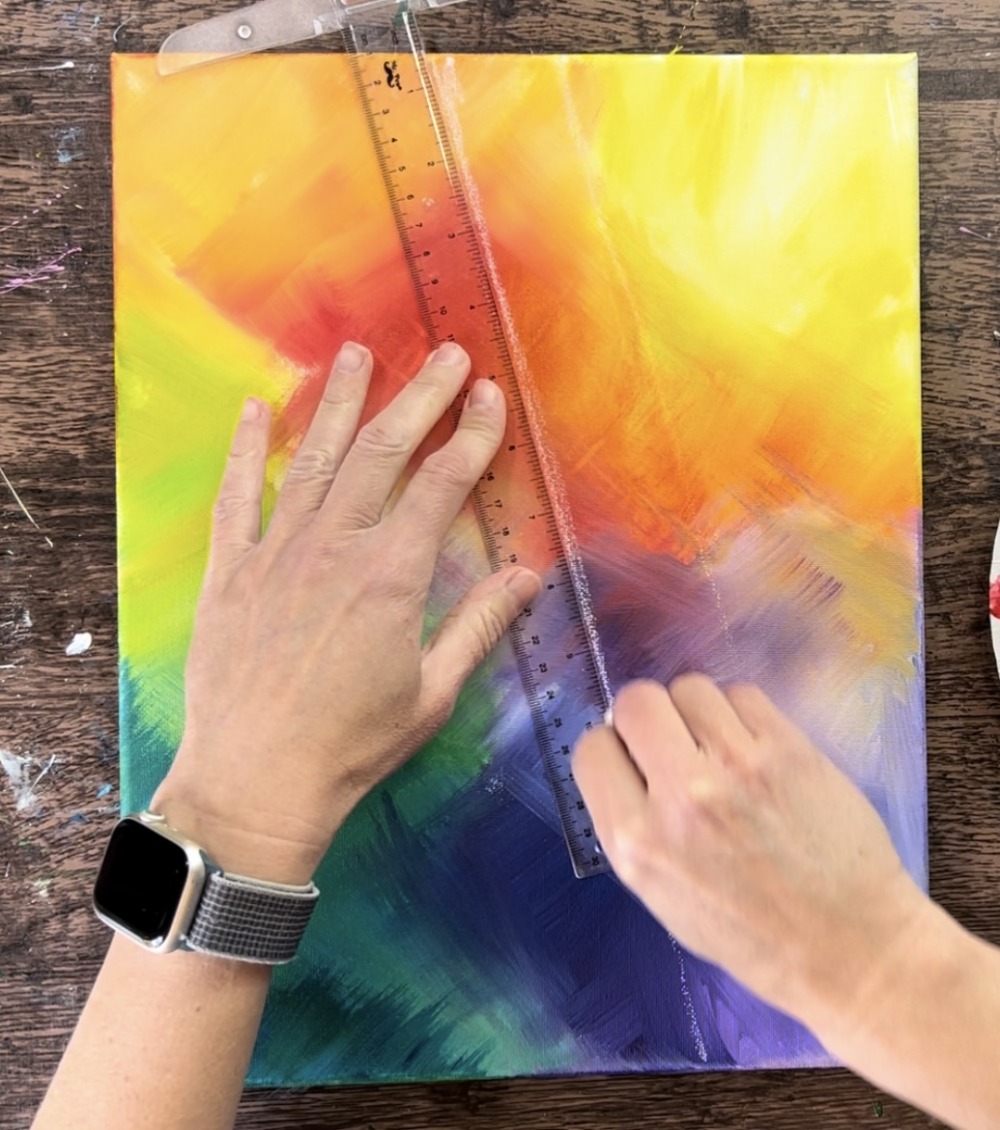
Draw two diagonal lines parallel to each other to create this long rectangle.

Then sketch the body of the guitar. The height from the bottom edge of the canvas to the top of the body of the guitar is about 8″. The width on the bottom of the canvas from the lower right corner to the left edge of the body is about 5.5″.
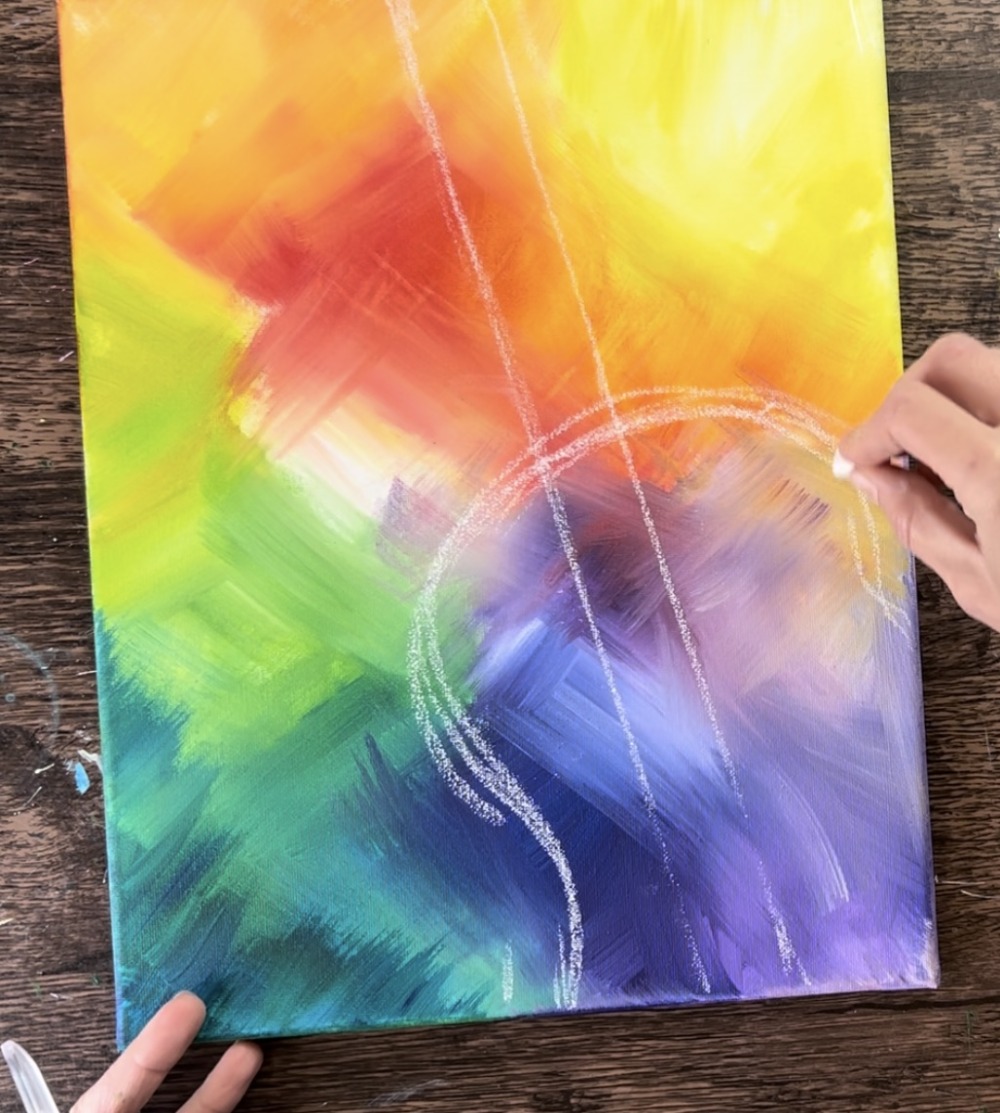
Draw the sound hole circle and then draw a rectangle for the bridge.
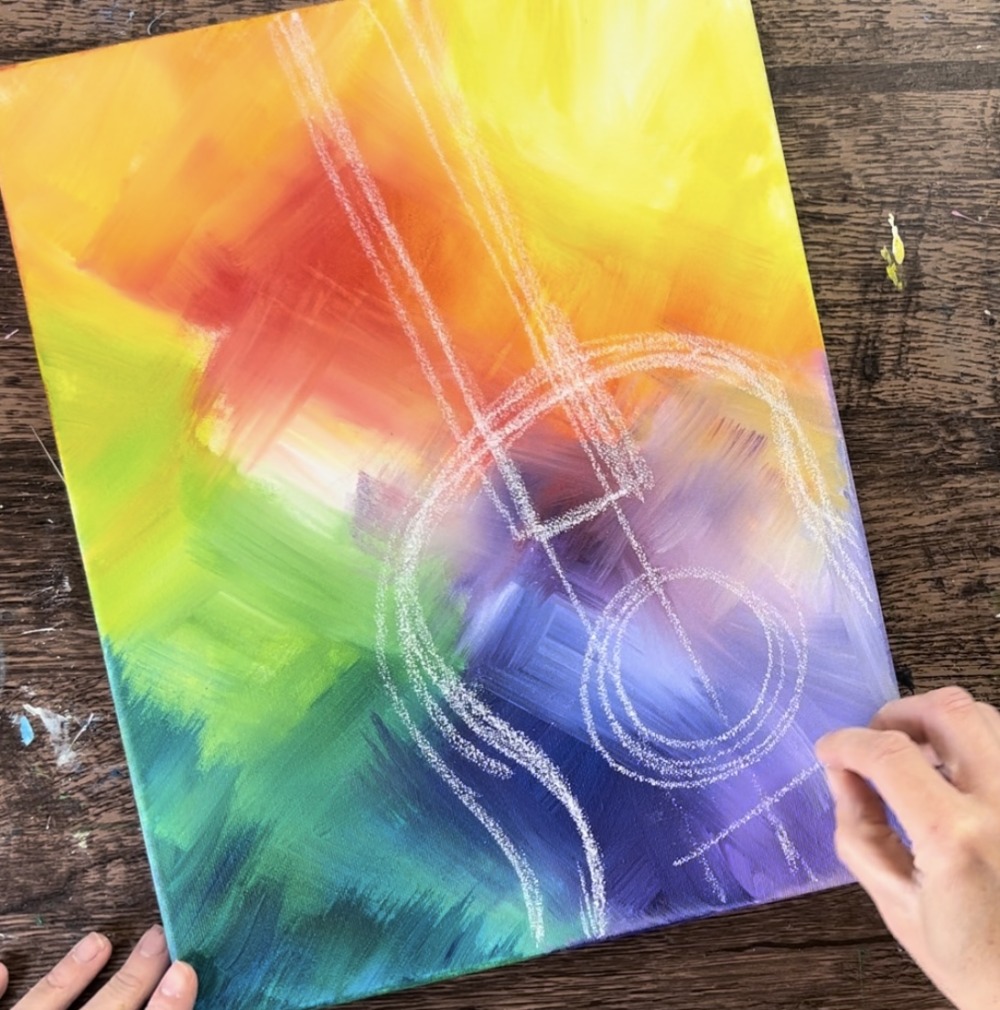
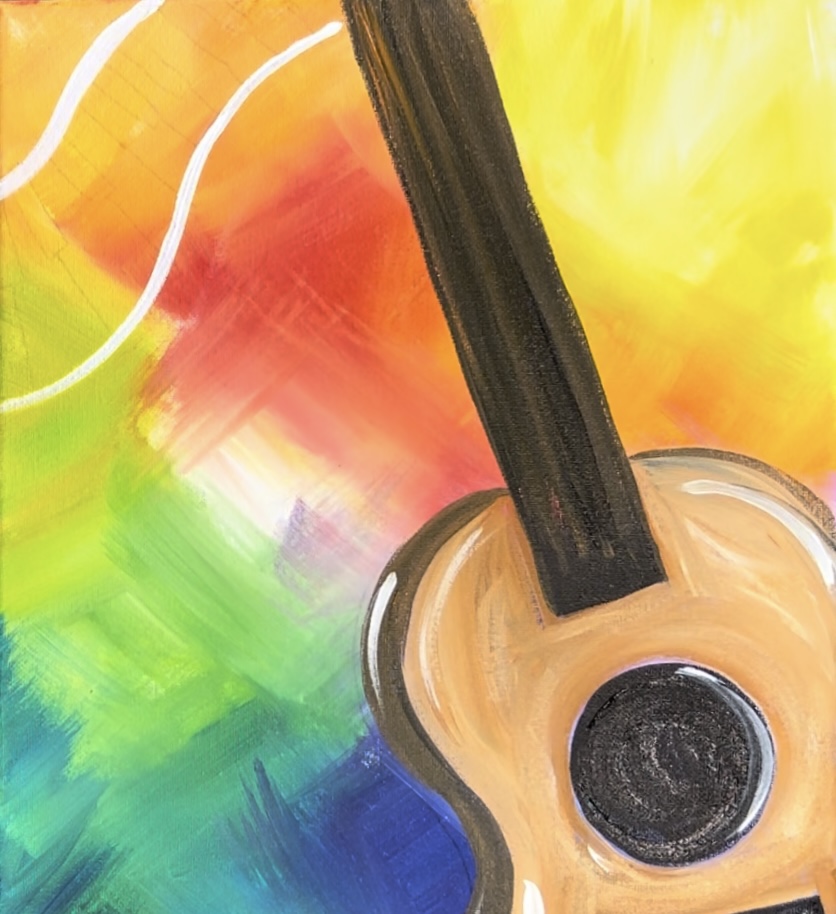
Then draw the basic shape of the piano. Draw two wavy lines going parallel to each other in the upper left corner of the canvas. These are about 2″ wide and they overlap the neck of the guitar at the top edge of the canvas. I did not draw the keys of the piano because this will be painted over any way.

If you are tracing the design onto the canvas, print the traceable out and tape it together to fit.
Place a sheet of graphite paper under the template (shiny side down) and use a pencil or any writing utensil to trace. The lines will transfer to the canvas.

If needed go over your lines to make them darker.
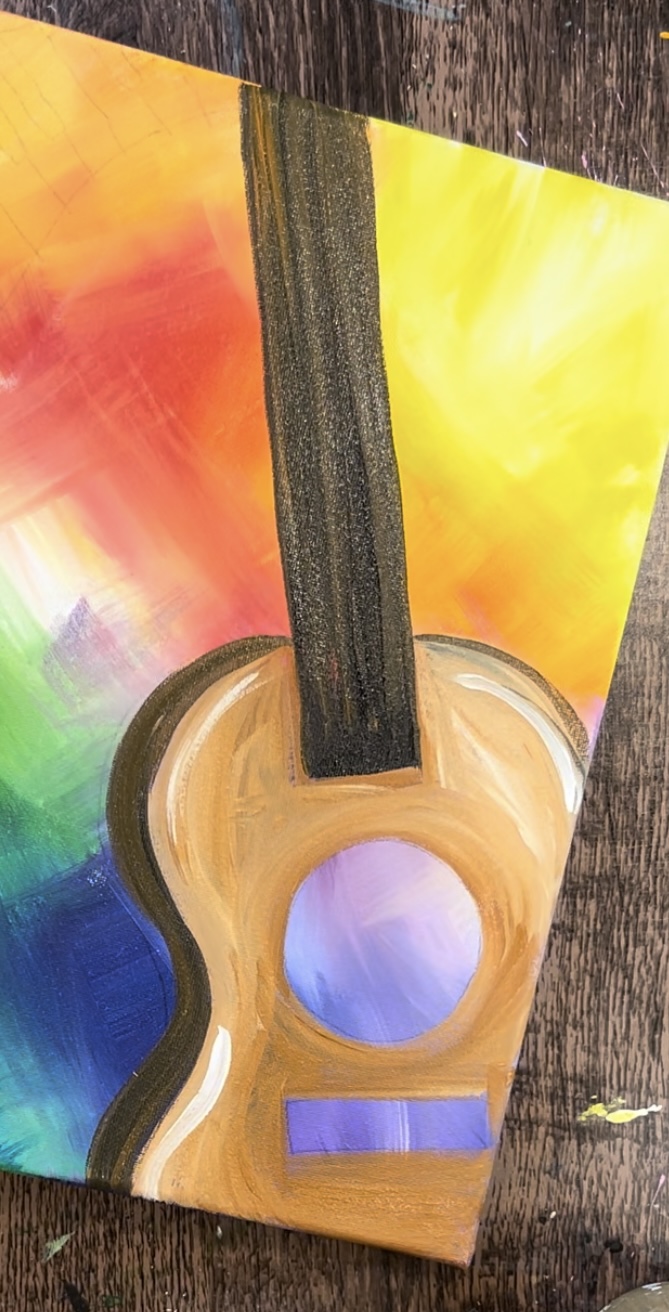
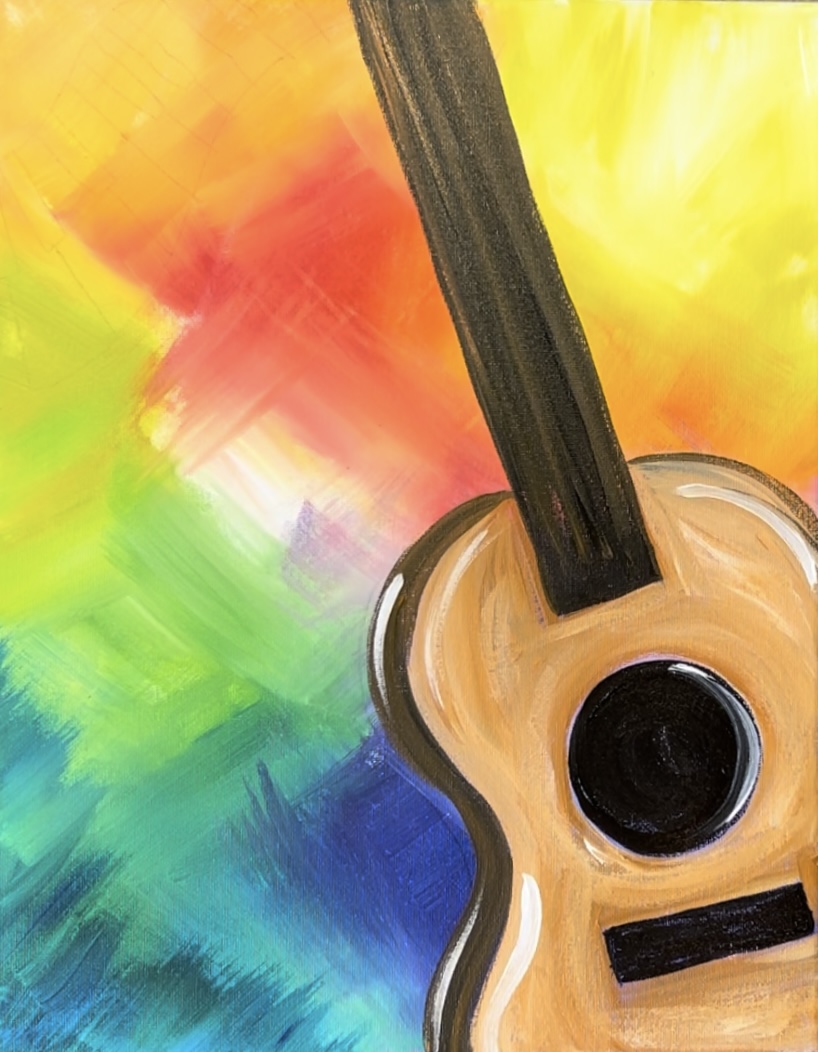
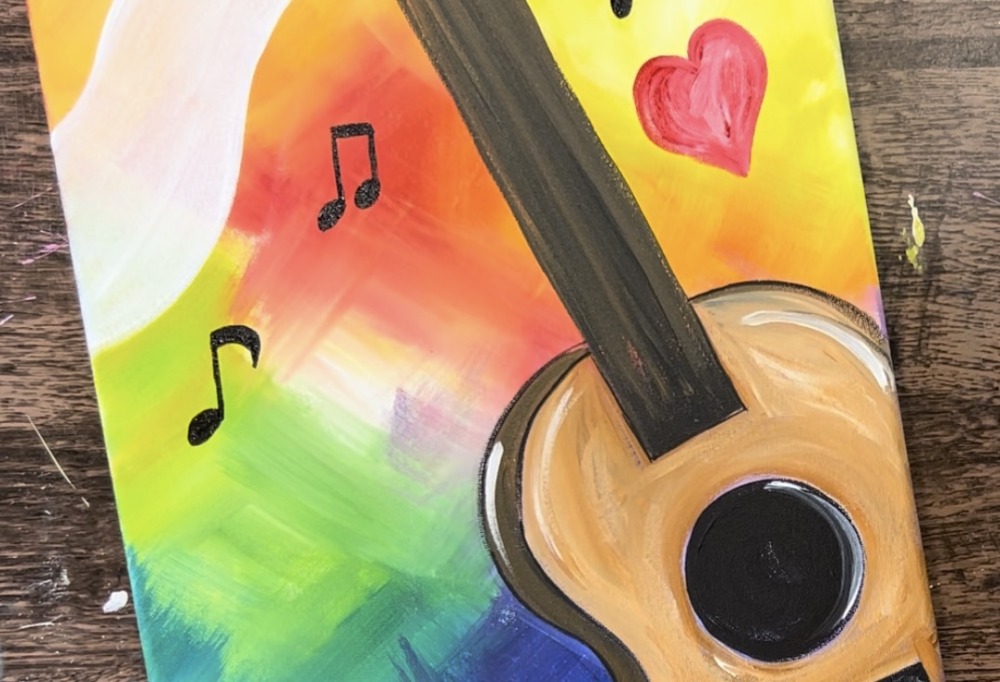
3. Paint the guitar
Load your paint palette with the colors: raw Sienna, titanium white and mars black. Use a #8 round brush and mix equal amounts of the raw Sienna and titanium white on your palette. I like to not mix the color all the way because this makes “color variation” on the canvas.
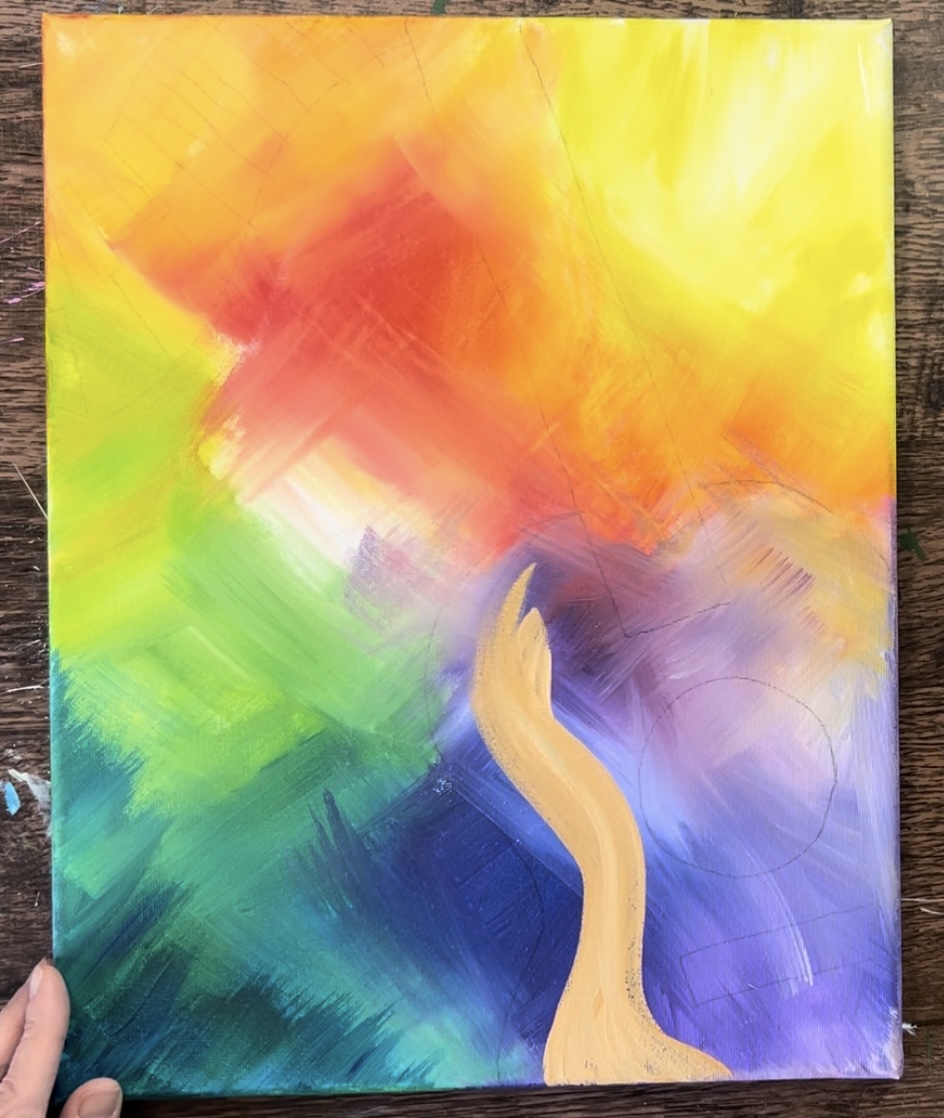
Add variations of just “raw Sienna” to your brush without white. This will make some of the areas slightly darker.
Leave the sound hole and the bridge unpainted for now.

Next, mix a darker brown on your palette by mixing a tiny amount of “mars black” into “raw Sienna”. Then use the same #8 round brush to paint the side of the guitar. Make your paint strokes go in a curved direction.
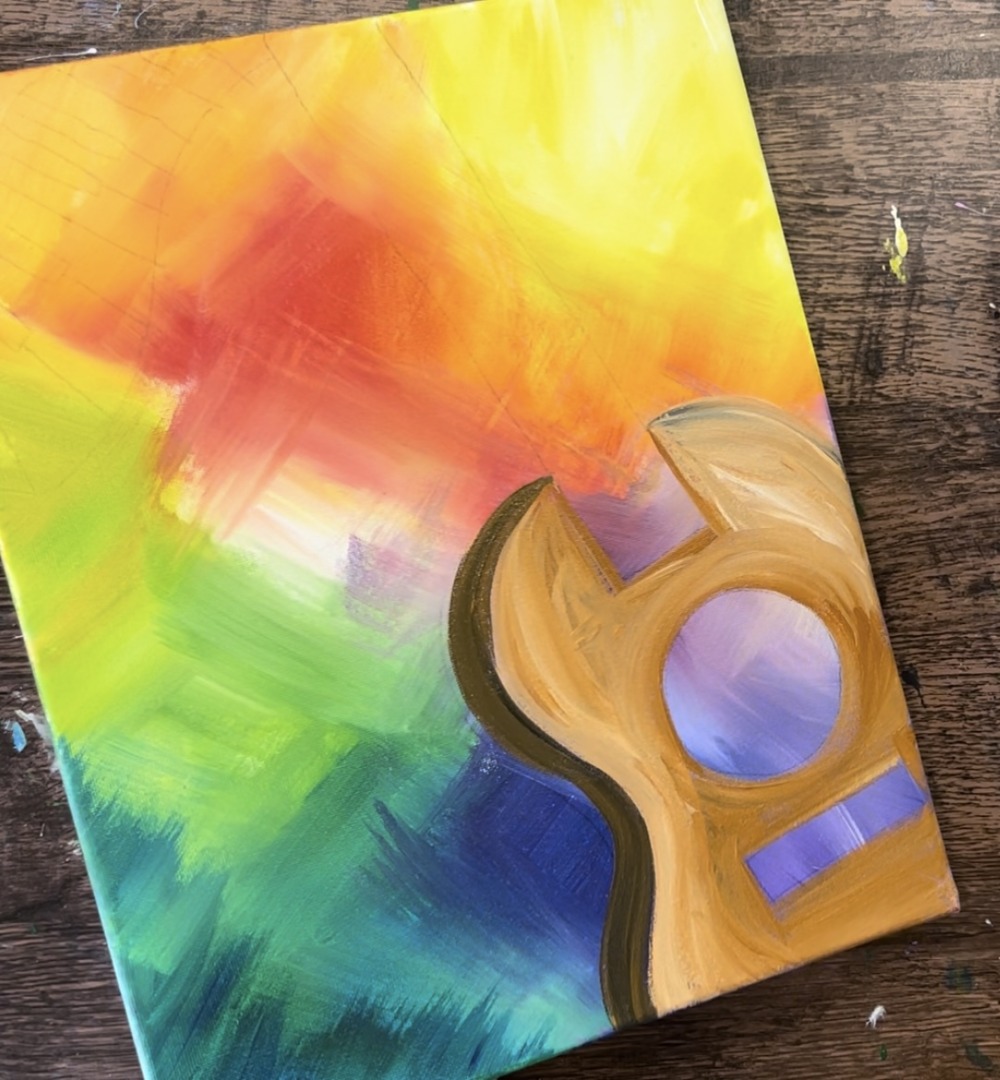
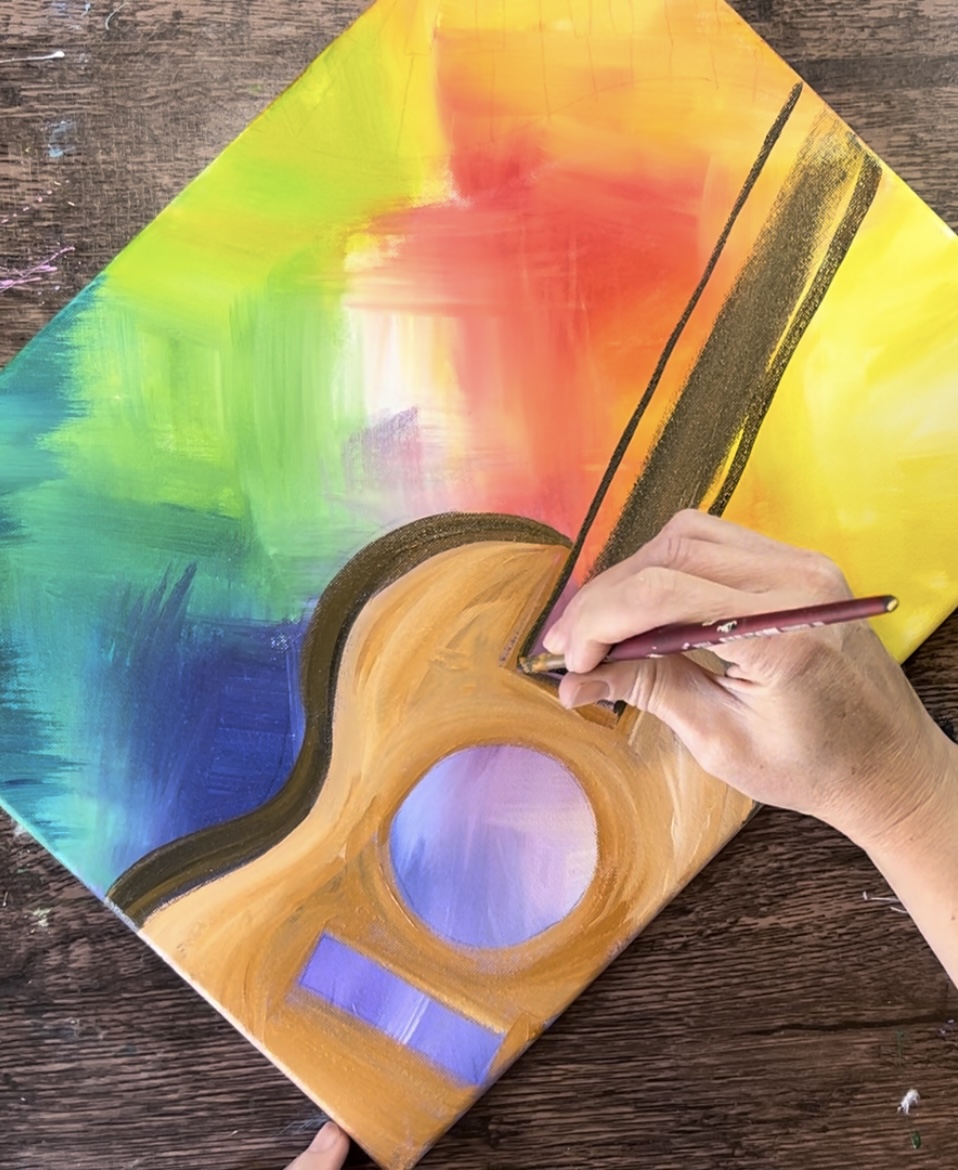
Paint the neck of the guitar using this same dark brown color. Outline the shape of the guitar first and then fill it in with paint strokes that go in a long, diagonal direction parallel to the lines of the neck.

You can do “color variation” here by adding small amounts of black to your brush and/or more raw Sienna to your brush and let that blend on the canvas.
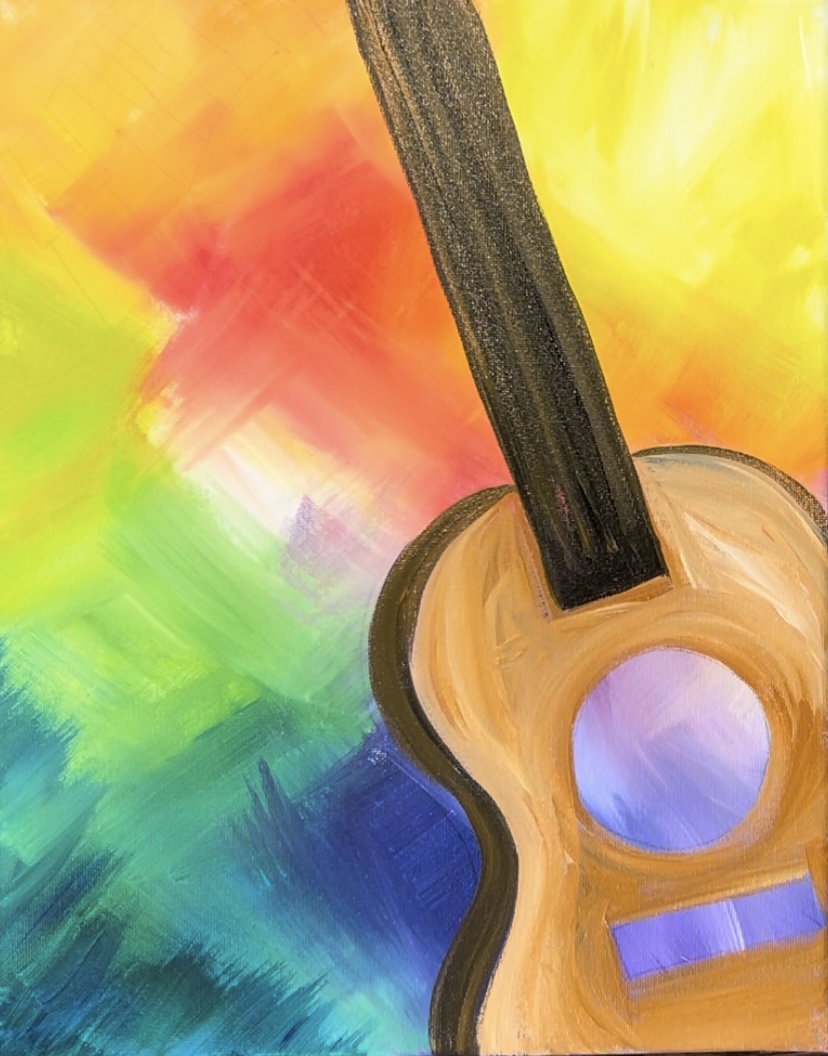
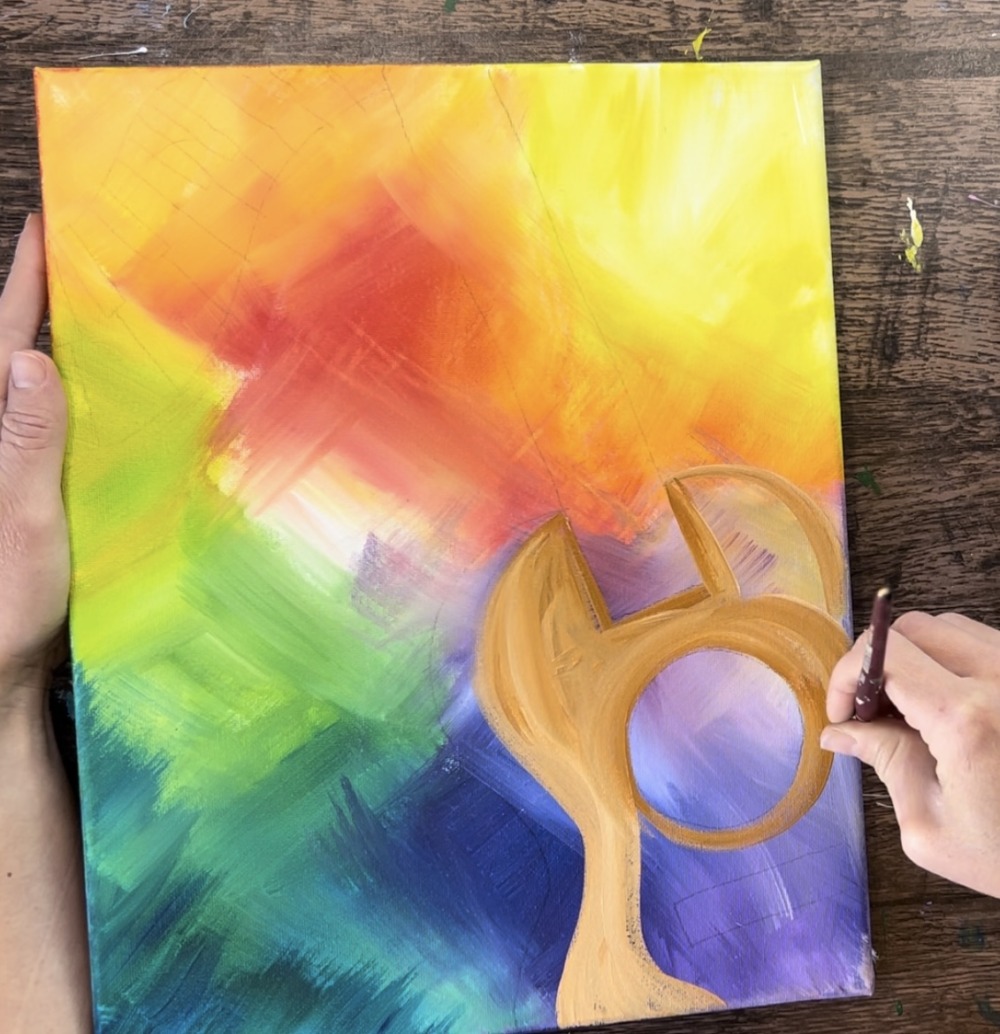
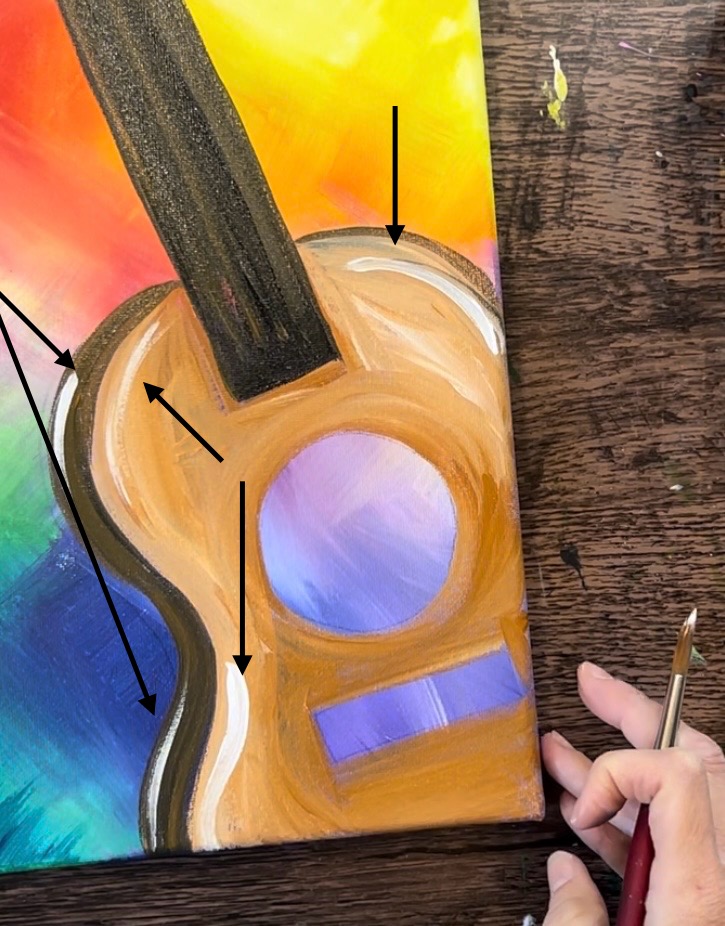
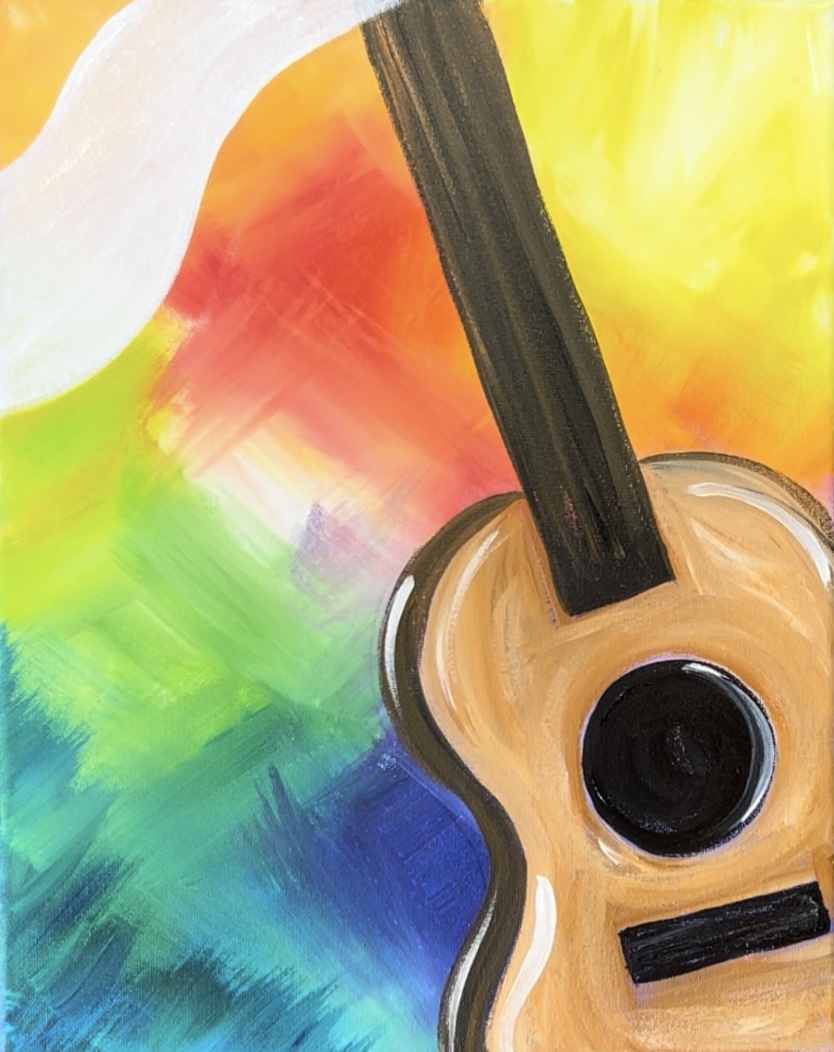
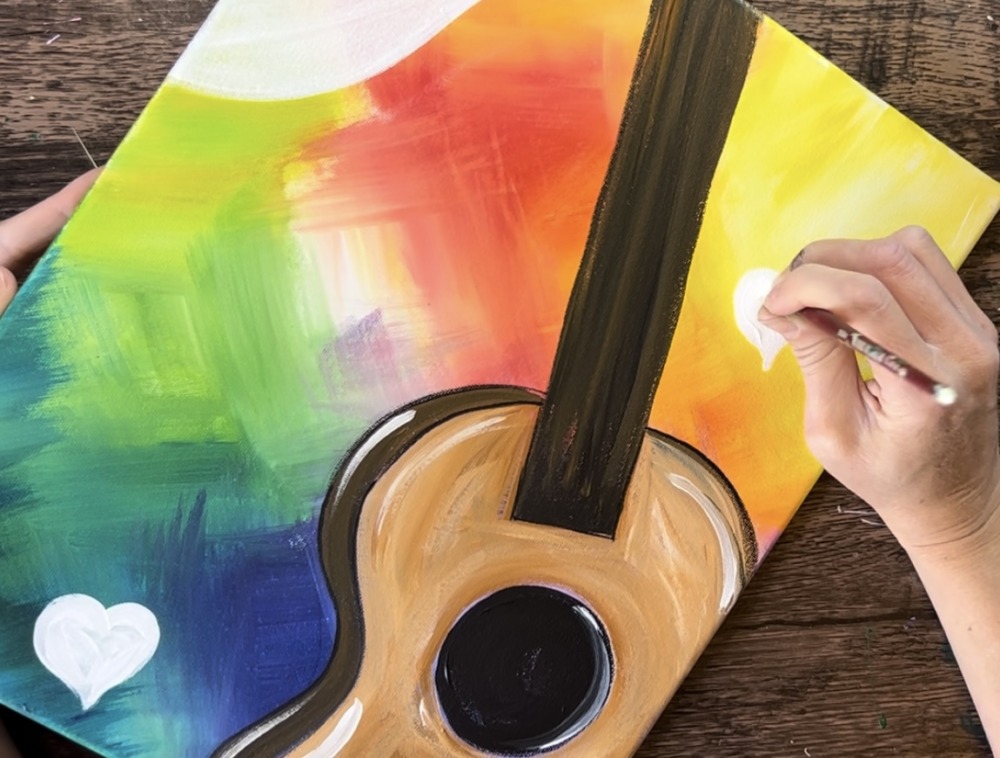
Next, add highlights to the guitar. Use a clean #8 round brush. Load it into titanium white. This can be done while paint color on the canvas is still wet OR it can be done if it is dry! Simply paint curved, white lines on the inside edges of the body of the guitar.
I did one on the upper right curve, one on the upper left curve and one on the lower left curve.
Additionally, I did a highlight on the dark brown left side of the guitar body. There is a curve on the upper left and one on the lower left.
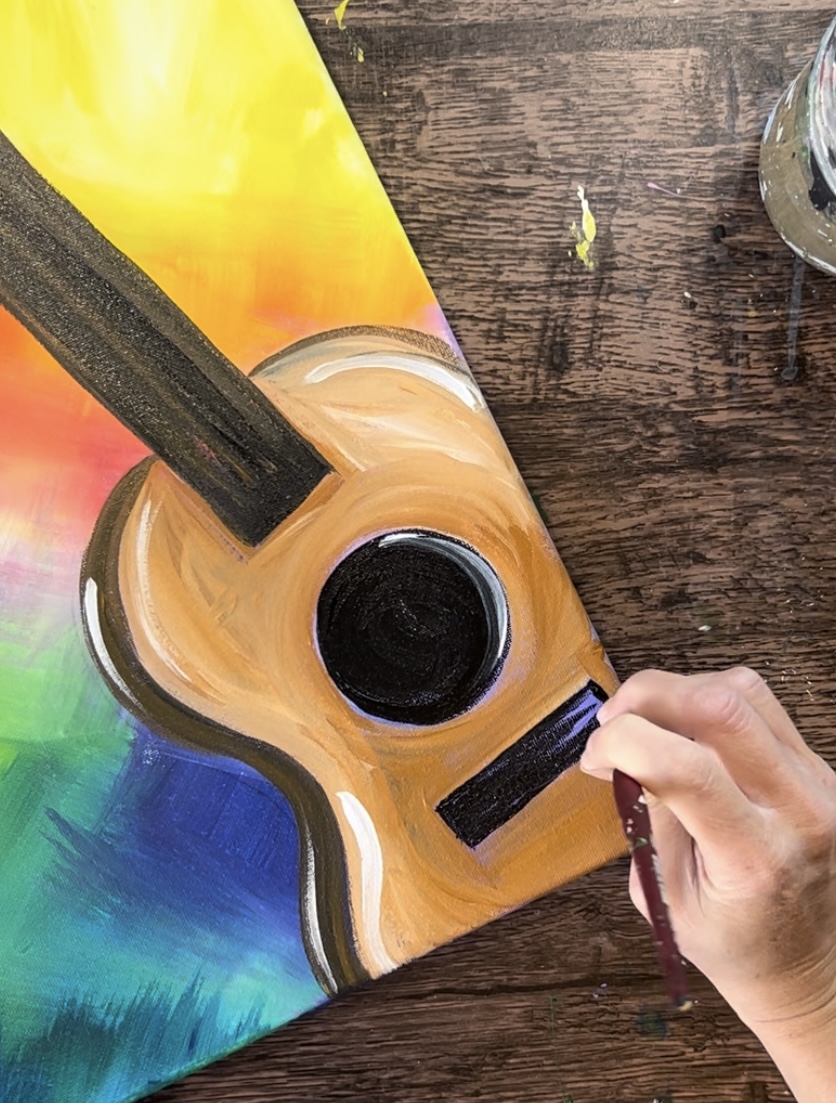
Next, paint the sound hole solid black (still using the #8 round brush). I opted to leave a little bit of purple showing through just along the circumference of this circle.

Paint a little white highlight on the inner right side of the circle.

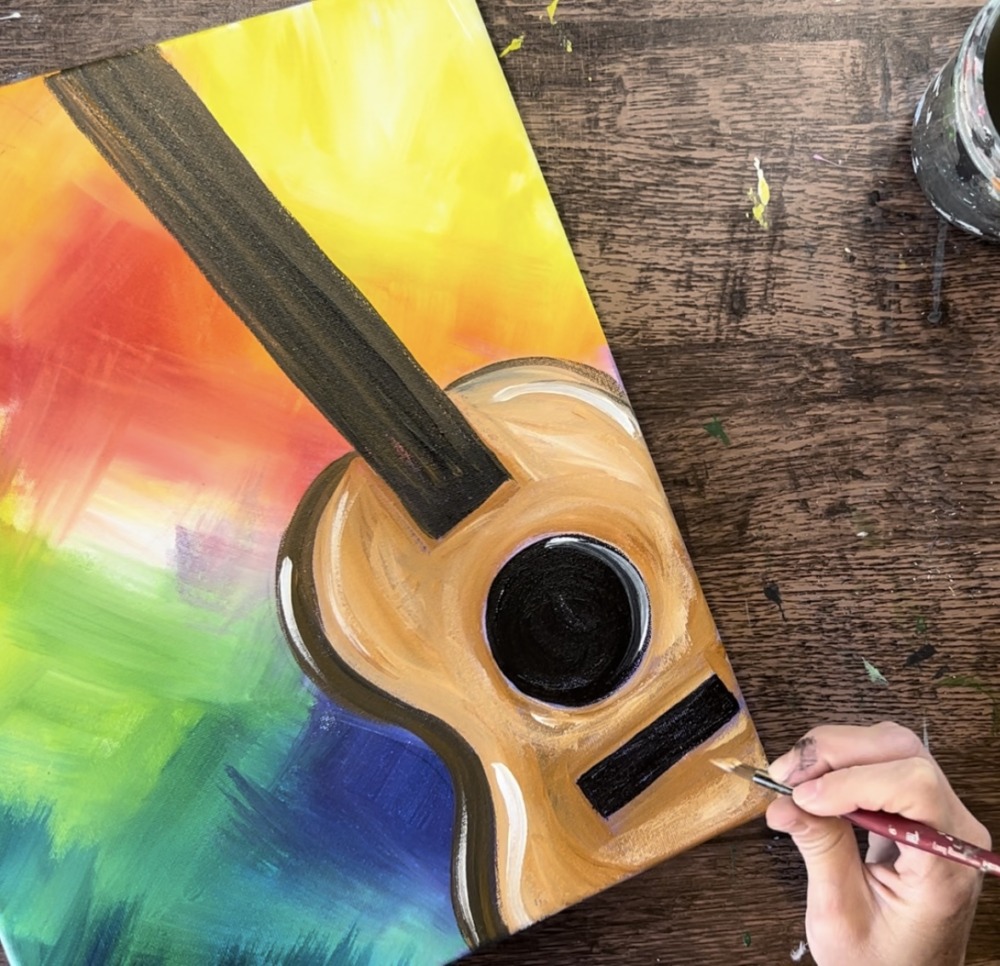
Next, paint the bridge (lower rectangle) of the guitar with mars black. I also opted to leave a little bit of purple showing through along the edges.
The next step is optional! Use the #8 round brush and a raw Sienna mixed with white (just like the first color your used but a tad bit lighter). Add a second coat of paint to the guitar body. Go around the highlights, neck, sound hole and bridge. As you add this second lighter layer, don’t cover up the first layer completely. Go in a curved direction following the curves/ contoured lines of the guitar.
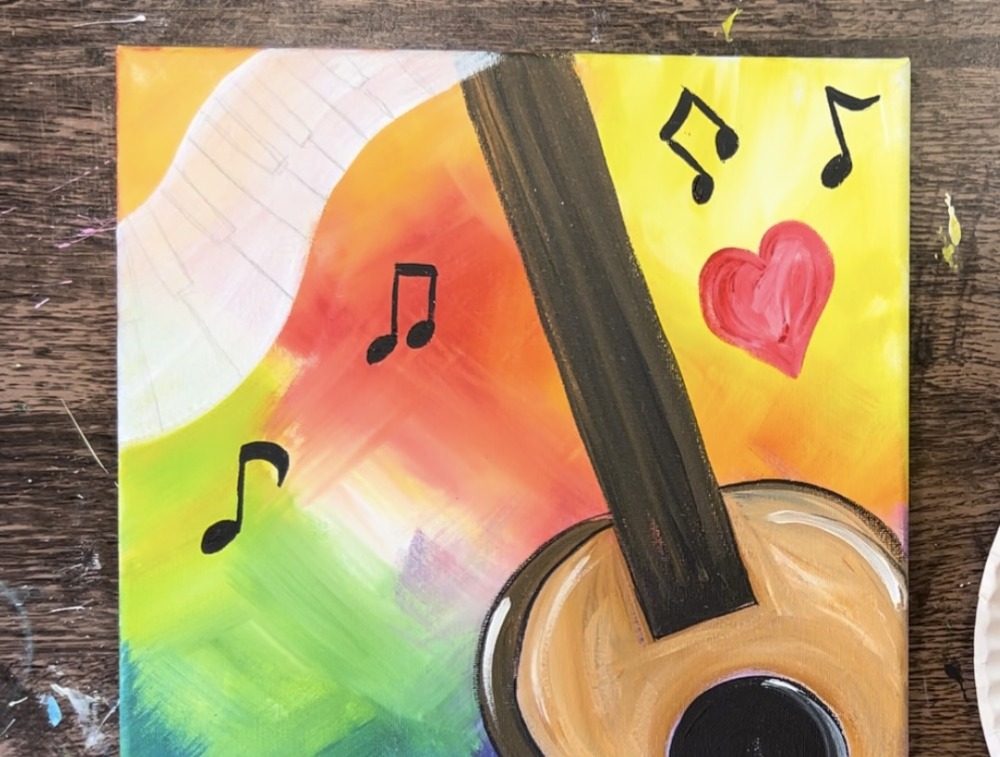
4. Paint the piano (white layer)
Note: If you drew the keys/ traced them with the tracer, they will be covered up in this step! You could go over the keys with a darker line (pencil or even a sharpie) so they will show through this layer of paint. You could also re-draw the keys after painting this layer white.
Use the #8 round brush to paint the piano area a solid coat of titanium white paint. Note: I slightly thinned my white down with some water so some of the background actually shows through a little.
This needs to dry before painting the black keys and lines.
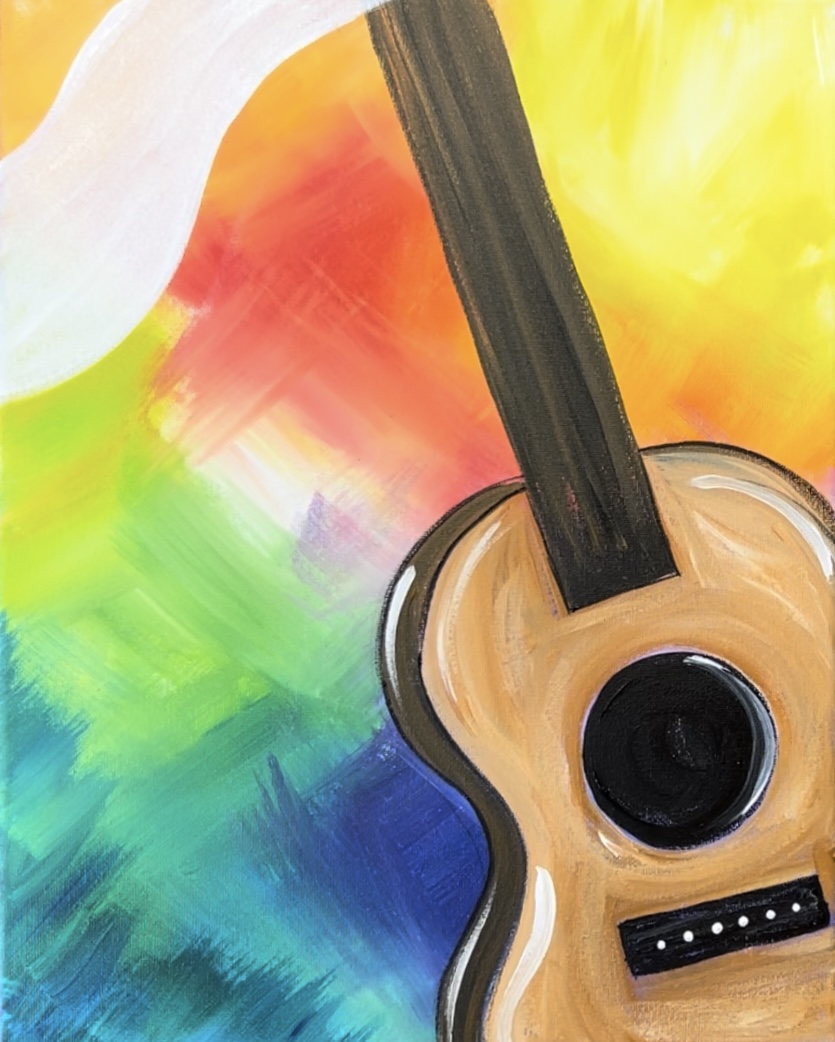
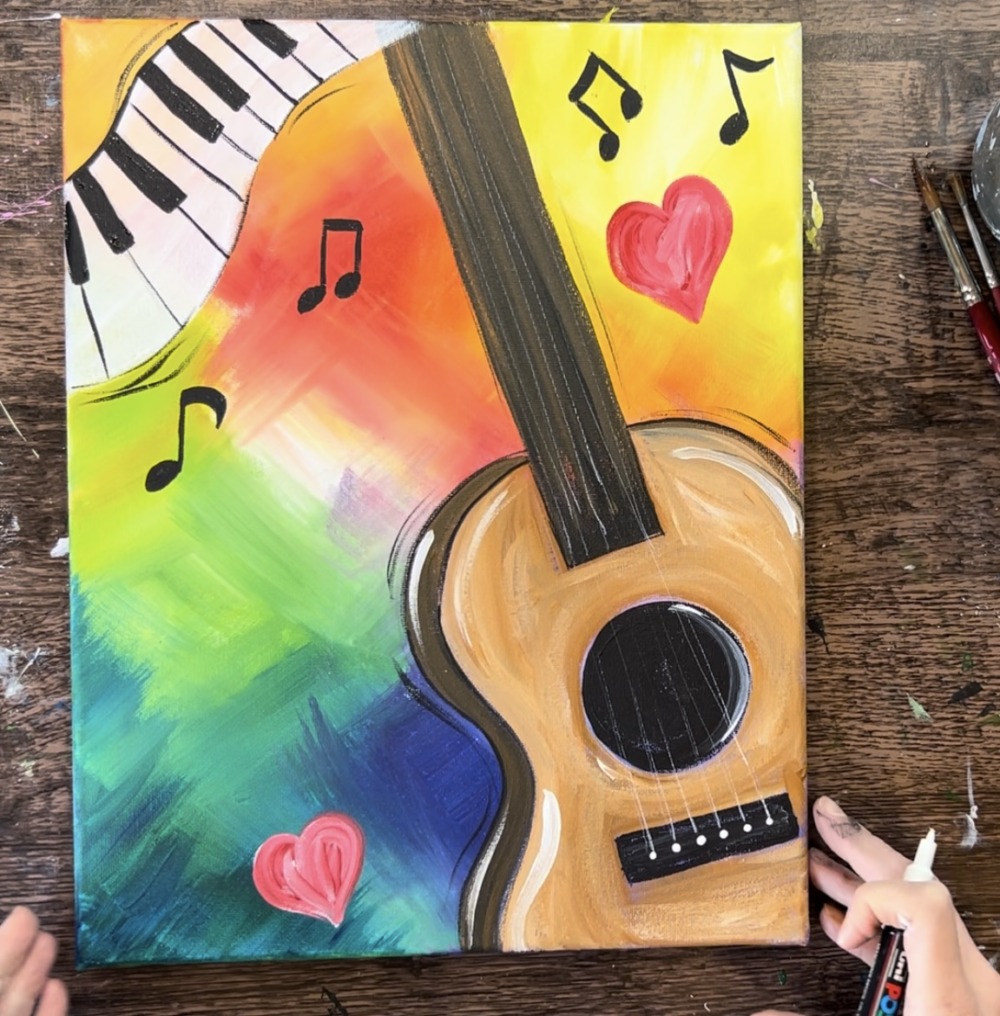
5. Paint the bridge pins
Use the back of your round paint brush to stamp 6 white dots on the bridge for the bridge pins.
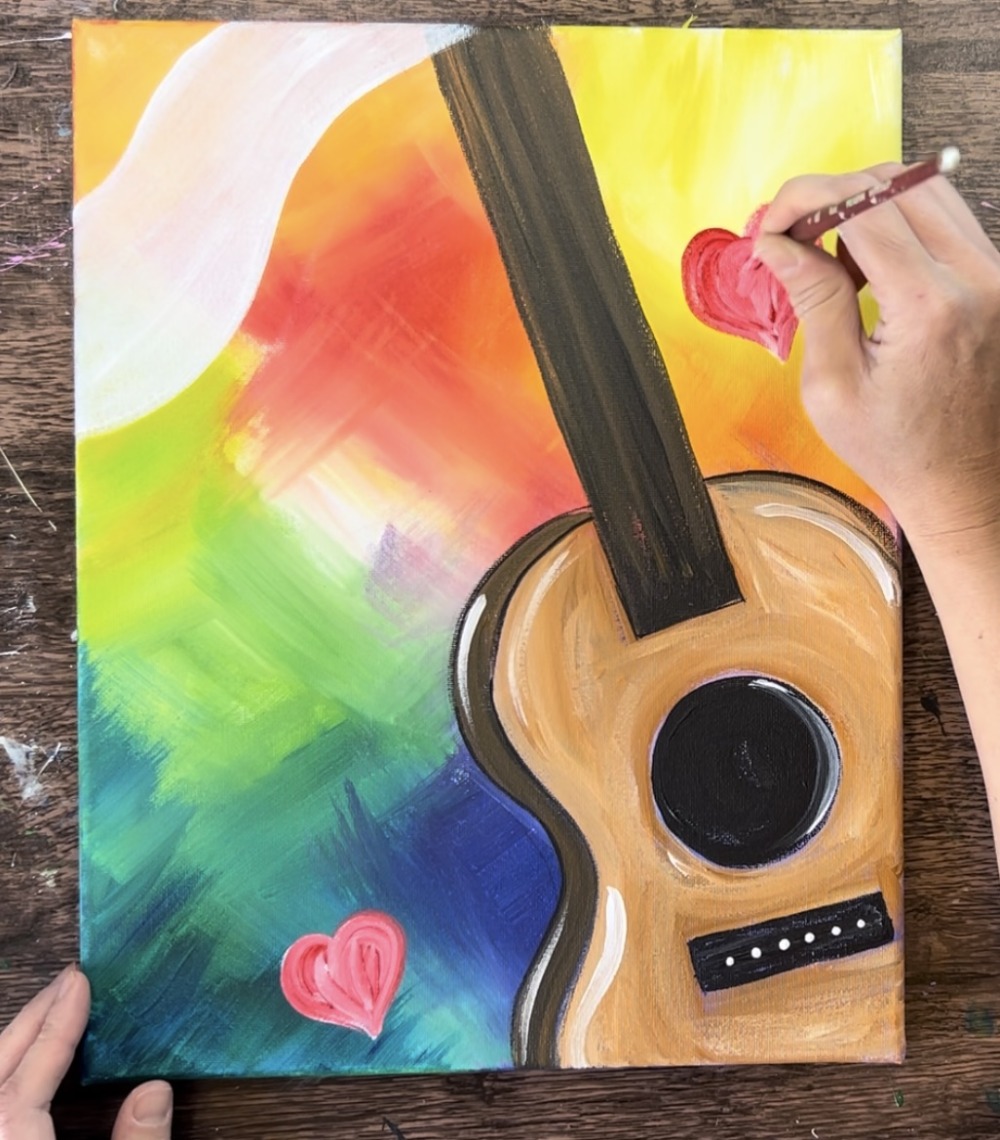
6. Paint hearts & music notes
Use the #4 round brush to paint two white hearts.
Then paint them with cadmium red medium hue. You don’t need to wait for this white to dry all the way before painting them red!
Then paint music notes using “mars black”. I used both the #4 round brush and the #8 round brush. The #4 round was easier to paint the ovals of the notes with and the #8 round brush was easier to paint the thinner lines with.
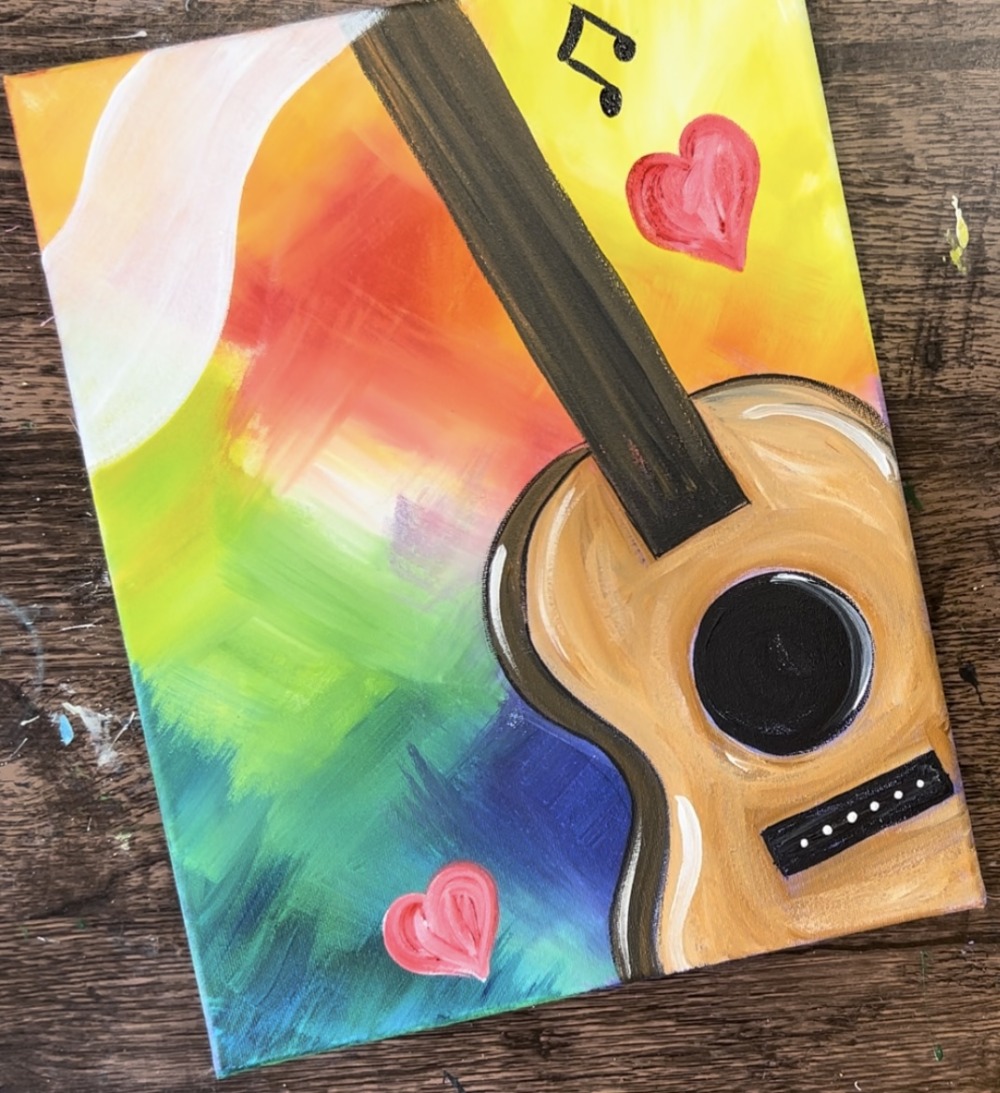
Paint a variety of music notes going in different angles throughout the background of the painting.

7. Paint piano keys
I recommend drawing the keys with a pencil! This will. make it easier to paint them in. It helps to look at a picture of a keyboard to follow the pattern of the two black keys, three black keys and where the lines for the white keys go.

After you draw your keys out with a pencil, paint the black keys in. Simply outline the rectangular shape and then fill it in black.


Then paint the lines between the keys.
Outline the top edge and loosely outline the bottom edge of the keys. Then paint a few “motion lines” on the outer edges of the keyboard. A motion line is a loose outline on the outside edge of the object that goes in the same direct of the line.
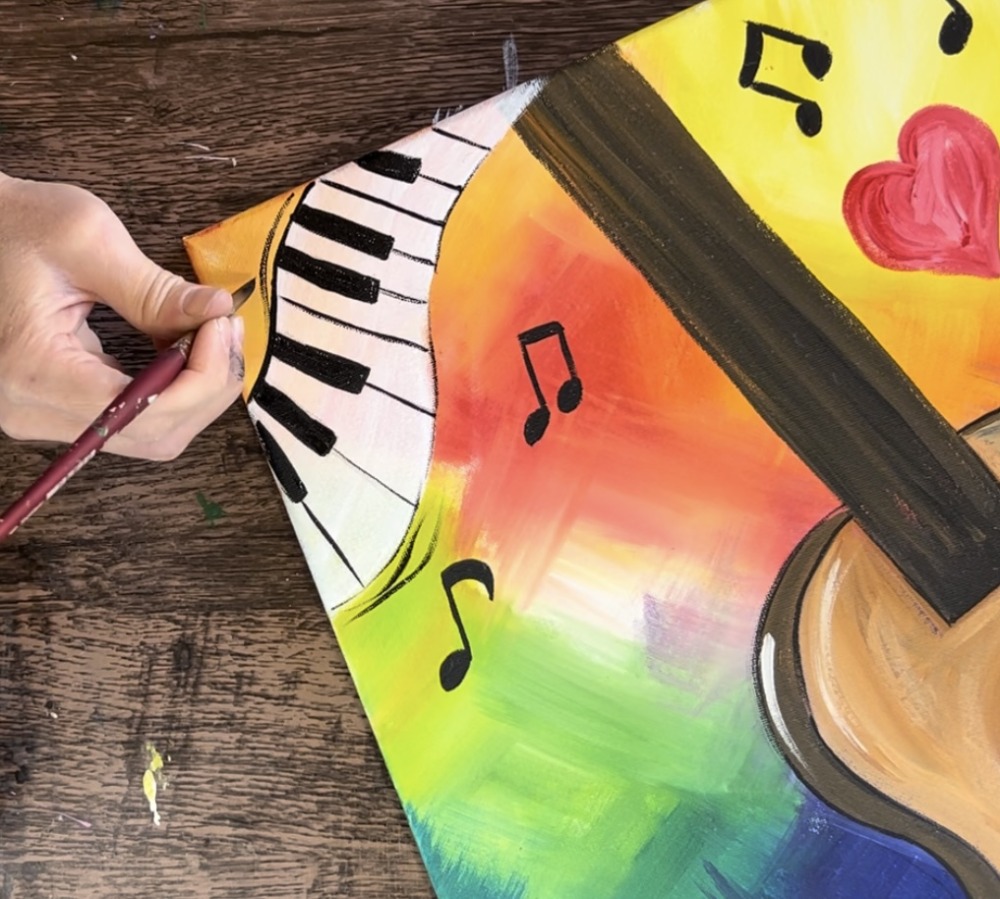
The motion lines add a fun energy to the painting. I also added motion lines on the outside curves of the guitar and the neck of the guitar.
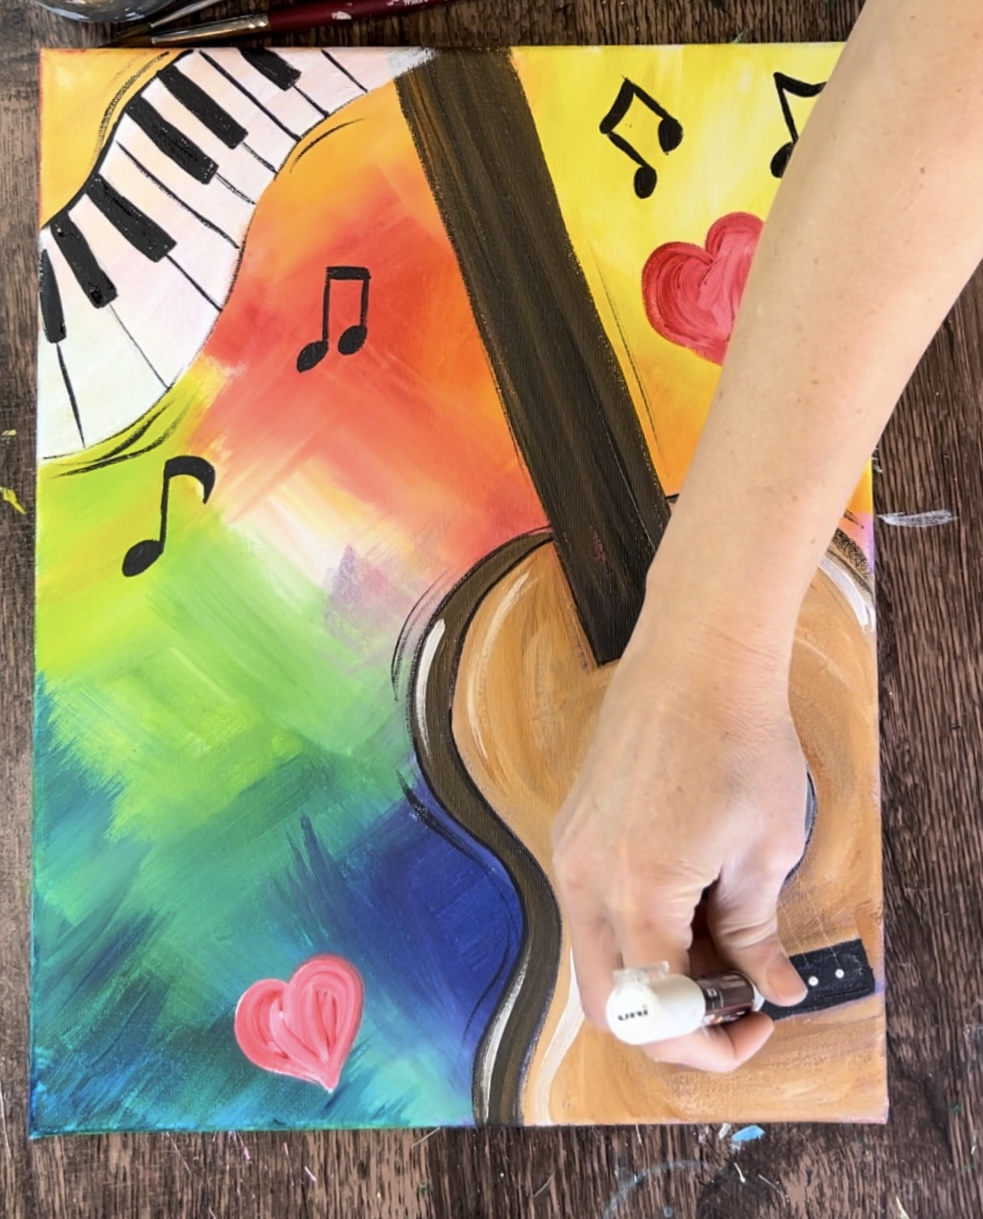
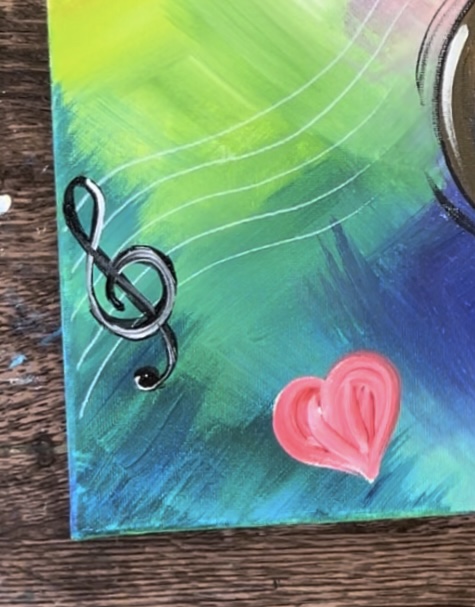
8. Use paint pen to draw/paint strings and treble clef staff
Use the white POSCA paint pen (or a thin paint brush) to paint the string lines of the guitar. These do not have to be a consistent line that go from the bridge pins and perfectly up the neck! I painted them very loosely and the line is not visible all the way across.
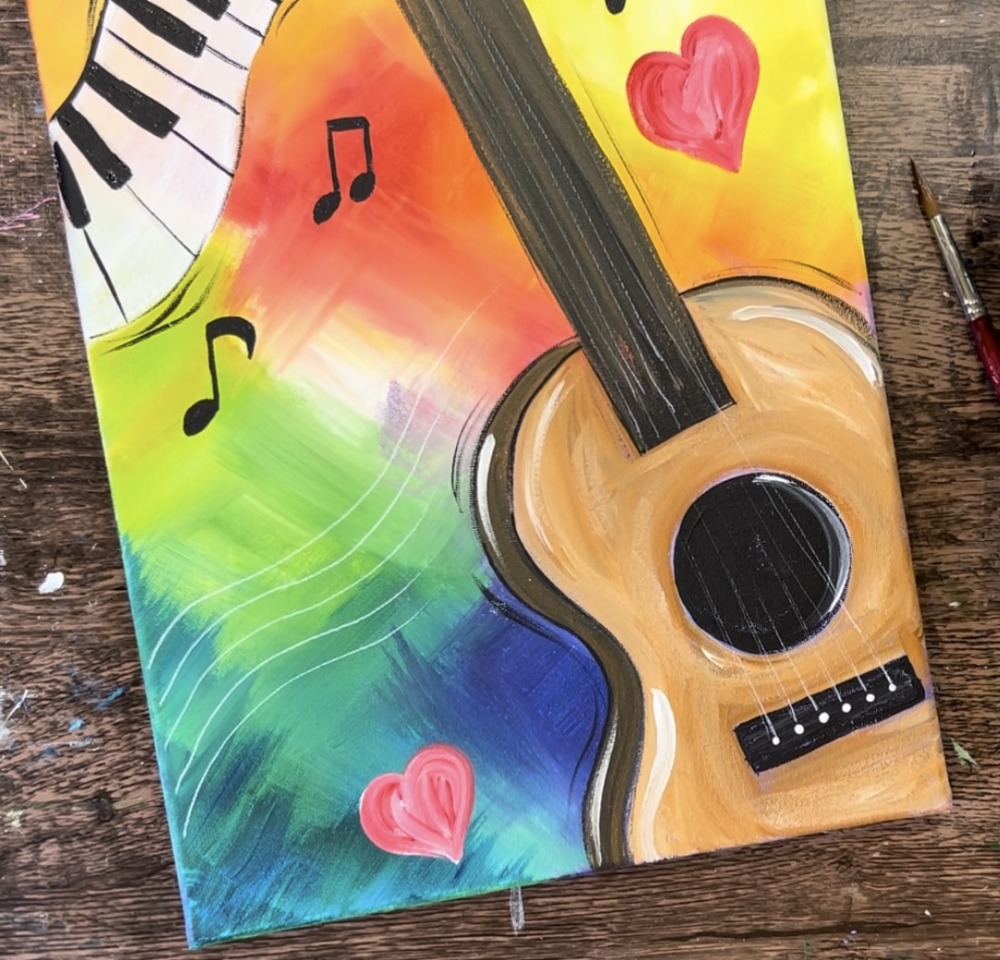
Next, draw the staff lines. I did this with the white paint pen but you can also paint these with a brush. You can also do black lines instead of white. I did white so it wouldn’t look too “busy”.

Draw five wavy lines going across the background to the left of the guitar and then disappearing as they hit the guitar.

Tip: for the treble clef, it may be helpful to draw it with pencil or chalk first.
Then paint the treble clef using a #4 round brush and mars black. Start by painting a small circle with a curvy line that extends up above the top staff line.
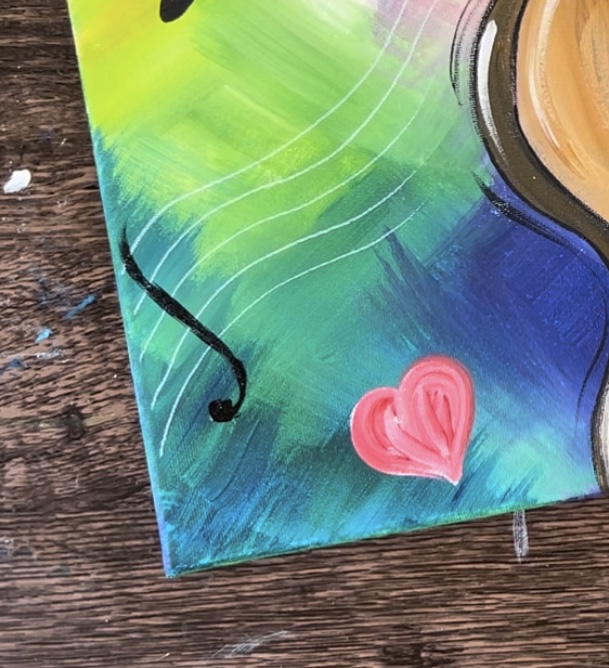
Then curves around and crosses the line.
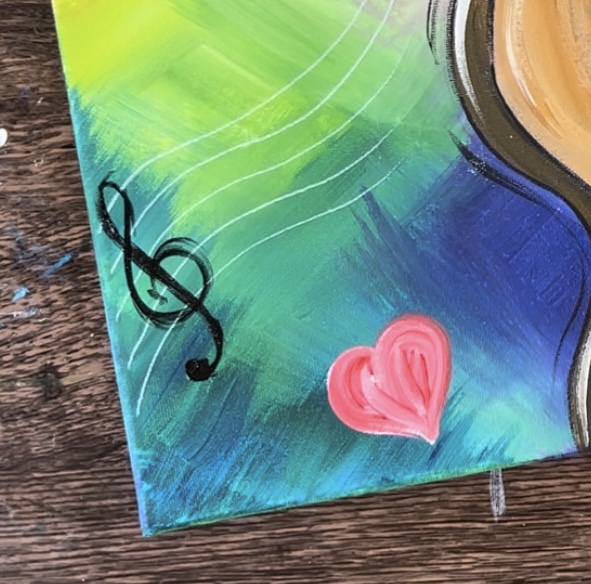
Highlight it with titanium white and the #4 round brush.
I took the white and lightly painted over the black but not all of it. This gave it a “shiny look”.
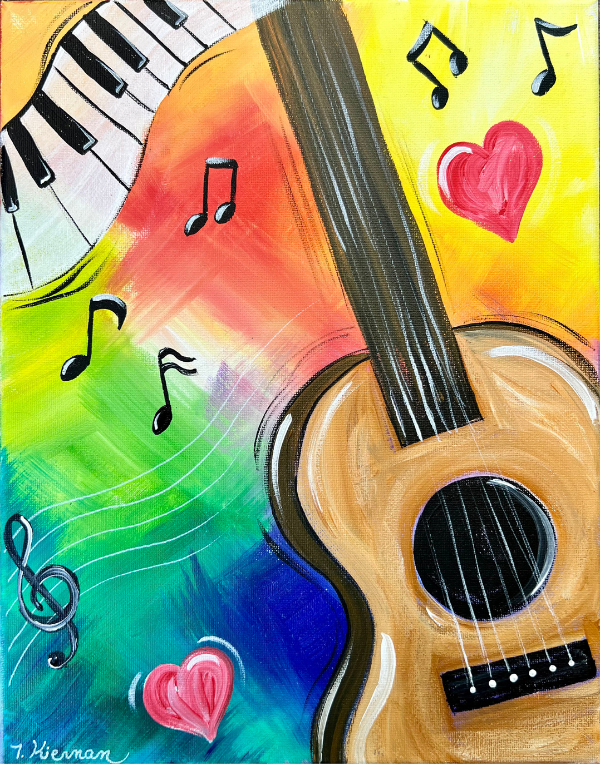
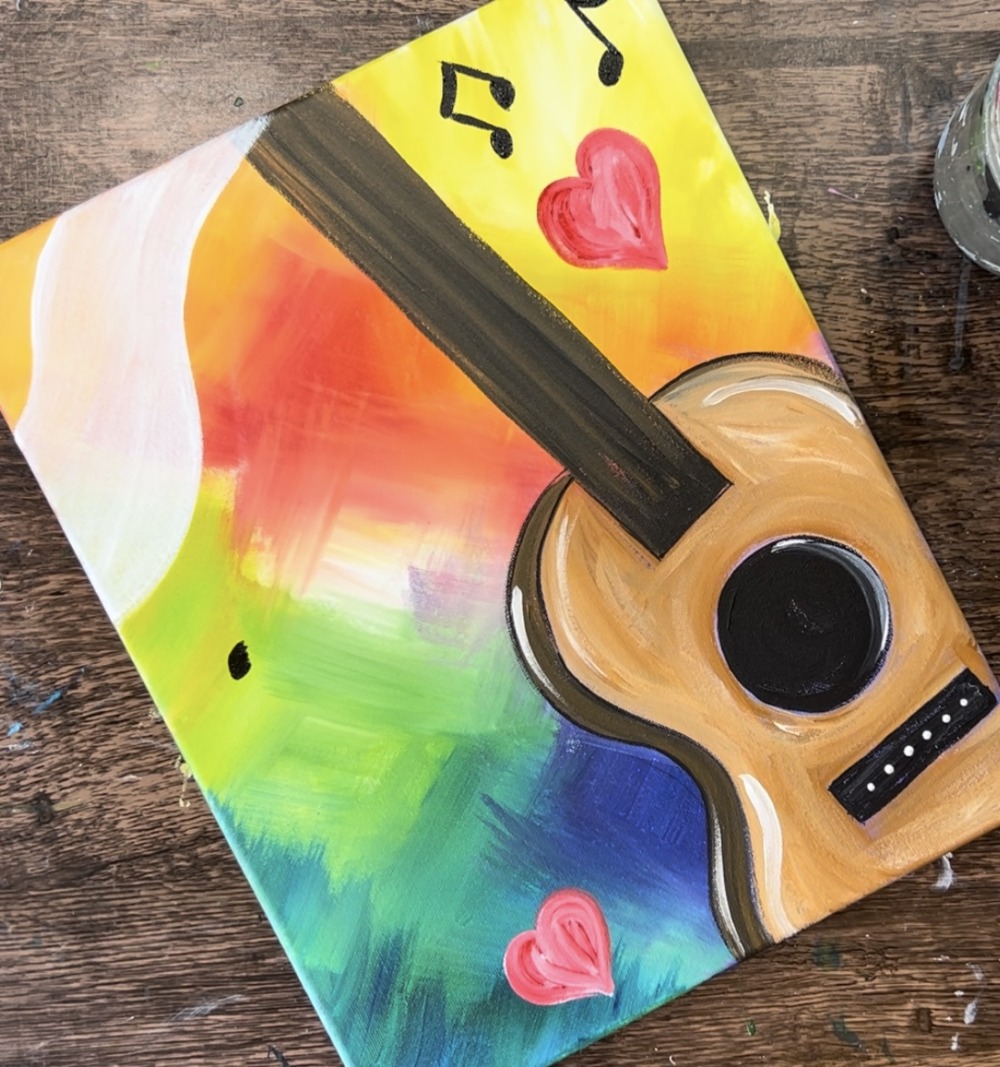
9. Add highlights to music notes
Additionally, I highlighted the music notes with white lines and added white “motion lines” on the outside curves of the hearts.

Finally, I added a white highlight on the lower right corner of each of the black piano keys. This adds an extra “3d” look to the keys!