Would you like to save this?
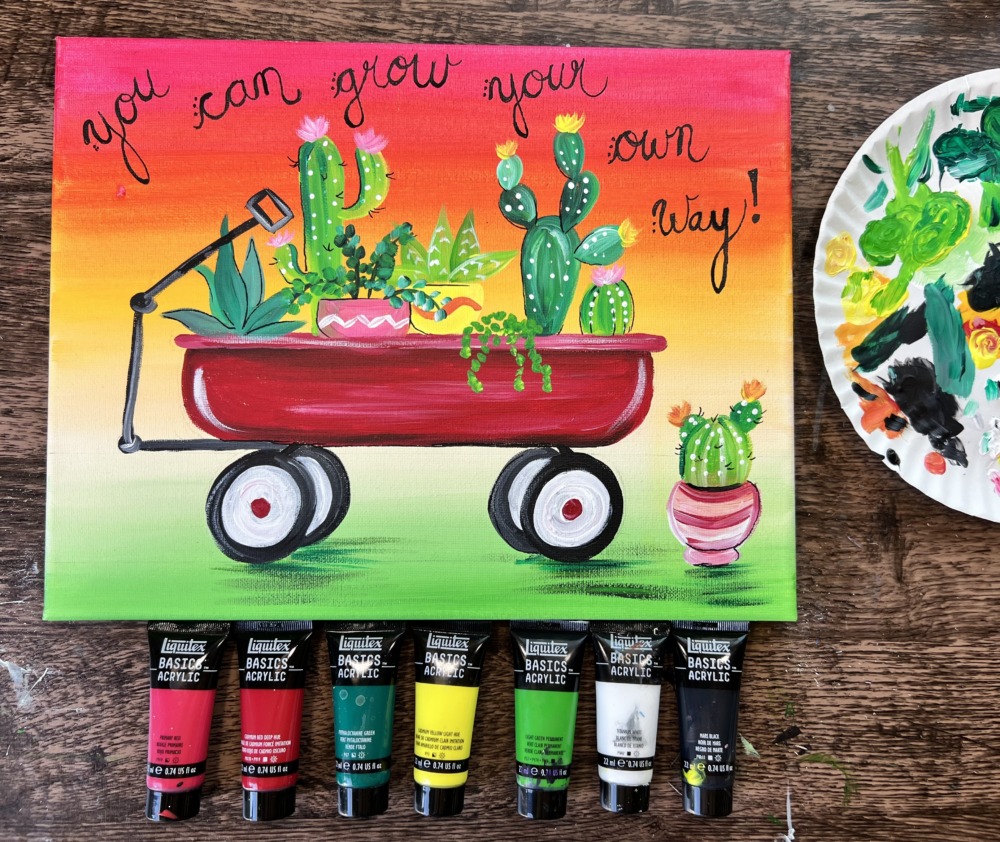
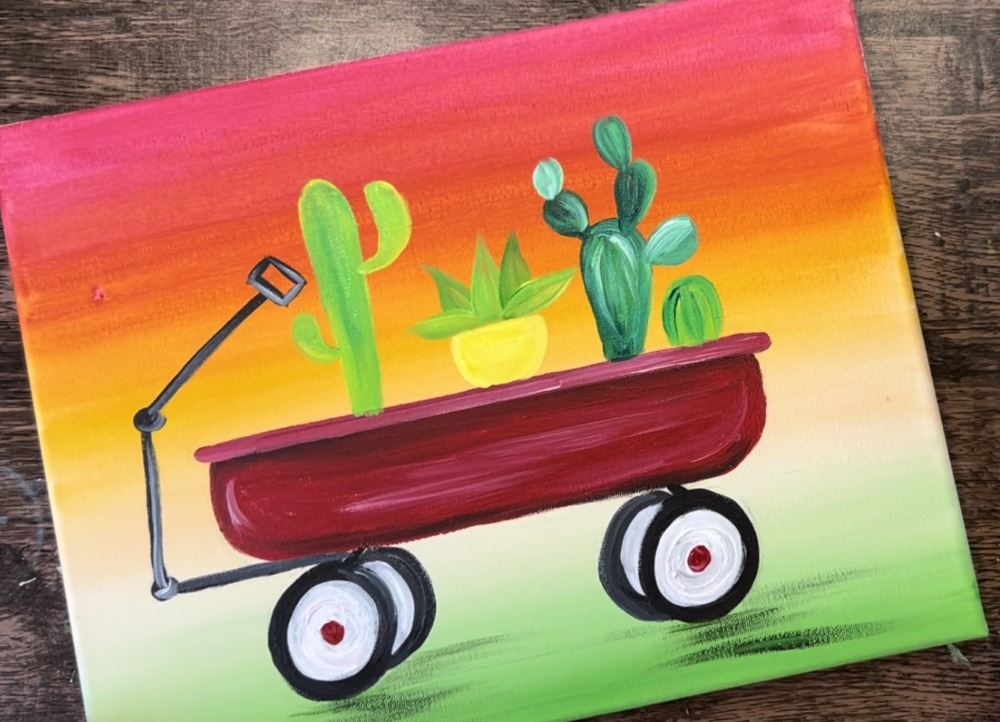
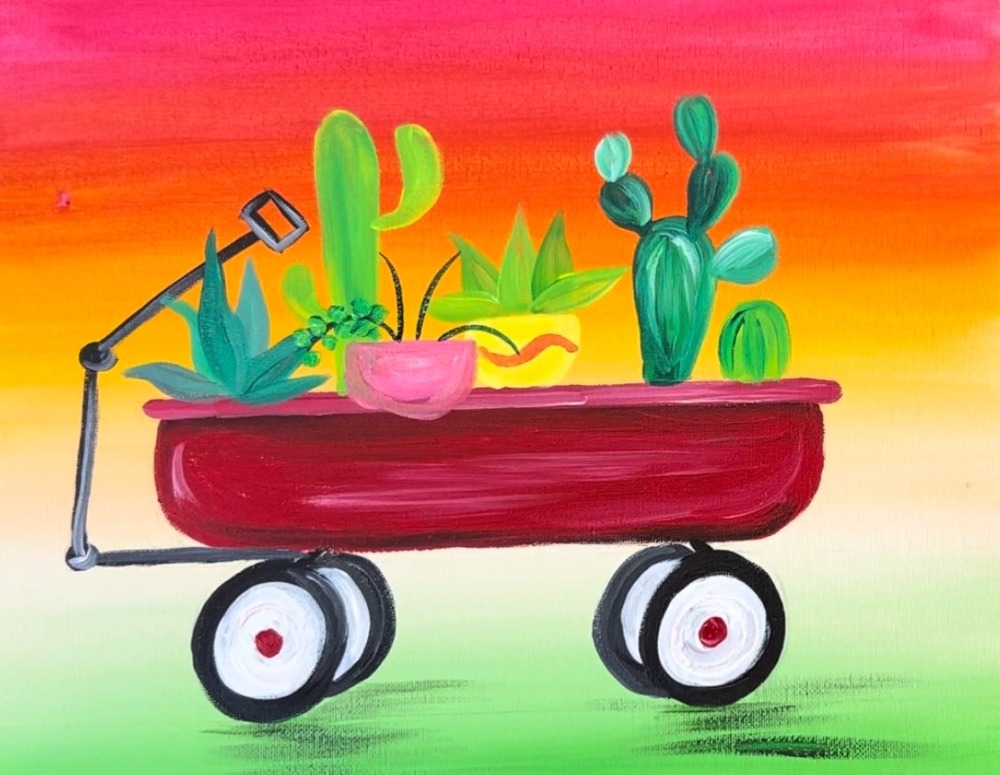
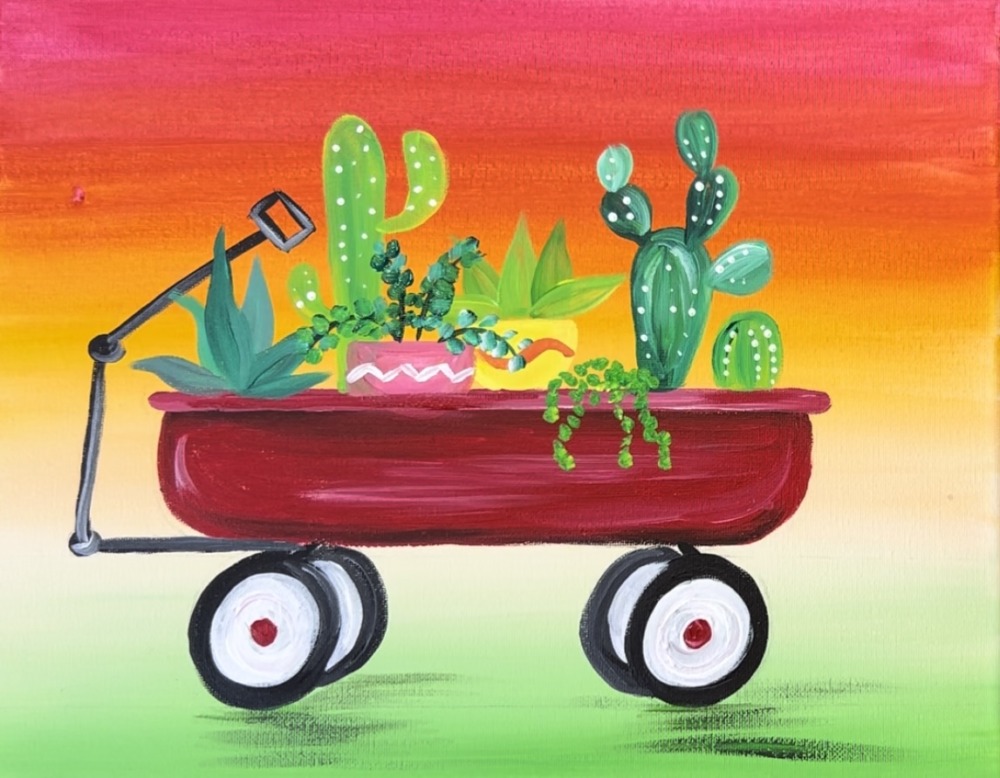
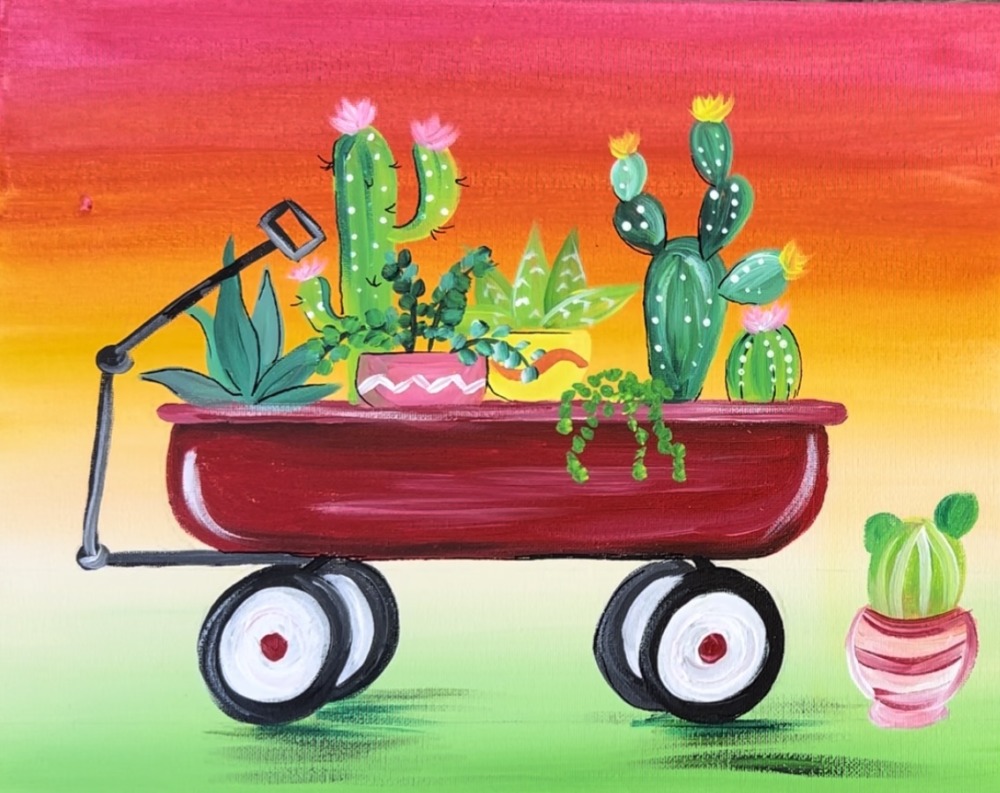
In this tutorial, we will be painting a traditional red wagon full of adorable cacti and succulents!
The quote in this painting is optional, however, I love this quote and it adds a fun touch to the painting! You can also change the quote to something else or even add a quote to the side of the wagon instead! “Hello spring!”, Hello summer!”, “Bloom where you are planted” or something that relates to a cactus!

Enjoy and happy painting!

Materials Needed
Grow Your Own Way!
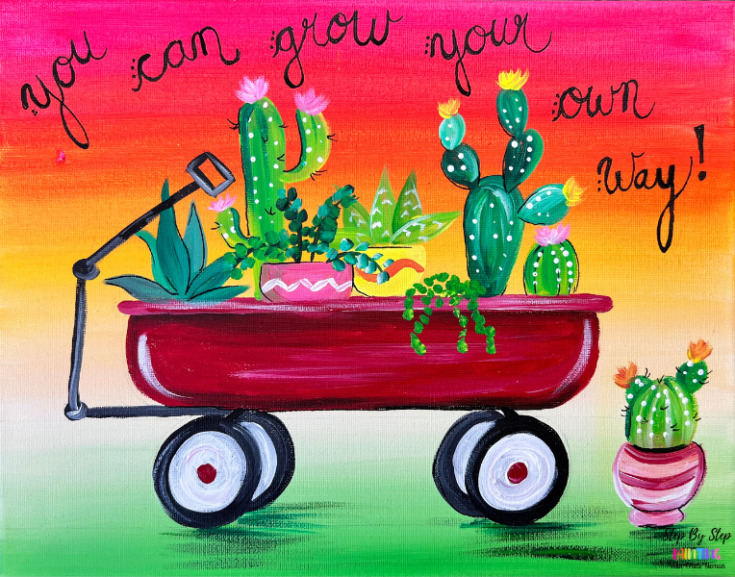
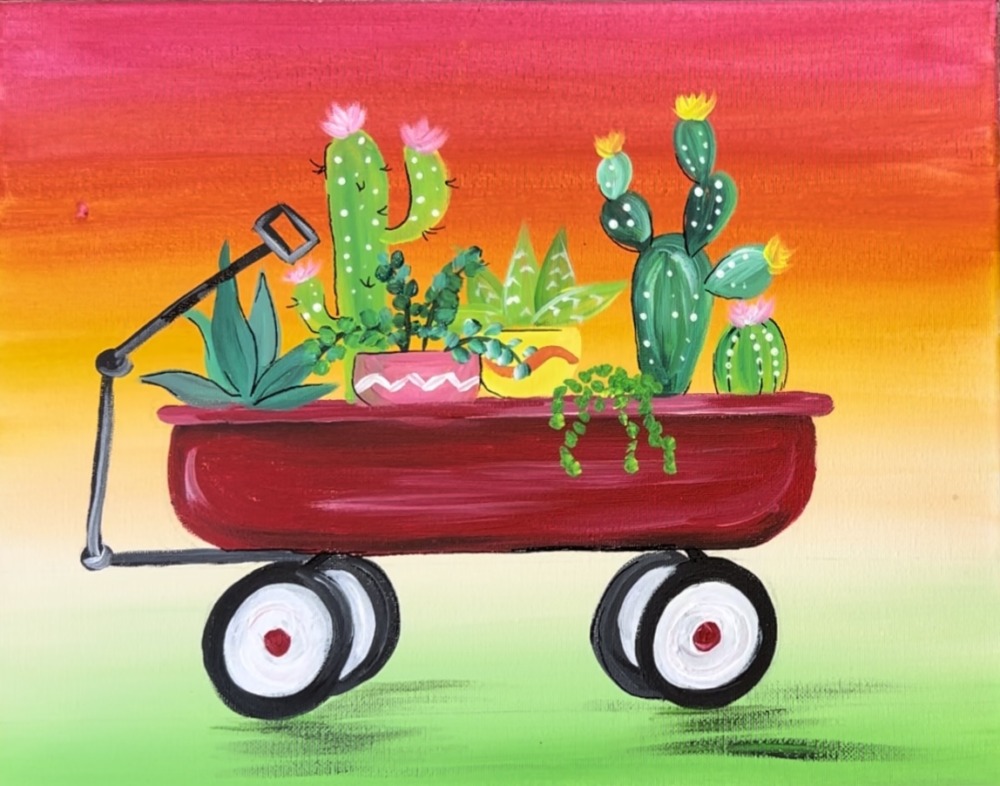
This tutorial will show you how to paint a red wagon with cacti and succulents. You can add an optional quote in the sky of this painting or on the side of the wagon.
Materials
- 11 x 14 canvas (or any size)
- Acrylic Paint (I use Liquitex BASICS)
- Brushes (Princeton Velvetouch)
- Black POSCA Paint Pen (I used .7mm)
- Drawing Pencil
- T-Square Ruler (optional but highly recommend)
Colors
- Titanium White
- Mars Black
- Primary Red
- Cadmium Red Deep Hue
- Cadmium Yellow Deep Hue
- Cadmium Yellow Light Hue
- Phthalo Green
- Light Green Permanent
Brushes
Color Palette

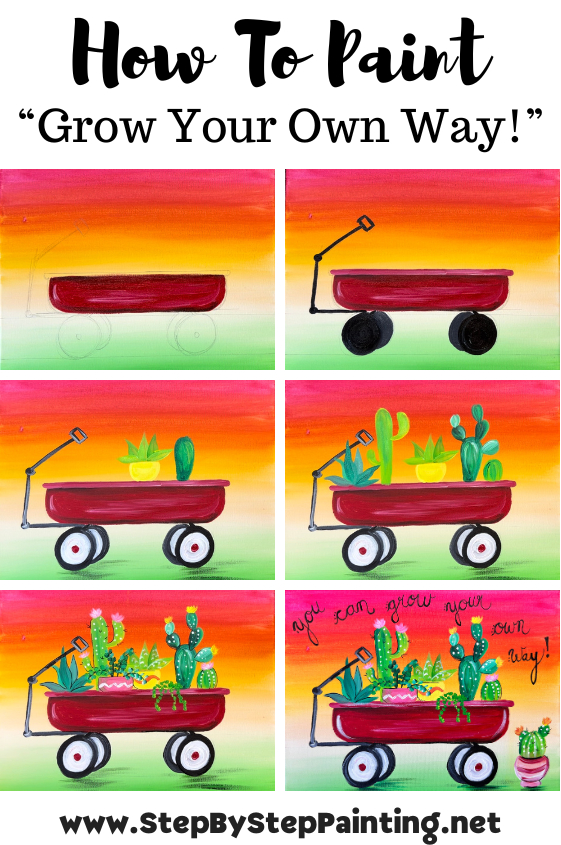
Directions At A Glance
Video
Optional Traceable

Step By Step Directions
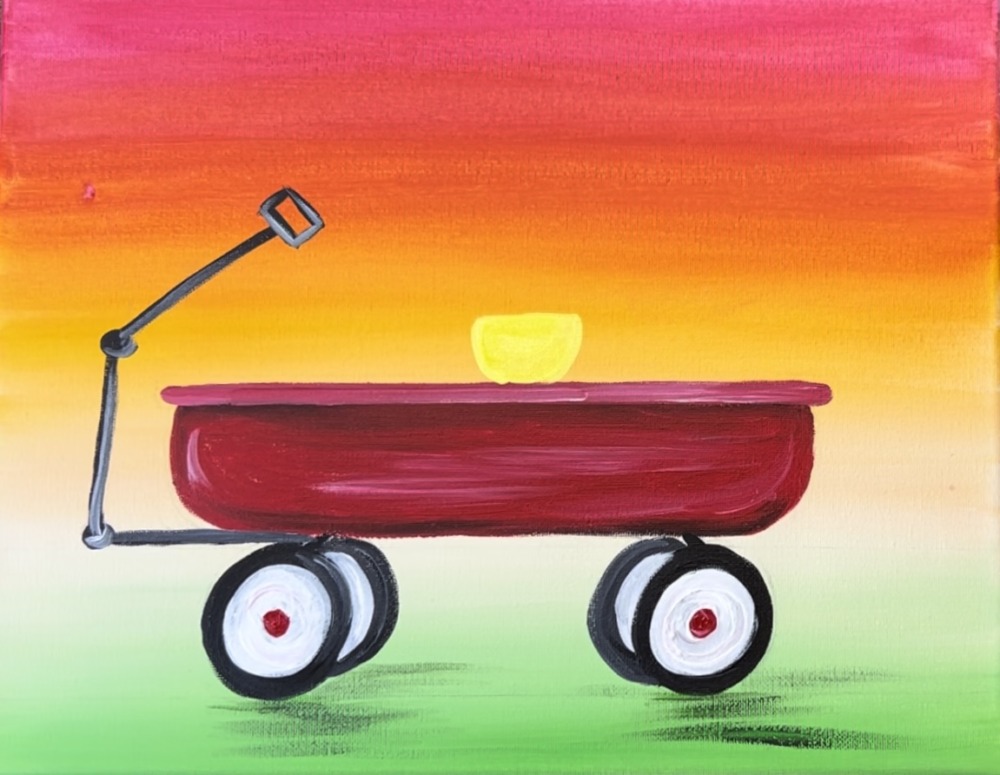
1. Paint the background
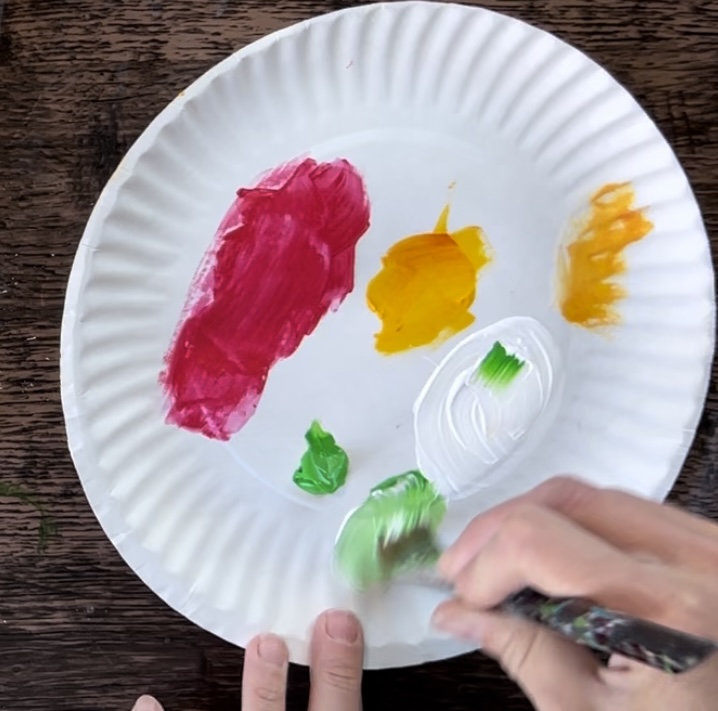
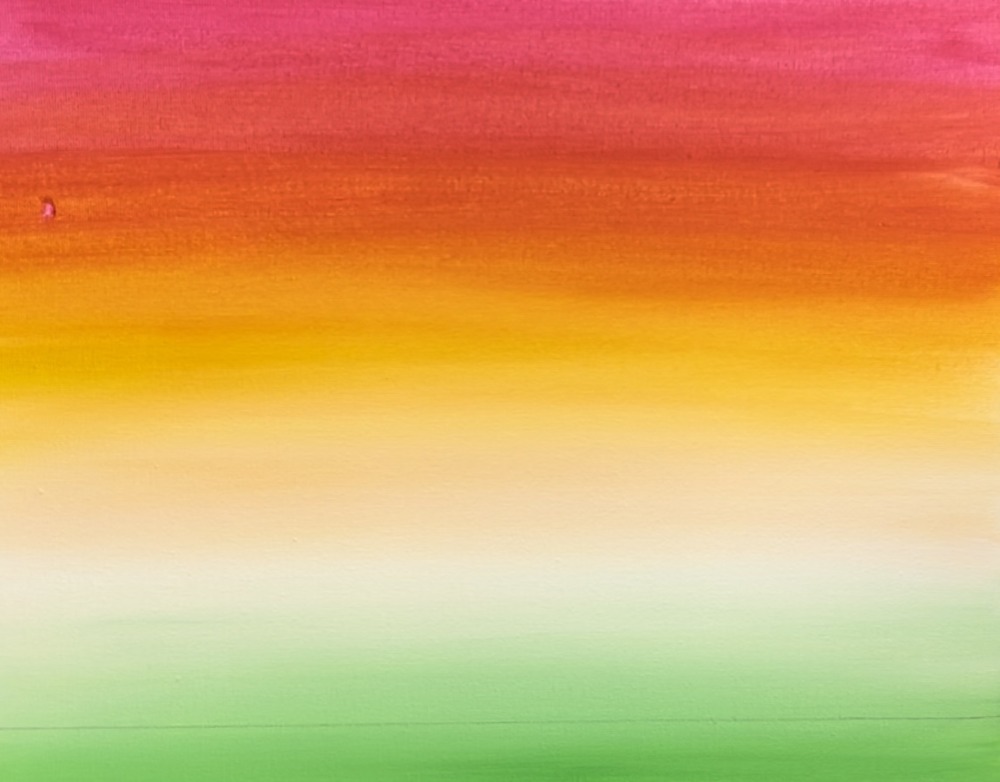
First we will be painting that vibrant hot pink/ lime green background reminiscent of a desert sunset. Load your paint palette with the colors: primary red, light green permanent, cadmium yellow deep and titanium white.
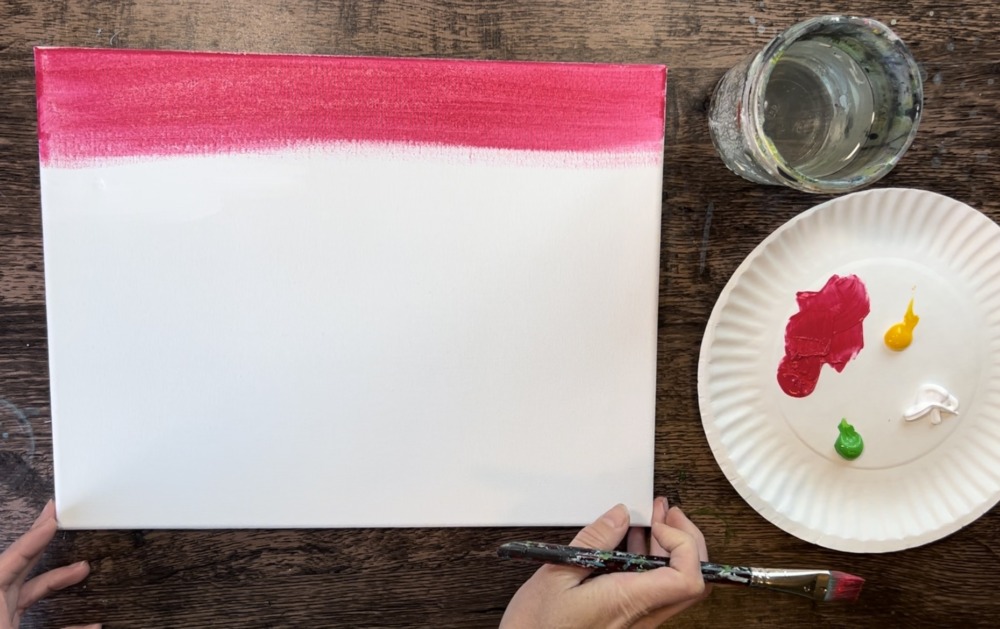
Start at the top of the canvas. Load your 3/4 flat brush in just the “primary red”. Paint left and right horizontal strokes across the canvas. Go about 3 inches down and stop.
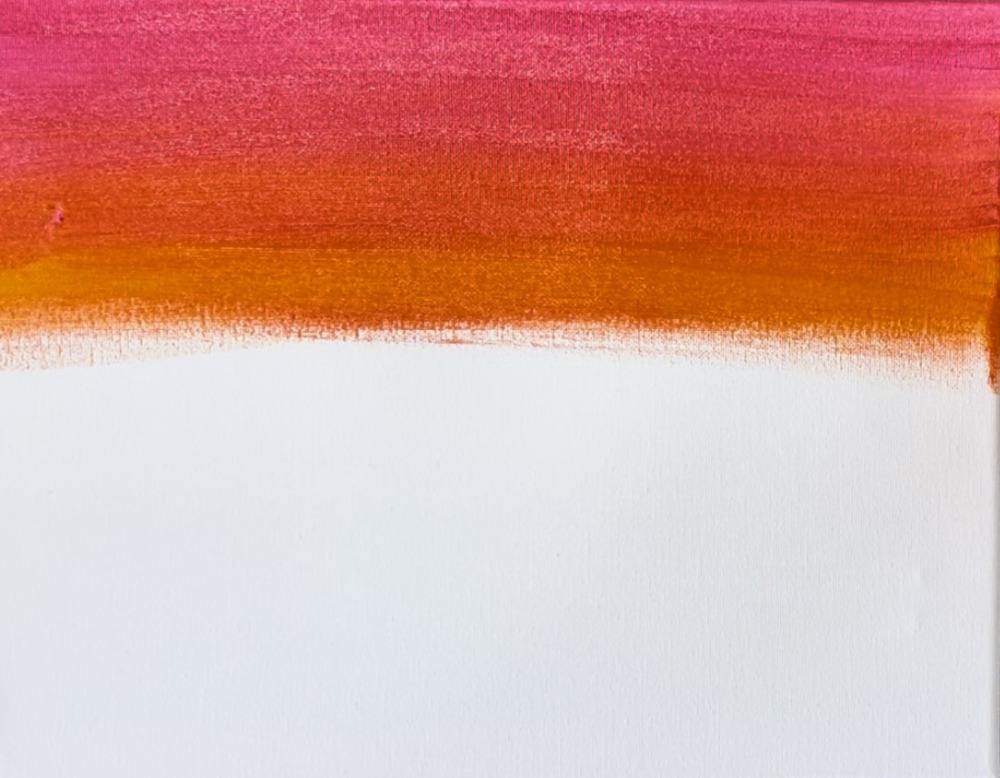
Then, without rinsing the brush, load it into the “cadmium yellow deep” color. Start below the red and blend it up into the red. It will turn an orange colors. Work the “transition zone” by painting over the part where the red and orange meet multiple times. This will help it blend from bright pink/red to the orange.
Next, rinse the brush. Load it into just the yellow. Start below your orange and then blend the yellow up into the orange. Bring the yellow down a few inches and stop. Then, wipe the brush off (but don’t rinse it). Load it into “titanium white”. Blend white below your yellow. It will turn a bright yellow.
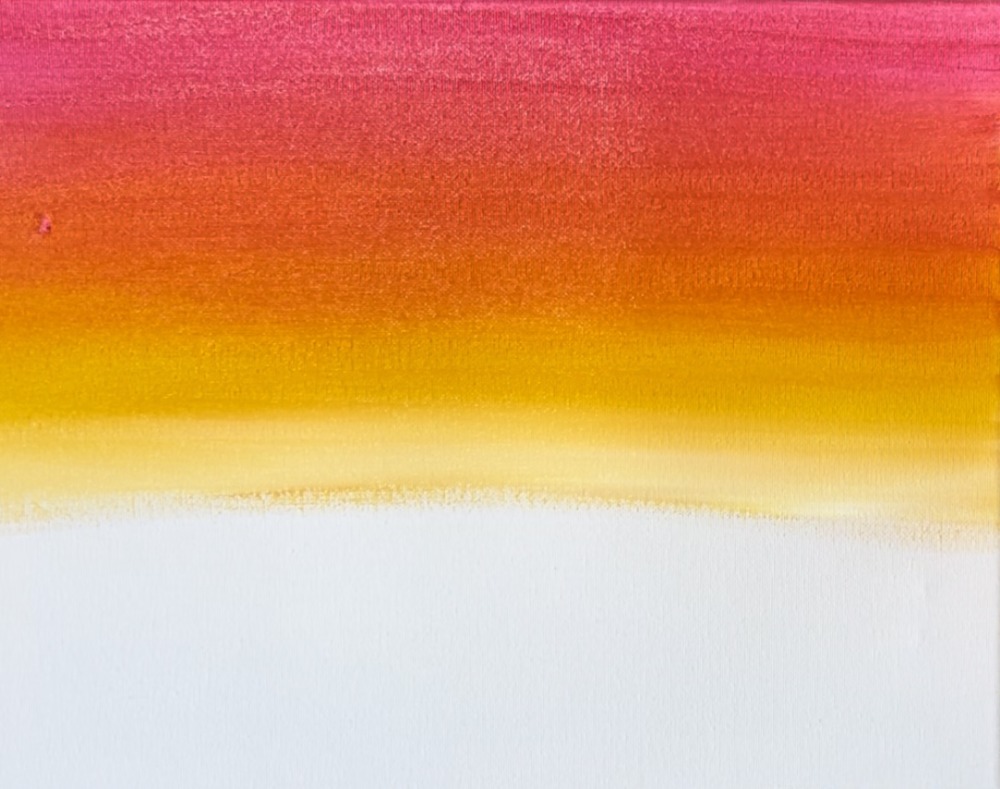
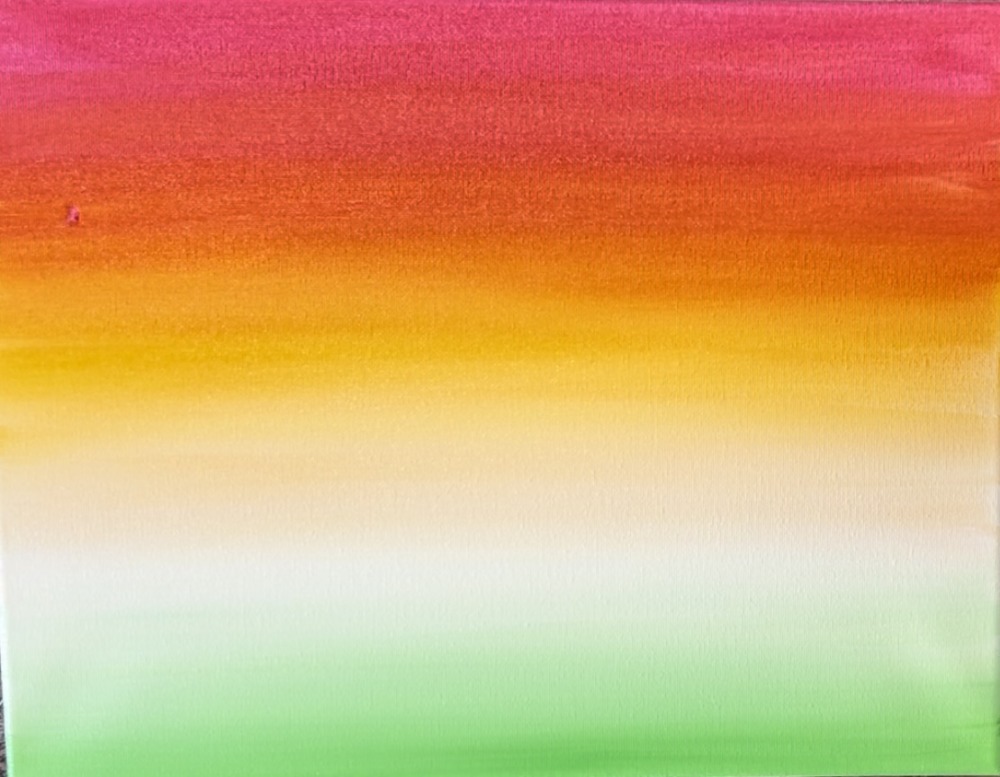
God down a few more inches with this white that blends to a light yellow on your canvas. Mine turned more of a “peach color” because some of that orange got into it and that’s okay! The point is that we want the sky to get gradually lighter as we work our way down to the bottom of the canvas where the green will be.

Go almost all the way down the canvas with your white/yellow. I left about a half inch of space on the bottom edge.
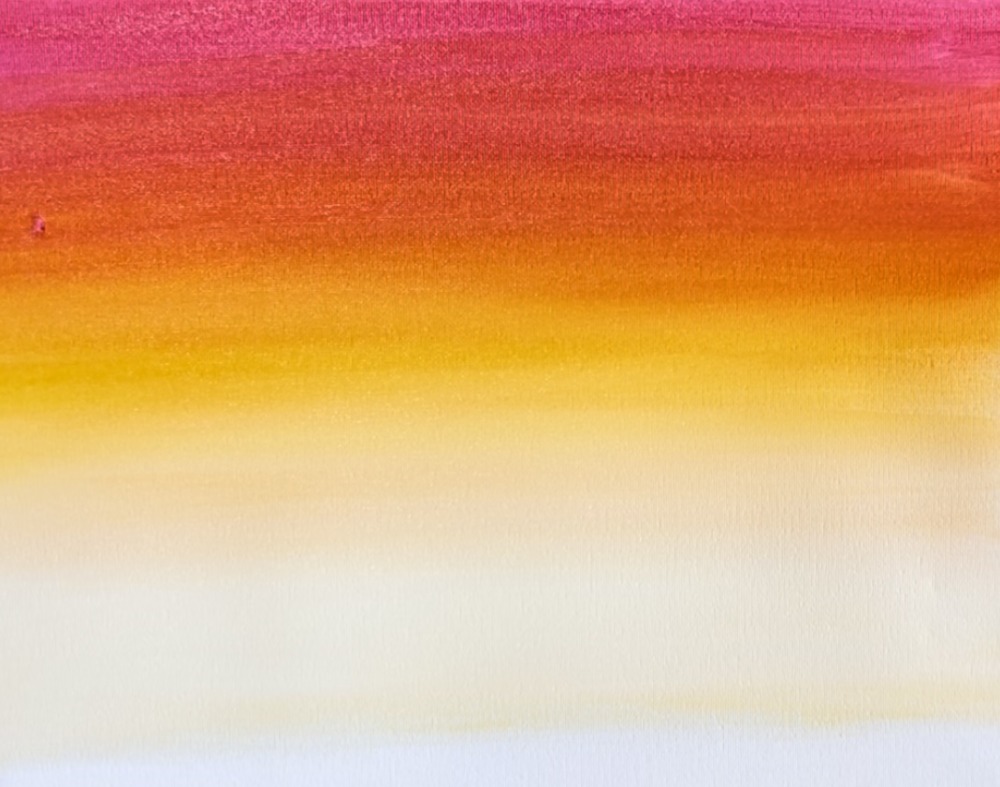
Rinse your brush off. Then, on your palette, mix equal amounts of “light green permanent” with “titanium white”. This will make a medium/ light green color.
Start on the bottom edge of the canvas and paint left and right paint strokes with the green.
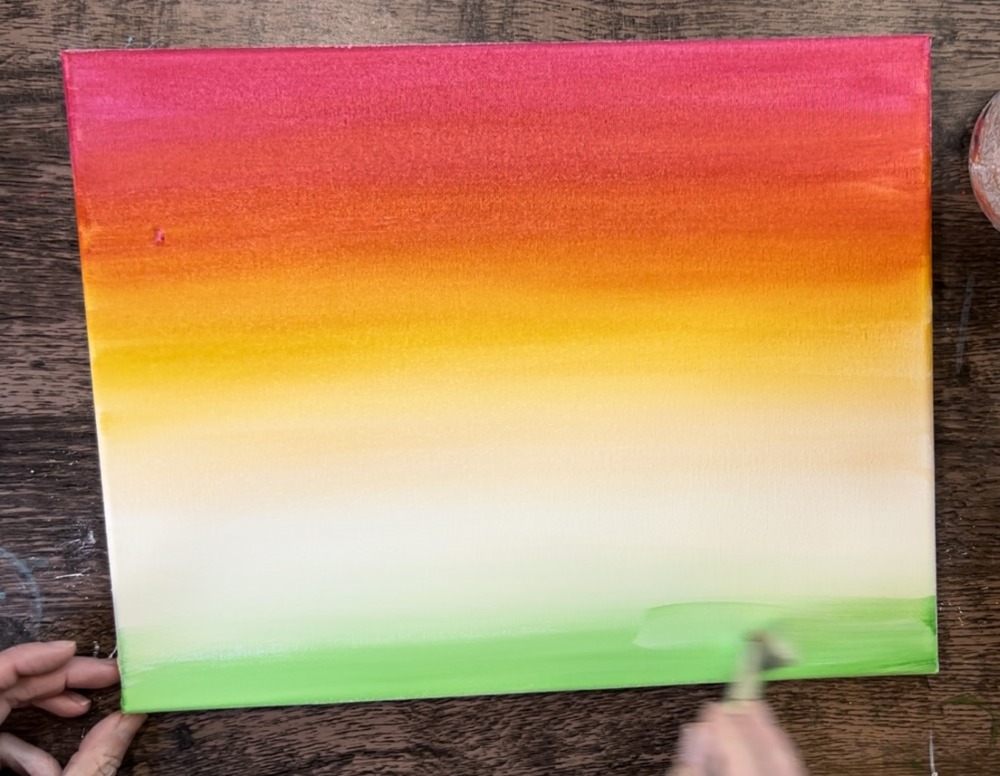
Then, load your brush into titanium white and blend white above the green so that your green area turns very light and fades away into the sky.
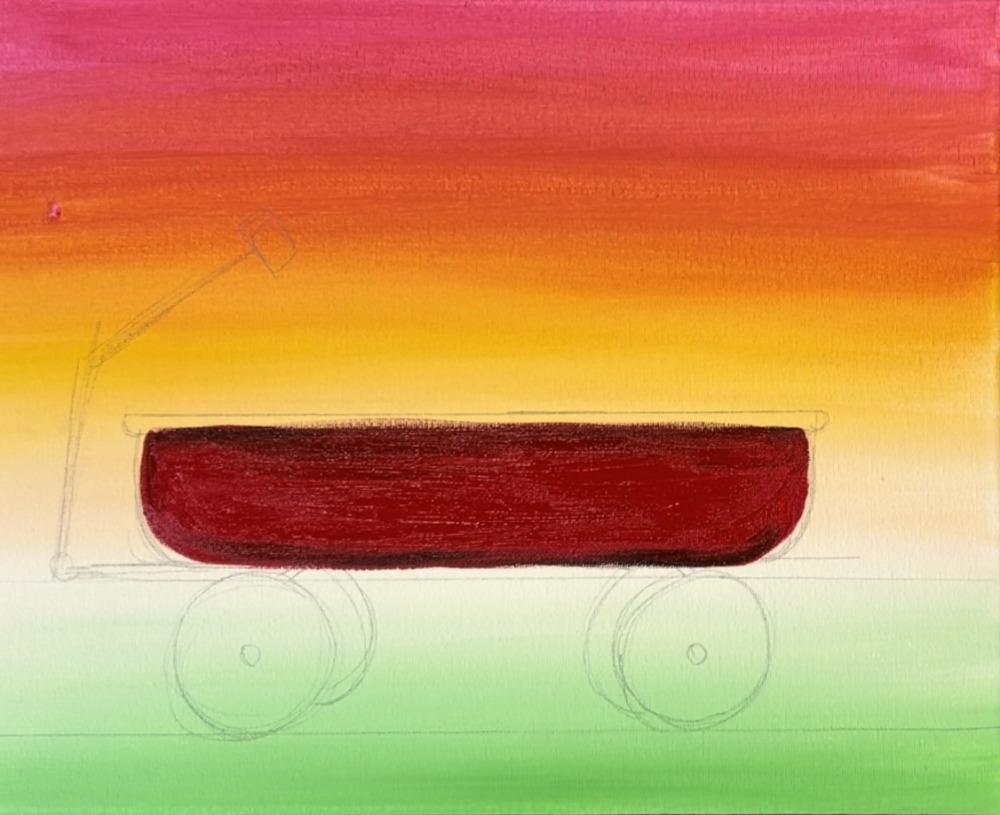
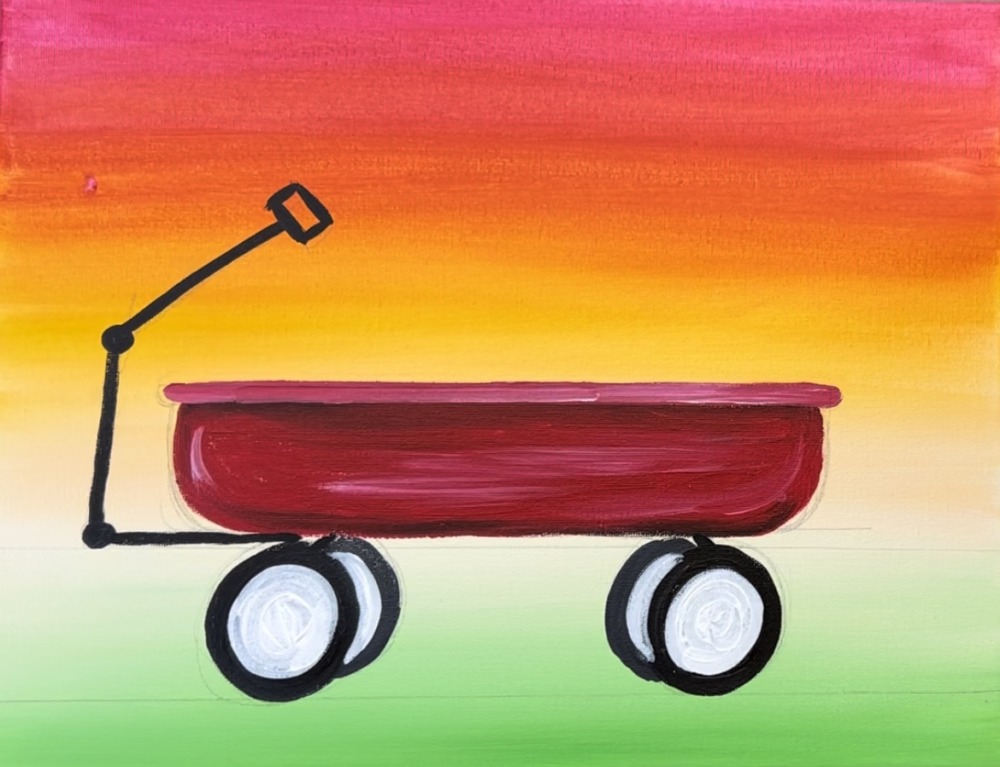
2. Draw the wagon
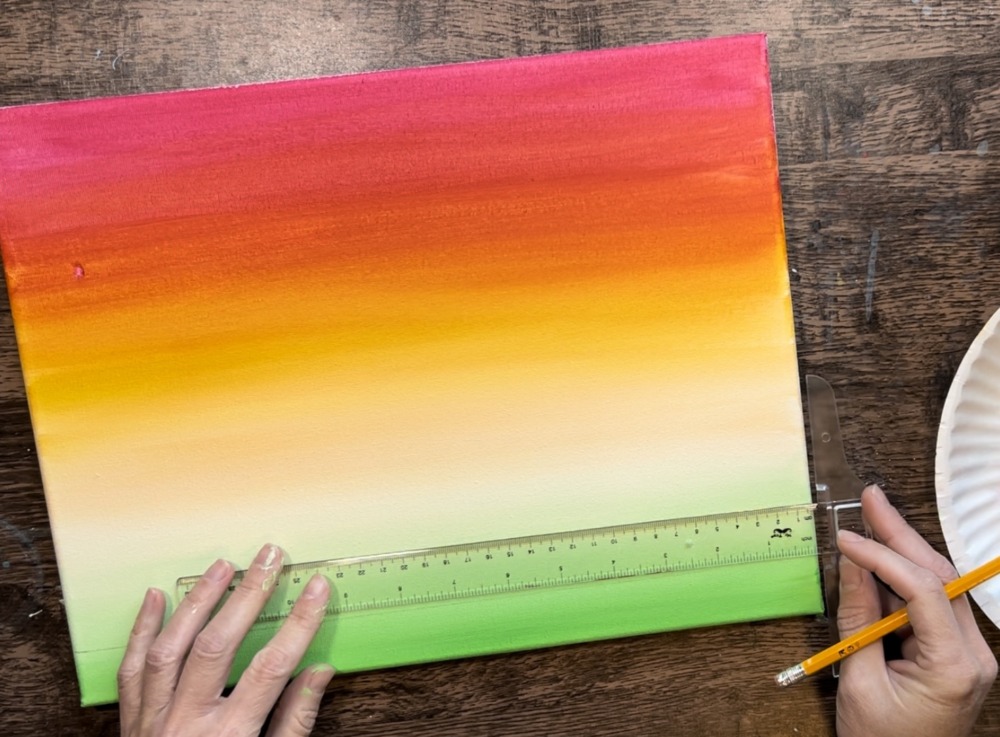
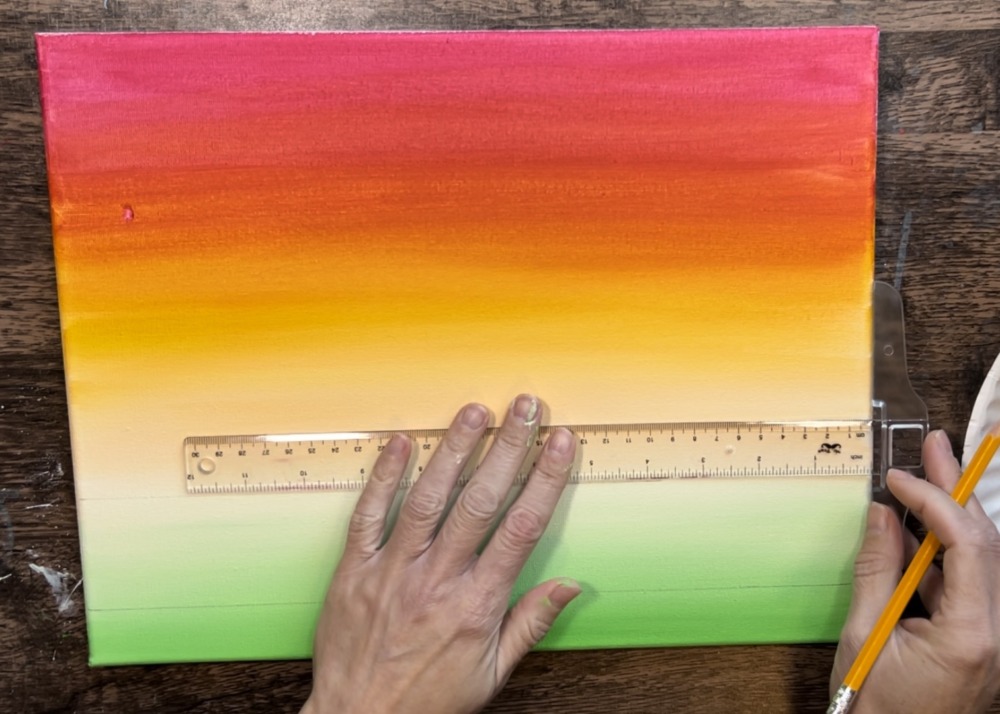
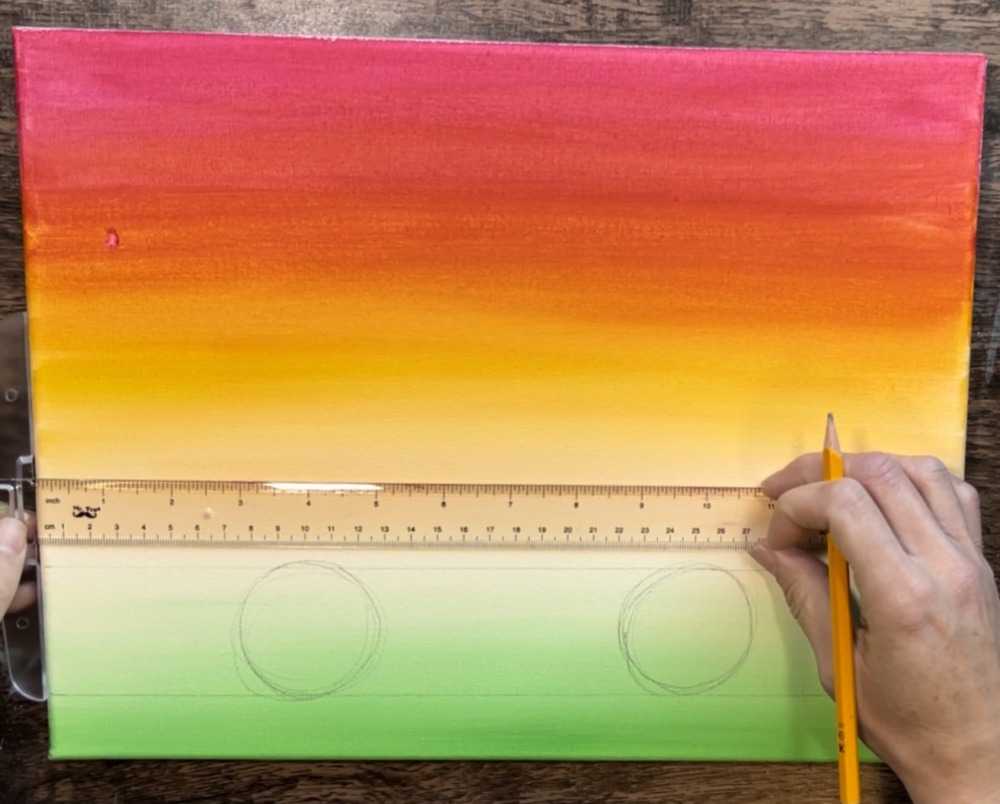
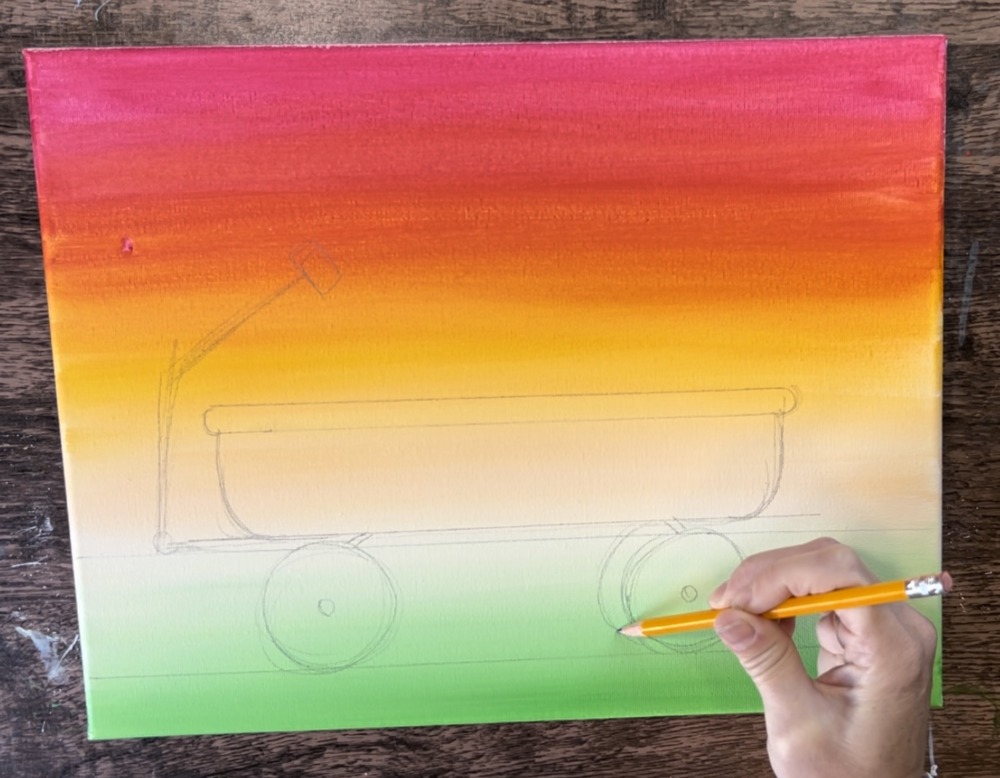
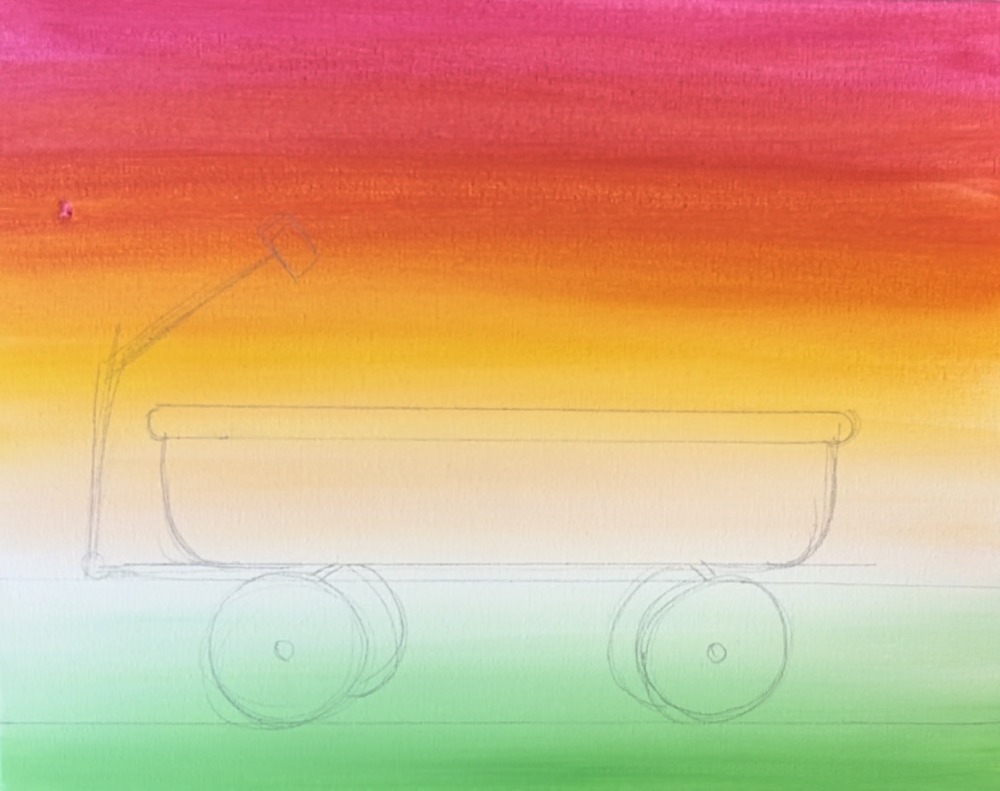
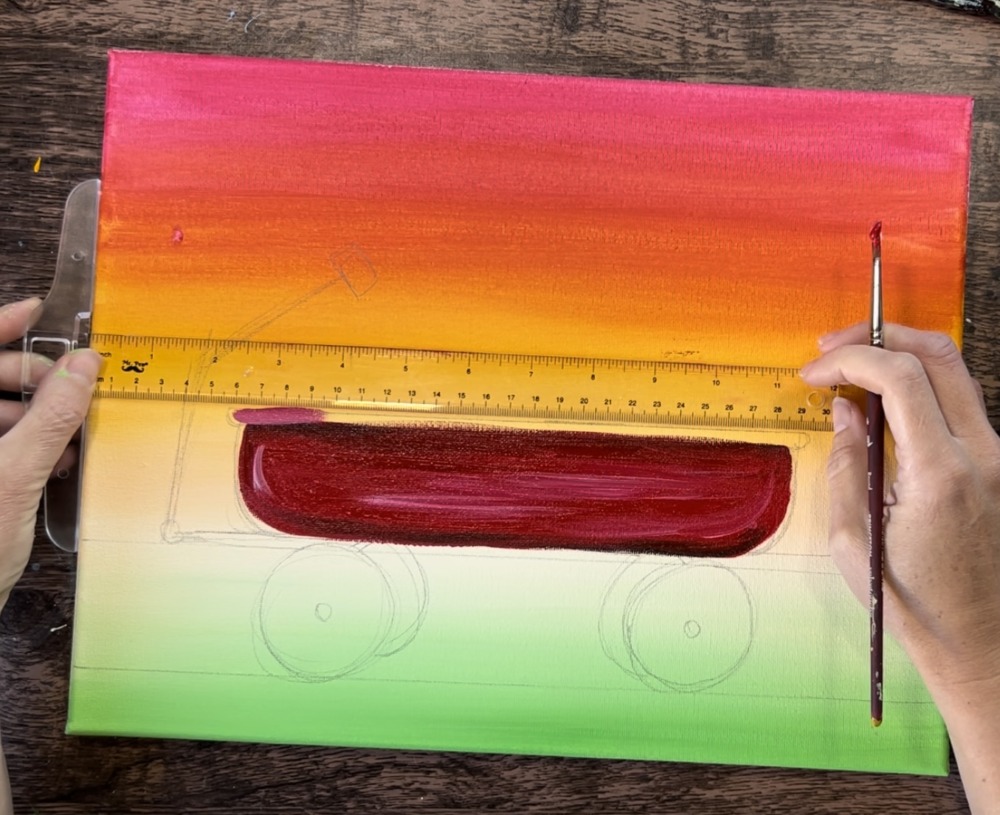
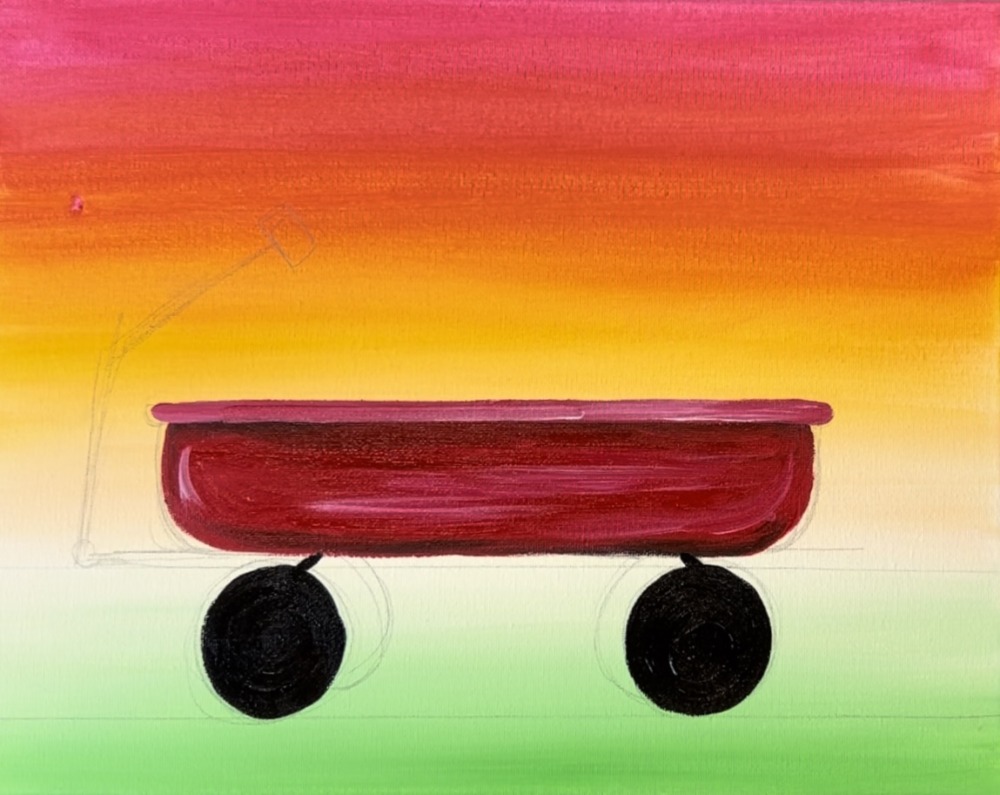
Next, draw the wagon or use the traceable to transfer the wagon to the canvas. To draw the wagon, I recommend using a t-square ruler. Position it at about 1″ from the bottom edge of the canvas and draw a horizontal line.
Draw a second line about 2″ above that line. The wheels will be between both of these lines.
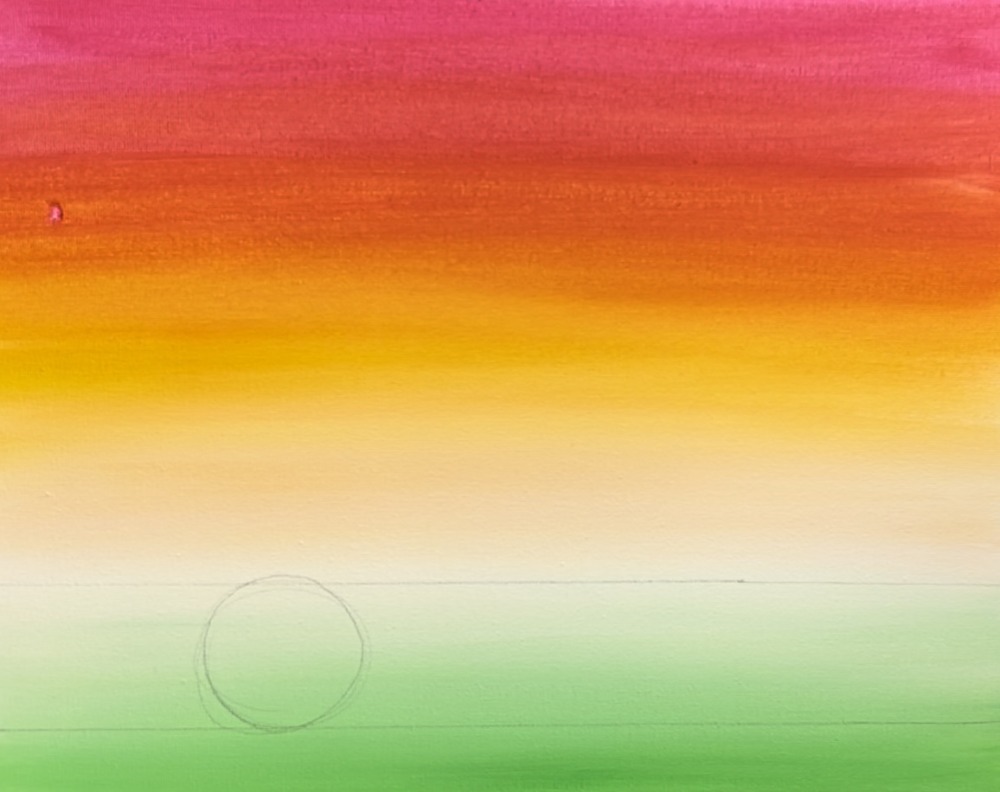
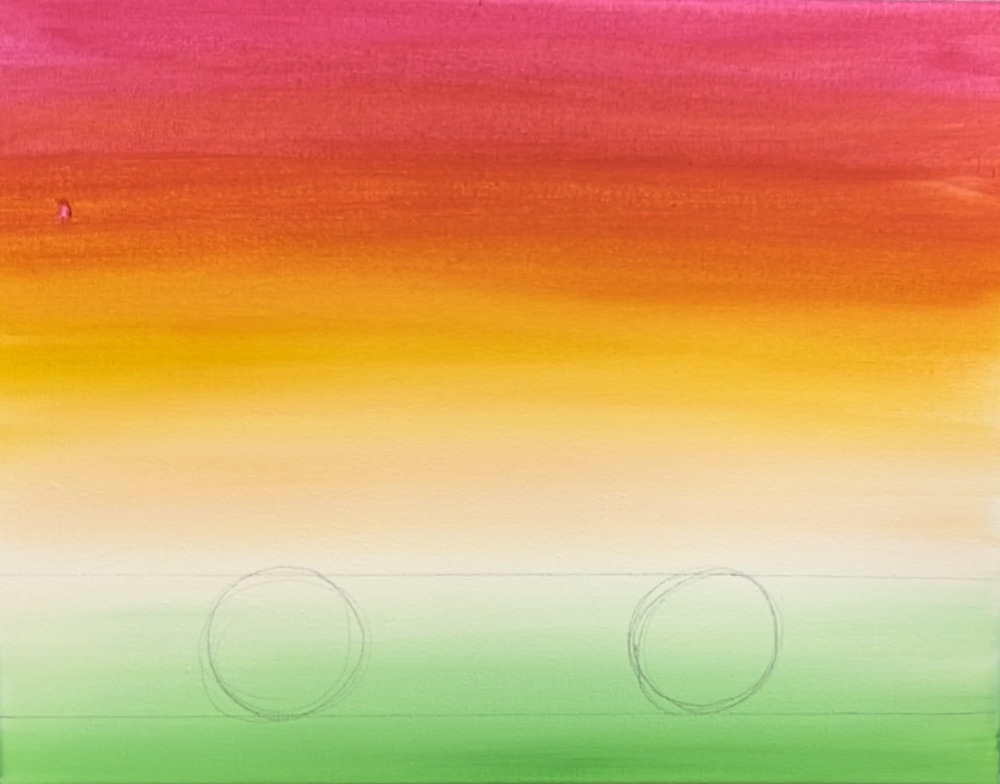
Next, sketch both of the wheels. Draw two 2″ circles about 2.75″ apart.
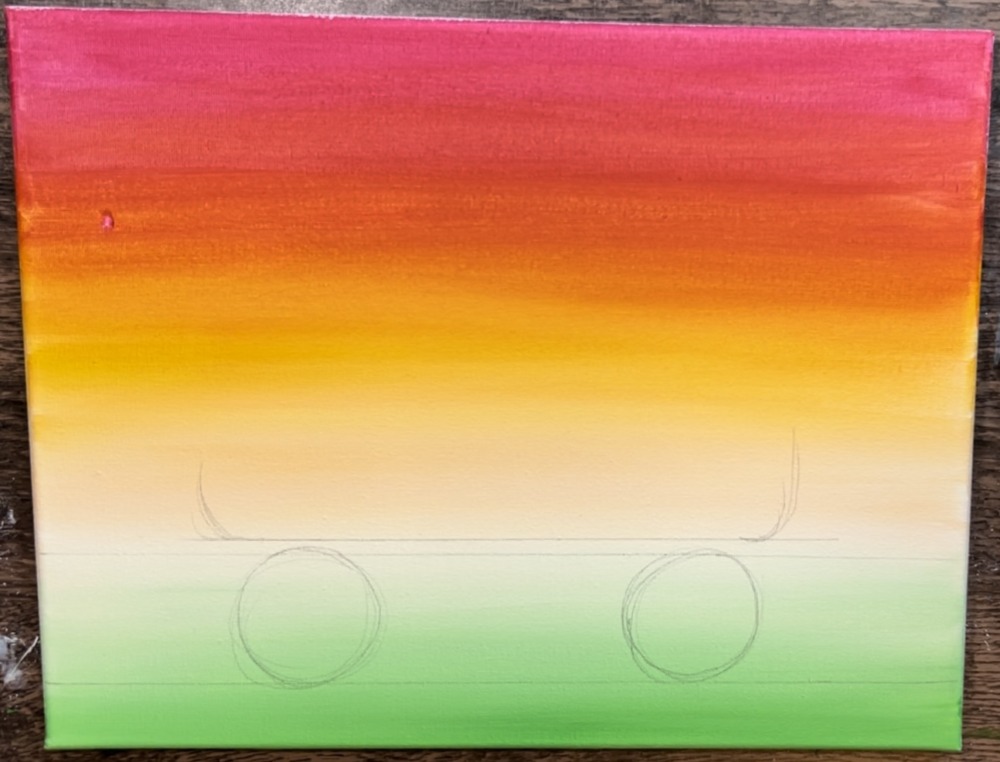
Next, draw a second horizontal line just about 1/4″ above the top of both wheels. This will be the bottom edge of the wagon.
Draw two curves on the bottom left and right of the wagon and then draw two vertical lines going upwards.
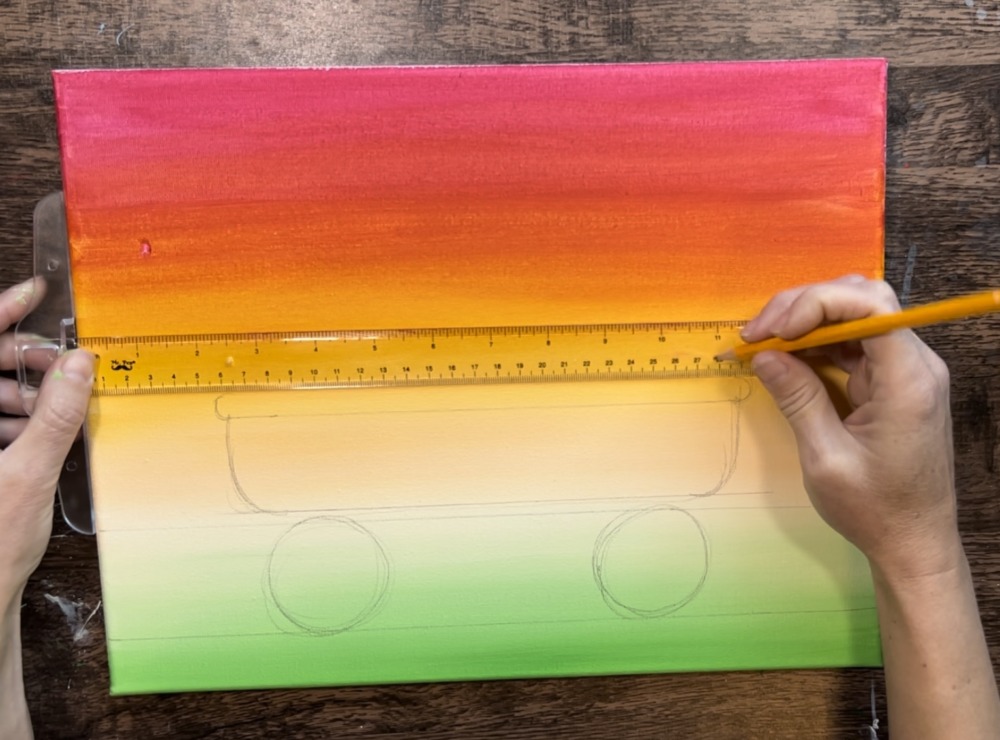
The height of the wagon is about 2.25″ from the bottom edge to the very top edge of the lip/opening. Use the ruler to draw a horizontal line for the top.

Then draw a second horizontal line and two curved lines on each side for the “lip opening” of the wagon.
Next, sketch the handle of the wagon and the two tire axles as two diagonal lines that connect from the circles to the bottom of the wagon.
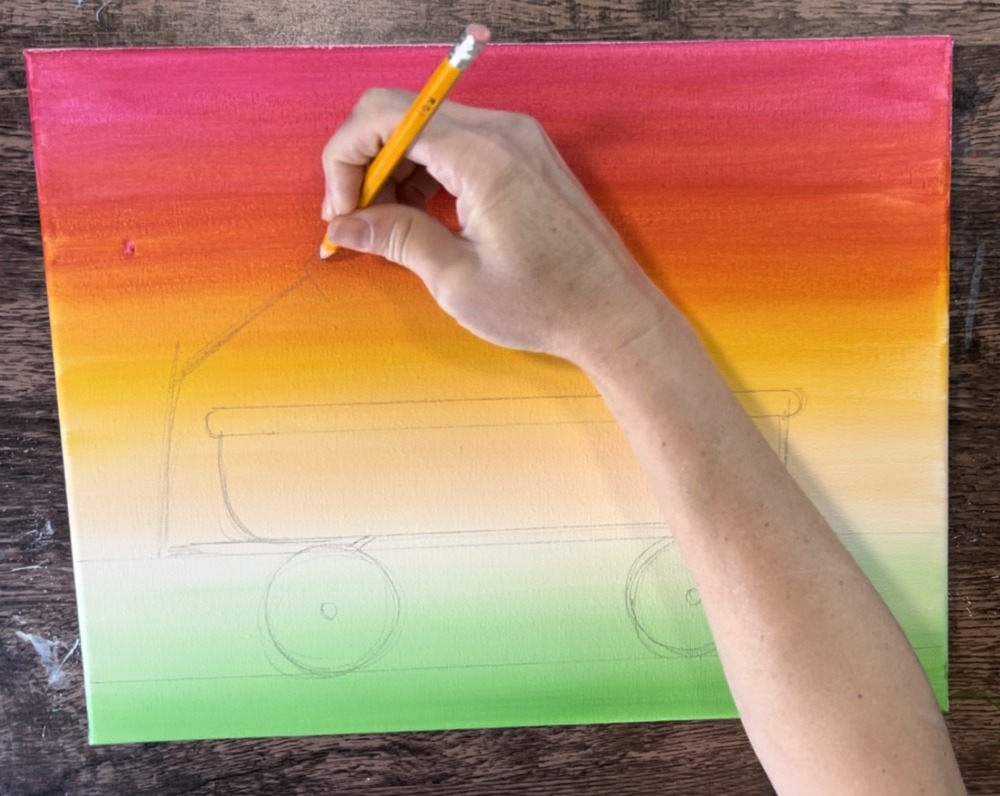
Draw two more tires as seen behind the first set of tires you drew. This time, we only see a crescent moon shape rather than the full circle.
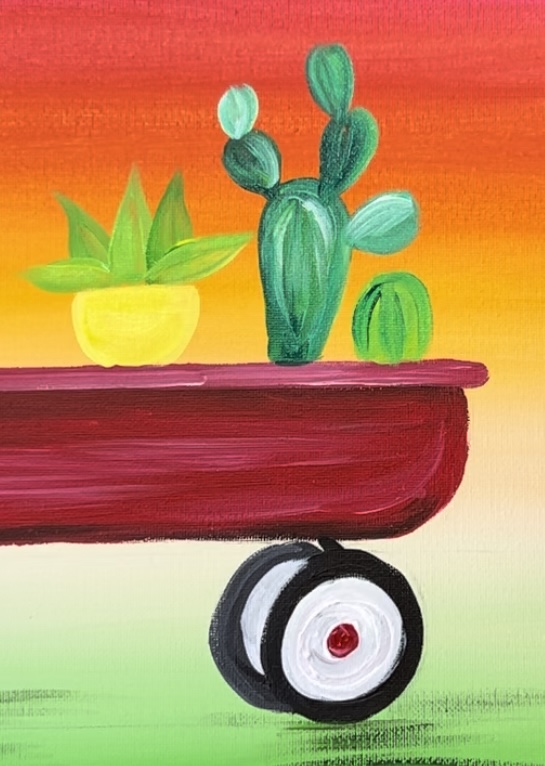
3. Paint the wagon
Use the #4 round brush and cadmium red deep to paint the wagon. Do this with a solid coat of the red.
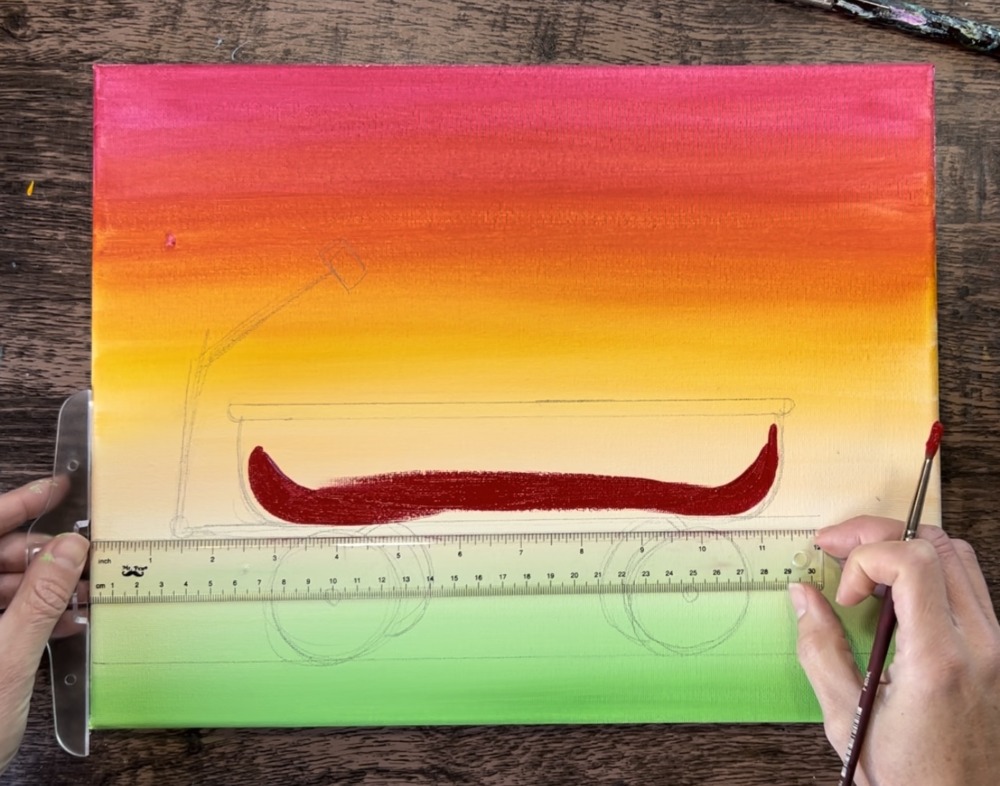
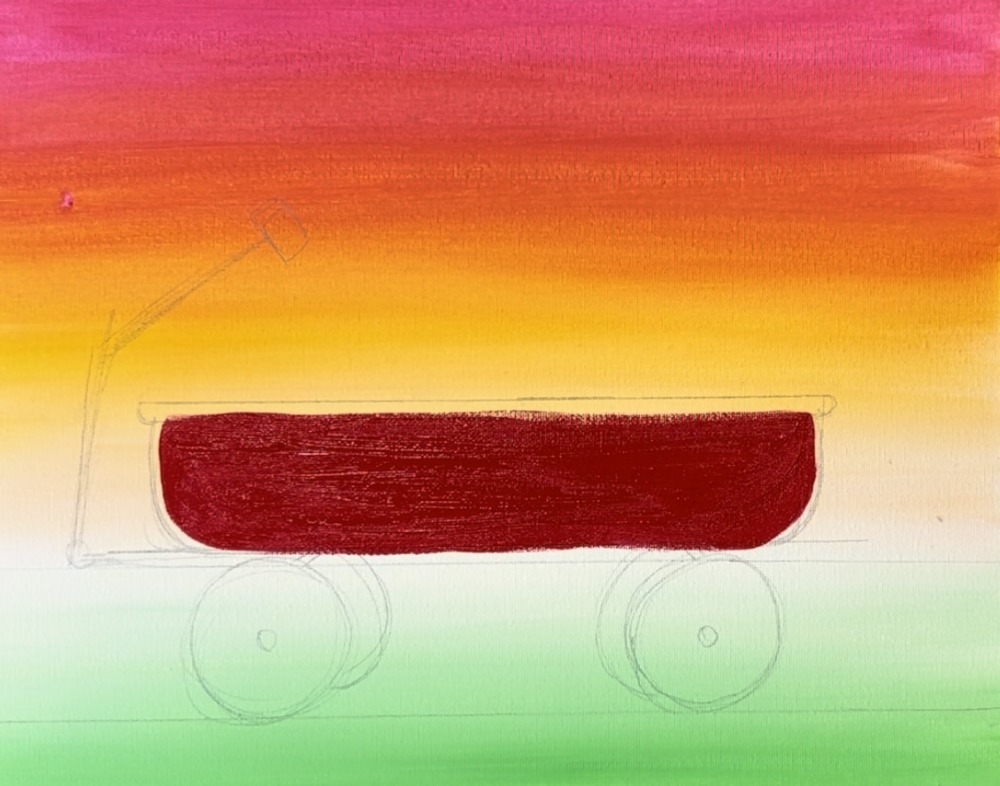
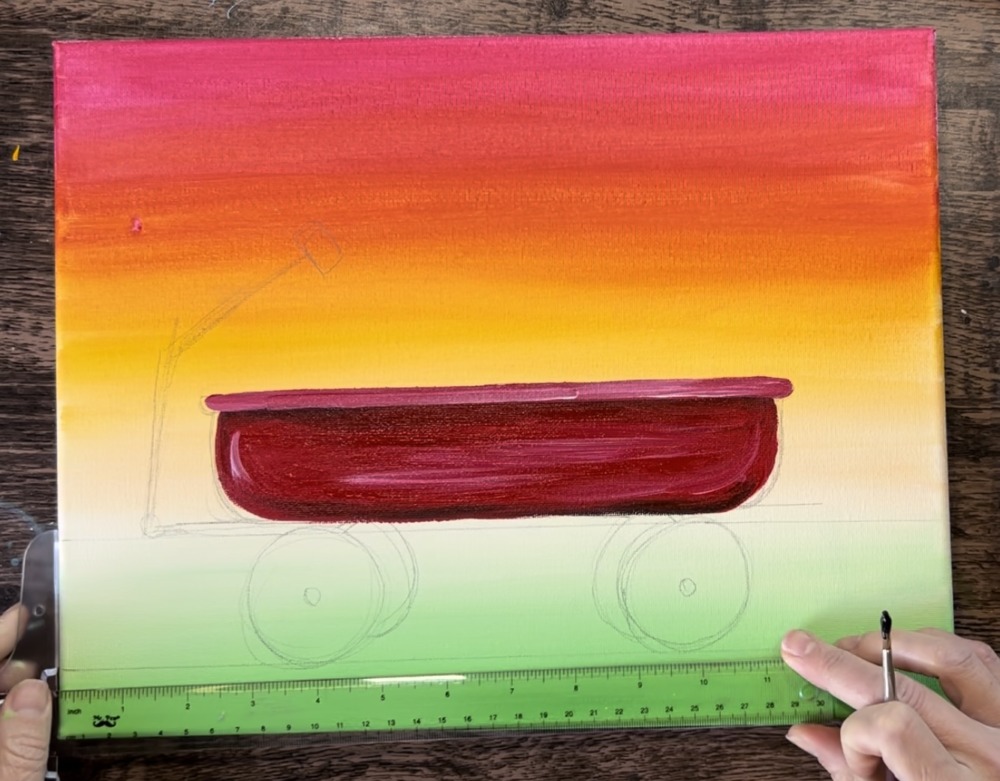
After filling in this shape solid dark red, add a tiny bit of black to the end of your brush (without rinsing the red). Blend this darker red color on the very top and very bottom edge of the wagon.
Rinse the brush off. Mix cad red deep and titanium white on your palette (about equal parts). Paint the top lip/edge of the wagon with this light red color.
Next, use mars black and the #4 round brush to paint wheels and the parts of the axel.
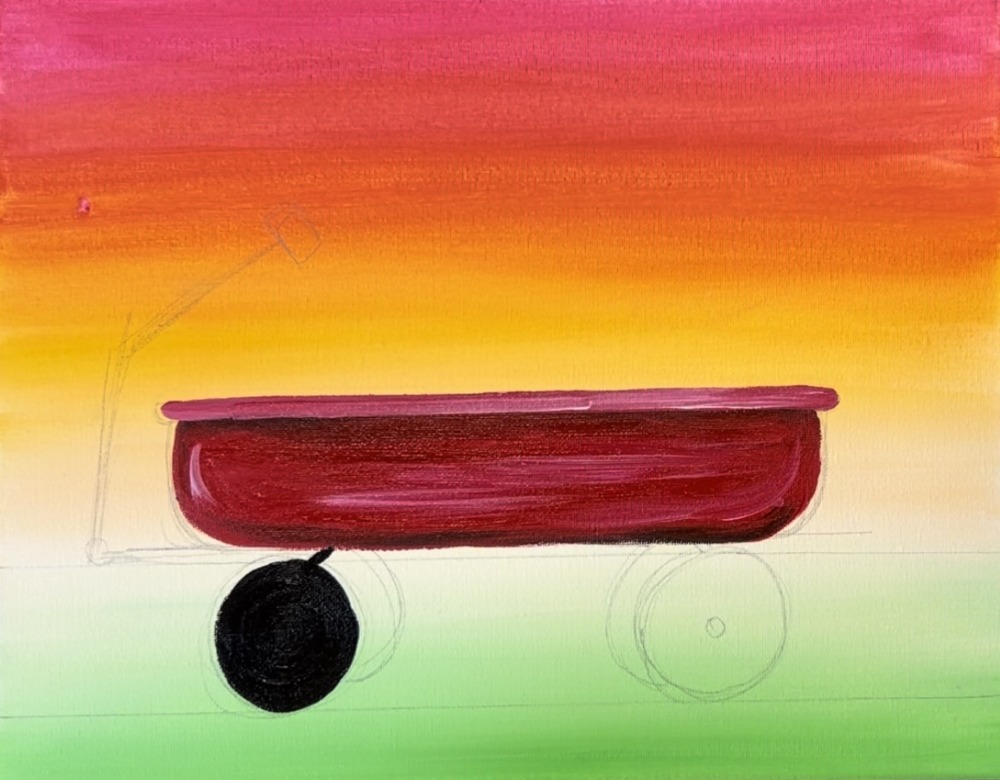
When you paint the back wheels, mix a little white into the black so that it shows up as a dark gray.
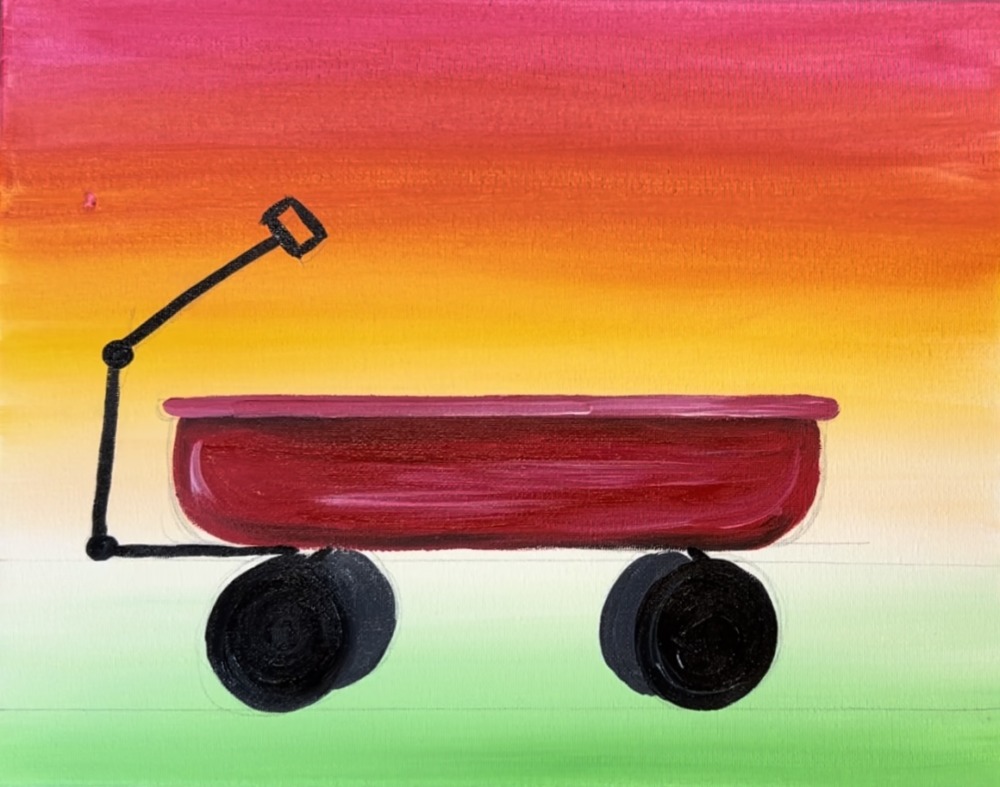
Paint the handle solid black and the part that connects to the bottom of the wagon.
Next, wait for the wheels to dry. Then paint the white circles inside both of the wheels.
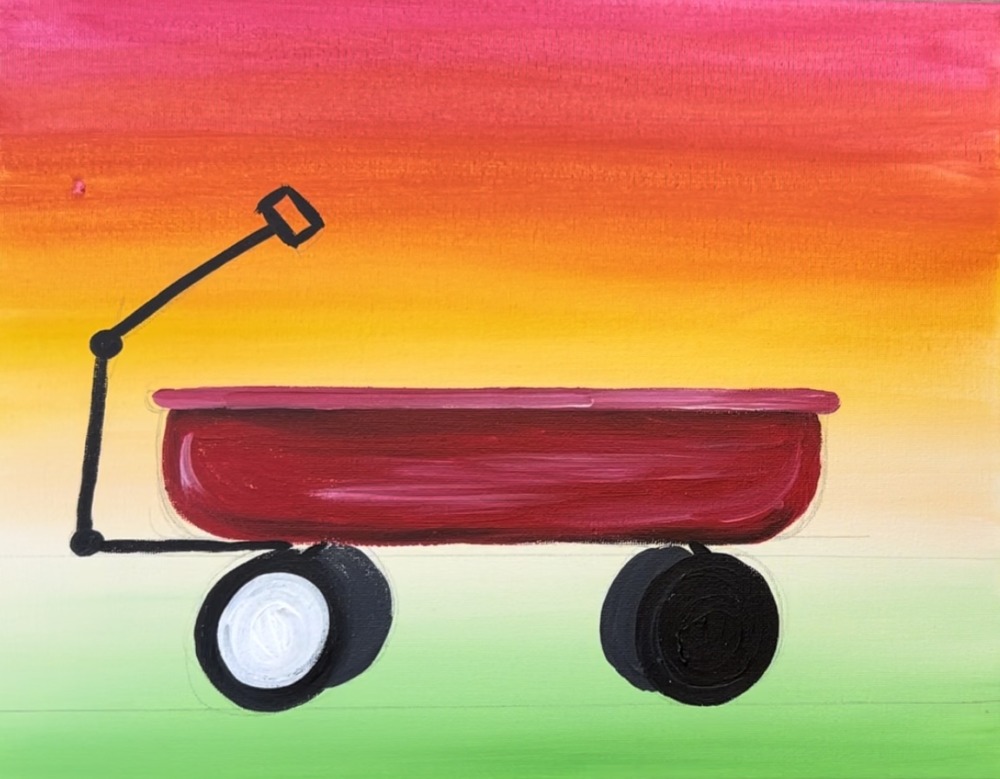
Paint the white circles (crescent shapes) on the side wheels as well.
While the white is drying, add some shadow on the ground. Mix your “light green permanent” with a small amount of “mars black”. Wipe the brush off so there is only a small amount of paint on the brush. Then “dry brush” shadow just below the wheels and drag it to the right.
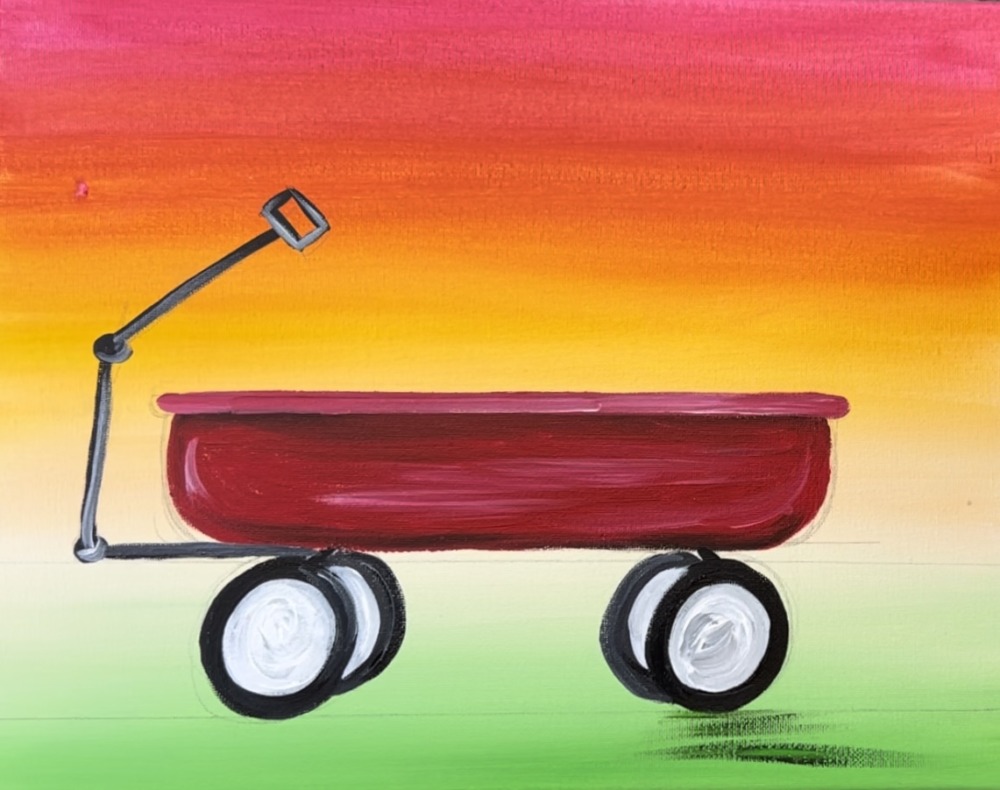
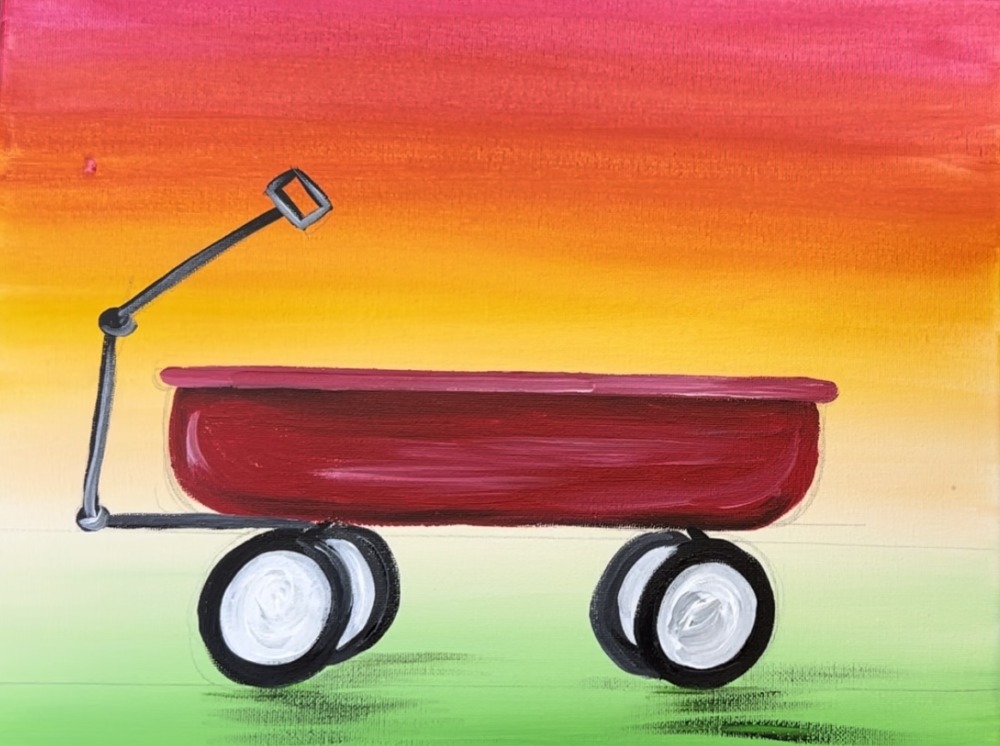
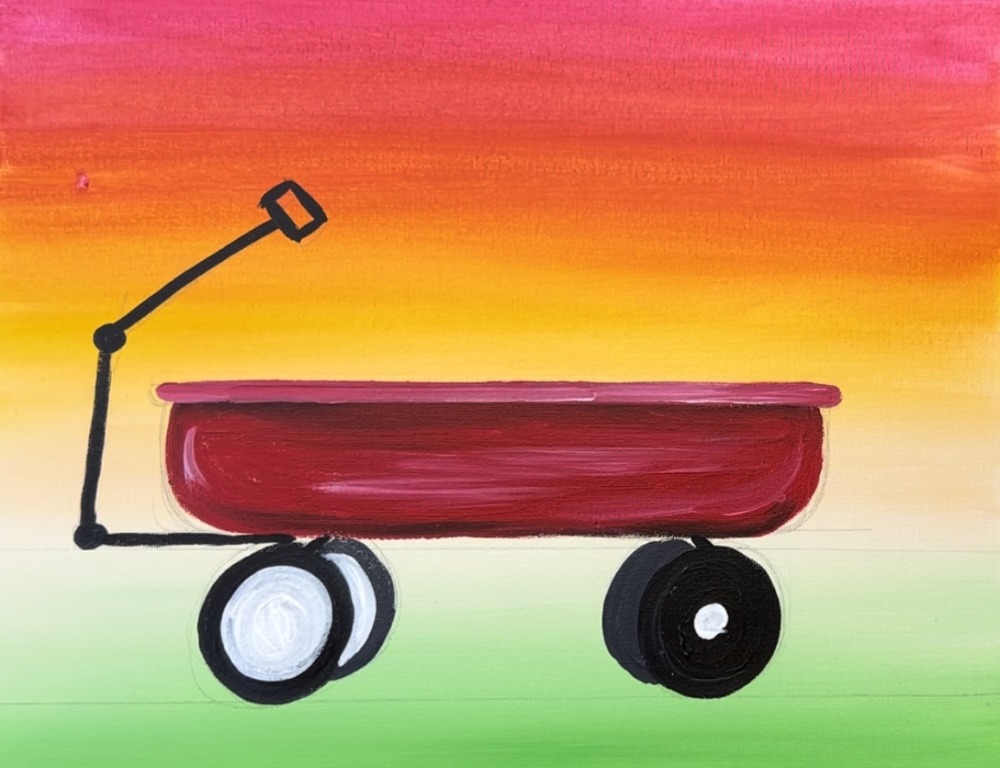
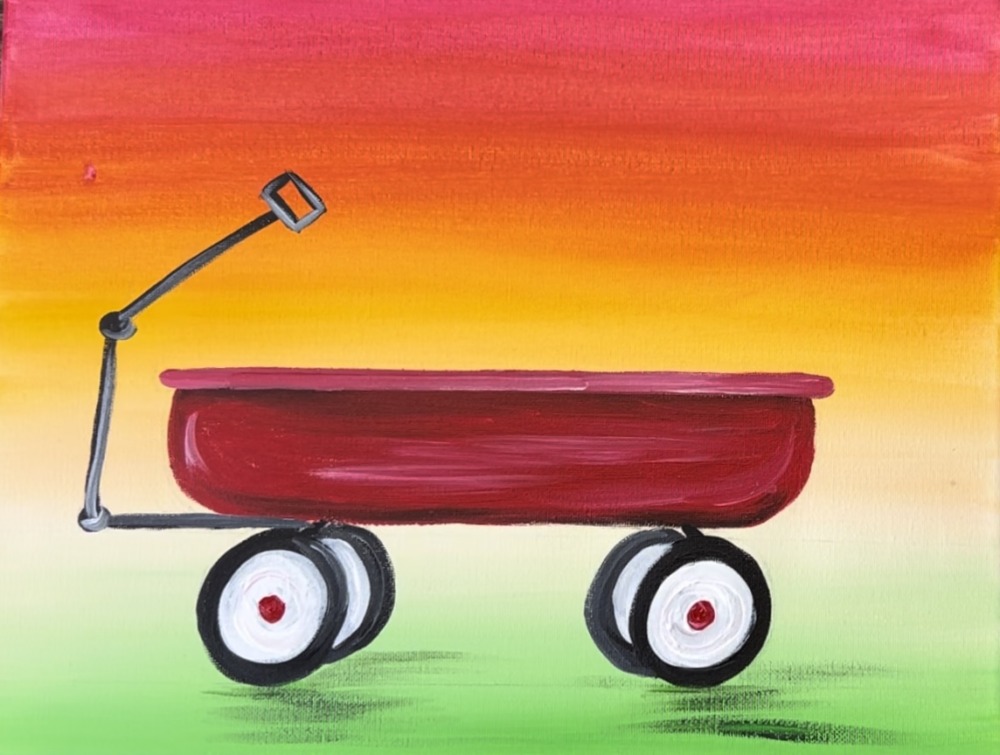
When the white on the wheels is dry, paint small red circles in the very center of the circles.
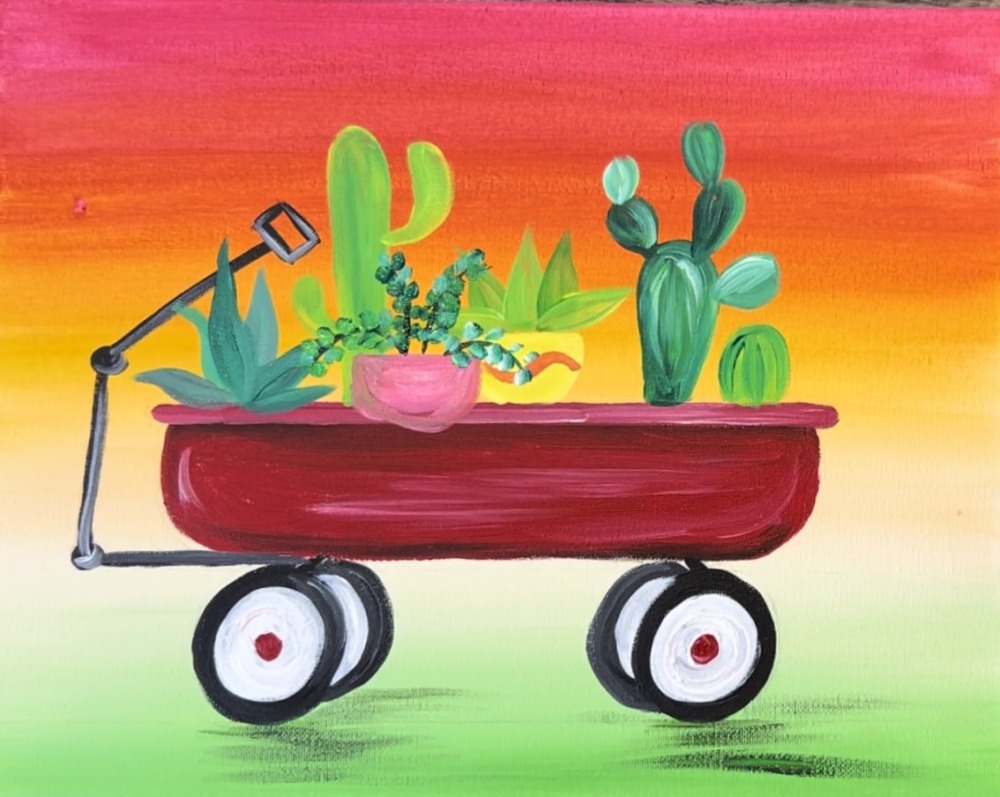
4. Paint cacti & succulents
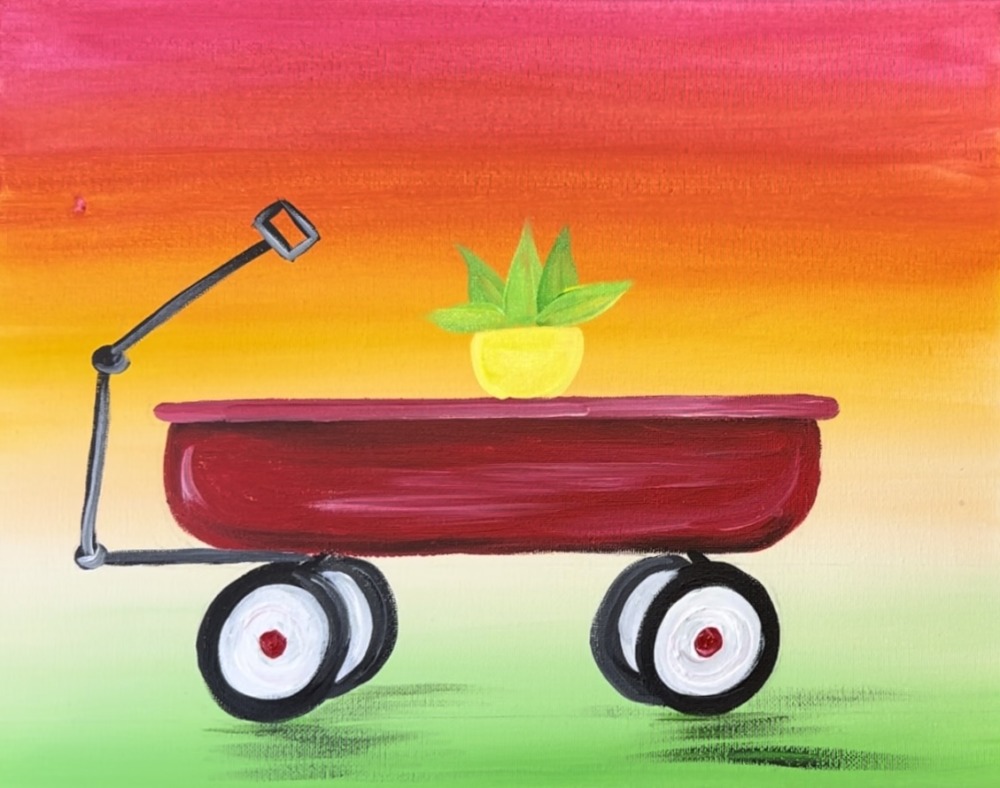
Load your paint palette with the color “cadmium yellow light hue”. Use the #4 round brush to paint a small yellow pot on the wagon.
Then paint the agave style succulent. Paint each of the leaves as rounded on the bottom and pointed on the tips. Use the colors: light green permanent mixed with cad yellow light. Vary the colors on each of the leaves so that each stand out from each other.
Paint a prickly pear cactus next! Use the color “phthalo green” to create a dark, blue green color in this cactus. Mix a little bit of white into the green to get some color variation. Paint little “teardrop” shapes for the segments of the prickly pear cactus.
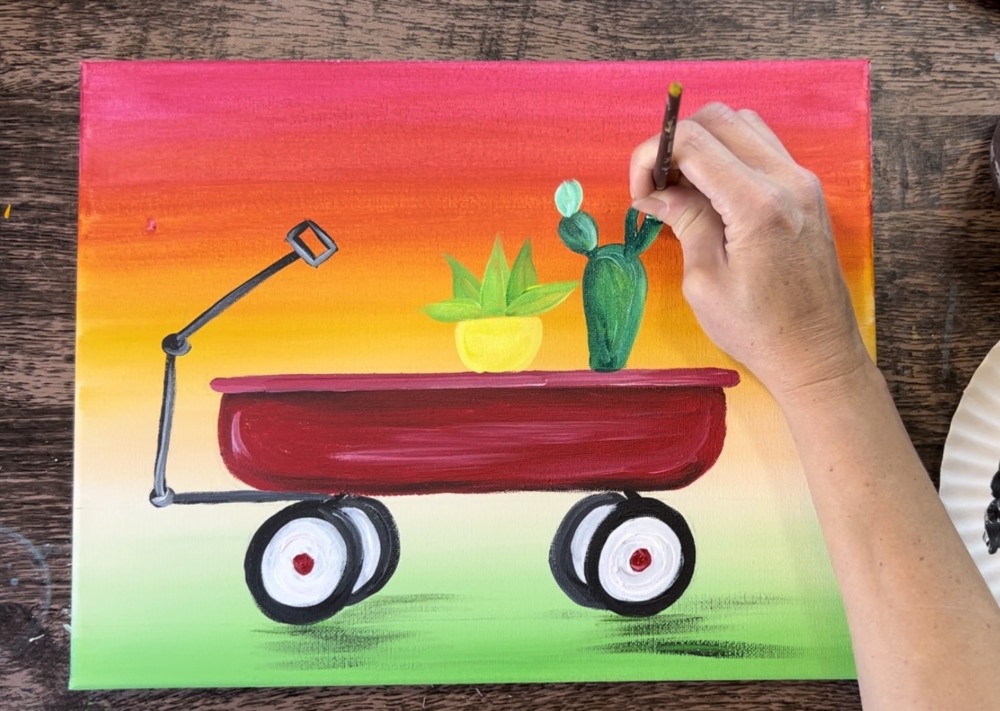
Then paint a barrel cactus! Use the color “light green permanent” mixed with some yellow. Paint a half oval shape.
Then add some “phthalo green” lines on the barrel cactus.
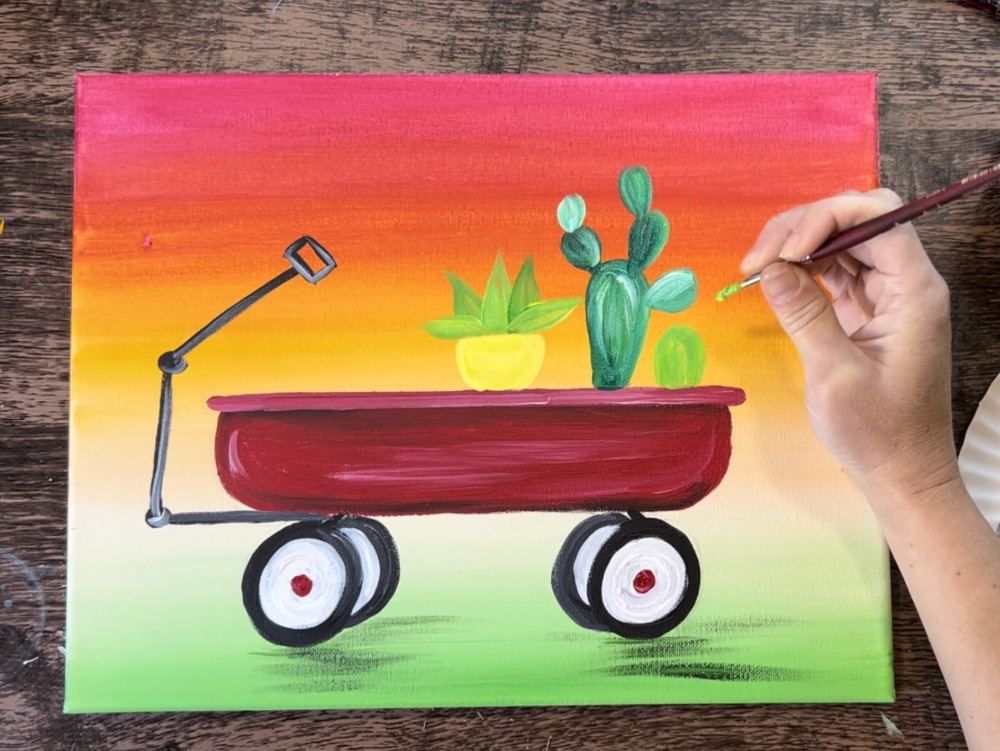
Paint the mini saguaro cactus next! For this one, I mixed yellow with the light green color. Make the bottom of the cactus (and its arms) thinner and allow the edge/ rounded end to get larger.
Paint another agave style succulent next. This time, mix a gray-green on your palette by mixing white and black into “phthalo green”. You’ll want to do different variations of this so that each of the leaves stand out from each other.

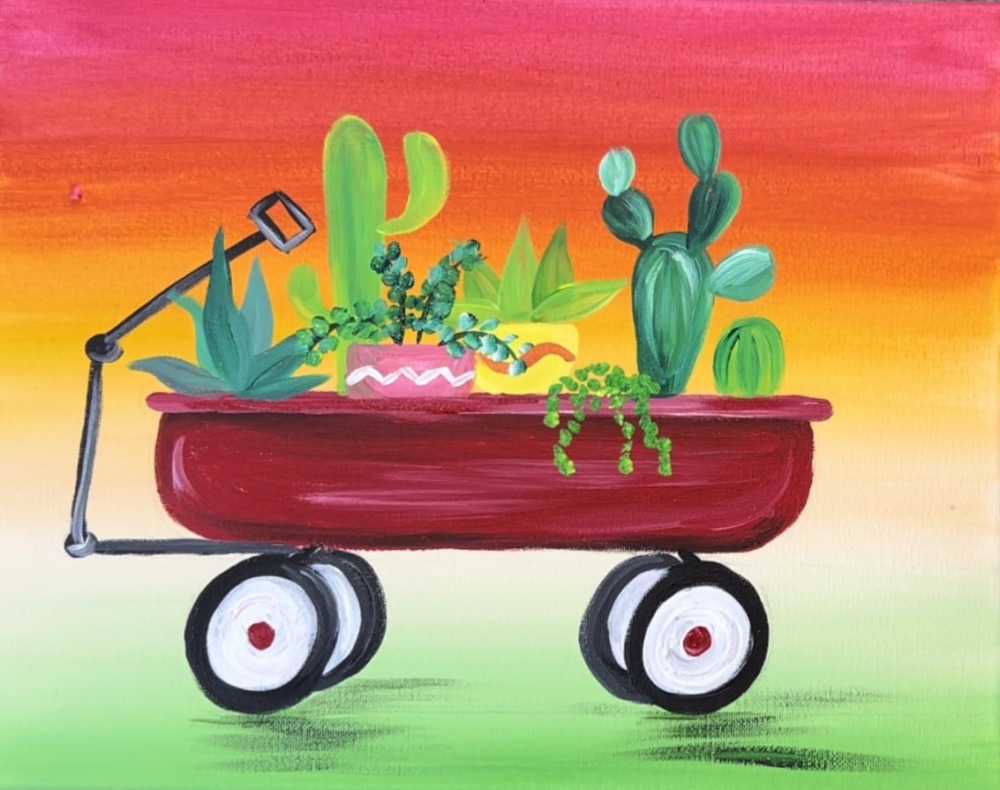
Paint another pot. Use the color “primary red” and “titanium white” mixed together to paint a rounded pot with a flat opening.
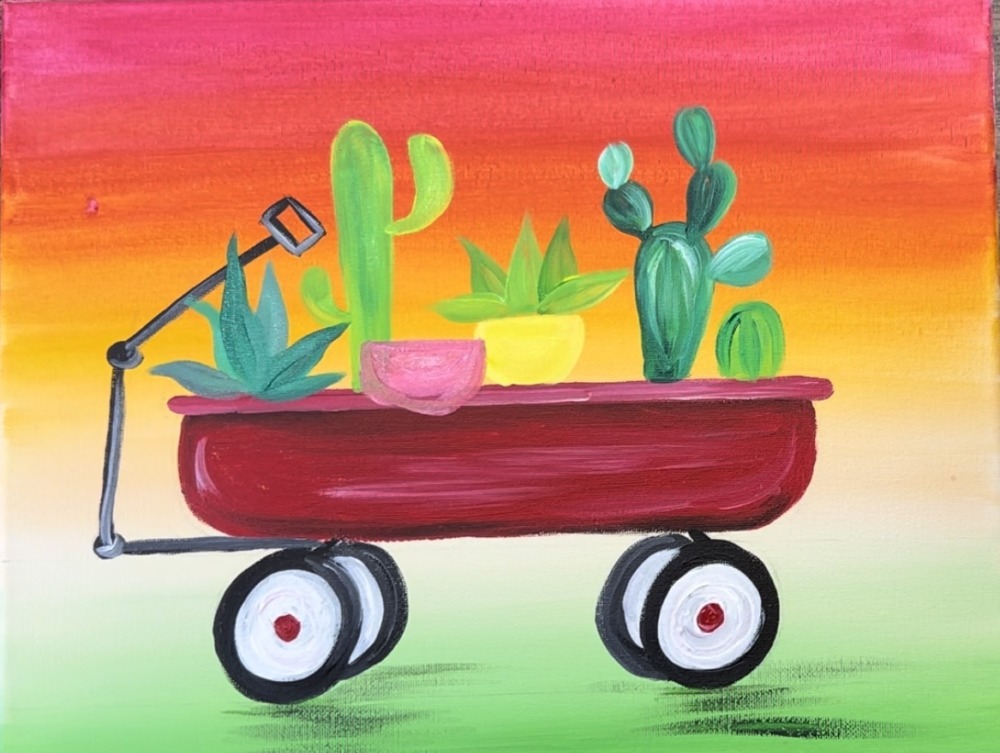
Then I did “Portulacaria” or “Elephant Bush Succulent”. These have stems with little rounded thick leaves. I did black for the middle stems.
Then use the tip of the round brush to paint rounded leaves next to the stems. Press the brush to make the little circles and use different variations of the “phthalo green” and some white.
Next, I did a “string of pearls” dangling over the side of the wagon. Do this by painting little green dots using the end of your brush. Use a variation of the light green, the yellow and the white to create different tints of the green.
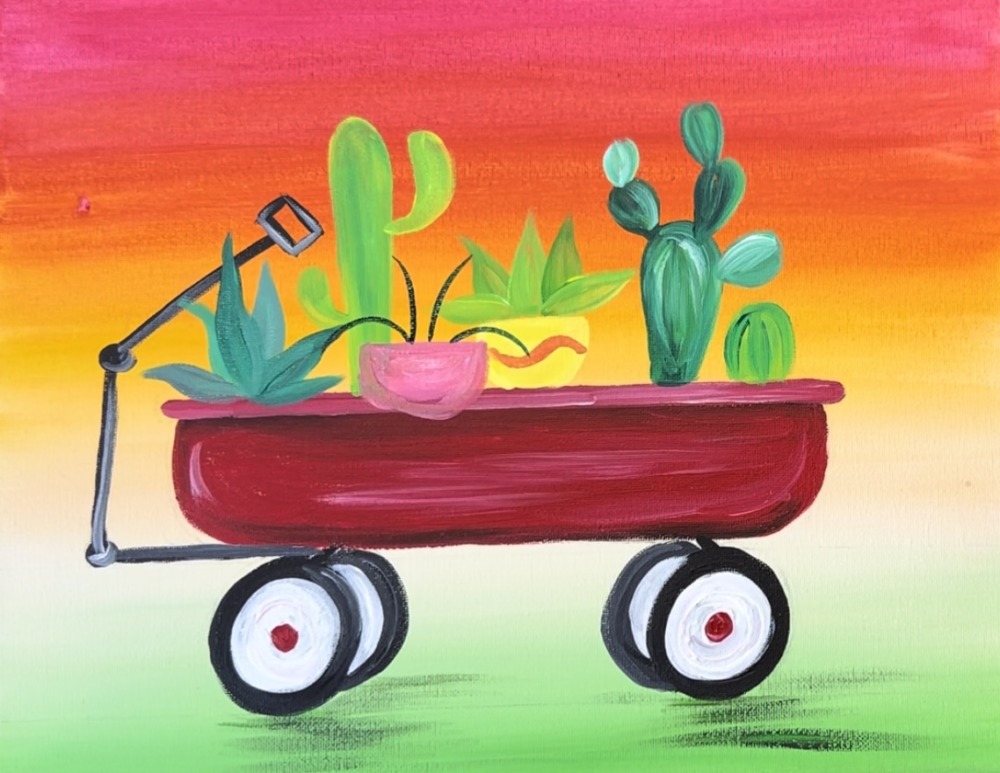
Next, use the back of your paint brush to paint little white dots on the prickly pear cactus.
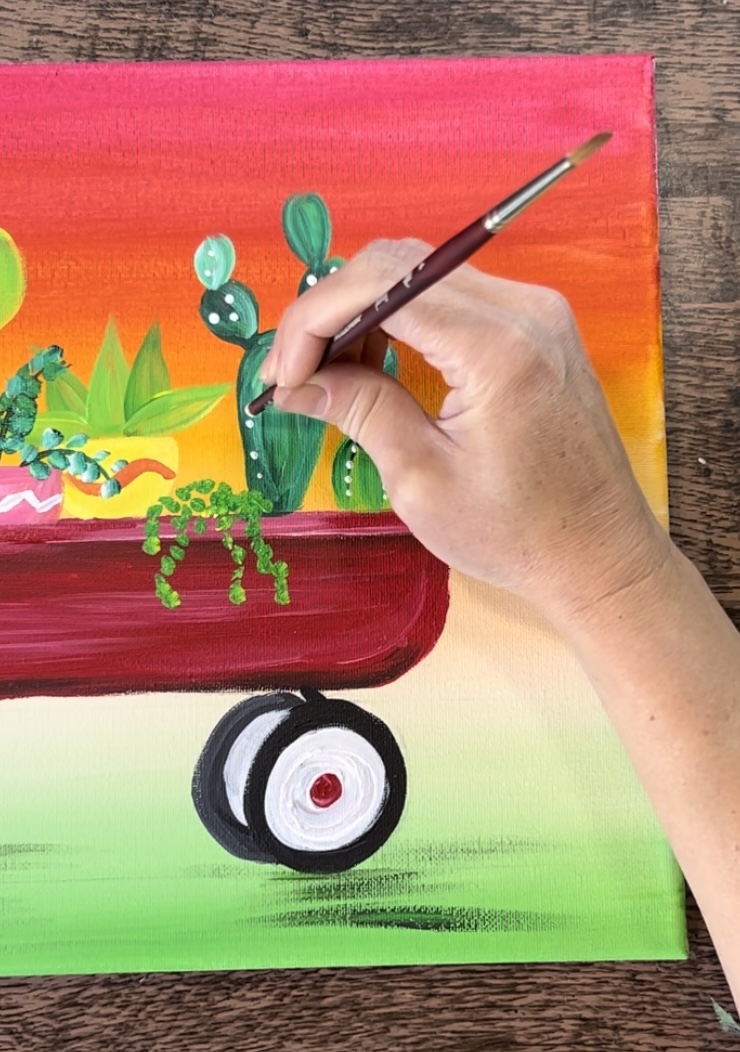
Do this on the barrel cactus and the saguaro.
Next, paint little blossoms on the saguaro, prickly pear and barrel cactus. Use the primary red color and mix with titanium white to make a light pink. Use the round brush to paint to paint a little cup shape blossom. Paint little curved paint strokes going upwards. I used the cadmium yellow light color for the prickly pear.

5. Loose outlining with a paint pen
This step is optional but it helps the cacti and succulents to stand out. When you loosely outline your objects, it helps to define the shape a little bit better. I like to outline but not outline everything. Also, the lines of the outline are loose and not continuous. You can achieve this with the paint pen by not pressing too hard/ holding the pen loosely.
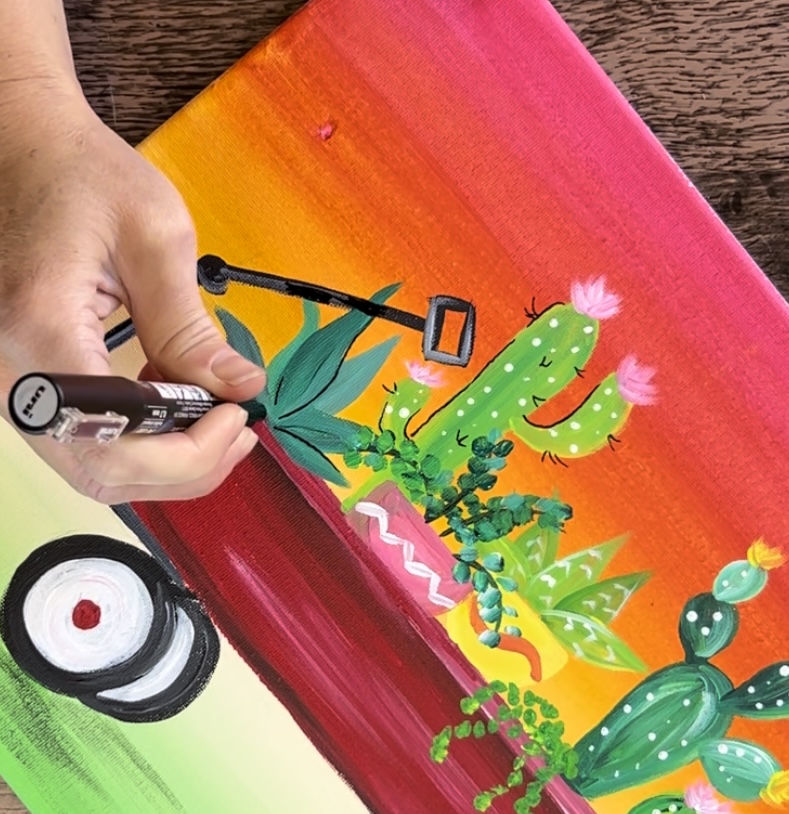
Additionally, you can use the paint pen to paint little spikes on the saguaro.

6. Final details
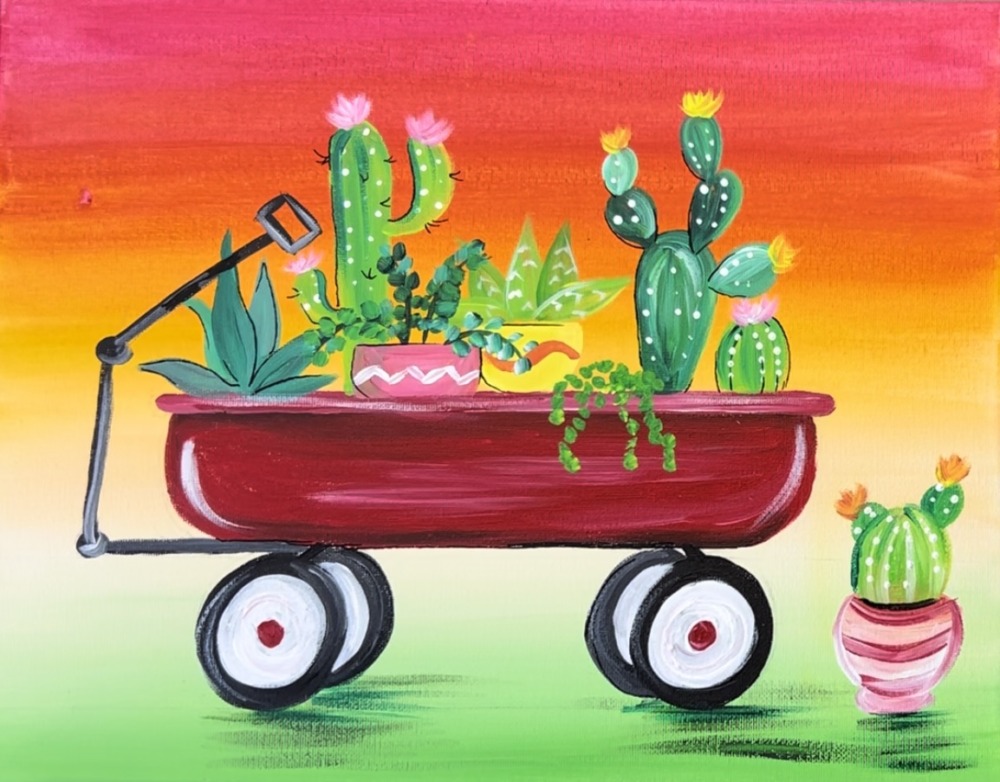
Some other final details include painting a pot on the ground and adding another cactus/ succulent into it. I made a “peach color” for this pot by mixing white with the “primary red” and some of the “cadmium yellow light” color.
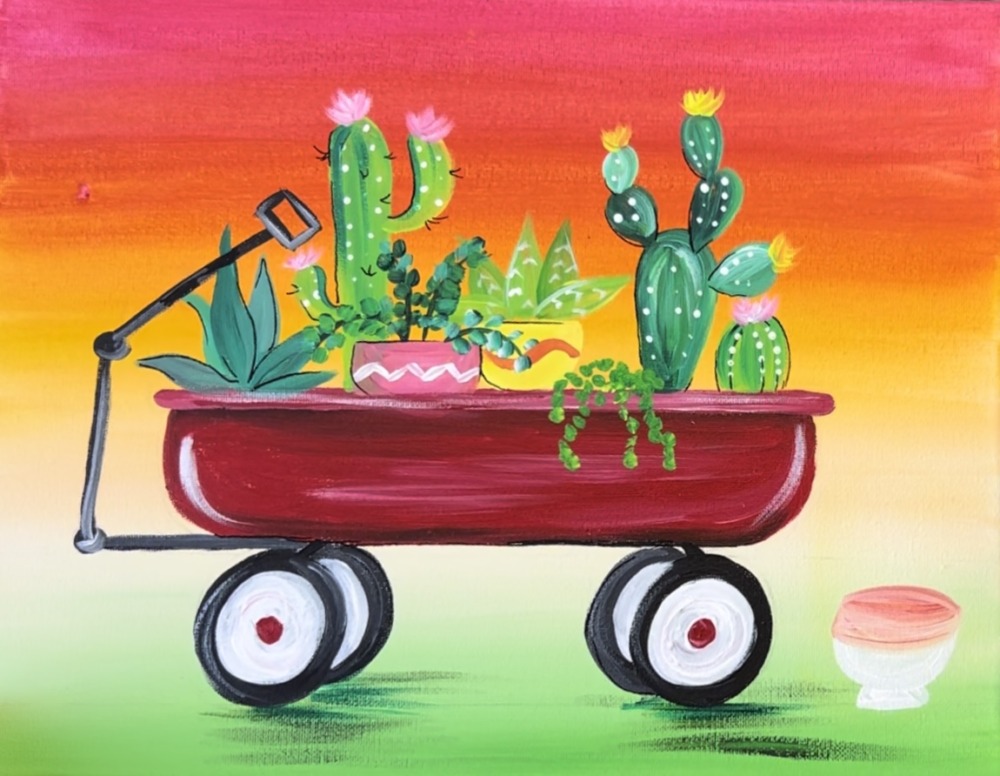
I used light green permanent with a little yellow into it to make a barrel cactus.
Then use “titanium white” to paint lines on the cactus. Paint little rounded arms attached to the cactus.
I also added little white dots and orange flowers to the cactus.
Use the same “dry brush technique” and dark green paint to paint shadow under the pot.
7. Optional quote
This is optional! You can change the quote or not do the quote. You can also add a quote on the side of the wagon instead of in the sky. I recommend writing your letting out with a pencil first before outlining with the paint pen.
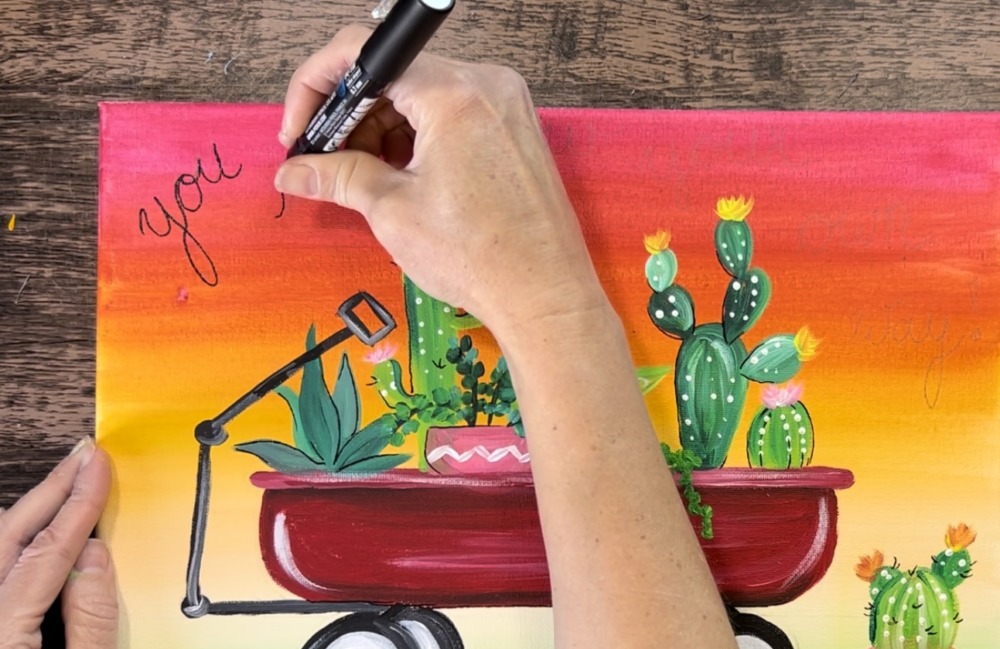
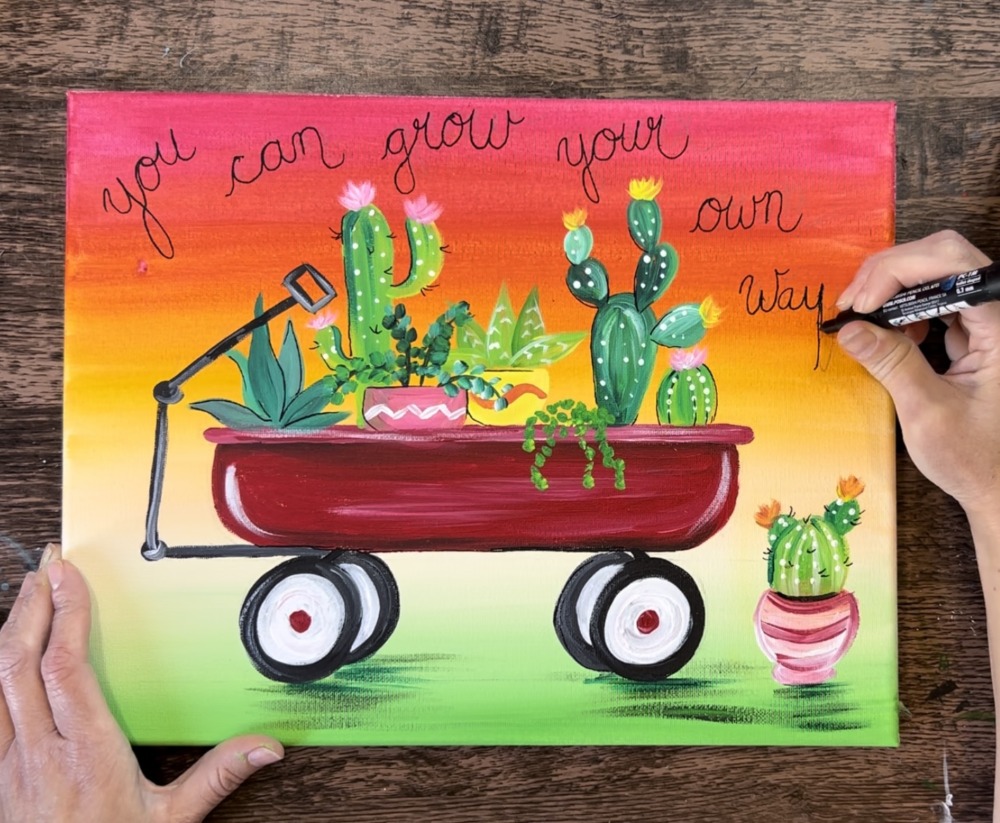
After writing the quote out with the paint pen, I went back and made the letters slightly thicker towards the left side of each of the letters.
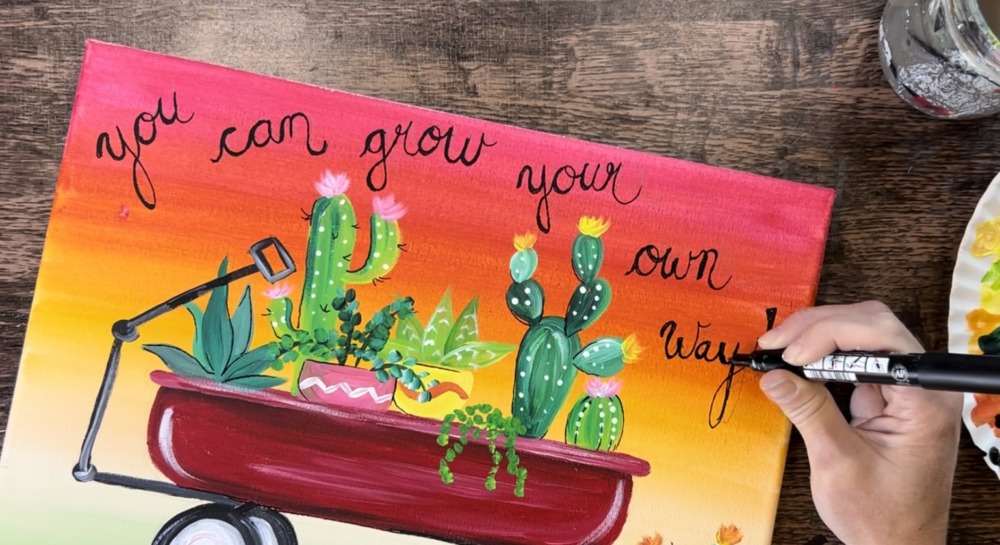
I also added 2-3 decorative dots on the left side of each of the first letters of the words.

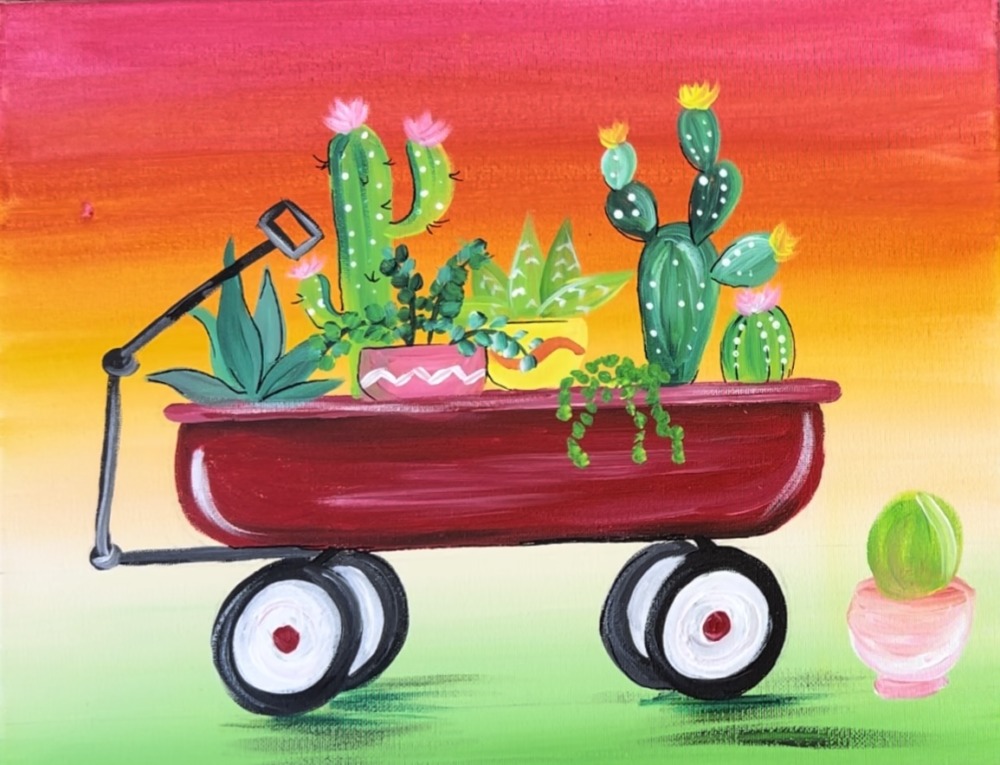
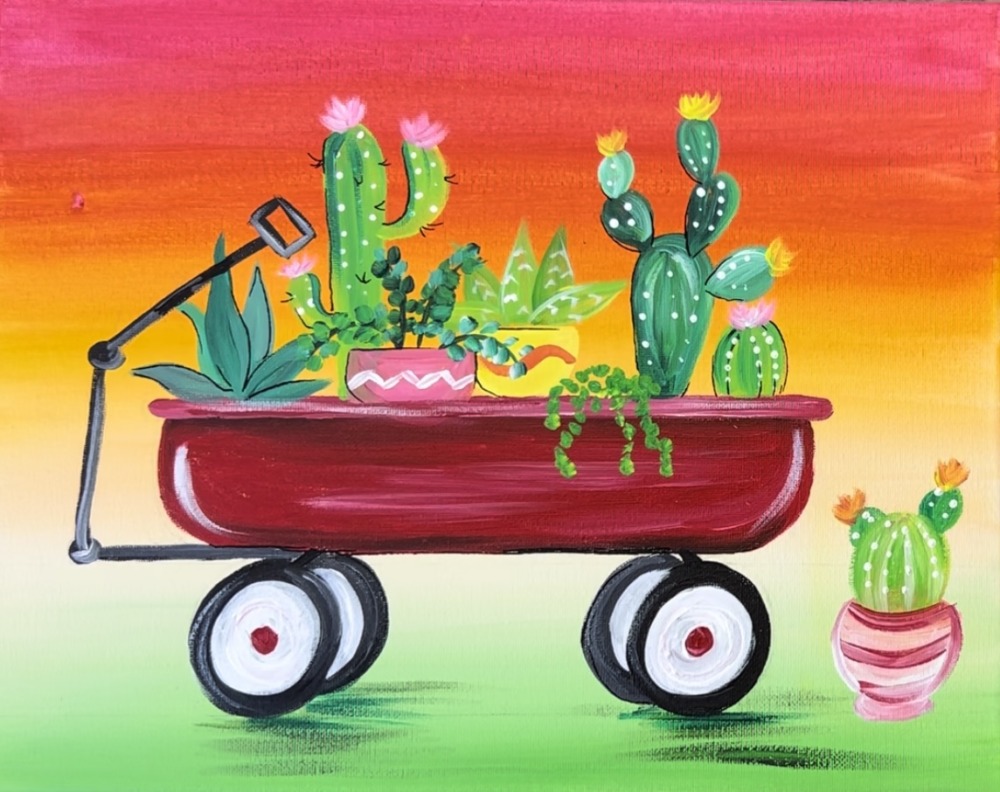
Finished!
That’s it! Sign your name and show it off!