Would you like to save this?
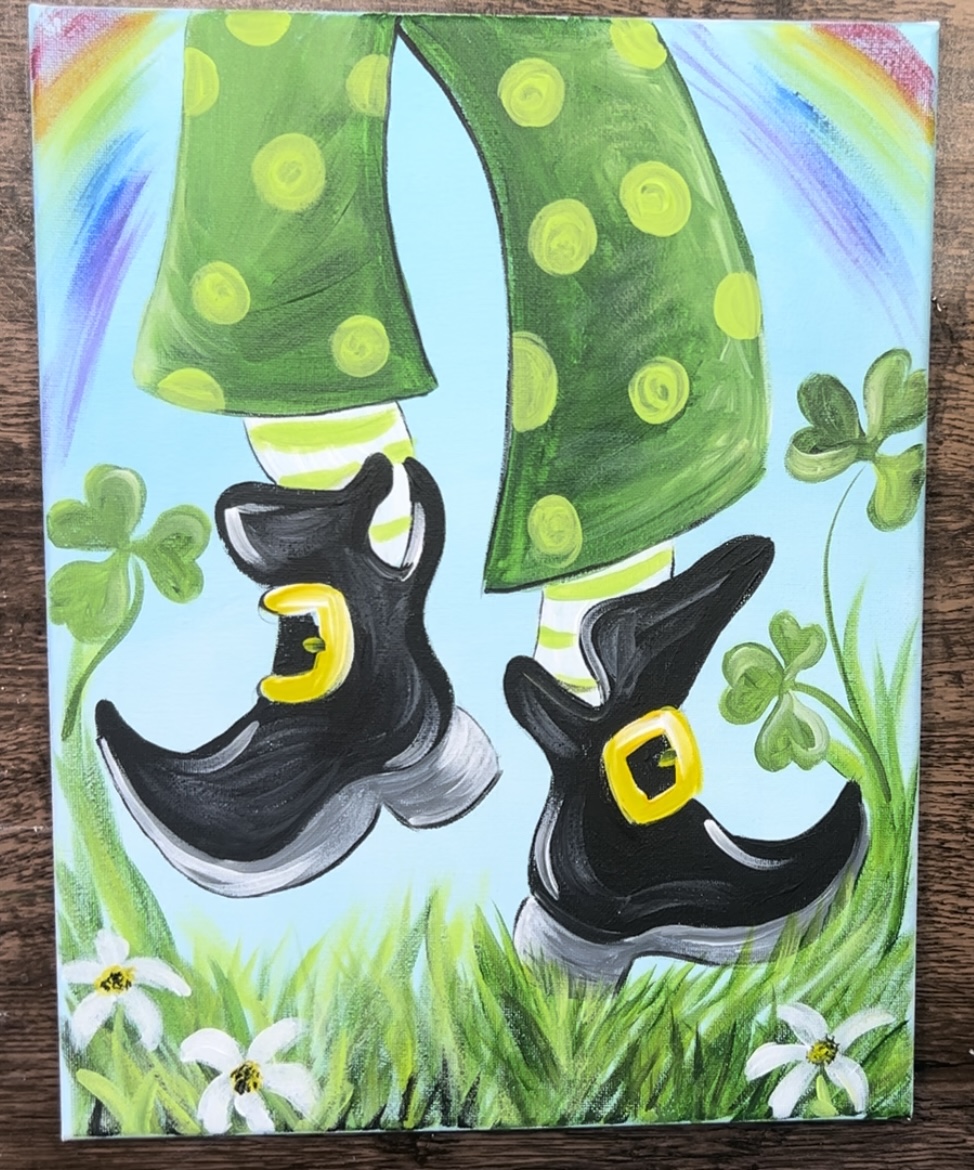
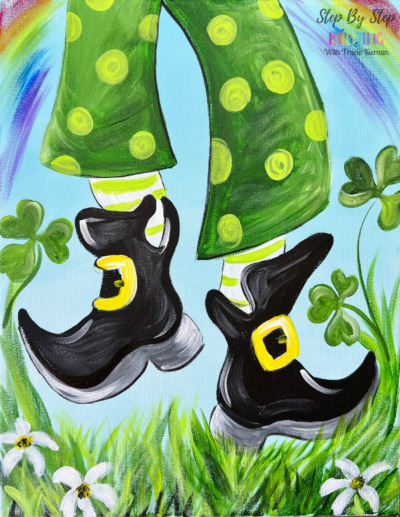
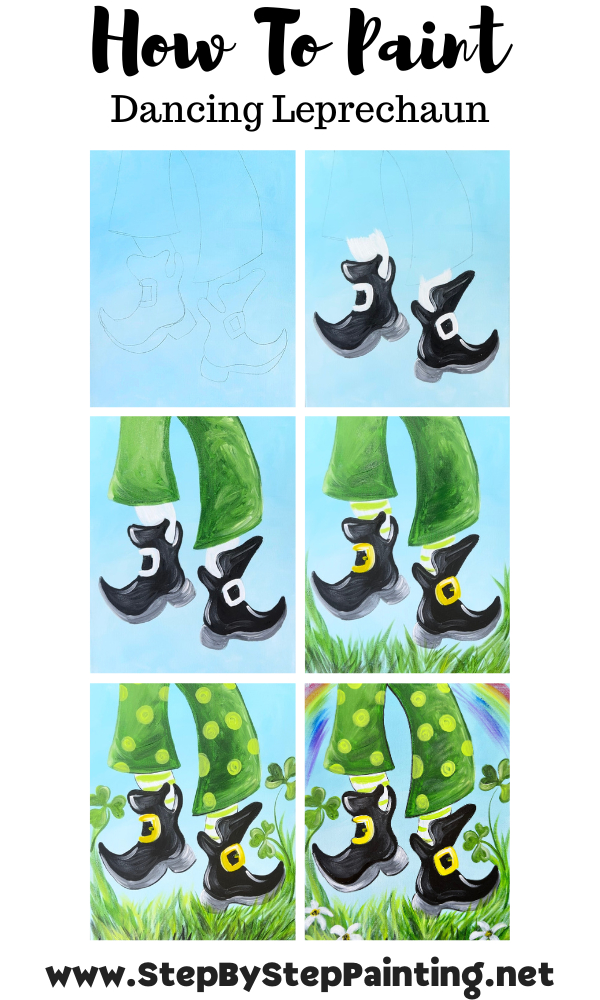
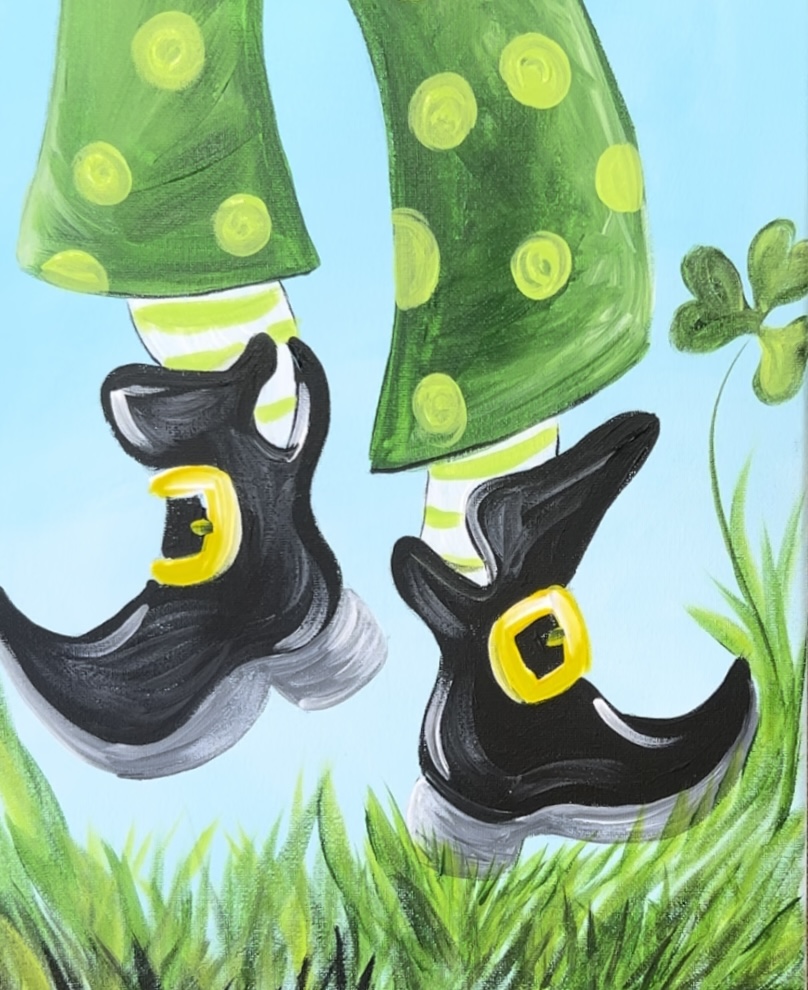
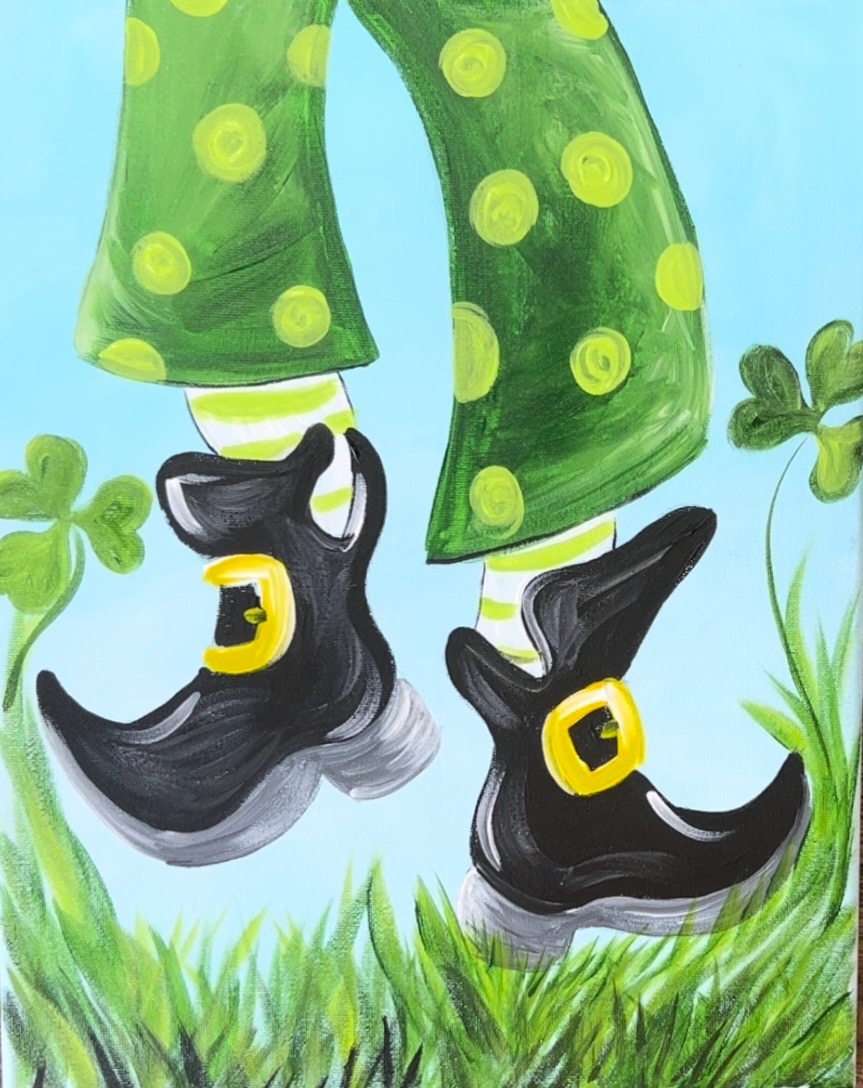
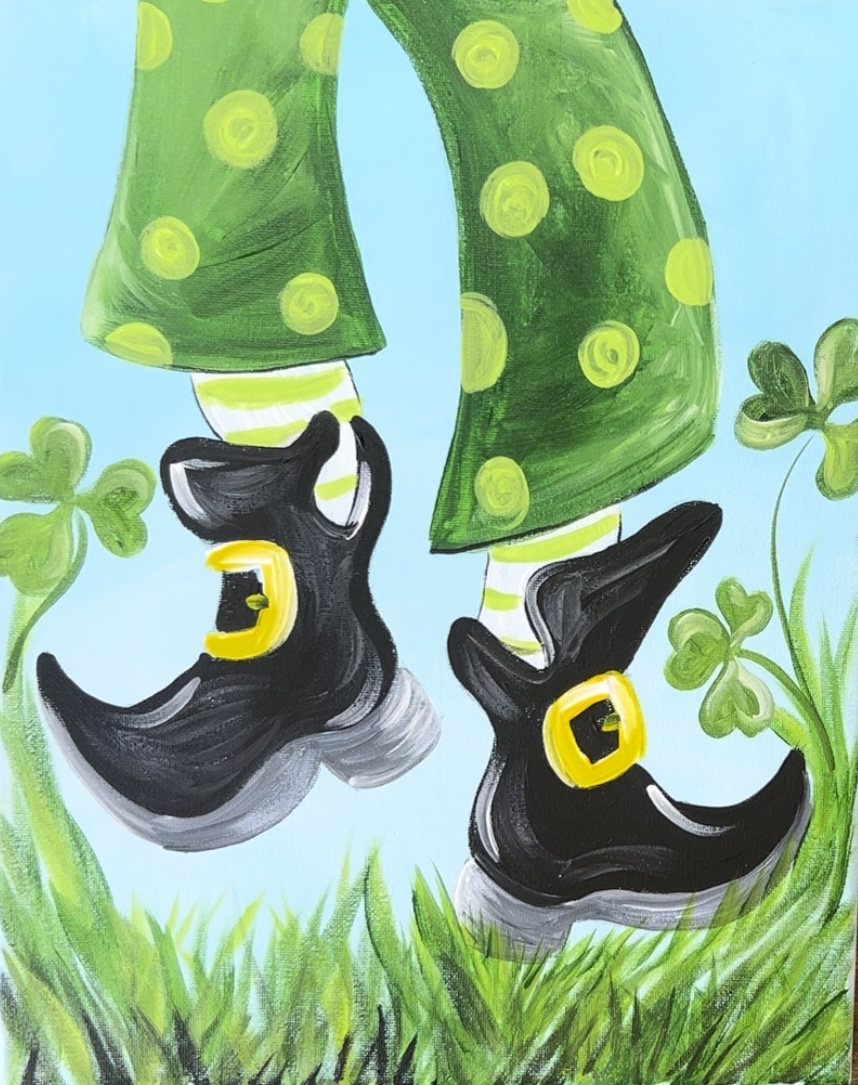
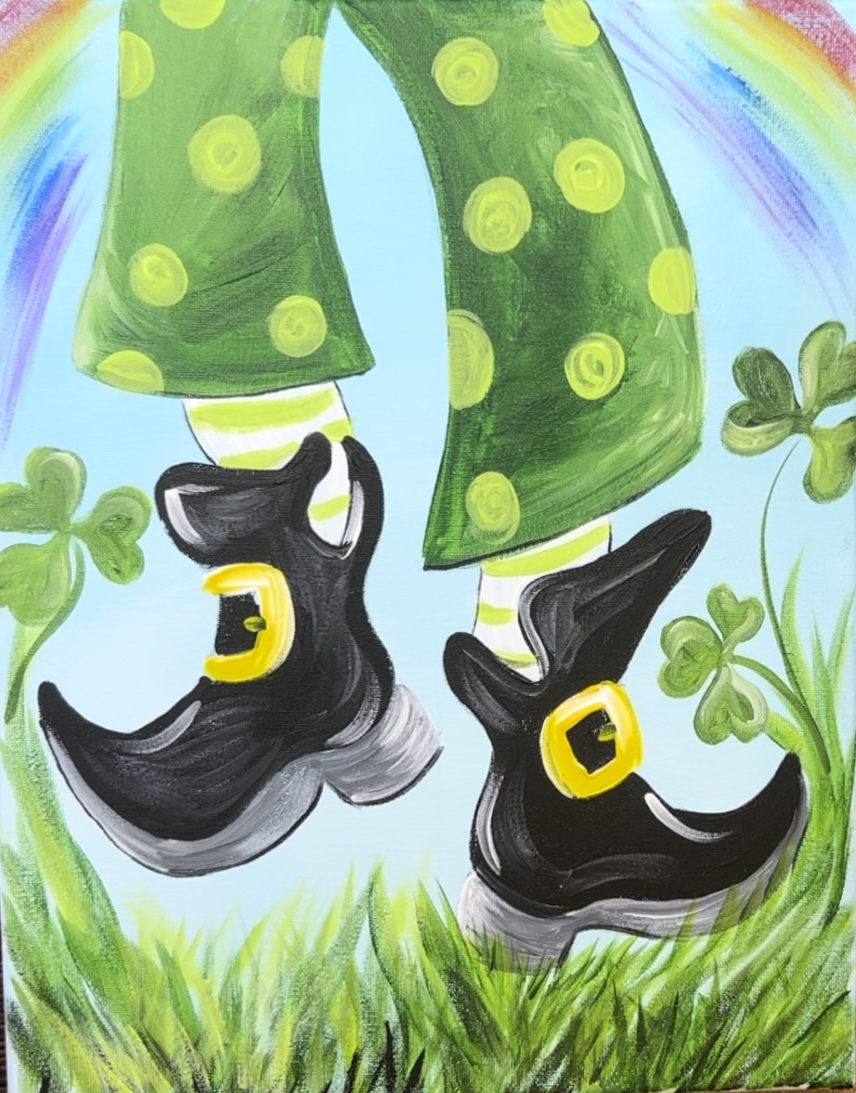
Learn how to paint “Dancing Leprechaun Legs” with acrylics on an 11 x 14 canvas.
This tutorial comes with a traceable template that you would need to print out on two papers and tape together.
Enjoy and happy painting!
Materials
Dancing Leprechaun Legs
Materials
- Leprechaun Legs Traceable
- Graphite Paper
- Pencil
- 11 x 14 Canvas
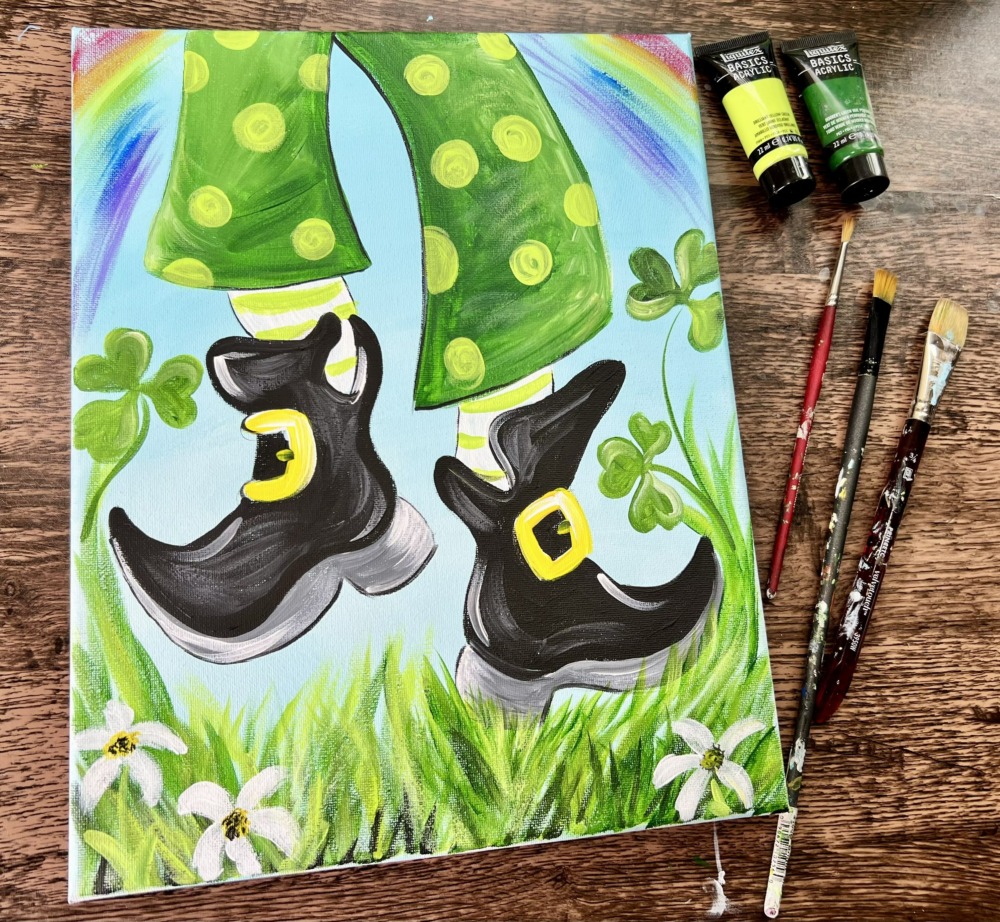
- Acrylic Paints
- Brushes
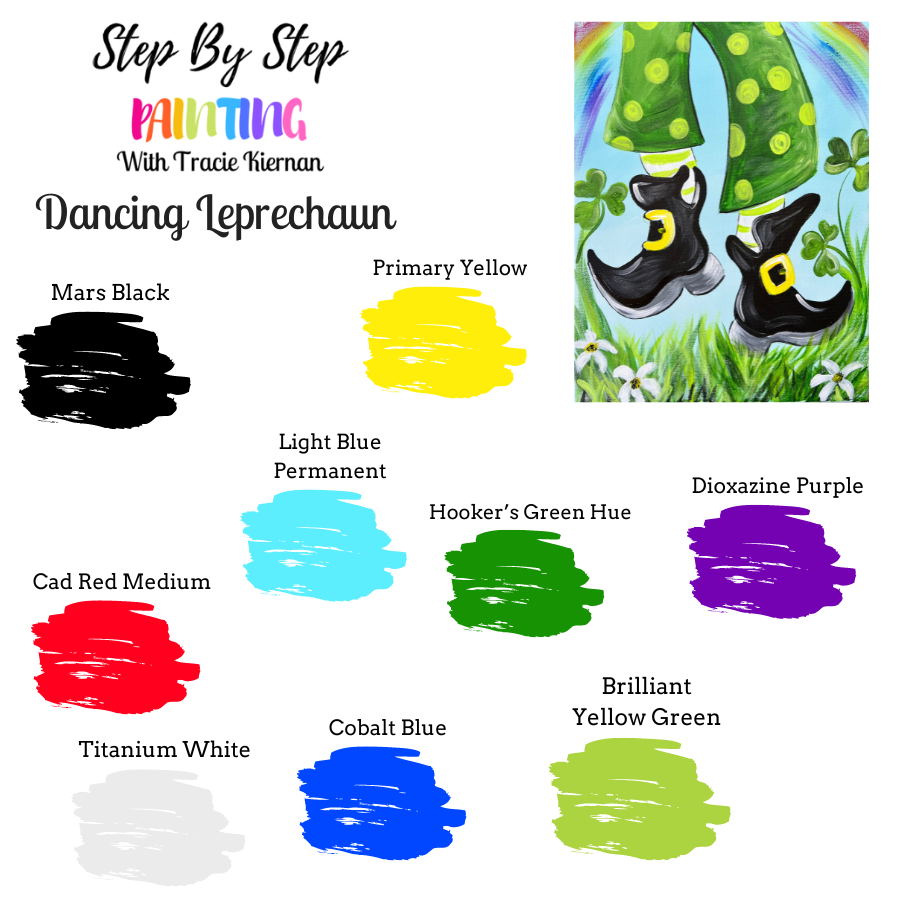
Colors
- Titanium White
- Mars Black
- Hooker's Green Hue Permanent
- Cad Red Medium (only for rainbow)
- Primary Yellow
- Brilliant Yellow Green
- Cobalt Blue (only for rainbow)
- Light Blue Permanent
- Dioxazine Purple (only for rainbow)
Paint Brushes
- #4 Round
- #12 Bright
- 3/4 Flat Brush
Color Palette
Craft Paint Substitutions
I used Liquitex BASICS acrylics for this painting. If you are using a different brand, such as Apple Barrel, you can substitute for:
- Black
- White
- New shamrock
- Holly Branch
- Bright Yellow
- Parrot Blue
- Flag Red
- Purple Iris
- Bright Blue
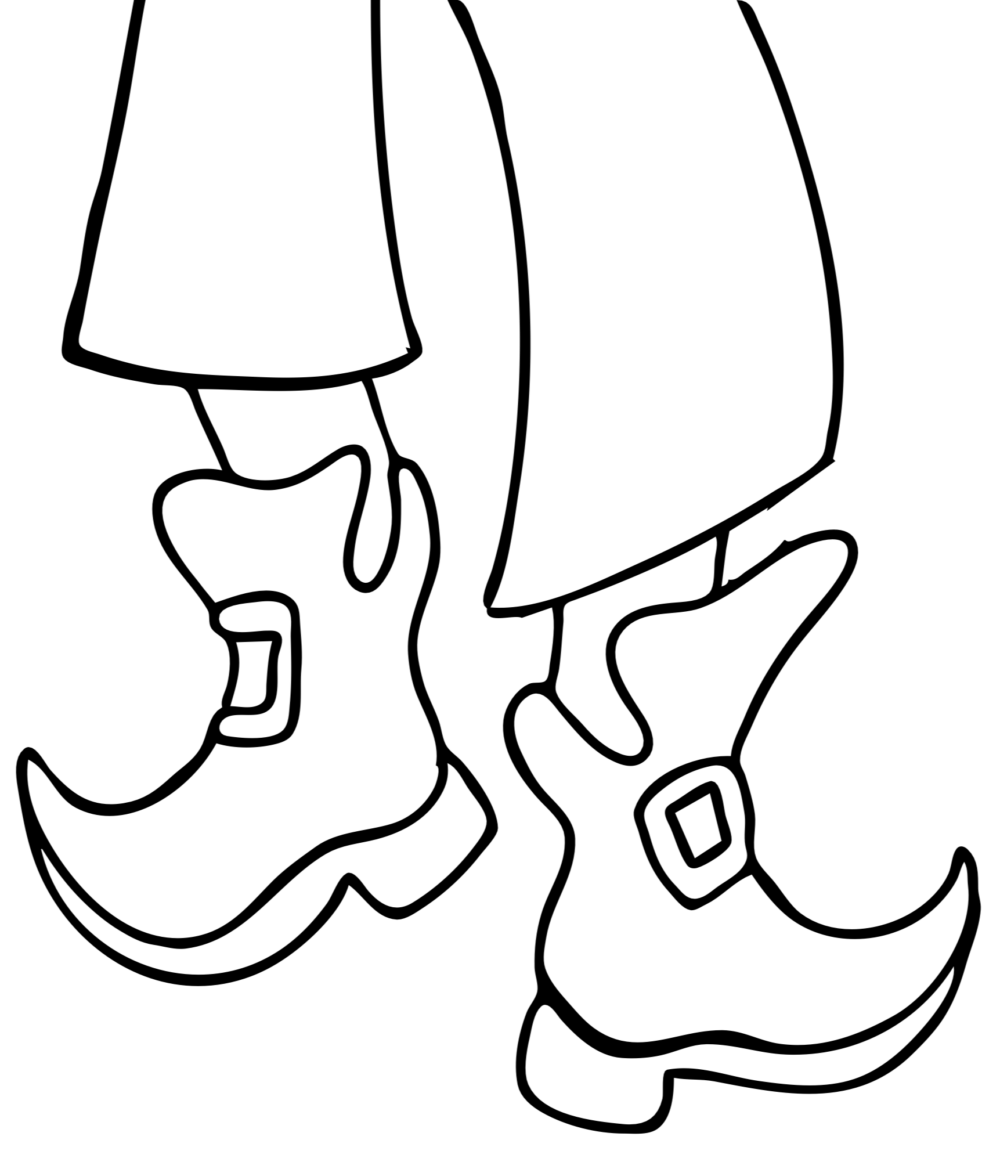
Traceable
This tutorial does use a traceable. You are welcome to hand draw this if you prefer but Tracie will be using the template in the video and instructions.
Directions At A Glance
Video
Step By Step Directions
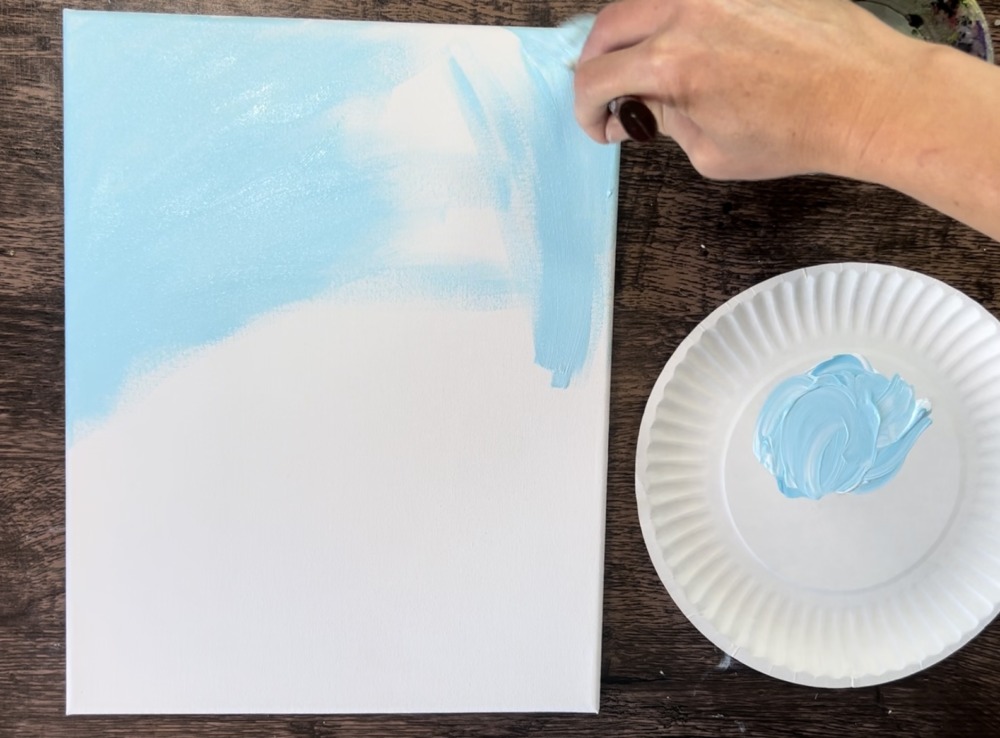
1. Paint Background
Load your paint palette with the colors: “titanium white” and “light blue permanent”. Use a “3/4 wash brush” to mix the two colors together.

Paint your entire canvas with this light blue color. You can thin the paint down a little with water. This initial background is a thin layer of paint.
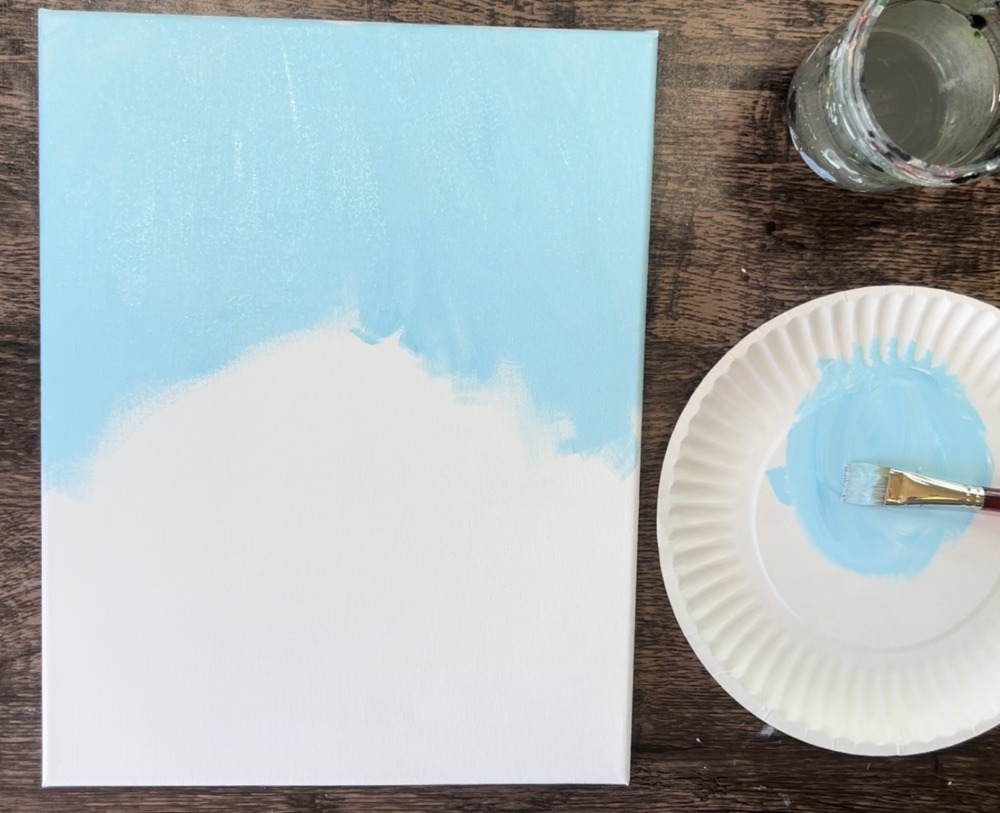
Wait for this to dry before going onto the next step.
2. Transfer Traceable
Download the “Dancing Leprechaun” template. Print it on two sheets of paper and cut the bottom line of the top piece. Tape the two sheets together to fit.
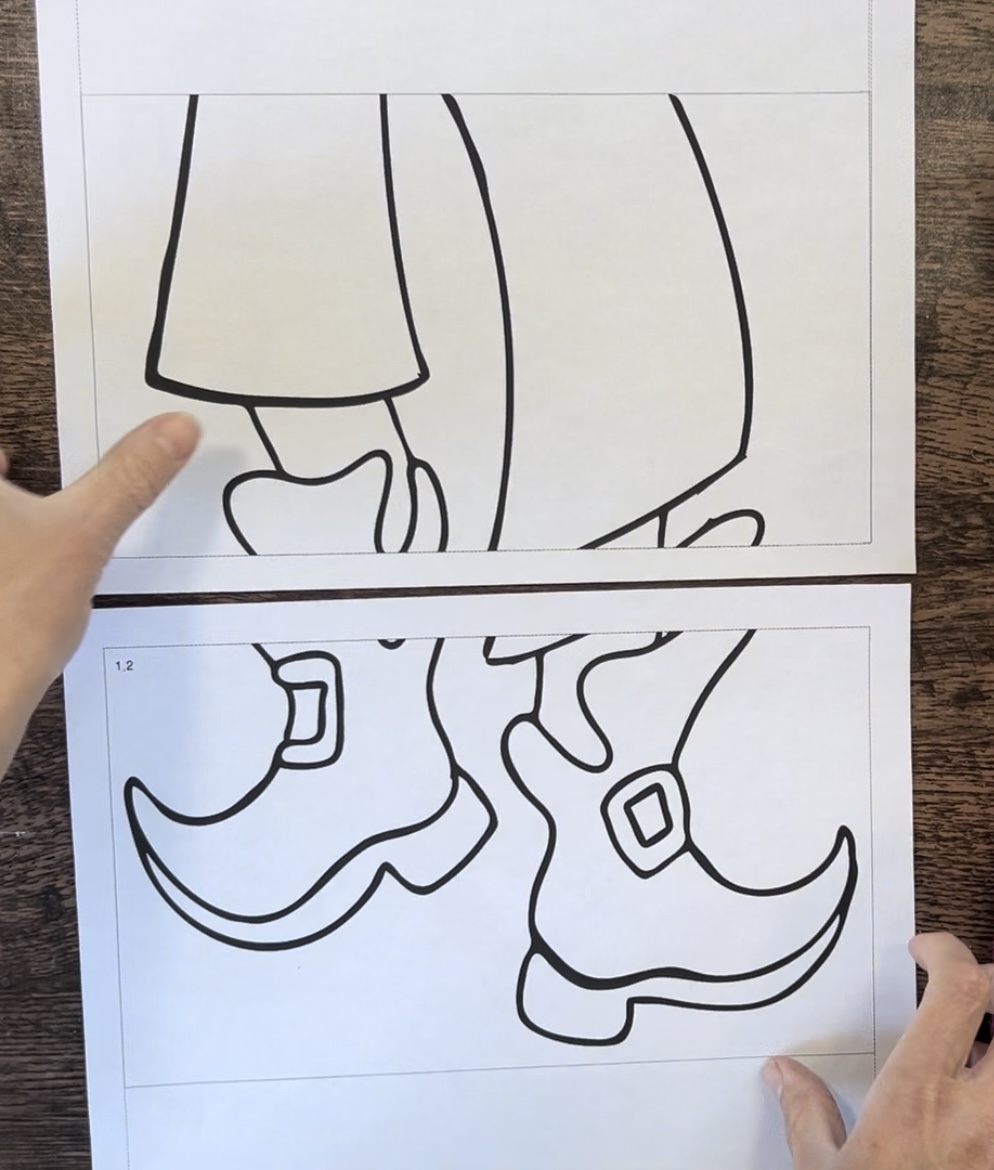
Then place a sheet of graphite paper below the template. Make sure the graphite paper is “shiny side facing down”. Note: I positioned the feet so that the bottom of the right boot’s heel is about 1.5″ from the bottom edge of the canvas. This made it so some of the legs had to be extended to the top edge of the canvas.
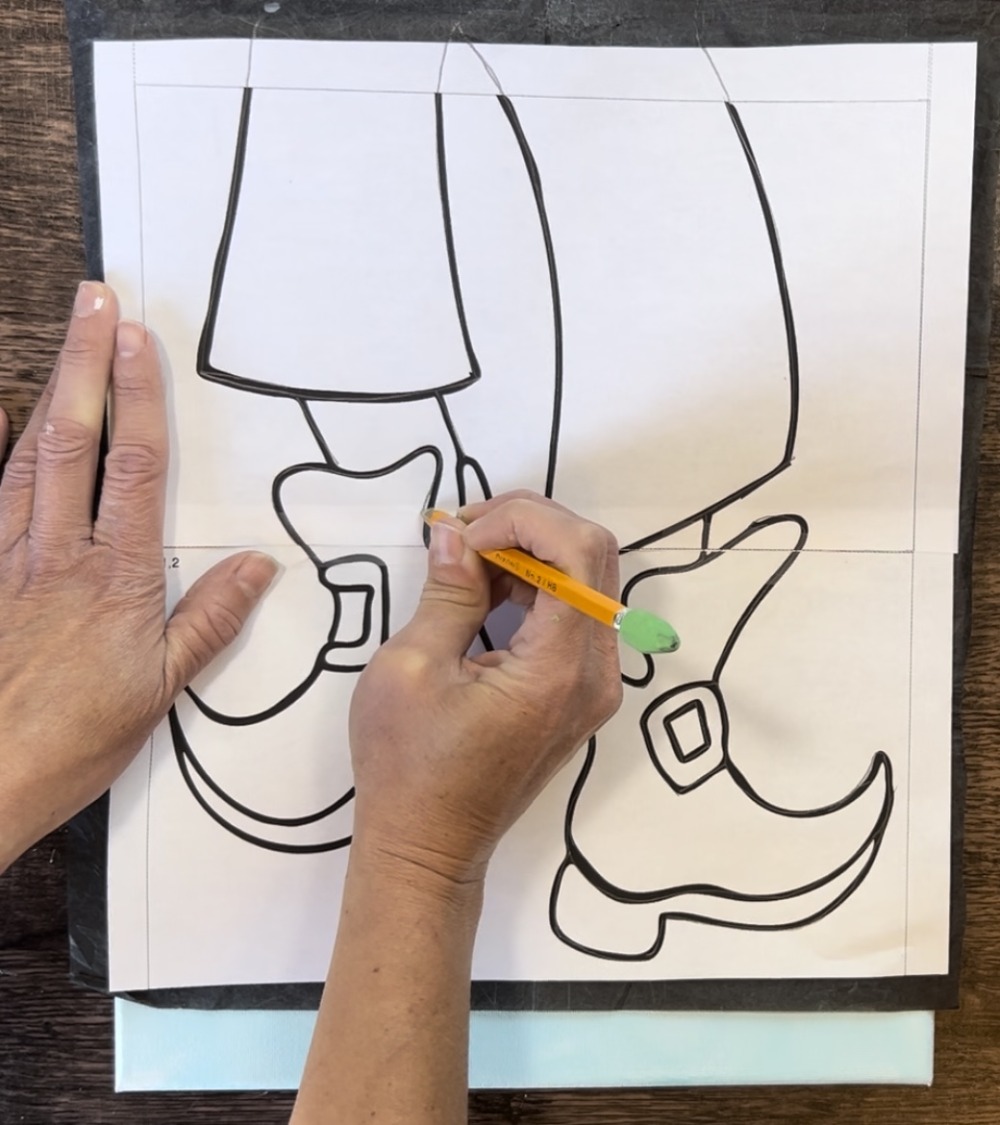
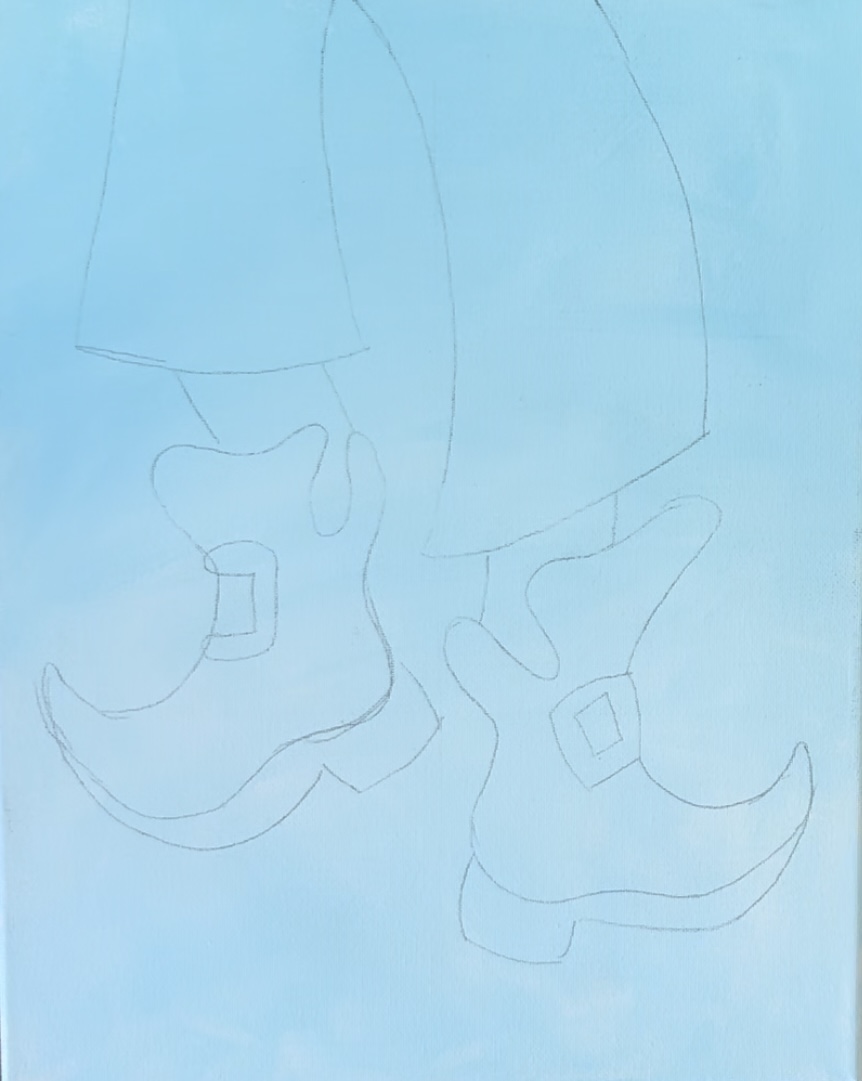
Press firmly as you trace and check to make sure the design is transferring.
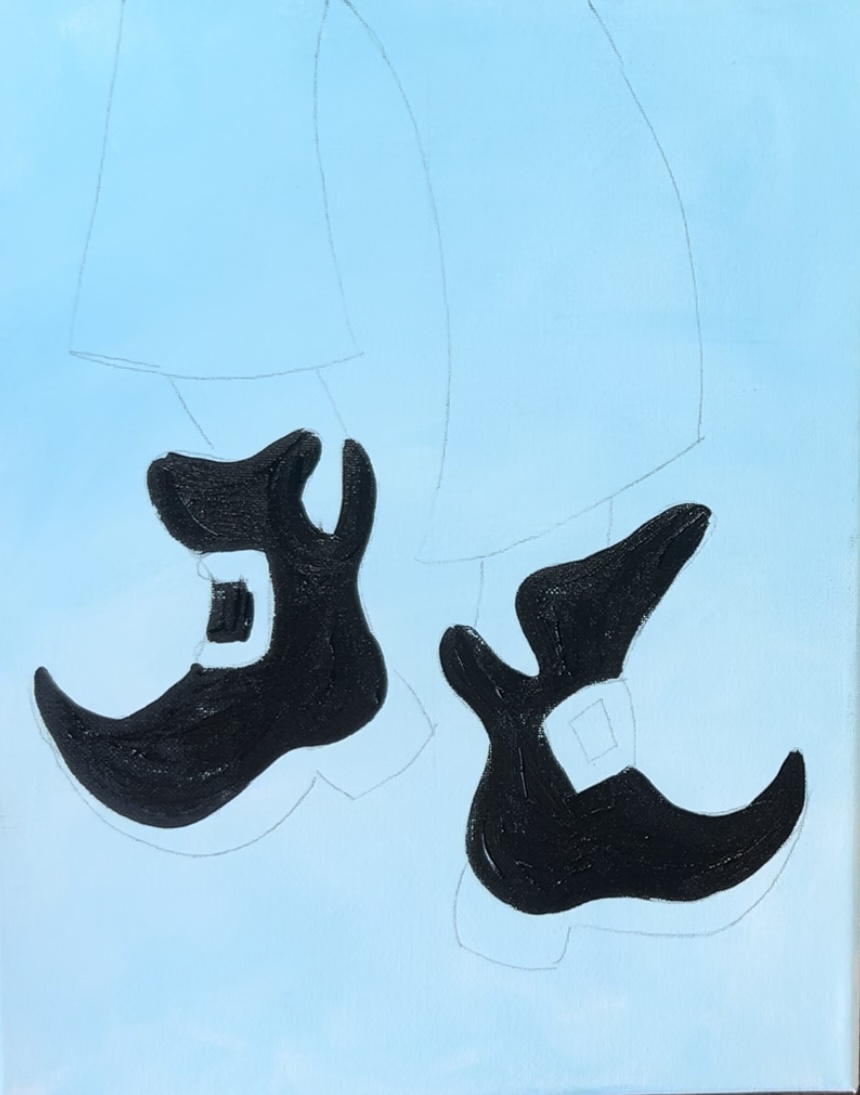
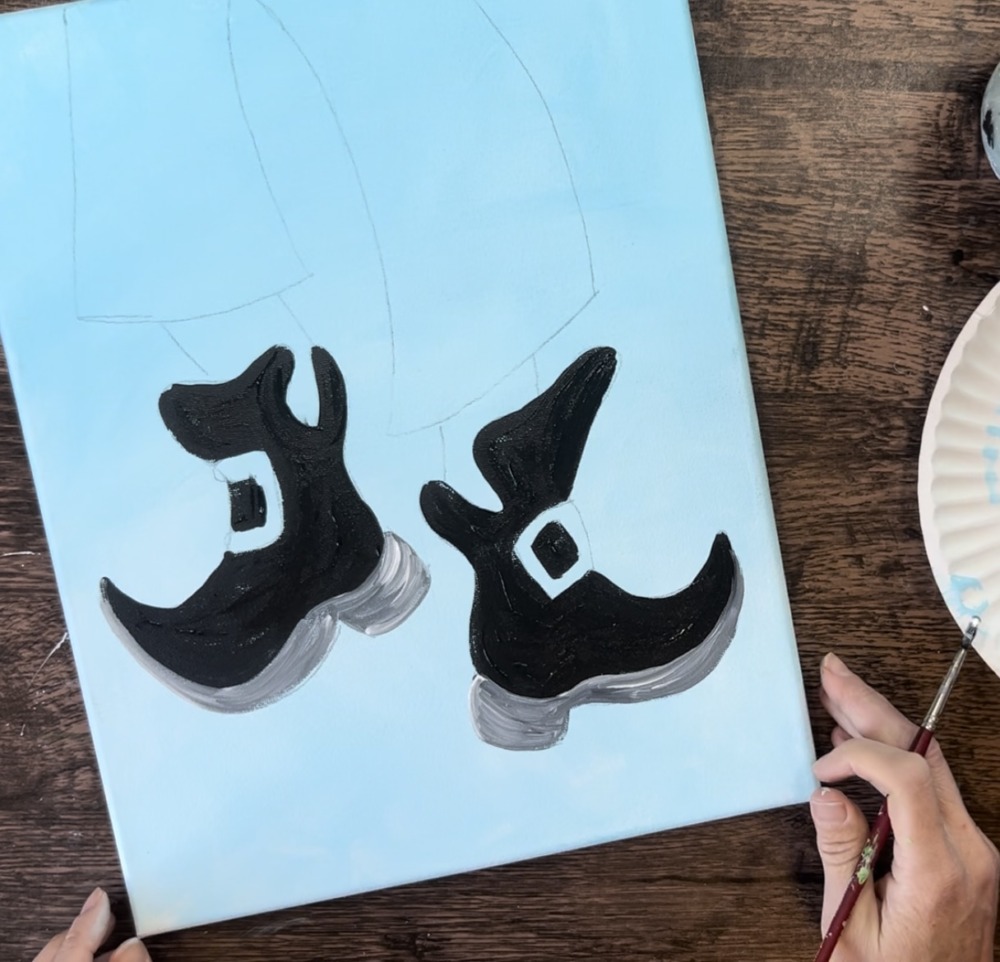
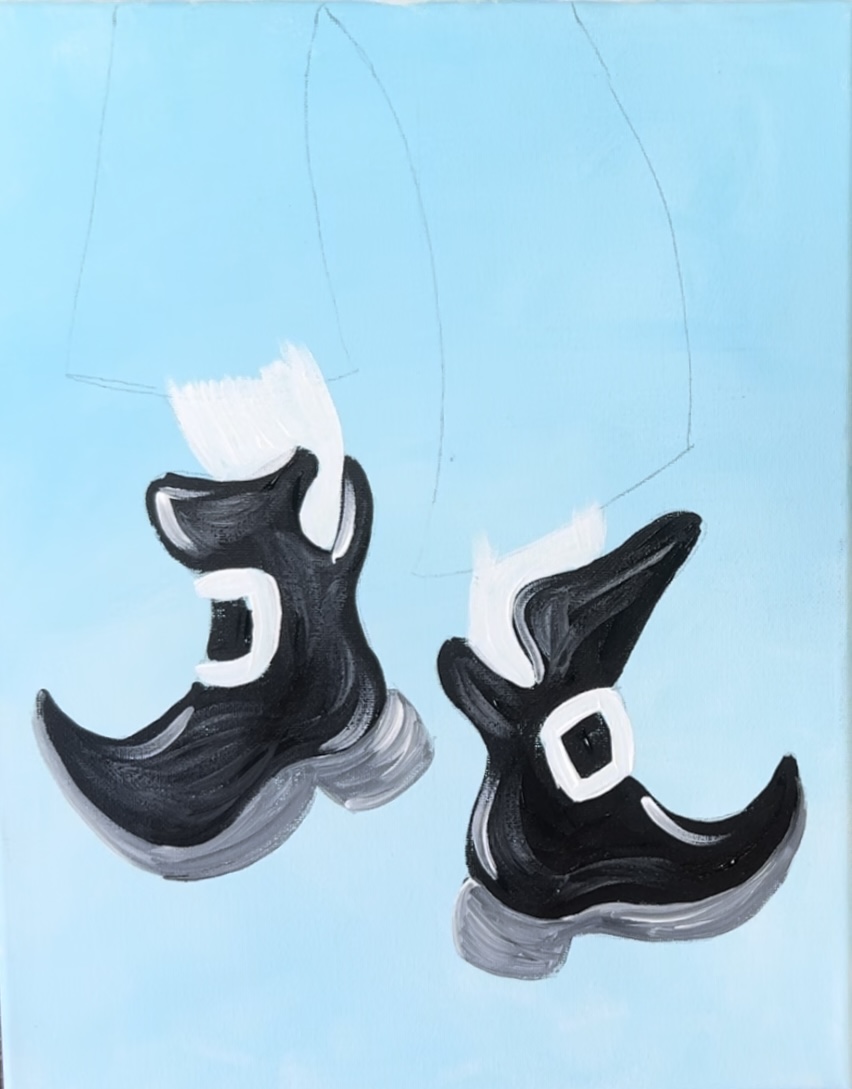
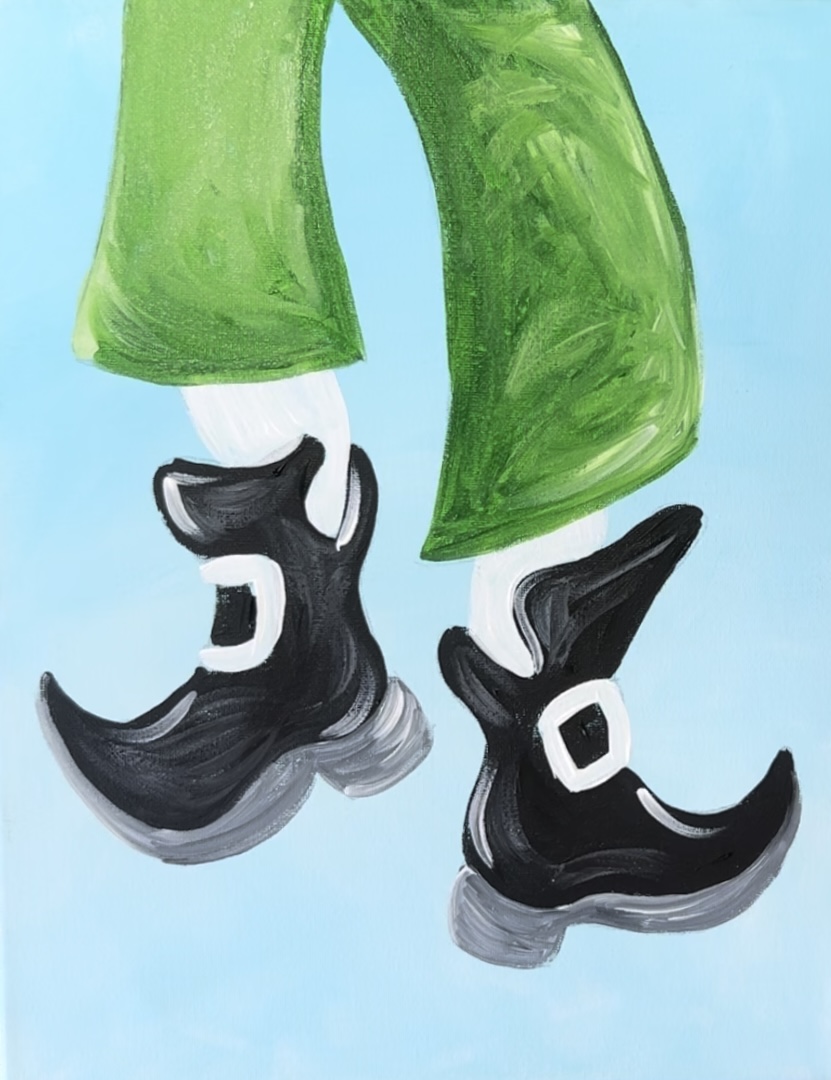
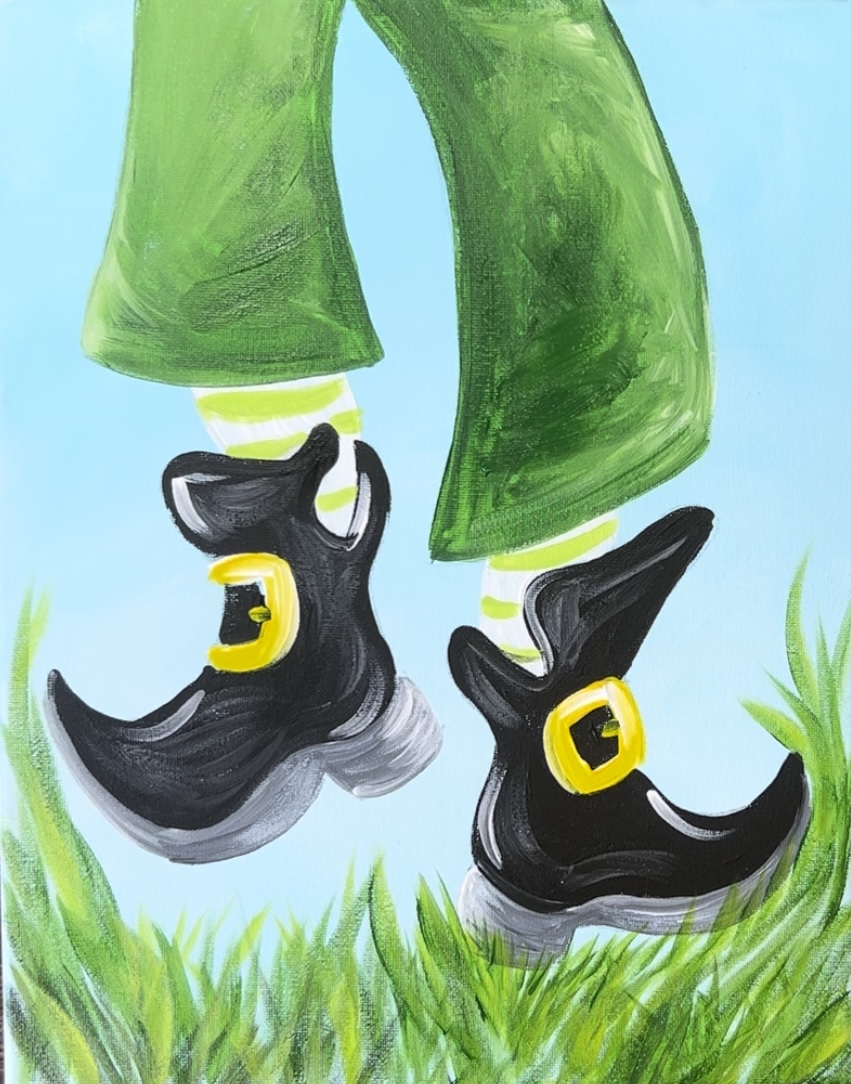
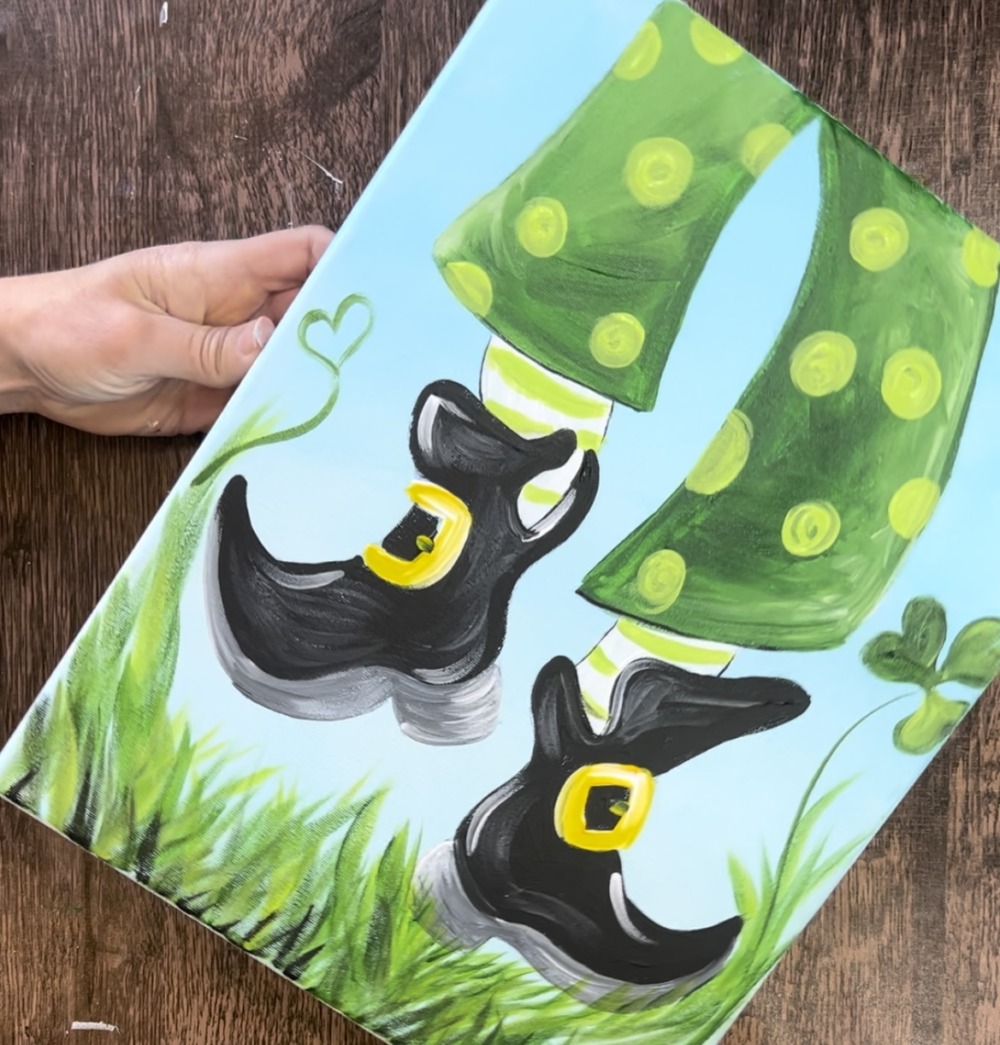
3. Paint Boots
Load your paint palette with the color “mars black” and “titanium white”. Use a “#4 round” brush to paint each of the boots a solid coat of black paint. Pay particular attention to the curves in this boot and make sure your paint strokes are going in the direction of the shape of the boot.
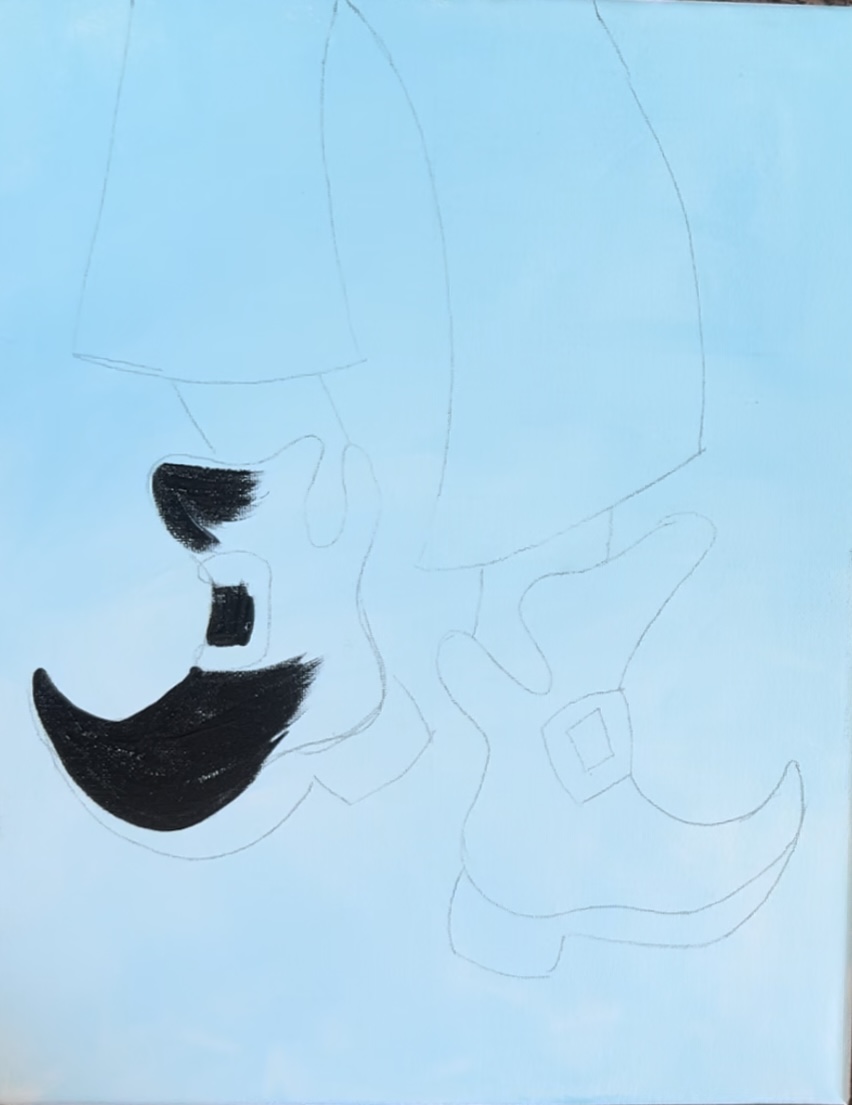
Paint around the buckles.

Next, mix a medium gray on your palette by mixing equal amounts of black and white together.
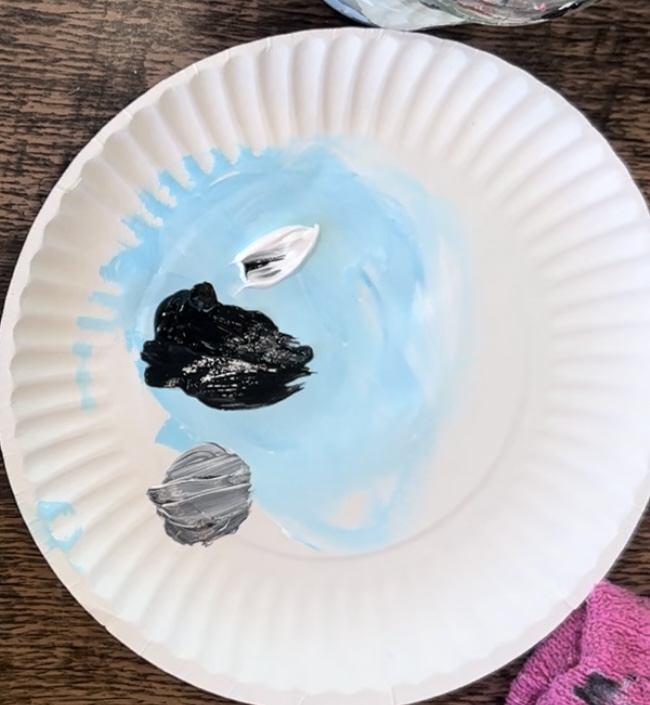
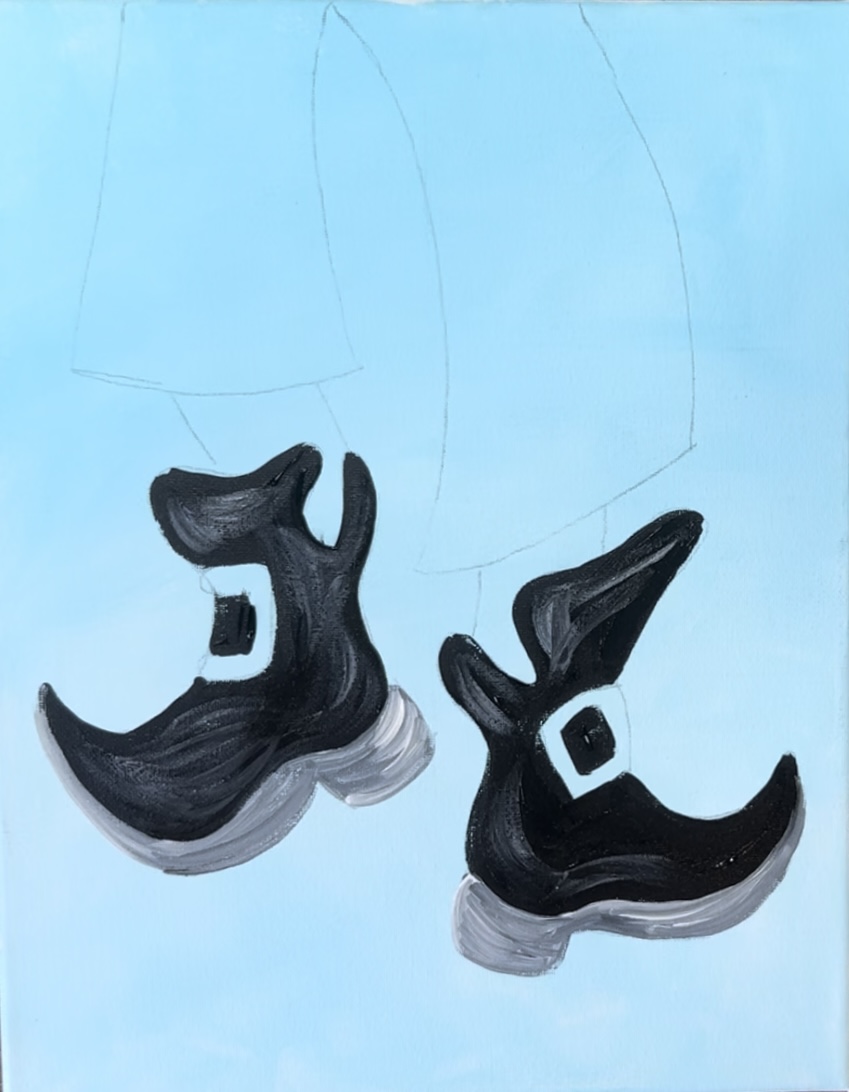
Use your #4 round brush to paint the heels of the shoes. Add a little extra white into the gray and let it blend with the gray on the canvas. Paint in the direction of the shape of the curves of the heel.
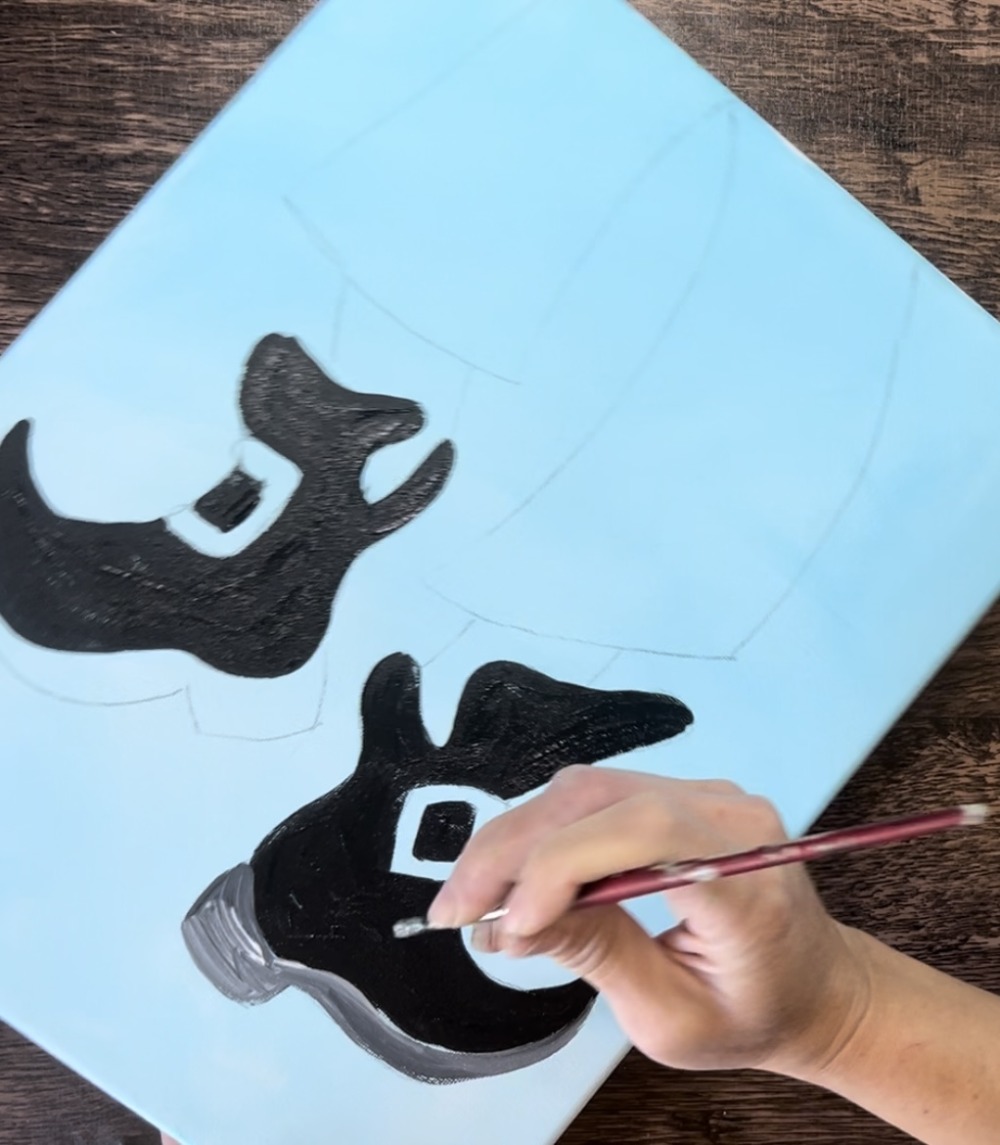
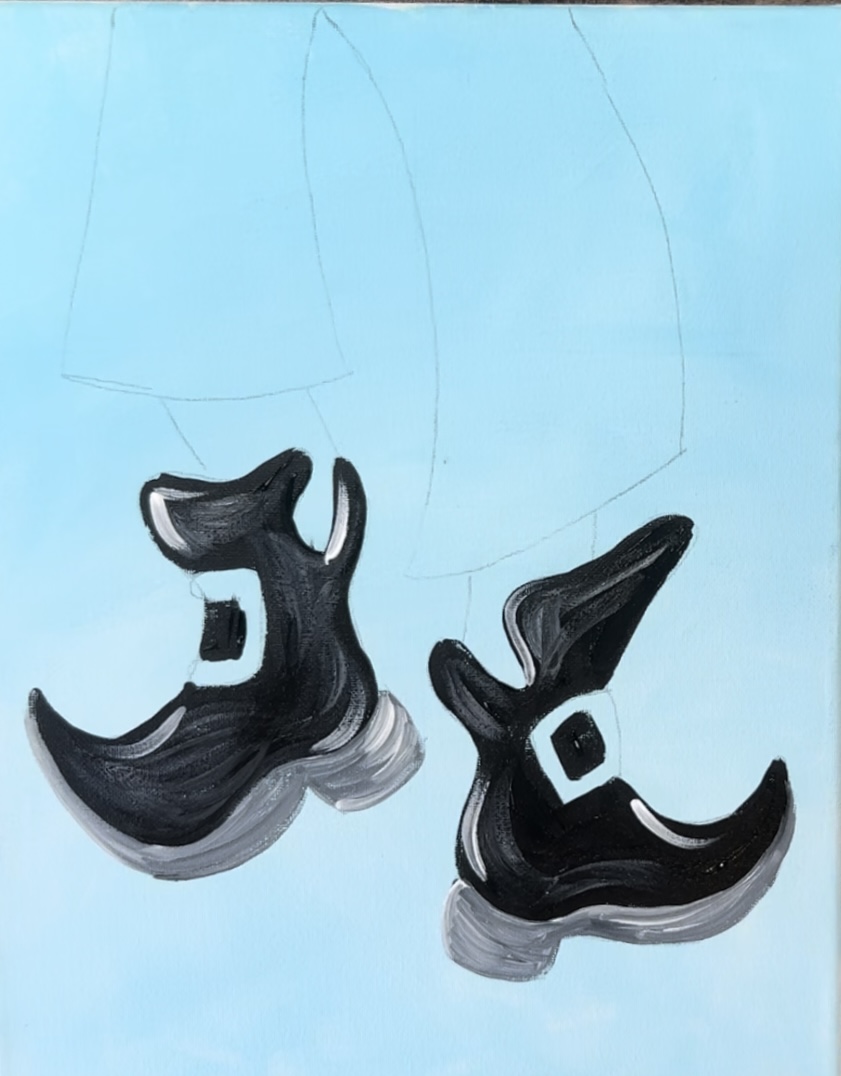
Next, add a little bit of “highlighting” to the boots. Use the medium gray to add some curved paint strokes on top of the black layer of the boots. This should be a dark gray that shows up as a few shades lighter than the black. Paint in the direction of the curved shape of the boots but don’t cover all of the black.
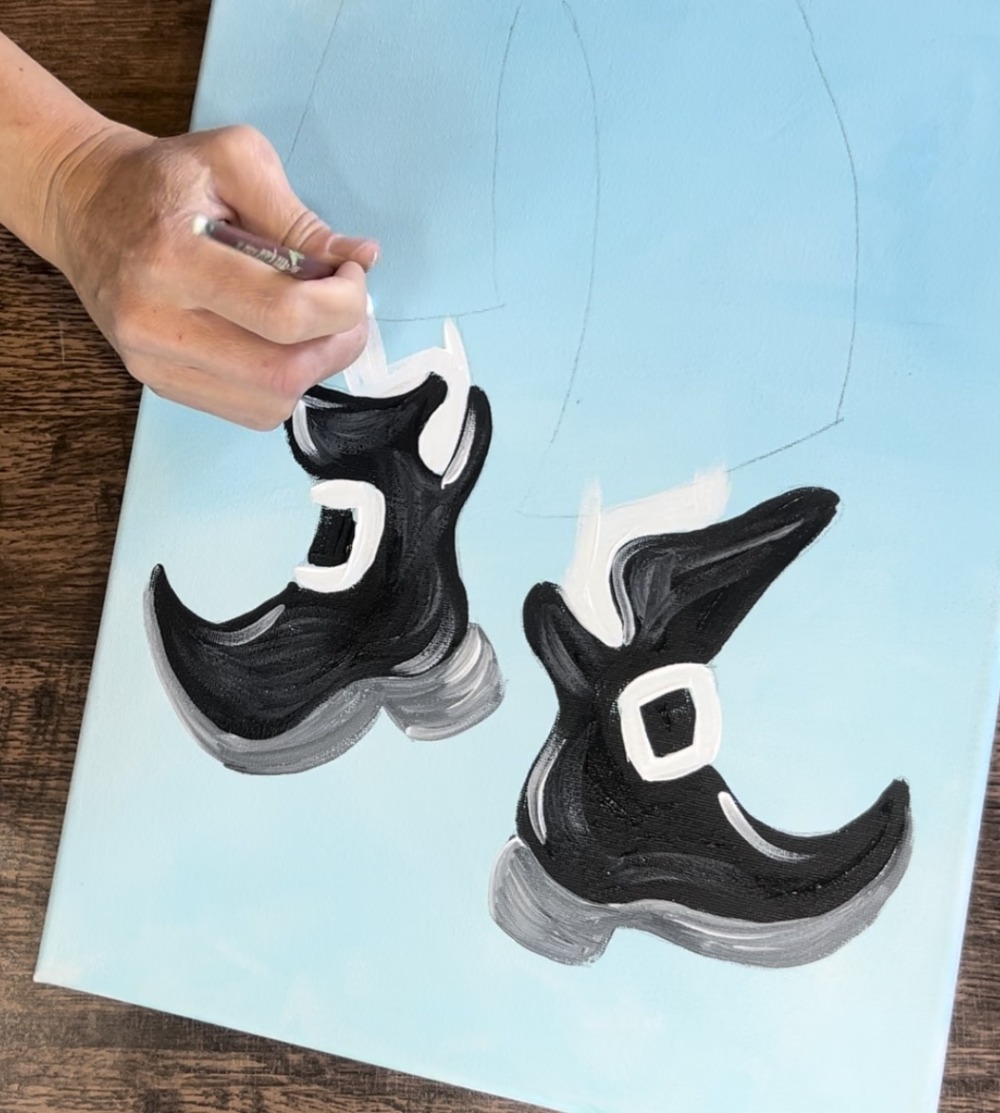
Then add a third set of highlights with a much lighter gray. Without rinsing your brush, add titanium white to it. Then paint some of the inner edges of some of the curves of the boot. This “loose inner outlining” will make the books look shiny.
Then completely rinse your brush and load it into just “titanium white”. Paint the square buckle shapes. Note: these must be painted white first so the yellow layer will show up nice and bright. We will paint the yellow after this white dries.

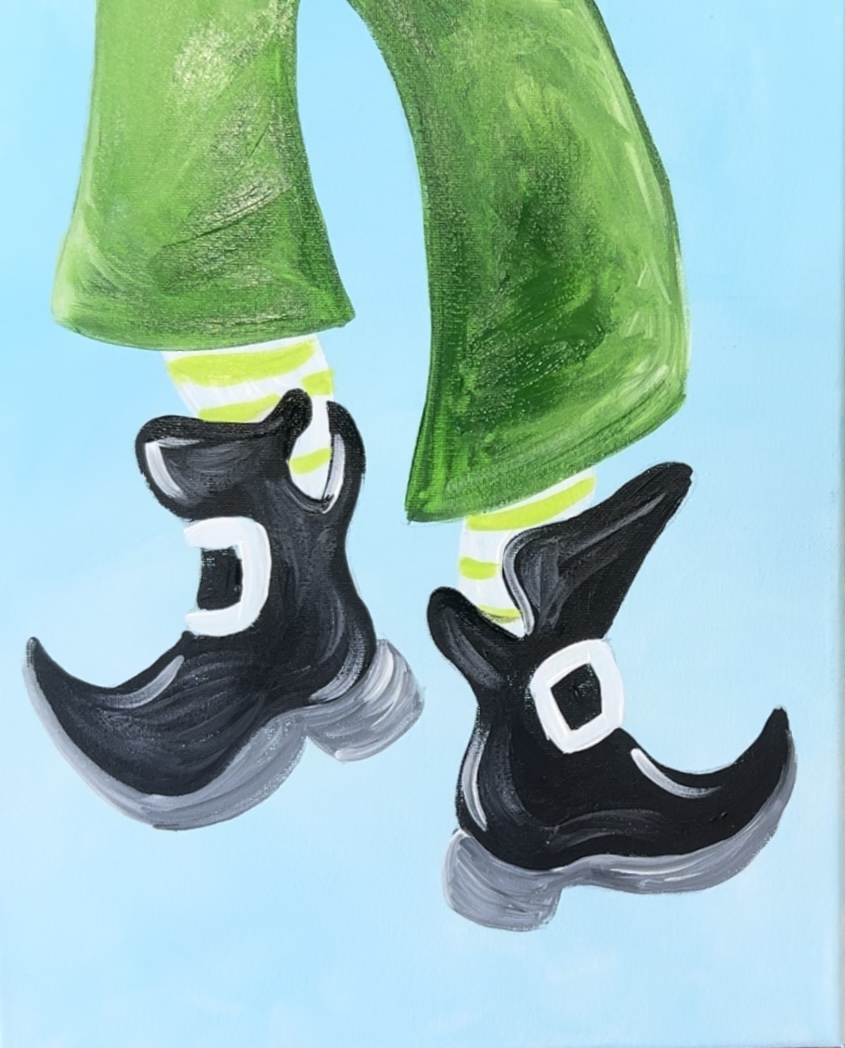
4. Paint Socks
Use titanium white and the #4 round brush to paint the sock.
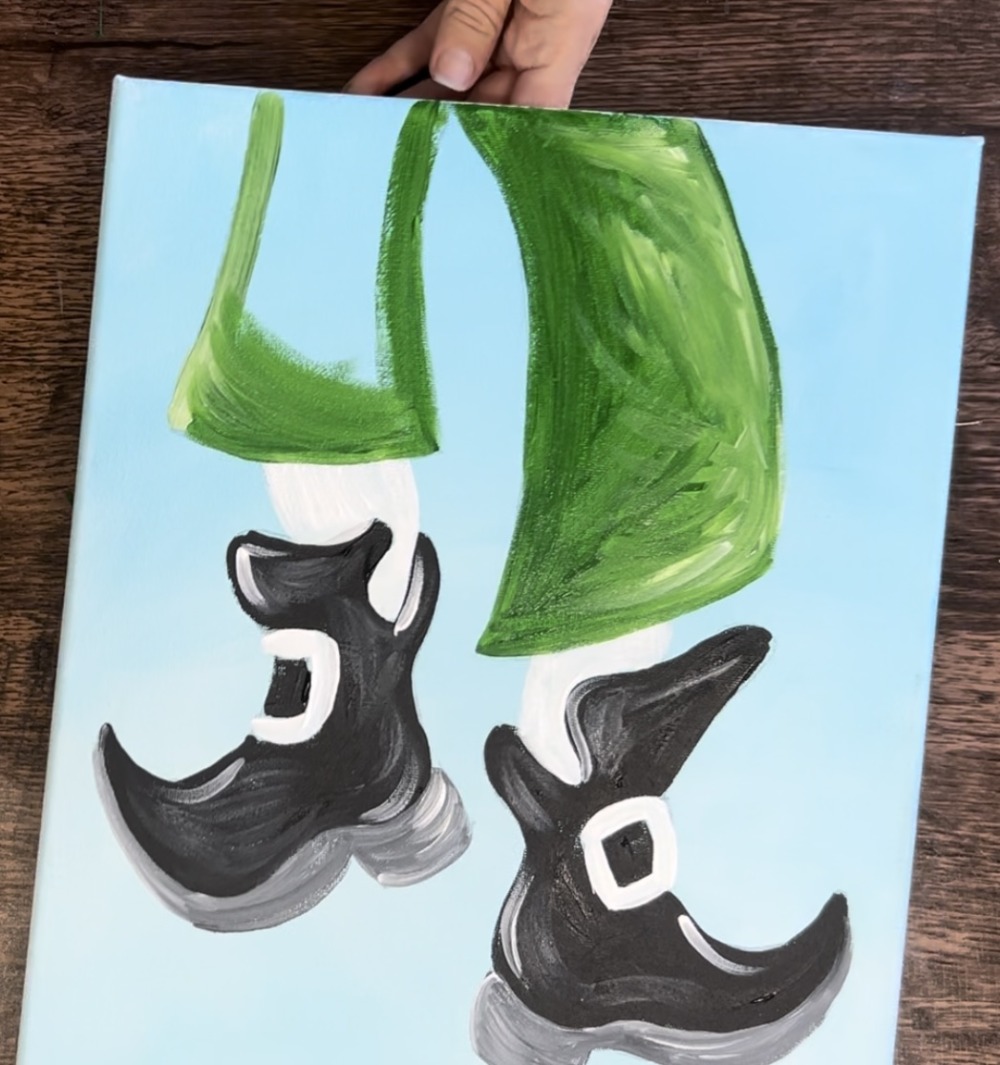
5. Paint Pants
Load your paint palette with “hooker’s green hue”. Use either the “#4 round brush” or the “#12 bright brush” to paint the pant legs. Outline the paints and then fill in with curved strokes going in the direction of the shape.
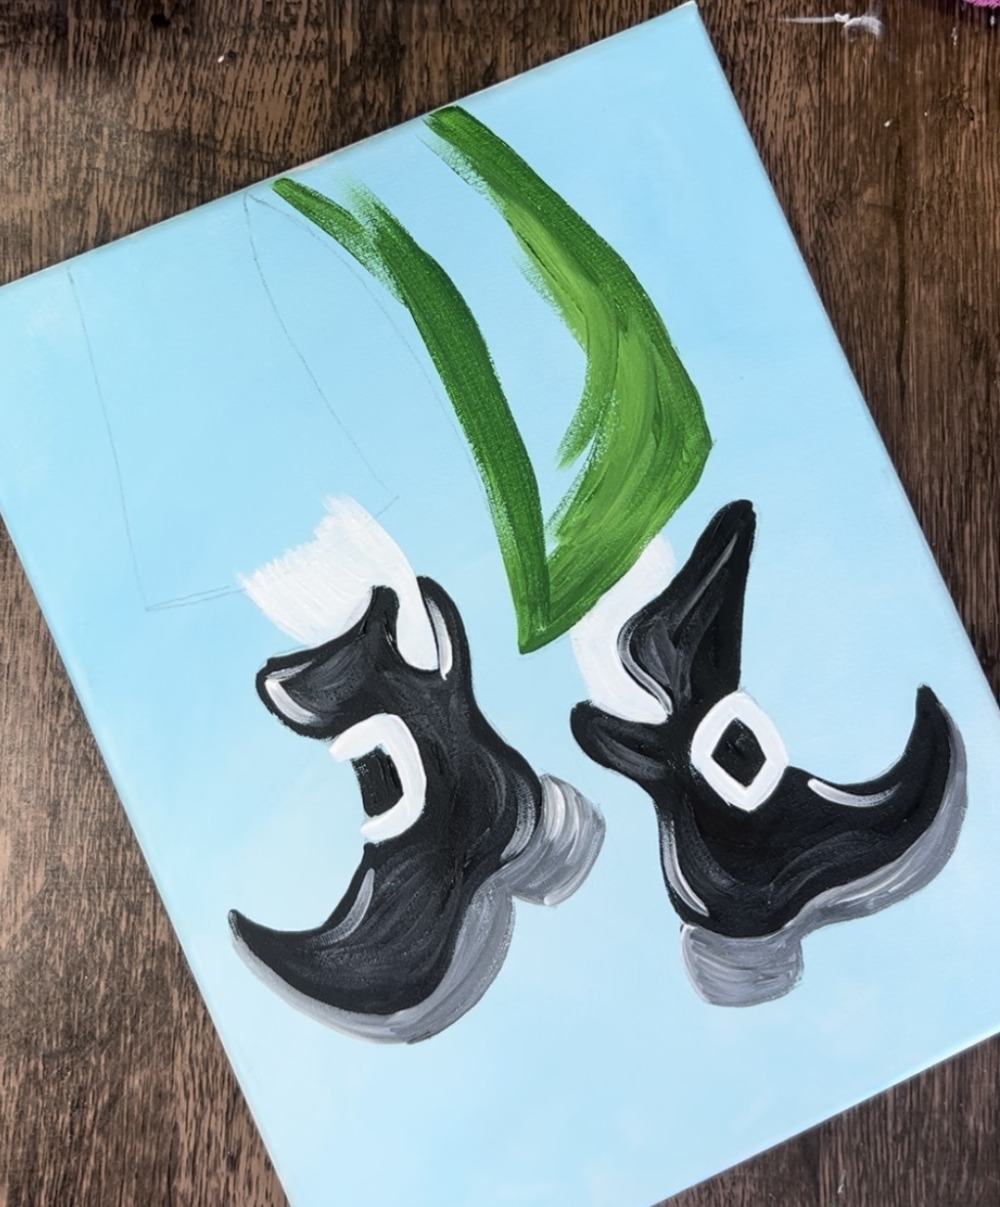
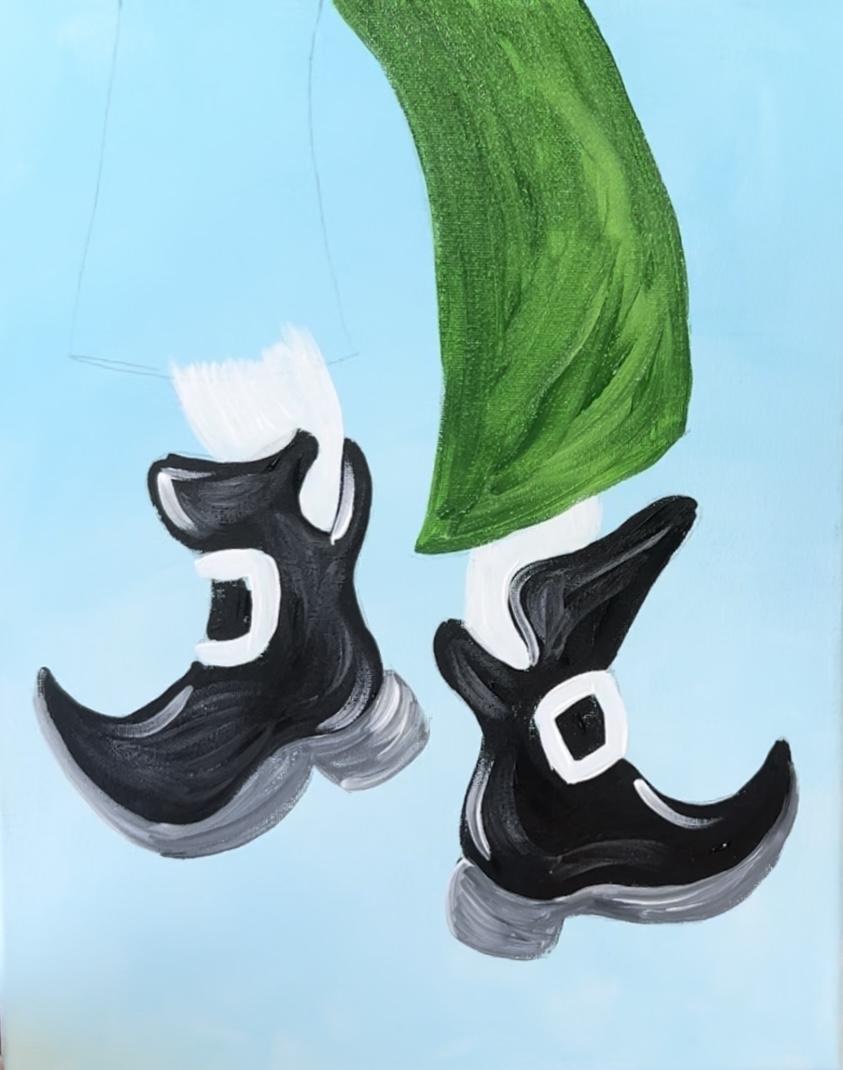
Blend in a little titanium white on the outer parts of the pant leg shape and blend on the canvas with the green. This will make the pants look lighter on one side and darker on the other.
6. Paint Stripes On Socks
When the white layer of the socks is dry, paint “brilliant yellow green” stripes on the socks.
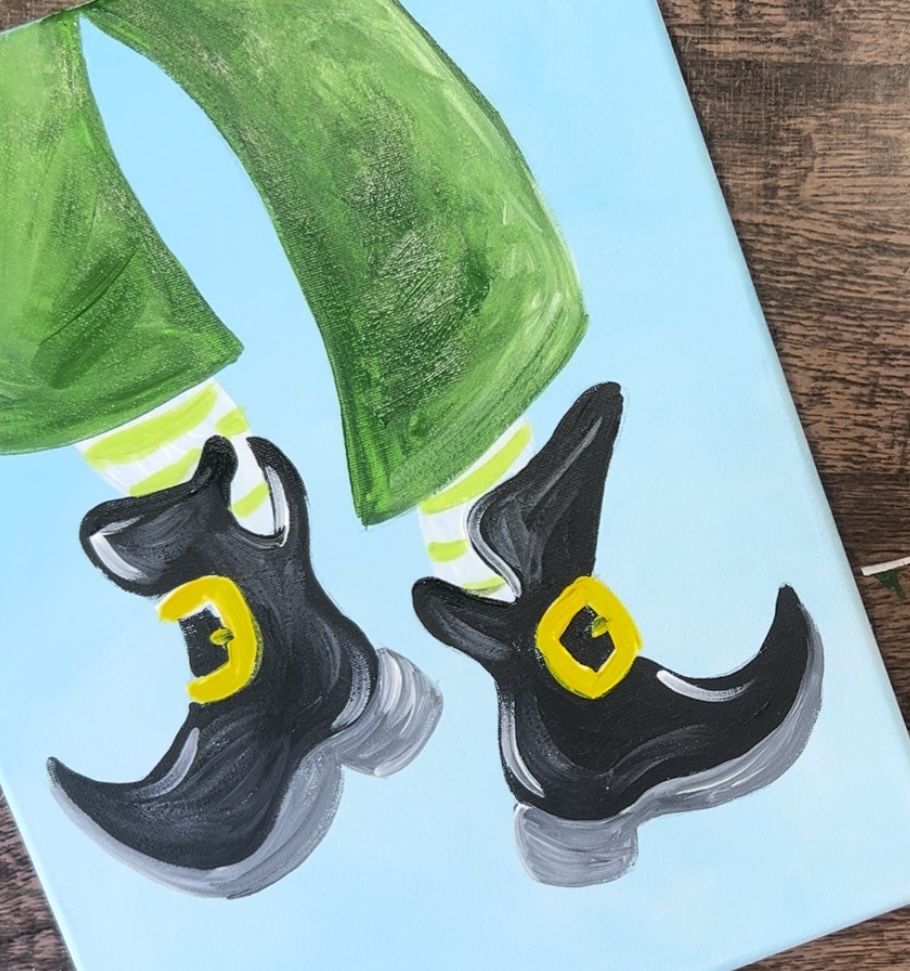
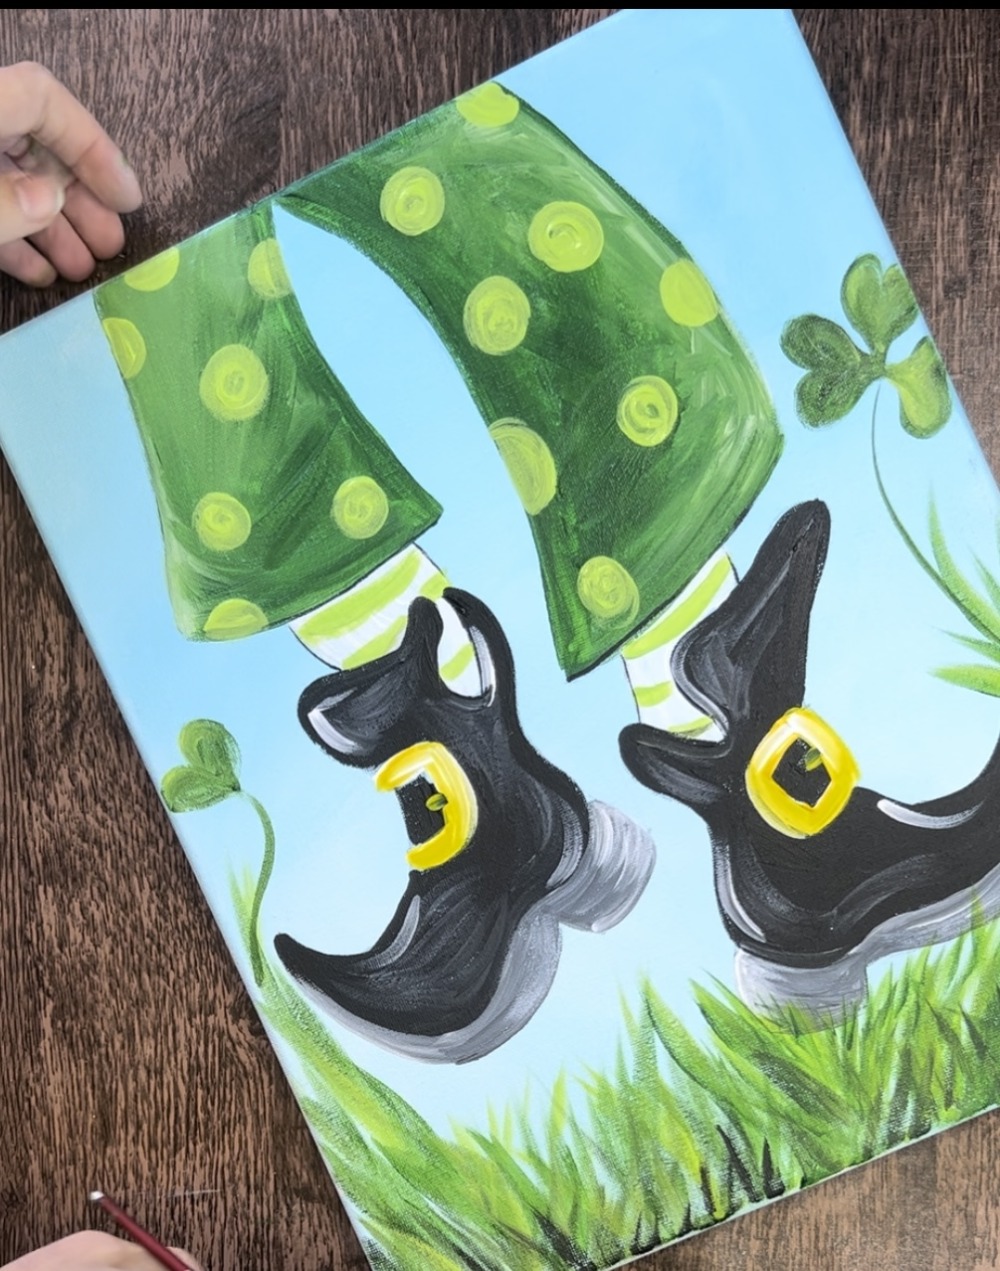
7. Paint Yellow Buckles
Load your paint palette “primary yellow”. Paint the buckles with the yellow.
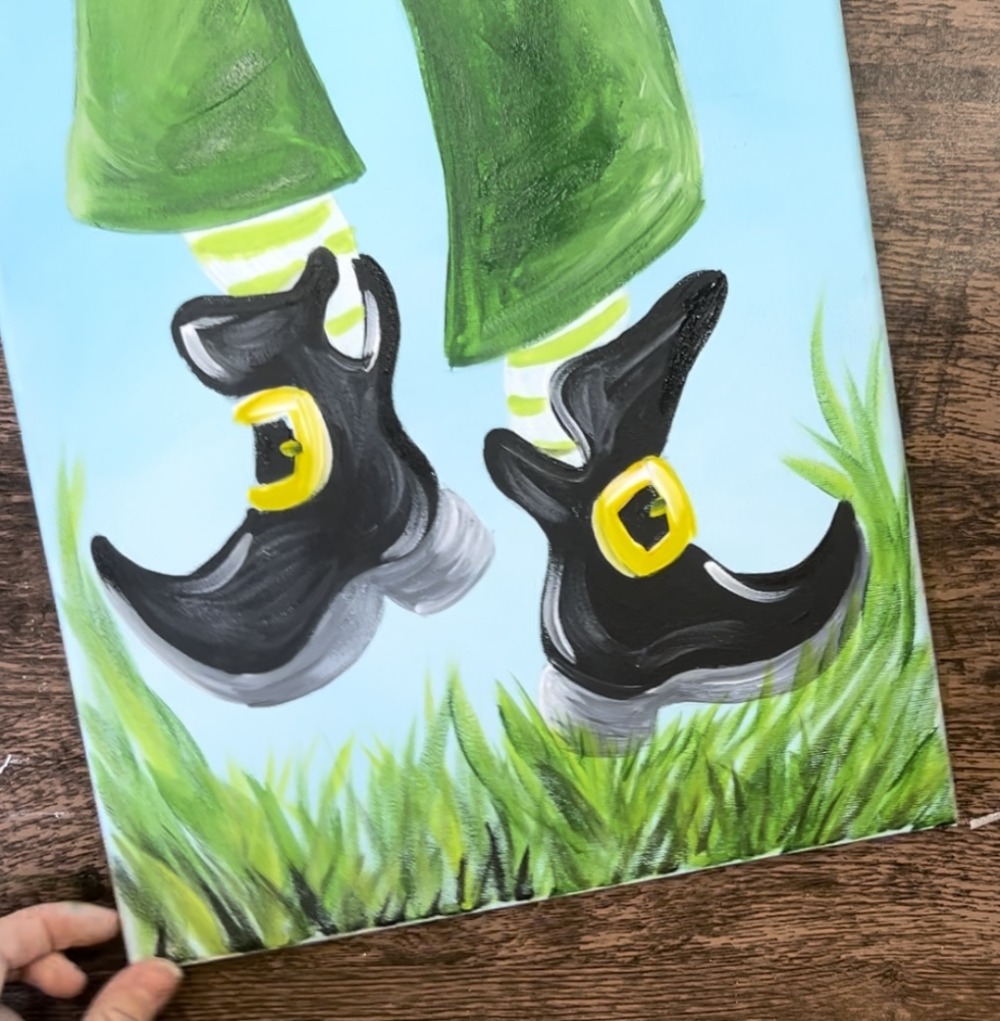
8. Paint Grass
Use a #12 bright brush to paint the grass. Start with a very dark green layer of grass. To make this dark green, mix a little bit of mars black into the “hooker’s green hue”. Then use the end of the #12 bright brush to paint grass blades. Start on the bottom edge of the canvas and drag your brush upwards in different angle directions.
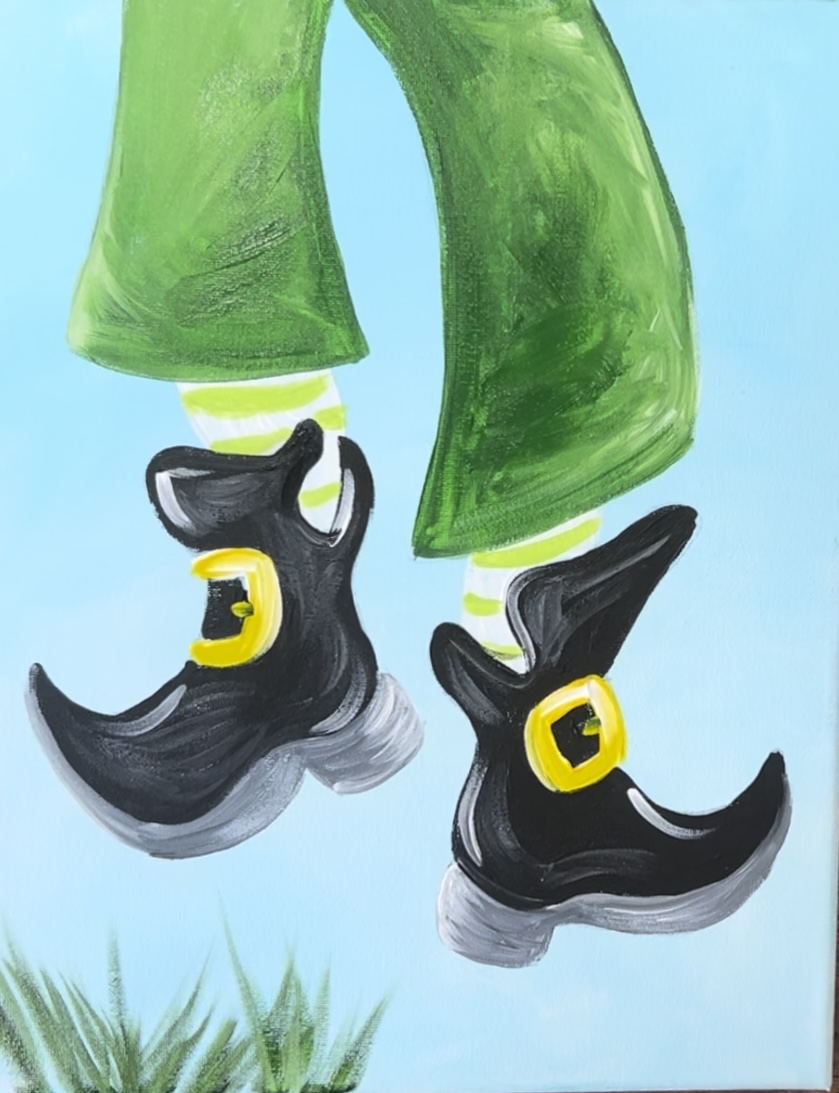
Curve the grass blade up and around the sides of the boots. These blades are longer on the sides as well. You can also overlap some of the grass on the bottom edges of the boot on the right.

Next, use a lighter green to paint a second layer over the first darker layer of the grass.
Again, overlap some of the grass over the bottom edges of the boot on the right. If needed, go back with darker green to fill the entire bottom edge with thick grass.
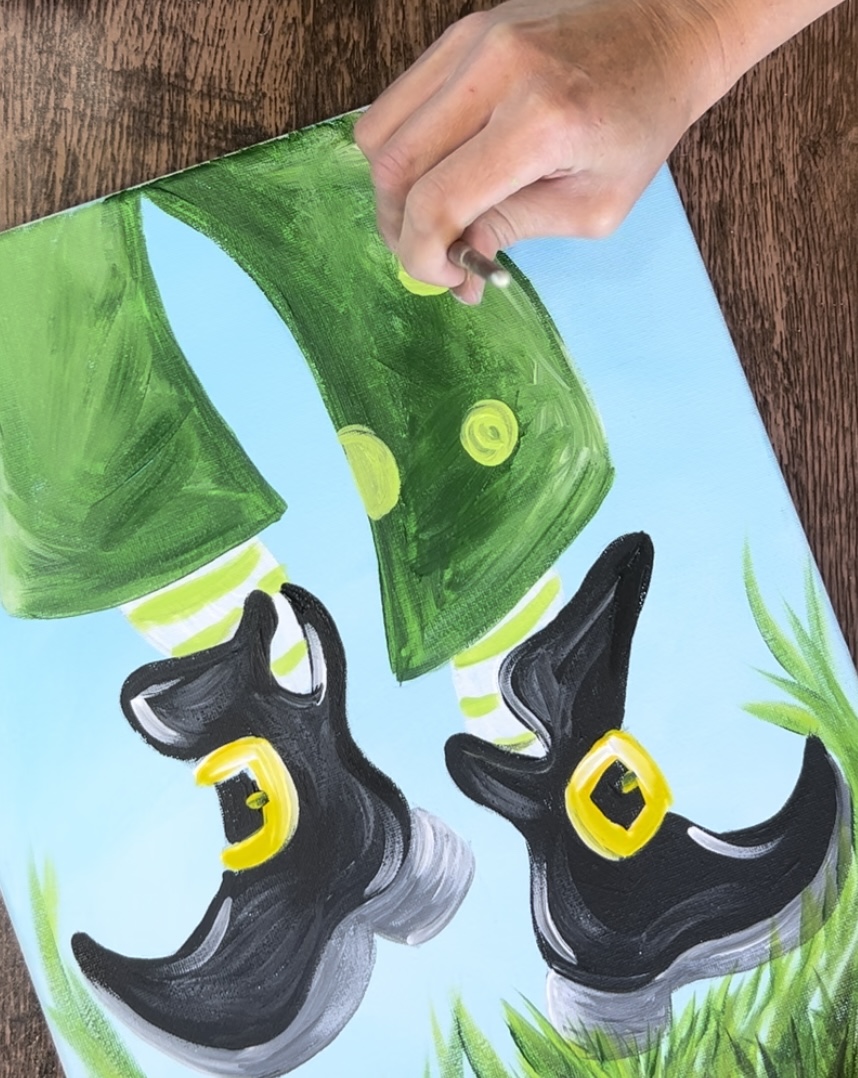
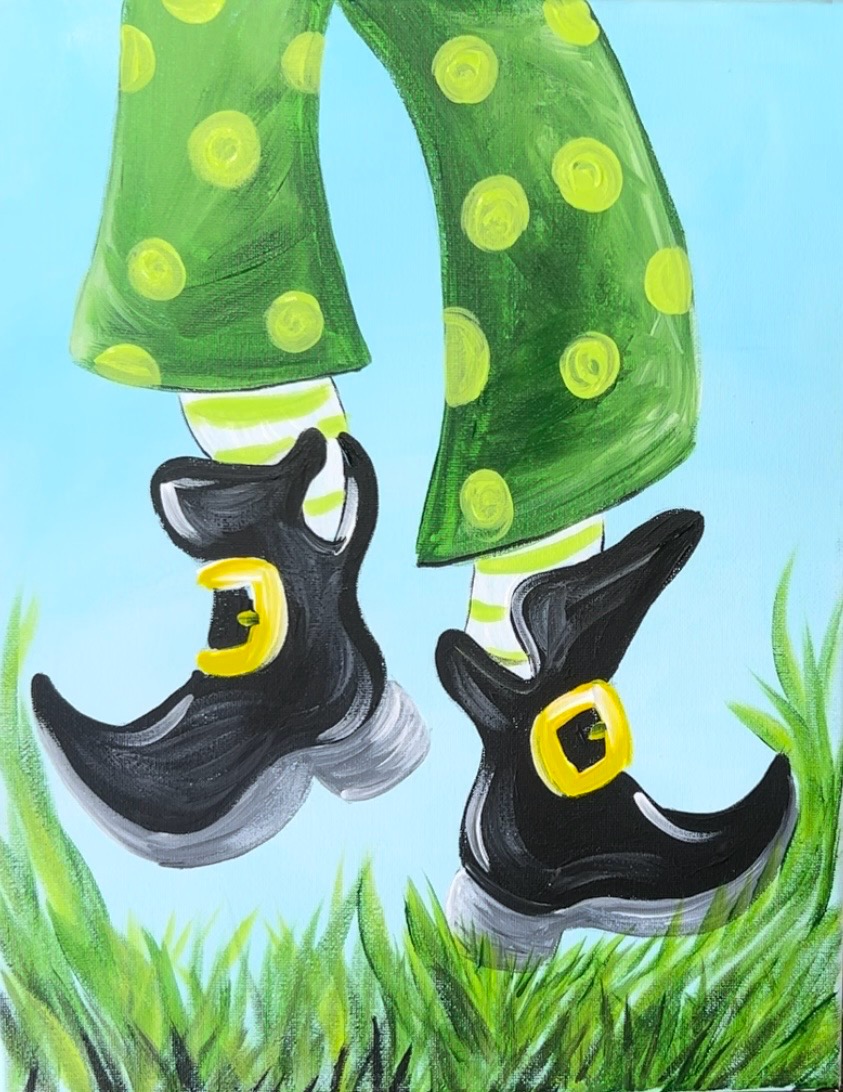
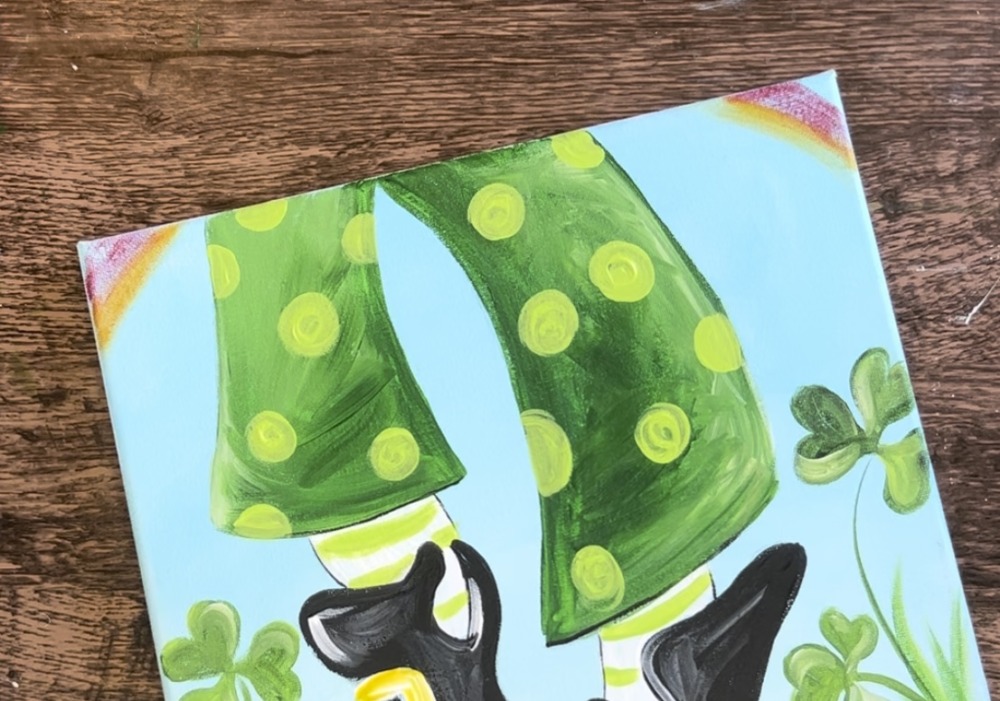
9. Paint Polka Dots On Pants (optional)
Use the color “brilliant yellow green” and a “#4 round brush” to paint polka dots on the pants.
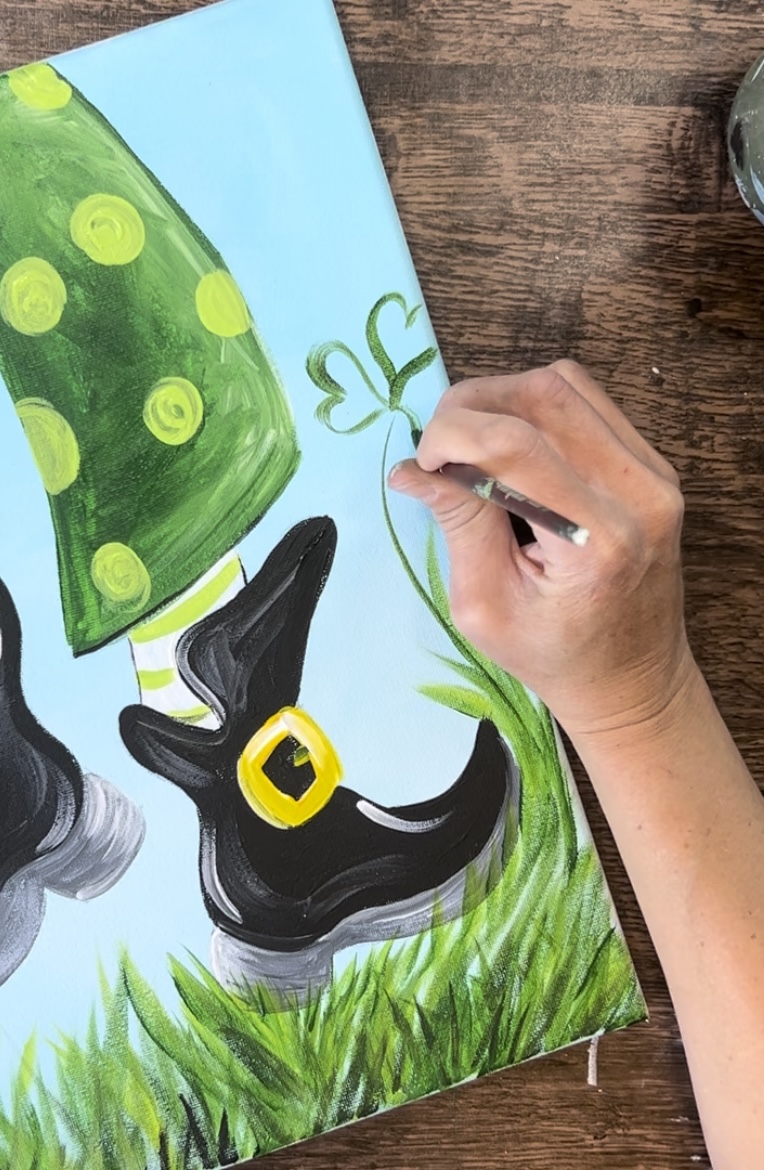
10. Paint Shamrocks
Use a #4 round brush and a dark green thinned down paint to draw the stem and the shape of the shamrock. An easy way to draw a shamrock is to paint three heart shapes with the bottom points all meeting at the stem.
Then fill the shamrock in solid green. Use a variation of the green by adding some light green and gently blending with dark green.
Repeat this to create two more shamrocks of varying heights.
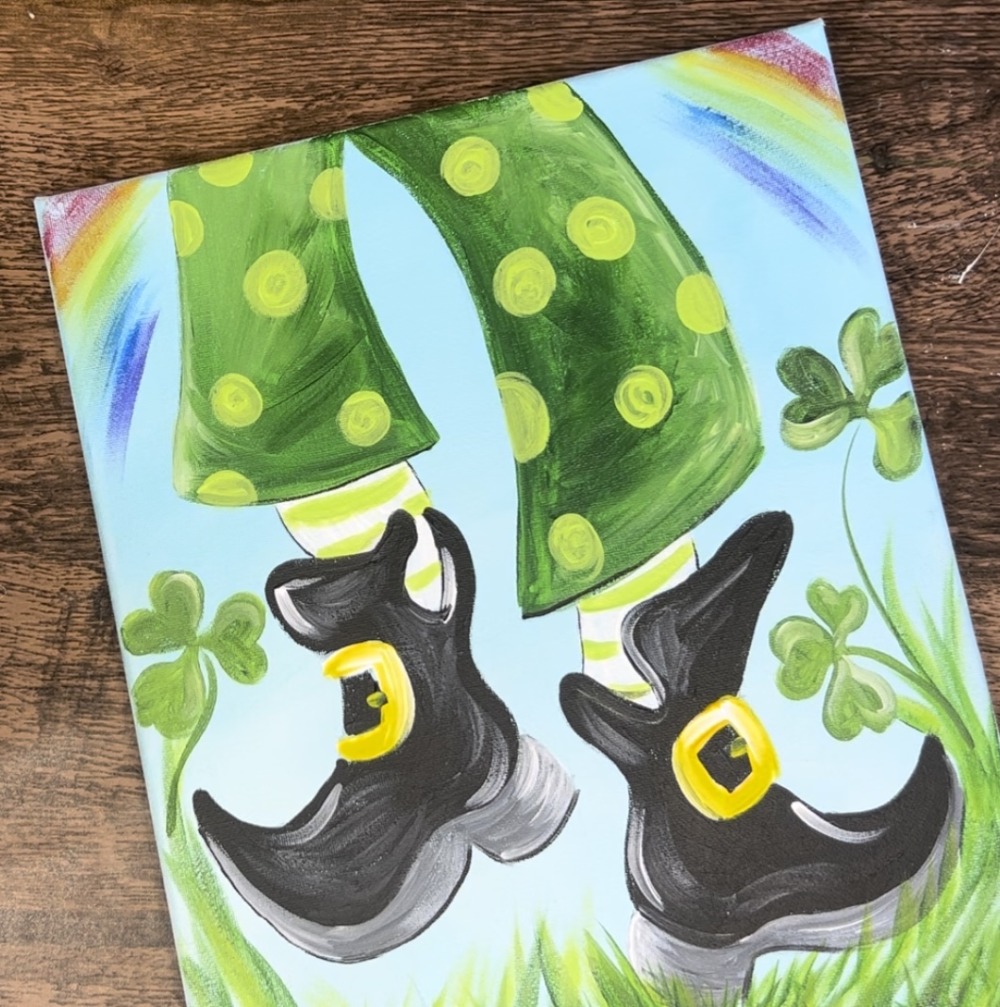
11. Paint Rainbow (optional)
For this rainbow, I used a #12 bright brush and the “dry brush technique”. This is a technique where you are only adding a small amount of paint to the brush and barely letting the brush touch the surface of the canvas. It will create a very thin, translucent layer.
Load your paint palette with the color “cadmium red medium hue” or any red you have! Then use the #12 bright brush and load a very small amount of red on the edge of the bristles. Wipe some of the paint off to ensure only a small amount. Than paint a curved paint stroke on each of the corners.
To create the orange, mix yellow and red together on your palette. Then paint your orange curved stroke. Slightly overlap your orange over the red. You will be slightly overlapping each of your colors
Then paint a yellow. To make the yellow bright, mix a little “titanium white” into it. Make sure you rinse the orange off your brush before painting the yellow stripe.
Use any of the greens on your palette to paint the green stripe. Remember to slightly overlap your stripe over the previous color.
For the blue, I used “cobalt blue”. However, you can use any blue you have available.
Then for “indigo”, I mixed cobalt blue and “dioxazine purple” together. Paint the indigo stripe.
Lastly, paint the violet stripe with “dioxazine purple”.
12. Paint Shamrock Flowers
Use a #4 round brush and titanium white to paint simple 5 petal shamrock flowers lower in the grass area.
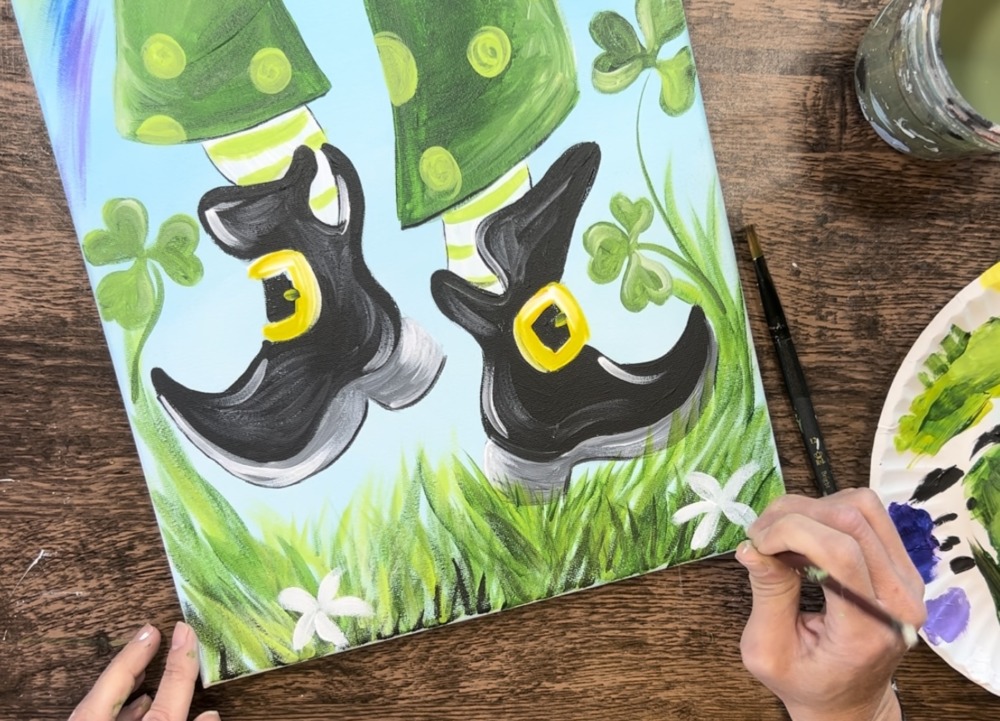
Paint the centers of each of the flowers with a layer of “mars black”. Do this by painting a rounded area with little dots. Then add a layer of “primary yellow” over the black layer. This adds more texture on the centers of the flowers.
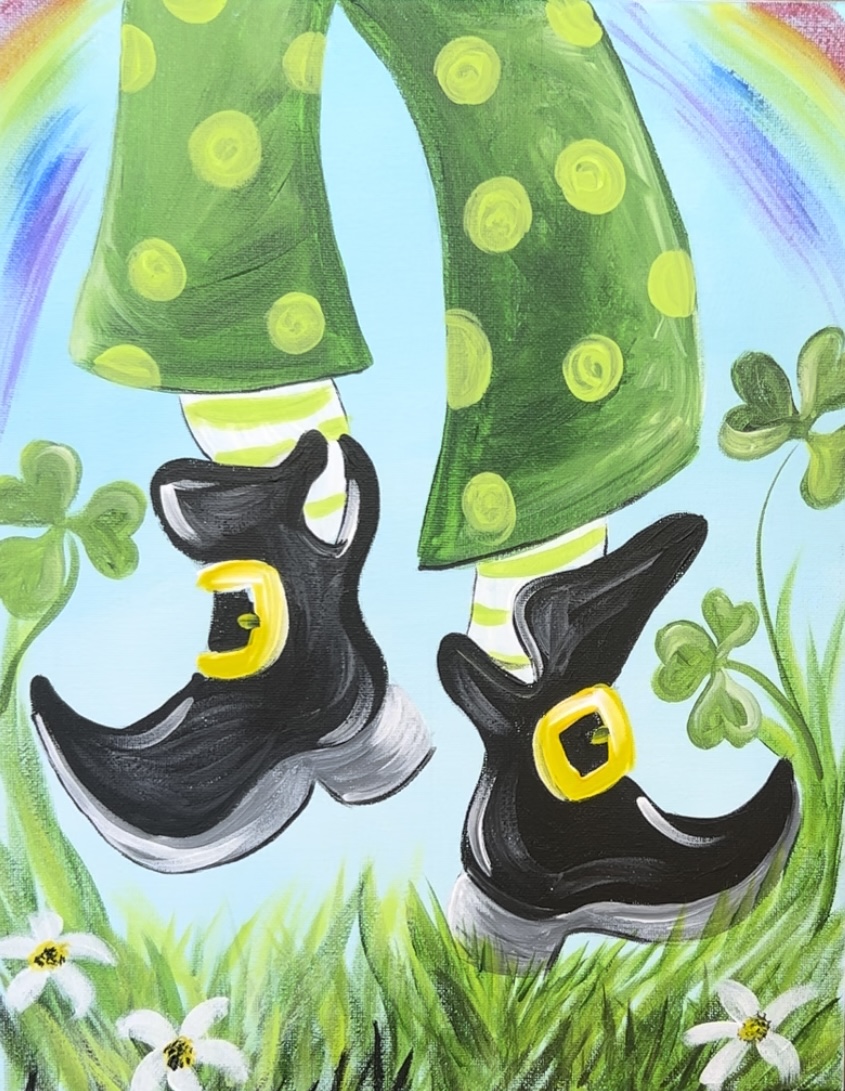
Finished!