

Would you like to save this?
Materials
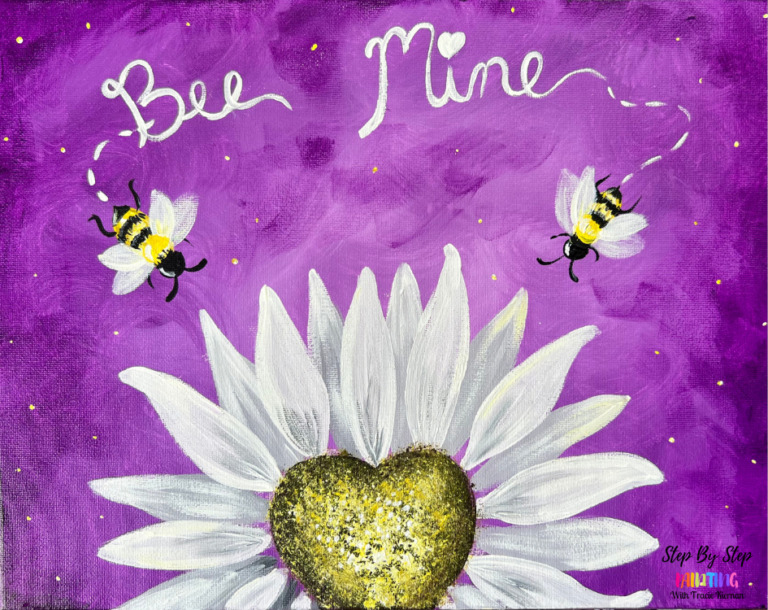
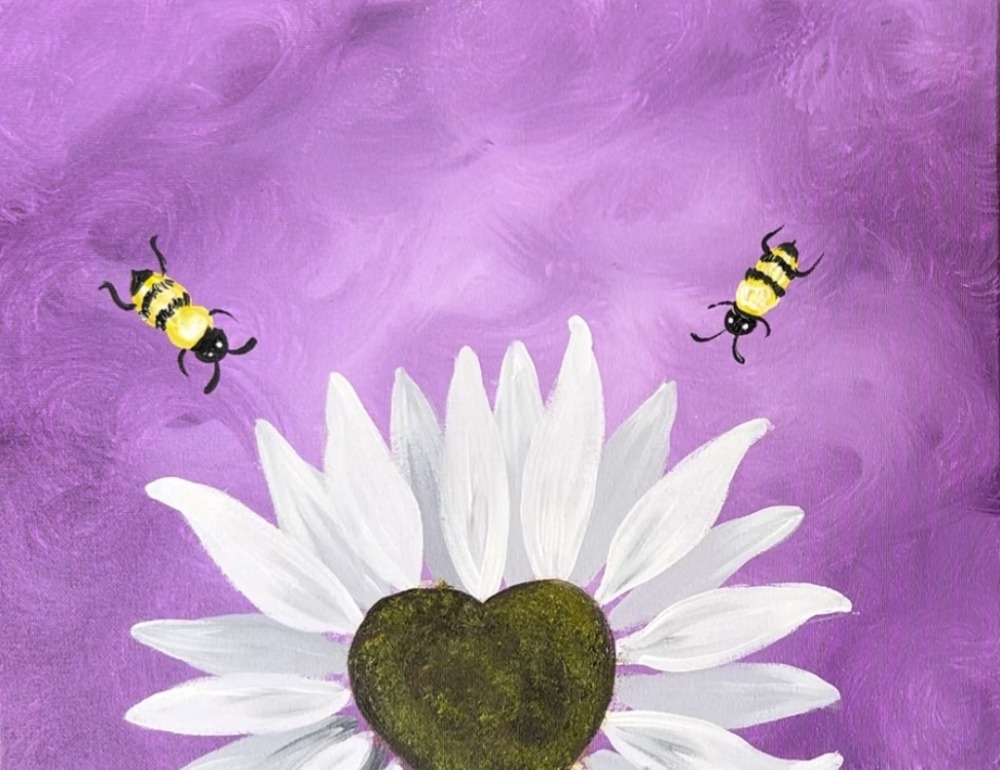
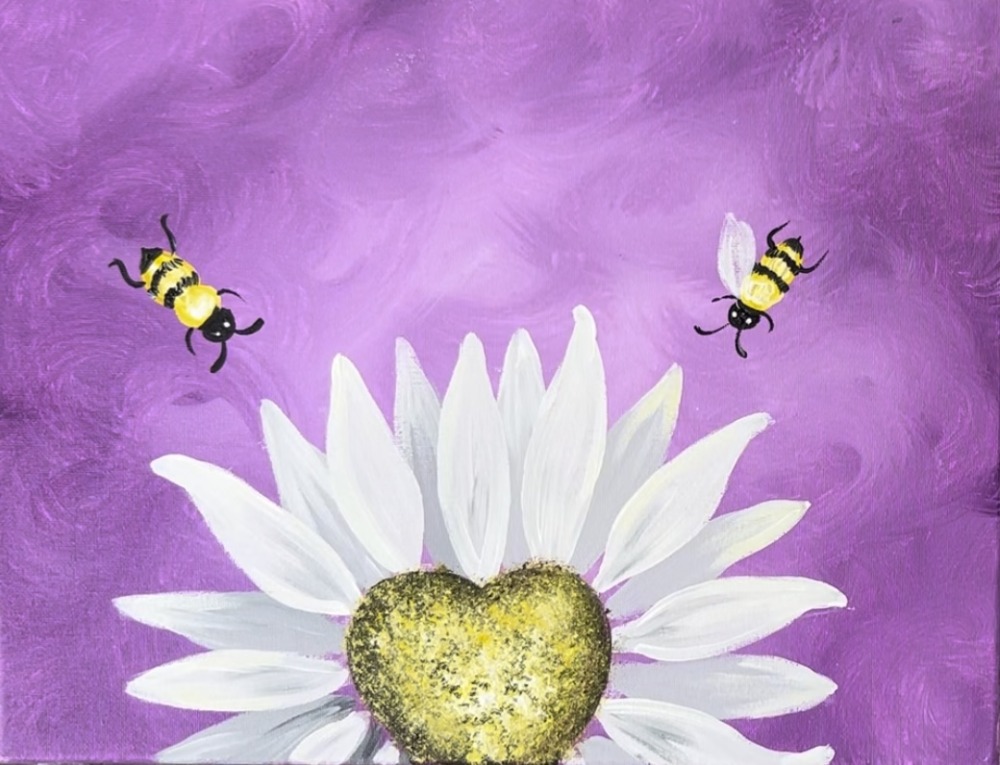
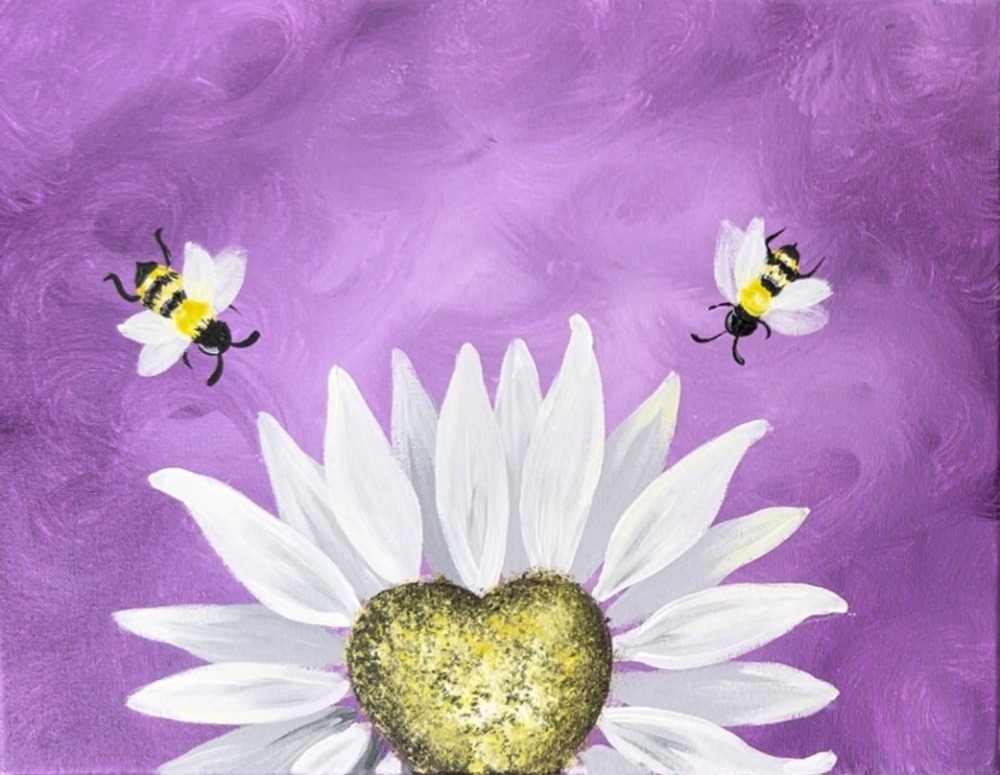
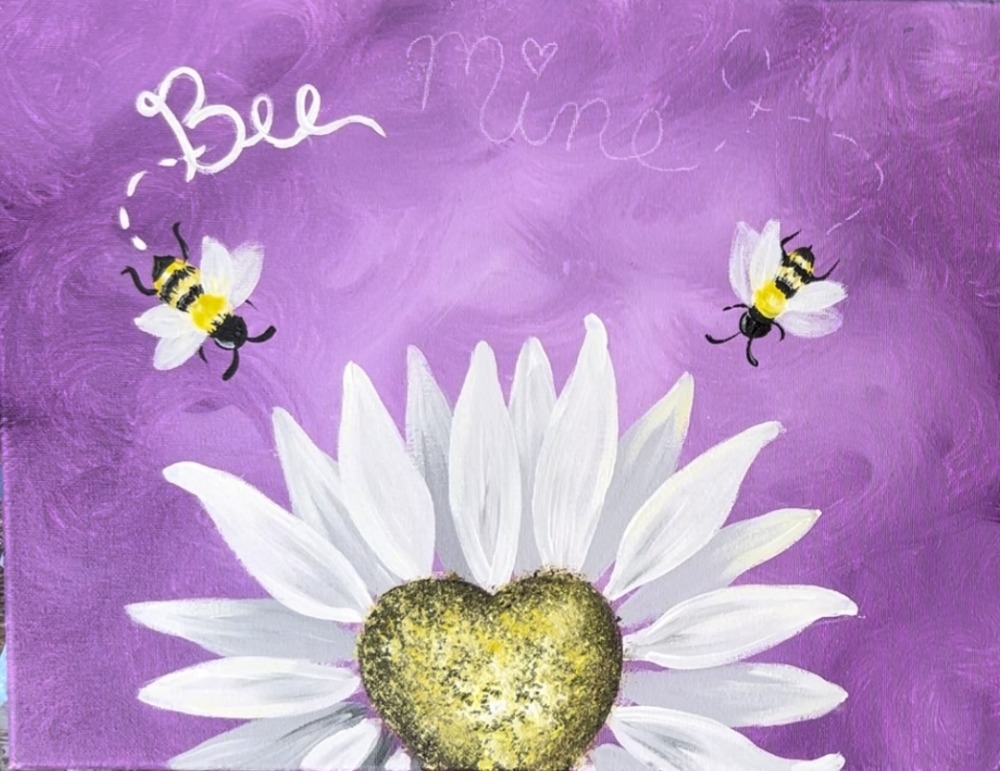
"Bee Mine" Daisy & Bees

This painting can be customized with a different color background and/or different wording! Learn to paint a simple daisy with two bees.
Materials
- 11 x 14 Canvas
- Acrylic Paint
- Paint Brushes
- Paint Palette
- Water Jar
- Protected Workspace
- Chalk
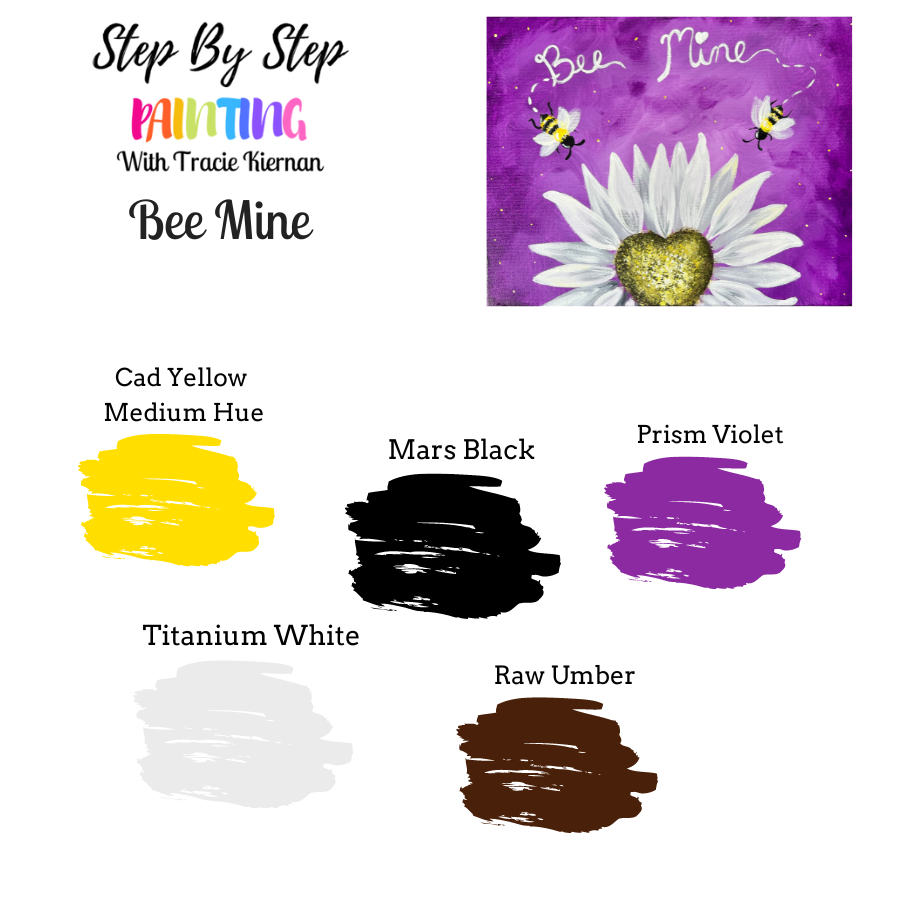
Colors
- Titanium White
- Mars Black
- Cadmium Yellow Medium Hue
- Raw Umber
- Prism Violet (or whatever color you want for the background)
Brushes
Color Palette
I used Liquitex BASICS acrylics for this. If you are using a different brand, you can look at the color chart below to help you match colors.
Want to change the background color? Sub out “Prism Violet” for another color such as “Cerulean Blue” or “Turquoise Blue”!
Using Craft Paints?
If you are using craft paints such as the “Apple Barrel Craft Paints”, I would recommend subbing to:
- White
- Black
- Nutmeg Brown
- Bright Yellow
- Purple Iris
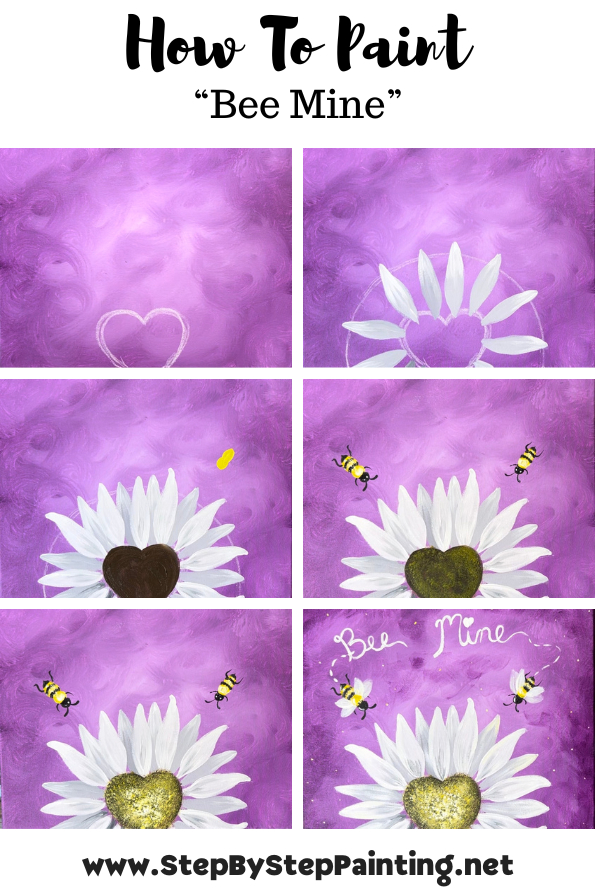
Directions At A Glance
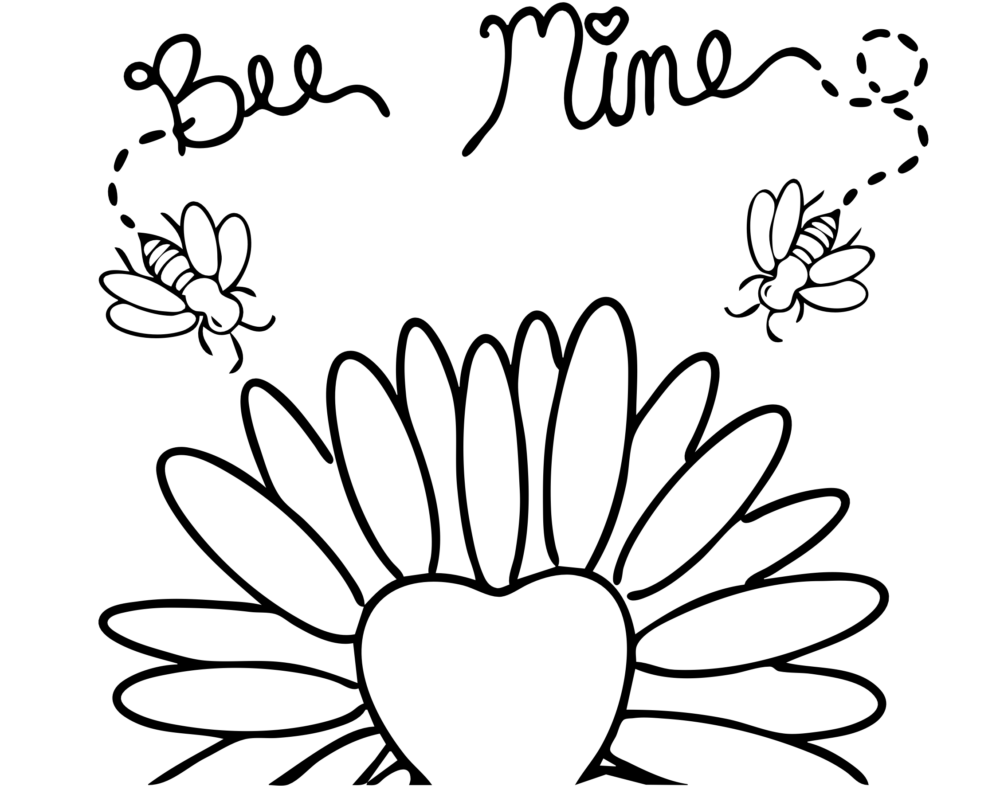
Optional Traceable
The traceable is not used in the tutorial, however, you are welcome to use this template if you need help with the composition of the painting.
Video
Step By Step Instructions
1. Paint The Background
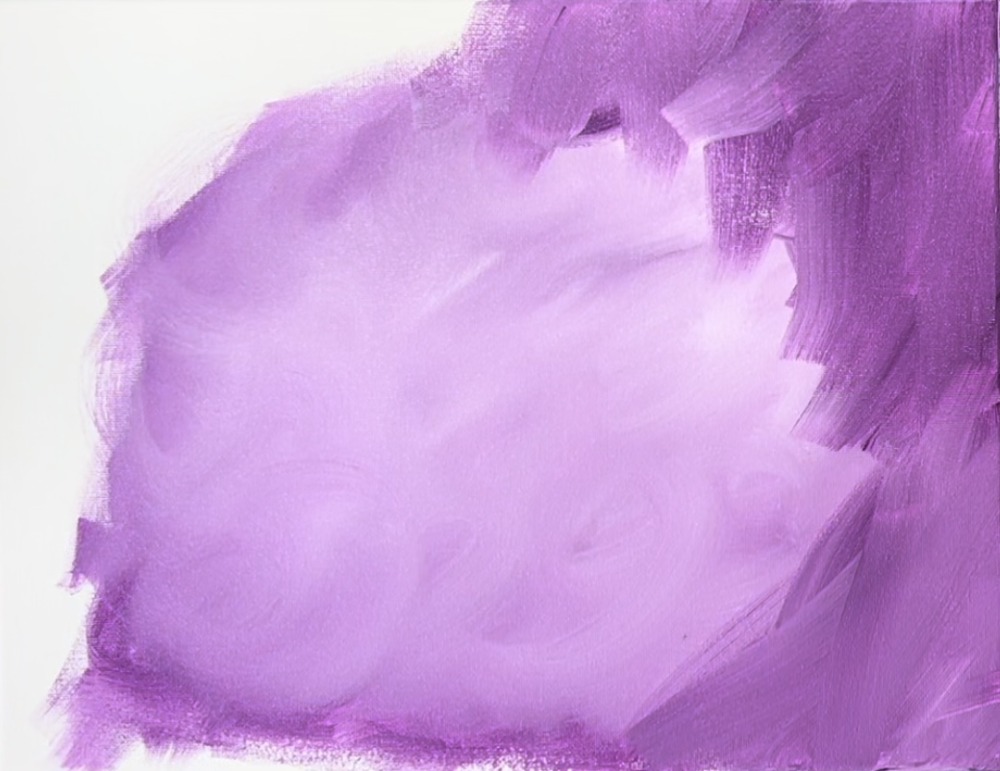
Load your paint palette with the colors: prism violet and titanium white. Use the 3/4″ flat wash brush. Mix titanium white with only a small amount of the prism violet. This will make a light purple. Note: if you are changing the background color, you would sub “prism violet” out for a different color.
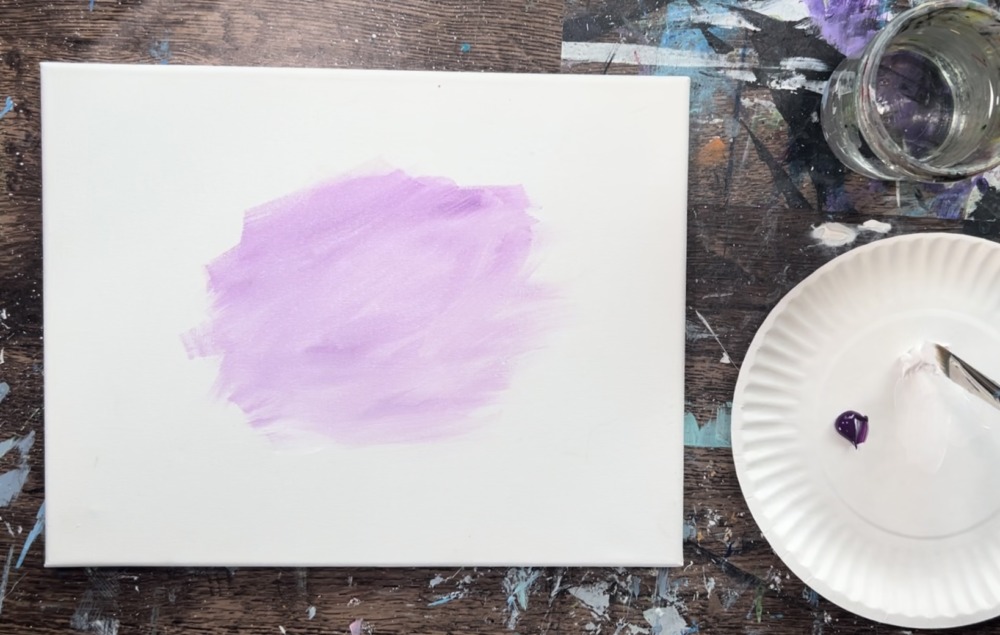
Apply that light purple to the center of the canvas. Paint long, angled brush strokes that blend colors on the canvas.
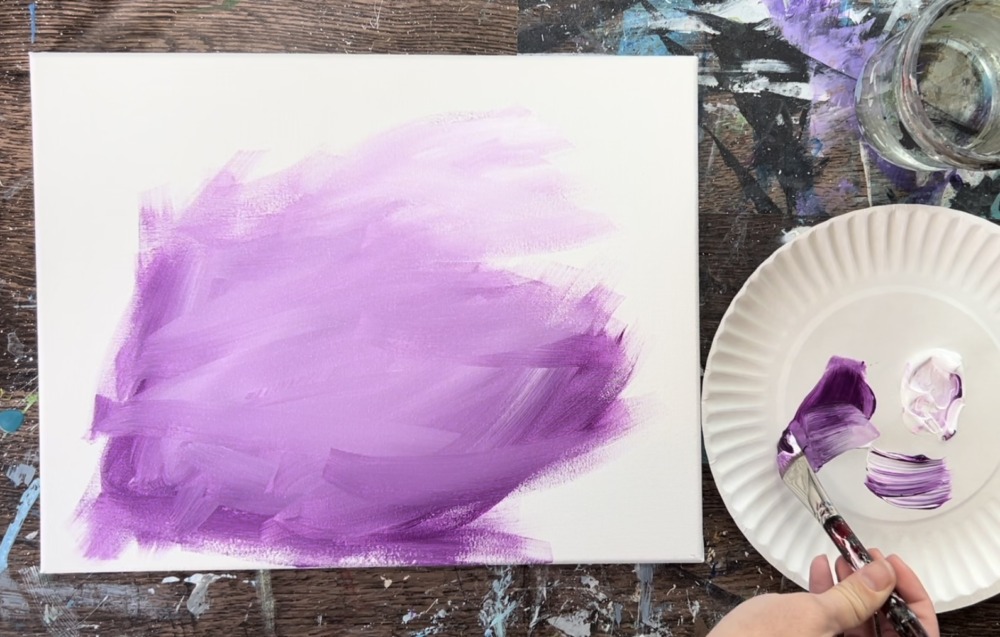
As you work your way outwards, add more purple to the brush and less white so that the color becomes darker.
This next step is optional! Use a “blender brush” to smooth and soften the paint strokes. To do this, use a clean, dry blender brush. Gently use the edge of the bristles to smooth the paint and work in a circular direction. Note: I did this before filling the entire canvas up before the paint dried.
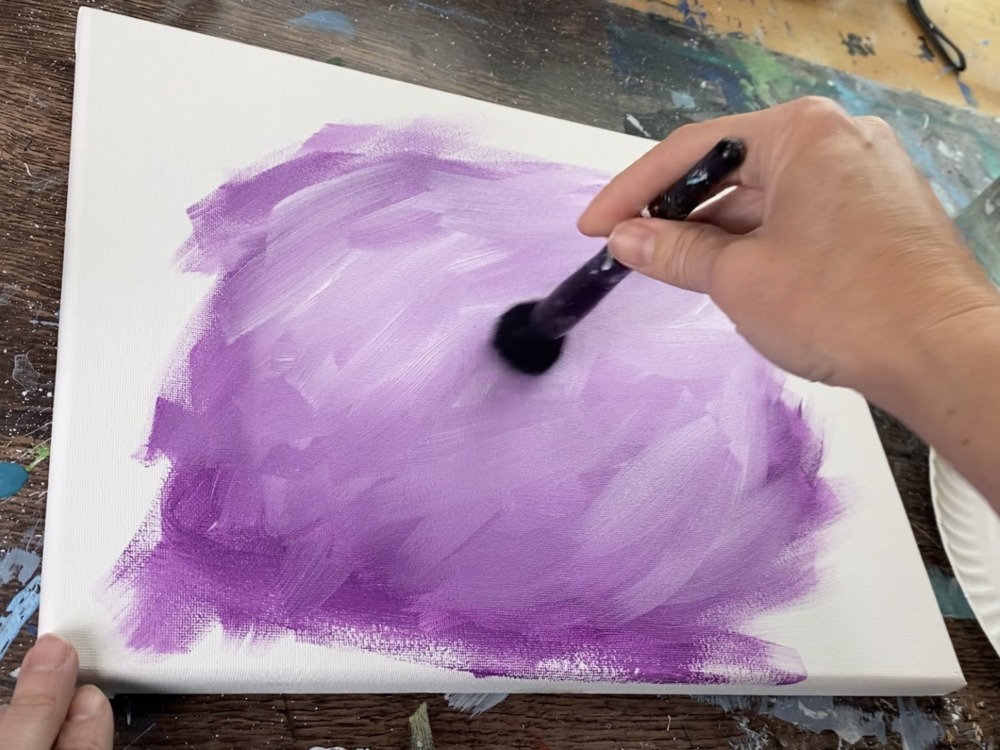
Fill the outer parts of the canvas with darker color
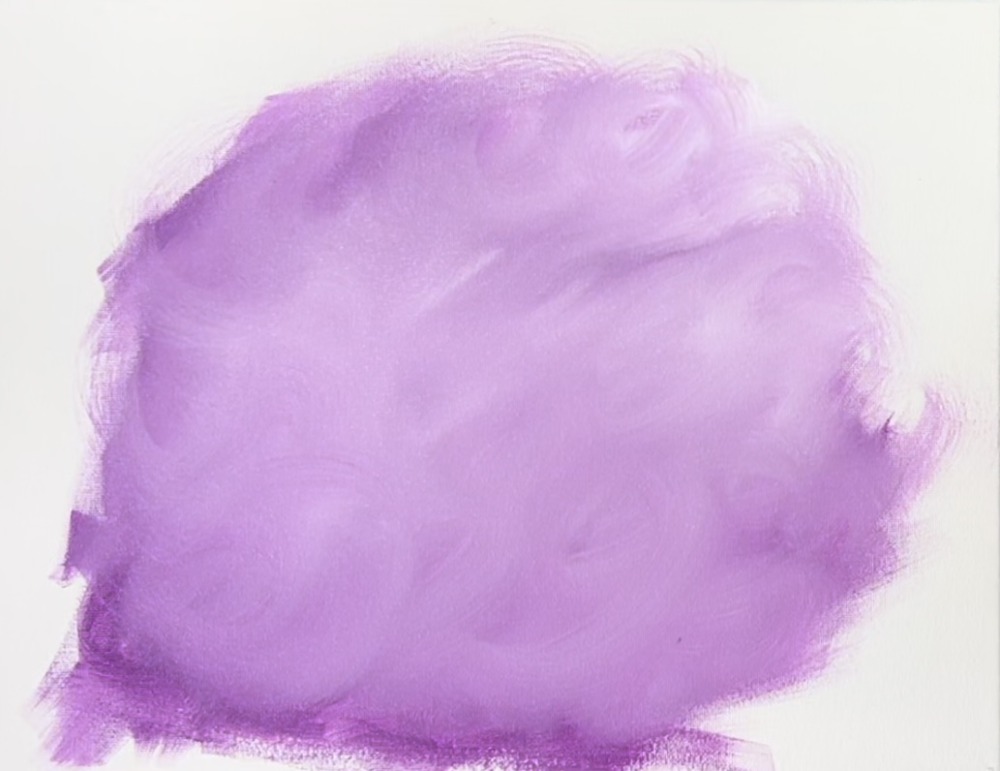
Smooth the dark areas with the blender brush. Try not to over blend the colors. The goal is to allow the center of the background color to be slightly lighter and the outer edges to be darker.
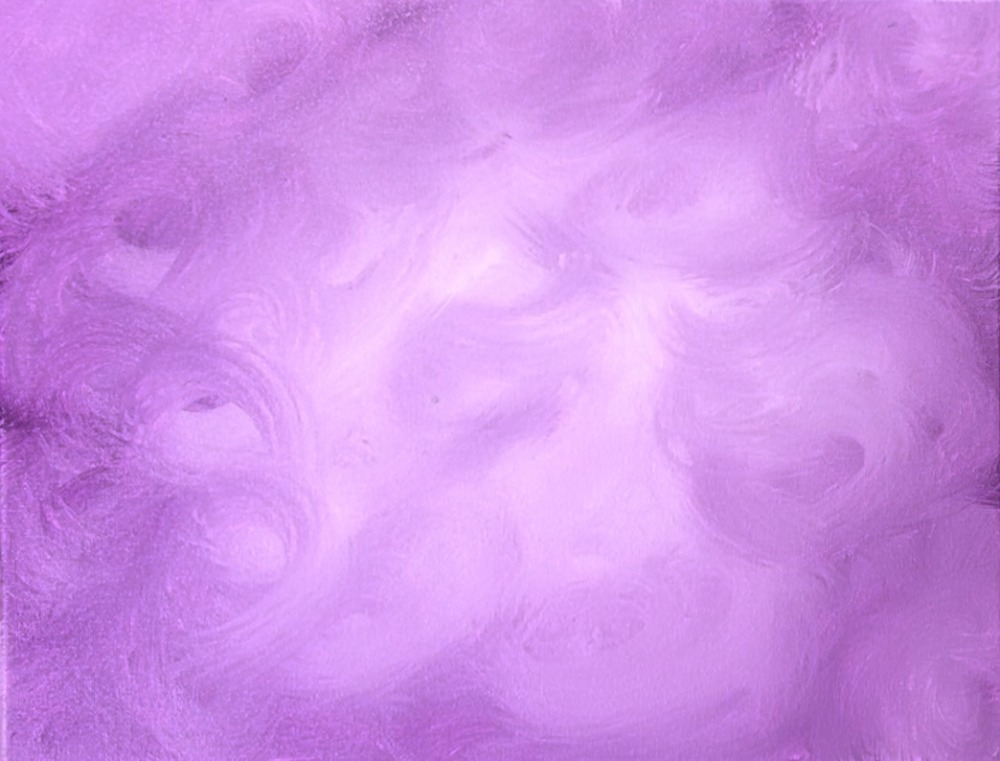
Wait for this to dry before going onto the next step.
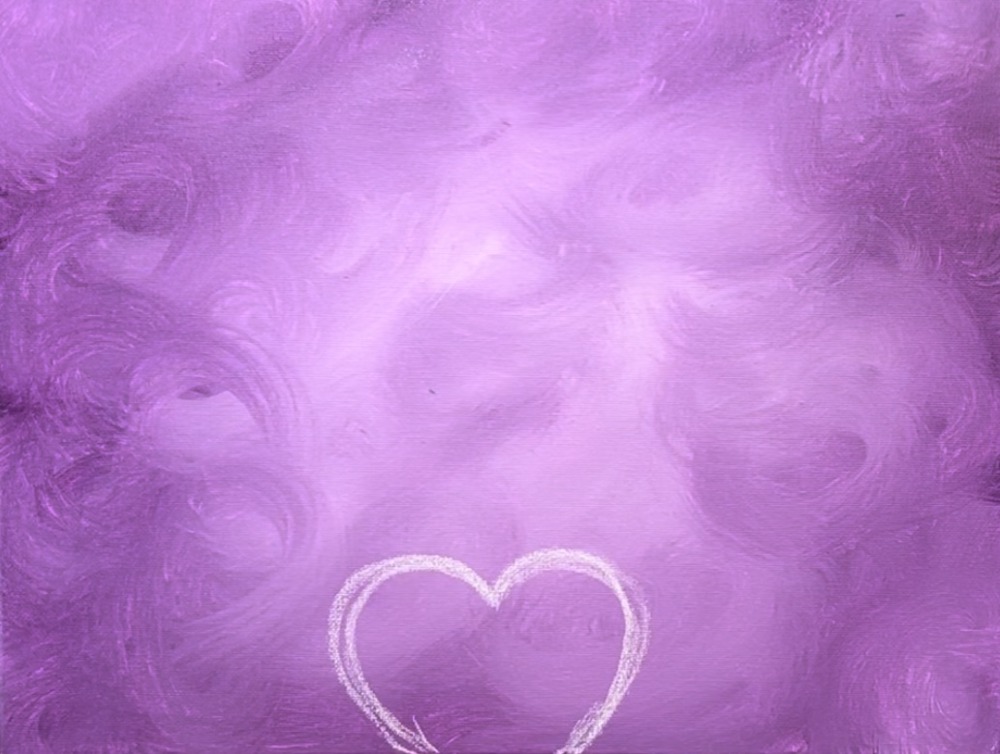
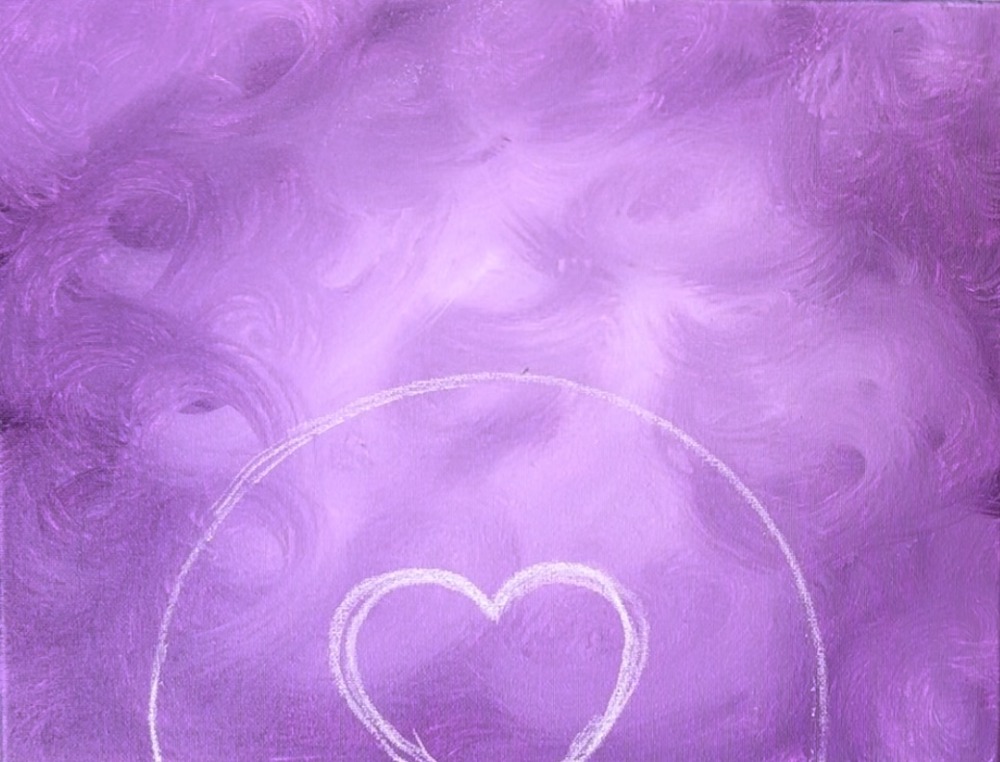
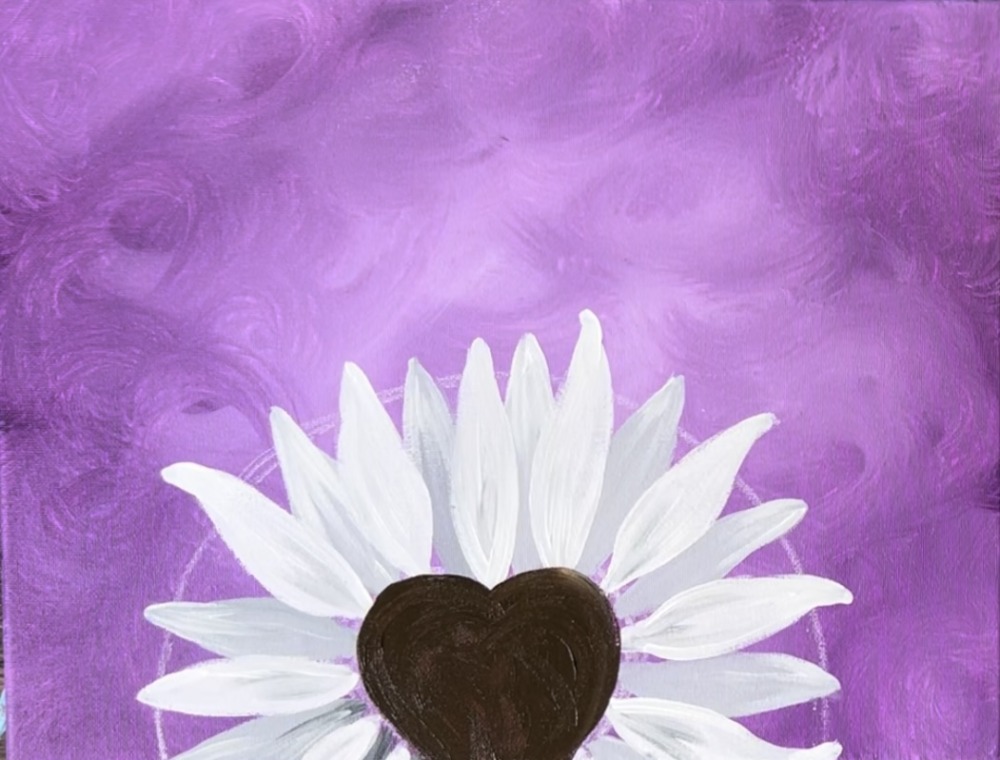
2. Draw The Heart Center/ Circle For Petals
Use a piece of chalk to draw the heart on the bottom center of the canvas. Draw this so that the bottom is cut off.
Then, I recommend drawing a circle around this heart to help as a guideline for painting the petals. I used a 9″ paper plate and centered it around the heart.
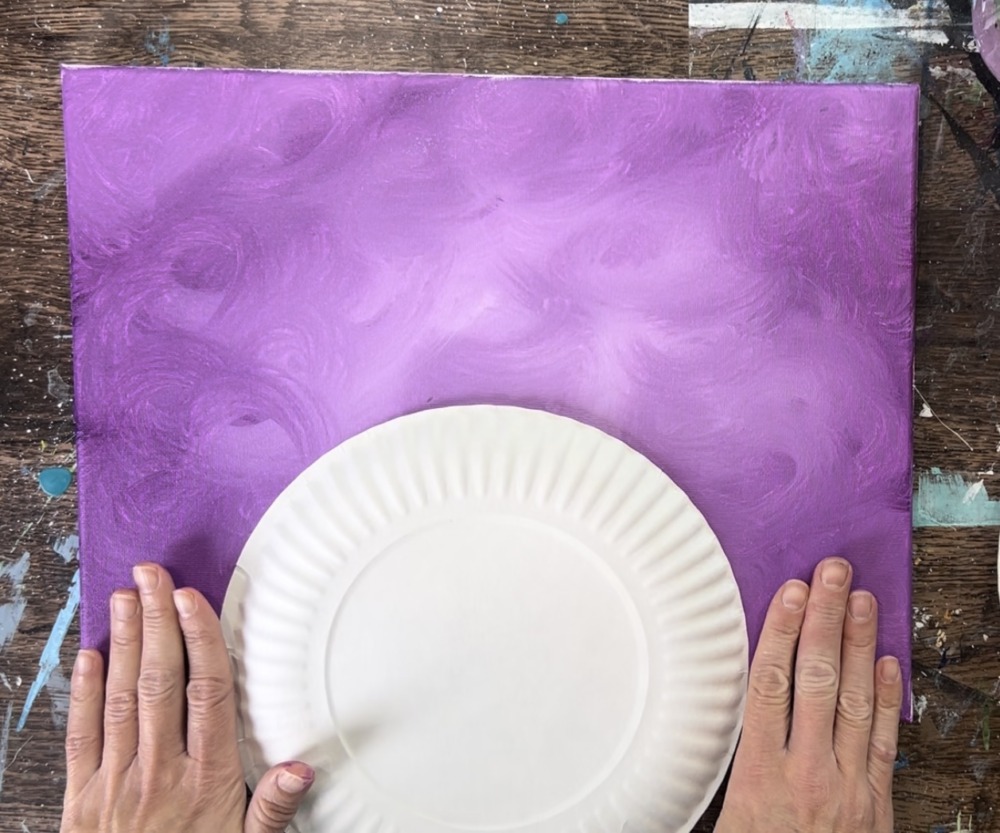
Use a piece of chalk to draw the circle.
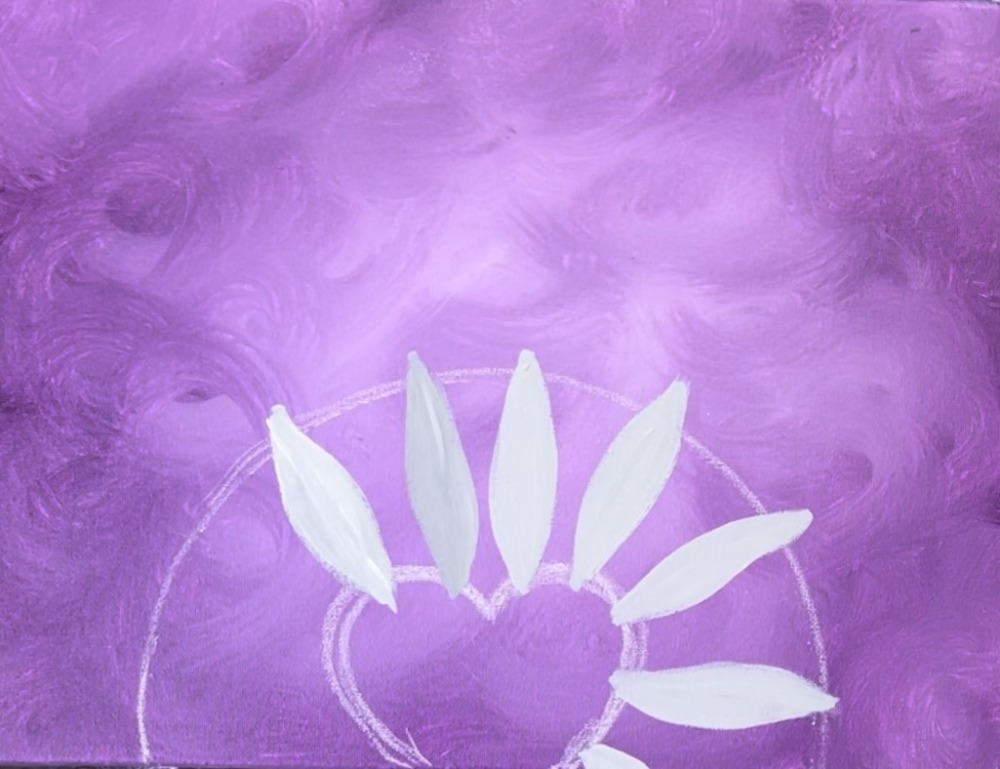
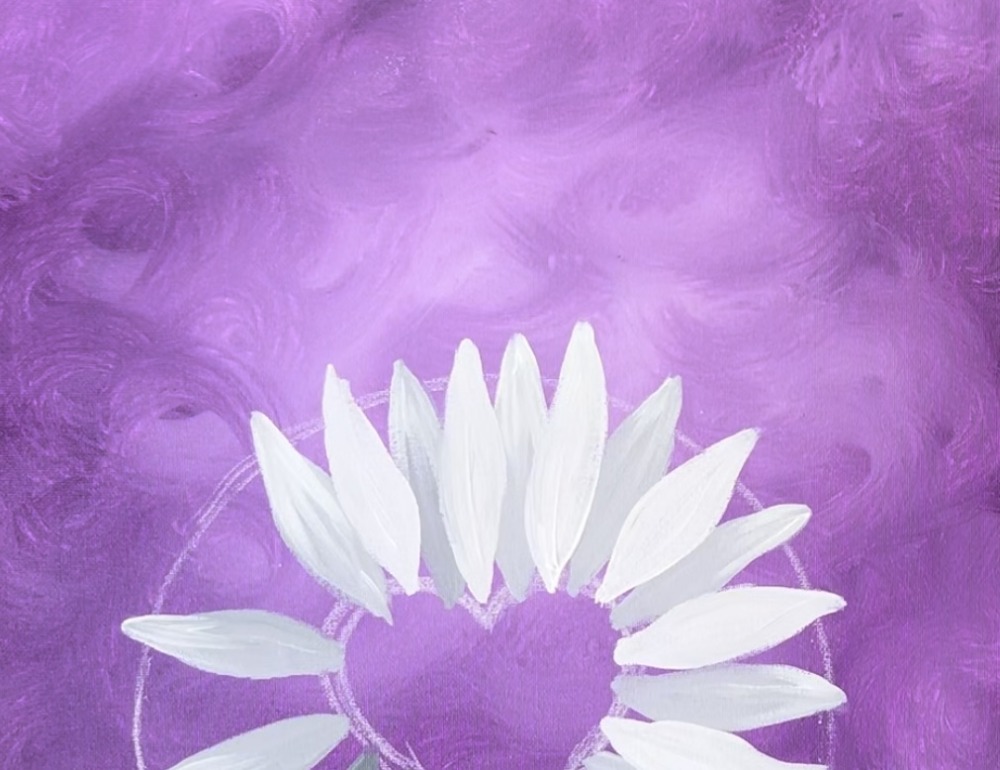
3. Paint The Petals
On your palette, mix a light gray color. Mix about 1 part purple, 1 part black and 4 parts white. This does not have to be exact, it should be a light gray. The little bit of purple in it is optional but it will give your petal a little bit of purple undertone.
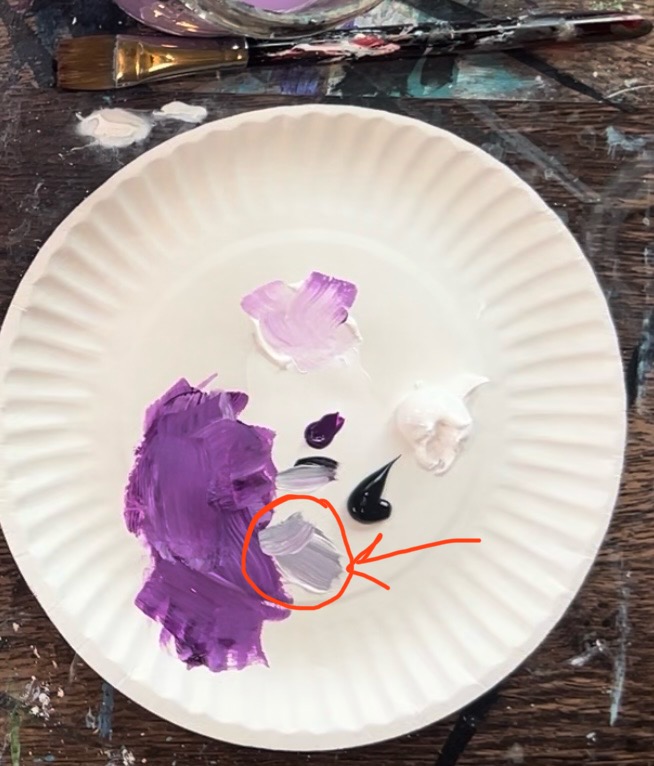
We will be painting all of the back petals first and these should be darker than the front petals. Use the #4 round brush to paint your first petal. Start out on the bottom so the base is slightly narrow. Then paint the petal so the sides become rounded and slightly wider and then it goes back to more narrow and rounded on the end of the shape.
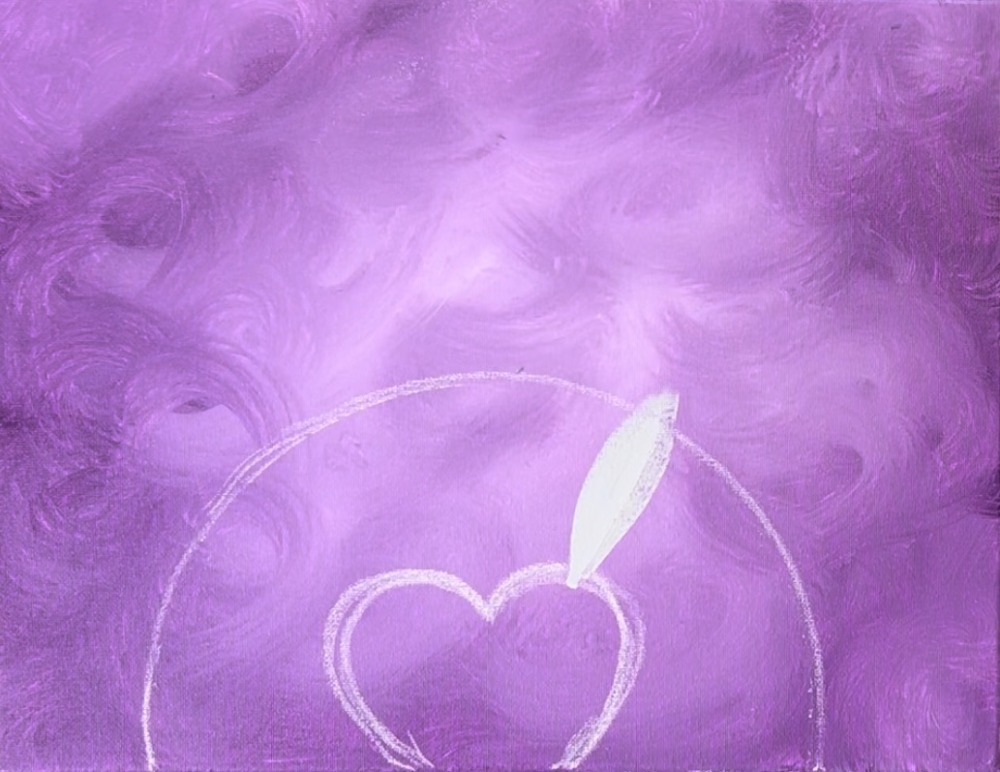
Do each petal this way. It is okay if you vary the gray shade a bit so some look darker and some look lighter. Leave a small gap between each of the petals. That gap is where the front petals will be. Tip: if you can have your petals be more rounded on the ends rather than more pointed.
Go all the way around. I chose to make my petals go outside of that line slightly but, for the most part, they are all similar in length.
Paint the petals towards the canvas so they go off the canvas. If you want, you can paint the sides of the canvas (if working on a stretched canvas).

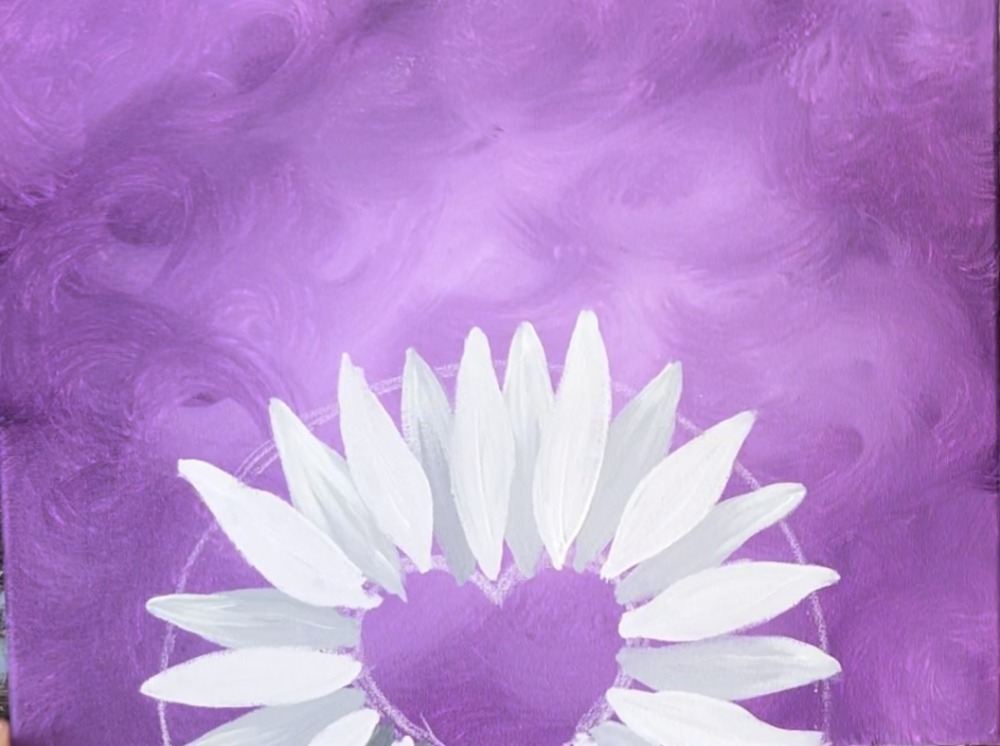
Next, rinse your brush. Load it into just the titanium white. Then, drag the white on the ends of the petals and down into the gray. Blend it into the gray but not all the way. You’ll want the ends of the petals to show up slightly lighter and the base to be slightly darker.
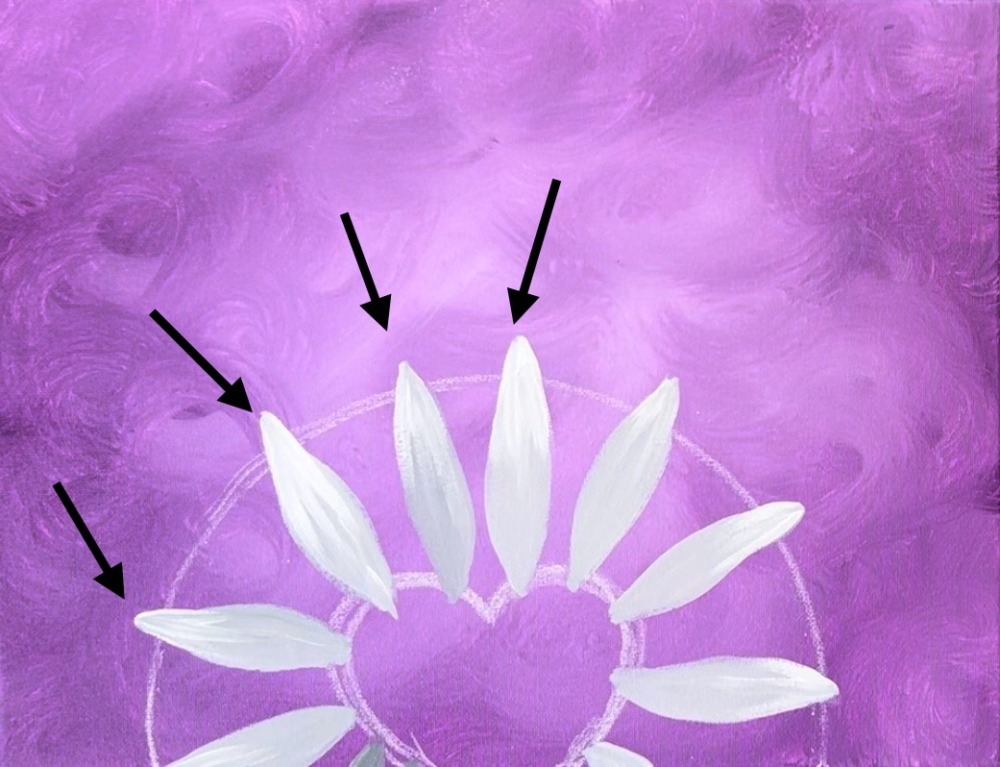
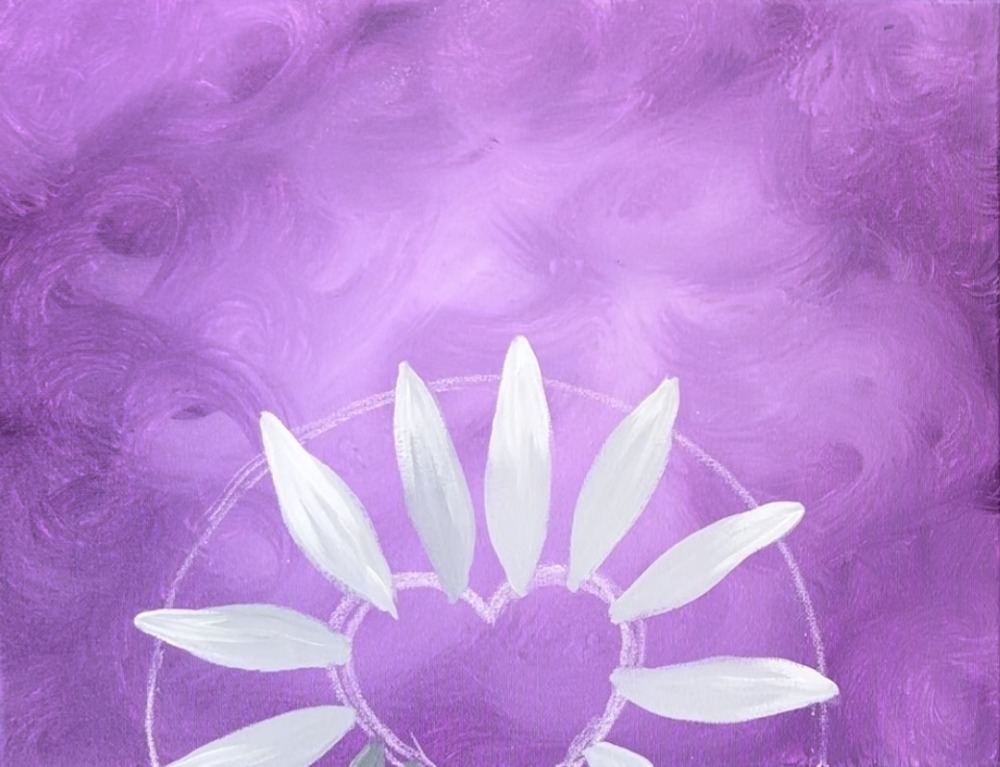
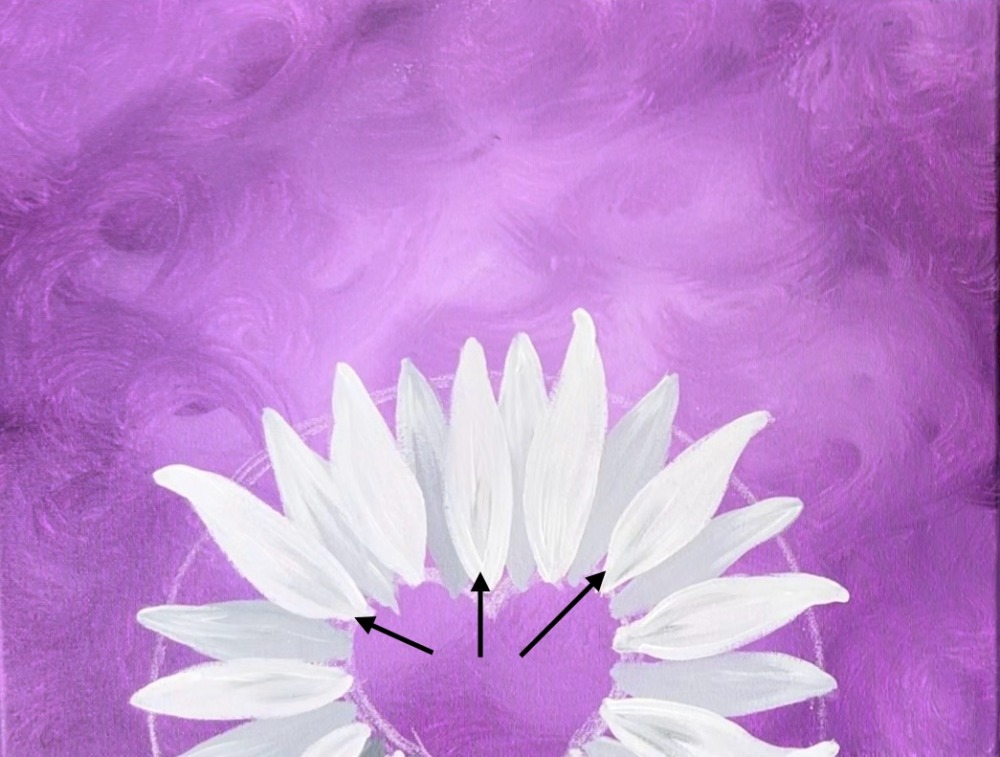
Next, paint the front petals. These petals are painted the same way but much brighter and the overlap the gray back petals. Load your #4 round brush in just titanium white. Paint each petal starting at the base and allow it to overlap a back petal on each side.
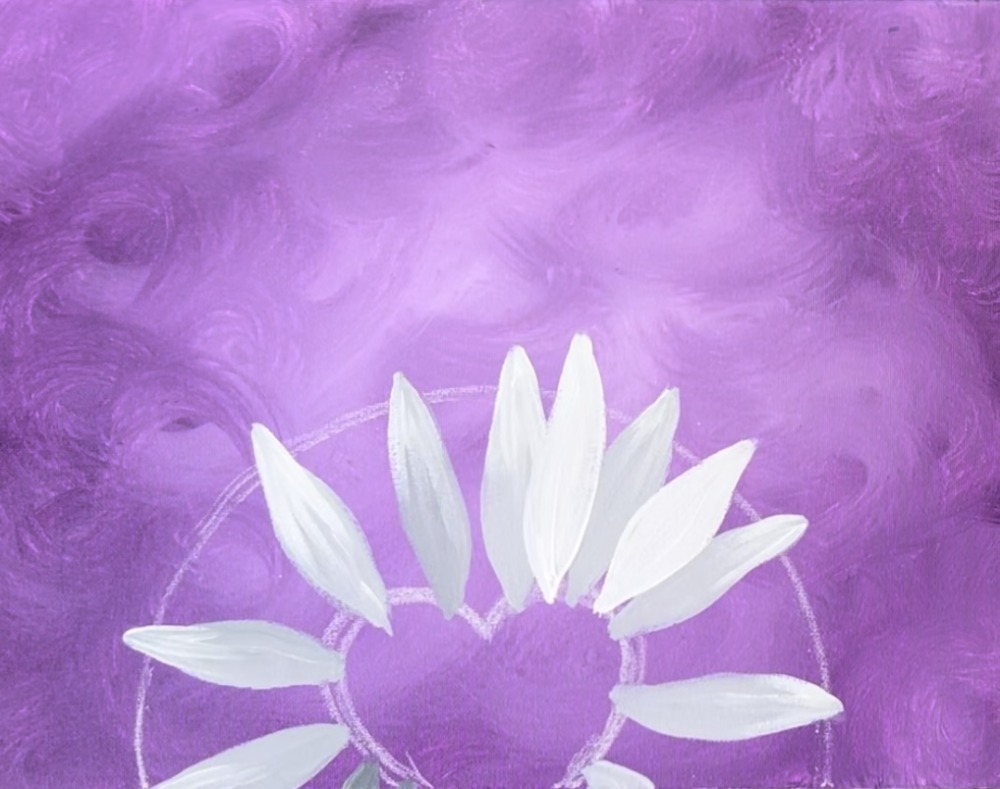
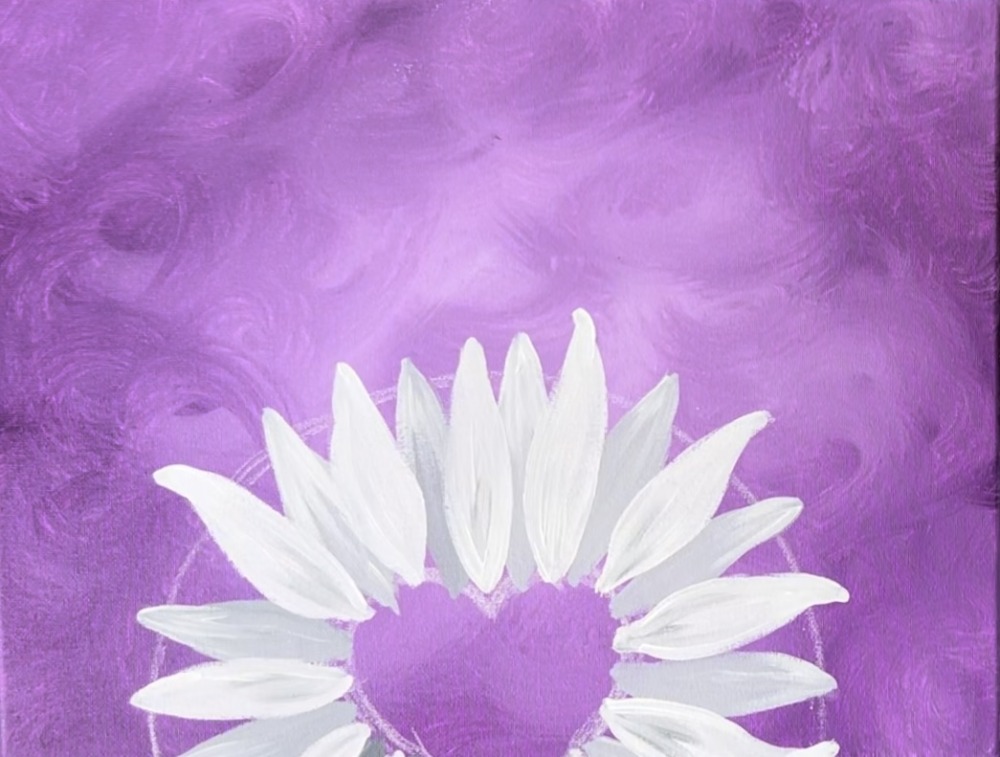
You are now creating a pattern of back and front petals. Do this all the way around the heart.
Next, add a little bit of gray to the bottom of the white petals. Do this with the same gray you used for the back petals and, still using the #4 round brush. Gently brush these gray lines upwards and blend with the white. This will create a little bit of texture in your petals.
4. Paint Heart Brown
Load your paint palette with “raw umber”. Use the #4 round brush to paint the entire heart a solid coat of this dark brown. This heart should be overlapping any part of the petals that may have been painted over the line of the heart. Also, if needed, make sure each petal is attached to the center heart (extend the base of the petal).
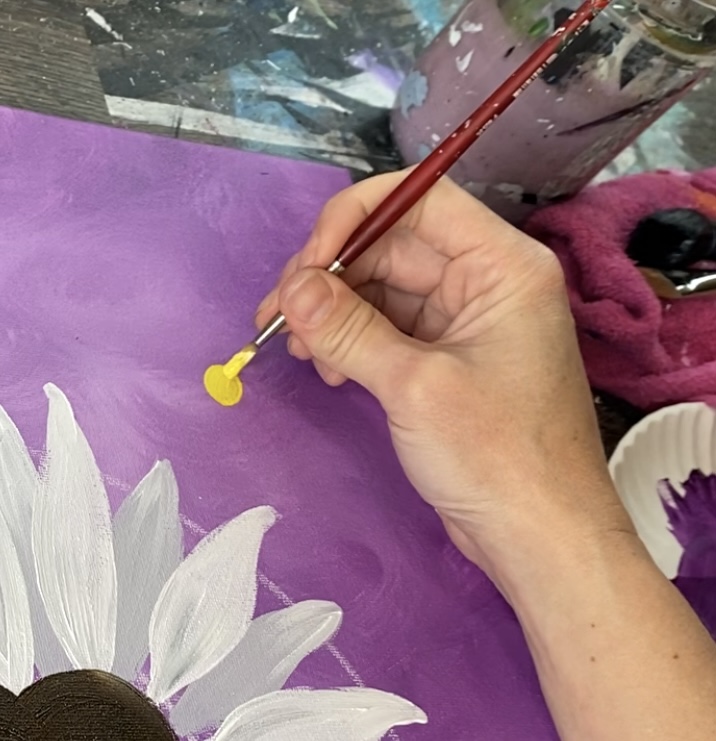
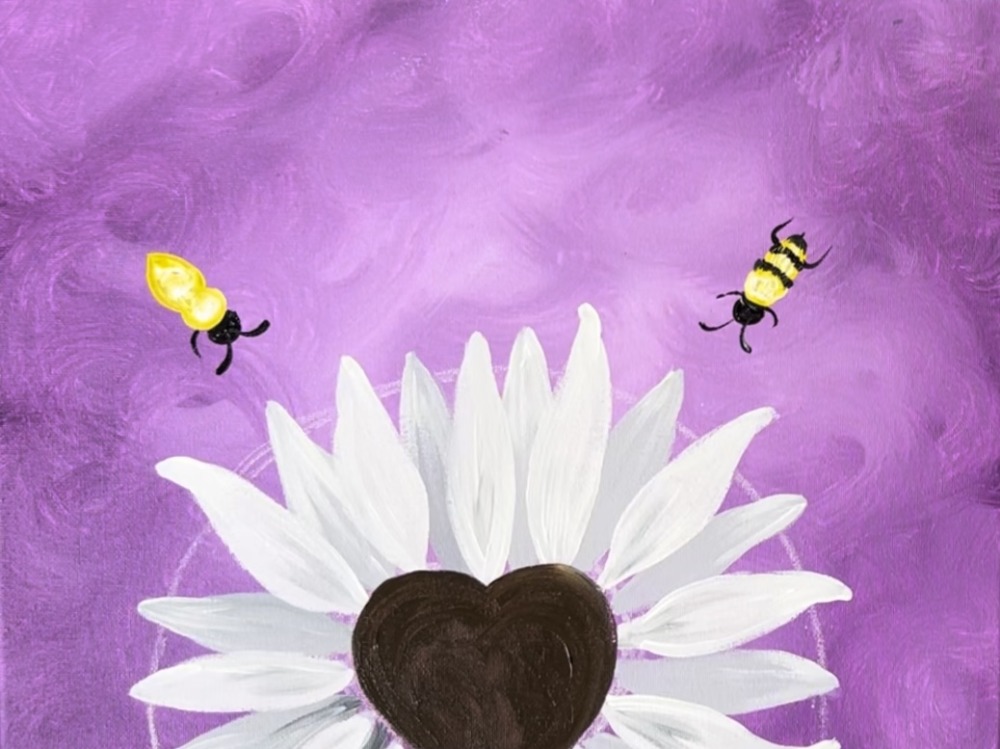
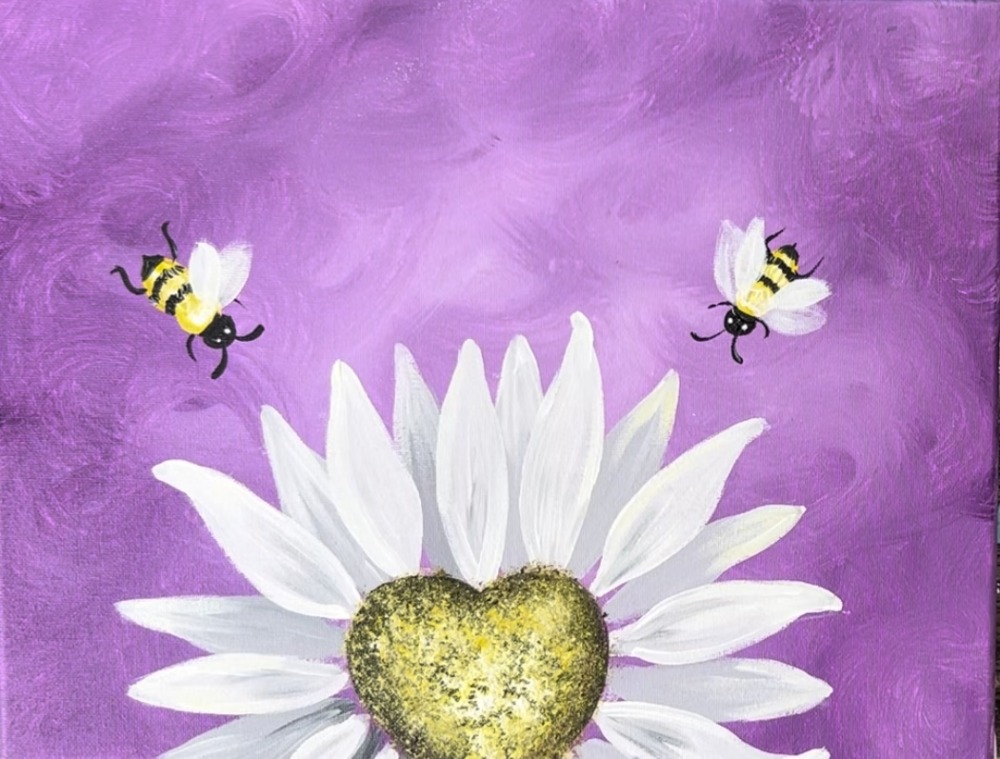
5. Paint Bees
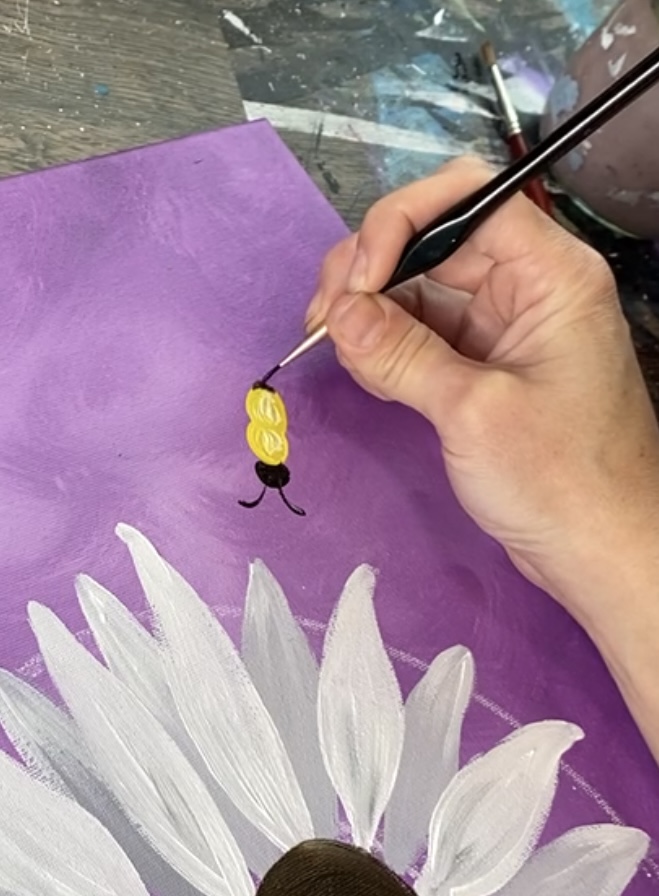
First, mix yellow and white together on your paint palette. This will help ensure the yellow will show up nice and bright against the background.
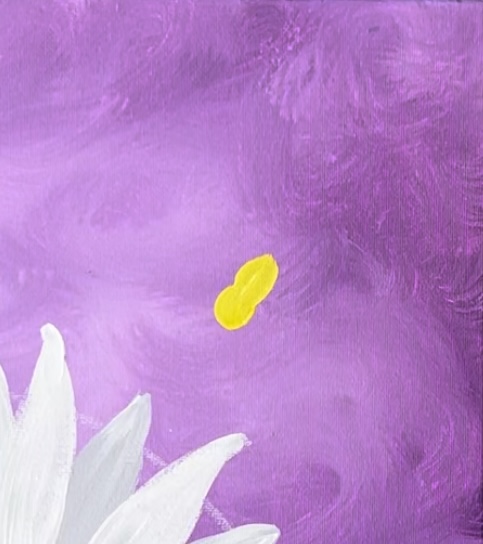
Then use your #4 round brush to paint a circle for the “thorax” of the bee.
Then paint the “abdomen” as a small teardrop shape attached to the thorax.
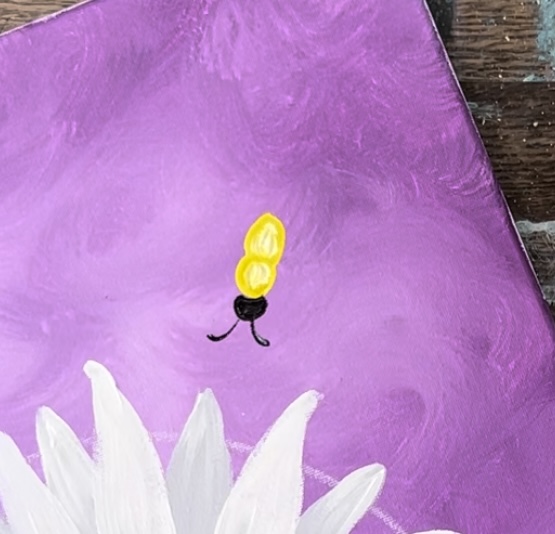
Rinse the brush off. Add a little titanium white to the brush and dabble a little white in the center of the two yellow shapes. This will make the center part brighter and give it a little form.
Next, use the 3/0 (tiny detail brush) to paint the head and antennae using the color “mars black”. The head is a half circle shape attached to the thorax.
Then use the 3/0 round brush to paint the stinger and two stripes. For the stripes, I had them curve upwards towards the stinger. I did them with tiny vertical marks forming the stinger shape. This helps to give the bee a little fuzzy texture when you paint little vertical marks instead of one solid paint stroke for the stripe.
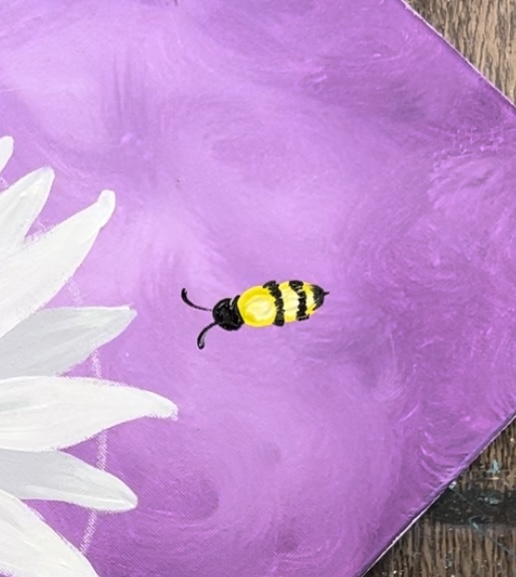
I did not paint stripes on the thorax. You are, however, welcome to paint more stripes! Then paint the front legs and back legs. I made the front legs curve forwards and the back legs curve backwards. I did not paint the middle legs because the wings will be covering those up.
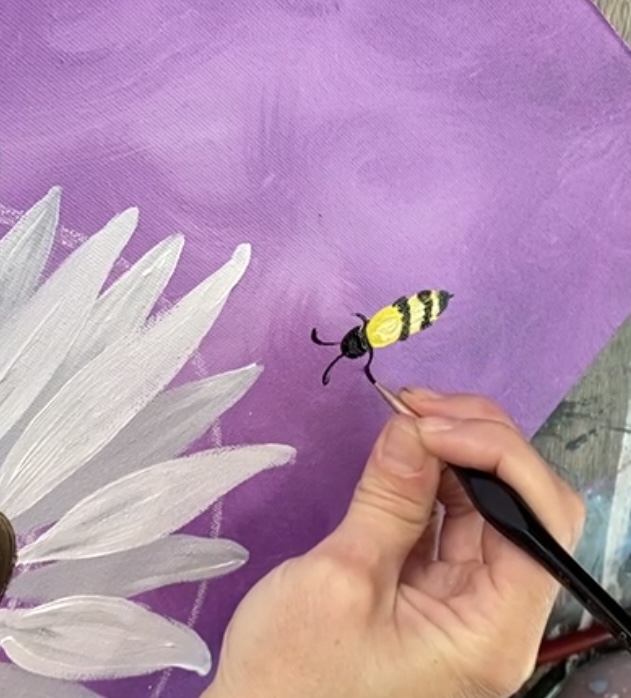
Repeat this for the other bee! You can paint more bees if you want.
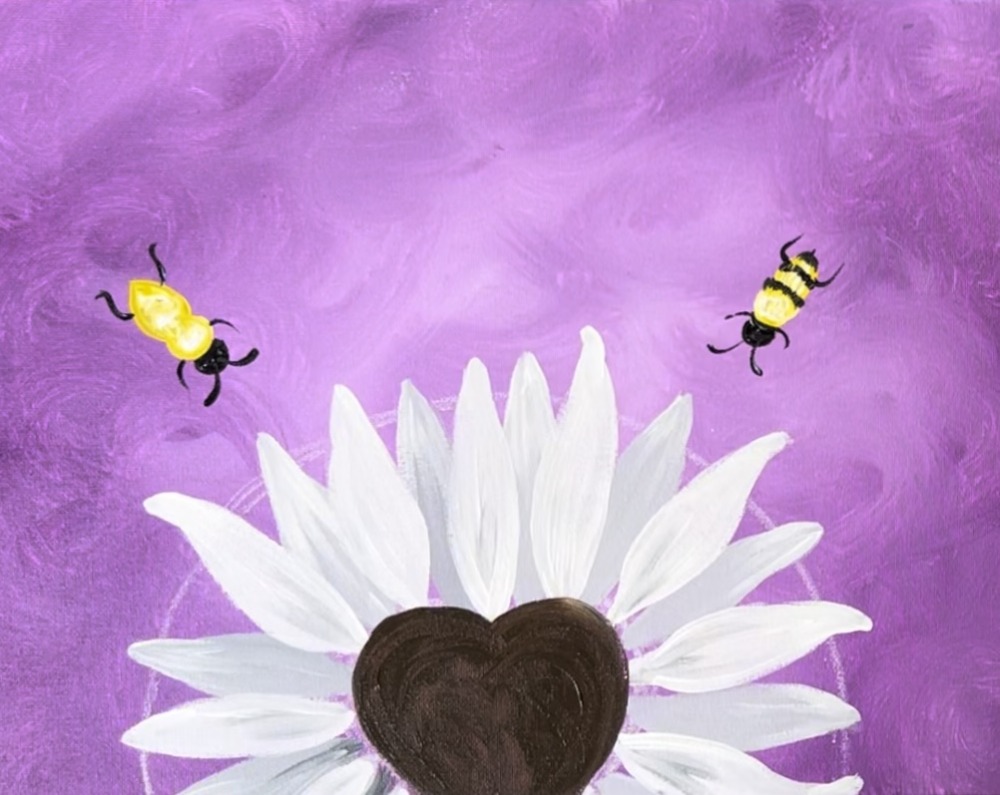
They do look weird without the wings! You’ll want to wait for this to dry before painting the wings.
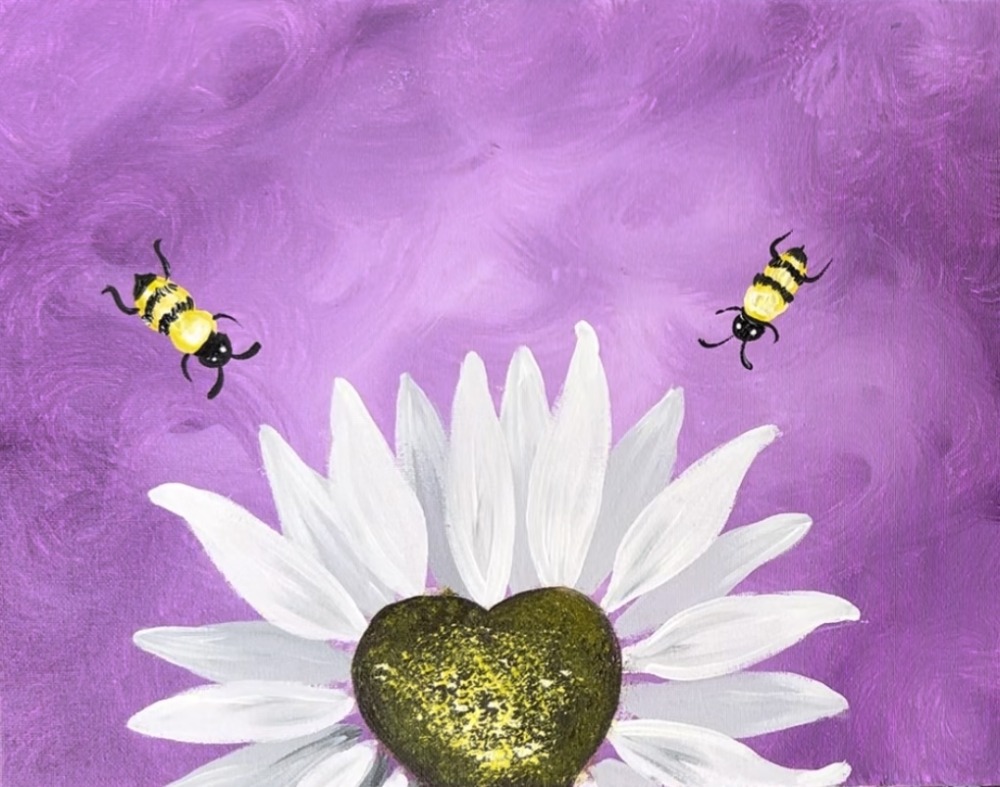
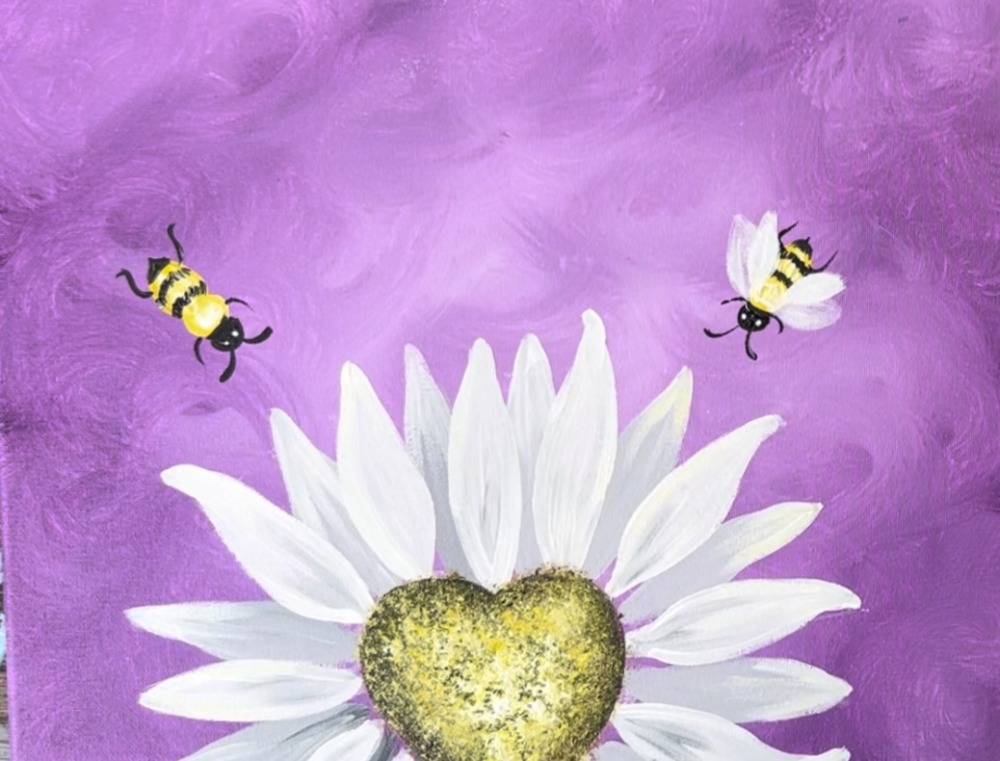
6. Paint Texture On Heart
Use the bristle brush to paint texture in the middle of the heart. If you don’t have a “bristle brush”, you can create a bundle of q-tips (about 4-5) to create a similar effect. You can also stipple with a round brush.
On your paint palette, mix about equal amounts of yellow and brown together. This will make a dark yellow/ light brown color. Load the tip of your bristle brush with this color and “stipple/ stamp” all over the brown heart. Don’t cover all of the brown up. We are starting dark with this texture and we will gradually be adding lighter colors.
Next, load it into a mix of titanium white and yellow. Stipple this in the center of the heart but don’t add as much towards the edges. You’ll want the edges of the heart to be slightly darker and the center to be lighter.
Load a little bit more titanium white to the brush and add another layer of bright white/yellow just in the center.
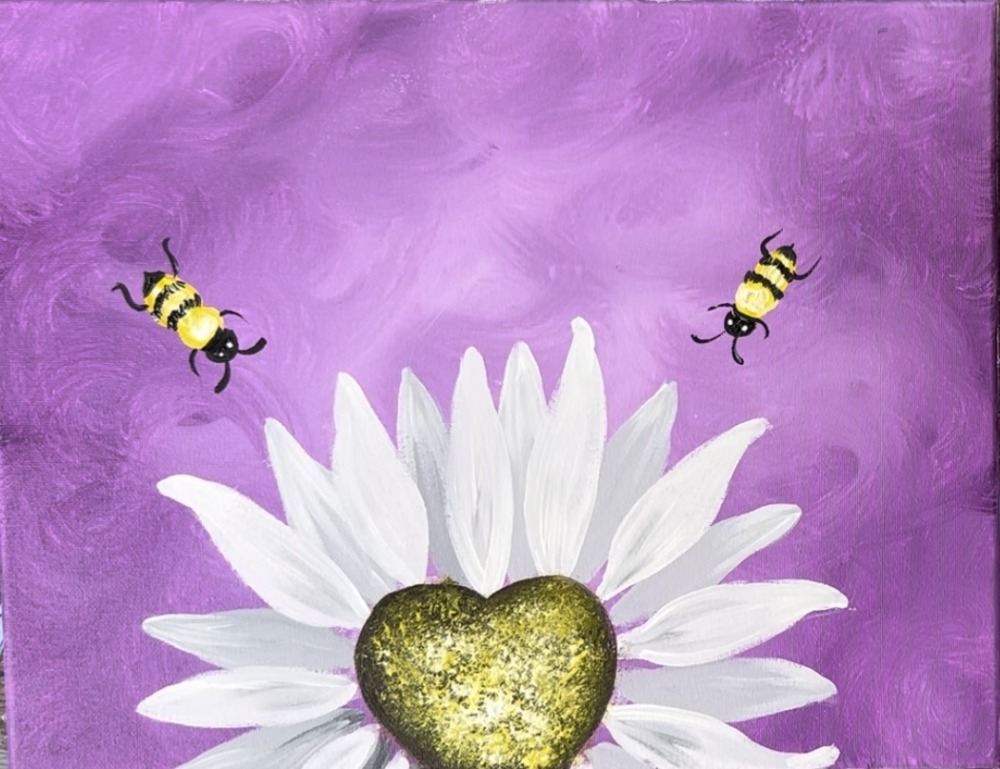
Then, you can go on the edges of the heart and add a little bit of yellow that overlaps some of the petals.
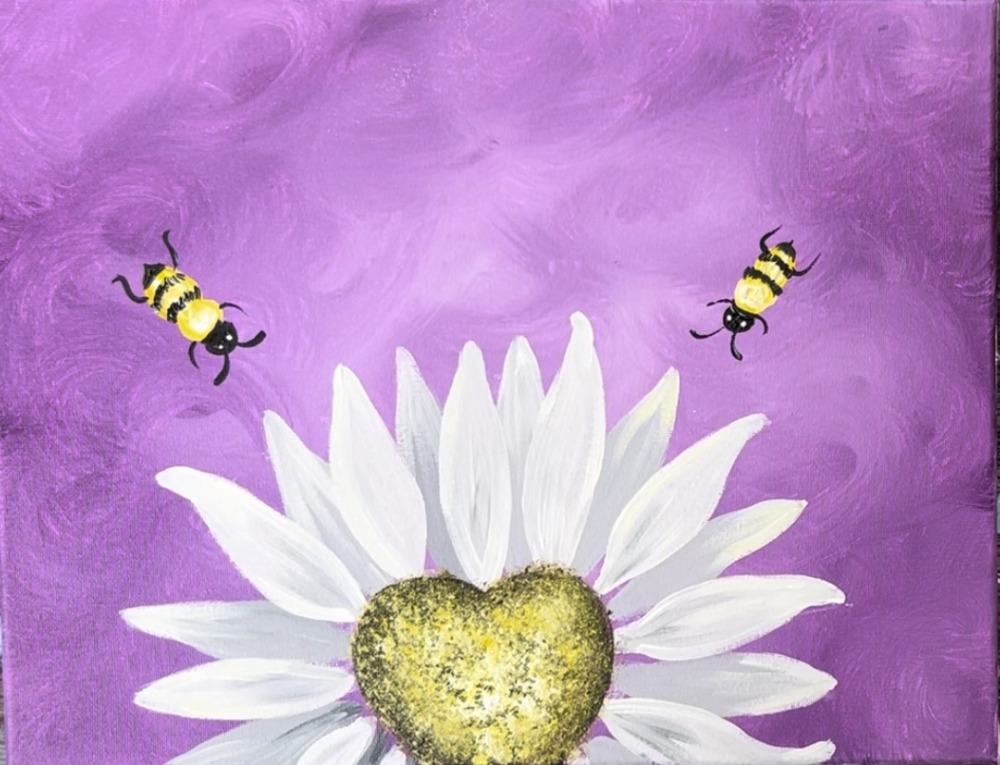
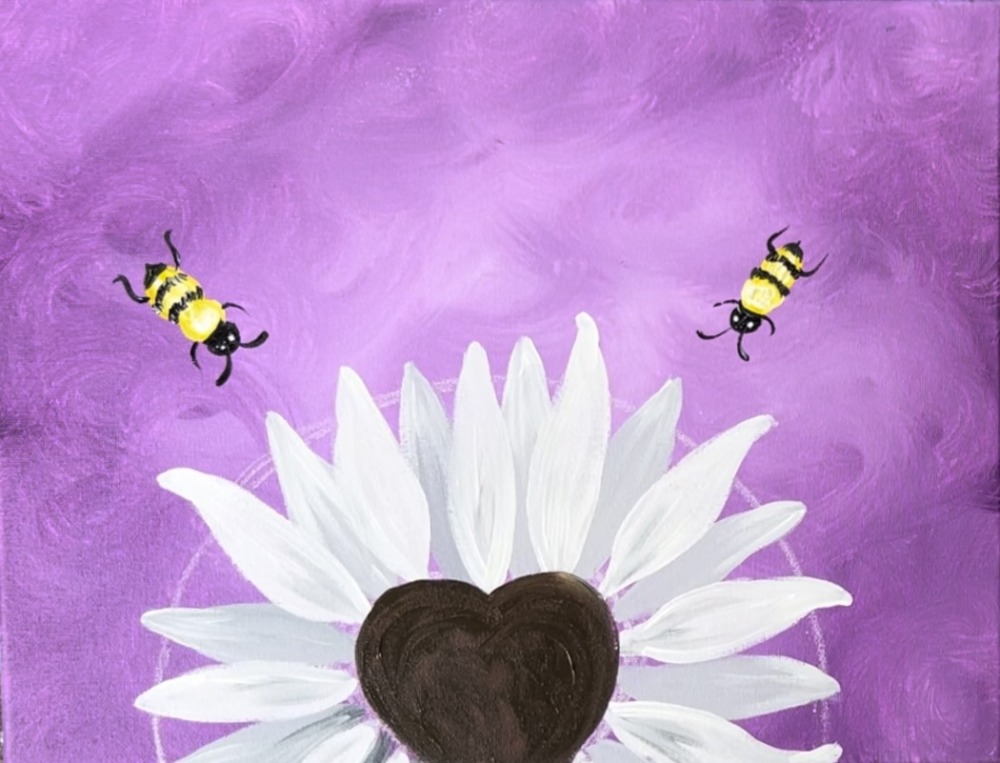
7. Paint Wings On Bees
Use the #4 round brush and titanium white to paint the wings on the bees. Be sure to use only a small amount of white on the paint brush and paint these wings very lightly so they show up sort of translucent.
Then paint the second set of wings. This time, overlap the first set and make your white a little bit brighter by pressing slightly harder on the brush.
Repeat this step for the wings of the bee on the left.
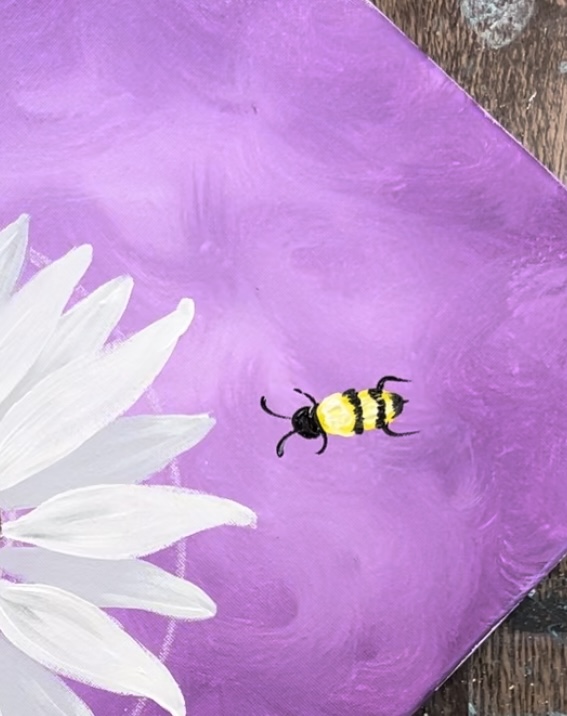
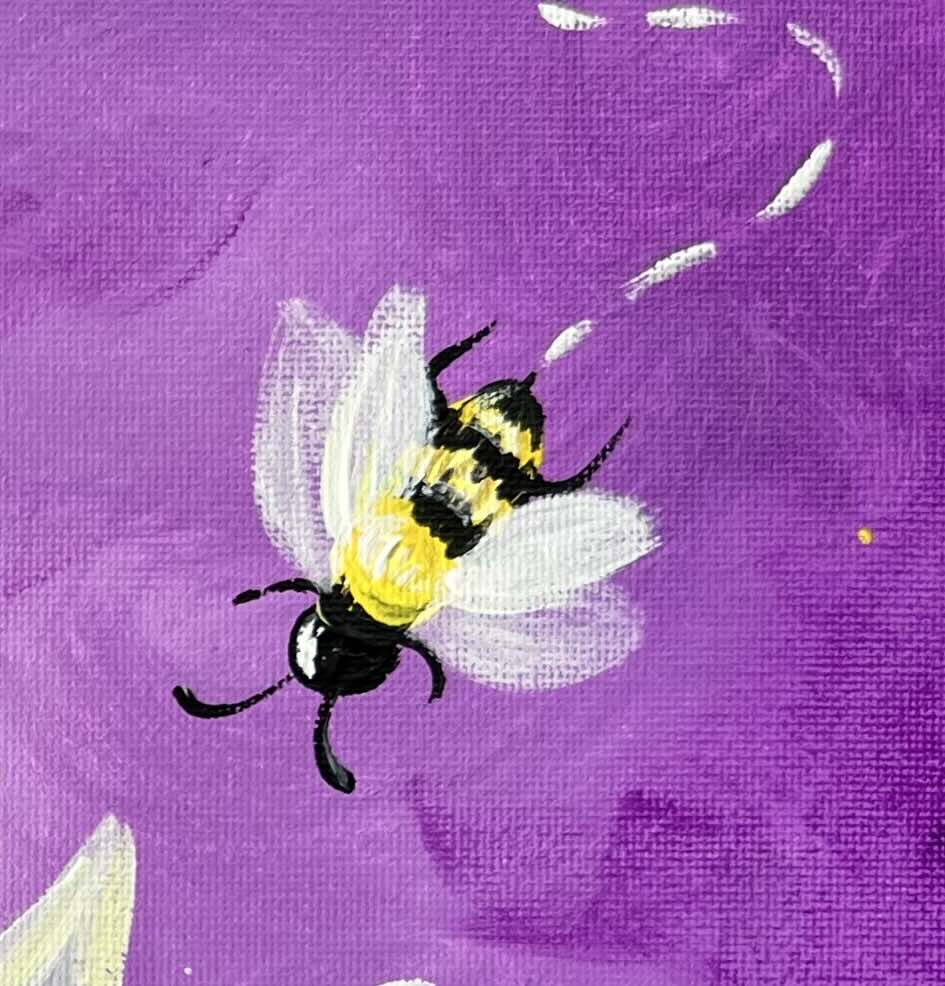
Optional: as an alternative to the eyes, I went back over them with black paint then did a curved white line for highlight instead.
Here is a detailed closeup of one of the finished bees. I also highlighted the left part of the thorax with titanium white. The “trail” is added later in this painting.
8. Draw Lettering & Paint Lettering
For the lettering, I recommend drawing it out with a pencil first. I used a white chalk pencil, however, you can use a regular drawing pencil.
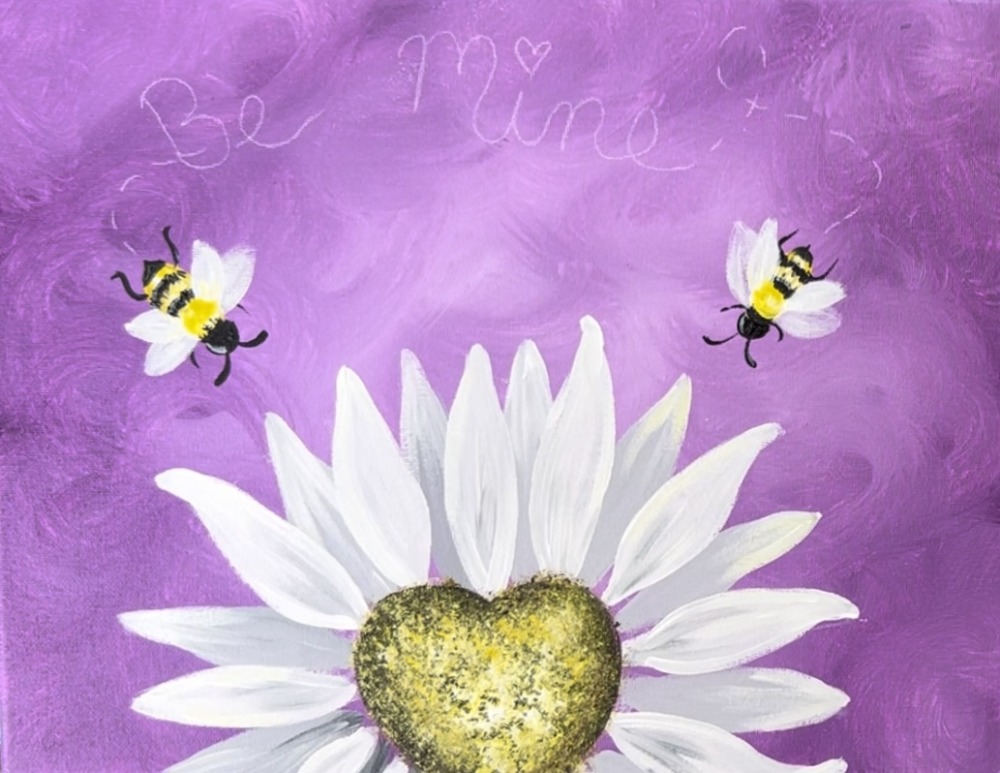
Then use the 3/0 round brush to paint the lettering with white as well as the bee trail. You can also use a paint pen for the lettering.
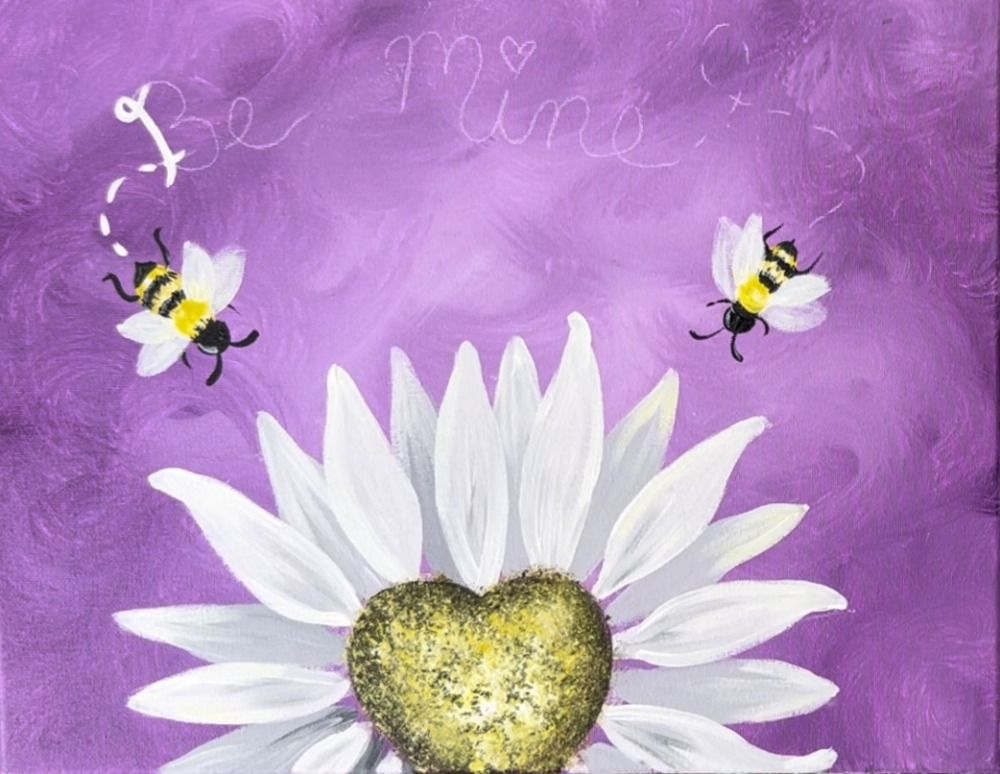

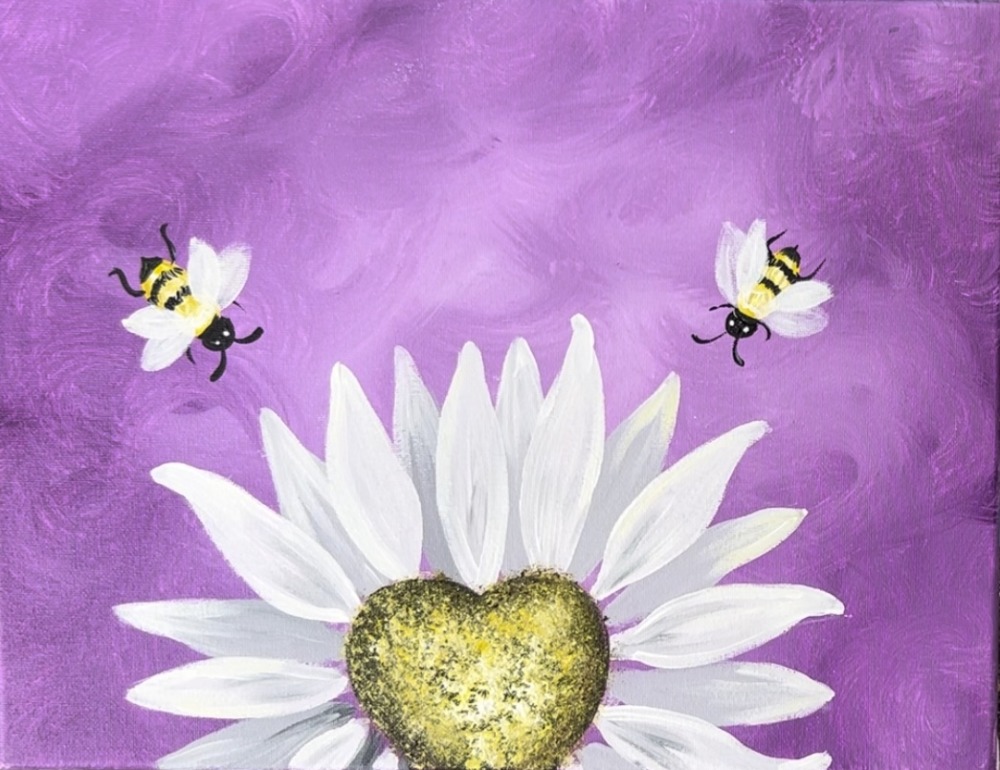
9. Final Touch ups
Some final touch ups for this painting can include adding some dark purple texture to the background. You can use the 3/4 wash brush and prism violet to paint darker purple just on the edges of the canvas.
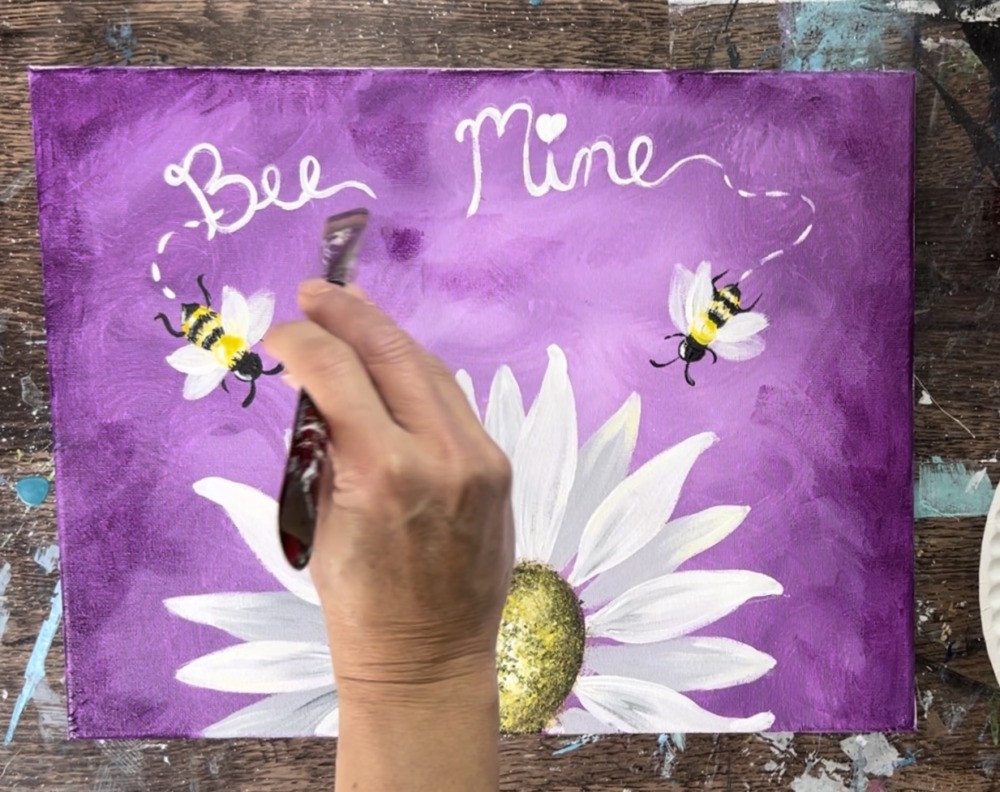
Another final touch up you can do is paint little yellow dots throughout the background.
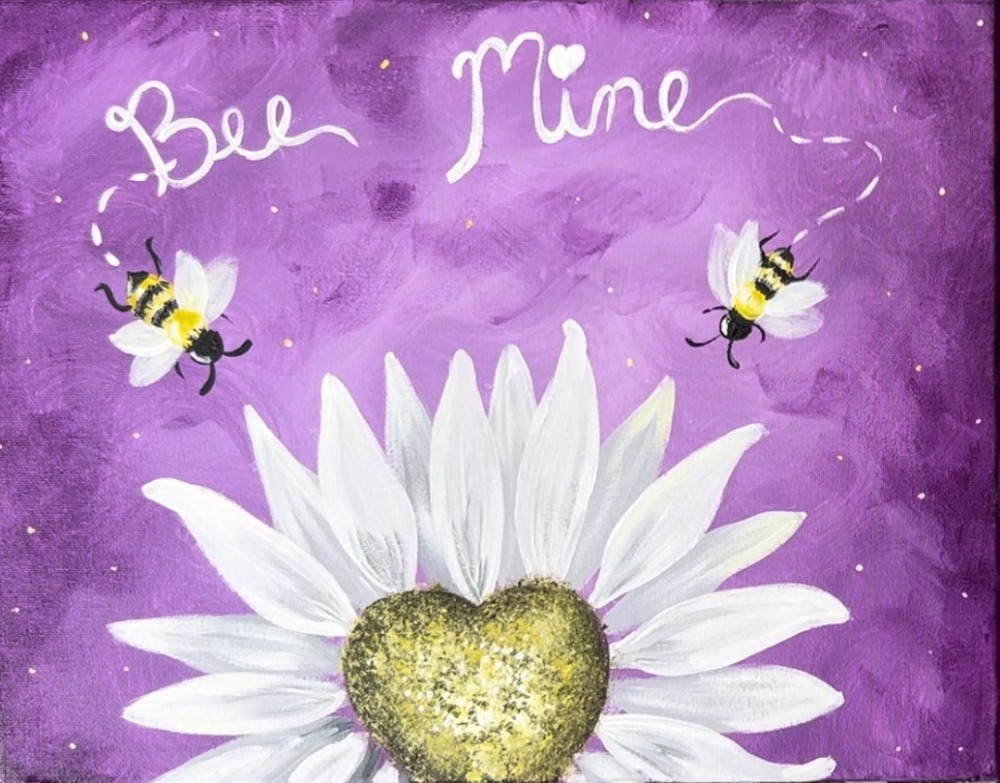
Finished!