

Would you like to save this?
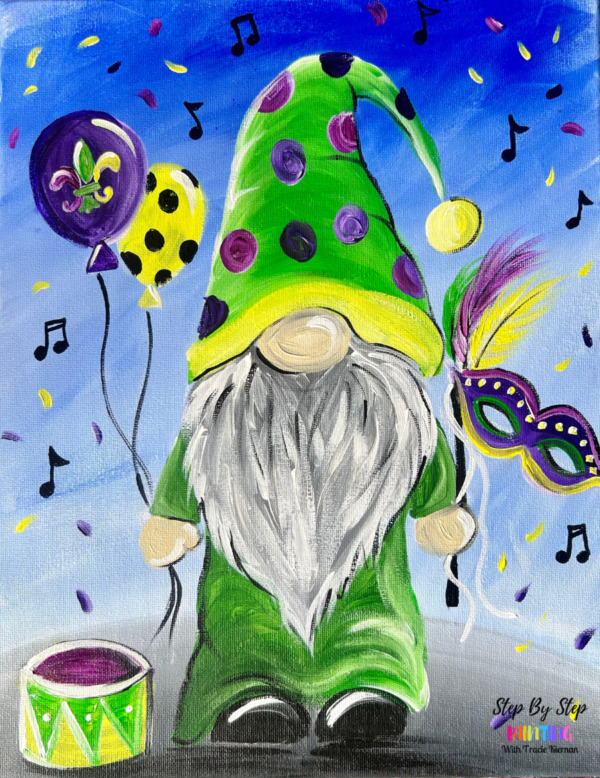
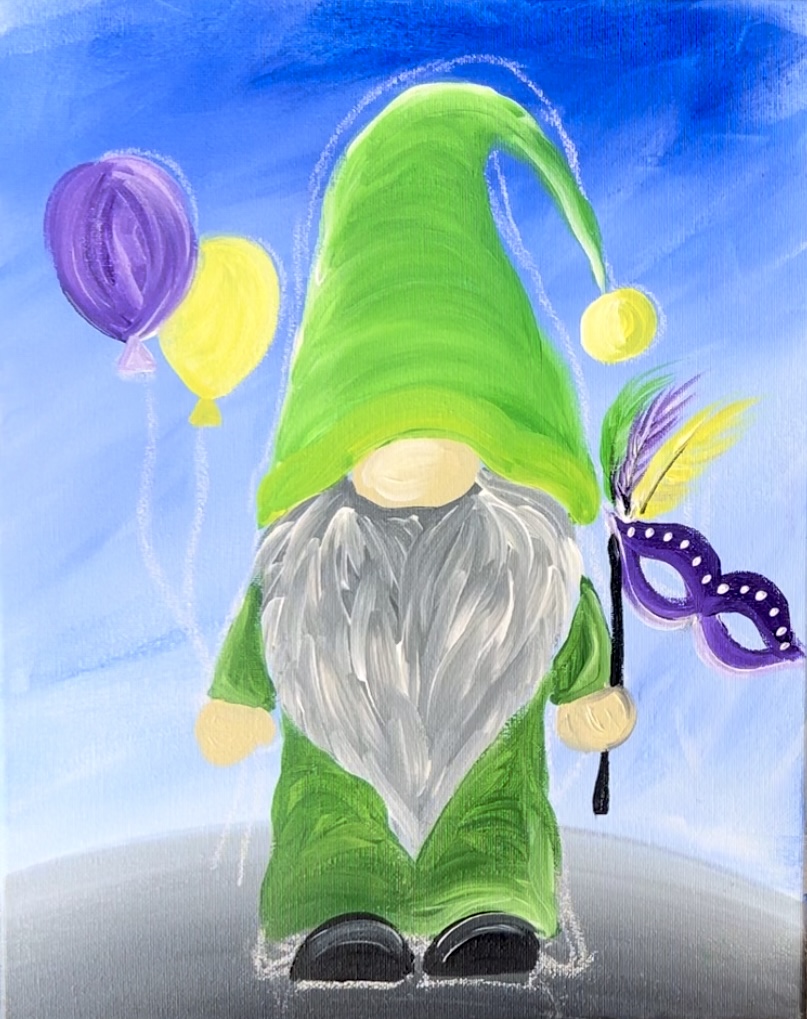
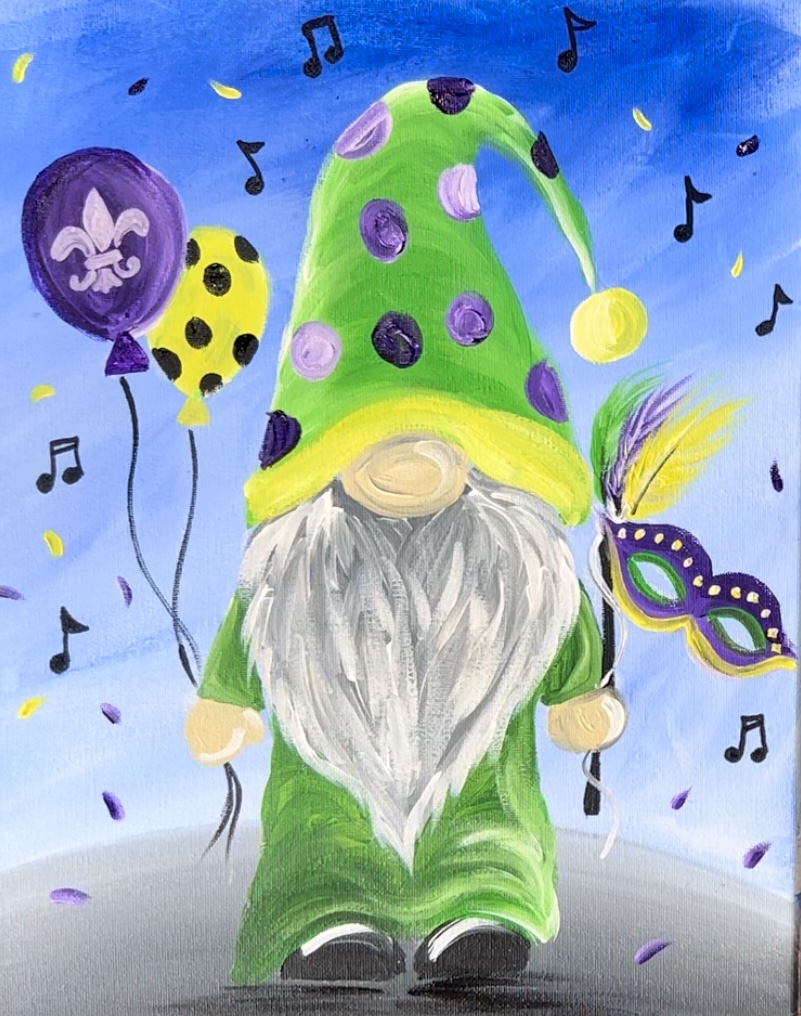
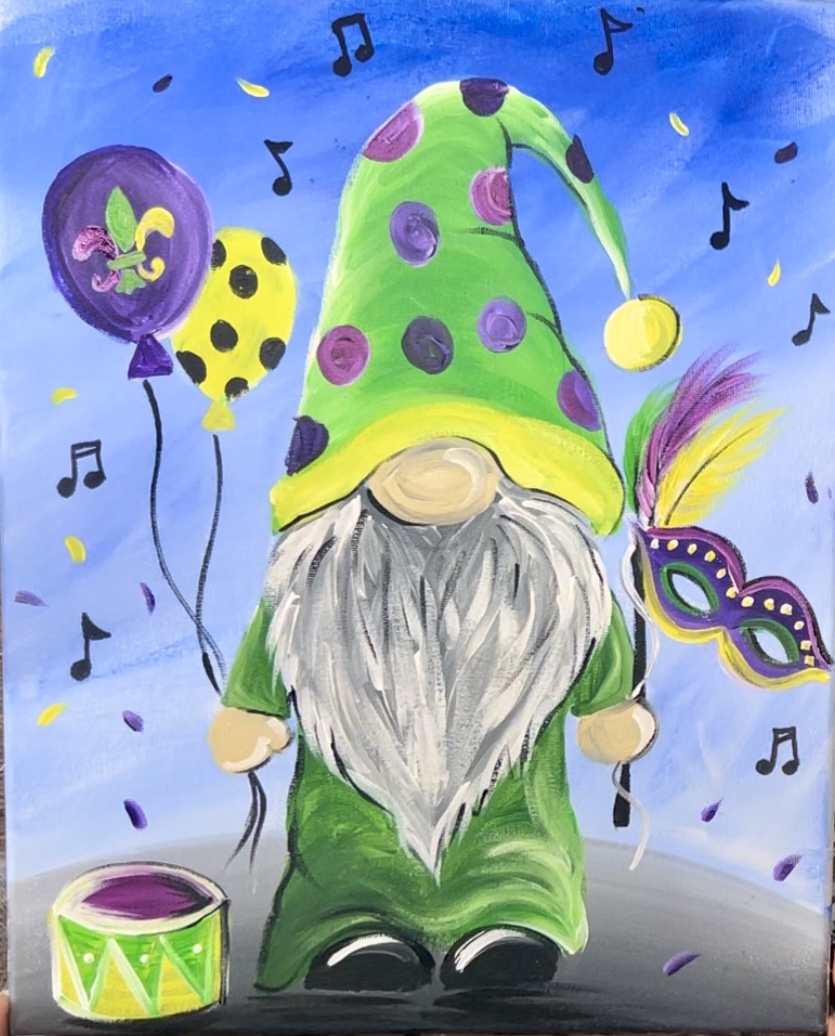
Mardi gras for the year of 2024 is on February 13th! This tutorial will show you how to paint a Mardi Gras theme gnome with acrylics on canvas.
You are welcome to change colors and designs for this tutorial as well!

Enjoy and happy painting!
Materials Needed
How To Paint A Mardi Gras Gnome
This tutorial will guide you through how to paint a Mardi Gras gnome with acrylics on canvas.
Materials
- 11 x 14 Canvas
- Acrylic Paint
- Brushes
- White Chalk To Draw Gnome
- Optional Traceable
- Optional Transfer Paper (if using traceable)
- Optional White & Black Paint Pens
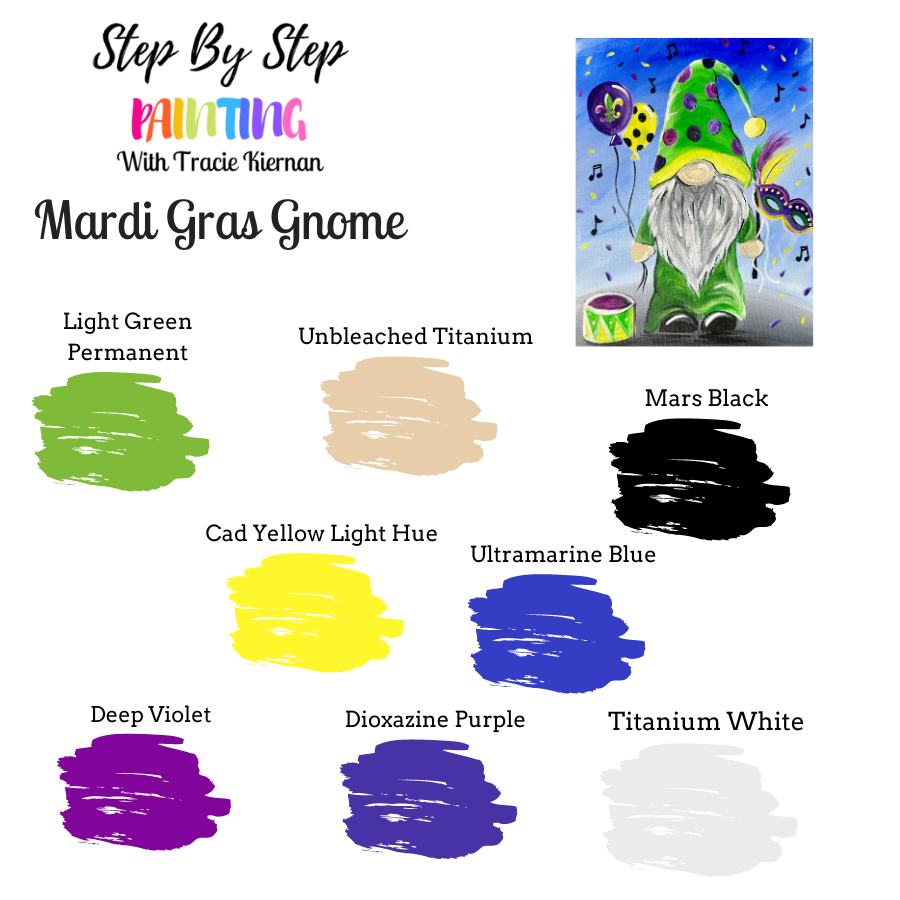
Colors
- Ultramarine Blue
- Titanium White
- Mars Black
- Light Green Permanent
- Cadmium Yellow Light Hue (or any yellow you have)
- Dioxazine Purple
- Deep Violet
- Unbleached Titanium
Brushes
- 3/4" Flat
- #4 Round Brush
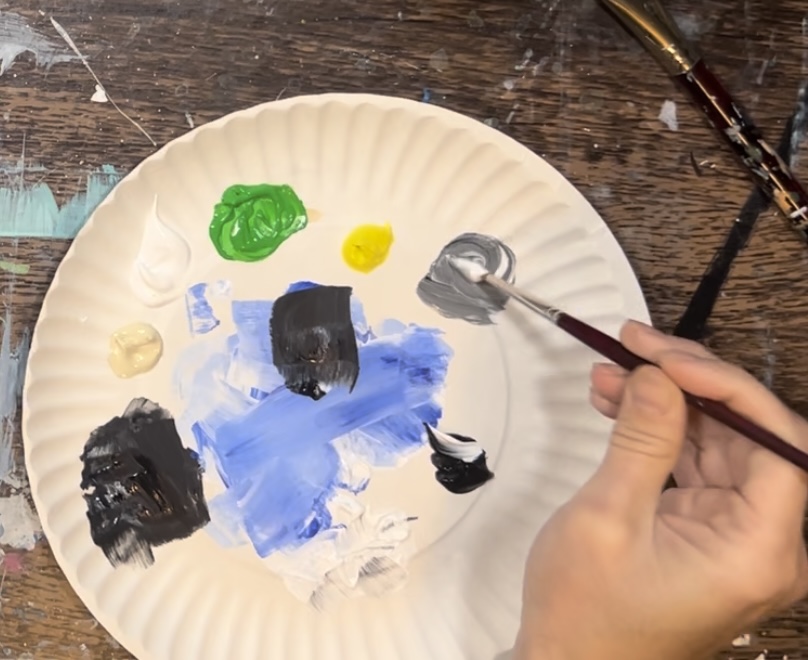
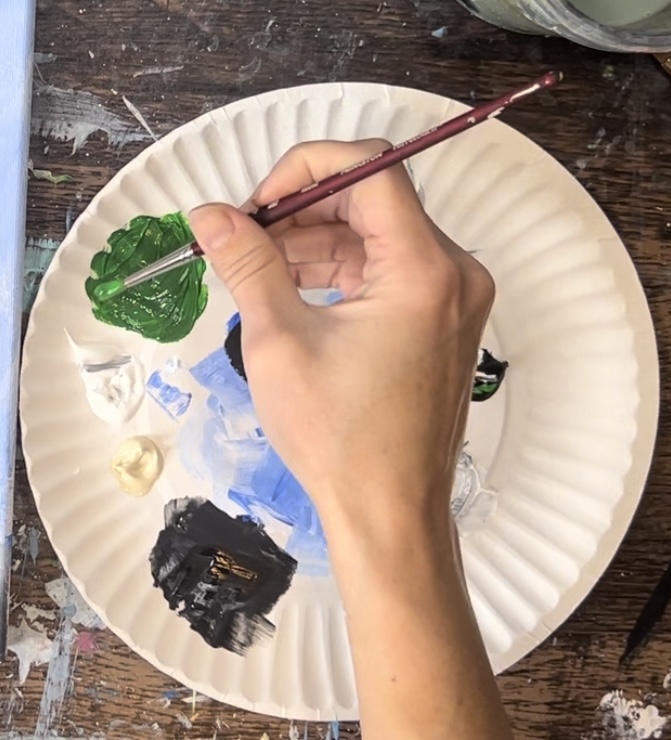
Color Palette
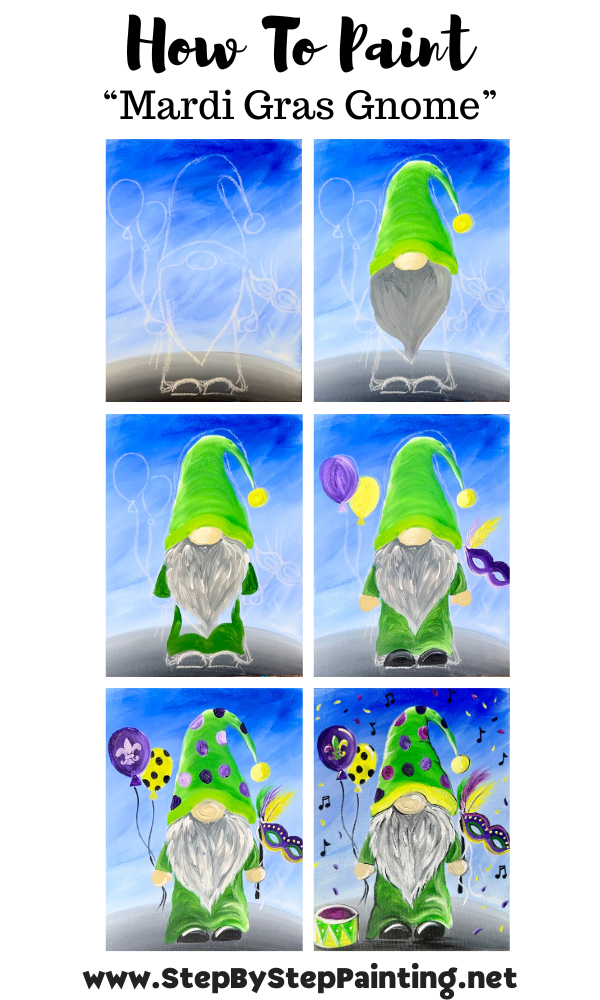
Directions At A Glance
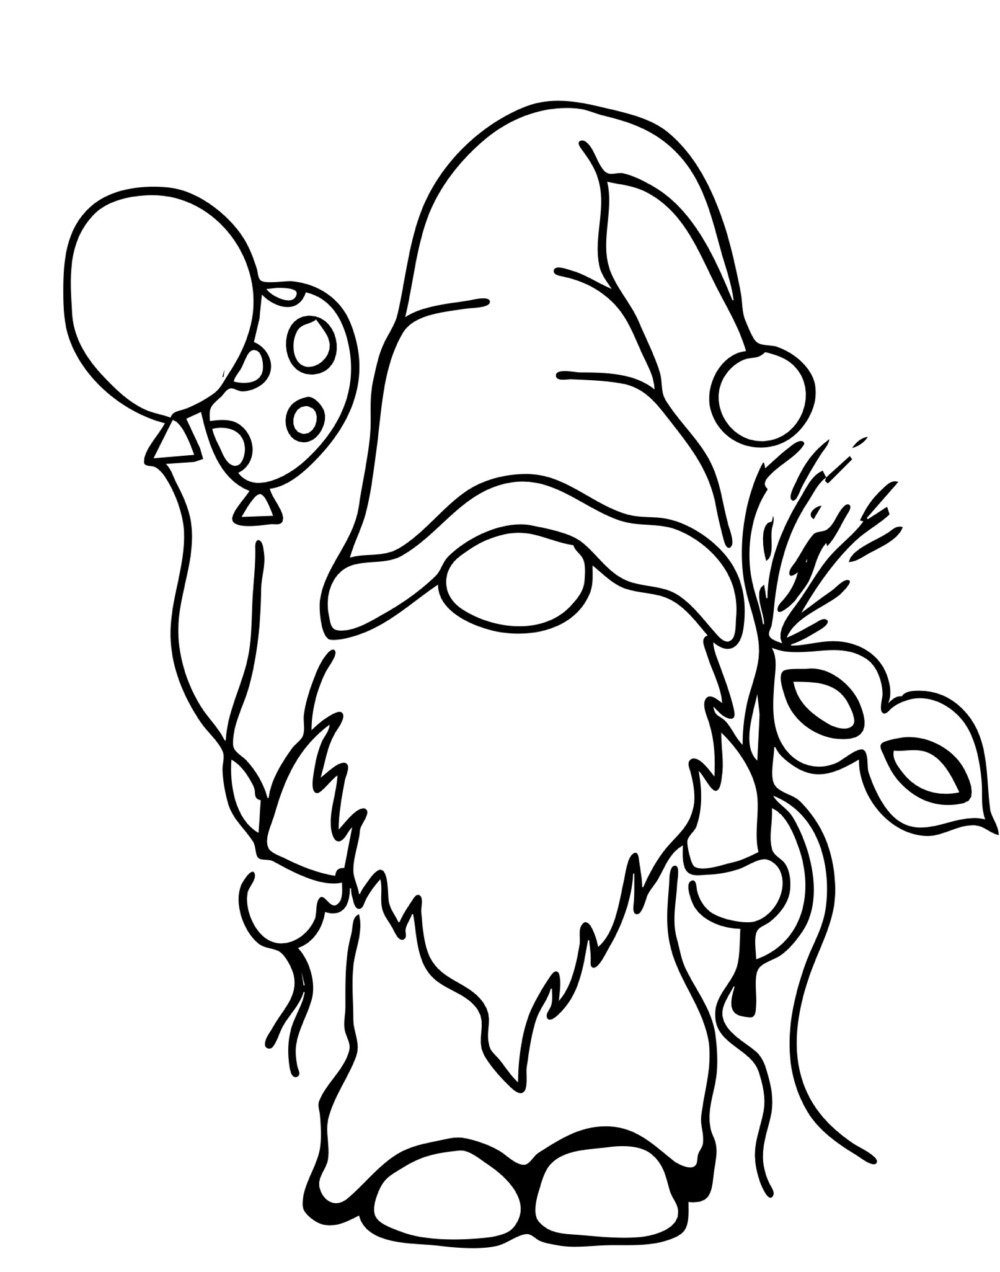
Optional Tracer Template
This is optional! Tracie does not use this in the instructions & video. You are welcome to use this if you want to skip the drawing part. To use traceables, purchase a sheet of “graphite paper” and place it underneath the printable template. Then trace the design onto the canvas so that it transfers.
Video
Step By Step Instructions
1. Paint the background
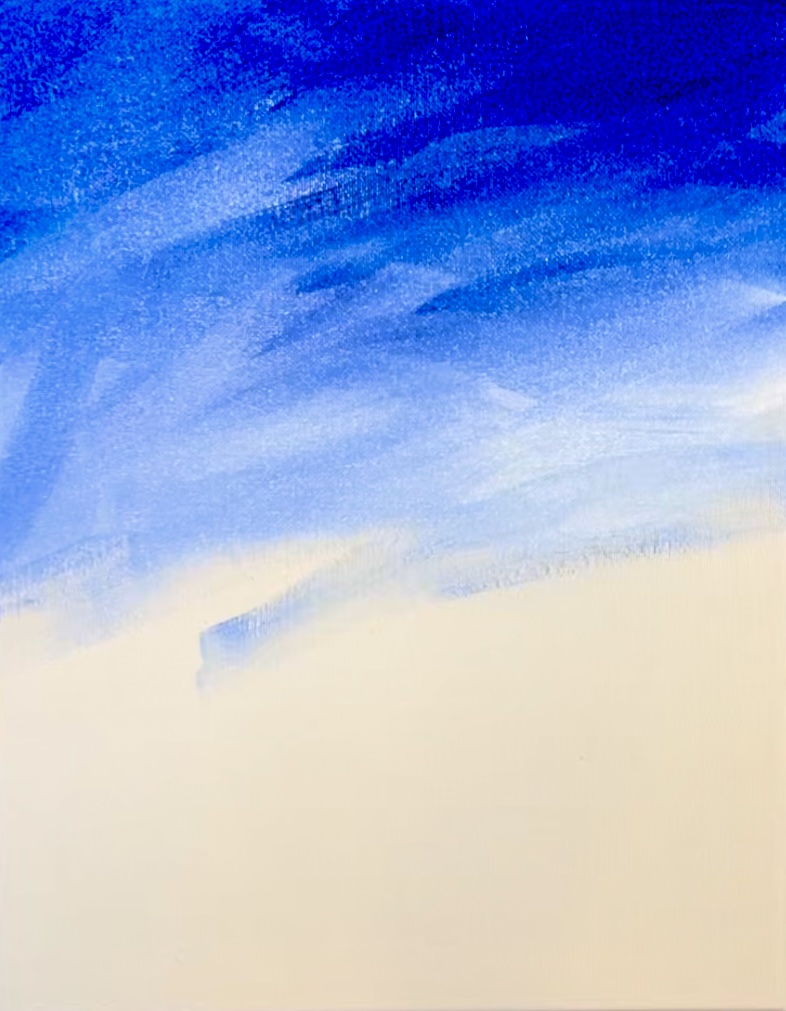
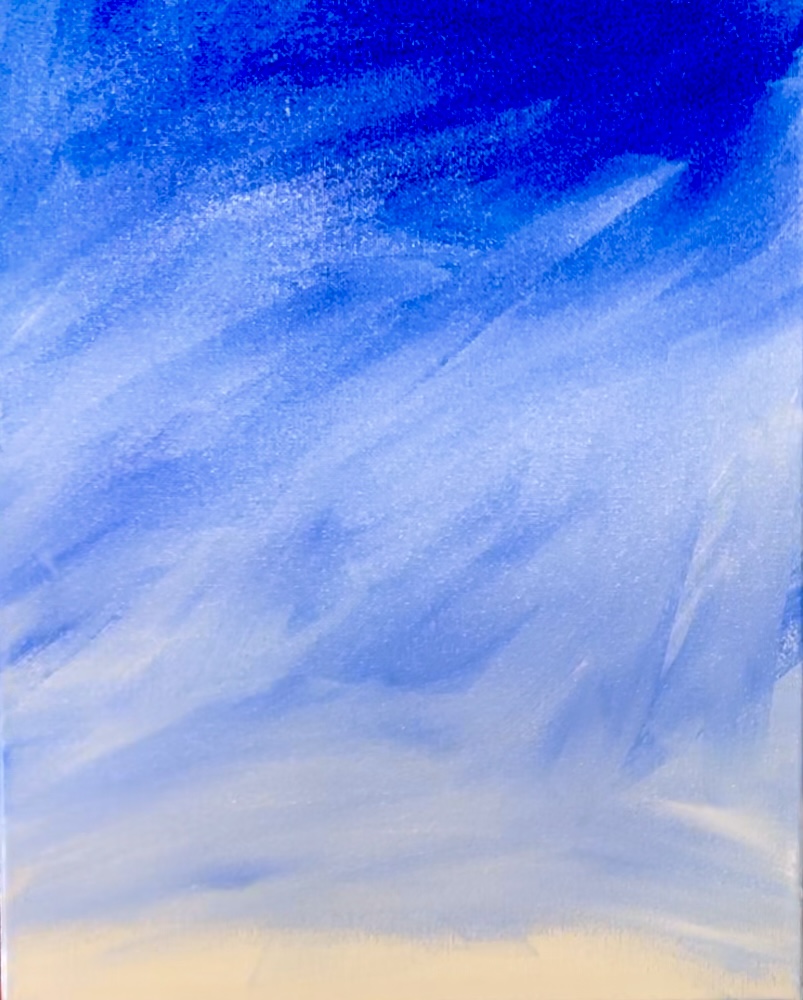
This is a very simple background consisting of a blue blending with white. It is a sky and it is darker on the top of the canvas and lighter on the bottom. We will be using a flat brush and blending the two colors together on the canvas to create an expressive, blended look!
First, load your paint palette with the two colors: titanium white and ultramarine blue. Use a 3/4″ flat wash brush to paint the background using a combination of the two colors. Start with just the blue and start at the top.
Paint long, angle full width paint strokes going in different directions. You can paint it “extra choppy” to give the background more of a fun, expressive look.
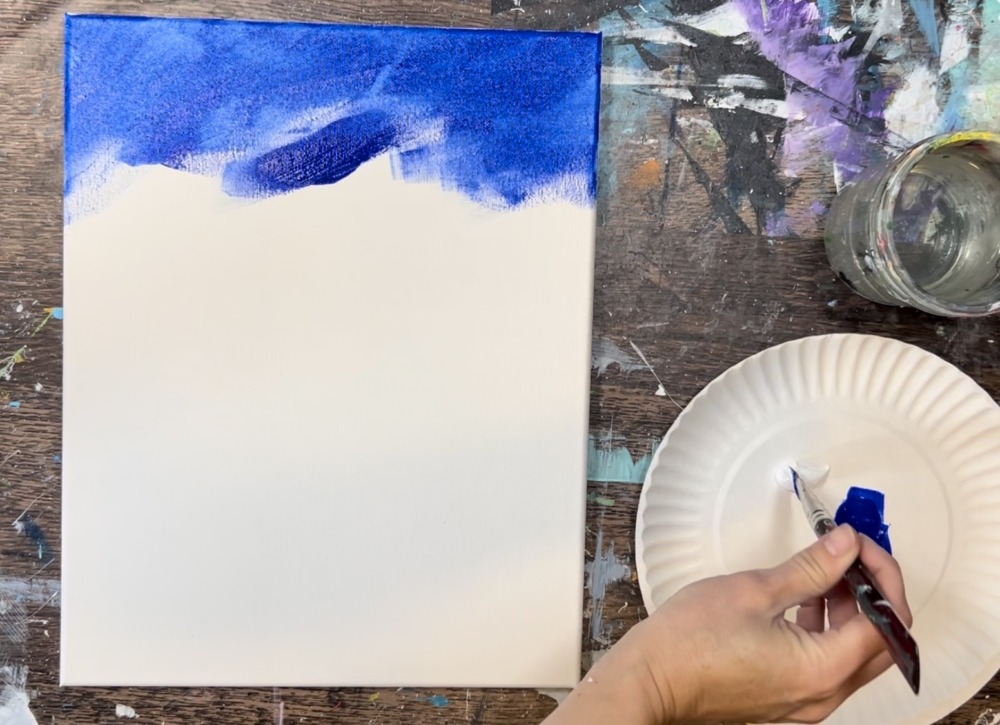
As you approach your way down to the bottom of the canvas, gradually add titanium white to your brush and gently blend that with the brush. This will allow the sky to become lighter as you approach the bottom.
Leave about an inch gap on the bottom. You do not need to wait for this to dry before going onto the next step.
2. Paint the ground
The ground is a blend of black and white to create a dark gray. It is very dark on the bottom and blends to a medium gray color on the top. It is a slightly curved hill.
Use your 3/4″ flat wash brush and mix a little bit of mars black with titanium white. Start on the bottom of the canvas and paint left and right paint strokes that start to form a curve/ hill.
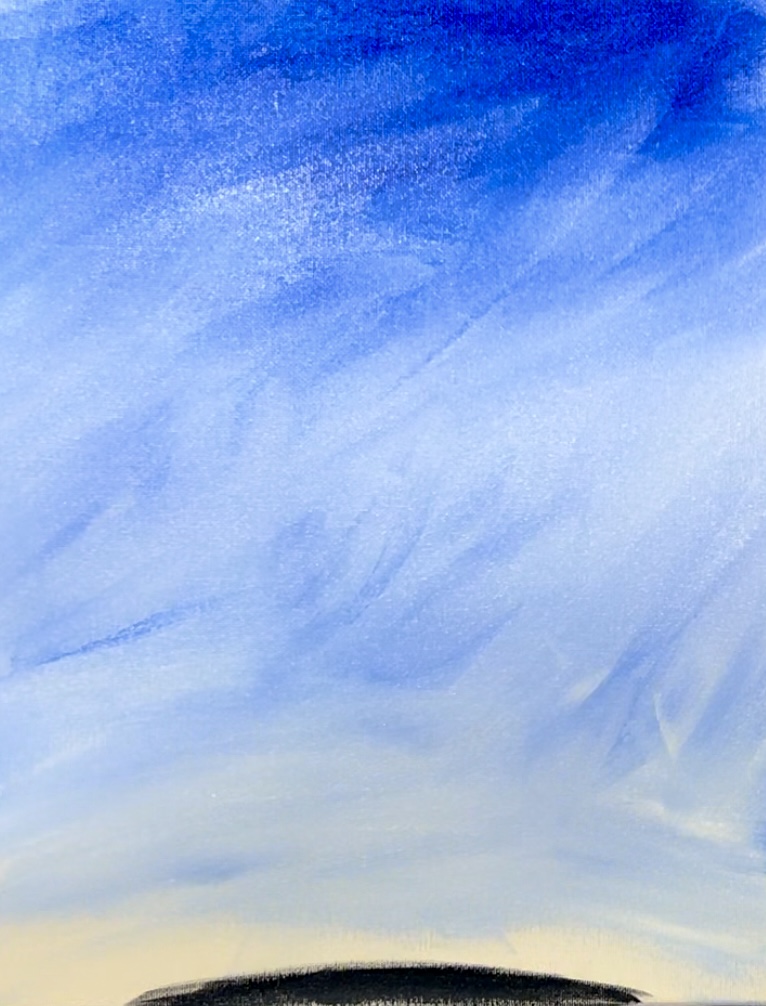
This should be very dark on the bottom but not solid black. Then gradually mix more titanium white into it so that it forms a curve/ hill area.
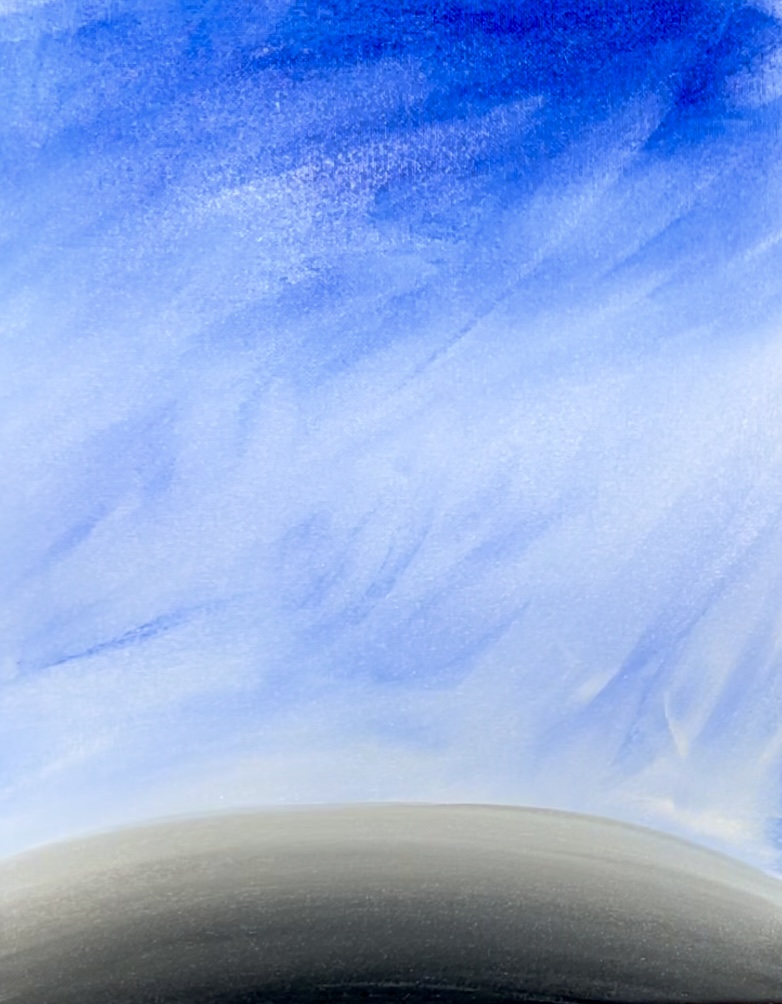
Let this dry before going onto the next step.
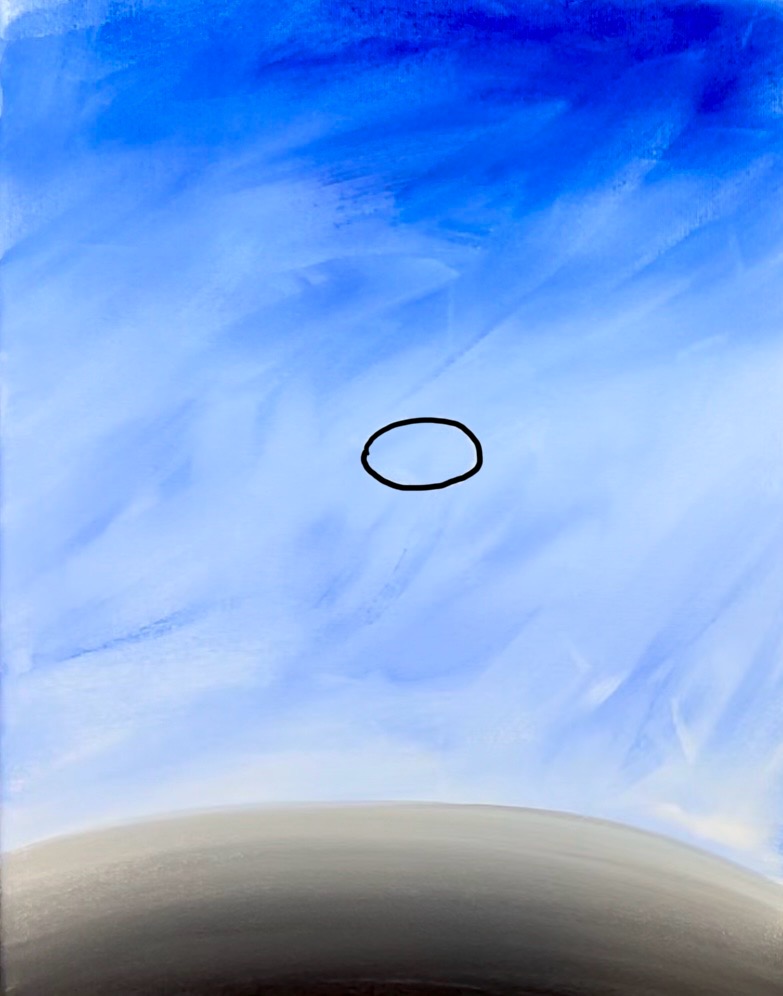
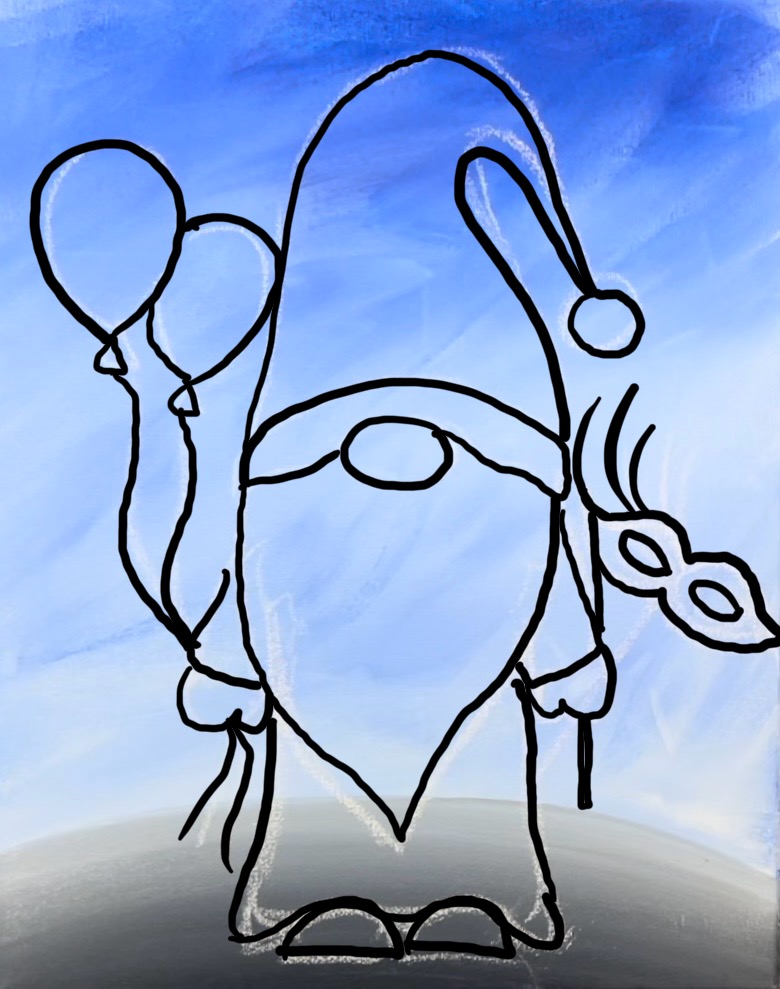
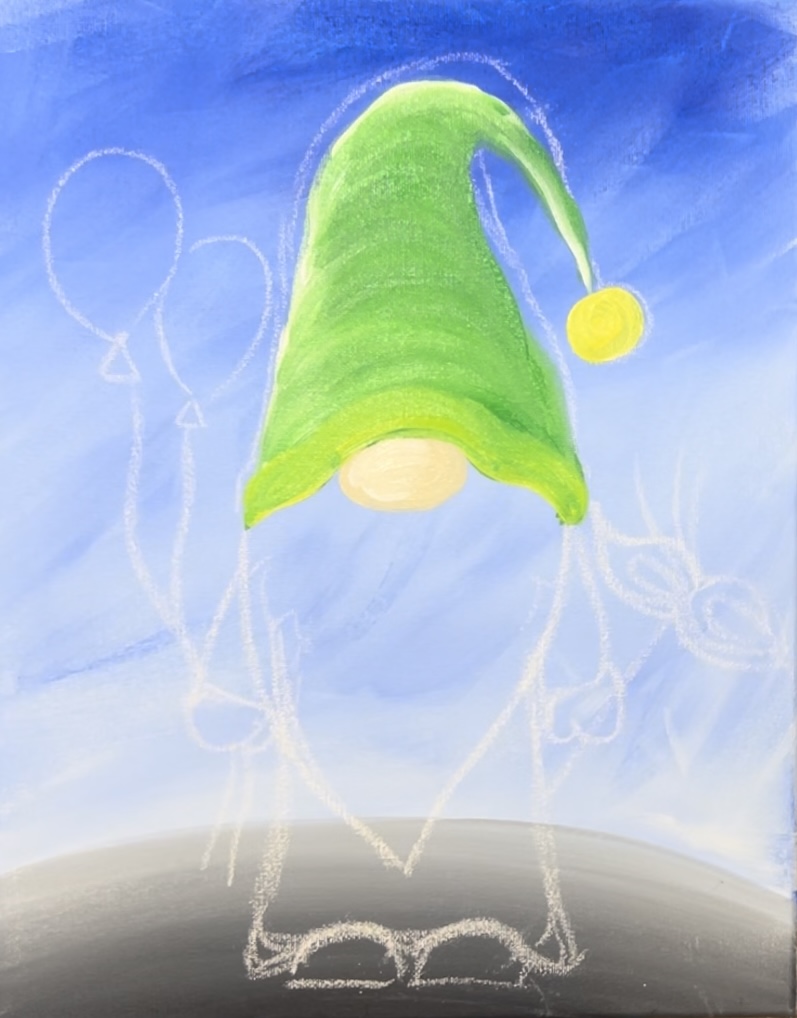
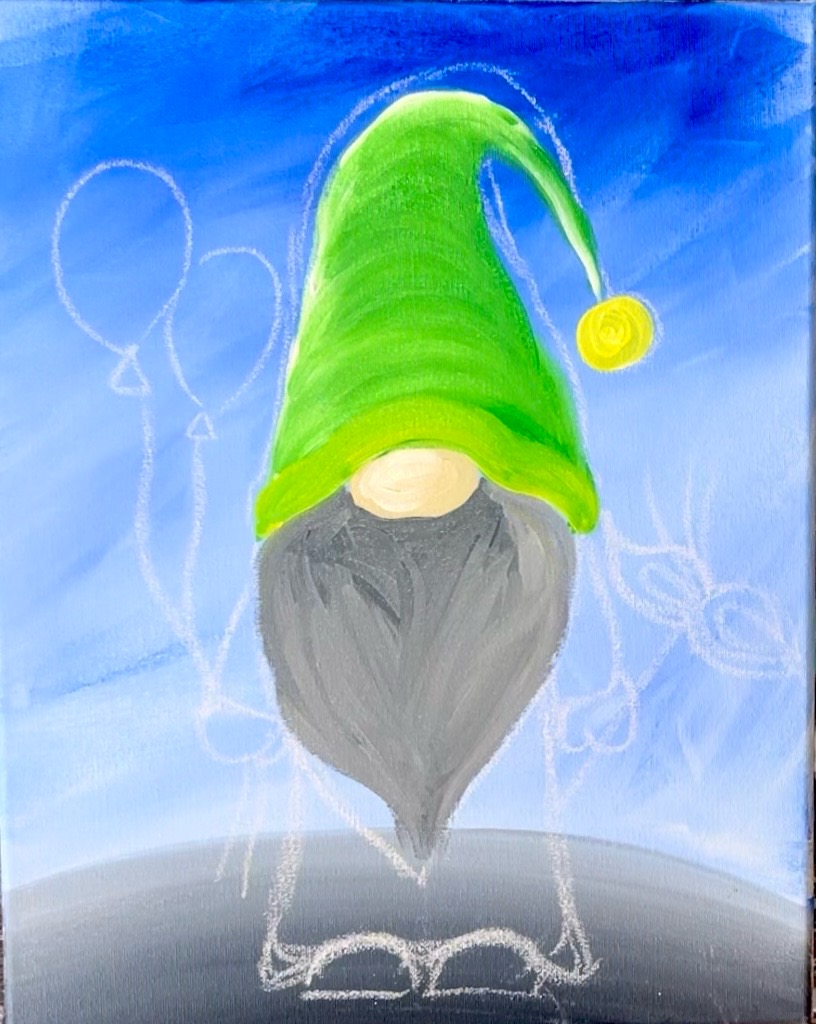
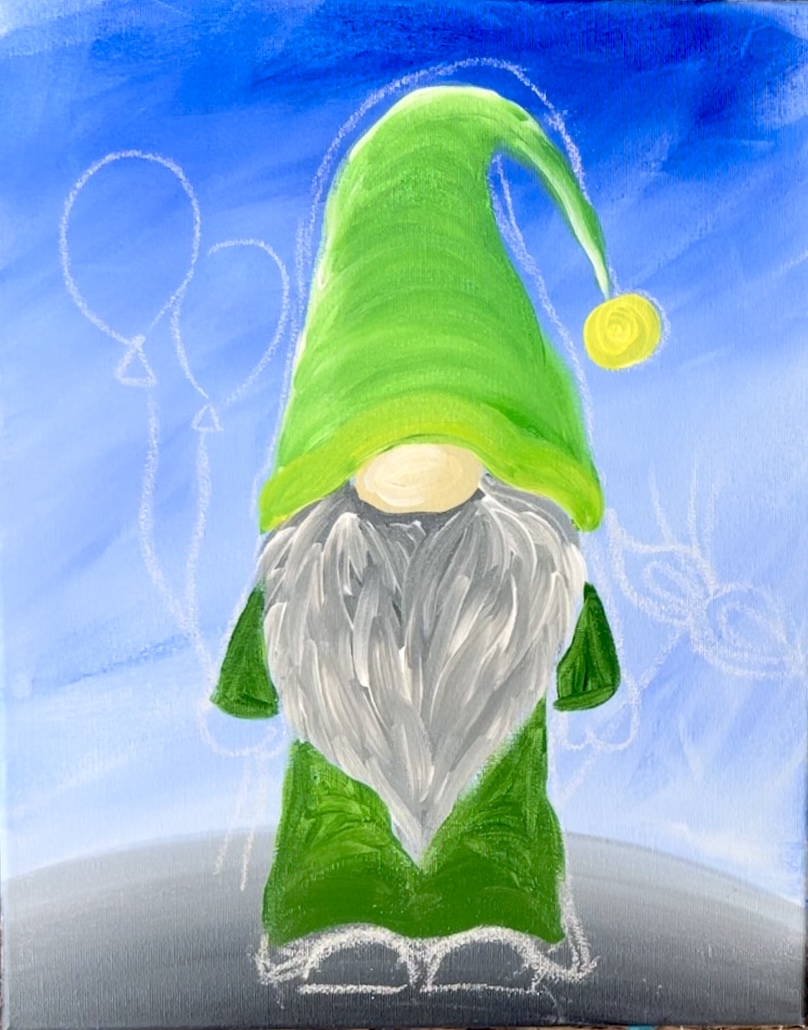
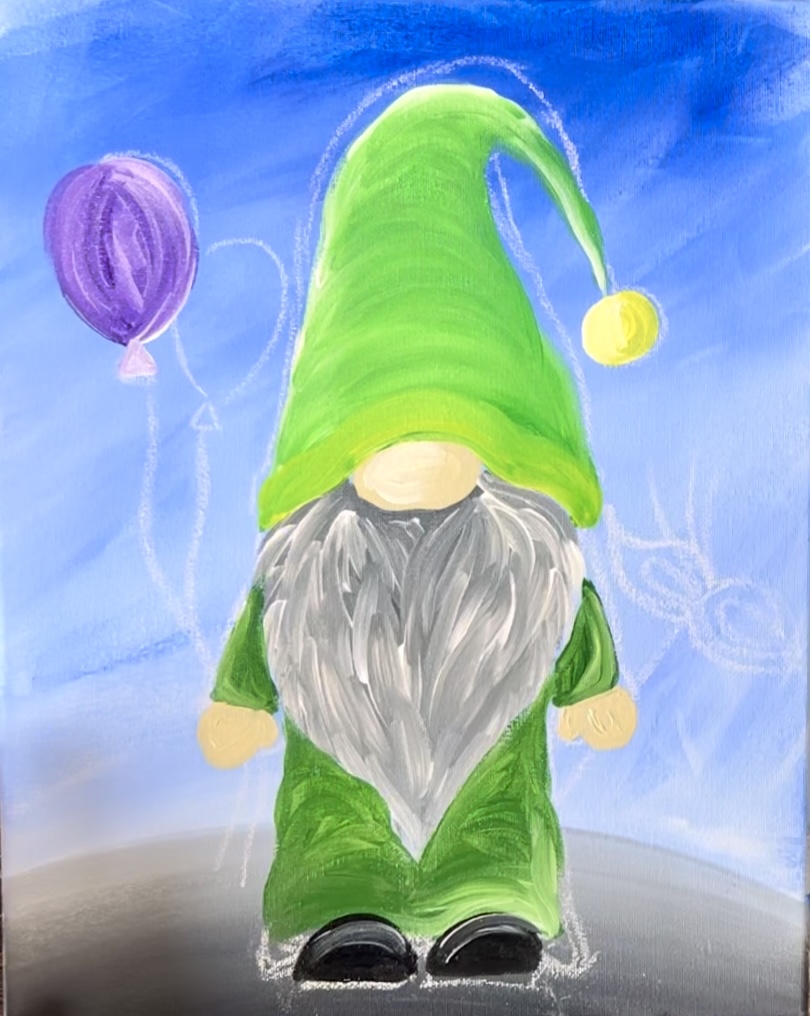
3. Draw The Gnome
In this next step, we are either drawing the gnome with a piece of chalk, or you can use the template to trace the gnome onto your canvas. If you are tracing this, I have an 11 x 14 size here you can download! Place a sheet of graphite paper under the gnome and trace it onto your canvas.
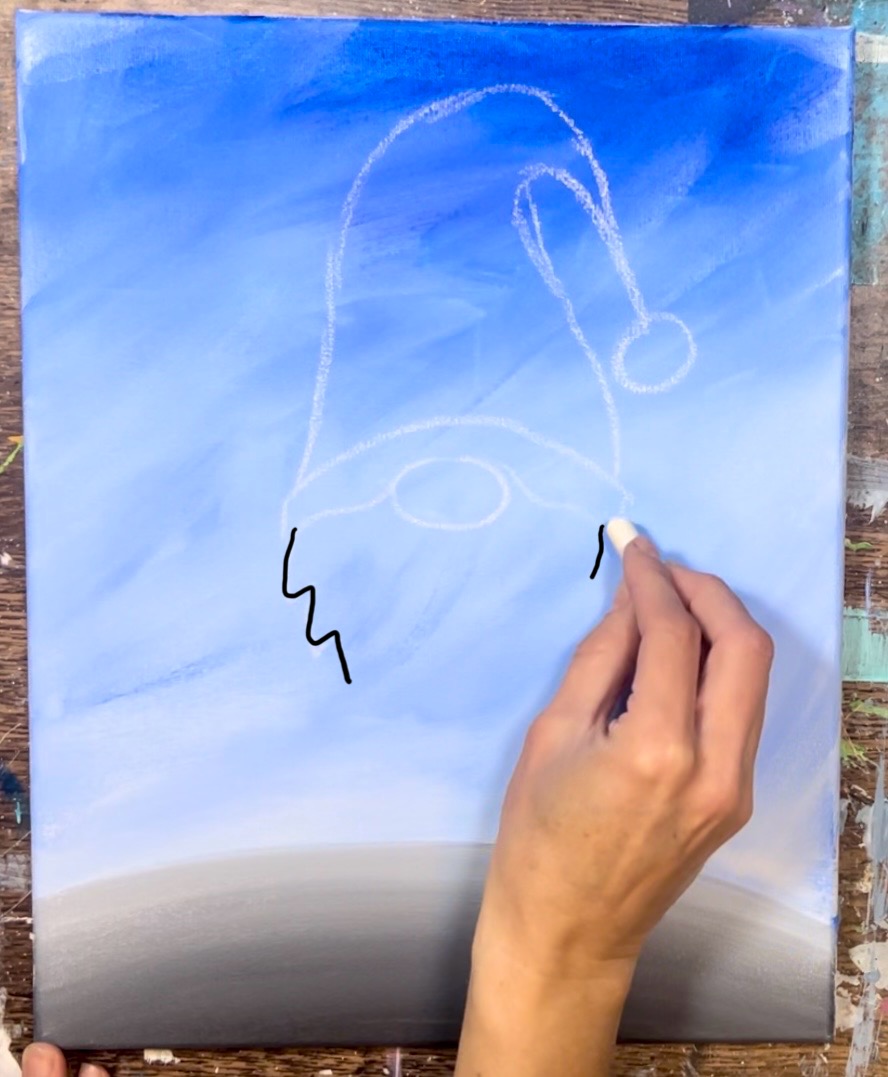
If you are drawing this, use a piece of white chalk or pencil. Start in the center of the canvas and draw a small oval for the nose.
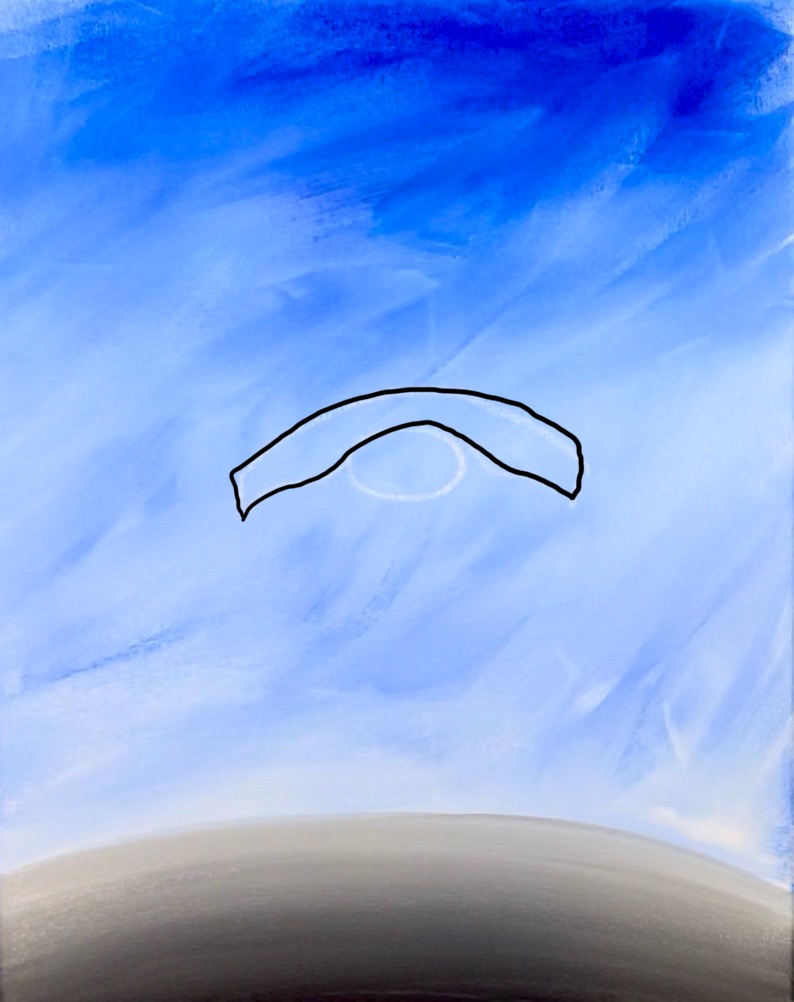
Then draw the bottom edging of the hat so that it drapes over the nose and curves slightly down on the left and the right.
Then draw the hat so that it goes all the way to the top portion of the canvas and bends down to a point.
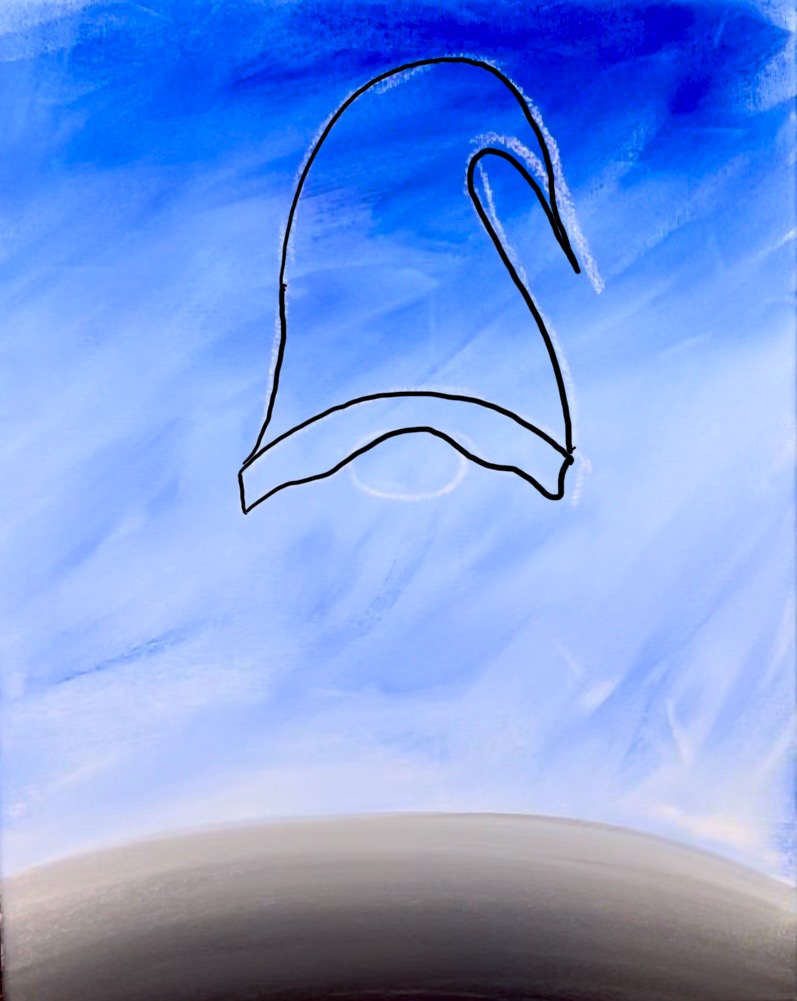
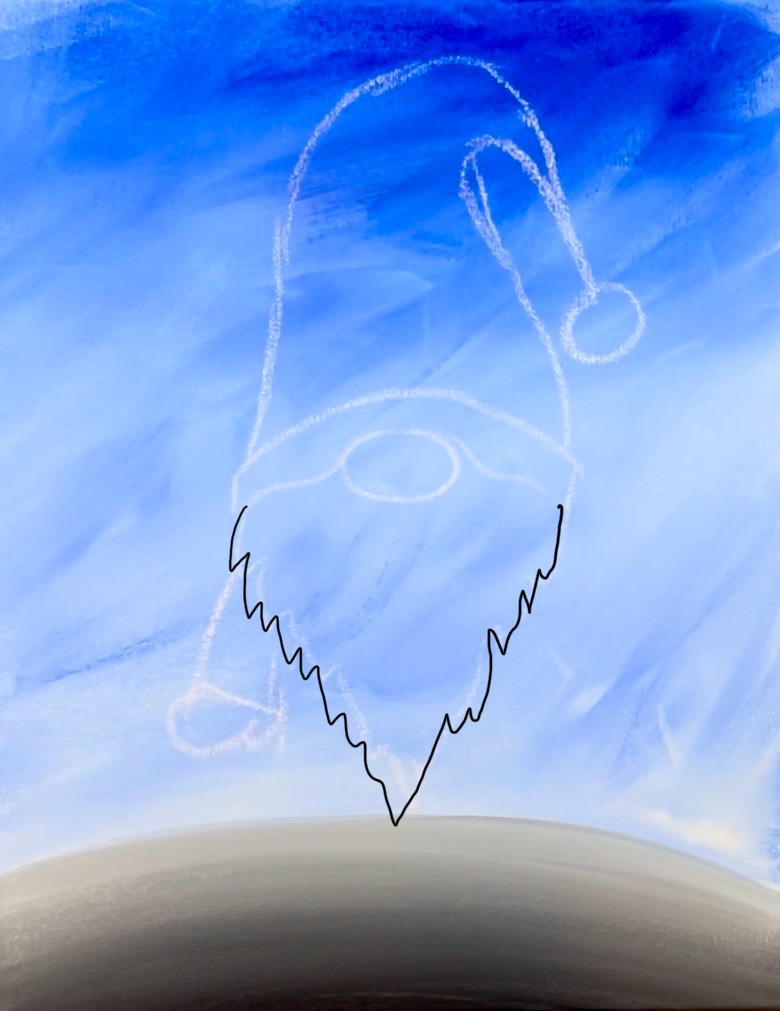
Draw a circle on the end of this hat. Then start sketching the beard.
You can draw the beard as a basic smooth line instead of a textured line if that is easier! Draw a long, curved shape that goes down to a point
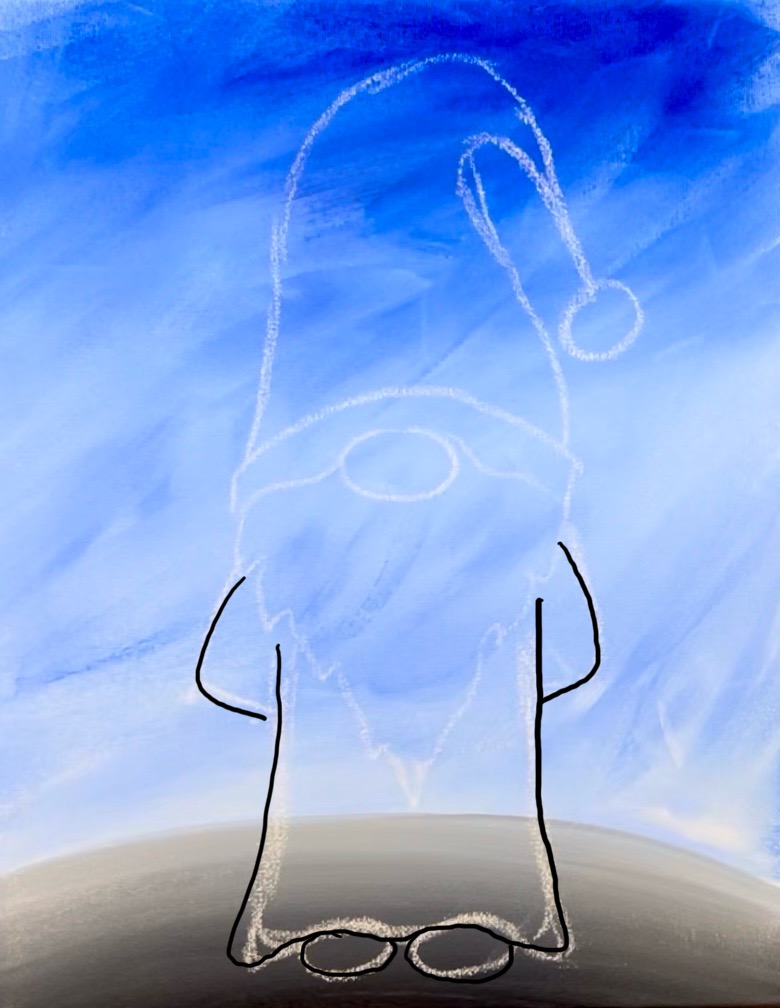
Then sketch the sleeves and robe. Draw two ovals on the bottom of the robe for the shoes.
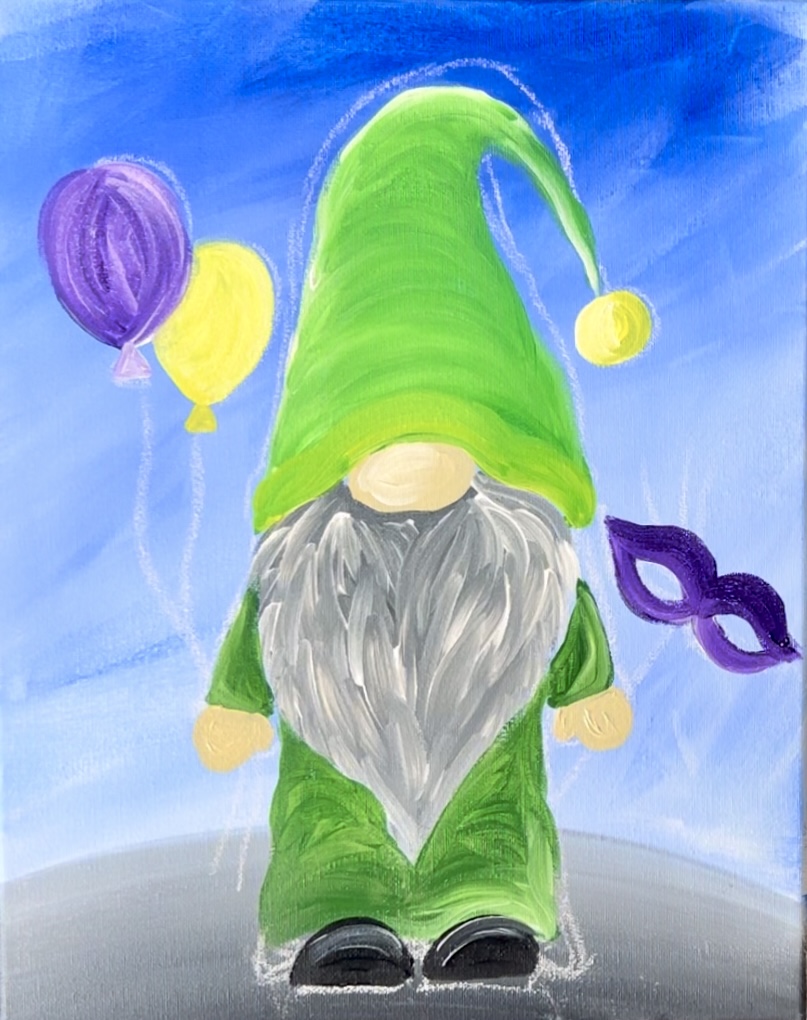
Draw the “mitten hands”, balloons and mask.
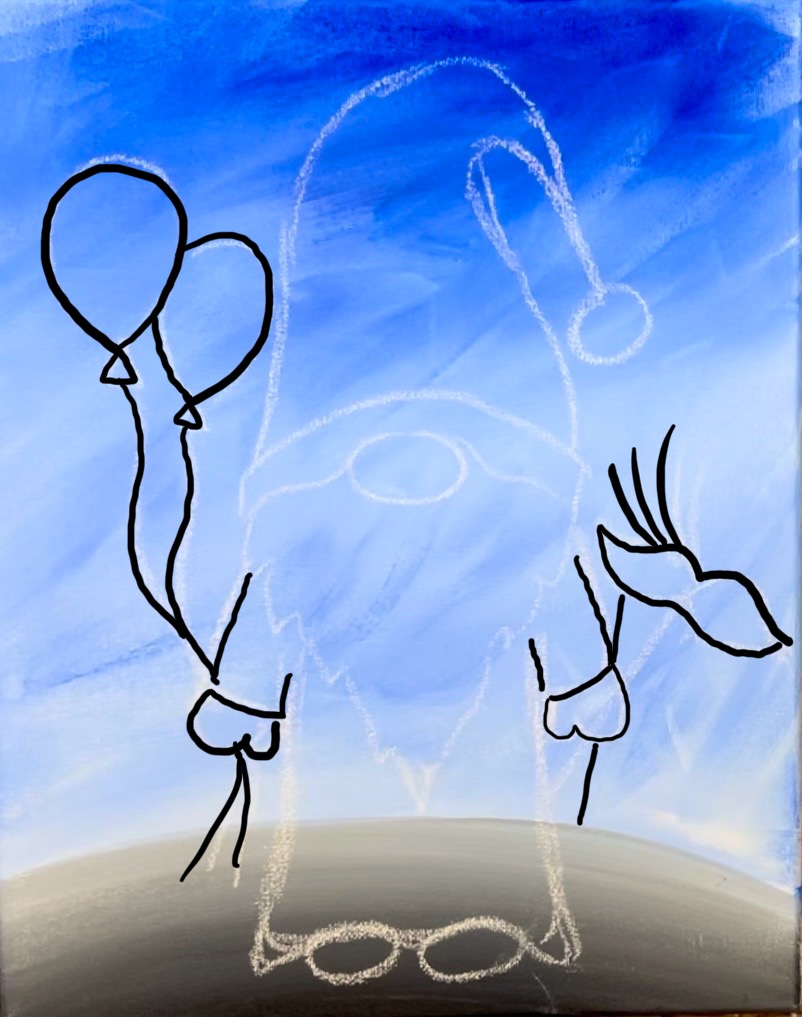
Then detail the mask a little more by drawing lines for the feathers and the opening for the eyes. Additionally, I adjusted the beard so that it was slightly longer and I made the shoes flat on the bottom (semi-circle shape).
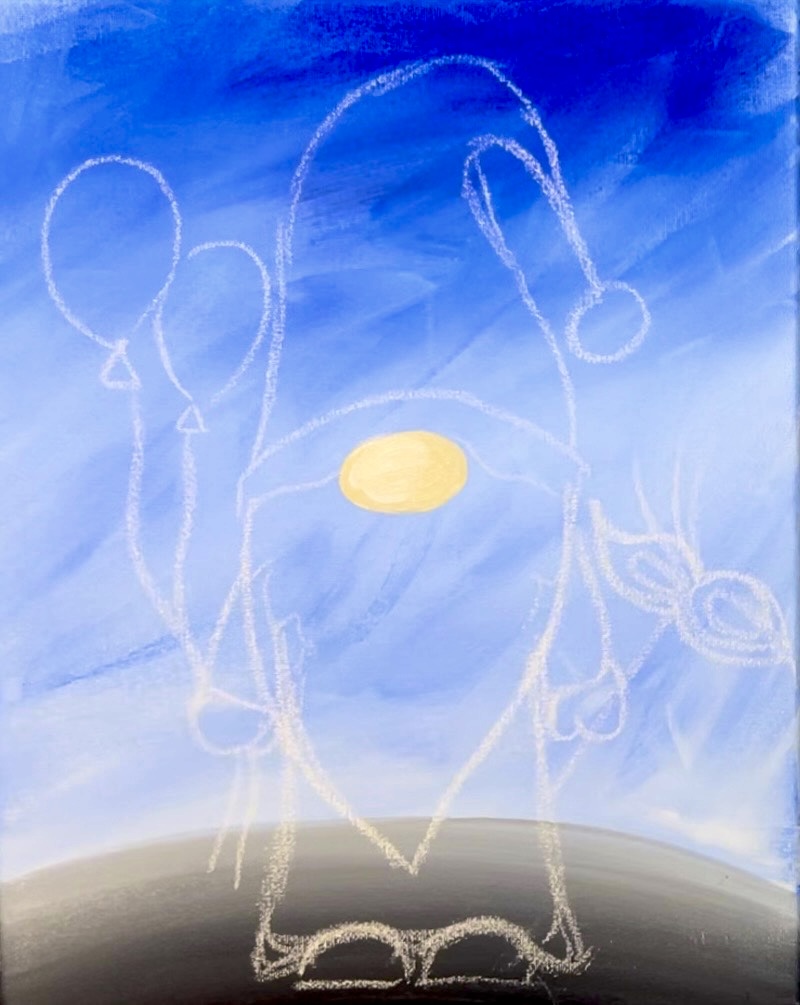
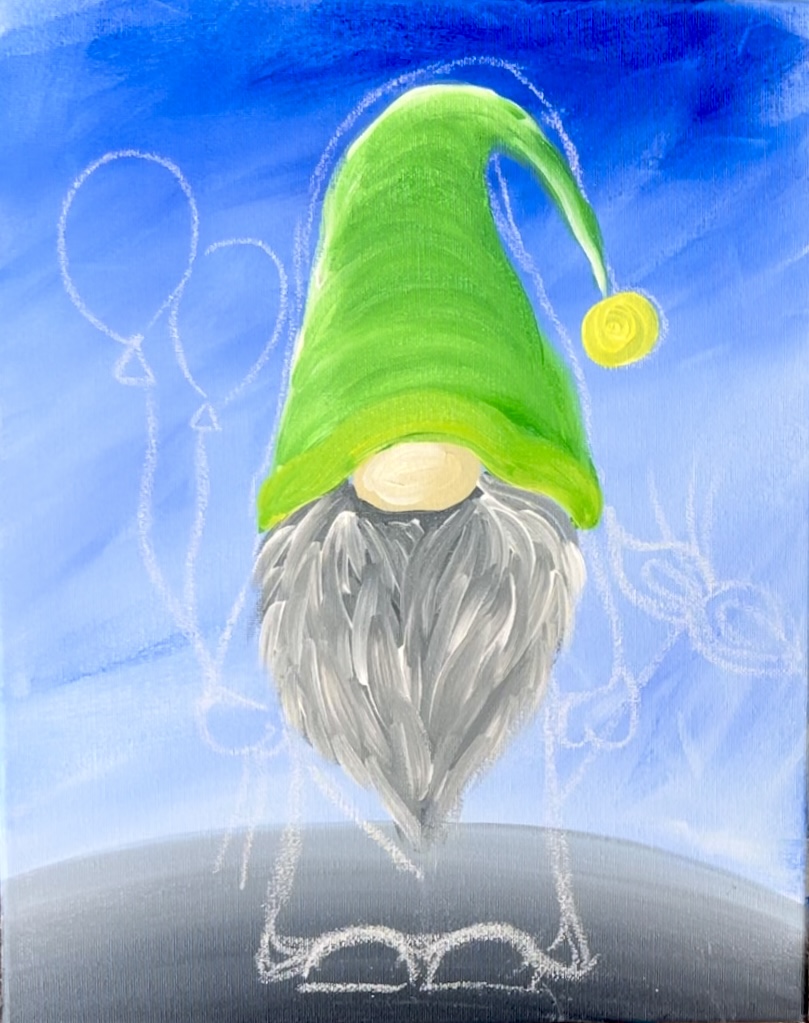
4. Paint The Nose & Hat
Note: I used the #4 round brush for the rest of this painting. You are also welcome to change the colors in this!
Load your palette with unbleached titanium and titanium white. Double load your #4 round brush with both of the colors. Paint the oval shape a solid coat of that color.
Next, load your paint palette with “light green permanent”. Use the #4 round brush to paint the hat. Start on the bottom and paint it with paint strokes that go in the direction of the shape. I like to outline some of the hat first and then paint in “curved strokes” in the middle. This will give your hat some “form”.
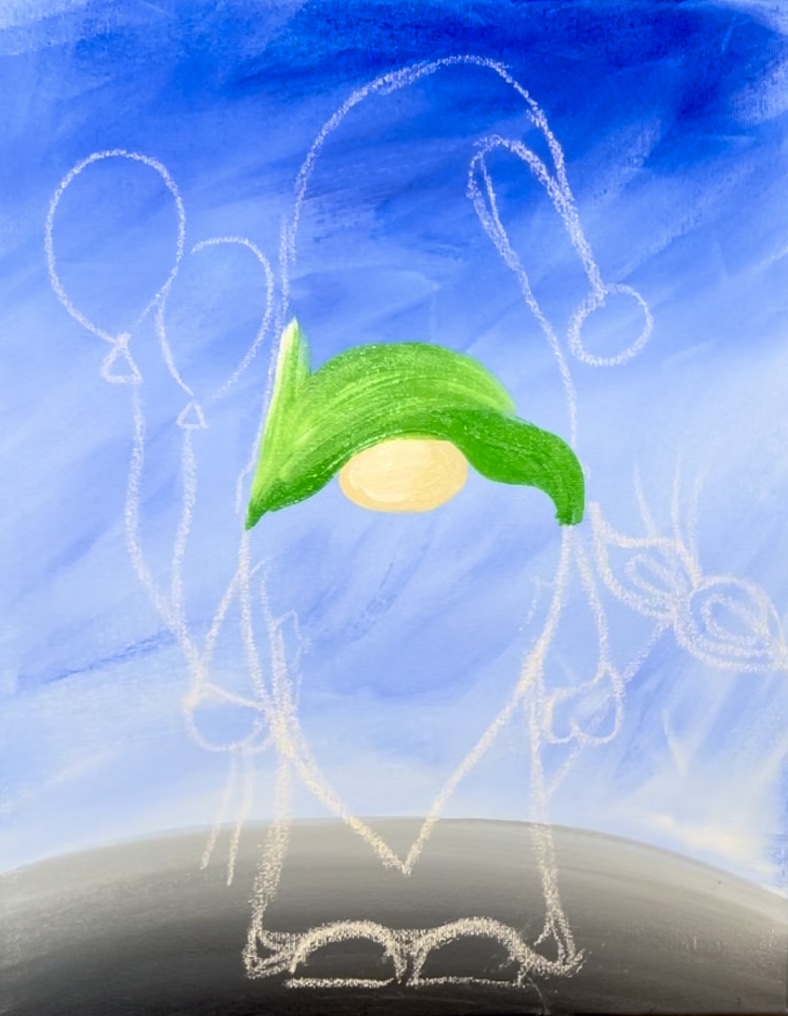
Add a small amount of “titanium white” to your brush and gently blend the white on the left side of the hat so that the left side looks lighter. Also, gently blend the white in the center part of the hat with the green and do this with curved paint strokes.
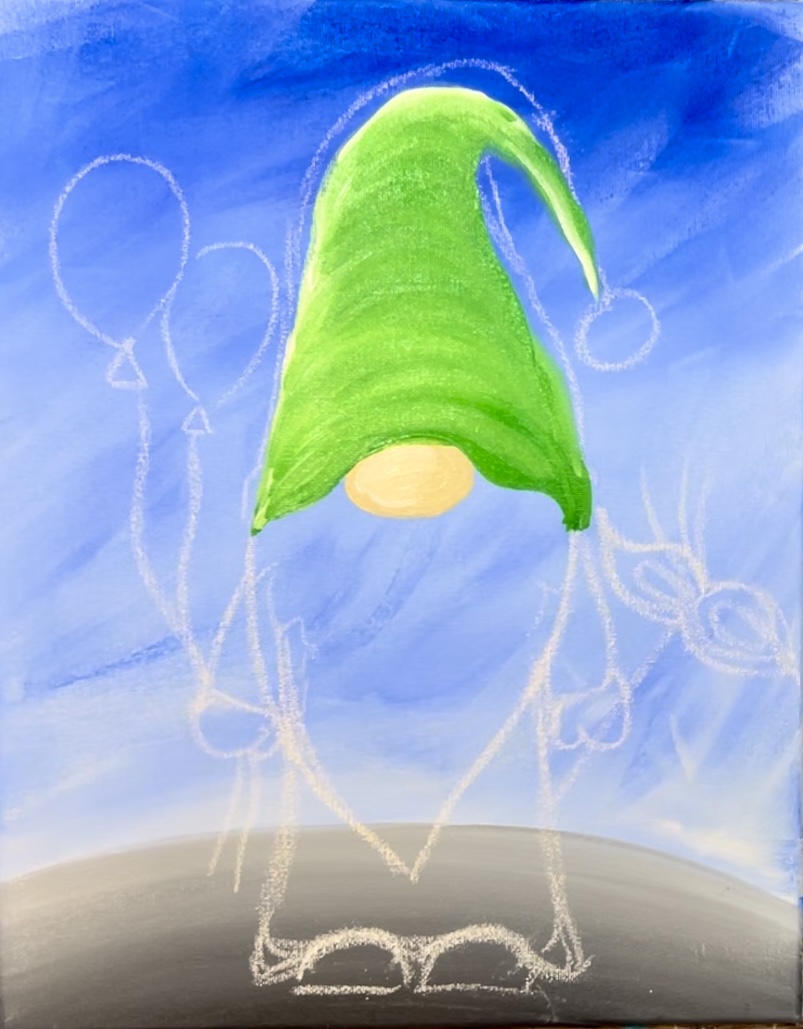
Use the color “cadmium yellow light hue” to paint the circle on the hat. If needed, add some “titanium white” into the yellow so that it will show up bright over the background.
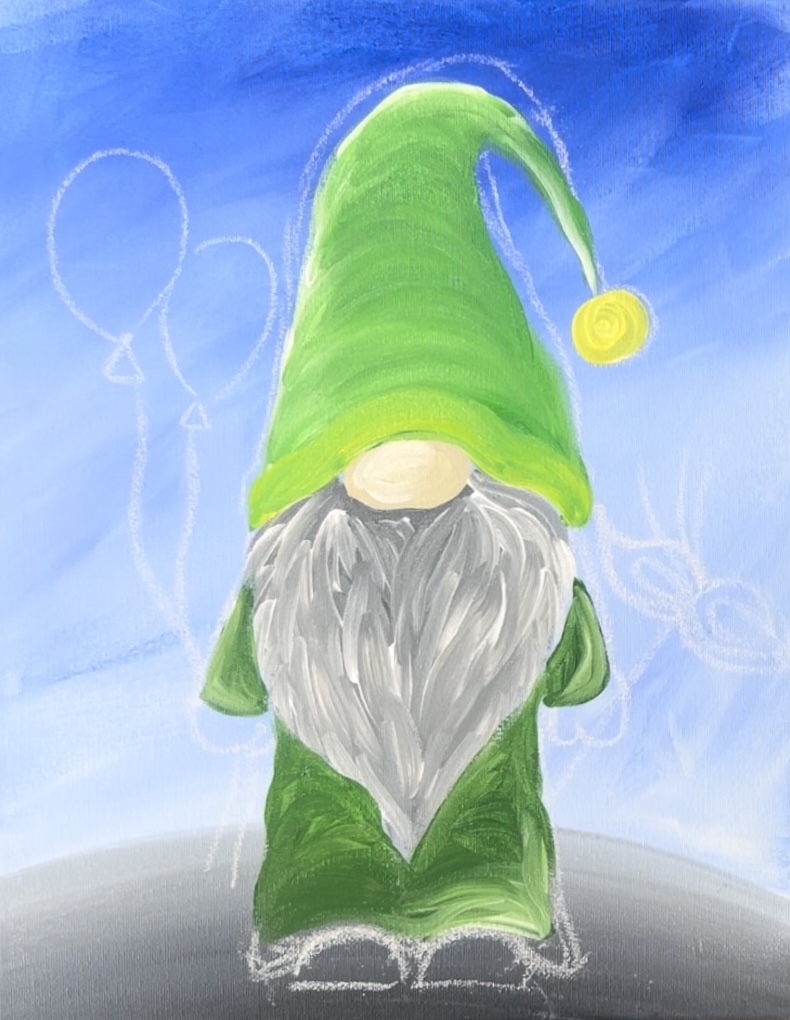
5. Paint The Beard
With the beard, we will be painting a dark layer of gray first and then adding white above the dark layer. This helps to create hair texture because the dark layer will be the shadowy layer.
Mix a medium gray on your palette by mixing about equal amounts titanium white and mars black together. Then use a #4 round brush to paint the beard. Paint your paint strokes going in a curved direction that goes with the flow of the hairs on the beard. Example: on the left side of the beard, curve your strokes going inwards and on the right side of the beard, curved them the opposite direction going inwards.
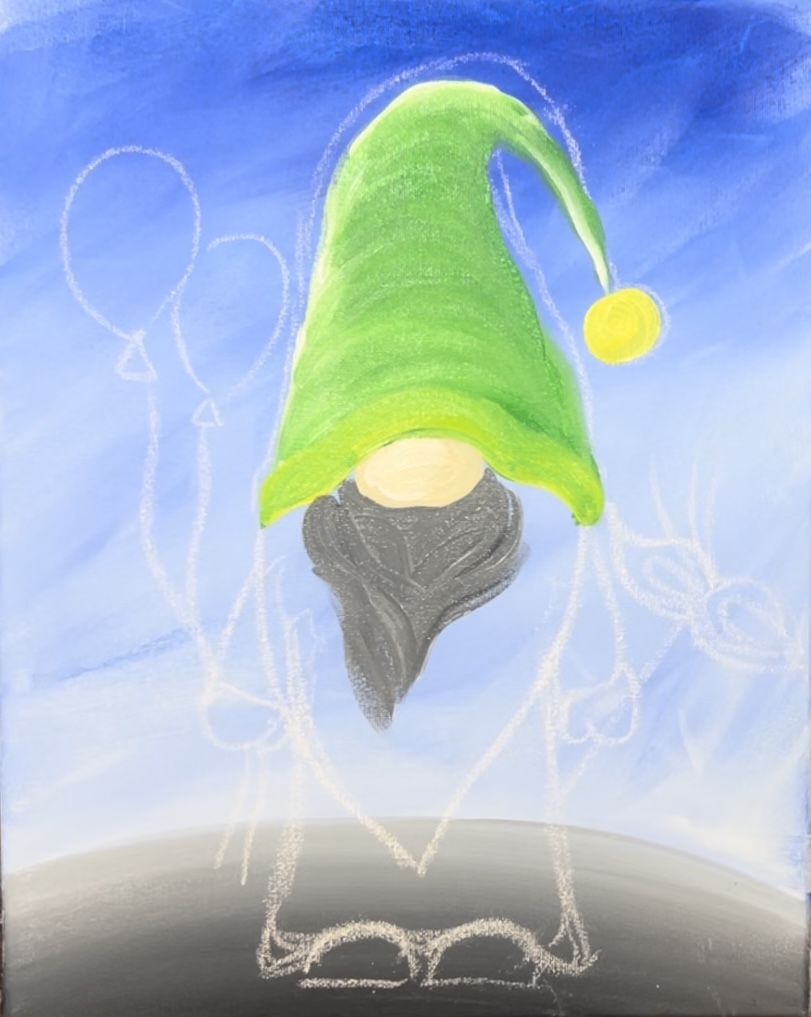
Tip: I like to start by painting just under the nose and then gradually form the shape of the beard.
This first coat has very little texture to it. Also, you do not need to paint any texture on the outside edges yet.
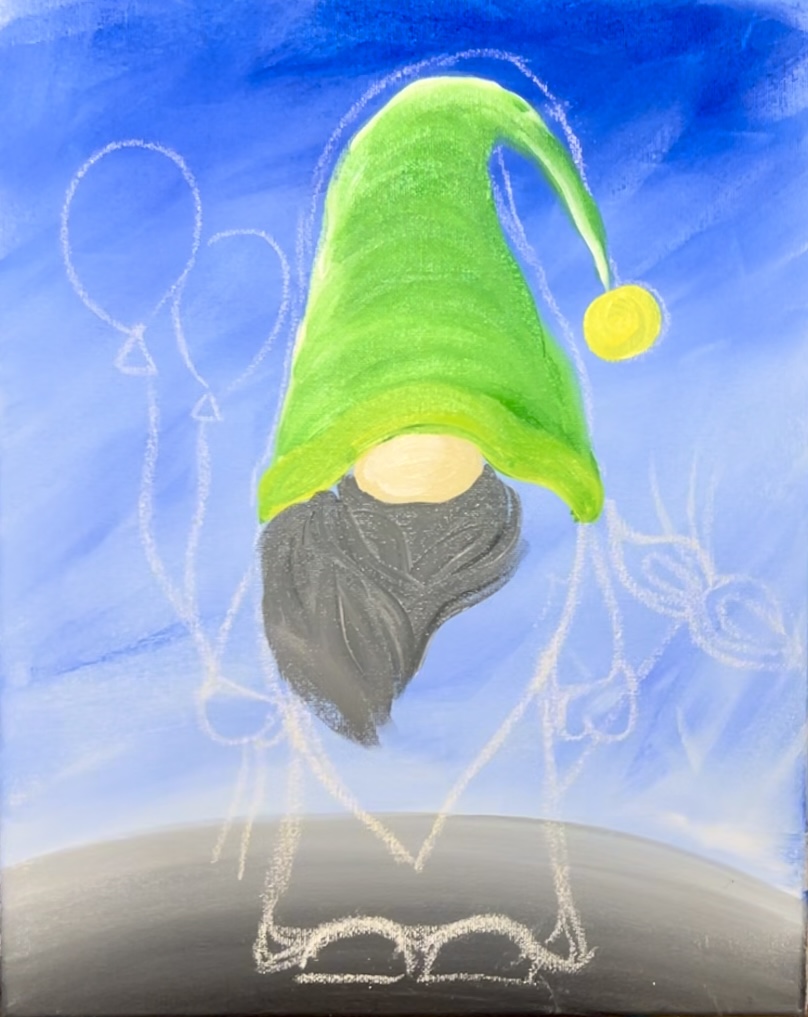
Without rinsing your brush, load it into titanium white. Add your first layer of light color texture to the beard. Start on one side and paint curved strokes starting under the nose. Stroke your hair strokes by curving downwards.
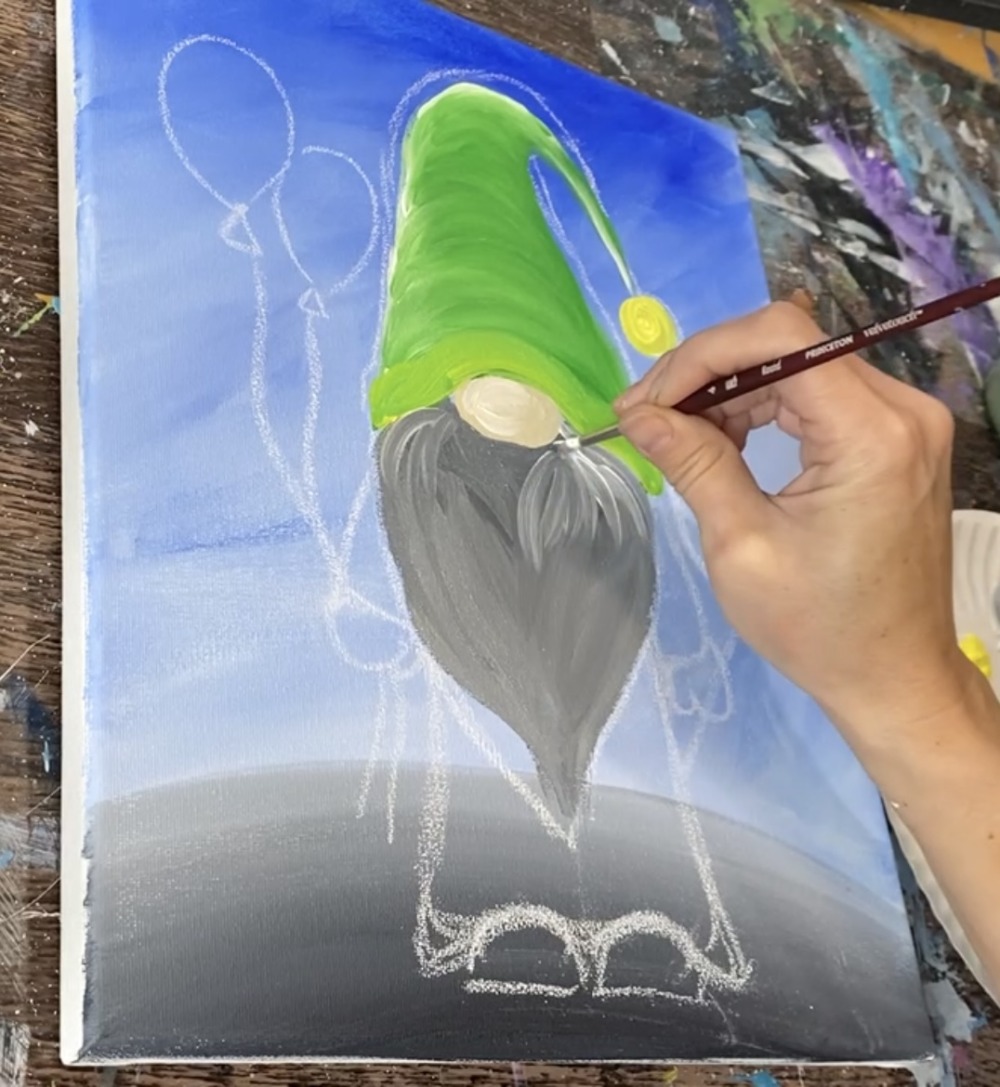
The white will blend with the darker gray layer to create the texture of the hair.
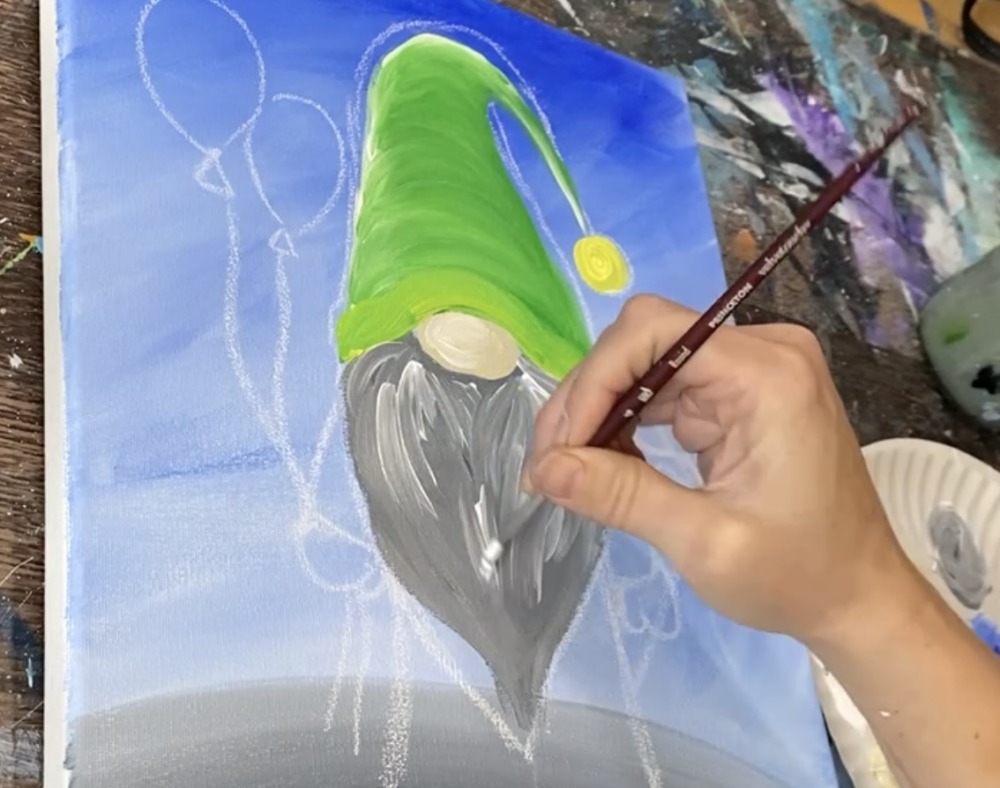
Paint your hair strokes so they curve, and flow downwards. They also curve opposite directions on each side of the beard.
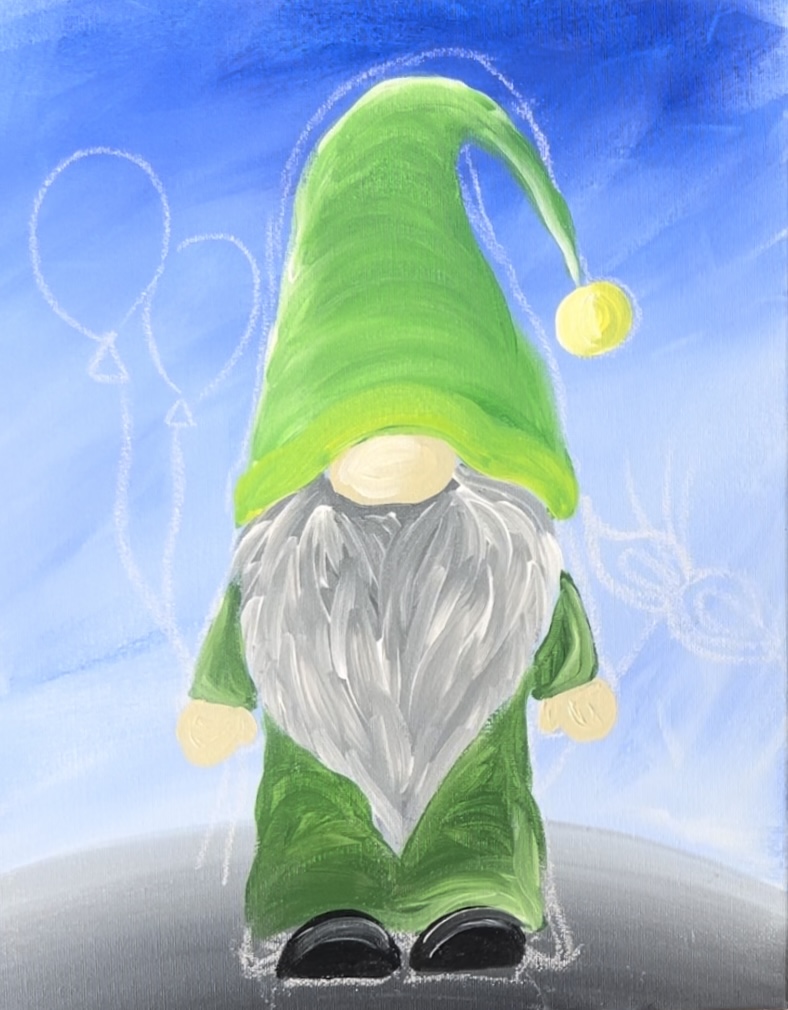
6. Paint The Robe
Mix a dark green on your palette by mixing a small amount of “mars black” into “light green permanent”.
Use the #4 round brush to paint the robe.
Blend a little bit of “titanium white” into the paint color so that you get a two-toned look to the green. I added the white mostly on the right side edges of the robe and blended it into the green.
7. Paint Shoes & Hands
Paint the hands “unbleached titanium”. Paint the shoes “mars black”. Paint a curved white paint stroke on the top of each of the shoes for highlights.
8. Paint Balloons
Load your paint palette with “dioxazine purple”. Paint the balloon. If you mix a little “titanium white” into this purple, it will lighten it up. I let the white and purple blend on the canvas and painted the balloon with curved paint strokes.
Paint the yellow balloon with “cadmium yellow light hue”.

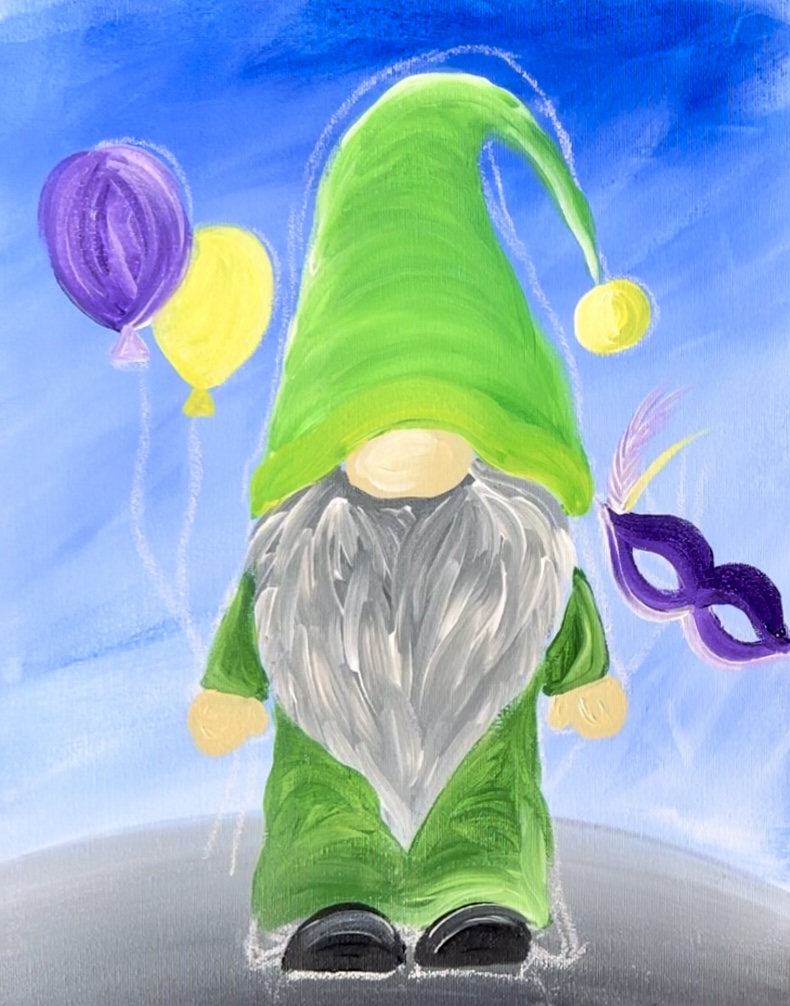
9. Paint Mask
Paint the mask using the “dioxazine purple” and “titanium white”. Paint the shape of the mask and leave the eye opening unpainted.
Paint each of the feathers with green, purple and yellow. To paint the feather, start by painting the “center line” first. Then paint each of the feather pieces by stroking your brush outwards. Do this very lightly with only a small amount of paint on the tip of the bristles.
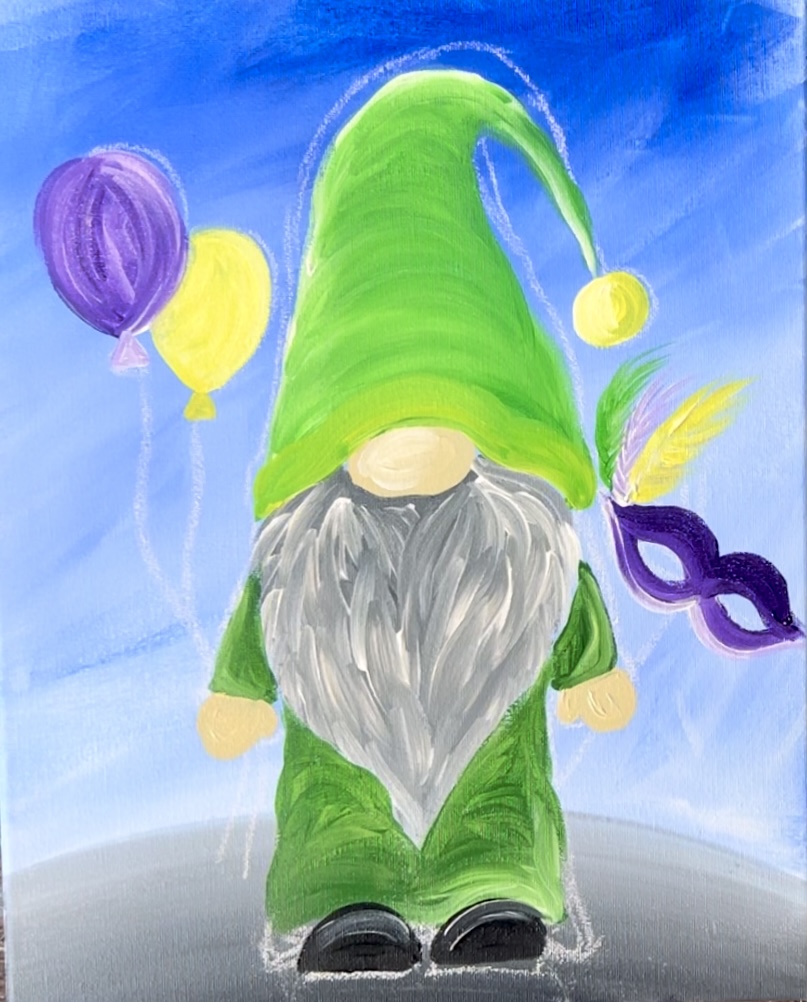
Add more detail to the mask. Paint the handle with “mars black”. Paint the little dots with “titanium white”. Paint the “center line” of the feathers with a thin line of “mars black”.
Add a “cadmium yellow light” outline on the bottom of the mask. Paint the outer outline of the eyes with “light green permanent”.
Paint a ribbon flowing down from the handle with “titanium white”.
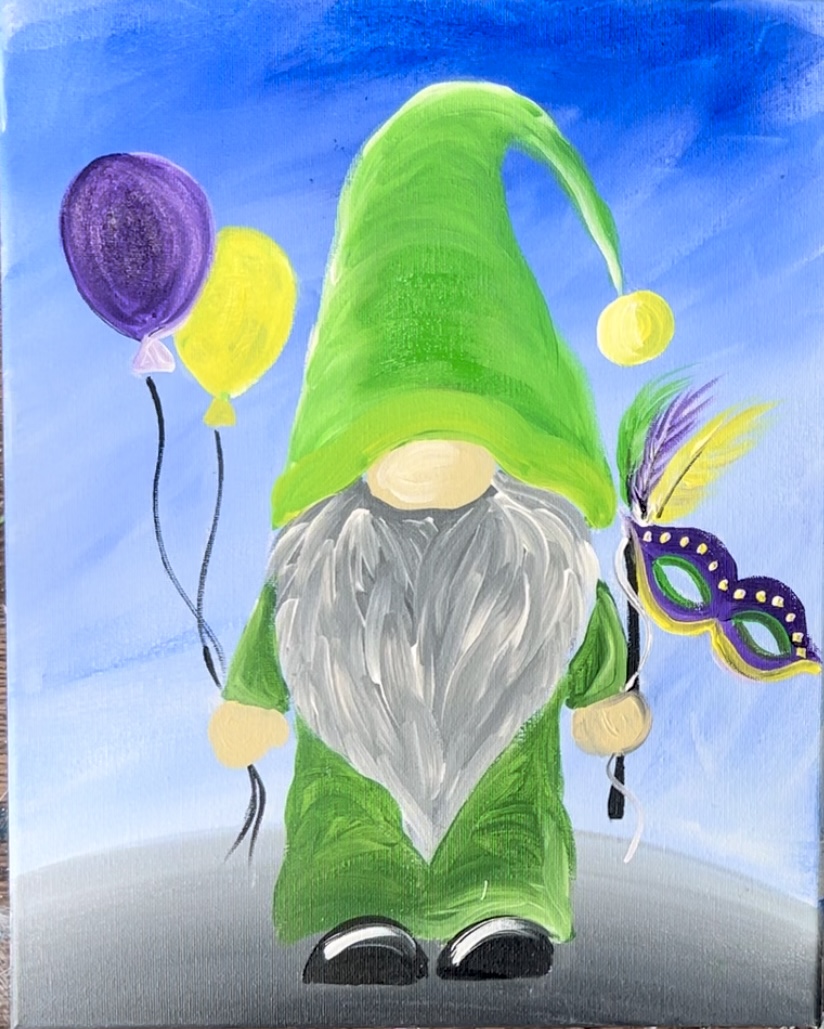
10. Paint Details On Balloons
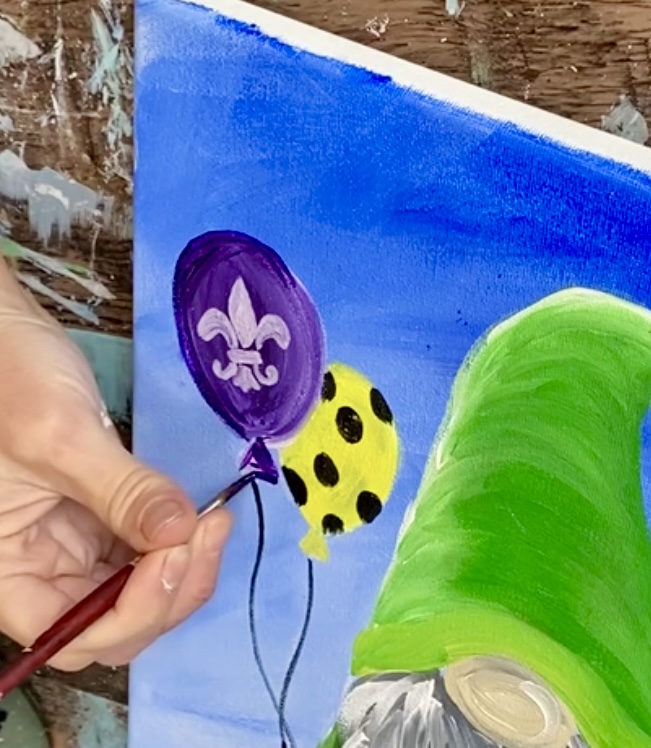
I did black “polka dots” on the yellow balloon.
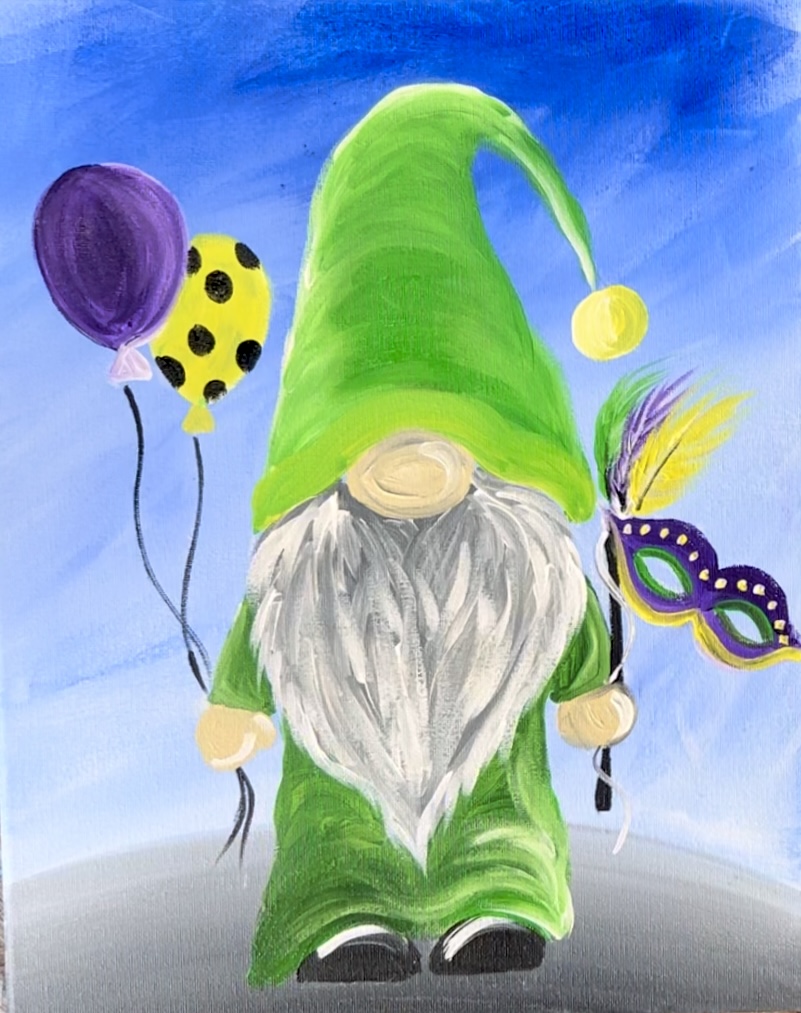
Then I used a “white POSCA paint pen” to draw a “fleur de lis” on the purple balloon.
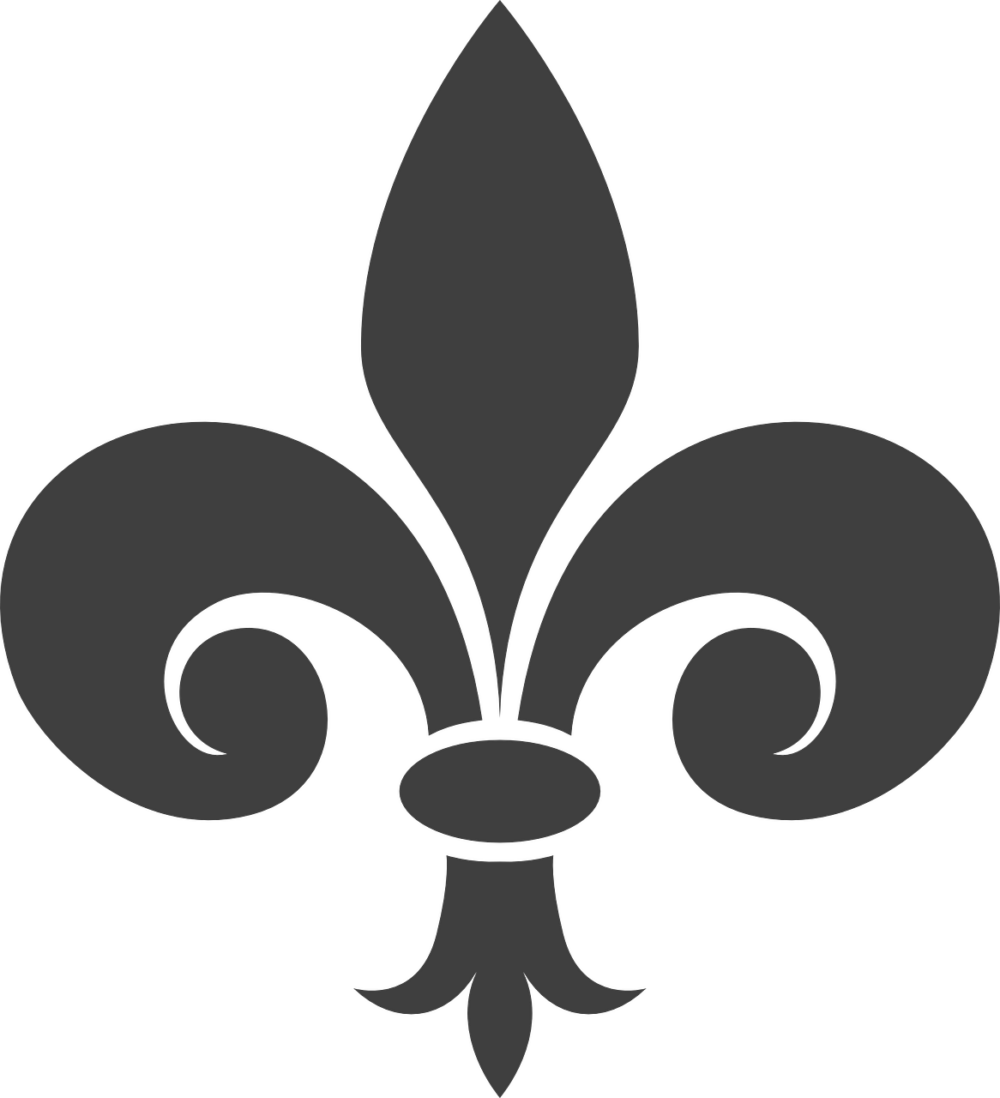
I found it easier to start with the center diamond/bulb shape.
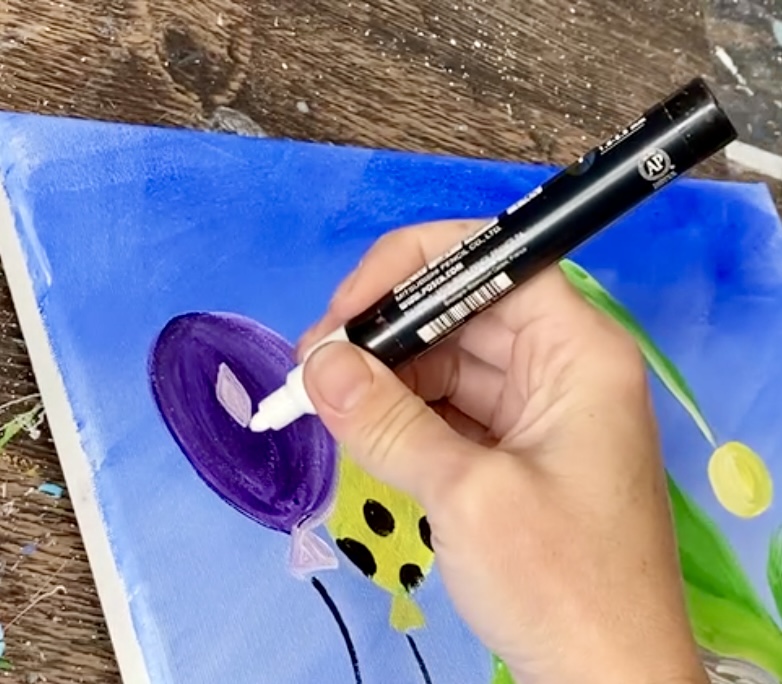
Then draw the small, horizontal oval shape below that.
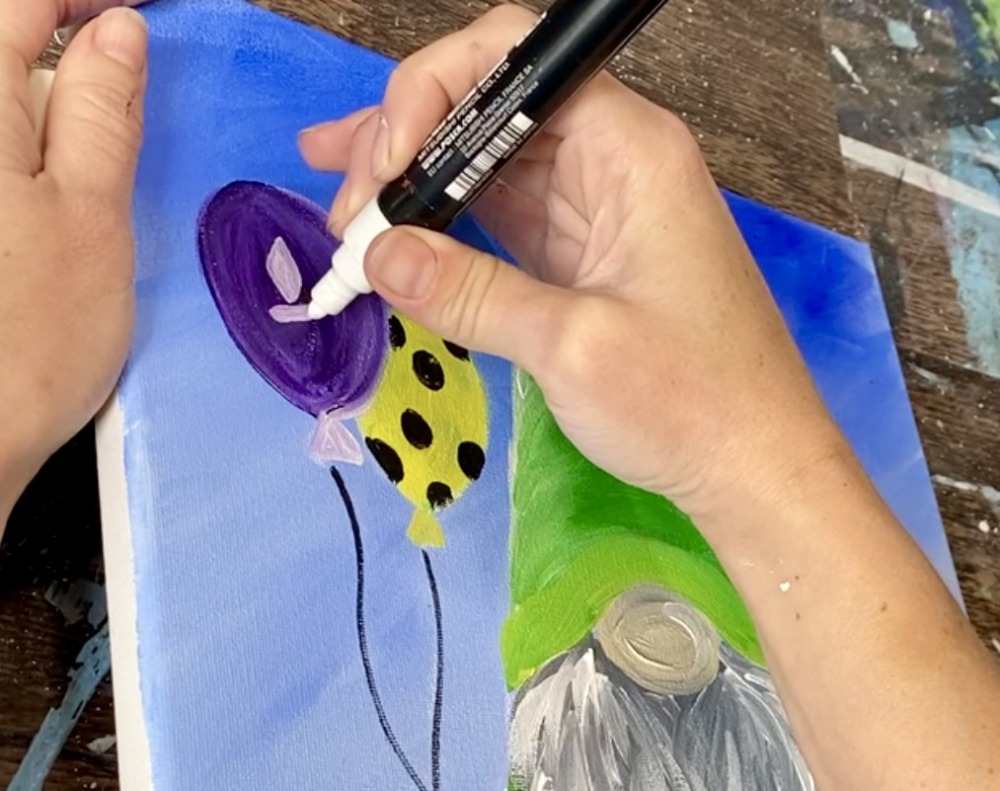
Then do the curved marks on each side of the bulb and the little curves on the bottom.
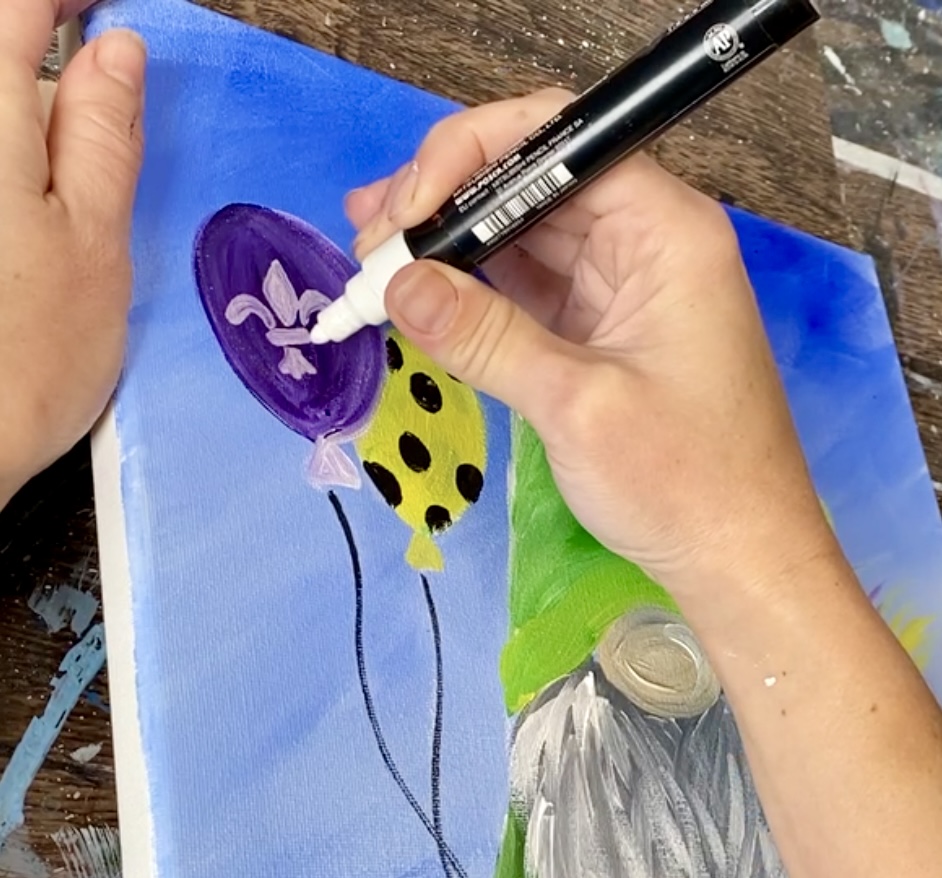
If needed, adjust the size of the balloon so the symbol is more centered on the balloon.
11. Paint Polka Dots On Hat
Next, as a fun decorative touch, I painted polka dots on the gnome’s hat using the “titanium white” and “dioxazine purple”.
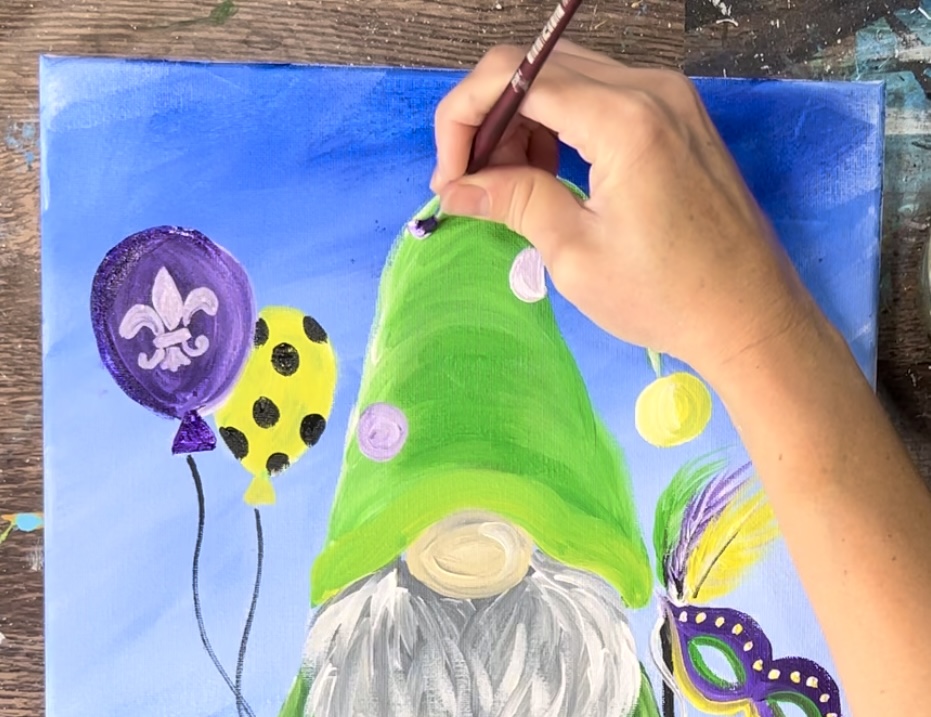
Make different variations of the purple by adding white to some of the dots.
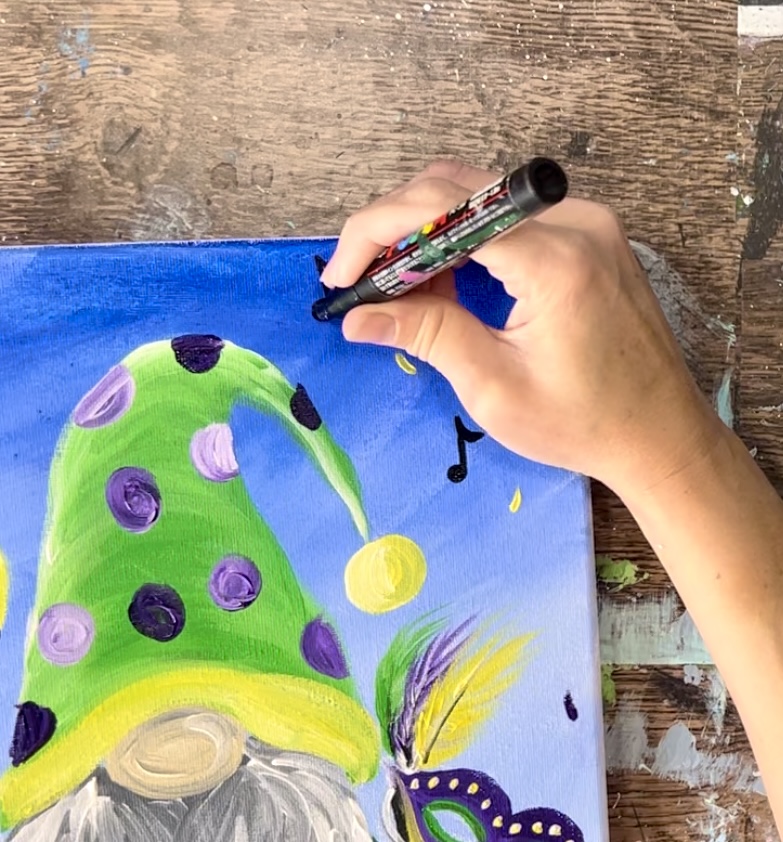
12. Paint Confetti & Music Notes
Use a #4 round brush and the yellow and purple to paint confetti throughout the background.

Use a “Black POSCA Paint Pen” or a round brush to paint black music notes throughout the background.
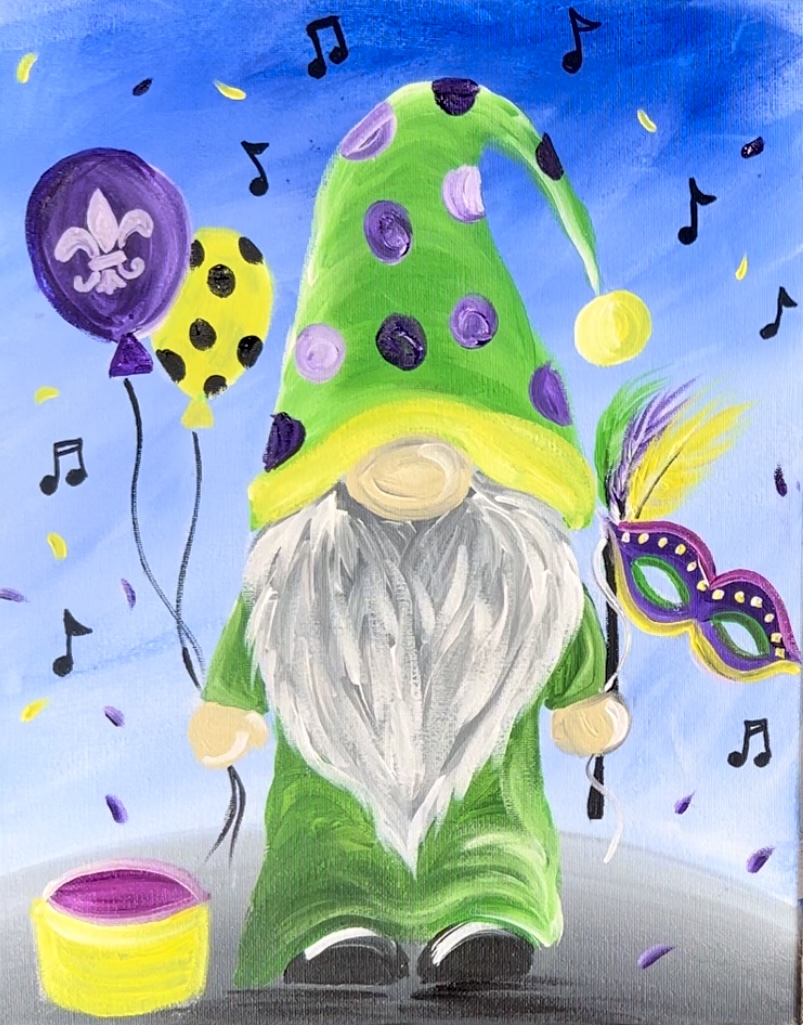
13. Paint Drum (optional)
As a fun, colorful detail, you can paint a drum on the ground next to the gnome!
Use a piece of chalk to draw the drum. Then Paint the drum in with “deep violet” and “cadmium yellow light”. Note: “deep violet” is an optional color in this painting. It adds a warm touch to the painting because “dioxazine purple” is a very cool, dark purple.
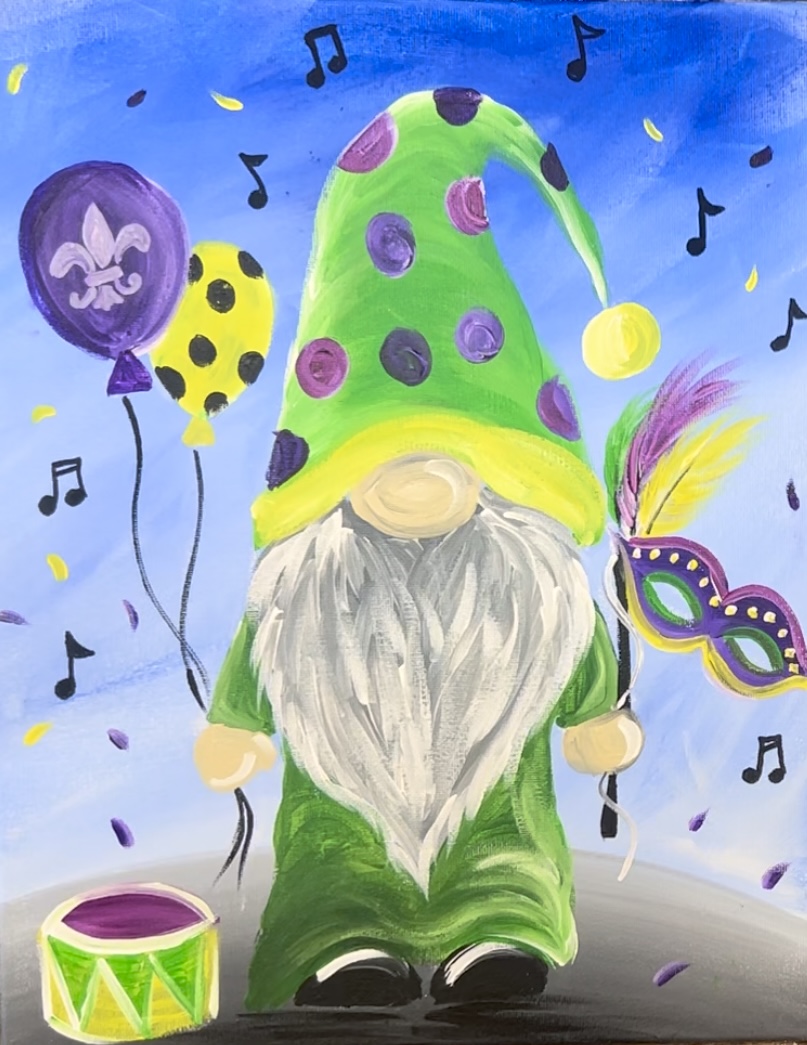
Paint triangle details using “light green permanent” and “titanium white”.
14. Loose Outlining & Final Details
Use “mars black” and the “#4 round brush” to loosely outline parts of the gnome including adding a few textured black strokes on the beard. When you “loosely outline” you are outlining the object without outlining every shape. Decide which areas need to “pop” with a little bit of outlining. Make sure you do this with very fine lines.
Another final option is to color the “fleur de lis” with Mardi Gras colors.
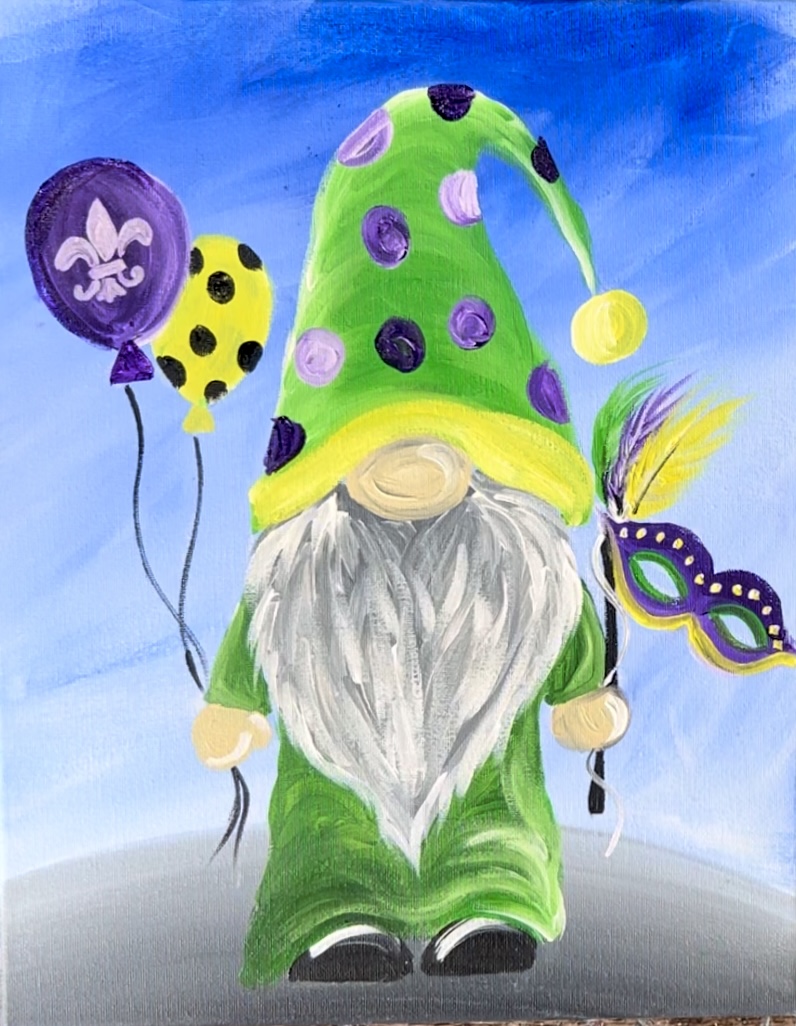
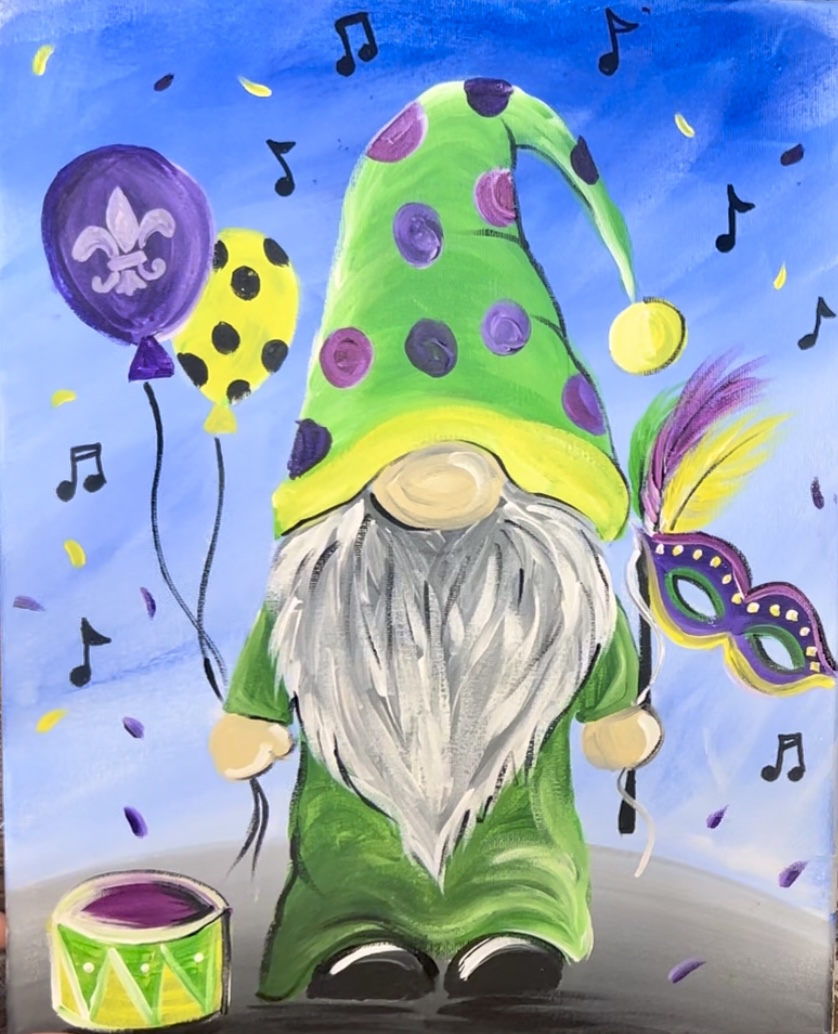
Finished!
That’s it! Sign your name and show it off!