

Would you like to save this?
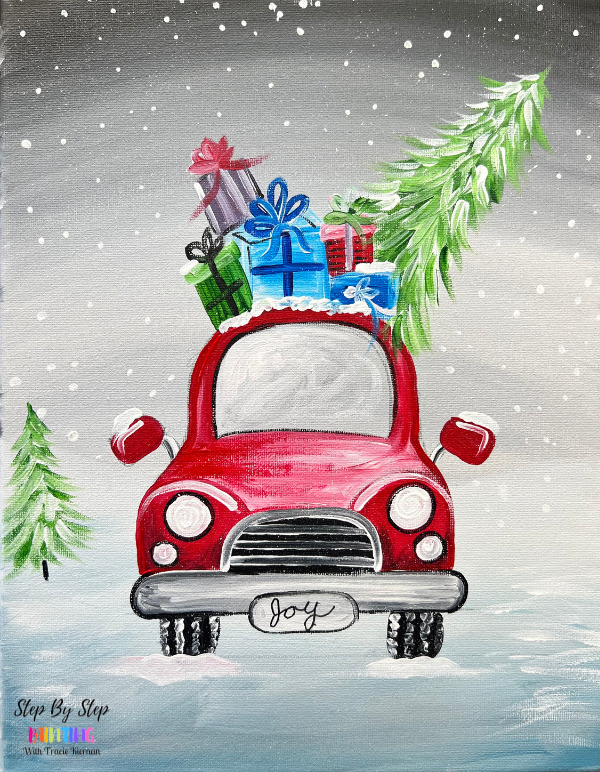
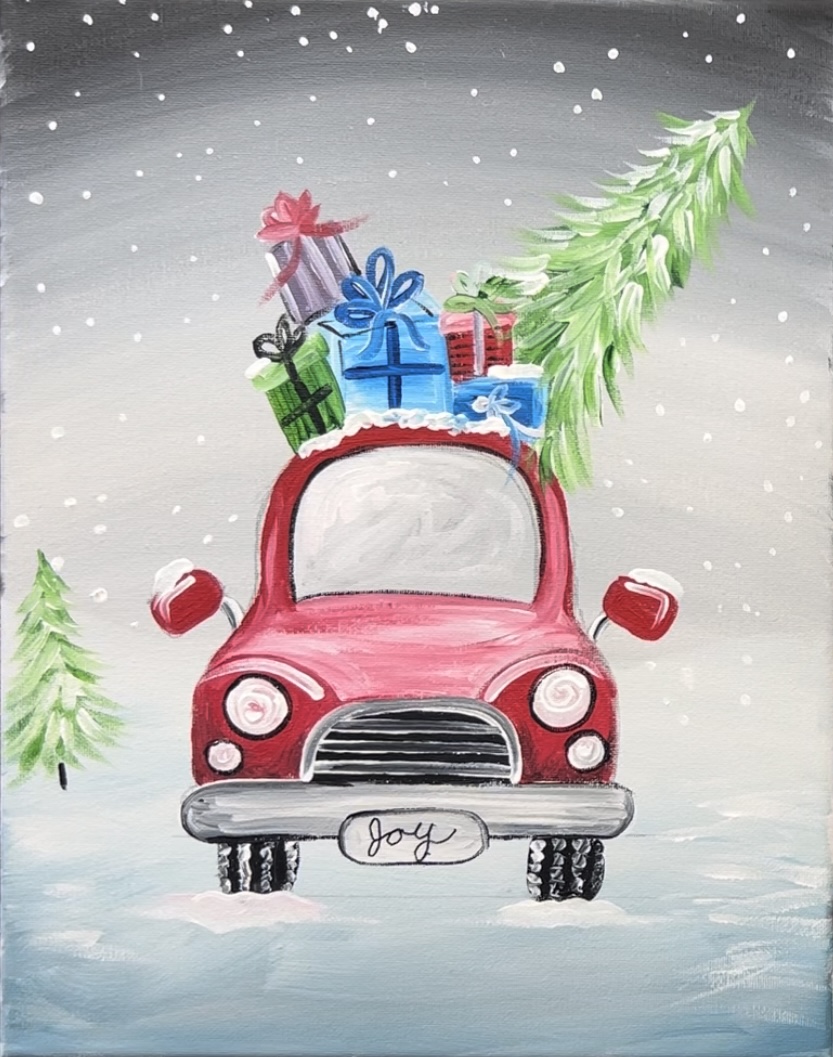
Learn how to paint a “Christmas Car” with acrylics on canvas. This painting has a simplified color palette and it is a relatively easy design. There is also traceable template to go with this painting, which is optional.

Enjoy and happy painting!
Materials
- 11 x 14 Canvas
- Acrylic Paints
- Brushes
- Ruler
- Optional Traceable
- Optional Graphite Paper
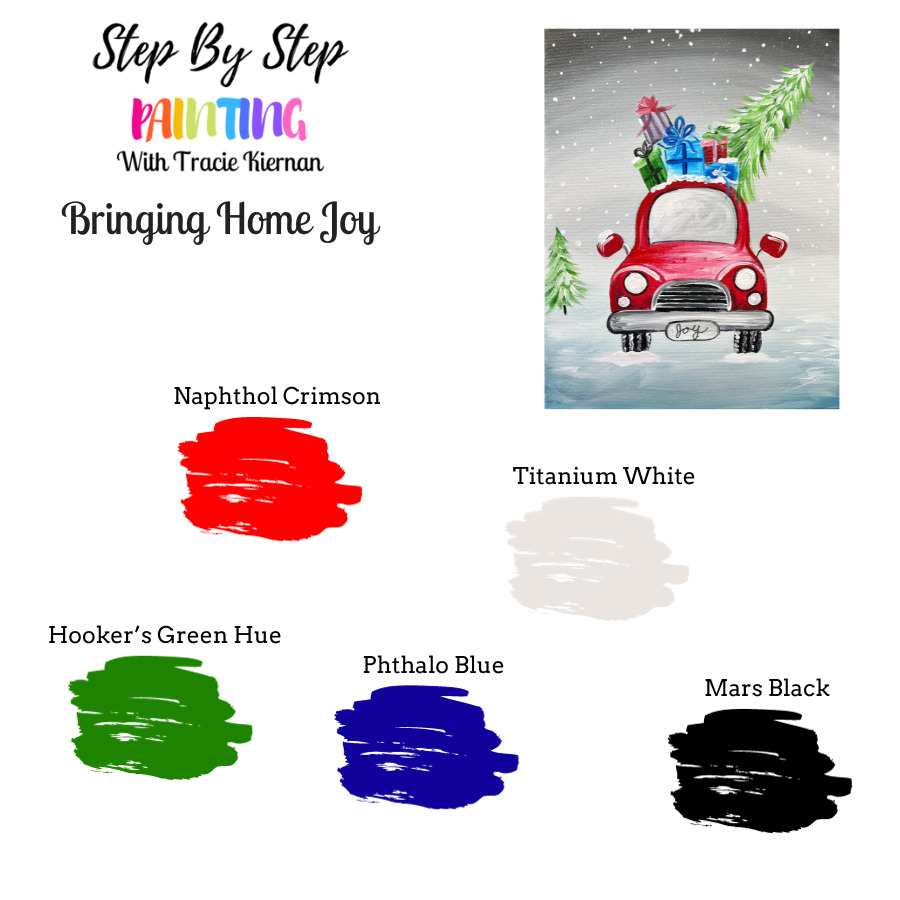
Colors
- Titanium White
- Mars Black
- Napthol Crimson
- Phthalo Blue
- Hooker’s Green Hue
Brushes
- 3/4 Flat Brush
- 4 Round Brush
- 3/0 Round Brush
Color Palette
Optional Traceable

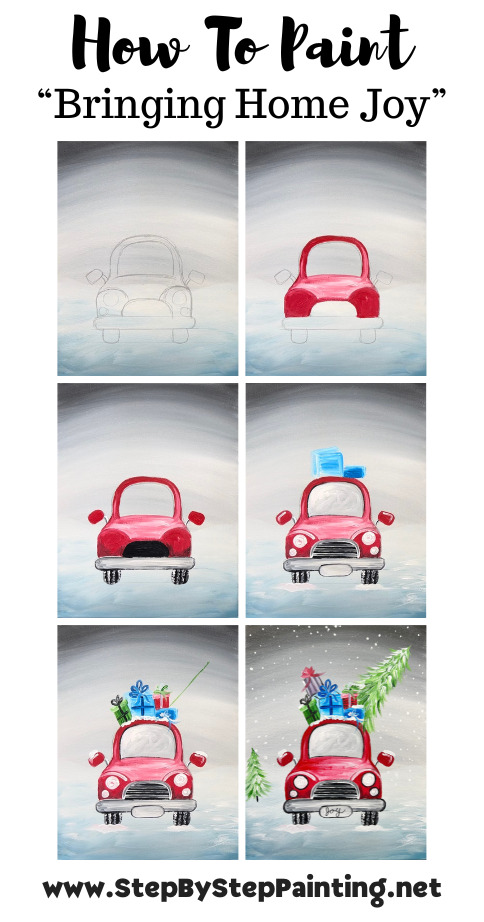
Directions At A Glance
Video
Step By Step Instructions
1. Paint sky
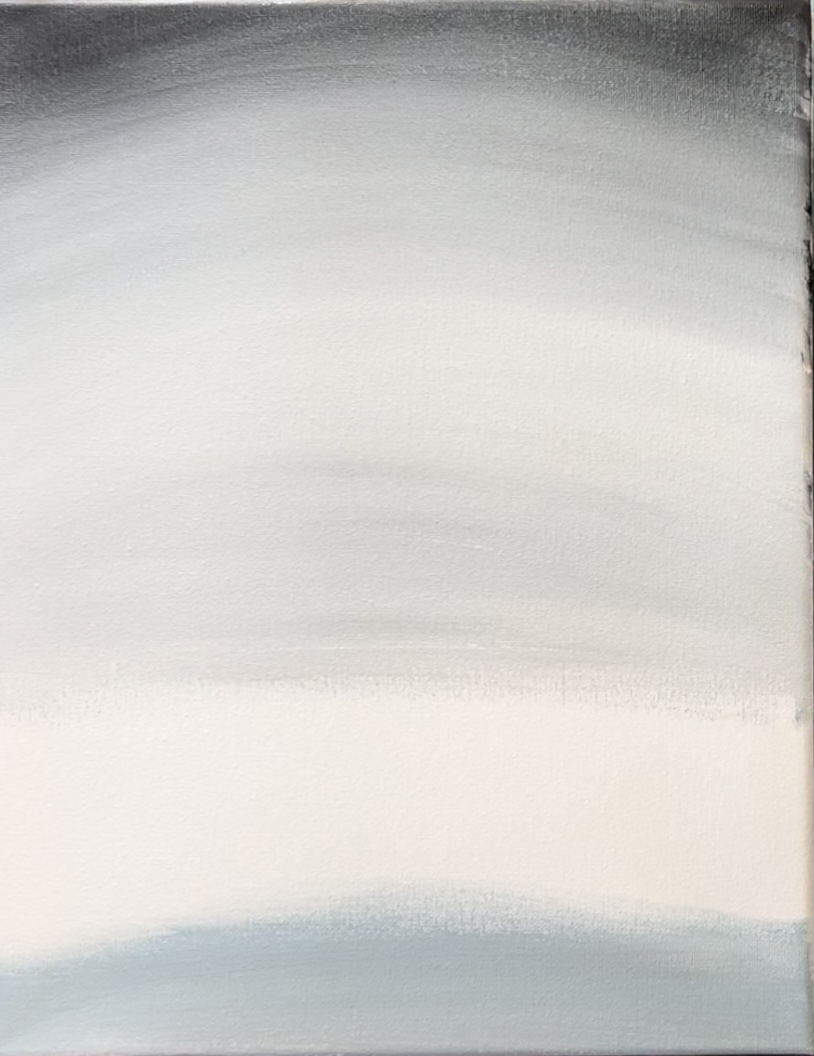
Load your palette with the two colors “titanium white” and “mars black”. Use the 3/4″ flat wash brush and load it into the water. Load it into just the black and paint the top of the canvas with curved strokes. This entire sky will be done with “arched” strokes.
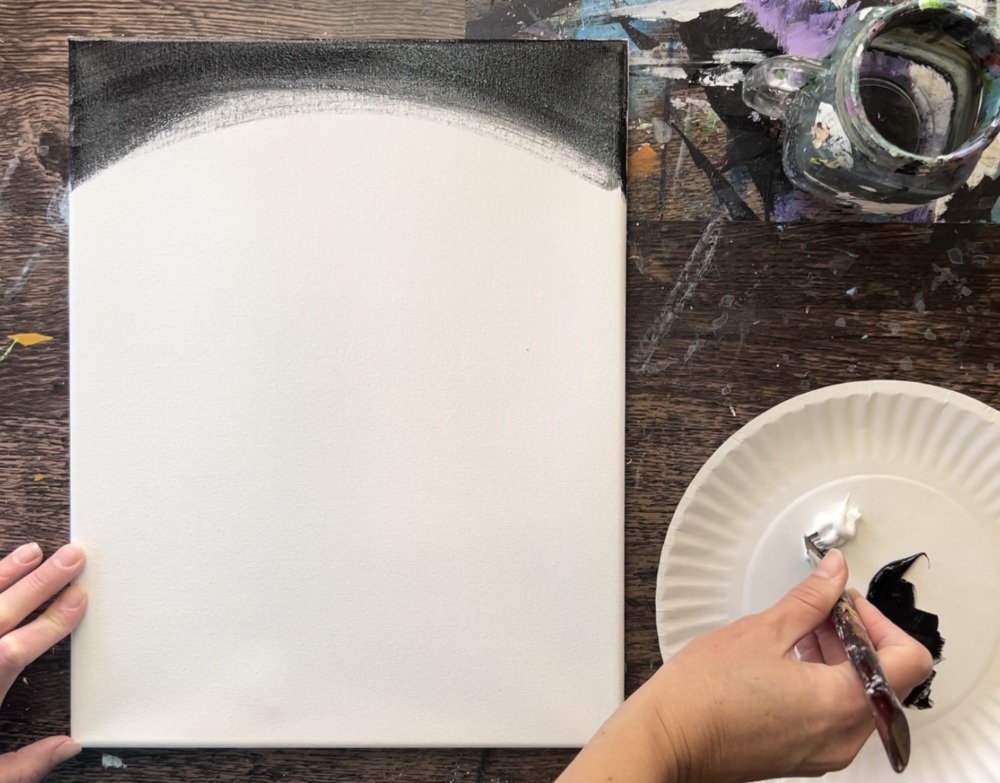
Wipe the brush but don’t rinse it. Then load “titanium white” onto your brush. Blend it with the black so that you start creating a gradient of black to a dark gray. Continue painting long, curved strokes and add more white to your brush as you work your way down the canvas.
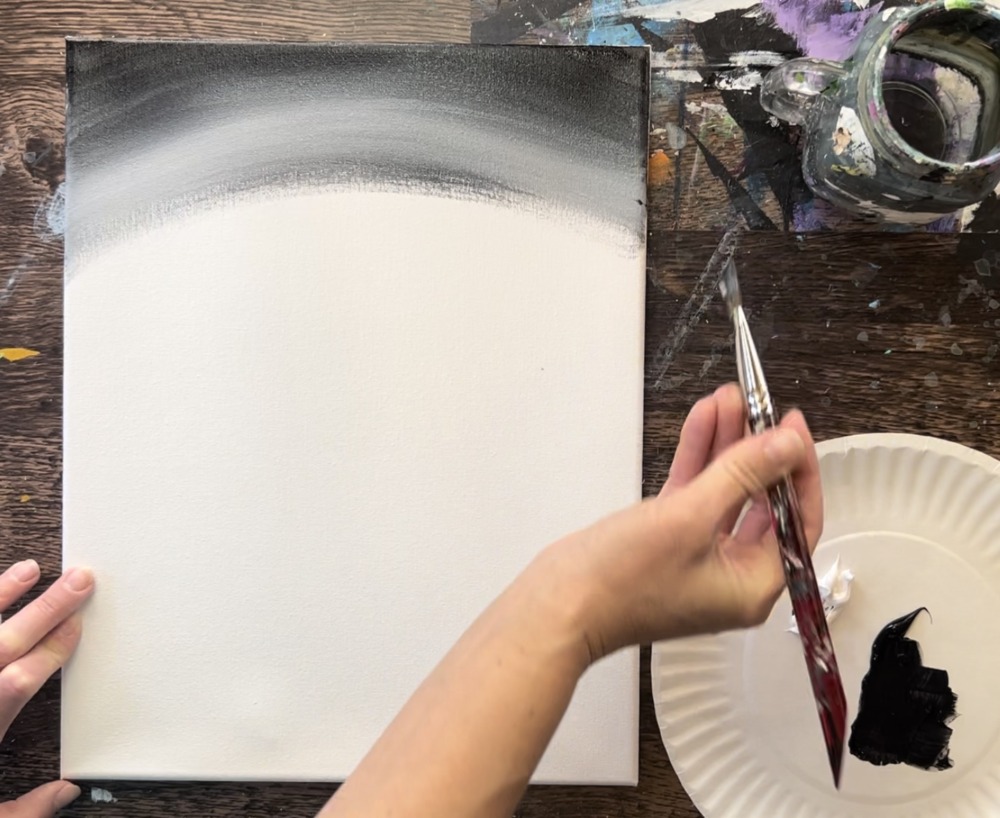
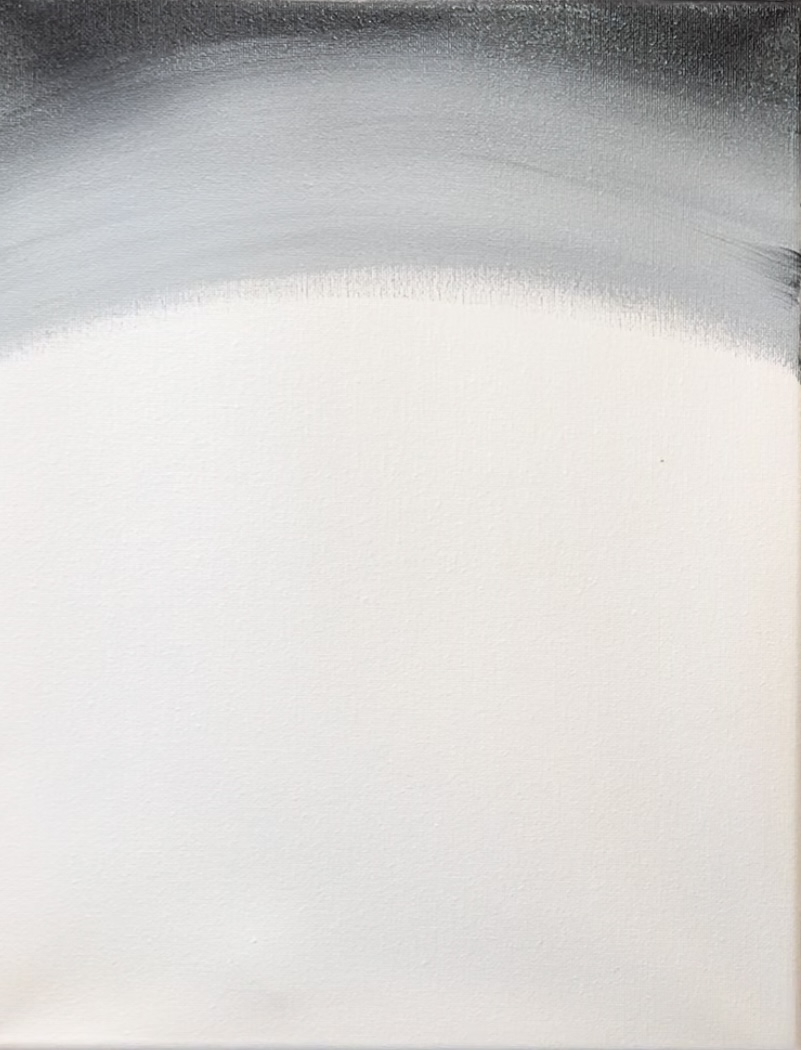
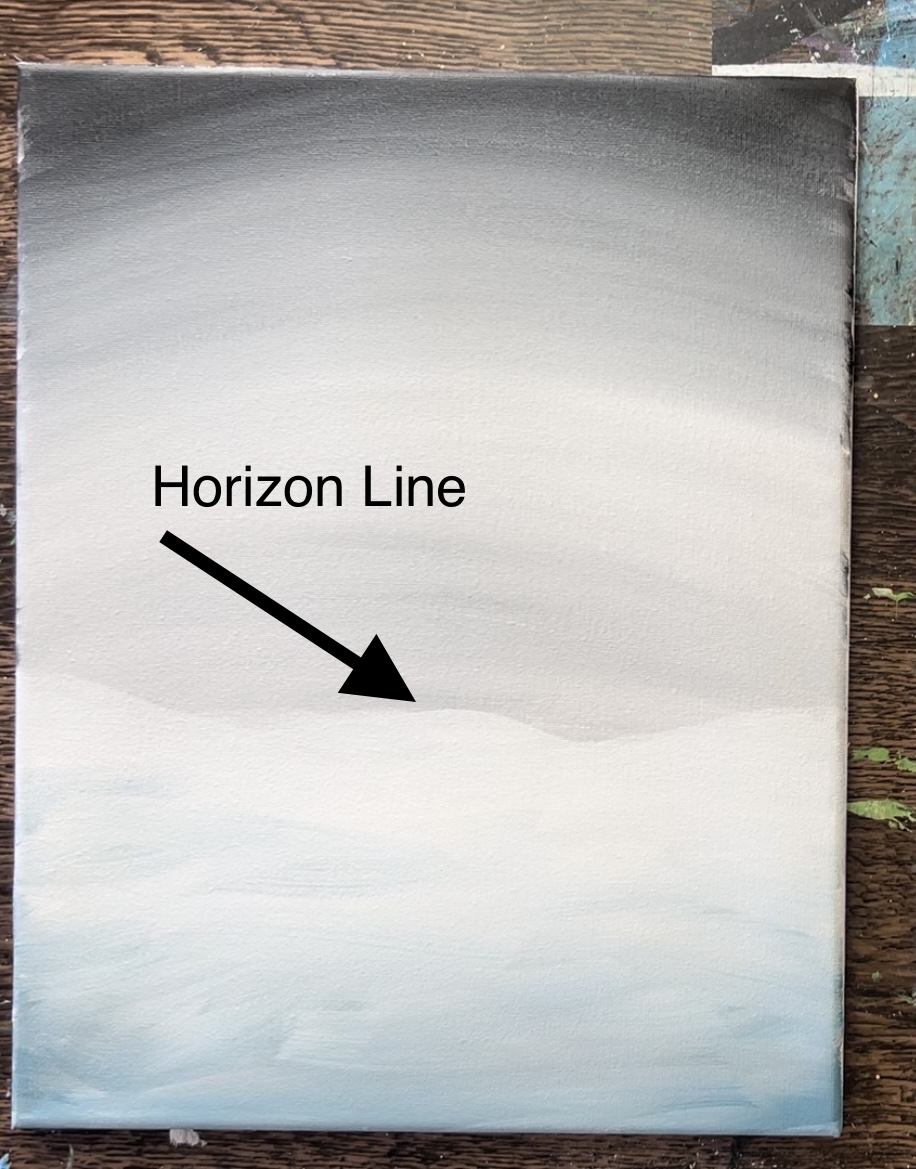
Go about 2/3 of the way down the canvas with this gray gradient and stop. Allow your strokes to start going more straight as you approach this “horizon line”. If needed, go back and blend your strokes so your color blends more smoothly. This does not have to be a perfect gradient.
2. Paint Ground
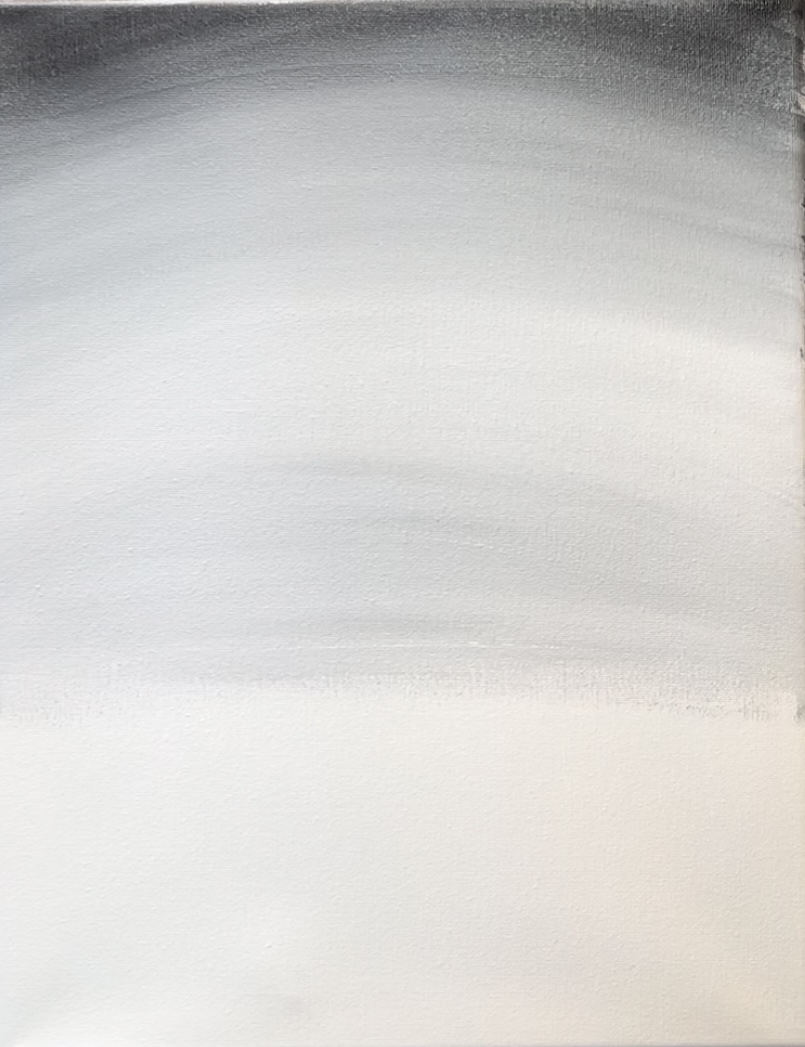
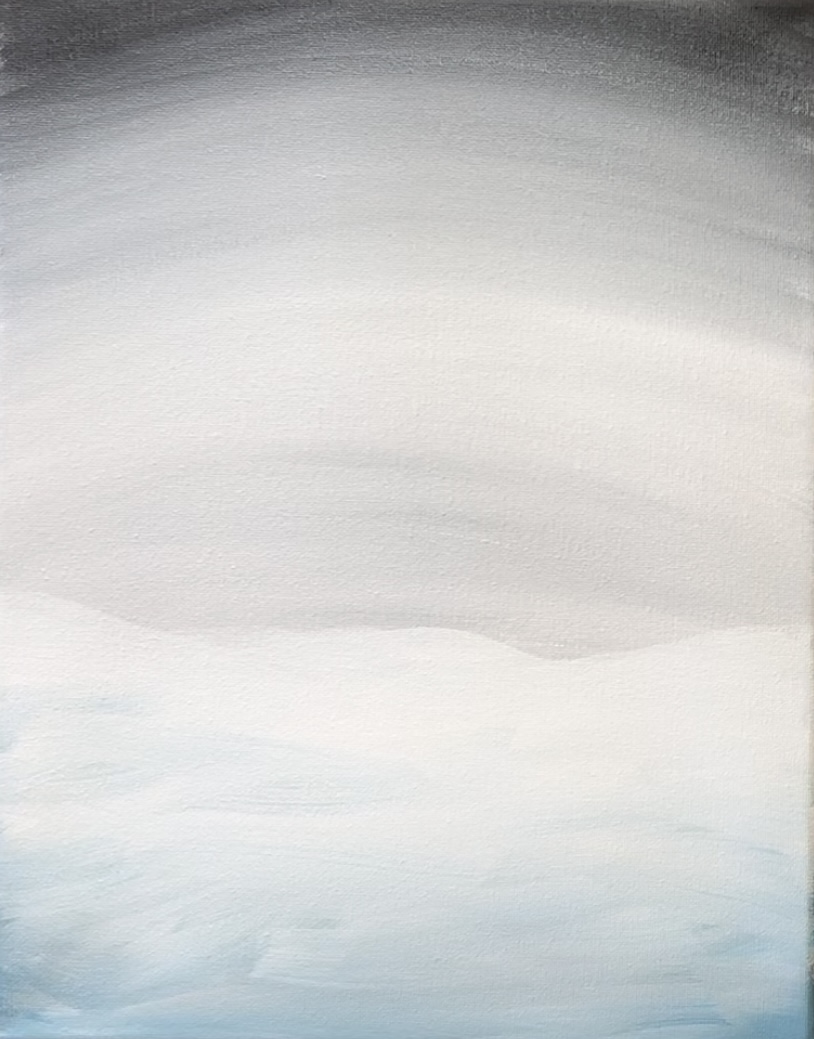
Load a very tiny amount of phthalo blue on your palette. Mix a very light blue-gray color on your palette by mixing 4 parts white, 1 part mars black and 1 part phthalo blue (this does not have to be exact).
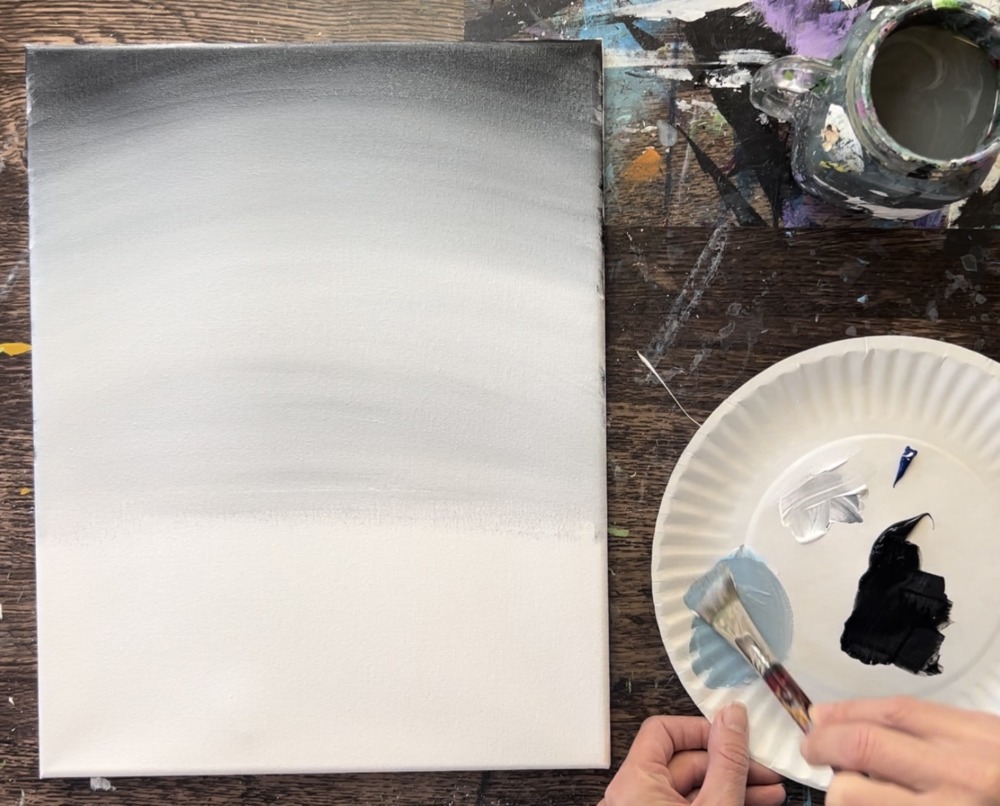
Then on the bottom of the canvas, paint this blue-gray color.
Load titanium white onto the brush and paint expressive “x style” strokes from the blue-gray color on the bottom and allow it to blend to a pure white at the top. As you approach the “horizon line”, paint a wavy/hilly line with the pure white.
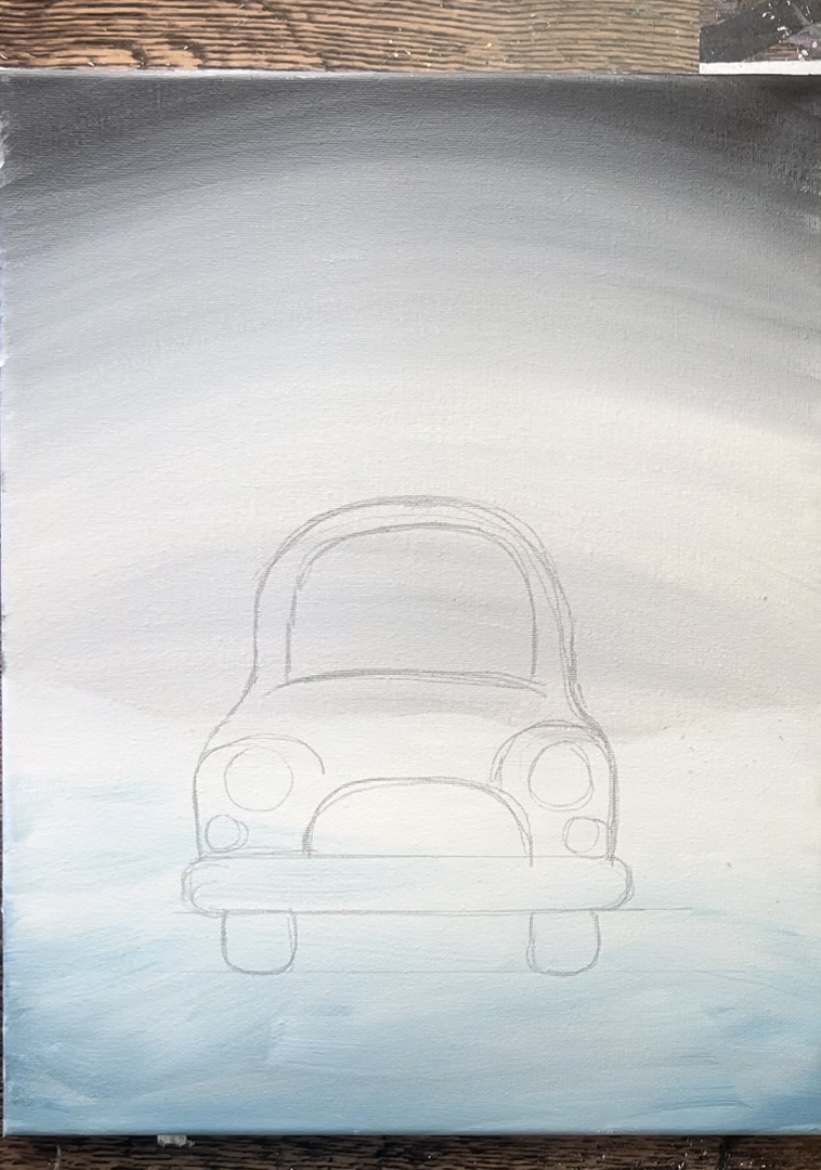
3. Draw Car
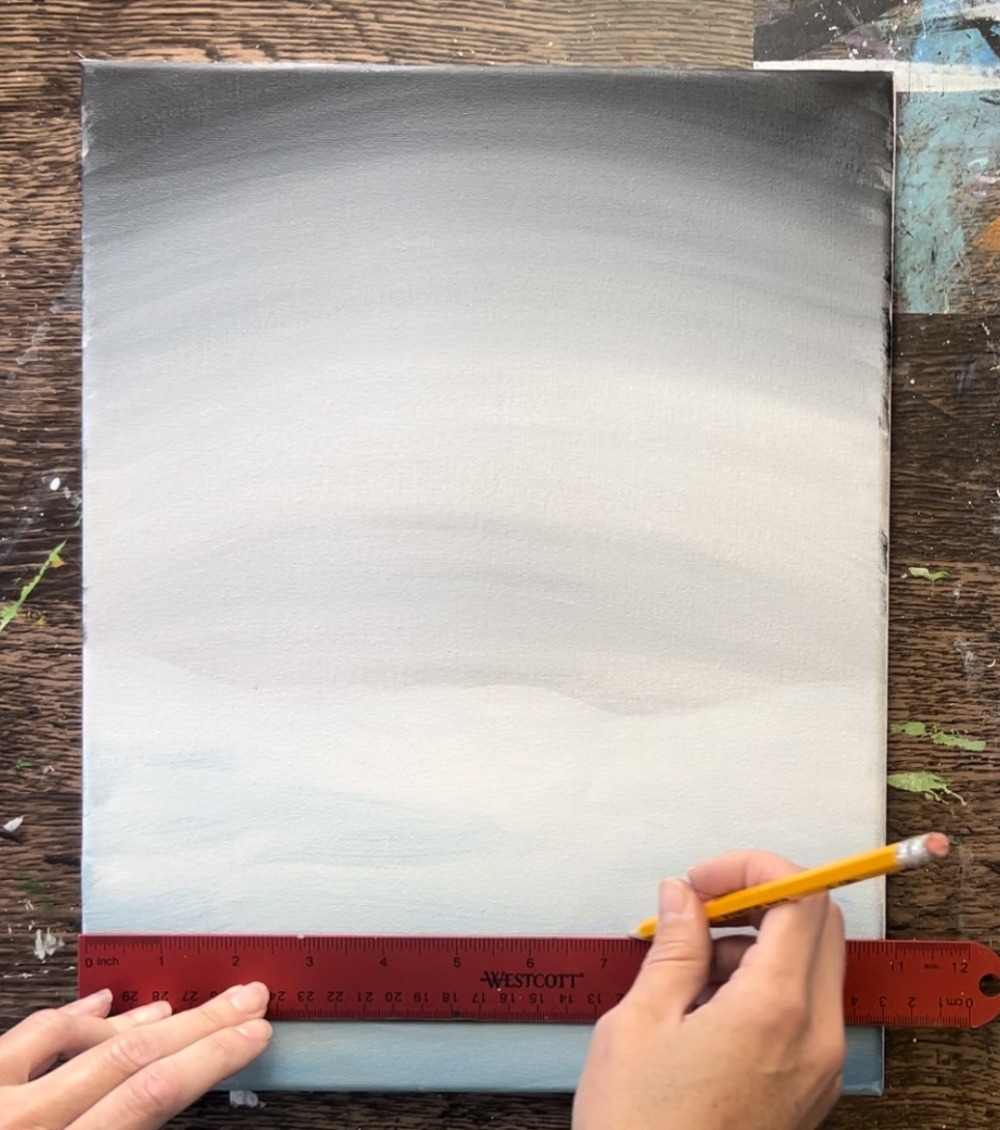
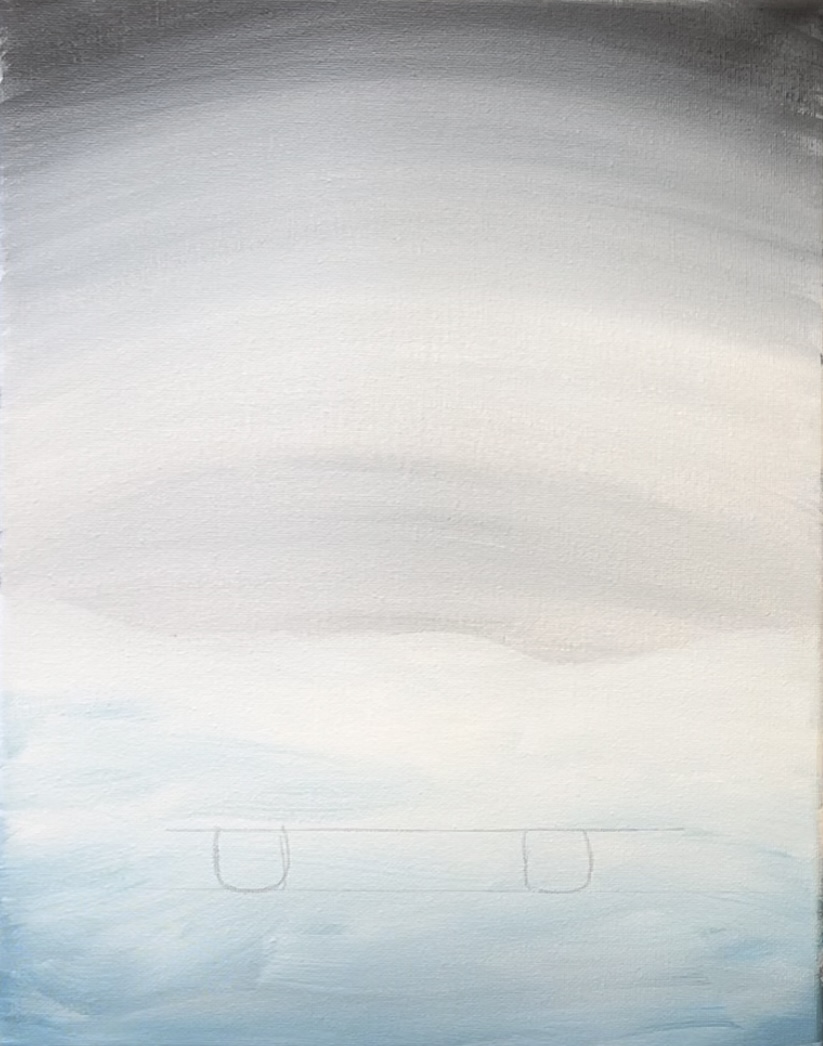
Use a pencil to sketch out the car. If you are using the traceable template, print it out and place a sheet of graphite paper below it. Position the bottom of the wheels so they are about 2″ from the bottom of the canvas.
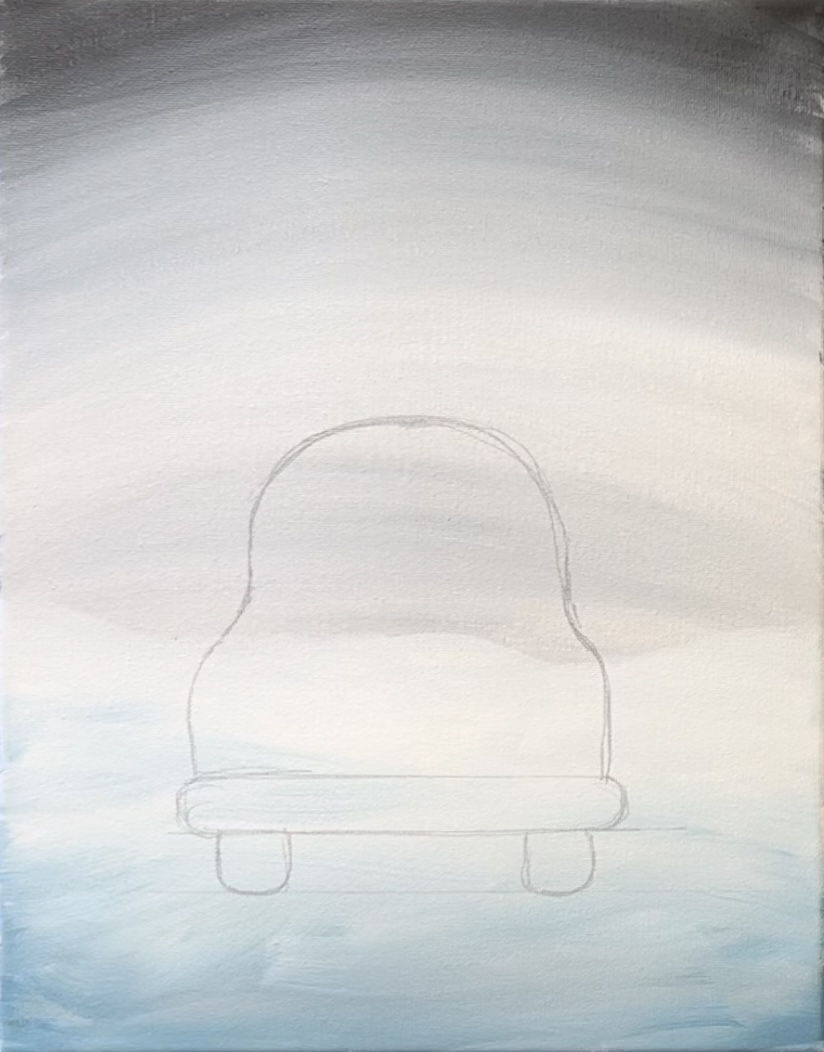
If you are drawing this, start out by drawing a horizontal line across the canvas at about 2″ from the bottom of the canvas. This horizontal line is to help you make sure the bottom of the wheels are aligned.
Next, draw the two front tires as two square-like shapes with rounded corners on the bottom. The width between the tires is about 3″.
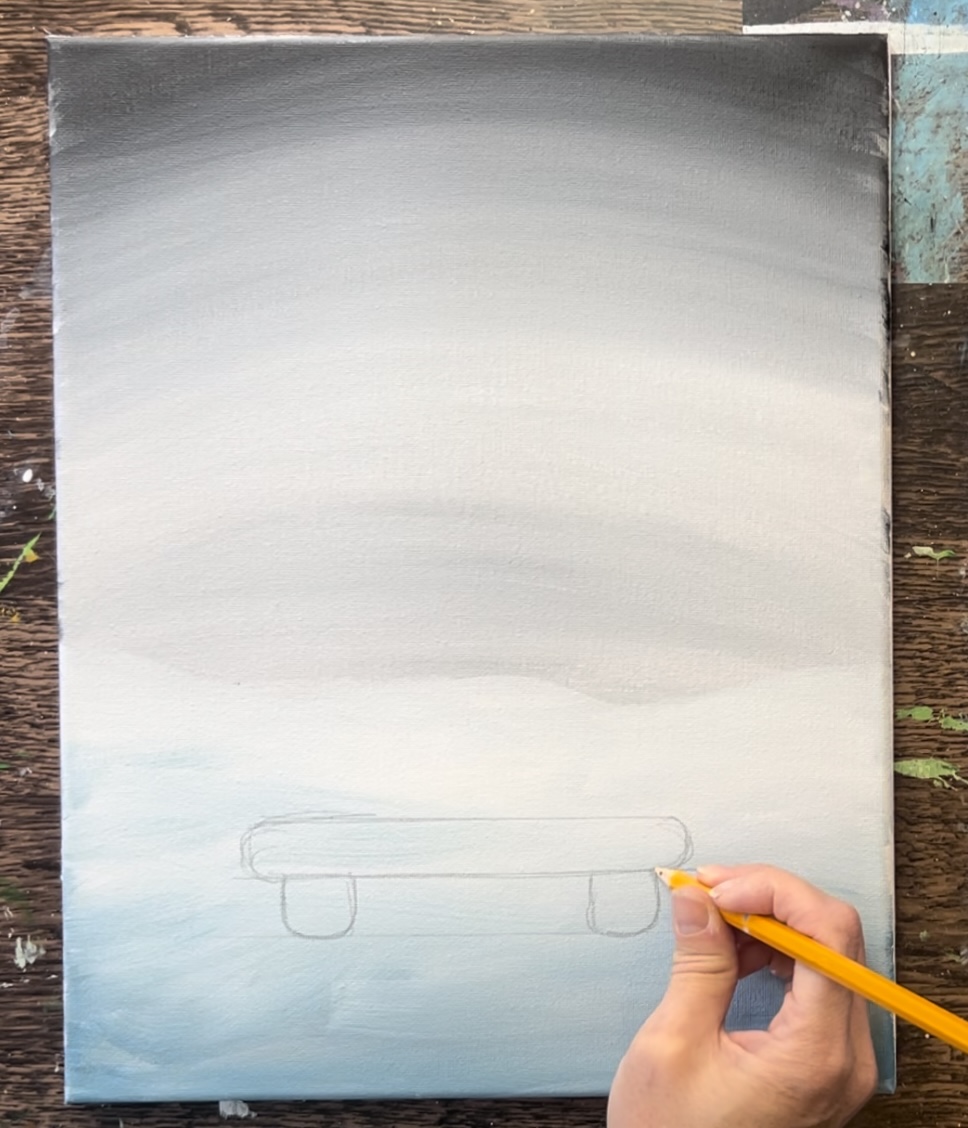
Then use the ruler to draw another horizontal line above the wheels.
Draw the bumper as a long rectangle with curved corners. The width of my bumper is about 6″.
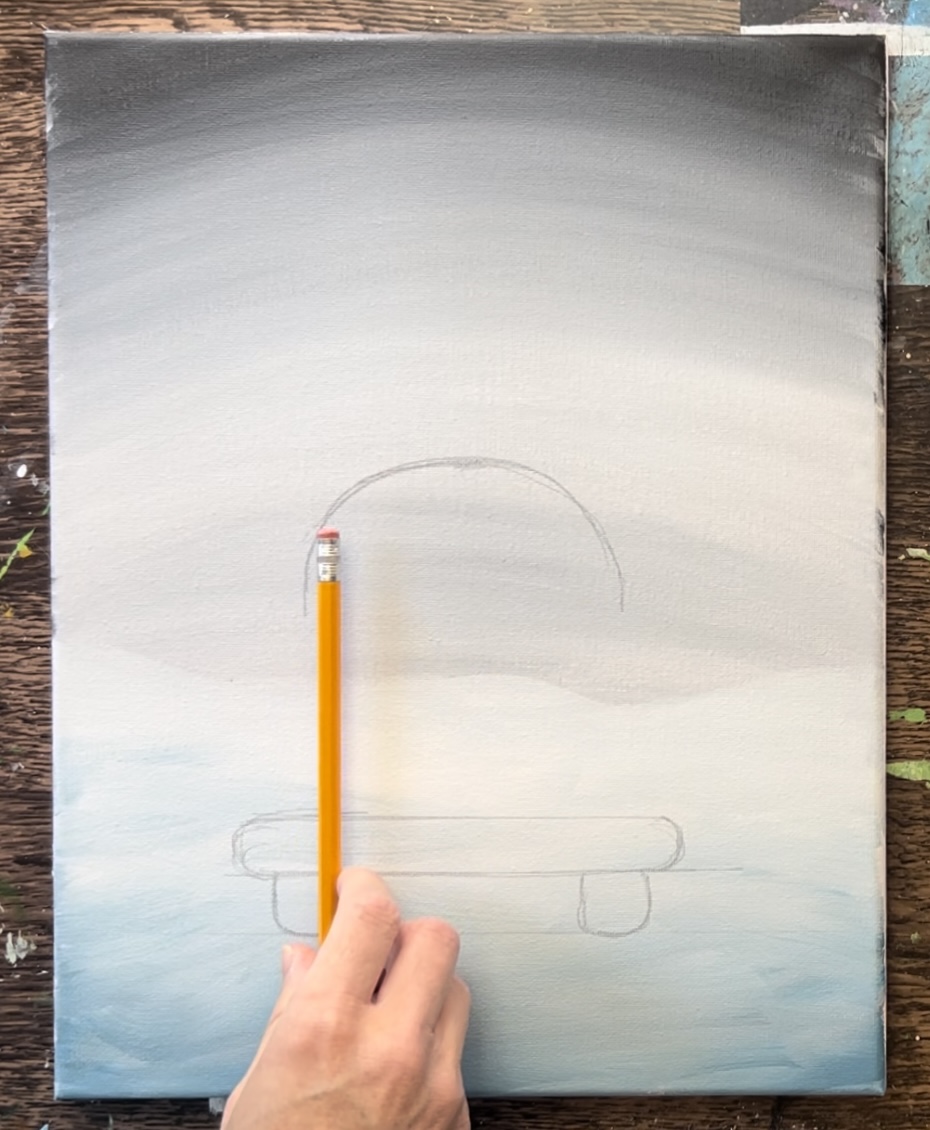
Next, determine how high the car roof will be. I made mine about 6″ high (from the bottom horizontal line under the tires). Draw a curved arch that goes kind of flat at the top. The side lines up with the inner sides of the tires.
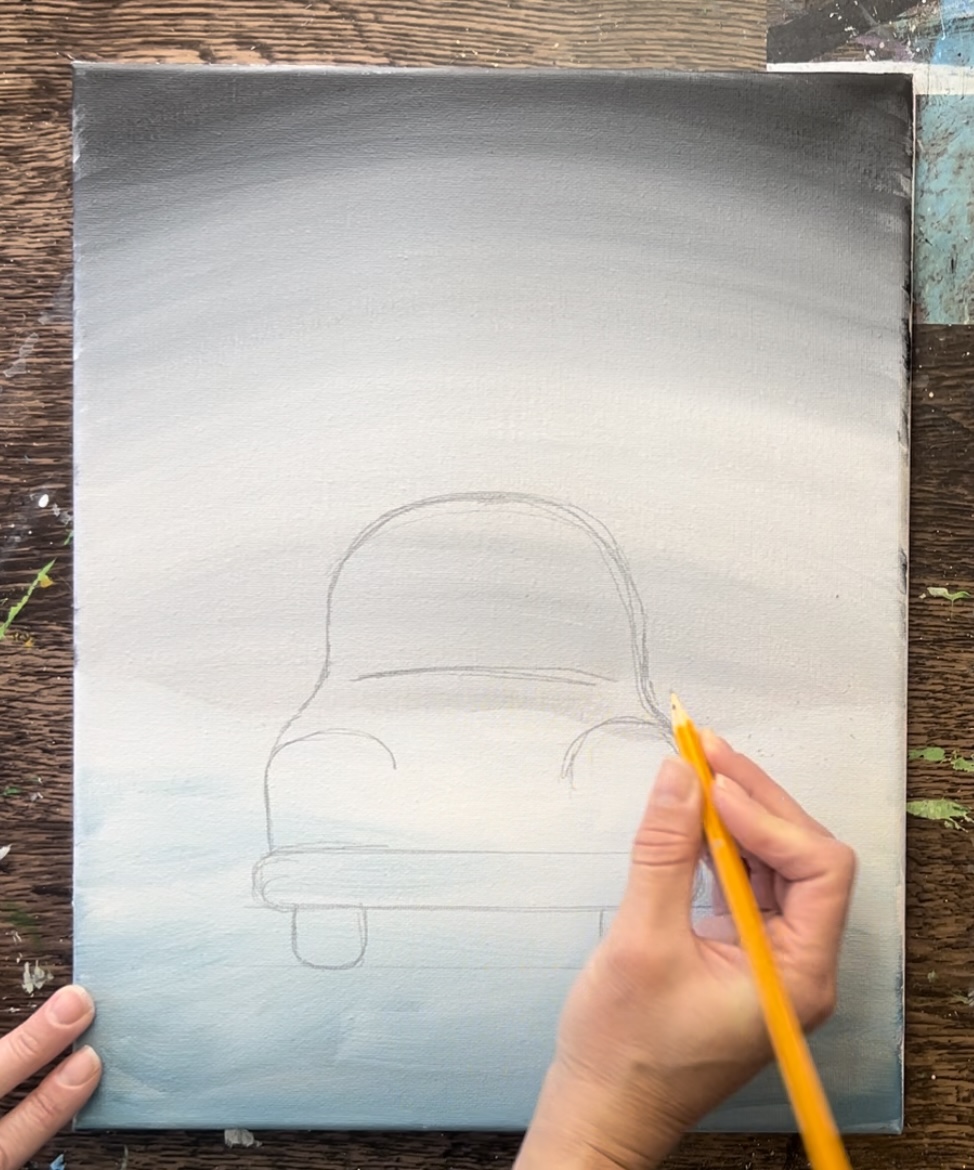
Go down about 2″ on each side of the car cab area, then curve two lines outwards that go down vertically to the bumper.
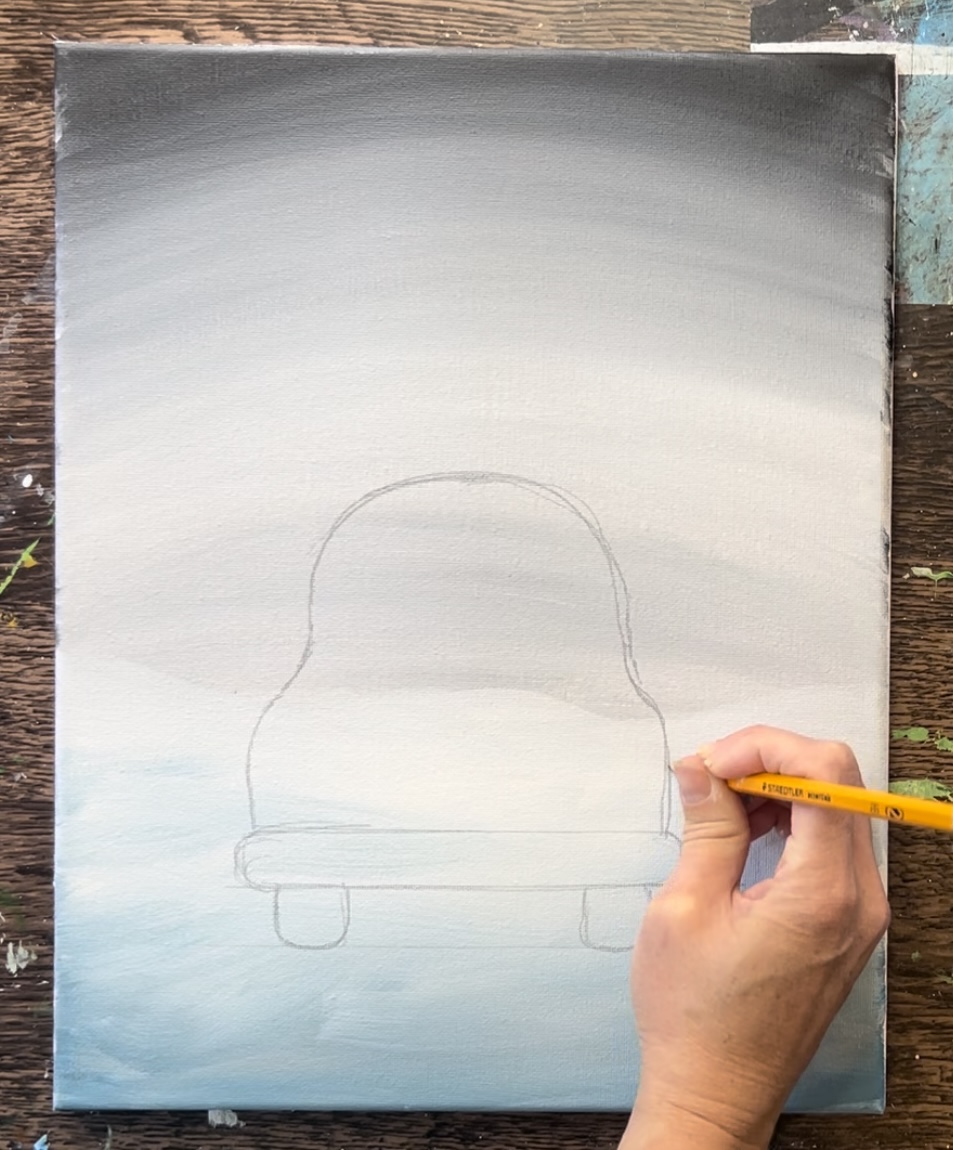
Draw two curves for the headlight area.
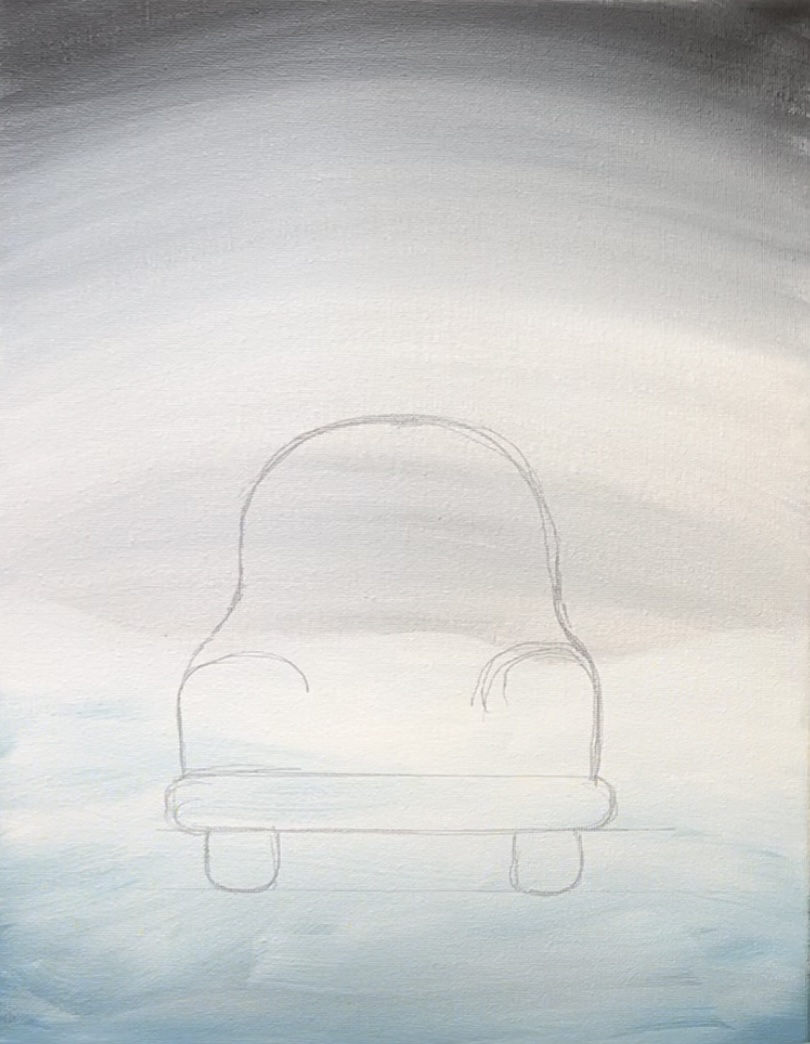
Next, draw the window as a large semi-circle shape. Mine is about 2″ high and 3.25″ wide.
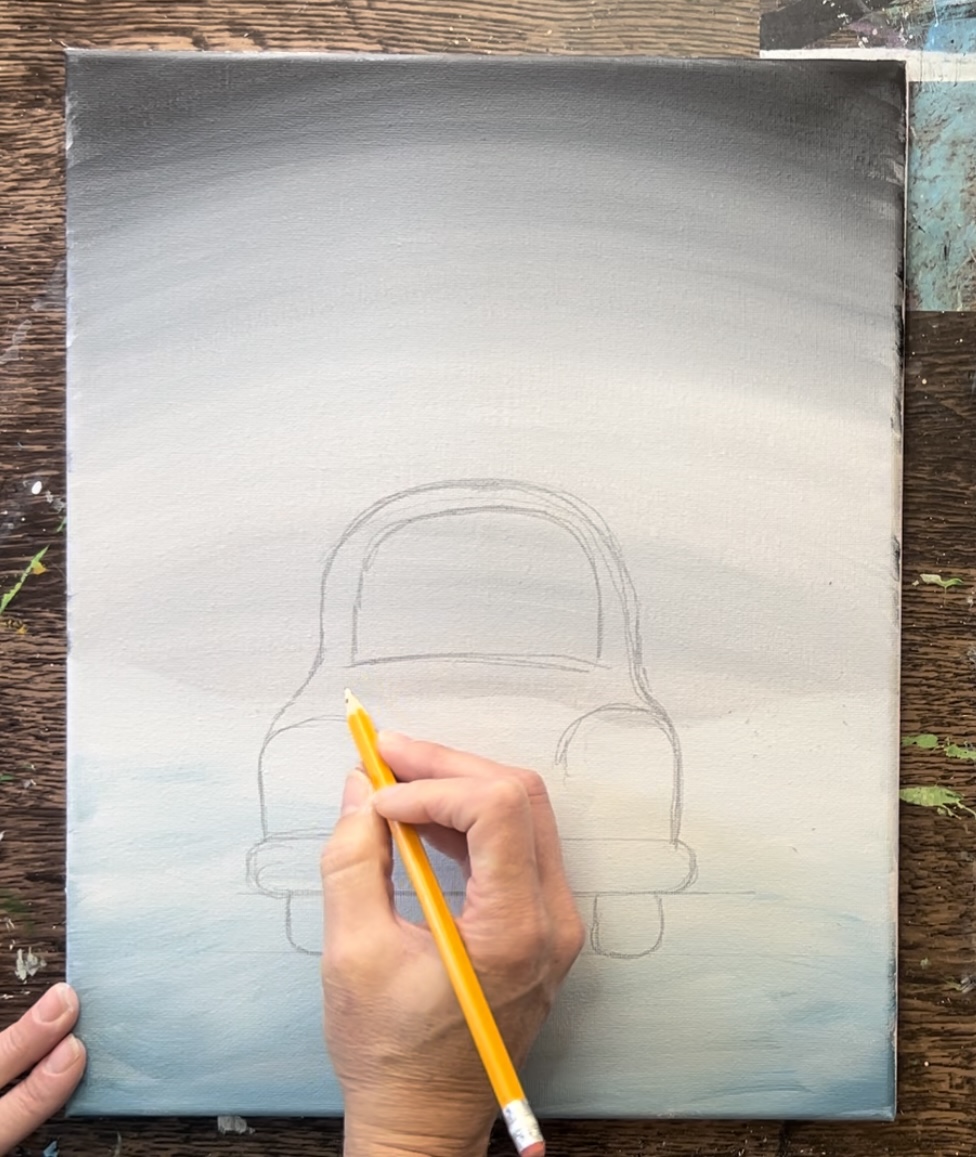
Then draw two sets of circles, one larger and one smaller, for the headlights. Then draw a large arch line for the grill.
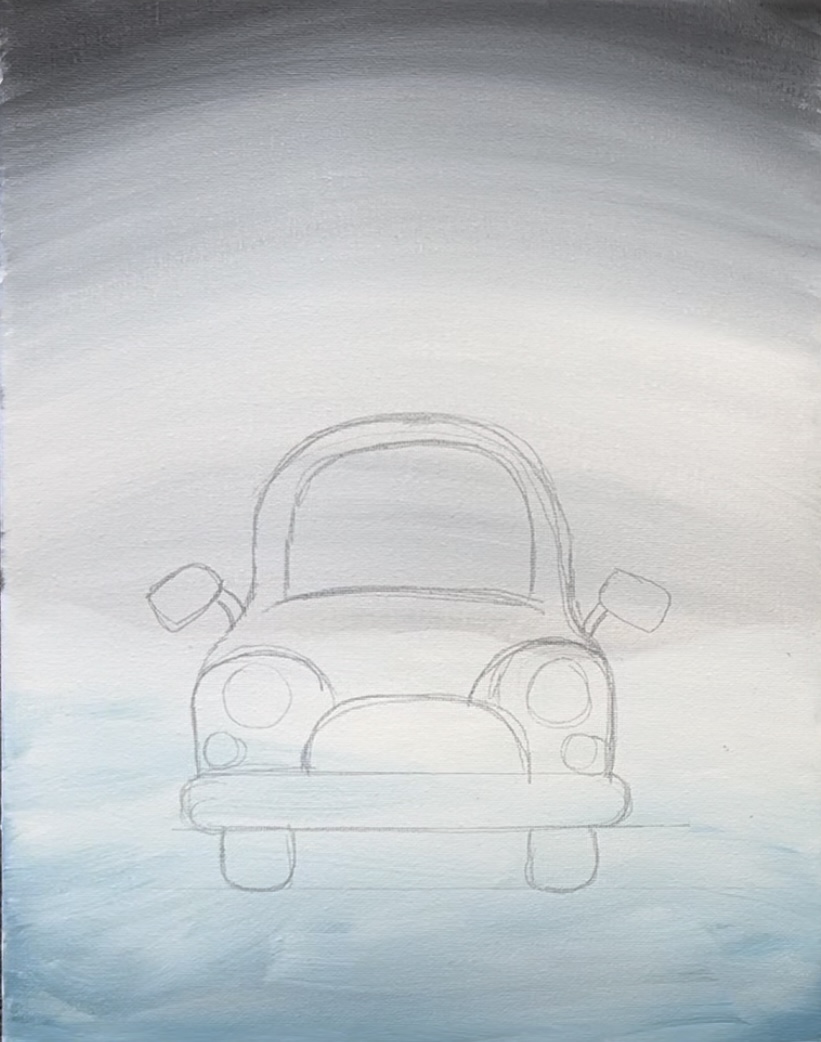
Finally, draw the rearview mirrors. Draw two thin diagonal lines on each side for the holders of the mirrors then draw two rectangular shapes with curved corners for the mirrors.
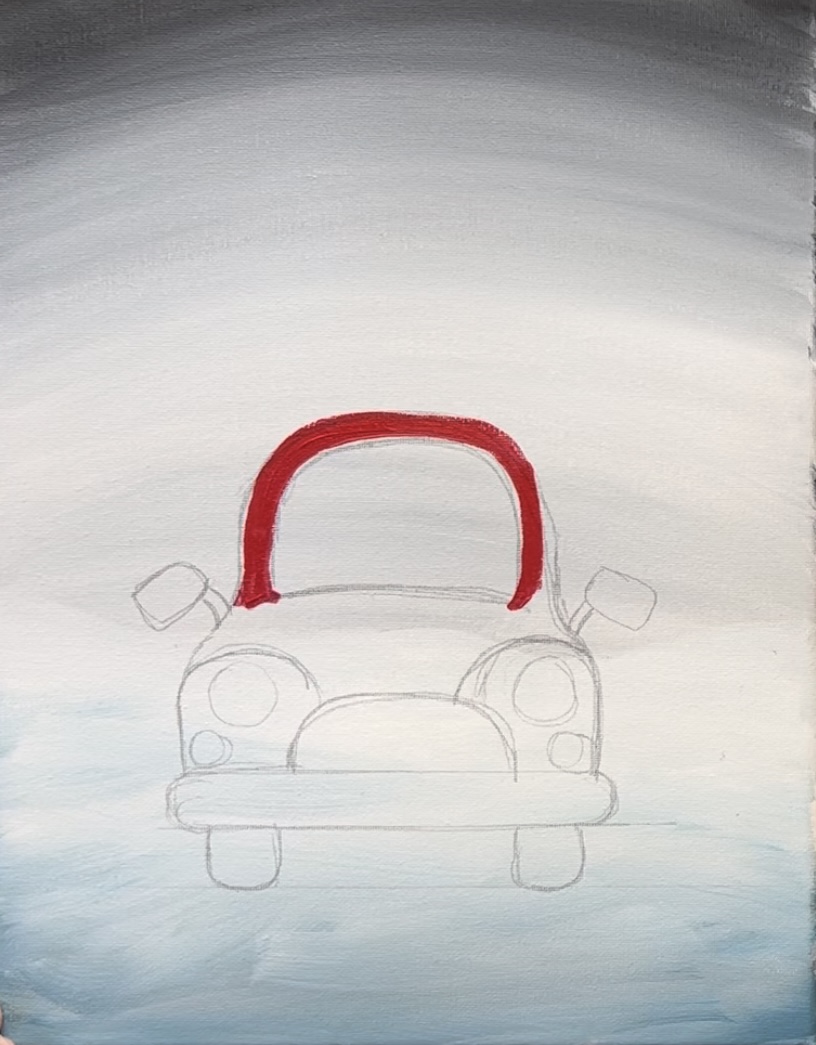
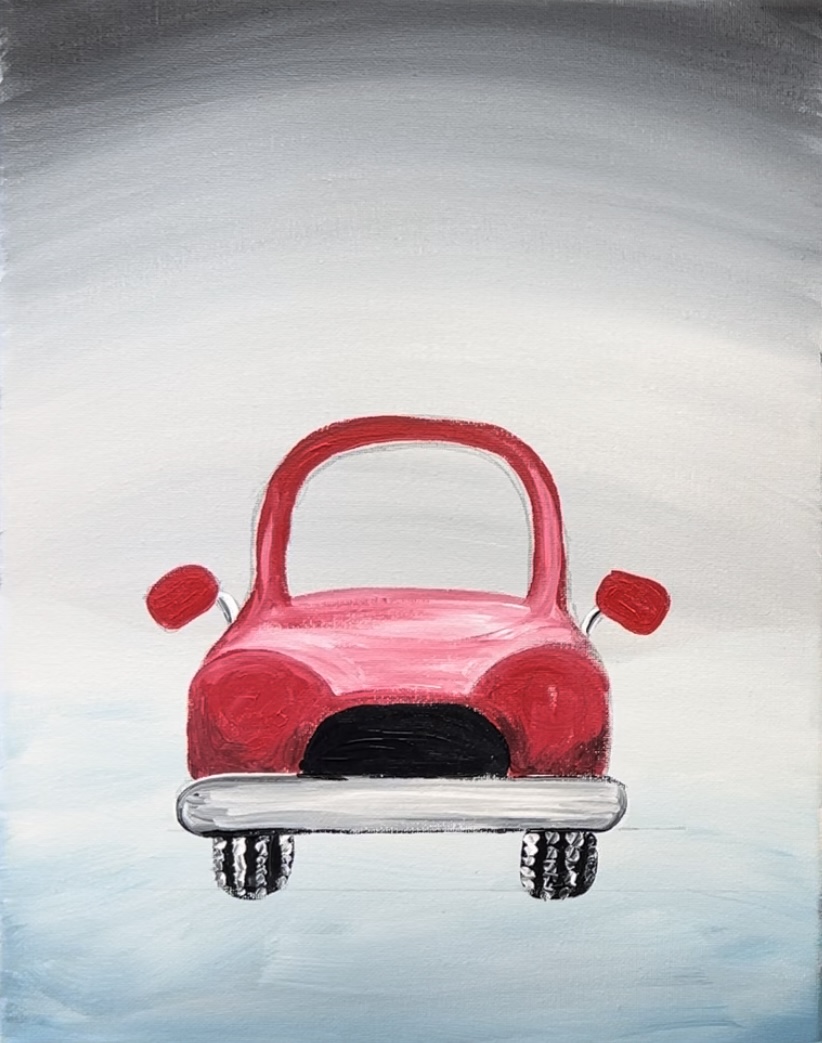
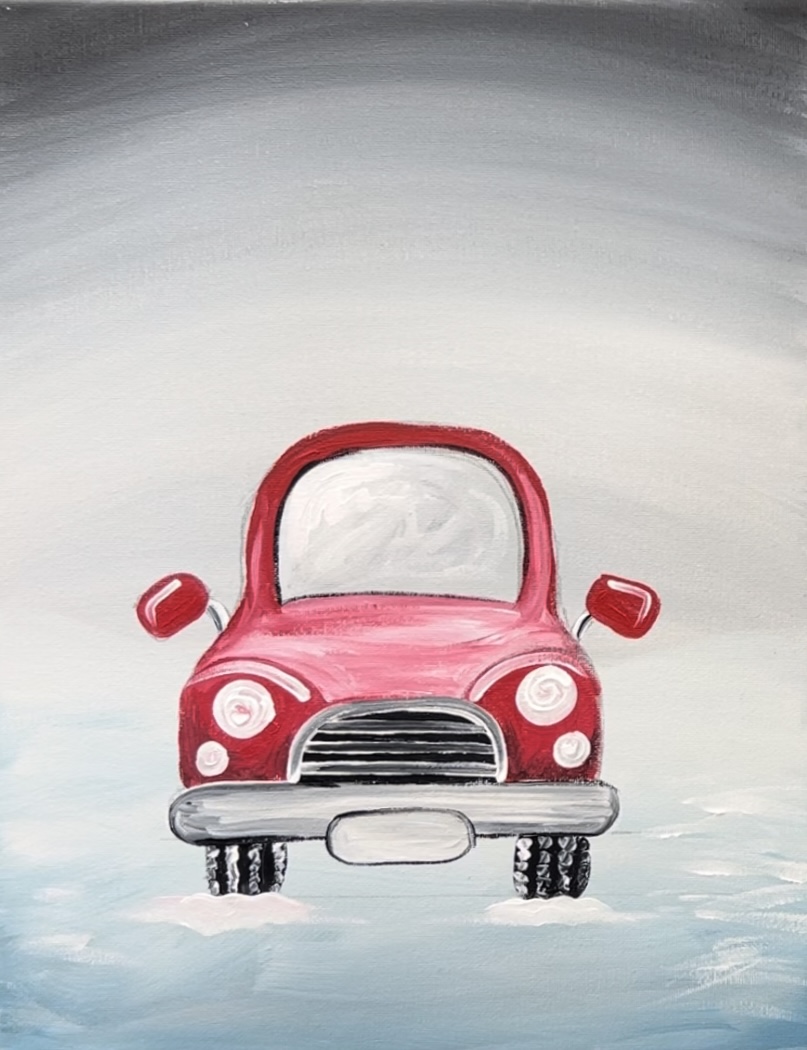
4. Paint Car
Load your palette with naphthol crimson, titanium white and a small amount of mars black. The white and black will be used for shading and highlighting the car. We will be blending the red on the canvas to create different variations of this red that blend with the white and a little bit of black. This is how we will be creating that “shiny car look”.
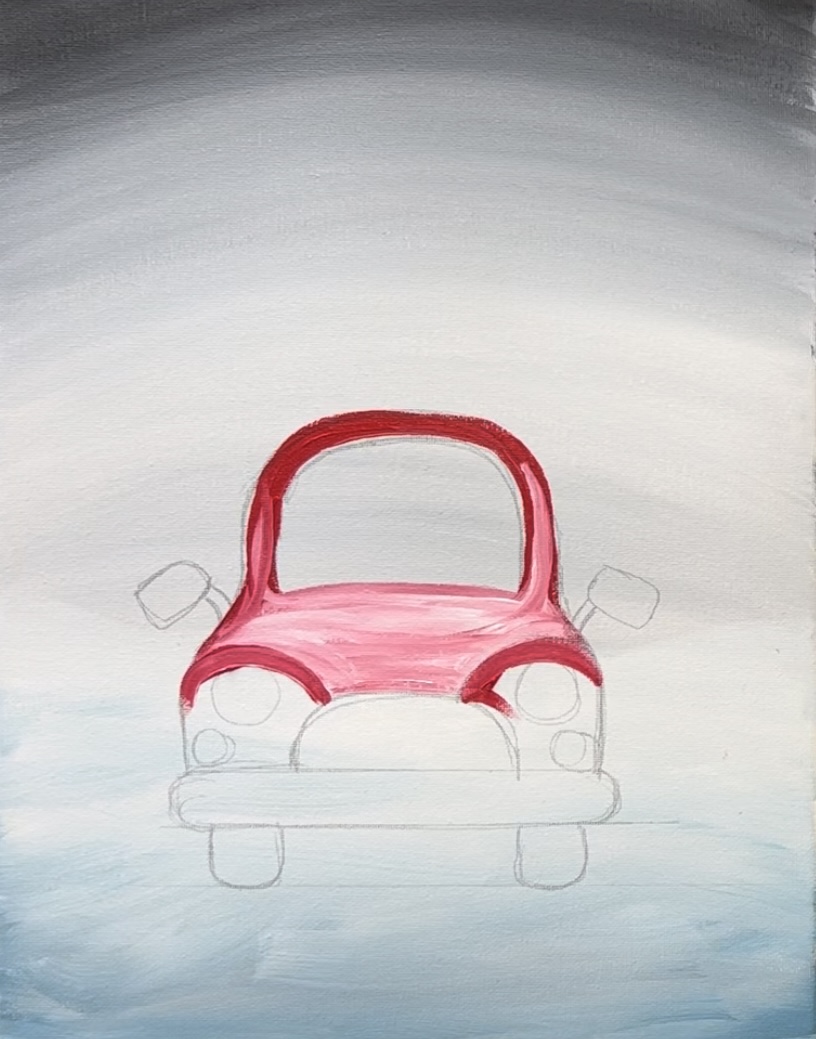
Use a #4 round brush and the red. Start by painting the body of the cabin of the car. Do this with just the red and don’t do any blending yet.
Then, without rinsing the brush, load the tip of the brush into titanium white. Paint curved strokes on the hood of the car. This will create a lighter red.
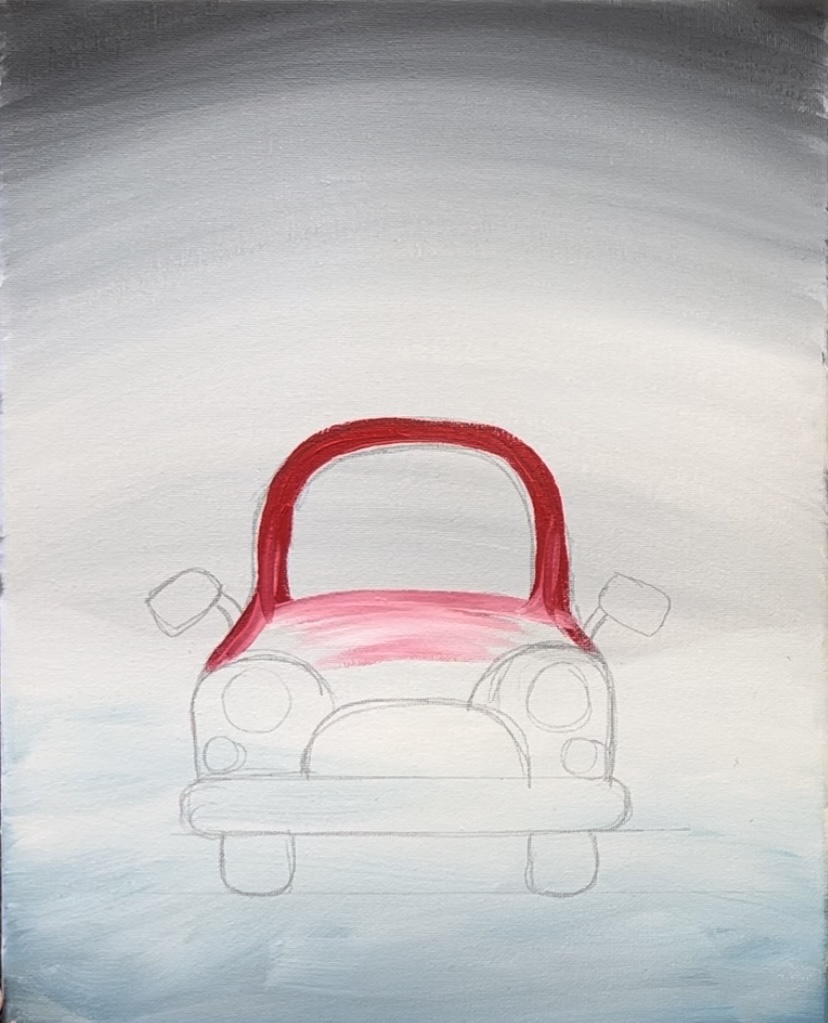
Then blend a little bit of this light color up into the body surrounding the window area. Then load your brush in just the red and outline the top curves of the headlights.
Paint the “headlight area” with solid red. It’s okay to cover up those headlight circles you drew earlier. We can paint those in after this red layer dries.
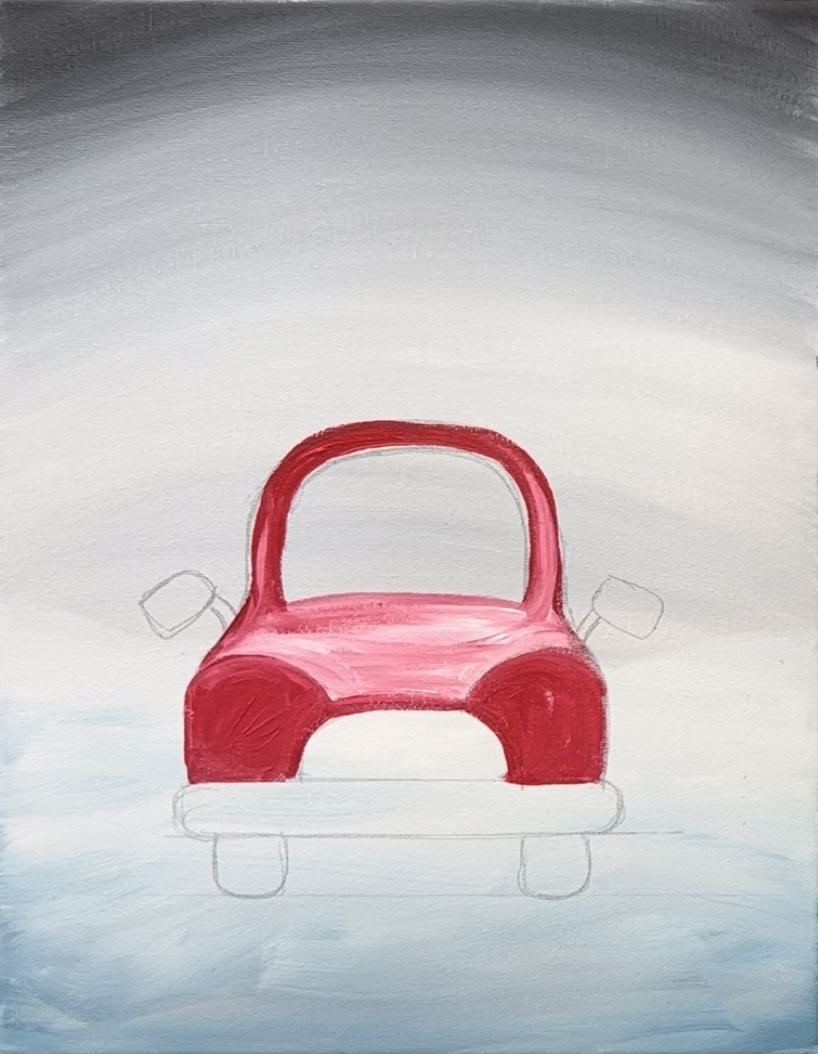
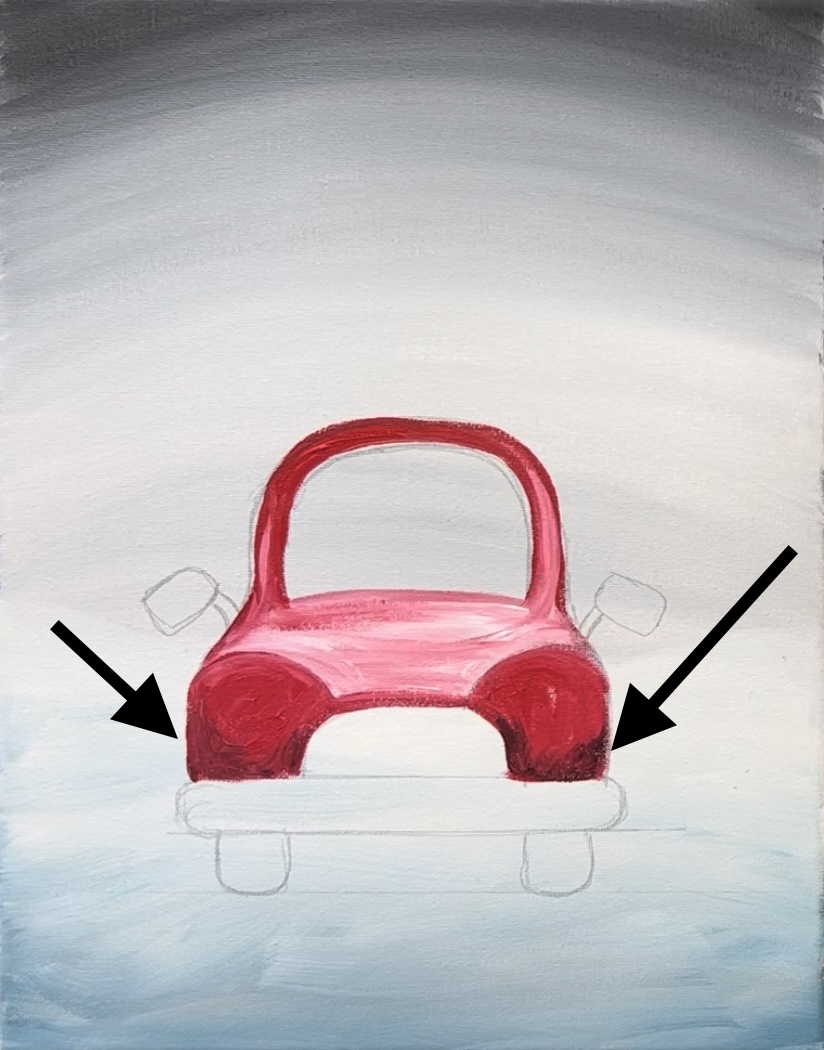
Then add a tiny bit of black to the brush. Blend this black in the bottom area of the headlight area so that it is dark red on the bottom and blends to more of a pure red at the top.
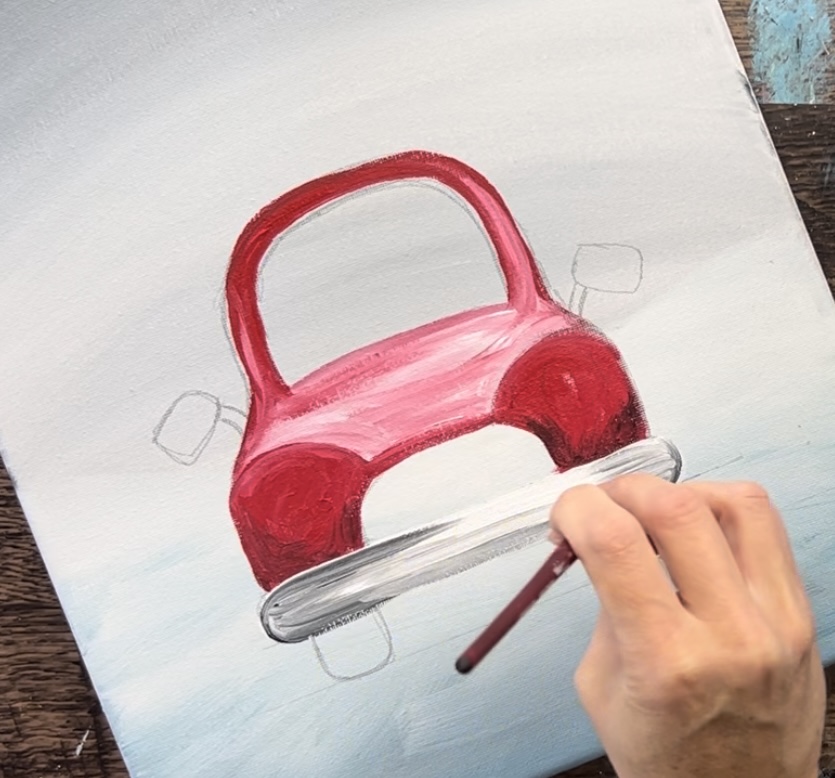
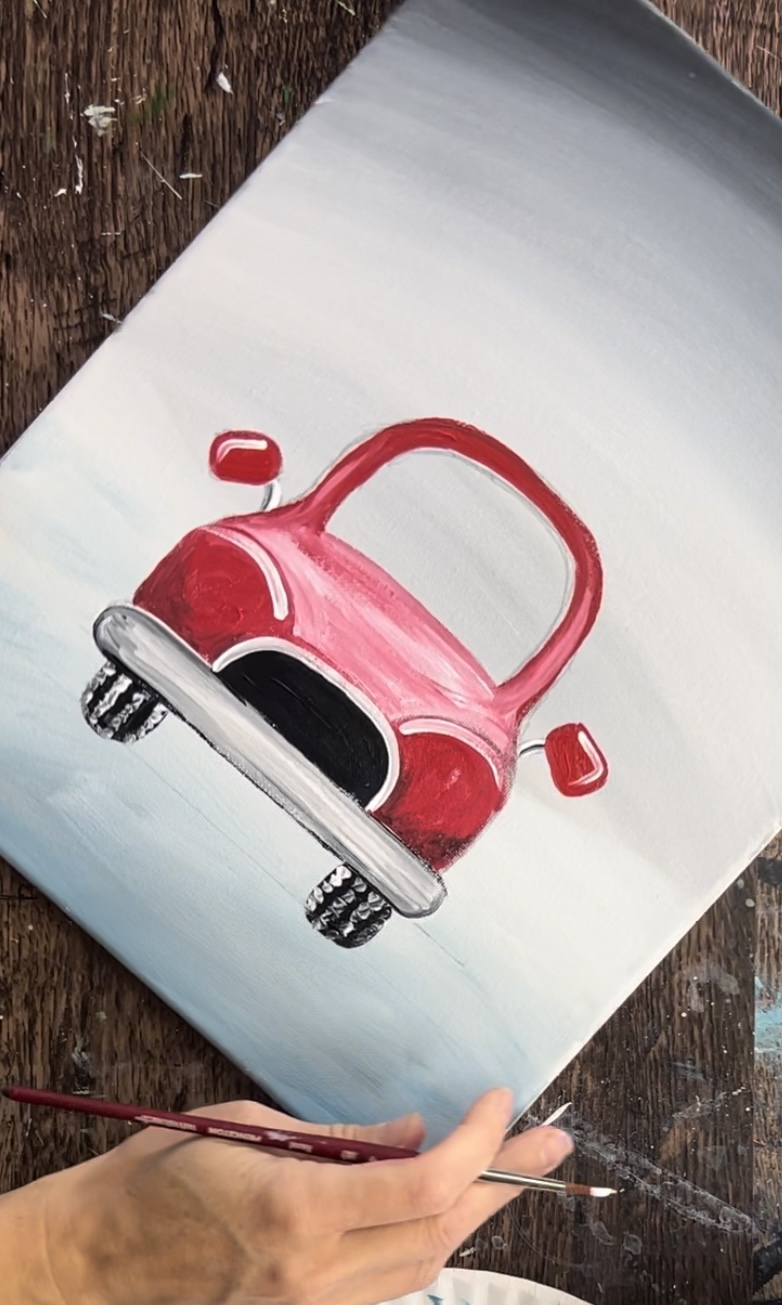
Rinse the #4 round brush. Then paint the bumper with titanium white. I did a pure white layer first.
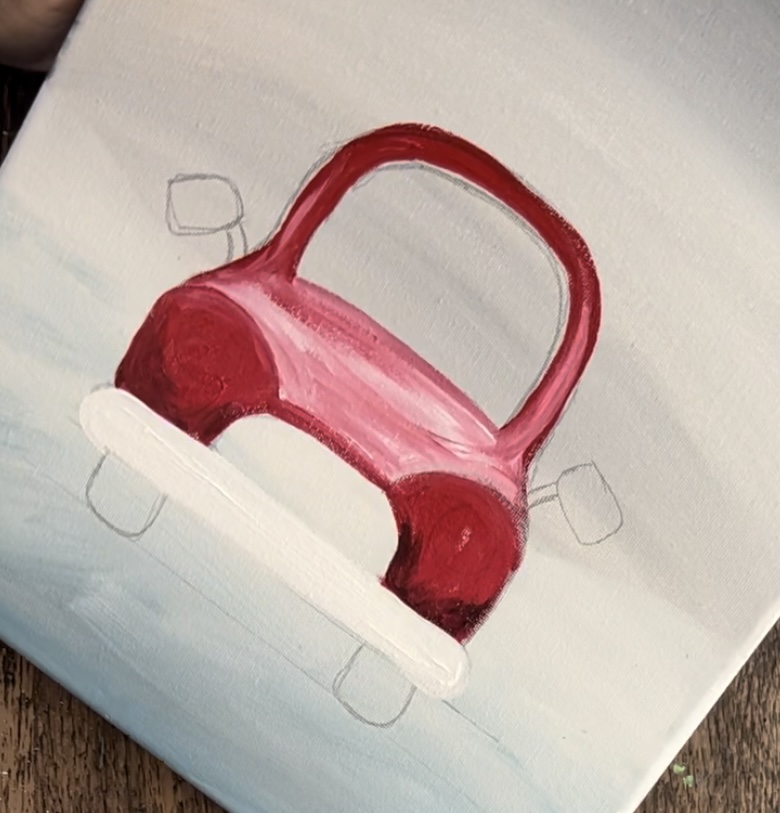
Then blend in a tiny bit of black on the left and right sides of the bumper. Blend it into the white towards the middle so that the middle of the bumper is slightly whiter.
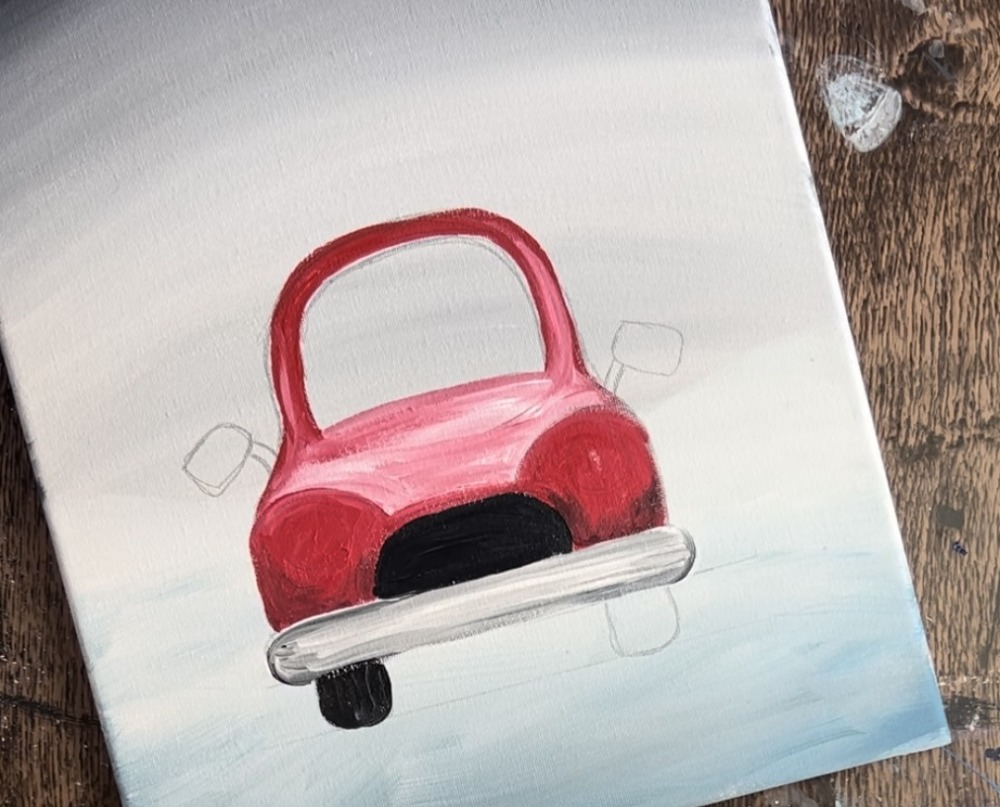
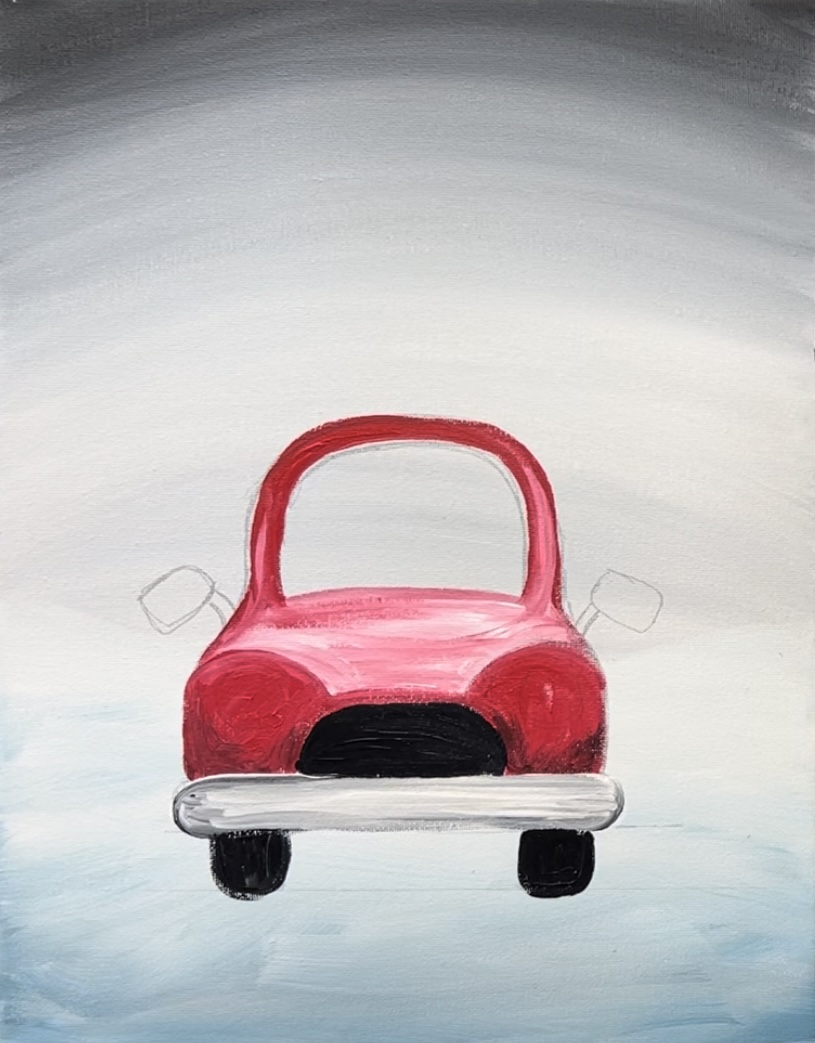
Next, paint the grill area solid black. Then paint the wheels solid black.
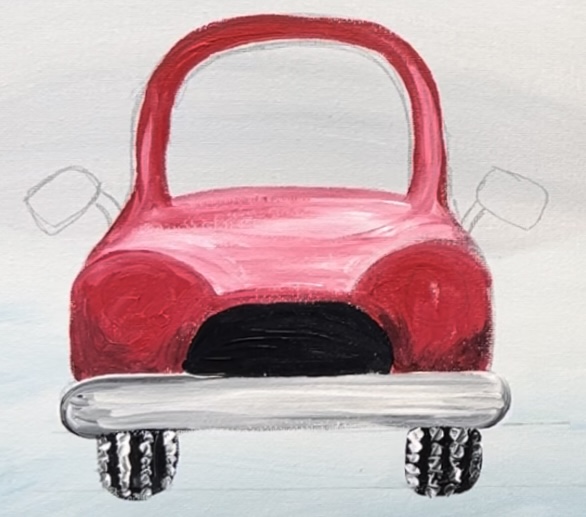
Rinse the #4 round brush. Then load the tip of the brush in a small amount of titanium white. Paint “texture” on the tires by painting four vertical rows of little “x” paint strokes. You can also just paint little dots. This will blend with the black a bit and some of it will turn gray.
Then paint the rear view mirrors. Paint the holders with white and black both on your brush and have it blend to a medium gray color. Then rinse the brush and paint the mirror body solid red.
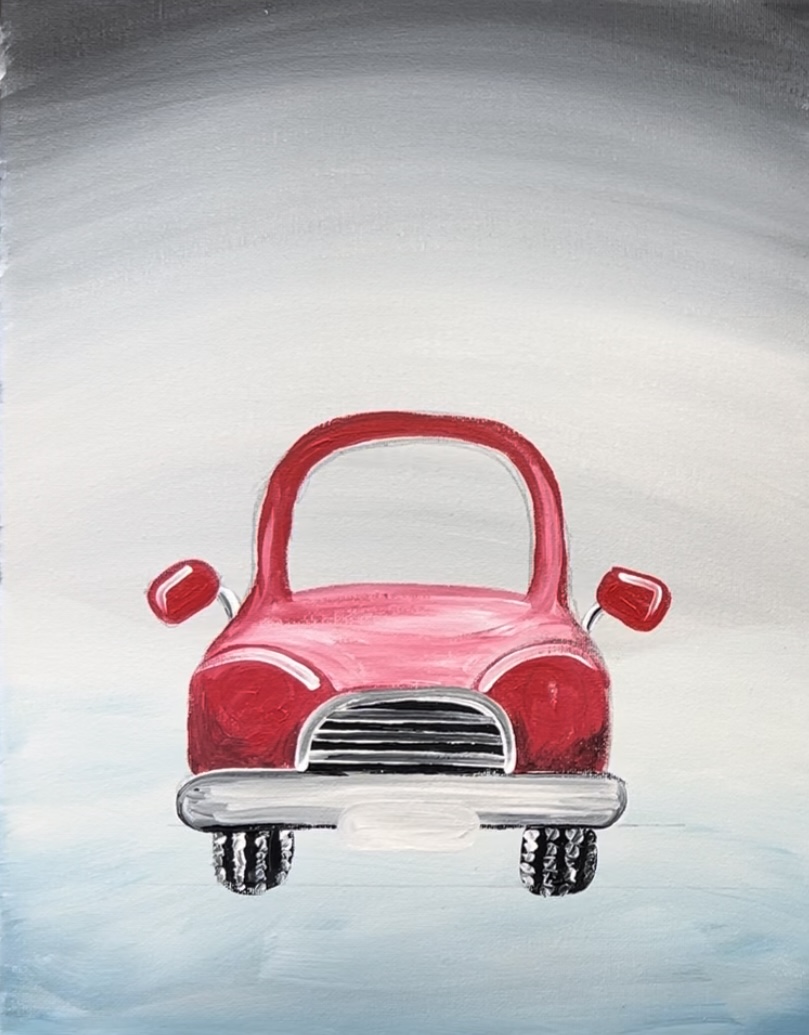
Then add some highlights. Use titanium white to highlight the upper side corners of the mirrors. Paint two curves on the headlight areas.
Then detail the grid by outlining the shape of the grid and painting horizontal lines. Then paint a bumper using titanium white.
Paint the windshield. Use a #4 round brush and titanium white to paint thin, “expressive” paint strokes on the windshield. I kind of swirled the strokes to make it look like the windshield was frosted. It’s okay if some of the gray from the background is still showing through.
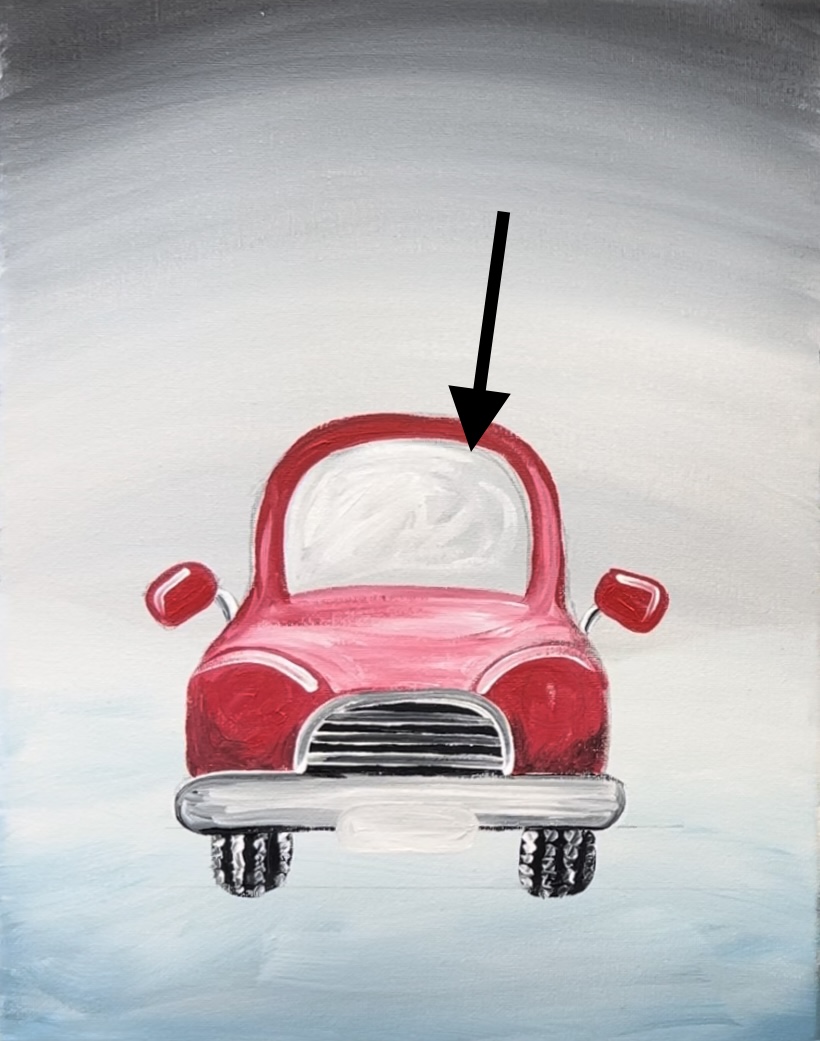
Next, use mars black and the #4 round brush to thinly outline the outer edge of the windshield glass. Then outline the bumper and the license plate.

5. Paint snow piles
Use the #4 round brush and titanium white to paint a little pile of snow that overlaps the tires just slightly. This bright white should show up against the darker ground color.

Then paint some bright white textured “dry brush” strokes throughout the land area. I did this also with the #4 round brush and allowed the brush to just barely skid the canvas. Leave a lot of the blue-gray still showing through.

6. Paint Headlights
Use the #4 round brush and titanium white to paint two sets of circles. Paint two larger circles towards the top and a set of two smaller circles just above the bumper.
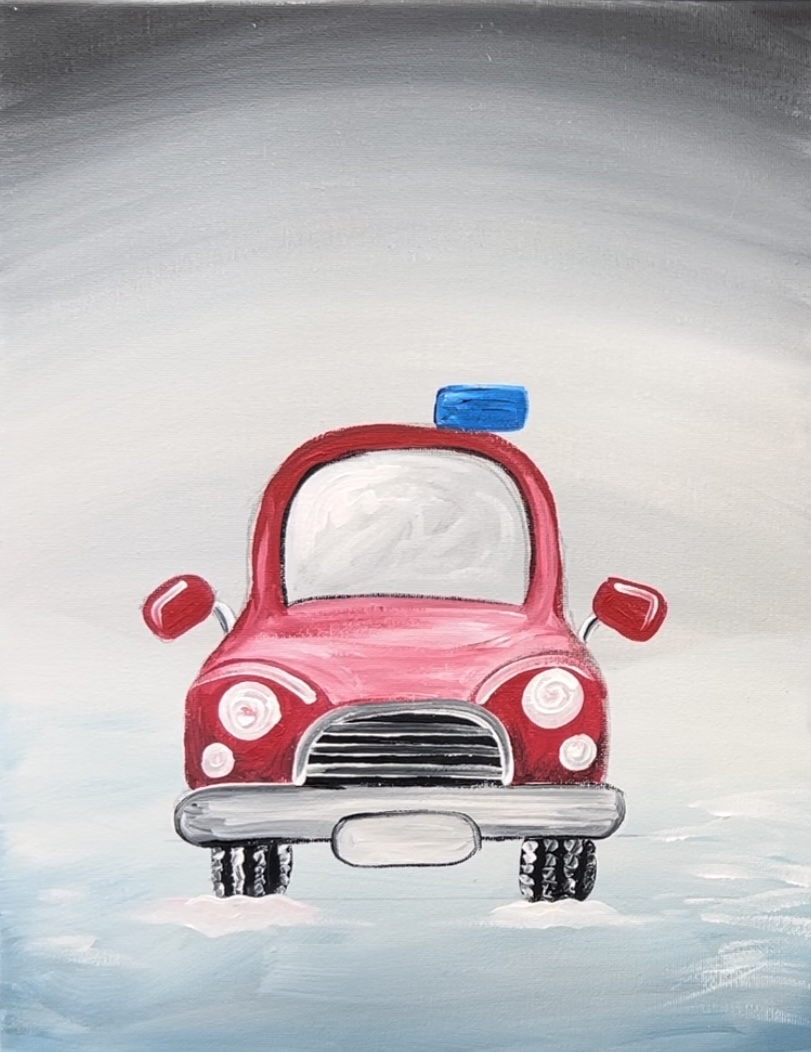
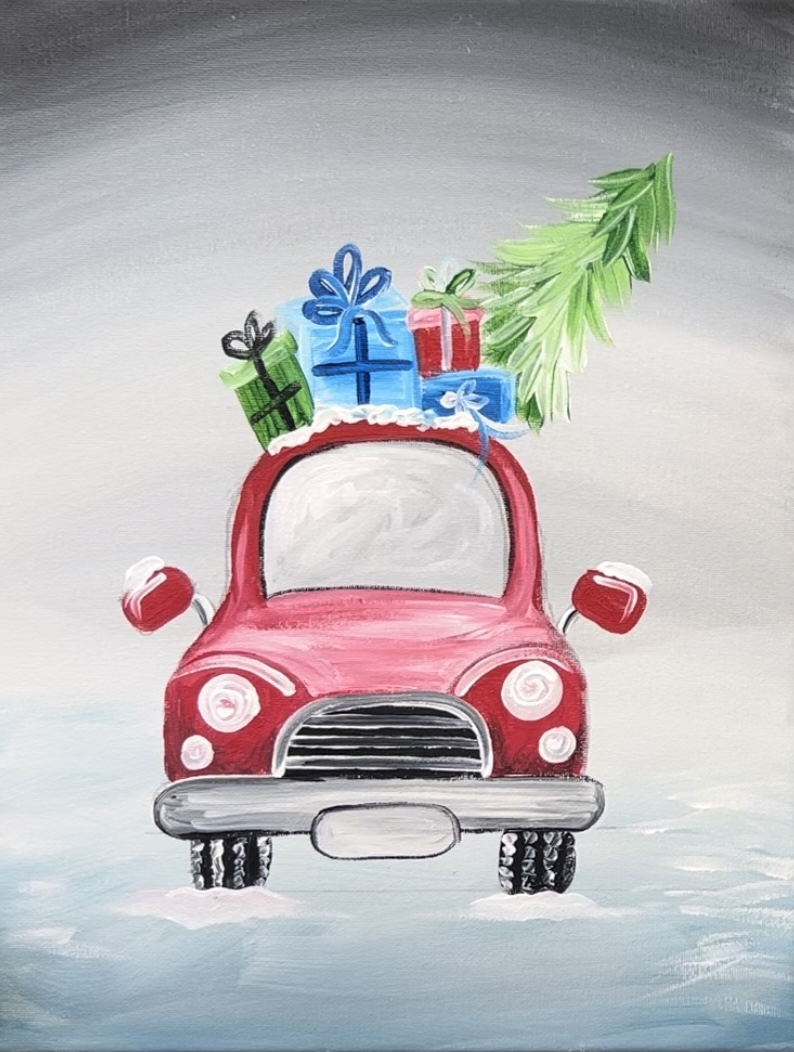
7. Paint Presents
You can use any of the colors in this palette to paint the presents. I loaded phthalo on my palette and use the #4 round brush to paint a little rectangle for the first present.
Then I did a lighter box shape on the left by adding some white into the dark blue. If you want, you can make all of these box shapes two-dimensional. You can also do a combination of three-dimensional and two-dimensional shapes.
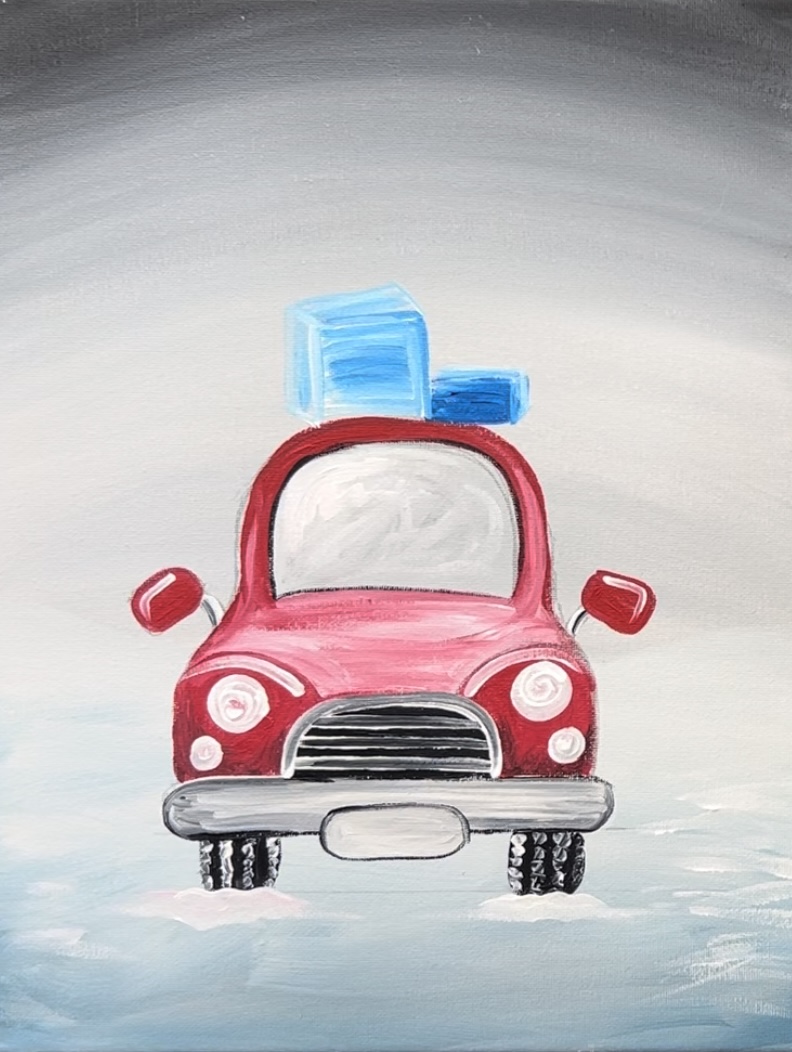
Some of the boxes can have lids. You can do this by making a lighter version of the color on top of the box shape. You can do overlapping with your shapes. Do a variety of sizes and styles of boxes too!
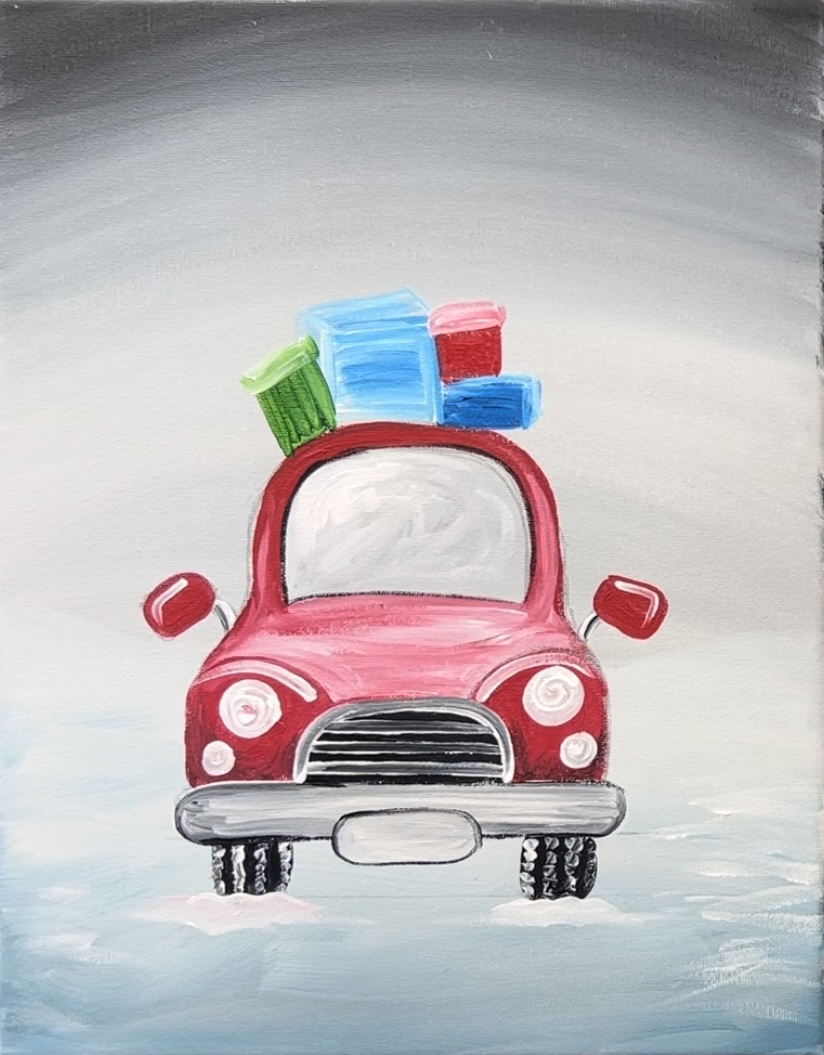
Then use a darker color paint the ribbons on the presents. Do a “plus” on the front of the box and then paint a bow on top of the box.
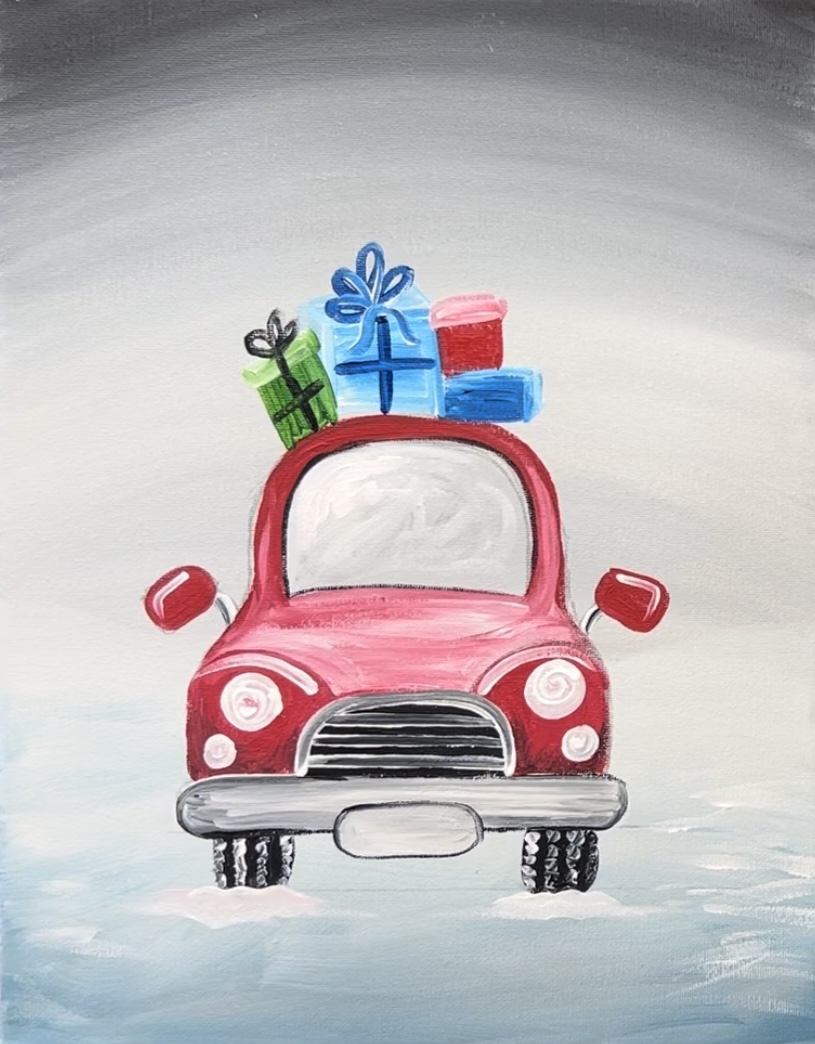
Keep these presents very simple! You can do a variety of shapes and colors for the bows.
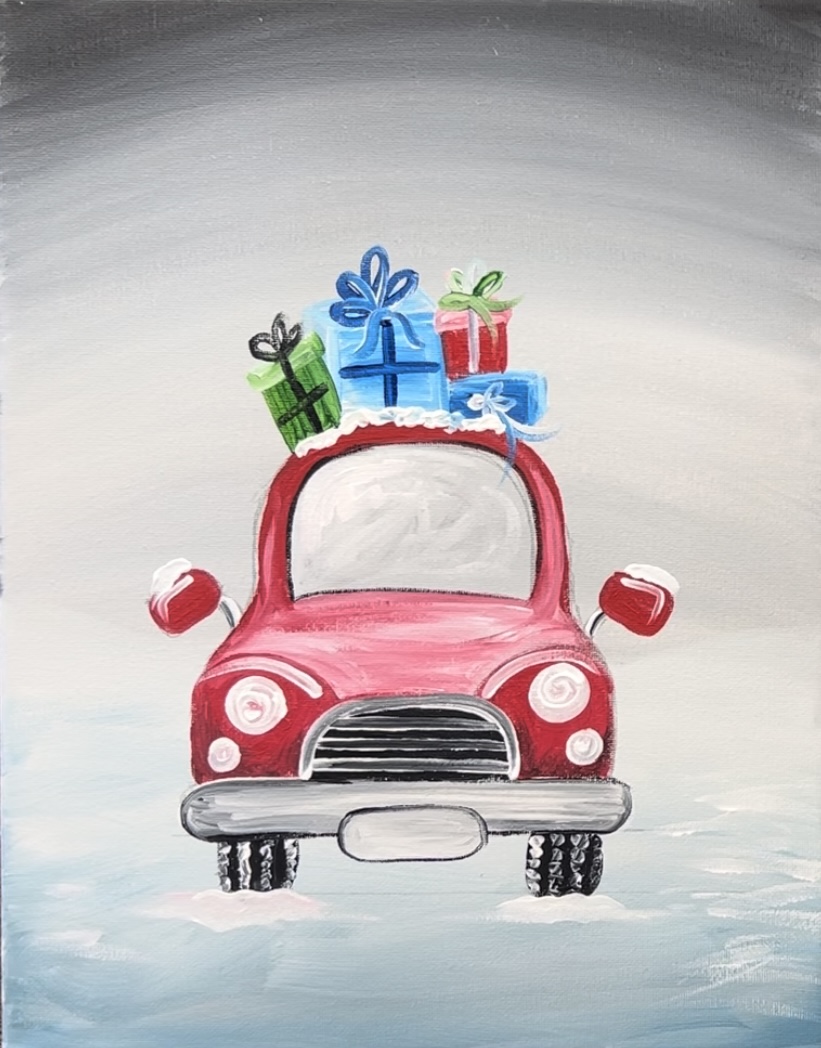
8. Paint snow detail on car
Use the #4 round brush and titanium white to paint a little layer of snow piling on top of the top of the car and on top of the rearview mirrors.
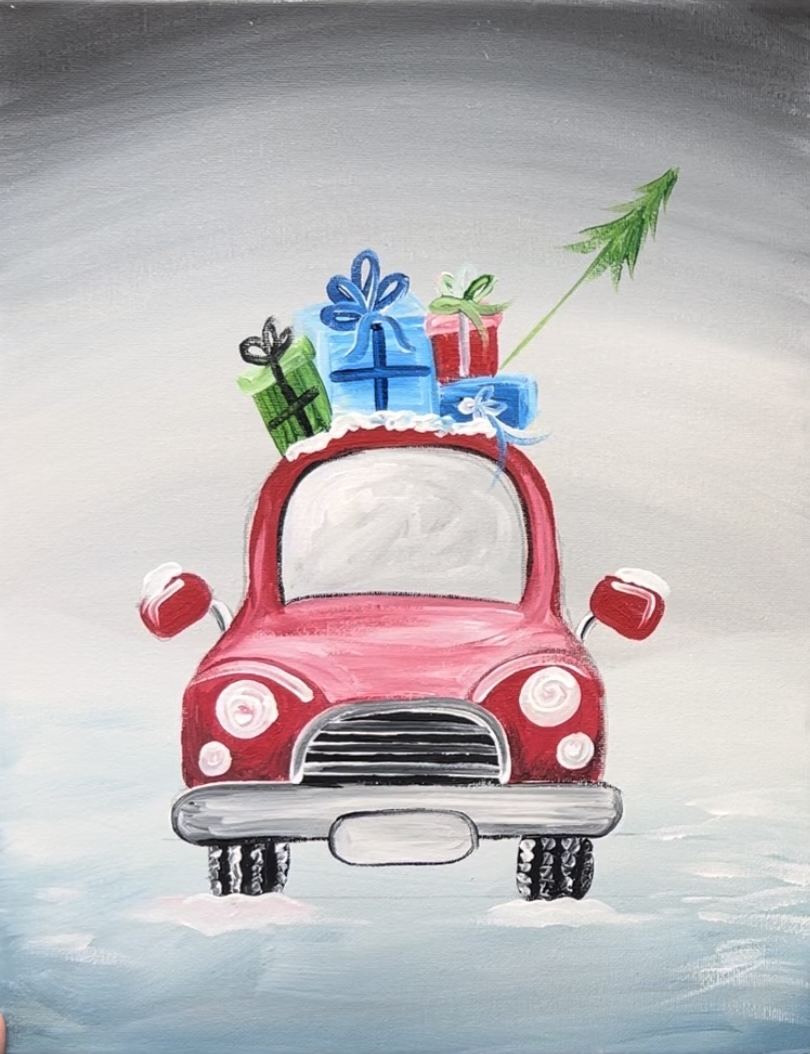
9. Paint Christmas Tree
Use the #4 round brush and green. Start by painting a diagonal line for the center of the Christmas tree.
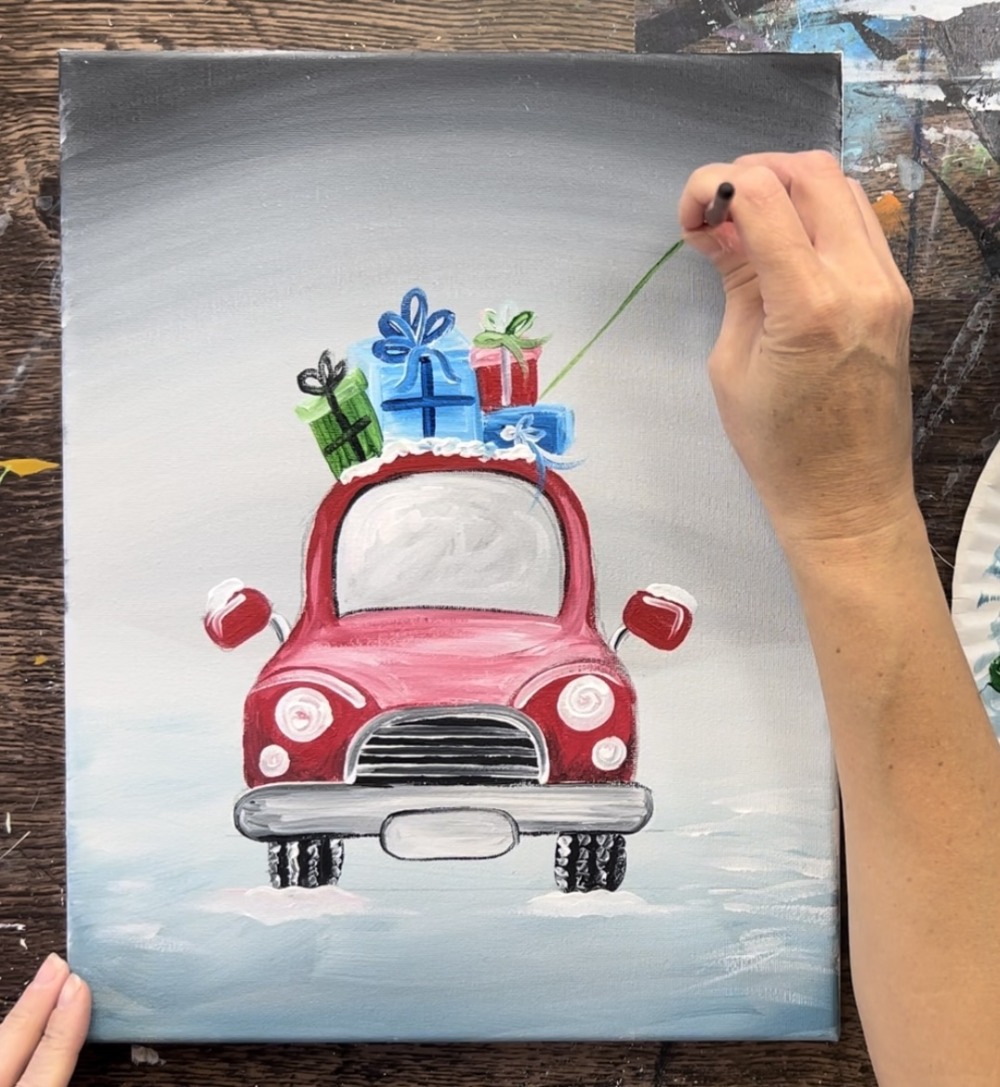
Then paint curved strokes going outwards to form a conical shape for the tree.
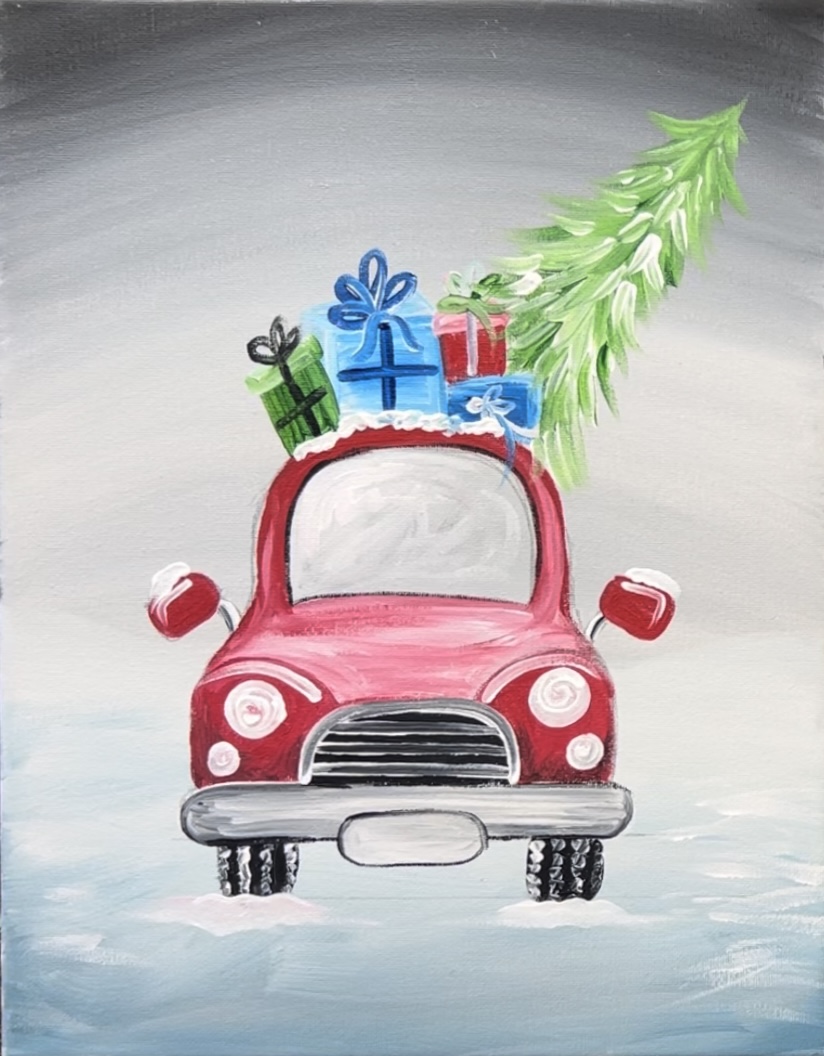
As you work your way down, add a little bit of white to your brush. This will help to very the color of the green and make it look a little snow frosted.
To create more texture in the tree, paint the branches from the bottom and work your way towards the top. This will make it look like the branches are overlapping when you work from bottom to top. You can also have some of the bottom branches overlap some of the top of the car.
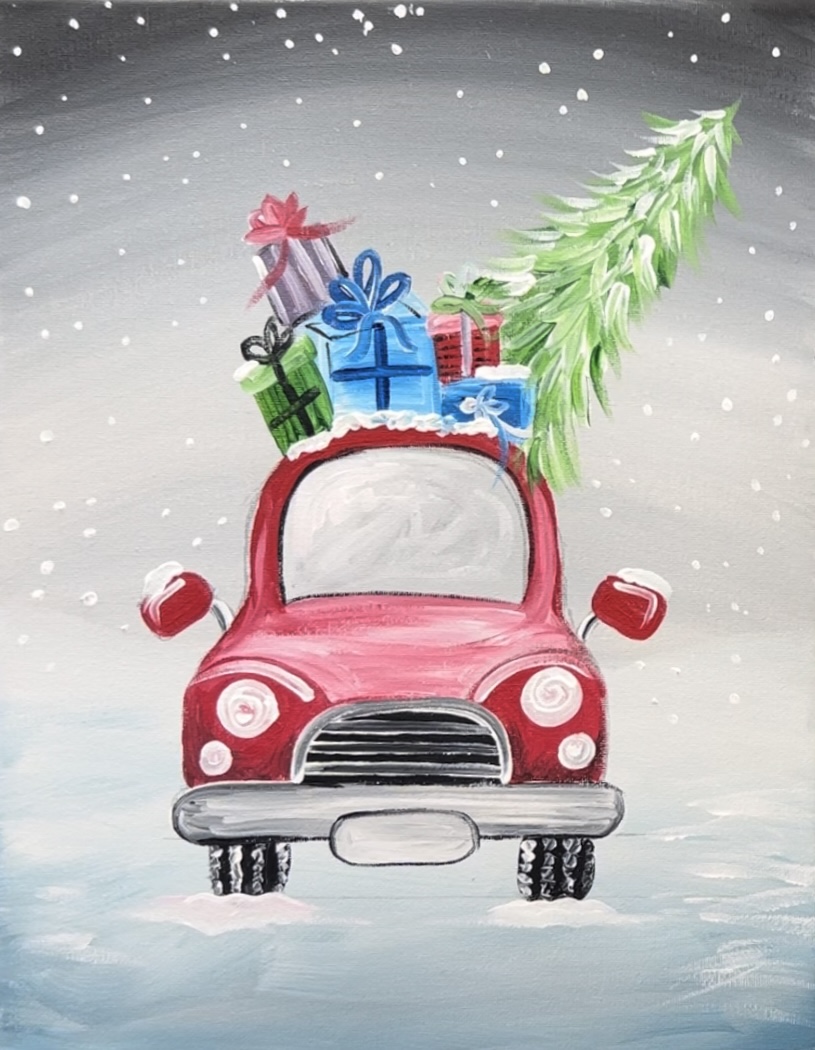
10. Paint snow falling down
Use titanium white and the #4 round brush to paint little white dots all throughout the sky. If you want, you can do decorative snowflakes.
11. Paint tree in background & word on front license plate
Use a paint pen to write the word on the license plate. Then paint a small tree in the background. If you want, you can add more things in the background such as more trees or a snowman, I decided to leave the painting simplified.
Finished!
Sign your name and show it off!